

One late autumn evening, I broke into the country (tired of my wife, probably). He turned on the switch and the light in the living room - a bright flash, and all the lamps (ordinary incandescent) burned out. I went to look for a multimeter. Bah, I have 285 V in my network! And if "0" were burned out at the substation, all 380 V would be mine! What would happen if I didn’t turn off the switch and leave the refrigerator or TV plugged in? In the best case, they would have burned down. And so a fire could occur due to a short circuit. So he sat all evening by candlelight and ate canned food warmed up on Bumblebee (yes, I still have such a device). The problem somehow needs to be solved.
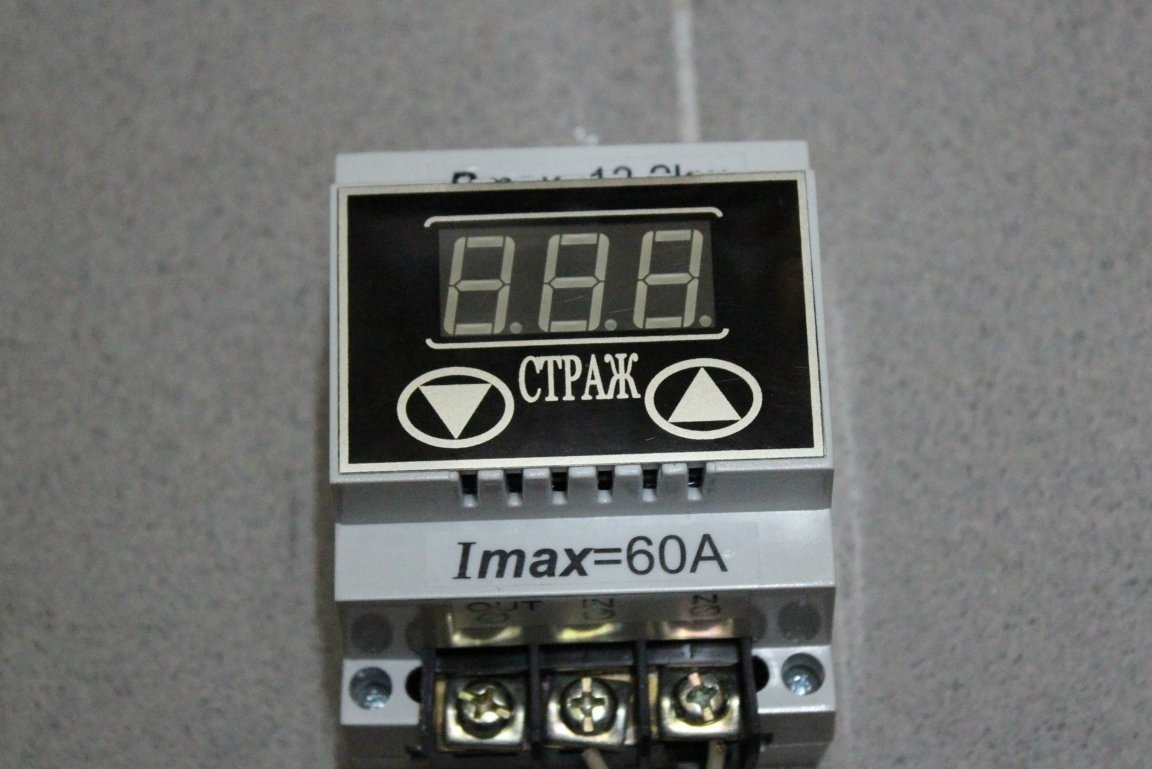
I arrived in the city the next day. I knew that there were devices that cut down the network with increasing voltage. I did not like them at the cost of up to 6,000 rubles. (the price depends on what current they are designed for). In addition, the relay is their executing element - my electronics in the country, while they will turn off the energy.
And if you make yourself such a device based on a high-current triac? I rummaged through the net and found a suitable scheme. I did not like only that the KU208G triac was used as a key. They are very capricious in work, and in terms of power they do not suit me. I decided to replace it with BT 139-800E.127 (it is inexpensive and reliable). At the same time, you need to change the control transistor to ST13003 (which is more suitable for the parameters) and the zener diode to 1N5349BRLG. The resistance power R1 must be increased to 5 W, and the diode VD2 should be changed to 1N5408. Then you can squeeze about 10 kW, which is what I need.
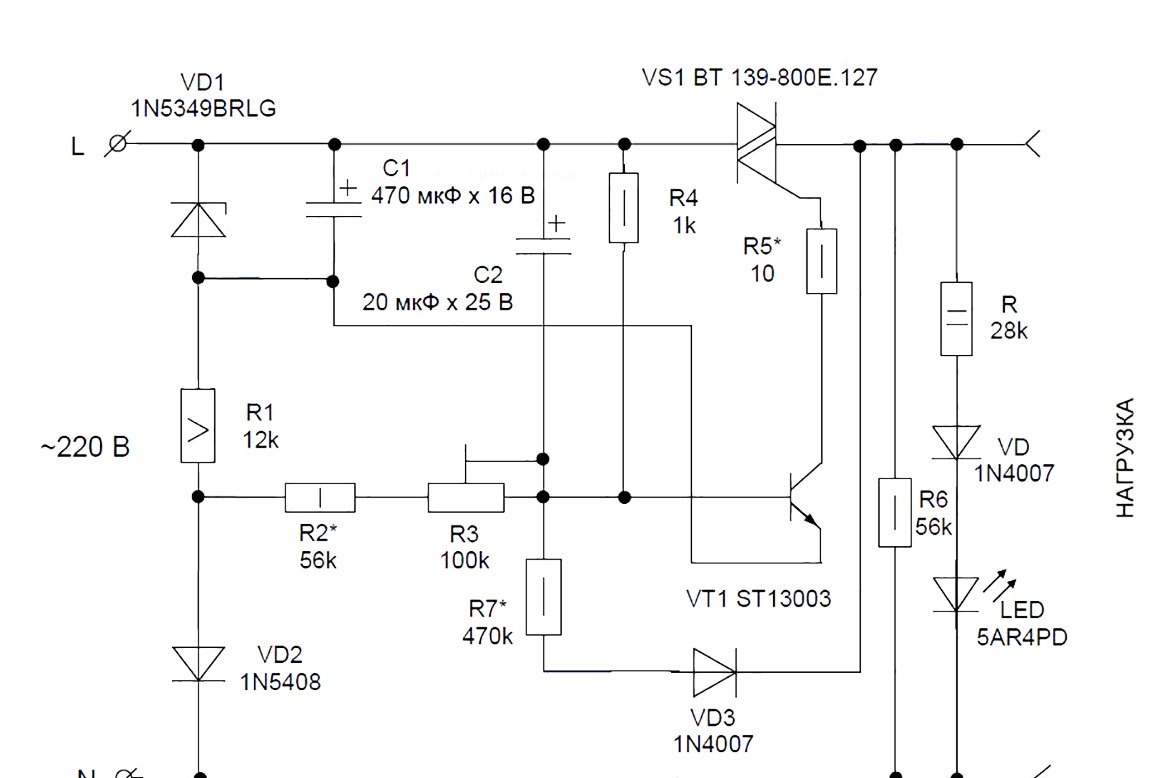
The key element is the triac VS1, the control electrode of which transistor VT1 is supplied with a negative voltage. Resistor R5 is used to limit the current. The reference and control voltages are removed from the parametric stabilizer VD1-R1-C1. In a chain with it is a diode VD2, which supplies the control voltage, which varies depending on the voltage in the network.
When the voltage in the network (and, accordingly, on the resistive divider R3-R4-C2) reduces the emitter current of the transistor to zero, the triac closes. Positive feedback built on the R7-VD3 chain gives reliable switching of the transistor. The current through feedback is summed with the current at resistor R3, increasing the voltage at the divider R3-R4-C2. This reliably turns off the transistor and, of course, the triac.
The value of the resistor R3 determines the trip voltage.The value of the resistor R7 is the spread between switching on and off.
To indicate the operating mode at the input and at the output, I decided to put two LED chains. The output chain will also load the triac at idle (then R6 can be excluded).
What is necessary:
1. Soldering iron.
2. A set of electronic components + printed circuit board.
3. The radiator for the triac.
4. Housing for the product.
5. LATR to configure the circuit.
6. Screwdriver, tweezers, scalpel, side cutters.
7. The drill.
8. Multimeter.
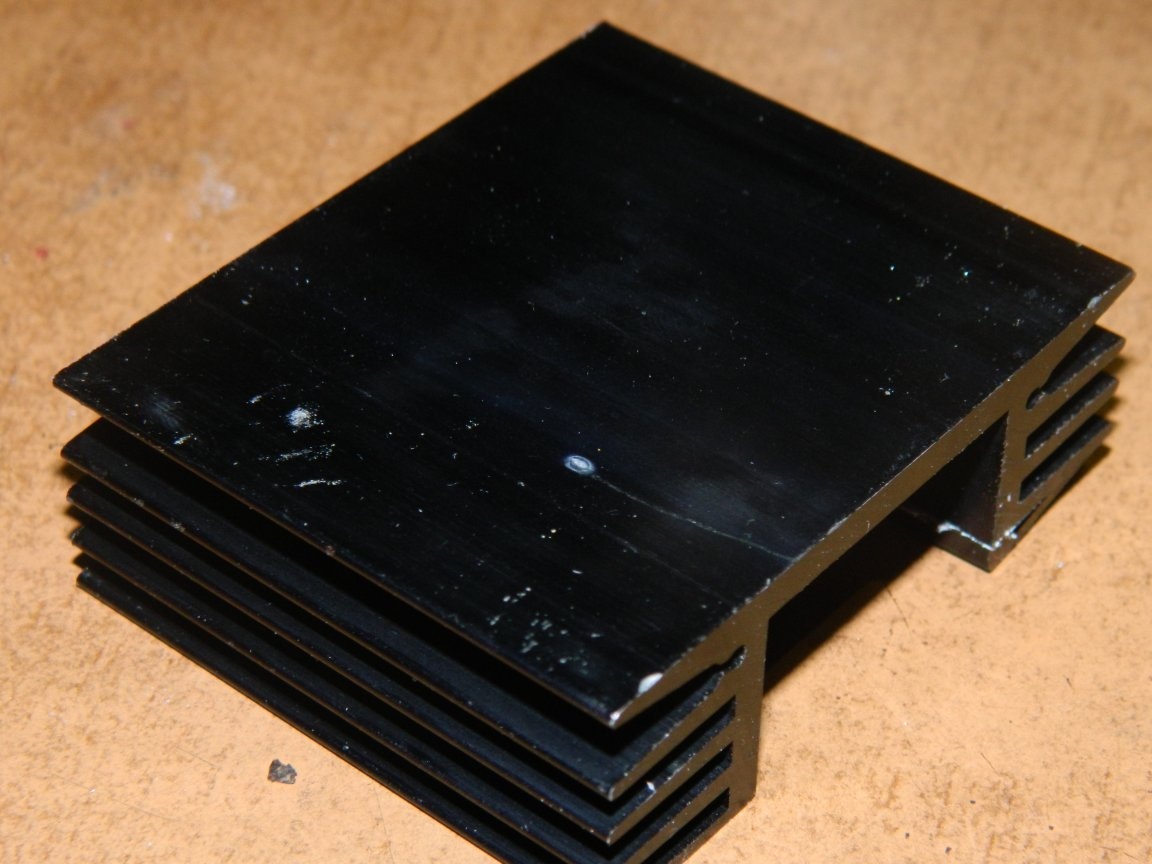
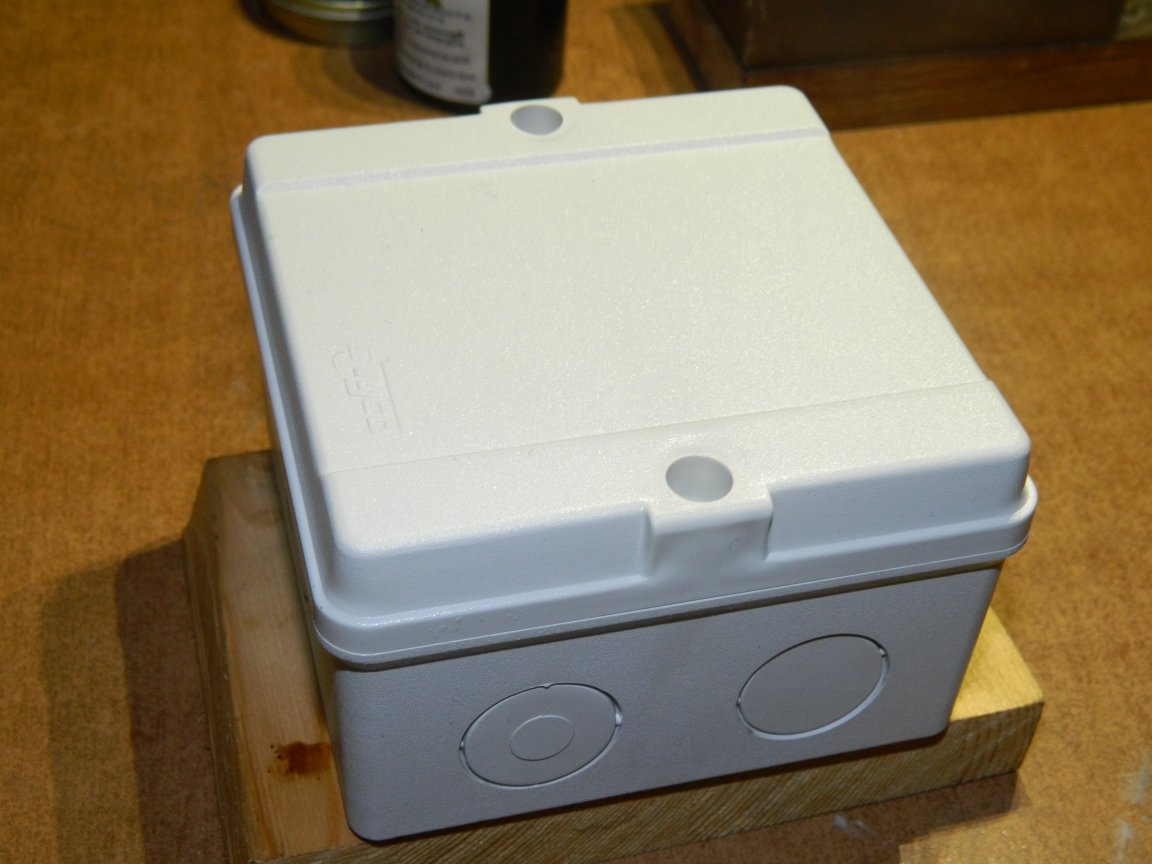
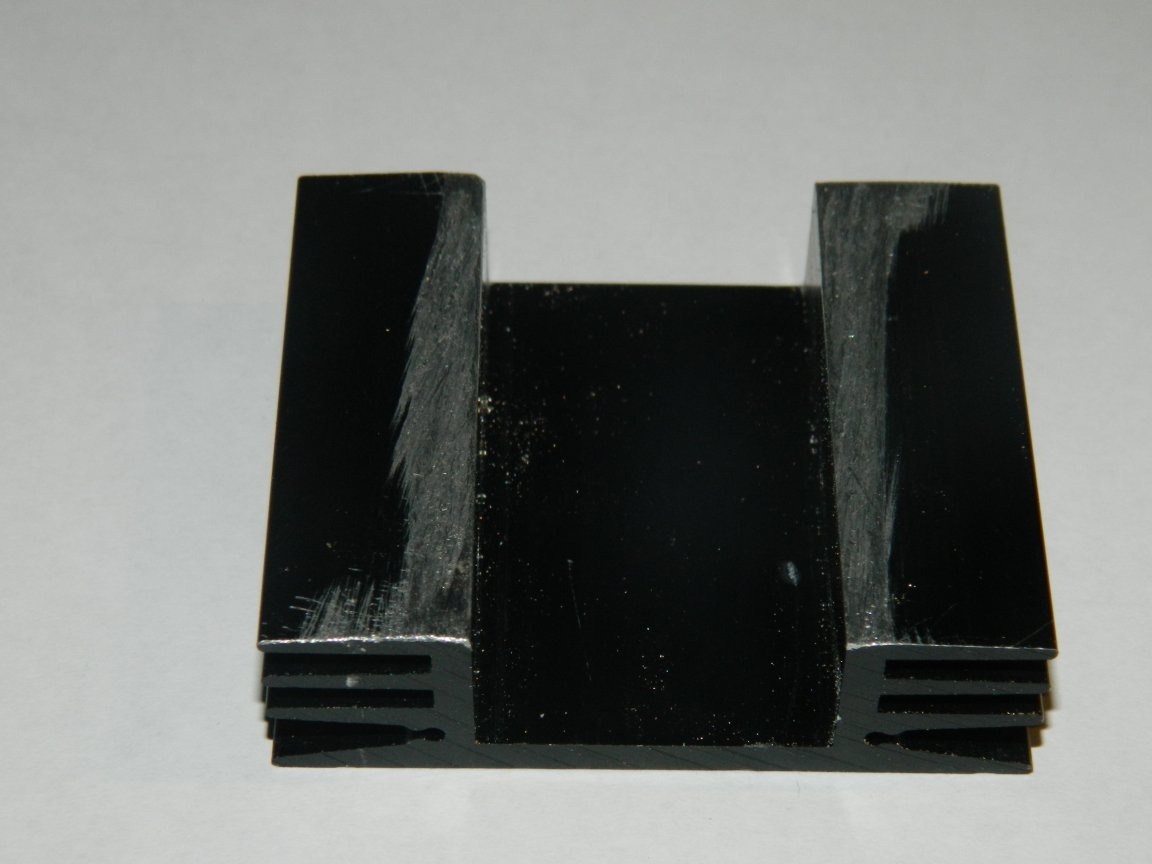
Missing (5-watt resistor R1 and triac VS1) I bought in the store "Chip and Dip" for 50 rubles. The remaining parts were in stock. To cool the triac used heatsink HS 304-50. Its area is more than enough. Yes, I bought it in Castorama for 57 rubles. mounting box for the case of the future device.
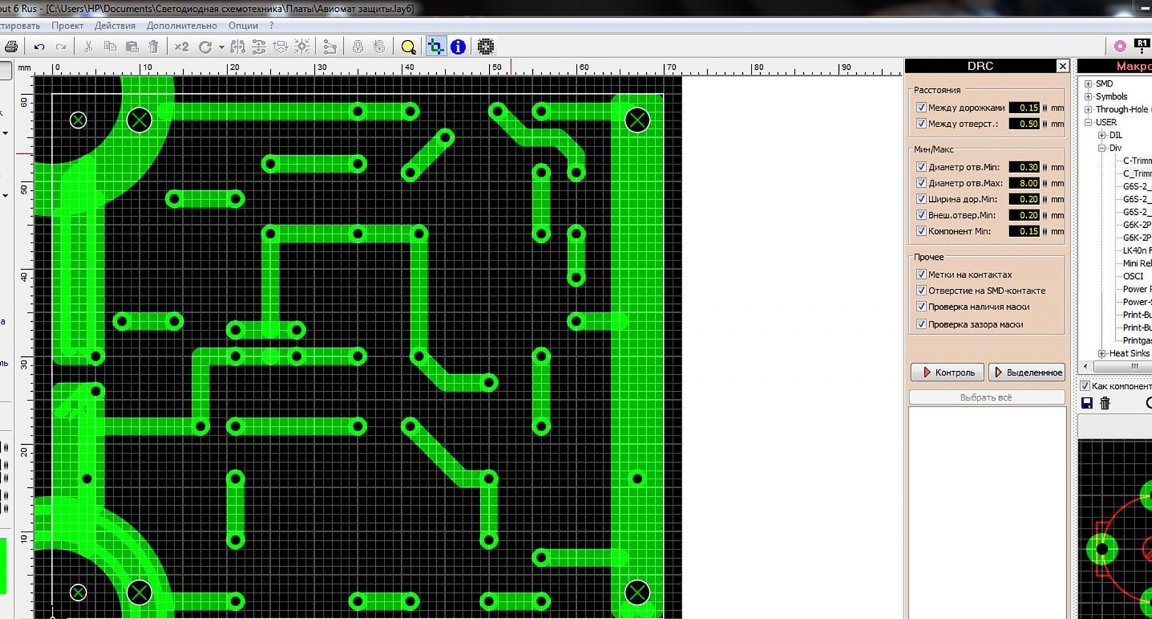
I drew a printed circuit board in the program Sprint-Layout 6.0.
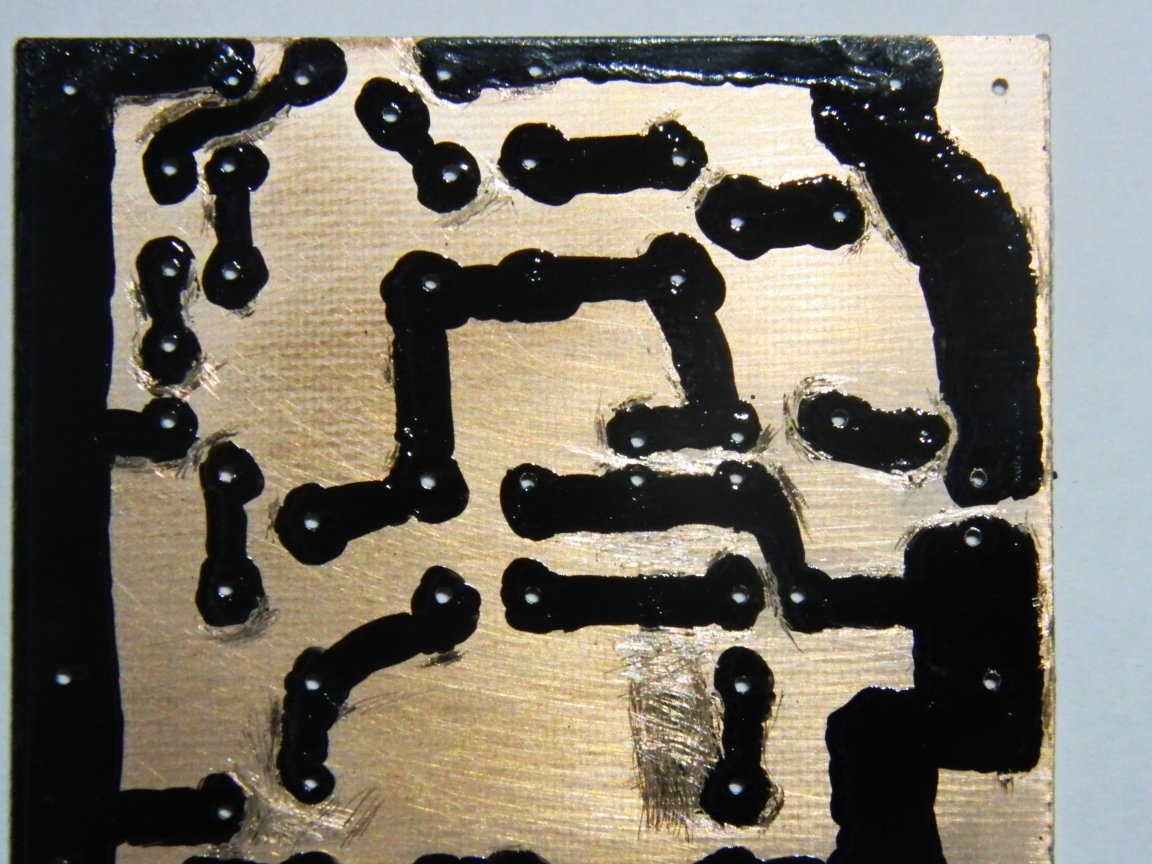
He printed on an inkjet printer on plain paper mirror, then glued to a piece of fiberglass, suitable sizes. Previously fiberglass was treated with fine sandpaper with detergent Seth. With a Ø1.0 mm drill, I drilled holes for parts and technological holes and washed paper off with warm water.
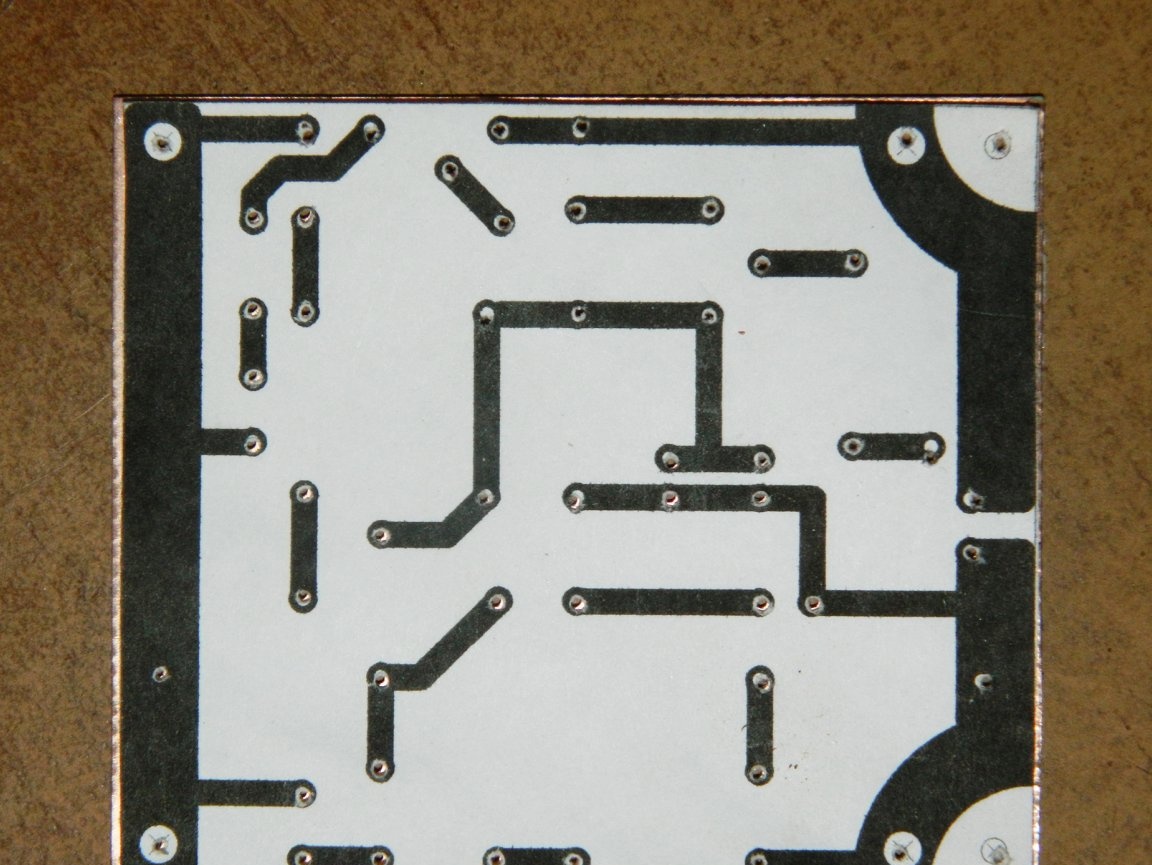
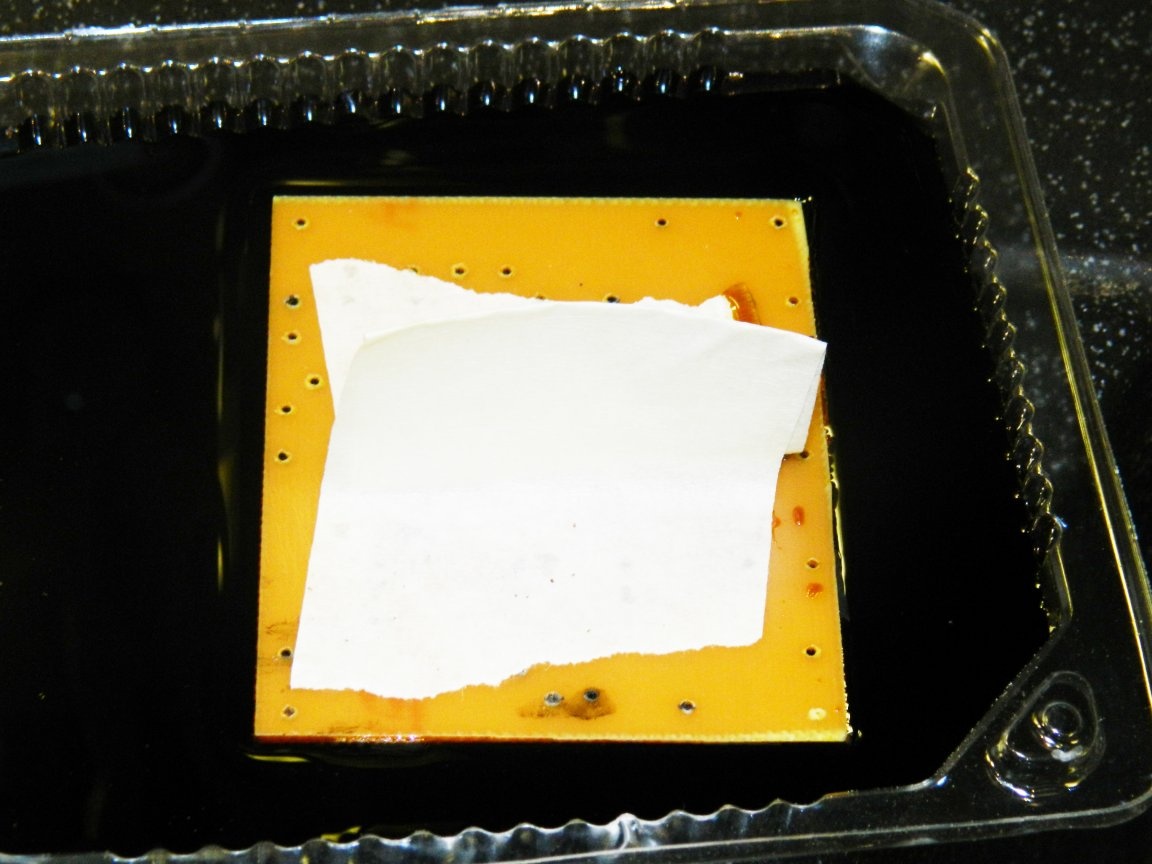
He drew a printed circuit board with a special marker. Then he placed the board in a solution of ferric chloride for half an hour.

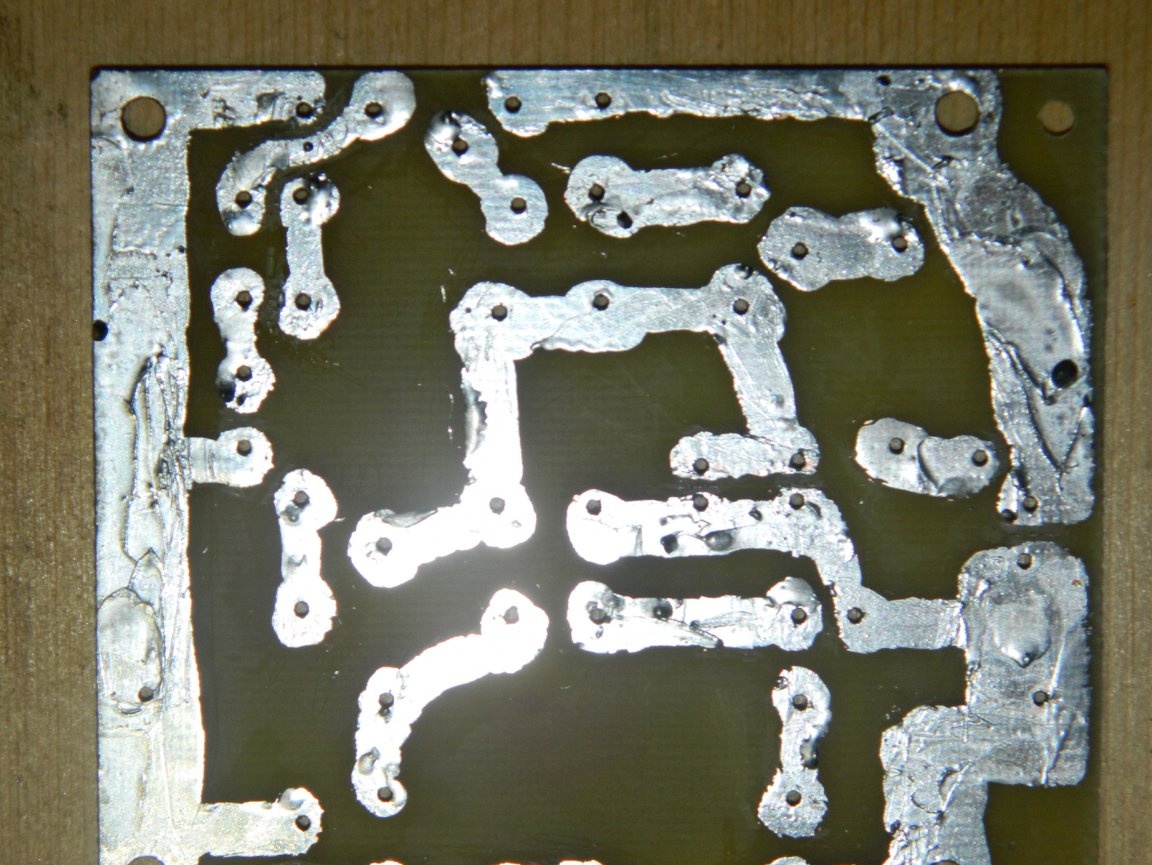
Chlorine iron is difficult to wash off from the hands, so I made a kind of pen from masking tape. Acetone washed off the paint. I drilled the technological holes to the required diameter and soldered the board conductors with a soldering iron. I finished with the board.
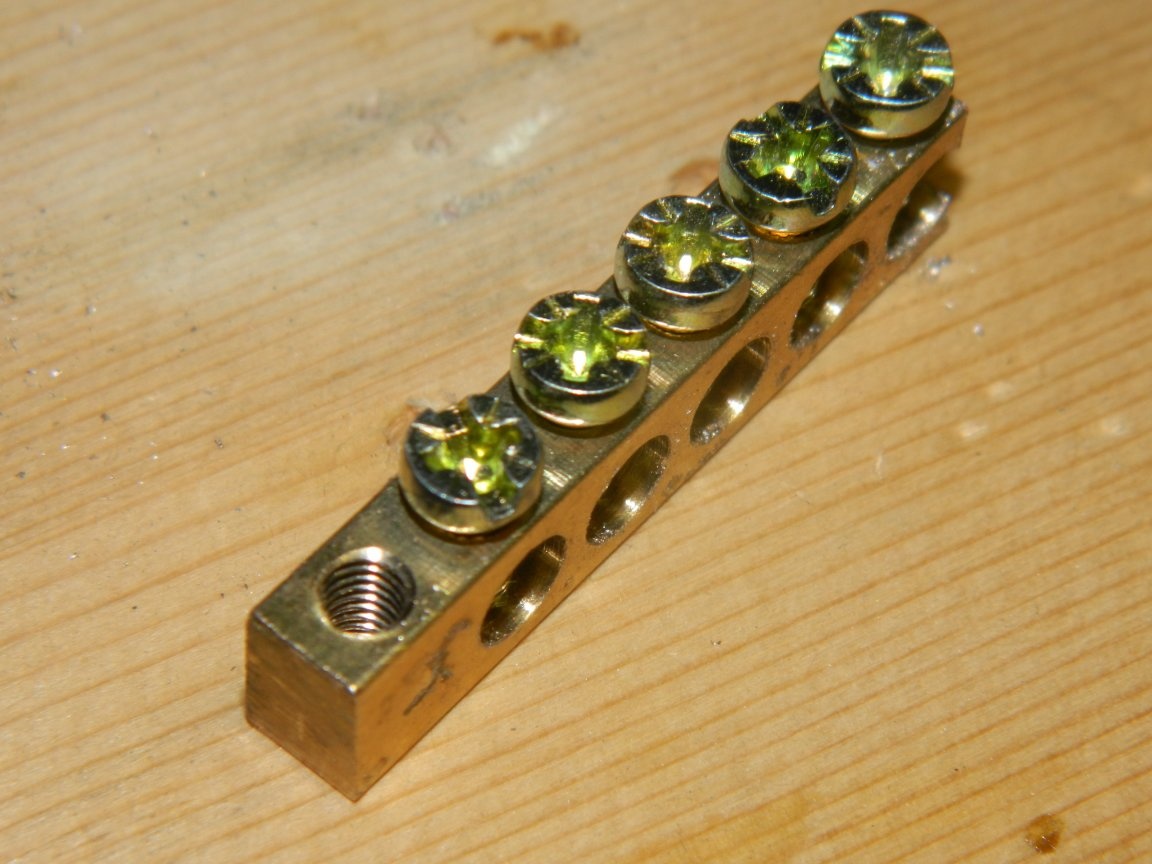
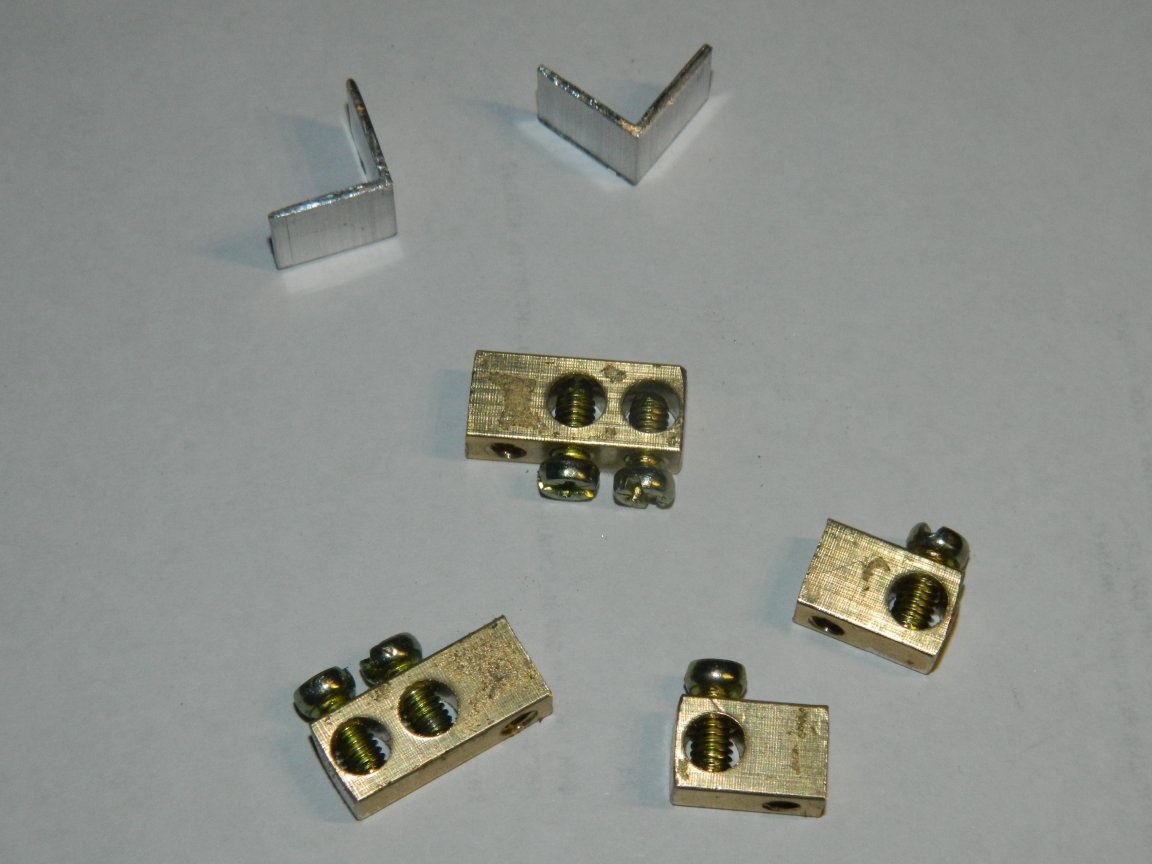
The extreme parts of the grounding bar, where there are perpendicular threaded holes for mounting, came up as contactors. I sawed two corners to fix the board to the radiator. The radiator did not fit literally 2 mm into the case. With a drill I cut from two sides on the shelf. With an area of 230 square meters / mm, this is not critical.
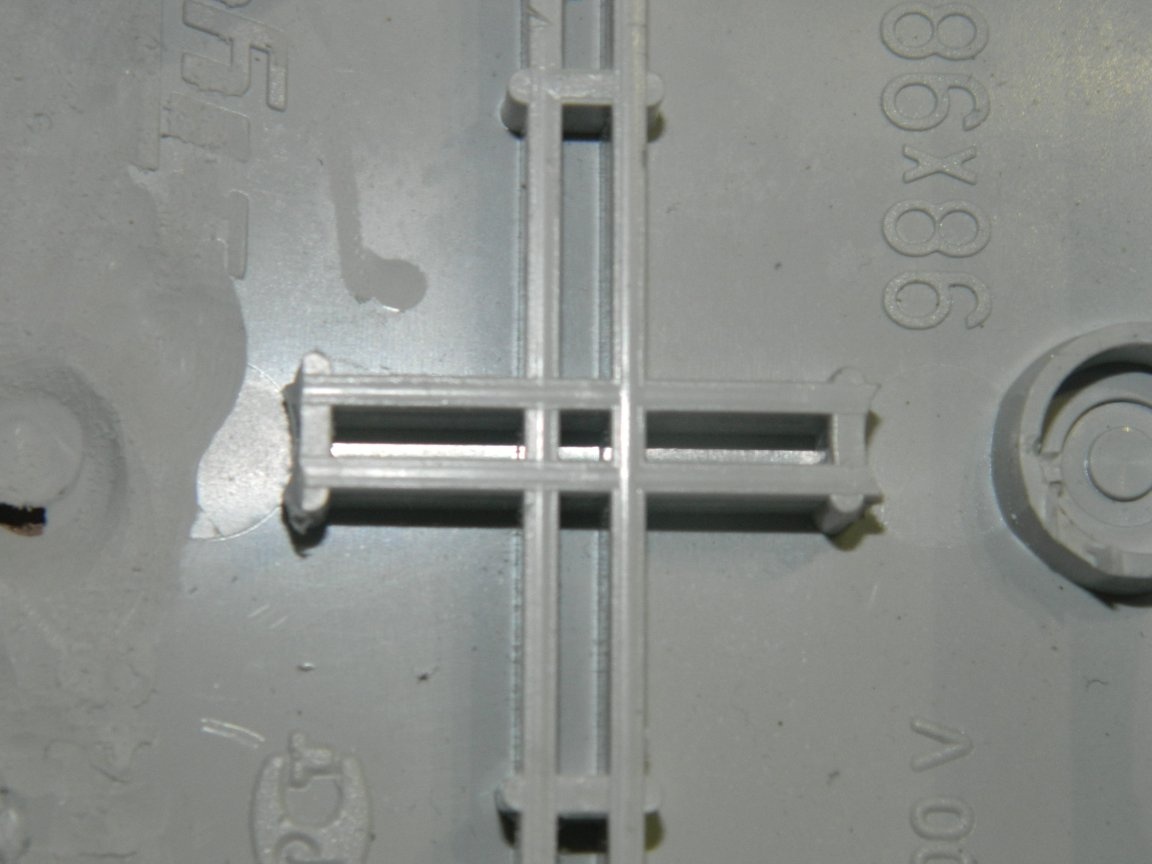
I removed tides from the bottom of the mounting box with a drill that only interfered.
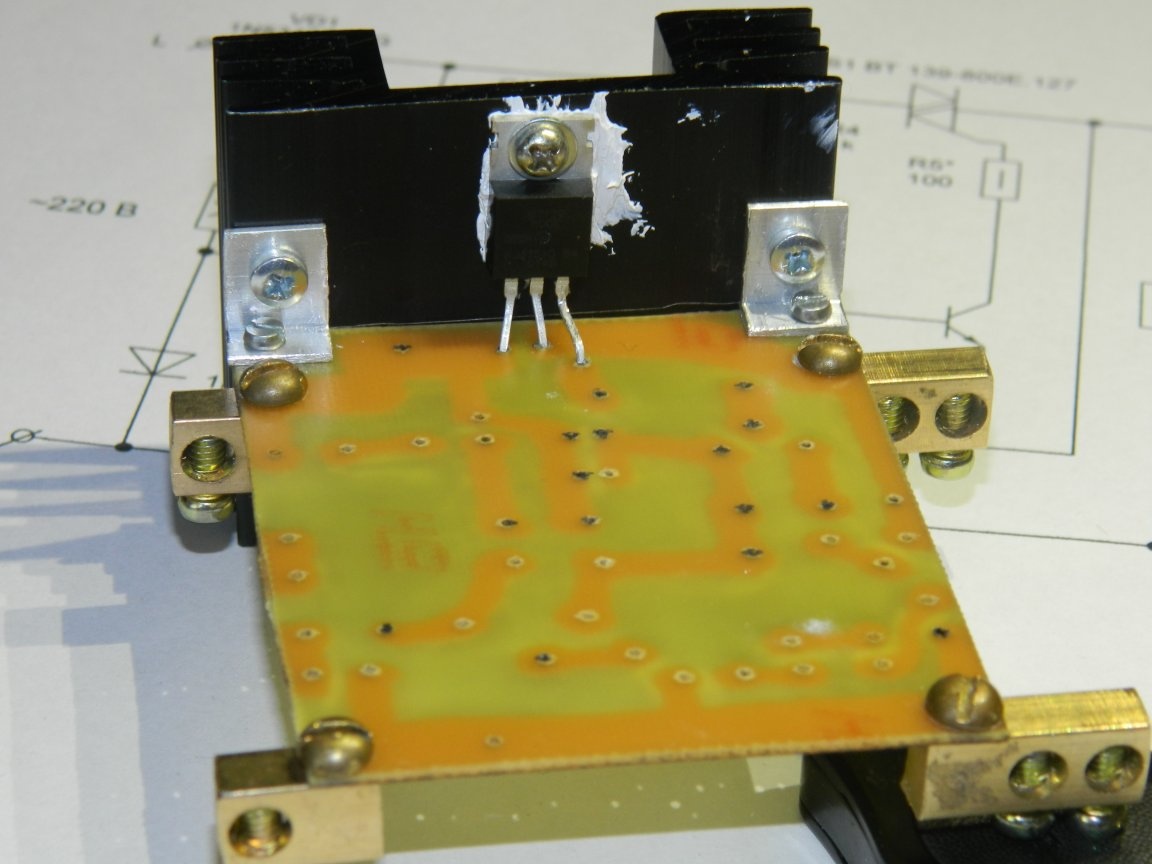
I fixed a board to the radiator at two corners, and I calculated so that the indicator LEDs could exit through the cover. The triac was mounted on a radiator through paste KPT-8. The base 2 of the triac is connected to the cooling pad, so the contact of the radiator with the input / output contactors is fraught with a short circuit, as well as with the conductors on the board.
Then soldered the remaining parts. Instead of a 20 μF × 25 V capacitor (I just didn’t have it), I put two 10 μF × 50 V in parallel. I soldered the indicator chains so that the LEDs slightly went outside through pre-drilled holes in the cover.
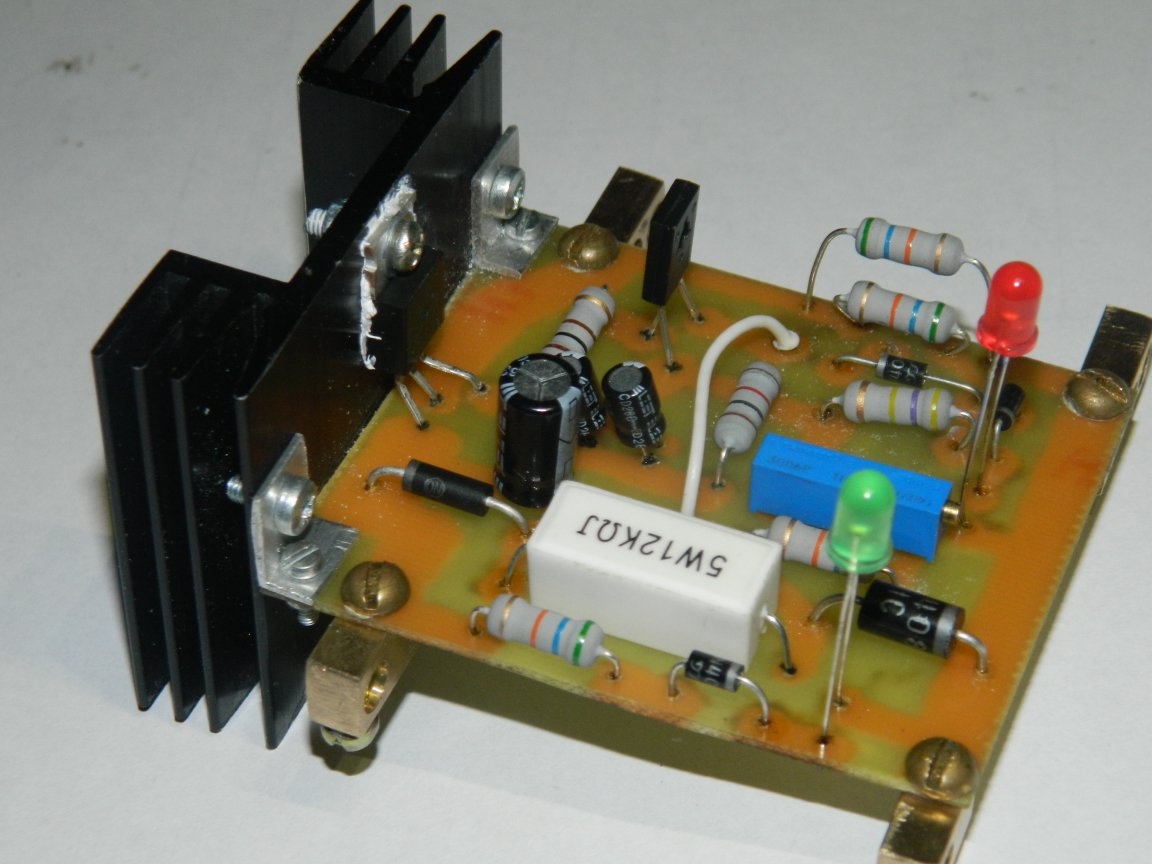
R3 set the average value of the protection threshold. I connected the LATR and the multimeter and made a more fine-tuning. R5 replaced with 10 ohms for the stability of the triac.
I did not have a 28k by 2W R resistor for the output chain with a red LED. I put two in parallel at 56k per 1 watts. The input circuit with a green LED does not affect the operation of the circuit, therefore it is not shown in the circuit.
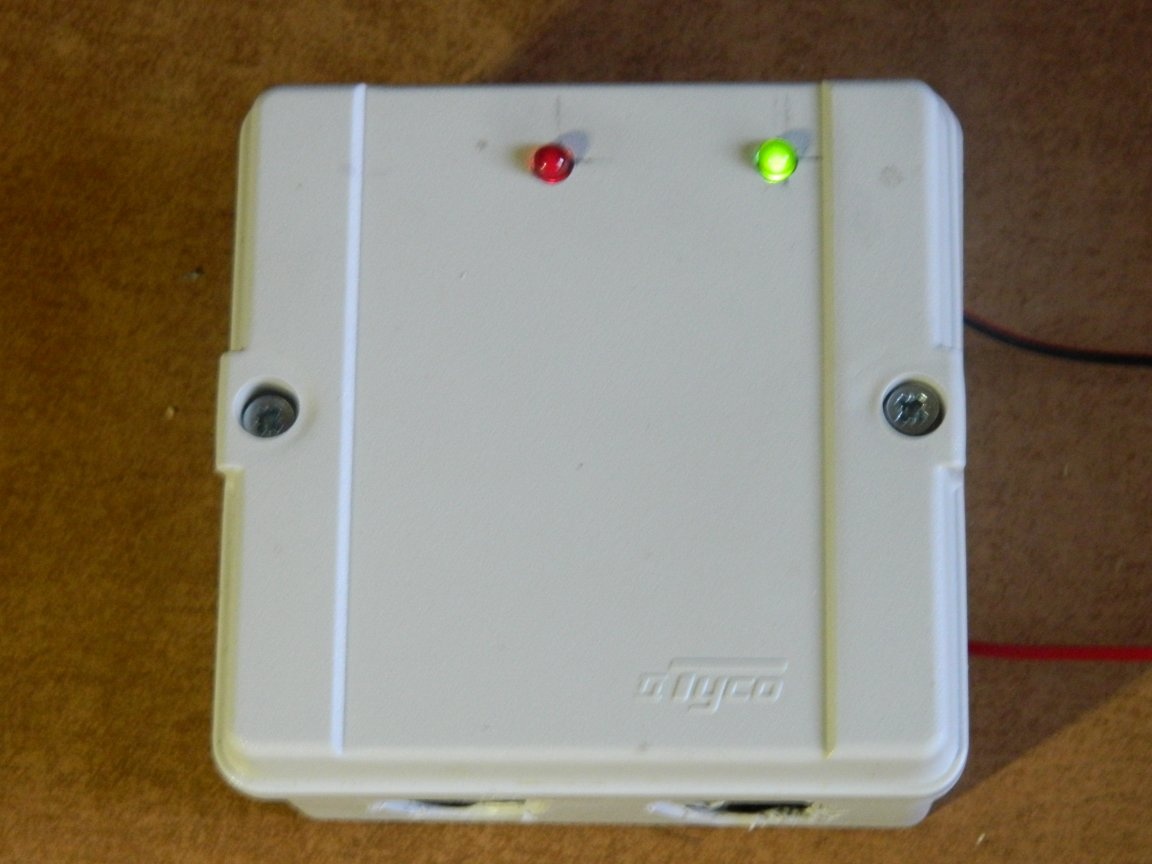
At a voltage of 180–250 V, both LEDs light up. When the voltage rises to 255 V, the triac turns off the phase (only one green LED is lit). The triac again applies the phase to the load when the voltage drops to about 235-240 V.
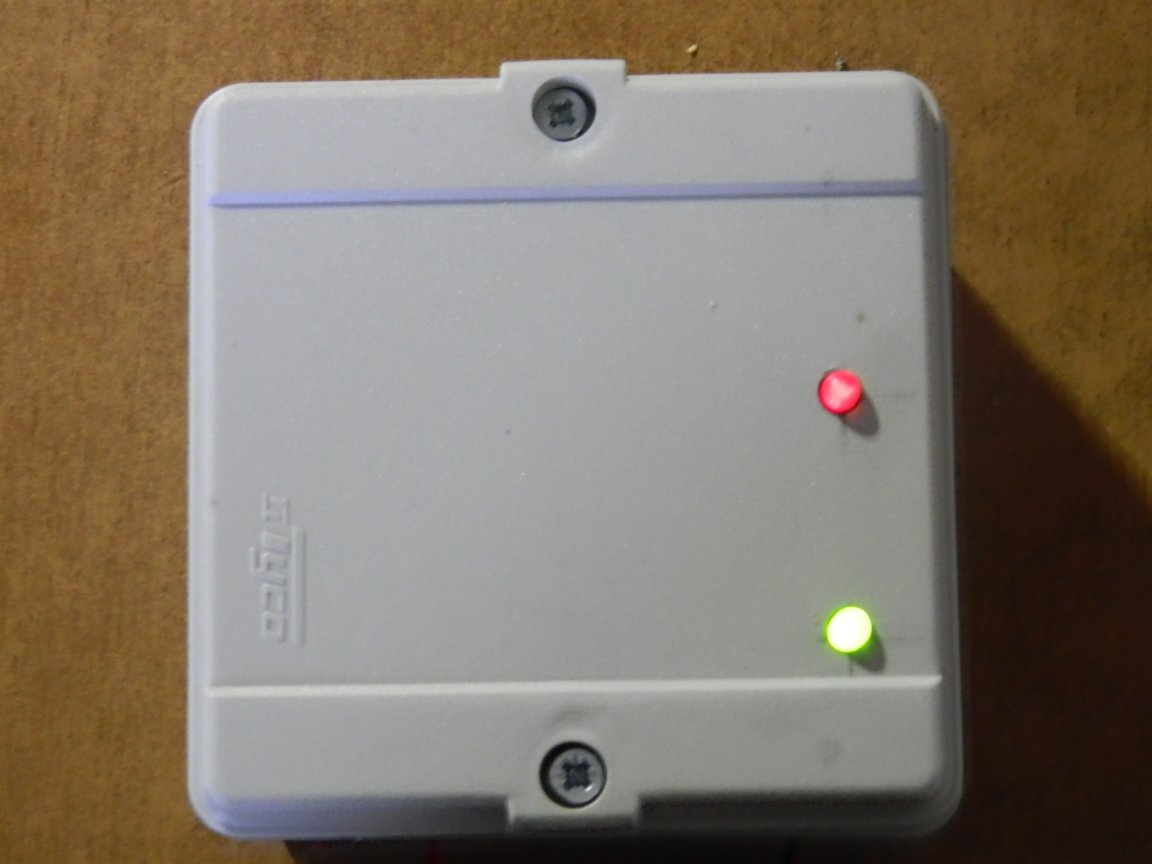
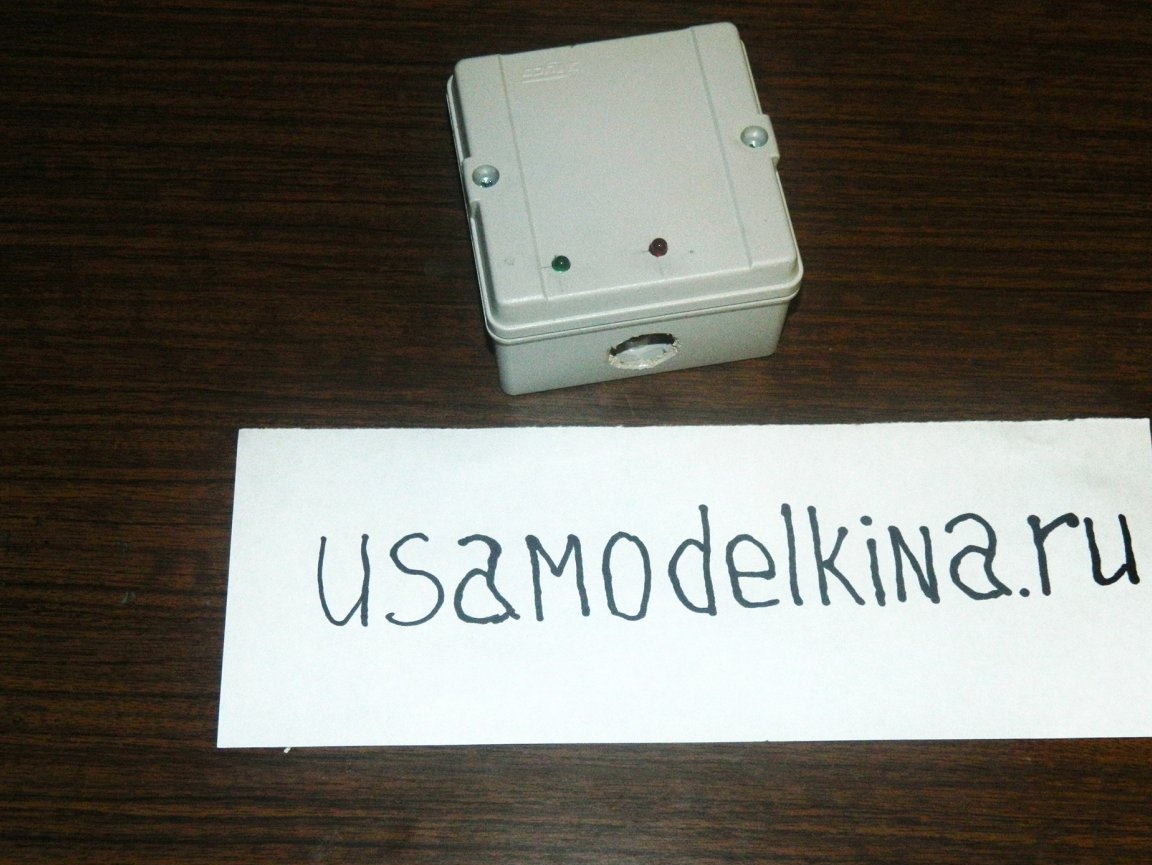
Dimensions of the structure are 60 x 90 x 90 mm. All openings in the mounting box have been specially opened to improve circuit cooling. Spent on the device a little more than 100 rubles, but several days of work. I think it's worth it!