
Well, we will not pull, proceed.
And so in order to do this homemade we will need:
-corrugated cardboard
Two Chinese gear motor
-Two "crowns" at 9 volts
wire
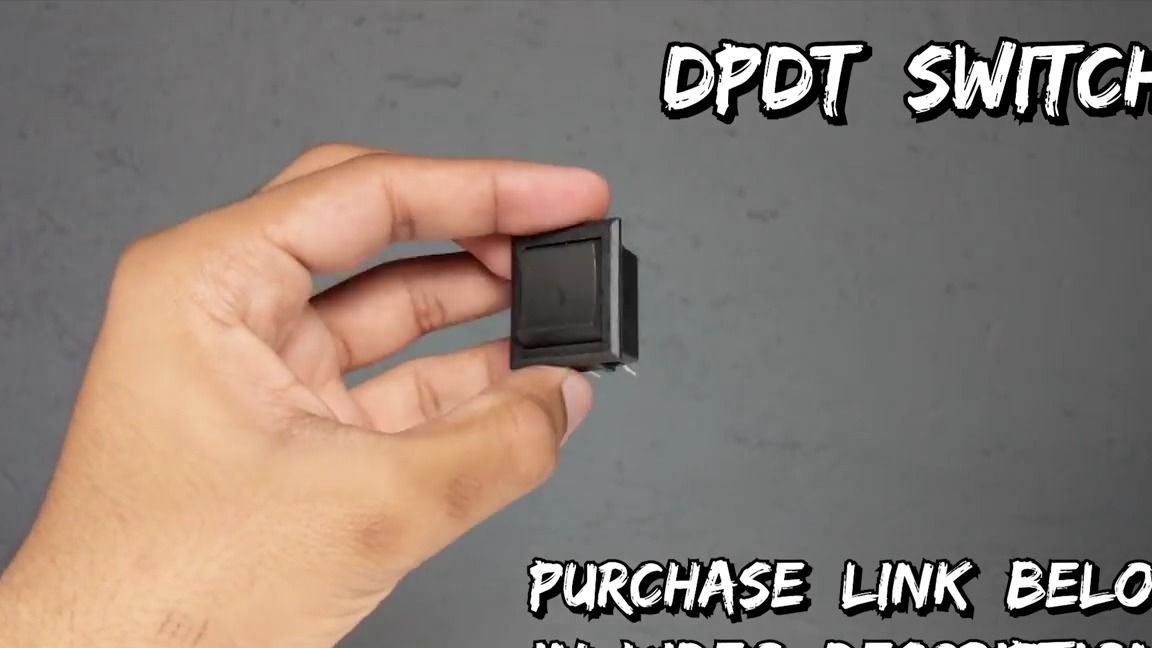
- two double switches without clamp
barbecue skewers
-paper
gear wheels
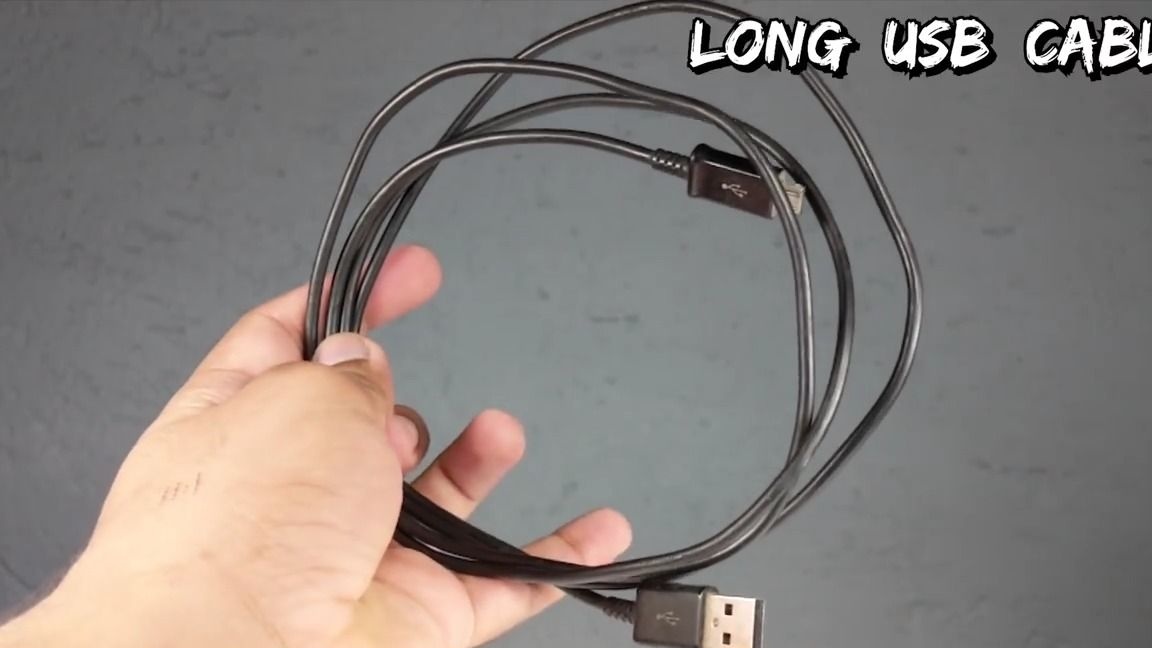
- unnecessary usb wire
Of the tools we will also need:
soldering iron
thermal glue
-Super glue
-scissors
-stationery knife
nippers
-marker
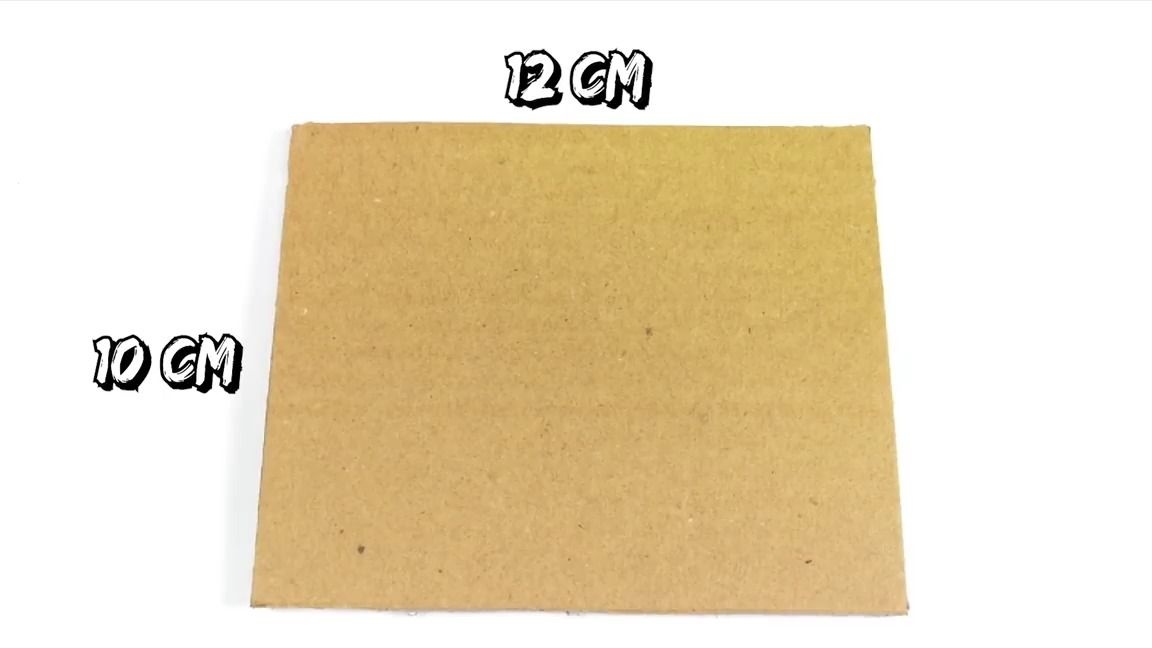
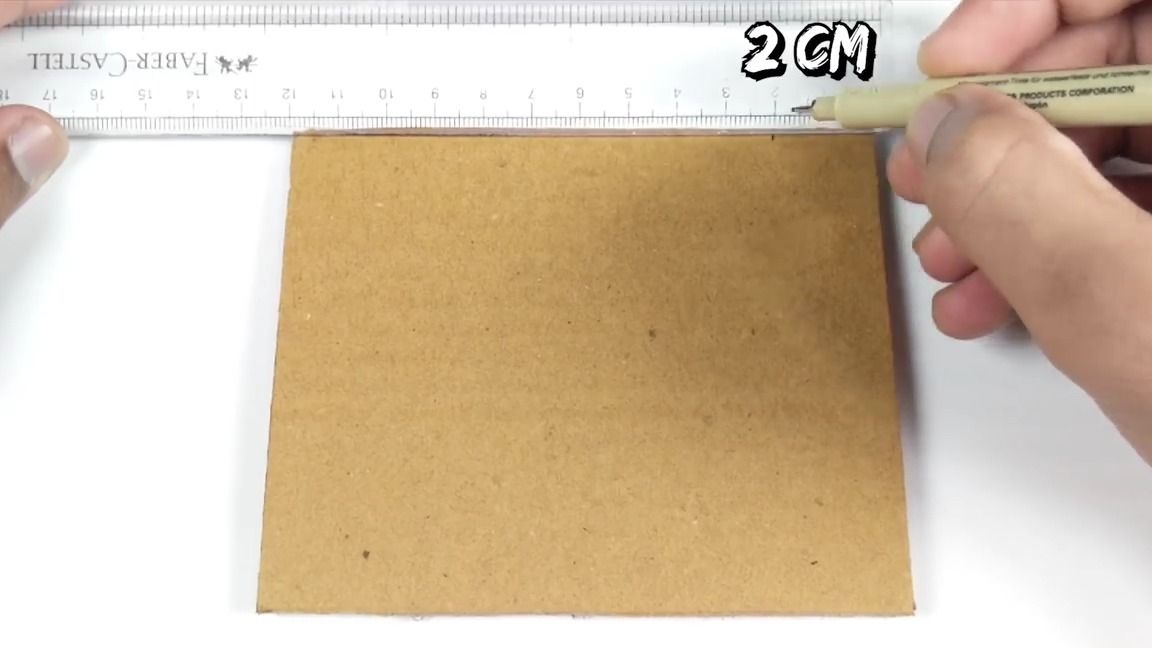
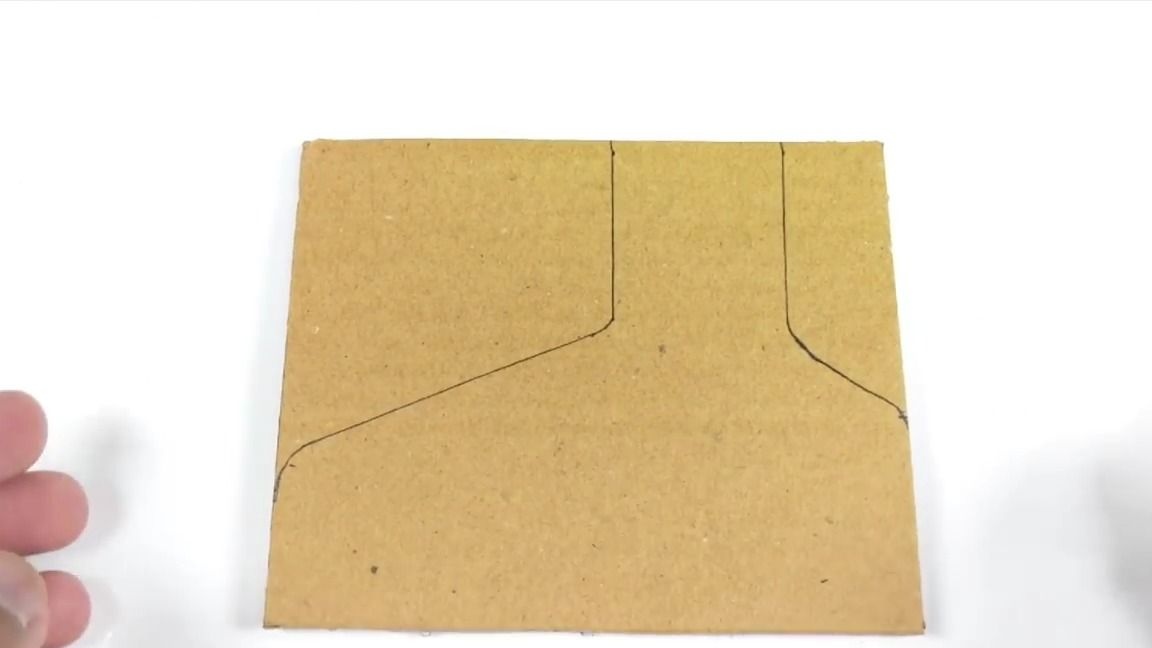
And so the first thing you need to do is cut out of cardboard a rectangle with sides of 10 cm and 12 cm:
Then, using a ruler and a pen, we make the markup on the rectangle as shown in the photo:

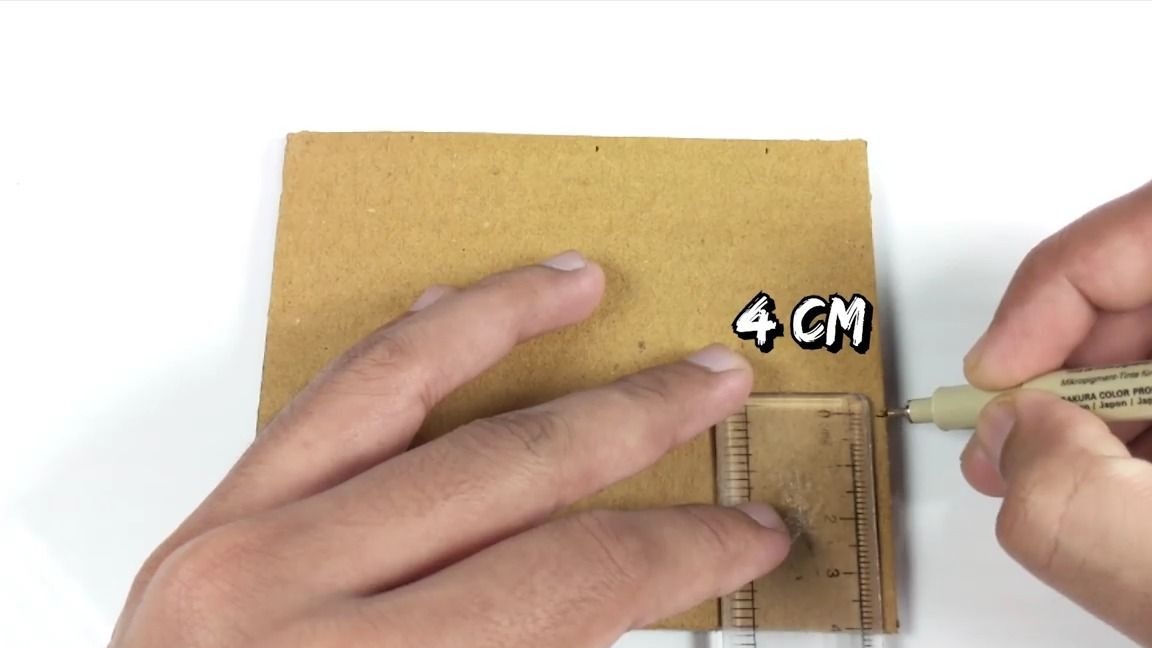
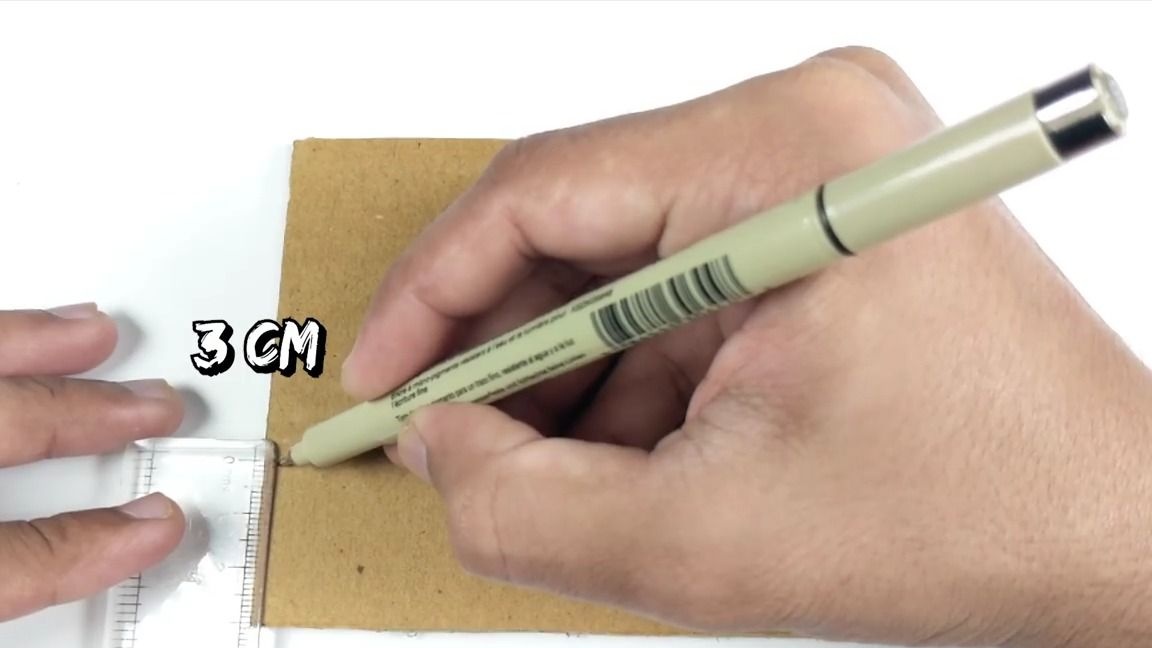
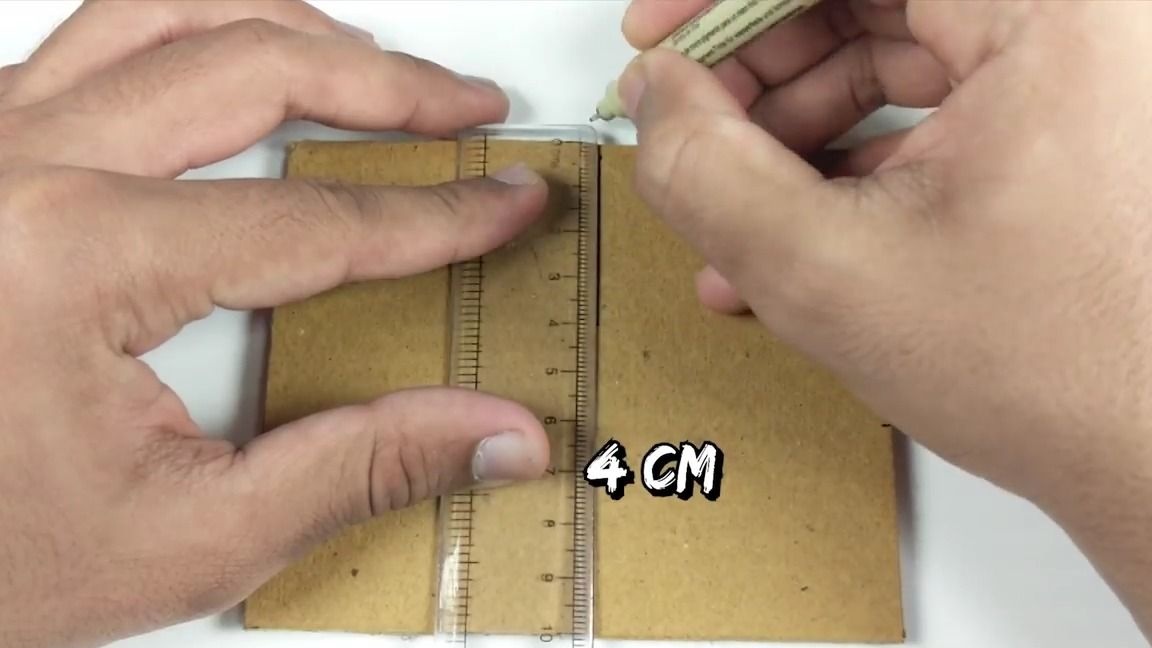

This is how it should turn out:
Cut out:
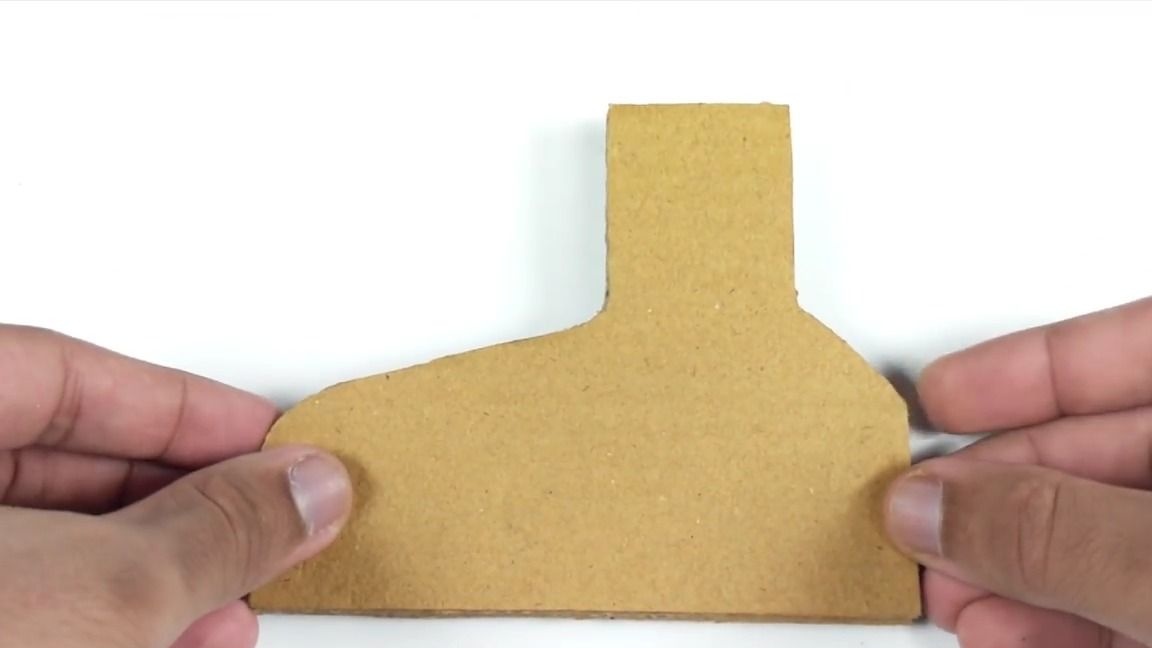
We do the second:
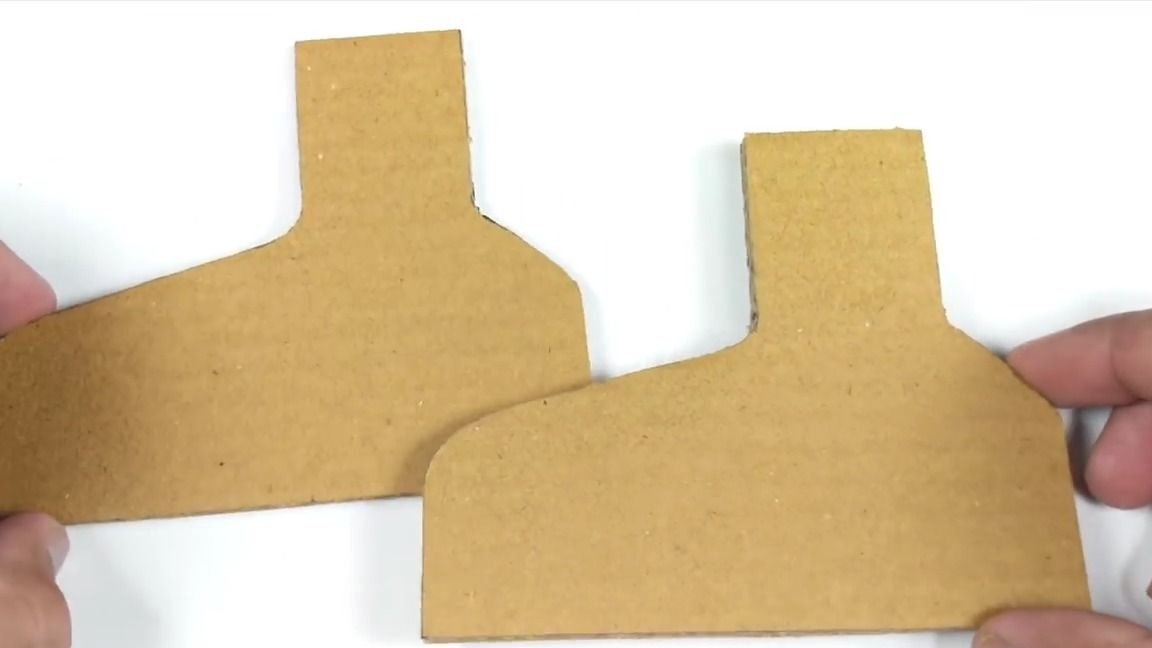
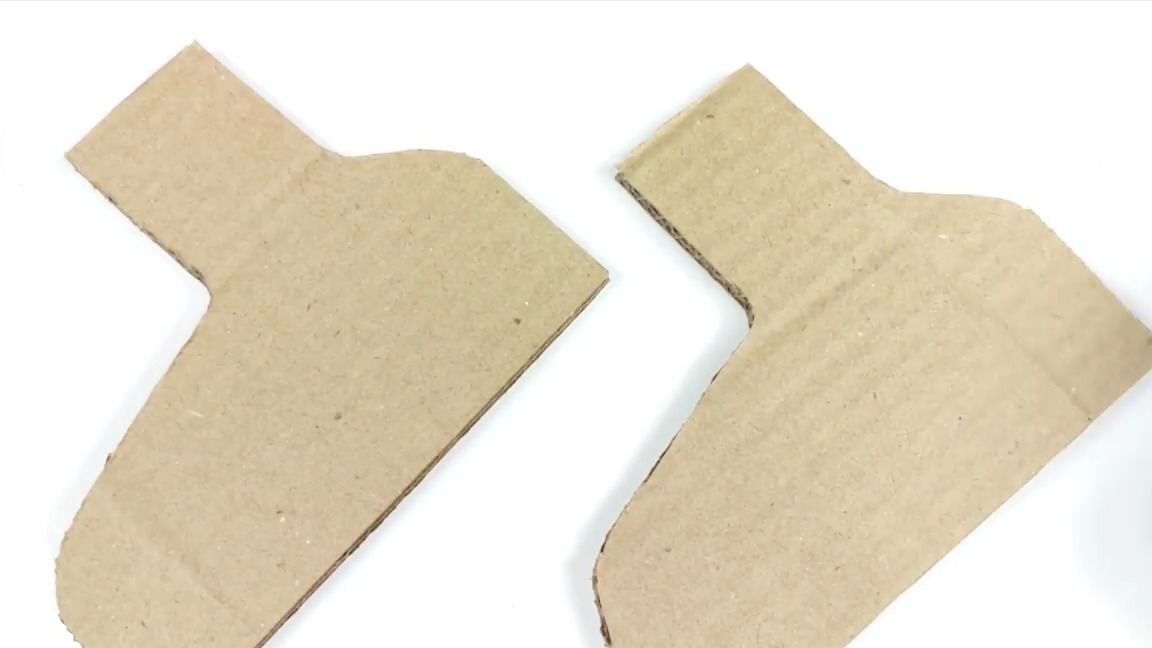
We cut out two more mirror halves first:
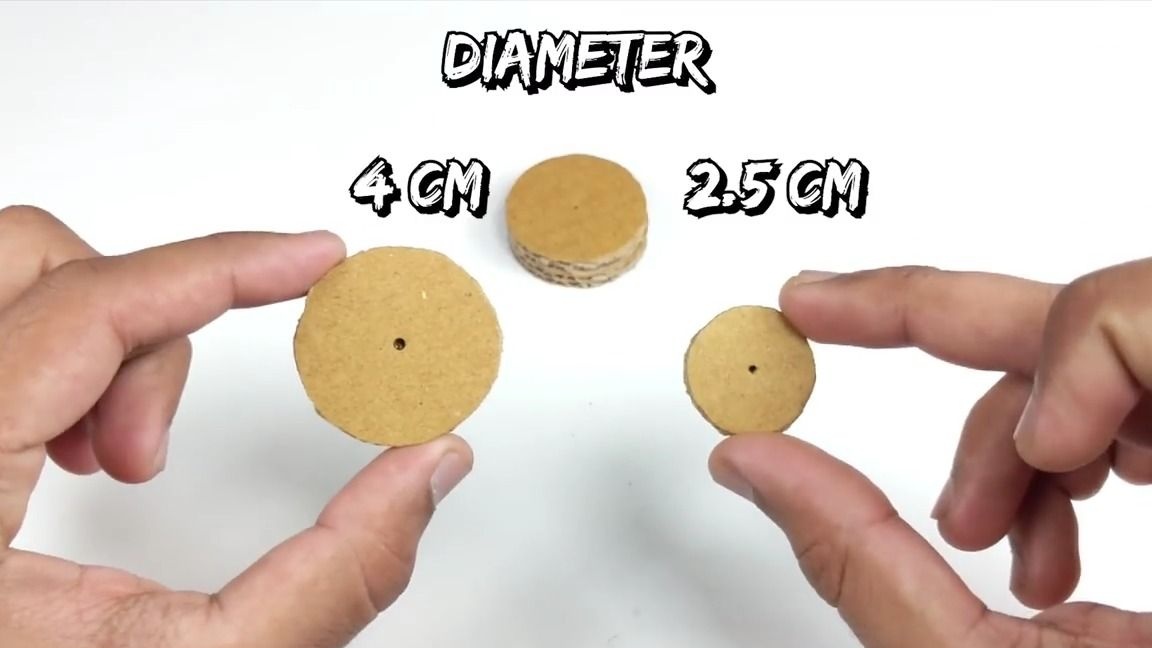
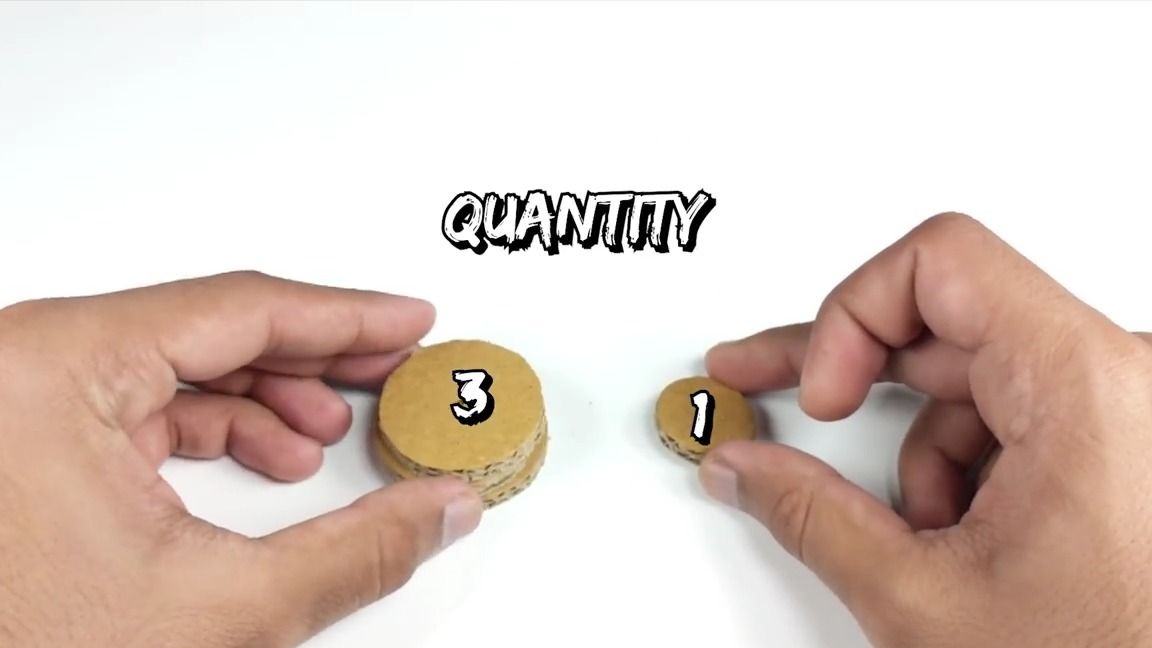
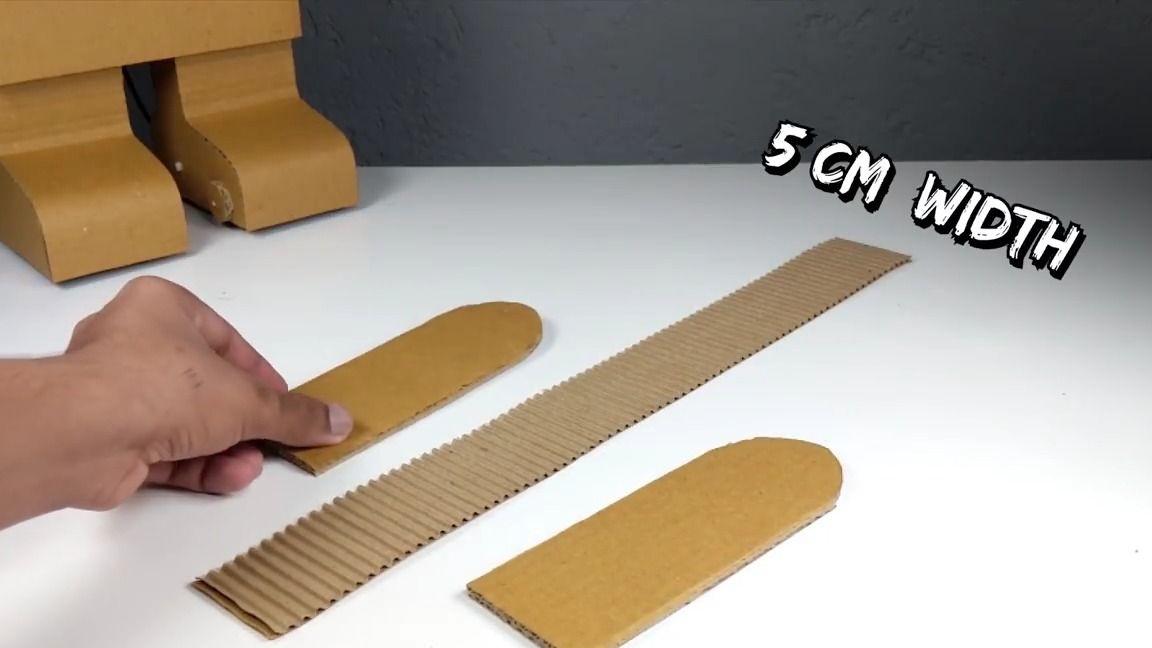
Now everything from the same cardboard needs to be cut out even circles with the following sizes:
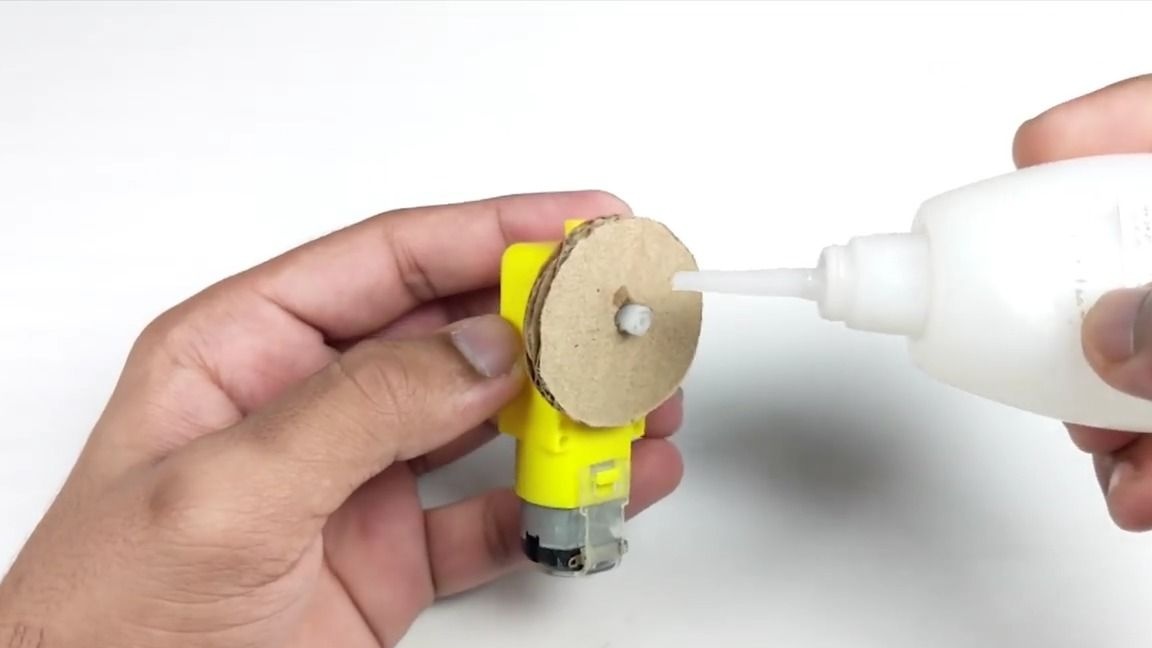
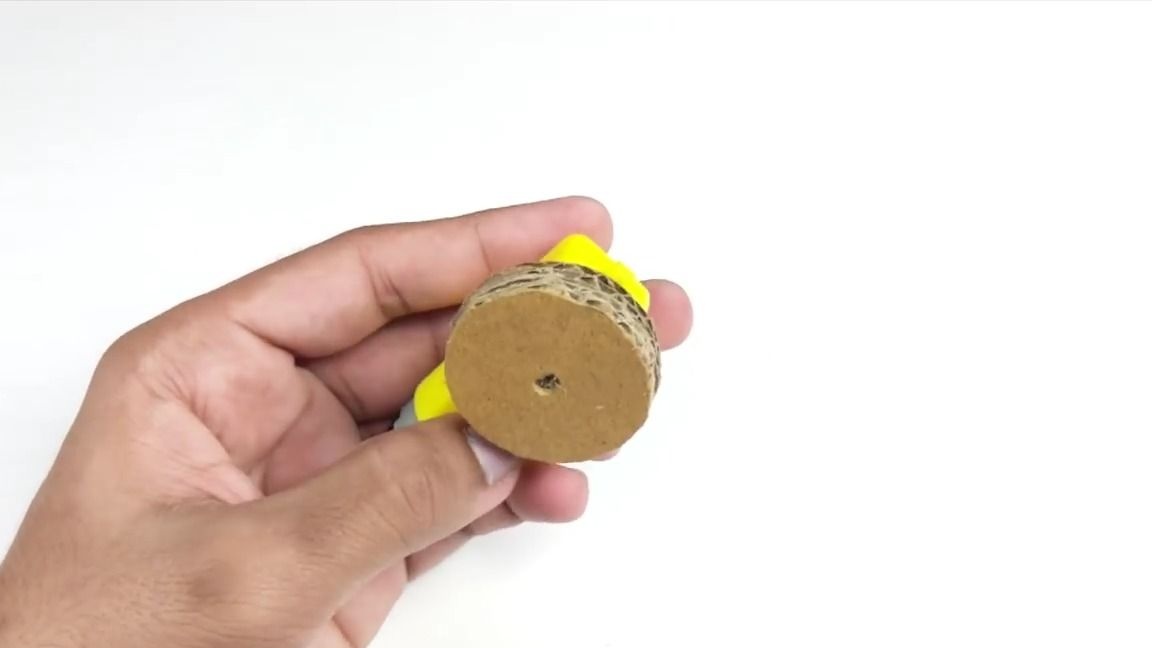
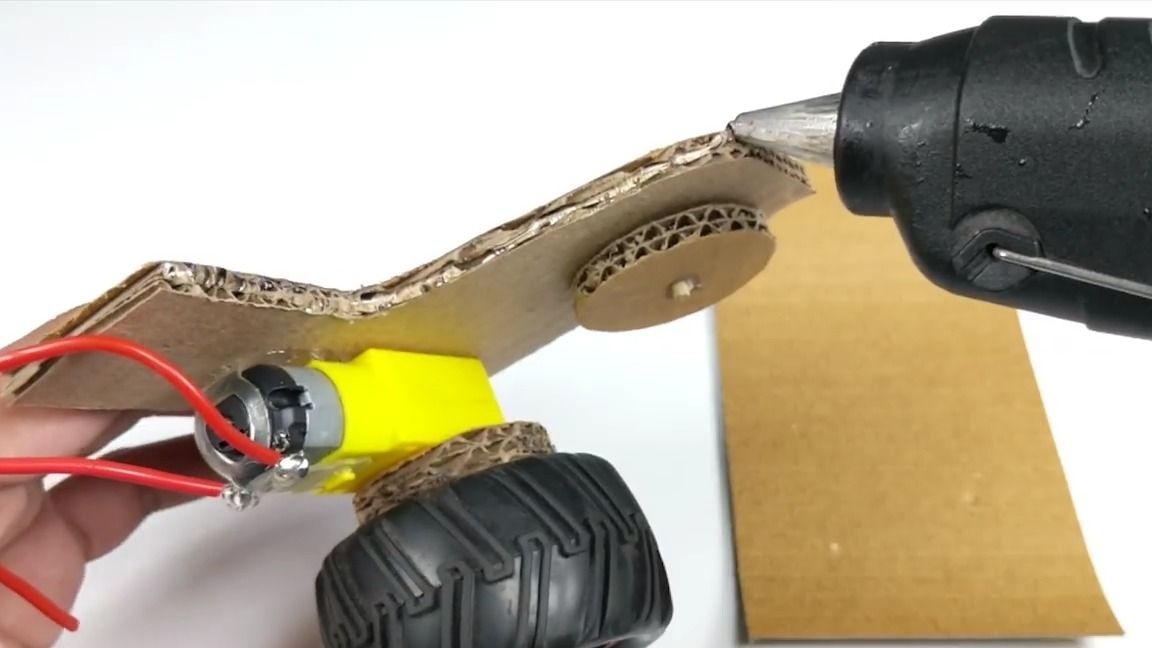
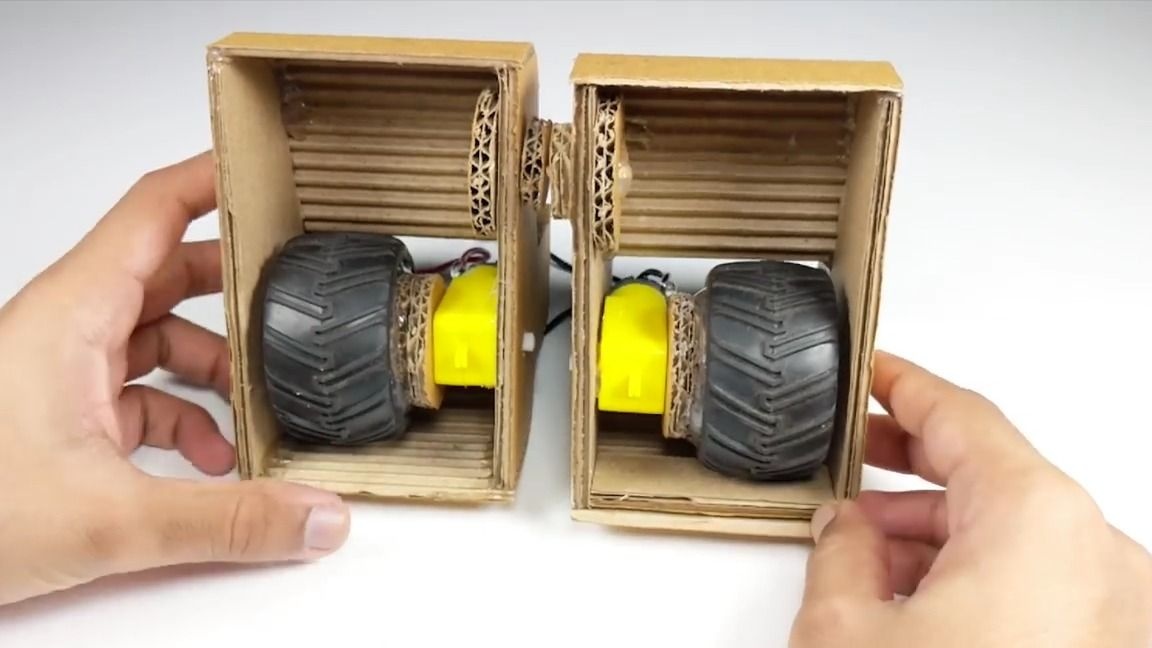
Then we take the gearbox and glue one big round ball to the gearbox shaft using thermal glue:
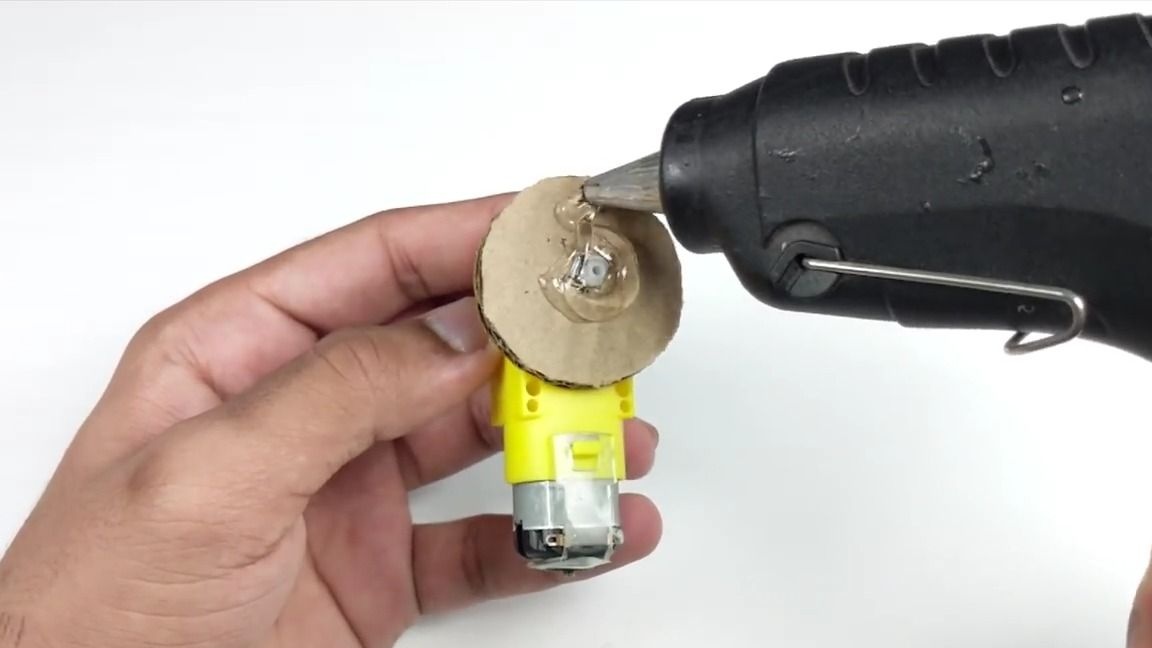
We apply thermo glue as shown in the photo and glue the second same round and glue the third one in the same way:
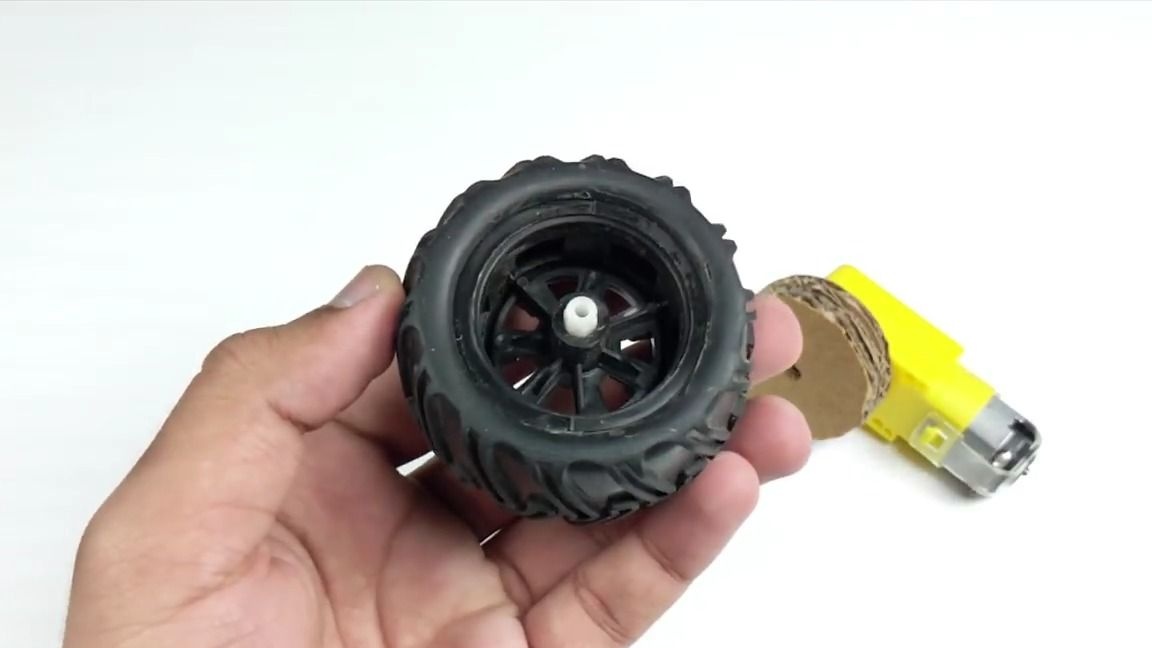
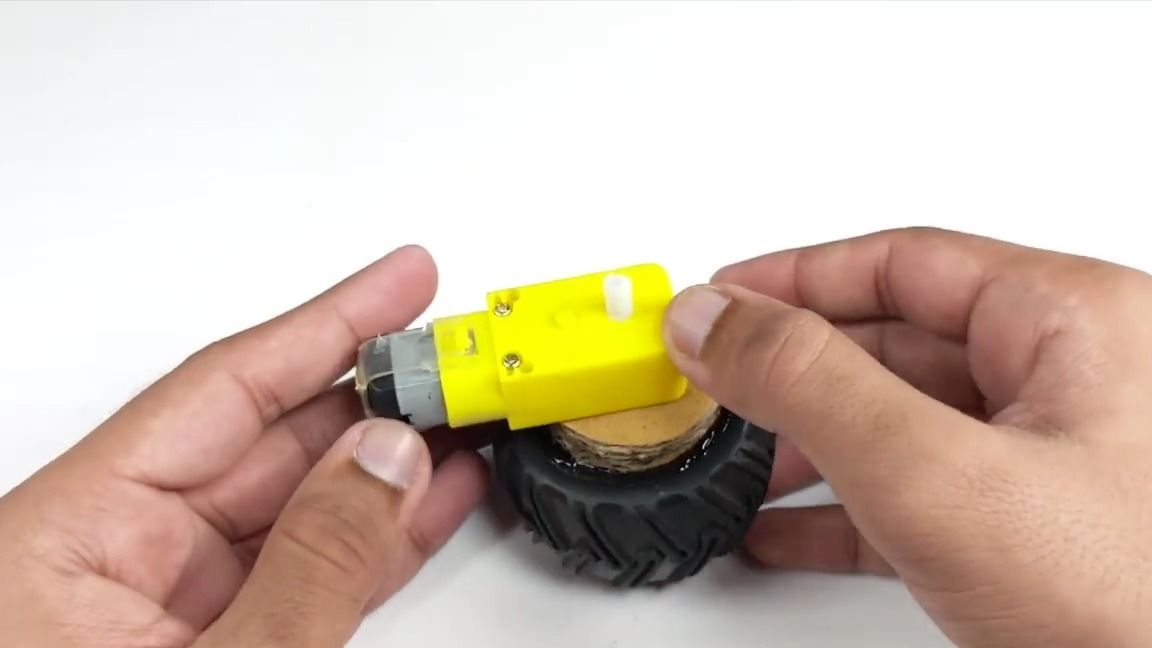
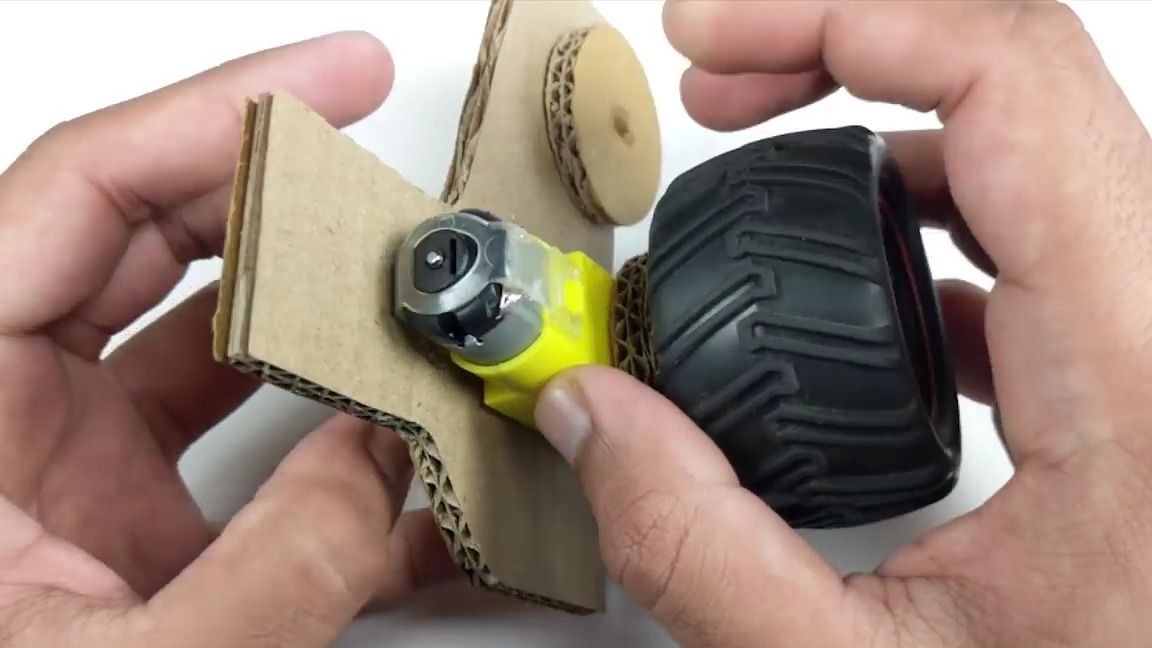
On the back of the wheel from the machine, apply thermo glue and glue it to the gearbox as shown in the photo. All the same in a symmetrical order must be done with the second gear:

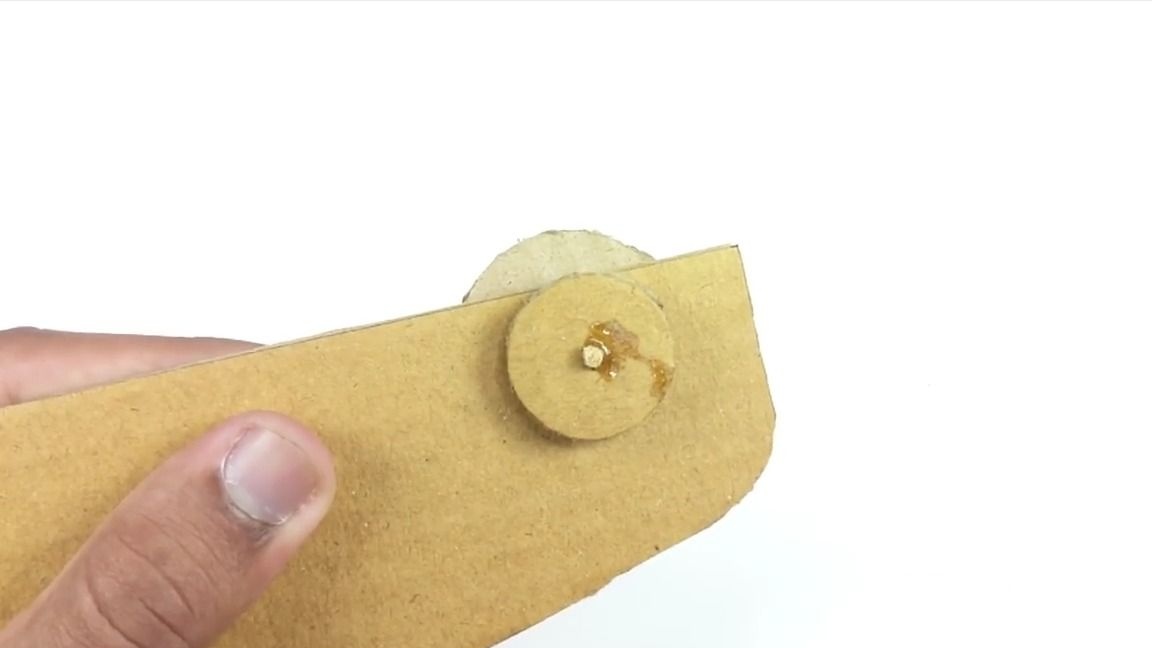
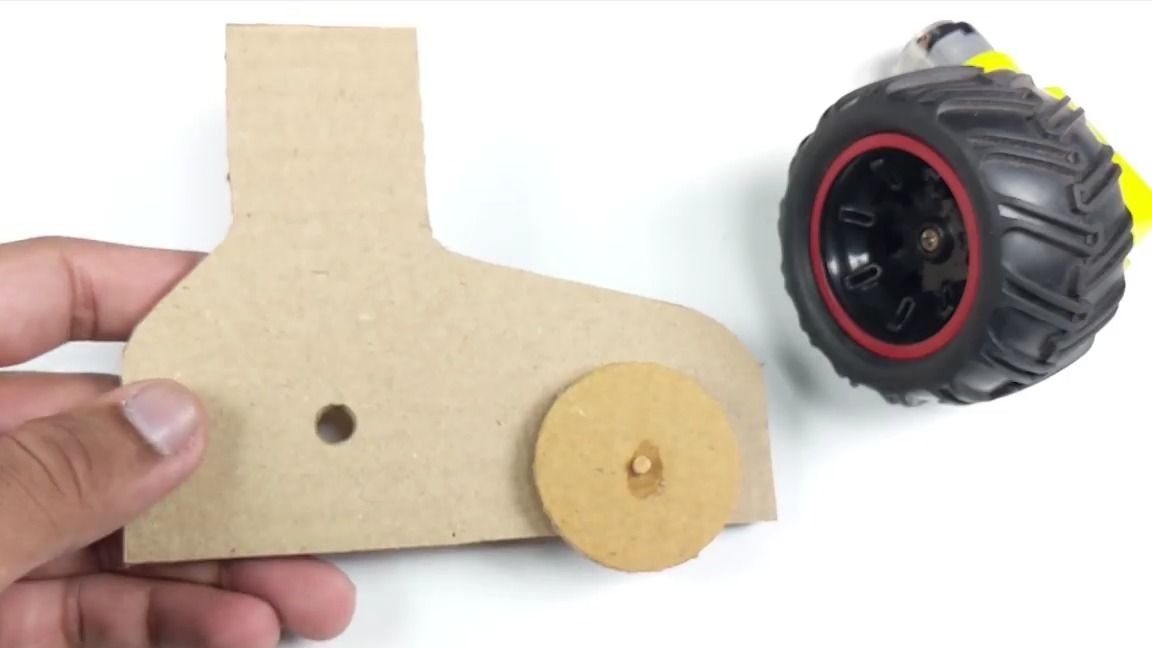
Now take one of our first blanks and pierce it with a barbecue skewer about 3 cm from the edge, then we put a large circle of cardboard on this skewer, and a small circle on the outside, and we glue the whole thing with super glue, then the extra edges of the skewer bite with the help of nippers:
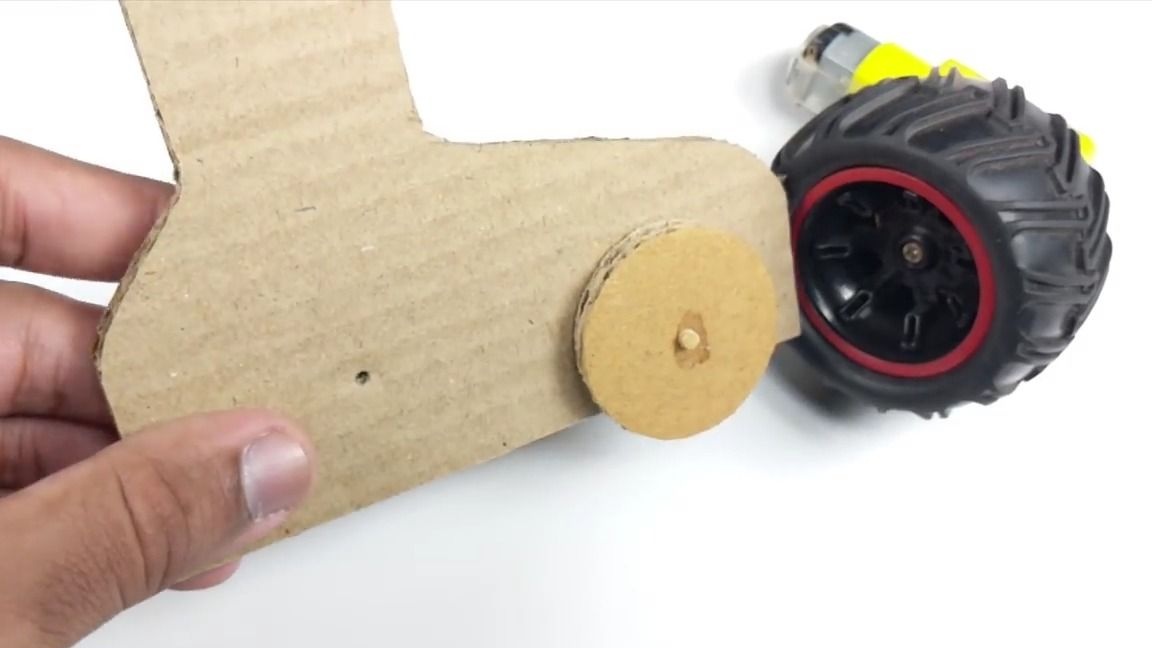
Using a regular pencil, make a through hole in the same place as shown in the photo, after which we apply thermal glue to the gearbox and glue it:
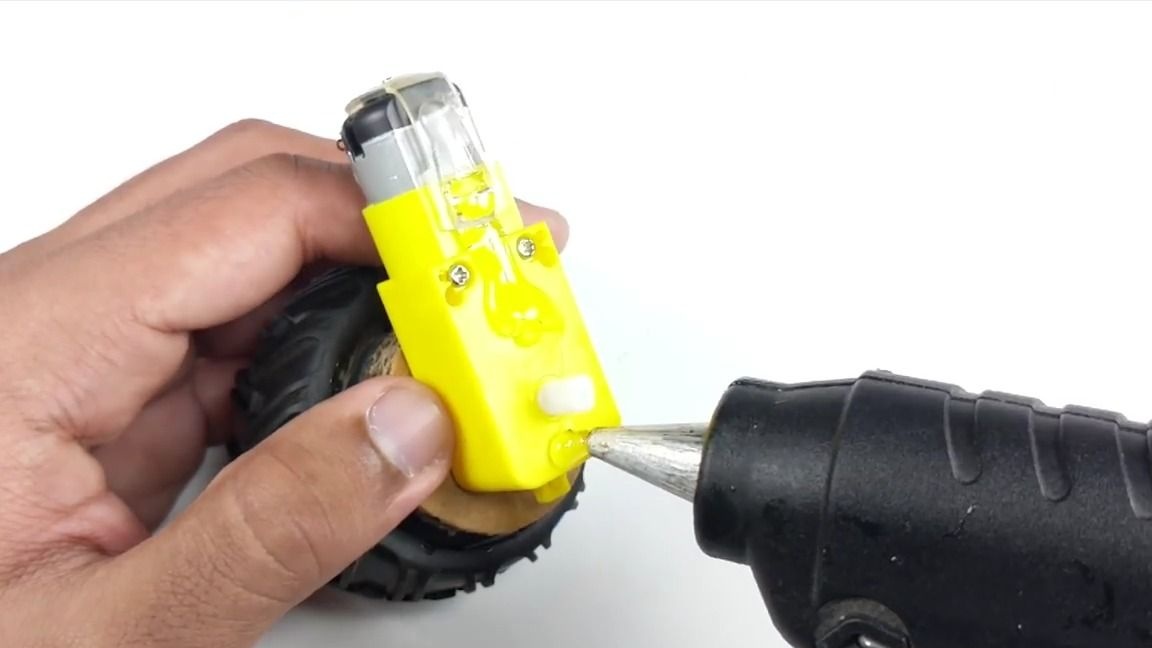
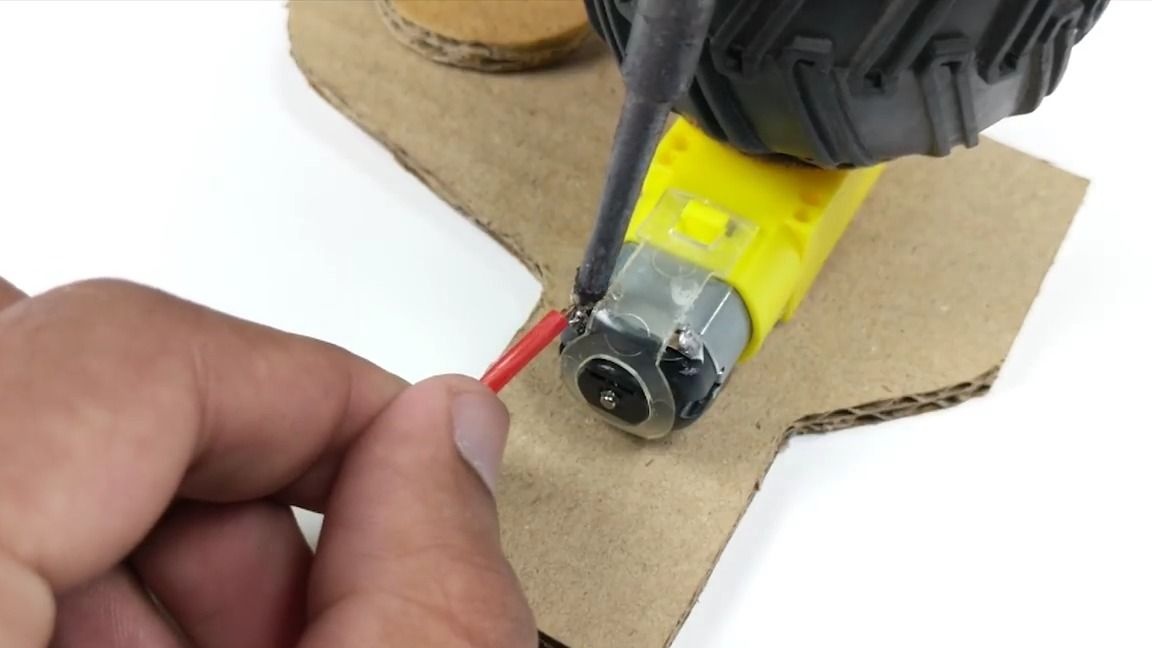
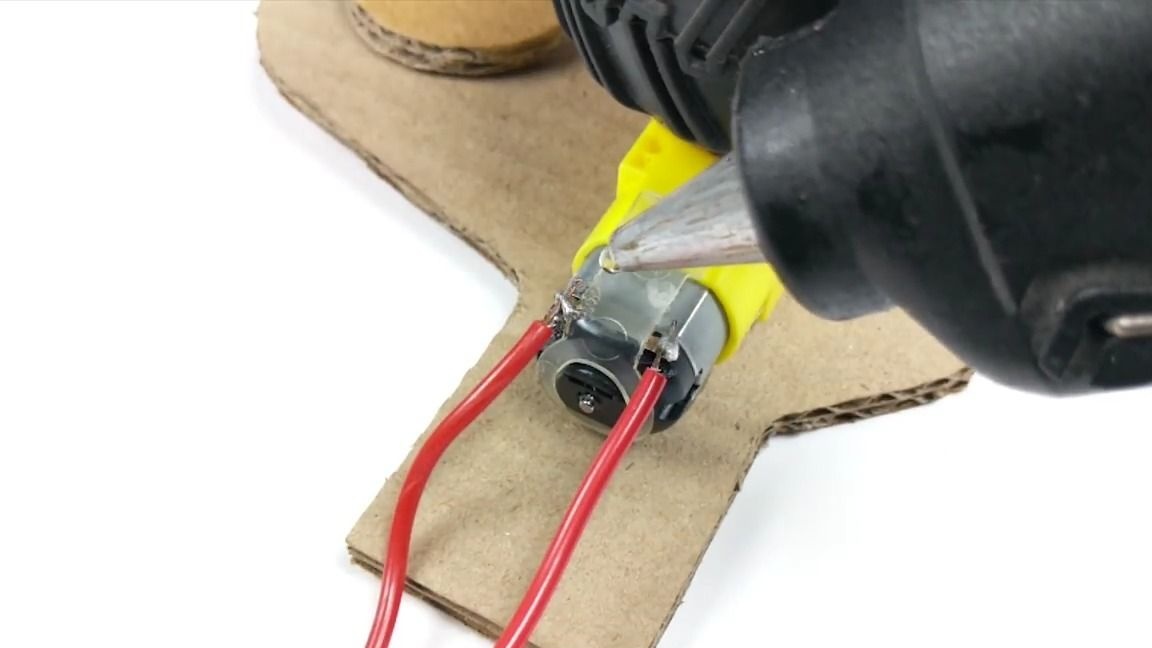
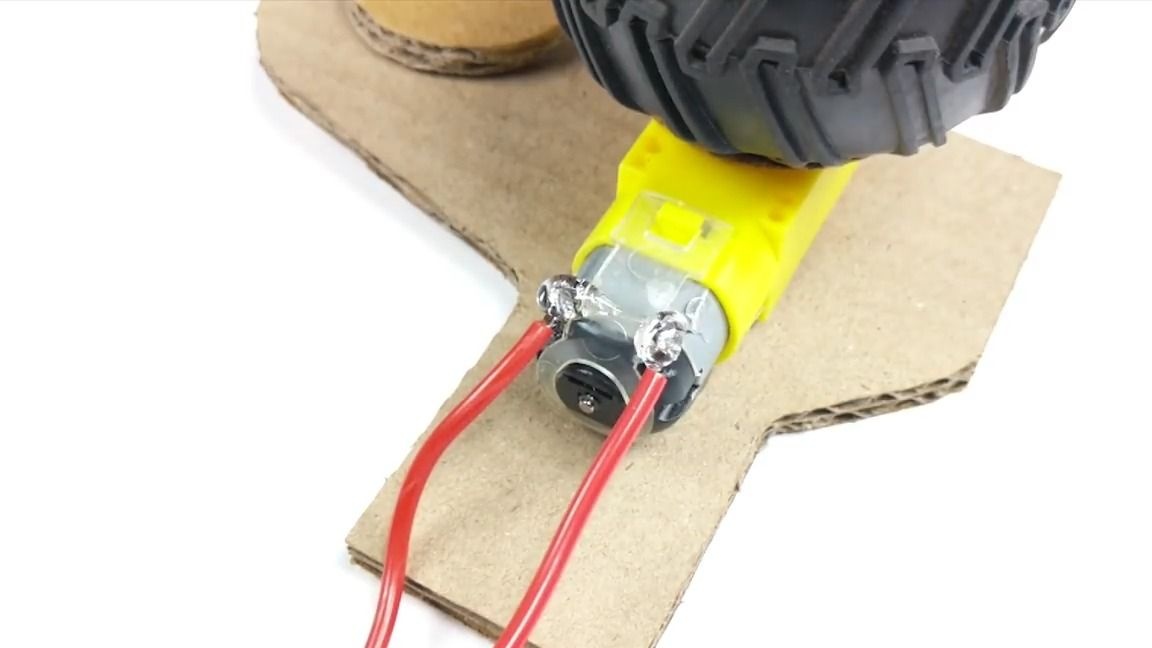
We take a soldering iron in our hands and solder two wires to the contacts of the gearbox, after which we isolate the contacts with thermal glue:
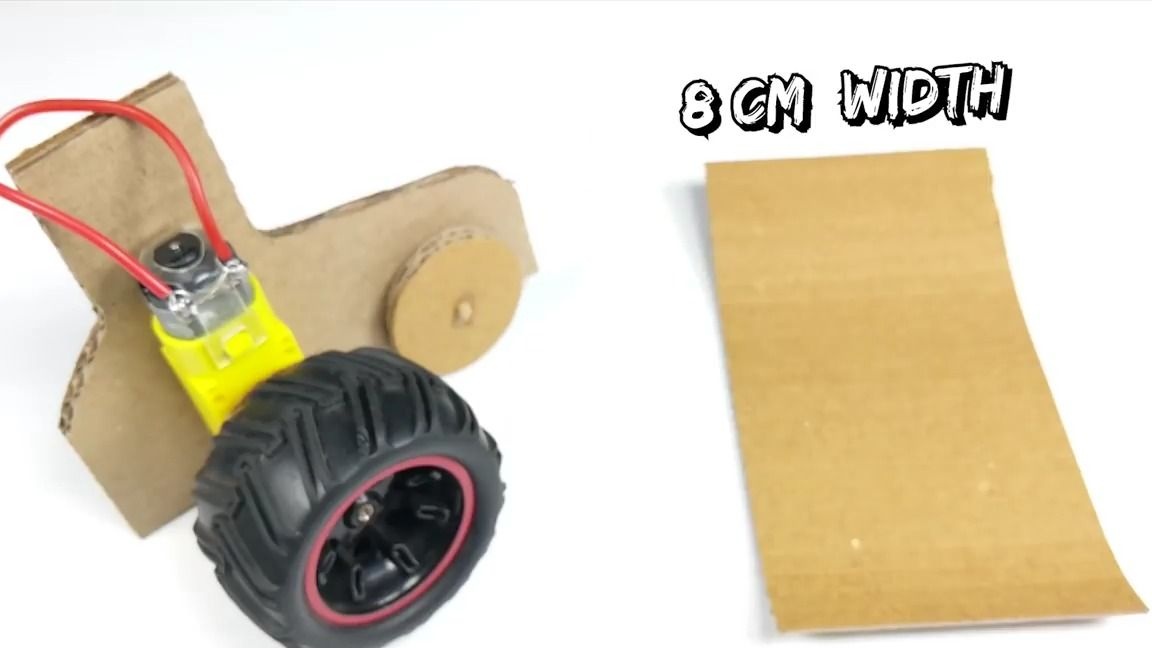
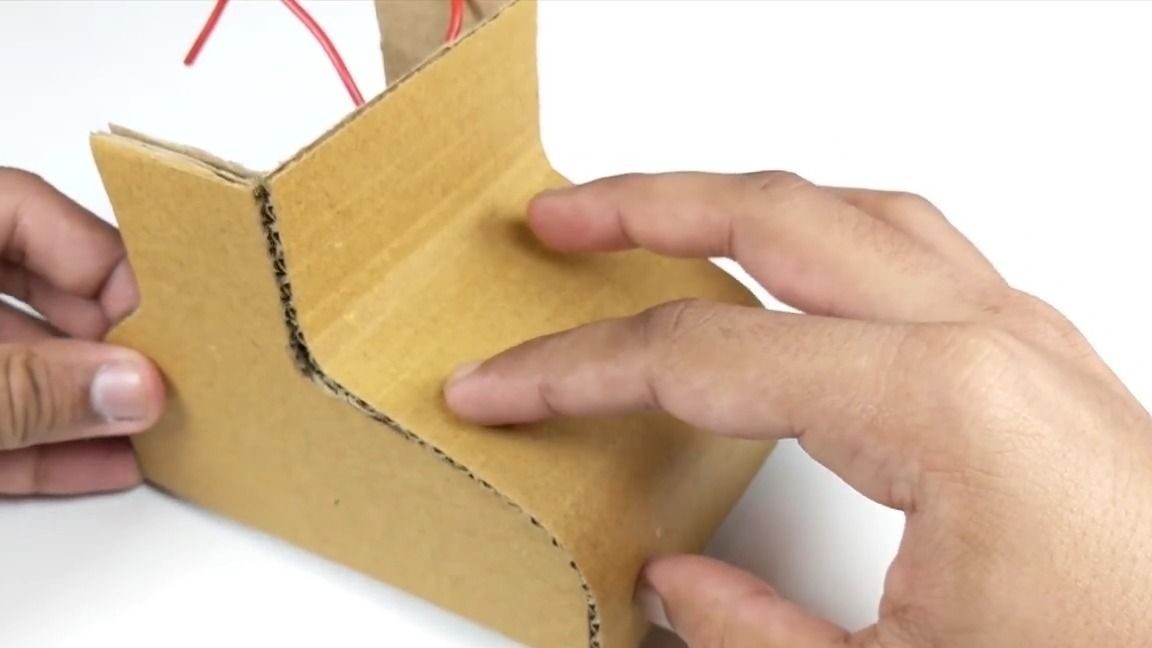
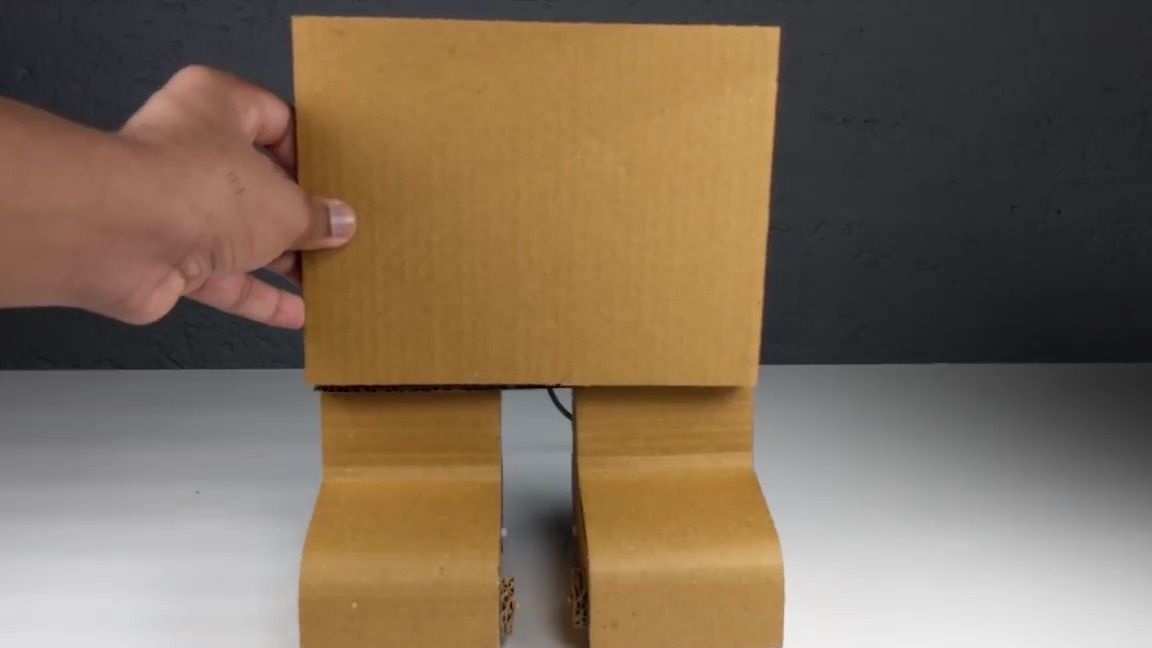
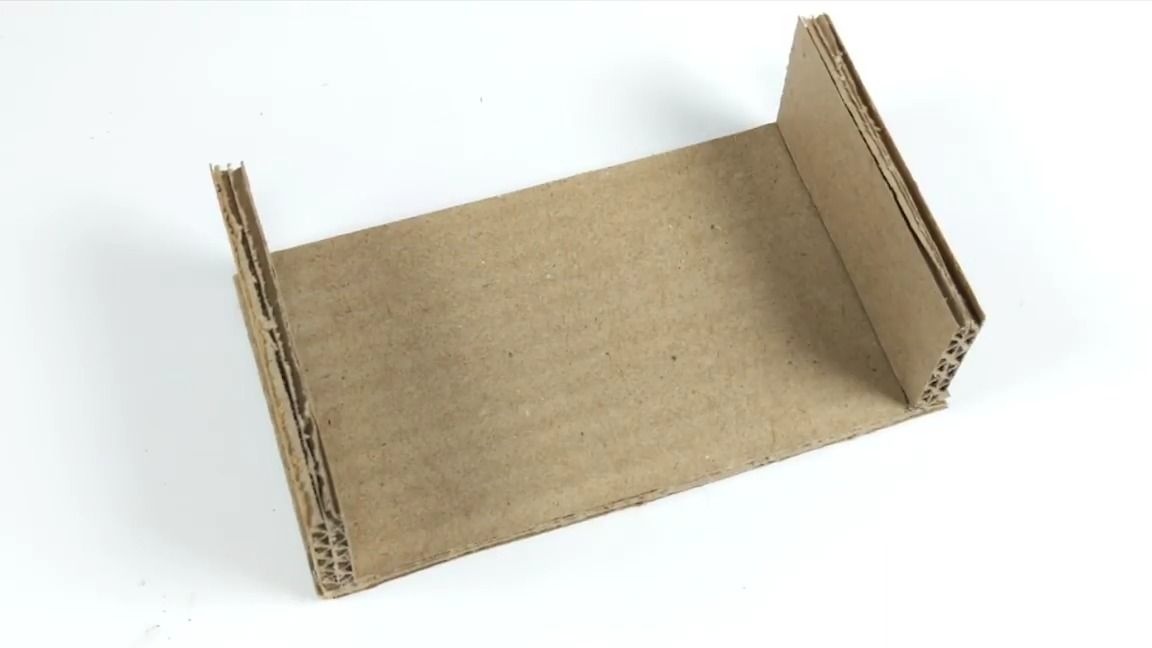
Then we remove one sheet of paper from the cardboard in such a way that we get a foldable rectangle 8 cm wide:
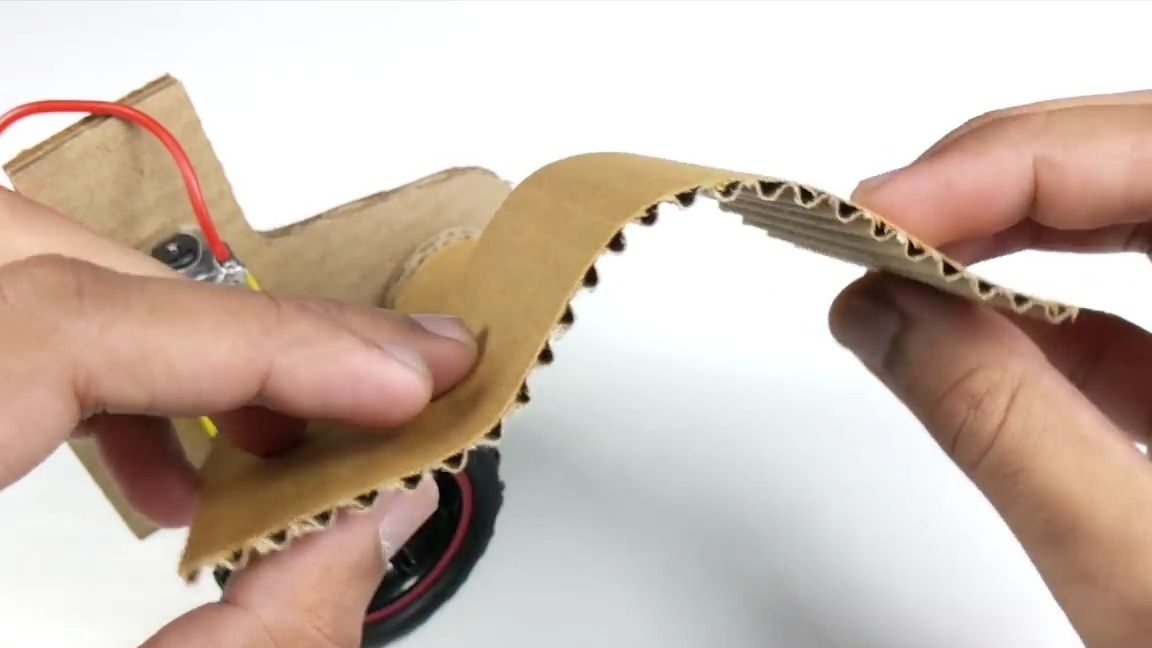
Glue it to our blank, as follows:
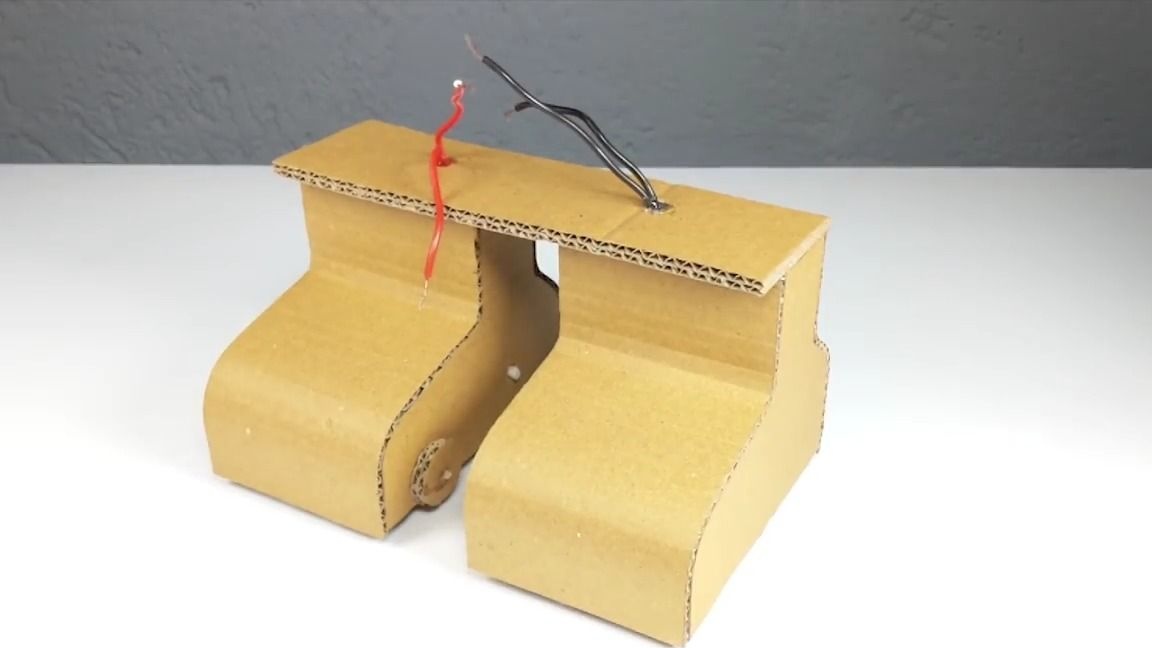
Now from the side we add the blank that we made mirror:
This is how it should work out for us:
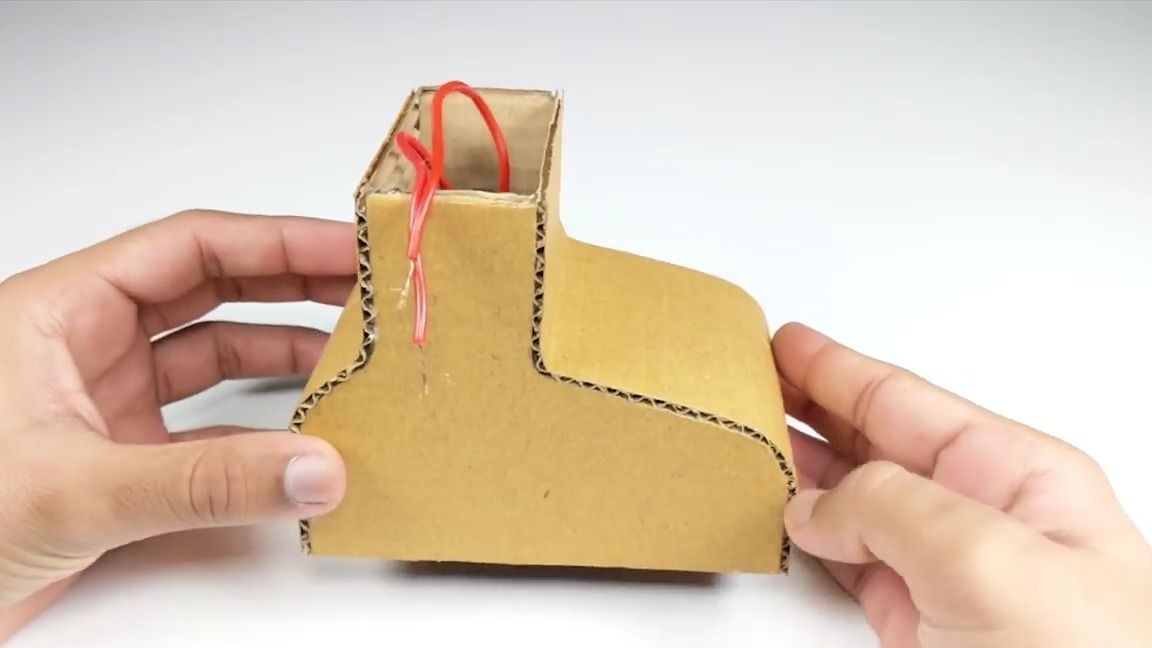

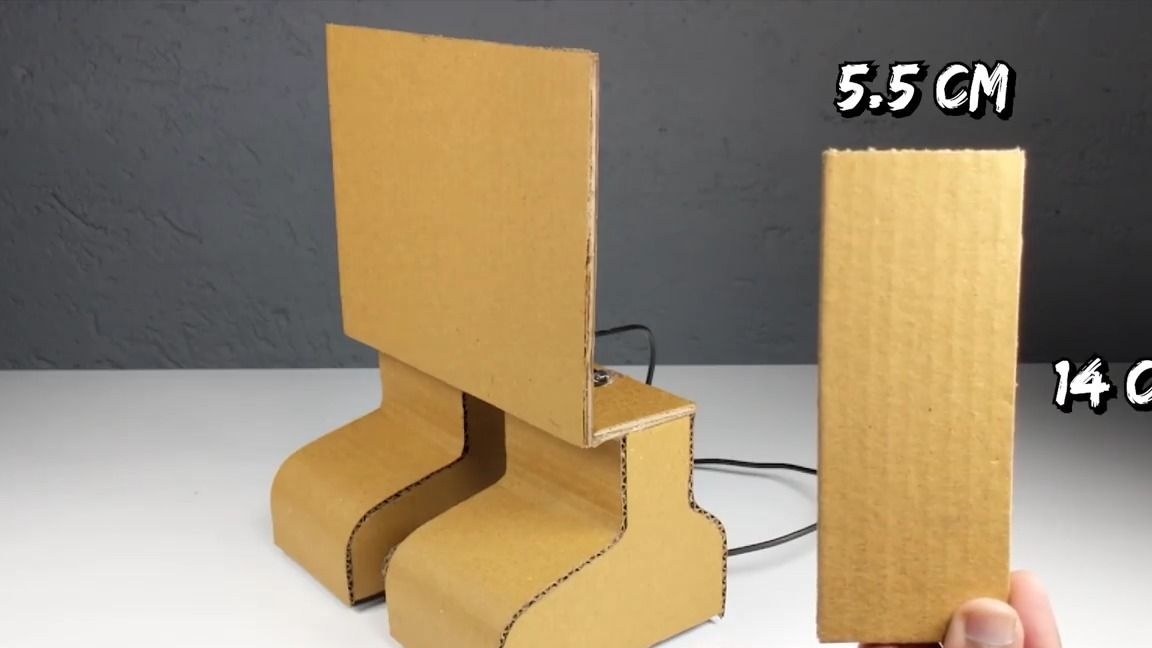
Identically, we do the second part of the first:
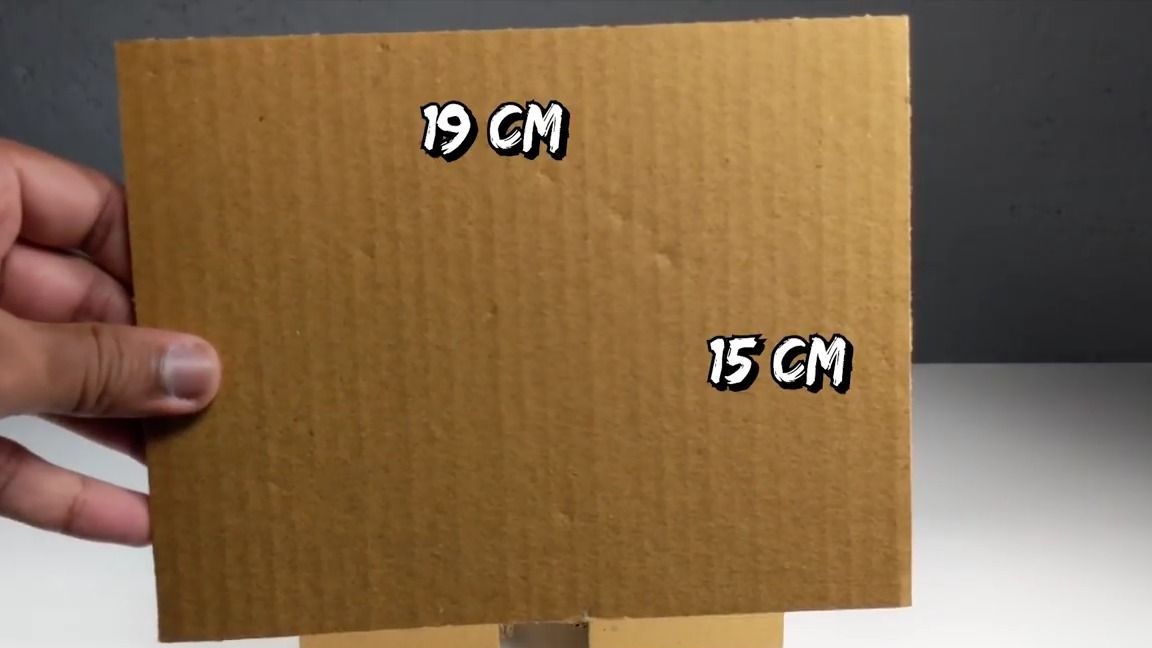
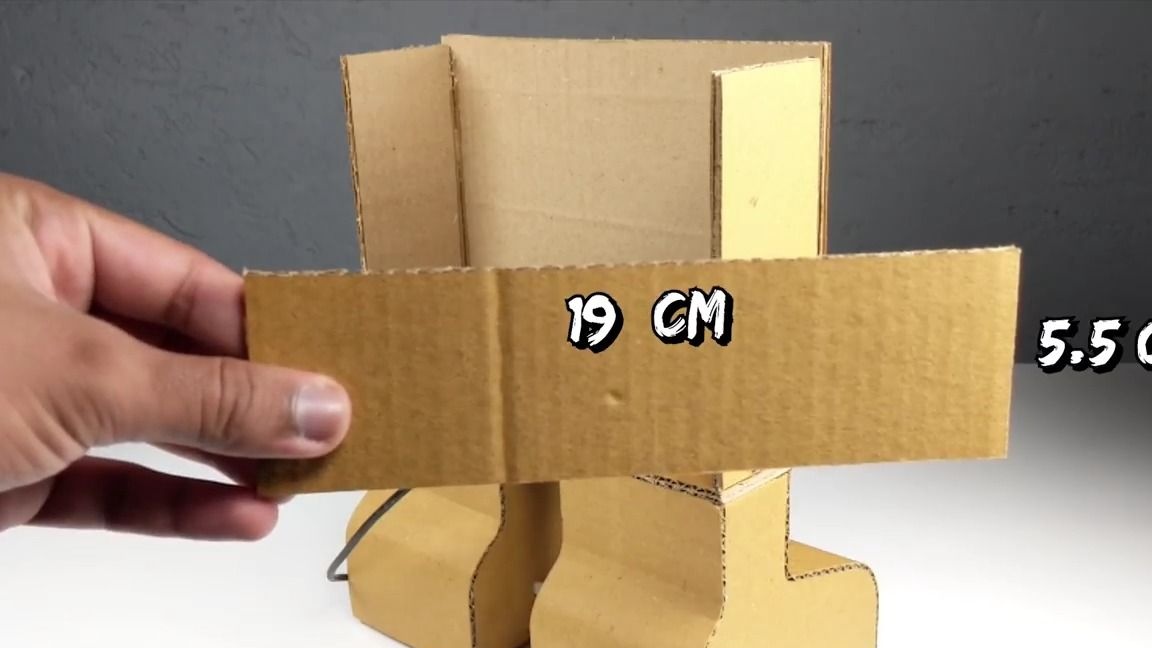
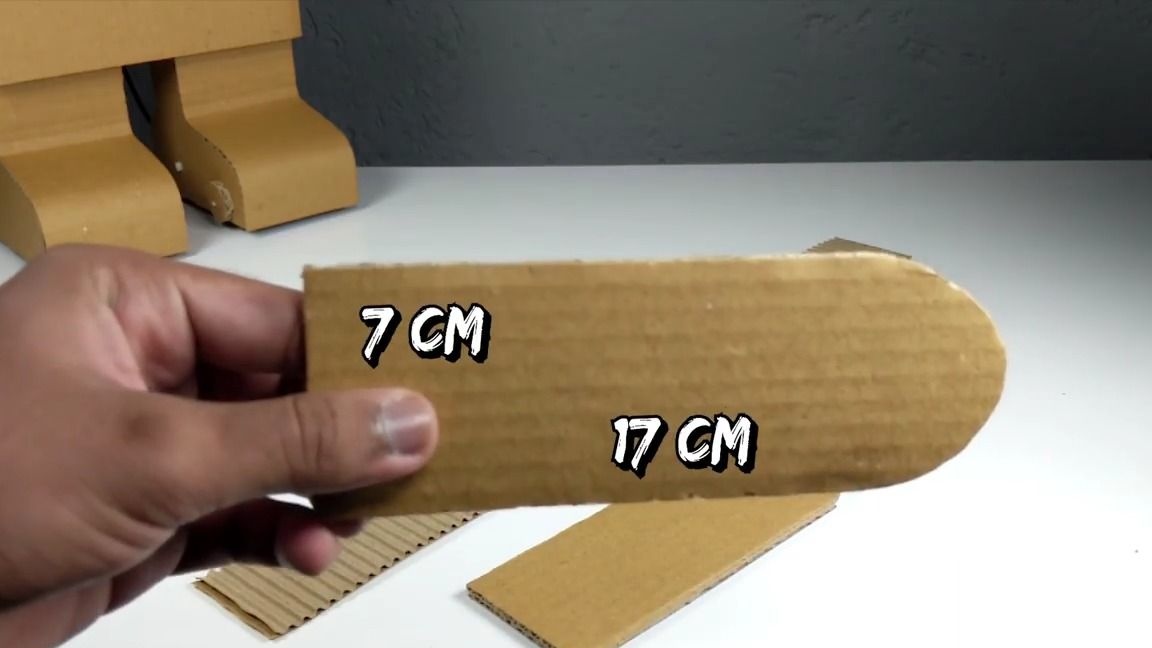
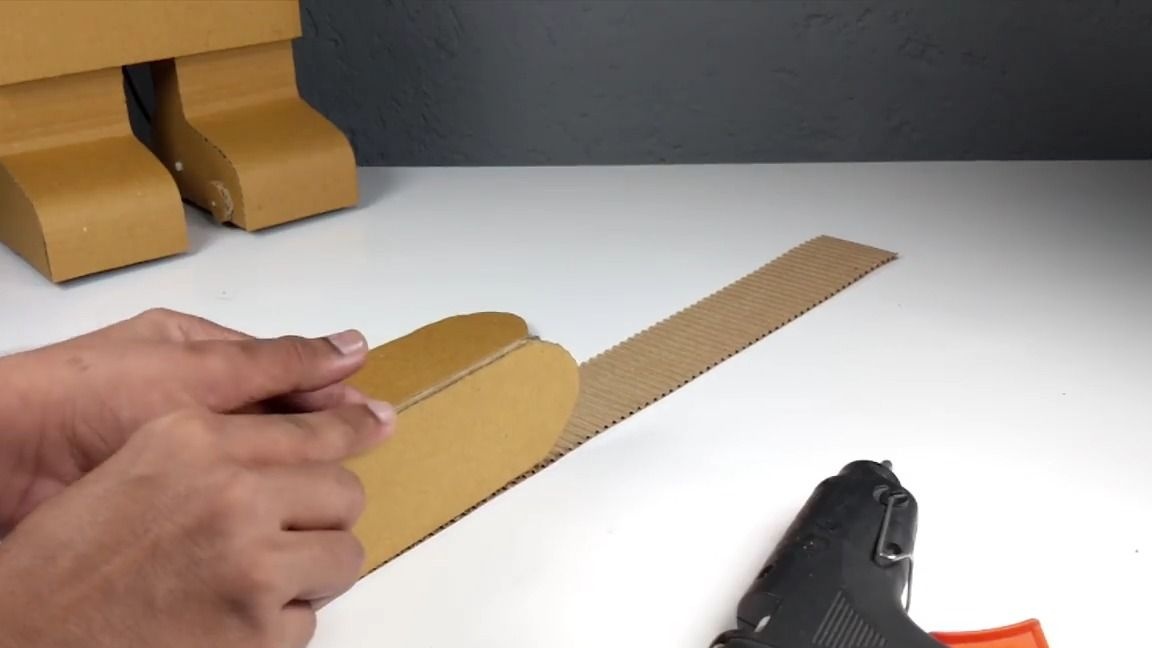
From the corrugated cardboard we cut out a rectangle 19 cm long and 5.5 cm wide, after which we make two holes with a pencil as shown in the photo:
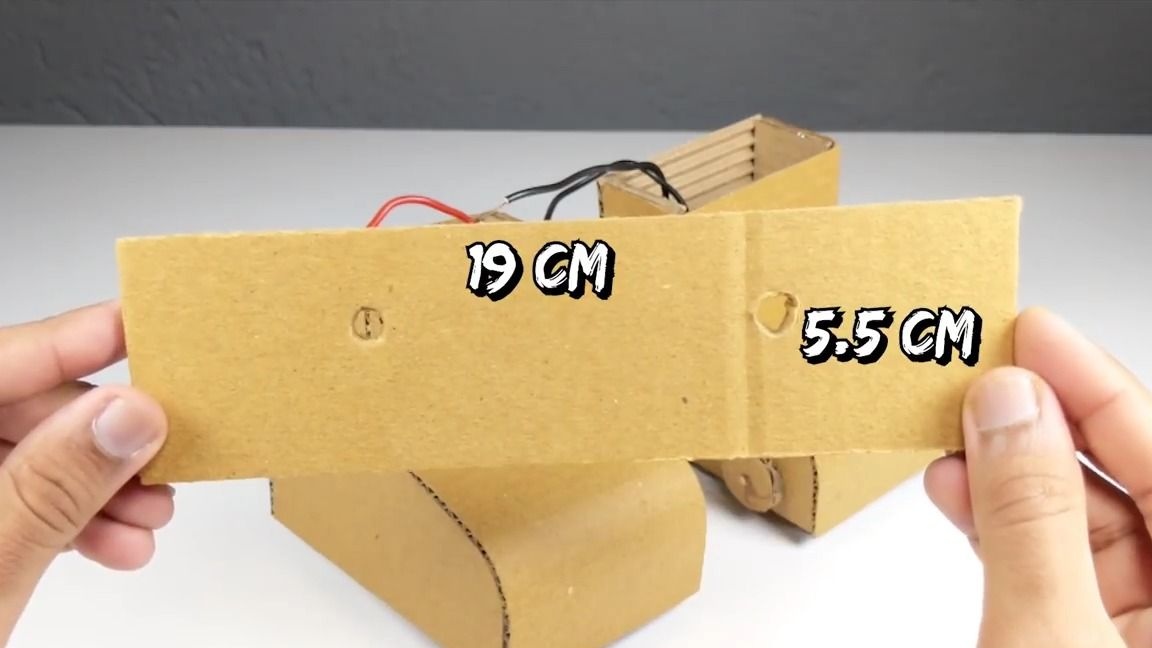
Through the holes, it is necessary to pass the wires, after which this part can be glued:
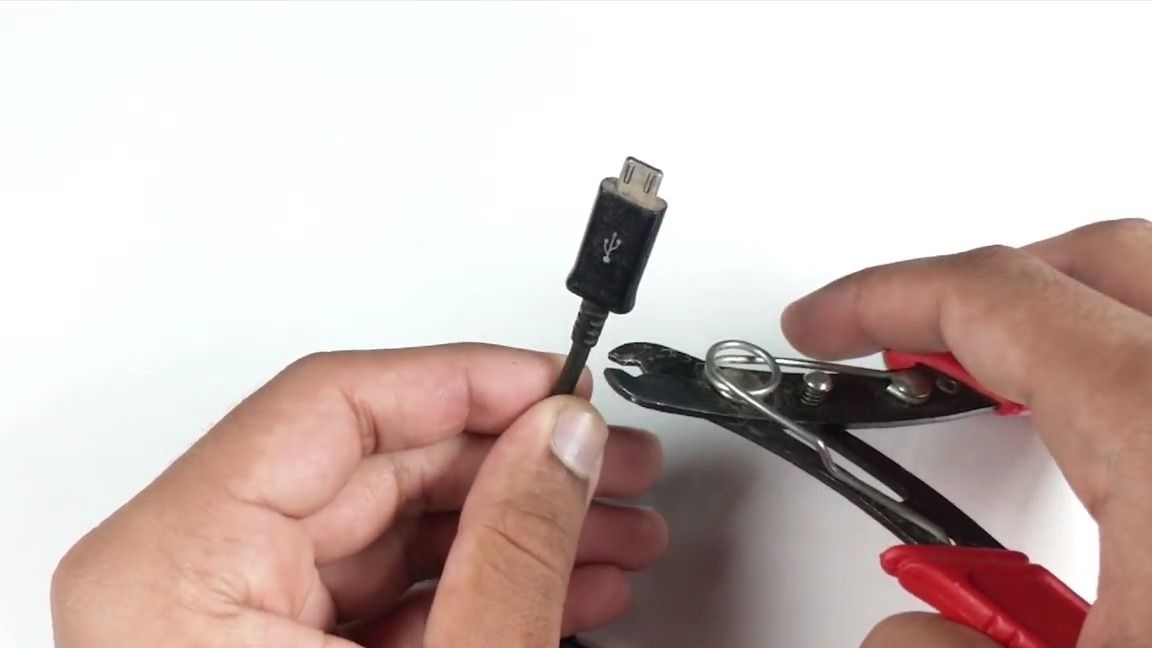
Take the usb wire and use the wire cutters to bite off both ends of it:
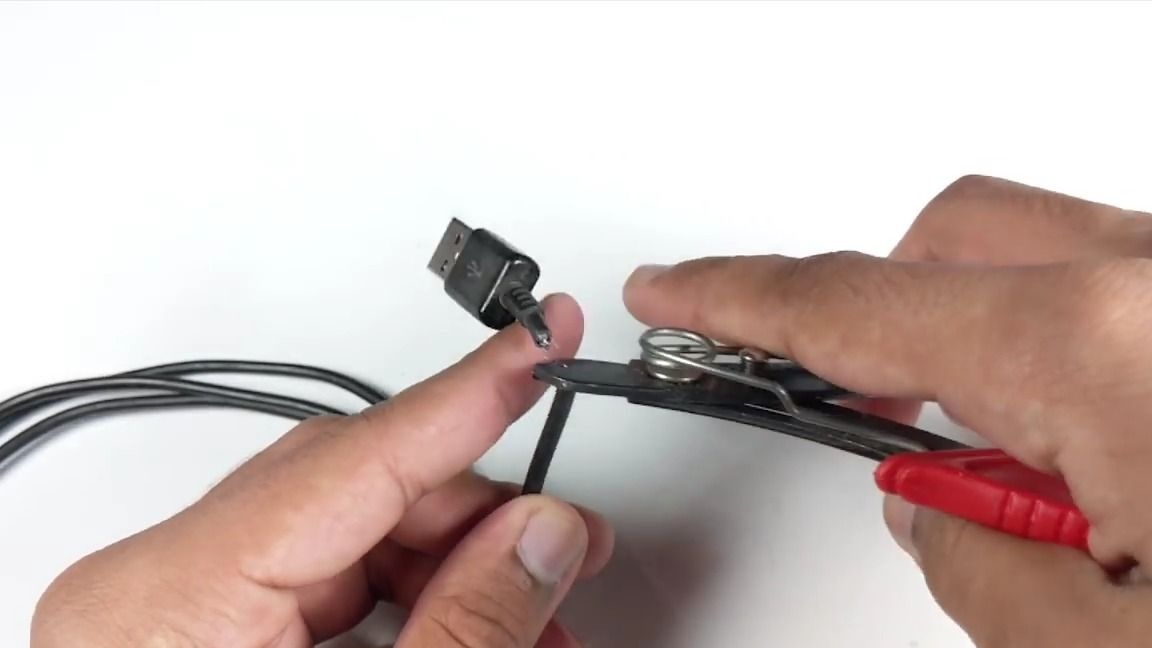
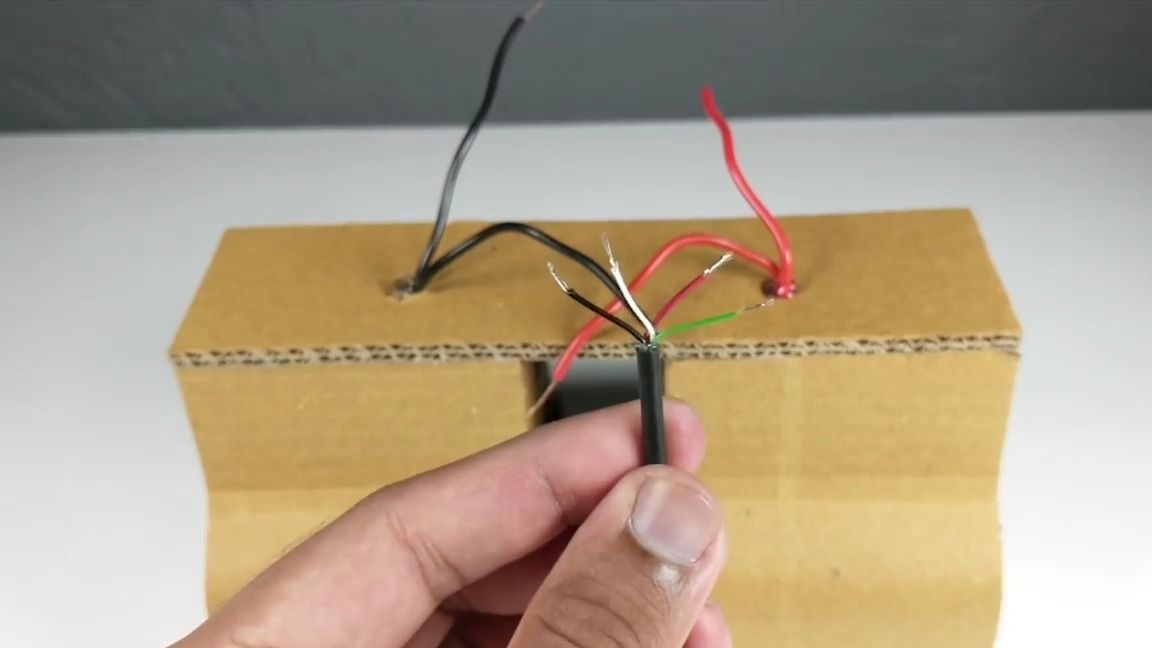
We clean the resulting wires and solder them to our gearboxes as follows:
Black and white wire to the black wires of the gearbox
Red and green to red wires of the gearbox
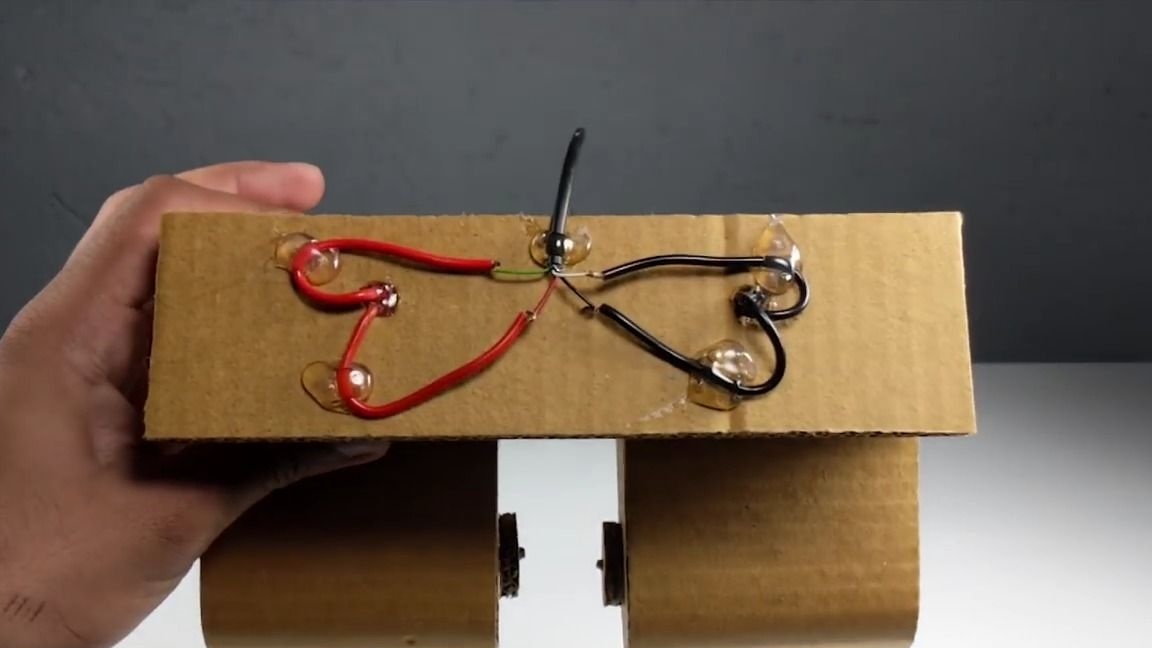
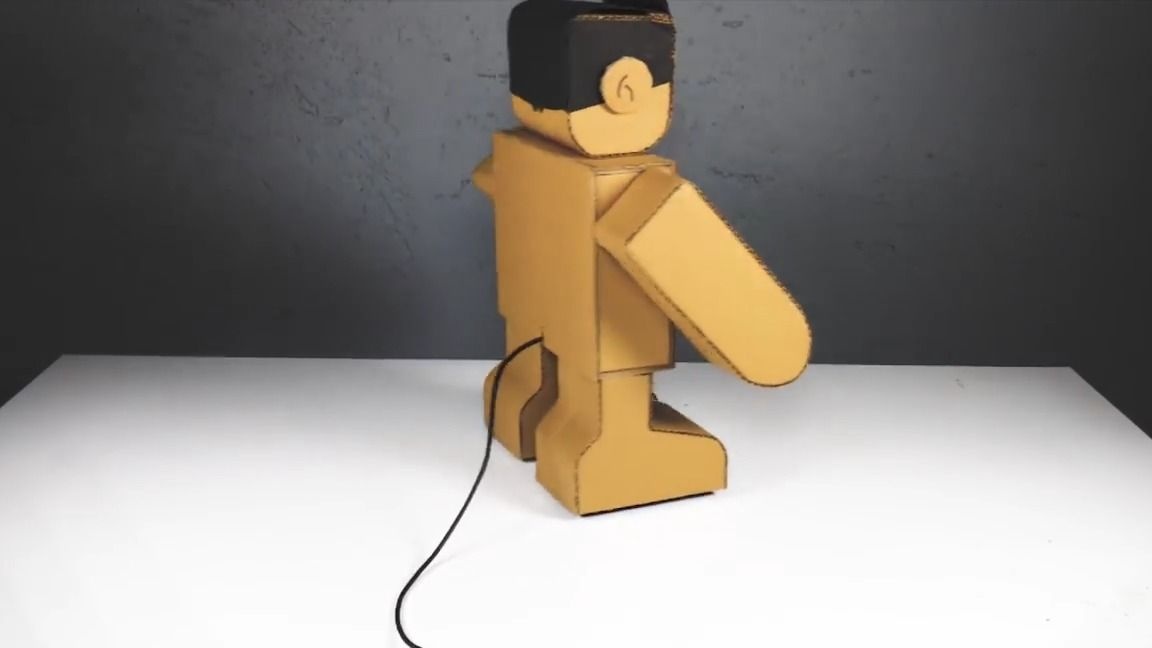
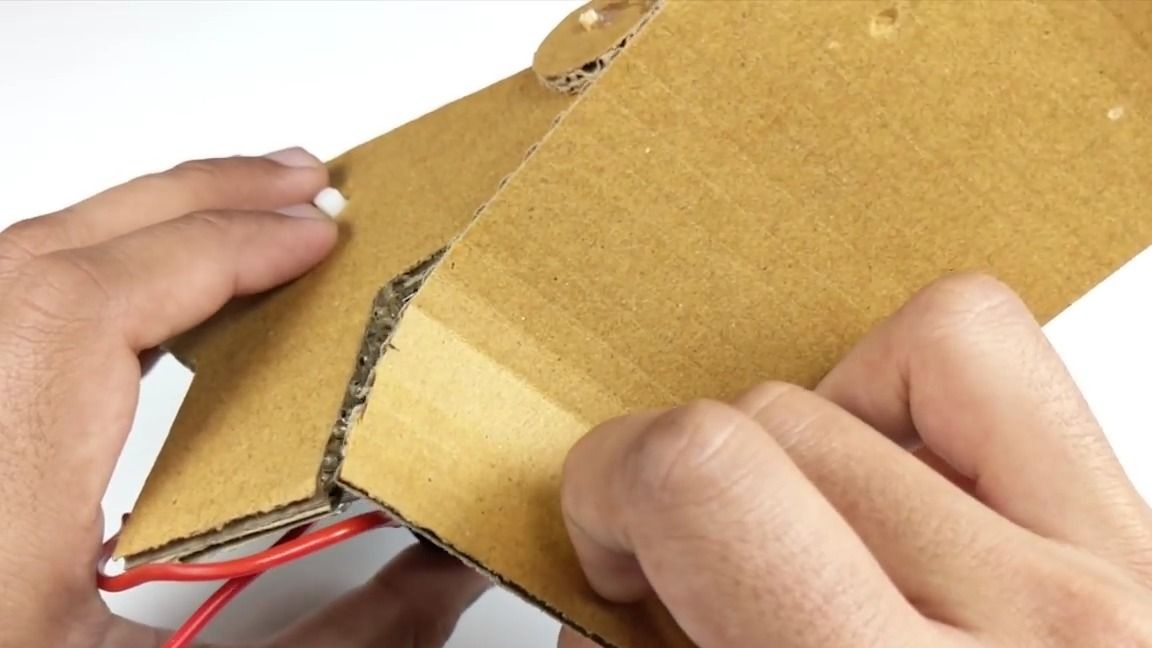
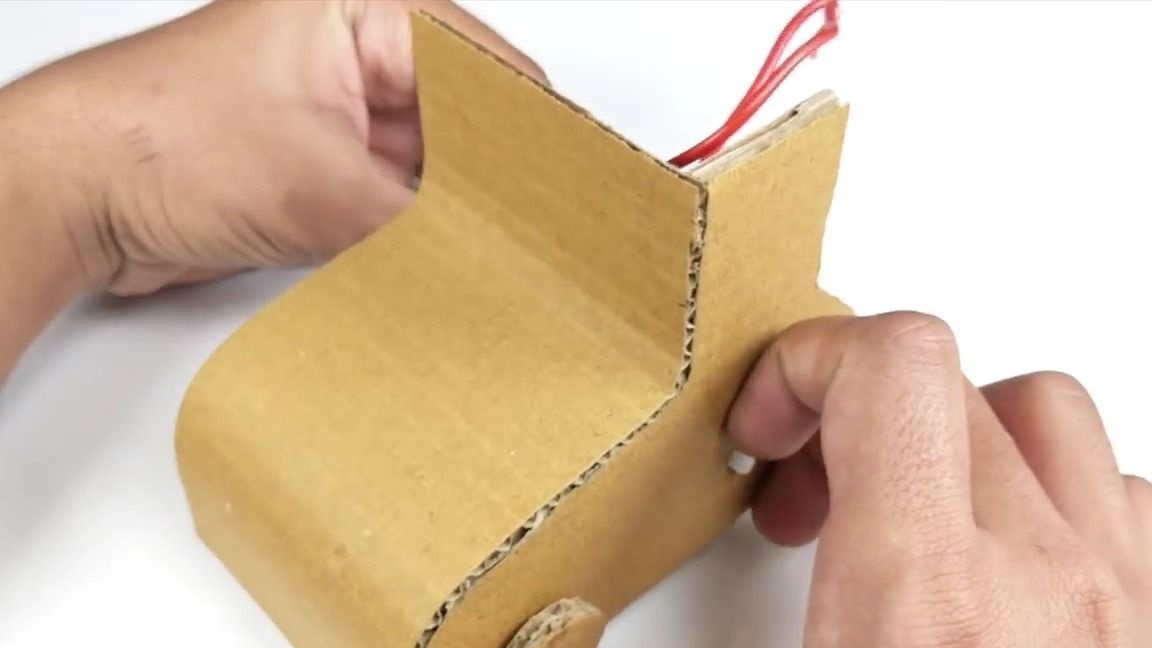
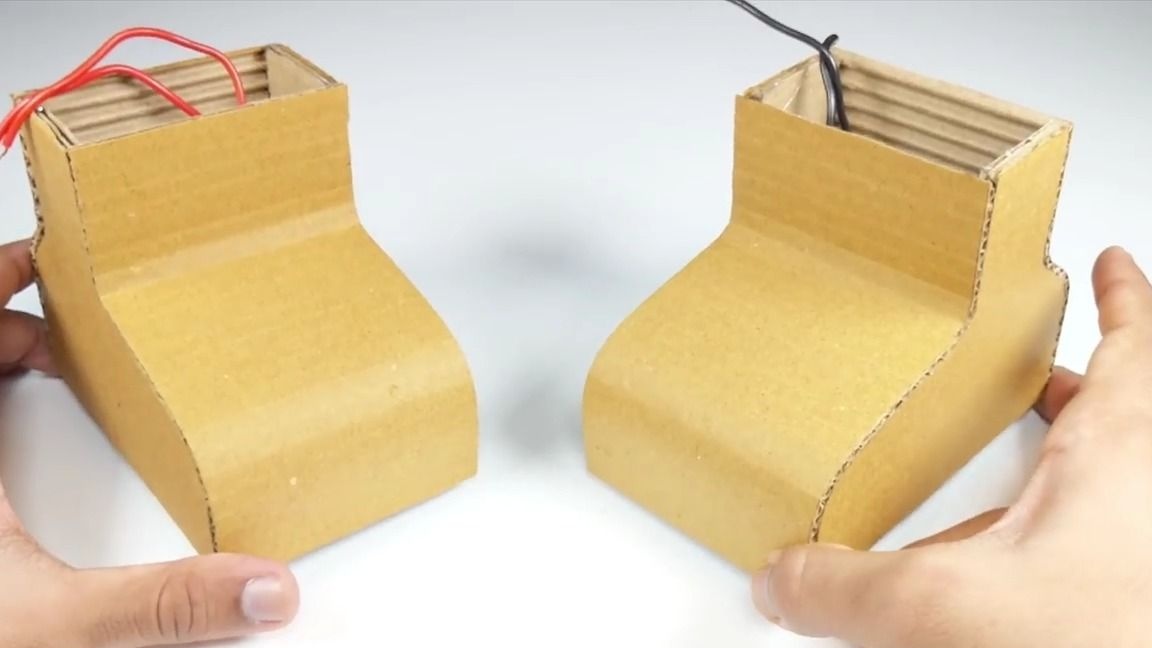
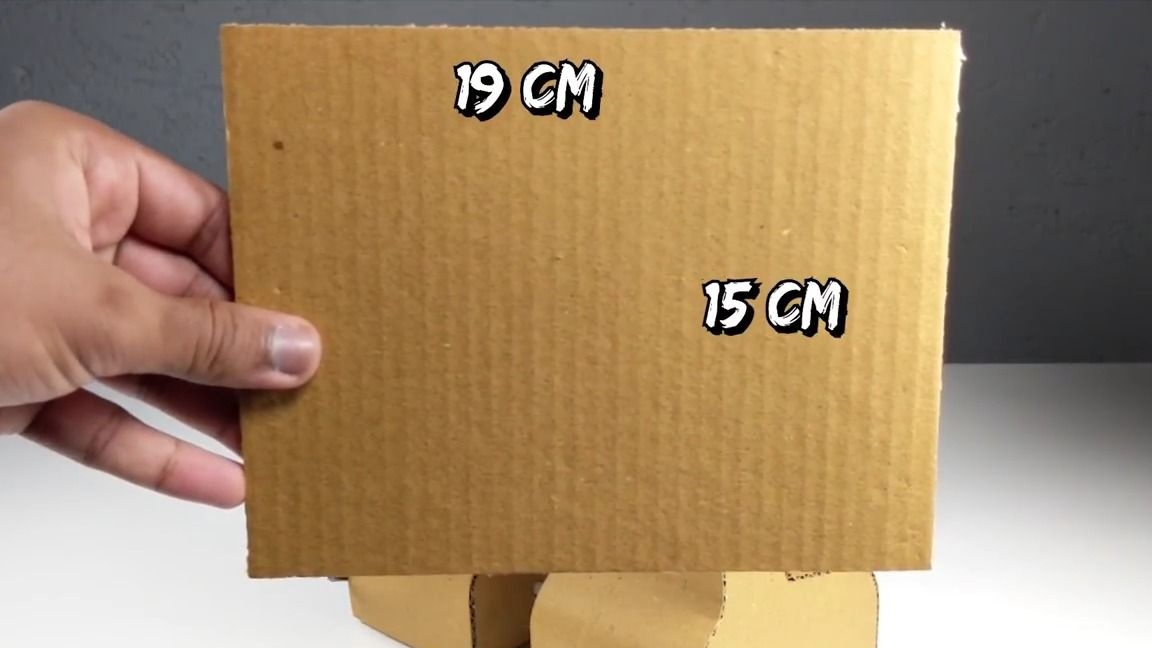
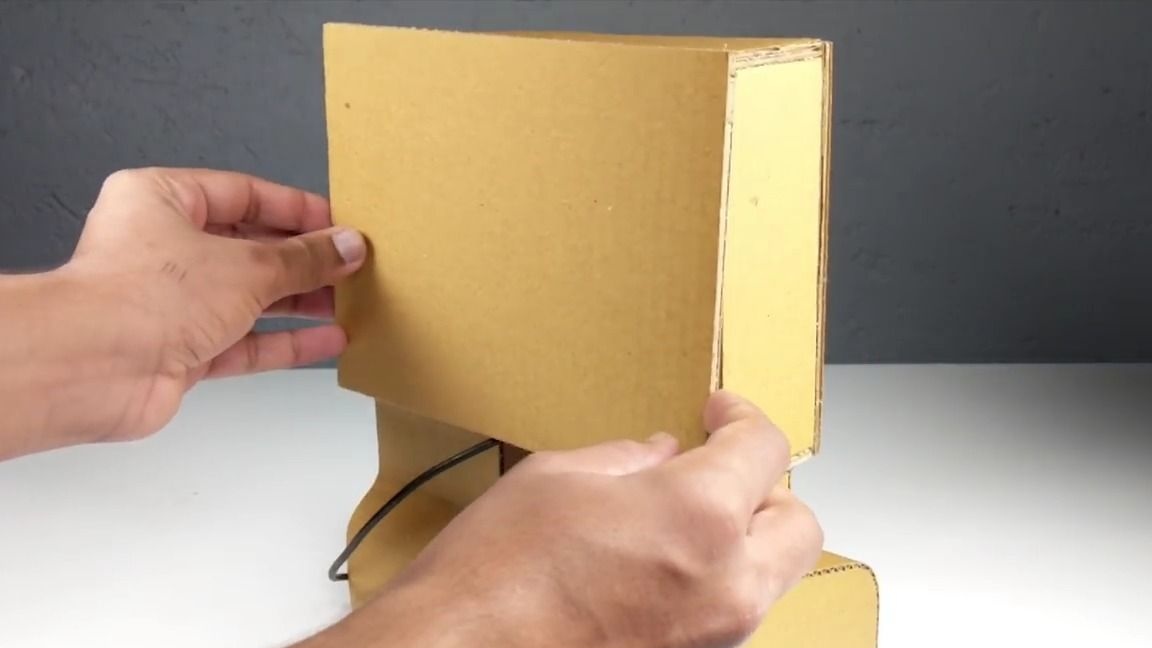
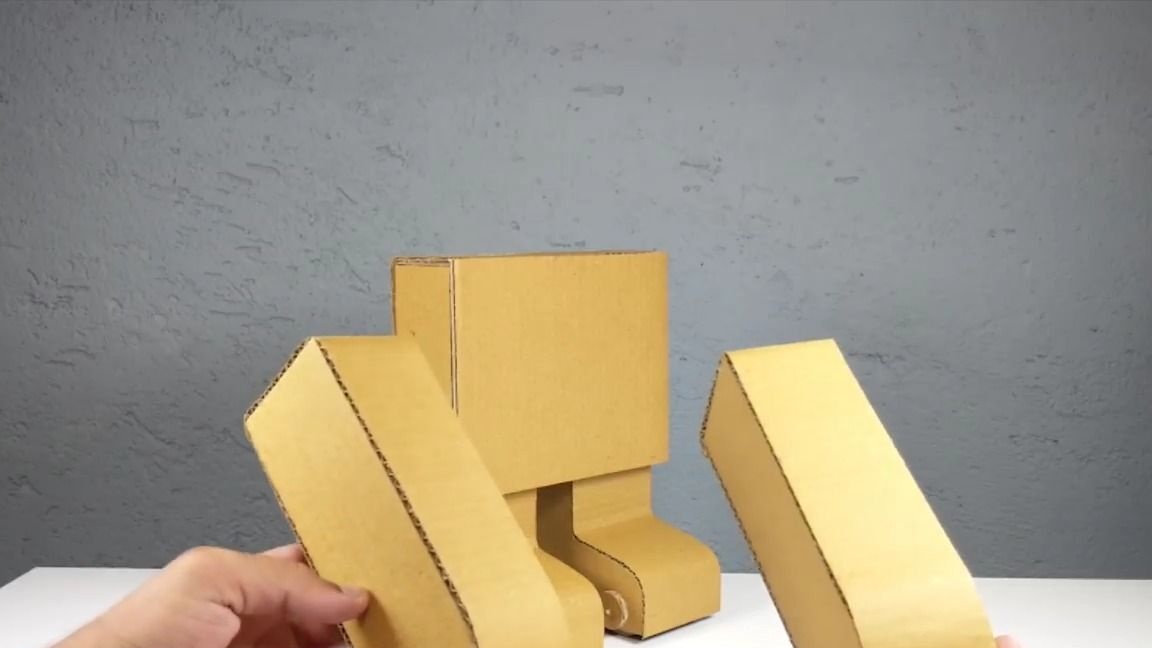
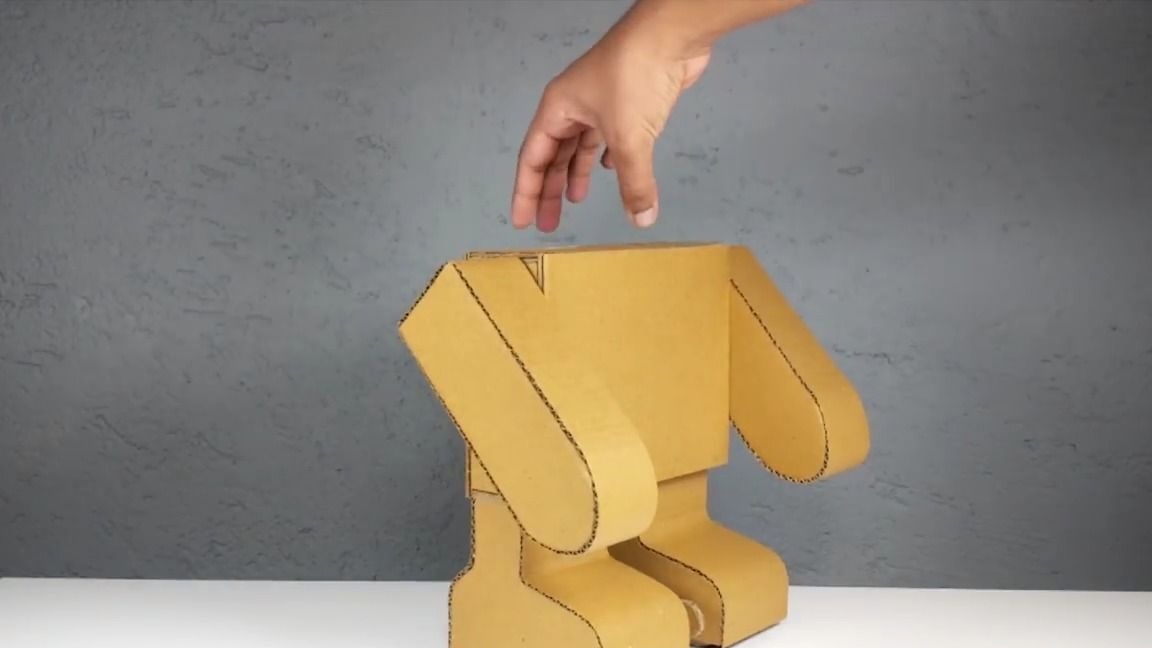
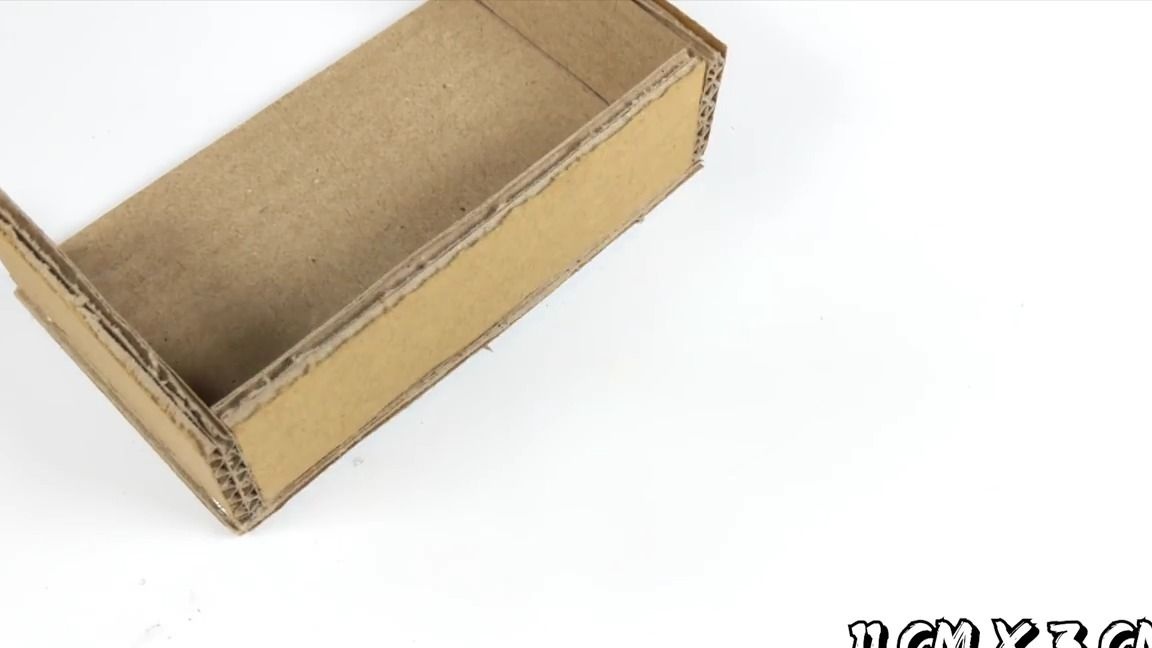
Now you need to make a case for the "robot" there is nothing complicated, so just do everything as shown in the photo:
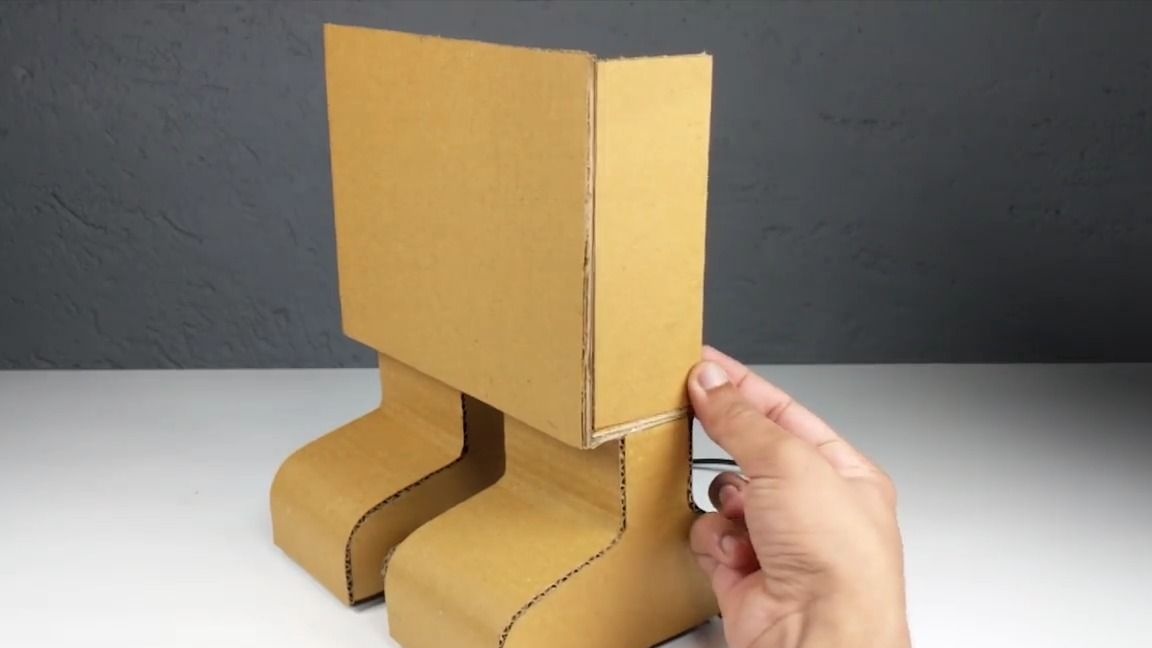
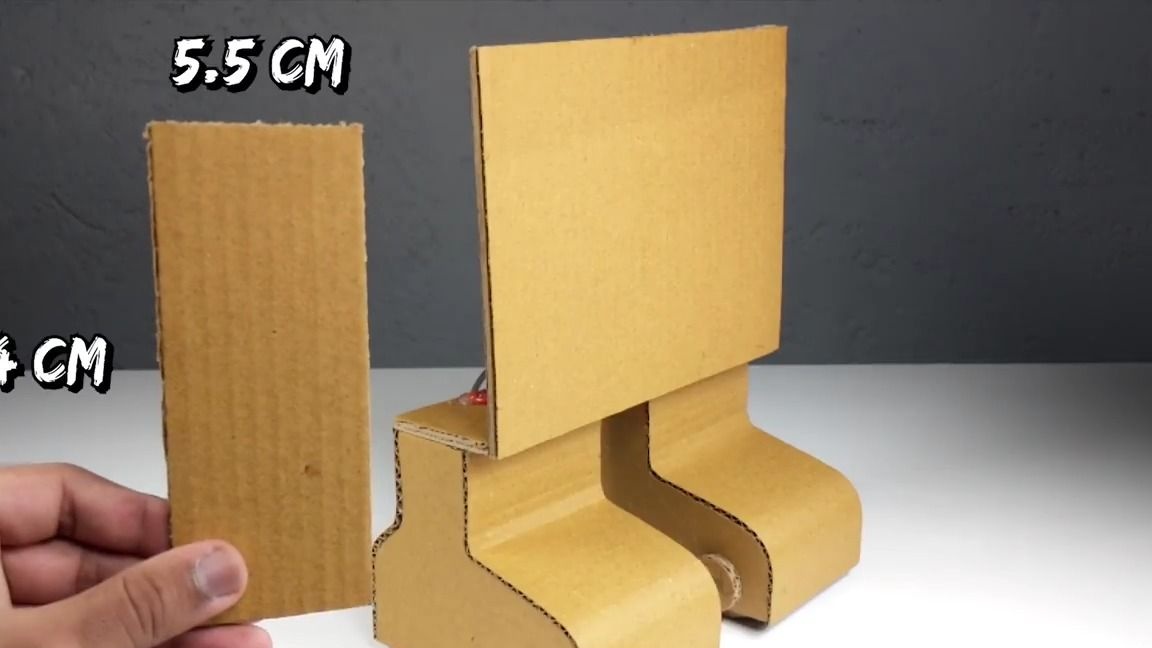
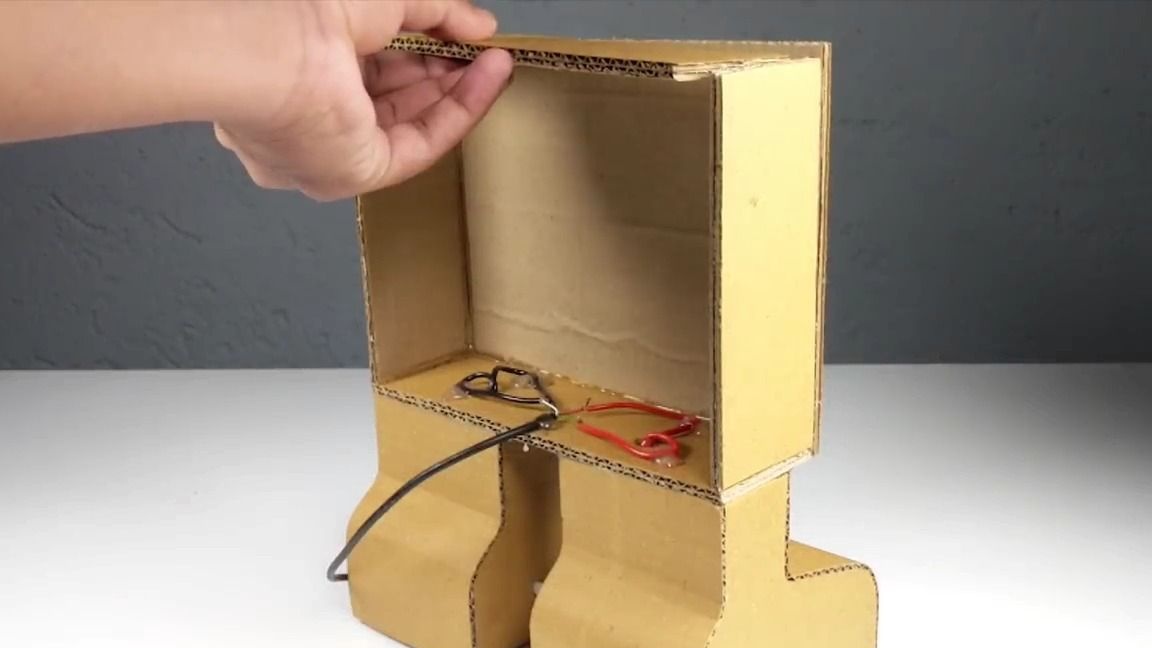
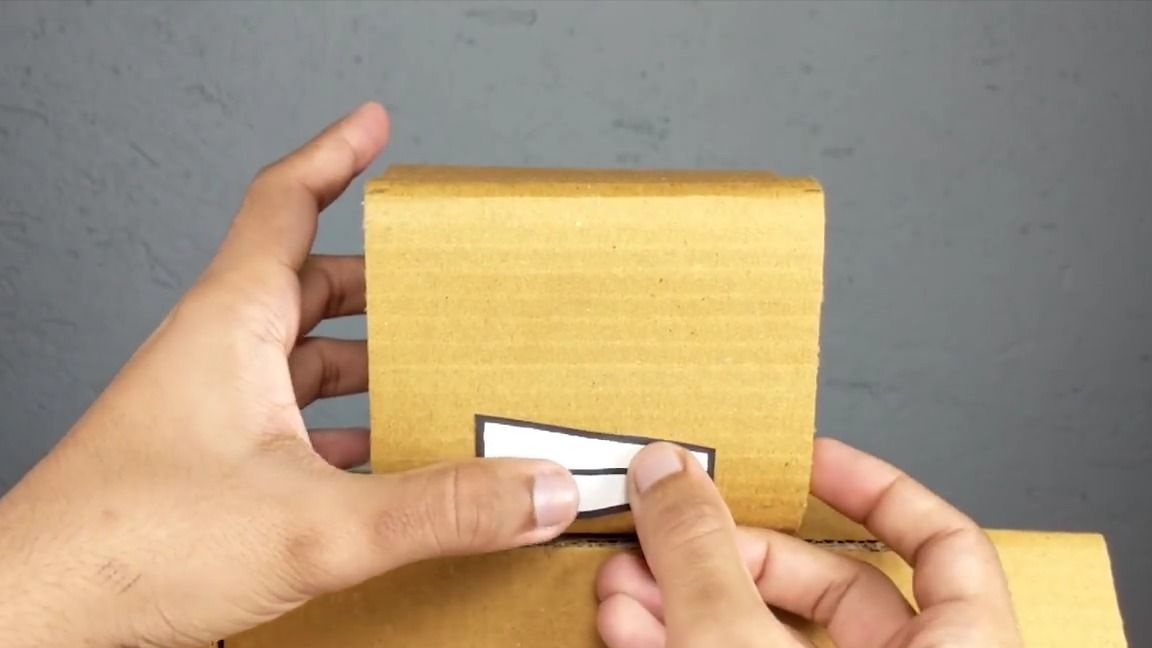
In the lower part of the frame you need to make a small hole for the wire:

Now you need to make hands for the "robot" here is also nothing complicated:

In total, you need to make 2 such blanks:
We apply glue to each thermo and glue it to the frame as shown in the photo:
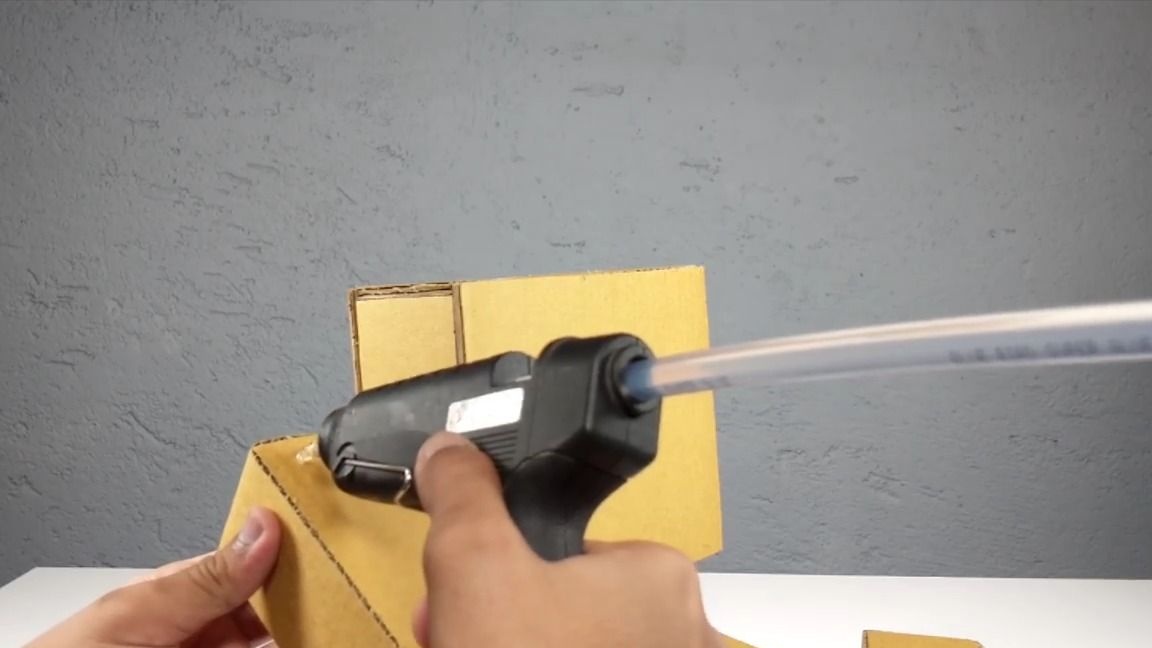
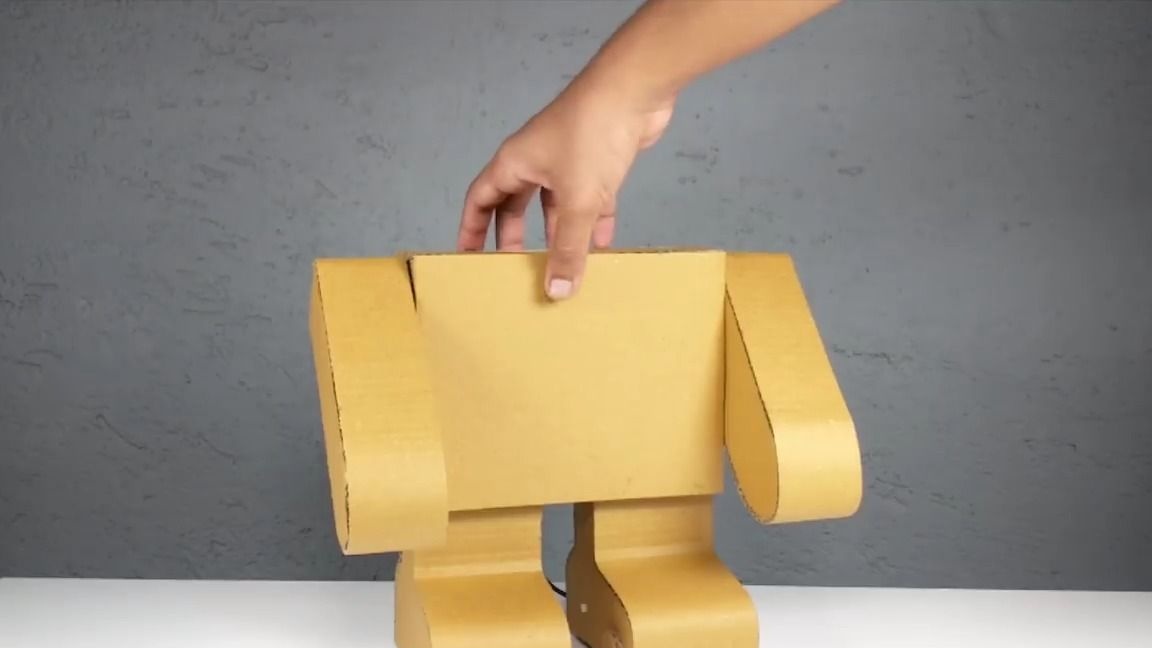
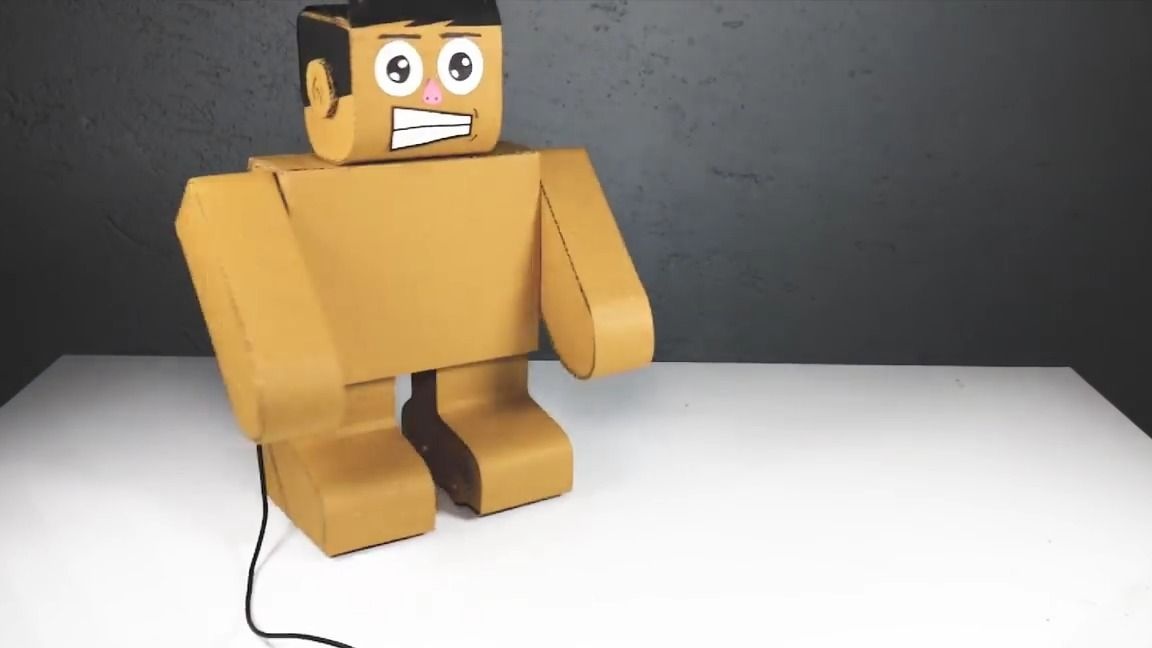
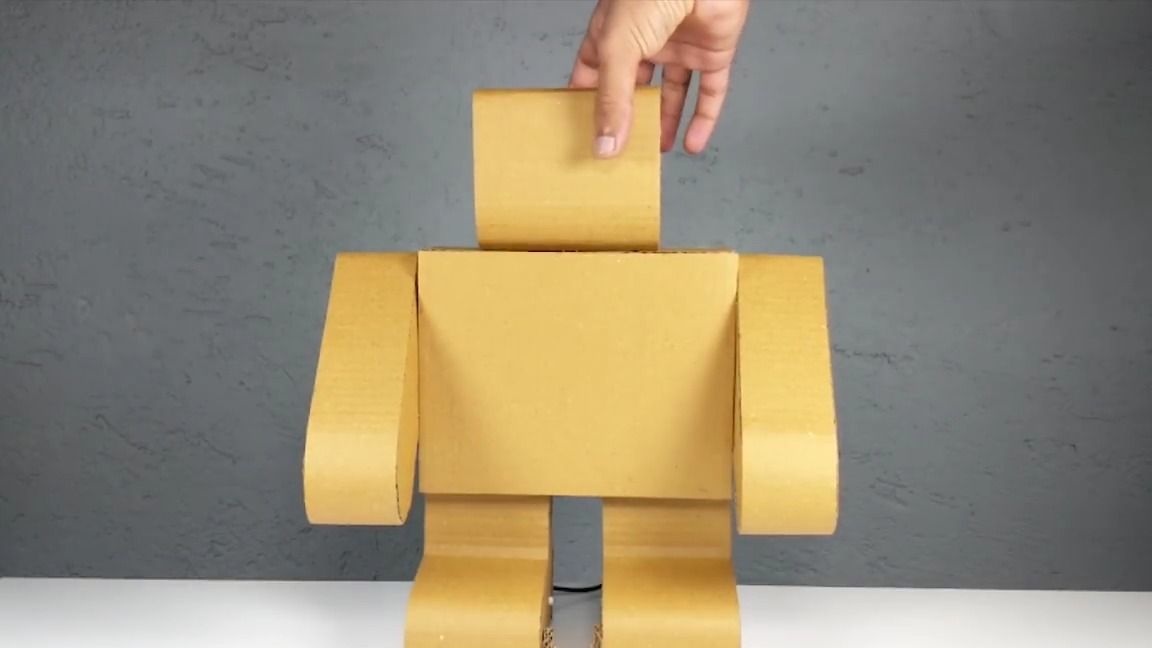
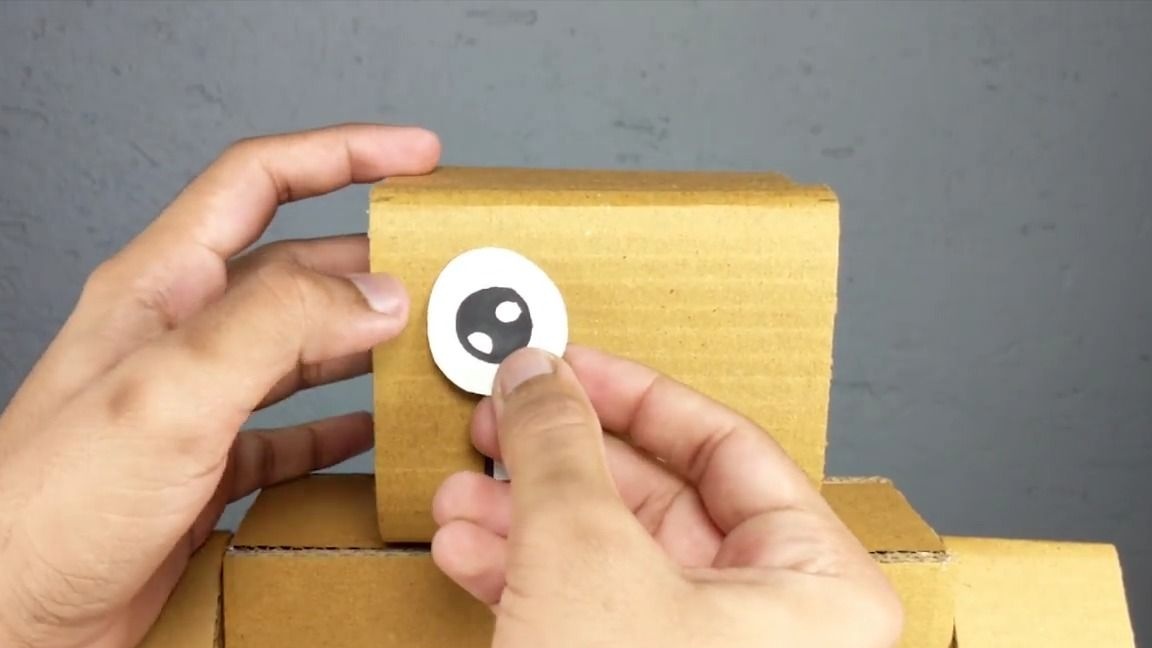
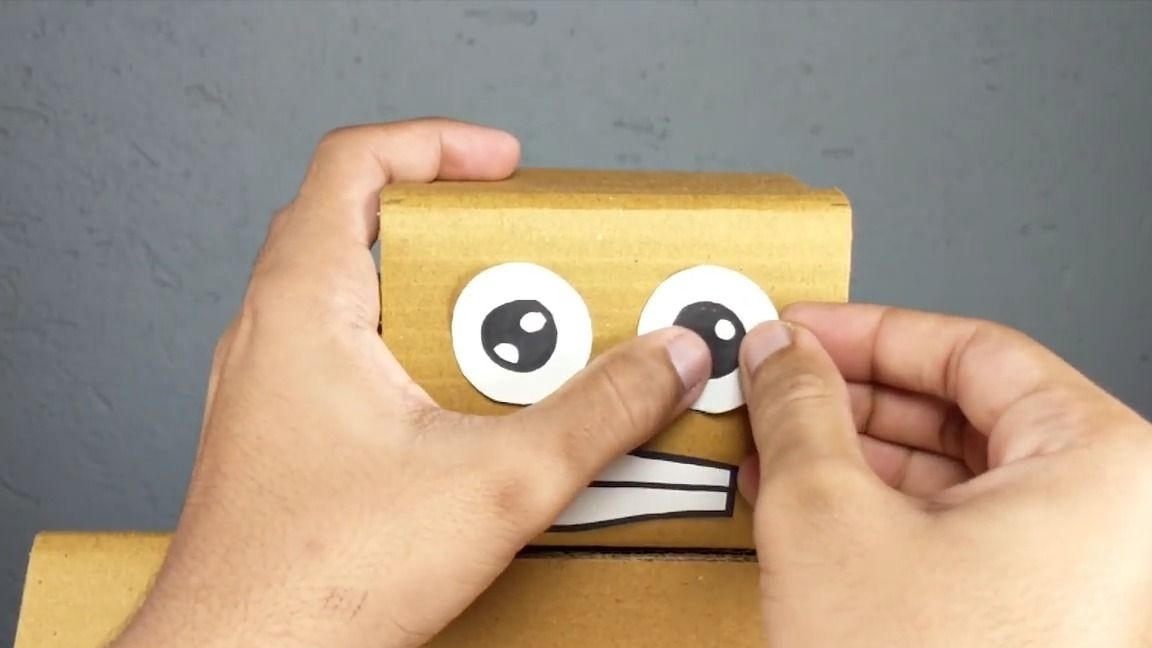
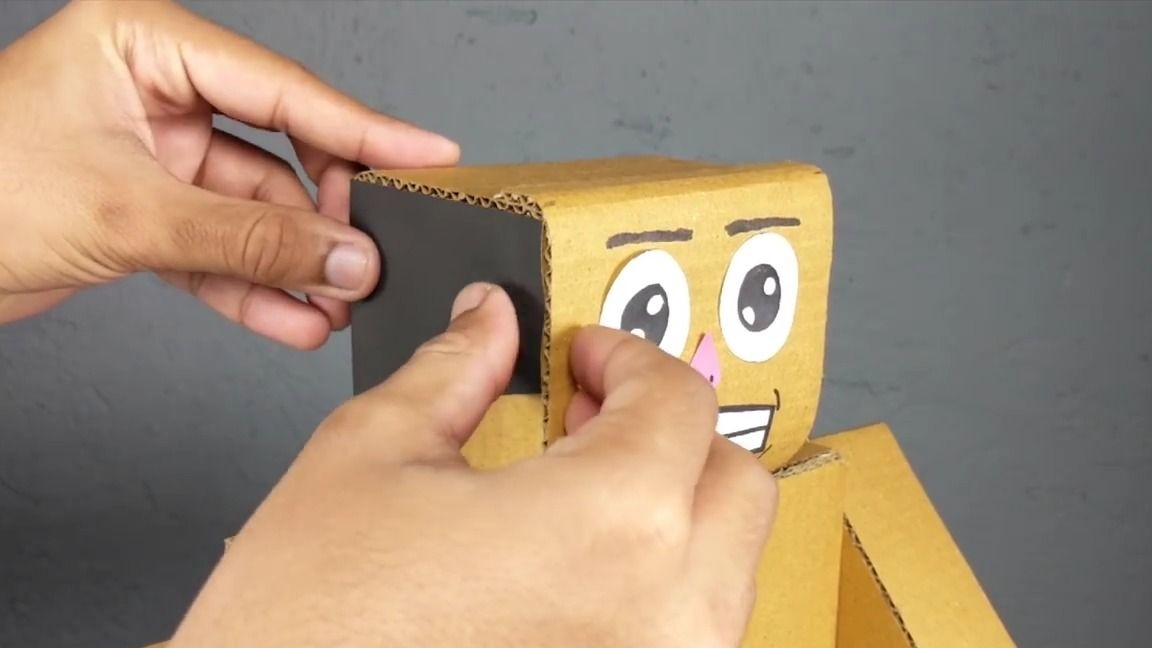
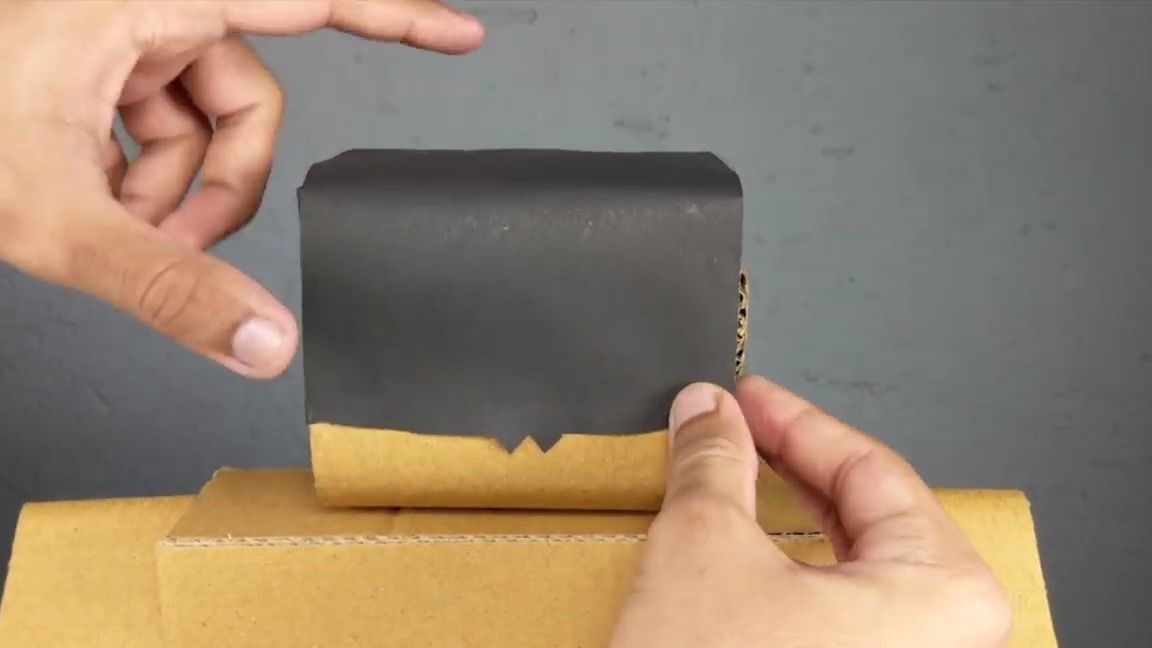
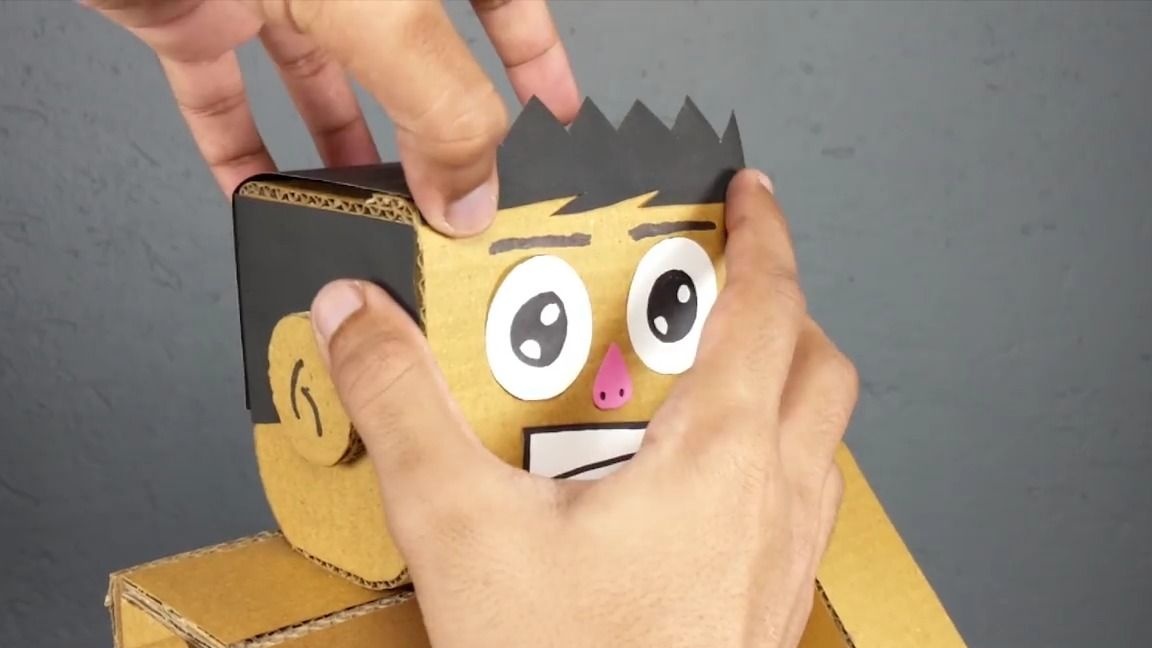
We make and glue the head of our "robot" in principle, it can be done almost anything, it all depends on your imagination:
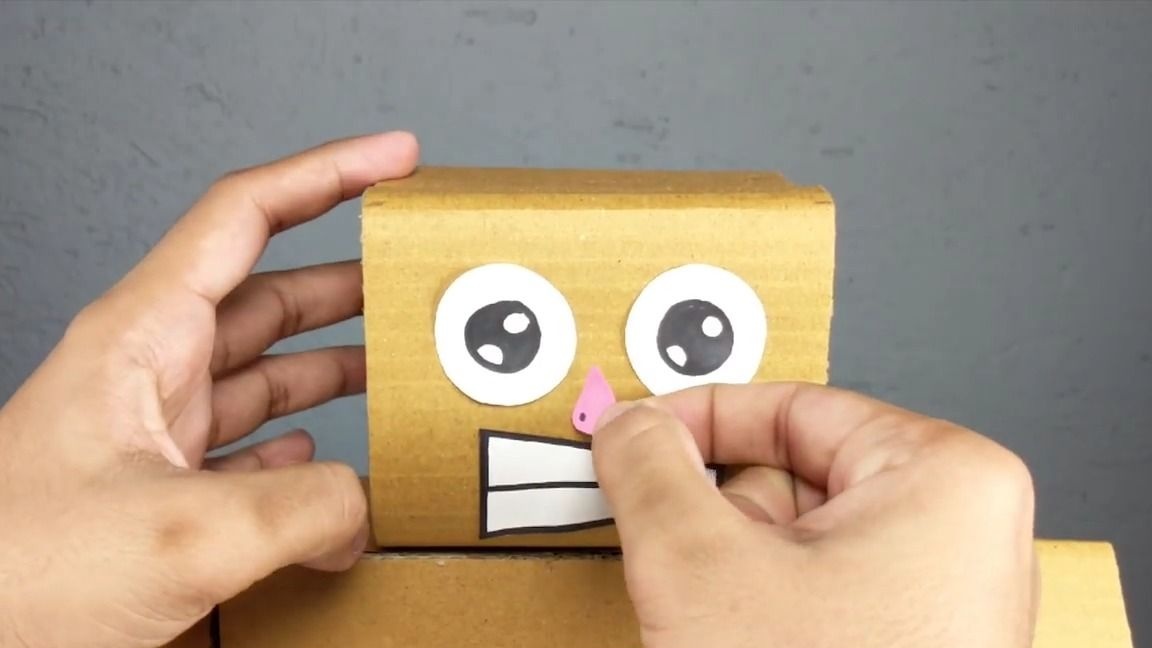
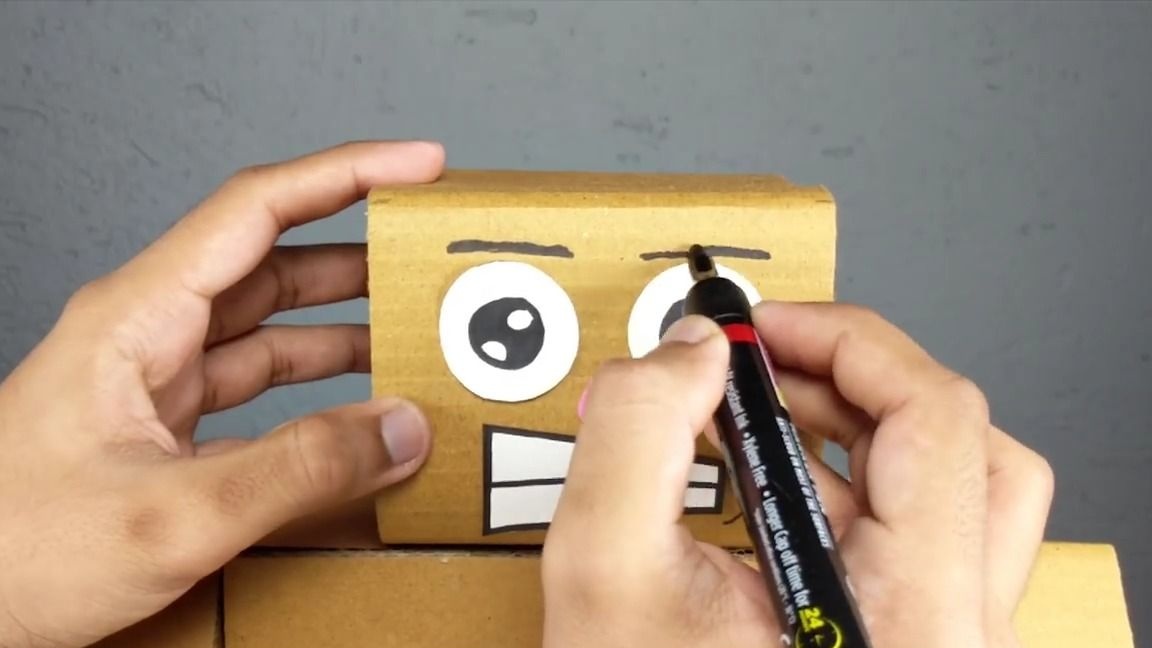
Well and how without a face, we cut out the eyes, mouth and nose of the “robot” from paper and glue it:
Using a marker, add facial features:
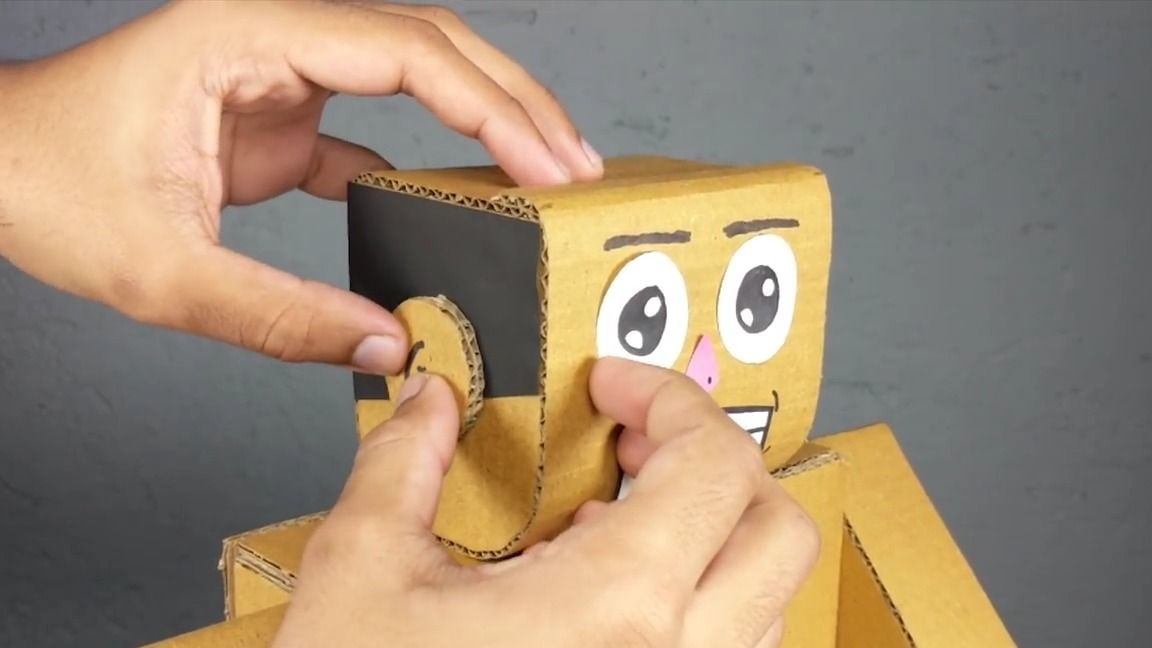
We cut out “hair” from colored paper, and cut out small “ears” from cardboard, and then glue it as shown in the photo:
Well, it remains only to make a control panel.
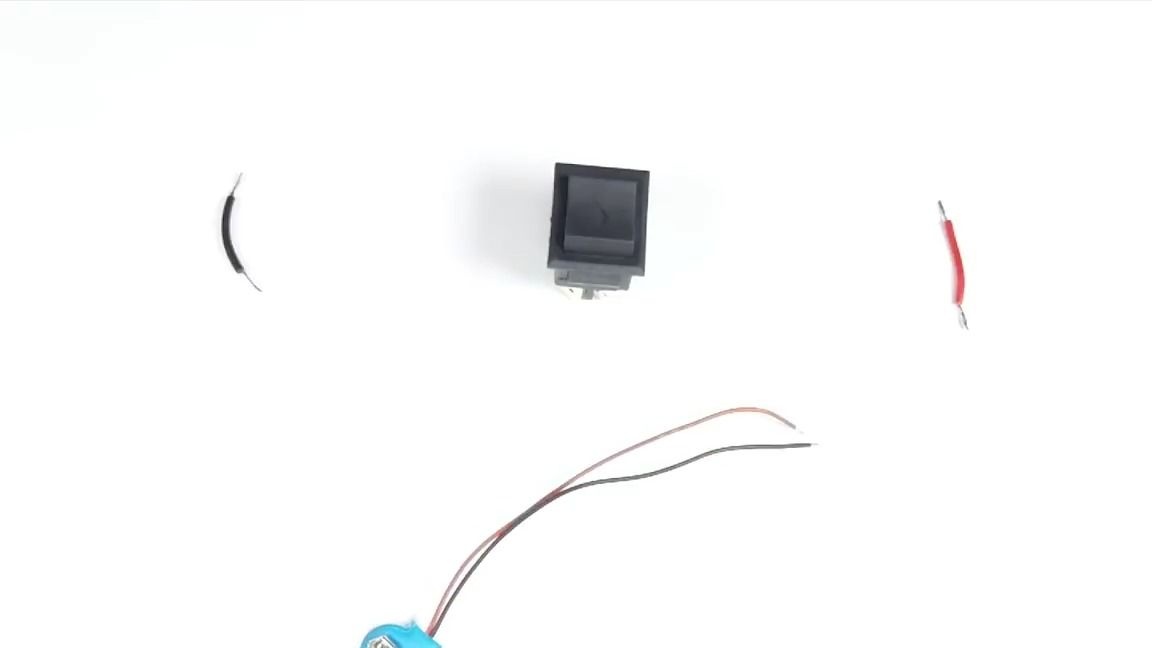
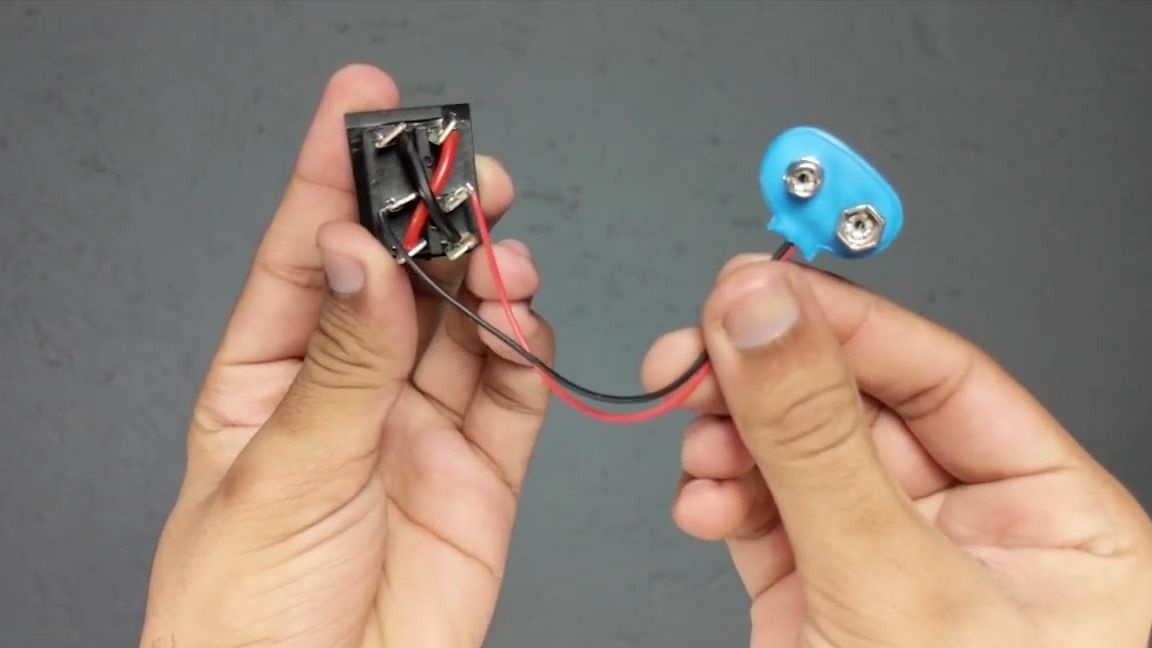
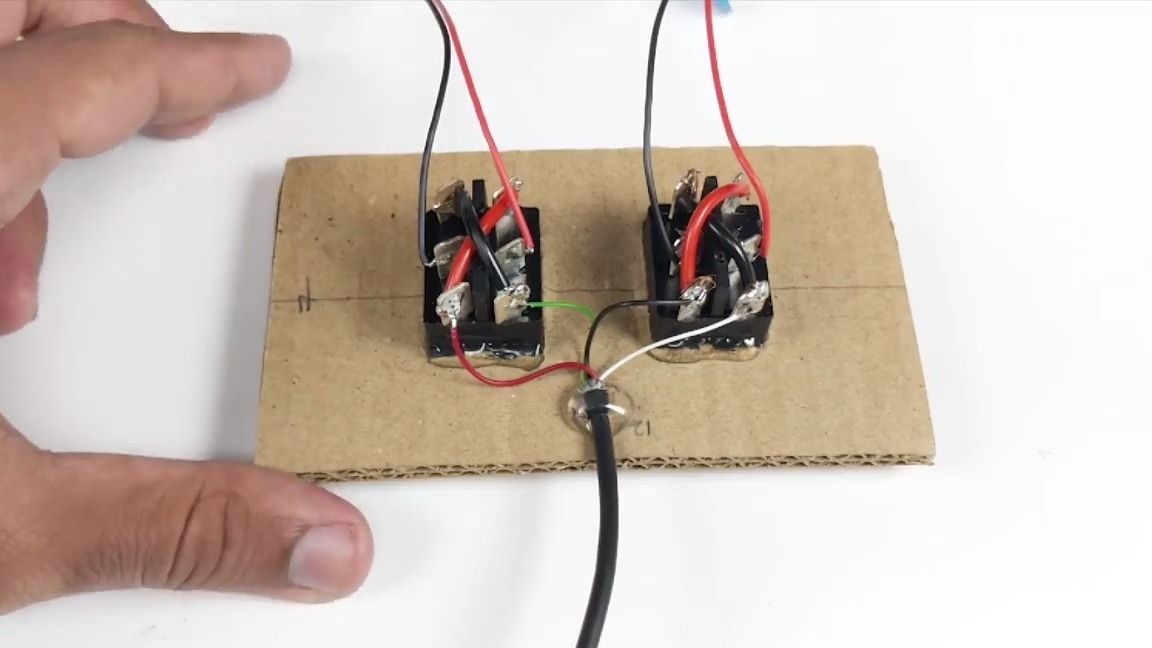
We take a double switch without a clamp, two small wires and a cantilever for the crown and solder it into the circuit as shown in the photo:
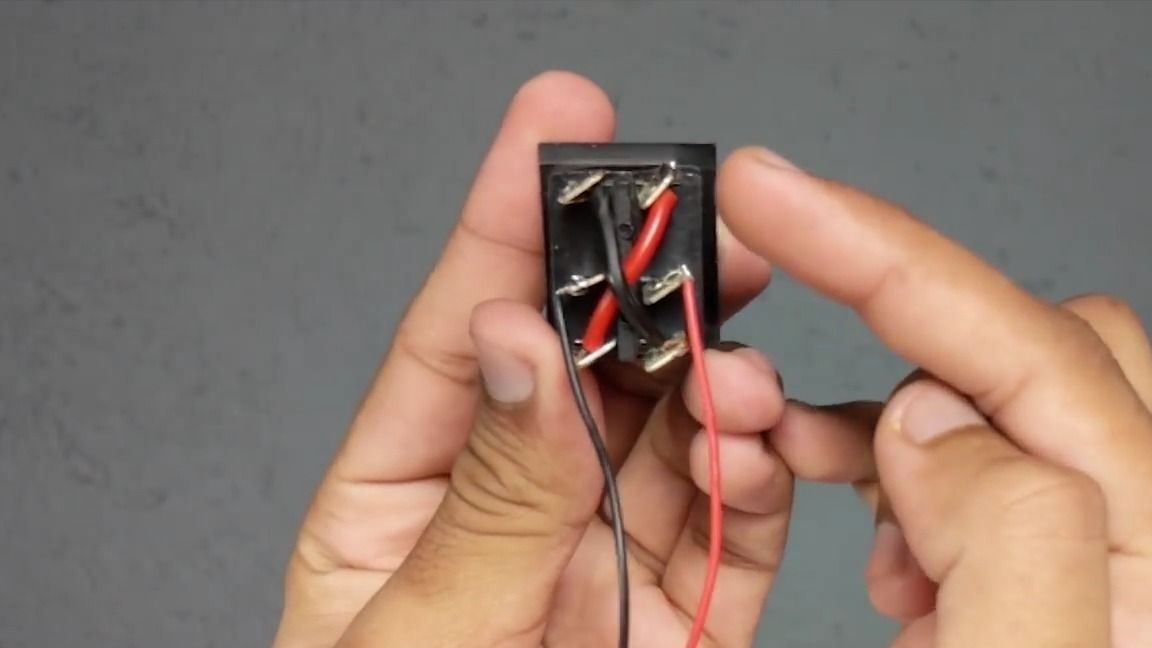
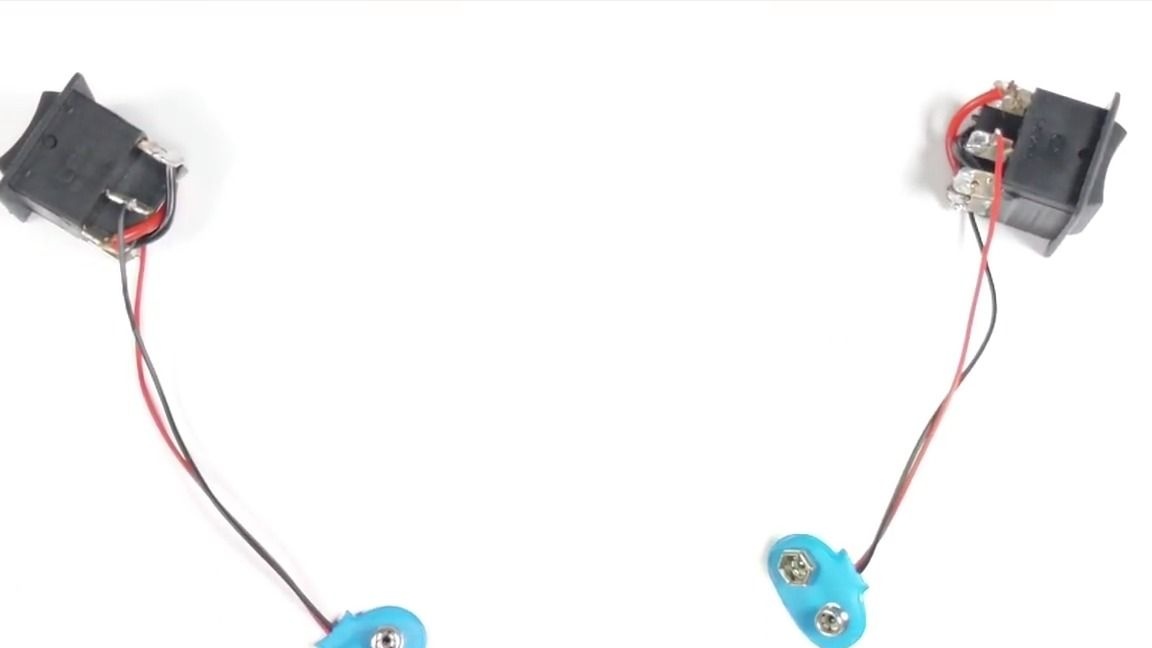
We do the same with the second switch:
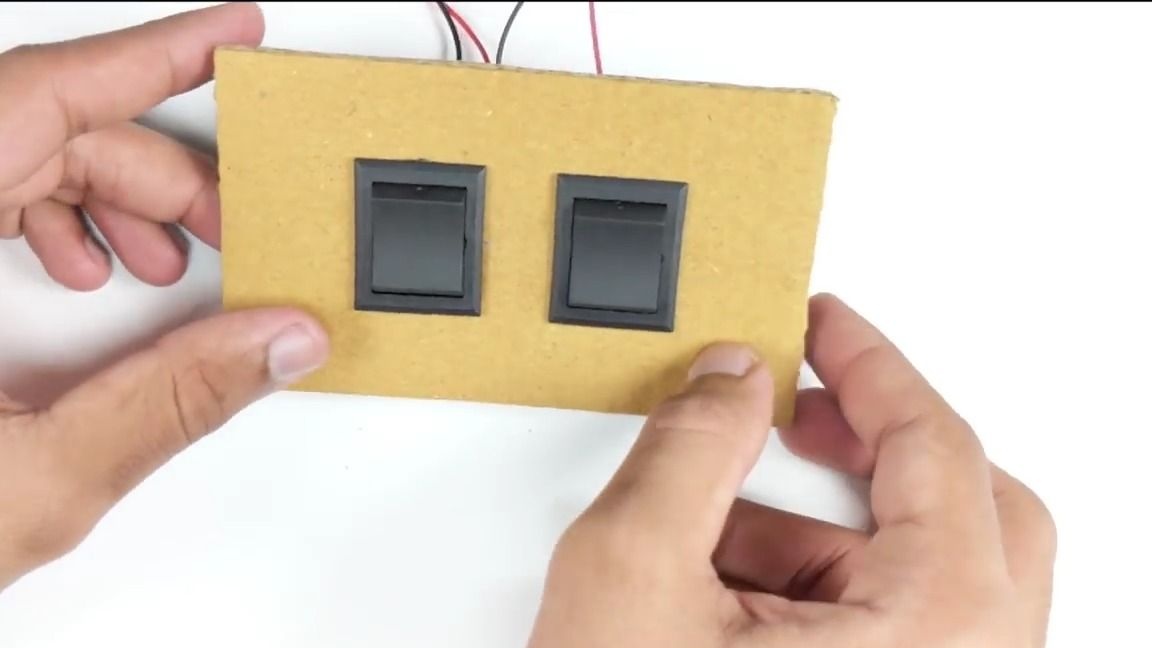
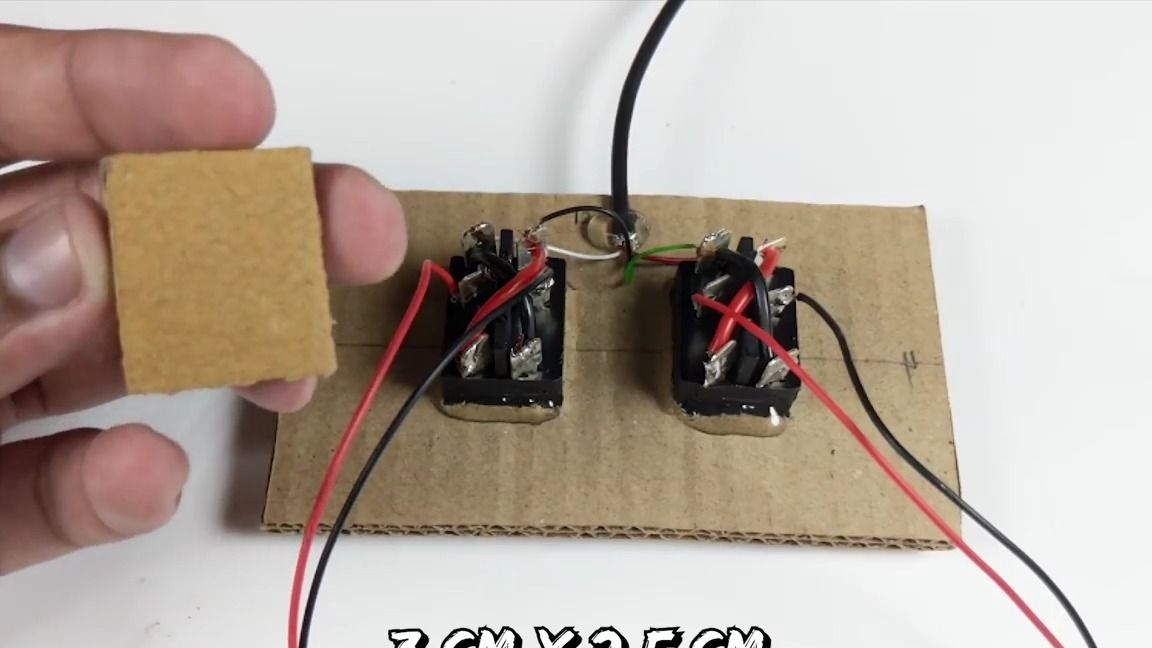
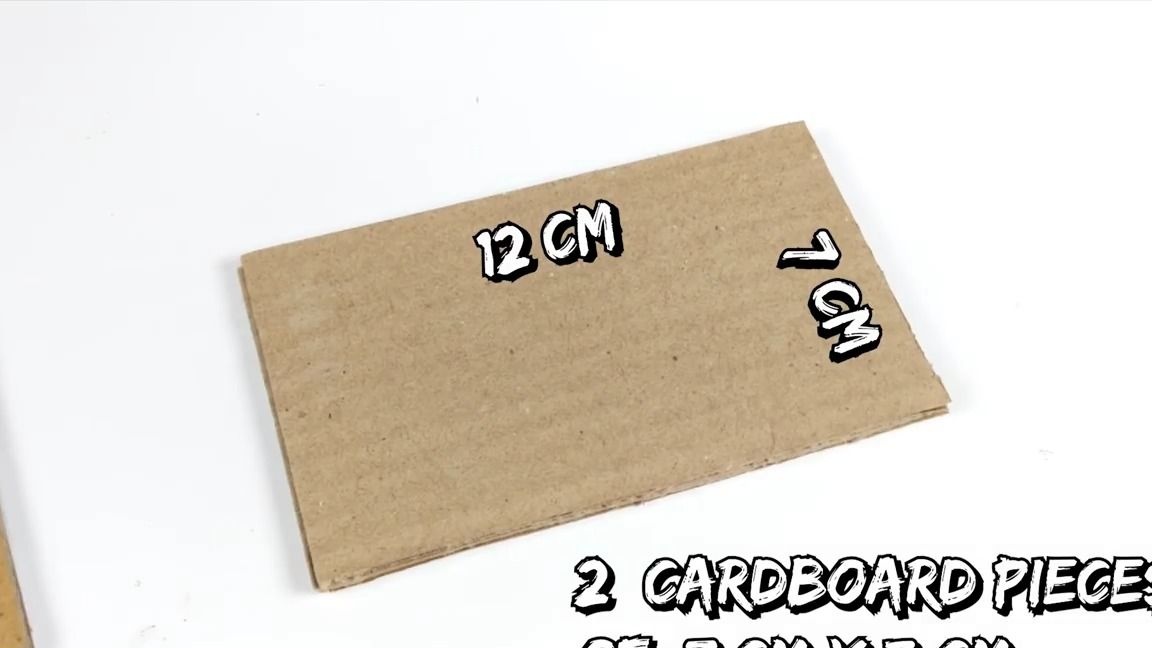
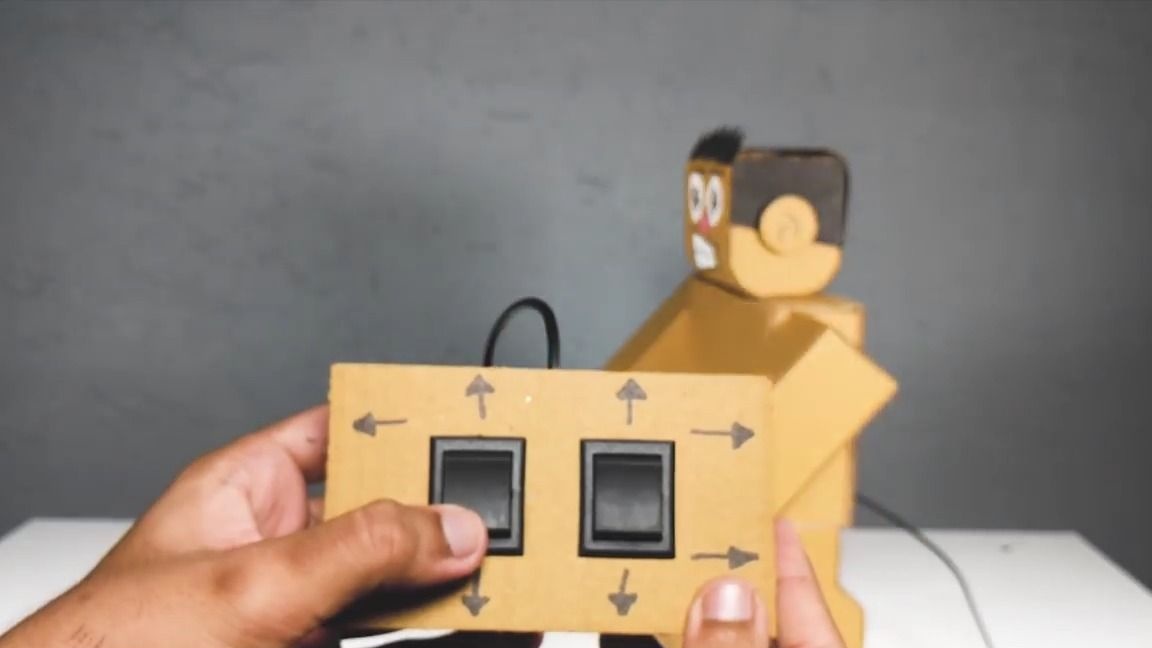
From a piece of cardboard we cut a rectangle with sides of 7 cm and 12 cm, after which we cut two holes for the switches in it:

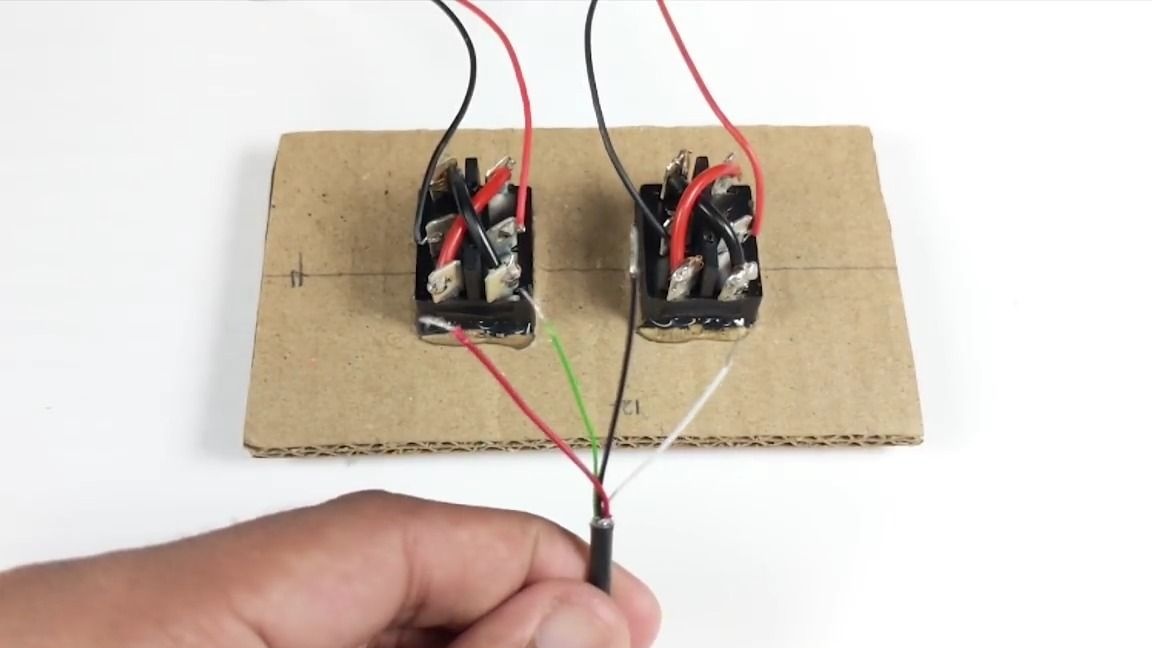
We take the second end of the wire and solder its ends to the switches as shown in the photo:
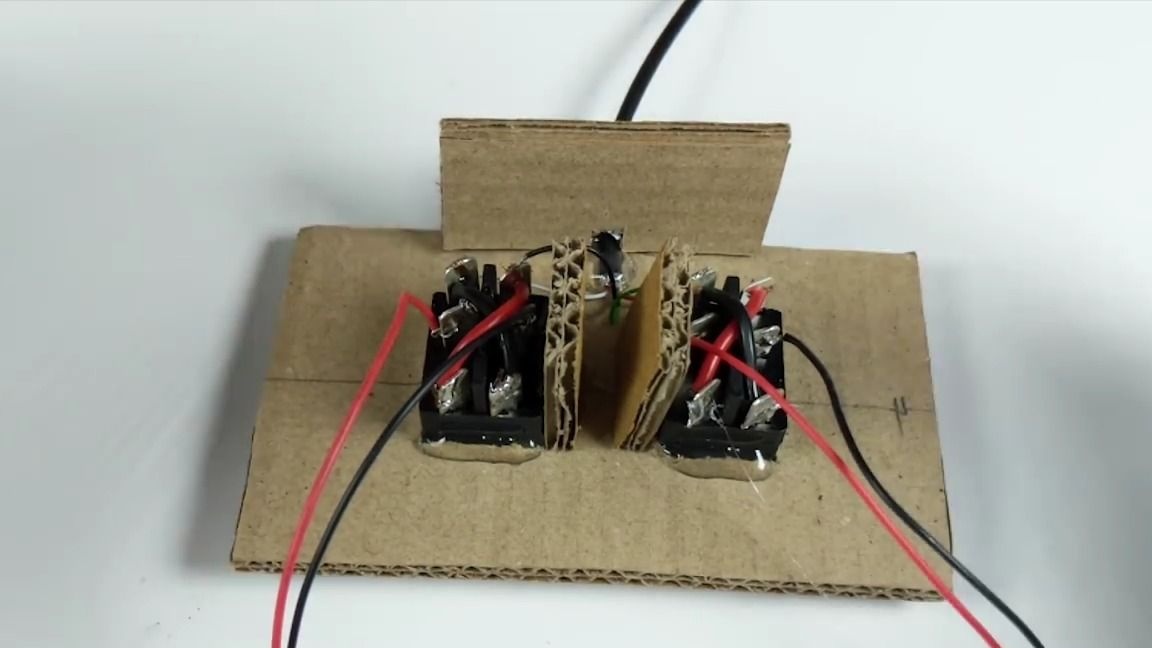
We assemble the case for the control panel as shown in the photo:
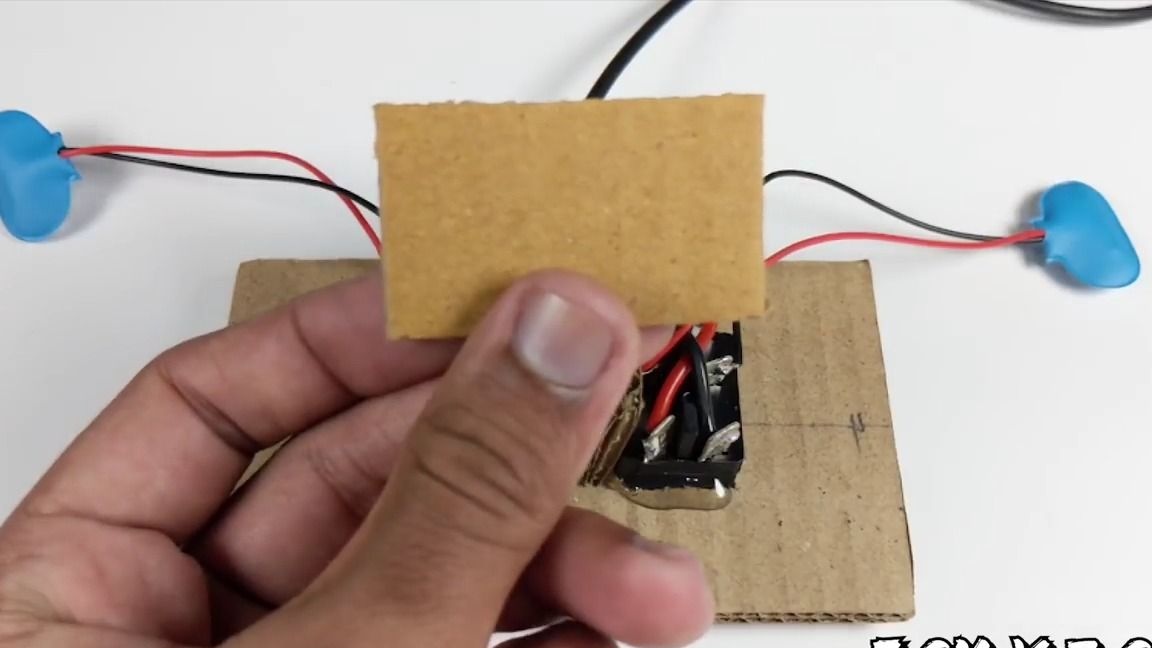
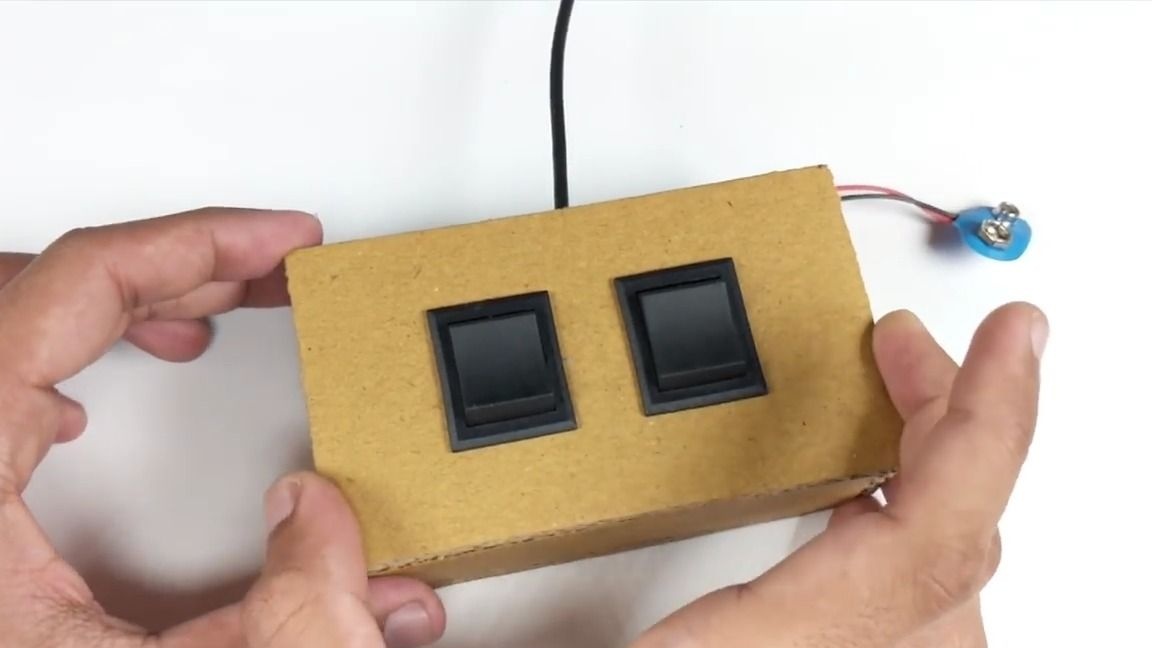
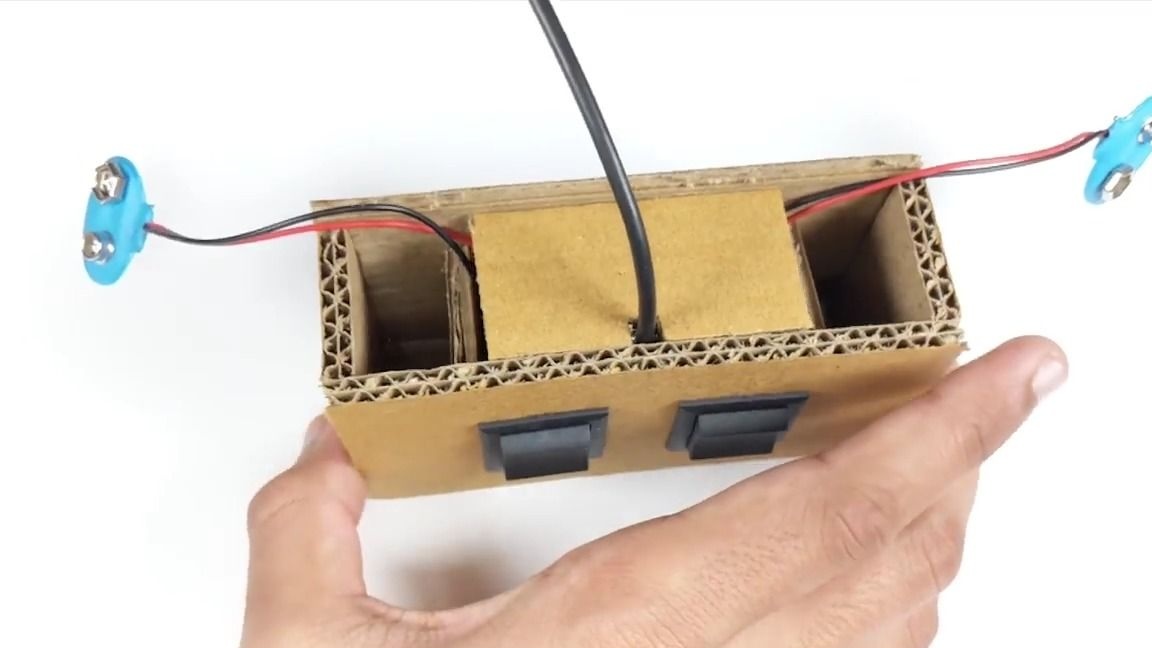
We connect on the "crown" to the ducts and remove them into their grooves in the remote control:
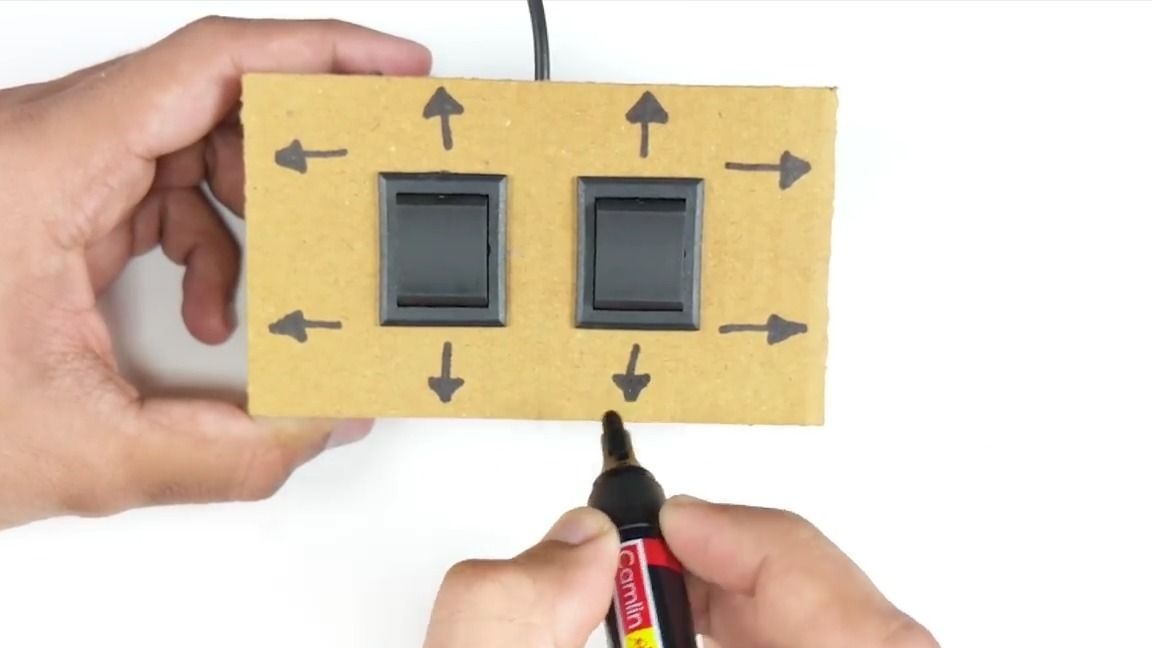
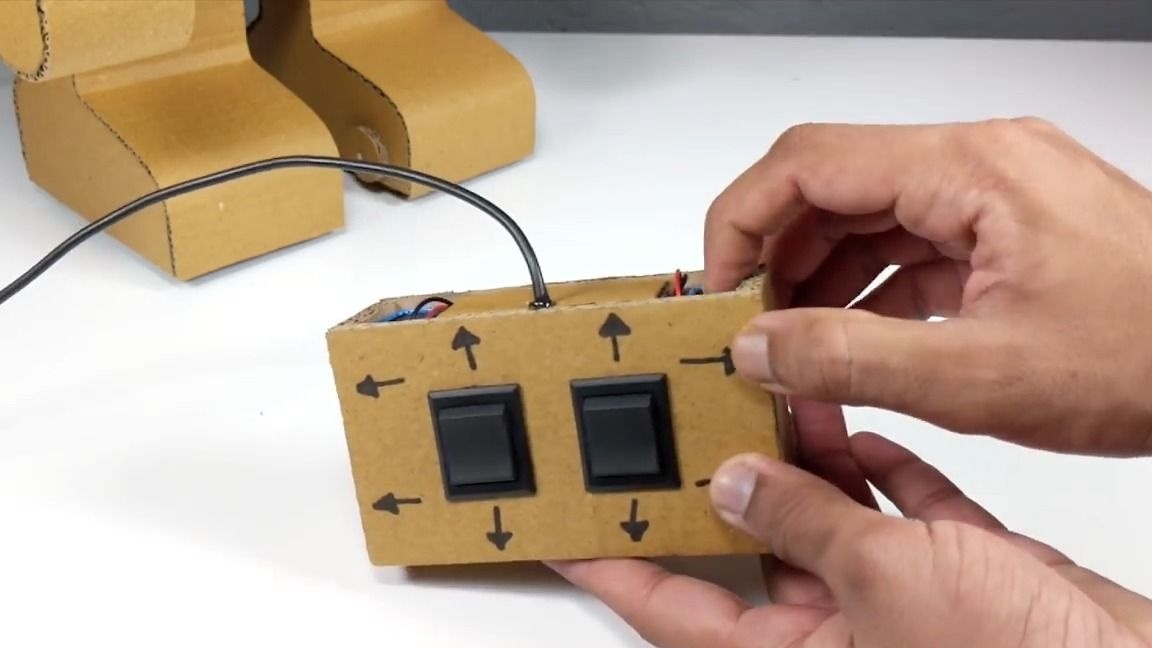
Using a marker, we make markup with control:
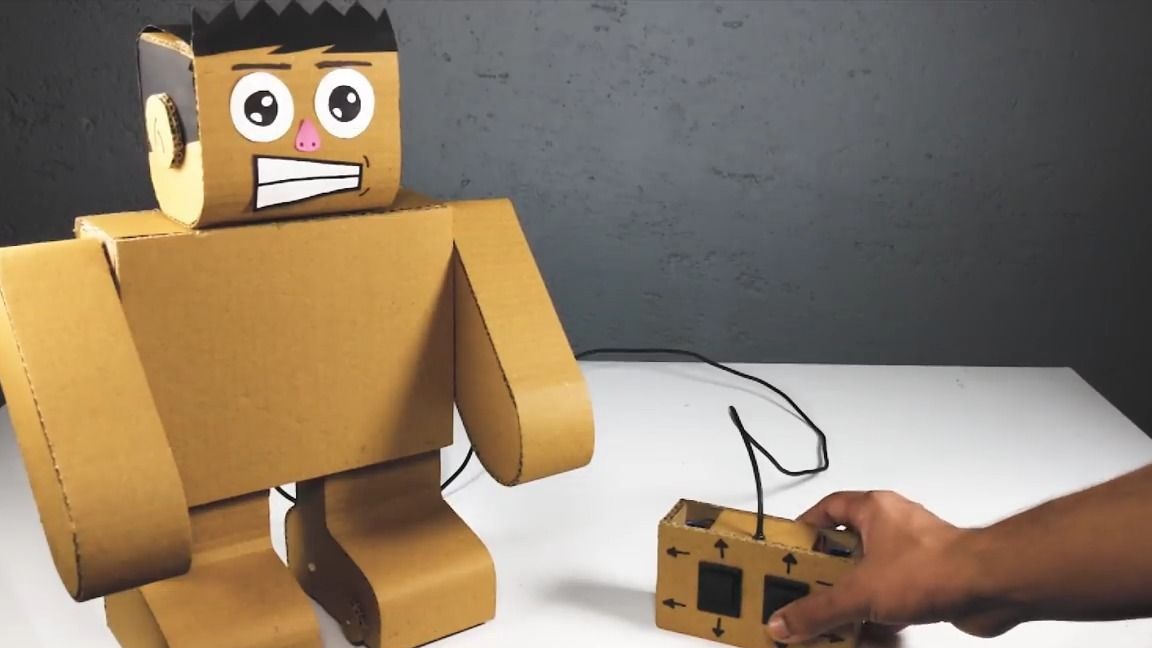
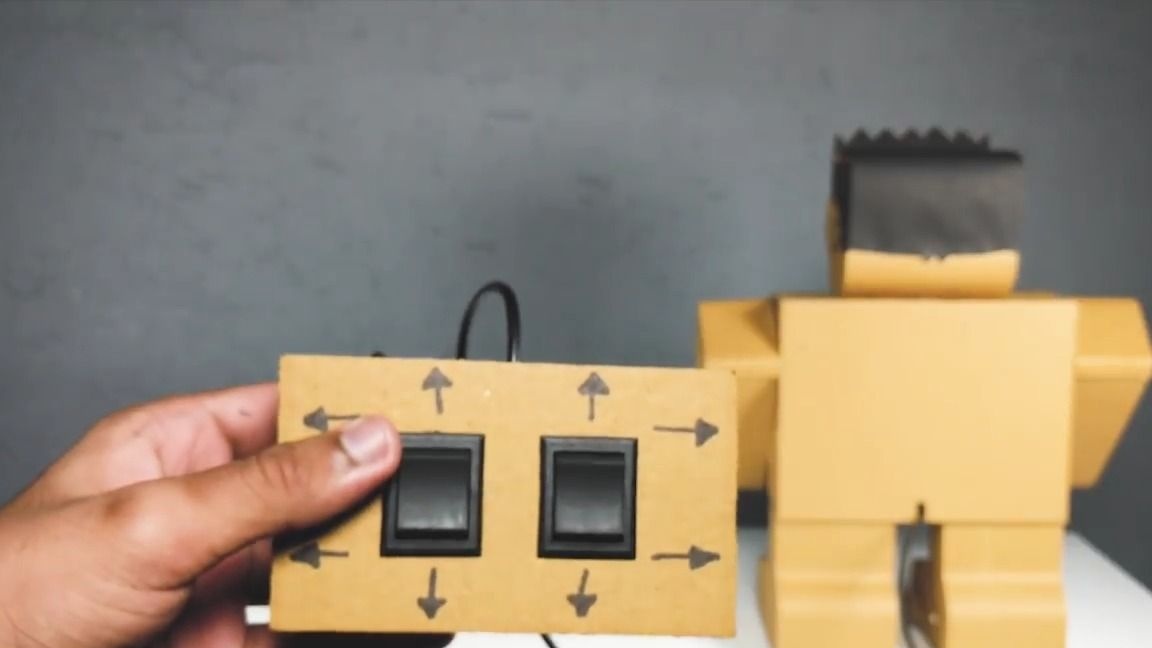
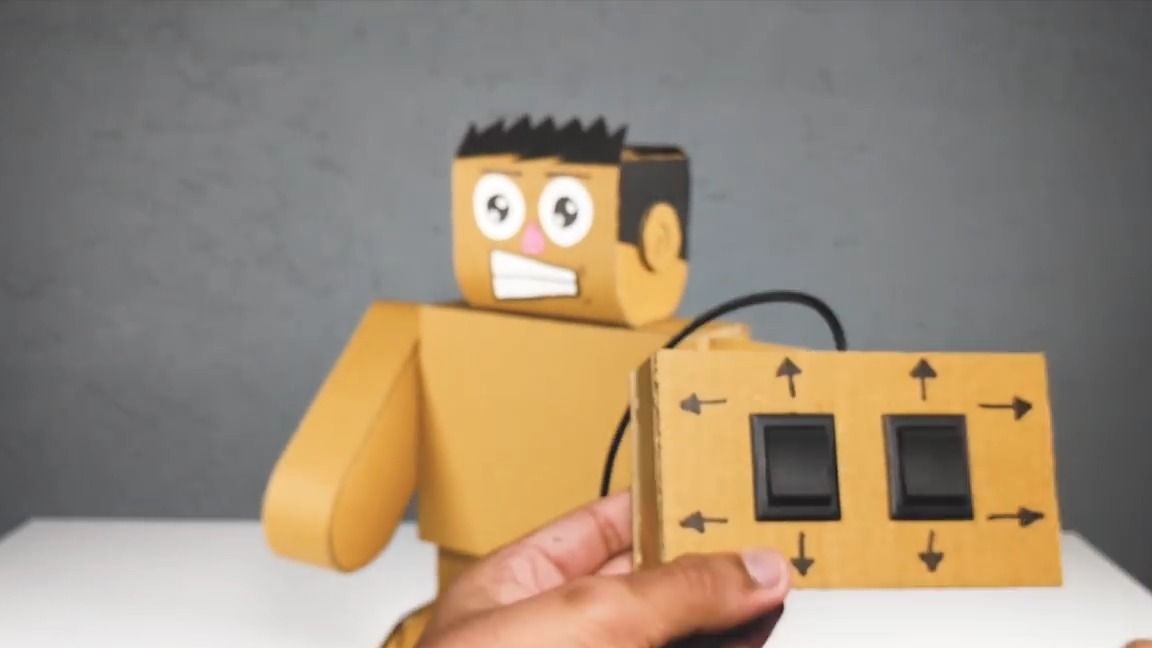
Well that's all, our simplest "robot"on the control panel is ready and it remains only to test it!
We put the "robot" on a smooth horizontal surface and begin to control its movement by correctly pressing the switches. This "robot" can move forward, backward, left, right, and rotate around its axis, since it uses a tank type of chassis.
The robot is very funny and fun to control, although its control range depends on the length of the wire, but this is not a very big minus, the main thing is that it is very easy to assemble and even a child can make it)
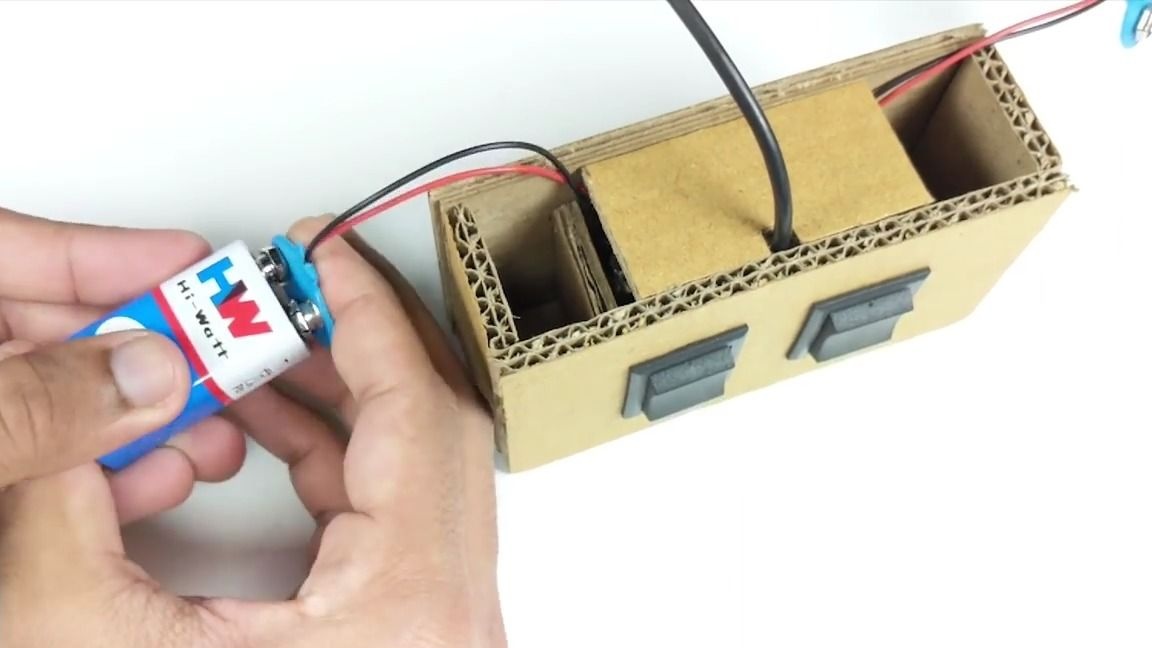
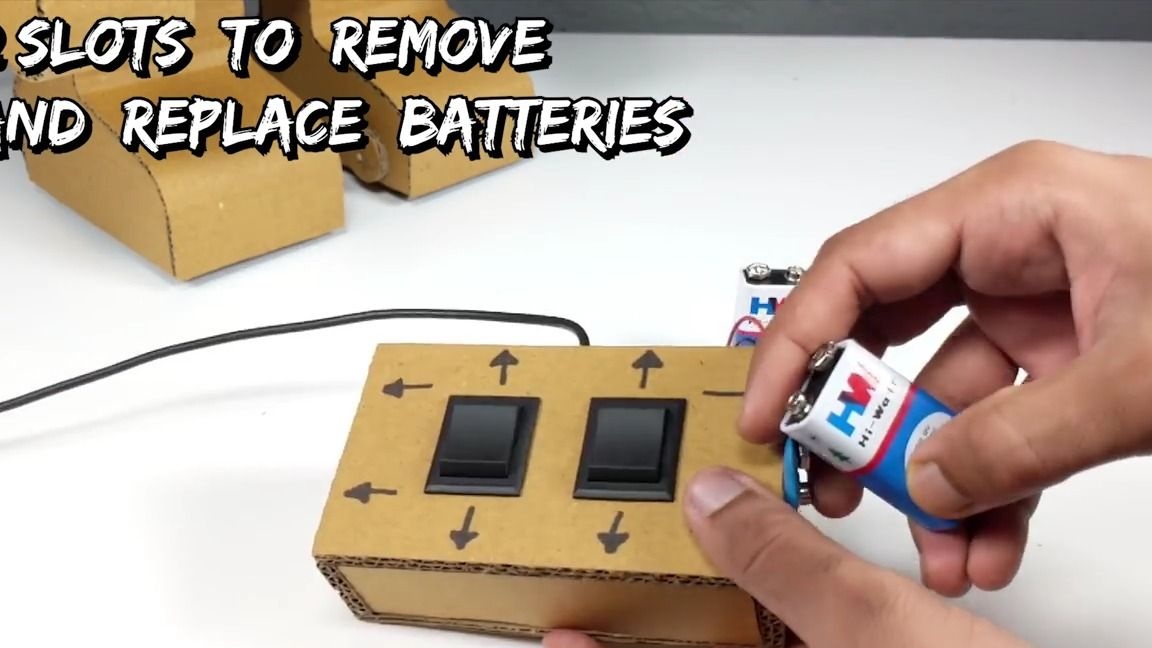
By the way, in this remote control, it is very easy to change dead batteries:
Here is a video from the author with a detailed assembly and with tests:
Well, thank you all for your attention!