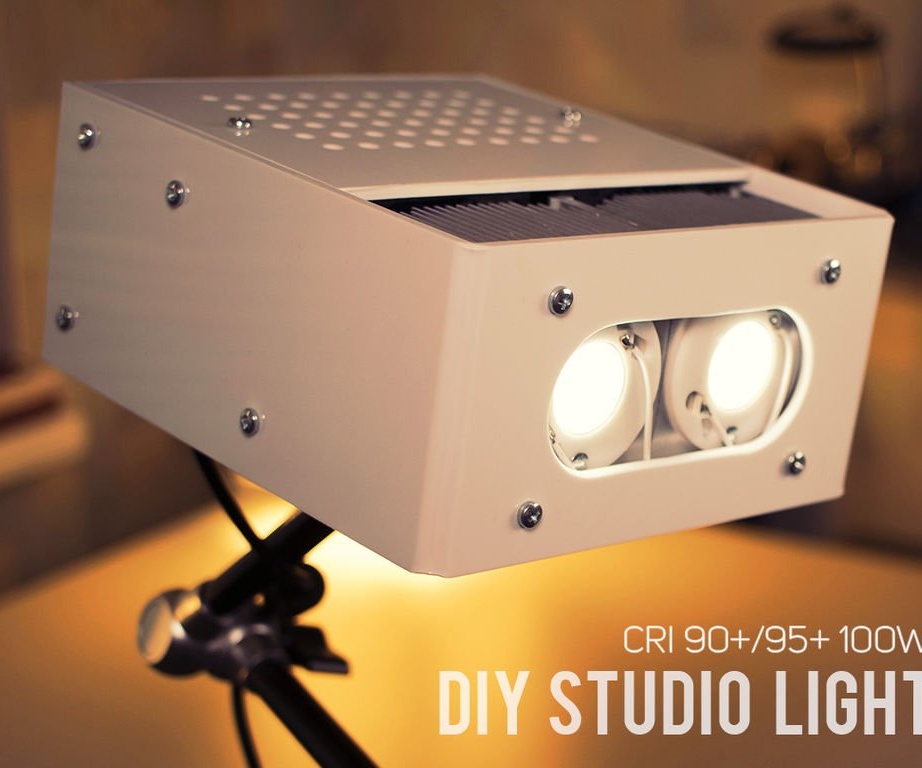
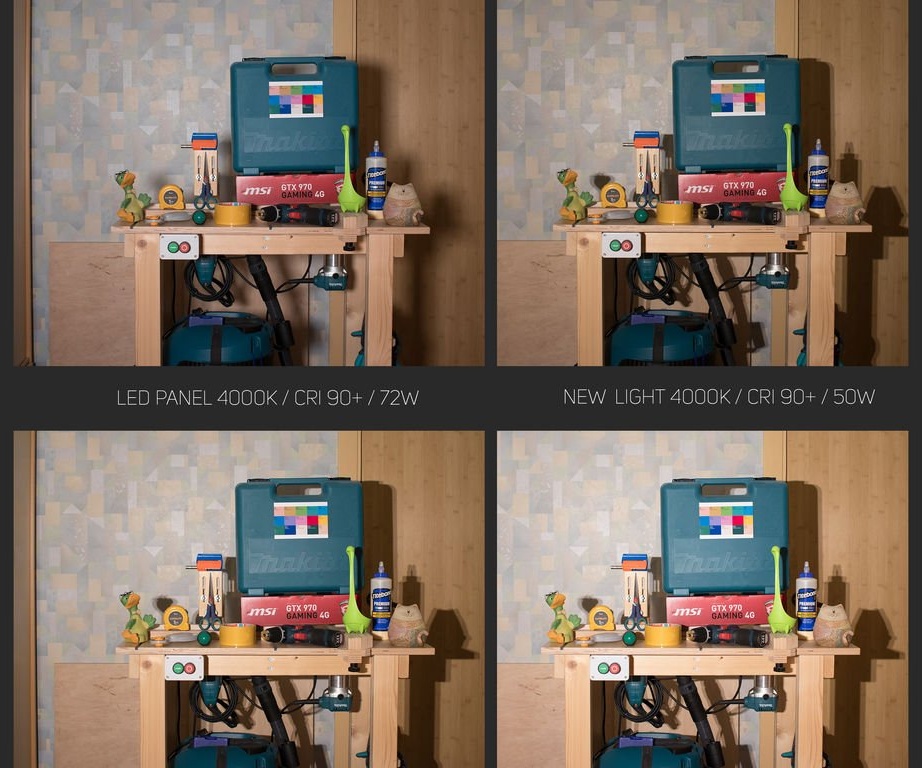
If you are engaged in studio photography, this article is for you. The master presents to us his next studio lamp. Compared with the last work of the master, this lamp is more powerful (more than 100 W), has active cooling and is 30% lighter.
Tools and materials:
-A screwdriver;
Riveter;
-Set for threading;
- Jigsaw;
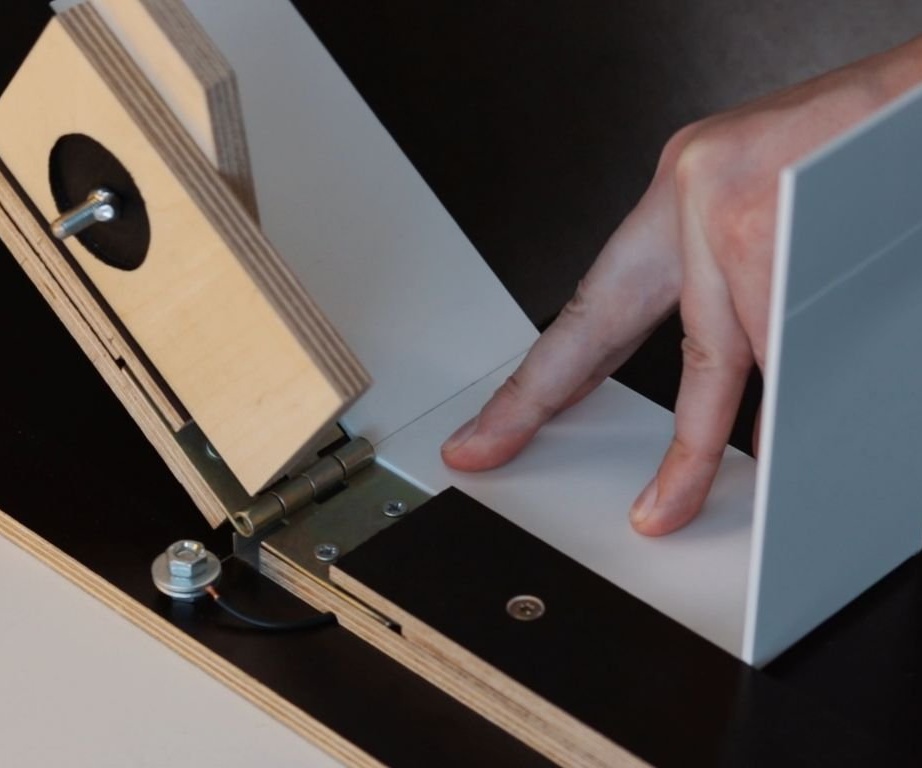
-Application for bending acrylic;
-Crown on wood;
-Countersink;
-Roulette;
-Nippers;
-Multimeter;
-Stripper;
-Glue gun;
-Soldering accessories;
- CMT1925 64 W LED 3000K CRI 95+;
-LED holder;
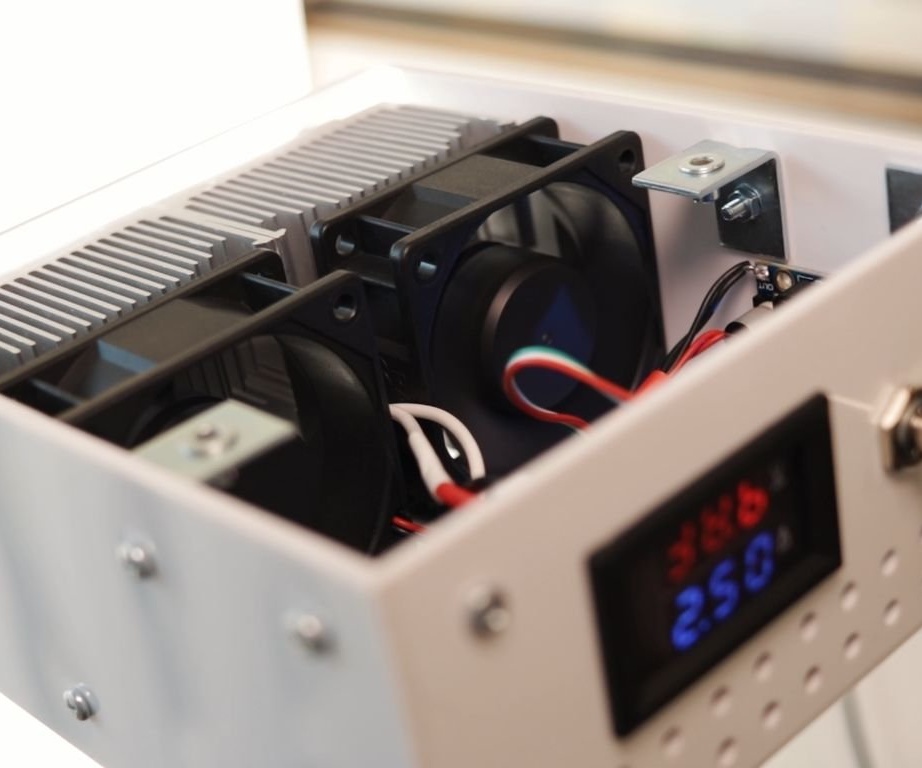
-Radiator with fan;
-Voltage regulator;
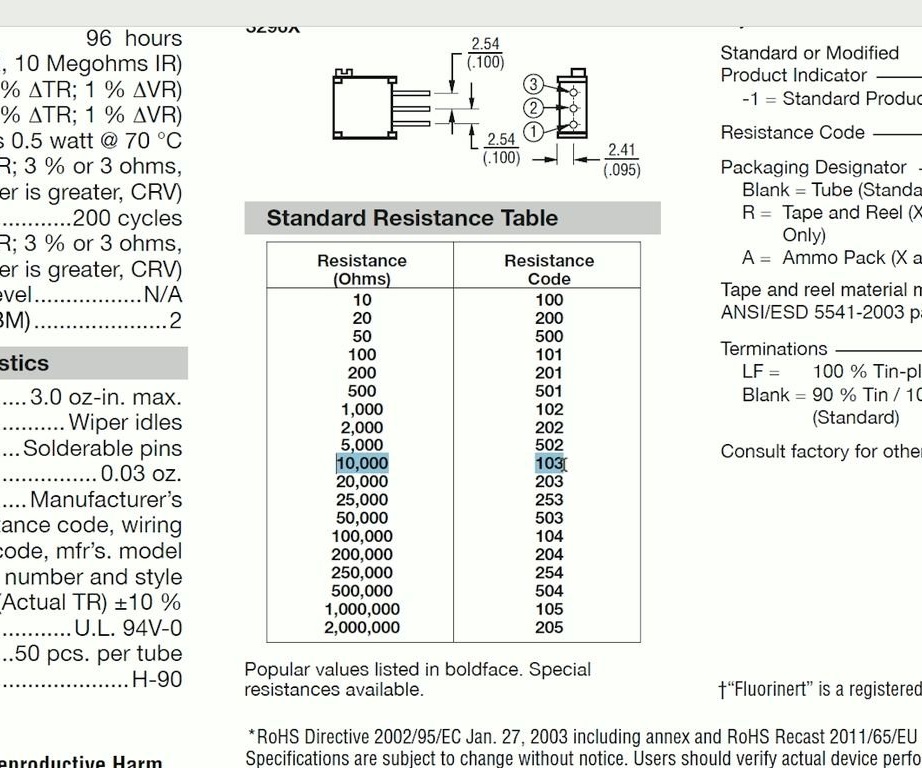
- Voltage Regulator LM2596S;
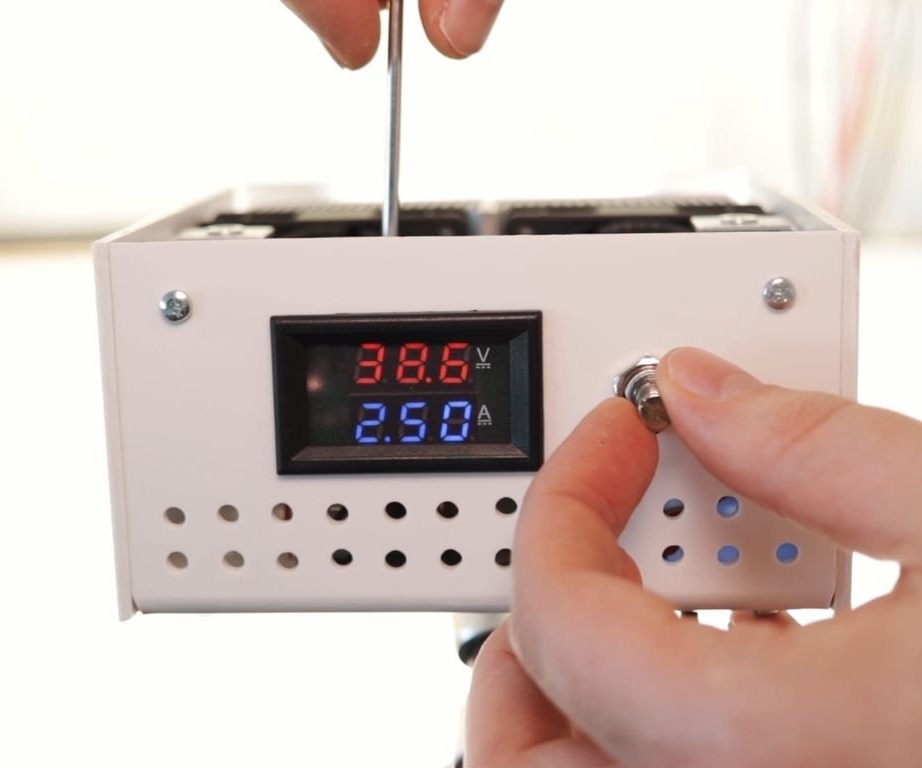
-Test voltage / current;
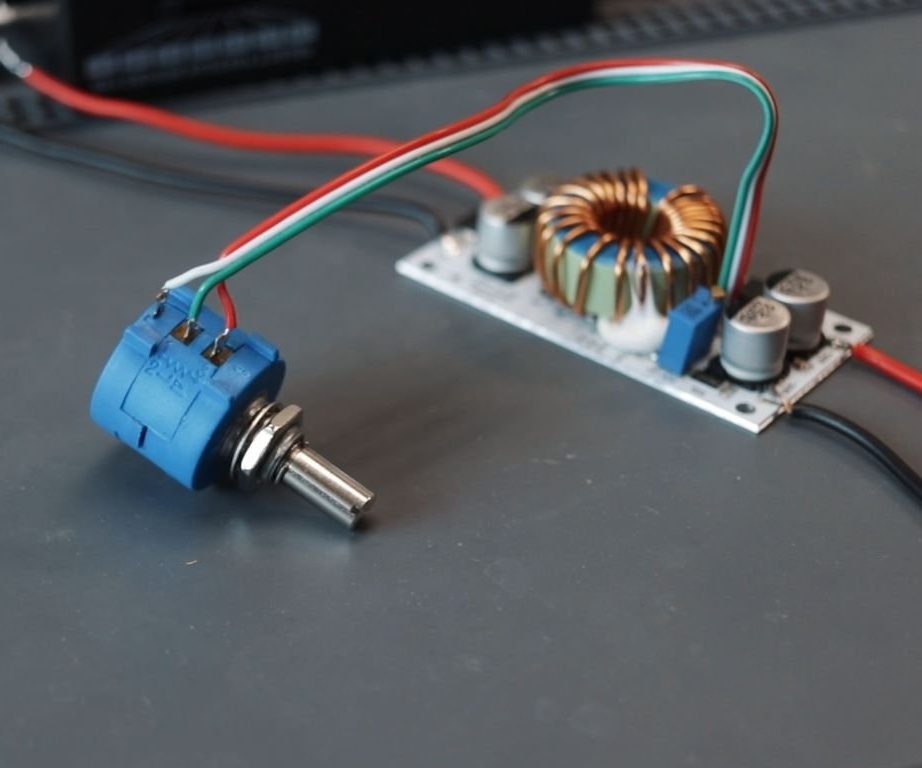
-Potentiometer 10 kOhm with a handle;
-Tripod;
-Acrylic;
-Wire;
-Shrink tubes;
-Insulating tape;
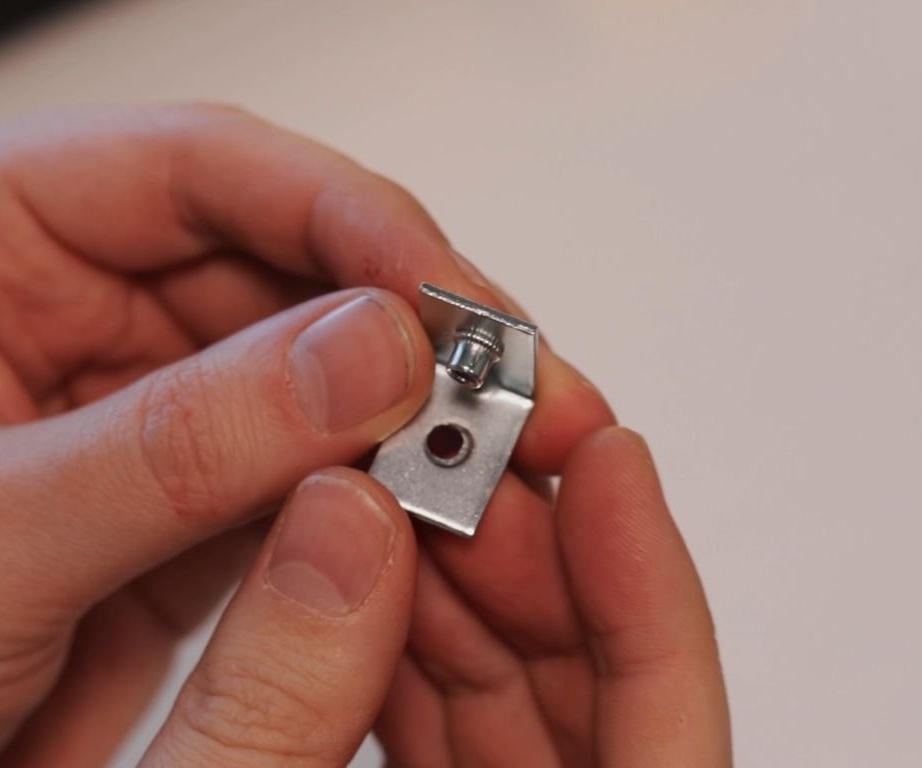
-Fasteners;
-Rectangular corners;
-Sandpaper;
- thermal paste;
-Alcohol;
- Heat-resistant double-sided tape;
Step One: LEDs
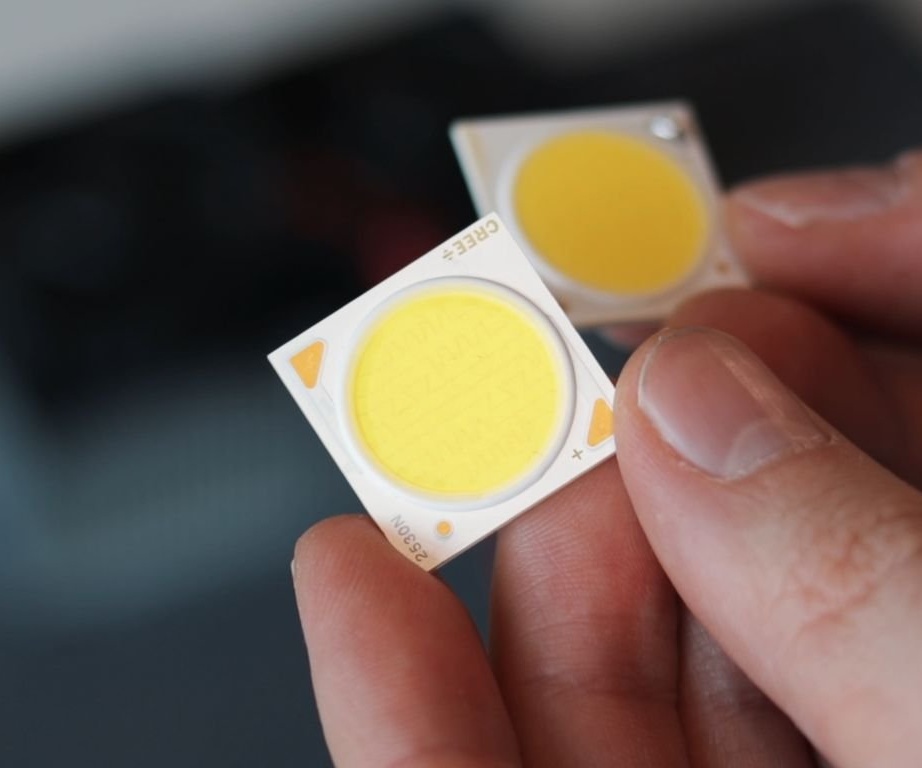
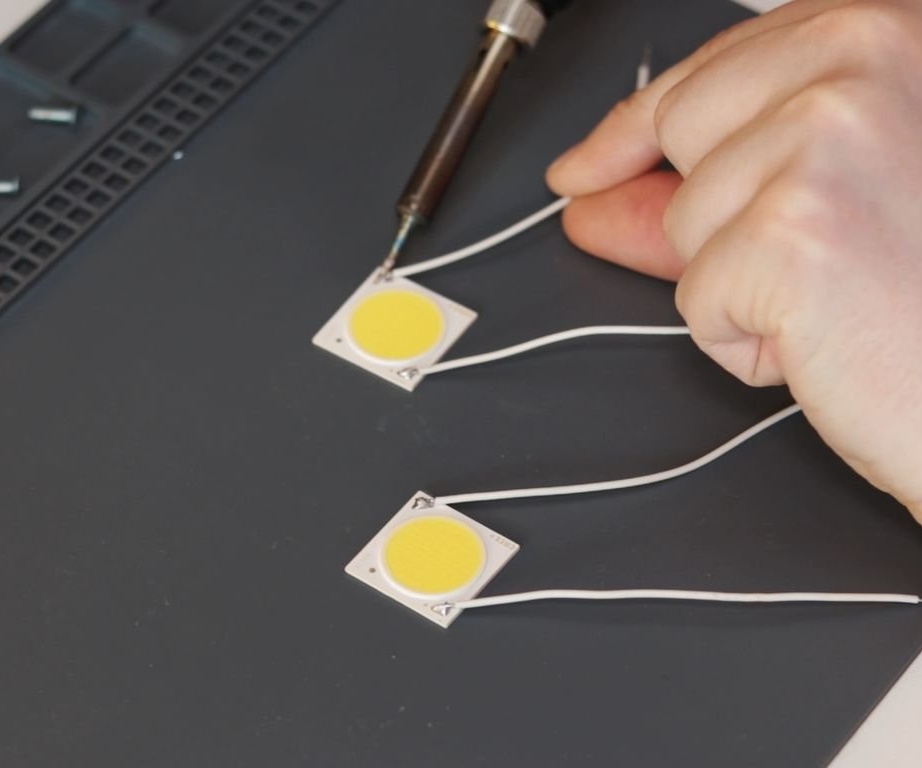
For his lamp, the master uses two LEDs Cree CXA2530 4000K CRI 90+. LED technical parameters: 42 V, 1.6 A, 64 W. LEDs cost about $ 20, but, according to the master, cheaper LEDs give the skin an earthy tint.
Step Two: Power Supply
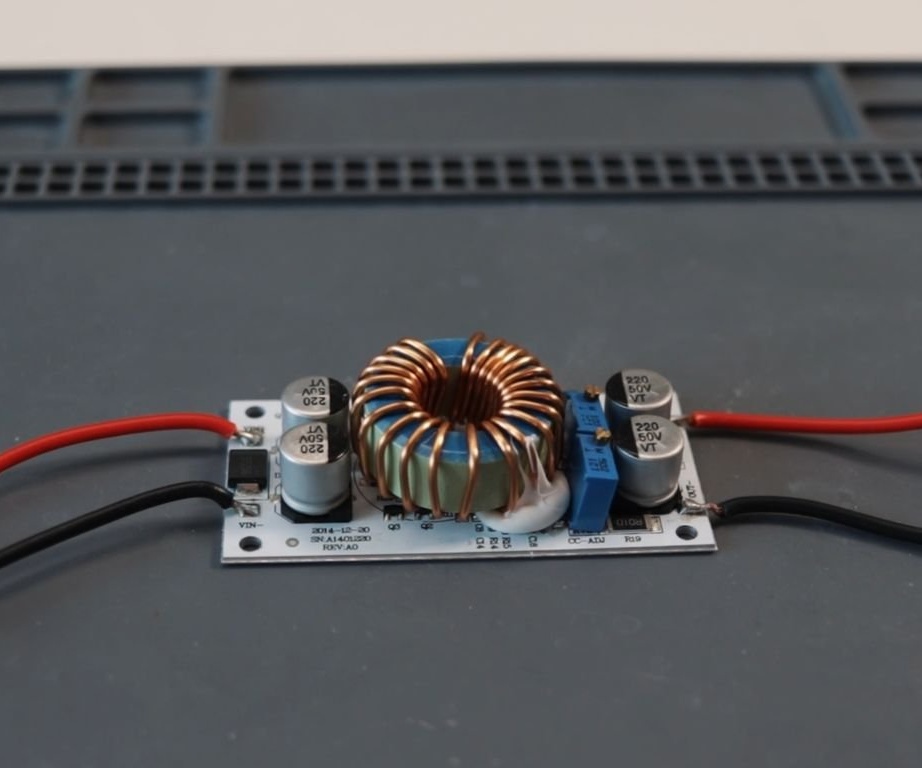
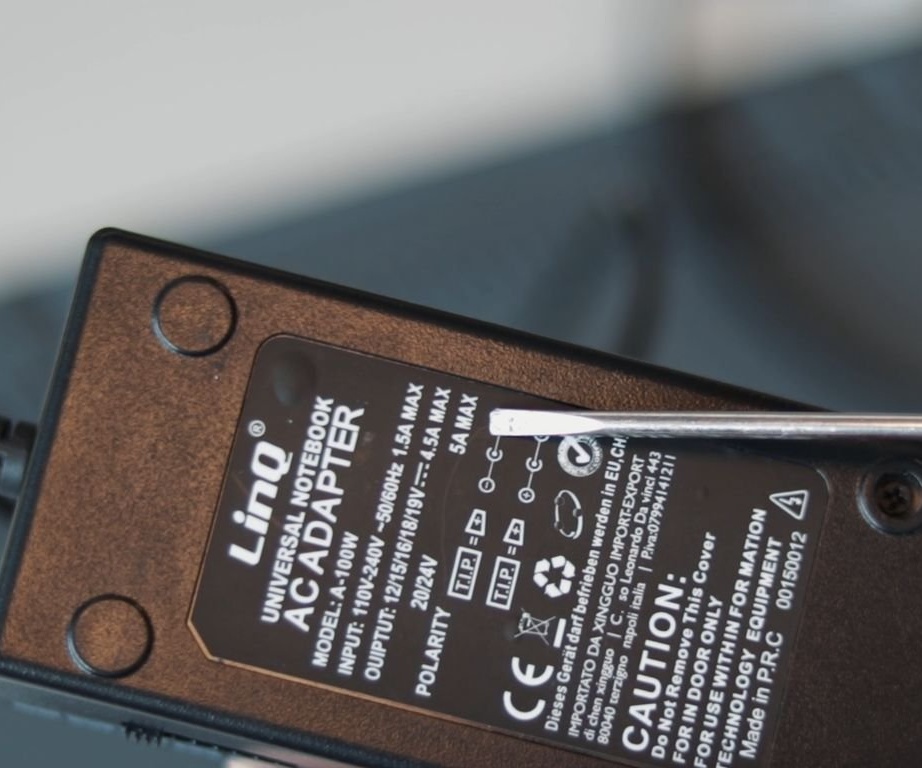
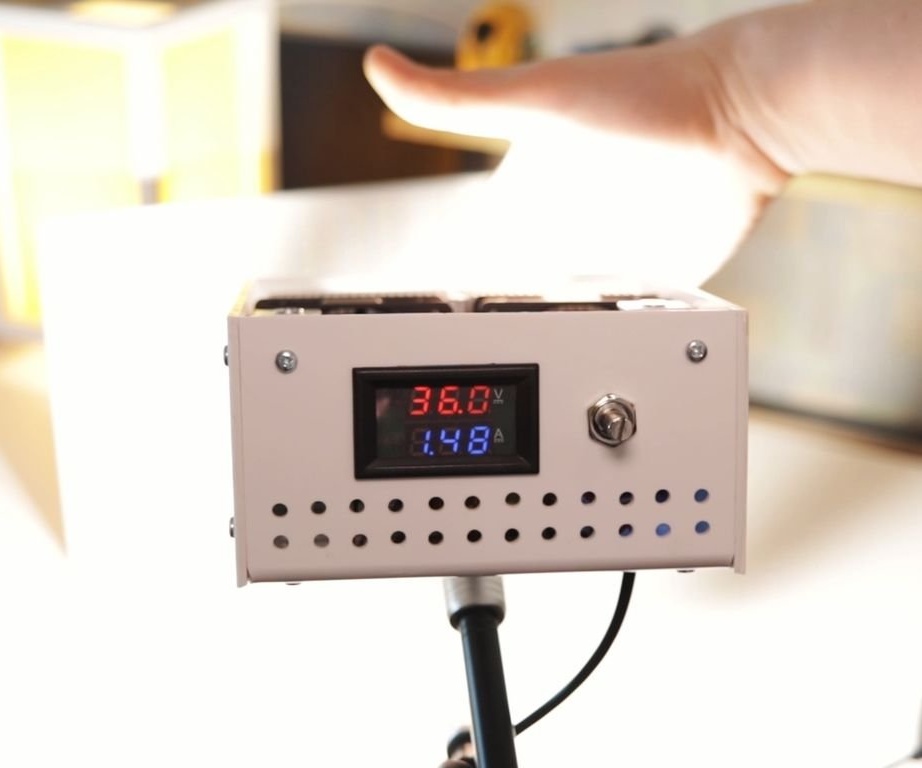
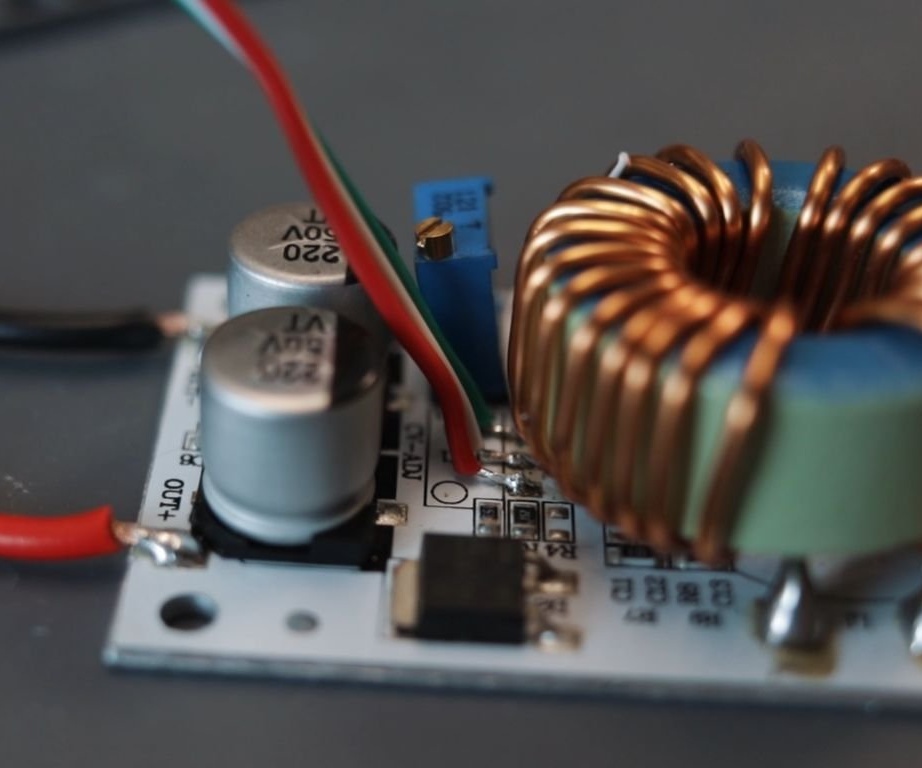
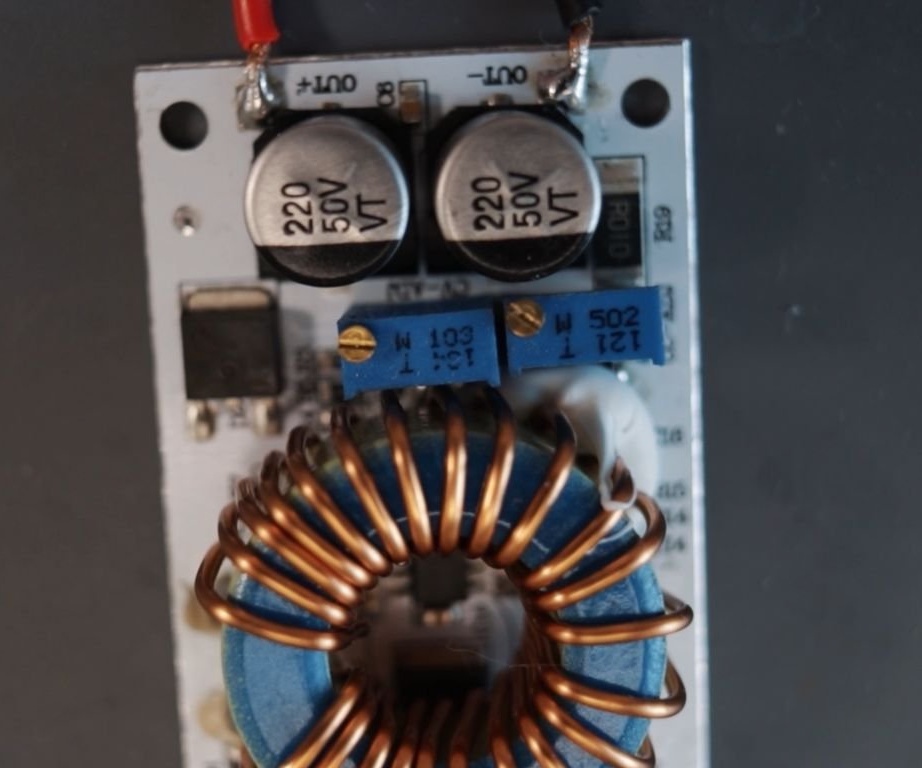
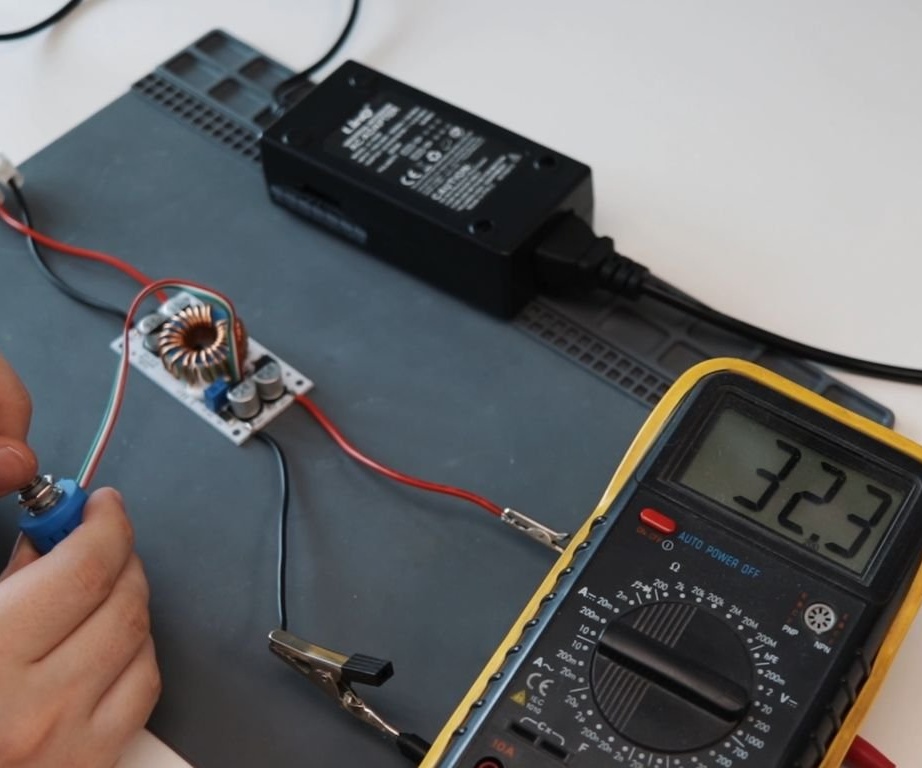
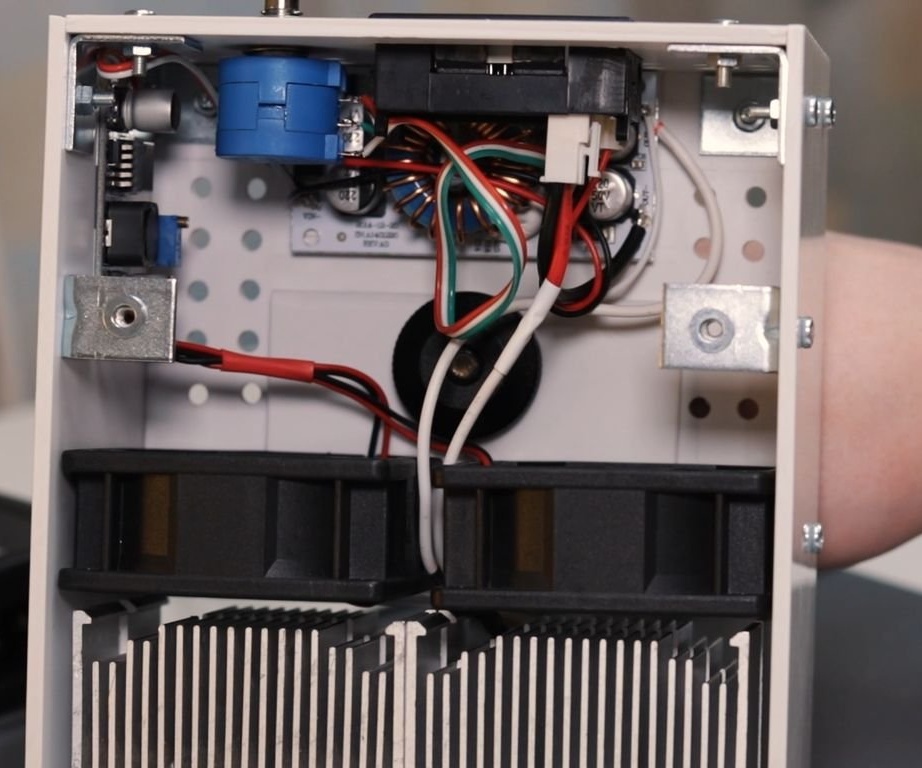
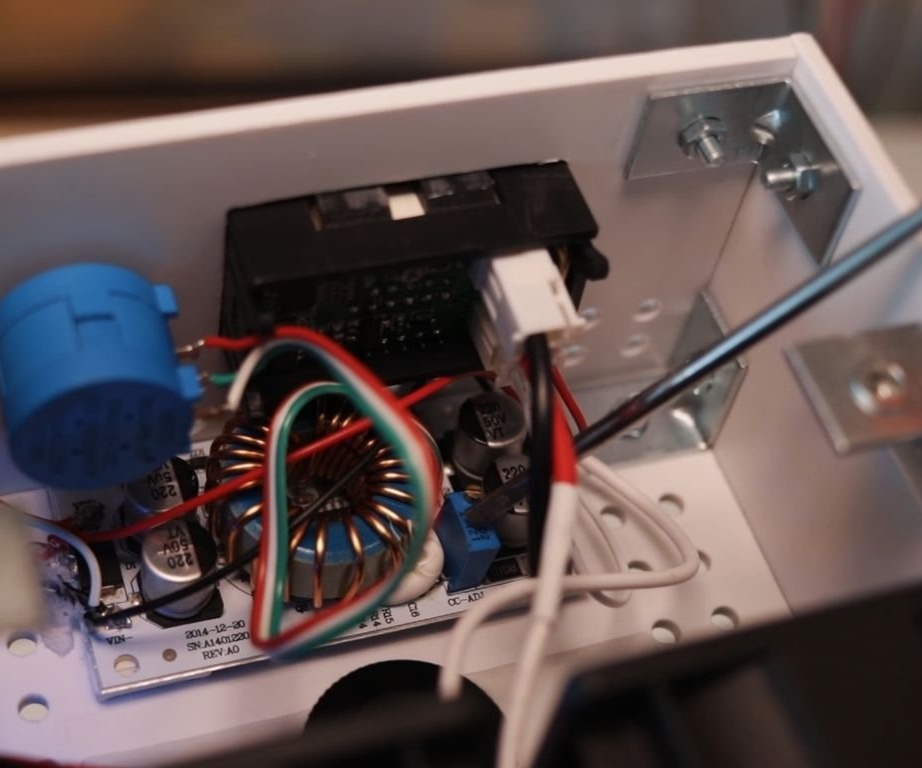
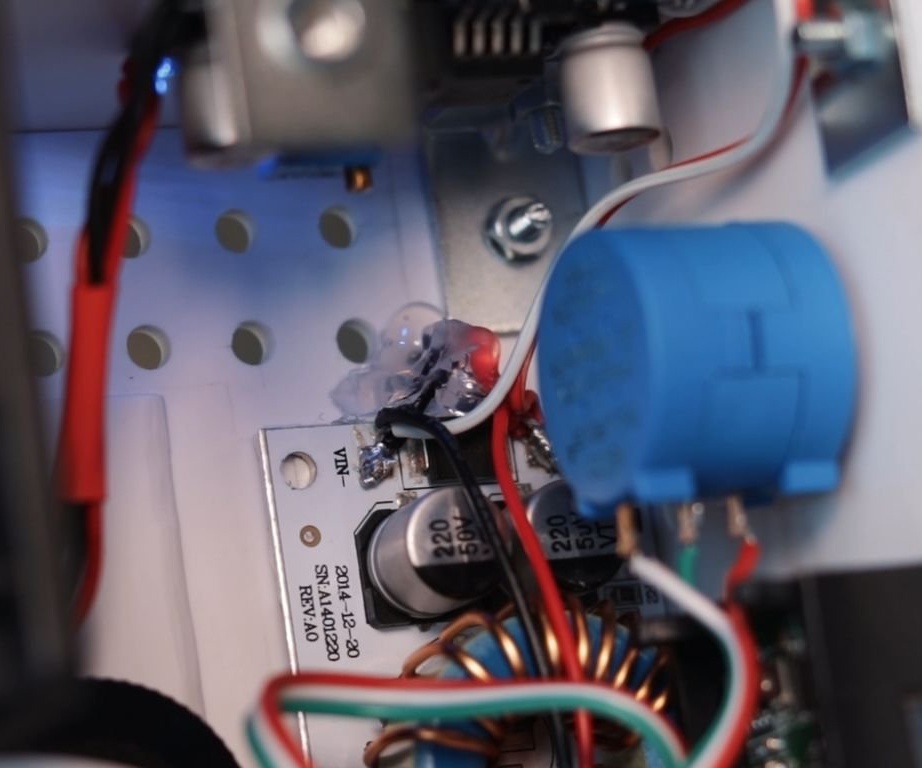
To power the master uses a 24 V 5 A power supply together with a boost converter. And to adjust the glow of the LEDs, the LM2596S voltage regulator.
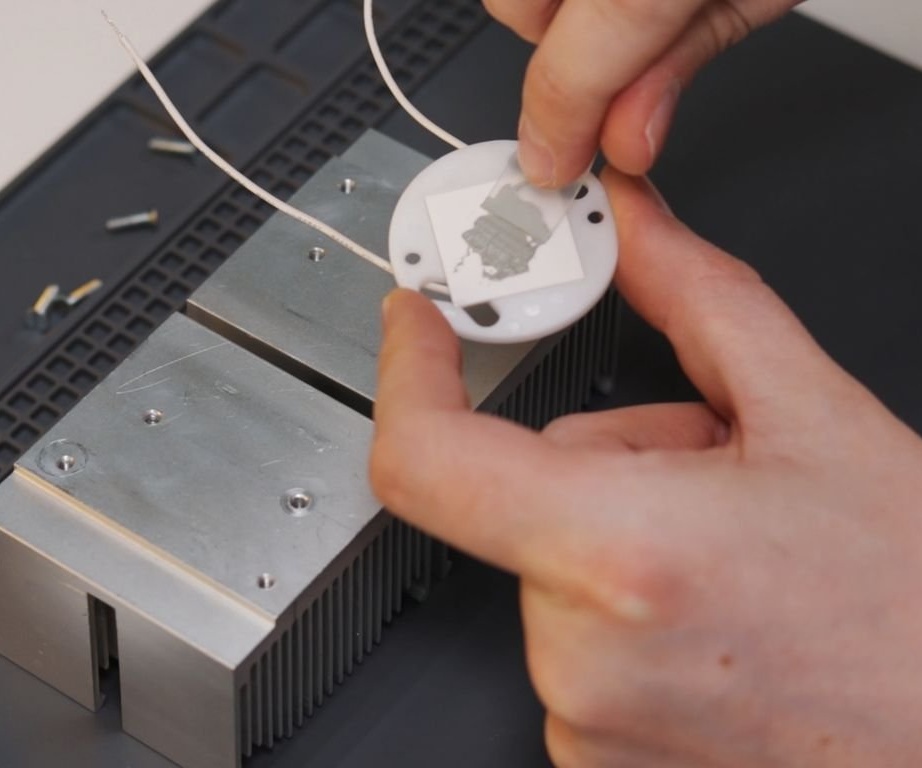
Step Three: Install LEDs
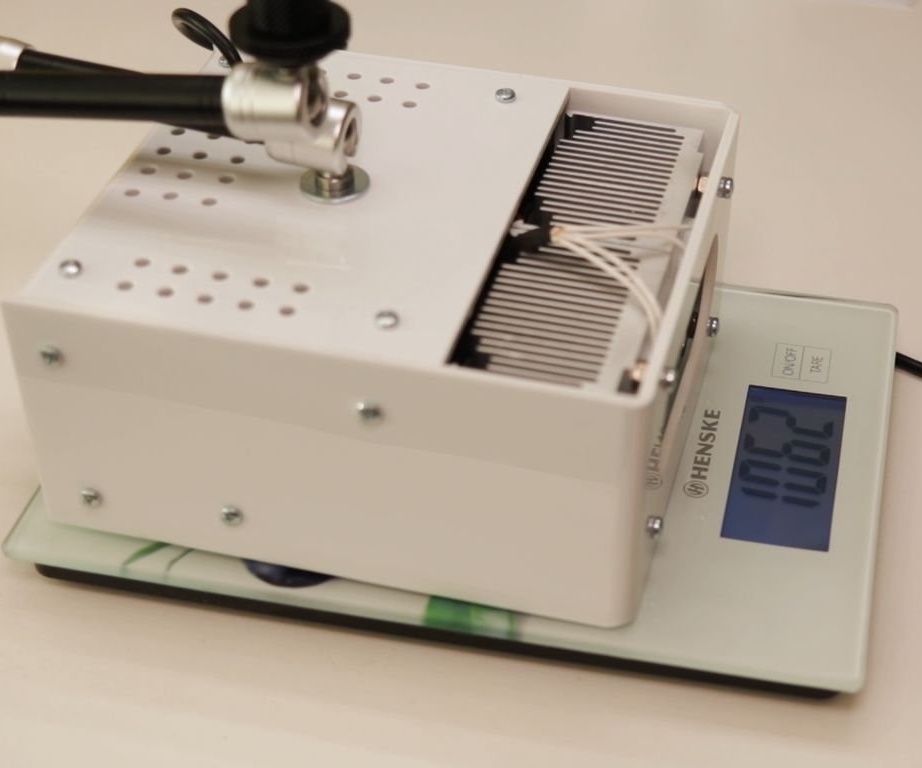
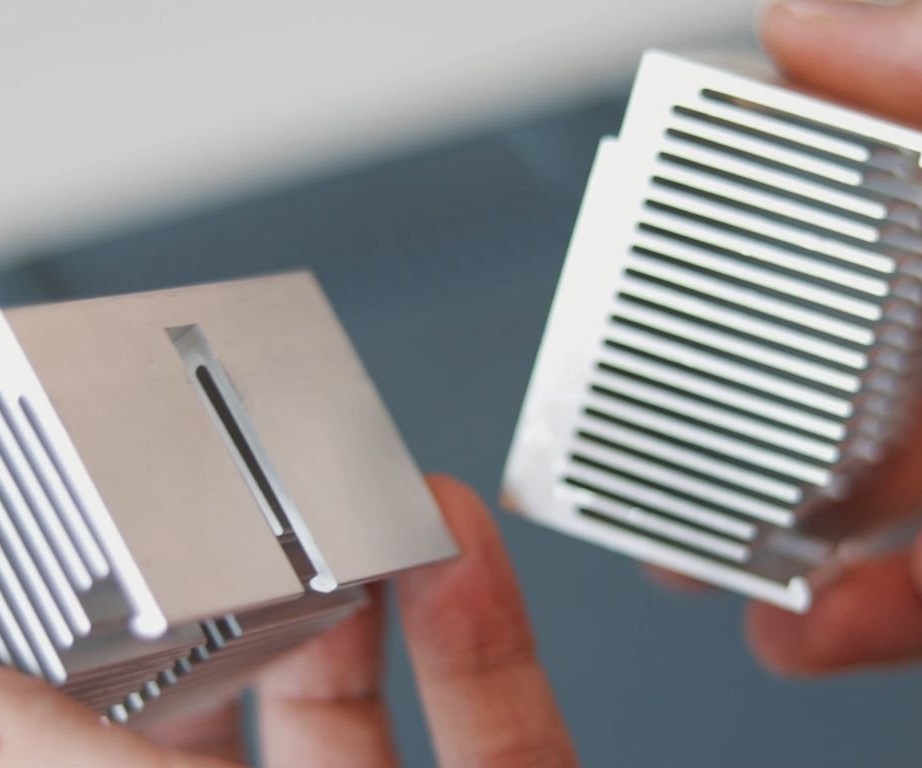
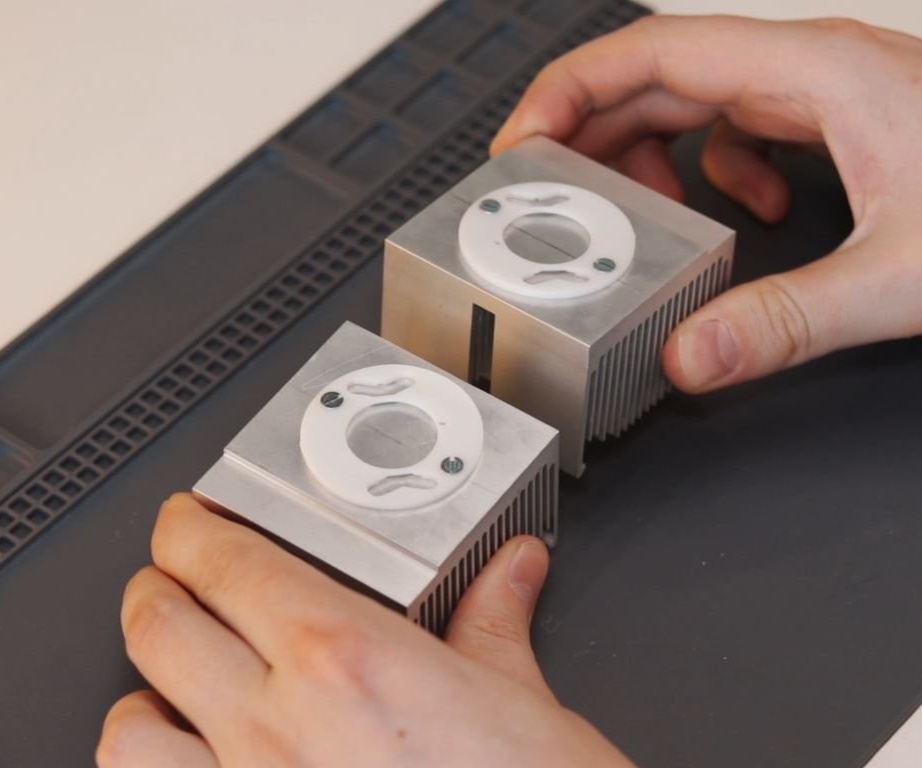
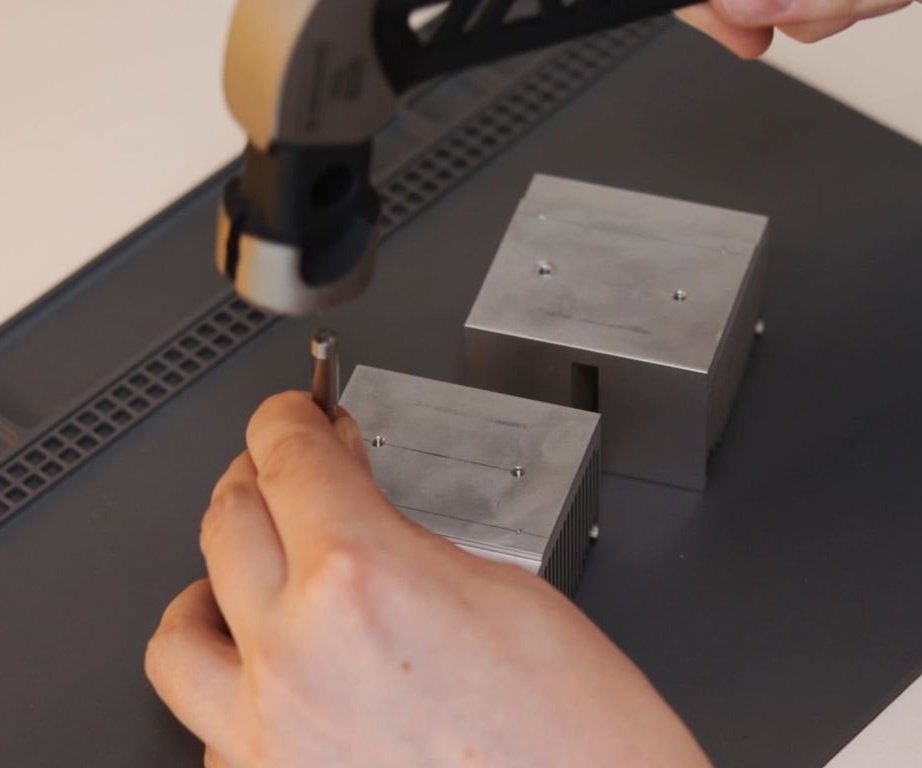
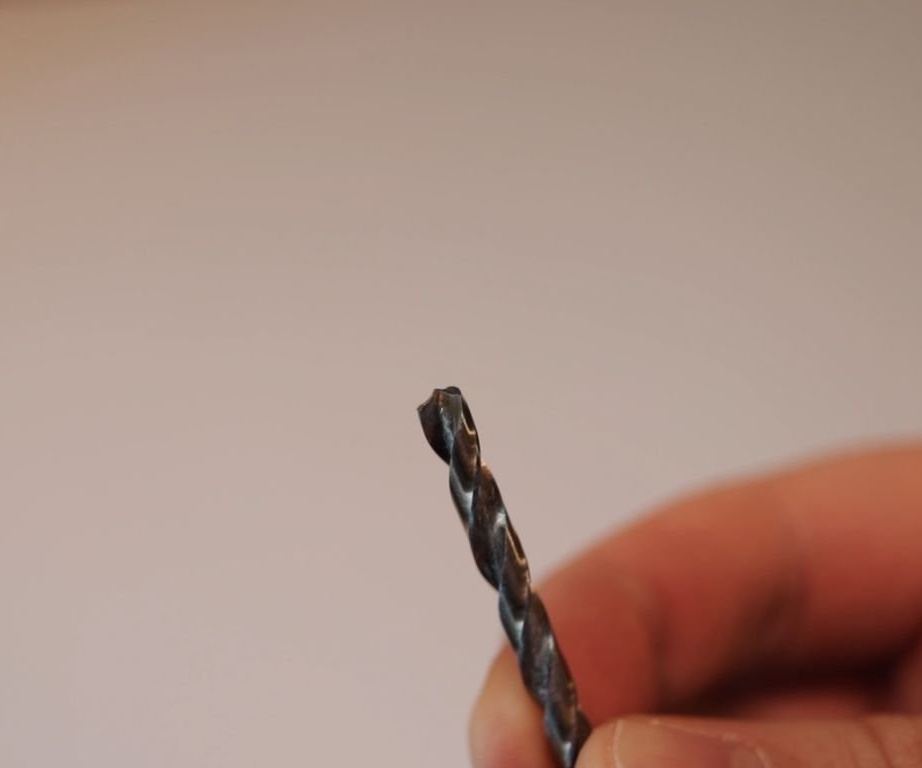
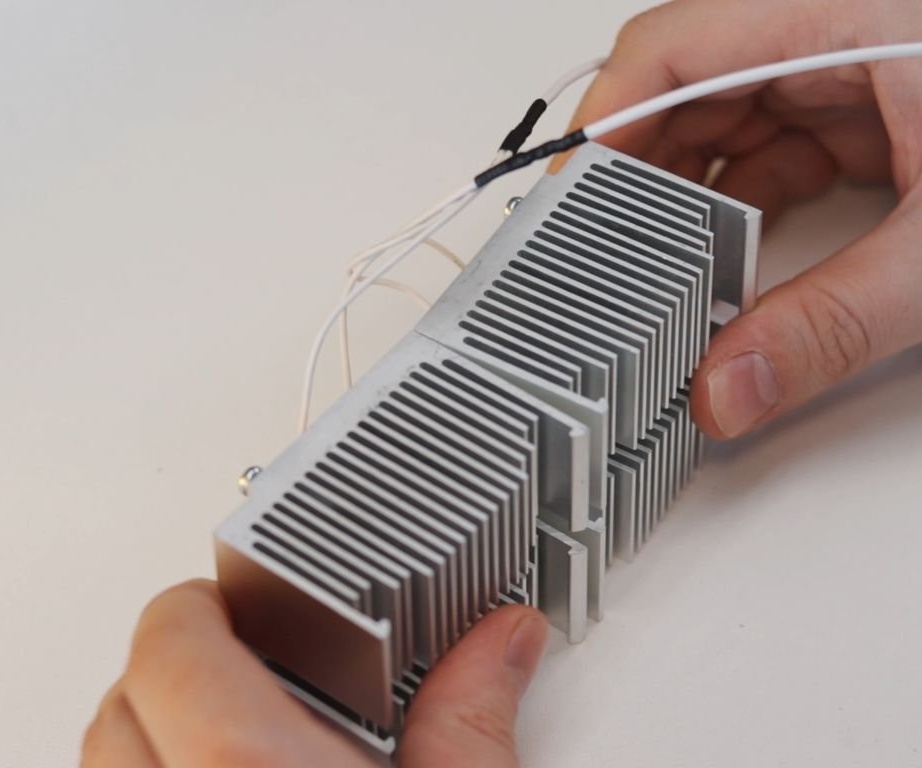
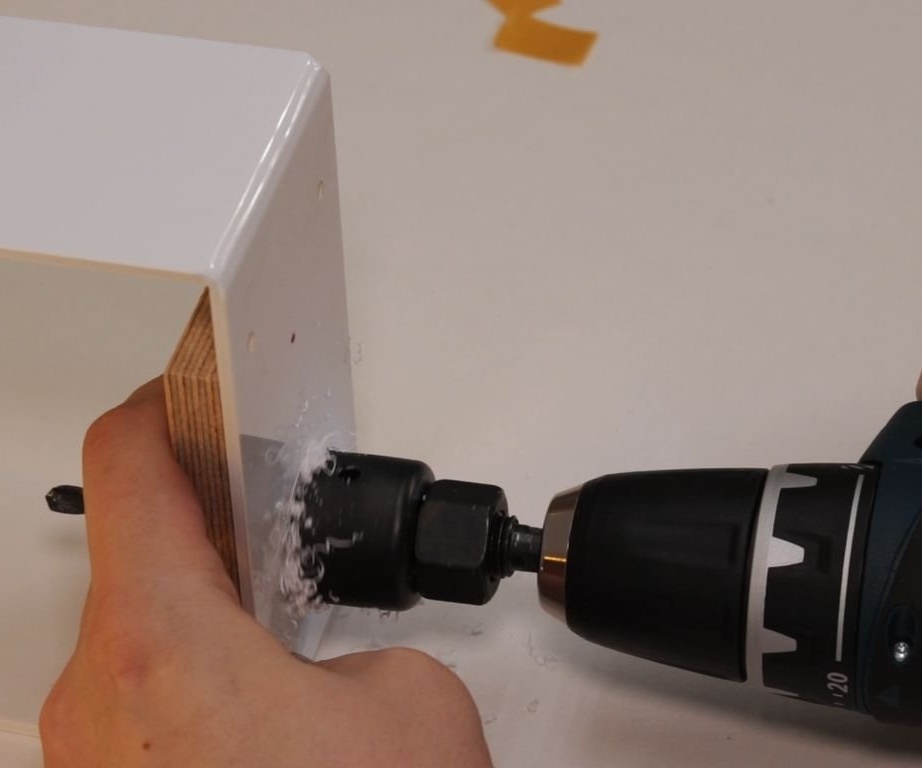
To cool the LEDs, the master uses two heatsinks from older AMD processors. Marks and drills a hole.

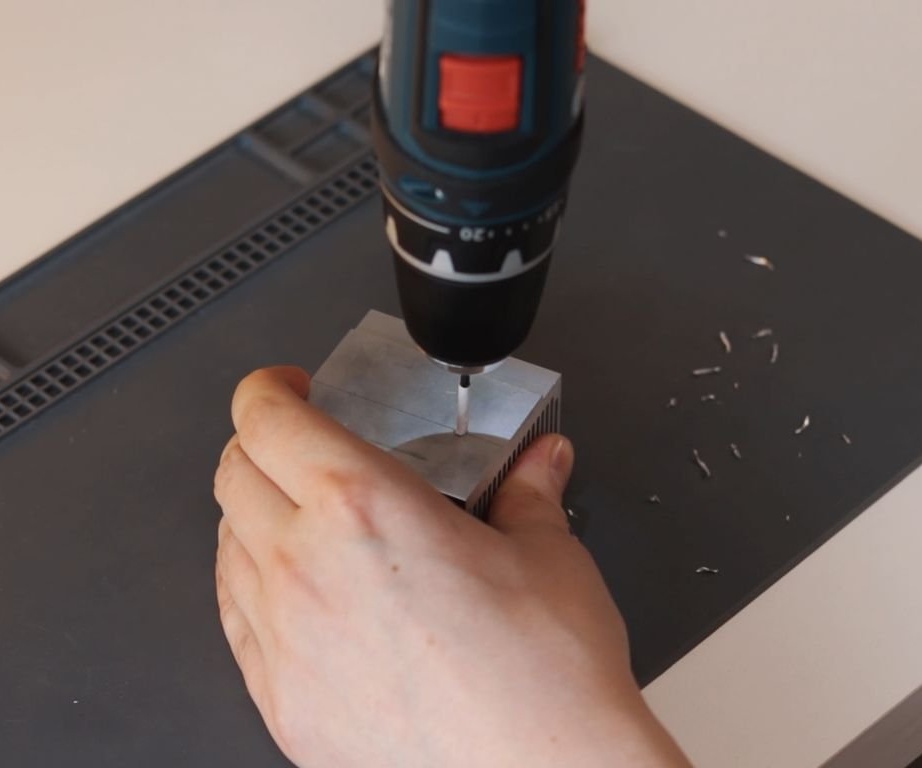
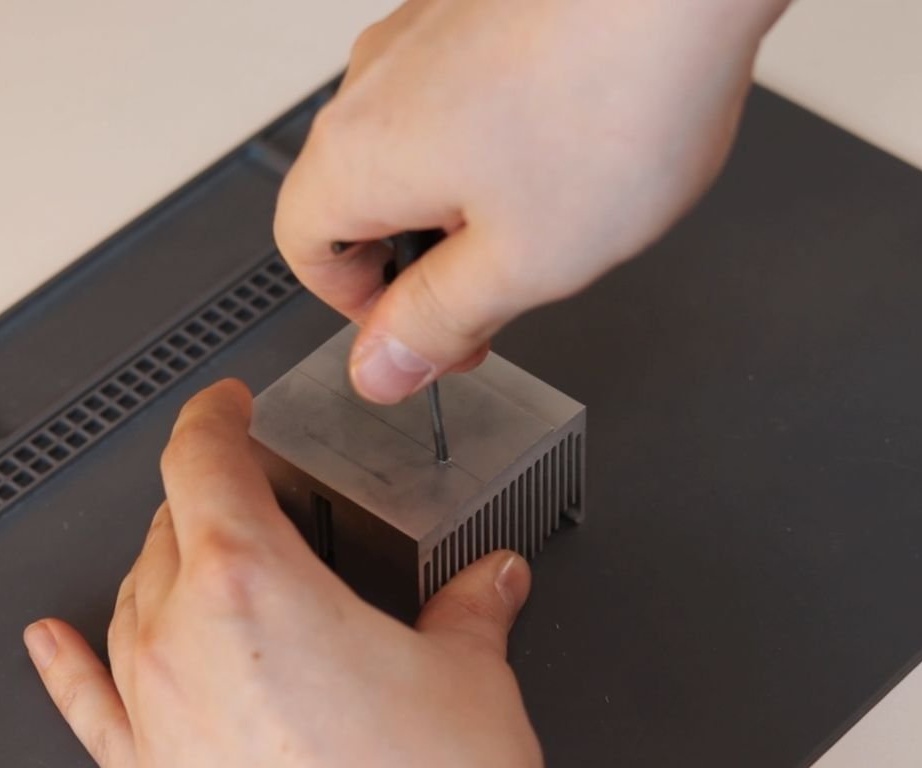
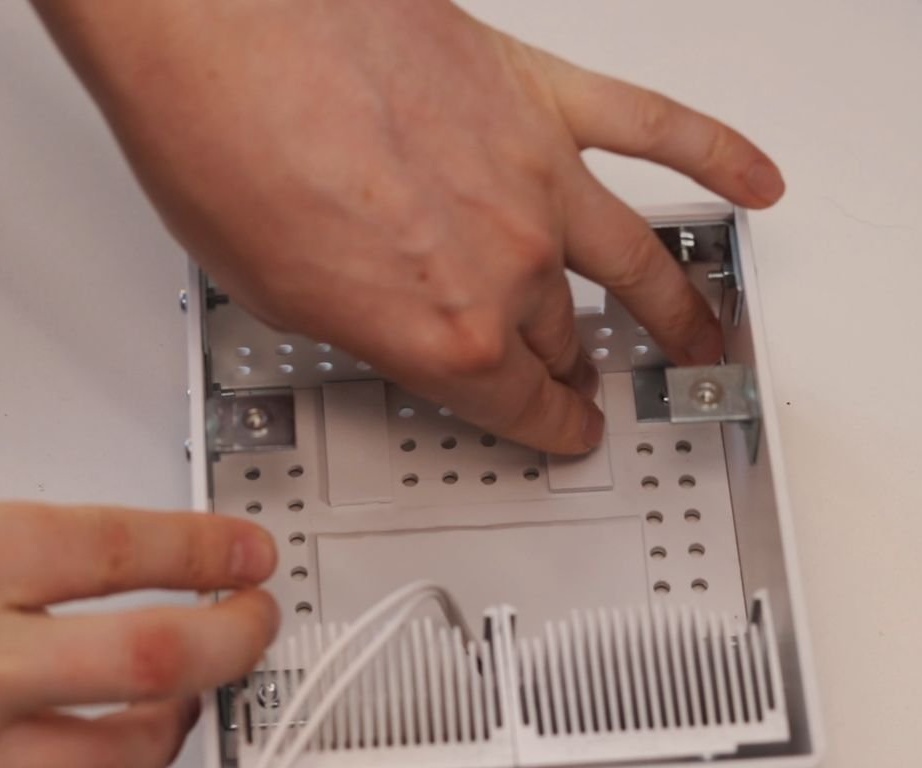
Drills holes for mounting radiators to the body.
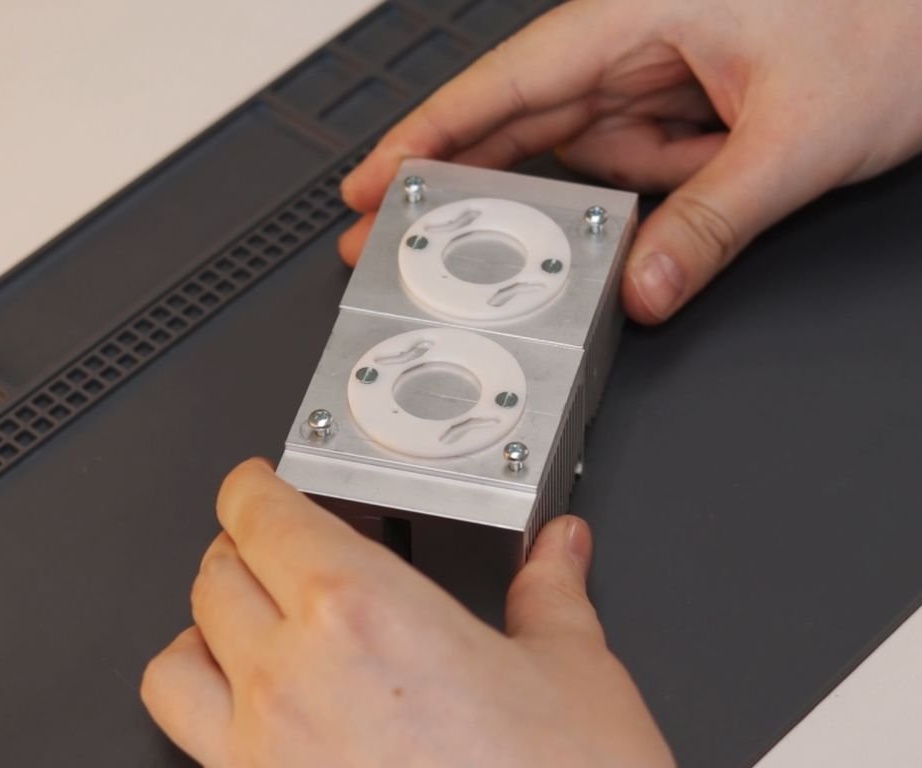
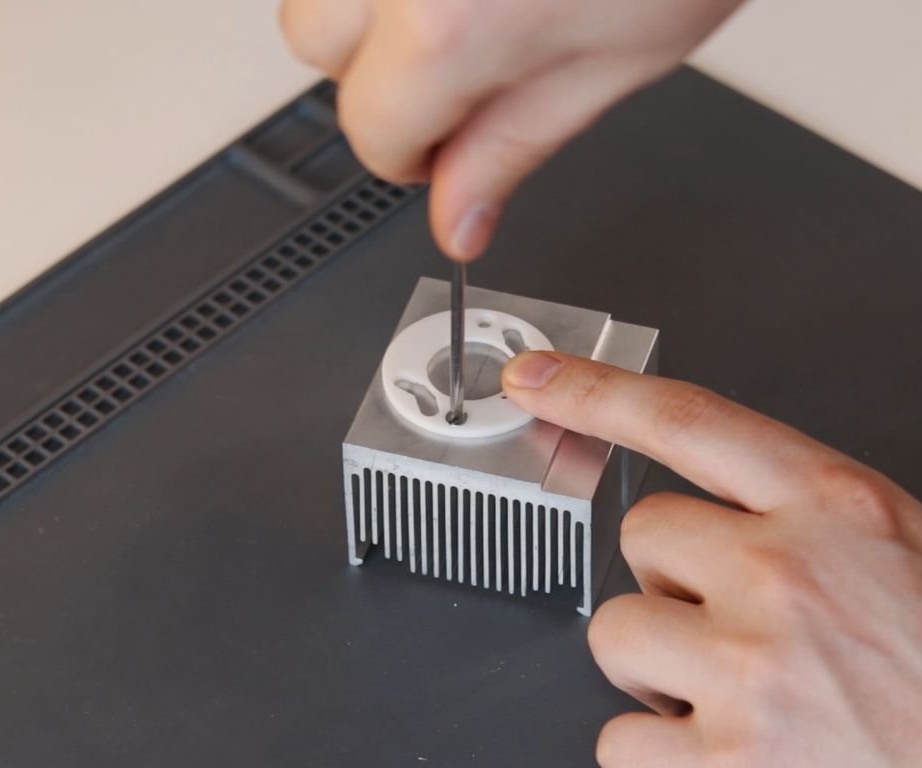
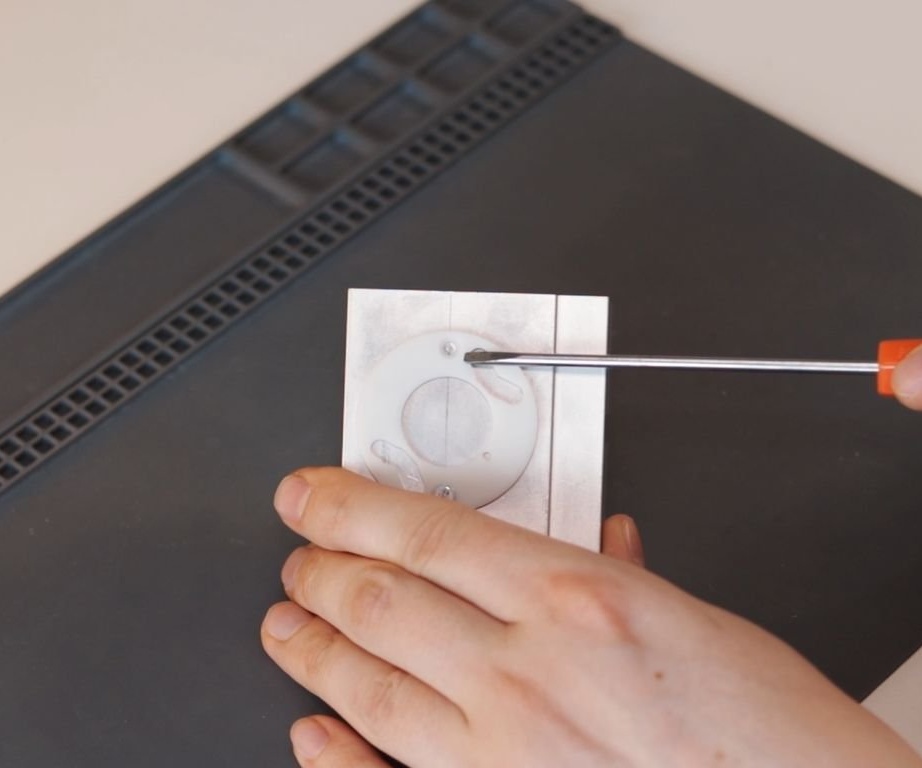
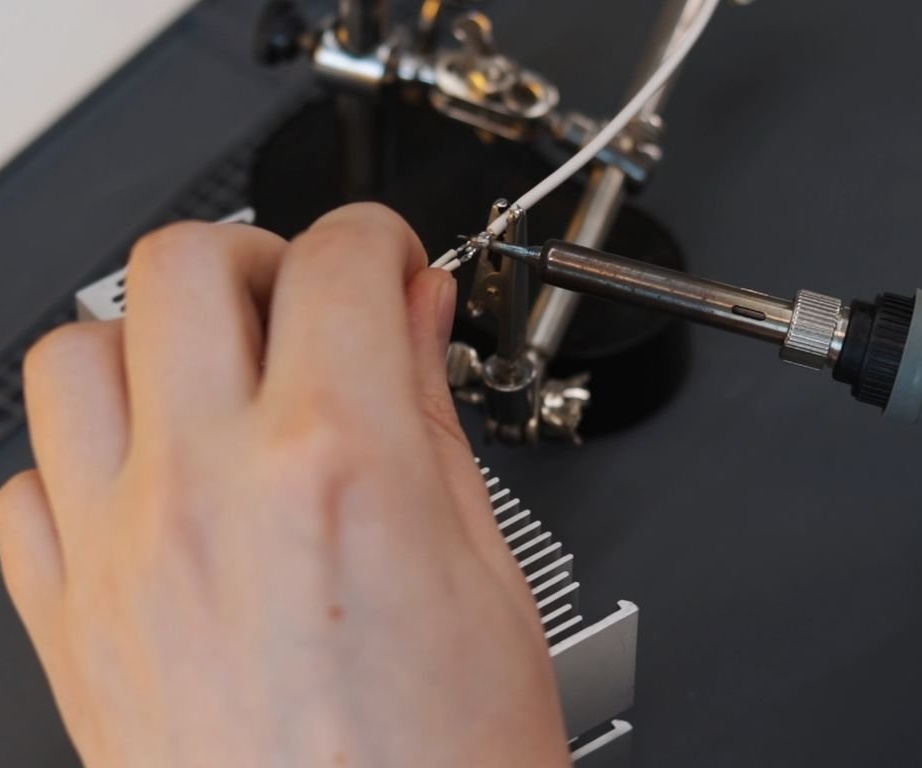
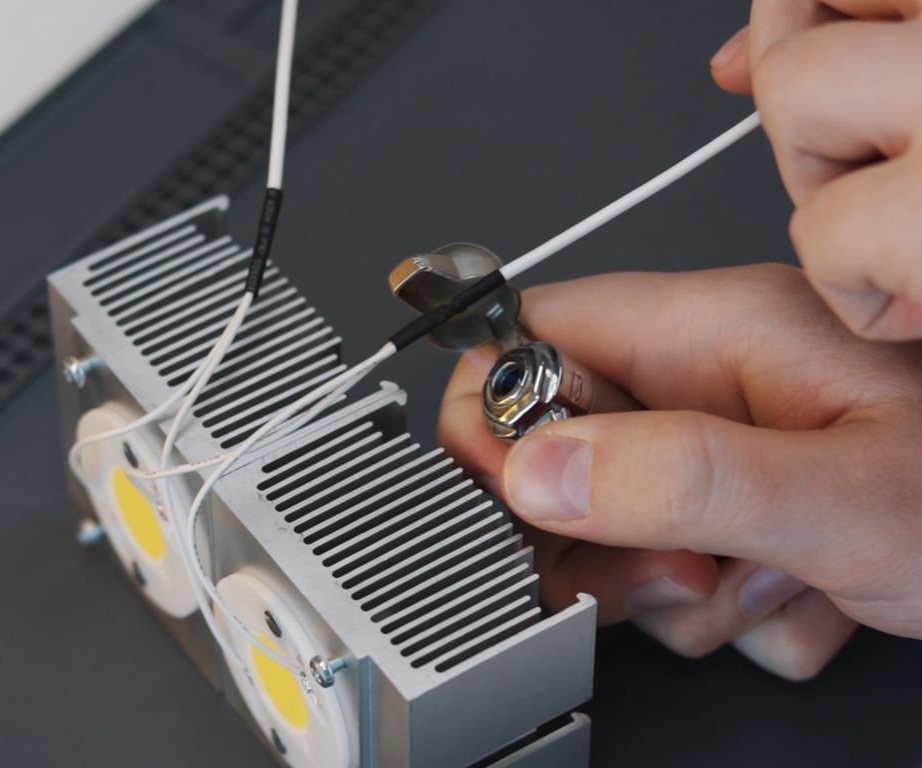
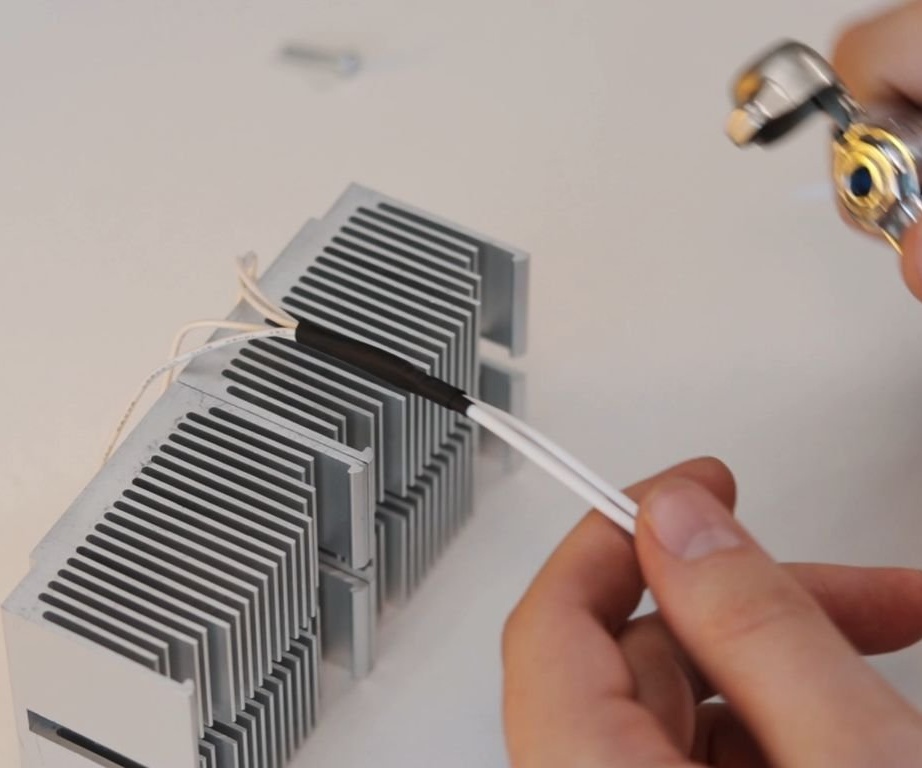
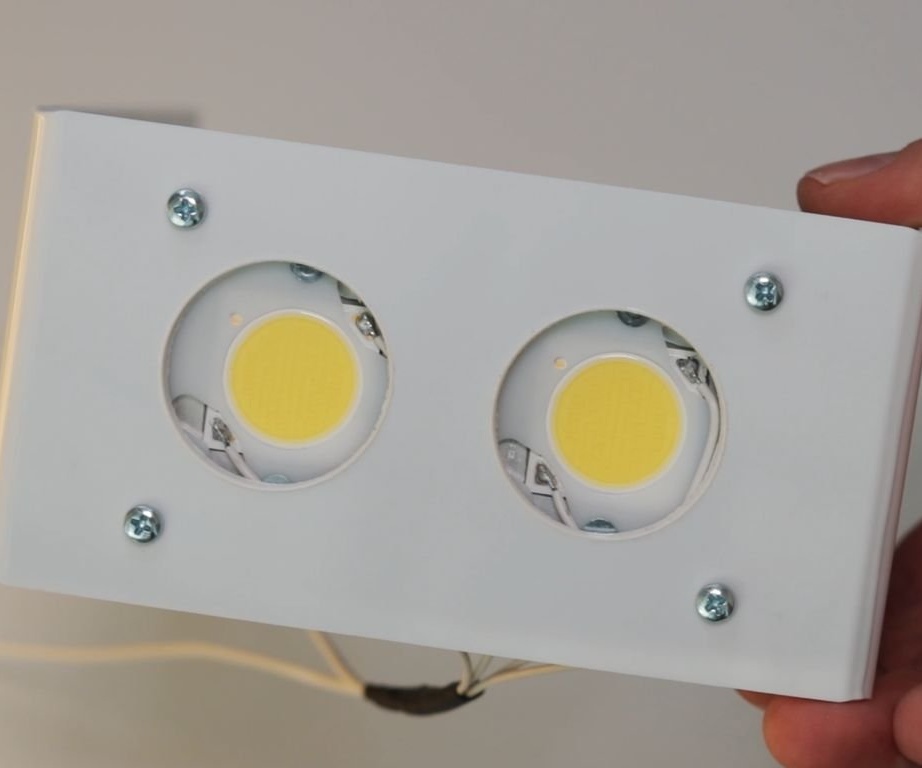
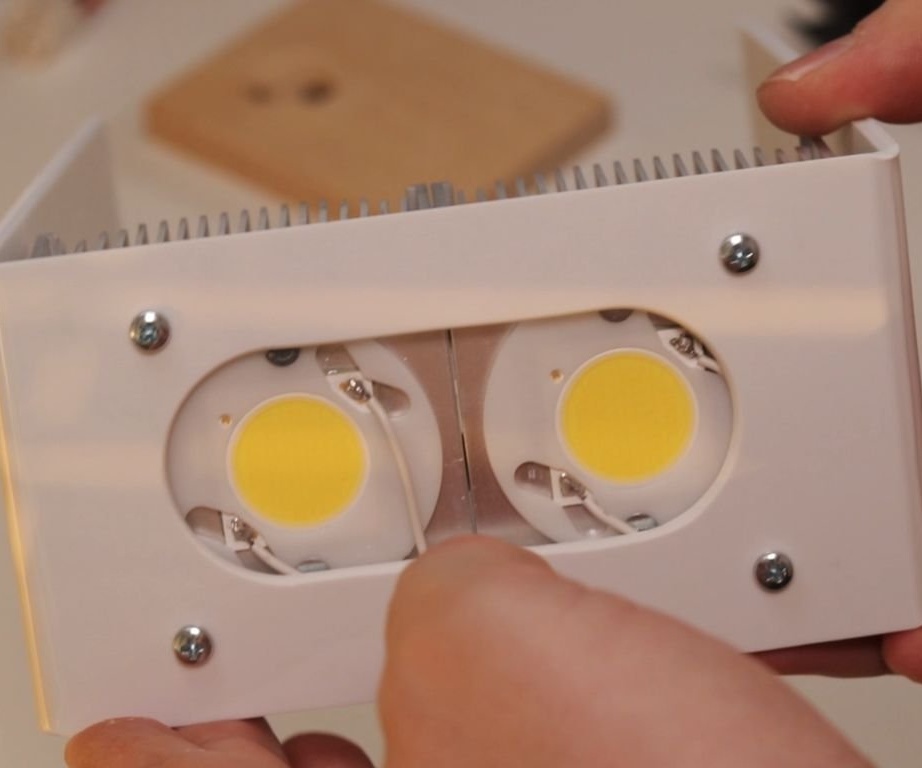
Solder the wires to the LEDs. Applies thermal grease and fastens the LEDs to the radiator.
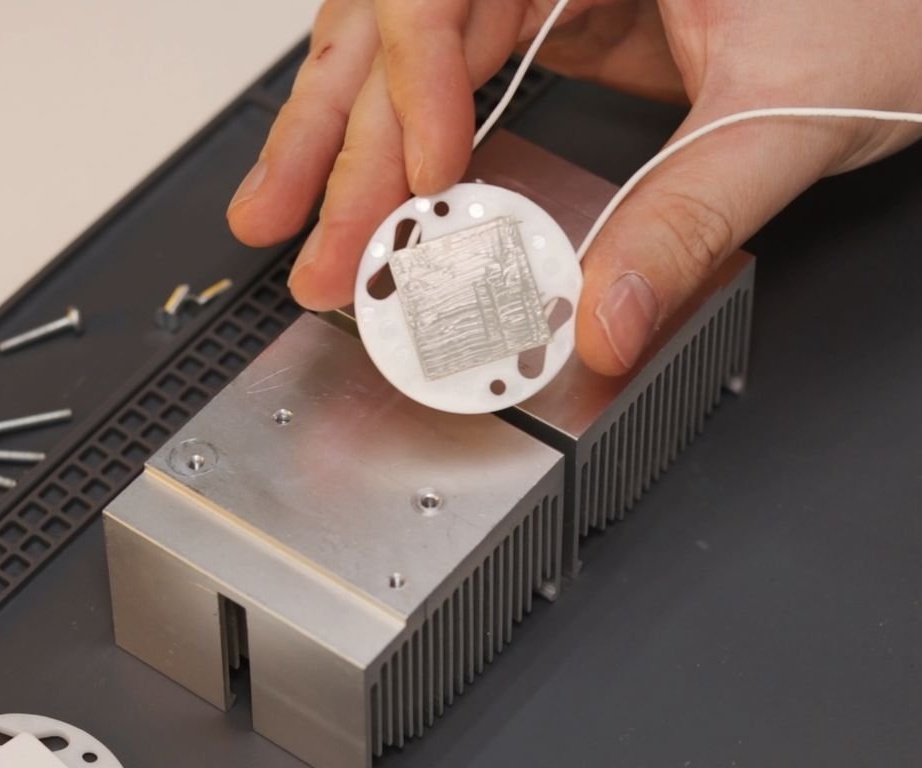
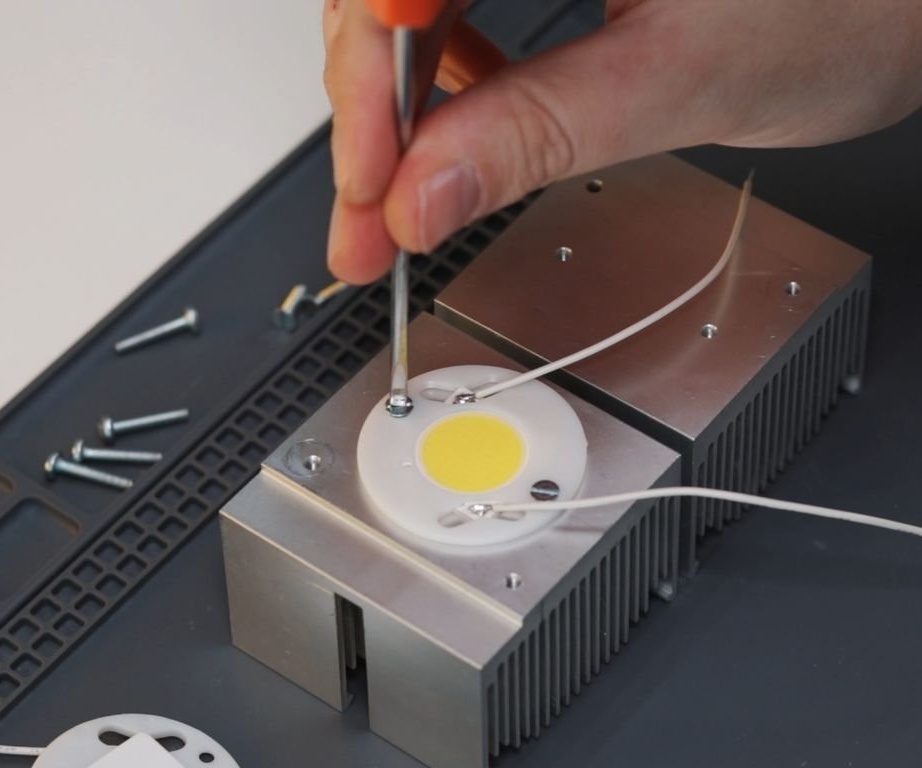
Connects LEDs in parallel.

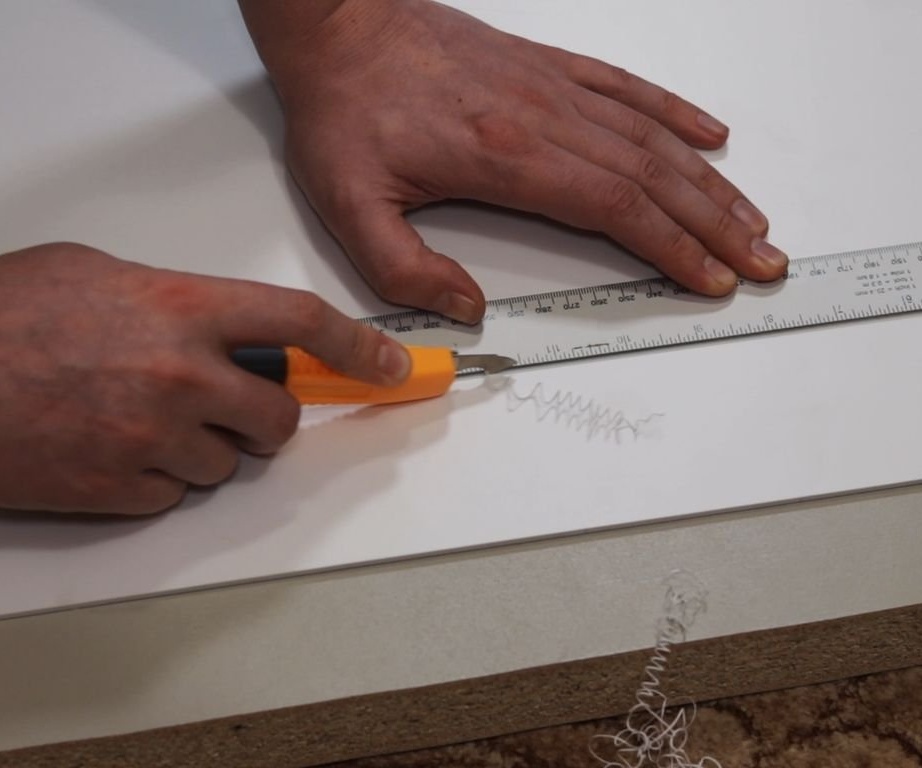
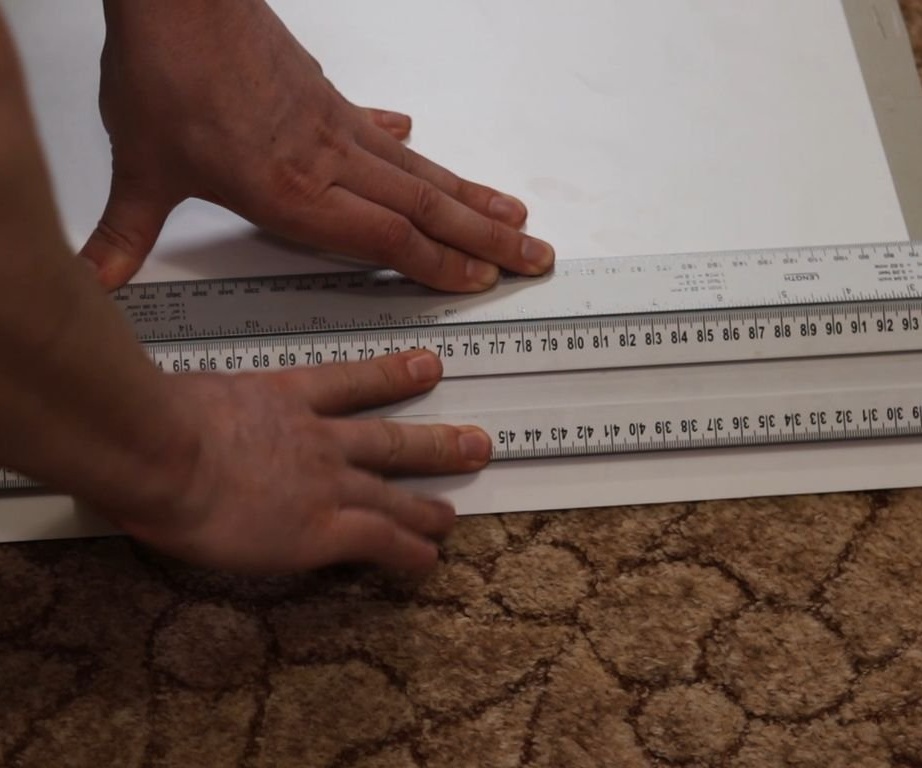
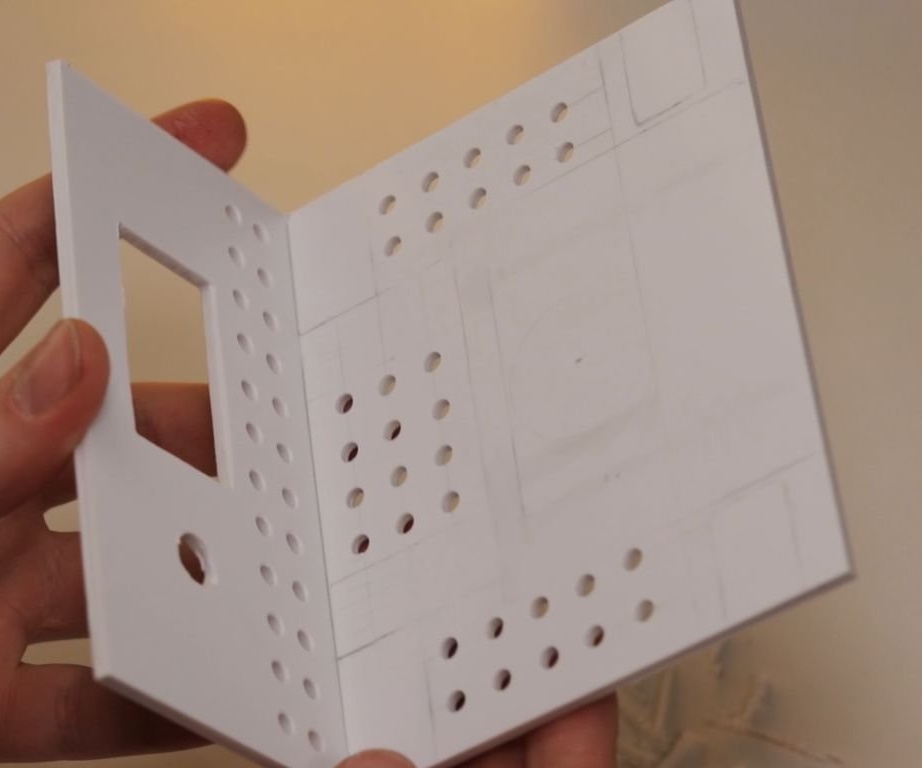
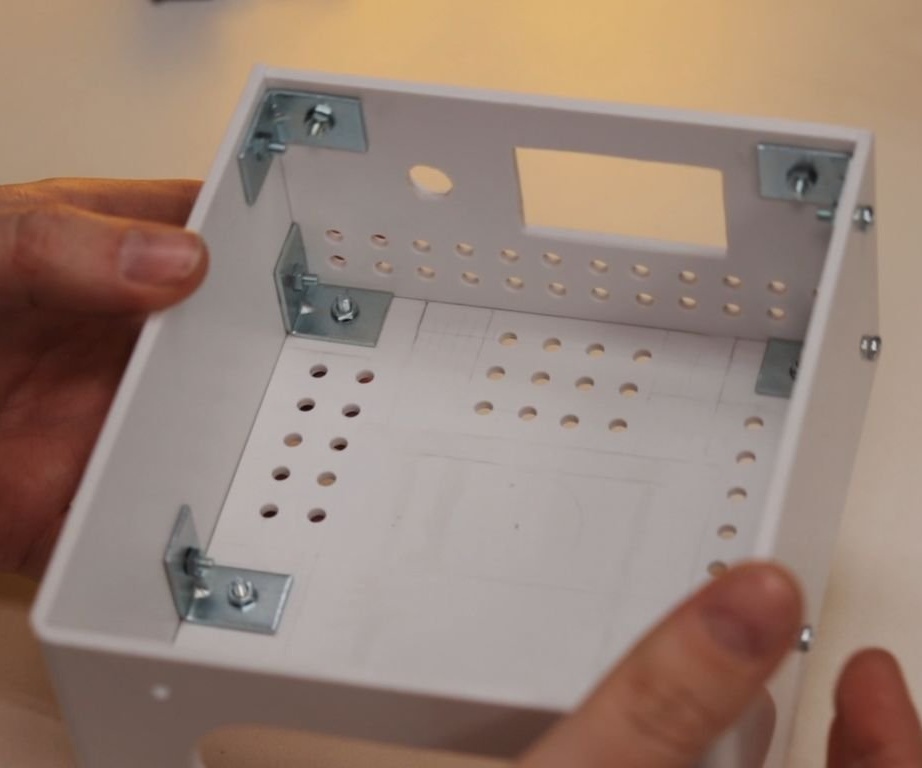
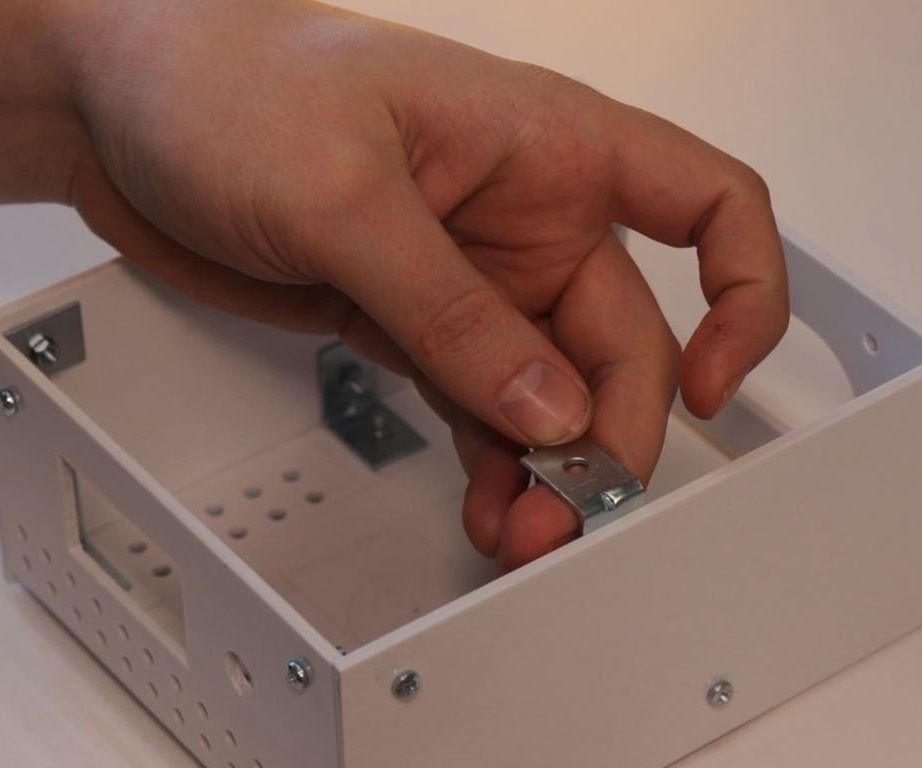
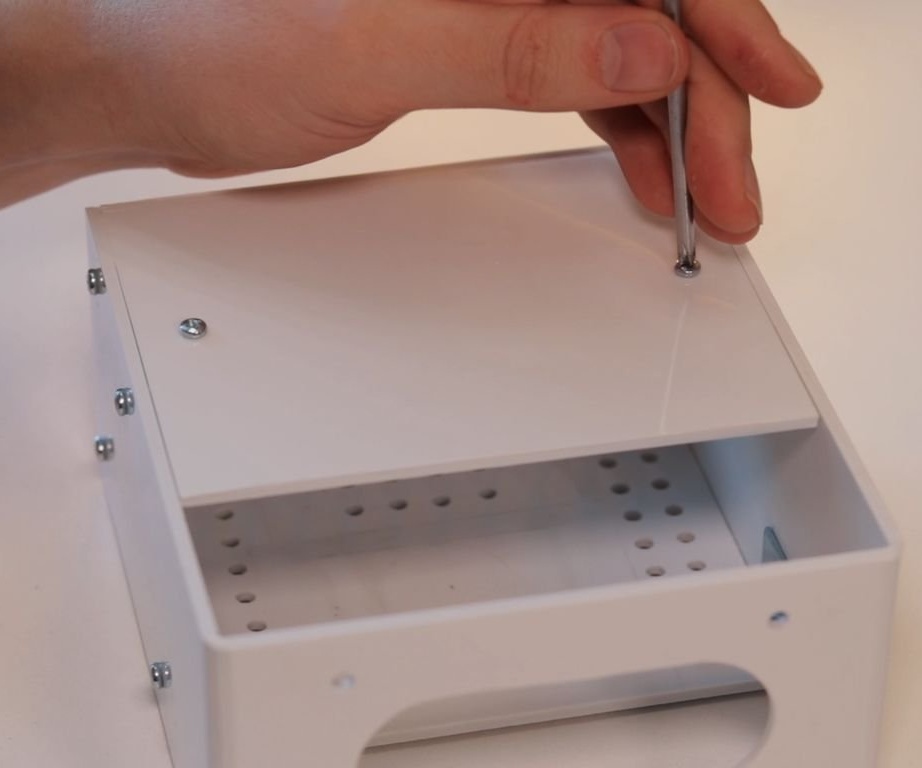
Step Four: Making the Case
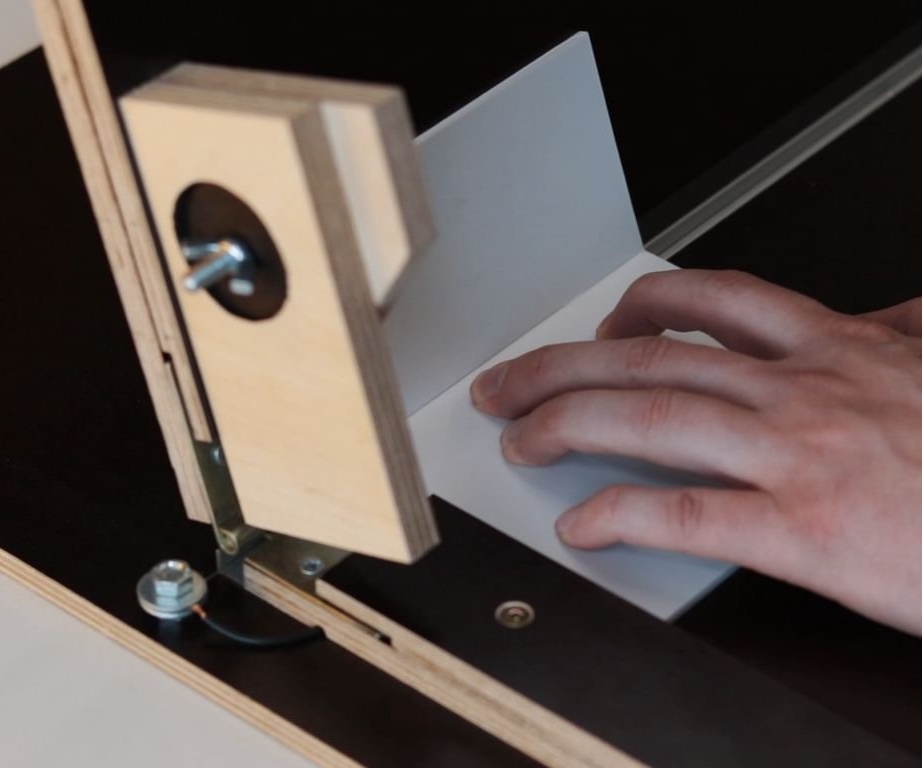
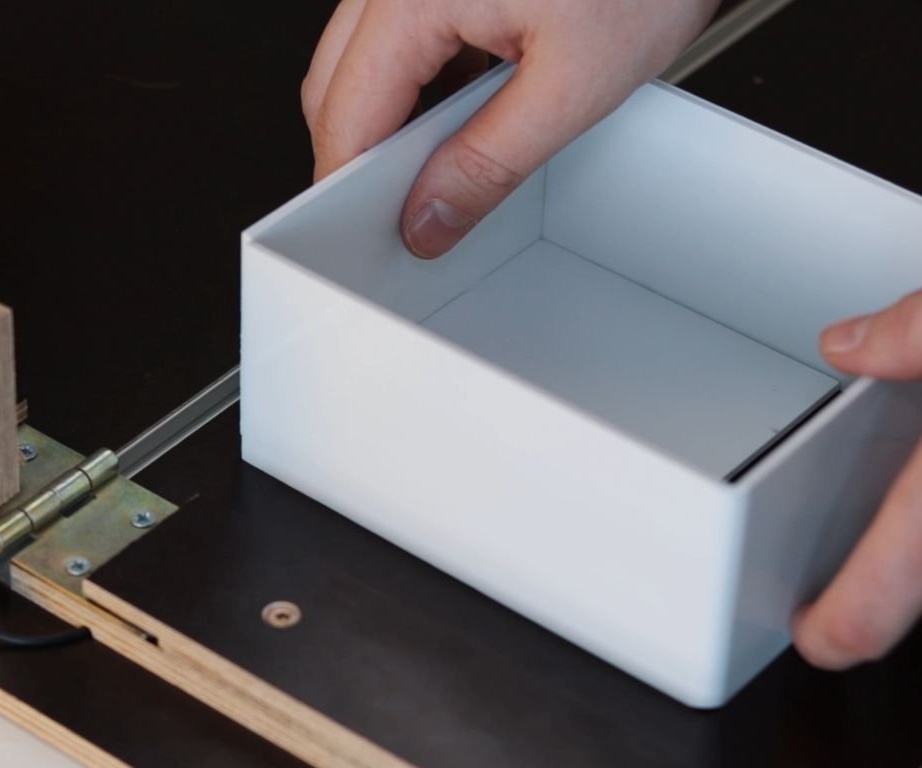
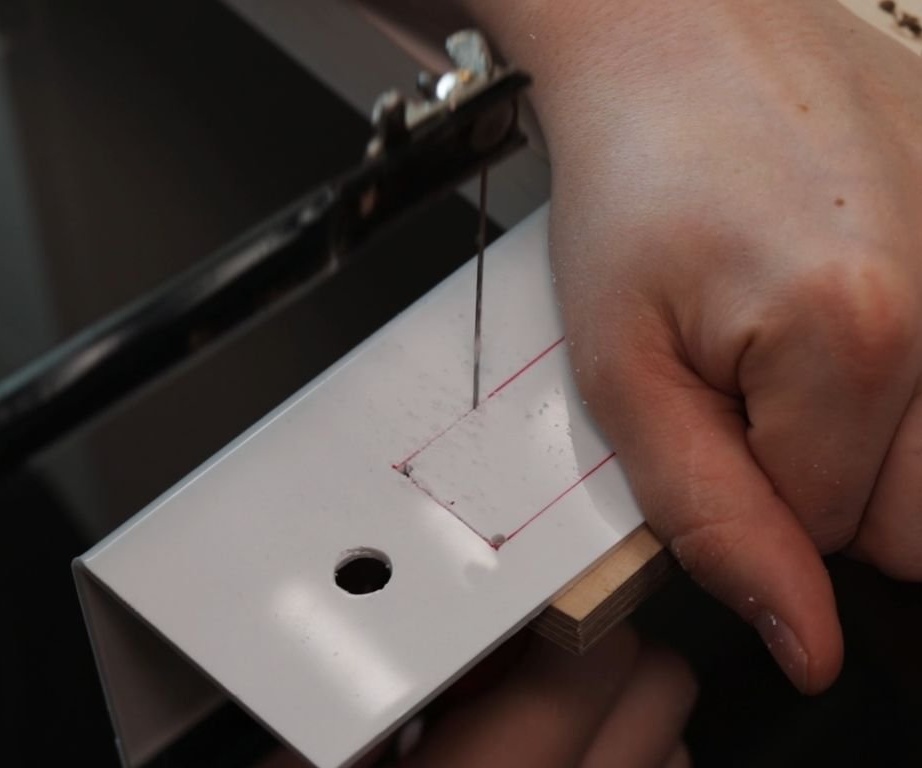
The next step is the master makes an acrylic case. Marks, cuts, bends parts of the body.

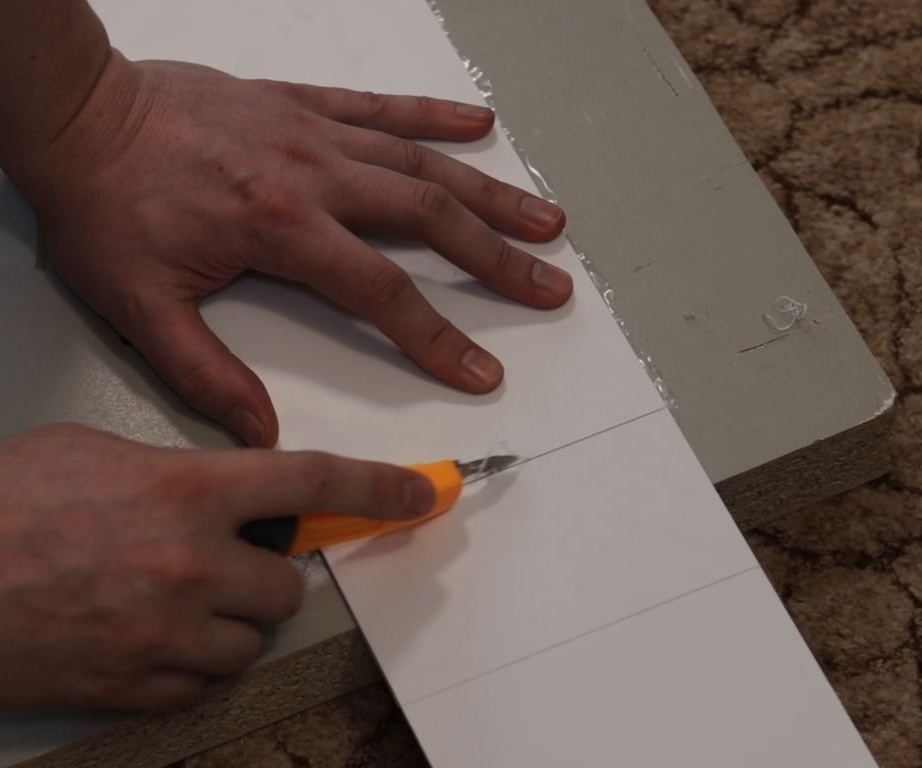
Cuts holes for LEDs and mounting for radiators.
Removes a jumper between two holes.
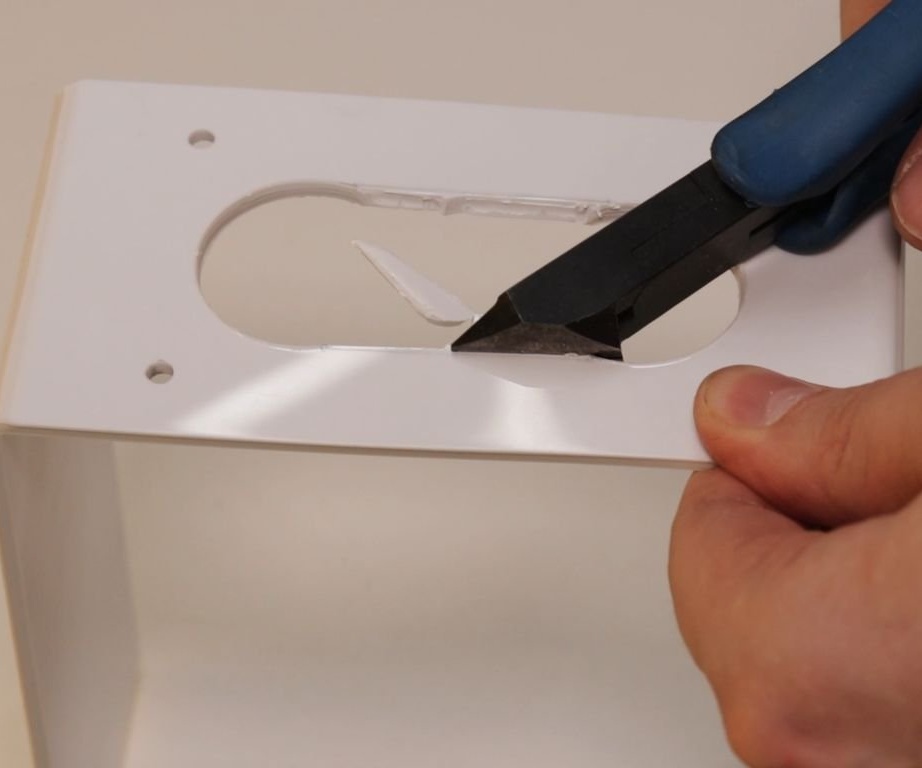

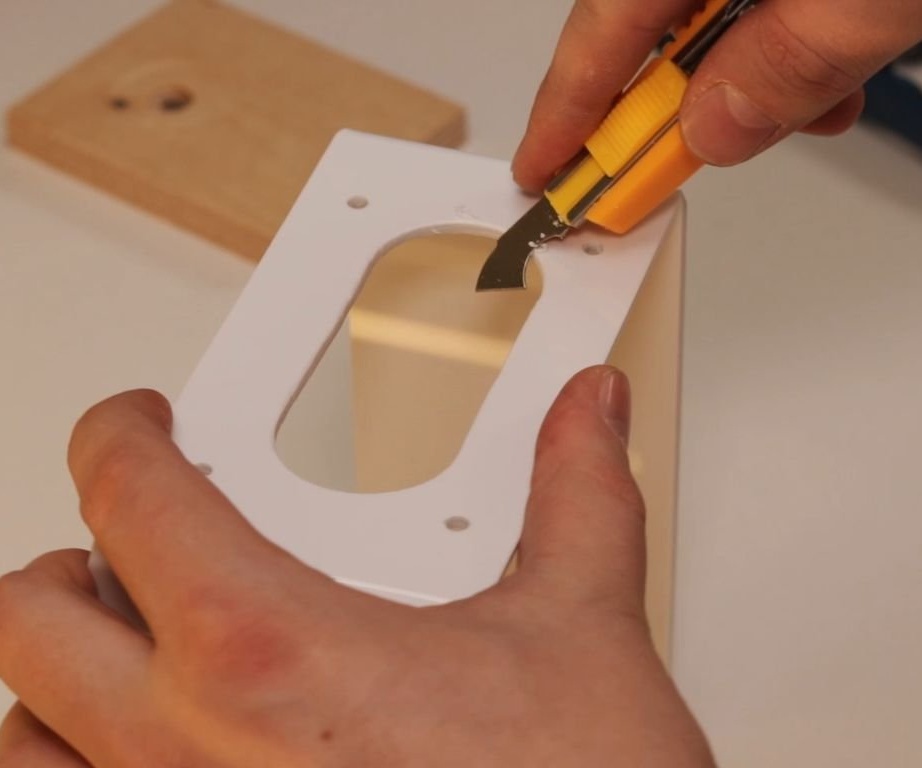
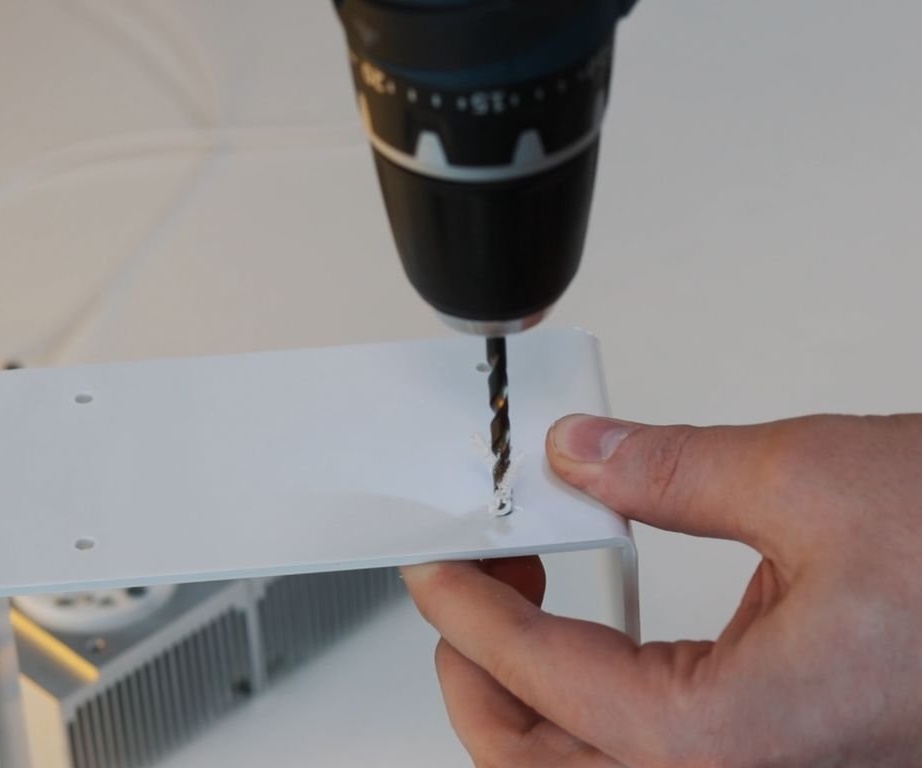
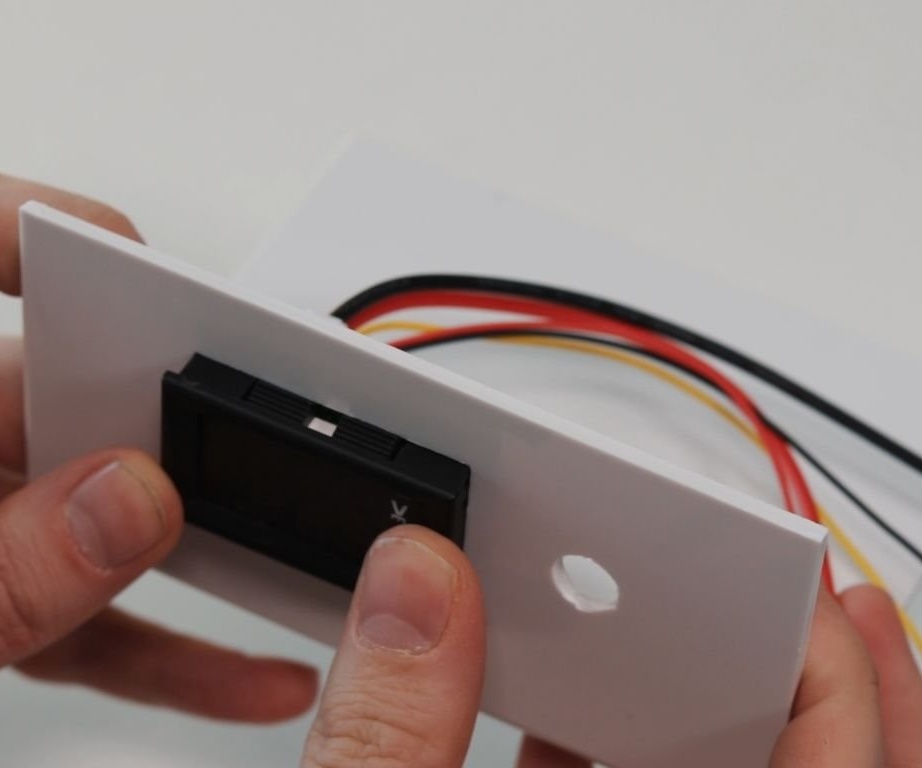
Drills a hole for the potentiometer and for ventilation. Cut a hole for the tester.
With the help of corners it assembles the body.

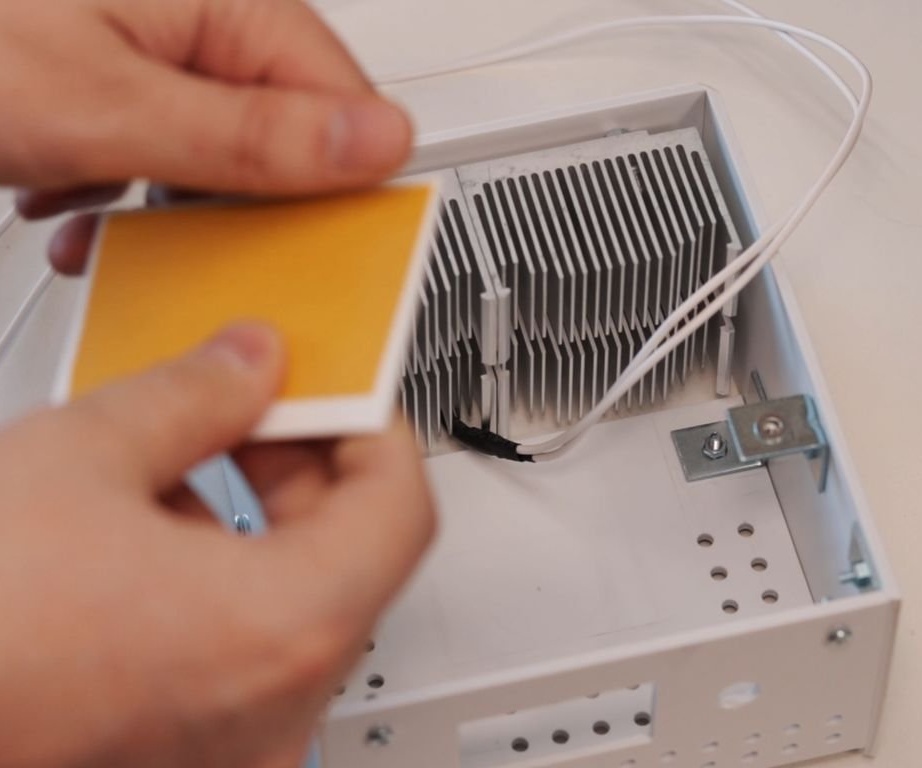
Step Five: Installing Fans
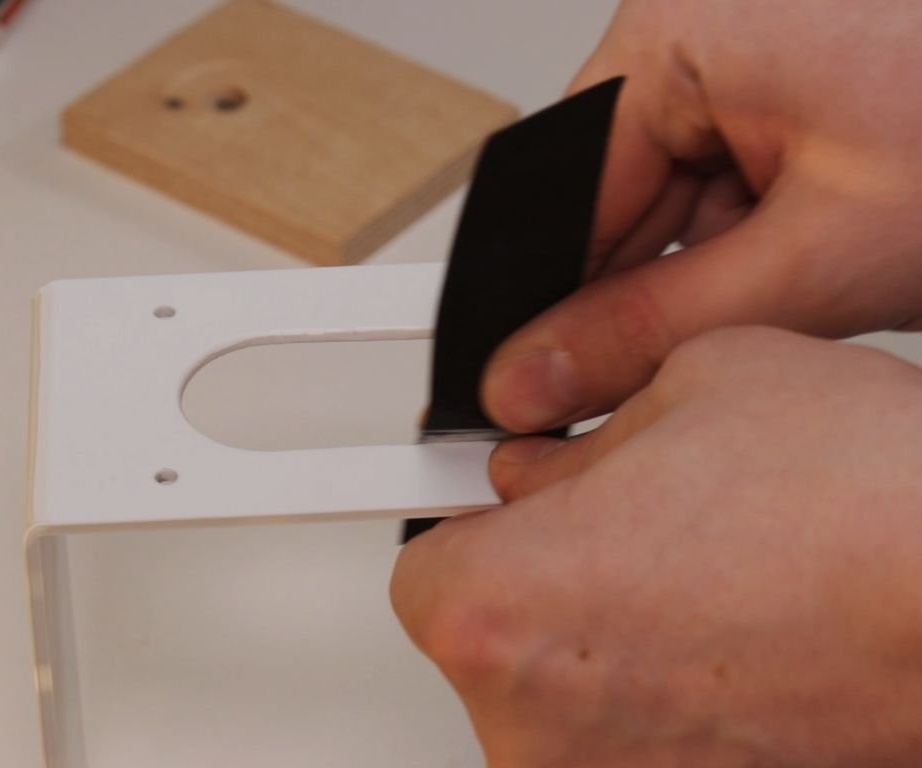
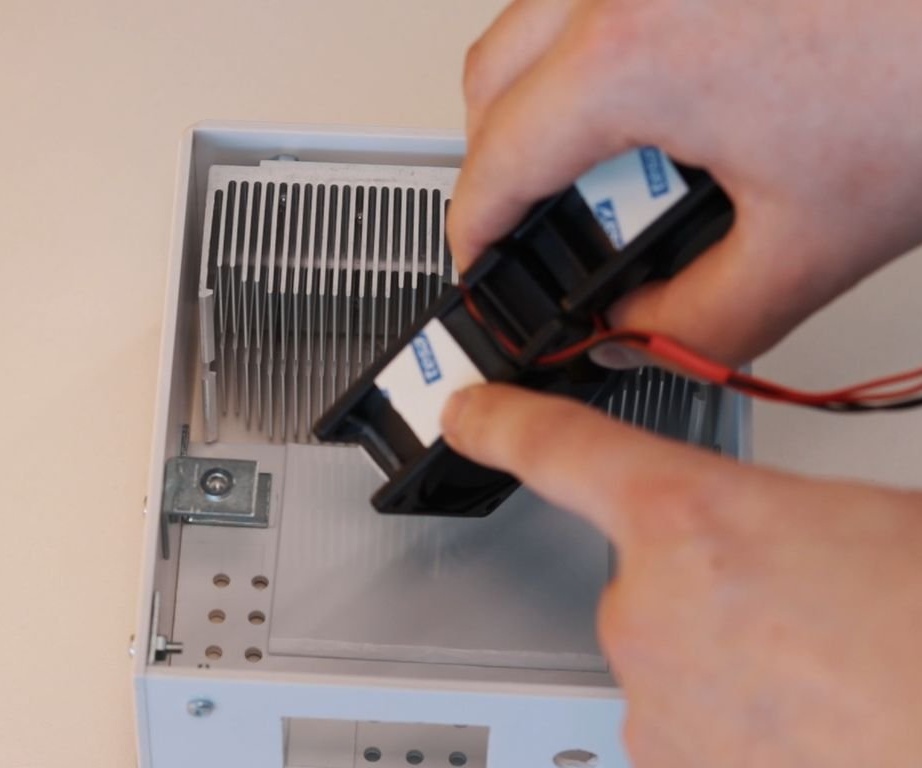
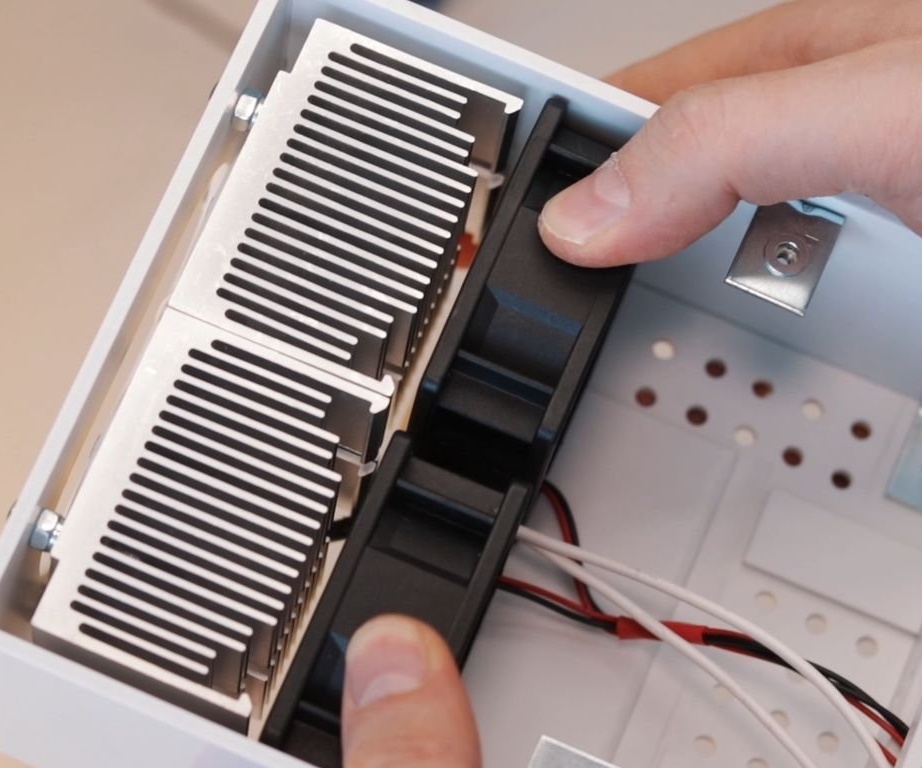
The master glues the fan, using a double-sided thermal tape, onto the radiator.
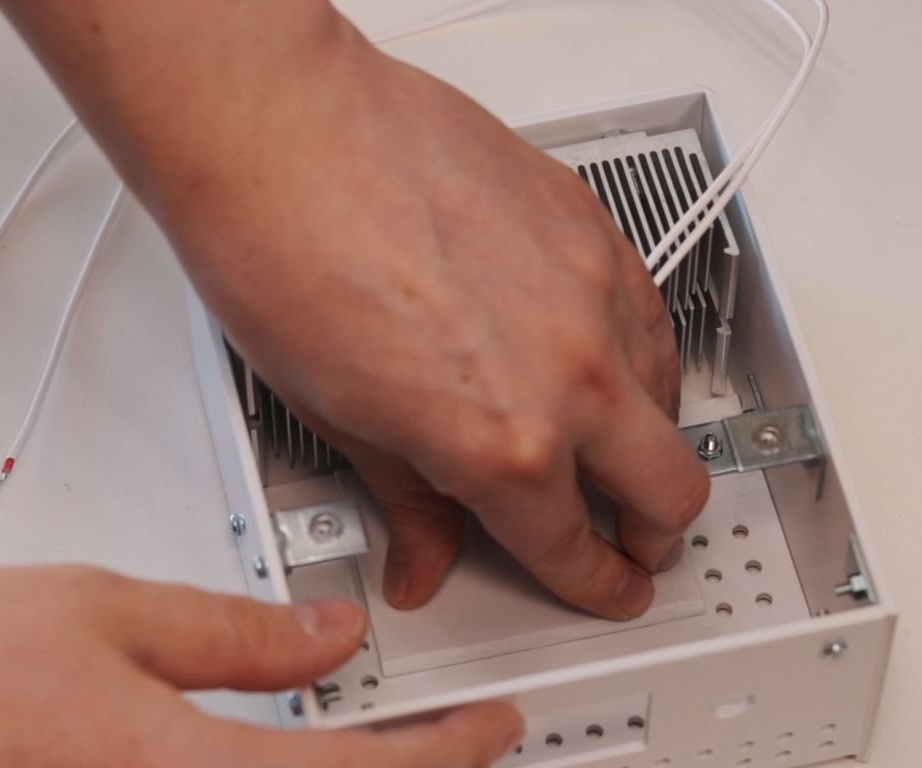
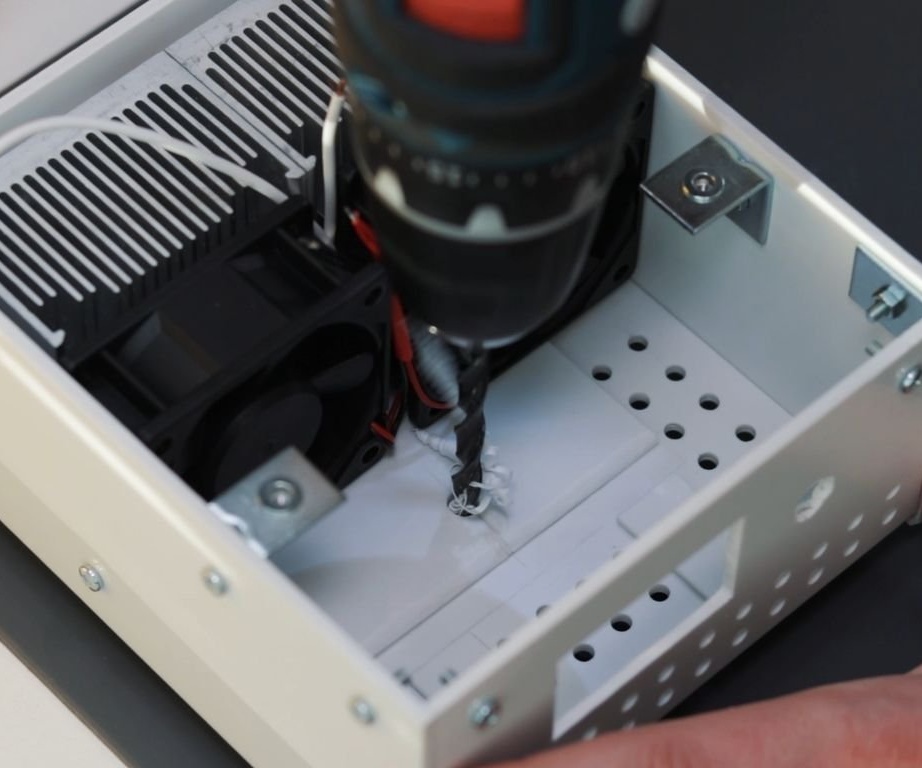
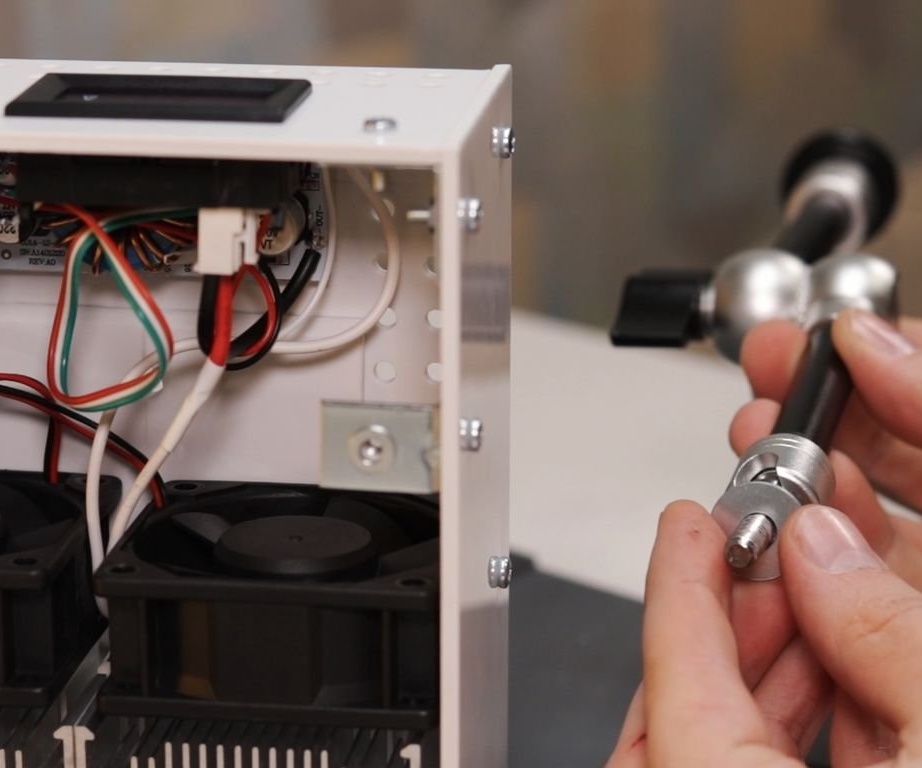
Drills a hole for mounting a tripod.
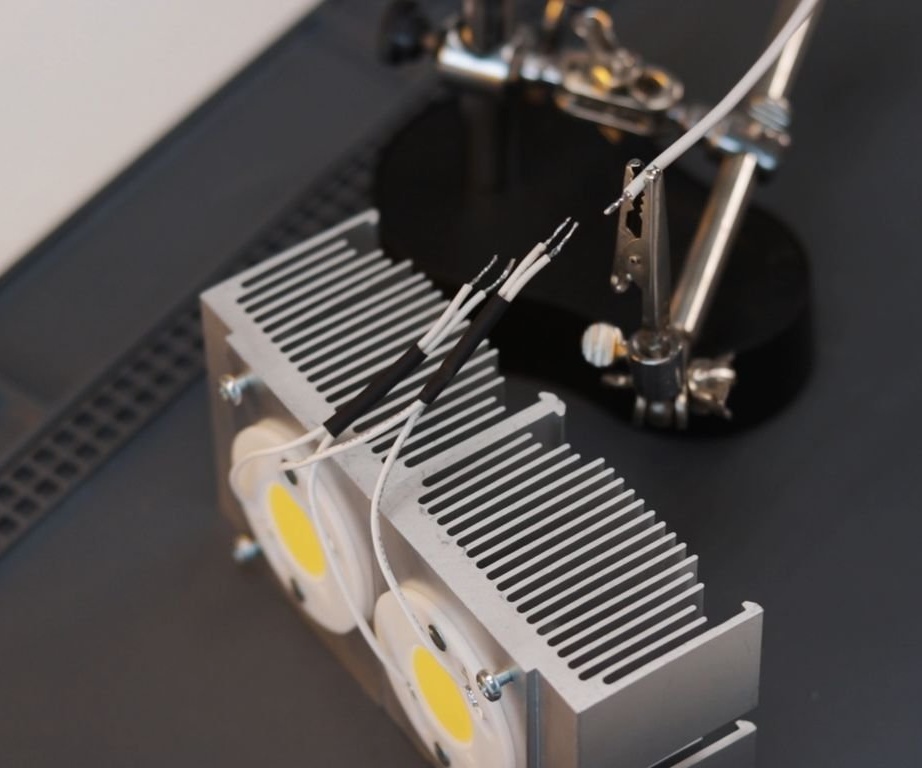
Step Six: Installation
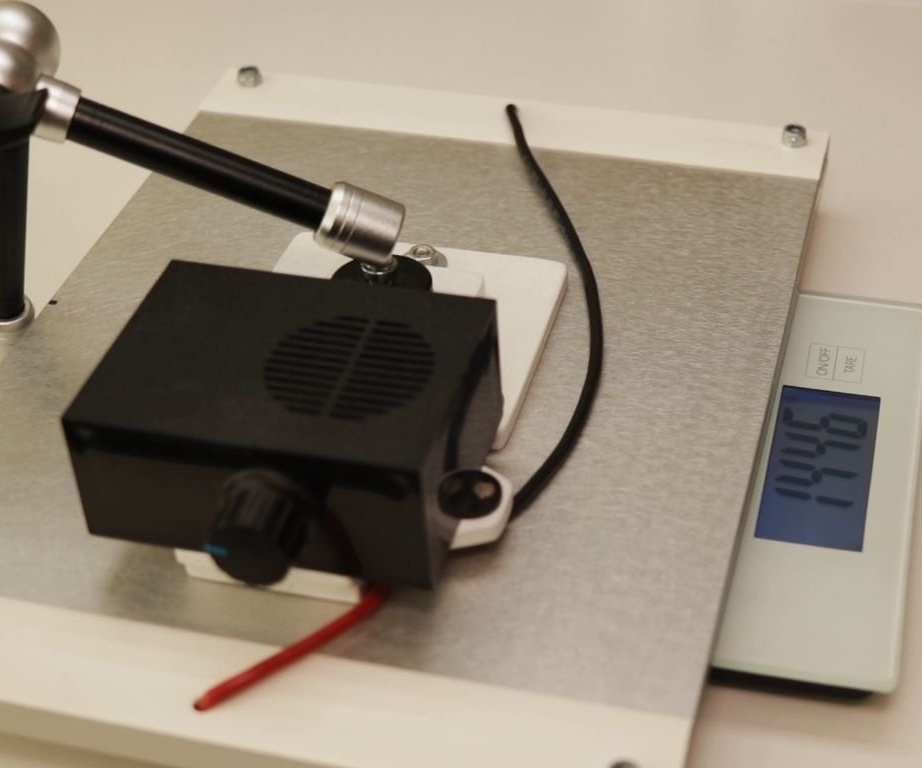
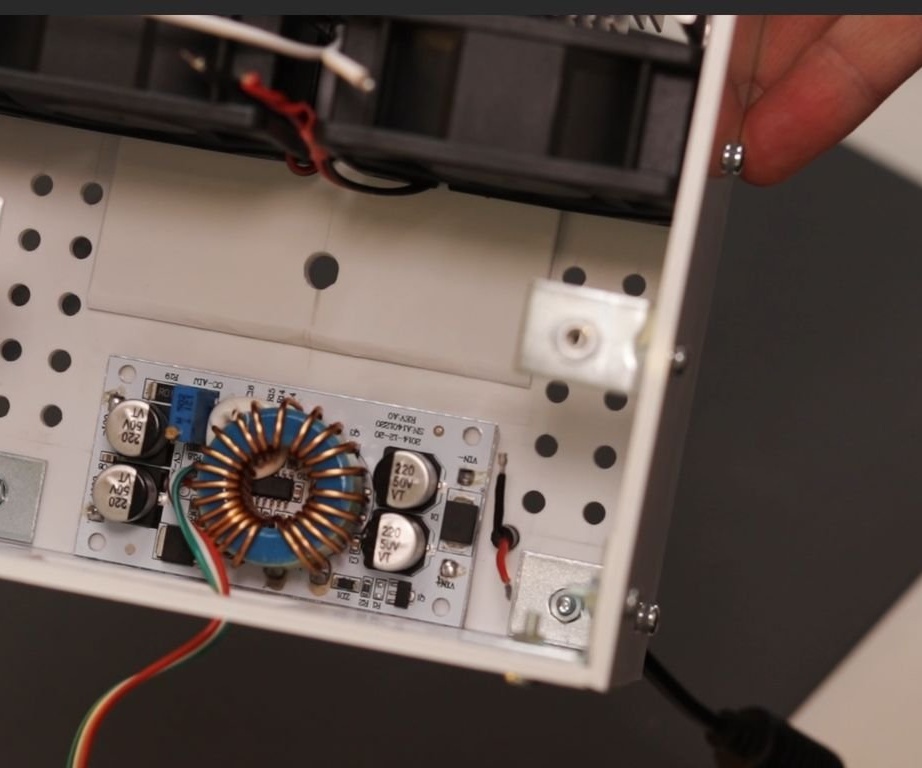
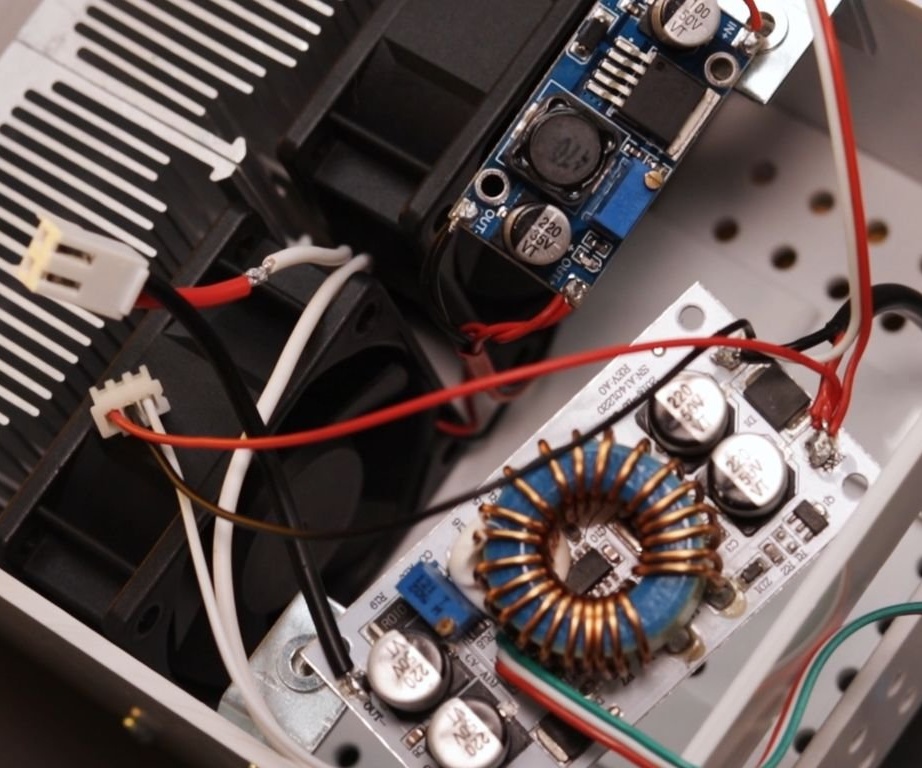
According to the scheme, it mounts the electrical part of the lamp.
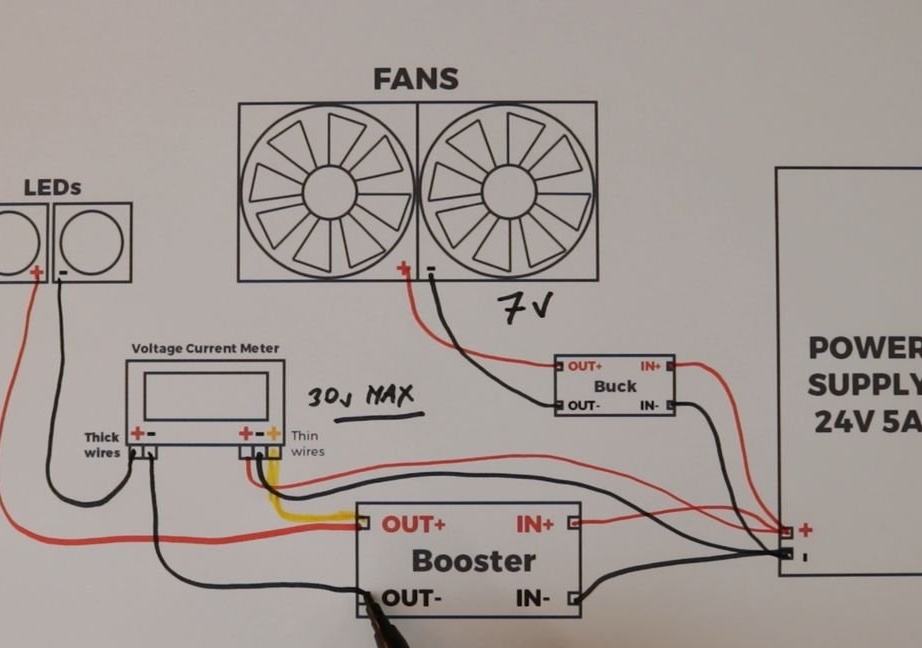
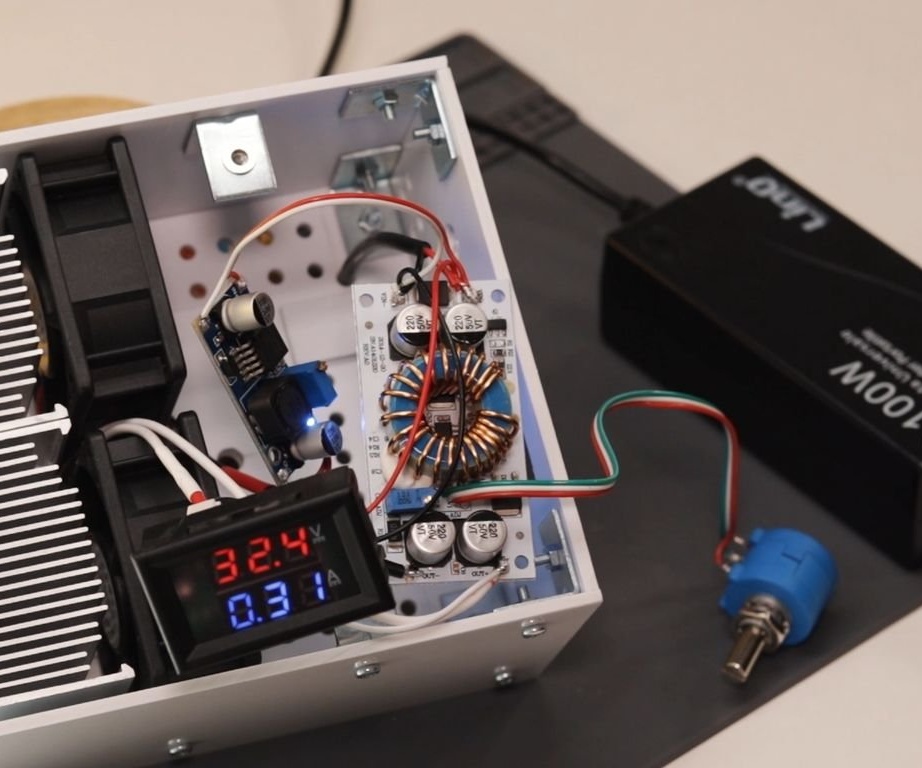
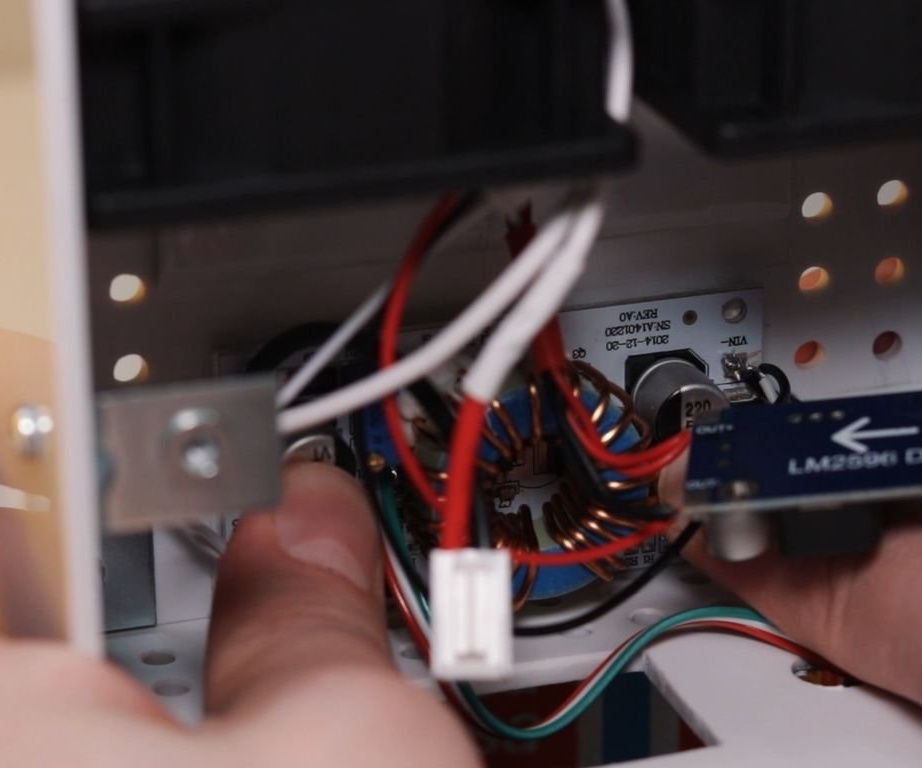
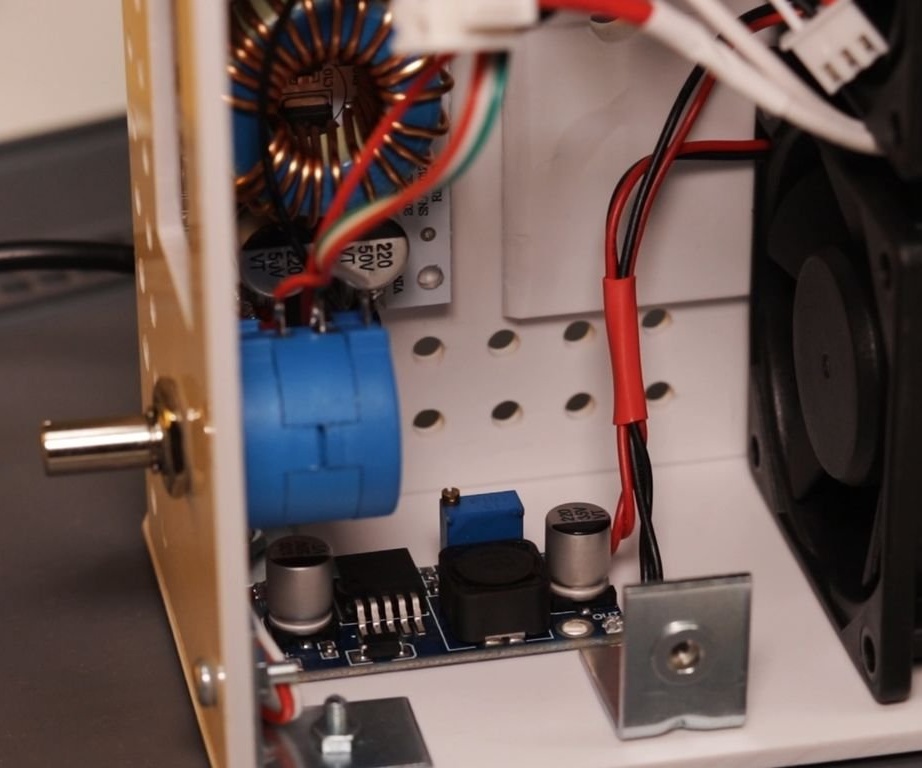
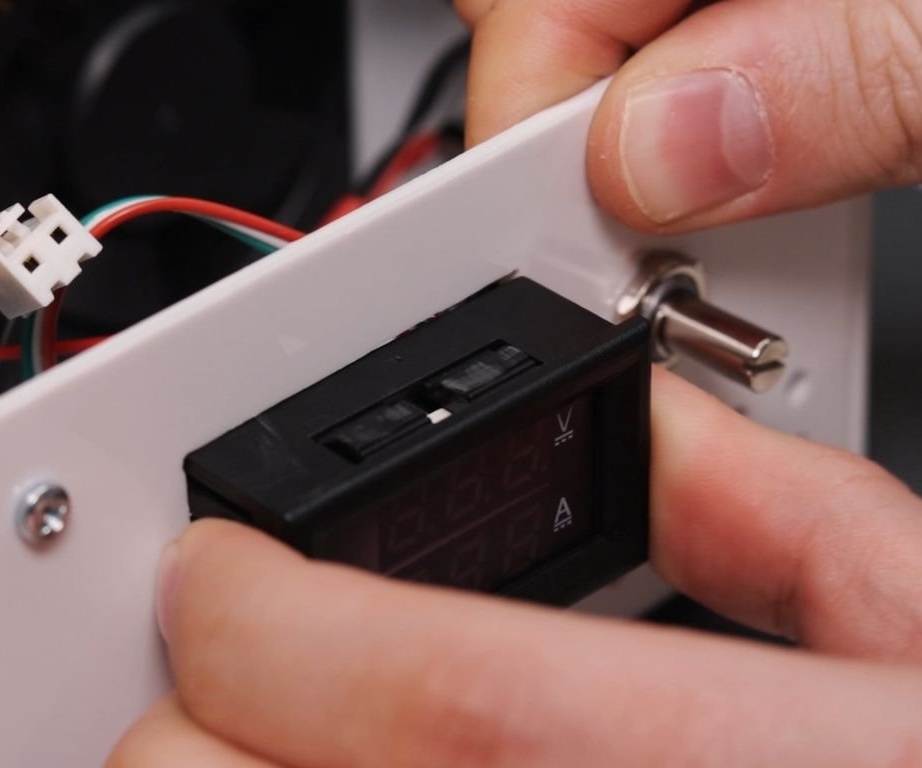
Now you need to adjust the current and voltage.
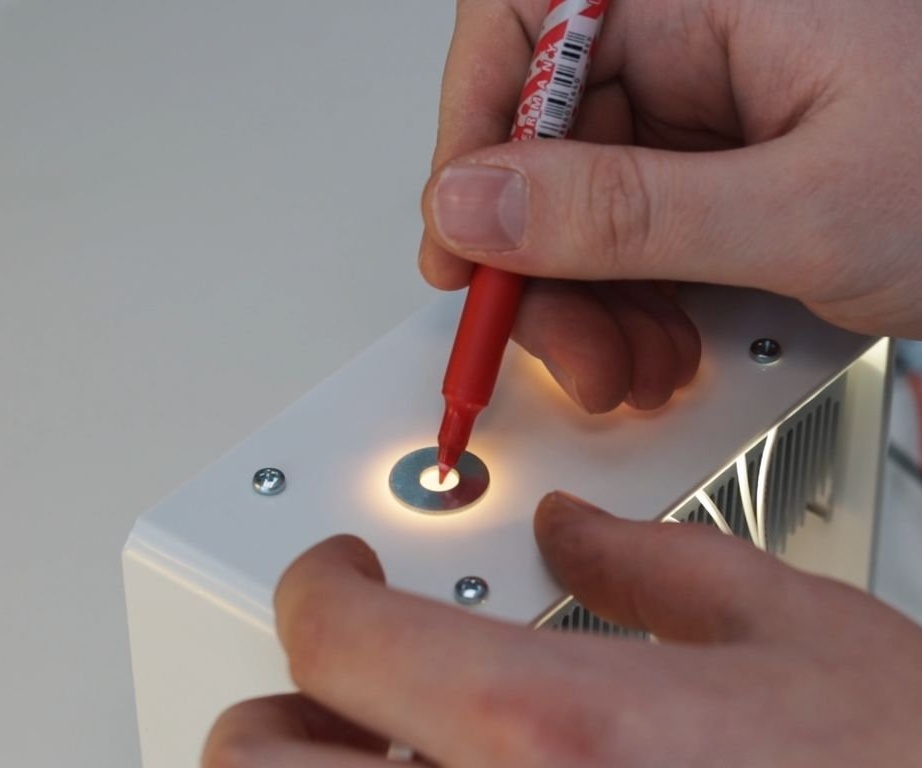
With the last step, the master drills a hole in the top cover and secures the tripod.

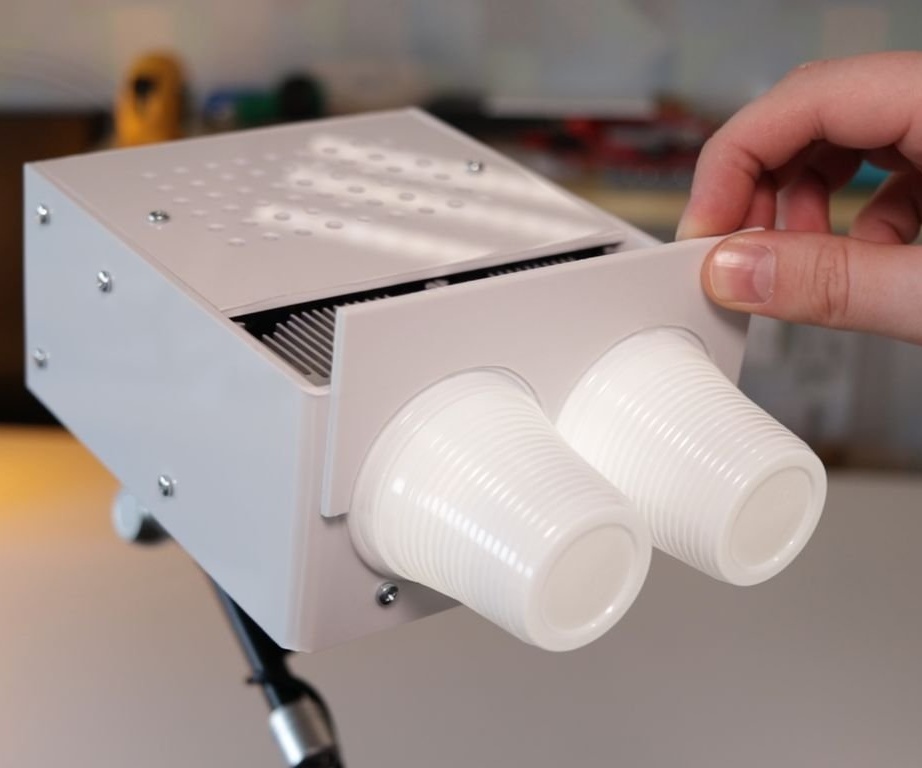
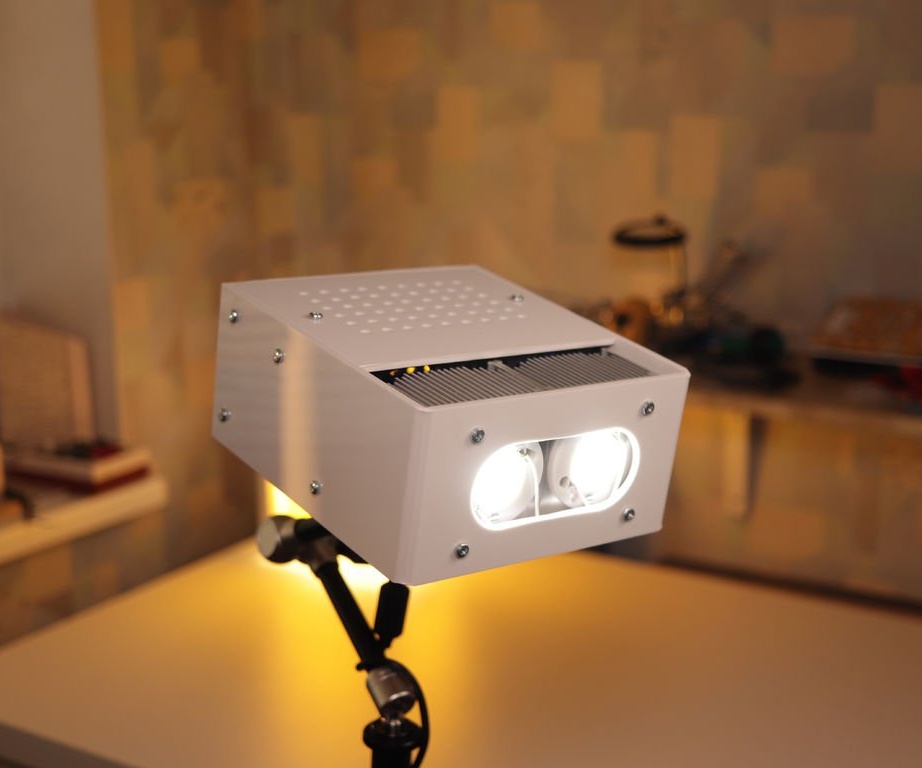
The studio lamp is ready. You can use it in this form, or you can install diffusers from plastic cups.