
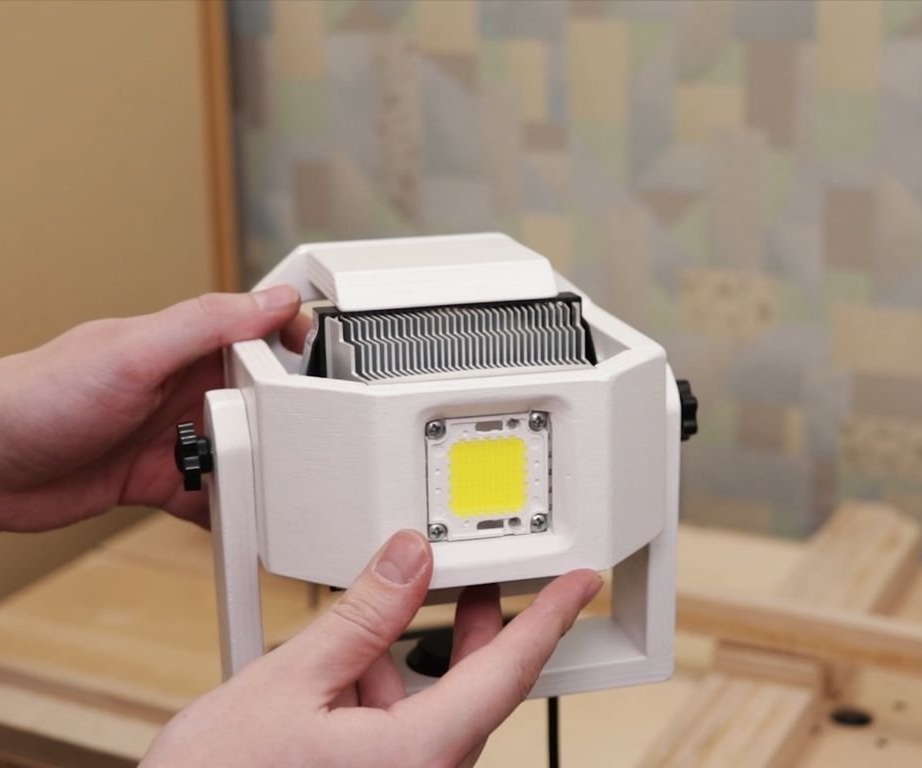
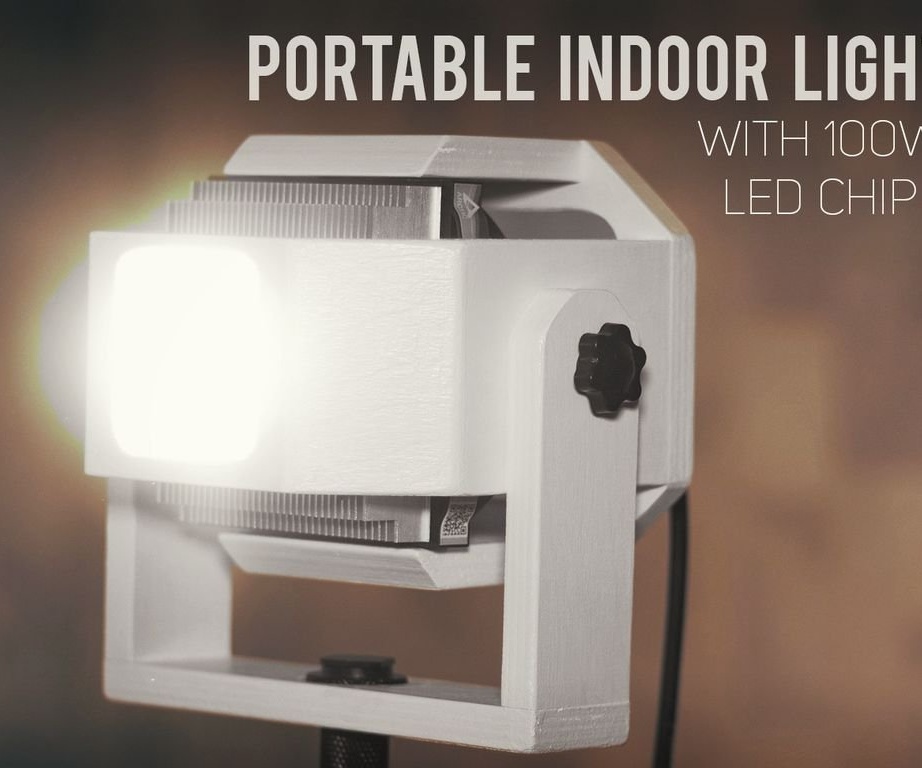
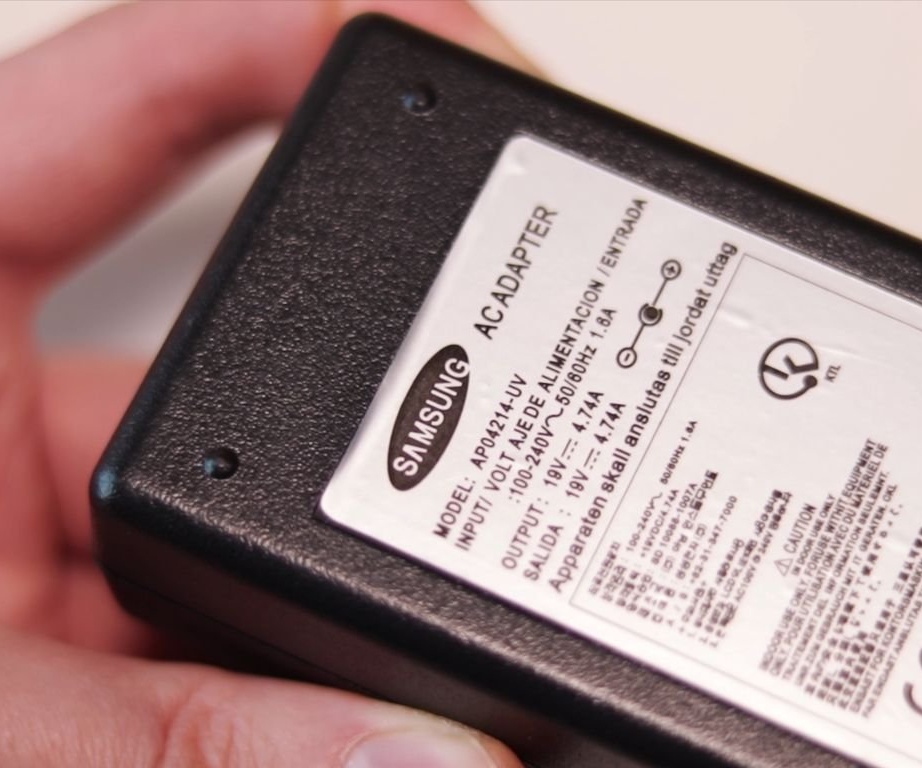
The author made this lamp for illumination during work in the workshop. A 100 W LED is installed in the lamp, and it works from a 19 V / 90 W laptop power unit. For the manufacture of the lamp, the master used the following
Tools and materials:
Milling cutter;
- Electric jigsaw;
-Clamp;
-Gon;
- Thread-cutting tool;
-Drill;
-Drill;
-Knife;
-Nippers;
-Glue gun;
-Soldering accessories;
- thermal paste;
- Joiner's glue;
-Sandpaper;
- Power supply 19 V / 90 W;
-Fasteners;
-Insulating tape;
-Wire;
-Paint;
-Plywood;

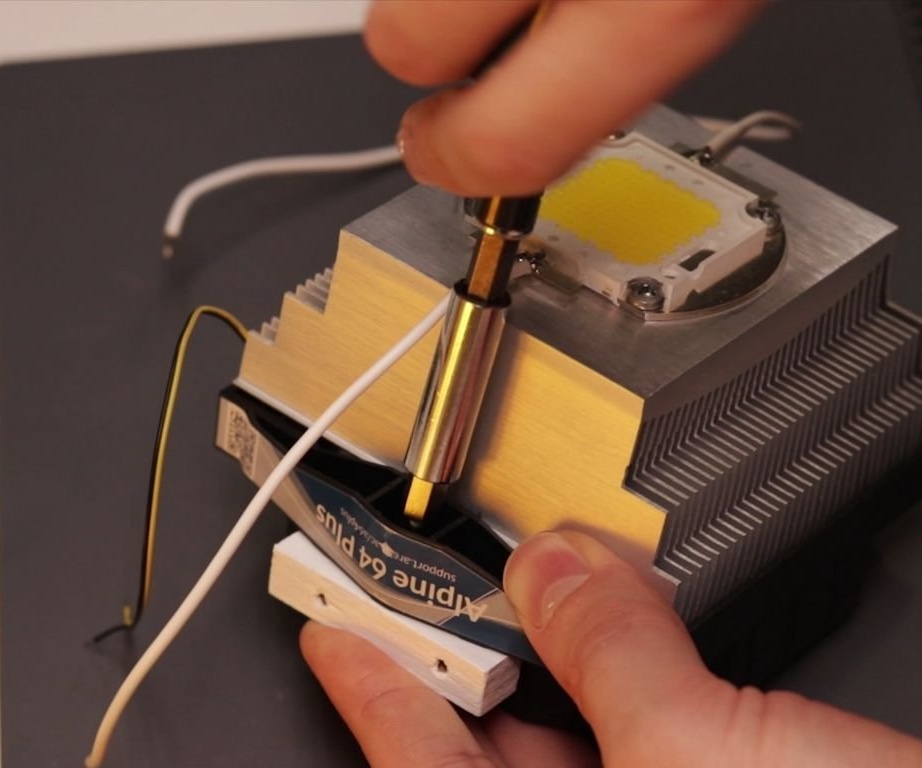
Step One: LED
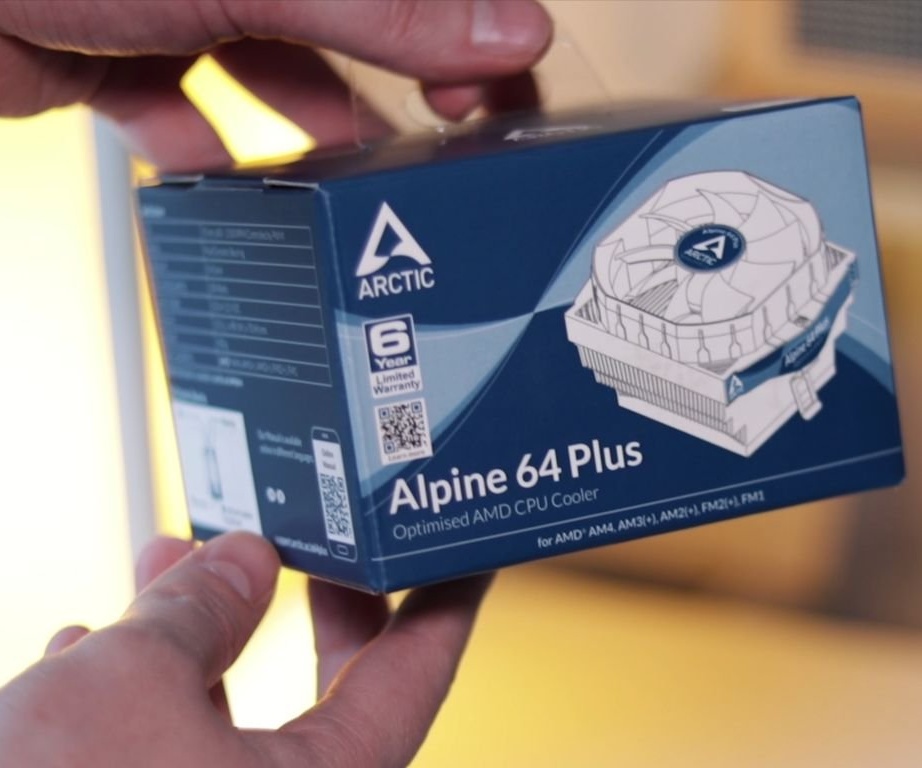
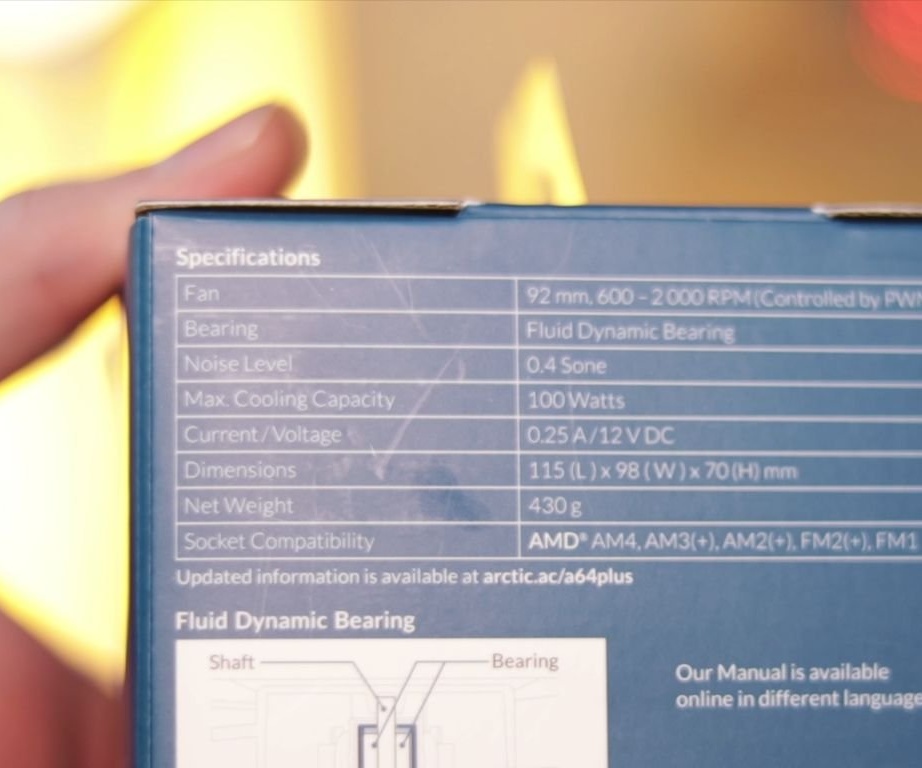
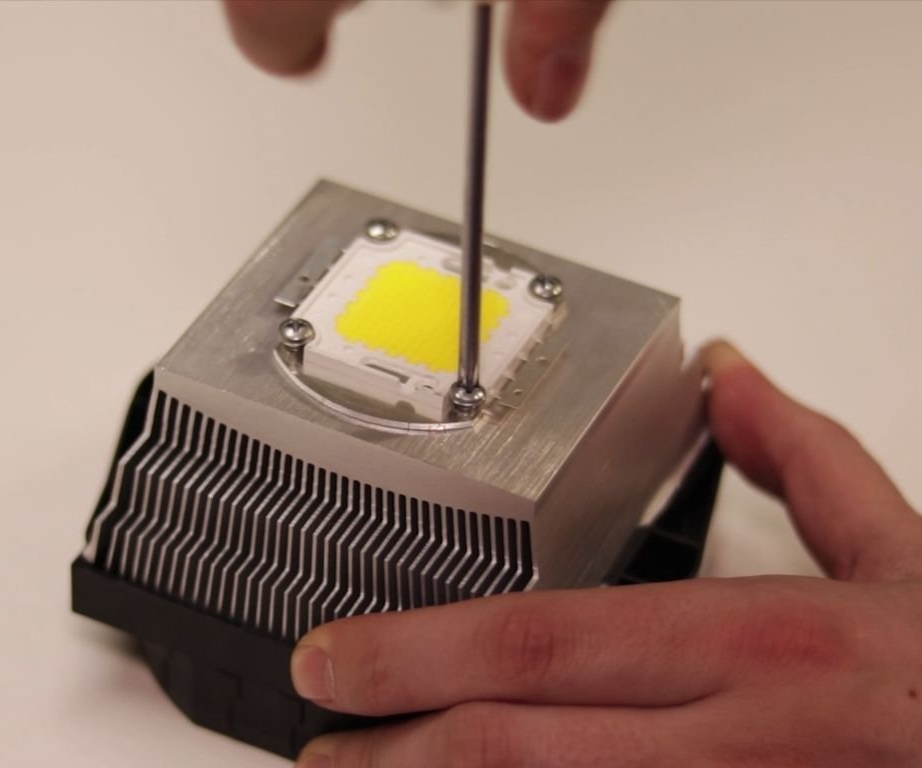
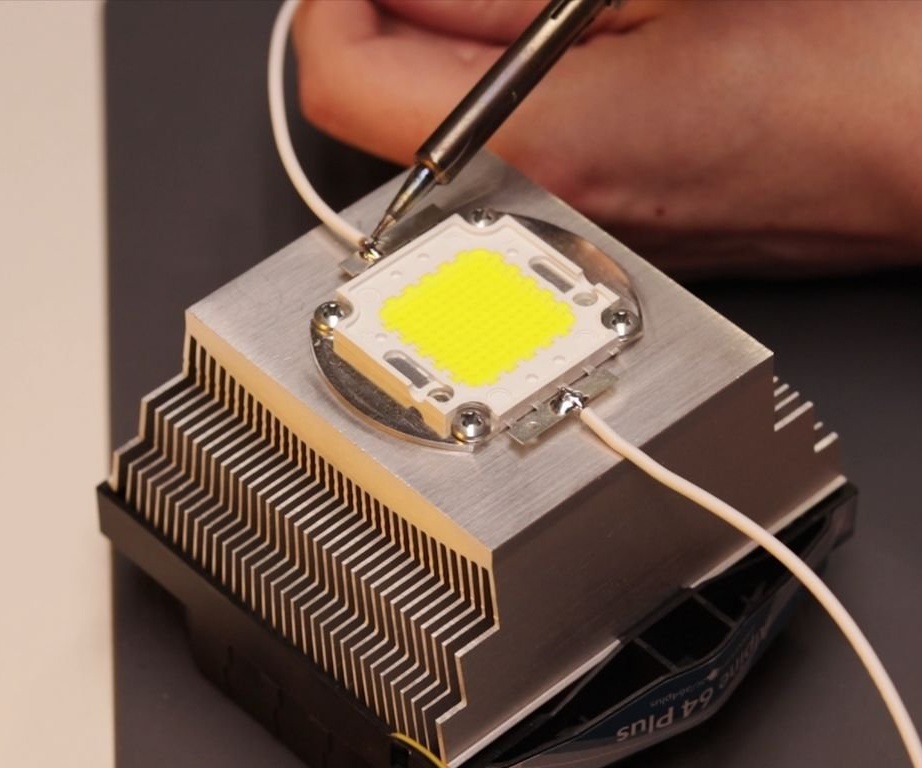
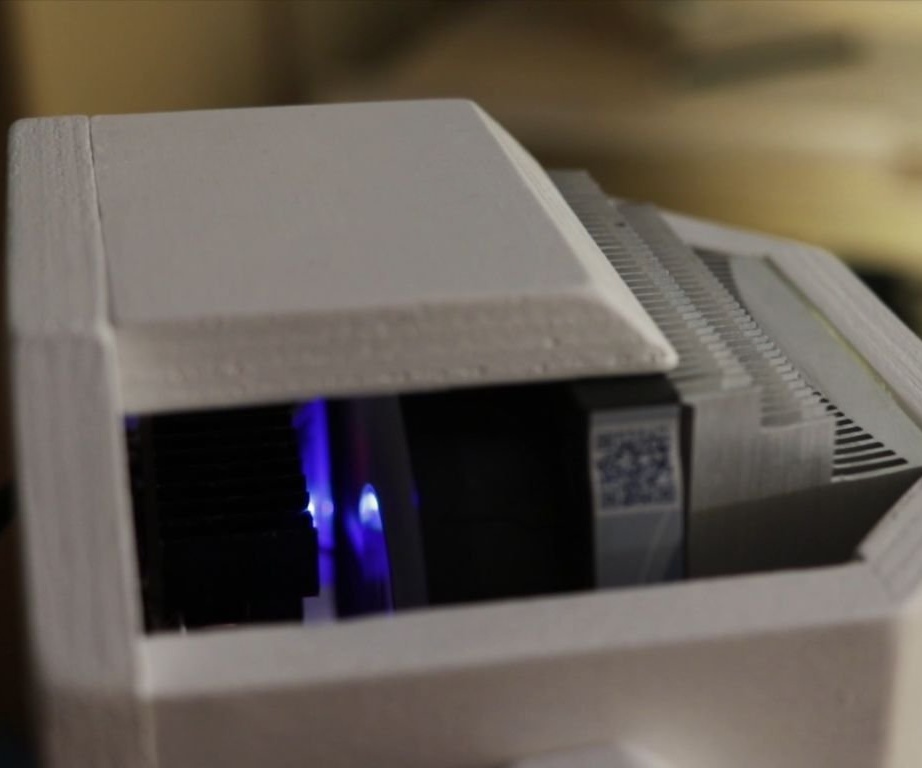
For such a powerful LED matrix, the cooler must be at least 100 watts.
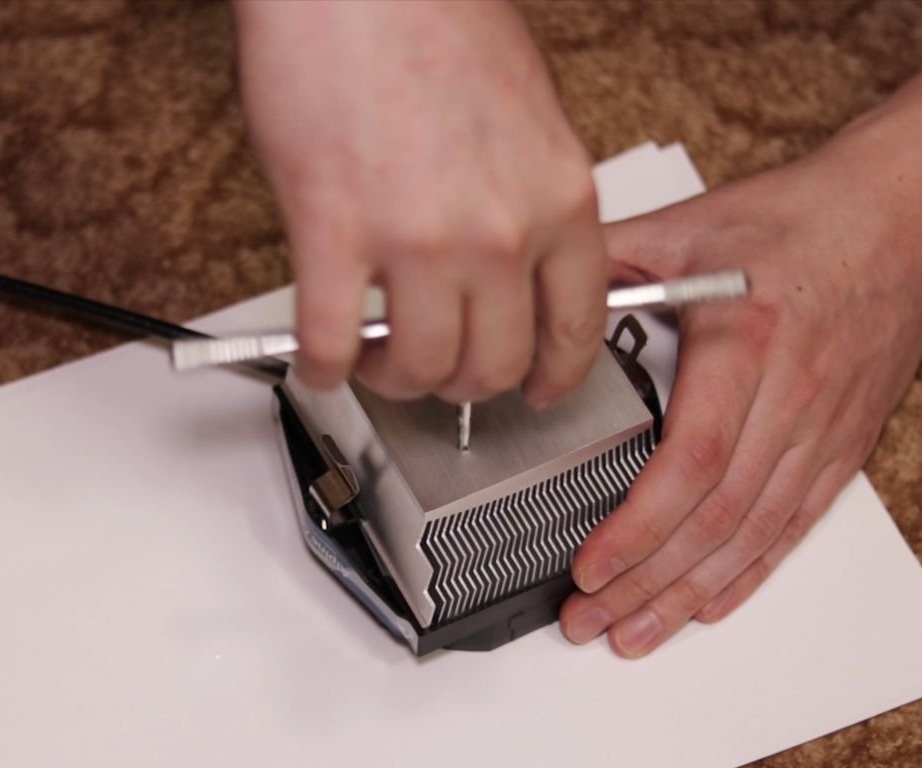
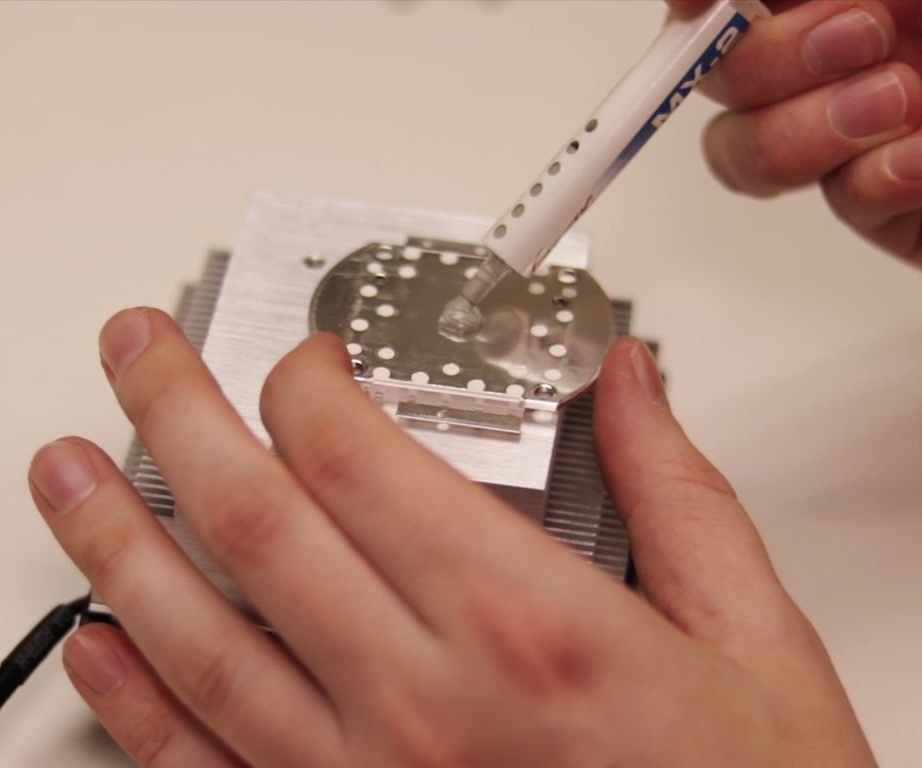
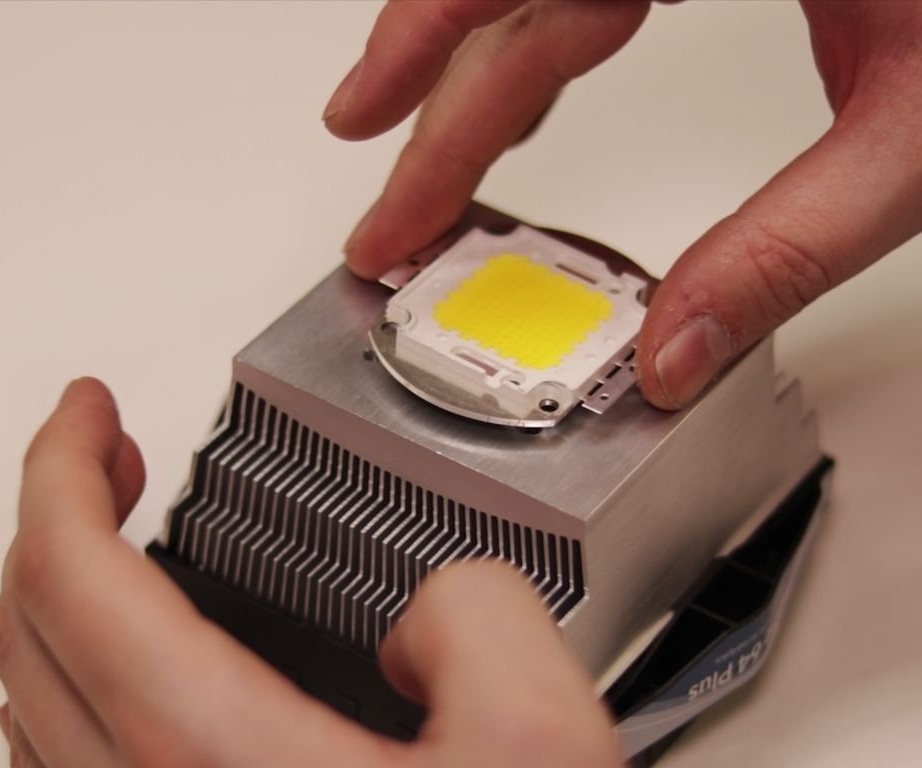
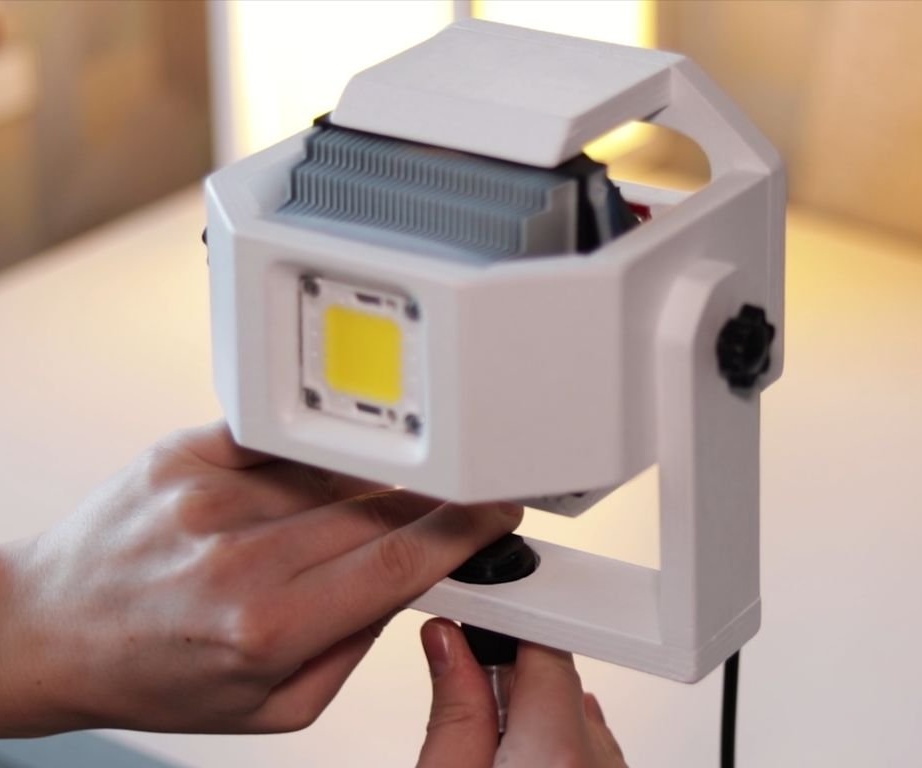
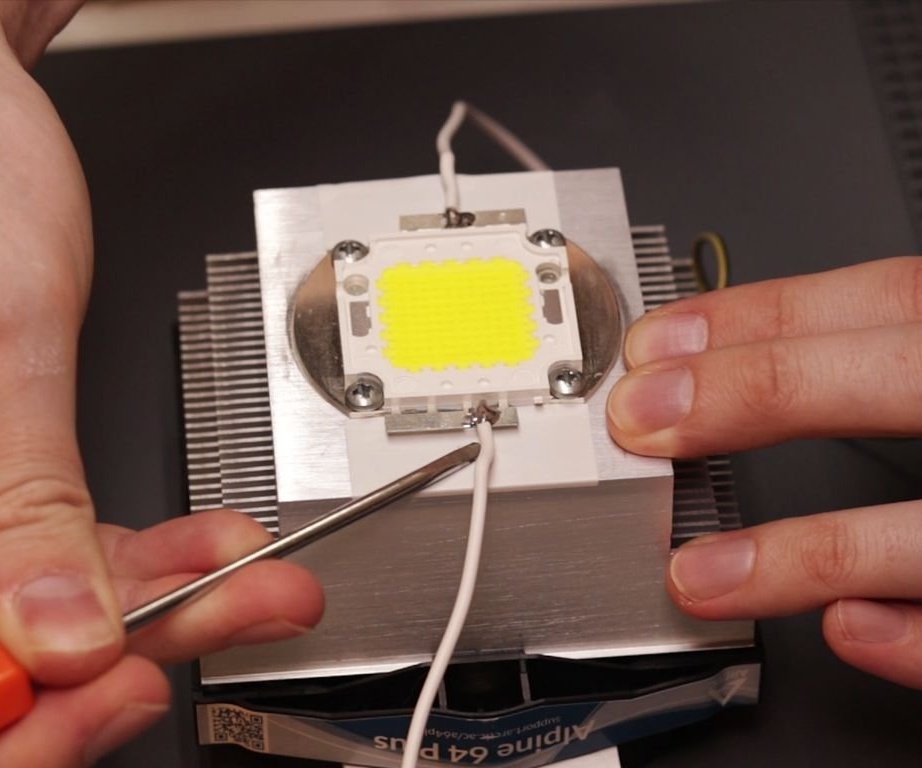
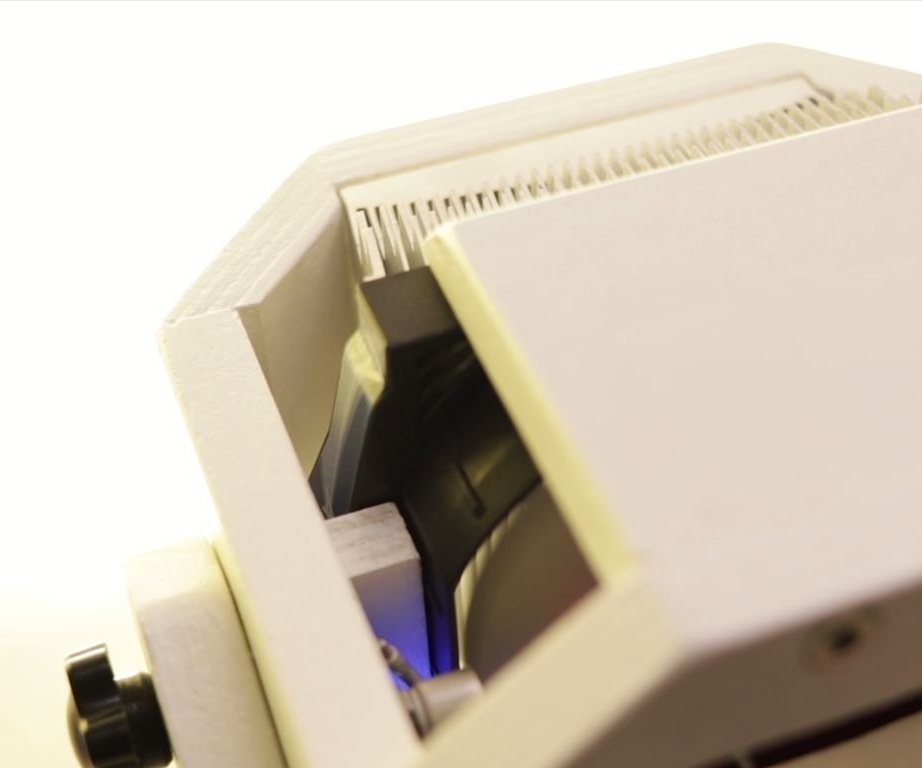
Drills holes in the radiator. Apply thermal grease to mating surfaces. Screws the matrix to the radiator.

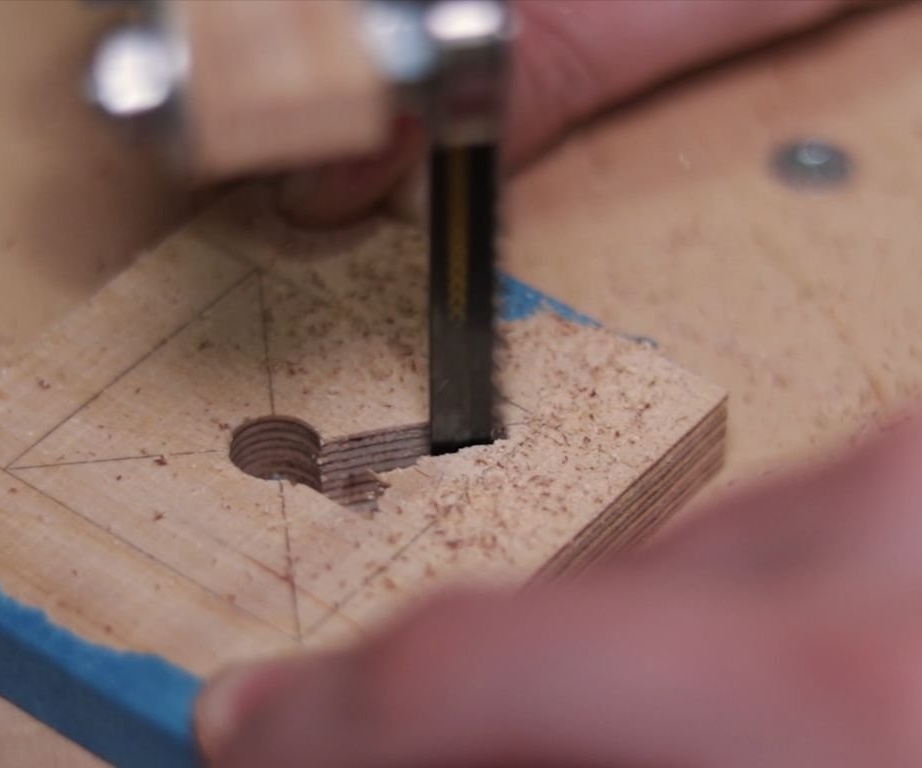
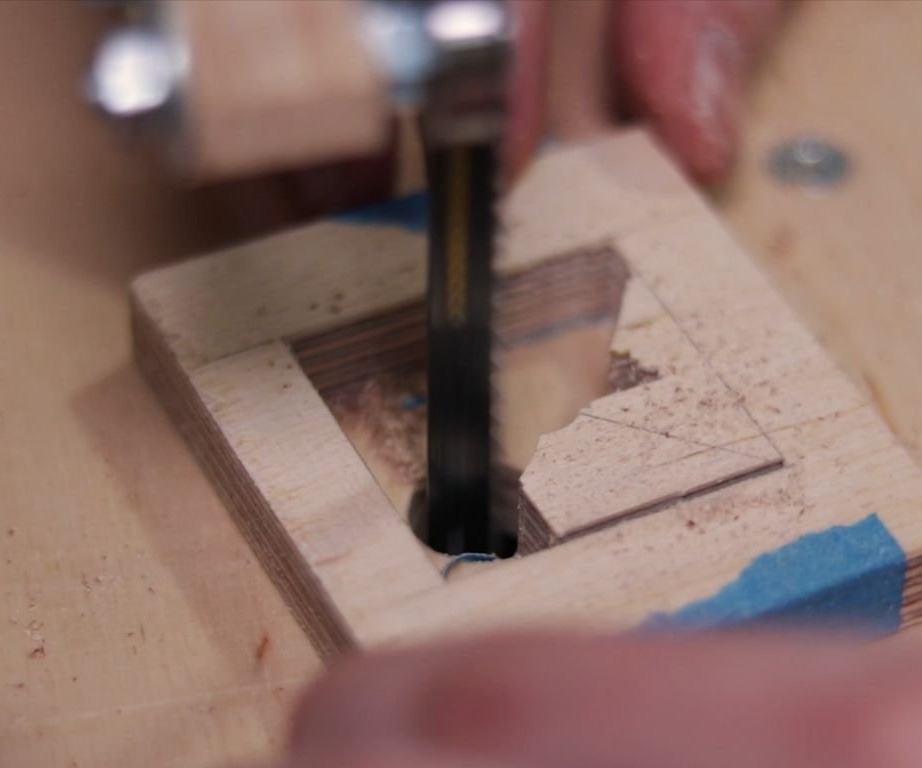
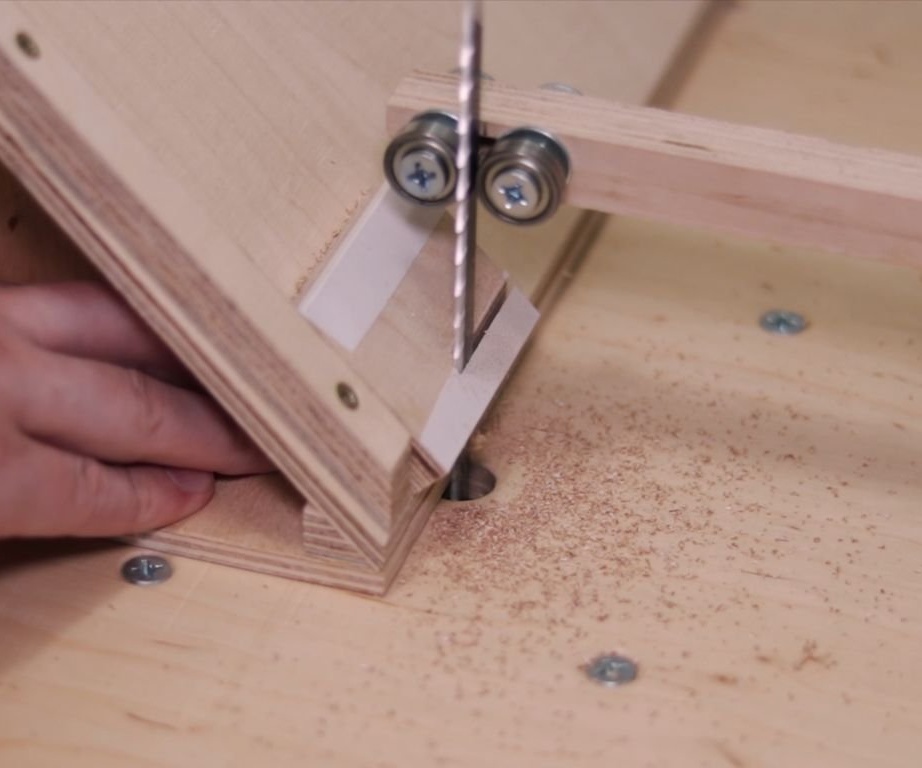
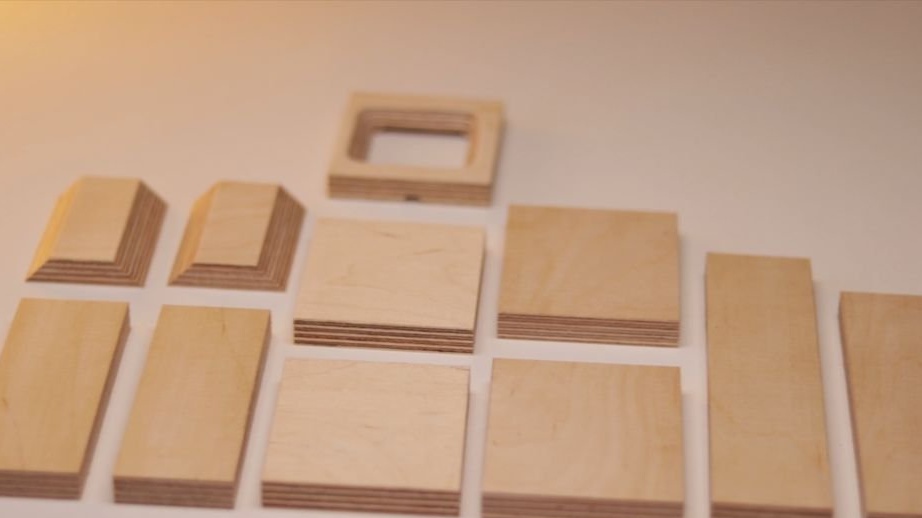
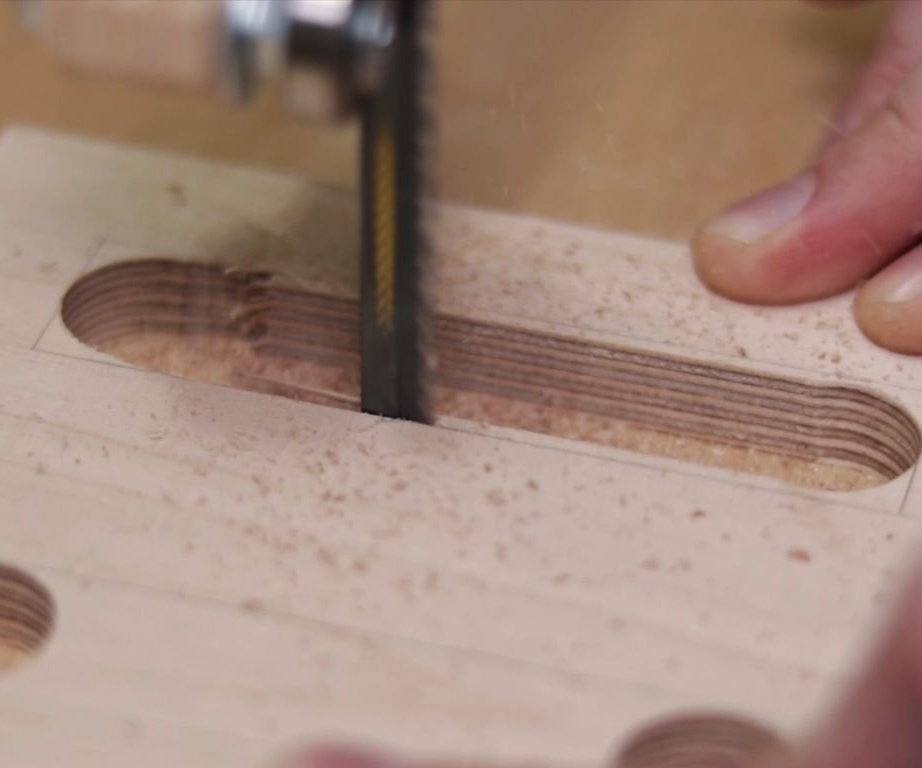
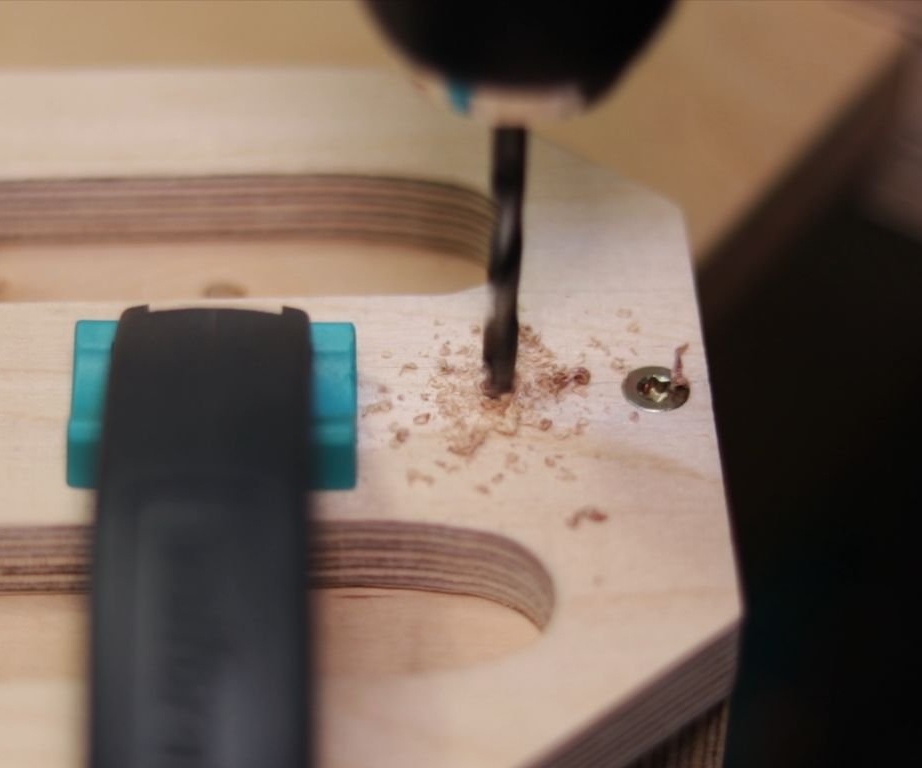
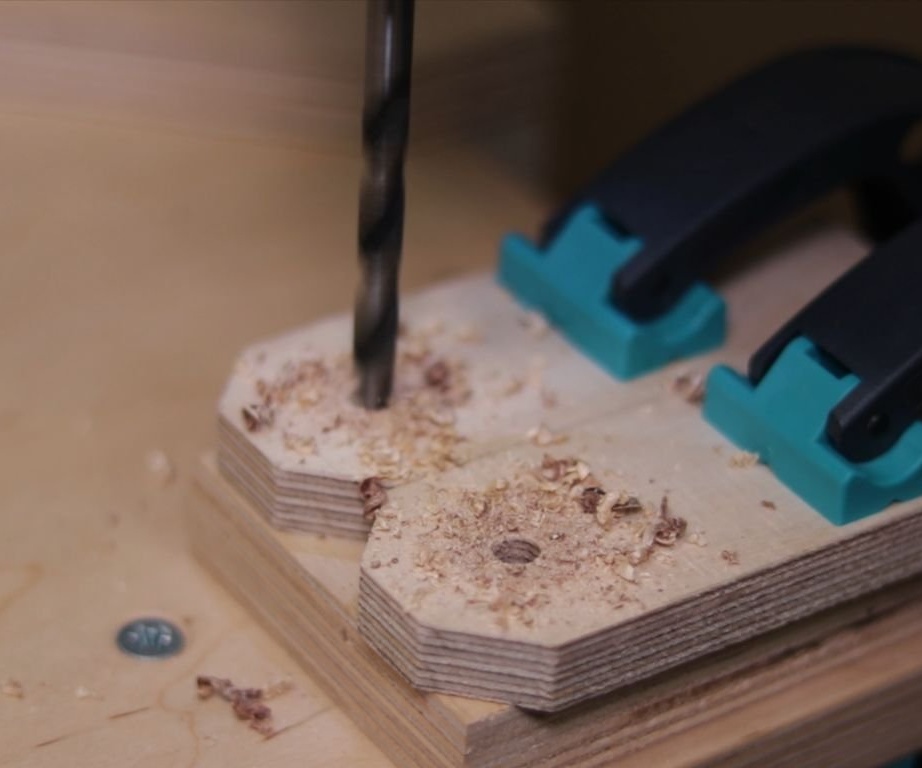
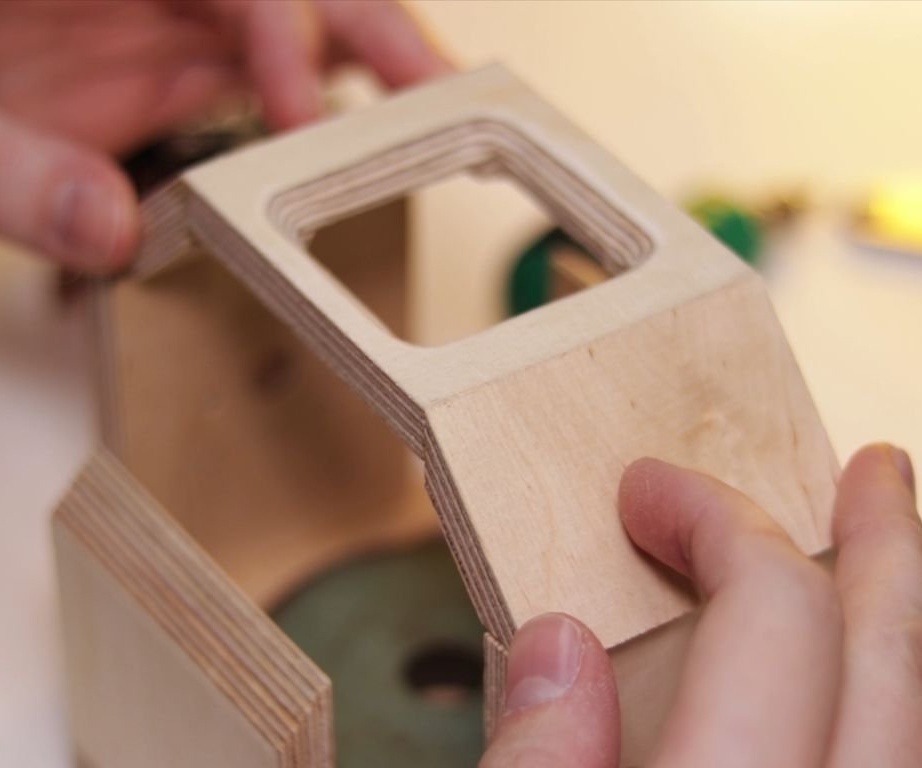
Step Two: Housing Details
The cooler with the matrix will be attached to the plywood case. Cuts body parts.

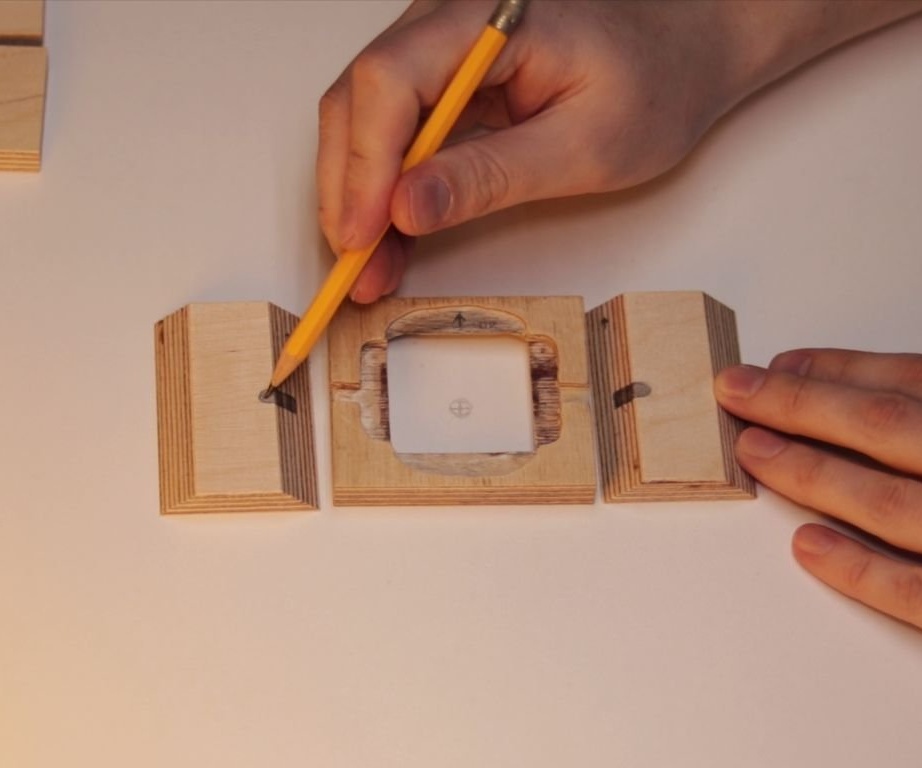
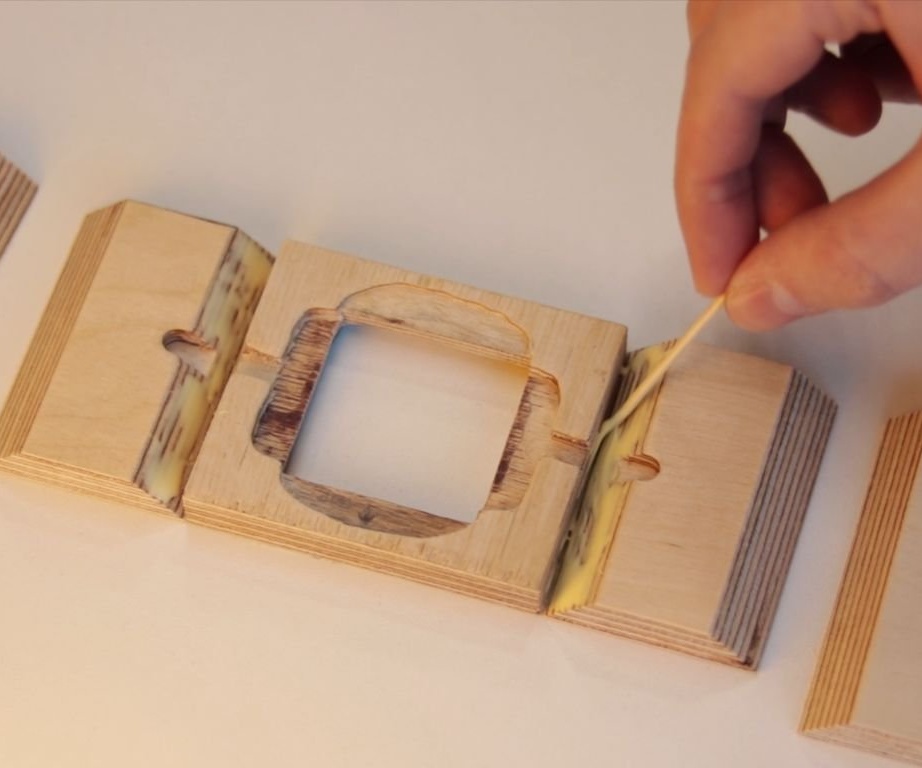
Step Three: Front
The master drilled holes for the wire in the side walls of the front. Glued the details.
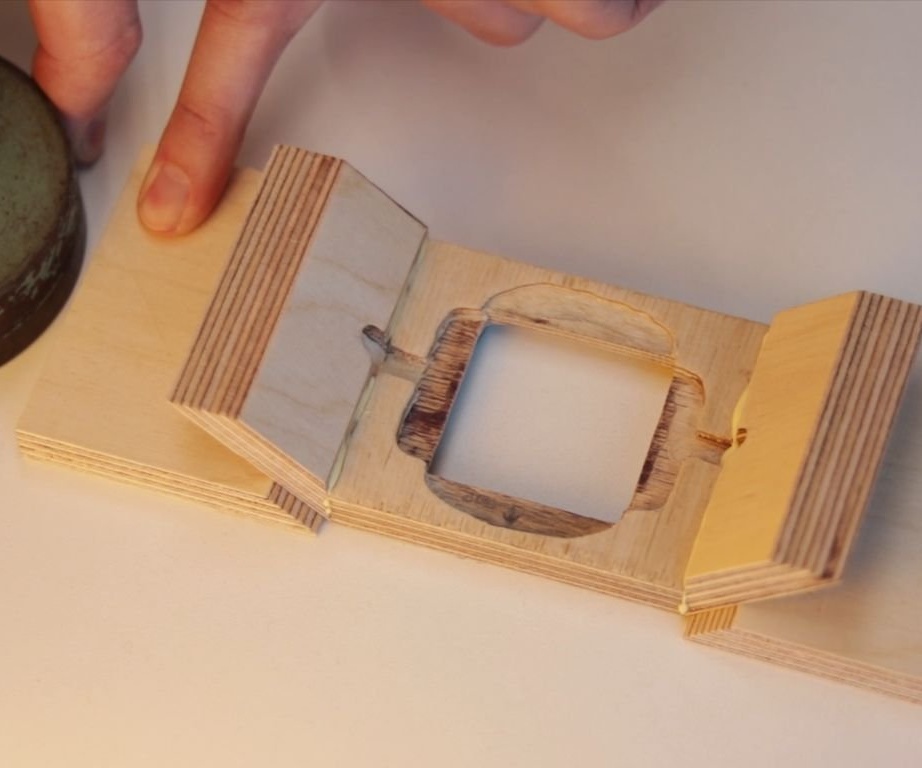
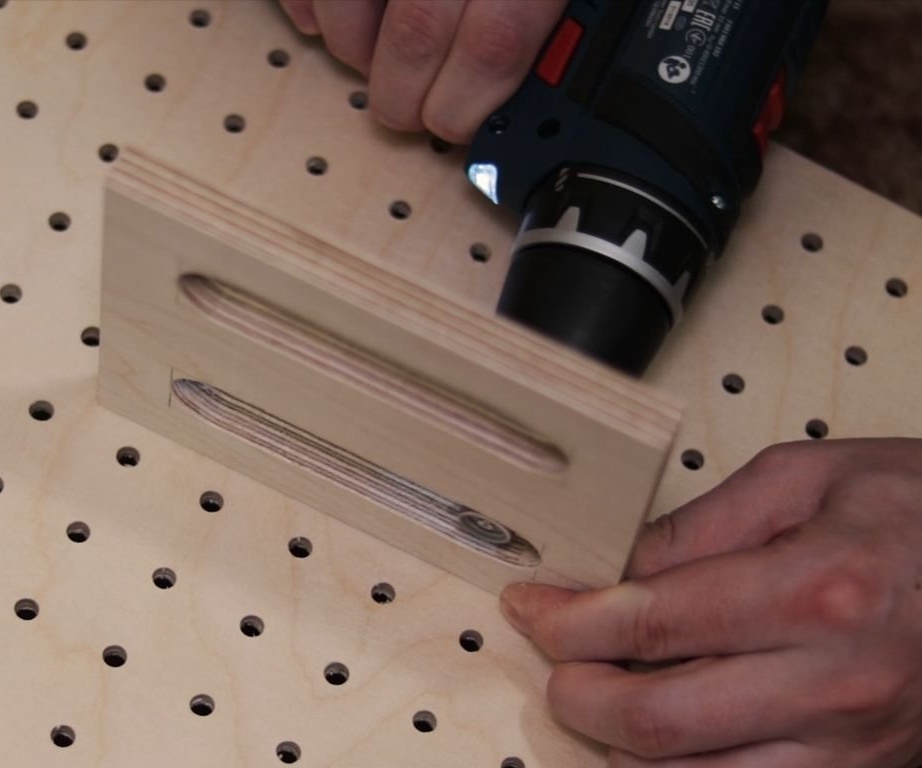
Step Four: The Back
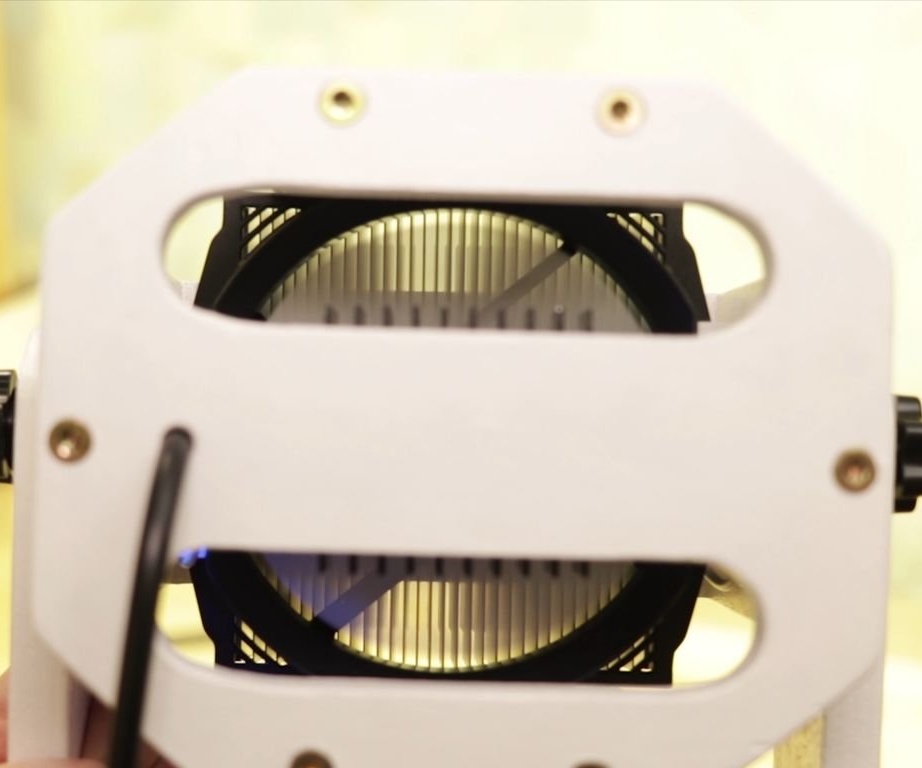
For better cooling, I cut out the windows at the rear.
I glued the side walls to the back.
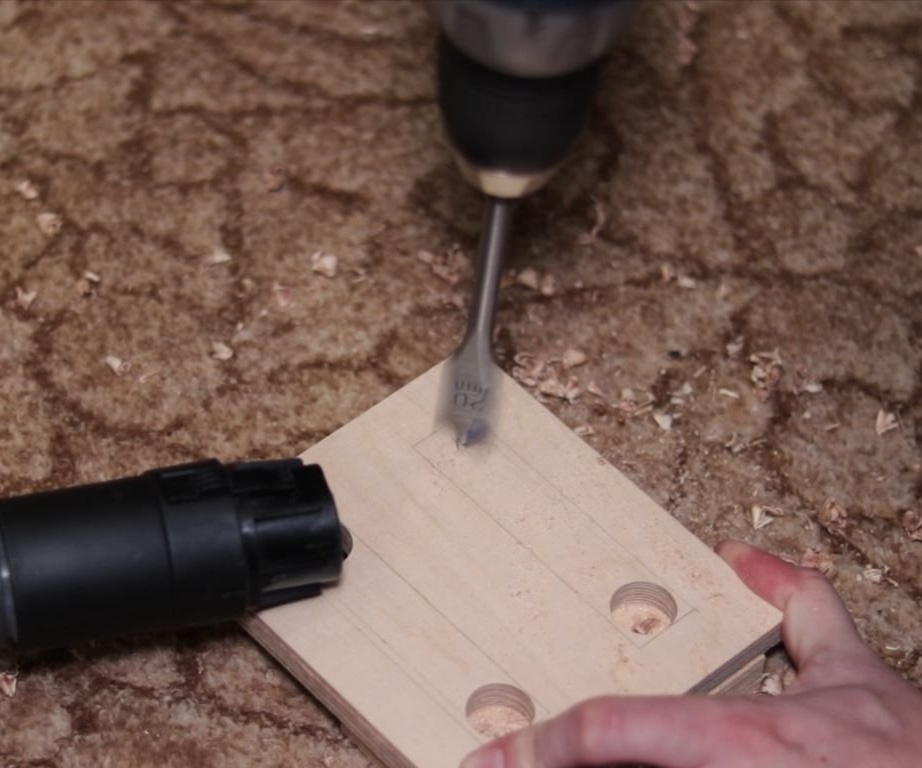
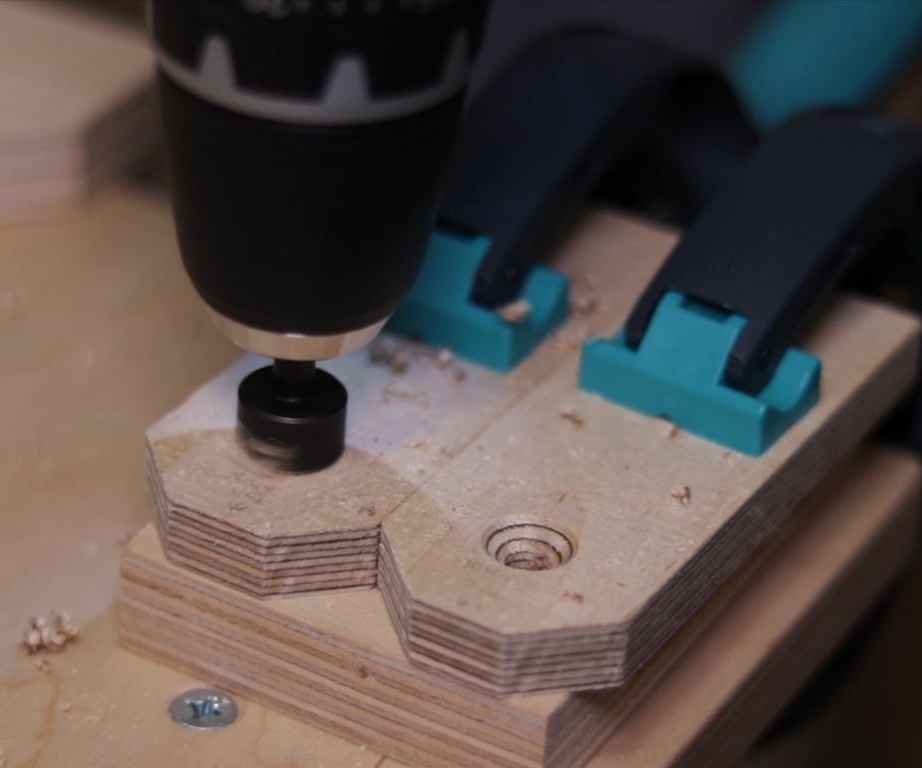
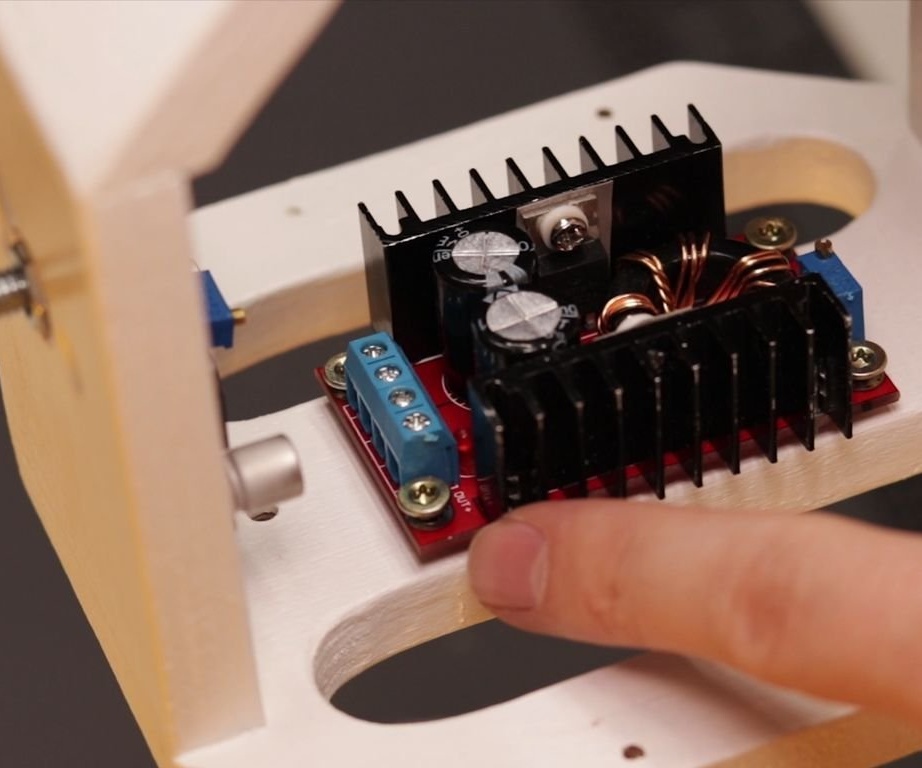
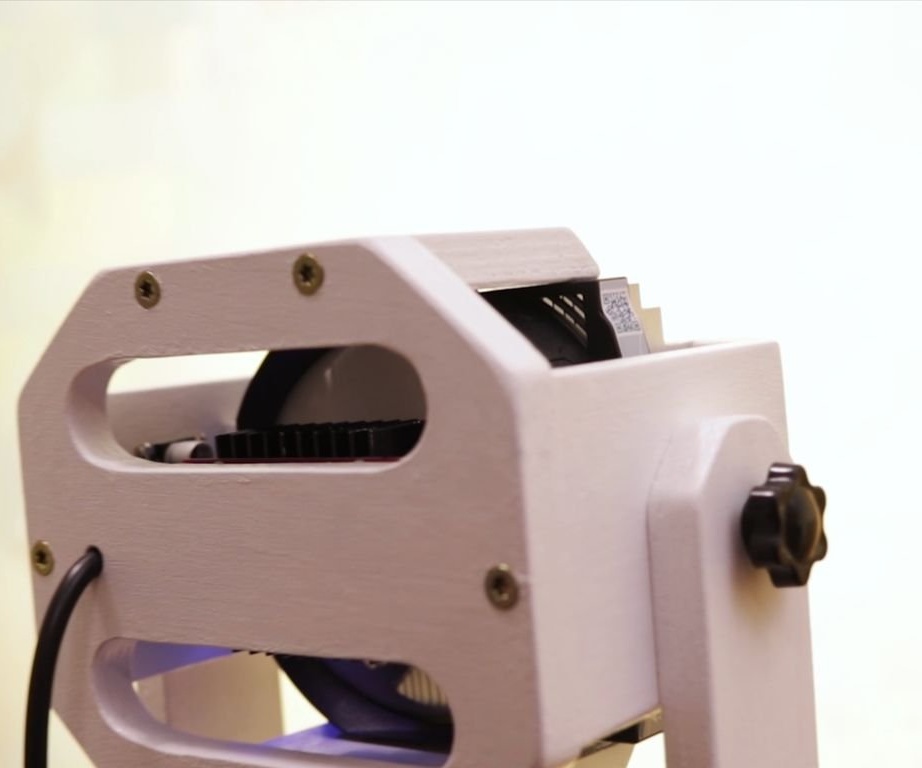
Marked and drilled mounting holes for LM2596.


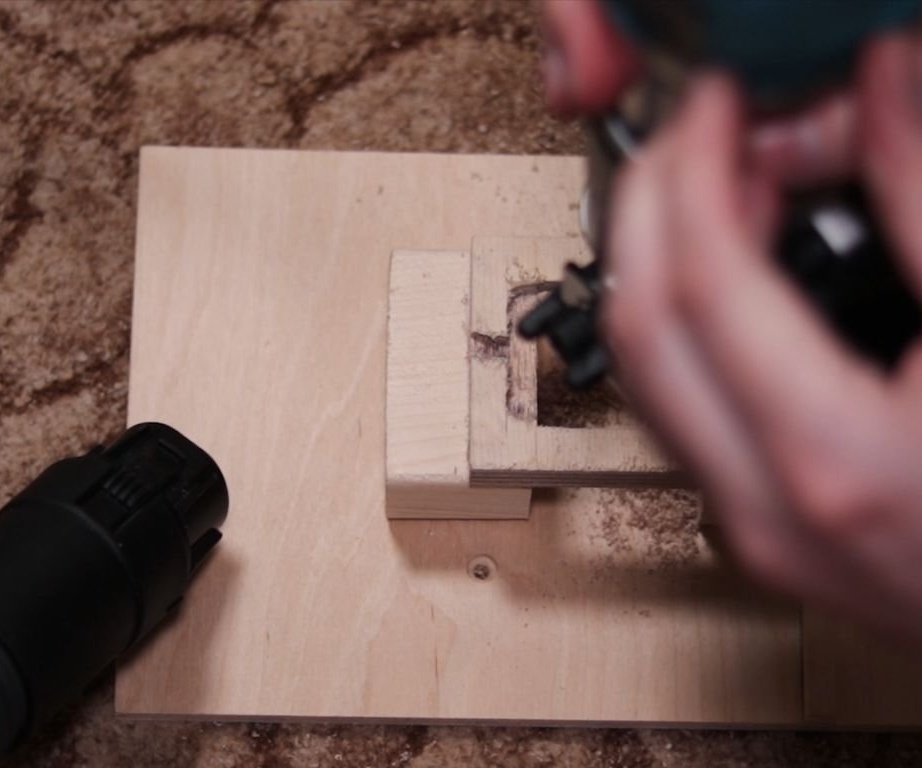
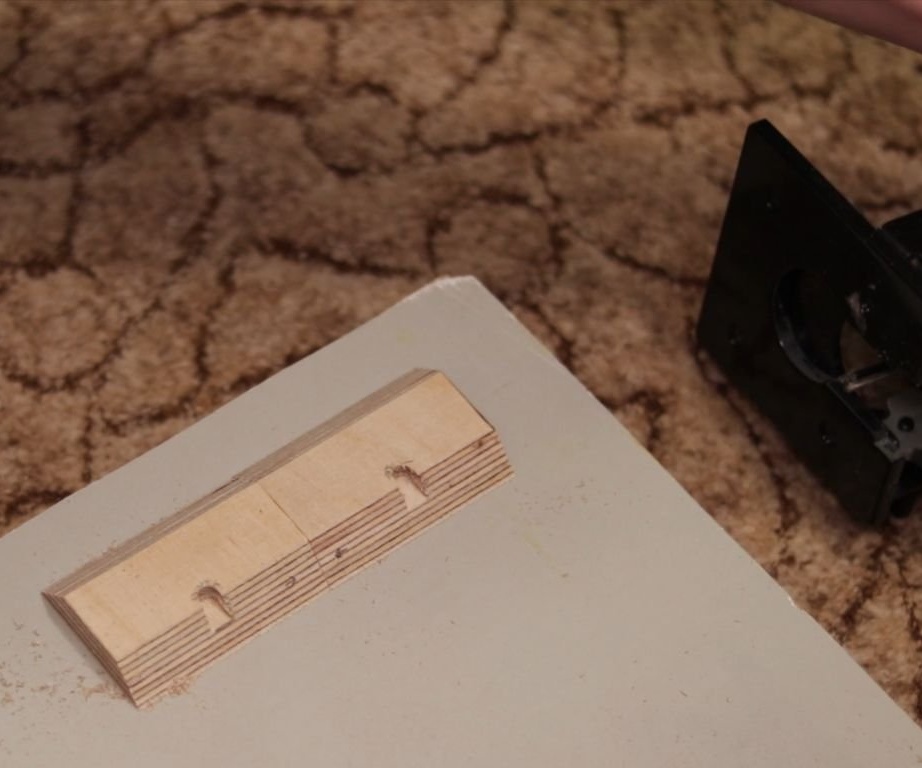
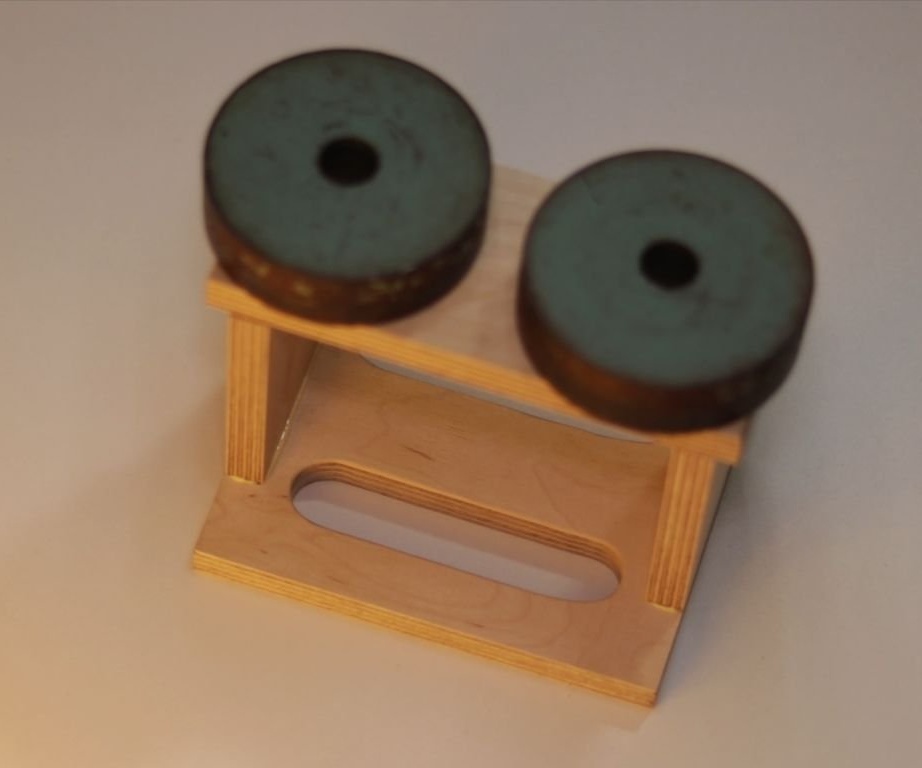
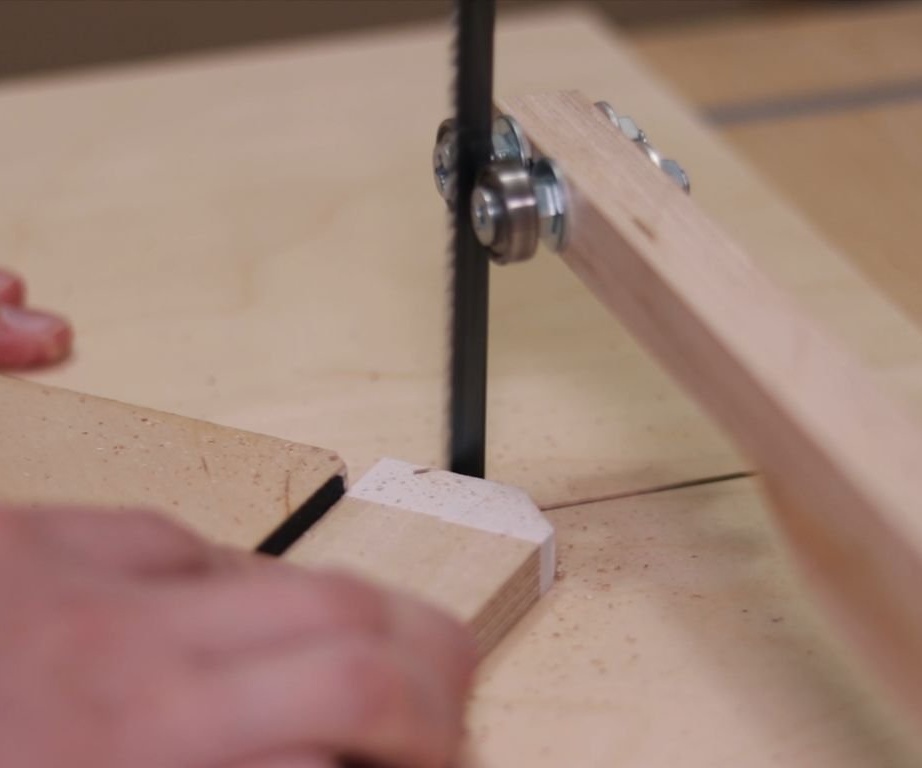
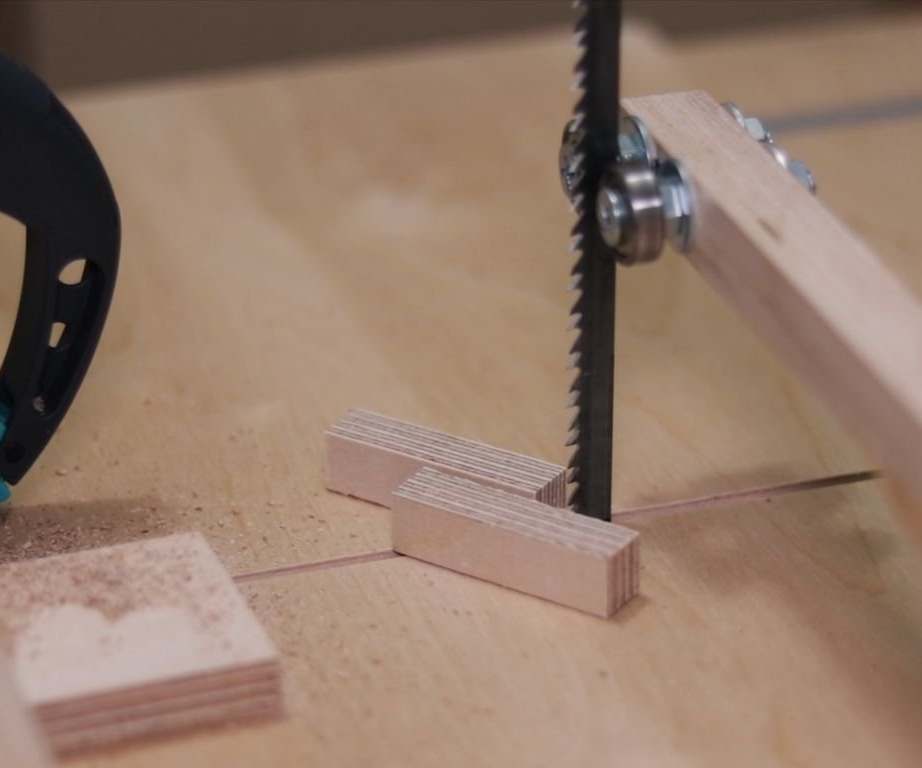
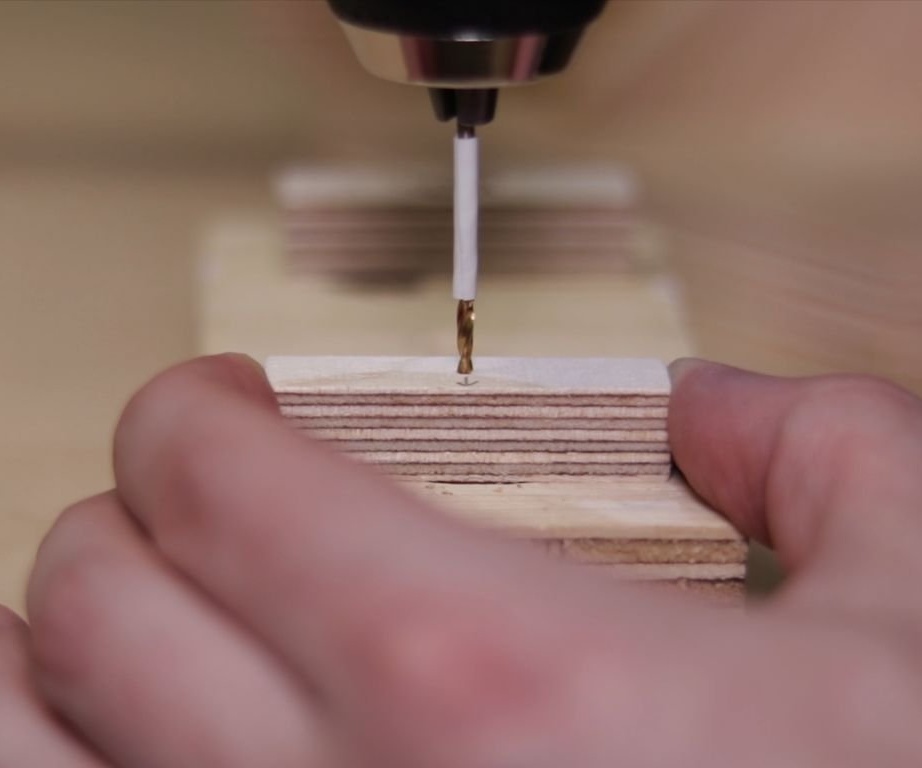
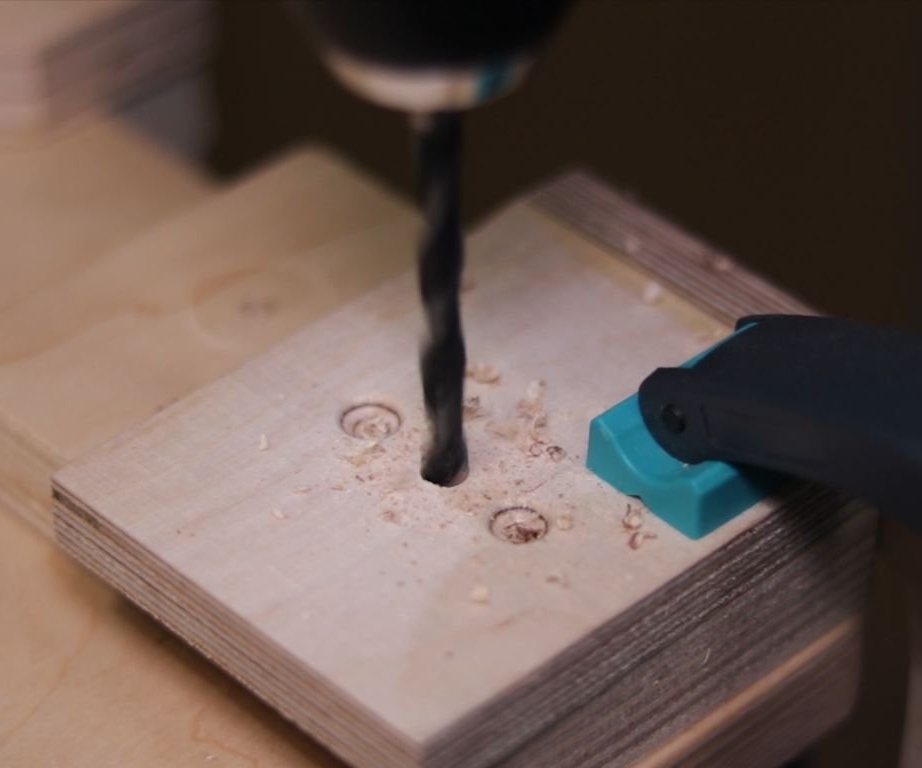
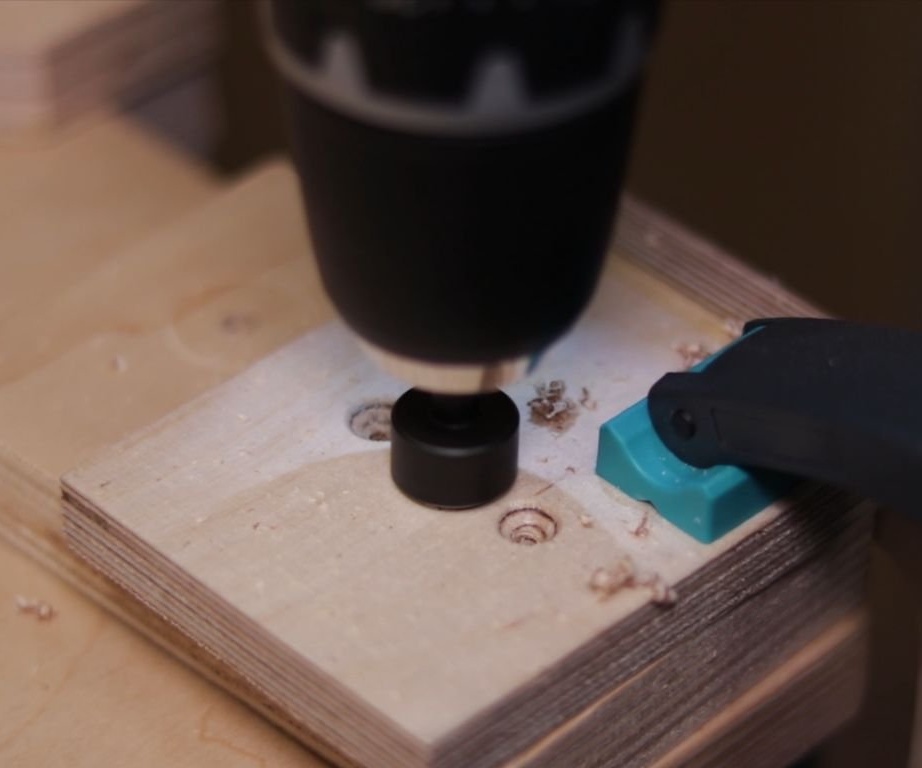
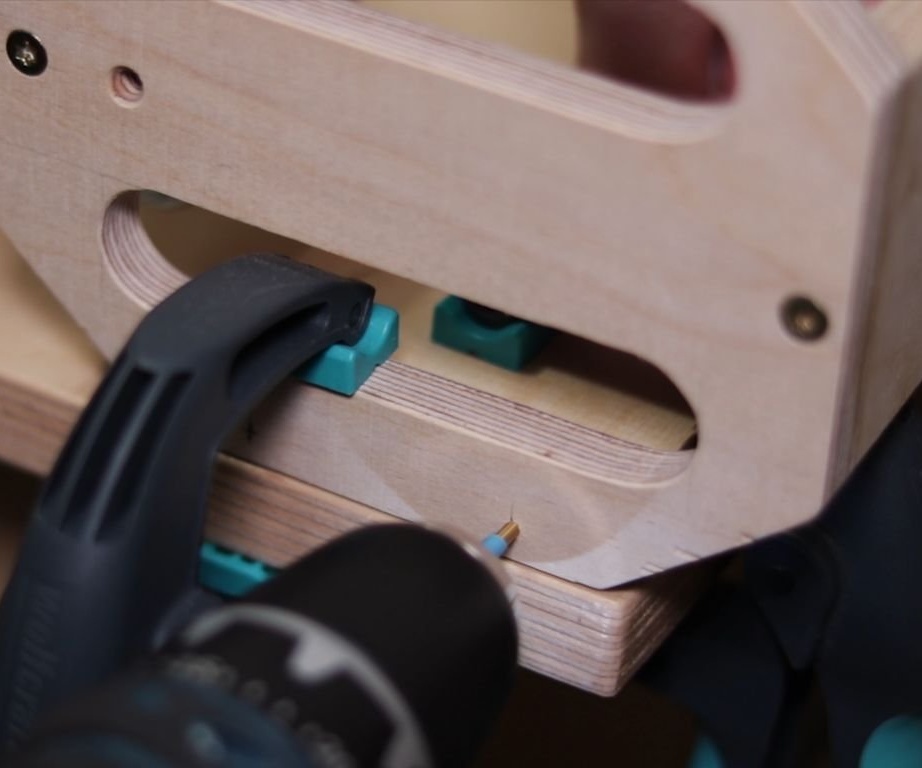
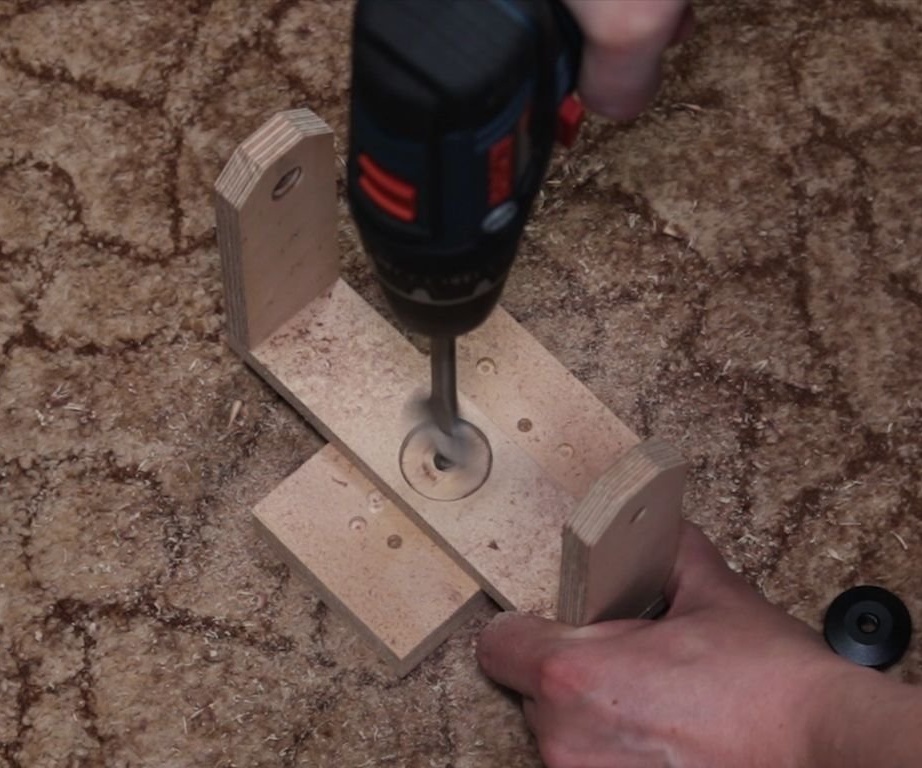
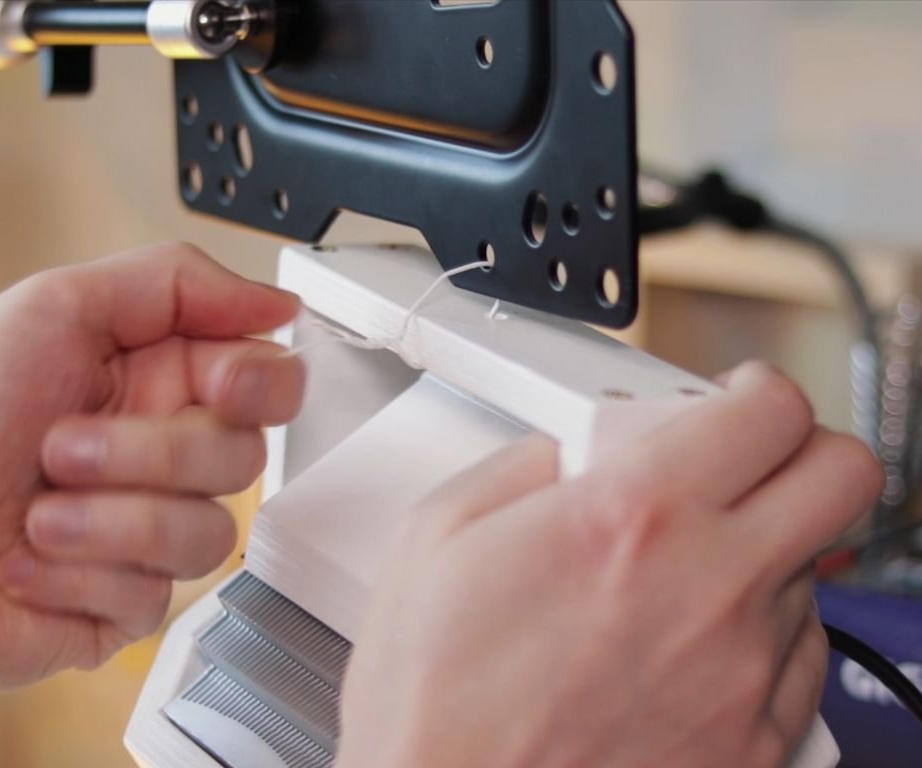
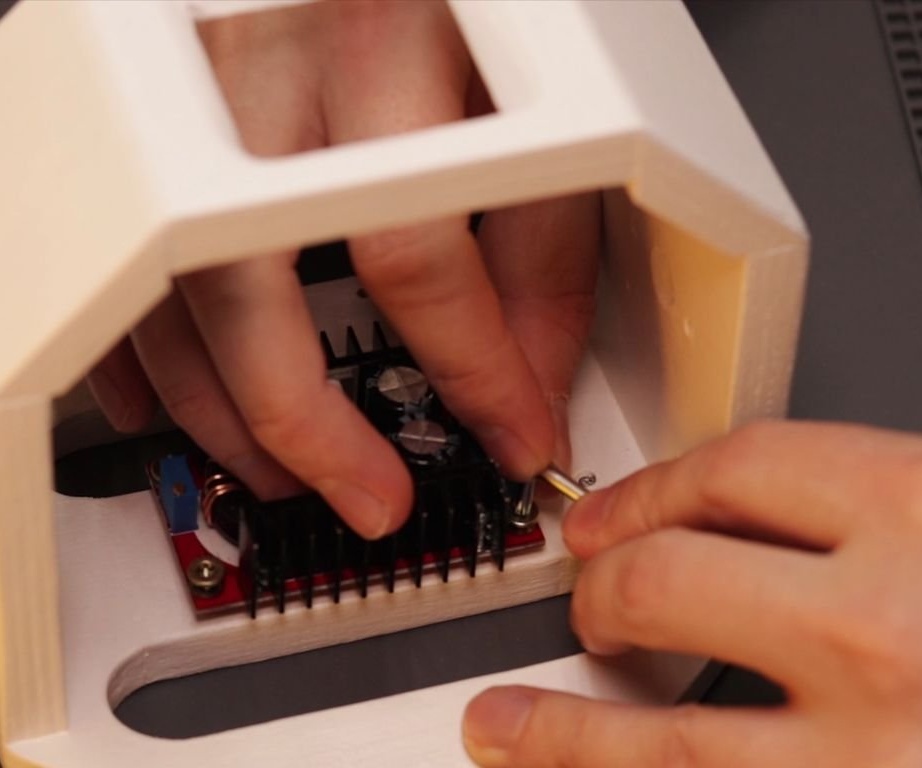
Step Five: Mounting the Cooler
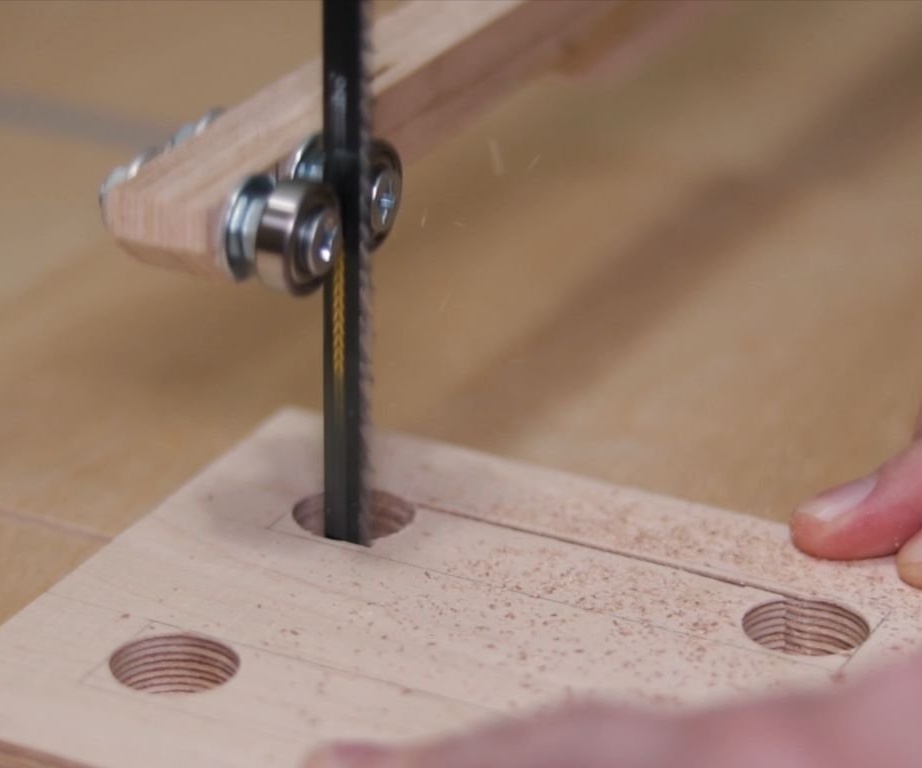
To fix the cooler, the master cut out two blocks.
Marked and drilled mounting holes. Secured the bars on the inside of the case.
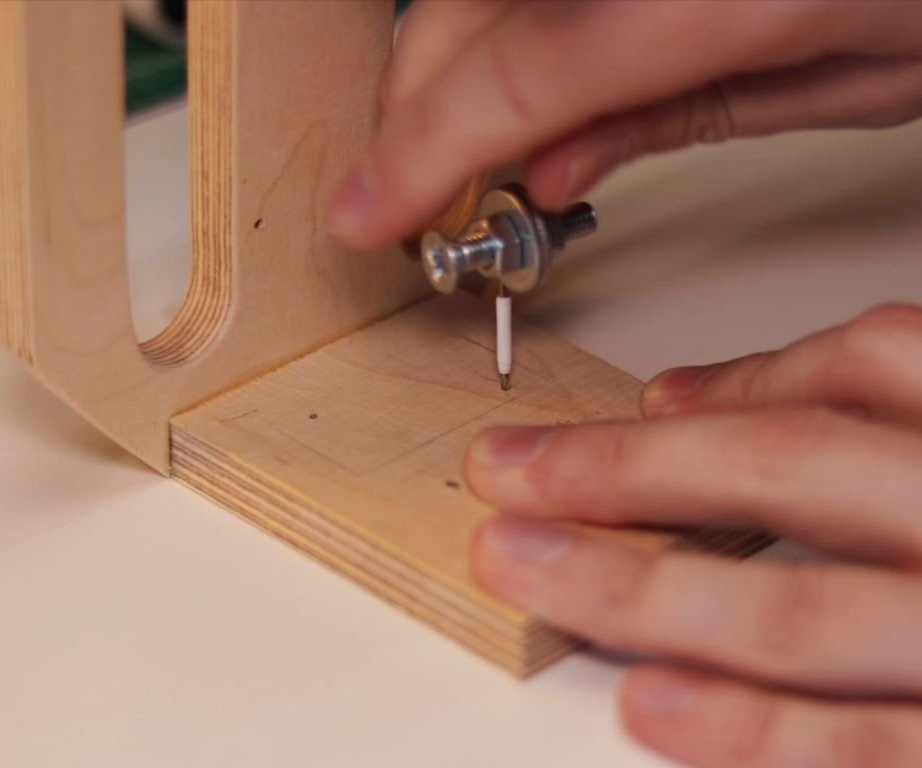
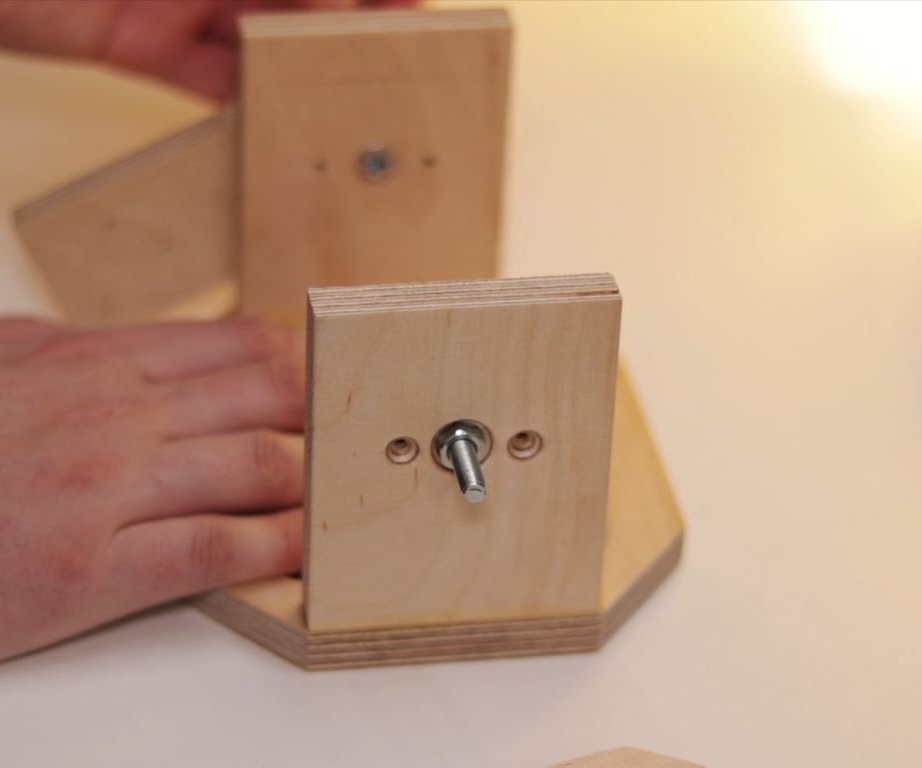
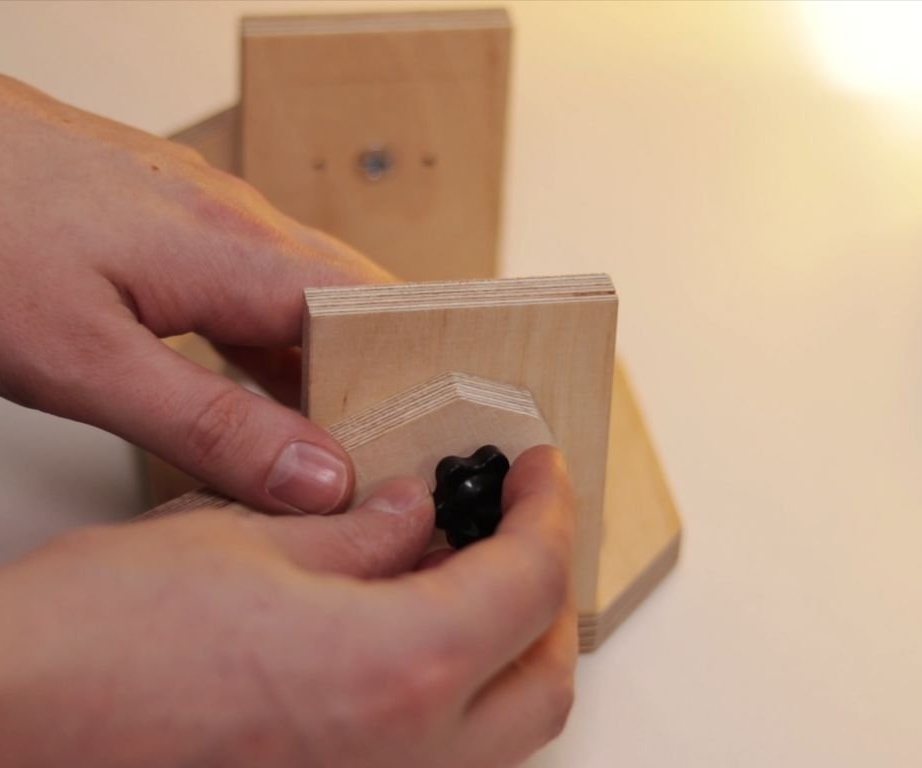
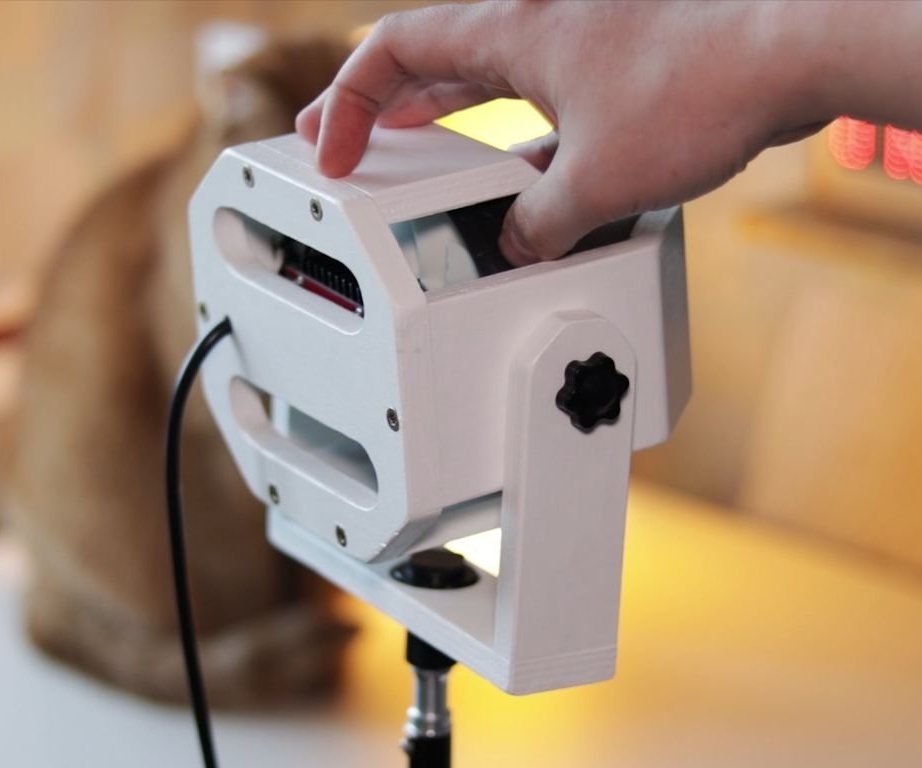
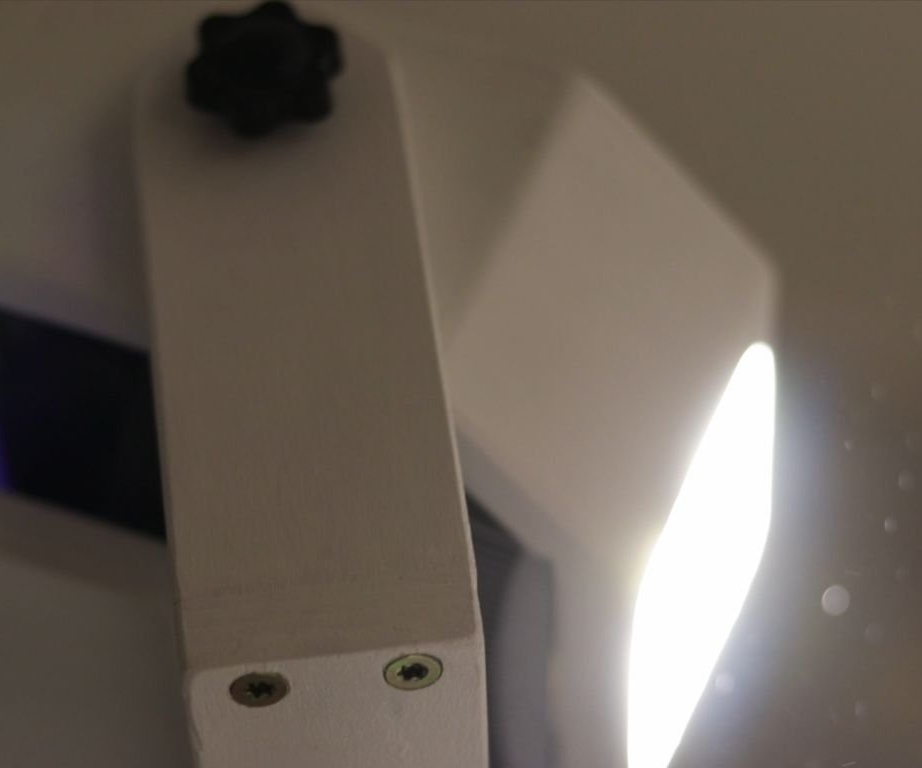
Step Six: Holder
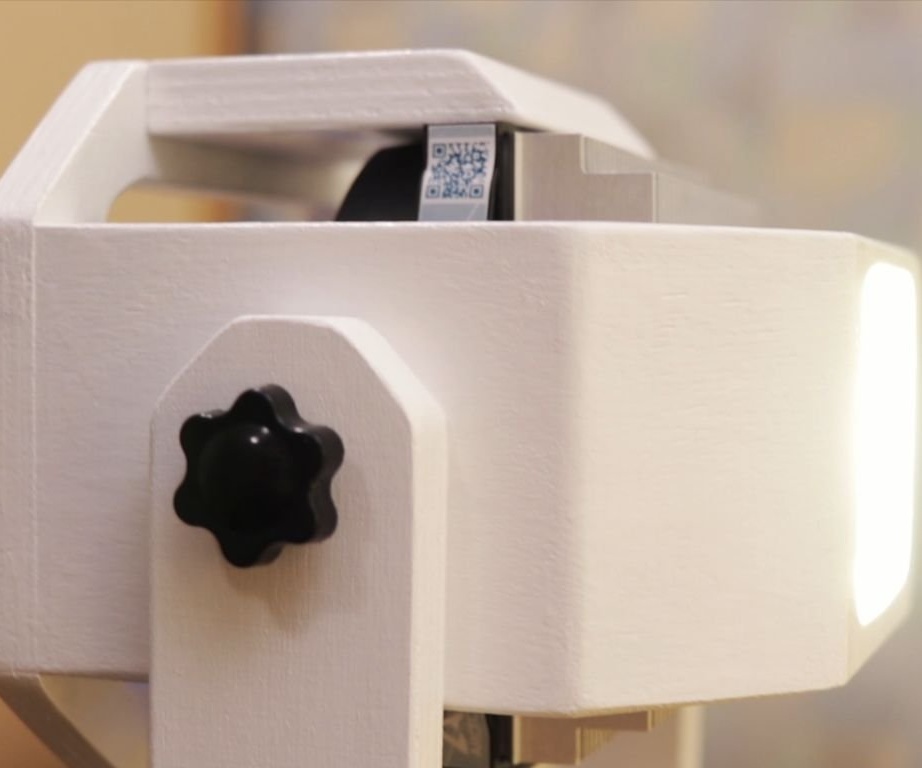
Now you need to make a part with which to adjust the tilt of the lamp and its mounting to the rack. This detail resembles the letter P., inverted 180 degrees. The crossbar is attached to the stand, and the side walls to the body with the help of wing nuts.
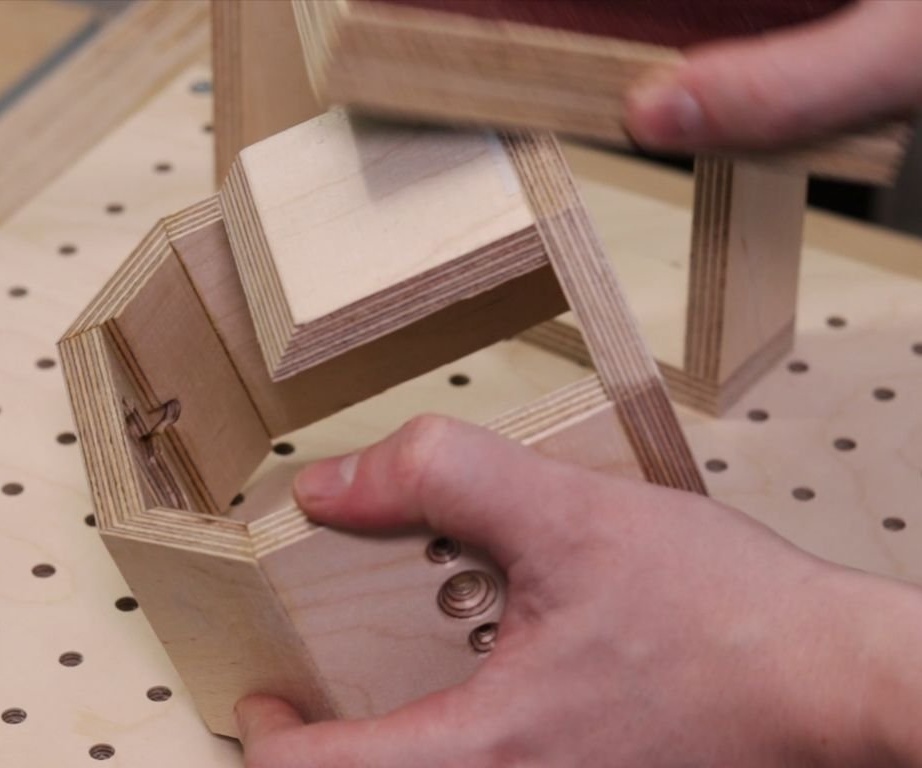
Seventh step: completion of the body
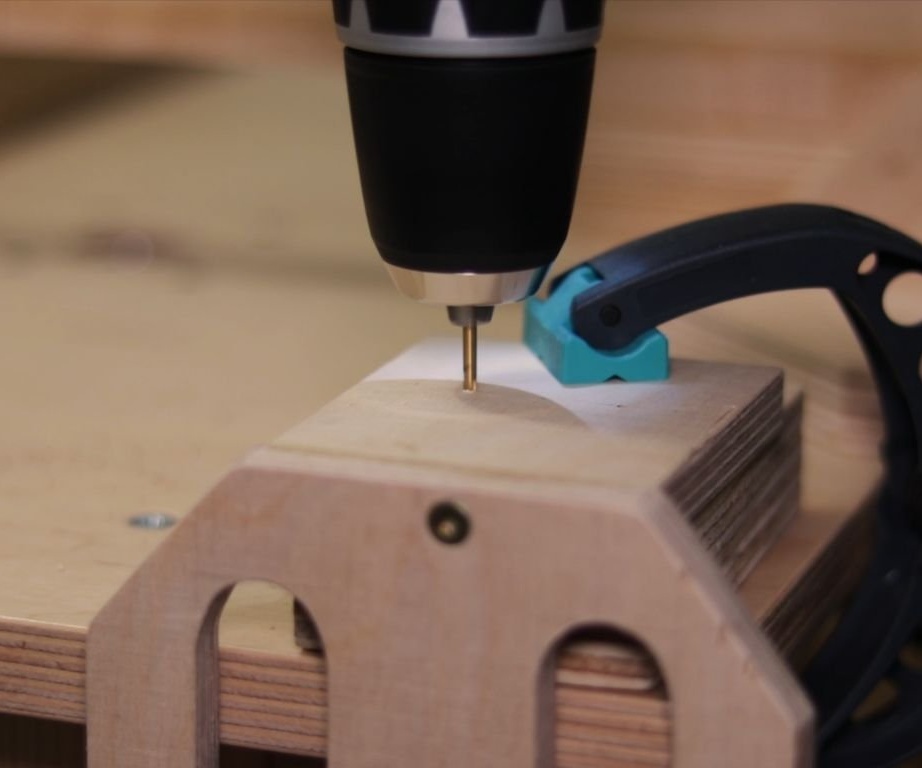
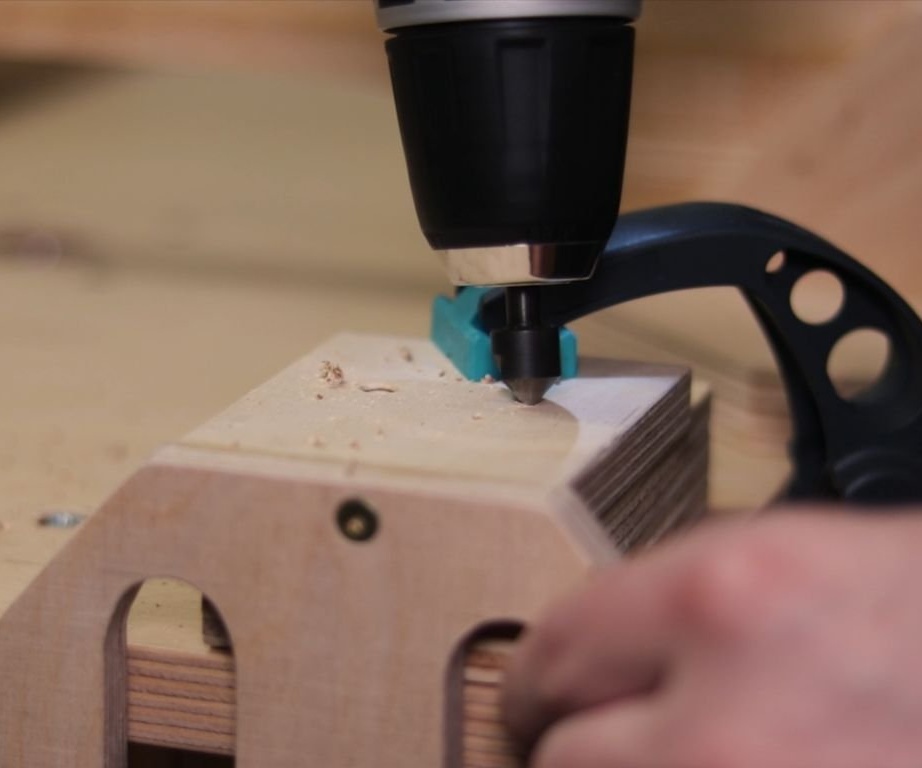
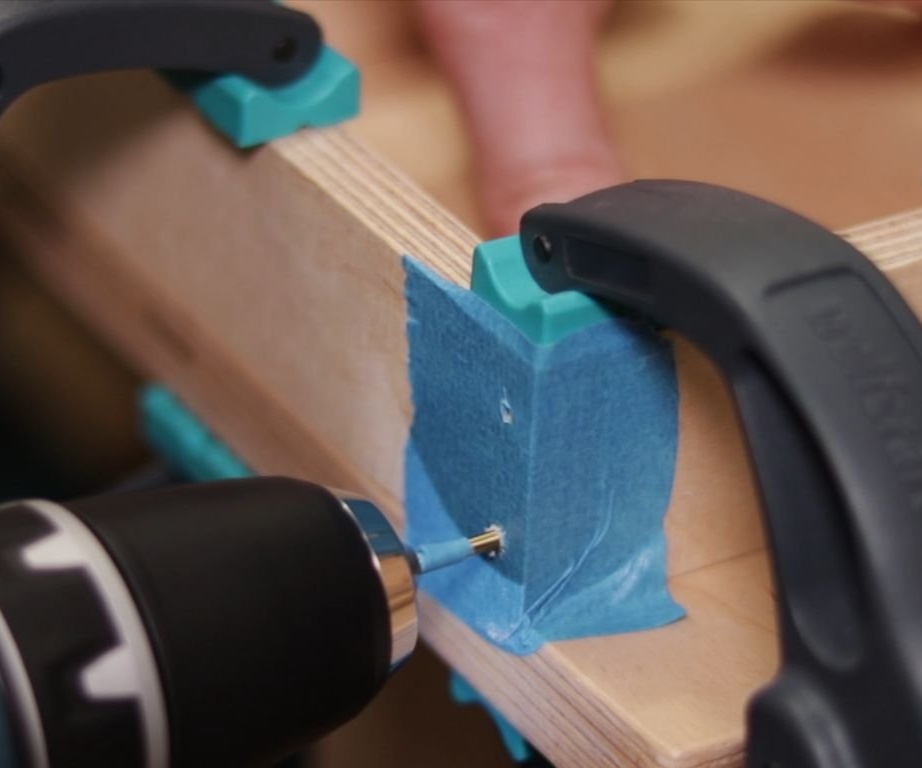
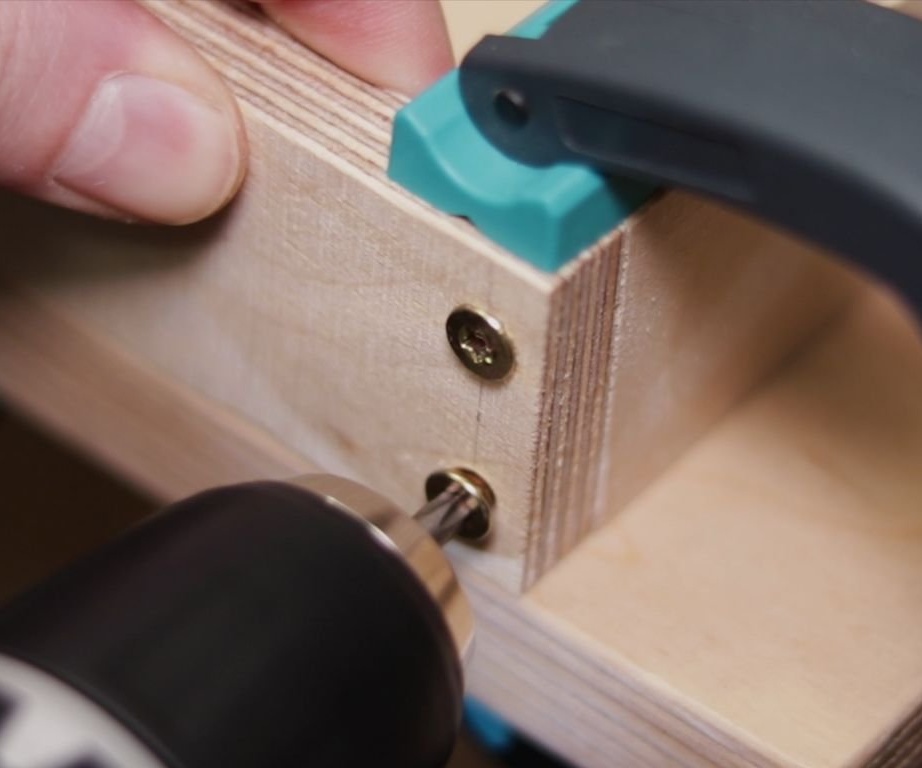
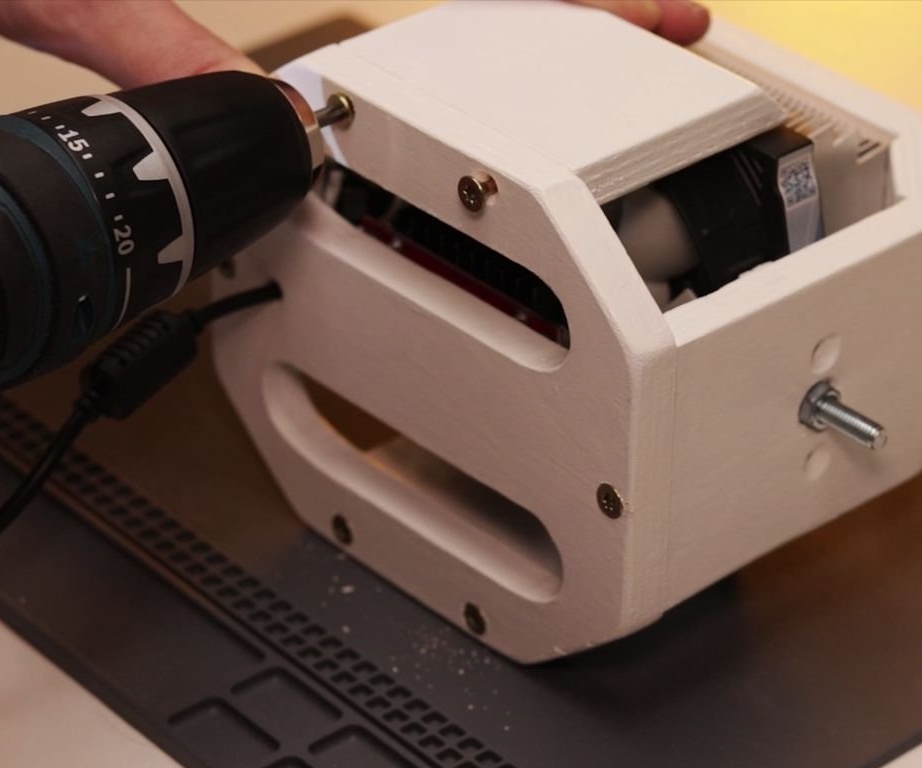
For strength, the master fixes the connection points with screws.
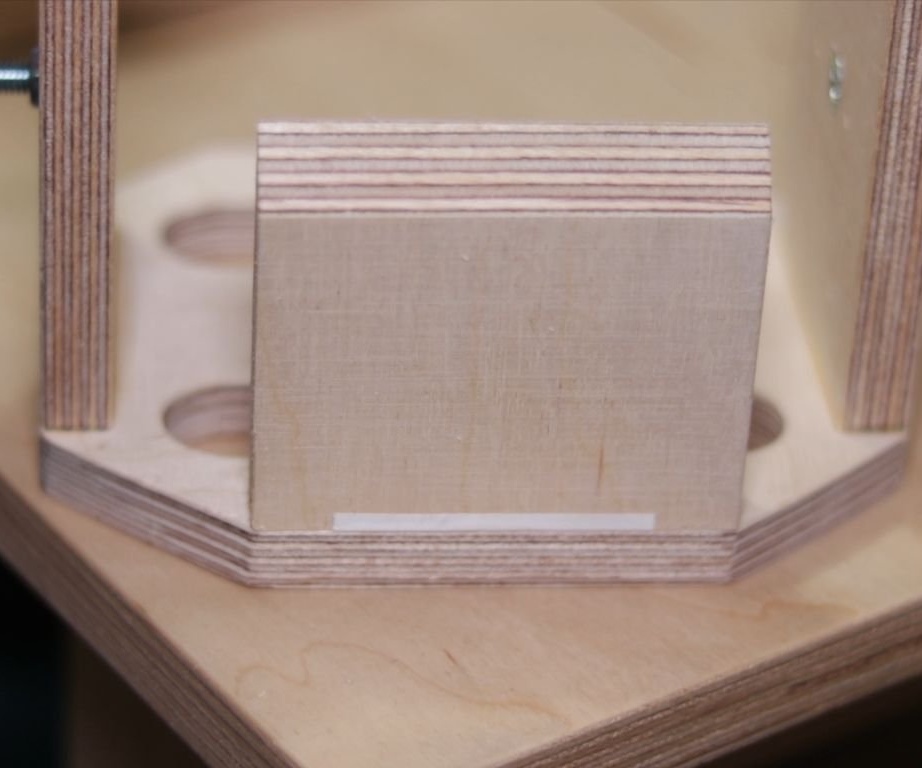
Fully assembled body.
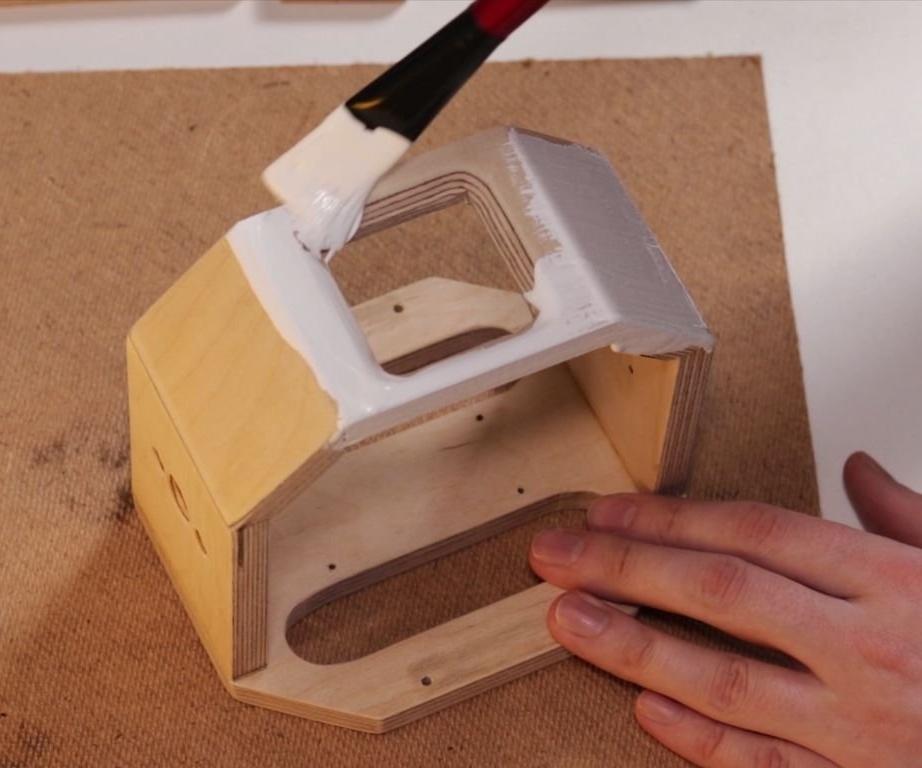
Step Eight: Painting
Grinds the case.
Then it is disassembled (where it is not glued) and painted with white paint.

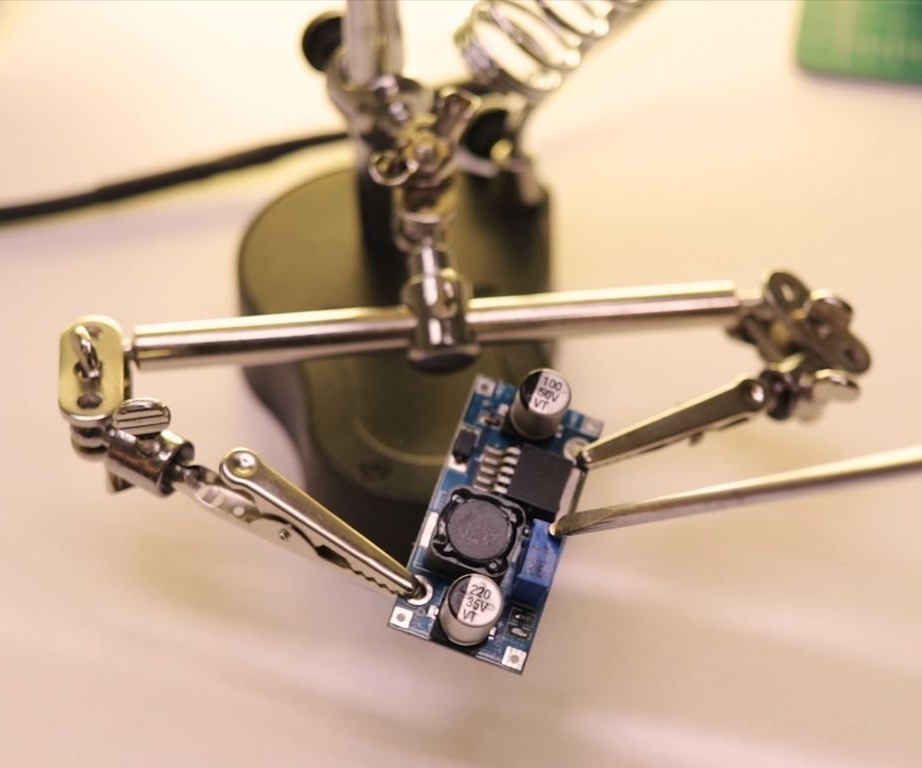
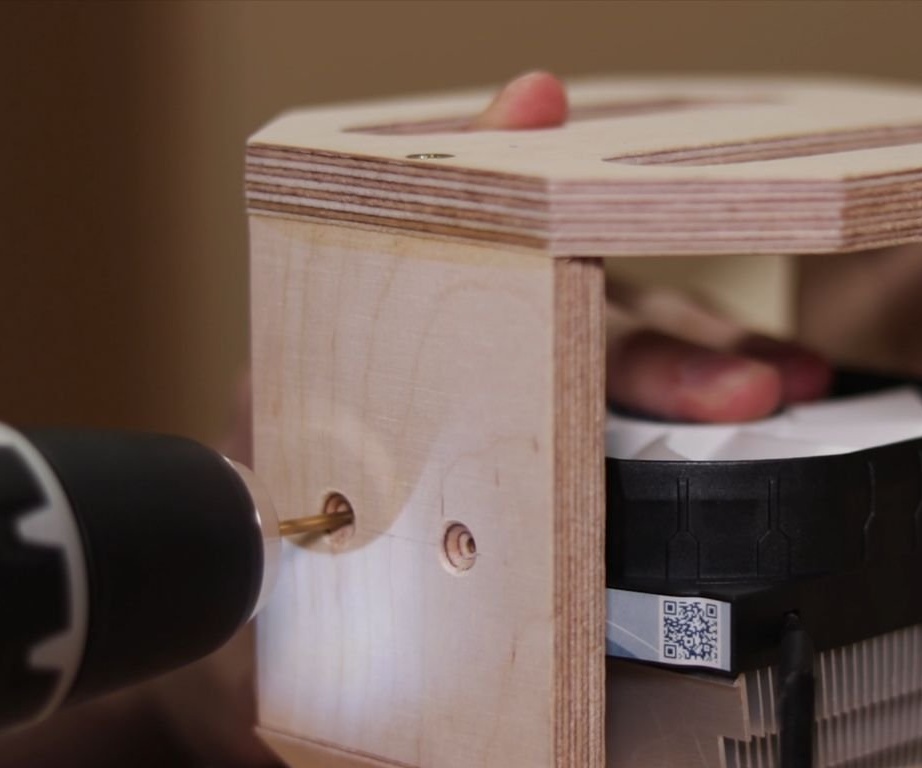
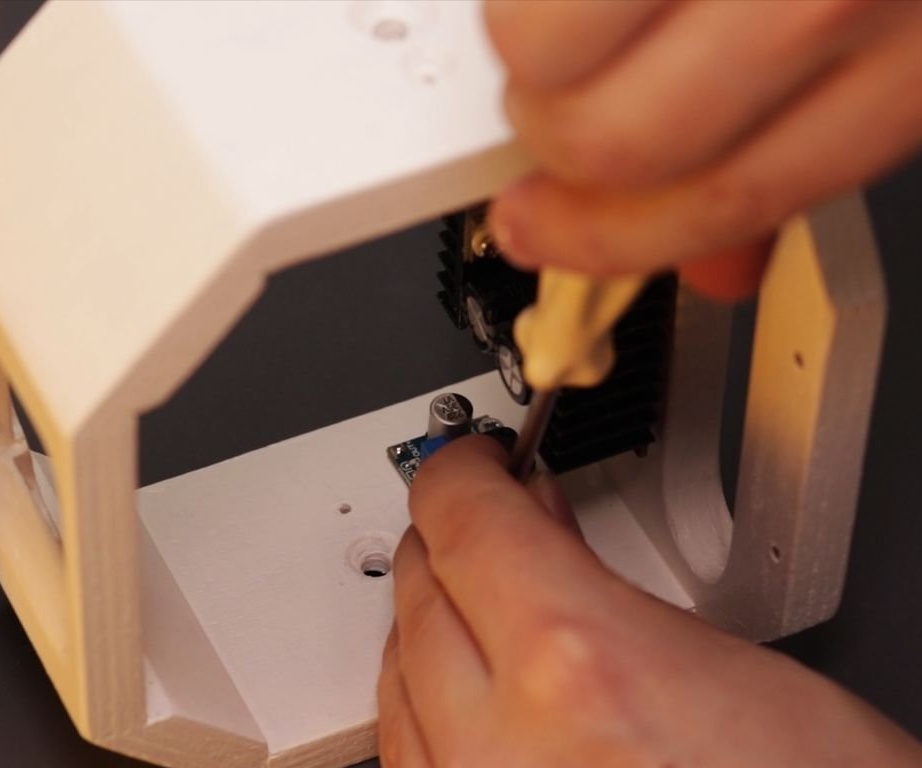
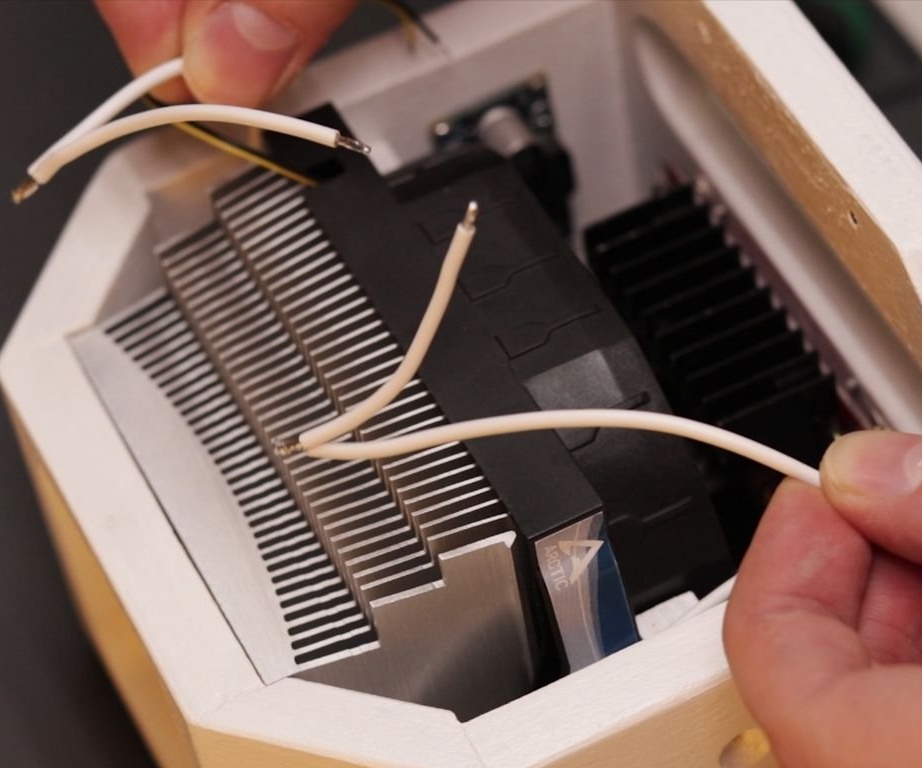
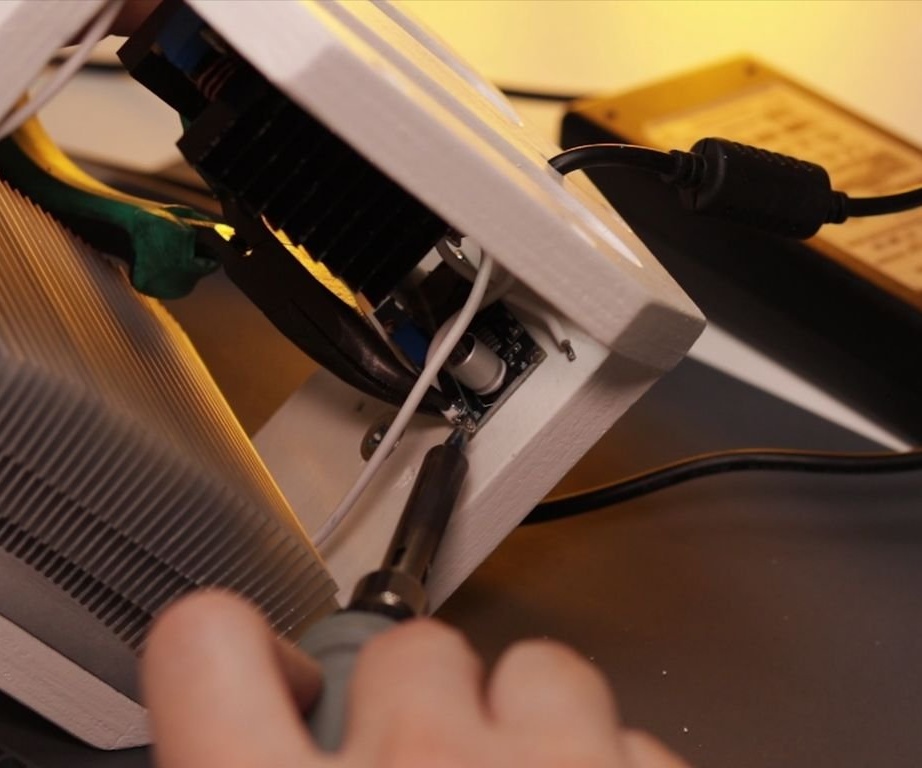
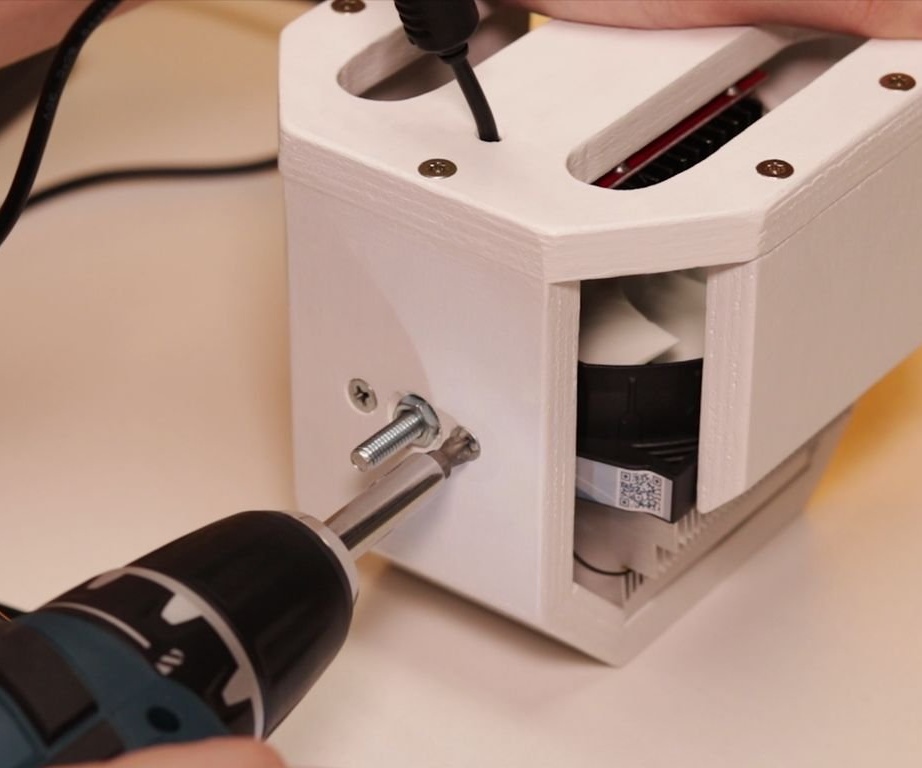
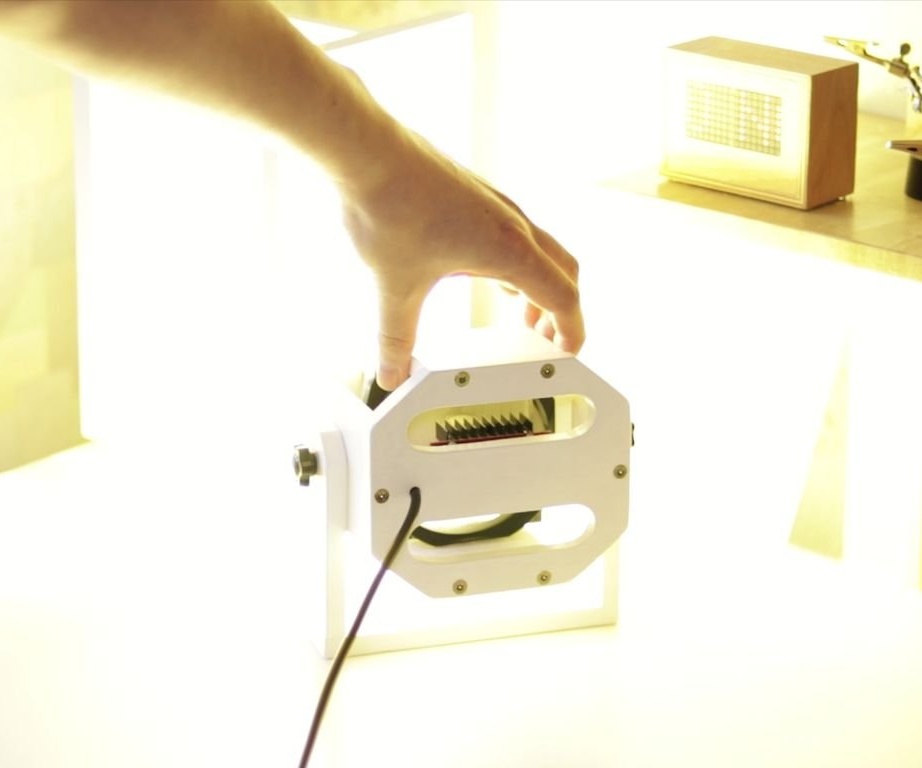
Step Nine: electronics and assembly
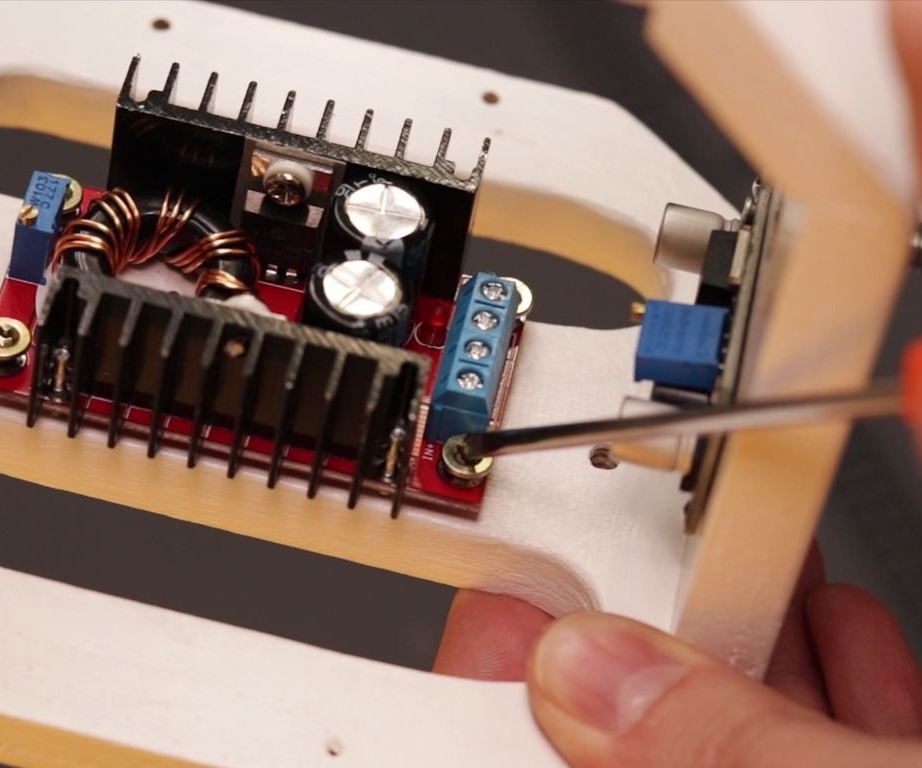
First, the master checked the correct assembly of the housing and the compatibility of the mounting holes.
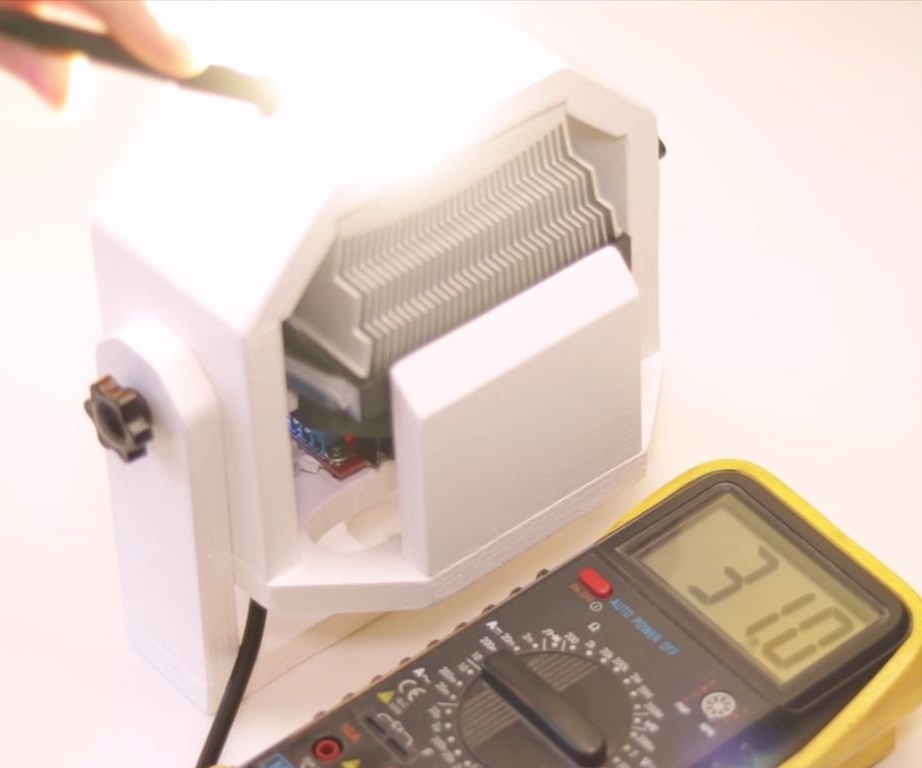
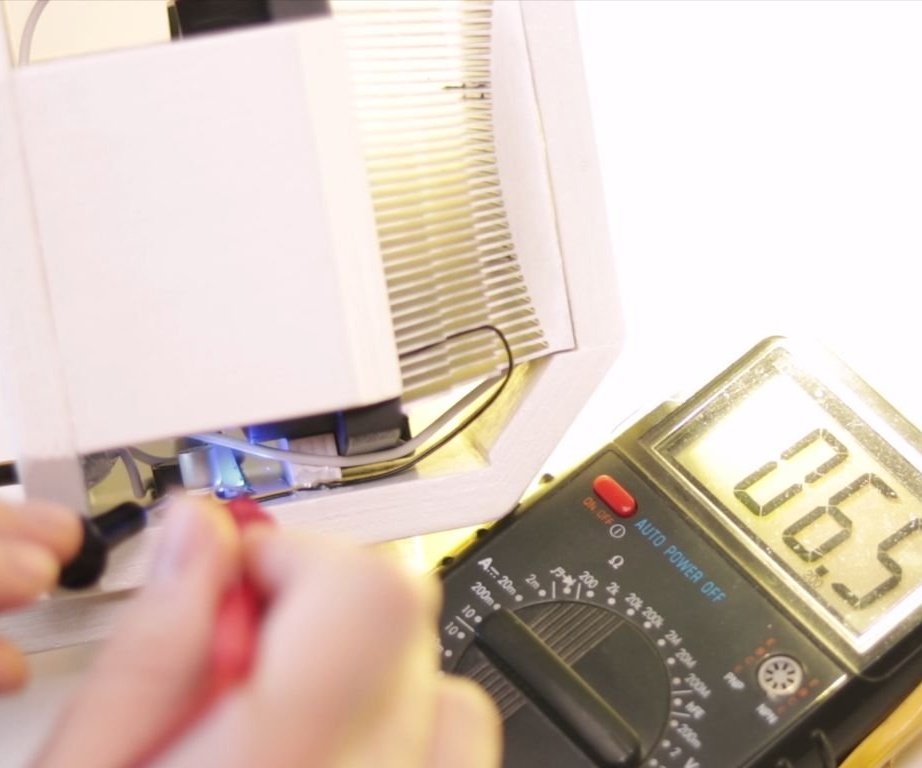
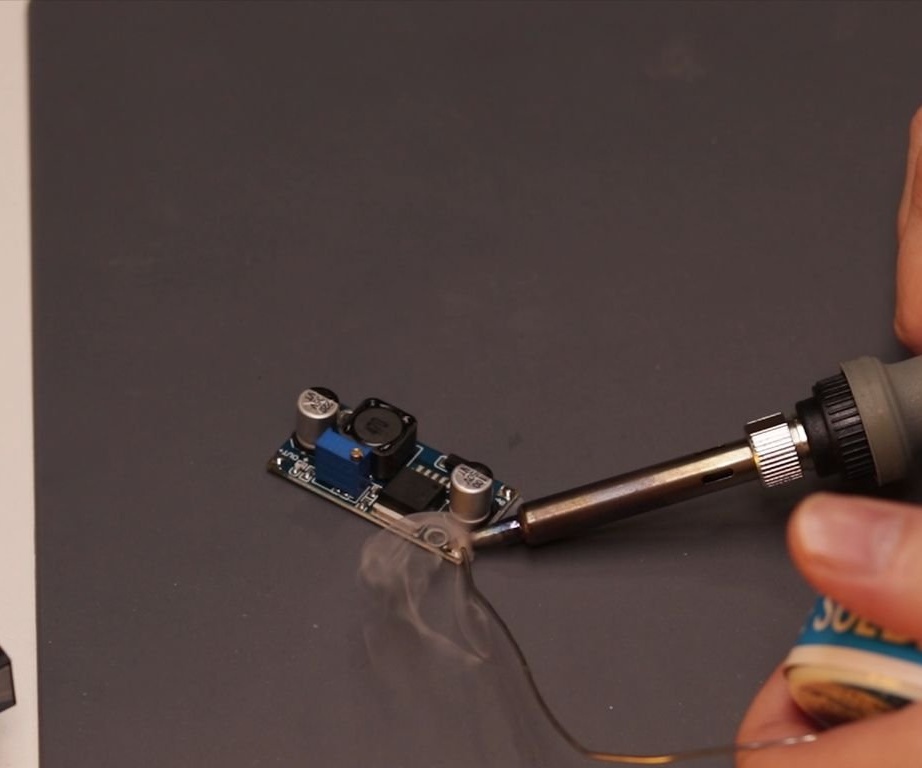
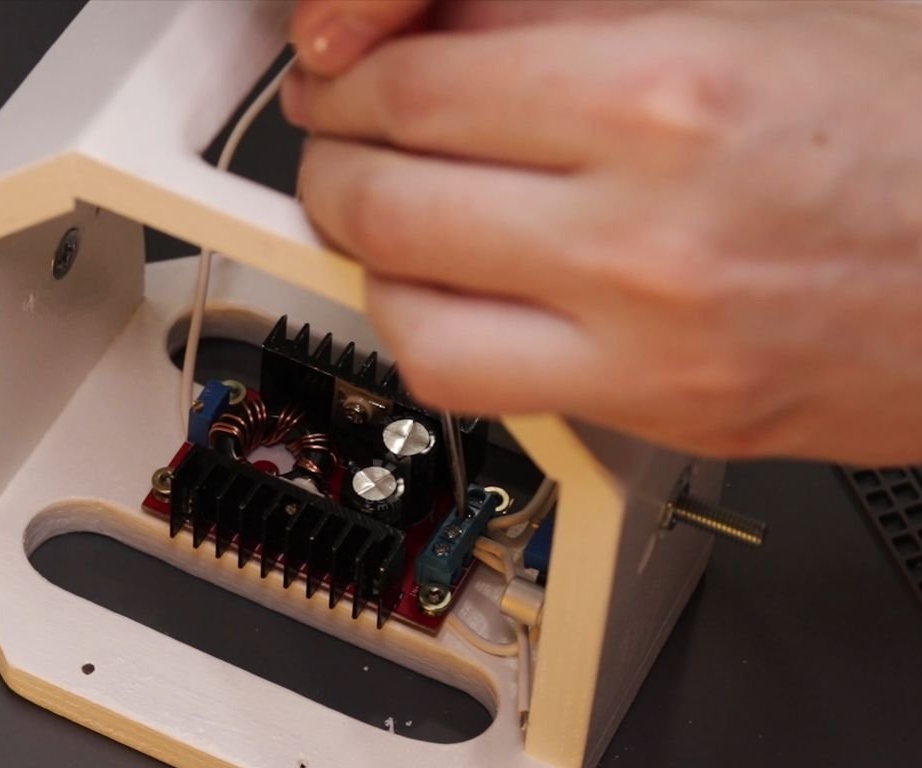
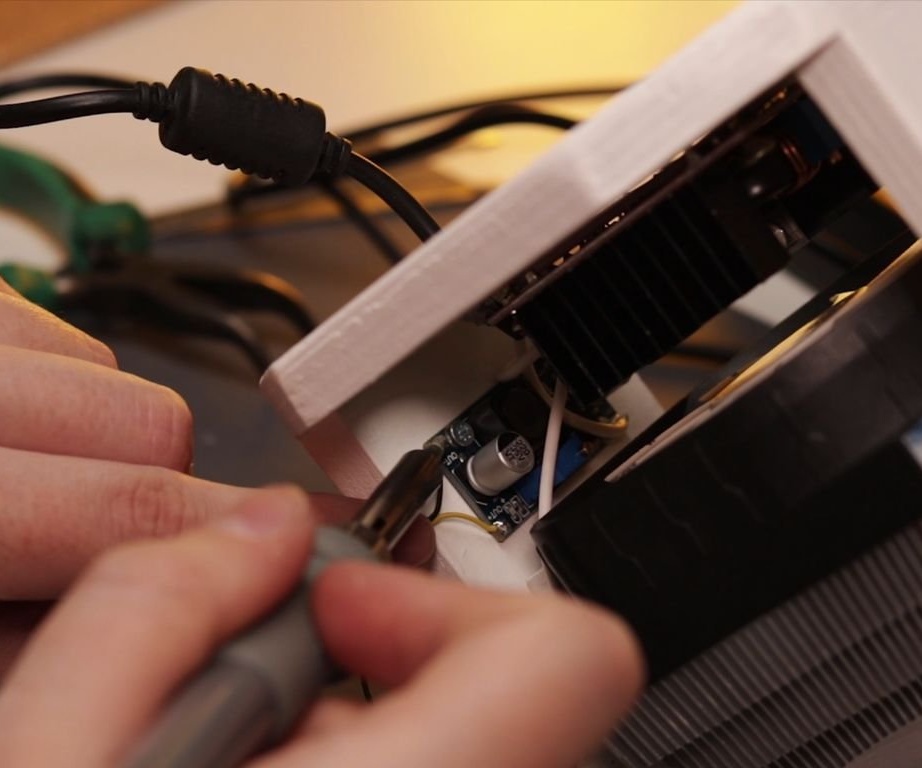
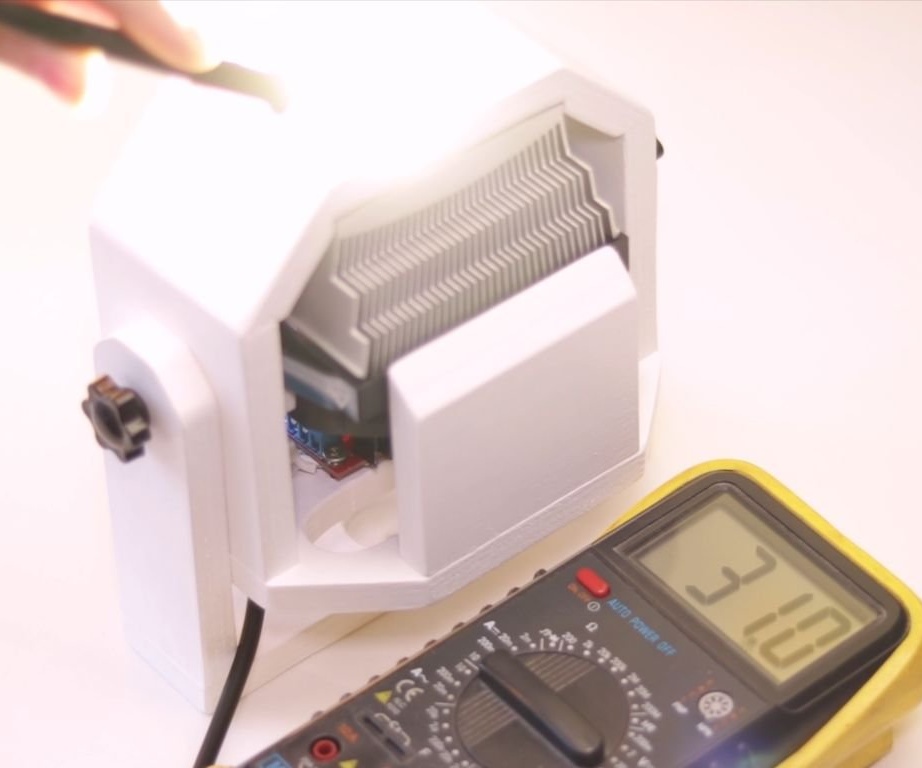
Before mounting, it is necessary to adjust the output voltage.For a cooler on the step-down module, it is necessary to set 6-7 V. For the LED on the step-up module it sets 31 V.
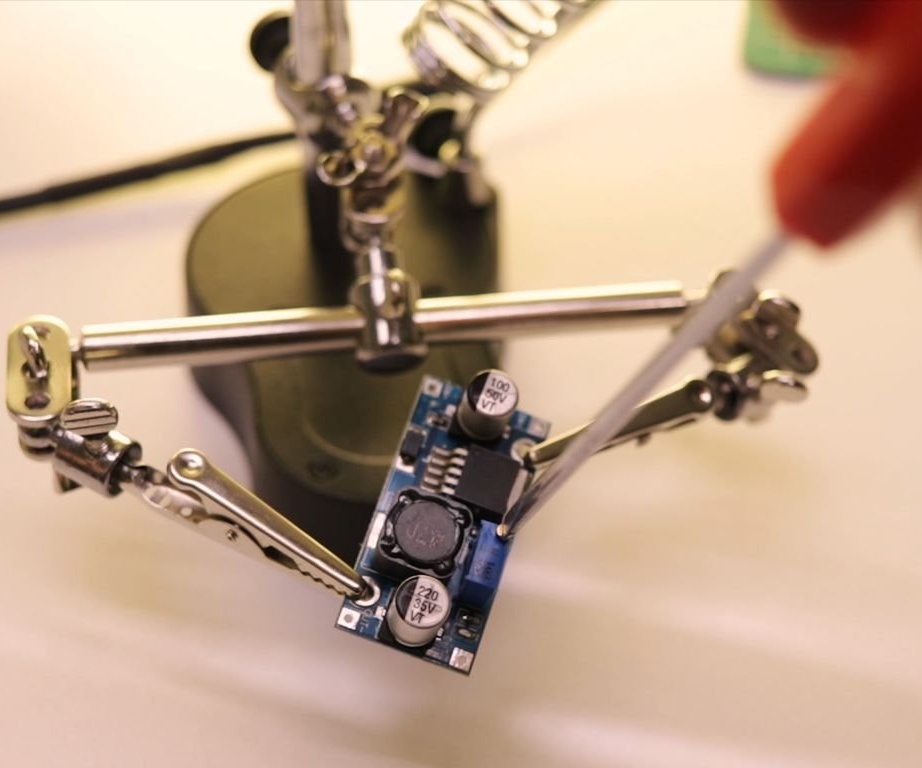
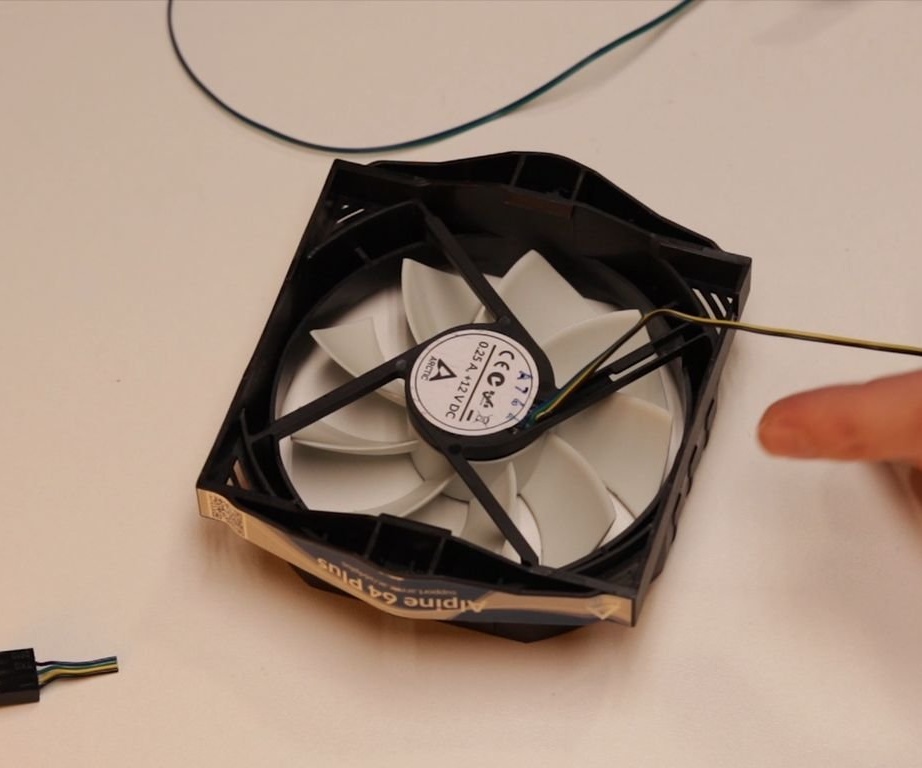
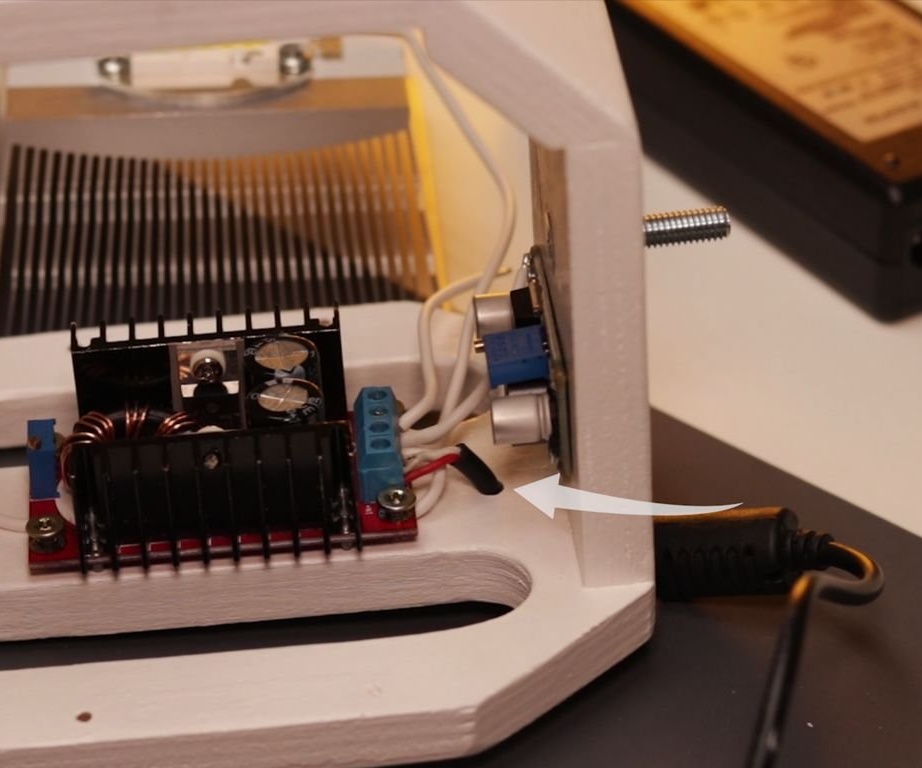
Solder the wires to from the fan to the output of the step-down converter, and from the LED to the output of the step-up converter (observing polarity).
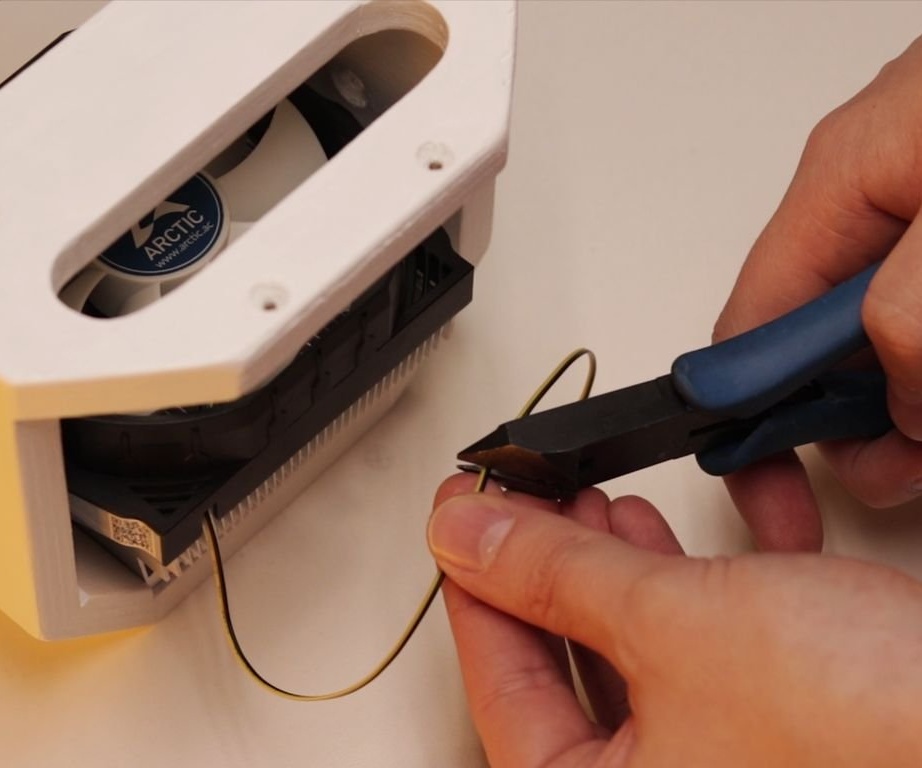
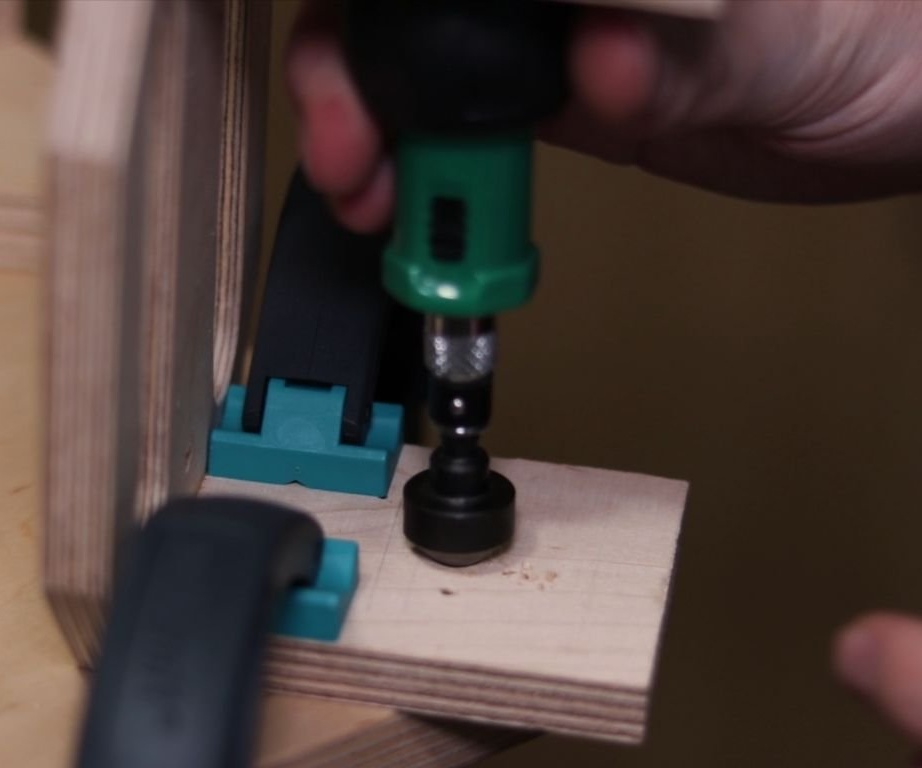
Fastens parts to the case.

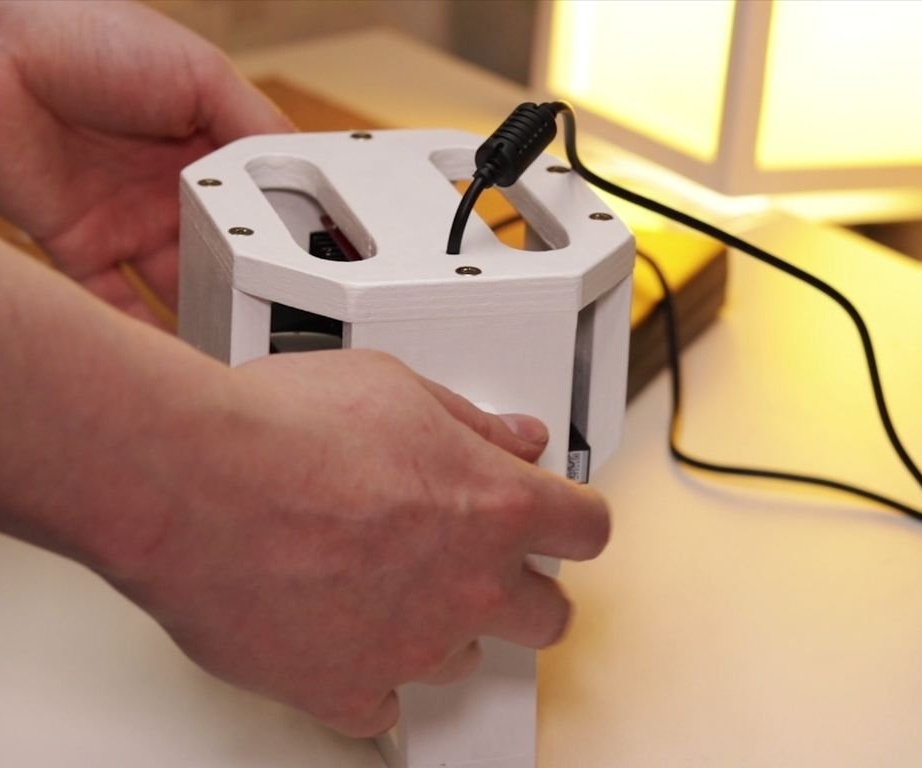
Connects wires from the power supply.
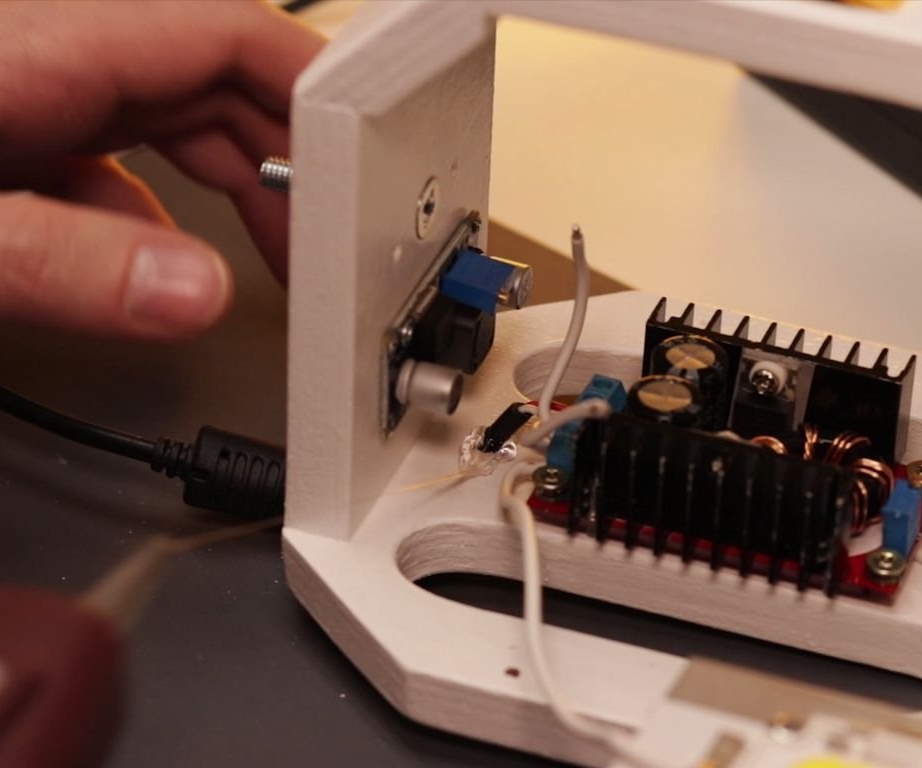
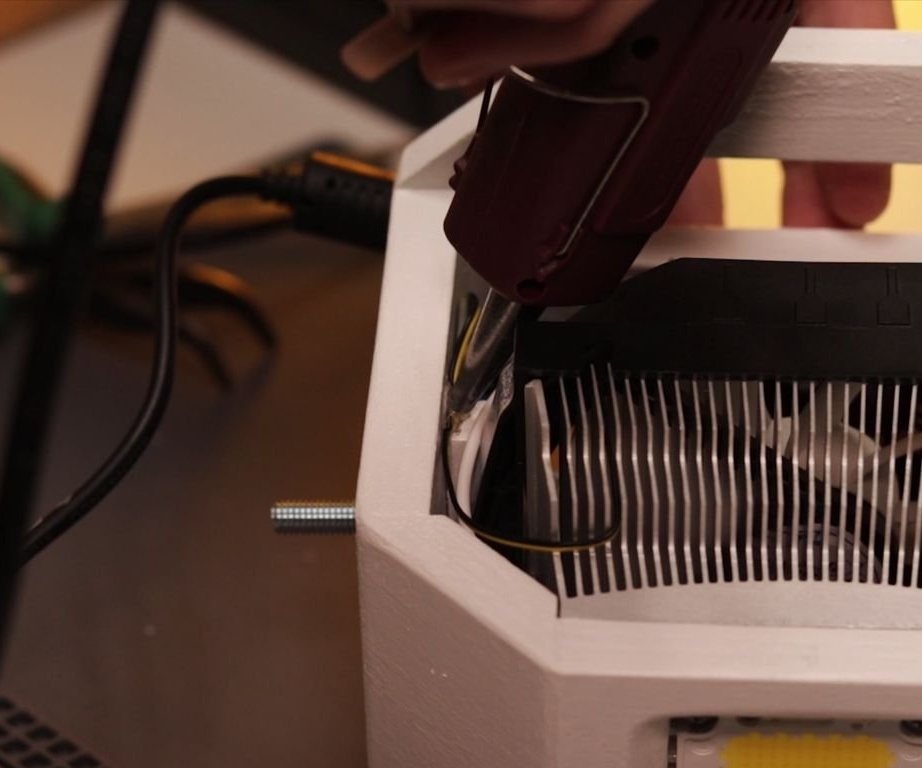
Secures the remaining parts.
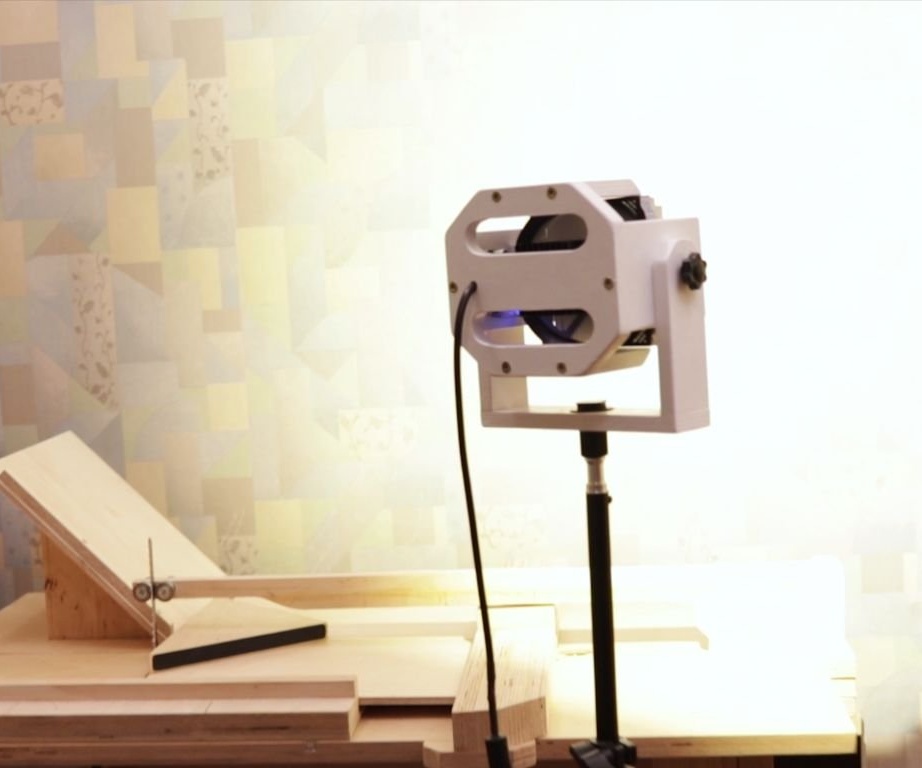
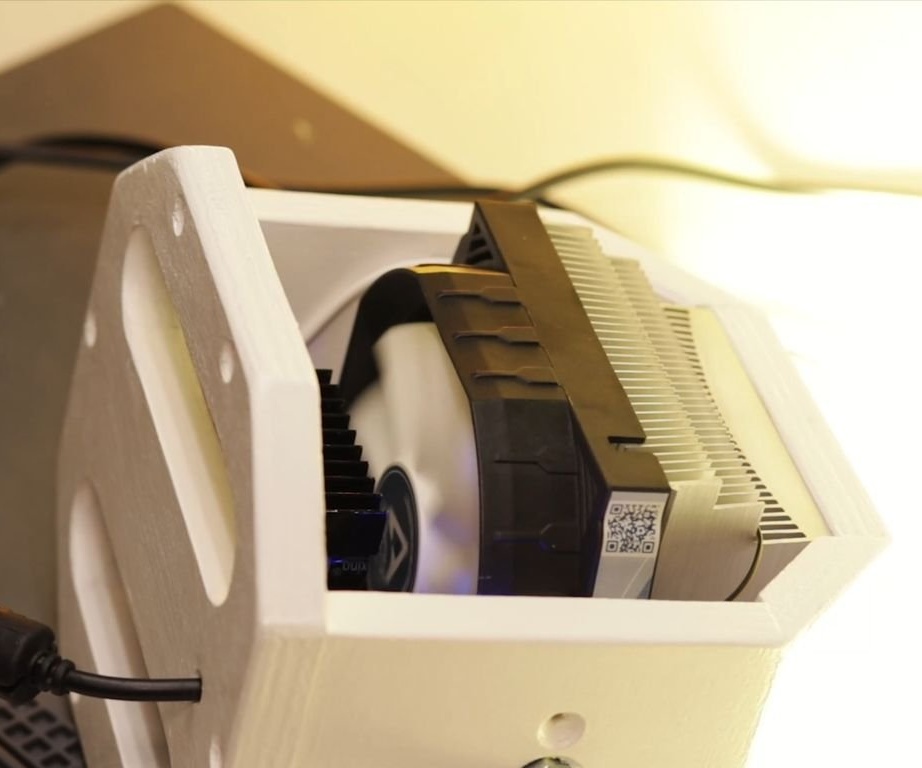
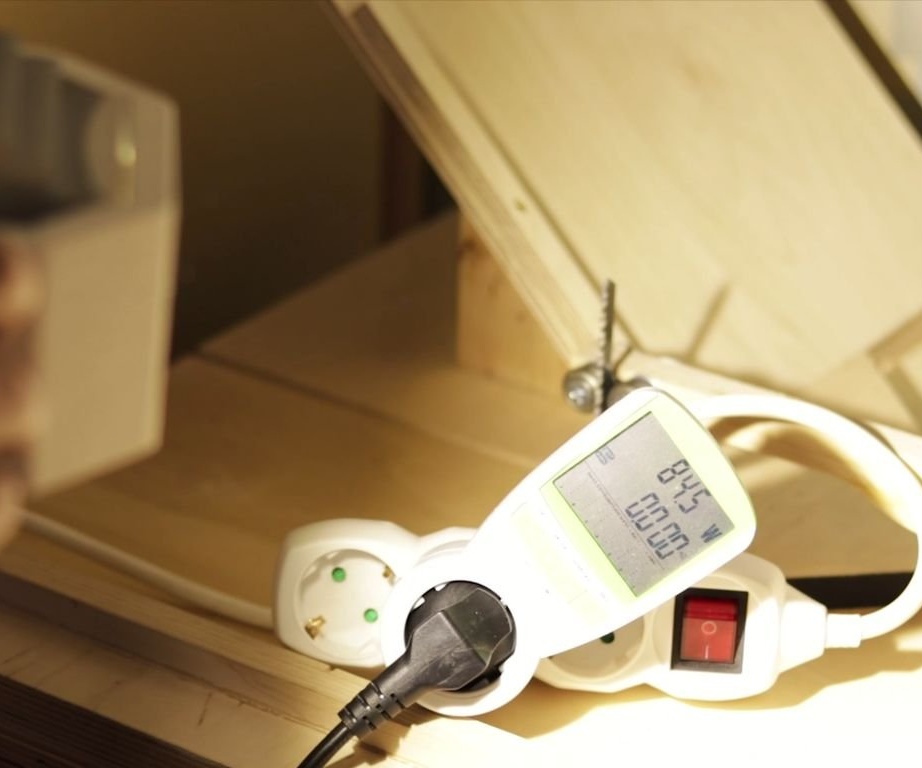
It remains to check the lamp in operation.
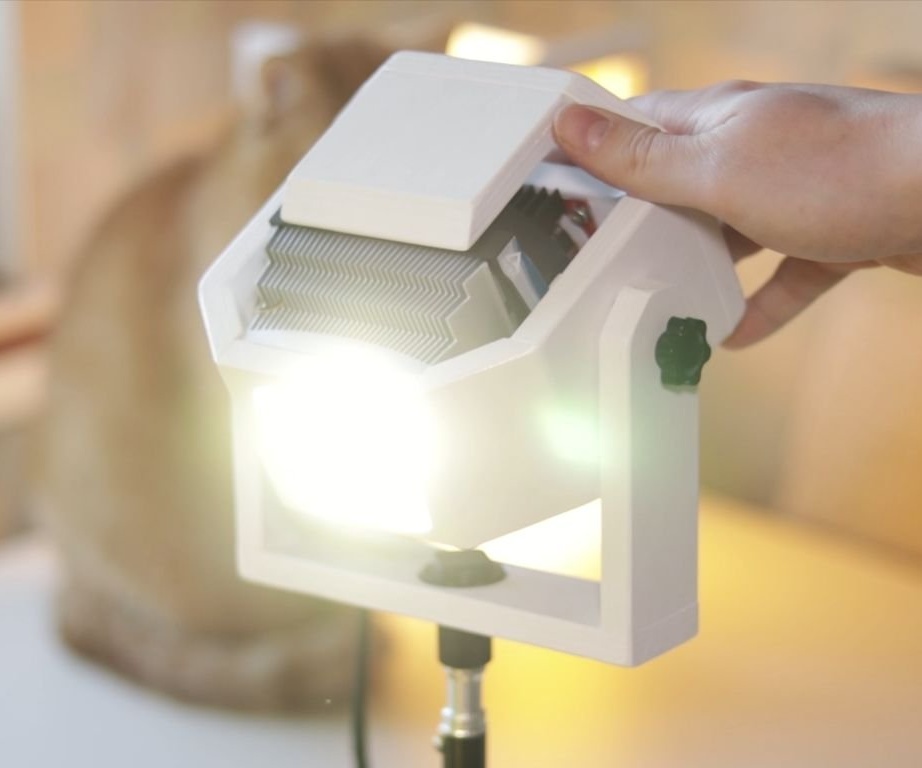

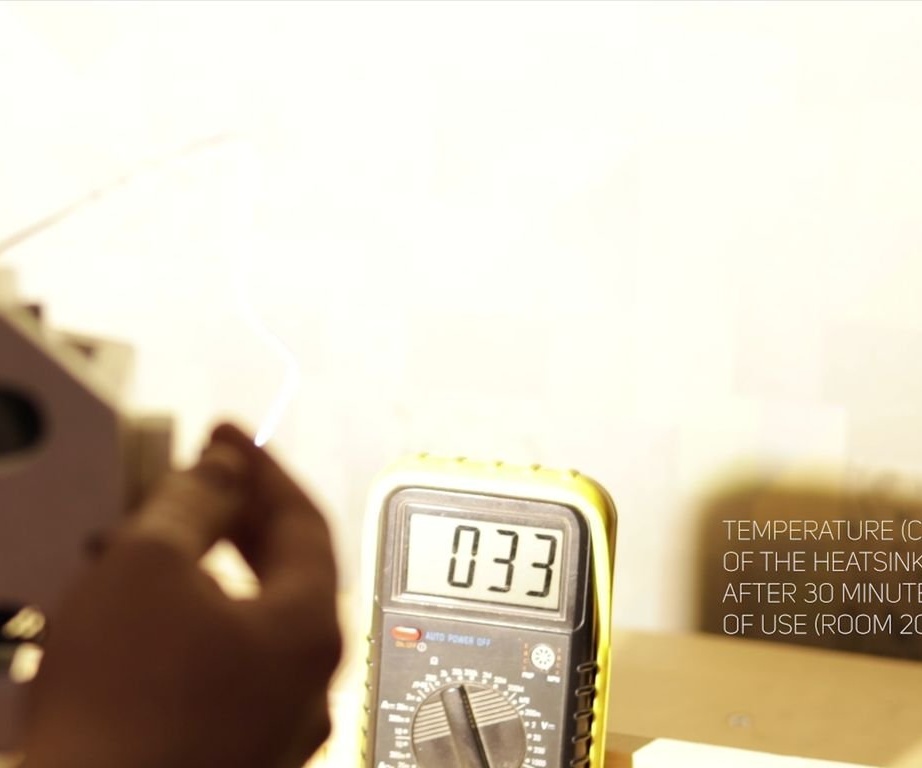
Tests have shown that at a voltage of 31 V, the lamp consumes 85 W. After the lamp worked for about 30 minutes, the radiator temperature remained at room temperature, 20 degrees Celsius.
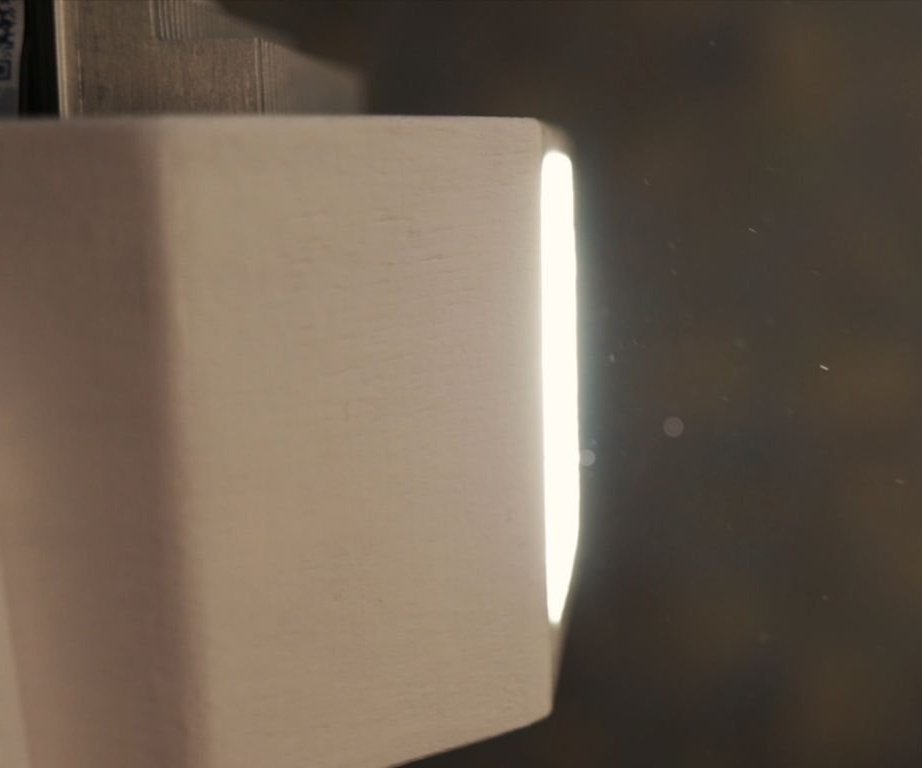
According to the master, he liked the lamp light, bright, economical, the ability to adjust the angle and height of the lighting.
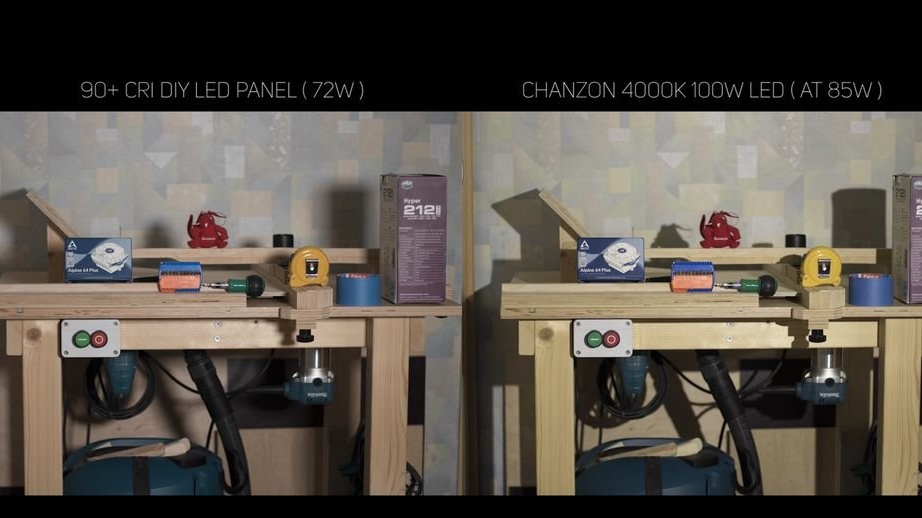
In the photo below, you can see the difference between two similar lamps, but with different LED matrices.
The entire process of manufacturing the lamp can be seen in the video.