
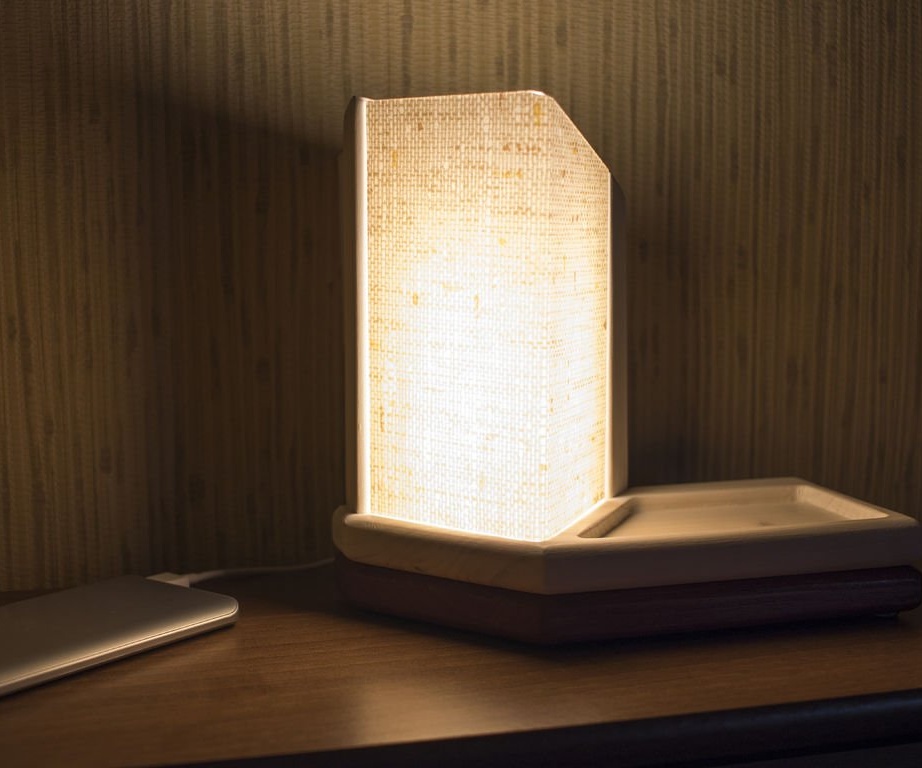
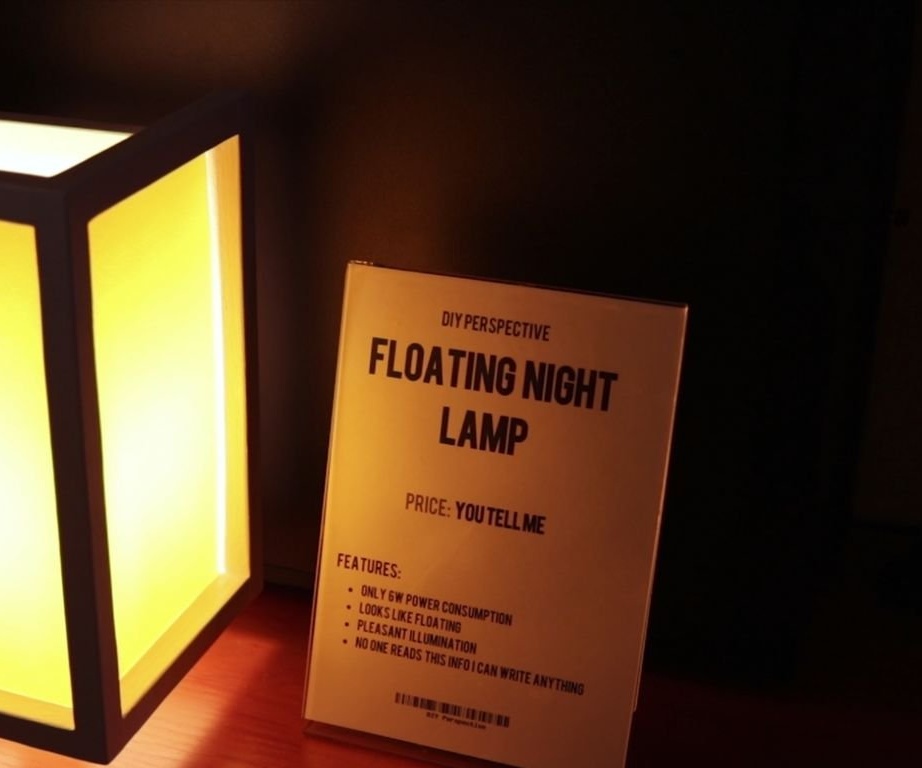
Such a lamp can be powered from any device with a USB socket, for this, a power supply, laptop and even a TV or Power bank are suitable. So, for the manufacture of the lamp you will need the following
Tools and materials:
Milling cutter;
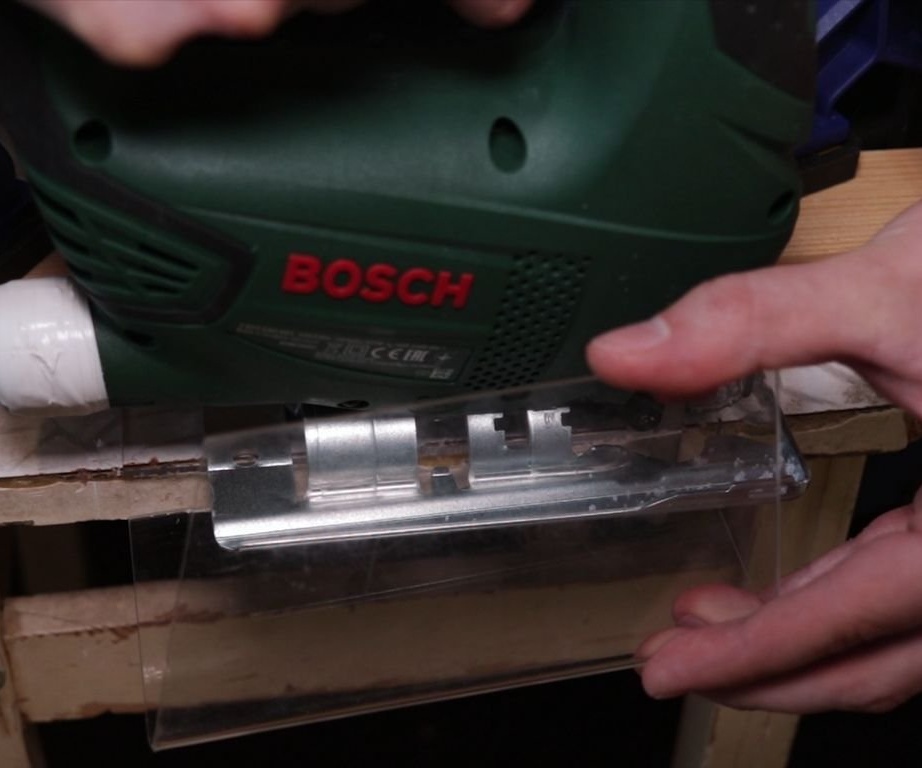
-Electric jigsaw;
-Gon;
-Glue gun;
-Multimeter;
- Clamps;
-Drill;
-Sandpaper;
-Hair dryer;
-Pliers;
-Knife;
-Board;
- LED strip 12 V;
-Switch;
-Increasing Converter;
-Aluminum radiator;
-Wire;
-Acrylic;
-Decorative self-adhesive film;
-Silicone legs;
-Double sided tape;
-Alcohol;
- Joiner glue:
Epoxy resin;
-Lac "White ash";
-Lac "Mahogany";
Step one: procurement of parts
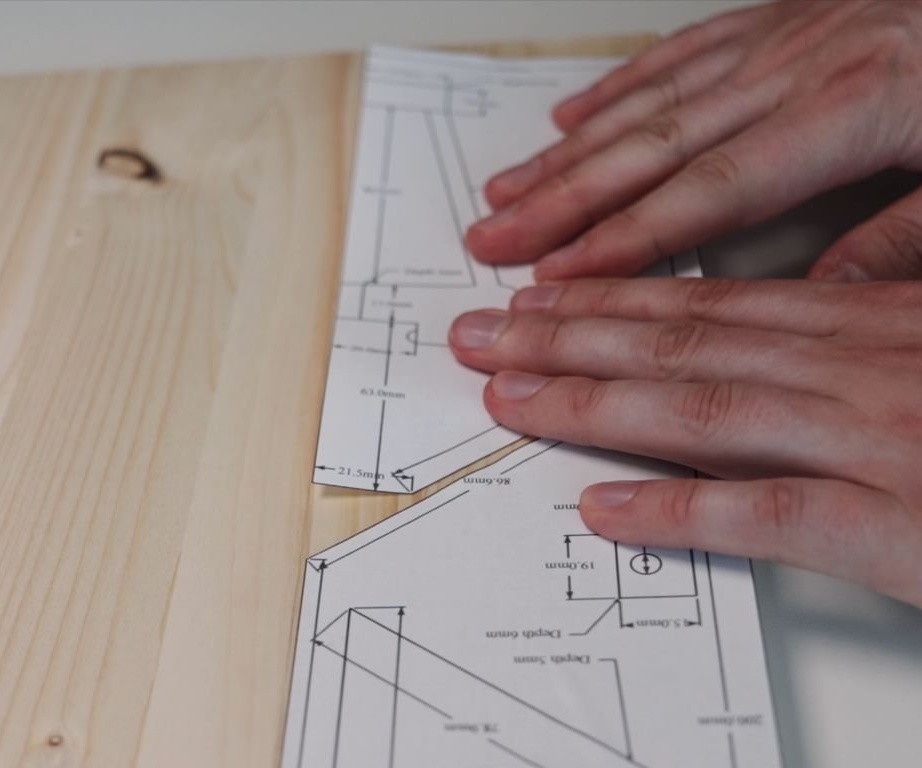
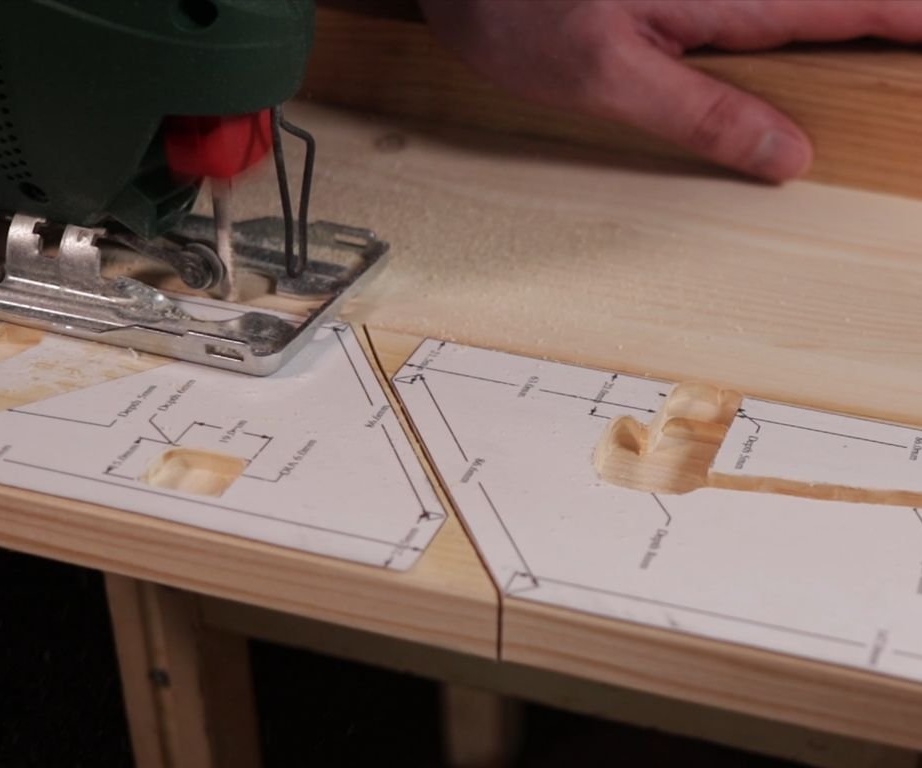
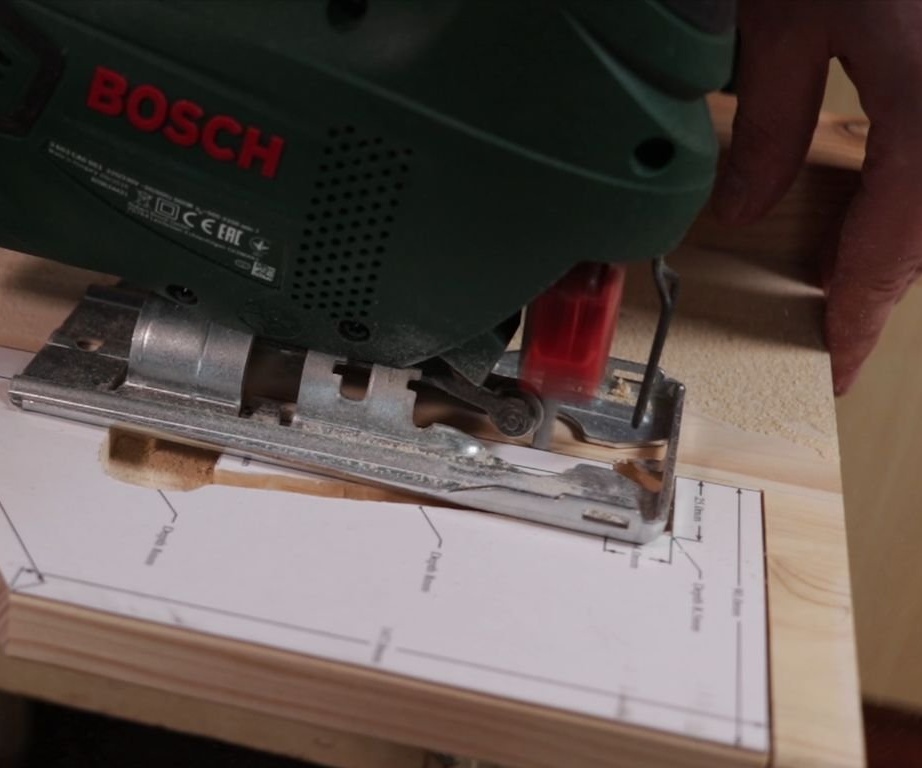
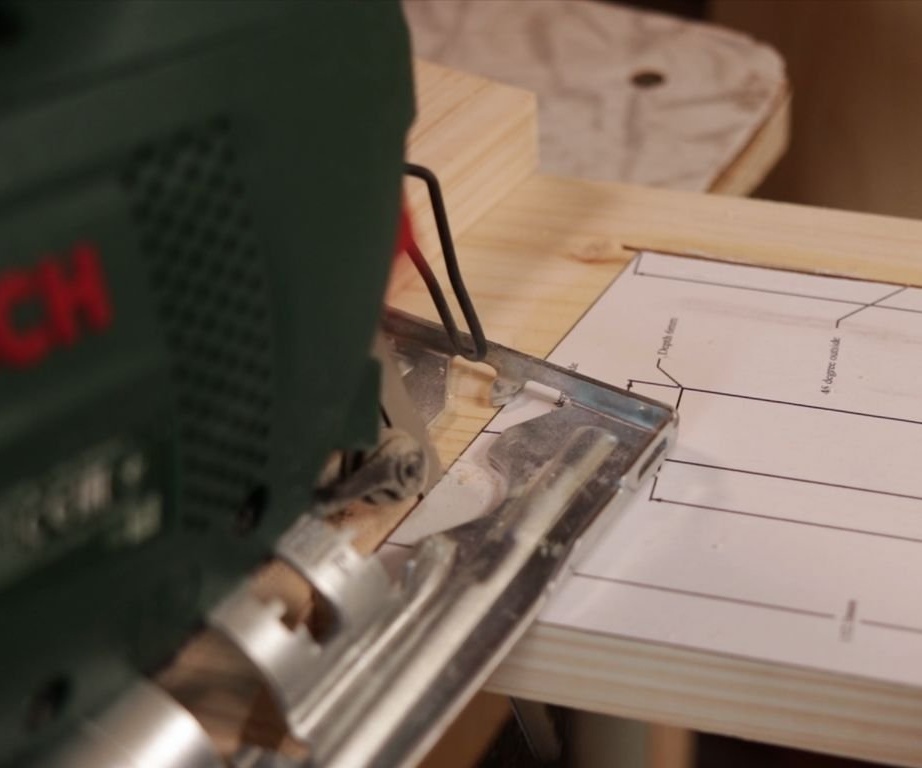
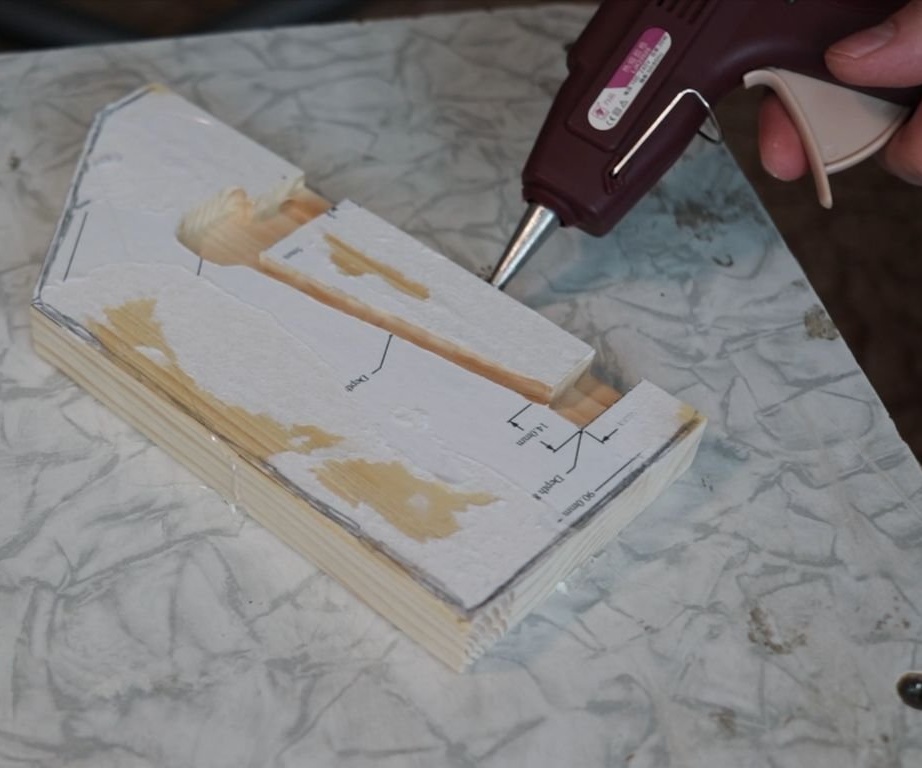
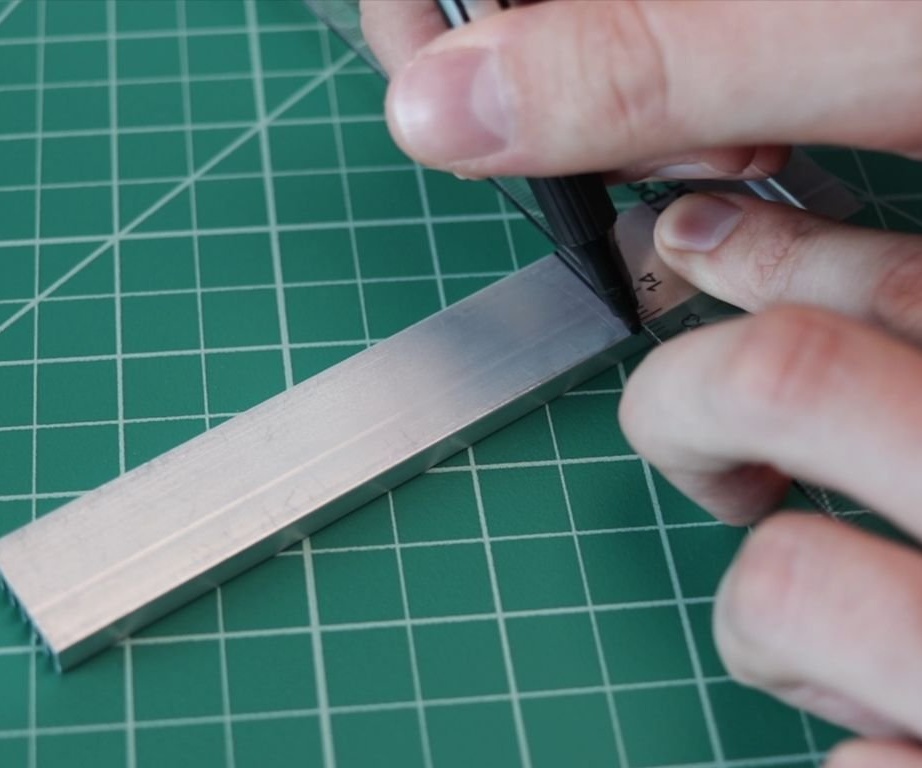
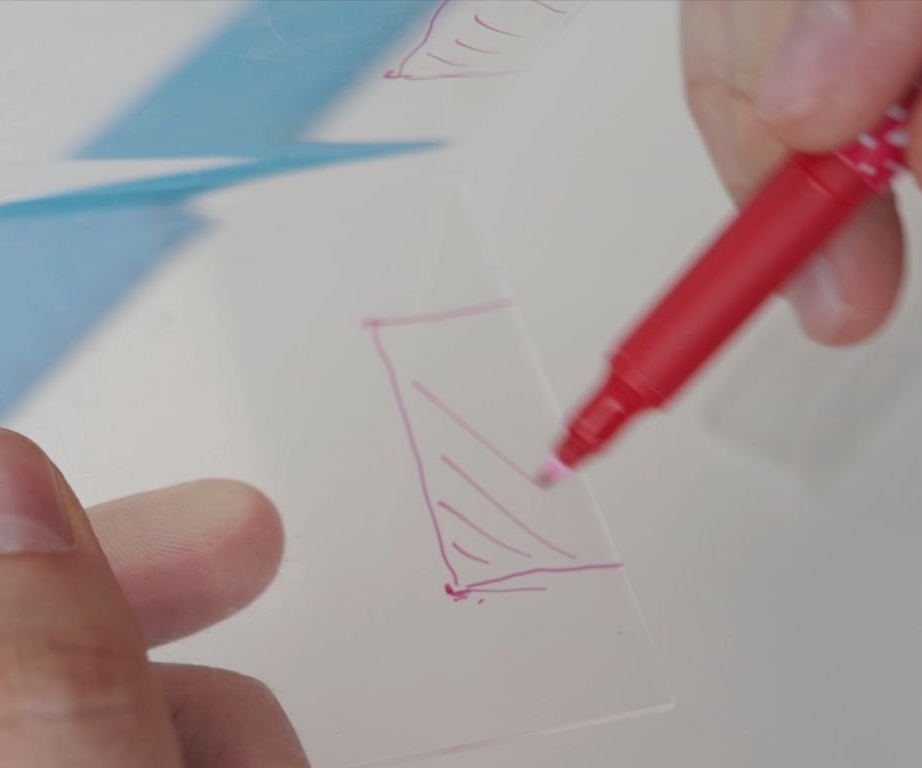
First, the master on the computer made a drawing of the lamp. Printed it on paper. Then I pasted it on the board and cut out the blanks. The template can be downloaded.
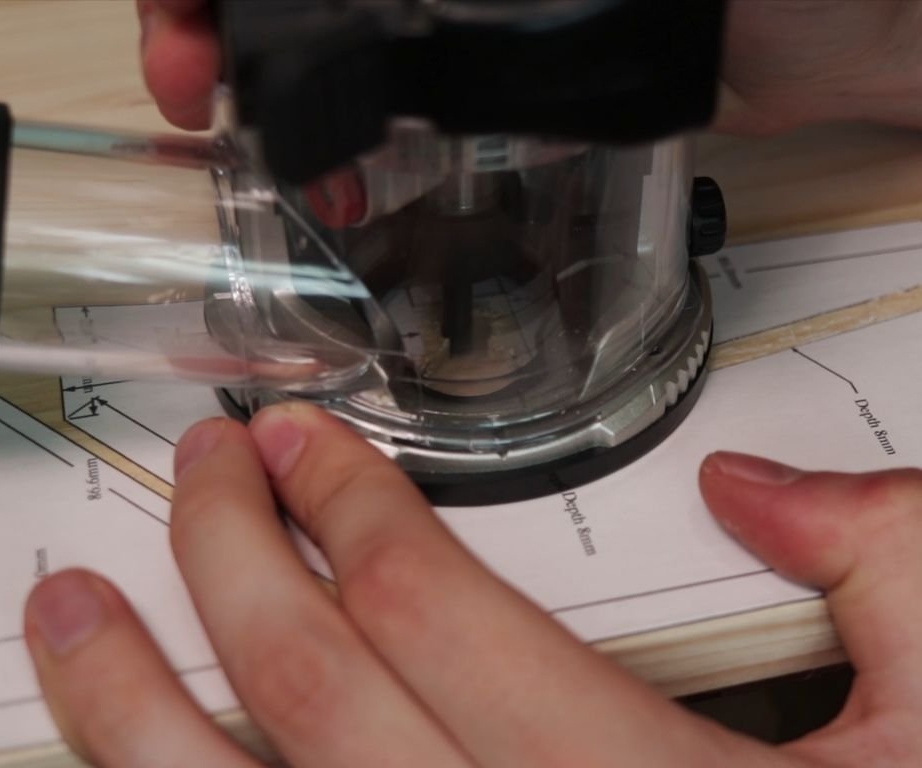
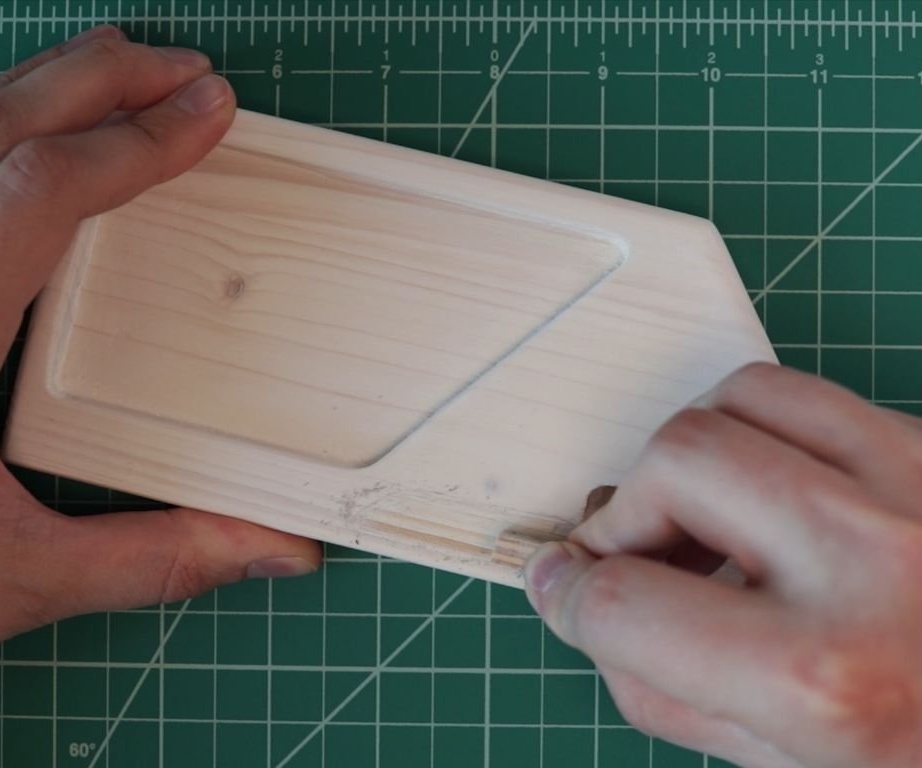
I cut the channels for the wire with a mill.
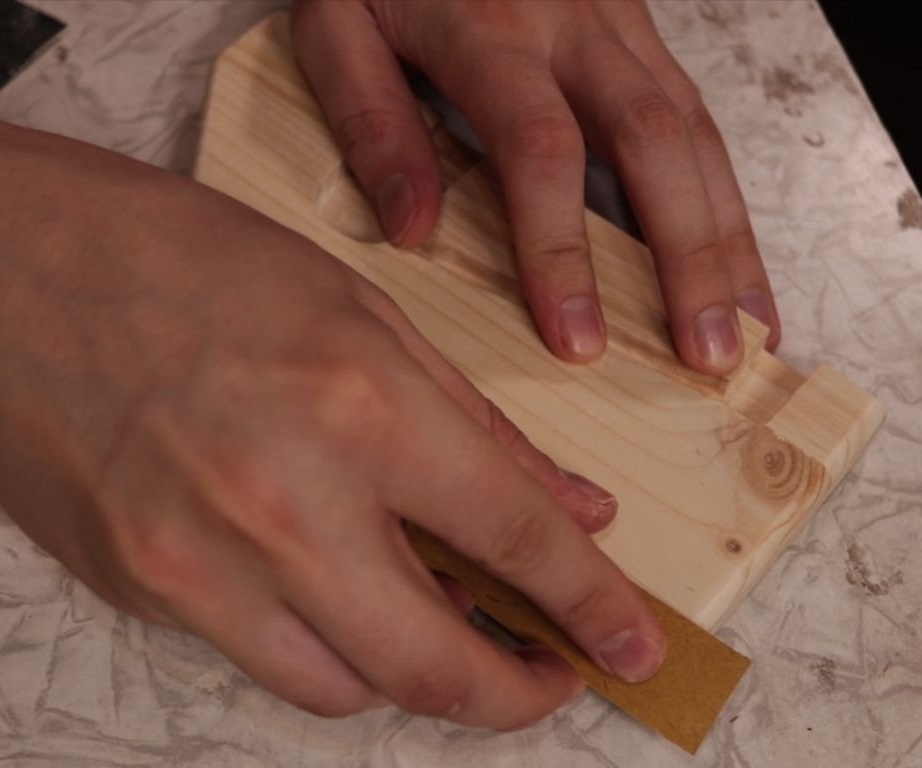
Step Two: Grinding
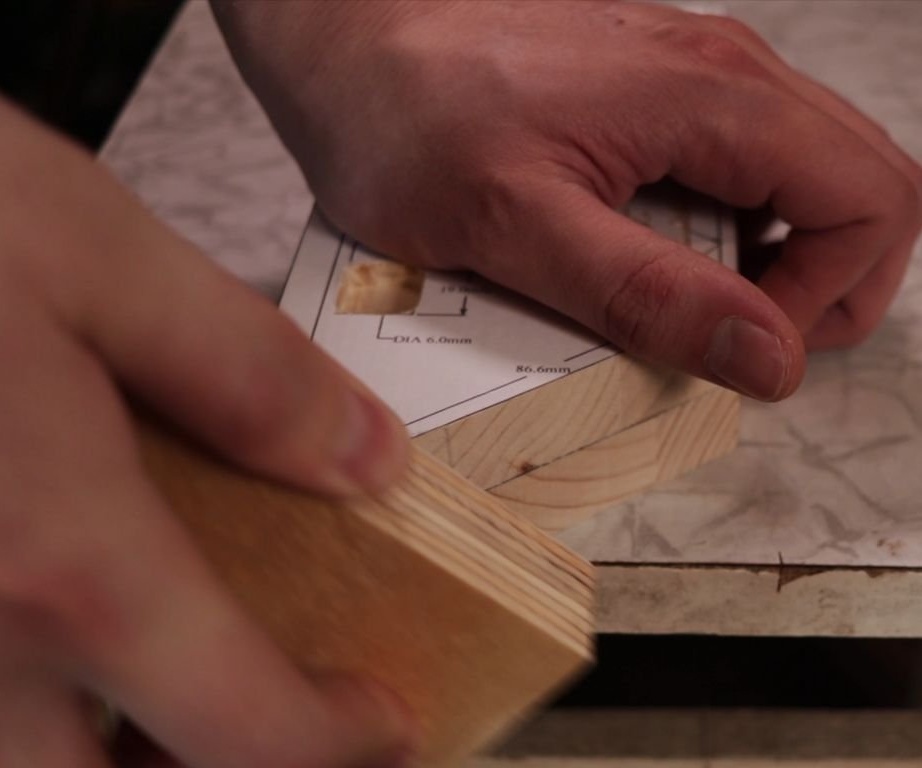
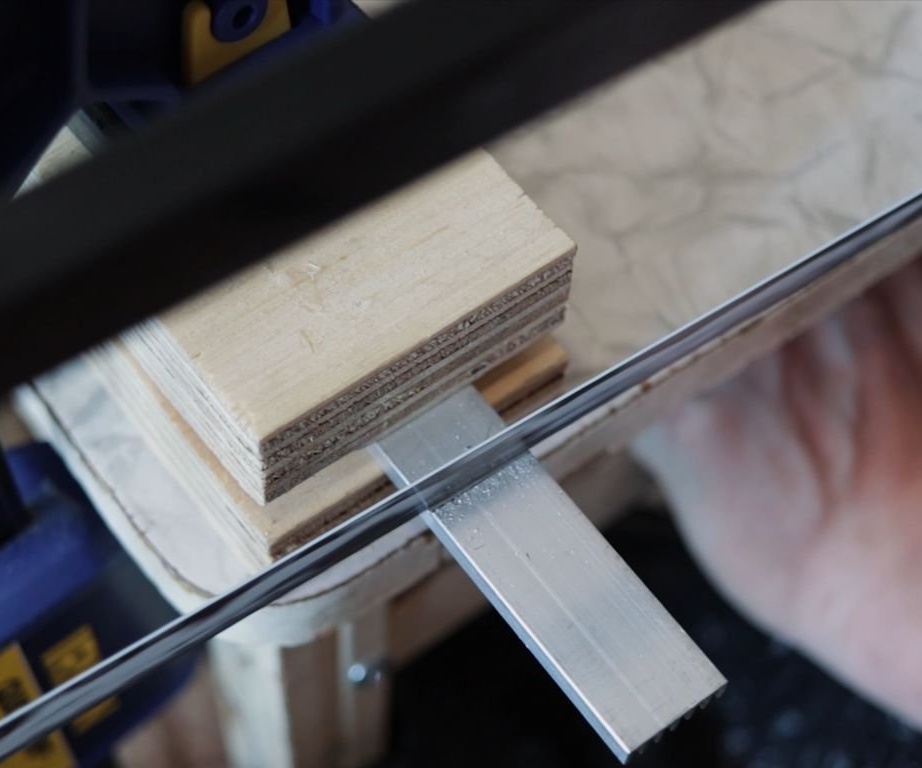
I glued two pieces together on a double-sided tape and sanded it.
Step three: fine-tuning
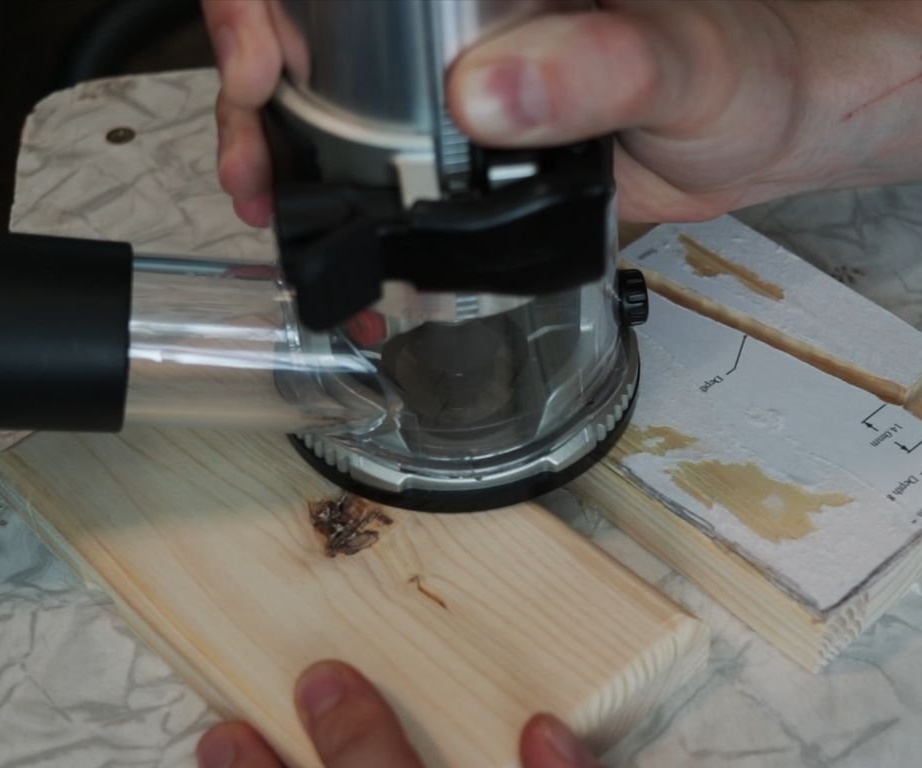
After grinding, it separates the workpiece. Frezoy rounds corners.
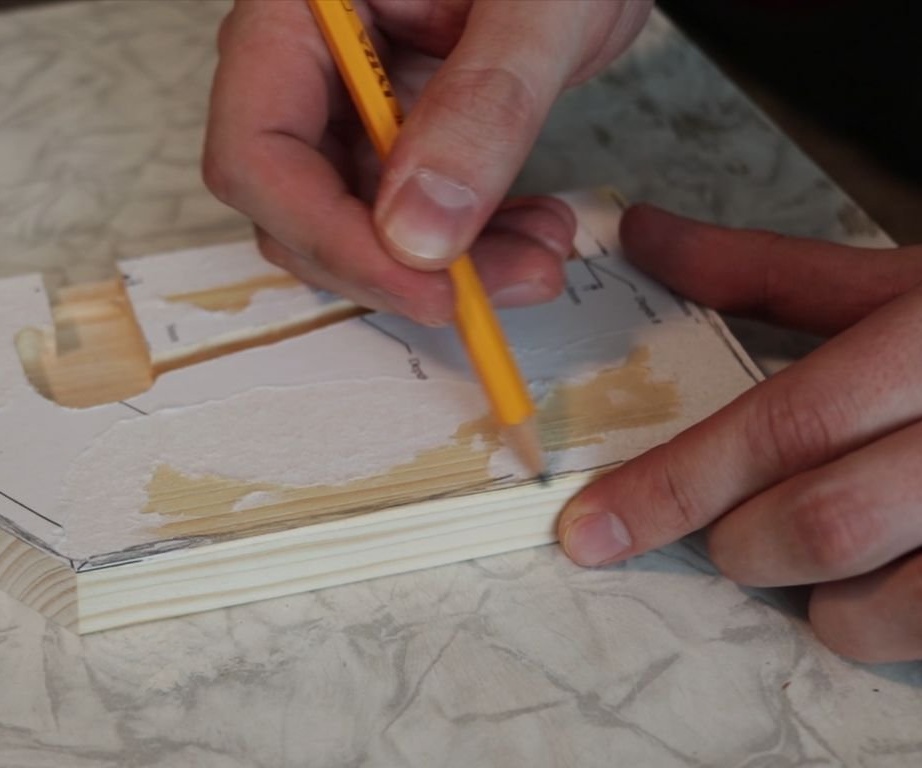
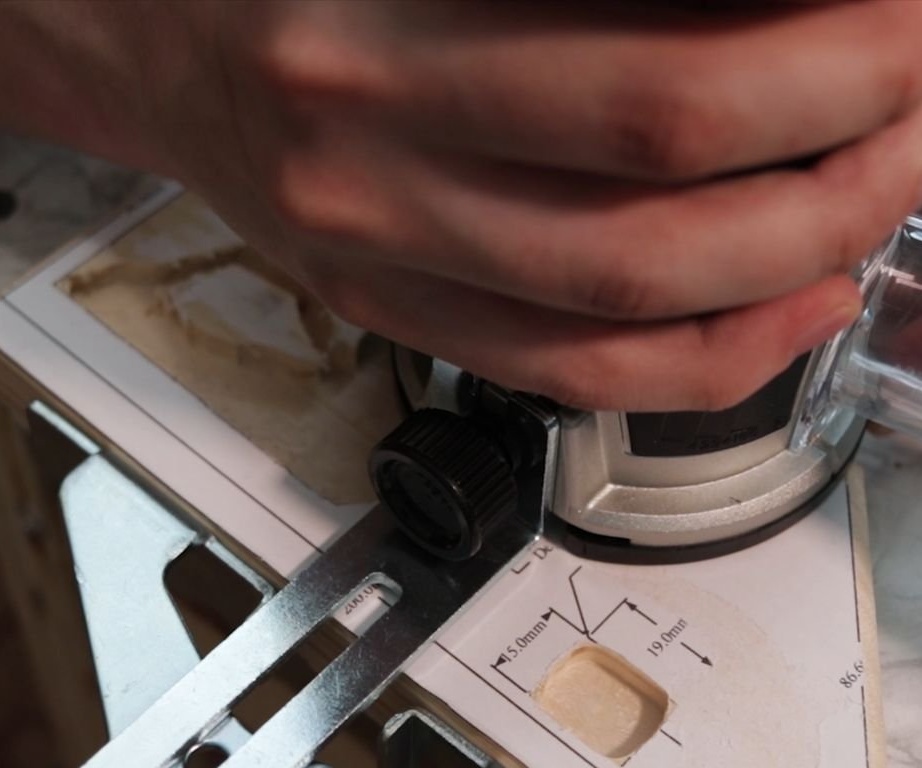
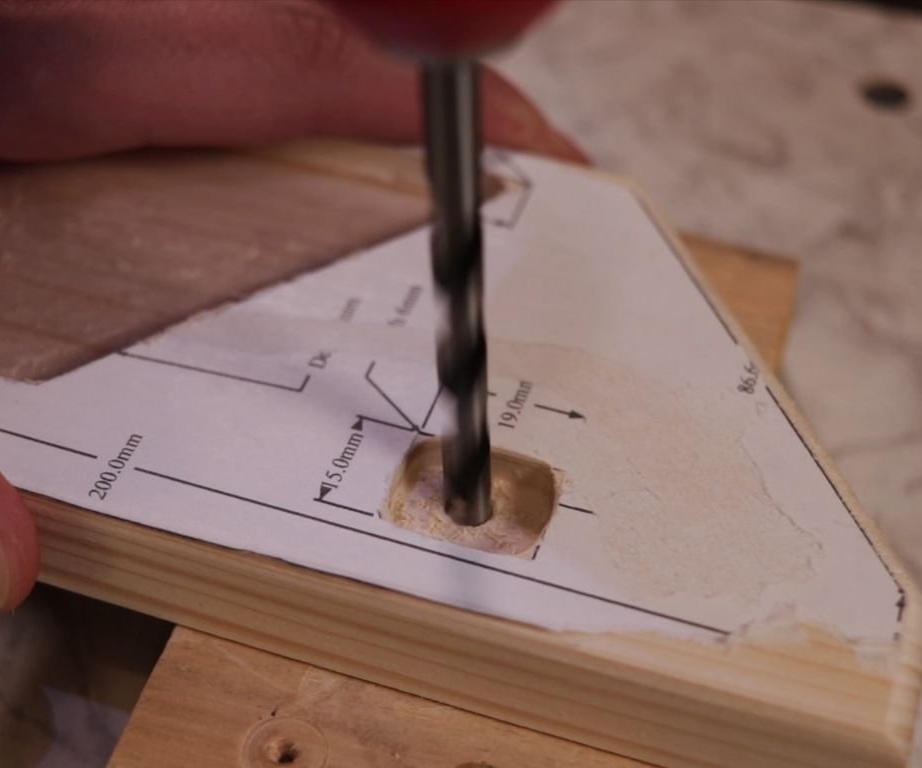
Drills holes according to the pattern and grinds again.
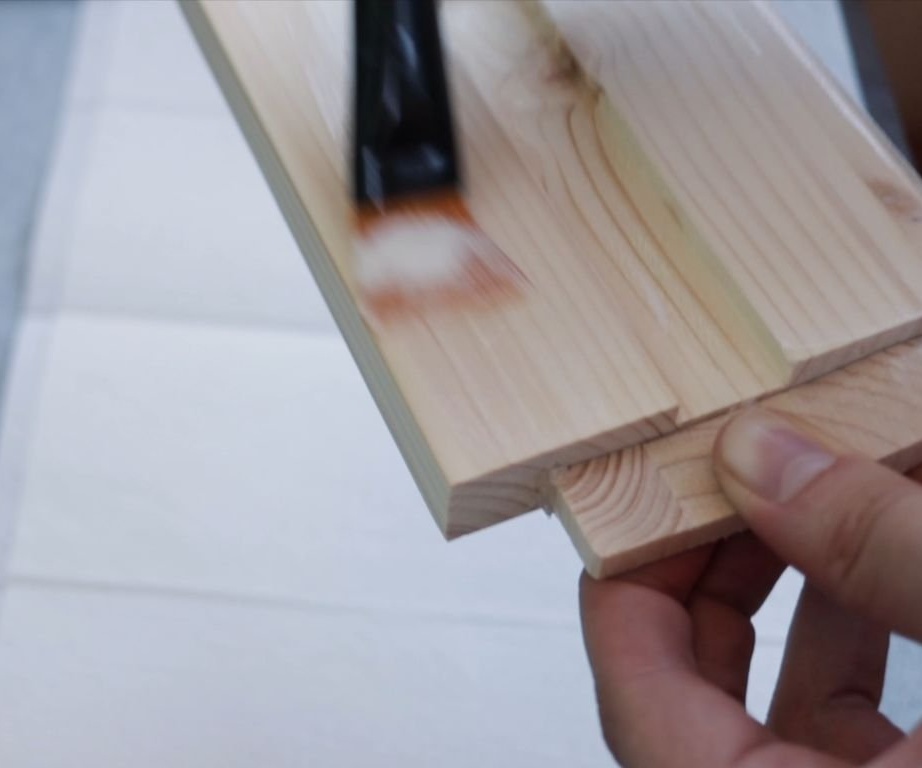
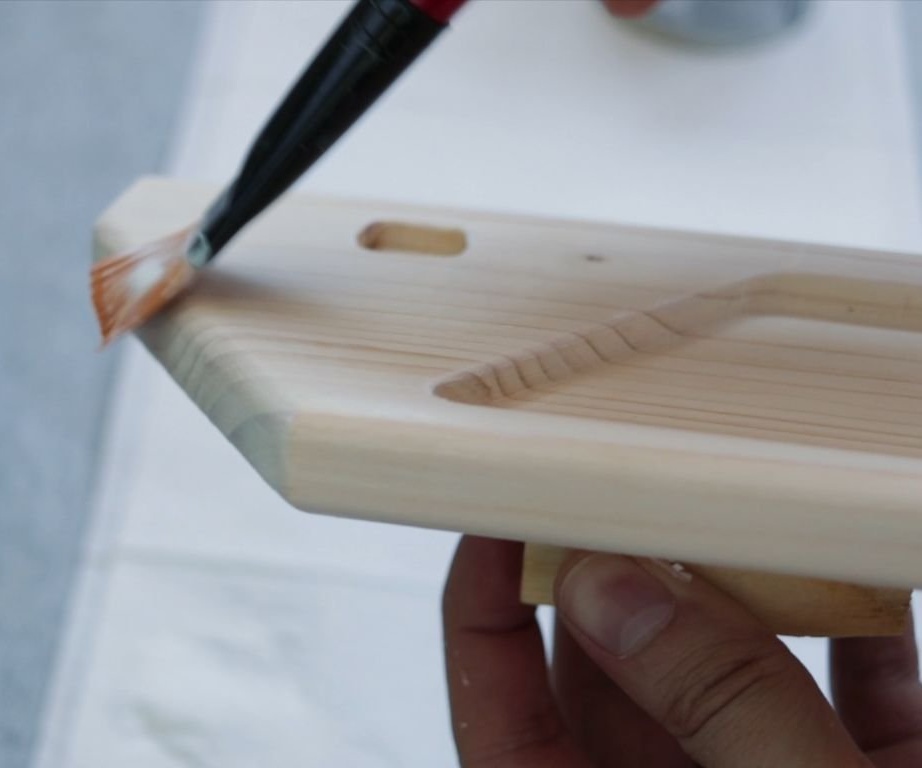
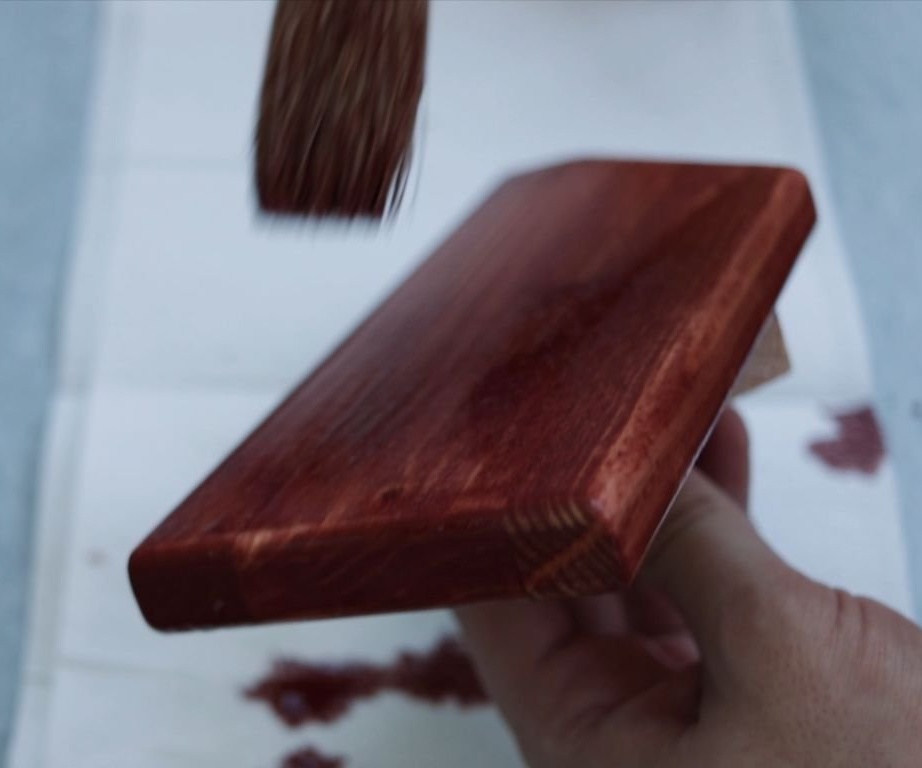
Step Four: Varnish
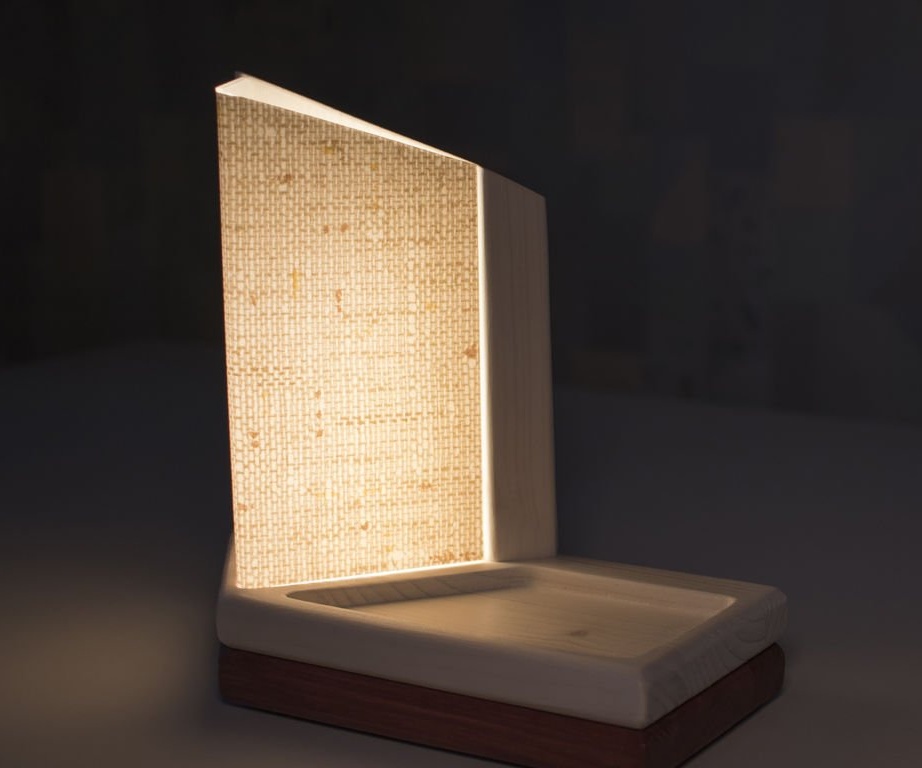
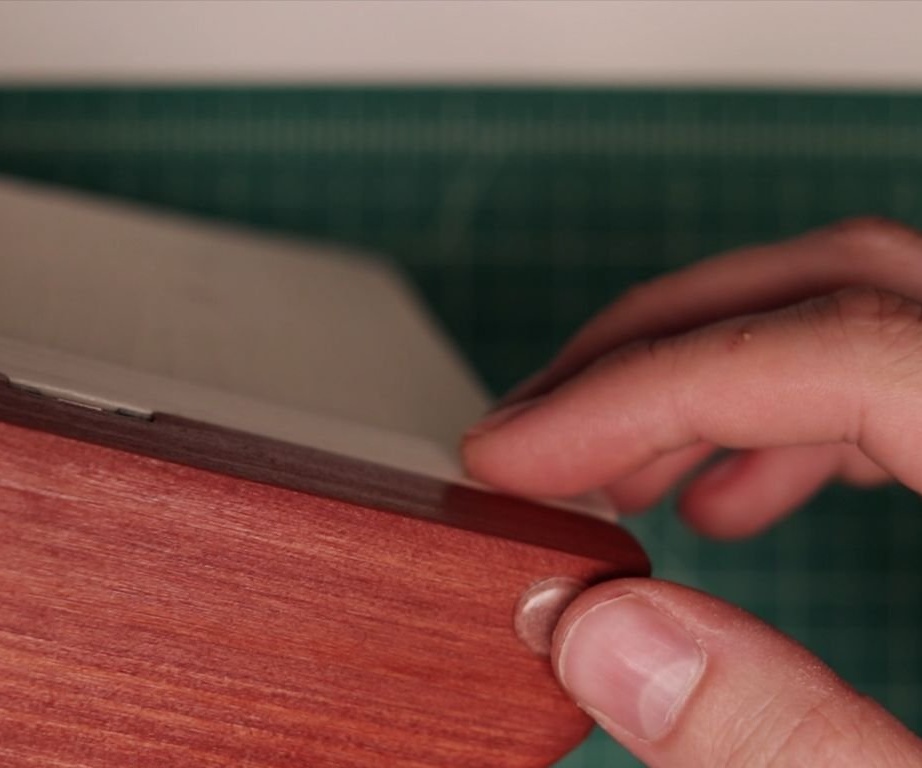
The master applies Mahogany varnish to the lower workpiece, and White Ash to the upper.
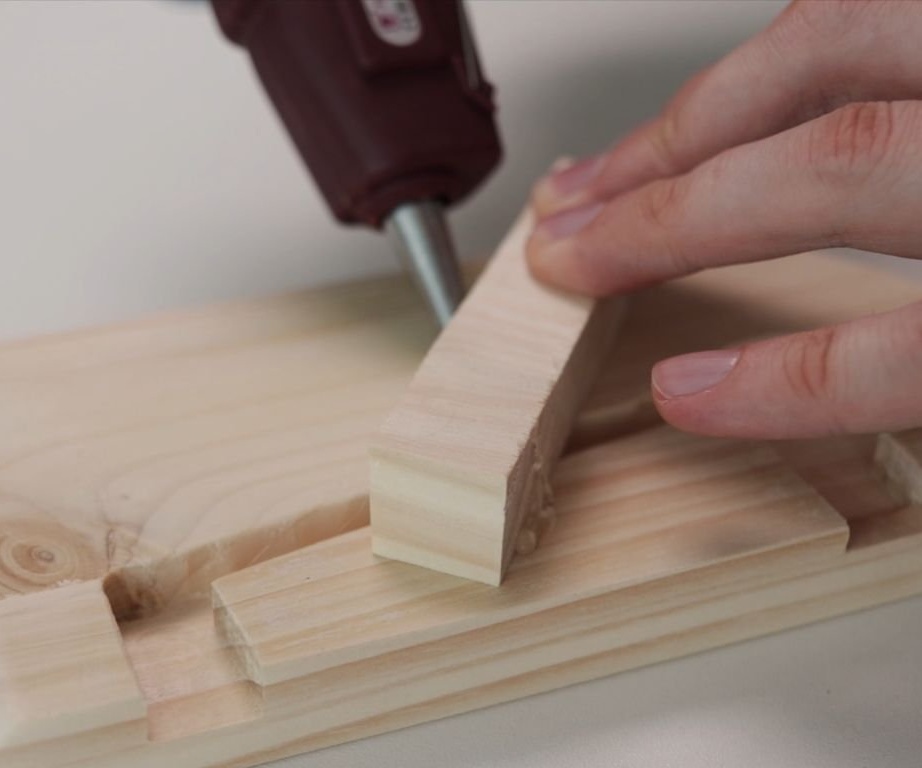
Step Five: Build
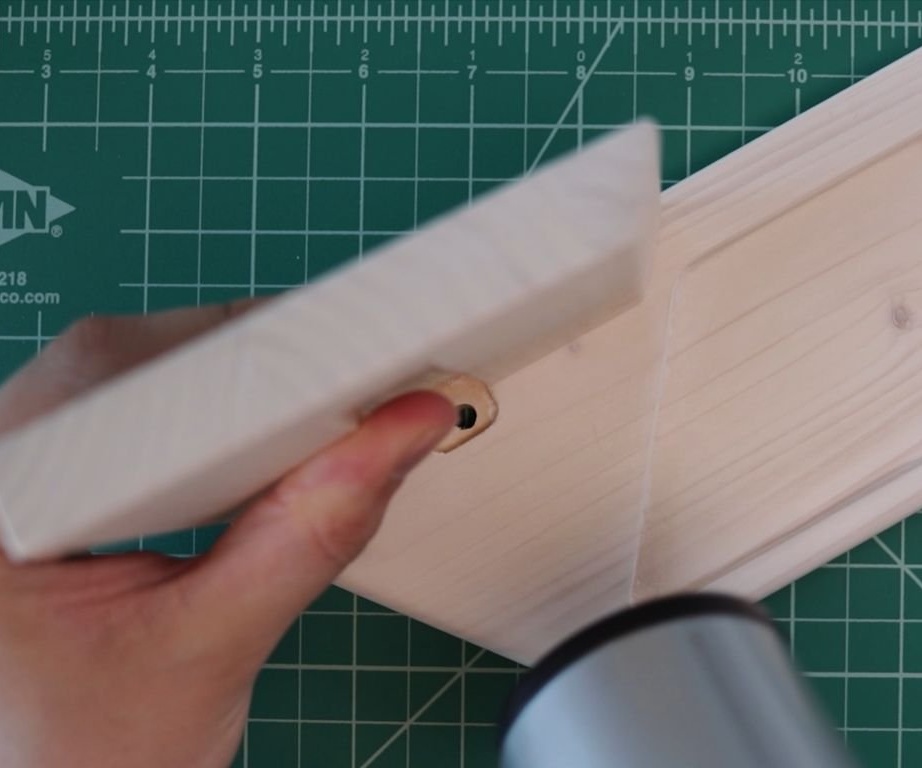
Glues a vertical stand to the base part. Dries the place of gluing with a hairdryer.
Step Six: Soldering
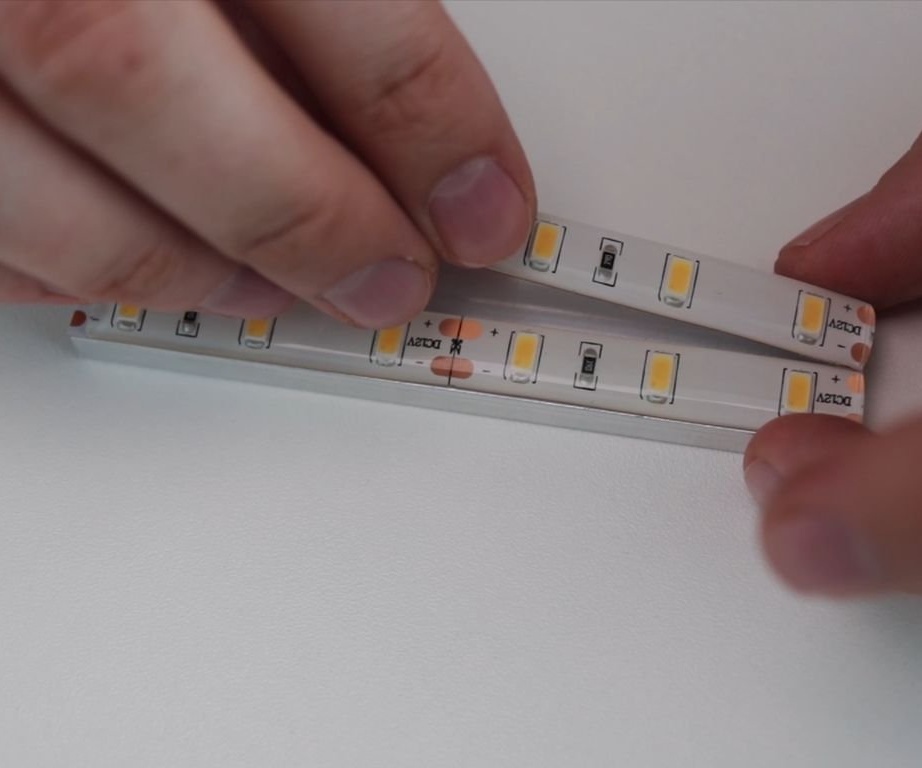
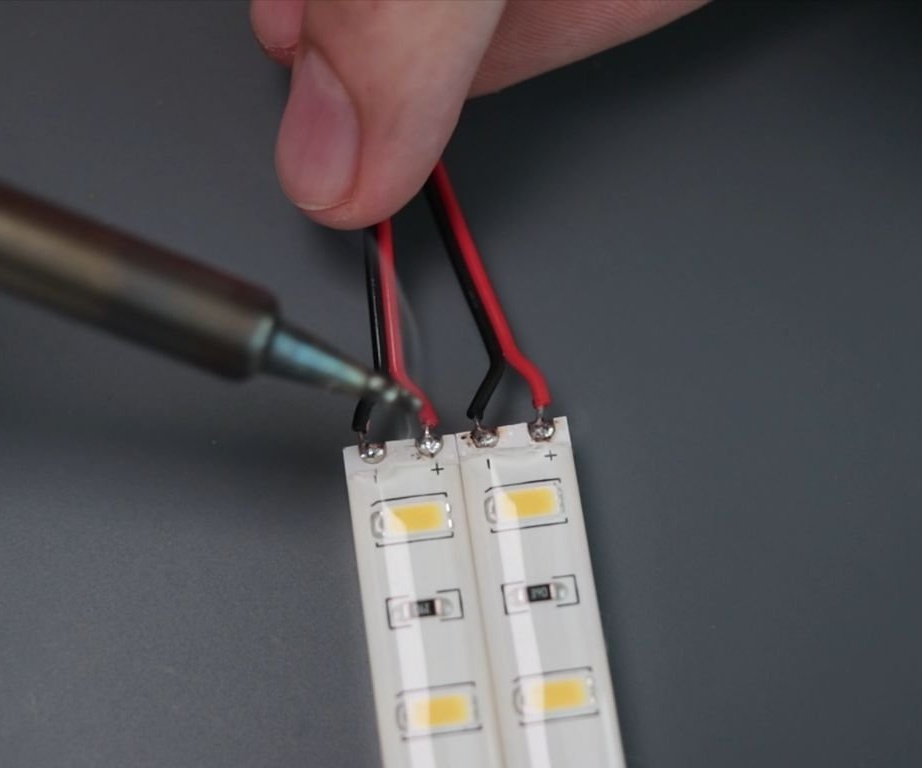
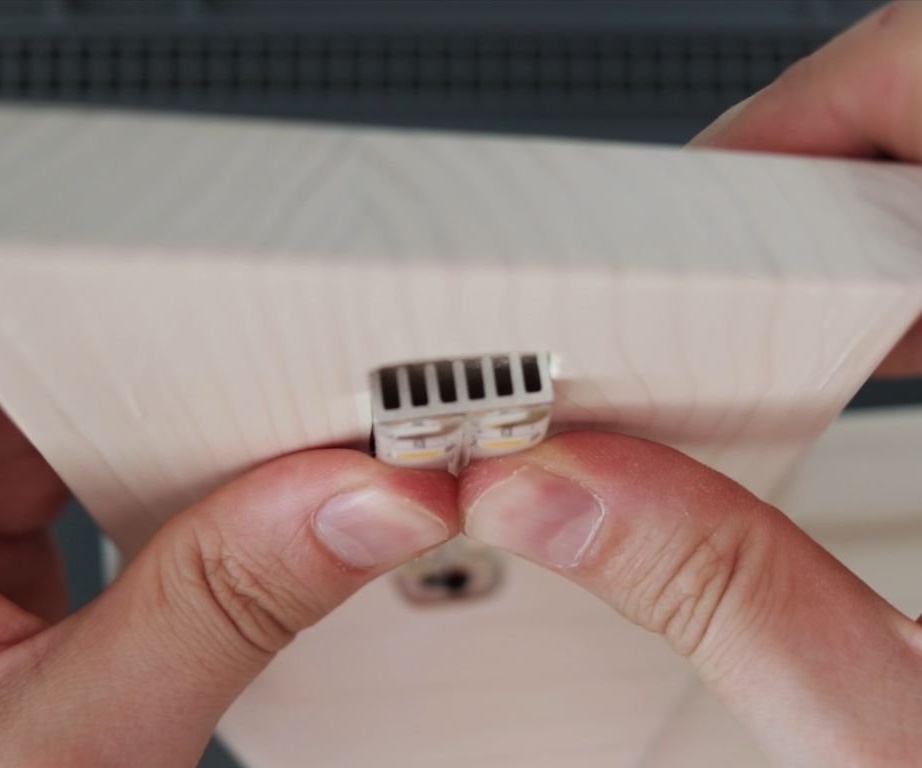
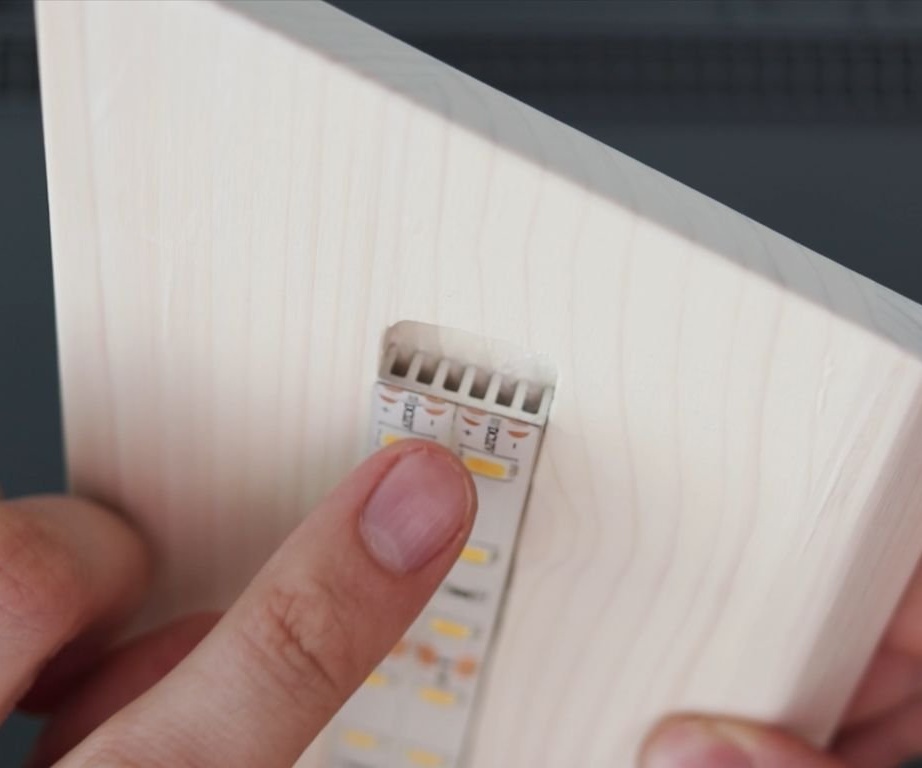
Slices an aluminum radiator of 10 centimeters. Glue on it 2x10 centimeters of LED strip.
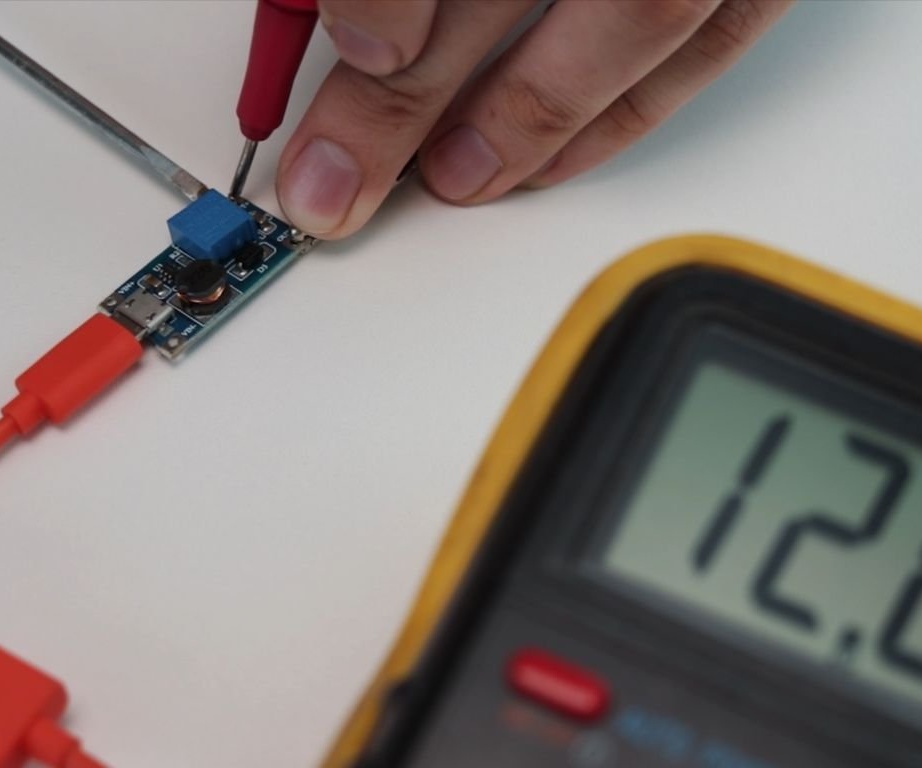
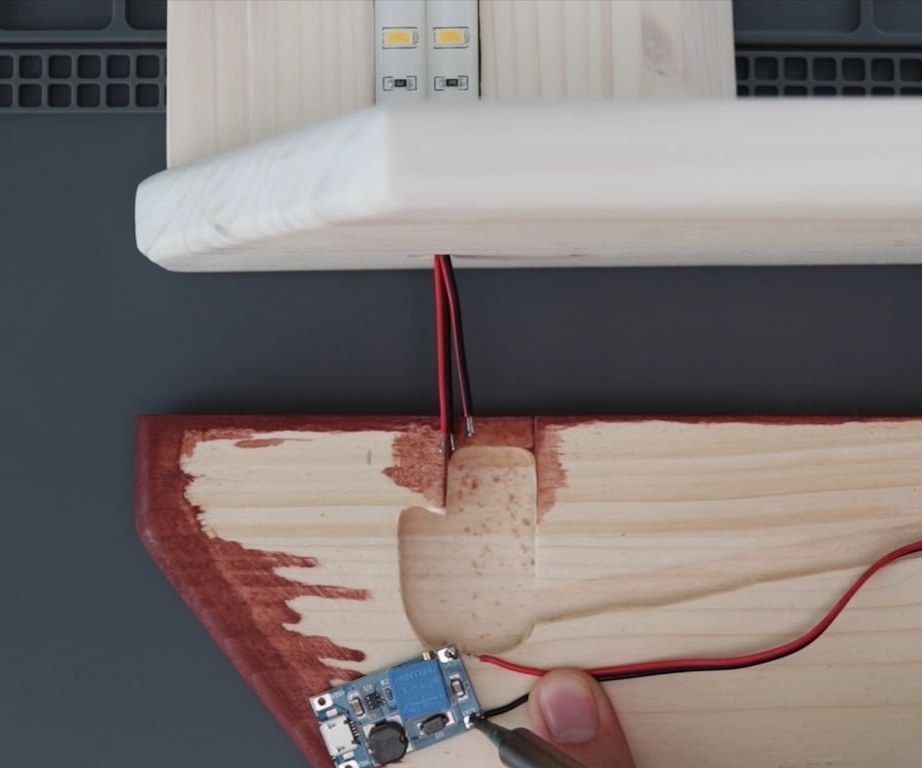
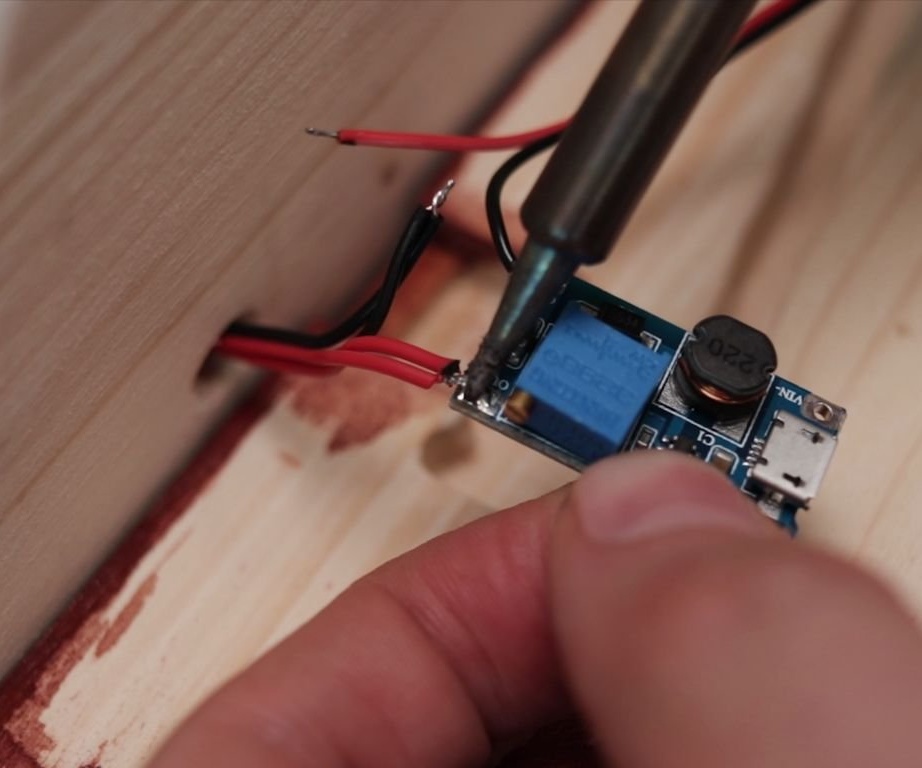
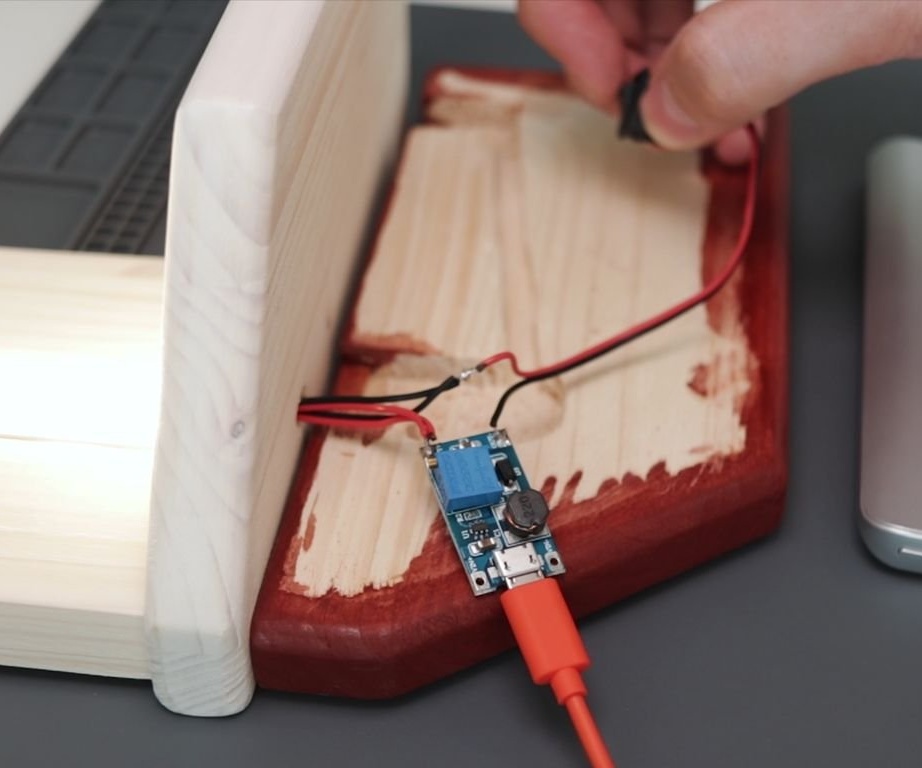
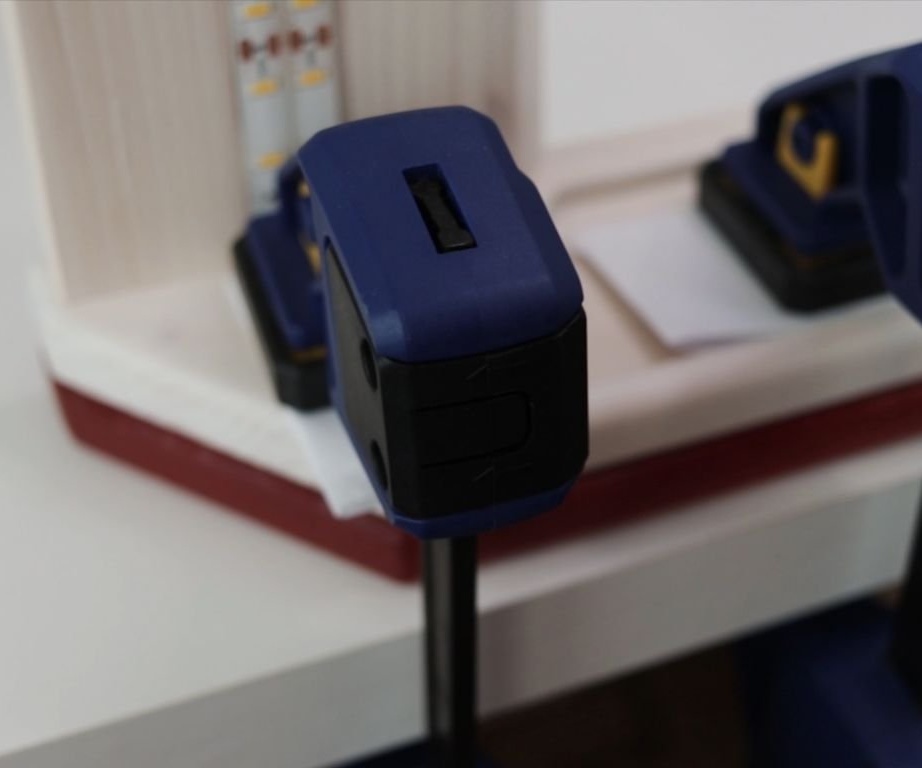
Adjusted the boost module to 12 V output voltage.
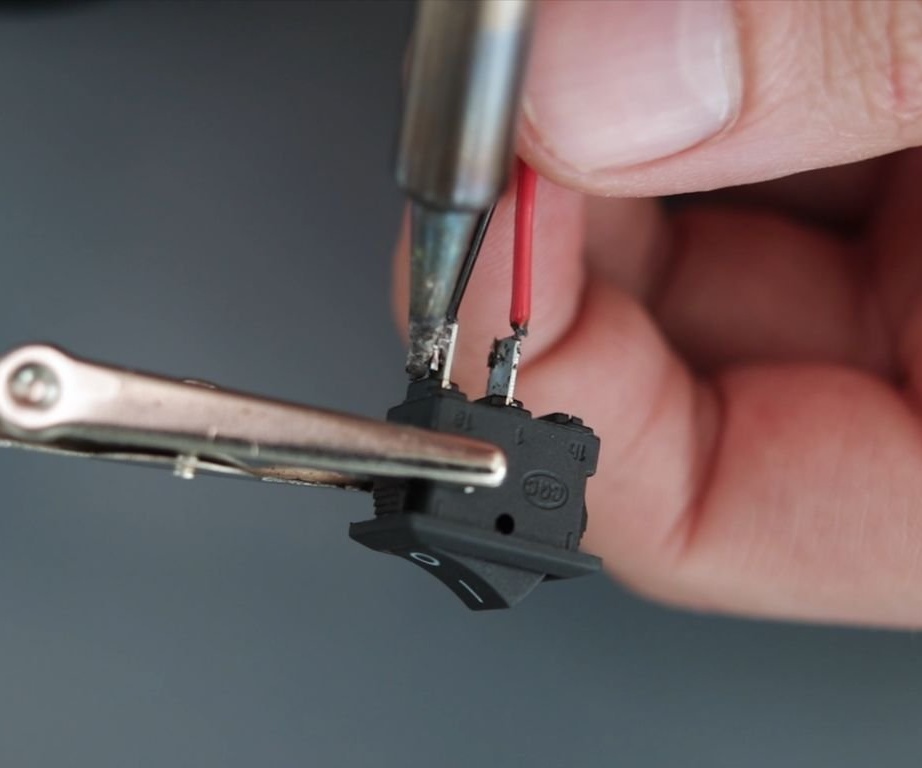
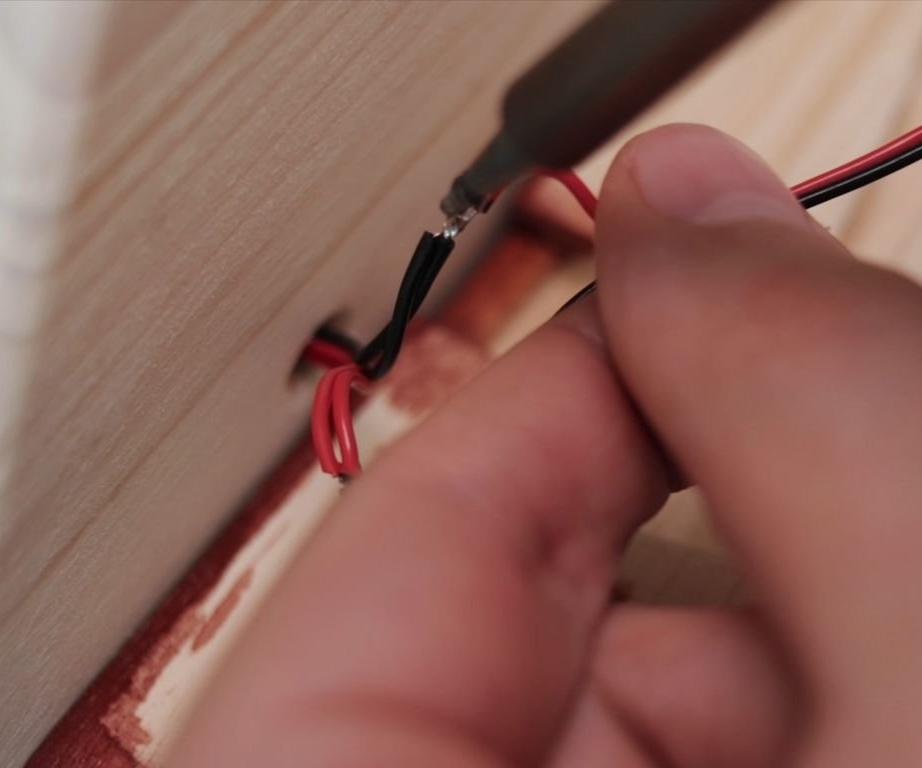
Soldered the wires to the LED strips and the switch. He fixed the radiator on a vertical rack.
Mounted a boost converter.
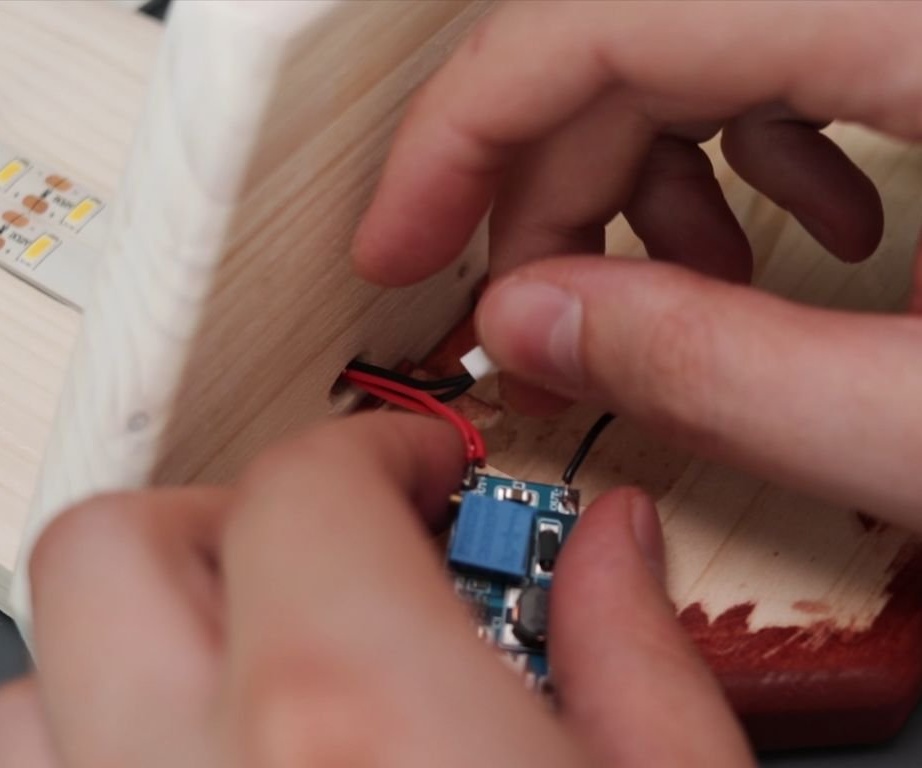
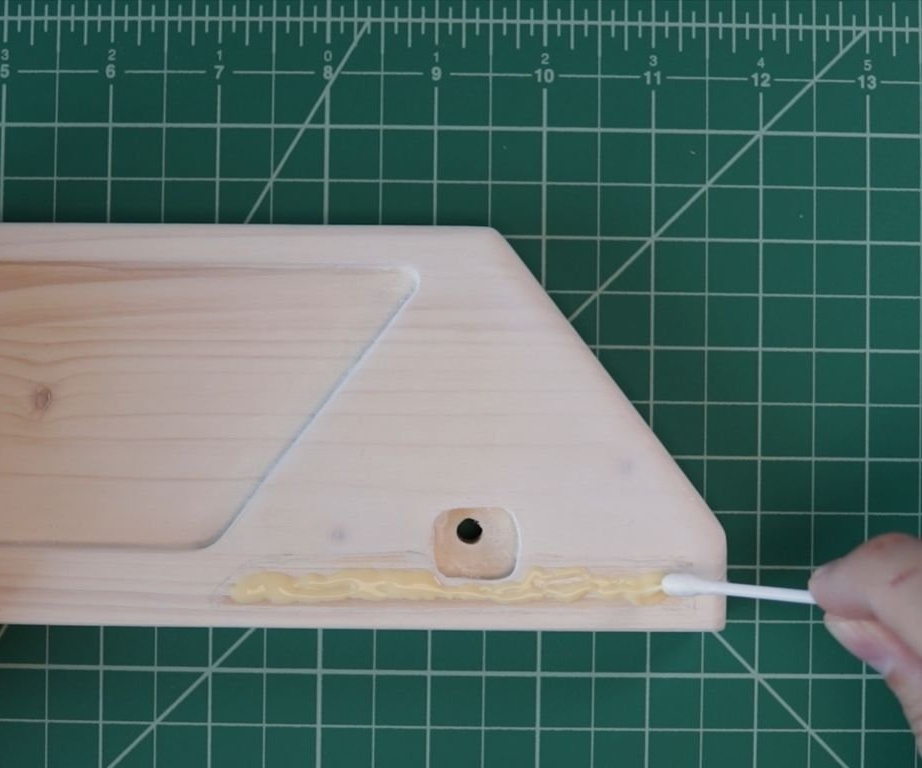
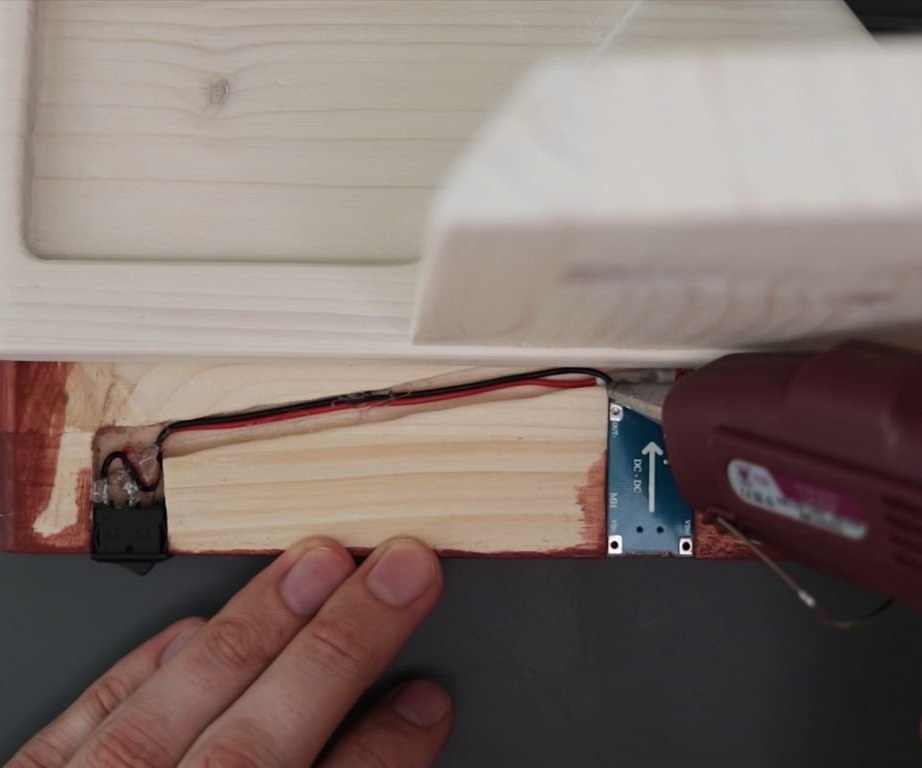
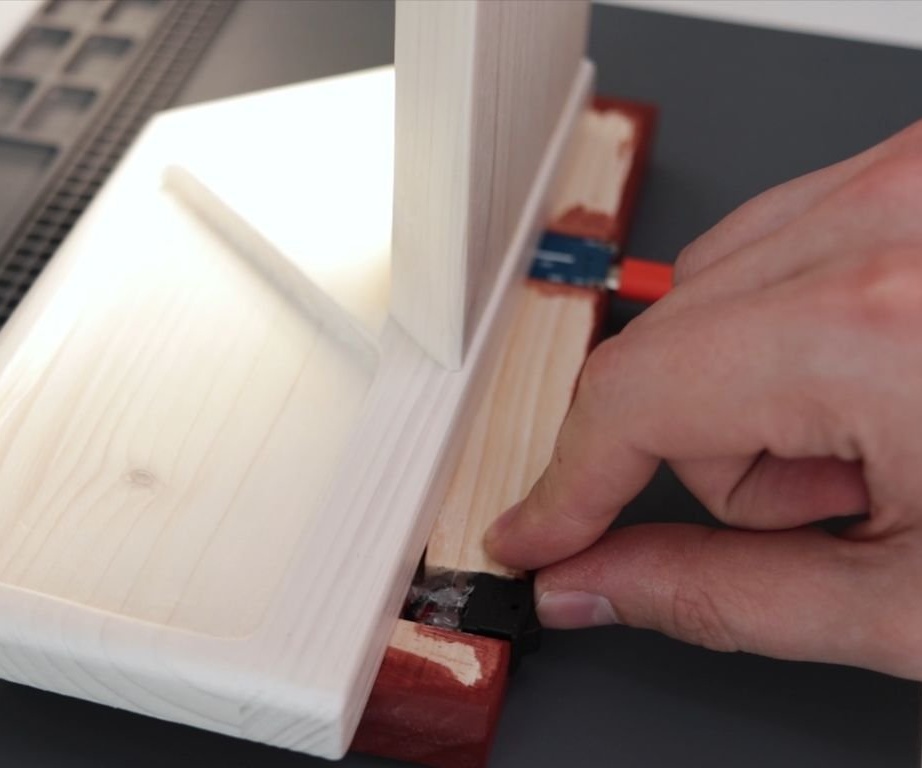
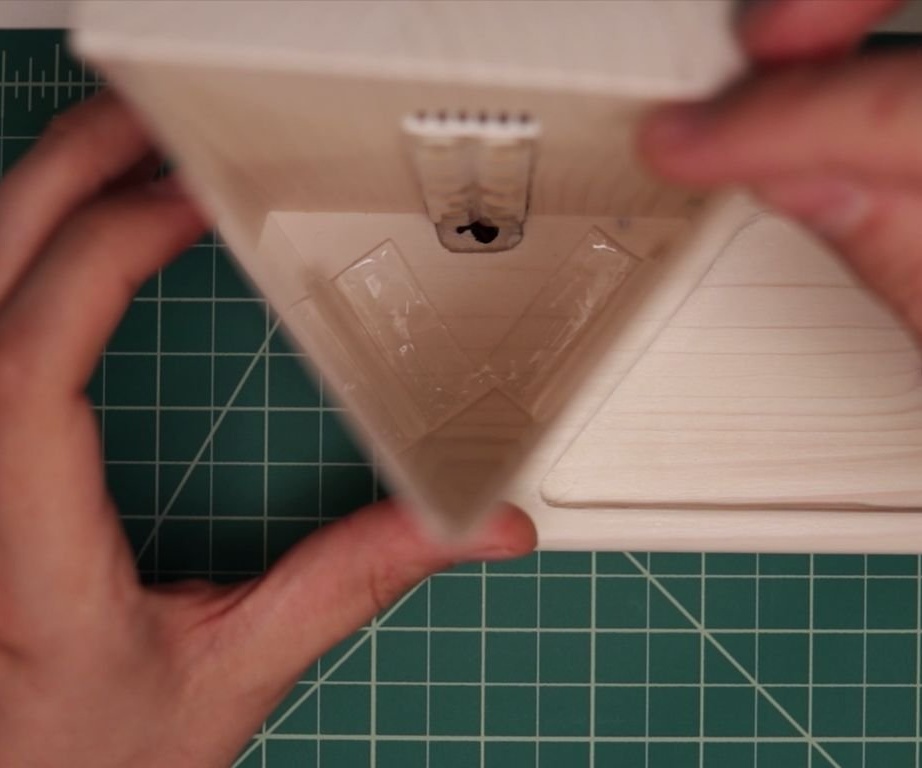
Further, the author checks the operation of electronics. Everything works fine, and he installs the module in the groove of the base, fixes it with hot glue.
Seventh step: base
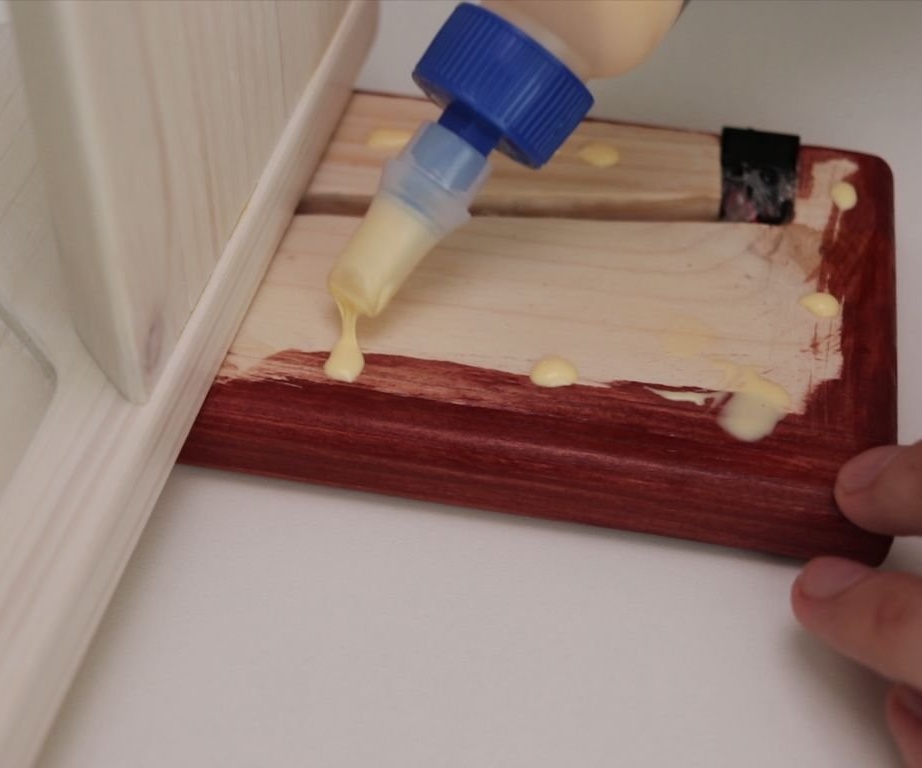
Glues two parts of the base.

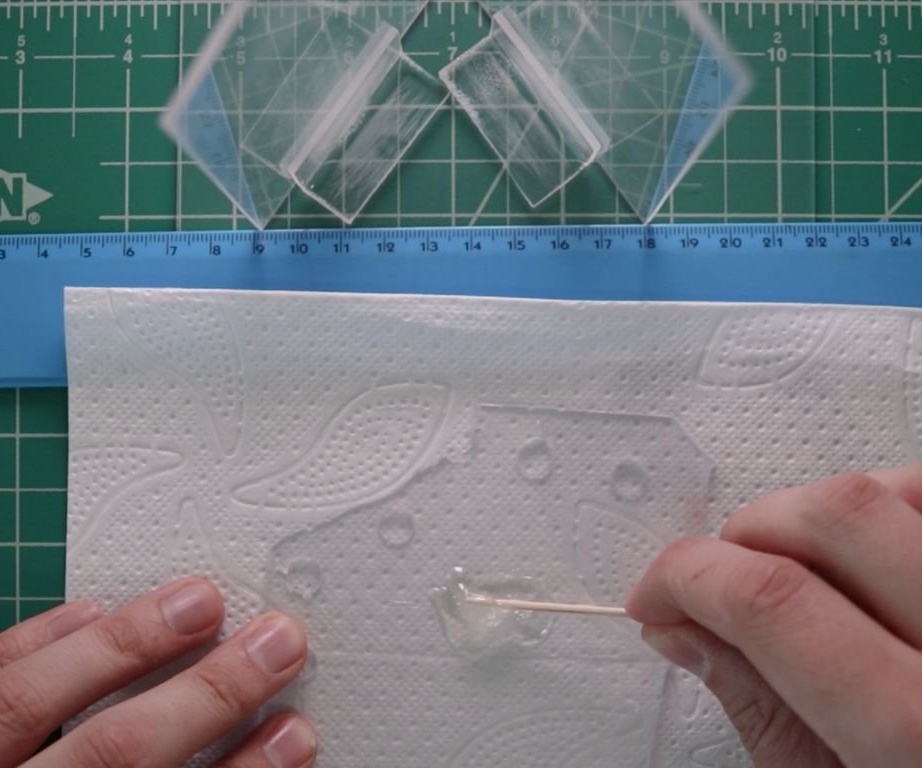
Step Eight: Diffuser
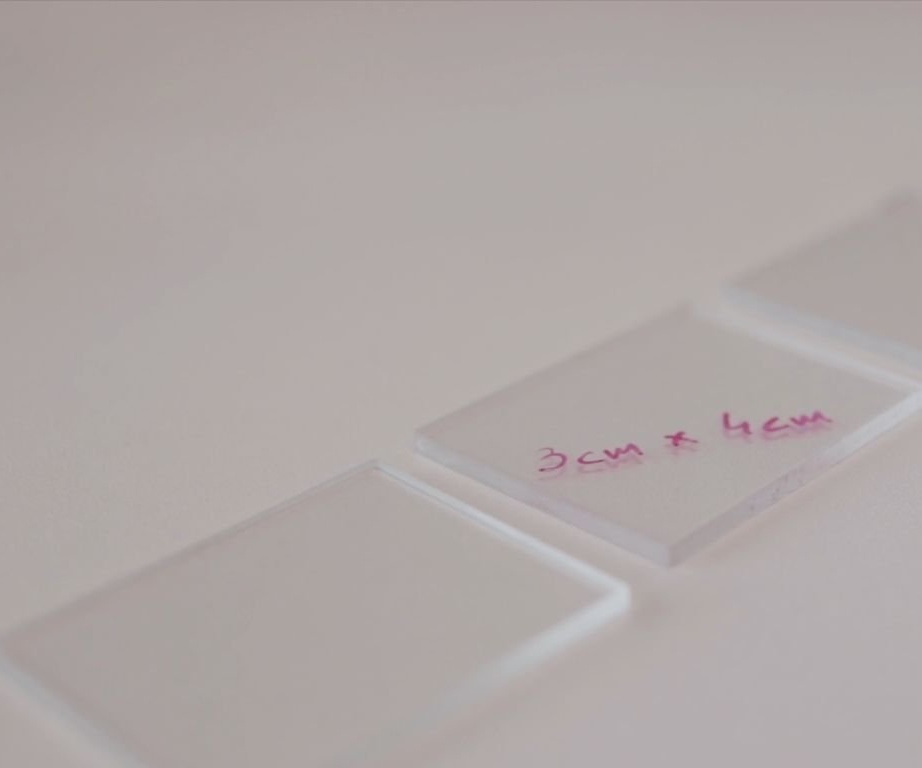
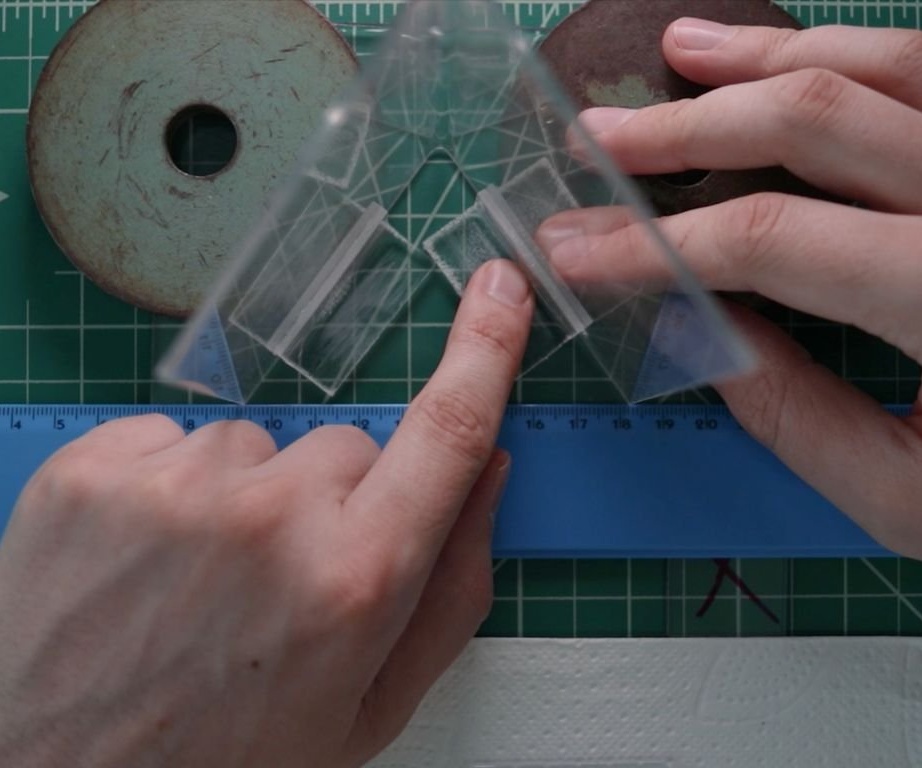
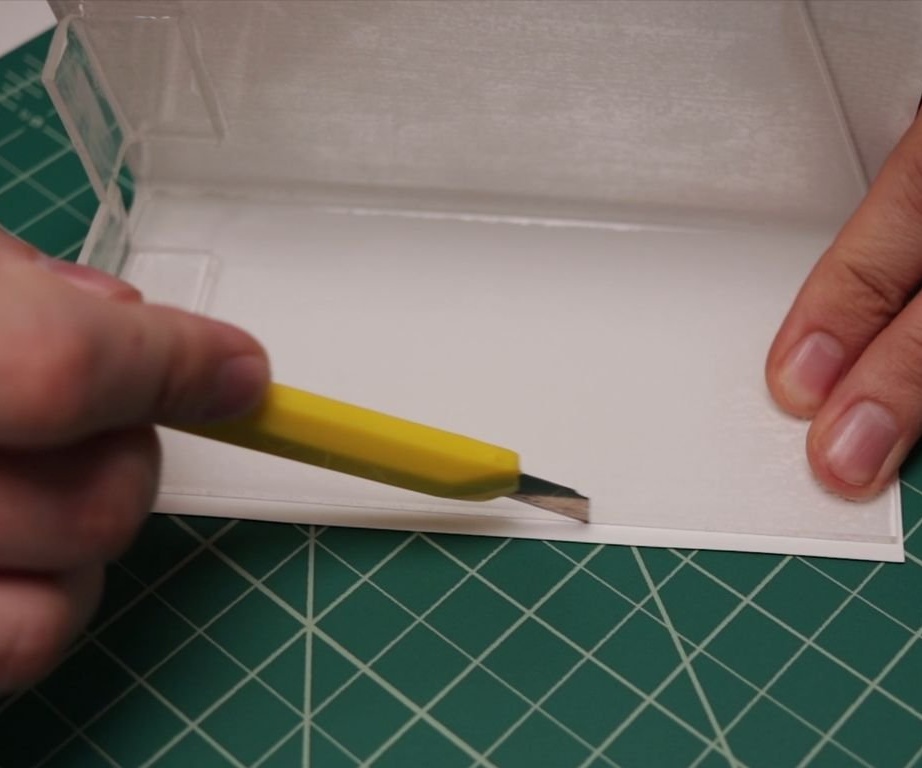
From acrylic price tag holder cuts blanks.
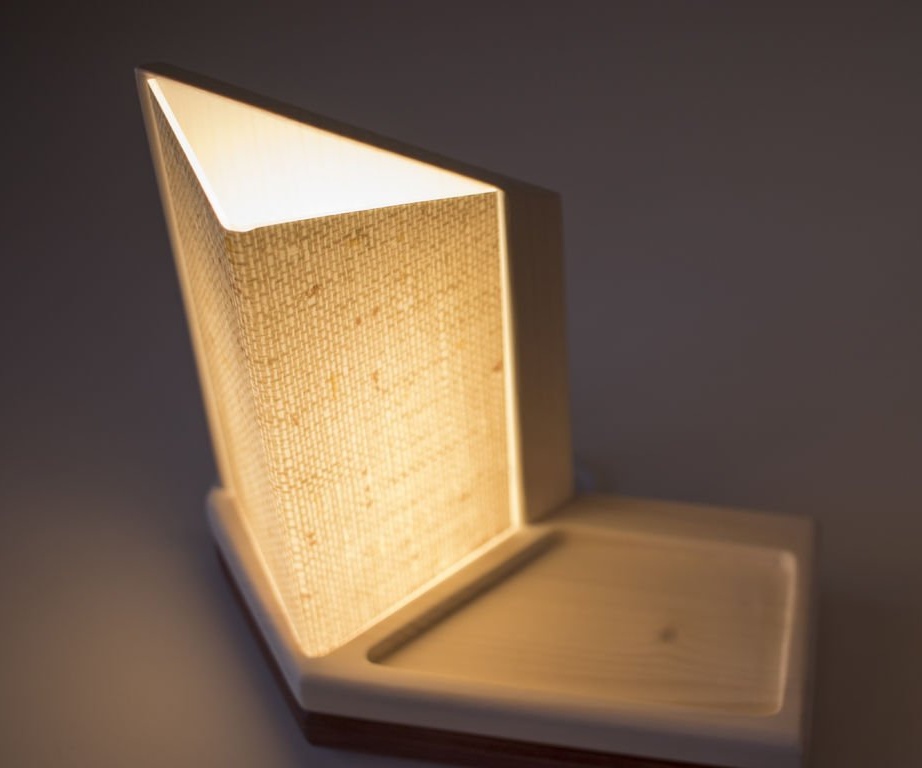
Bends them at an angle of 90 degrees. It will be an emphasis for acrylic panels.
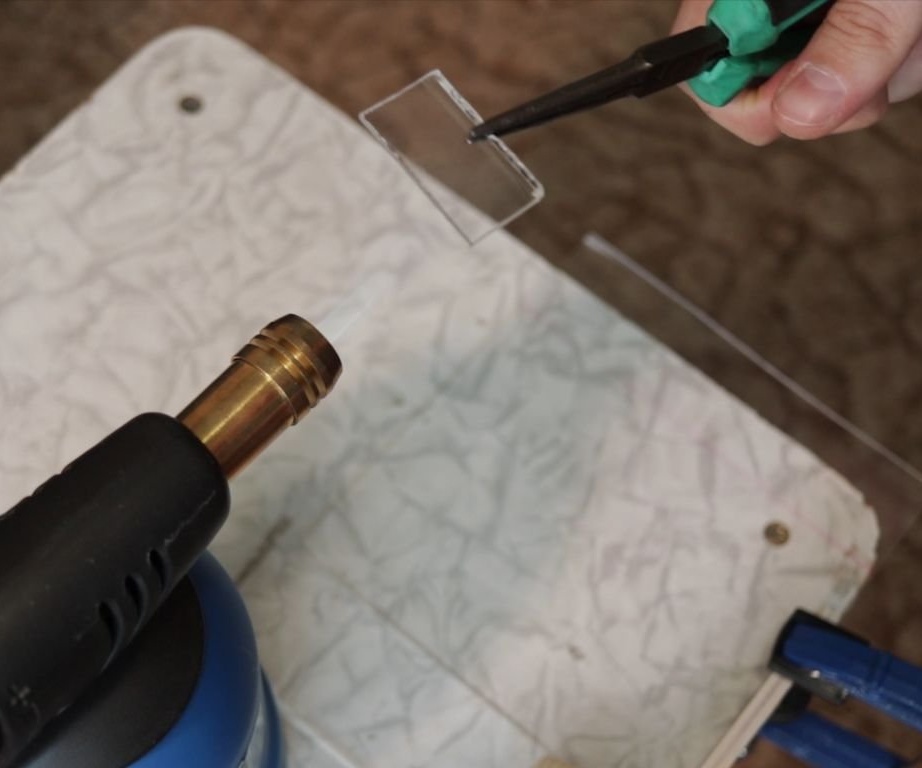
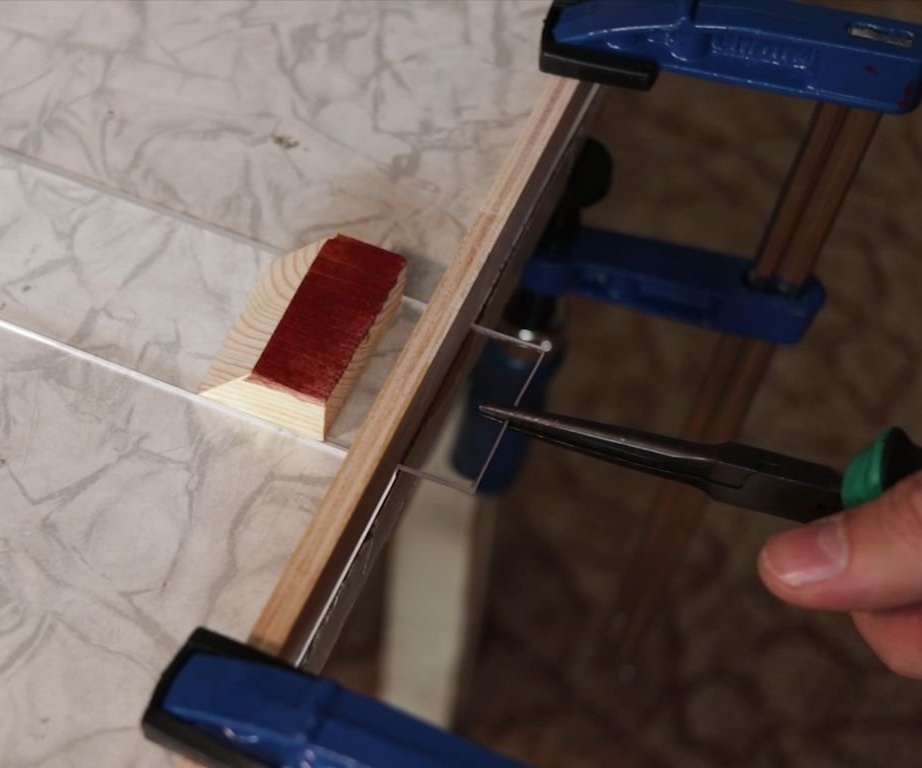
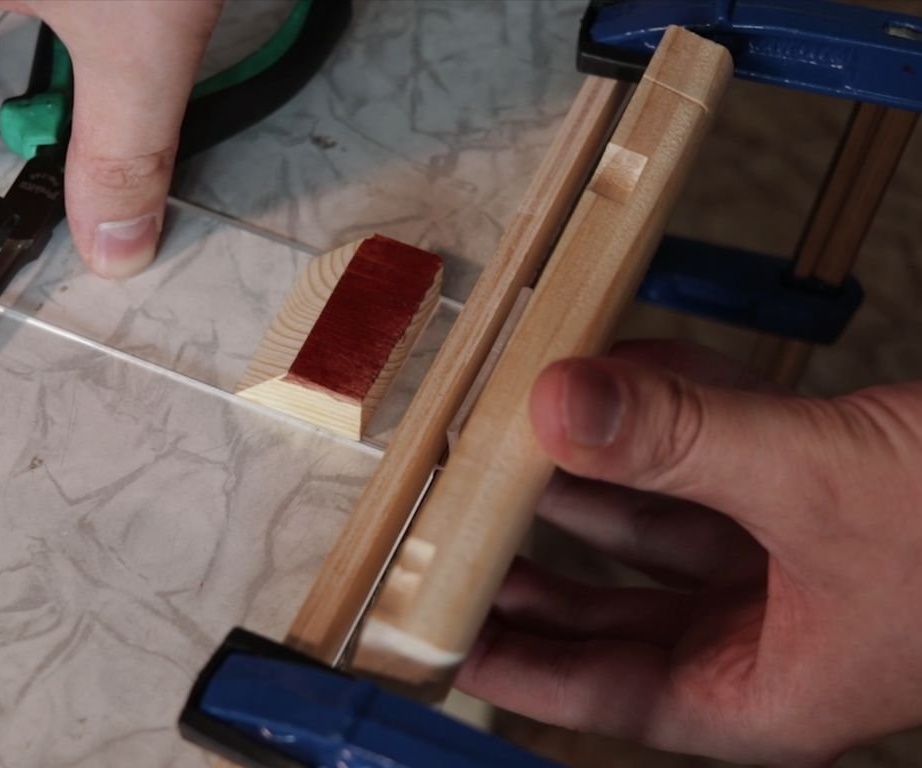
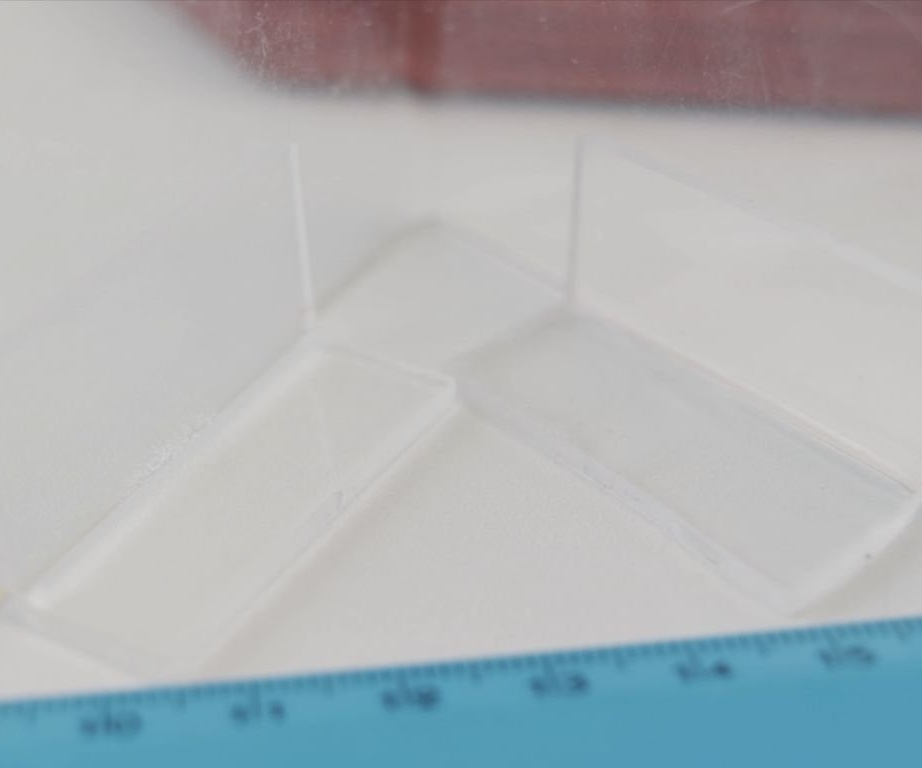
Glues the stops to the panels. Then the two parts of the panels at an angle to each other.
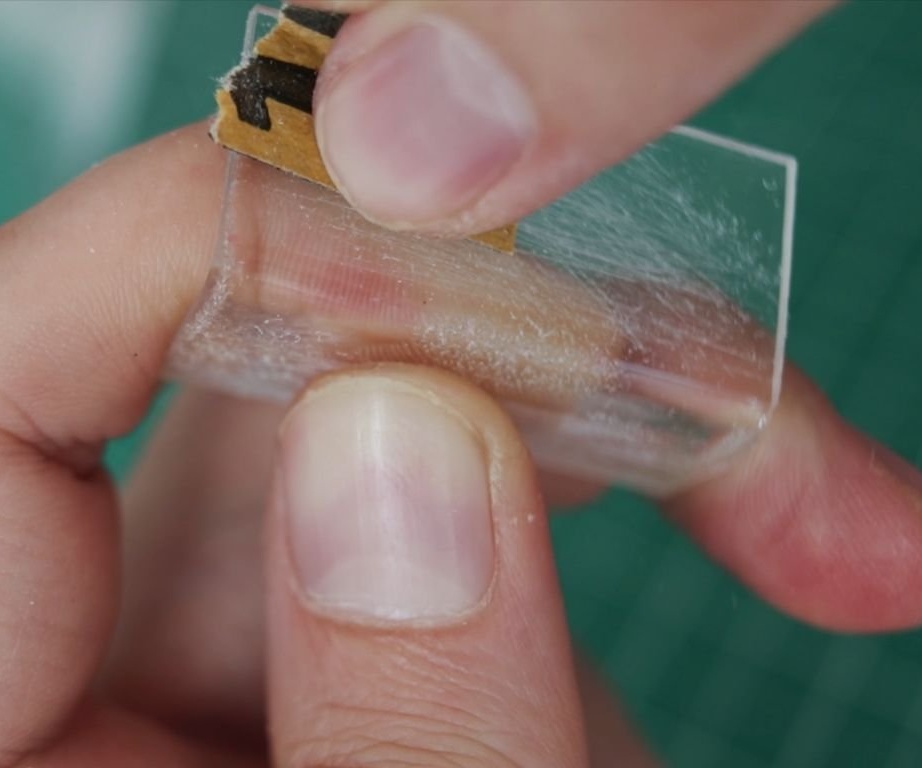
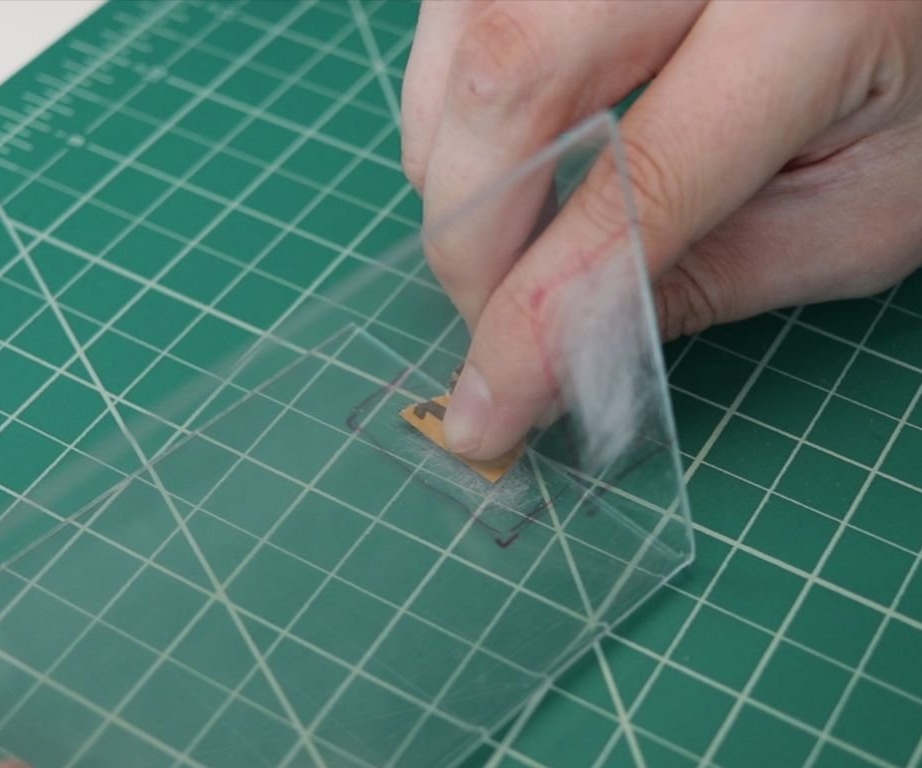
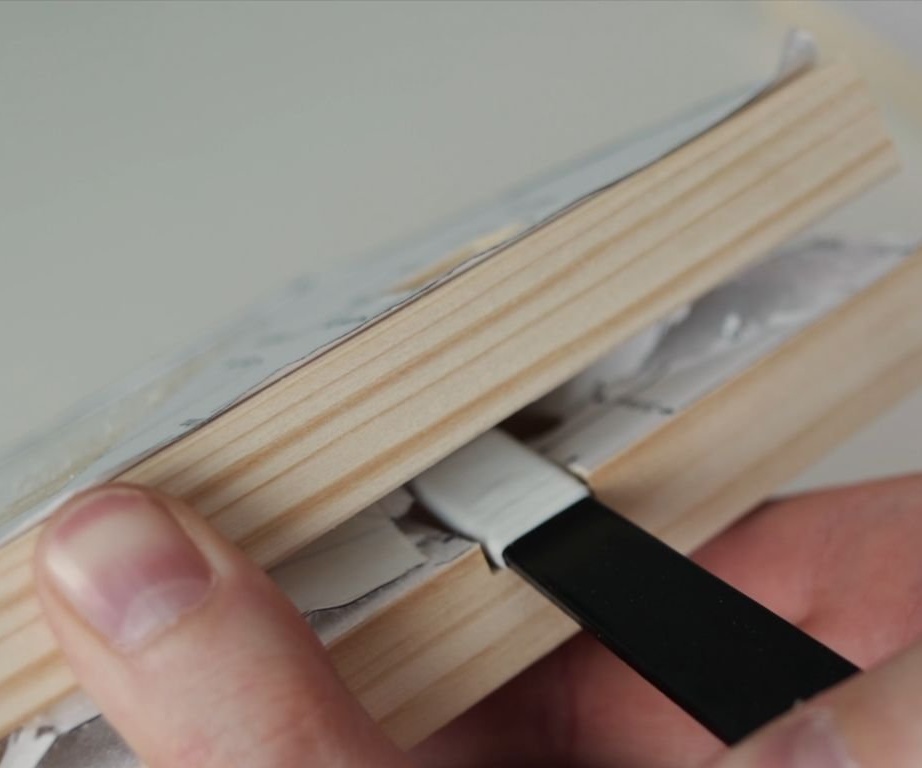
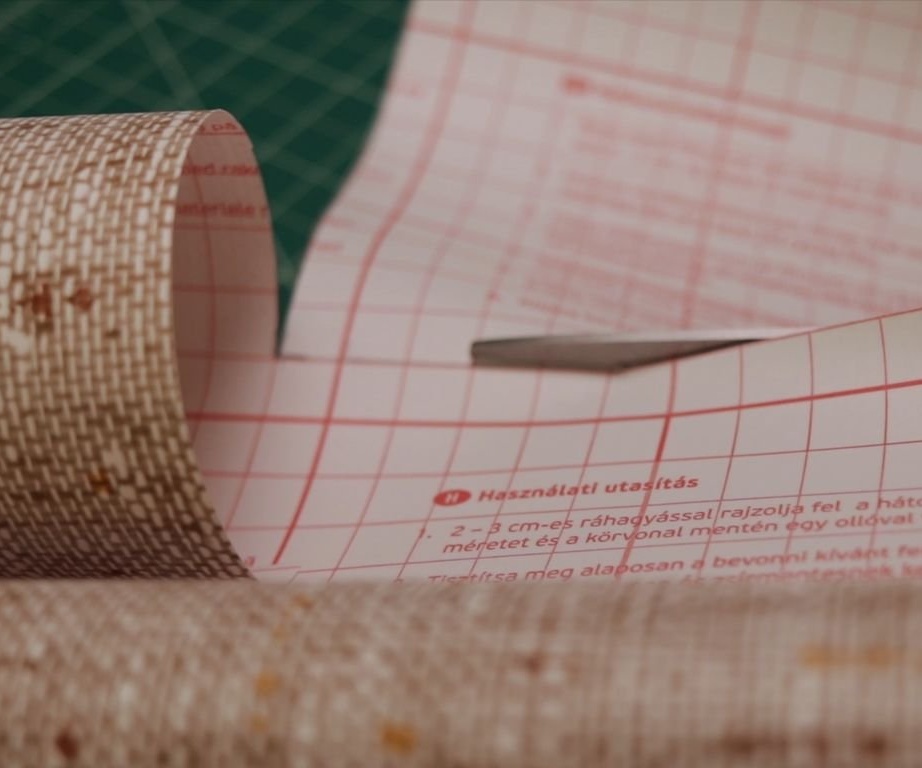
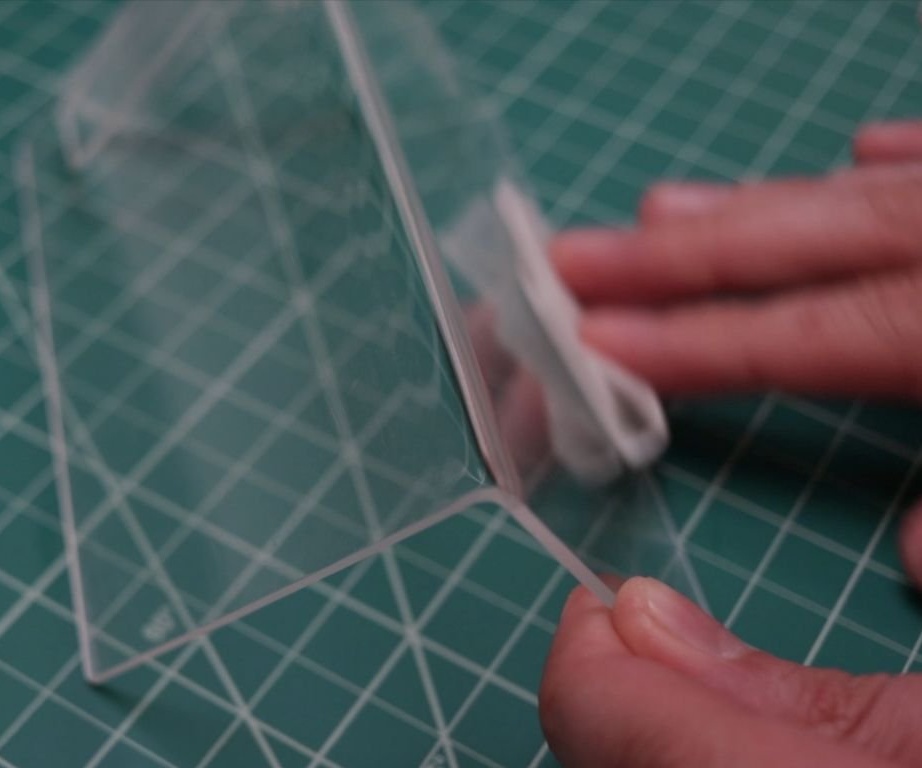
Step Nine: Decorative Film
The film pastes over acrylic panels outside.
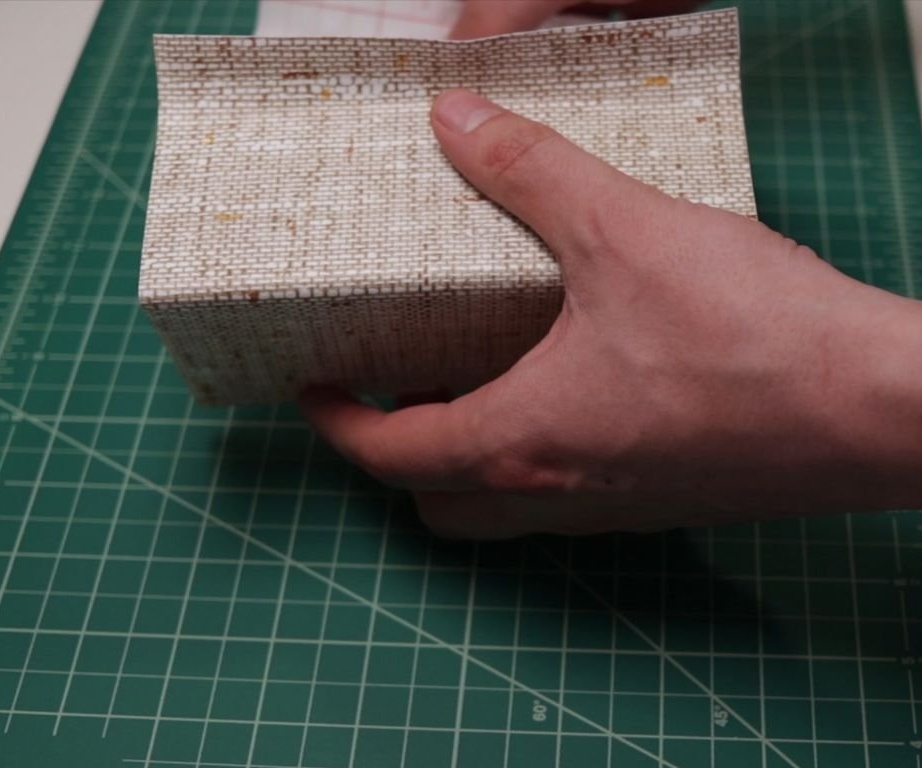
Adhes silicone feet.
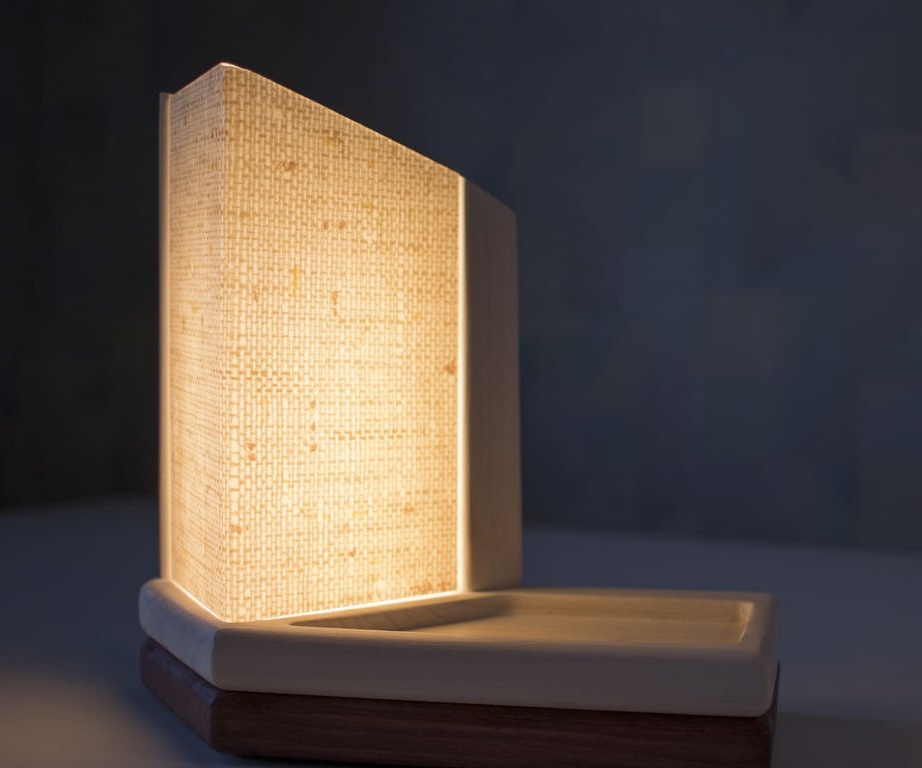
Installs an acrylic panel, fixes it with glue.
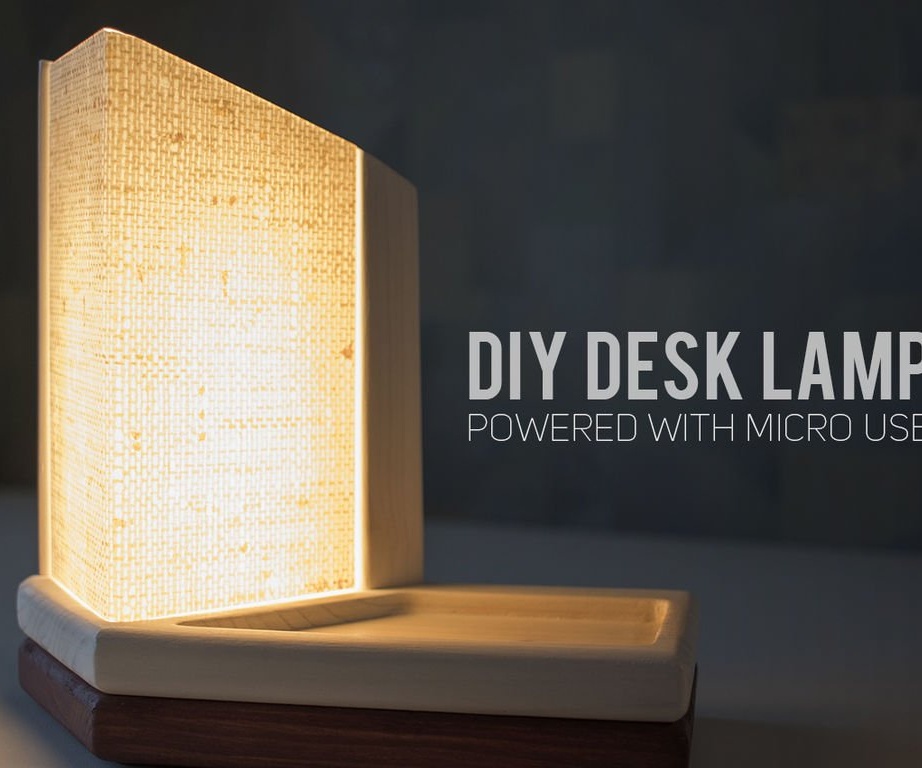
Now it remains to connect the power to the micro-USB connector and you're done.

All operations of the manufacture of the lamp can be seen in the video.