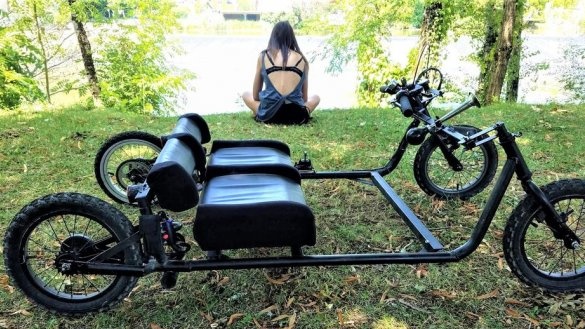
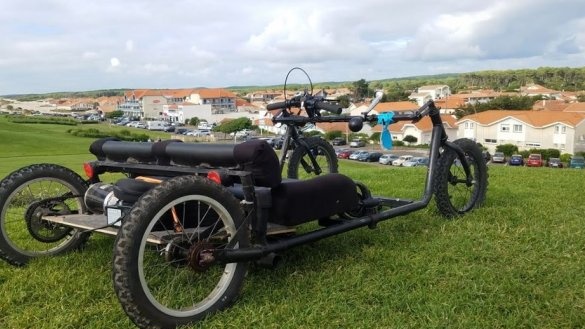
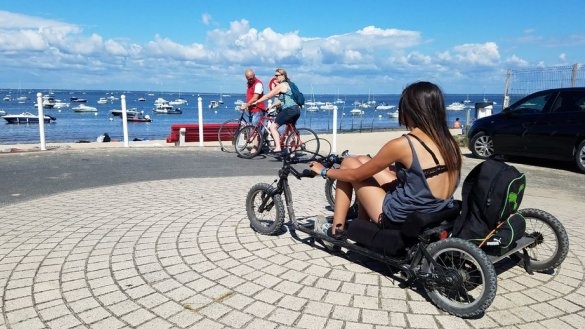
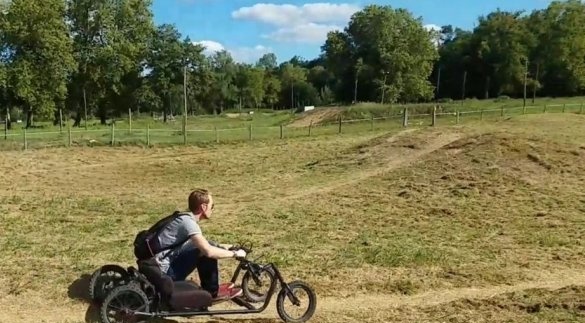
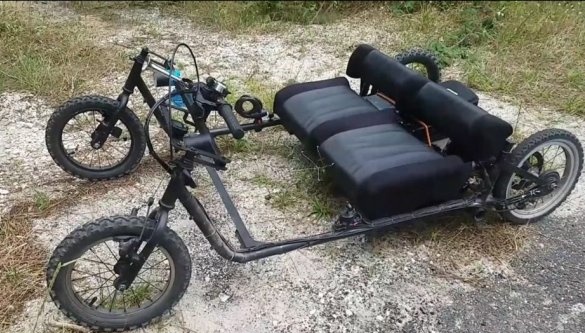
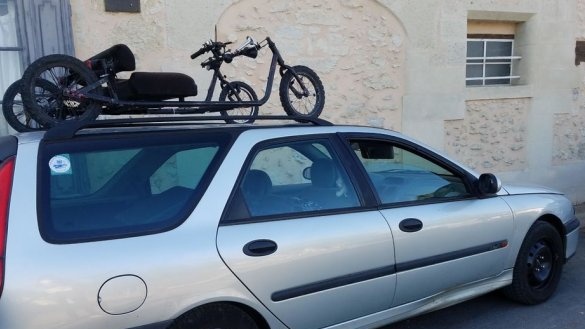
This electric car has a speed of up to 36 km \ h and travels a distance of 50 km on a single charge. This electric car can be disassembled and assembled in 5 minutes.
Let's watch a short video.
For assembly auto the master used the following
Tools and materials:
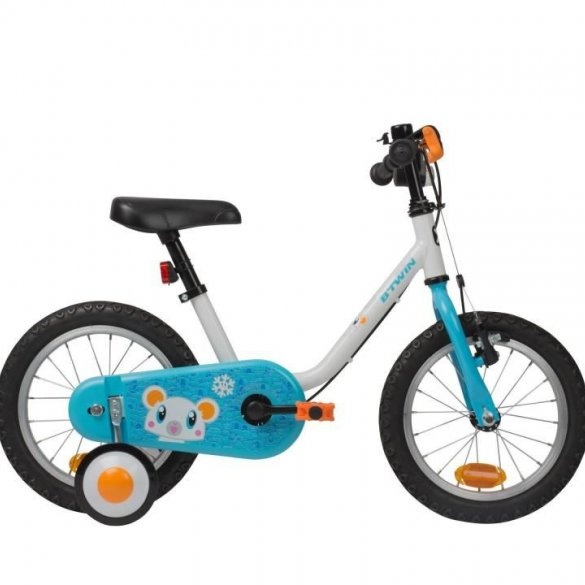
-Kids bike - 2 pcs.;
-Pipe profile 30 mm;
-Pipe round 30 mm;
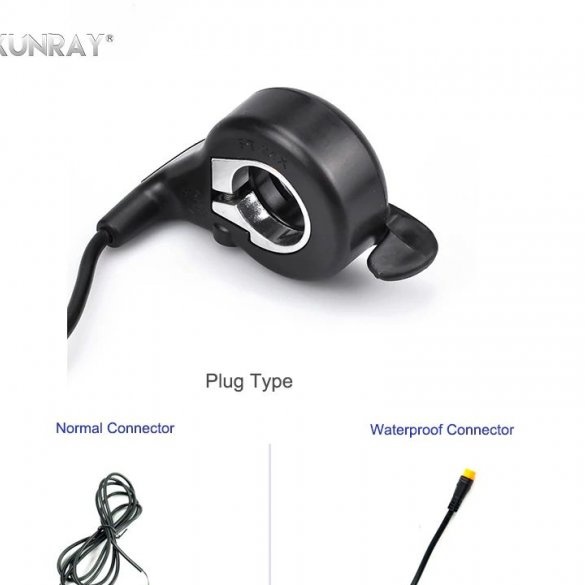
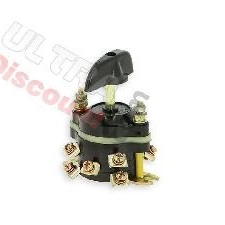
-Switch;
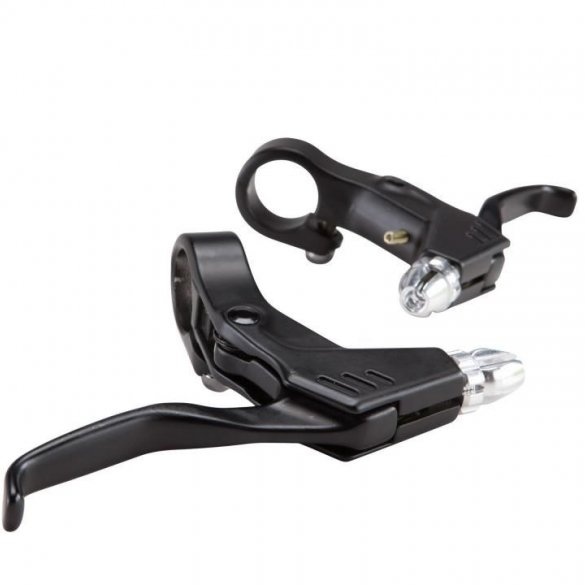
-Brake;
-Chain;
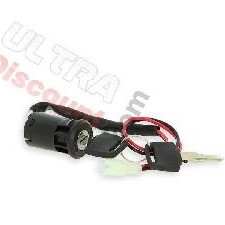
-Ignition lock with key;
-Star;
-Welding machine;
-USHM;
-Drilling machine;
- metalwork tool;
-Fasteners;
-Board;
-Pencil;
-Roulette;
-Hacksaw;
- Thermal insulation for pipes;
-Leatherette;
-Stapler construction;
-Glue gun;
-Knife;
-Drill;
-Aerosol spray can with paint;
-Led lights;
-Soldering iron;
-LEDs;
Step One: Motor
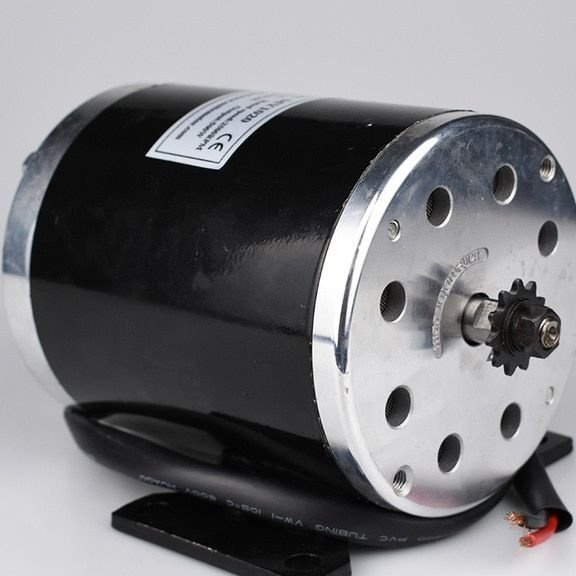
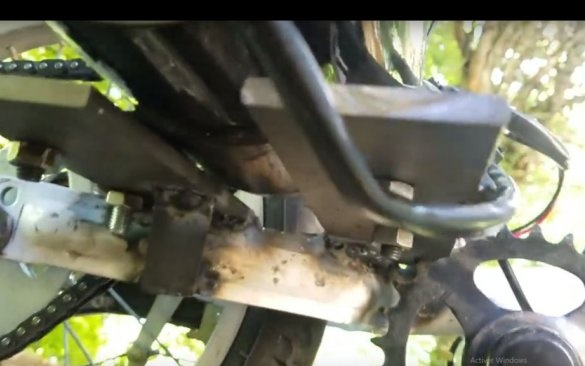
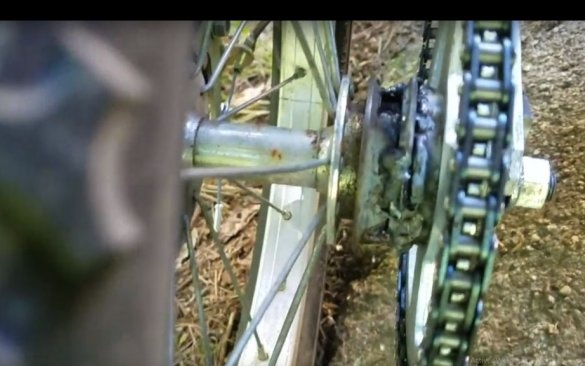
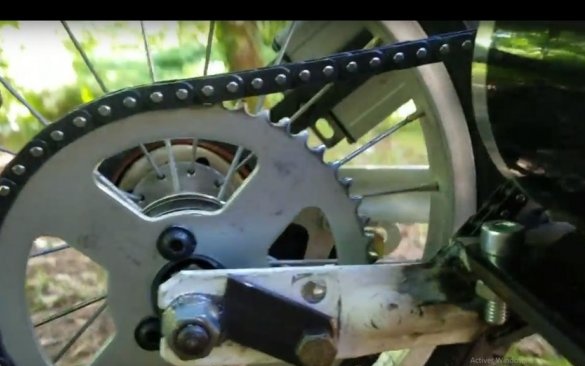
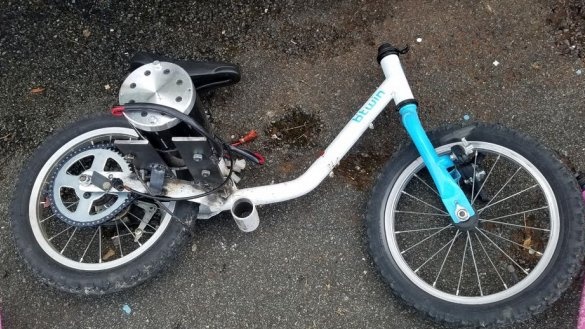
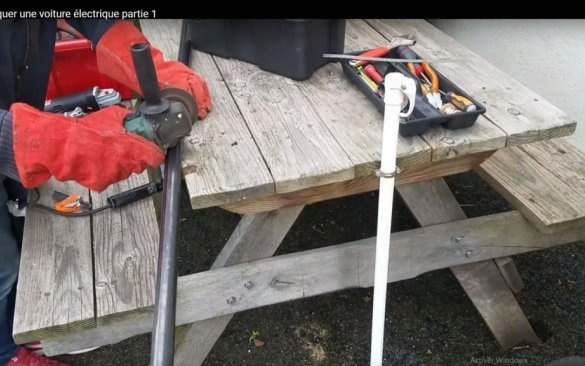
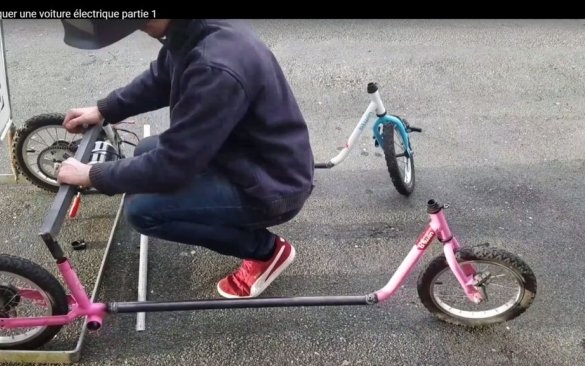
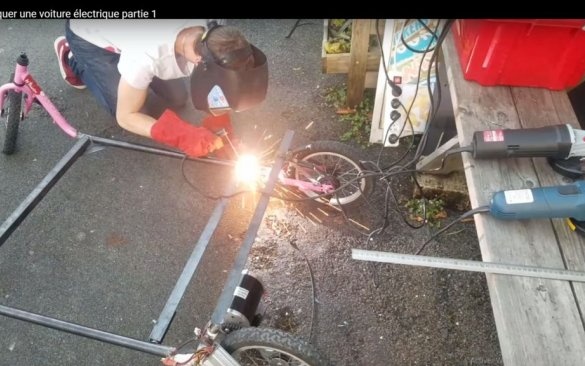
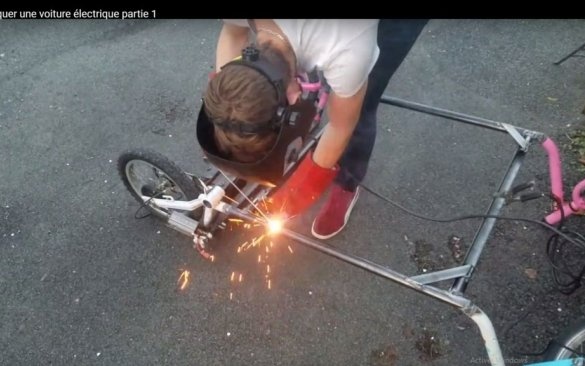
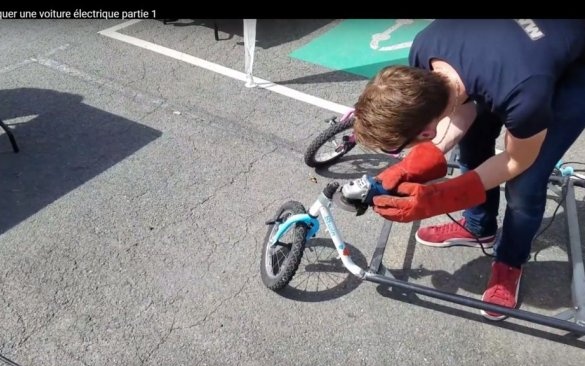
On one of the children's bicycles with a rear wheel drive, the master installs an electric motor. Removes the rear wheel and removes the carriage. Welds a large sprocket to the carriage. Replaces the wheel. Welds the support bar to the frame. Secures the engine.
Step Two: Frame Making
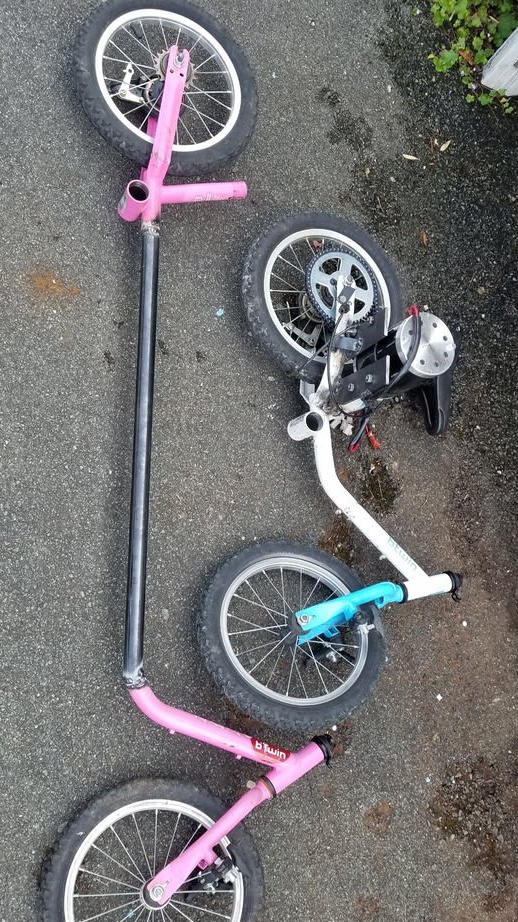
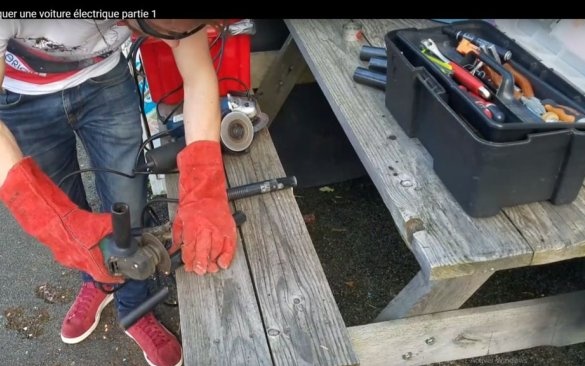
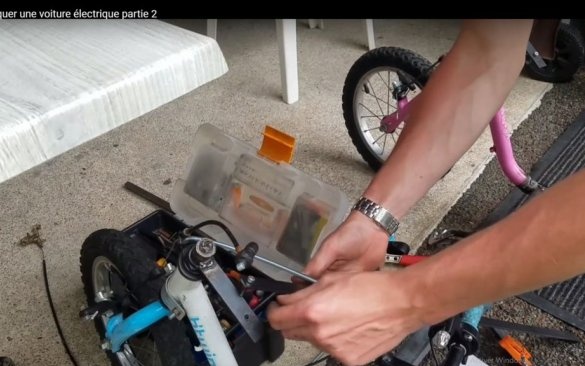
Then the master disassembles two bicycles, removes the seat, steering wheel, asterisk, pedals. Cuts bikes in two.
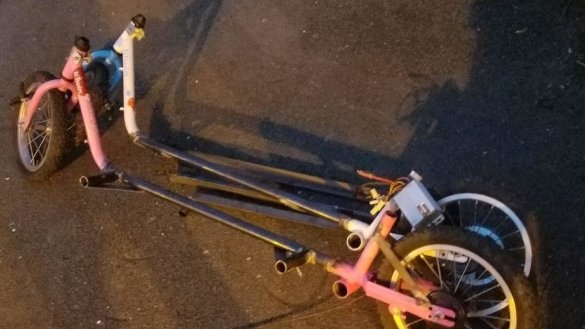
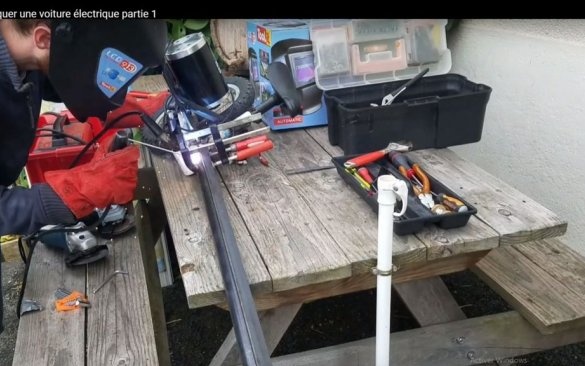
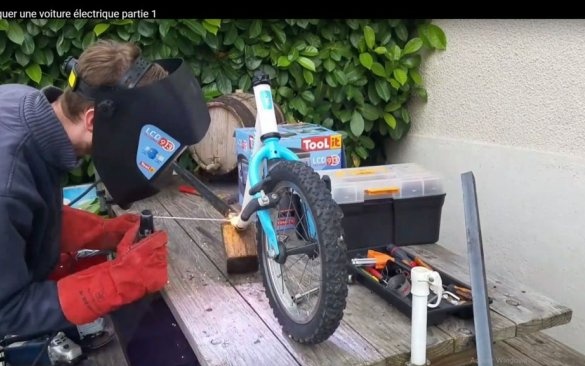
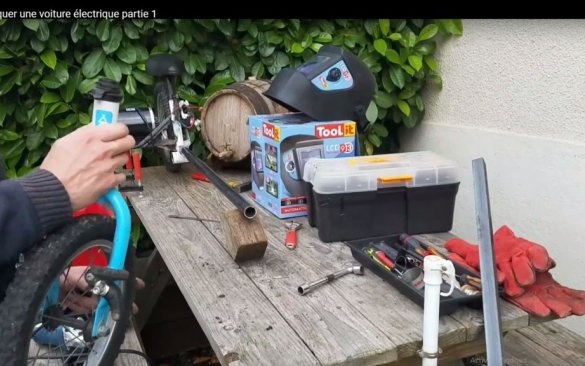
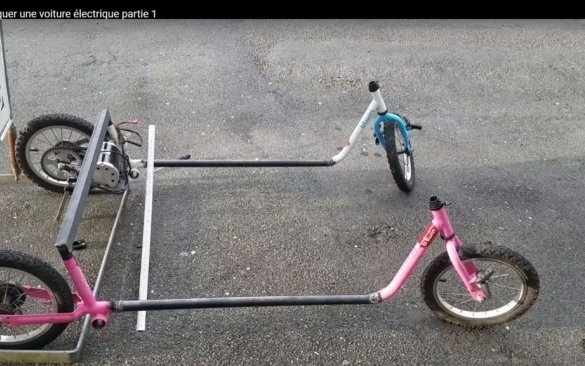
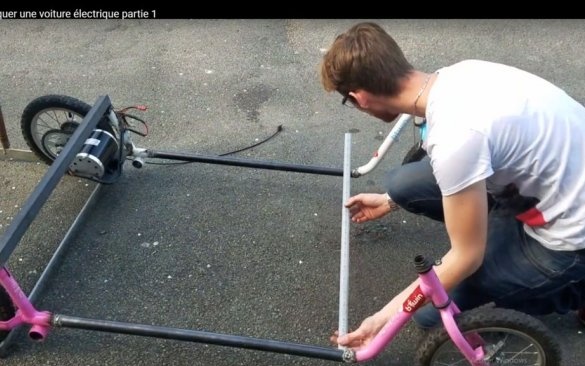
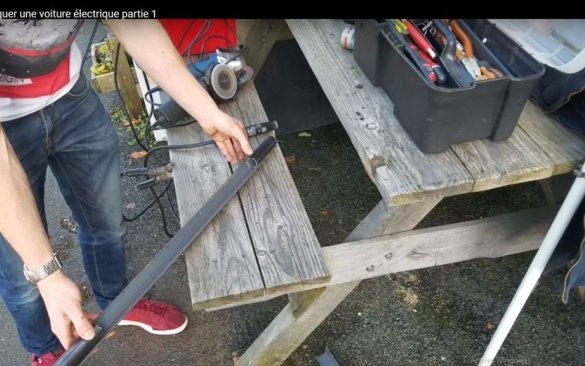
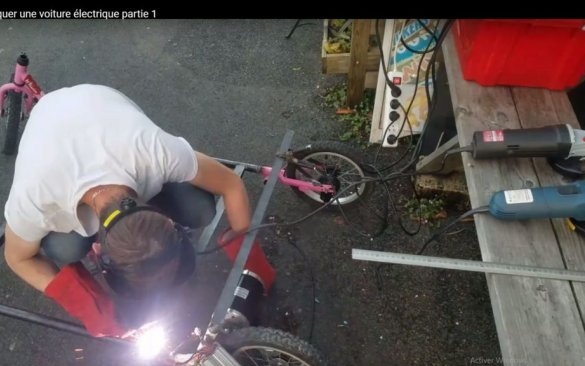
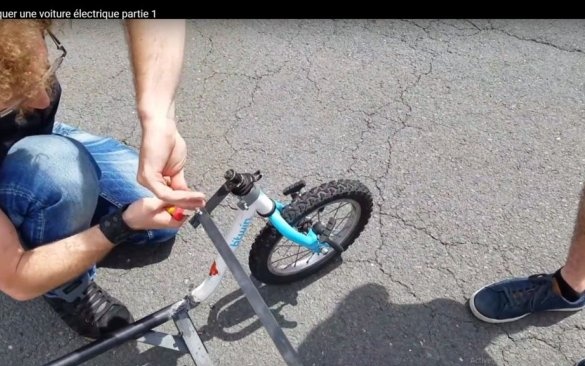
Welds the frame parts by installing metal tubes of 80 cm.
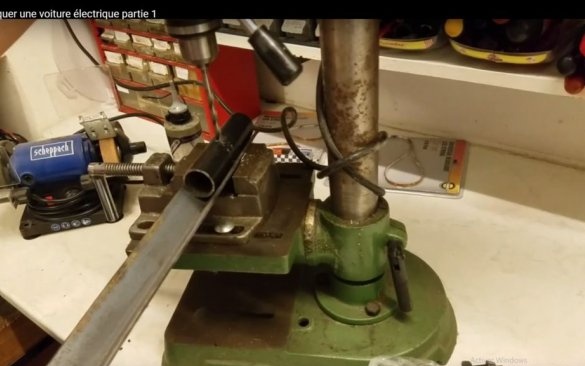
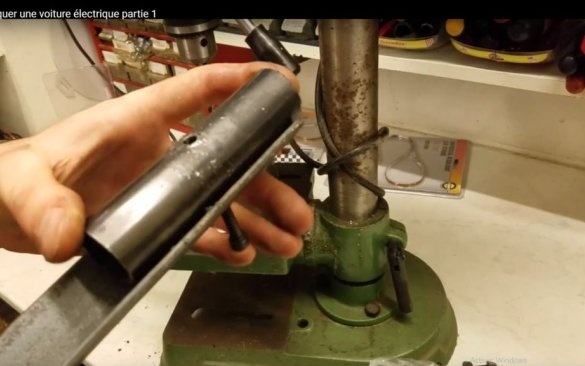
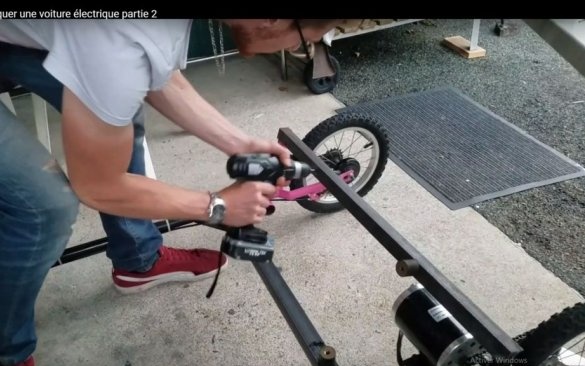
The electric car must understand. The master welds the pipe to the tubes, which are installed in the frame instead of seats. This crossbar is fixed with screws.
The same collapsible master and other transverse tubes.
Small tubes welded to the frame, which serve as a support for the transverse tubes, the master reinforces.
Step Three: Seat
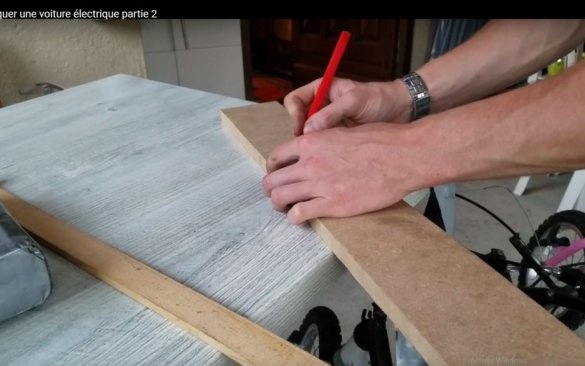
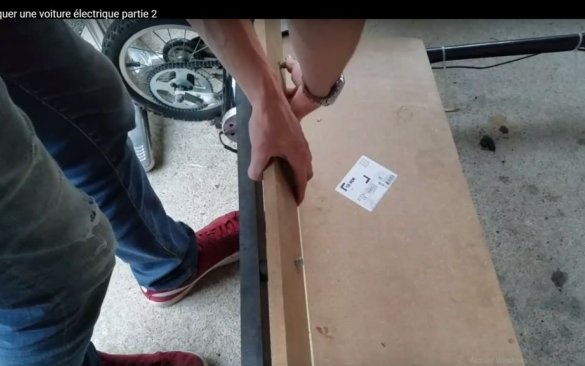
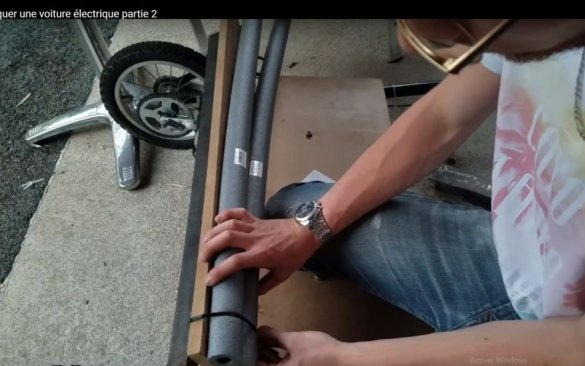
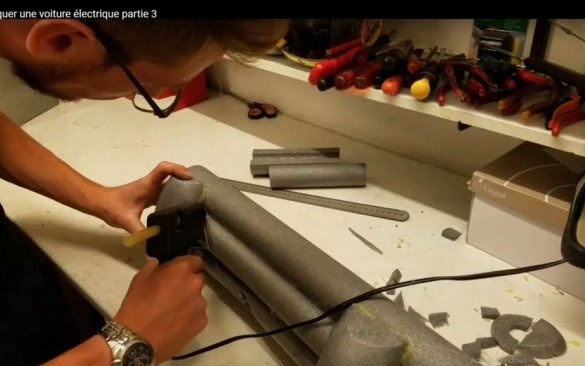
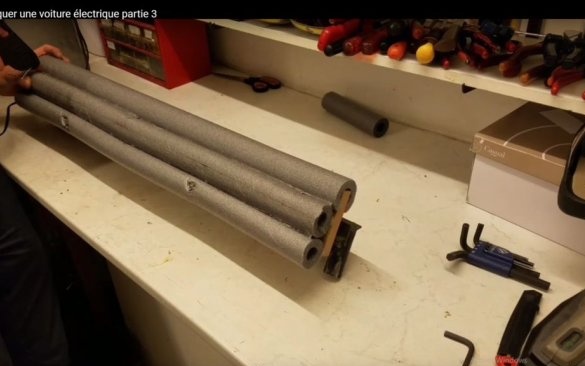
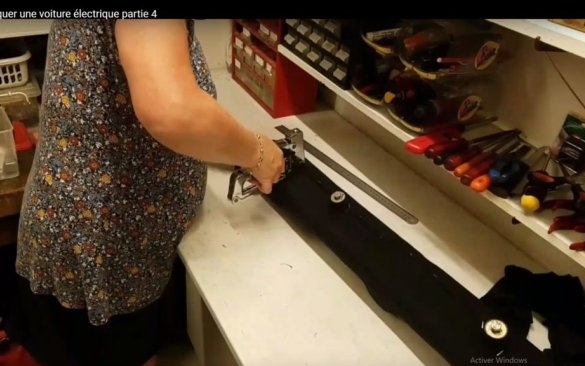
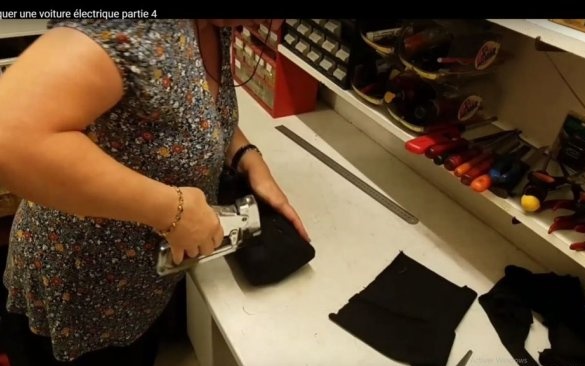
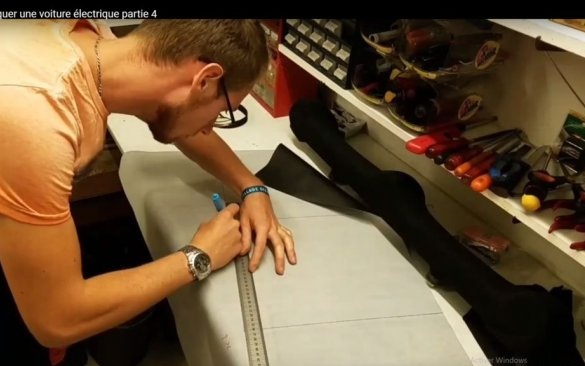
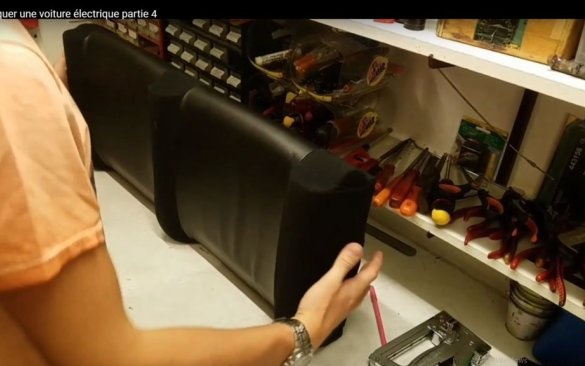
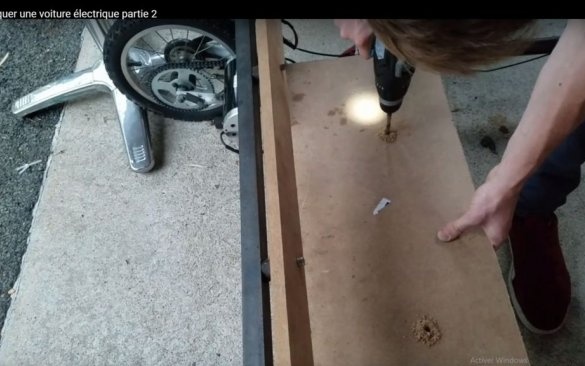
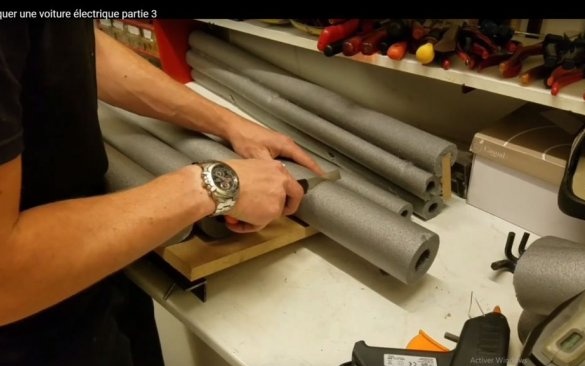
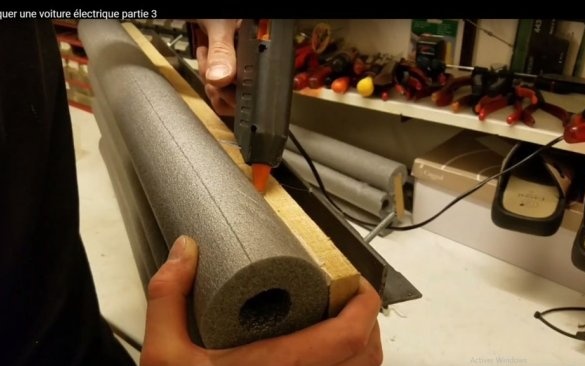
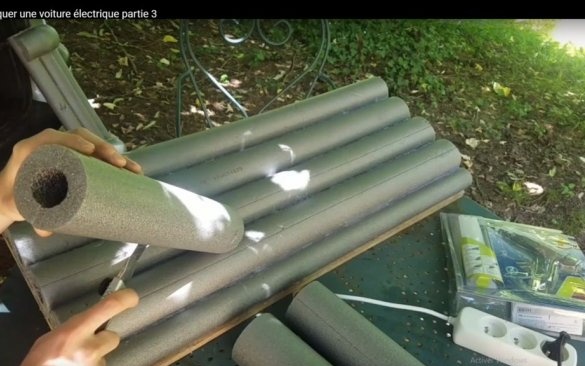
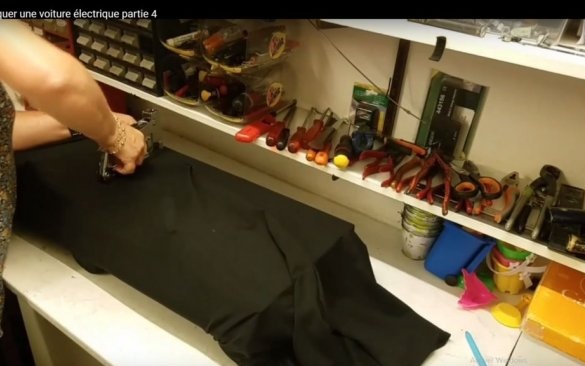
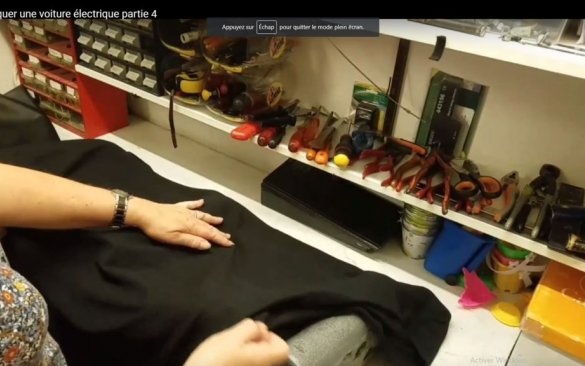
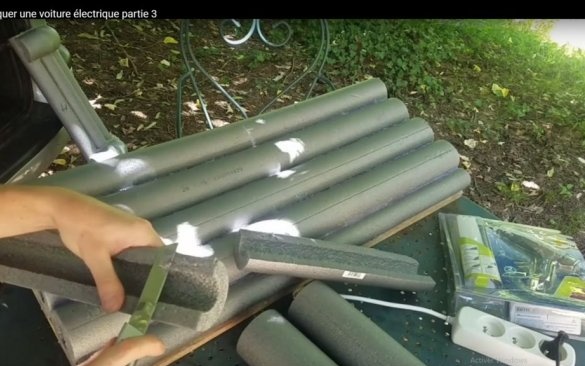
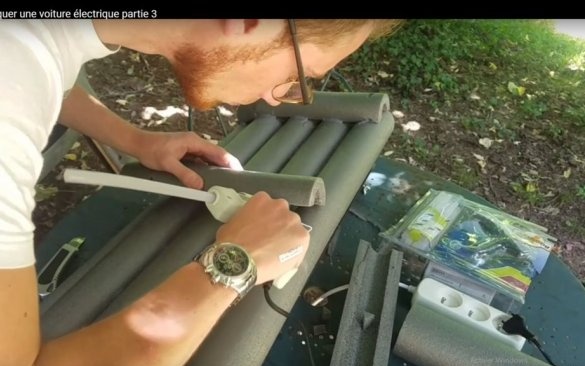
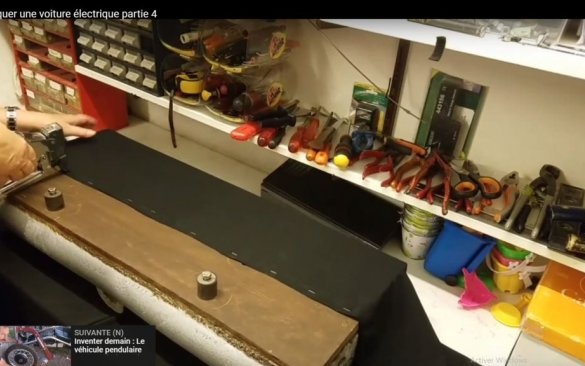
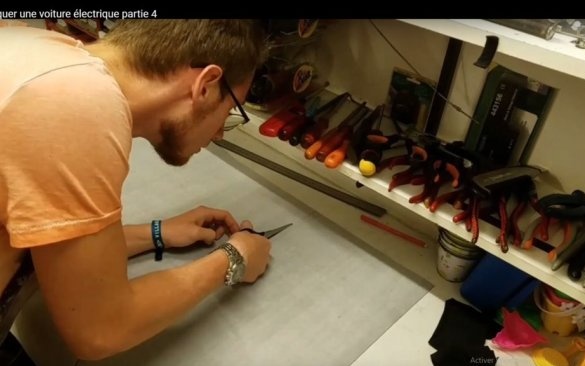
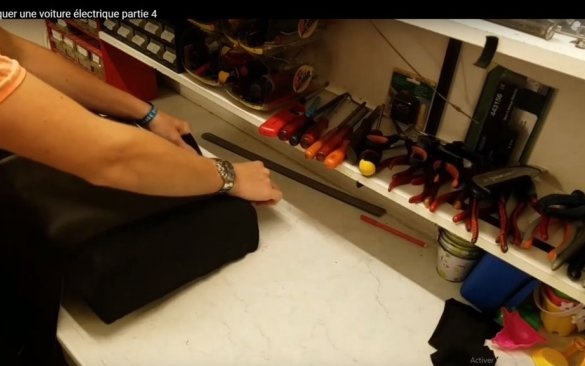
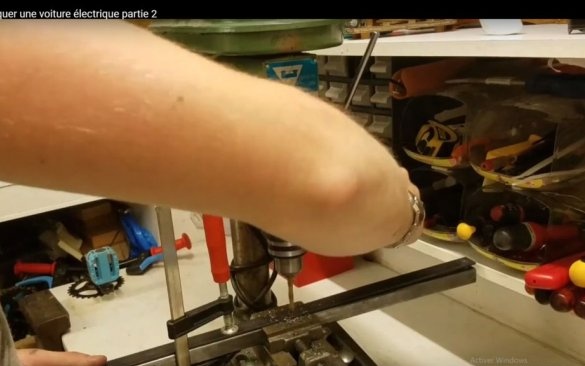
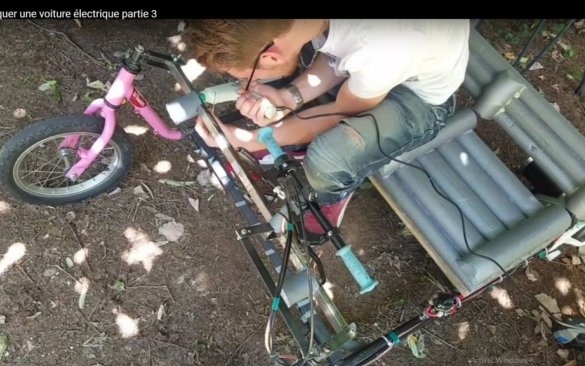
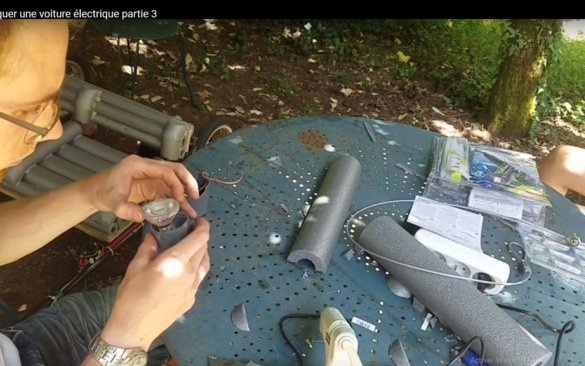
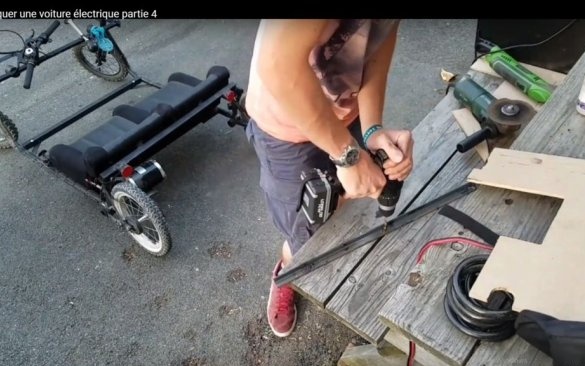
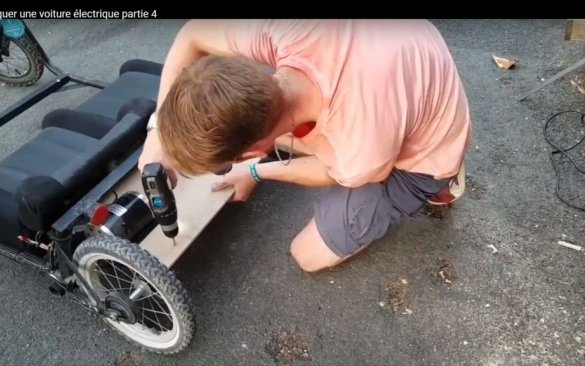
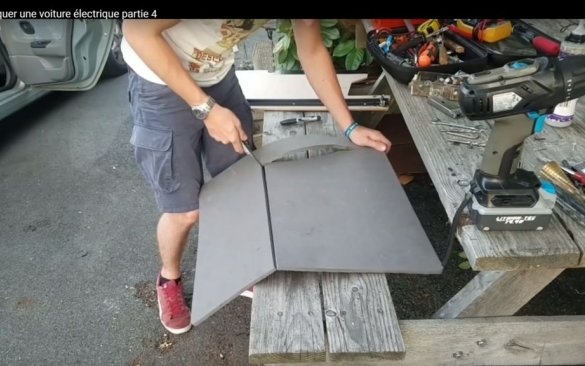
First, the master made the back. Drills holes in the transverse pipe. Cuts the board to fit. Sticks heat insulation tubes on it. It fits, first with a cloth, and then with a dermatin.
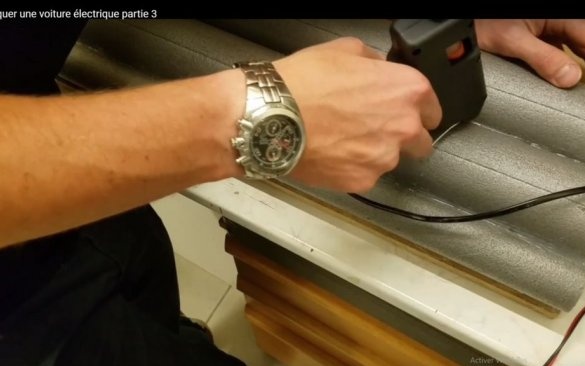
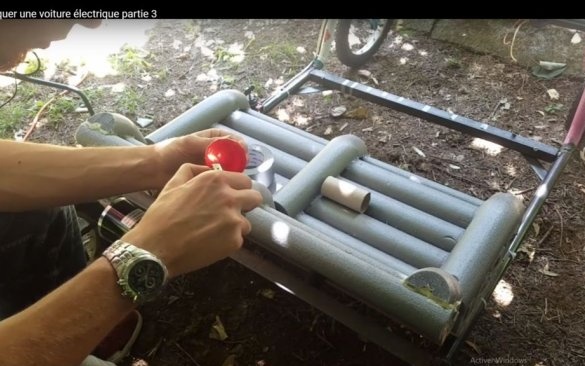
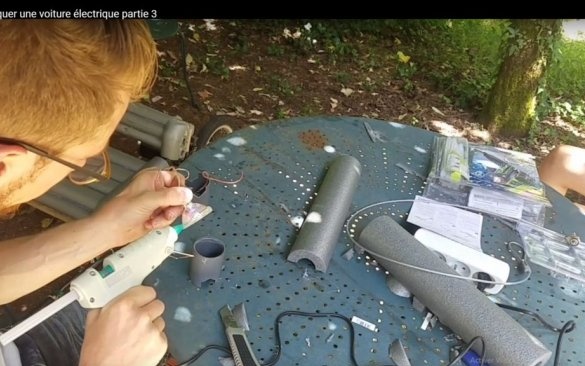
The seat is made on the same principle. Using a heat-insulating tube makes the seat soft and embossed. Between themselves, the tubes are fastened with hot-melt adhesive.
Step Four: Steering Link
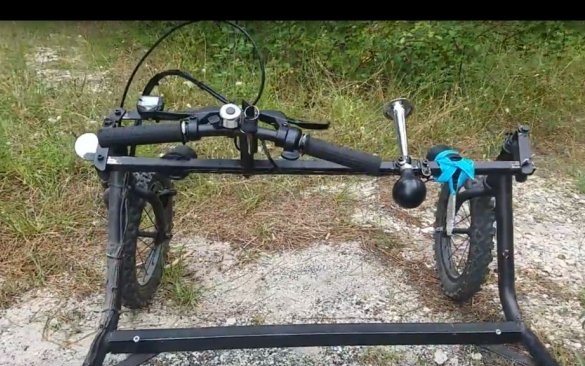
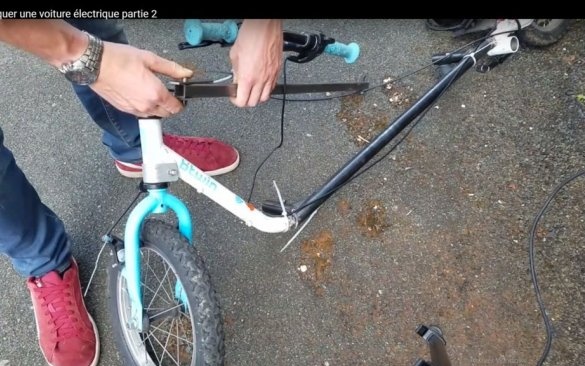
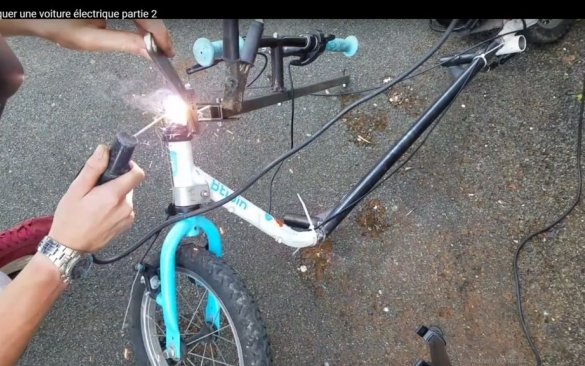
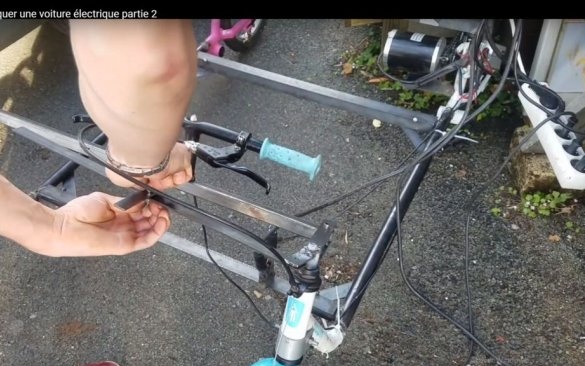
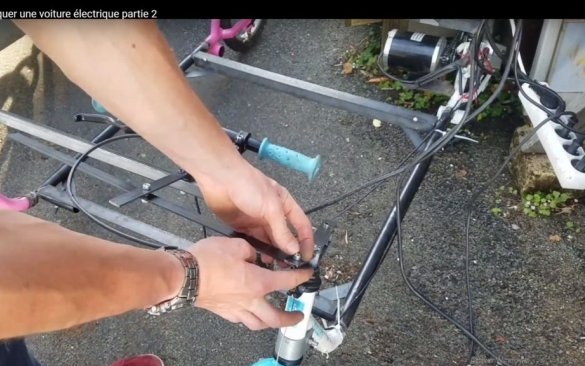
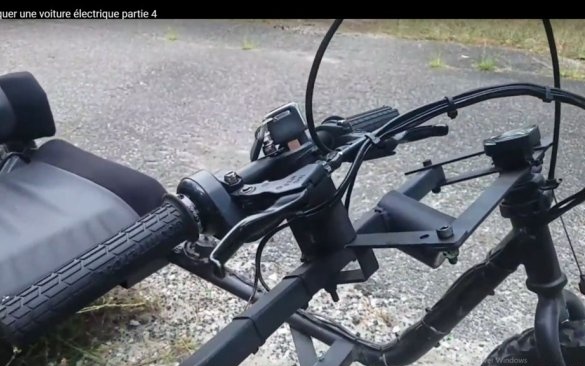
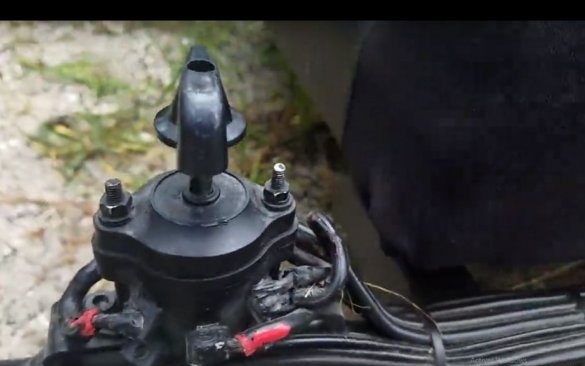
Now you need to connect the two front-wheel drive traction. The master makes the mount, as in the photographs.At the same time, the rod is removable and bolted. The steering wheel and brake handle are attached to the traction. The parts are painted black.
Step Five: Signal Lights
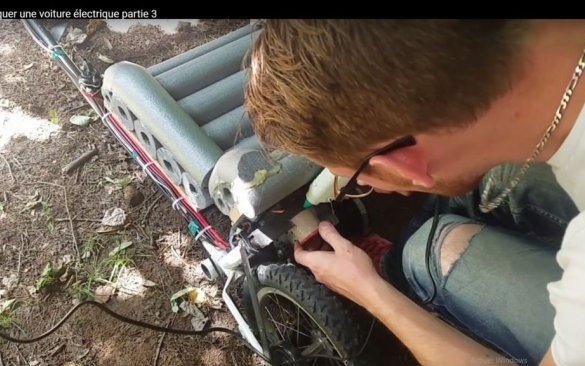
For the rear dimensions, headlights and backlight from below, the master uses two 12 V LEDs each. The master used the same heat-insulating tubes as a case. Lighting is switched on via the power button.
Step Six: Trunk
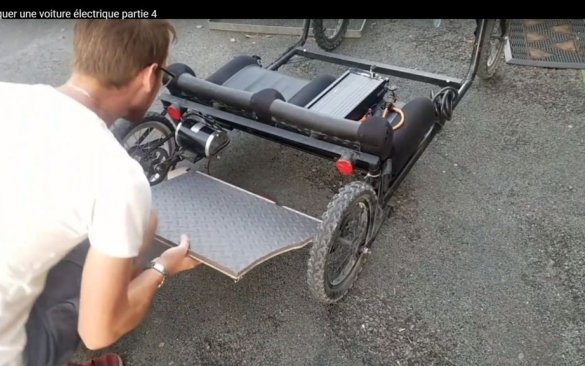
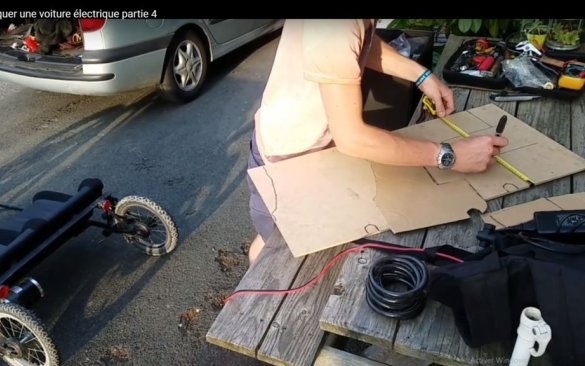
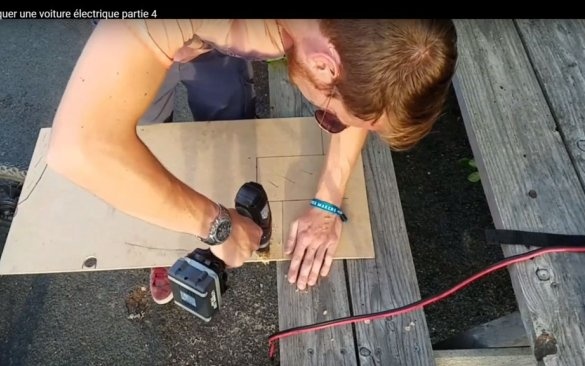
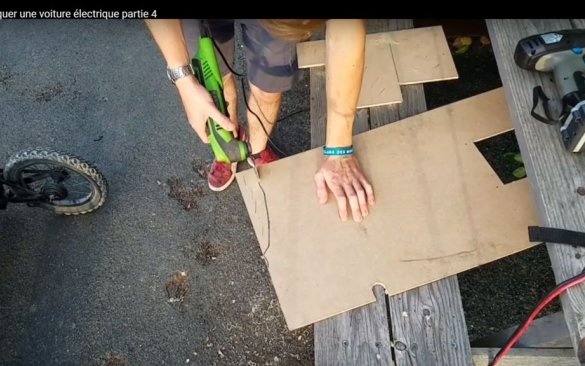
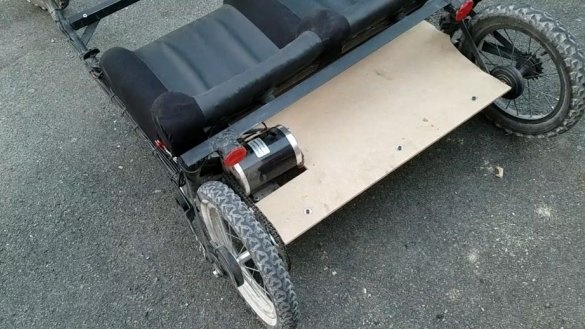
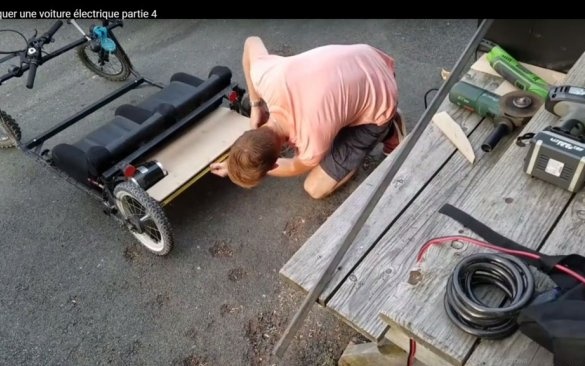
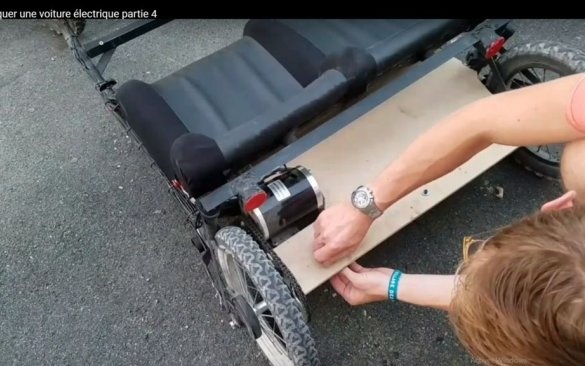
In the back of the electric car, the master installs the trunk. The trunk is made of a board and a rubber mat glued to it.
Seventh step: wheel reinforcement
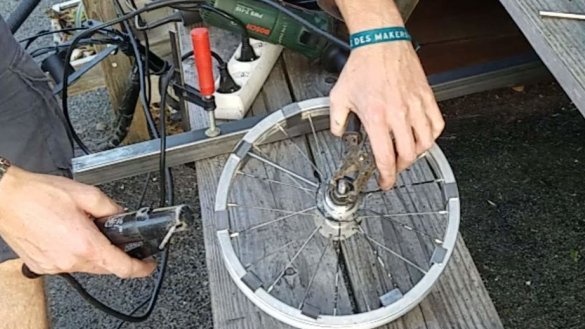
From the profile pipe, the master cut U-shaped blanks. Welded them between the spokes of the rim of the rear wheels.
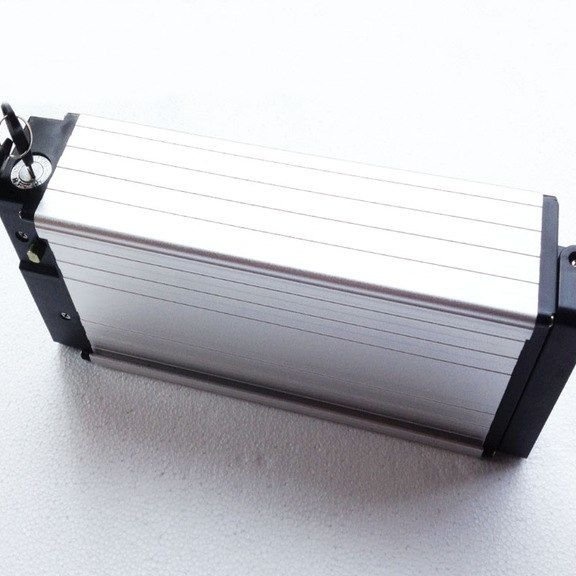
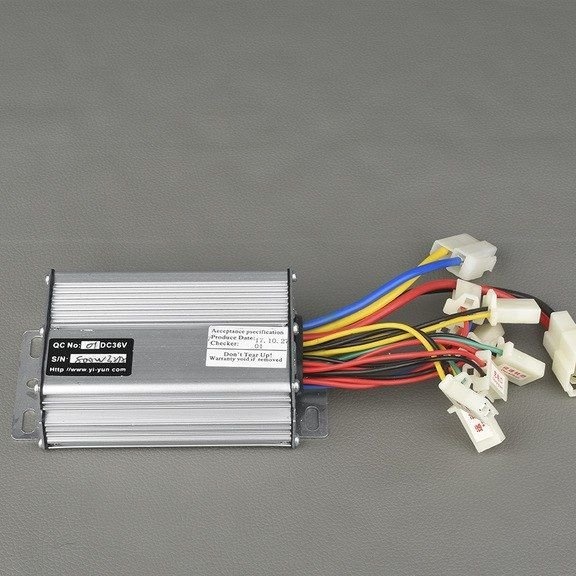
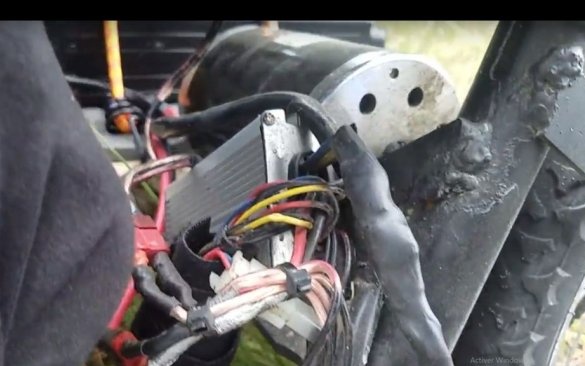
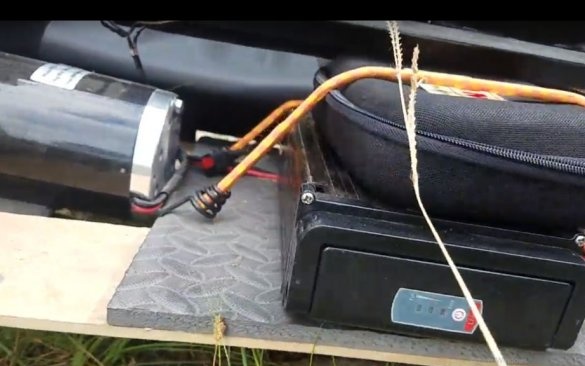
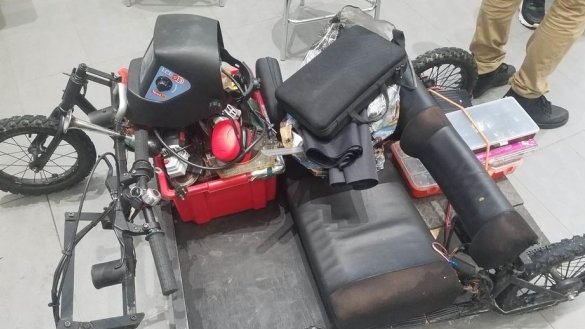
Now it remains to install the battery, controller, switch.
All is ready.
And two more videos, one of them shows the process of making an electric car.

