
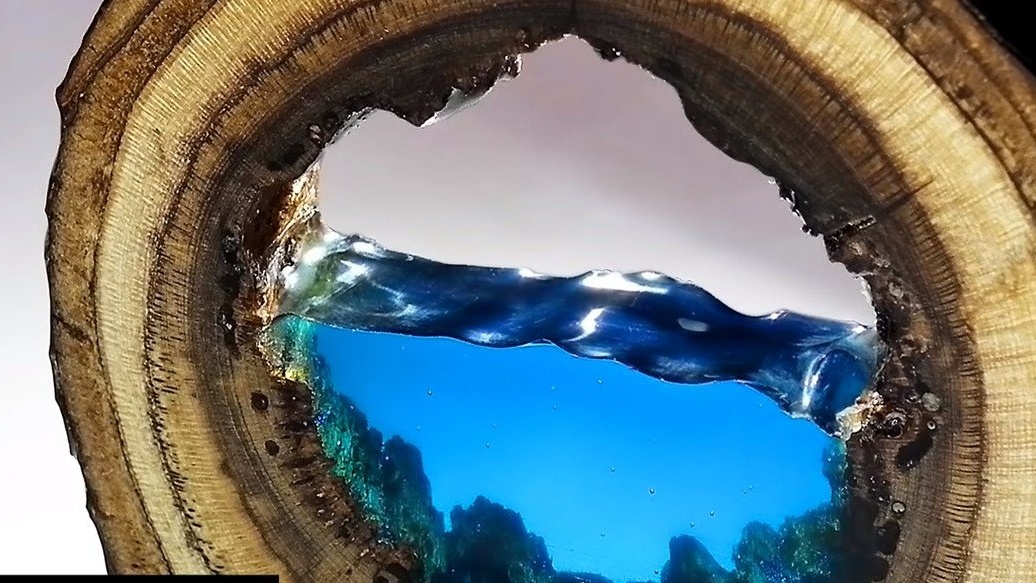
Hi everyone, today we will look at how to create a small beautiful picture that imitates the ocean. Such homemade It will look great on the window, on the desktop, and so on. And if you show a little imagination, you can equip your homemade LED and get a great night light. The water is simulated using epoxy resin with a dye, it is poured into a mold from a saw cut of an old rotten wood. Everything looks pretty interesting, but in the assembly of the homemade product is quite simple. If you are interested in the project, I propose to study it in more detail!
Materials and tools used by the author:
Material List:
- cut a tree (with a rotten core);
- ;
- acrylic (for formwork);
- wood oil or varnish.
Tool List:
- manual belt sander;
- glue gun;
- tape cutting machine or hacksaw;
- sandpaper from large to small (up to 2500);
- polishing machine or nozzle for a drill (preferably).
The process of making the picture:
Step one. Prepare the material
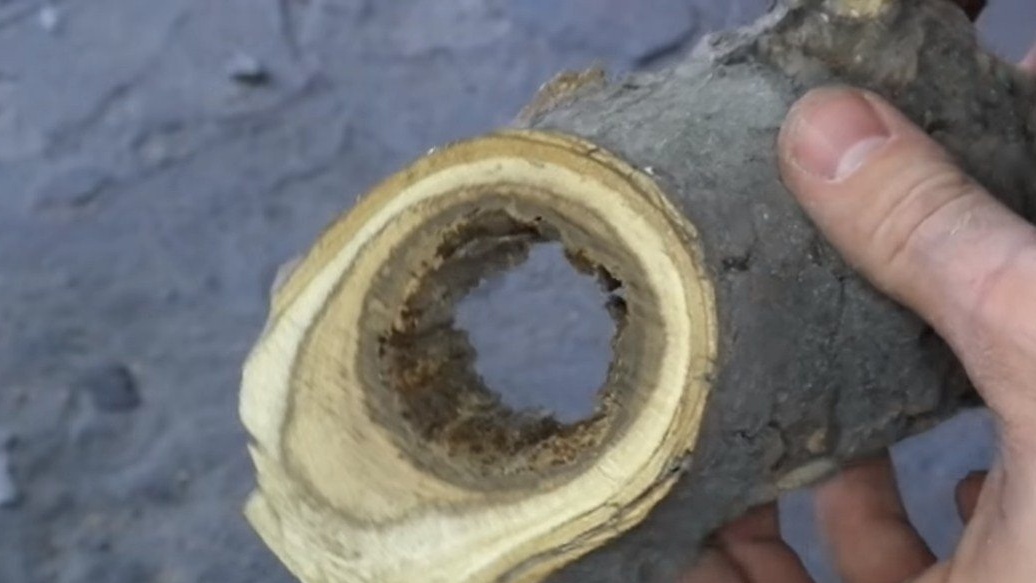
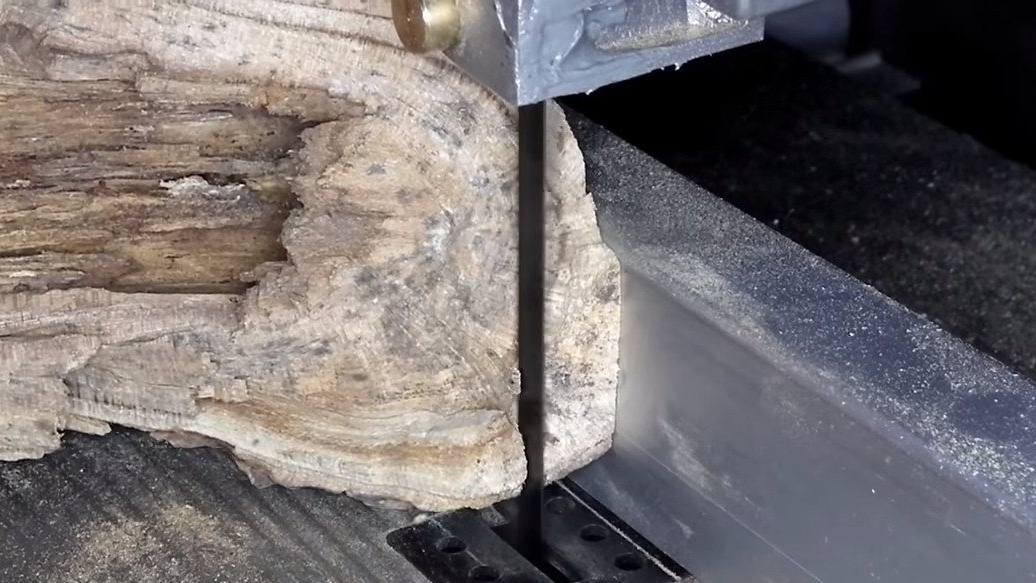
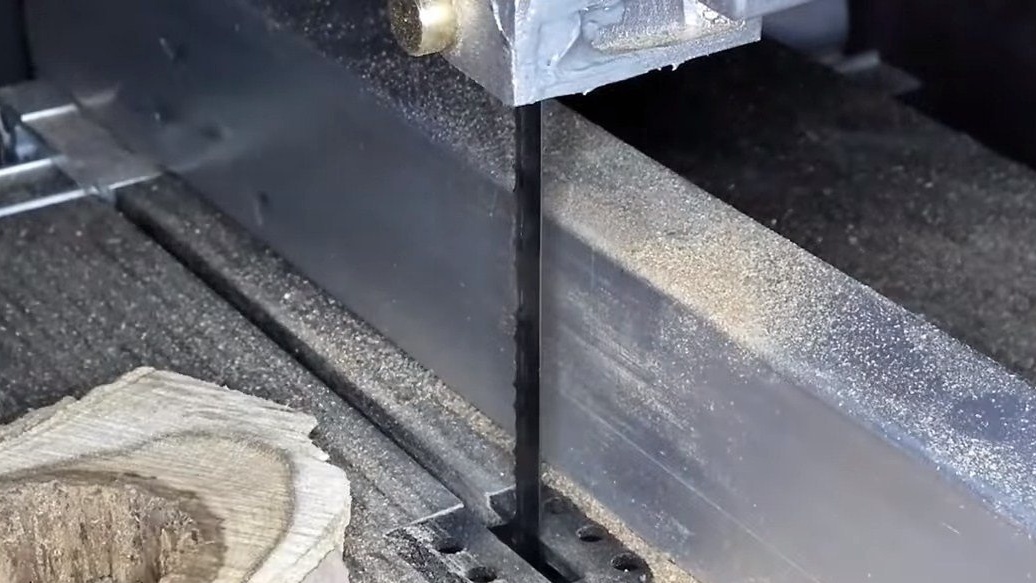
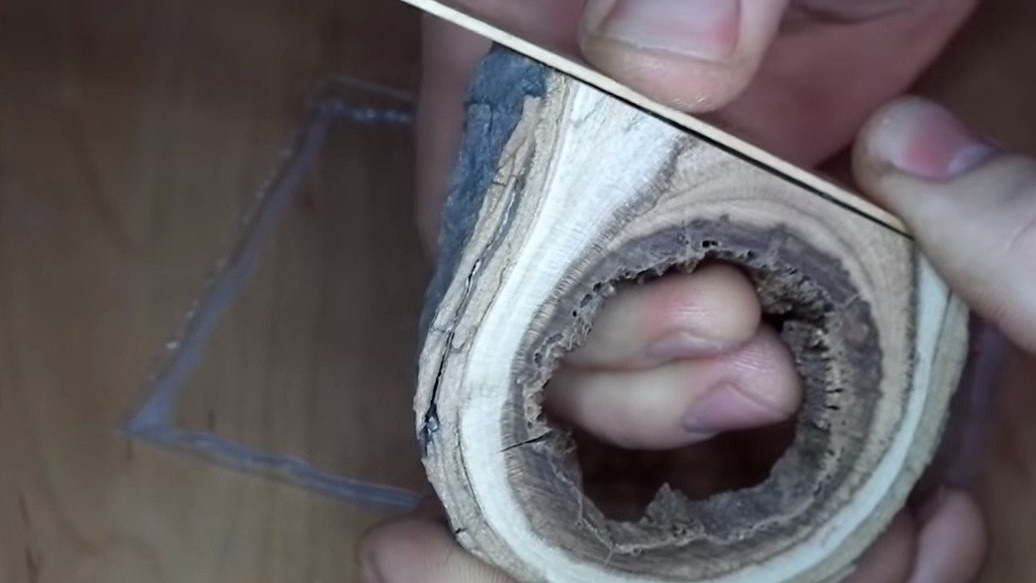
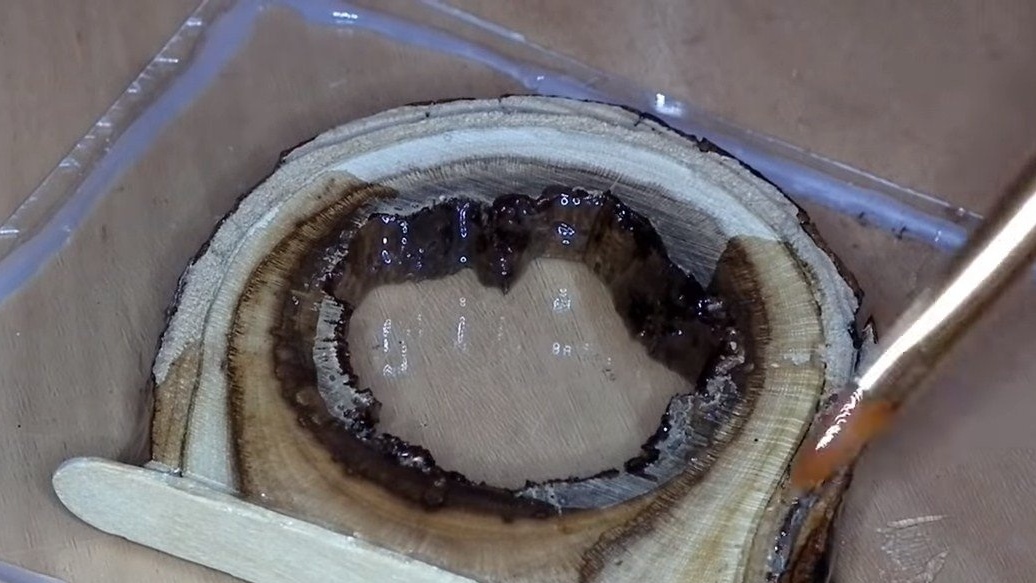
The starting material will be a rotting branch or even a tree trunk, it is important that the core is rotten, and resin will be poured into it. The wood must be well dried, otherwise cracks, deformations and other unpleasant effects cannot be avoided. We cut the branch so that we get a suitable cut of the tree. Immediately after cutting, we carry out coarse grinding of the planes to simply align them.
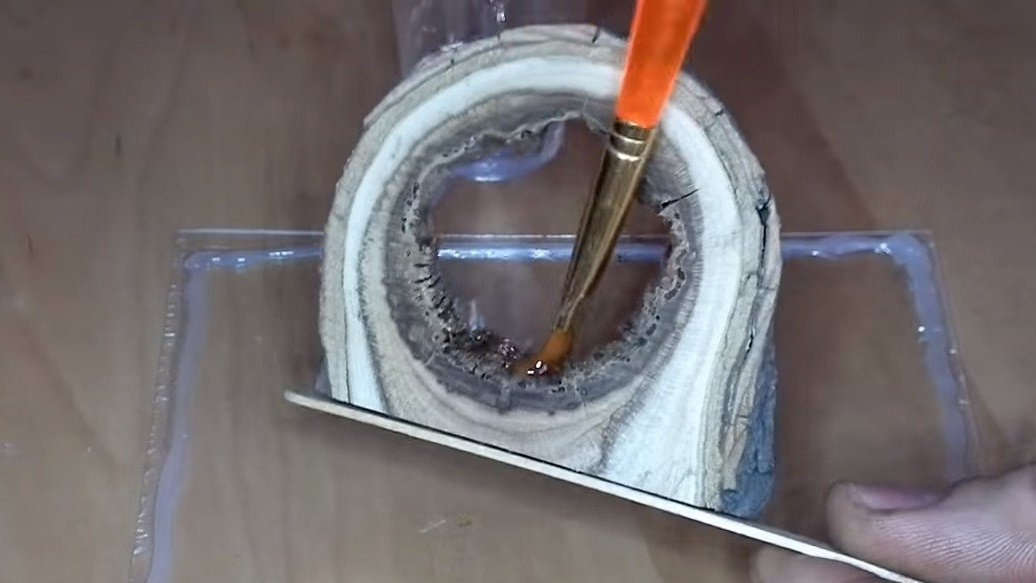
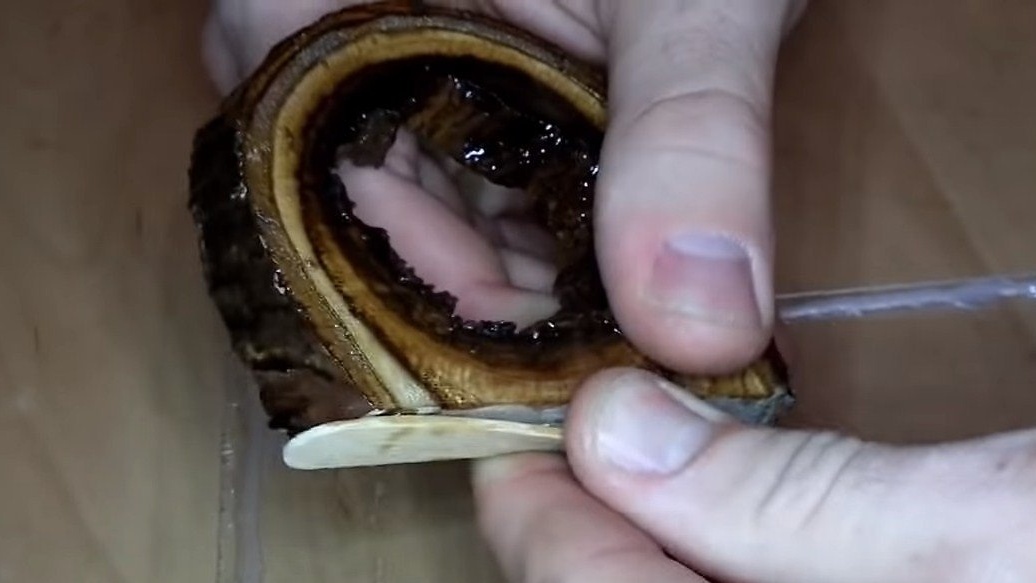
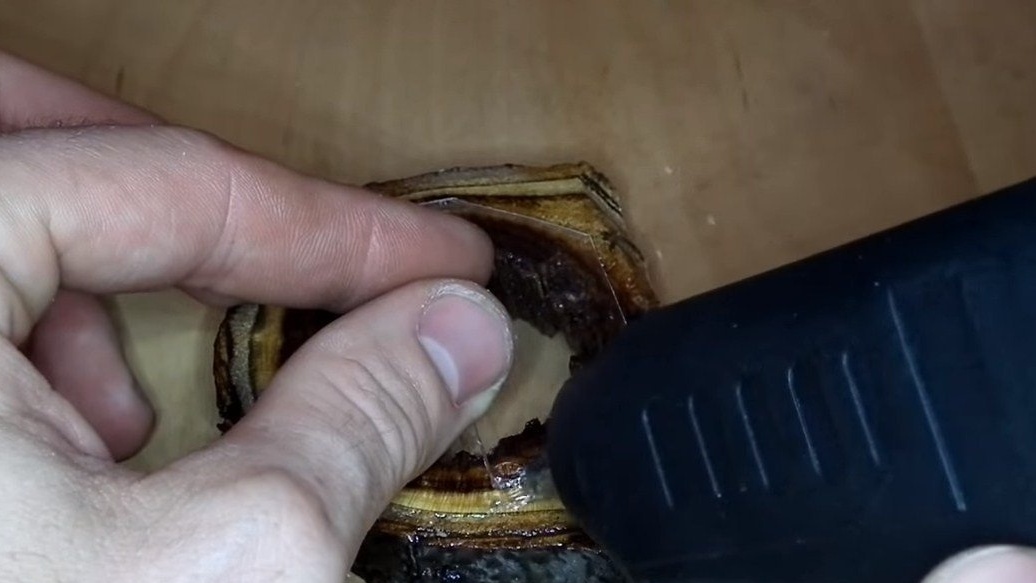
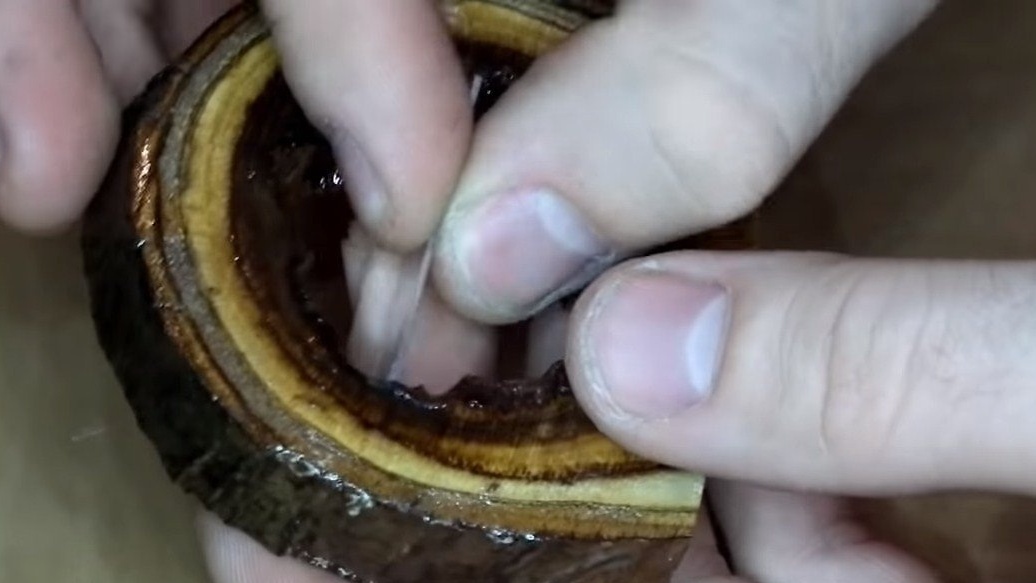
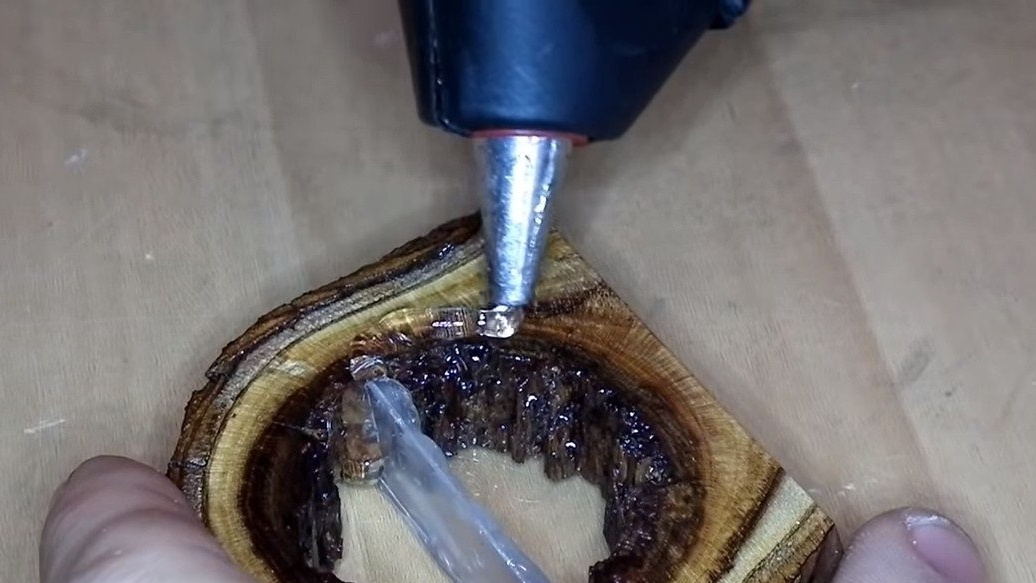
Further, the wood needs to be strengthened, since it has already rotted and is not durable. We dilute the epoxy glue and with a brush we saturate the workpiece well, both inside and out. We leave this whole thing to dry, the design will be strong. For convenience, the author glued an ice cream stick to the base with hot glue.
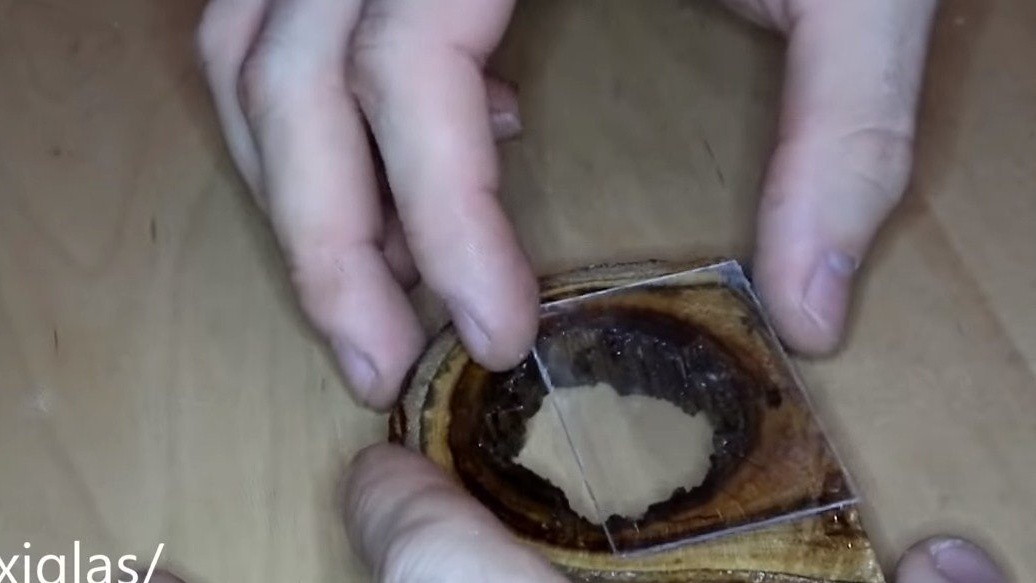
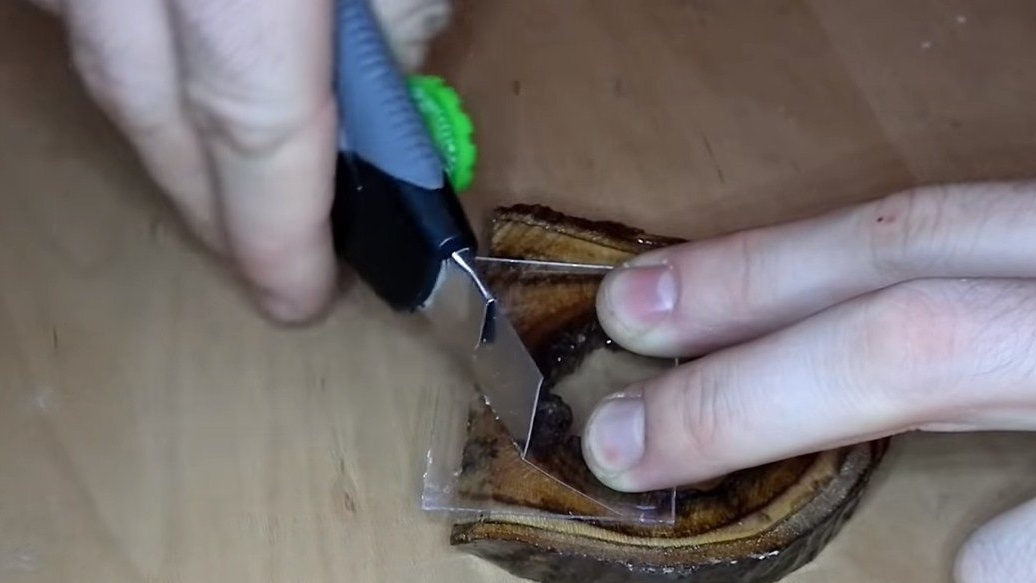
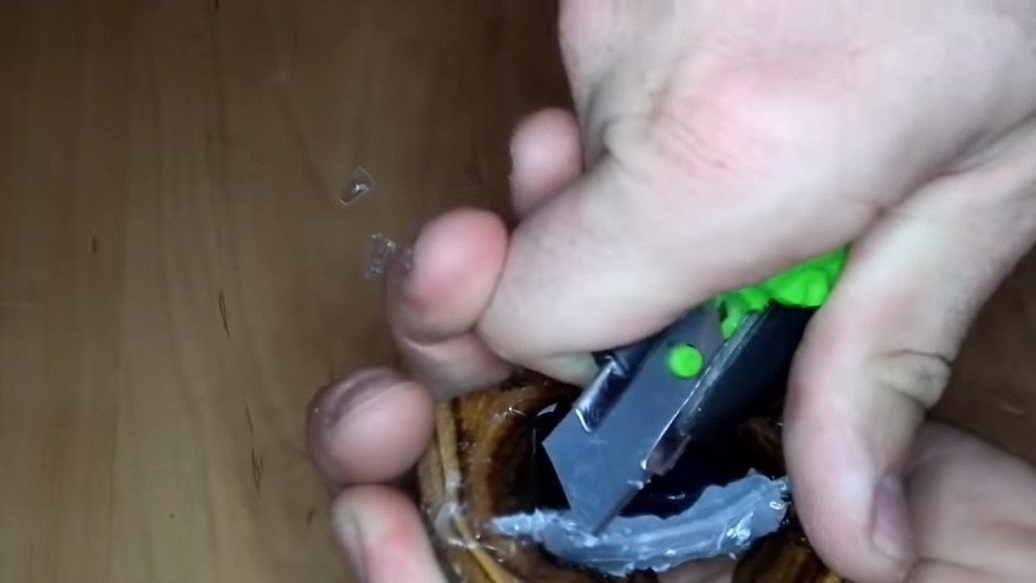
Step Two Resin filling
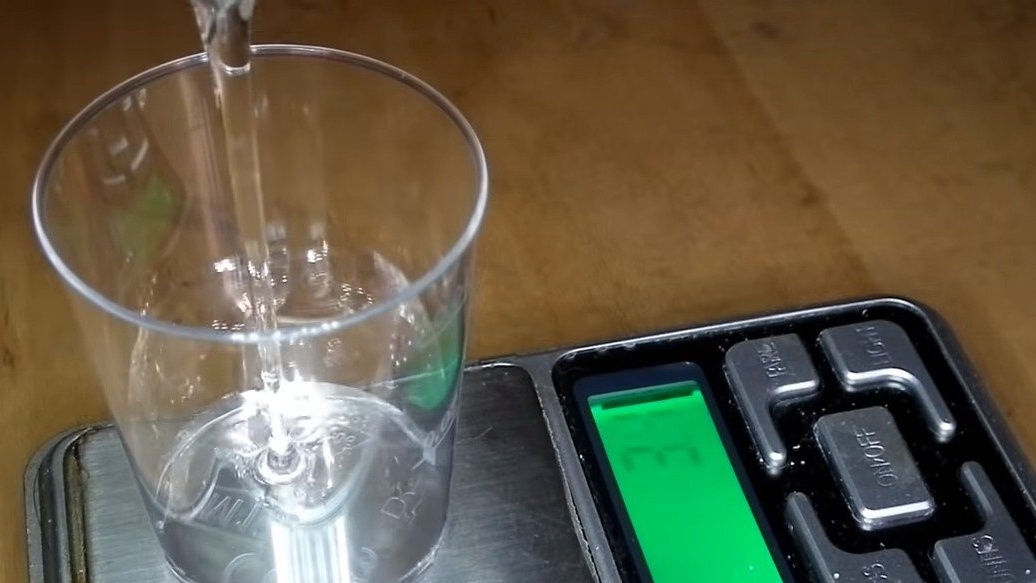
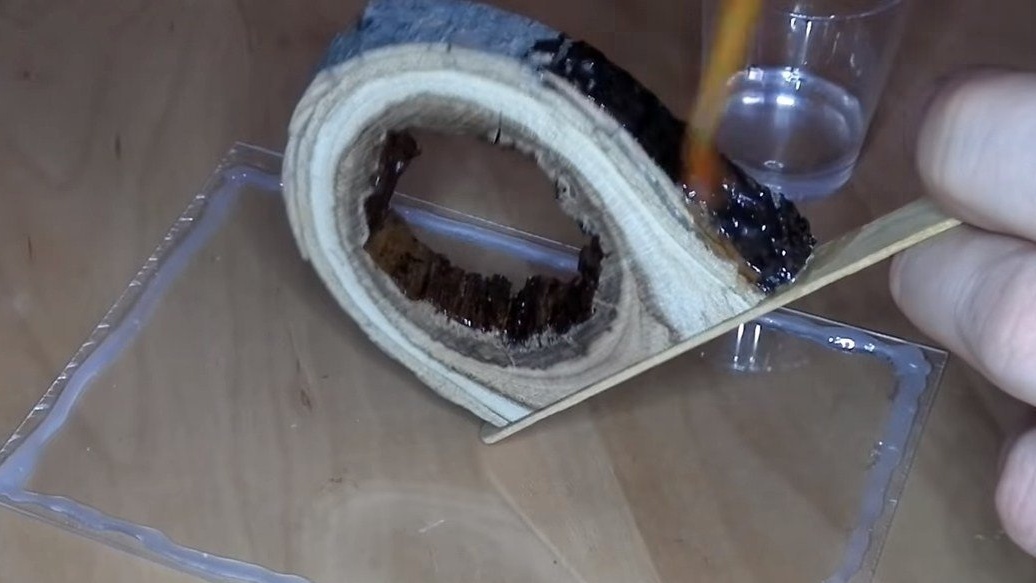
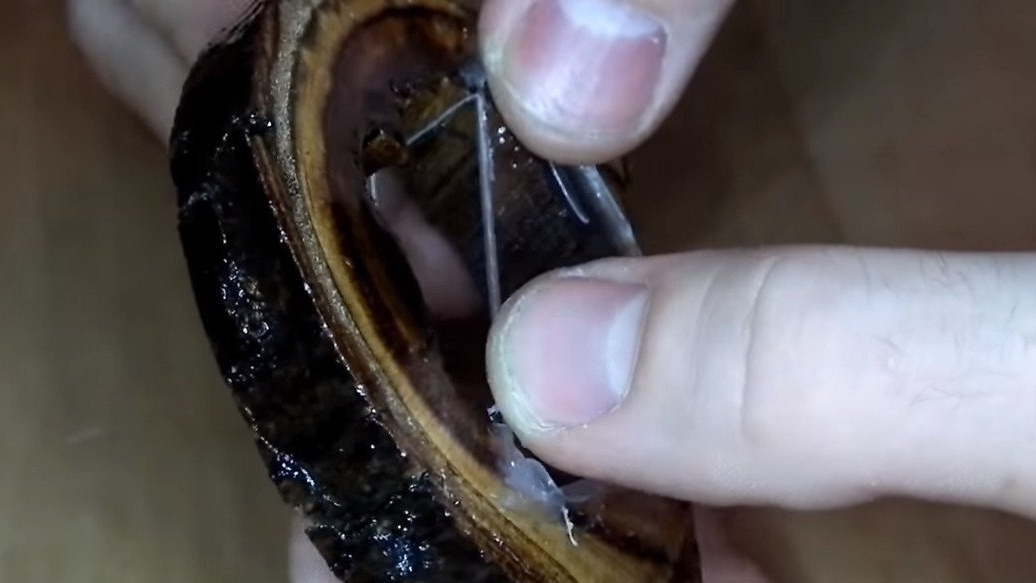
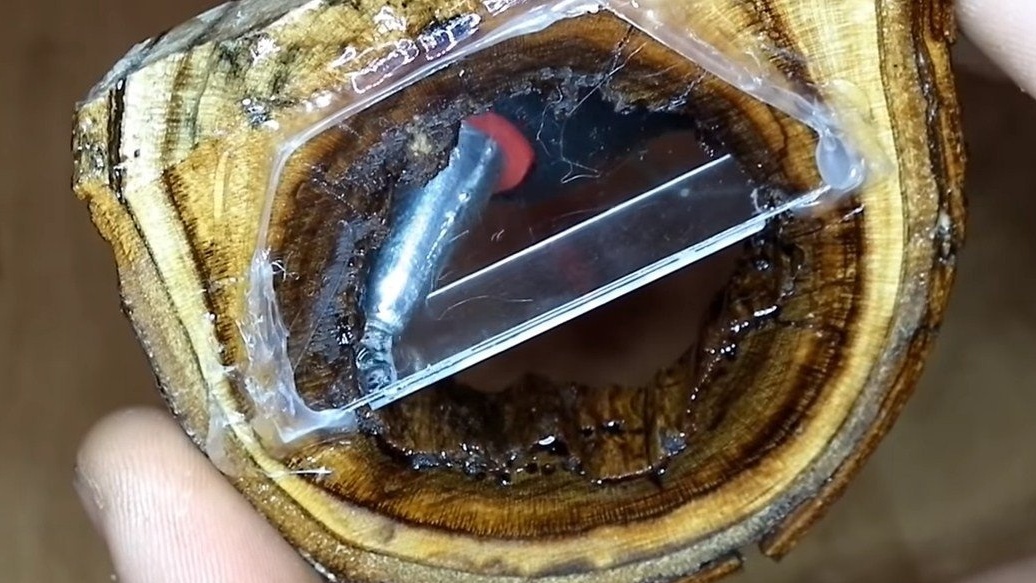
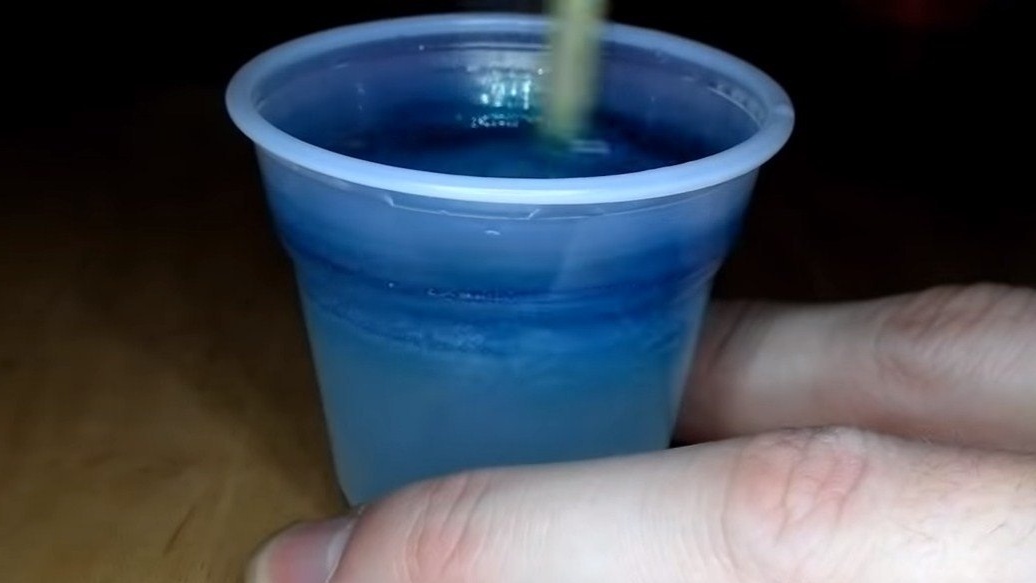
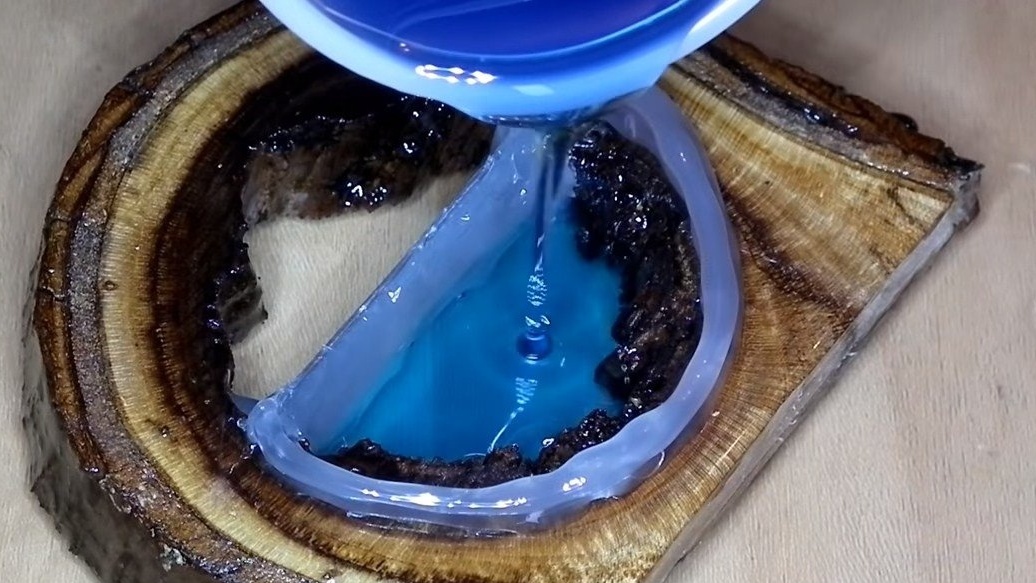
We proceed to fill the mold with resin, but first we need to make the formwork, here we need two pieces of acrylic. We cut it to the desired size with a clerical knife and glue it with a glue gun, avoiding the gaps through which the resin can leak. When the formwork is ready, mix the resin with the hardener and add the dye to get a blue color that simulates water.Pour the resin and let it harden.
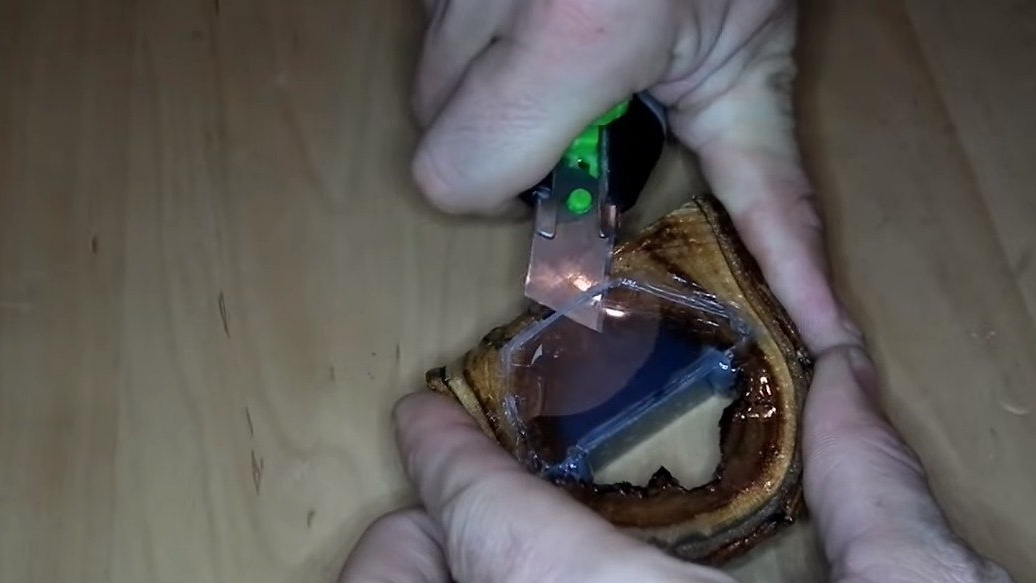
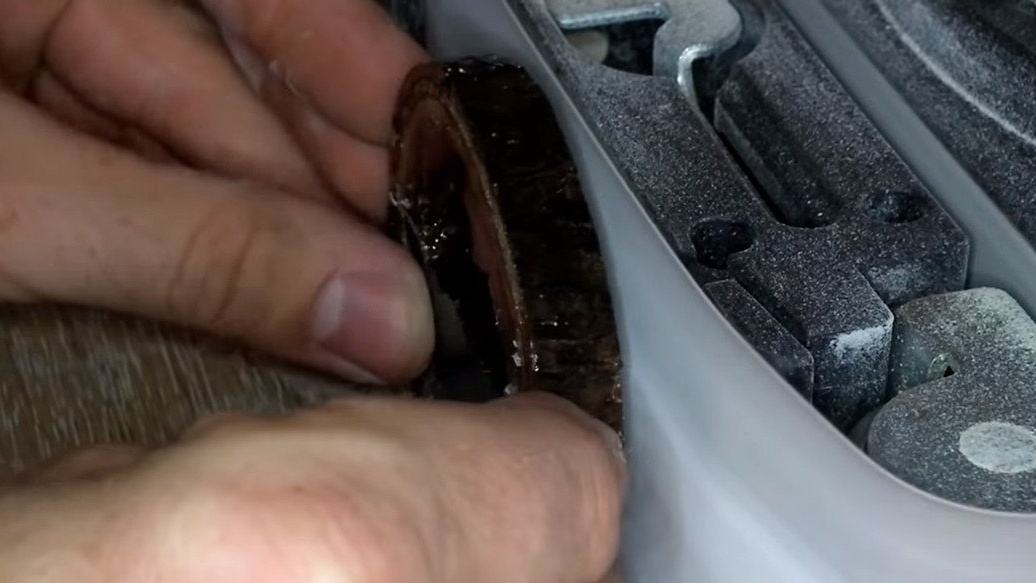
Step Three Treatment
The resin has dried, now we remove the formwork and proceed to grinding, we need to align the plane. A manual belt sander comes to the rescue in this matter. You can use any other grinding machine, including nozzles for drills and grinders.
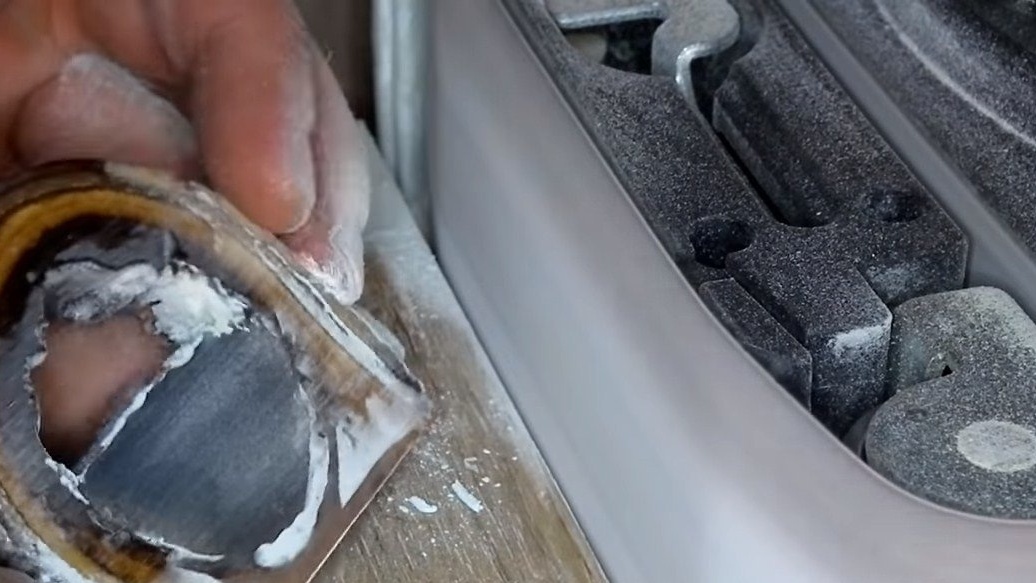
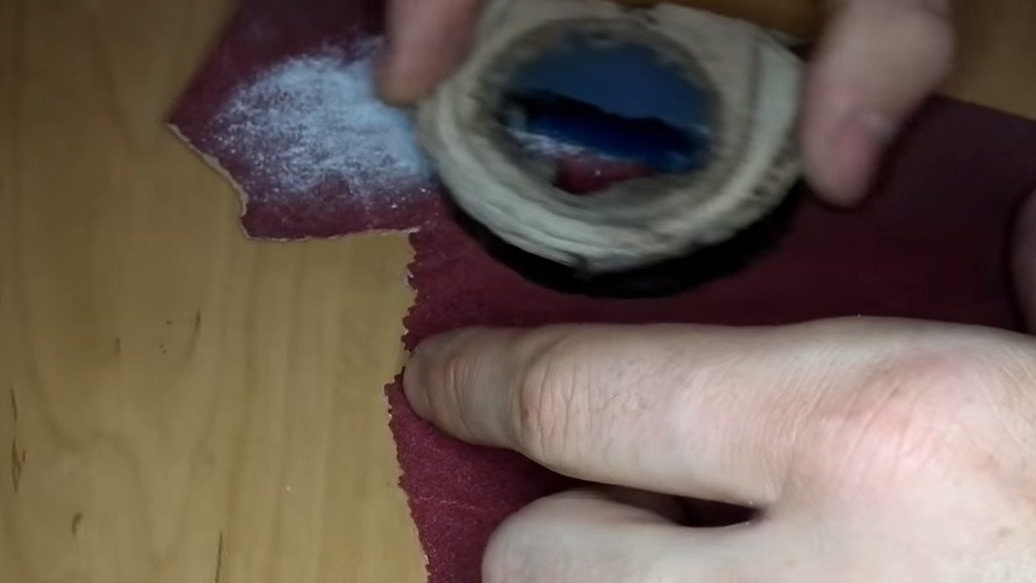

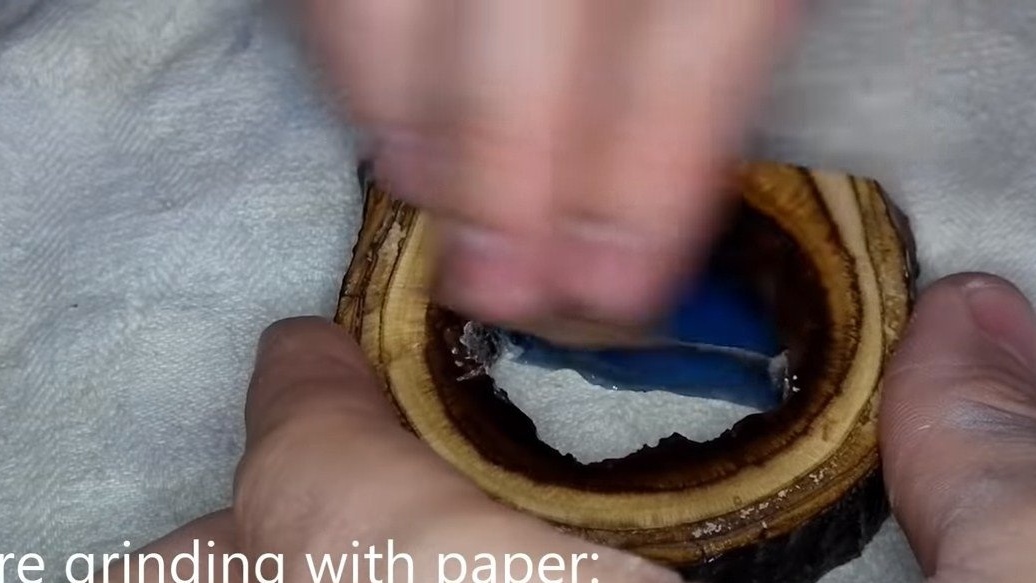
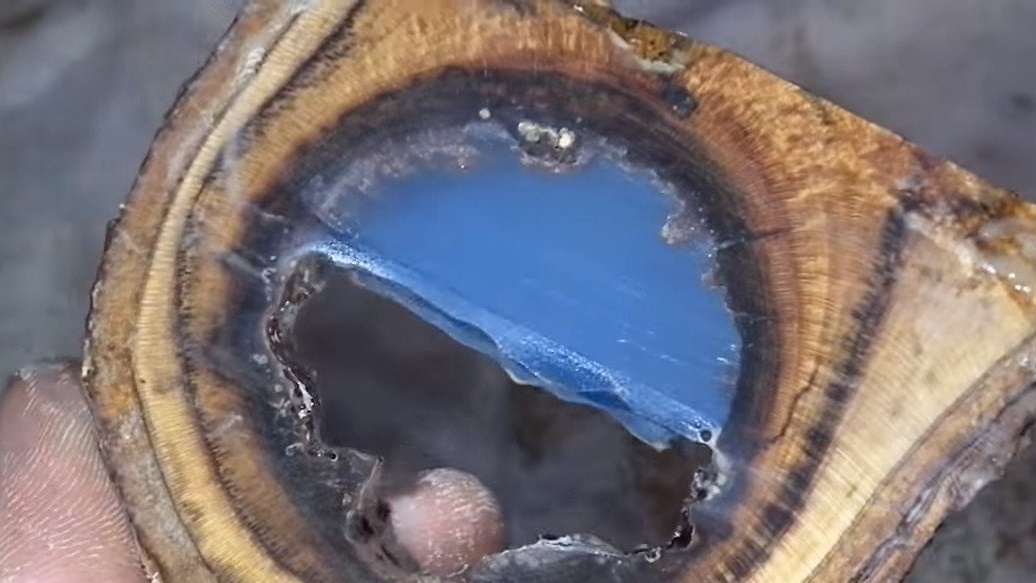
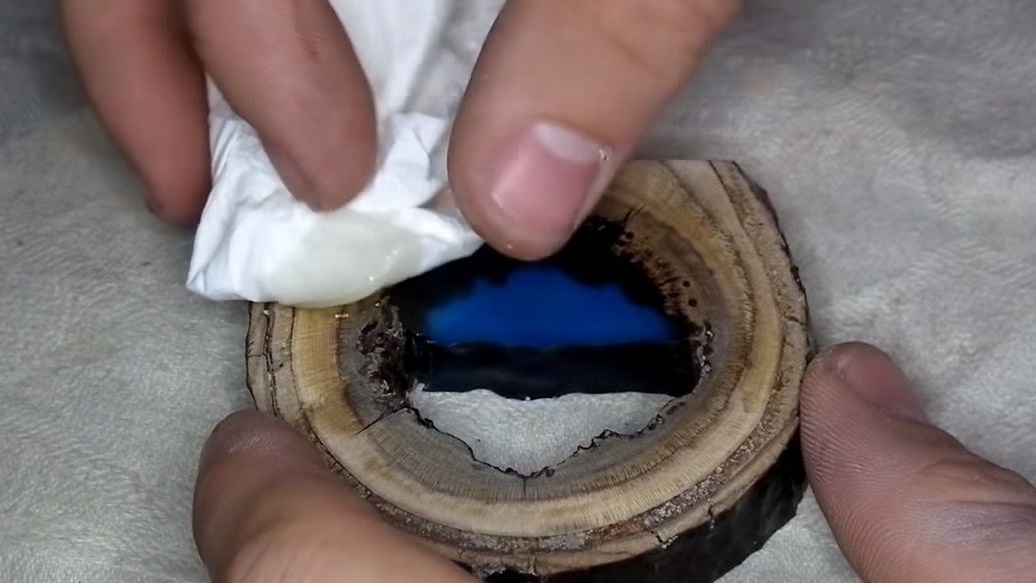
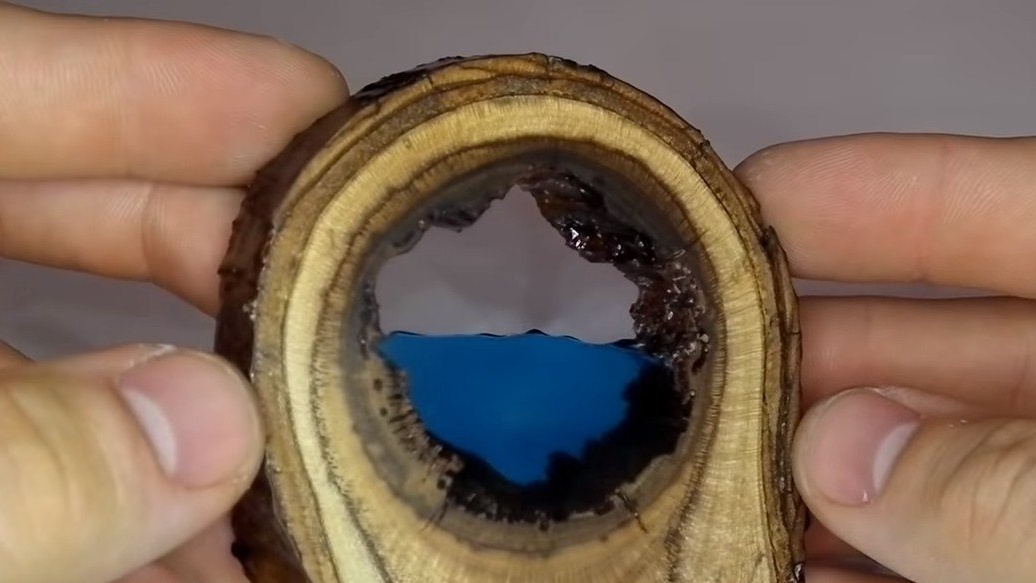
After coarse grinding, the longest and most tedious begins - manual grinding. We use fine sandpaper, gradually reducing the grain size. You need to grind until the epoxy is almost transparent. Well, when the desired result is achieved, we cover the product with oil for wood, it will return the resin perfect transparency. On this homemade product is ready, everything looks interesting and beautiful. The project can be considered successfully completed, I hope you liked the homemade product. Good luck and creative inspiration, if you decide to repeat this. Do not forget to share your ideas and homemade things with us!