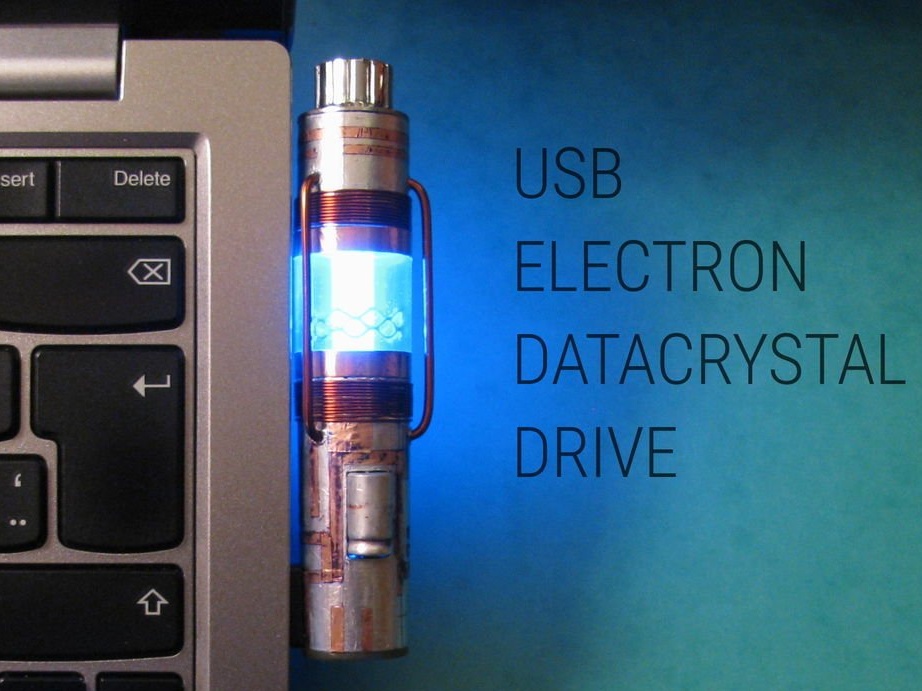
Do you want a USB drive in an unusual case? Then this article is just for you. The master had a flash drive on which the connector was broken. For a while she lay idle until he decided to fix it and make a new case for her from improvised materials and components.
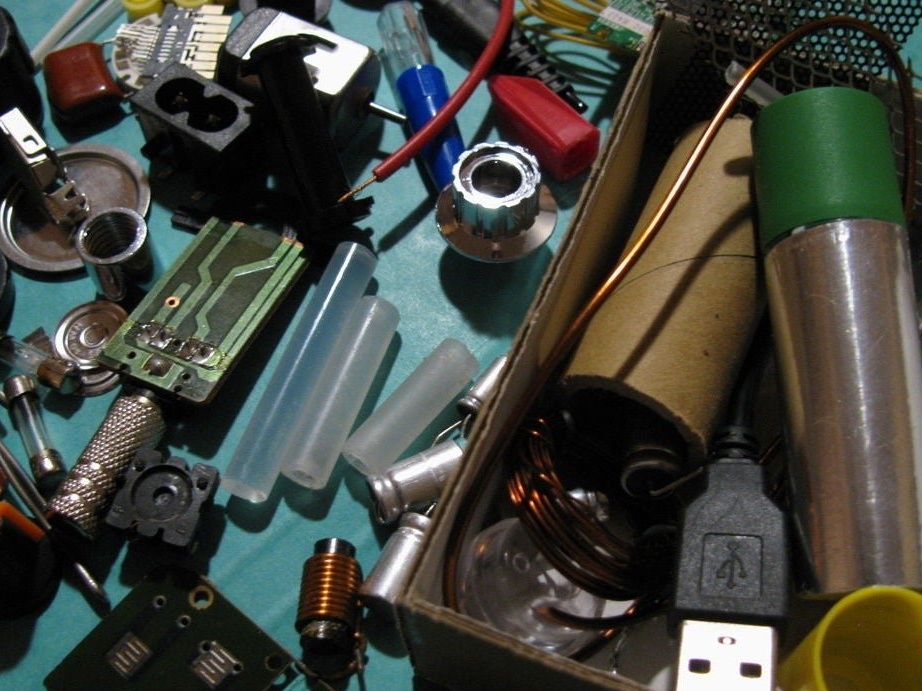
Tools and materials:
- USB drive;
-USB plug;
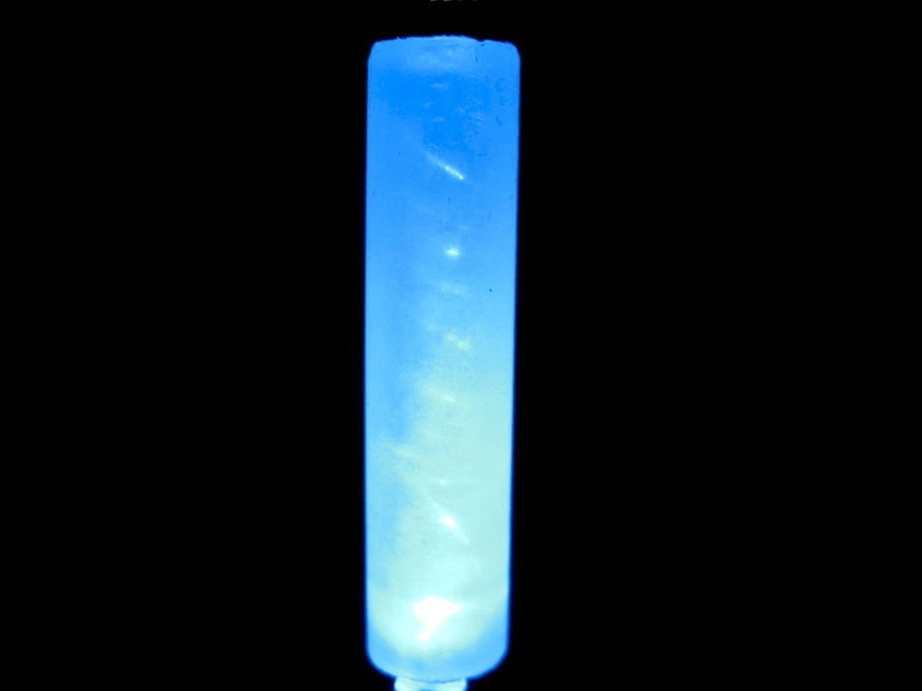
-LED blue;
- Resistor 100 Ohm;
-Glue gun;
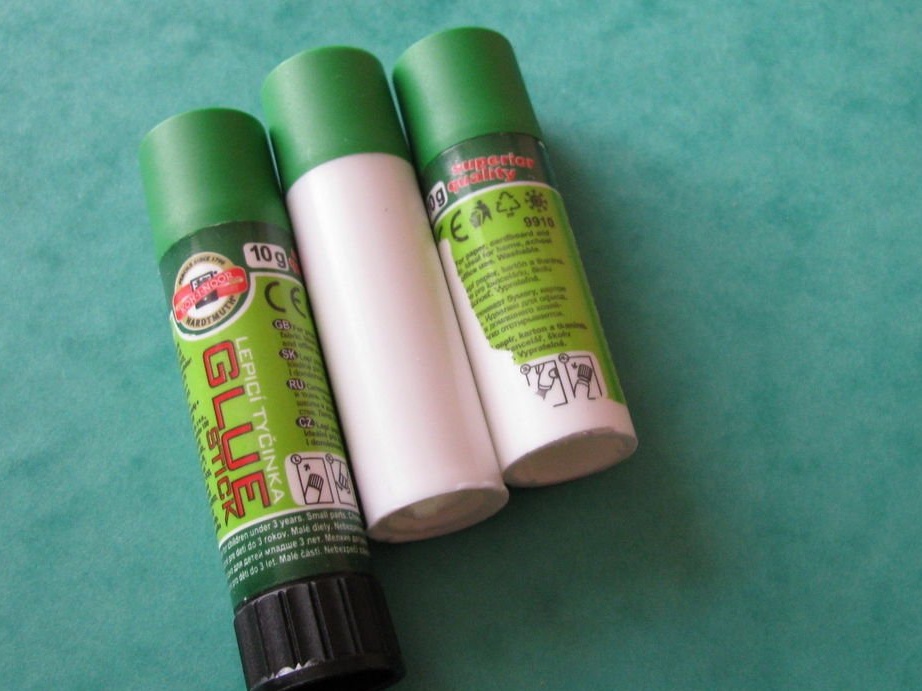
-Two plastic tubes from the glue stick;
-Aluminium tape;
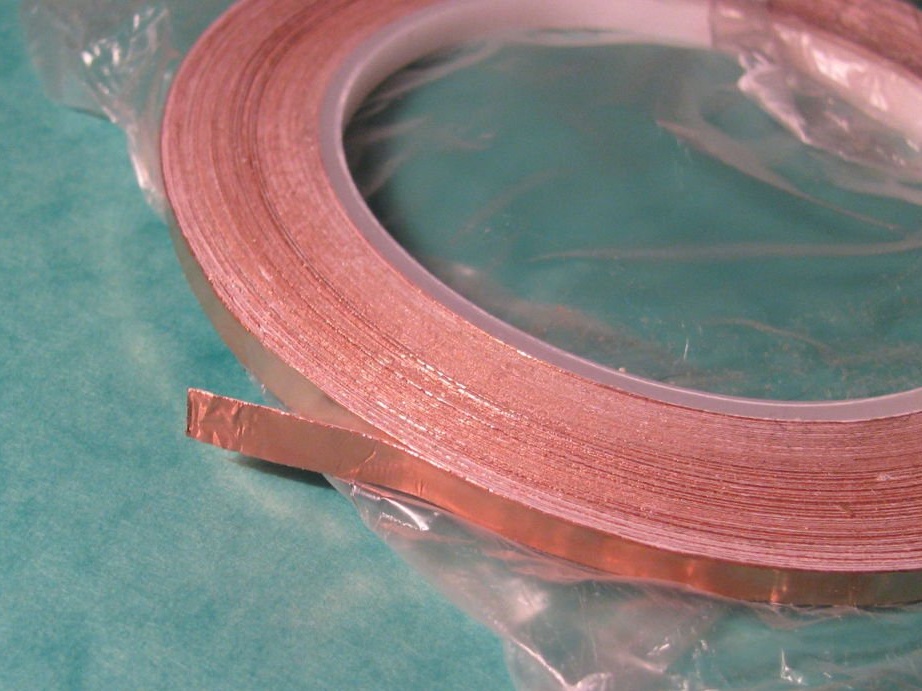
-Copper tape;
-Printed circuit board;
-Wire;
-Tube of transparent plastic;
- The handle of the old radio;
-Metal grid;
-Capacitors;
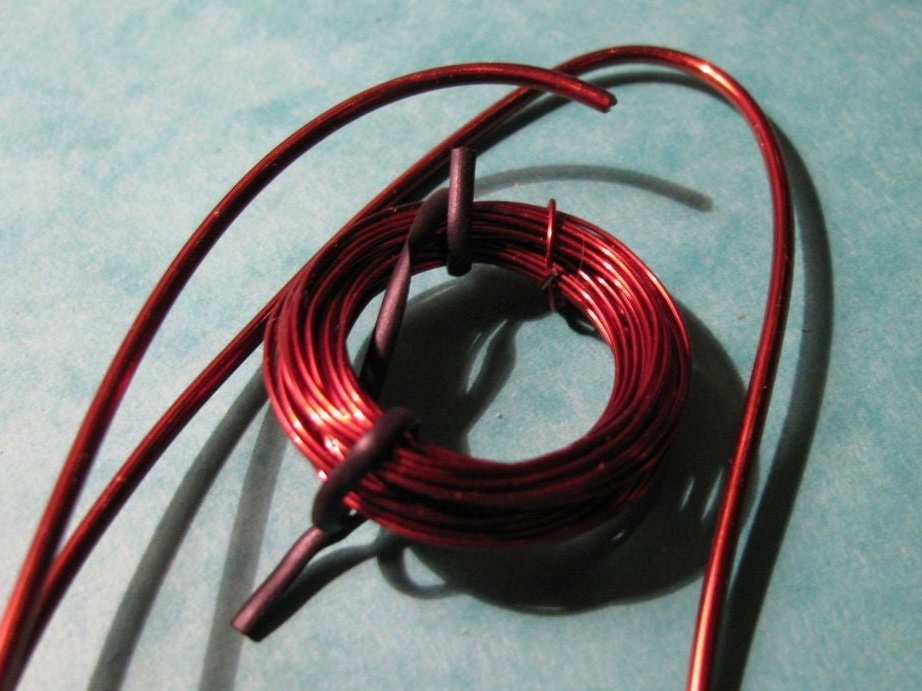
- Copper wire 0.3 mm;
- Copper wire 1.5 mm;
-Soldering accessories;
-Super glue;
-Dremel;
-Drill;
-Knife;
-Pliers;
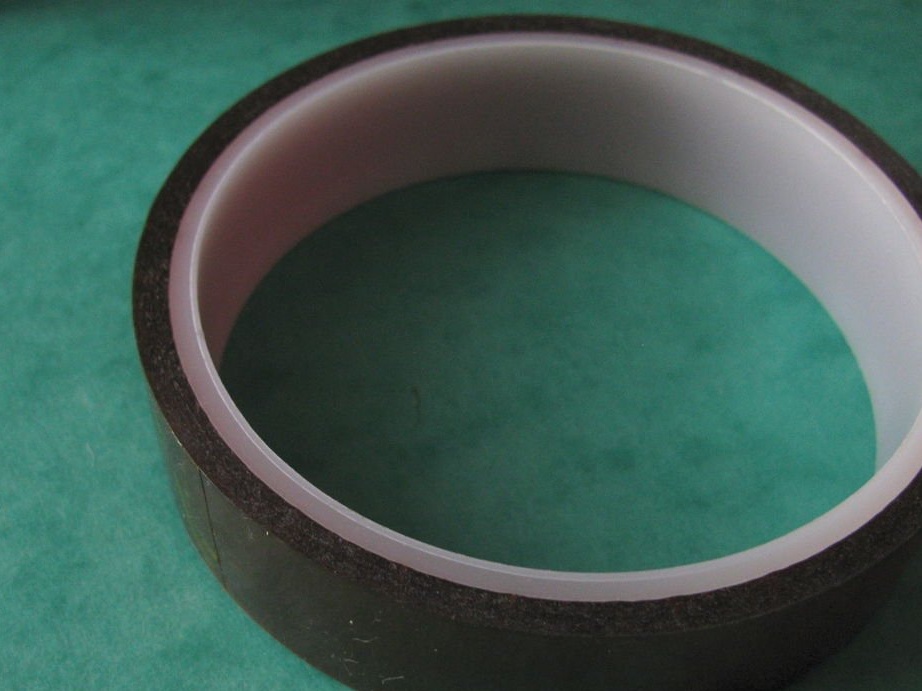
-Thermoscotch;
- Matte colorless paint;
-Blue-black permanent;
-Alcohol;


Step One: Plan
In the first step, the wizard draws a sketch of the case for the drive.

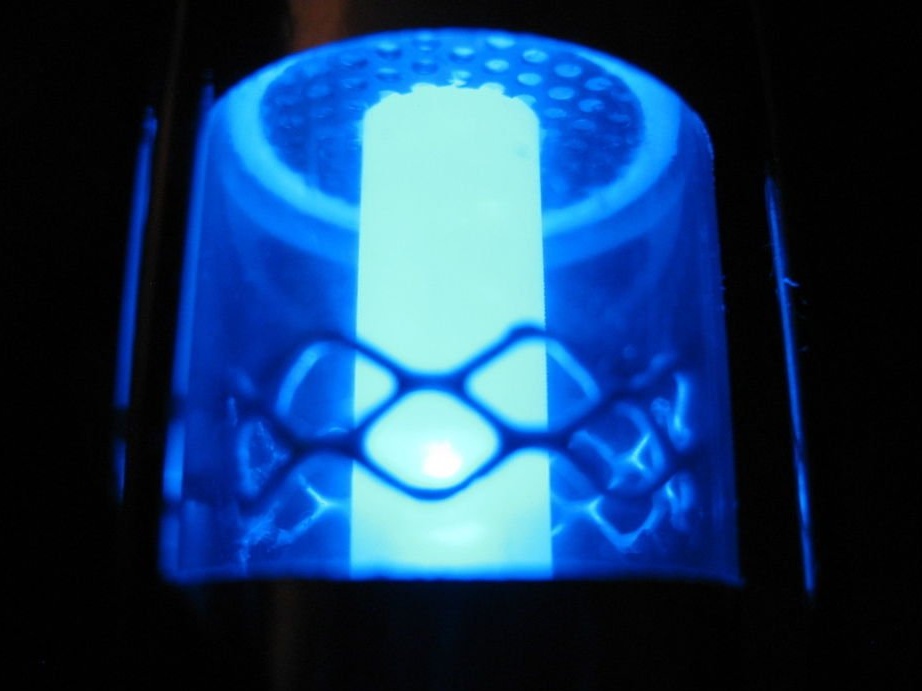
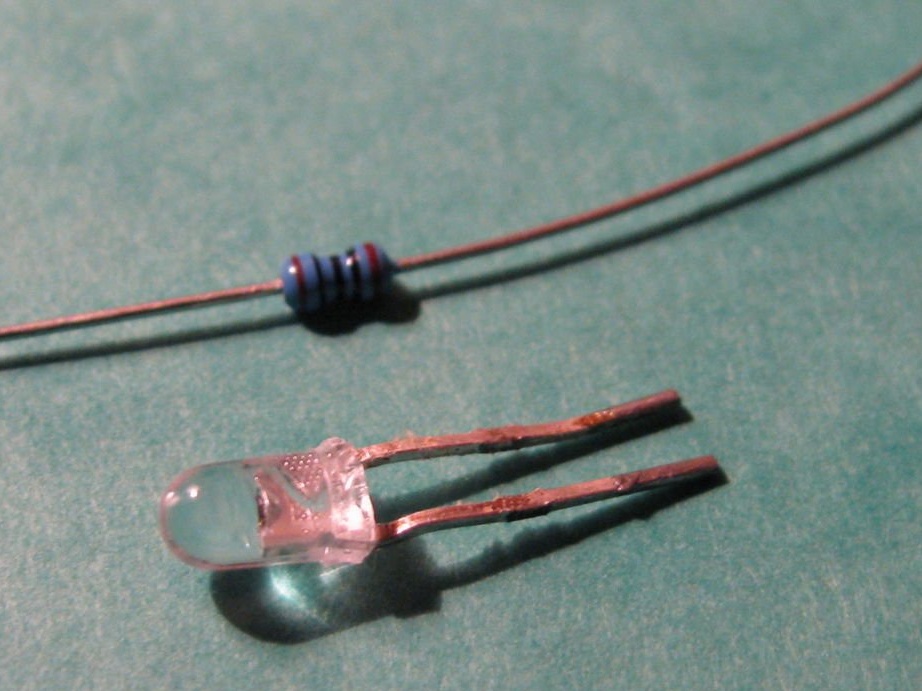
Step Two: LED
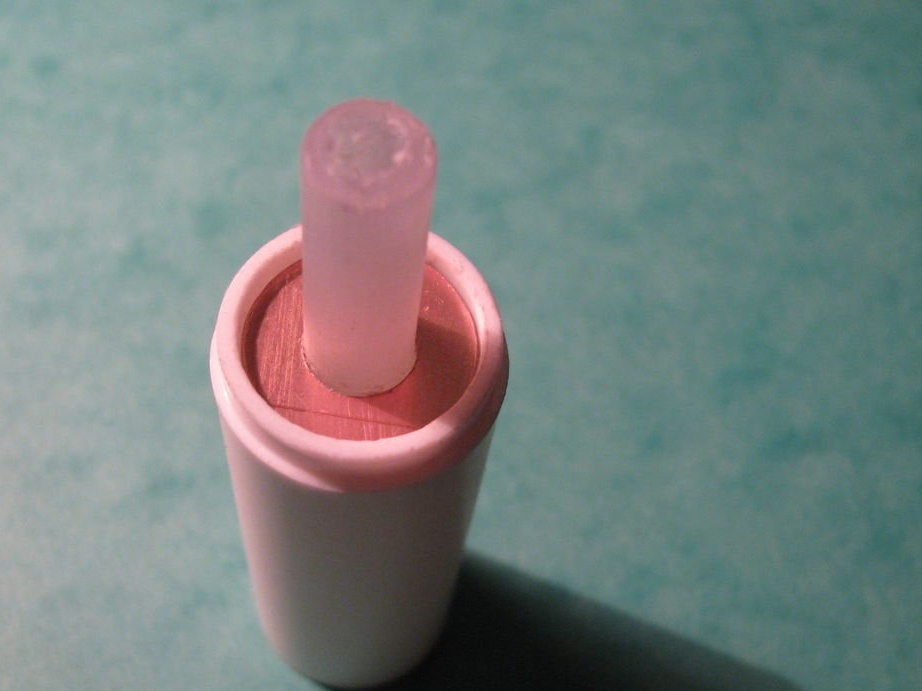
Next, the master takes a hot glue stick and drills a hole in it along the center. You need to drill at high speed, in this case the hot melt is melted.
Then in this hole you will need to install a blue LED. Such an LED has 3 V 20 mA parameters. USB voltage is 5V. We calculate the value of the resistor R = (5 V - 3 V) / 0.02 = 100 Ohms.

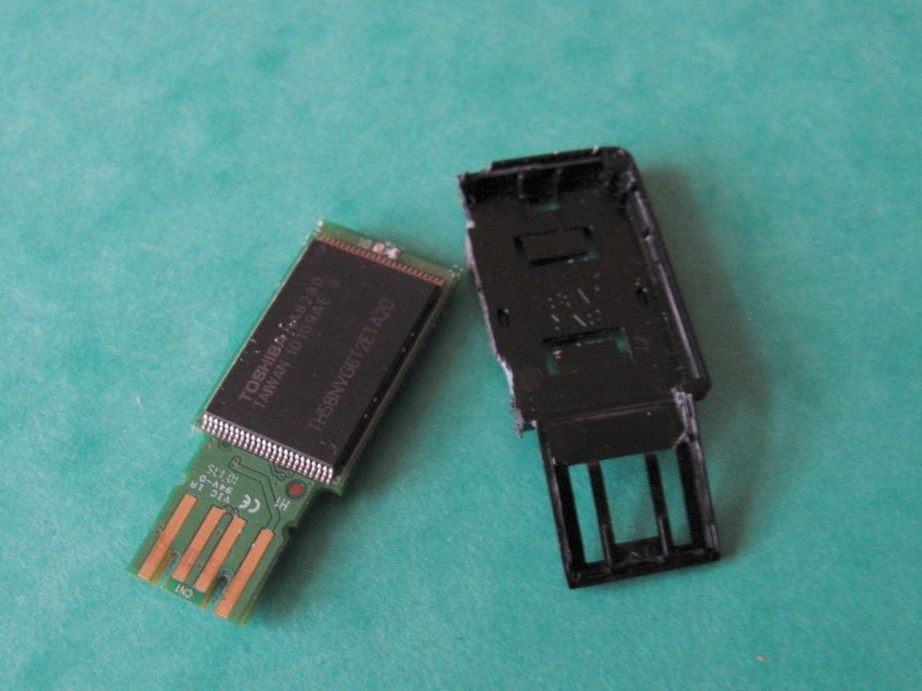
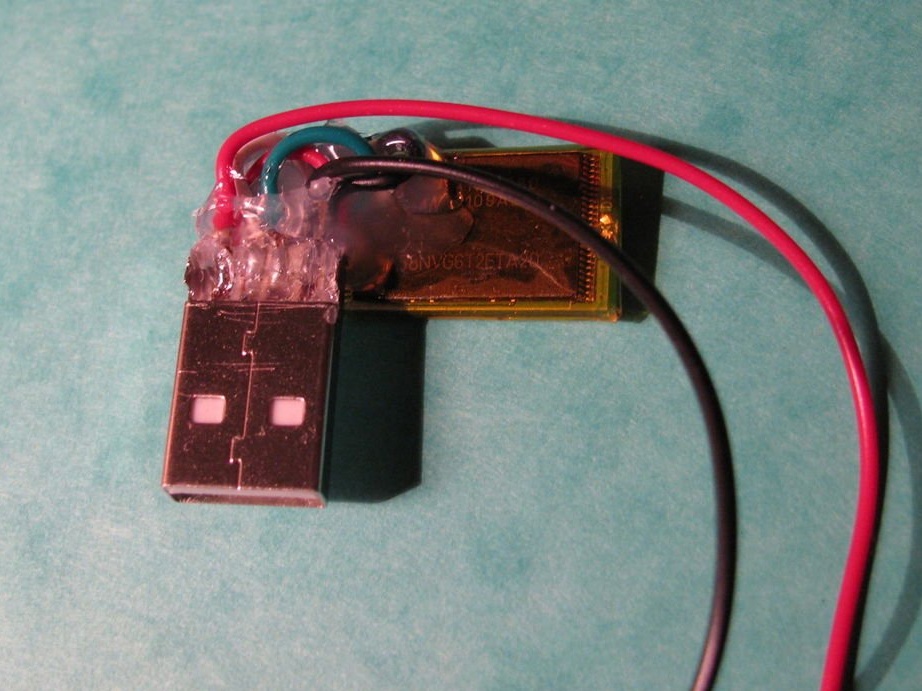
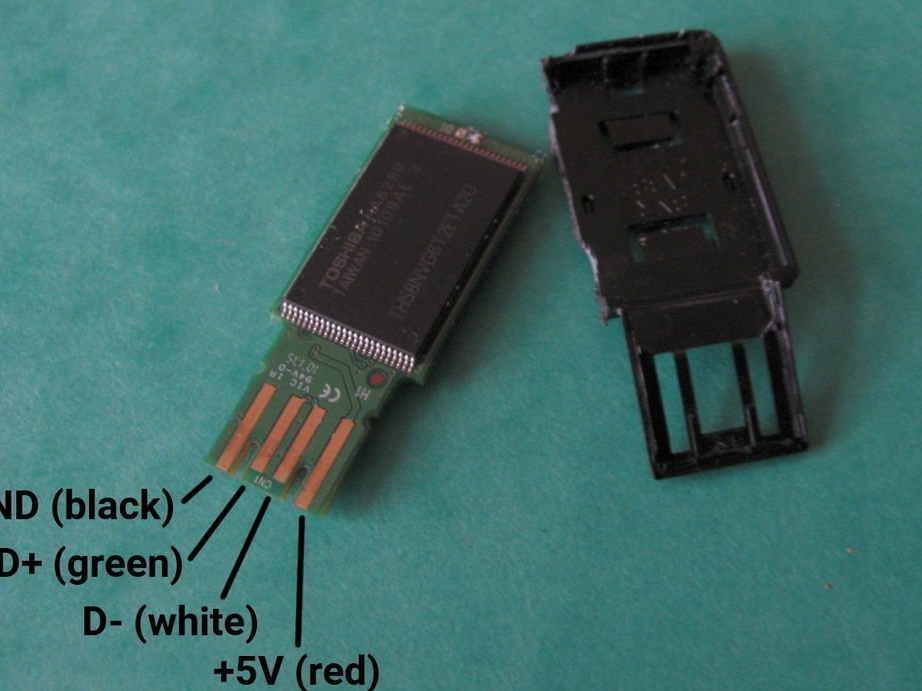
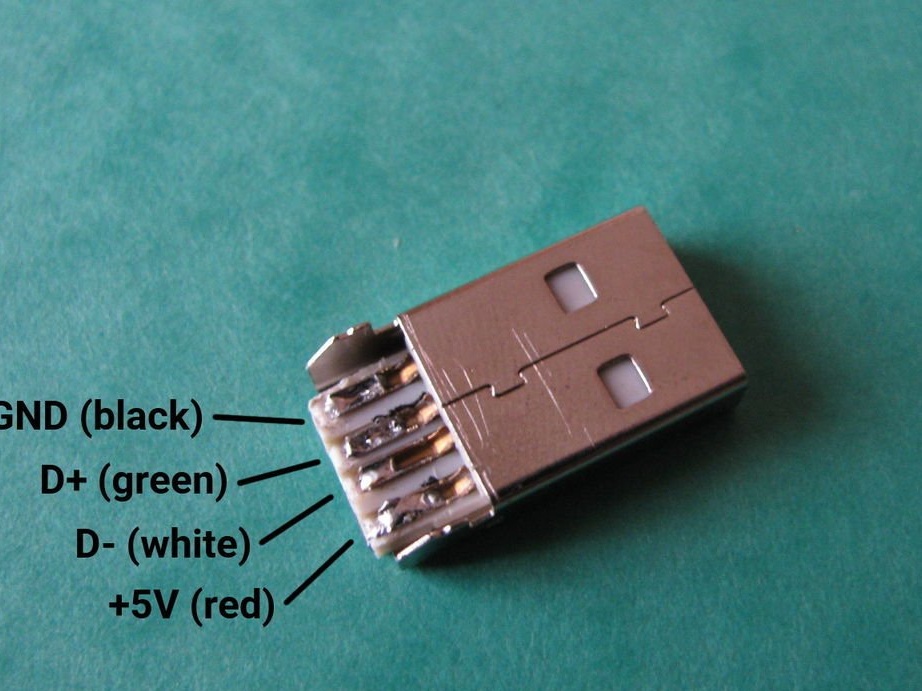
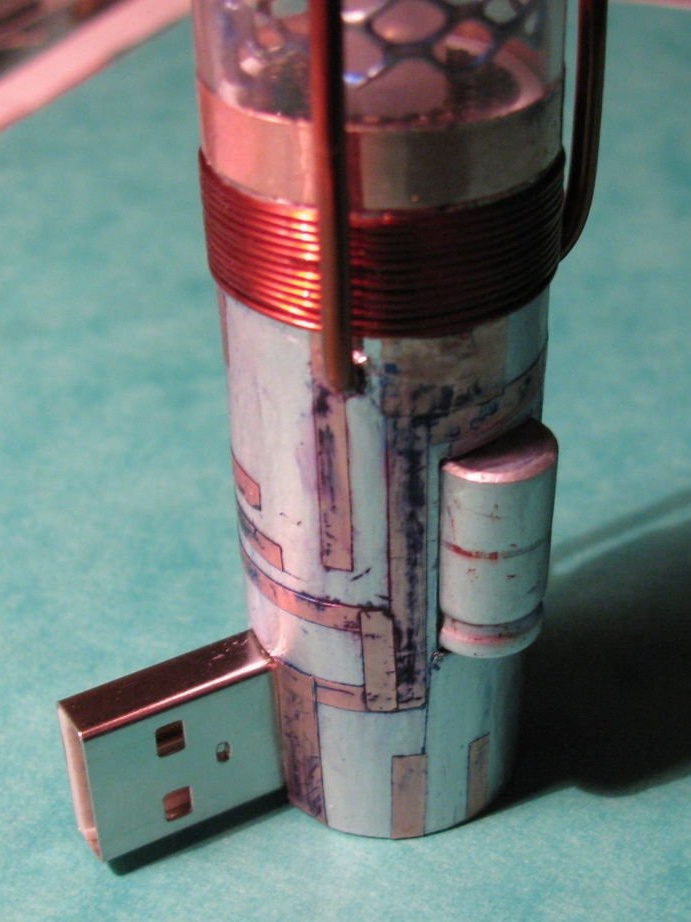
Step Three: Connector
Then he disassembles the drive casing and solders a new connector. The pinout can be seen in the photo. In addition to GND and + 5V, the LED will be powered. The connector is mounted at an angle to the drive. The master covers the printed circuit board with a kapton tape, and then with hot melt adhesive.
Step Four: Case
As the main body, the master used a plastic body from a glue stick. The inscription on the plastic tube does not need to be removed, later it will be covered with aluminum tape.
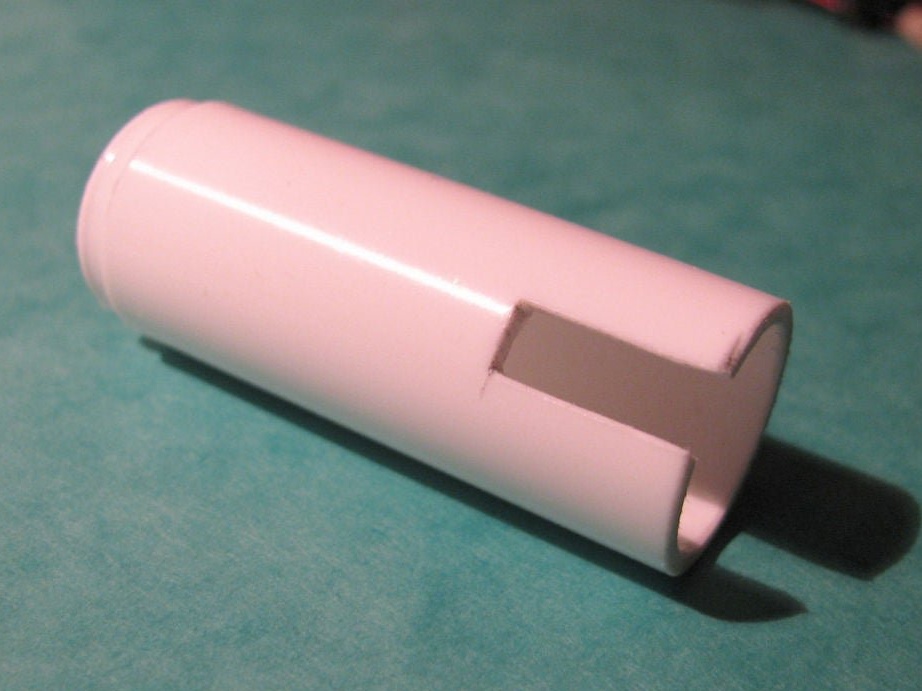
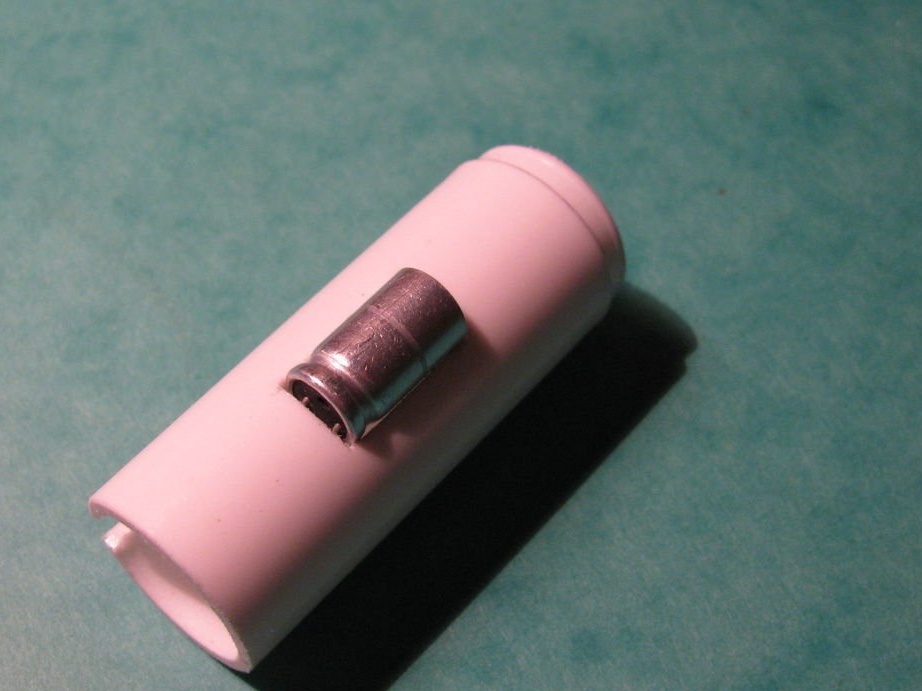
The master cuts the tubes to the desired length and makes a cutout for the USB connector, and a hole for the capacitor. This capacitor has a decorative purpose only.

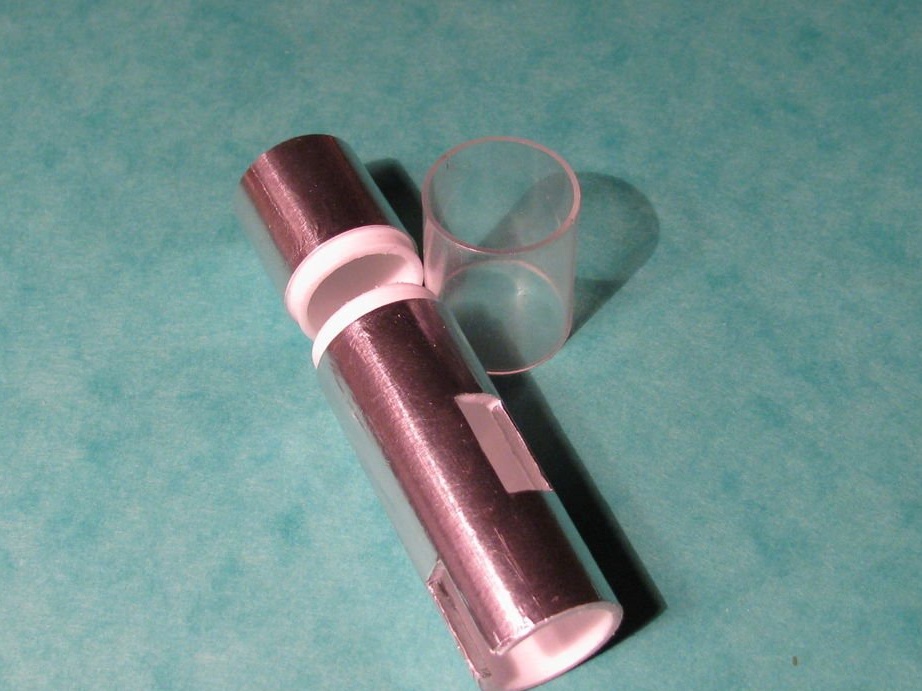
Then the master wraps the parts with aluminum tape (except for the transparent part), and then with copper tape. The edges of the transparent tube also wraps with copper tape.


Step Five: Washers
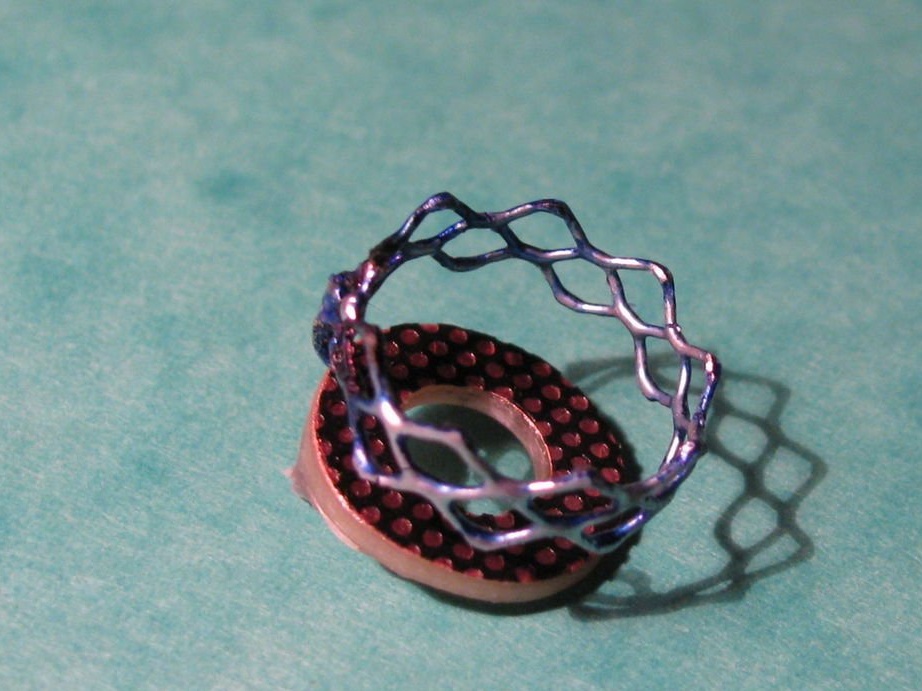
He cuts the washers out of the board and sticks nets on them.


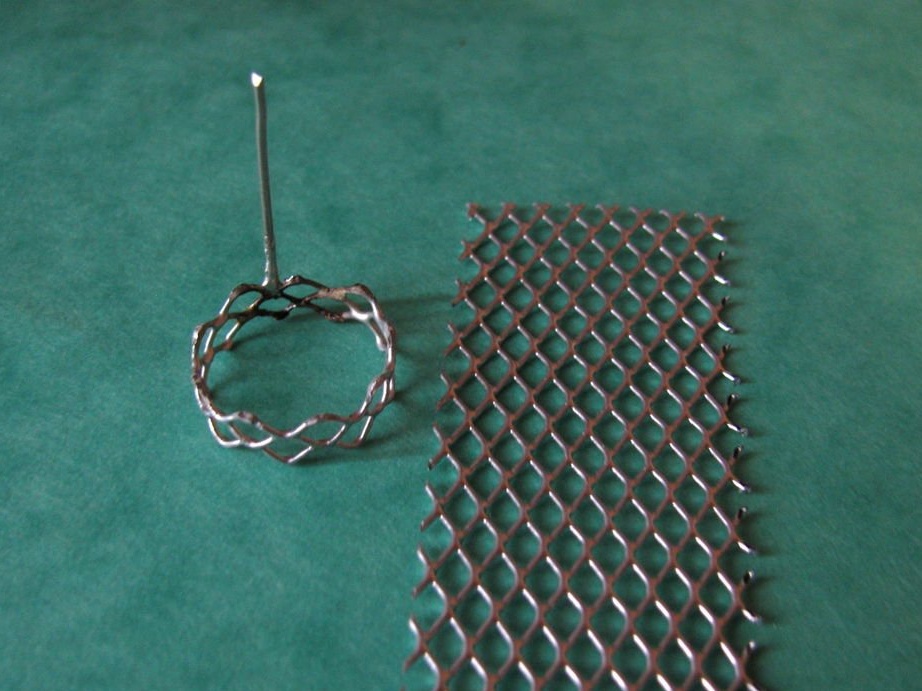
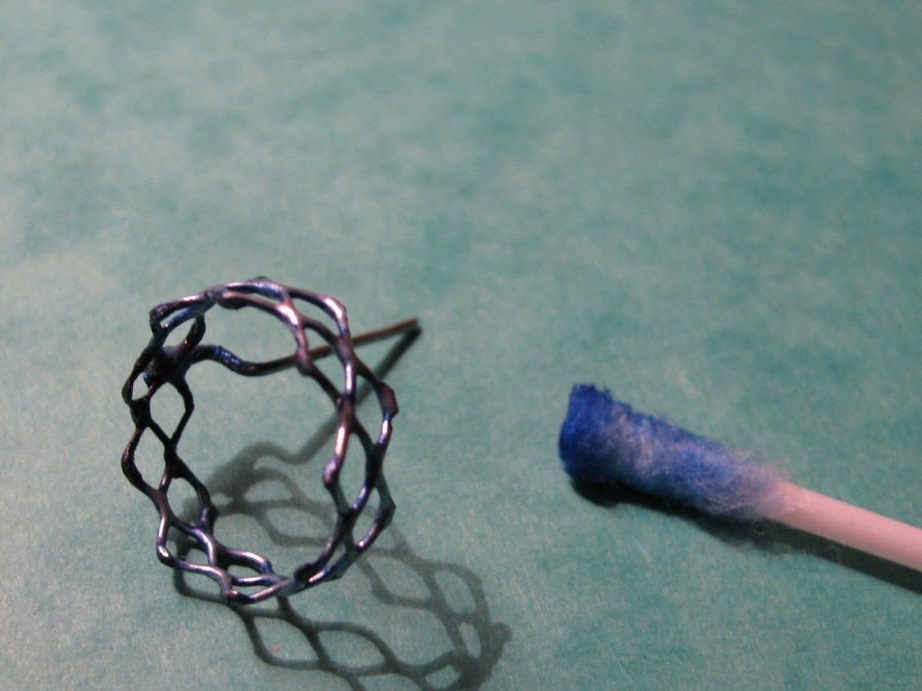
As another decoration for the camera, he added a mesh in the shape of a ring. Mesh from a basket for office supplies. The master cut the mesh to the desired width, then bent it in the shape of a ring and soldered both ends together. Soldered a piece of wire (from a paper clip) to the ring. Painted the grid in blue.
Step Six: Coils
He wrapped the details of the case with copper wire and secured it with superglue. Added brackets made of copper wire.
Seventh step: lower and upper parts
For the upper part of the body, the master used a radio handle. In the center of the handle I fixed the capacitor.

On the bottom, he fixed a washer cut from a printed circuit board with an engraving of the year and his initials.


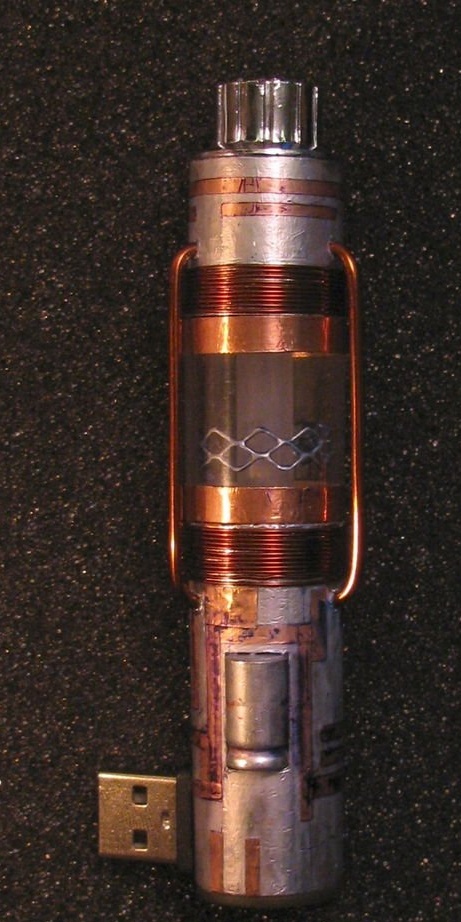
Step Eight: Build
Now that all the details have been prepared, the master starts assembling according to the sketch.

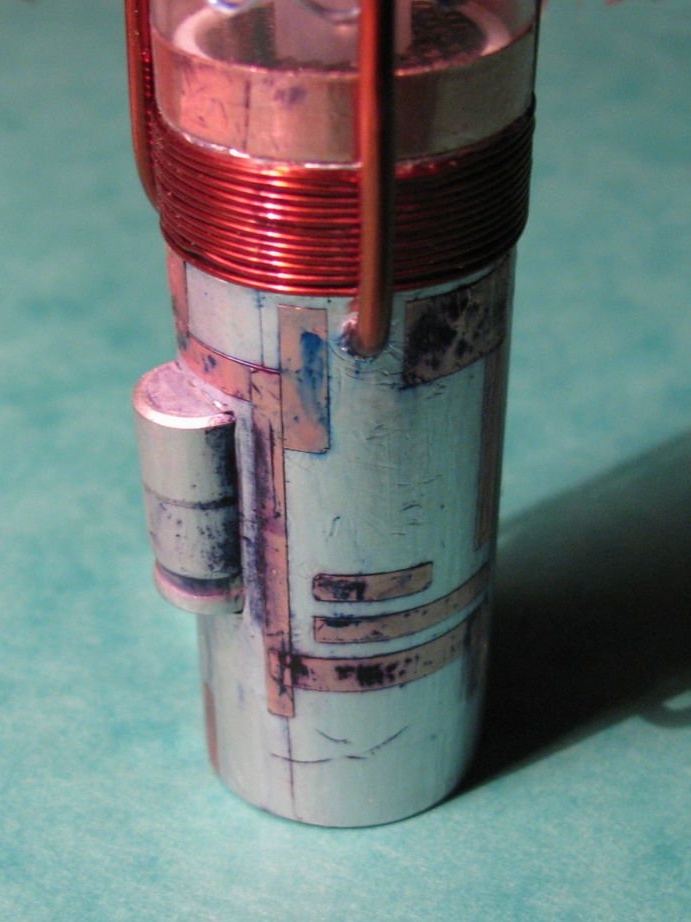
Step Nine: Cover
The main goal of this step was to reduce the novelty and metallic luster and add personality to the product. The master traced the tracks with a marker. Then he removed the copper layer. And in the end he covered the body with matt acrylic paint.

Step Ten: Case
To injure the flash drive, the master made a case.
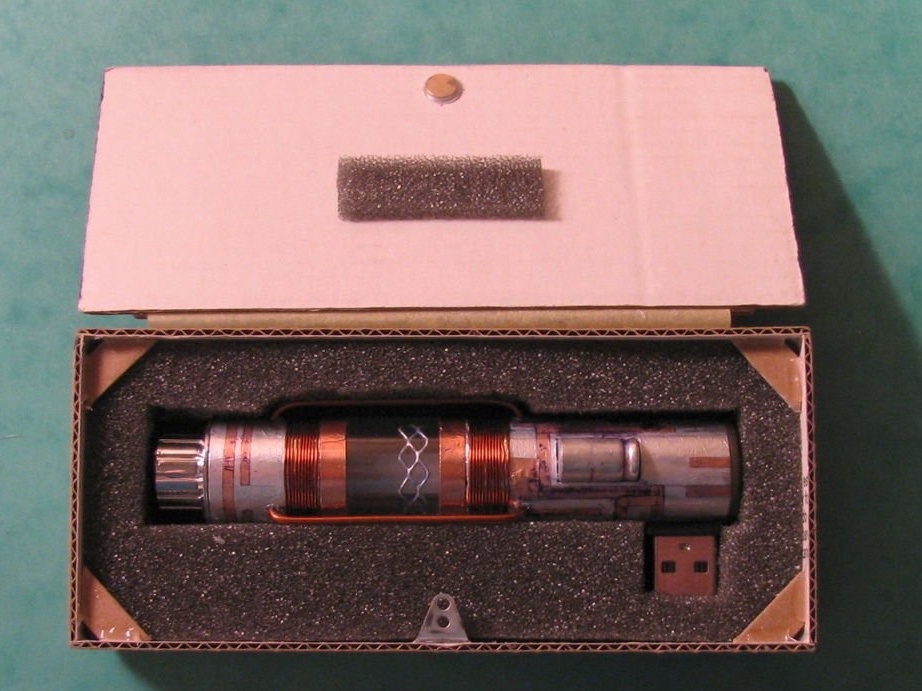
All is ready.