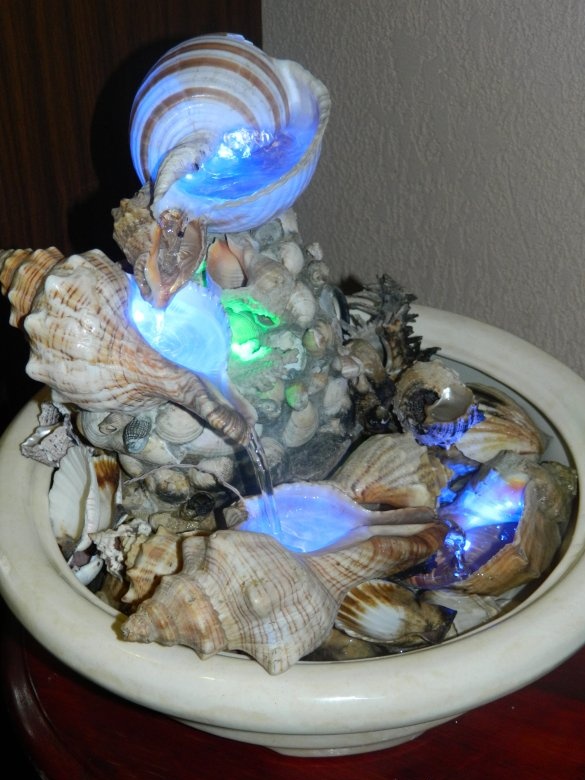
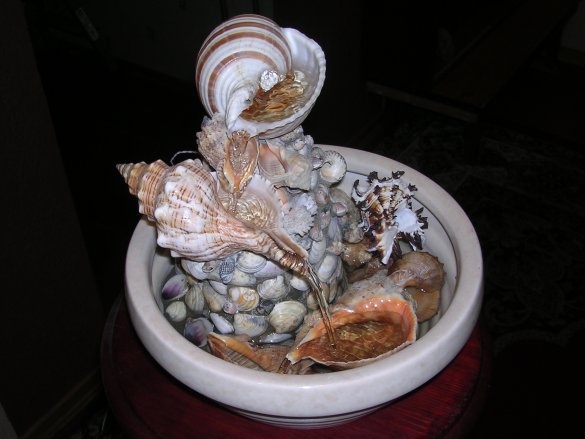
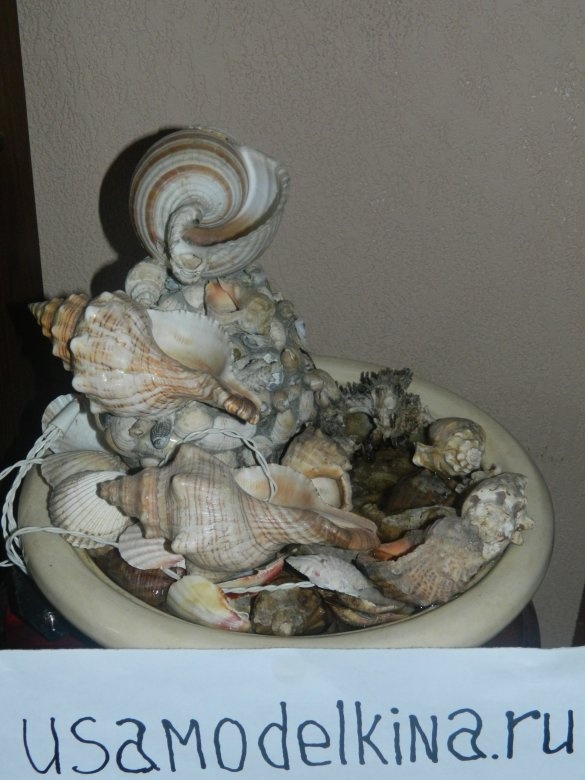
It so happened that the flowerpot in which a homemade fountain was made to moisten the air cracked.
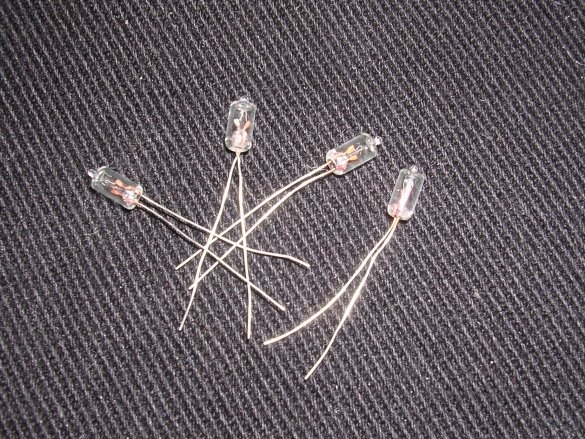
I tried to glue everything with epoxy, but nothing came of it. I had to go to my most “unloved” store - Leroy Merlin - and look for a new flowerpot. By the way, since it came to this, it would be nice to remodel the fountain's lighting to LED, as often it was necessary to change the 6.3 V x 23 mA indicator lamps (and this is to disassemble the entire fountain!), Which were powered by a power supply with a switch. By the way, these bulbs are not colored, but I wanted to do everything in color.
So, the flowerpot was bought for 350-450 rubles. (I don’t remember, honestly!). The LEDs were all available, there were not only capacitors, but I needed to dial 30 uF x 400 V (they are not even produced in China). I found a simple way out - I went to Chip and Dip and bought two capacitors of 0.15 uF x 400 V for a penny!
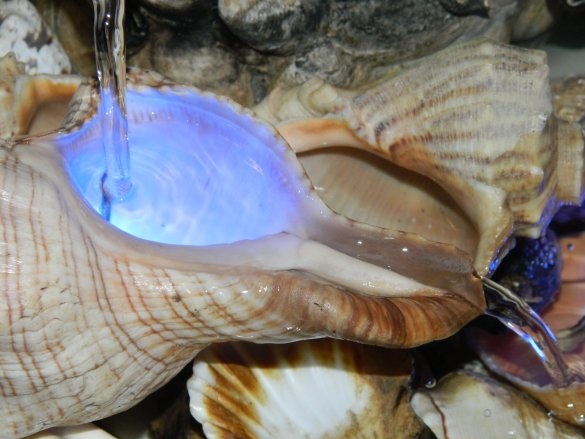
Arriving home, I decided that I would put 4 blue LEDs BL-L542UBC and one green BL-L333PGC to highlight a small coral. Having worked schemeI got down to business.
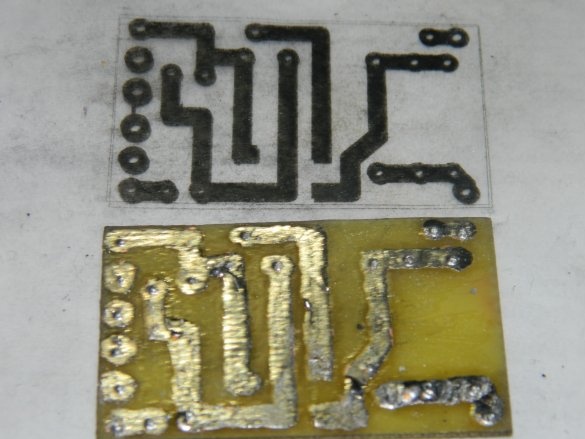
As always, I drew a diagram in Sprint-Layout 6.0.
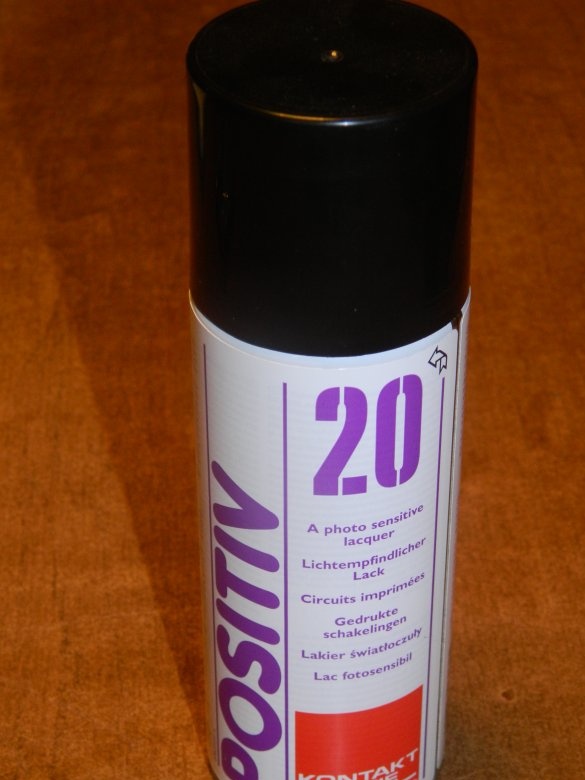
But I didn’t go further along the beaten track and decided to use the aerosol emulsion for the first time (dear thing, about 1,500 rubles - I borrowed it from familiar radio amateurs!) POSITIV 20. Previously, I just drew tracks on the board with a special marker.
In the oven, this emulsion matures for 30-40 minutes, at normal temperature - the day should lie in a dark cabinet, which I did. The main thing is to prepare the board very well (rinse, degrease, etc.).
On an inkjet printer with a maximum b / w printing in two passes, I ensured that the printing contrast was as high as possible on the tracing paper (someone advised to burn the drawing with an industrial hairdryer to increase the contrast, which I did). Next, there should be gluing the board to the TRANSPARENTOM 21 drawing (also an expensive pleasure - about 700 rubles!), But I was advised to do this with ordinary sunflower oil - I followed their advice. (You must subsequently buy yourself these chemicals!)
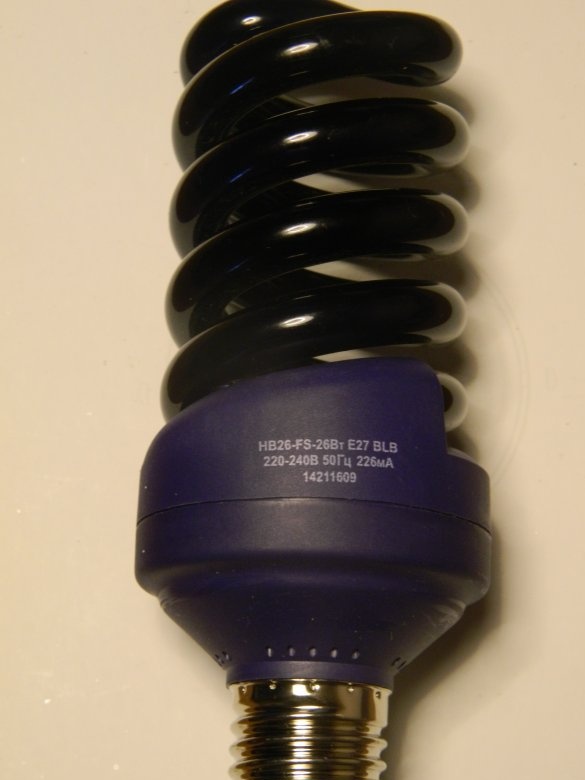
And then comes the ultraviolet lamp.
Here I was tormented to pick up the modes - I did all this for the first time. And although everything has already been said on the Internet, I had to pick it up myself. It turned out: the exposure was about 40-50 minutes with the lamp distance from the object 15-20 cm. The result you can see in the photo is not a “fountain”, but it will do for the first time.
The pattern appears with ordinary caustic soda (1.5 teaspoons per 1 liter of water, and you can take 30 ml of the usual “Mole” to flush pipes with 400 ml of water - it takes a few seconds). And after the "old-fashioned method", after thoroughly washing the board, etch in the ferric chloride. Then he ponudal the board and soldered all the details.
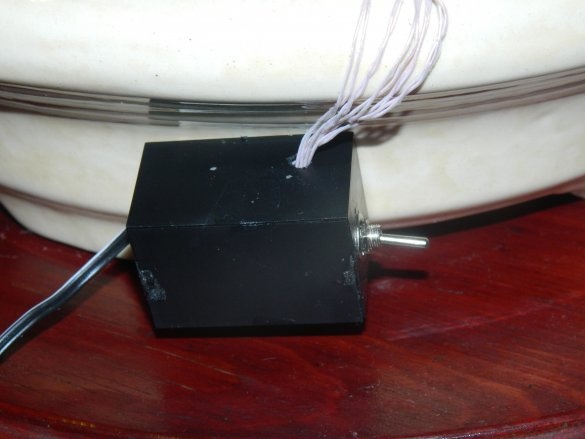
He picked up a suitable casing in the zagashnik and took up the wiring of wires.
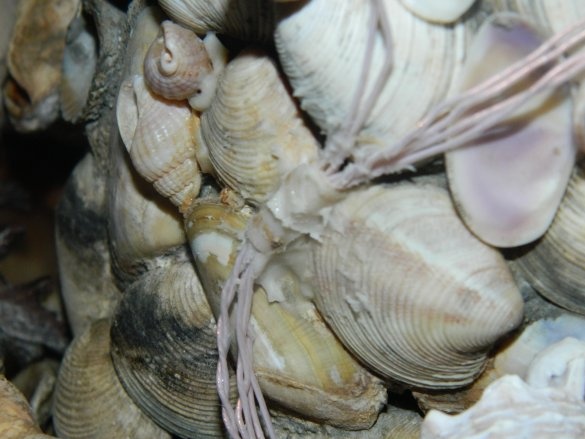
The installation was conducted with MGTF-0.7 mm wire, which were fastened to the base of the fountain with silicone sealant.
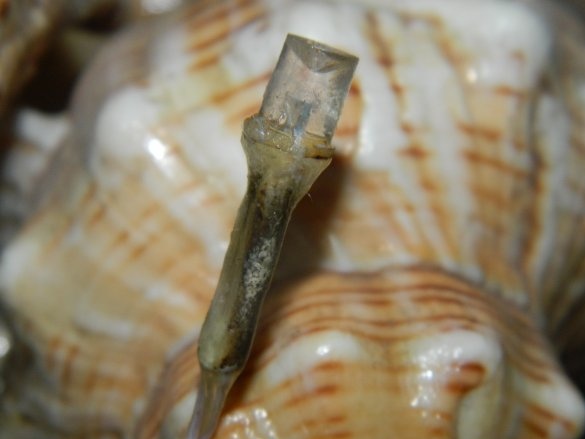
Contacts with LEDs were isolated from water by heat shrink tube and epoxy.
As a switch, I used the SMTS-102-2A2 microtumber switch. The finished case stuck to the side of the flowerpot with double-sided tape, when the fountain is turned around with its front side - it is not visible.
It turned out both beautifully and cheaply.
It is necessary to integrate a passage switch in the power cord of the pump, so as not to climb to the outlet, but to turn on the pump.


