Good day to all lovers homemade. every radio amateur or just a beginner in this business knows how to work with a soldering iron, and a stand is needed for its convenient use. It is in this article that I will talk about how to make a homemade budget stand for a soldering iron.
In order to assemble our stand you will need:
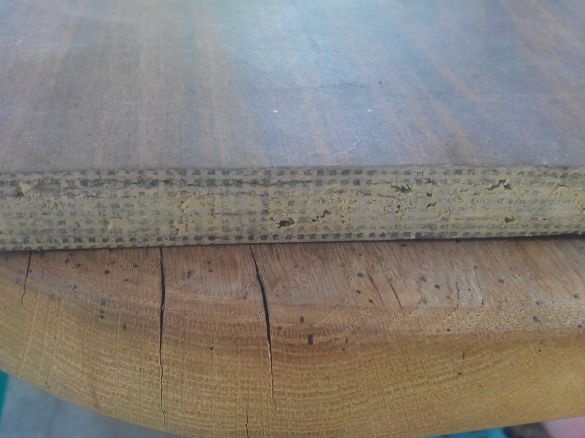
* A sheet of chipboard, 18 mm thick, can be thicker, but it seems to me that this thickness is the most optimal.
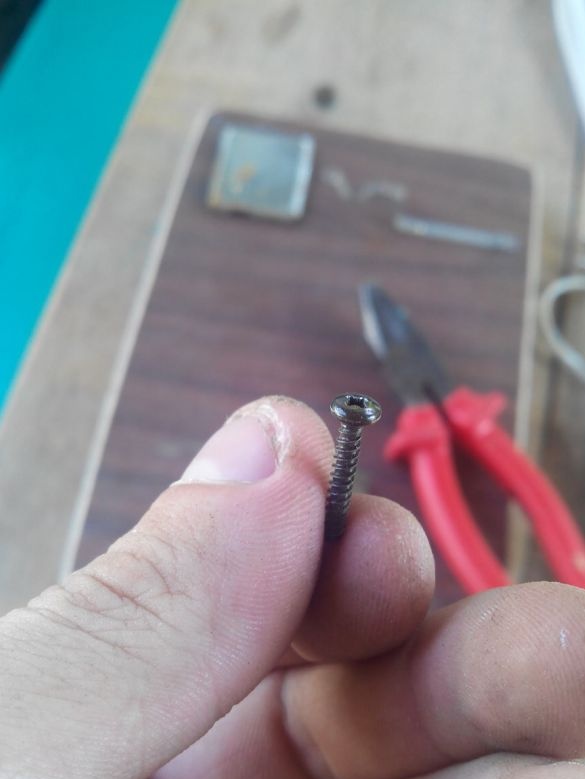
* 4 20 mm screws and 4 smaller bolts.
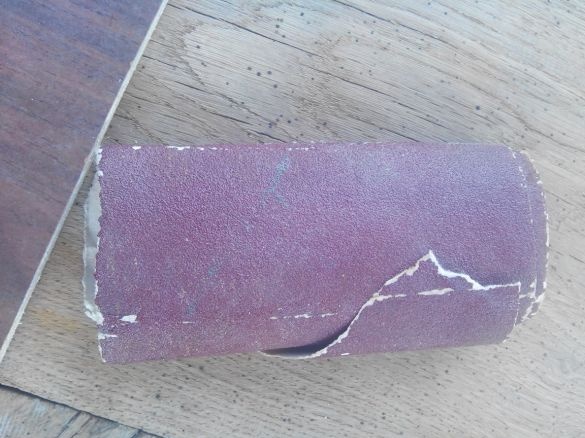
* Coarse sandpaper.
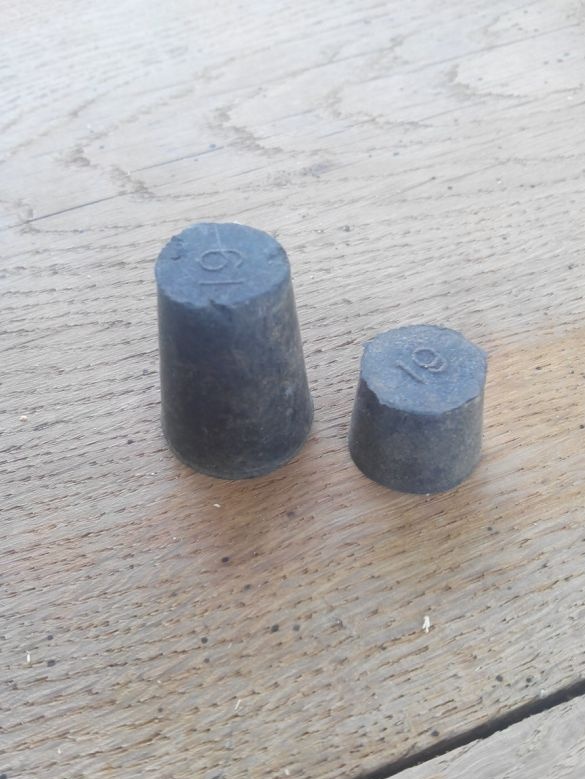
* A couple of rubber stoppers from chemical test tubes.
* Hacksaw for metal.
* Phillips screwdriver or screwdriver.
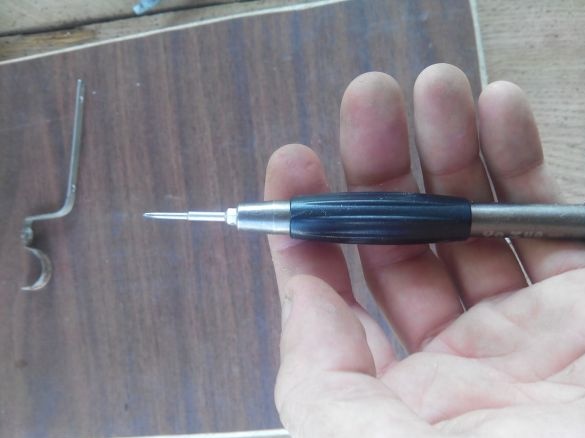
* A thin screwdriver, an awl is also suitable.
* Pliers.
* Iron plate.
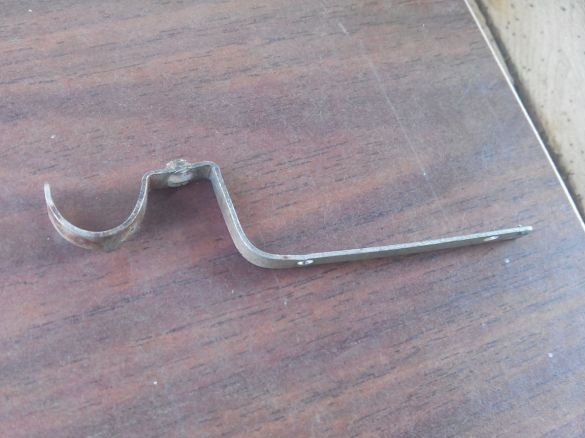
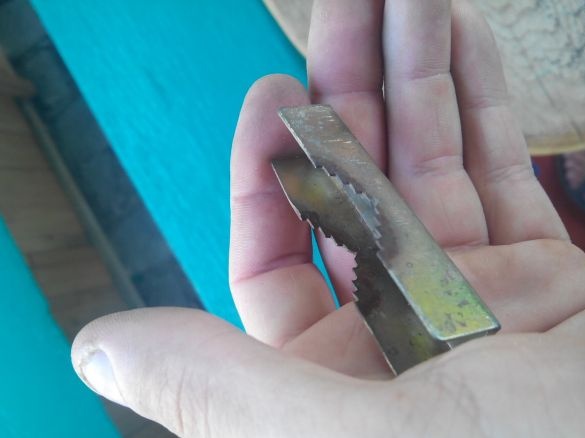
* Metal mount from antenna.
* Tin from the old receiver, which closes the board.
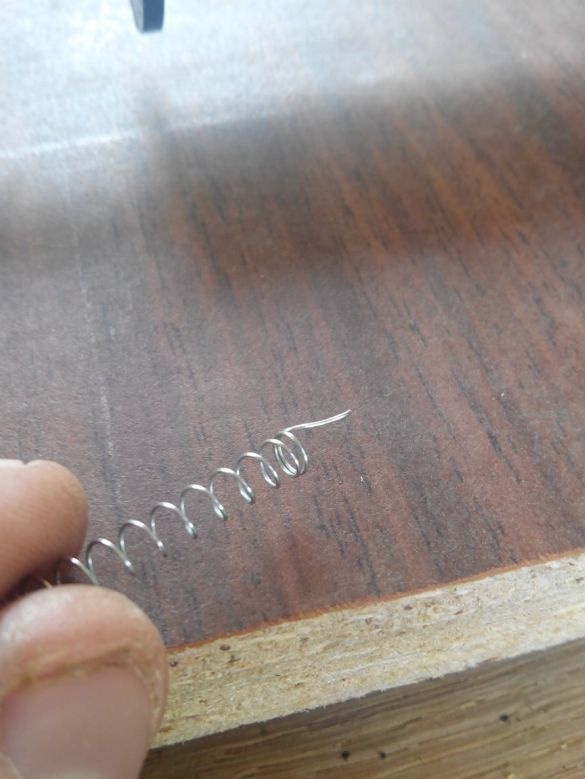
* Spring from a fountain pen.
* Soldering iron for checking.
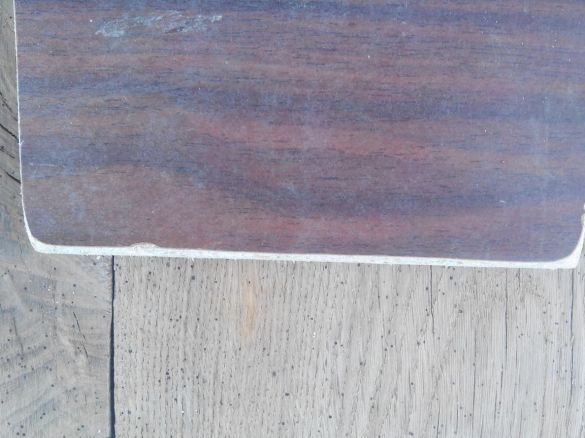
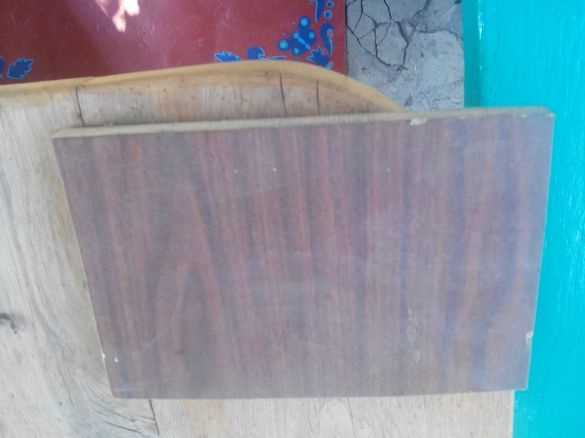
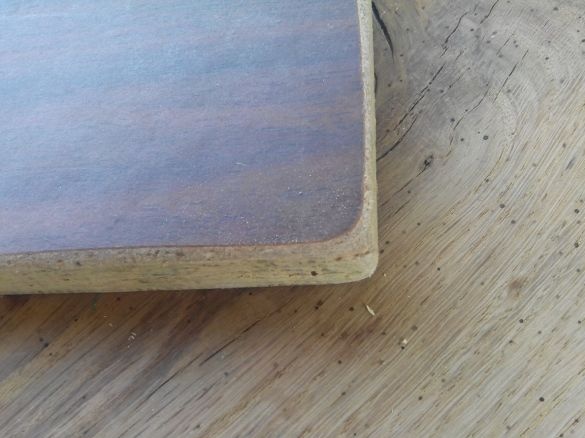
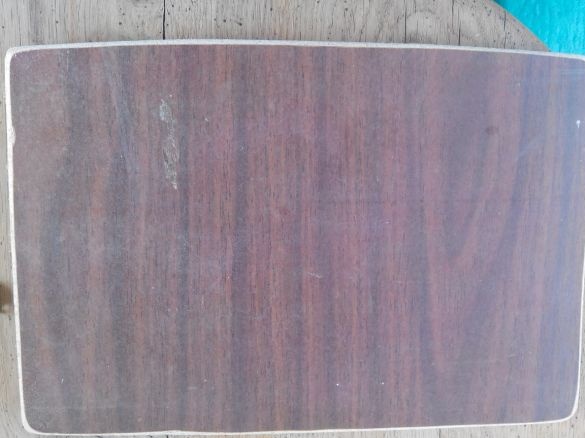
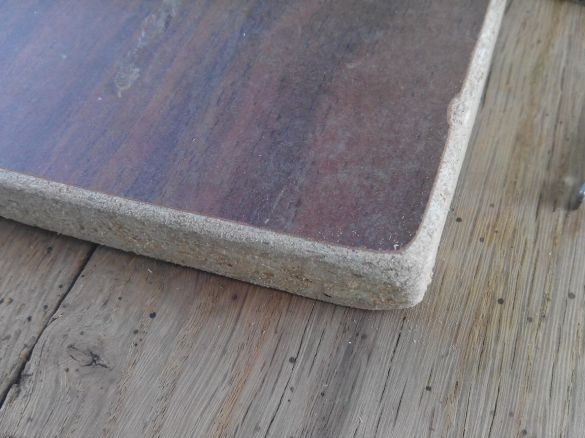
The first step will be grinding the already sawn chipboard sheet. We grind thoroughly and give the edges a rounded appearance. We bring the blank for the stand to this form. The photo shows which workpiece was before grinding, and which after.
Thinking that many purchased coasters are so simple that they do not have legs, it was attempted to make rubber legs for their coasters.
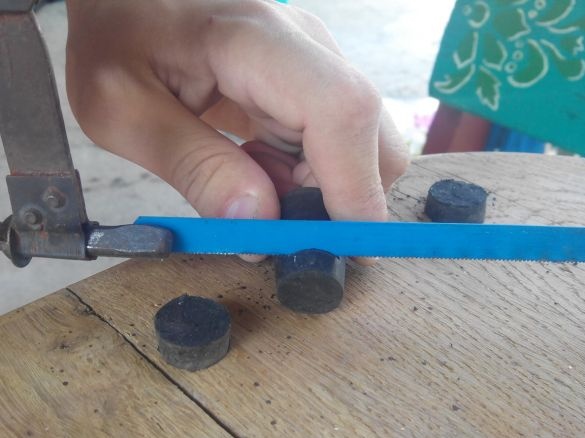
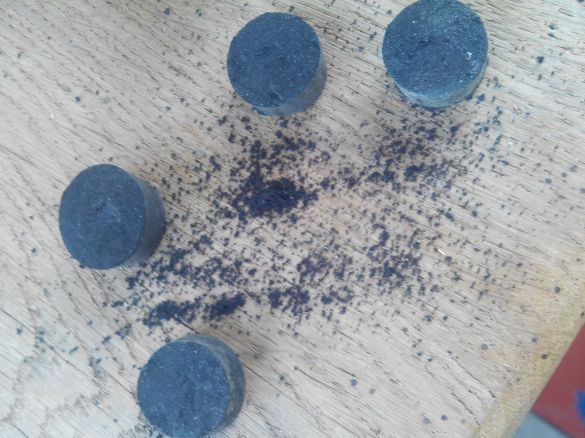
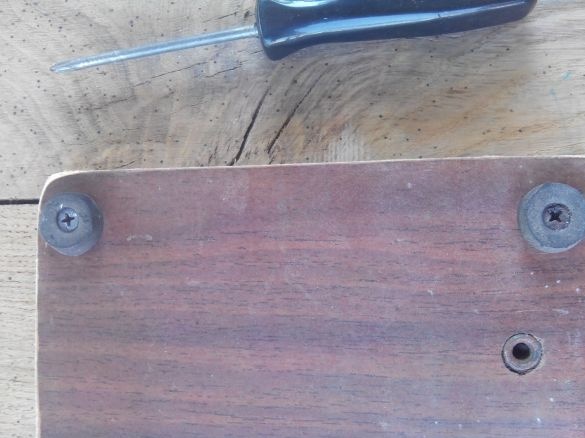
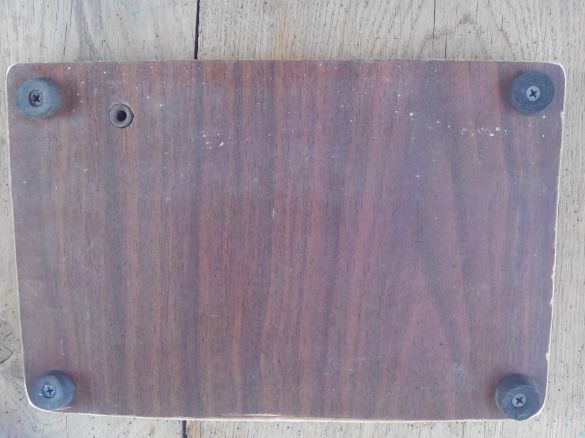
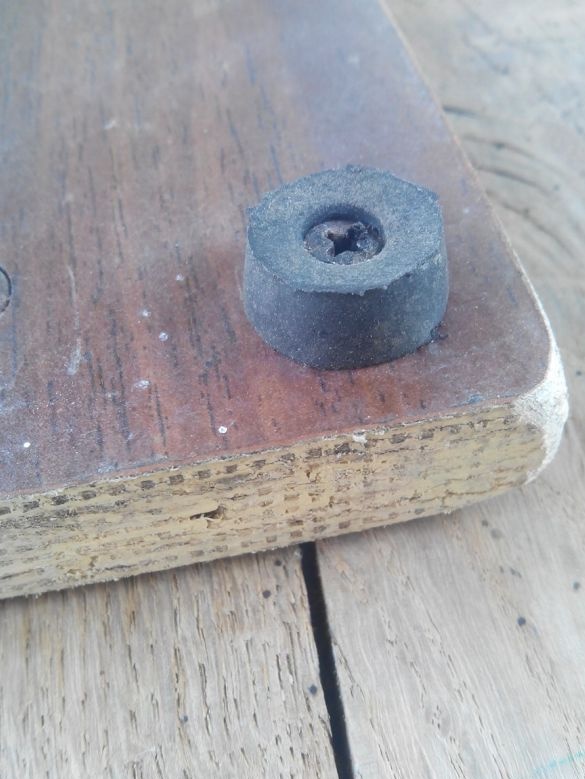
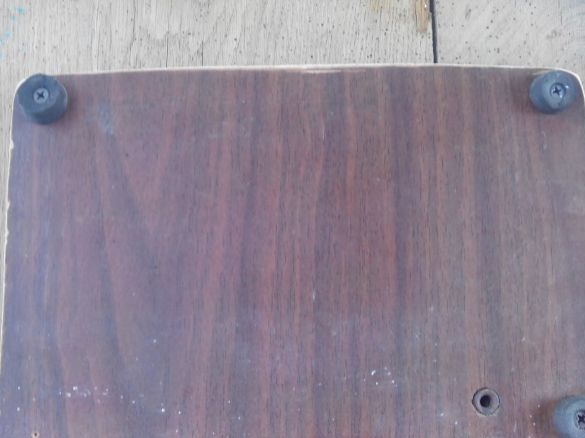
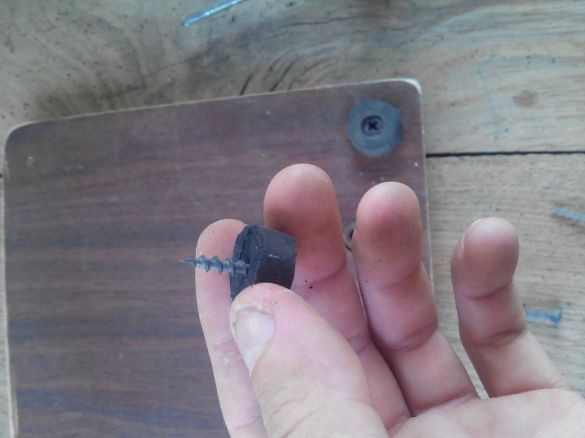
We are sawing rubber plugs taken from chemical test tubes with a hacksaw for metal, we make their thickness the same with the help of sandpaper, if it was not possible to saw off exactly.
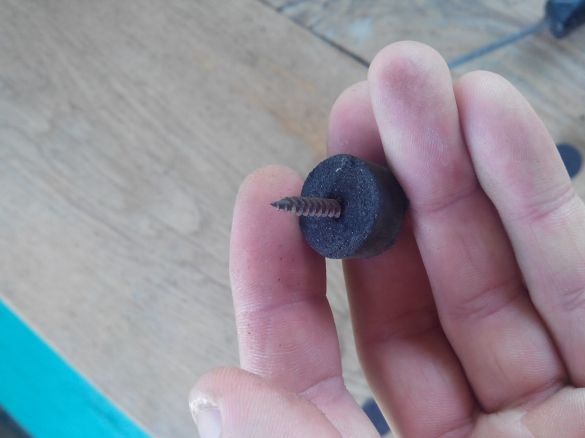
After that, we screw in each leg a 20 mm self-tapping screw.
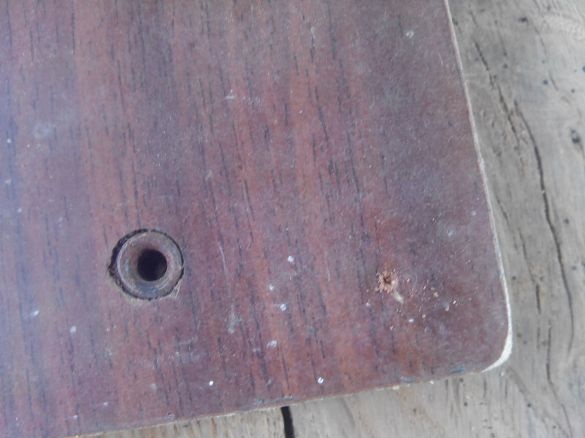
And in, pre-prepared hole we twist the leg with a screw.
We fasten the first leg.
Similarly, we fix the second, third and fourth. We figured out the legs, now the stand will not go anywhere and will not scratch the table.
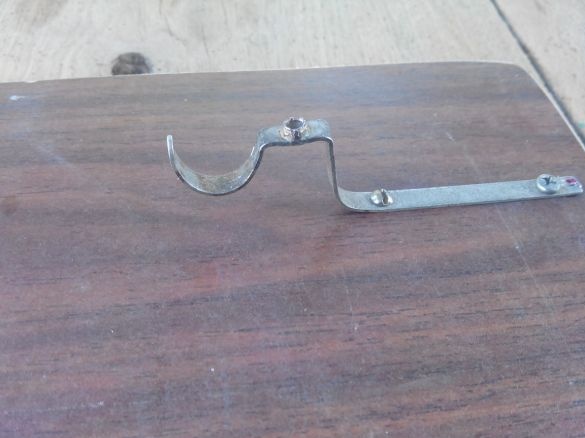
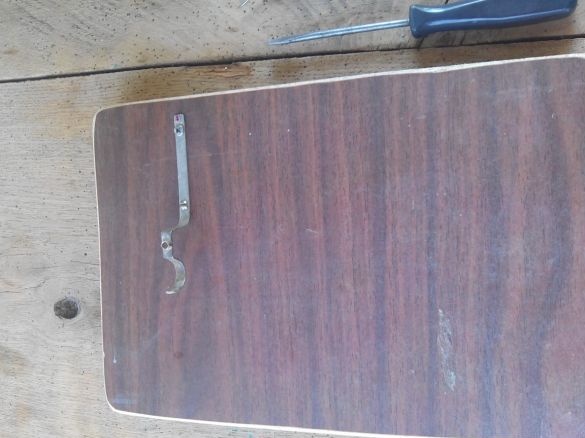
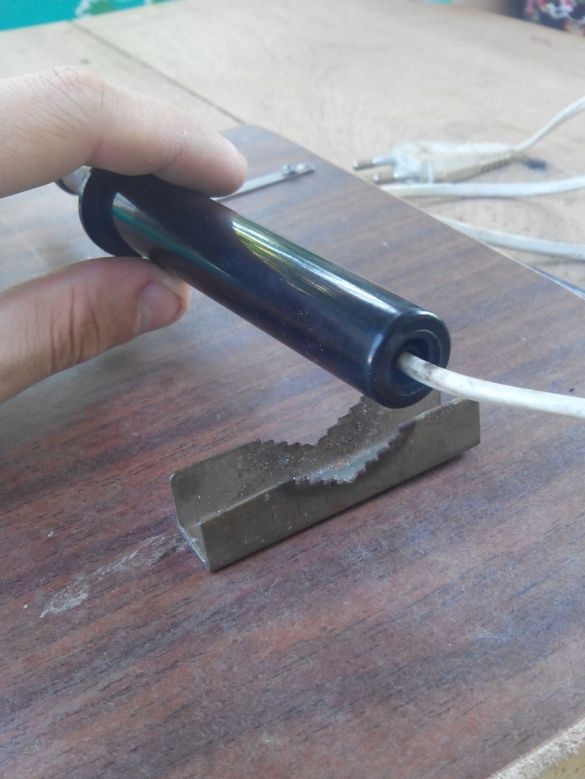
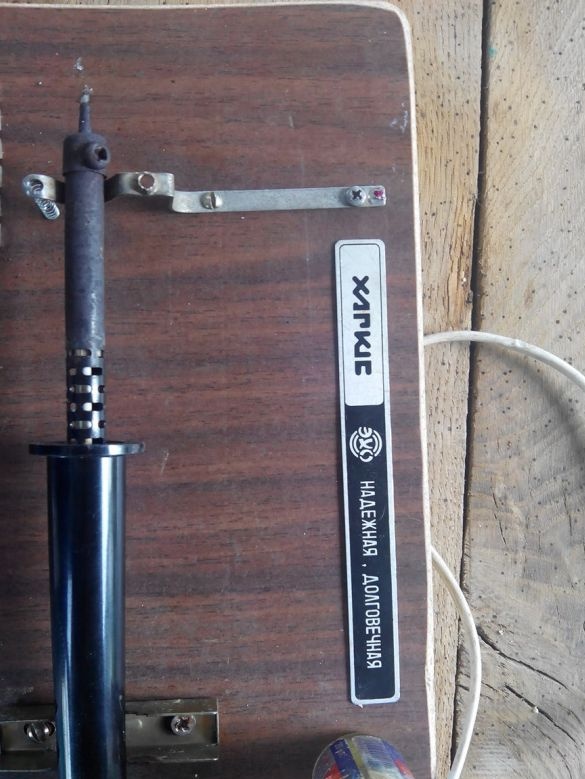
The next thing I did was curved a hook-shaped iron plate, as in the photo.
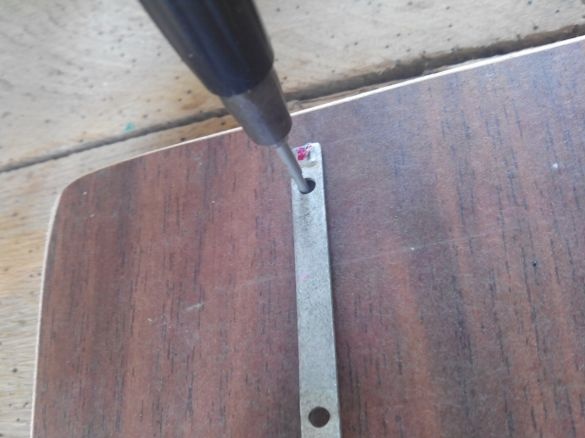
Using a screwdriver for small parts, I made a hole for two bolts that will hold this hook.
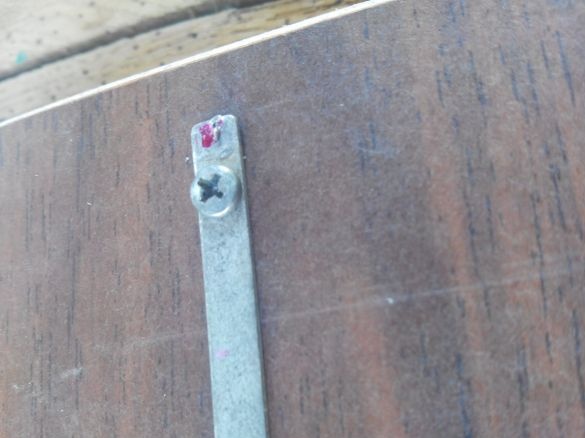
We twist the bolts, as we see the hook holds well.
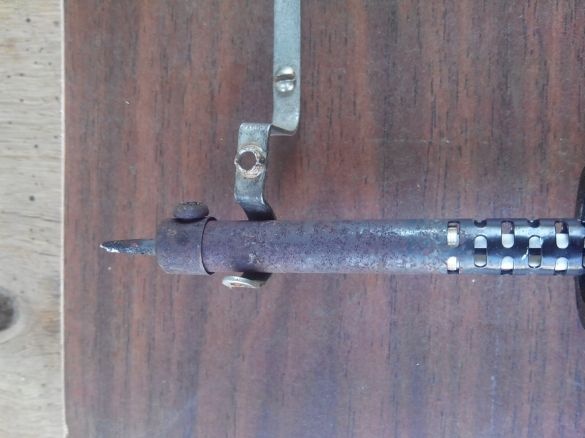
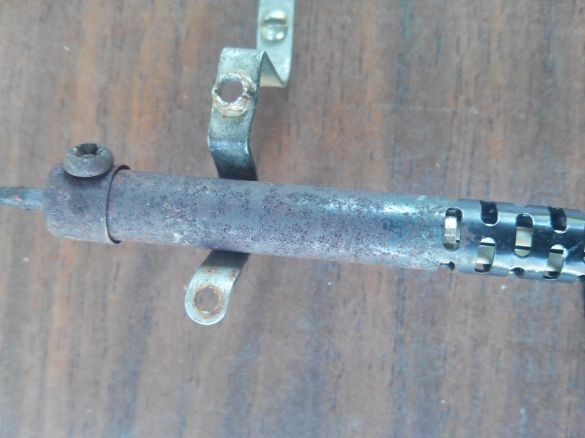
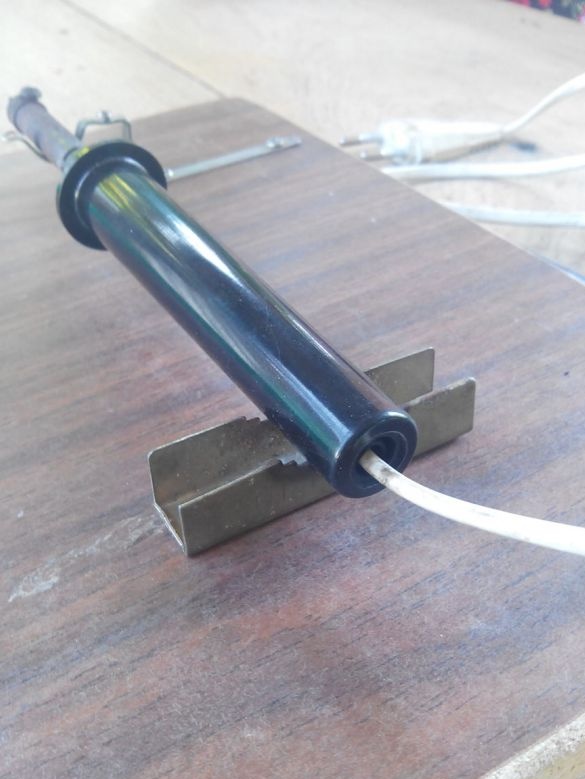
Try on how the soldering iron will sit.
Using pliers, we bend one edge of the hook, it should look something like this.
So, the heating part of the soldering iron is nowhere to go, so go to the back of the soldering iron, or rather to the handle.
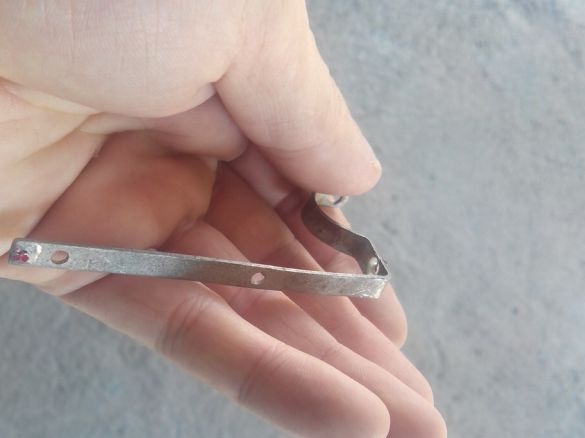
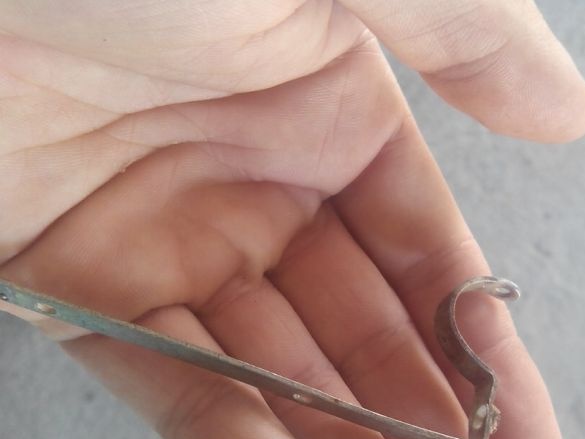
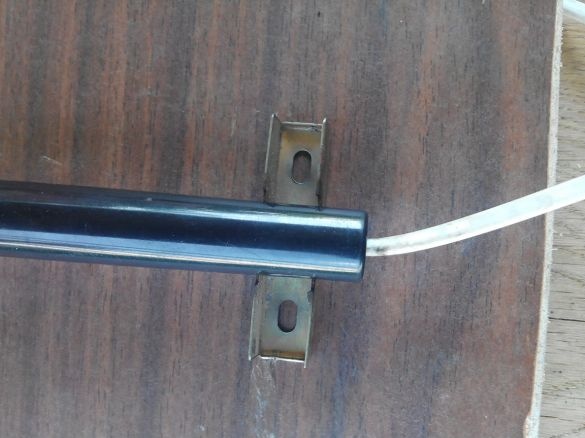
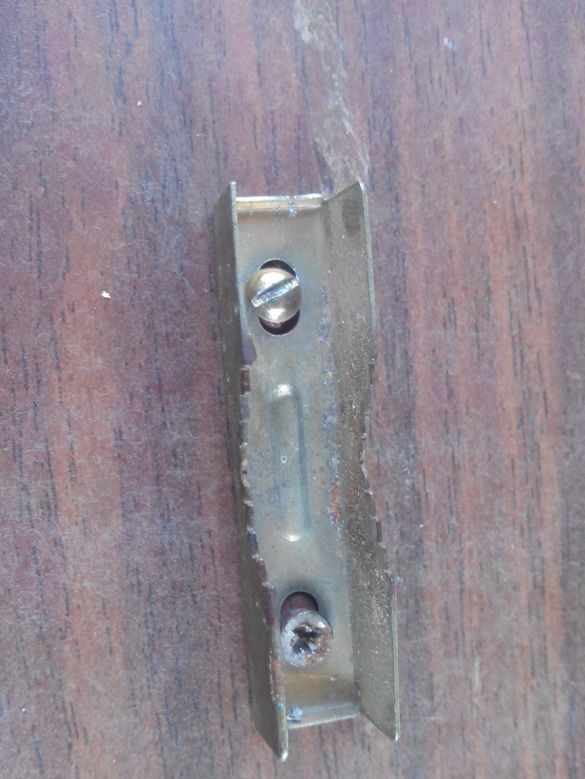
I decided to make this holder from a long-overclocked mount on the antenna, there are already holes there.
There is also a recess where the soldering iron handle fits nicely.
We fasten this mount to two screws.
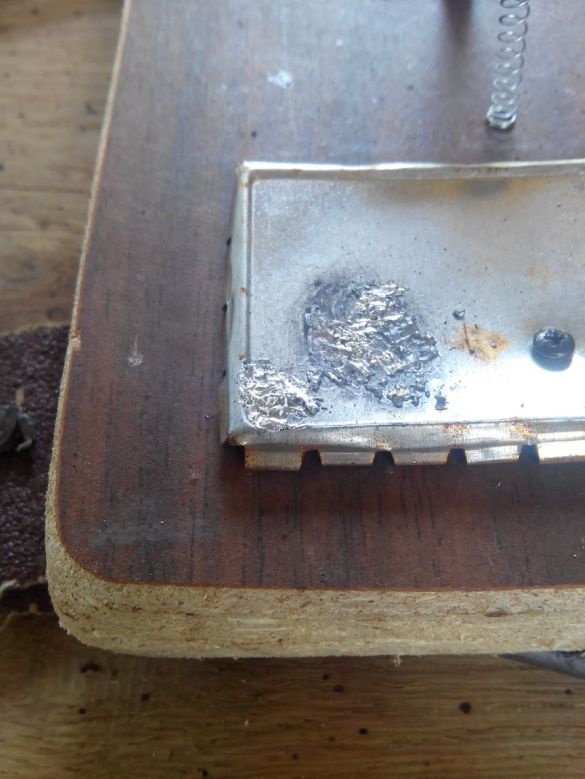
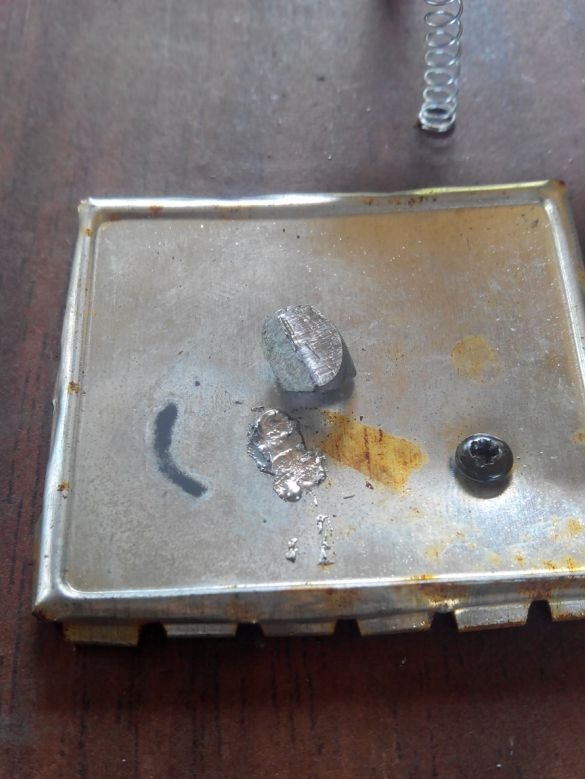
And now the soldering place, since you need to take the tin from somewhere, then for convenience we will make it closer to the tip of the soldering iron.
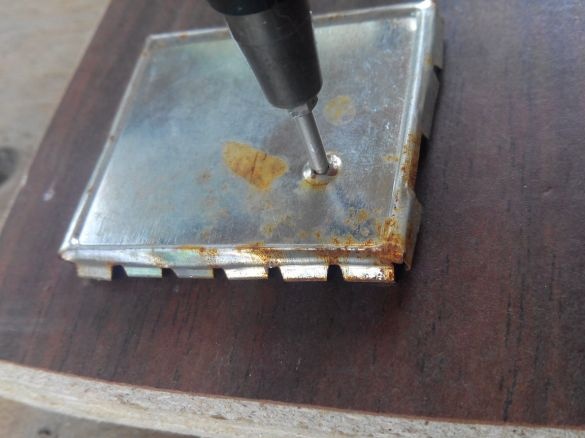
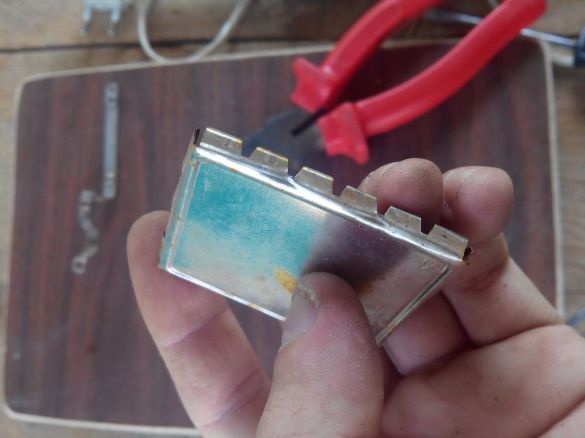
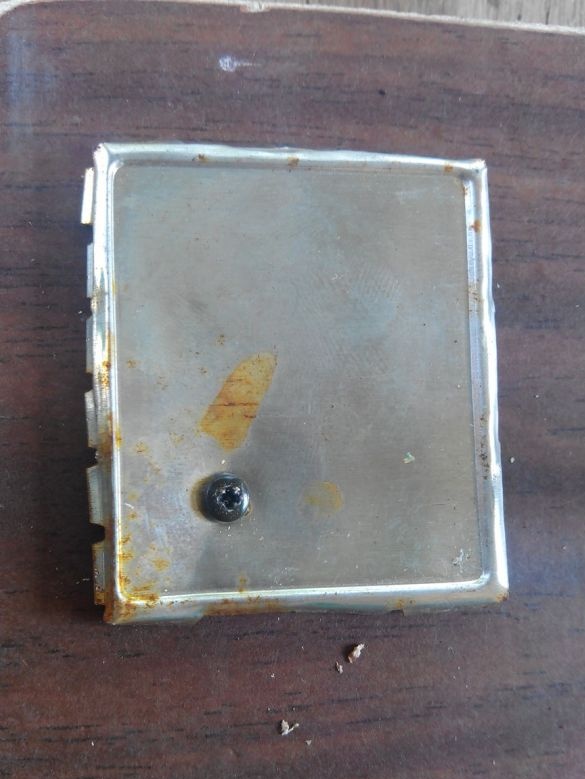
I punched a hole in the plate that I pulled out of the radio, and screwed a bolt into it, he firmly pressed it to the stand.
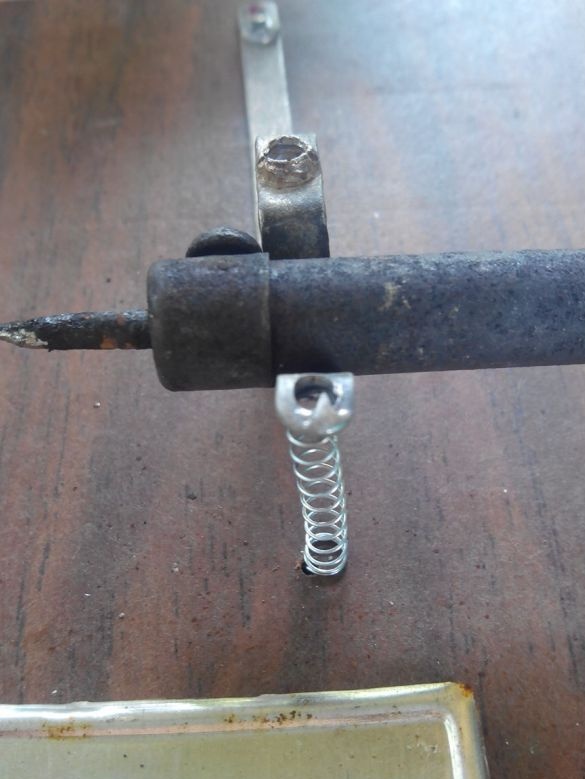
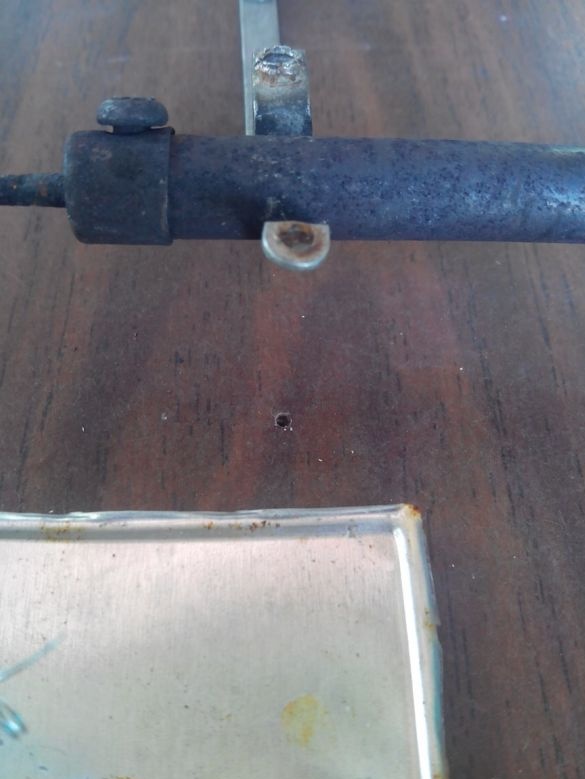
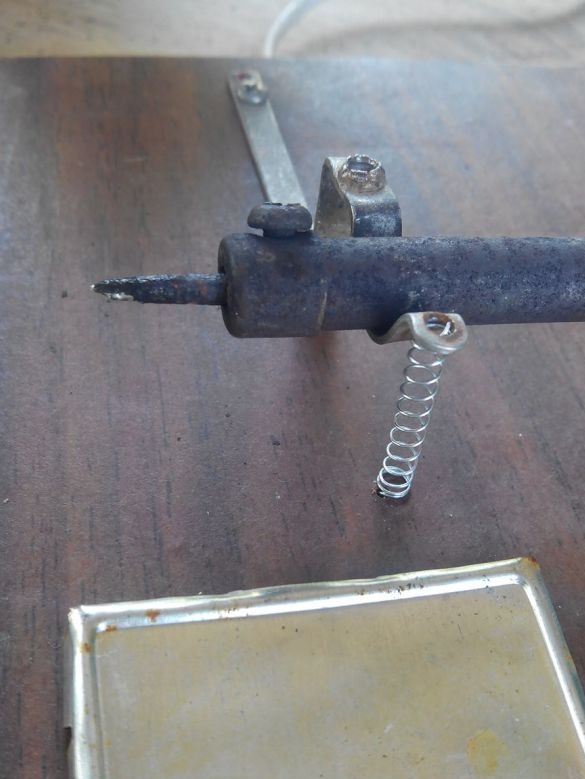
From the ballpoint pen, which had just already ended, I took the spring off and decided to put it on our hook, first bent one end of it, then made a hole with a screwdriver in the stand board and put that end of the spring there, and soldered it to the hook at the top.
The stand is almost ready, the next thing I did is to melt the tin at the soldering place, now if necessary, you can warm up this place and tin there the wires.
The final stage was the decor, I glued to the stand the old nameplate from the electric shaver.
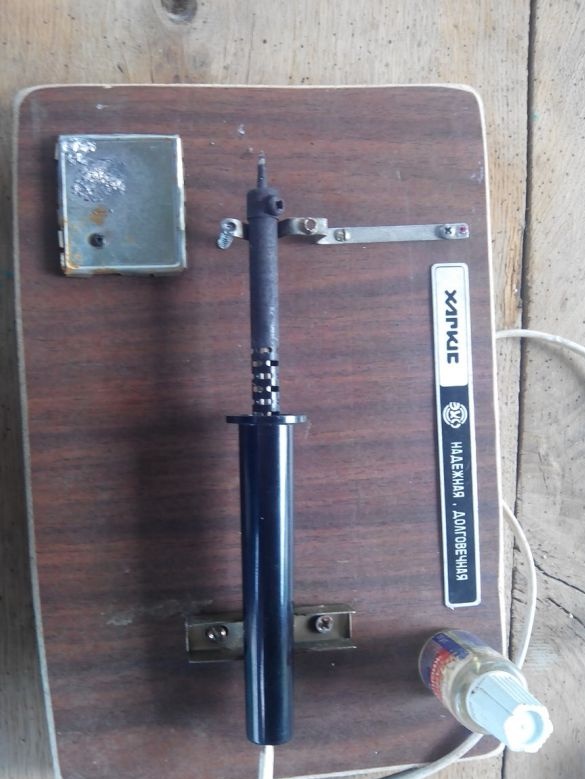
At this, the homemade soldering iron stand is ready, it is more convenient and comfortable to solder with it, and the rubber legs will not let it slip off the slippery surface and will not scratch the table.
All interesting and unusual ideas for new homemade products.


