
In ancient times, the boomerang was quite powerful and formidable. weapons. With it, ancient people could hunt much more successfully than with stone. Such a device could fly far further and hit harder, moreover, the boomerang can return back if it was not possible to hit the target. Also, with the help of a boomerang, you can completely defend yourself from enemies if you master the launch technique perfectly. Today, boomerang is mainly used in sports events as a hobby, and it has also become an integral part of the decor.
It’s not difficult to make a boomerang, because even the natives knew how to do it, having no materials or tools at hand, they didn’t even understand by what laws the boomerang works. Nowadays, this task will be easy even for beginners.
The boomerang discussed below is capable of returning with a 90% probability. Of course, much depends on the launch technique. Having gained experience, you can learn how to make high-quality boomerangs in a short time. It is only necessary to choose the right angle of the wing. It is important to note that launching a boomerang can be quite a dangerous event and no one should distract a person. When returning, a boomerang can easily injure.
Materials and tools for homemade:
- protective impregnation for wood, as well as paint;
- wooden rail.

Of the tools you will need: a knife, a hacksaw, a pot of boiling water, a brush, PVA glue (and best of all epoxy), masking tape or electrical tape, files for wood (ordinary and rasp).
Boomerang manufacturing process:
Step one. Boomerang device
Boomerang is made of wooden slats, pine or birch is suitable. In the latter case, the boomerang will fly further, but it will also be harder to catch. The author of the game Assassins Creed prompted me to make such a boomerang.
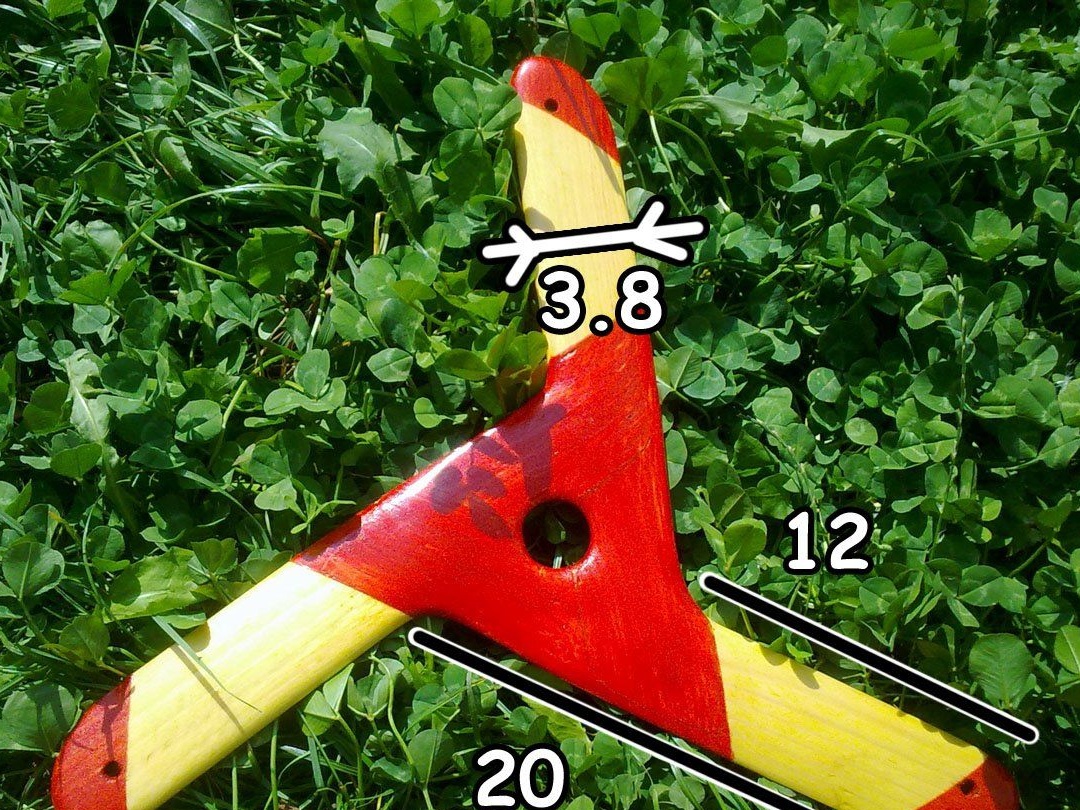
As for the sizes, they were randomly selected. The blade width is equal to the width of the selected rail. The rest of the collection, the author improvised. As can be seen in the drawing, to create a boomerang from the rail, you need to saw off three parts.
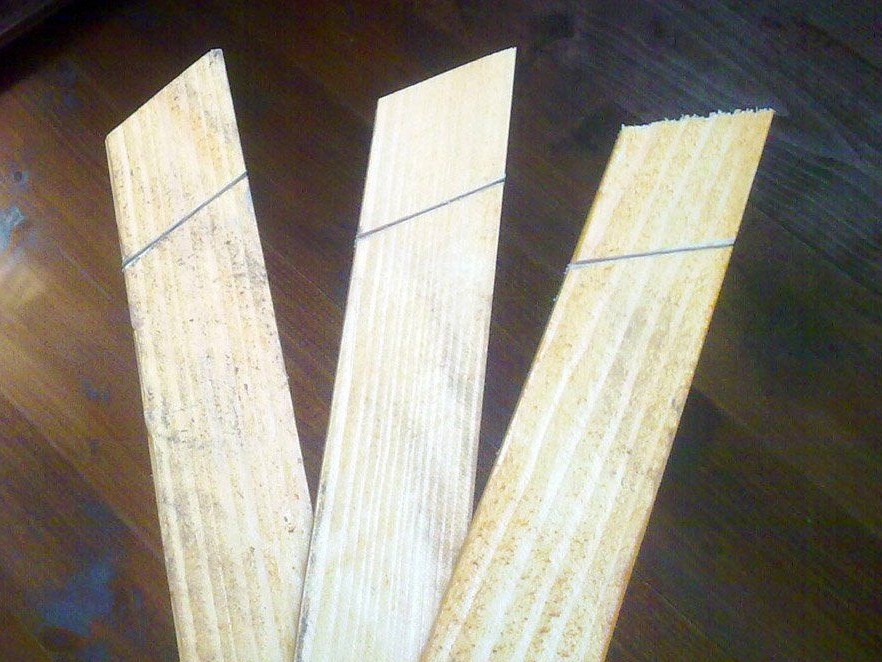
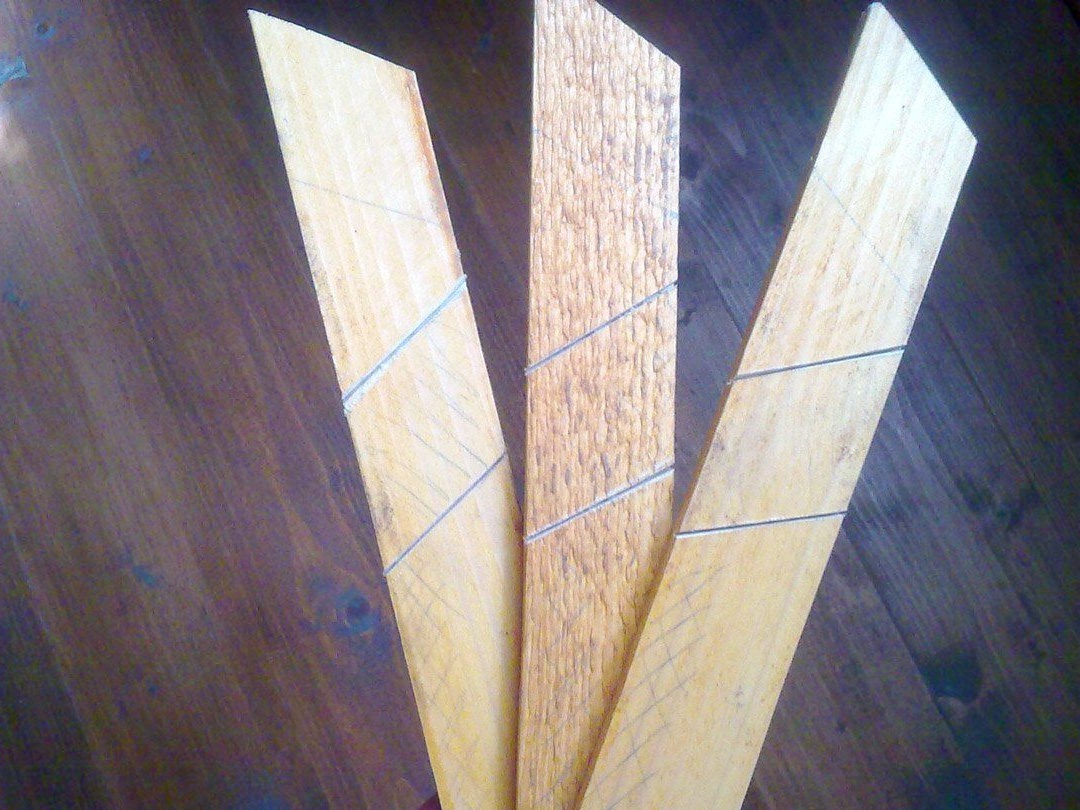
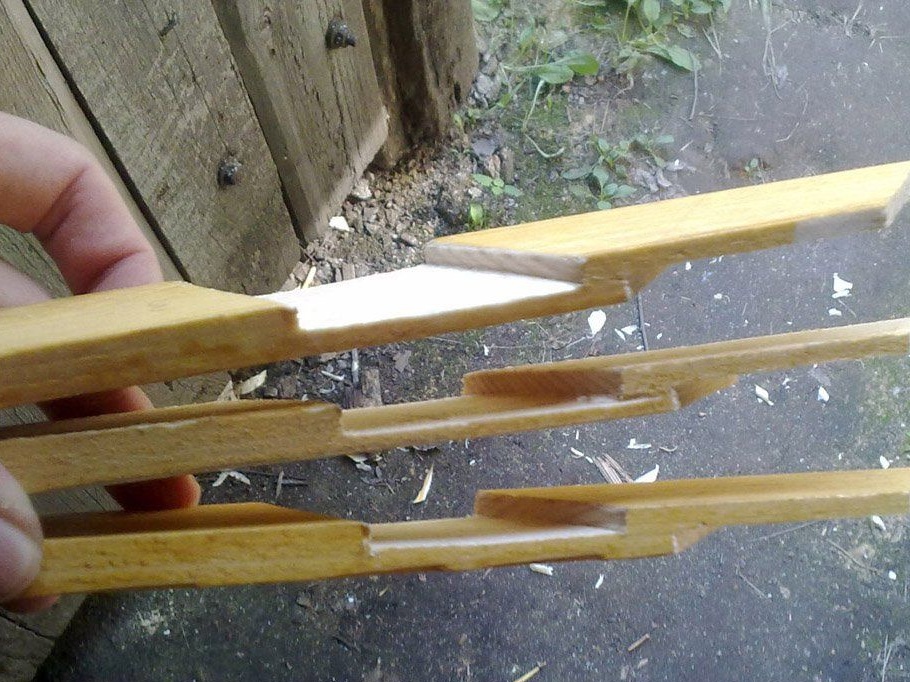
Step Two Rail cuts
After the rails are cut, they need to mark the places of cuts, as can be seen in the diagram. Further along these lines, you need to make cuts using a hacksaw. The depth of the slots should be half the thickness of the slats. The slots should be even, without distortions. Slots are made on both sides, as can be seen in the photo.
Step Three Make the grooves
The next step is to use a knife. With it, you need to carefully break the wood in the places of cuts. In depth, the groove should be slightly less than half the thickness of the rail. At the final stage, the grooves need to be carefully processed with a file, as a result, a flat surface should be obtained.
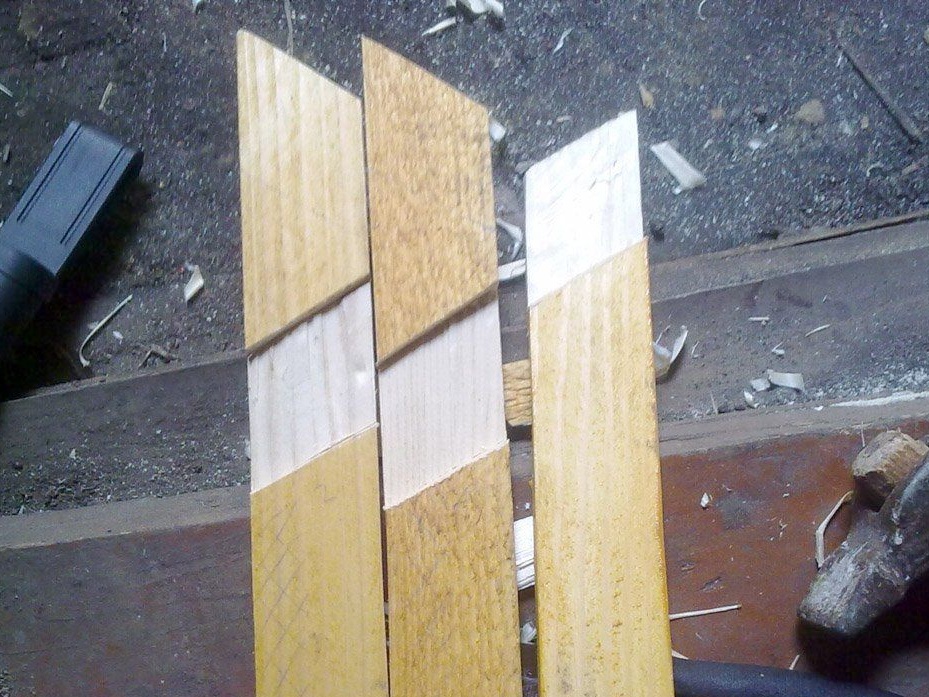
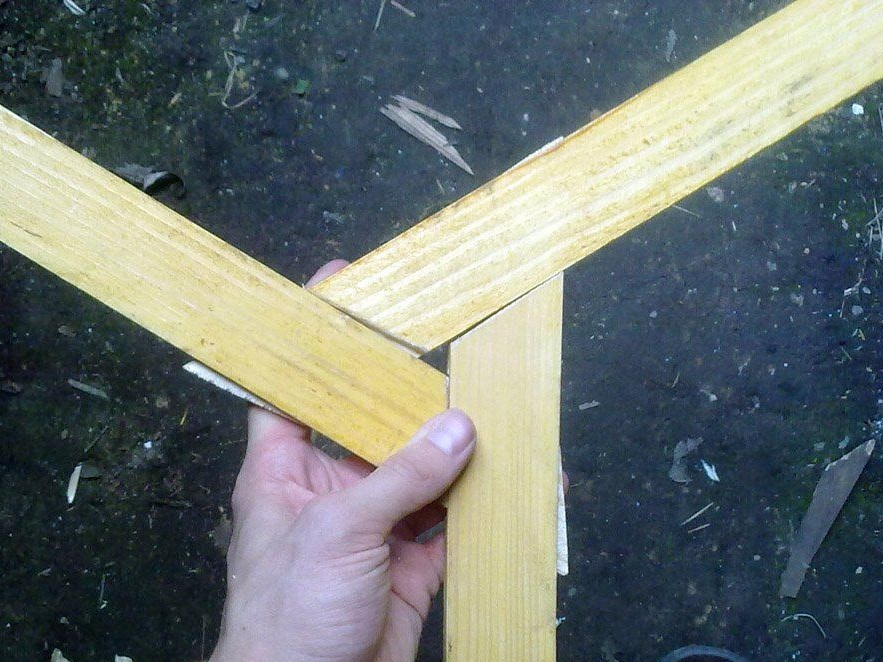
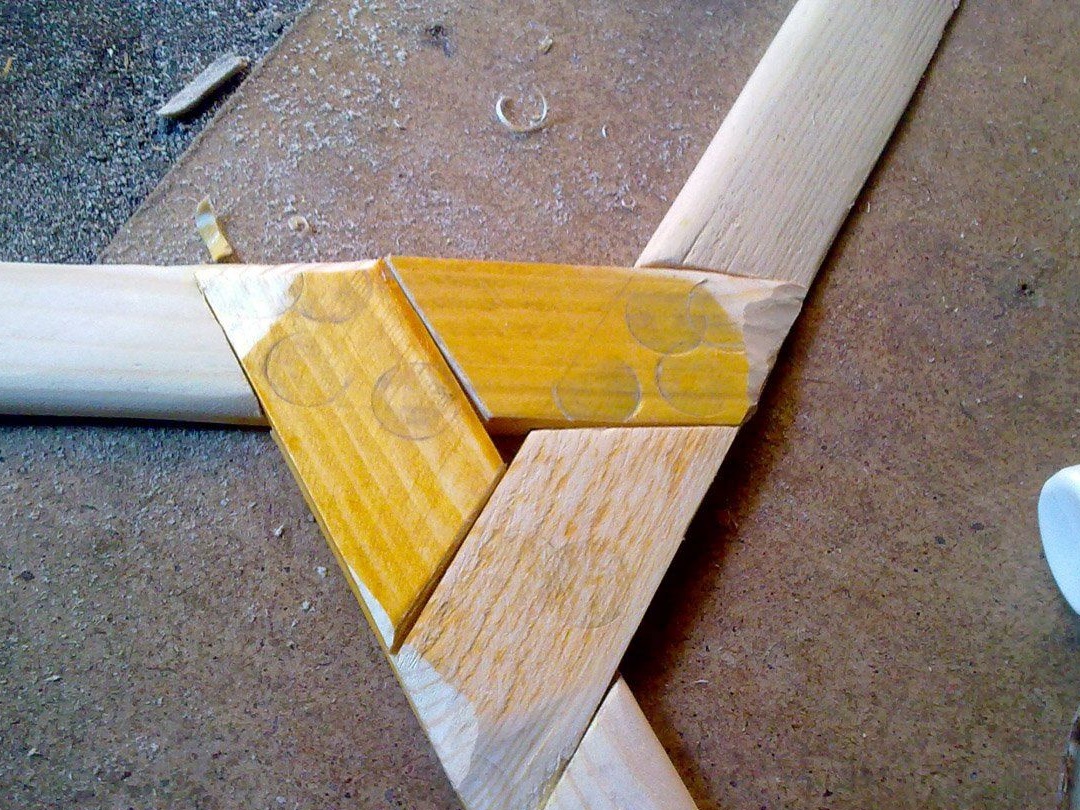
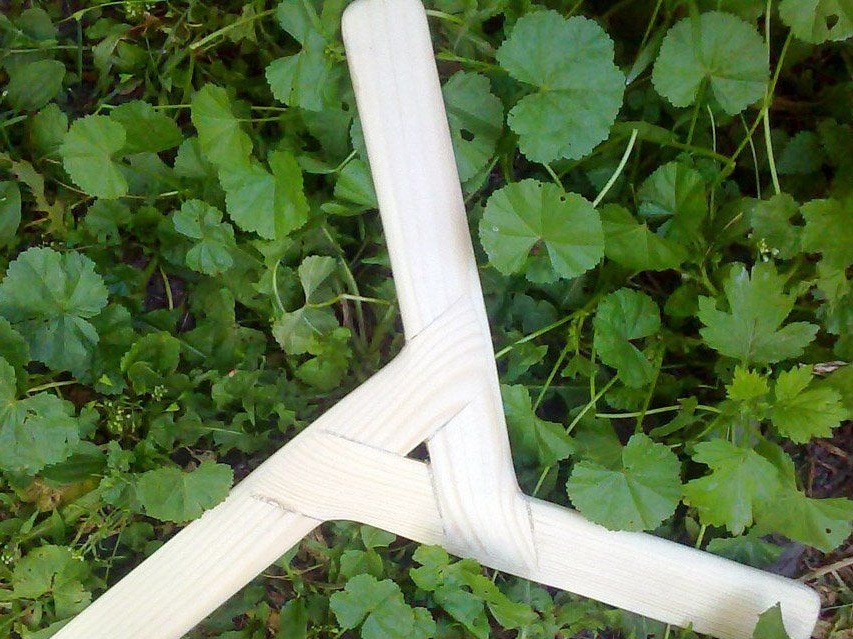
Step Four Assemble parts
At this stage, the author tries to assemble three manufactured parts in a boomerang. In the end, everything should turn out as seen in the photo.
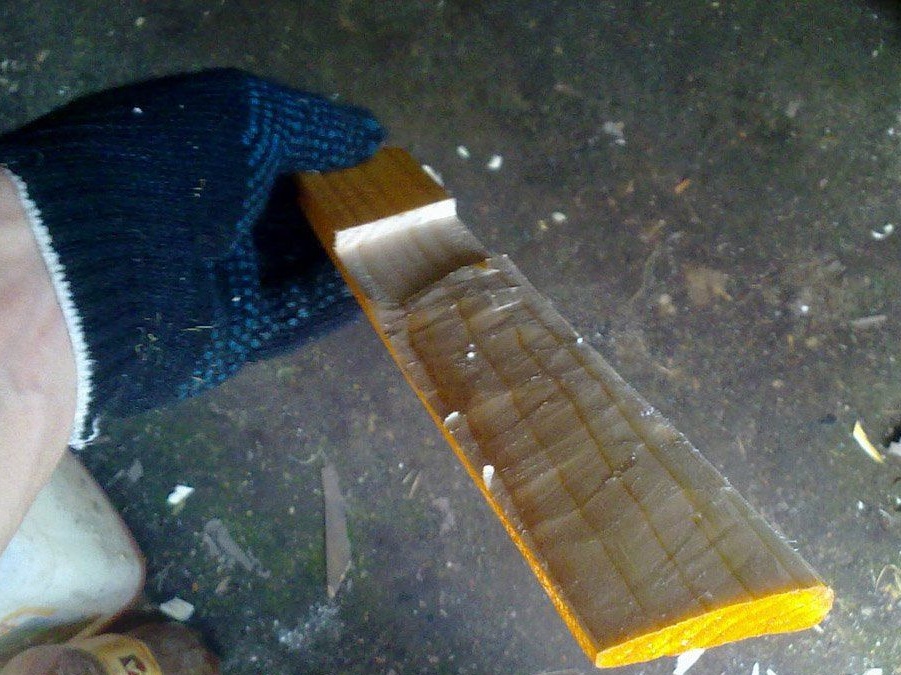
Step Five Making boomerang wings
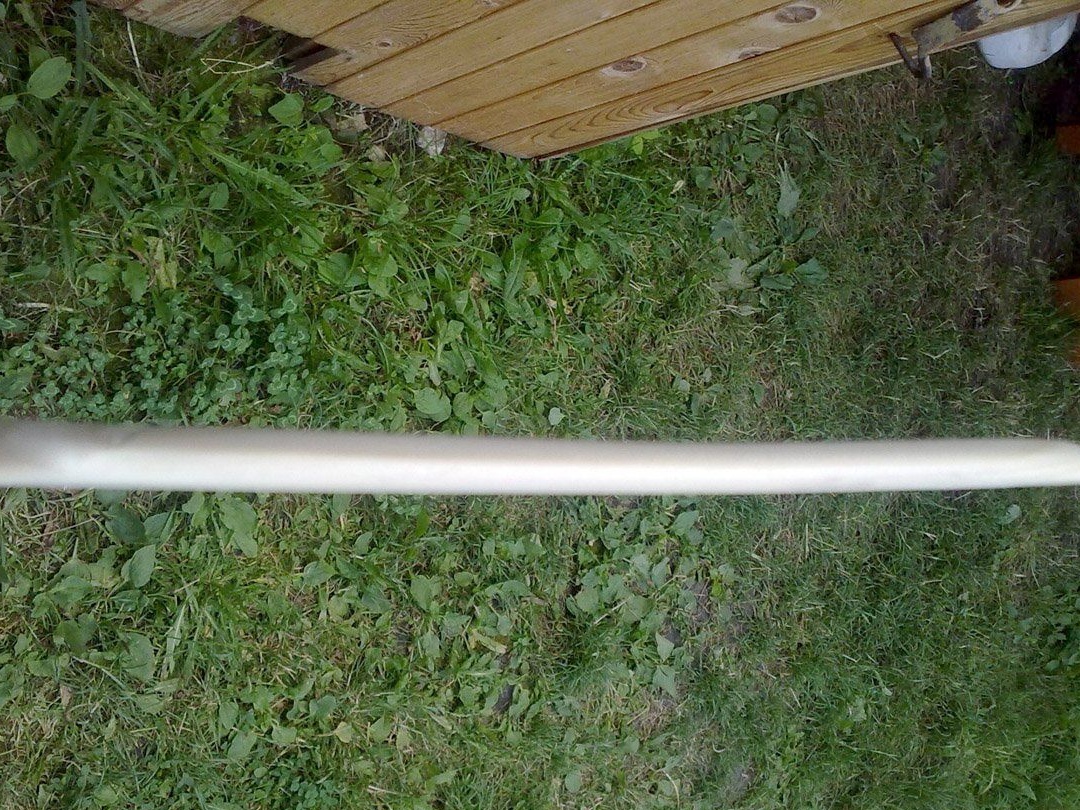
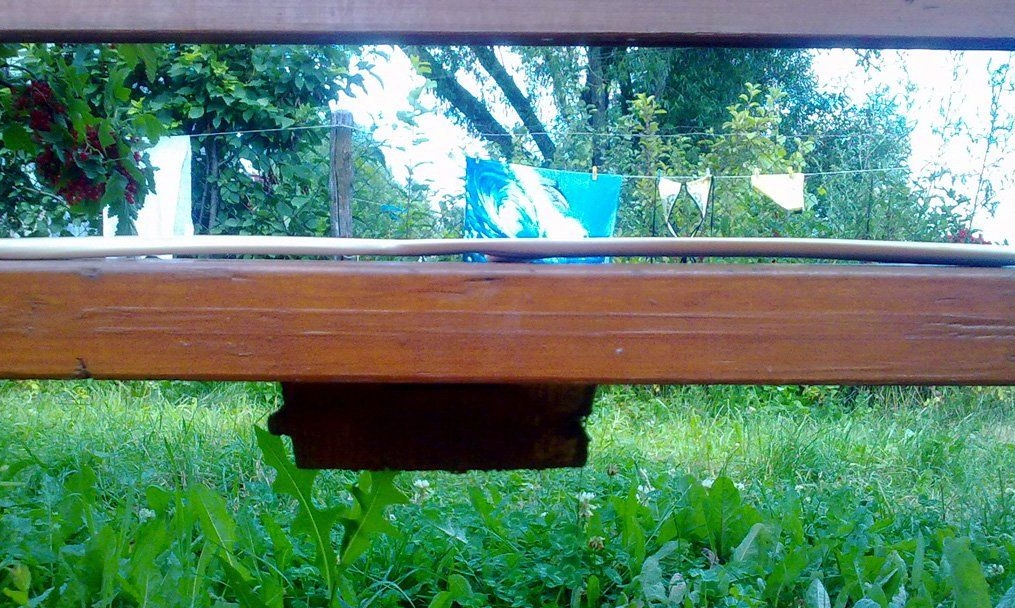
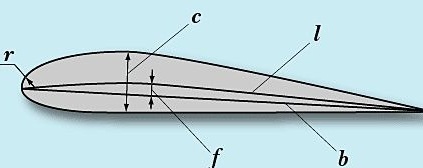
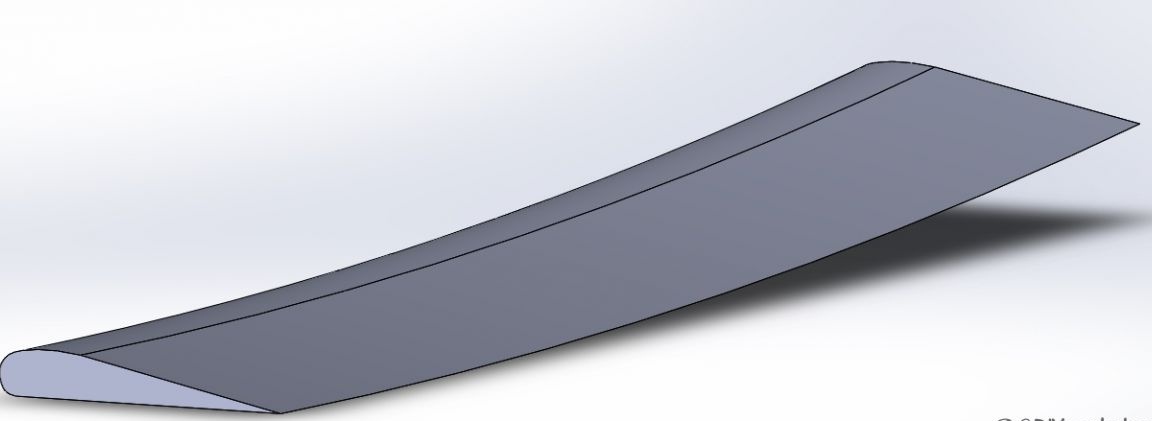
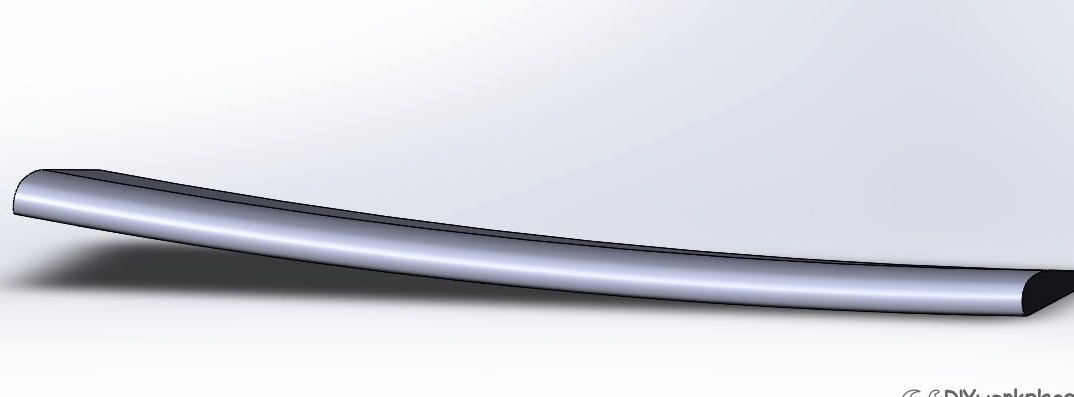
In order for the boomerang wings to have lift, they need to be shaped like a plane. To understand how to do this, it is proposed to look at the photo and drawing. It is very important not to confuse the parties.
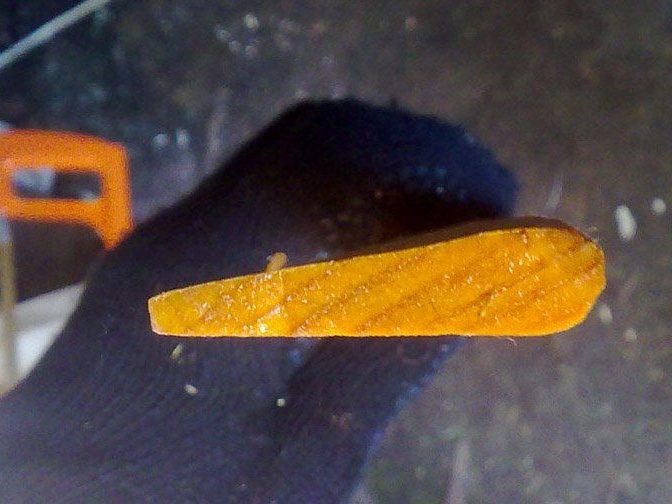
To boomerang could come back, his wings need to make a special bend. This bend is made from the convex part of the wing. The stronger this bend is, the faster the boomerang will come back, that is, the radius of the flight will decrease. To bend the blades, the wood must be steamed in a water bath. That is, you need to hold it over boiling water. Further, the wings can be bent around a cylindrical object, such as a bucket.
Step Six Boomerang assembly
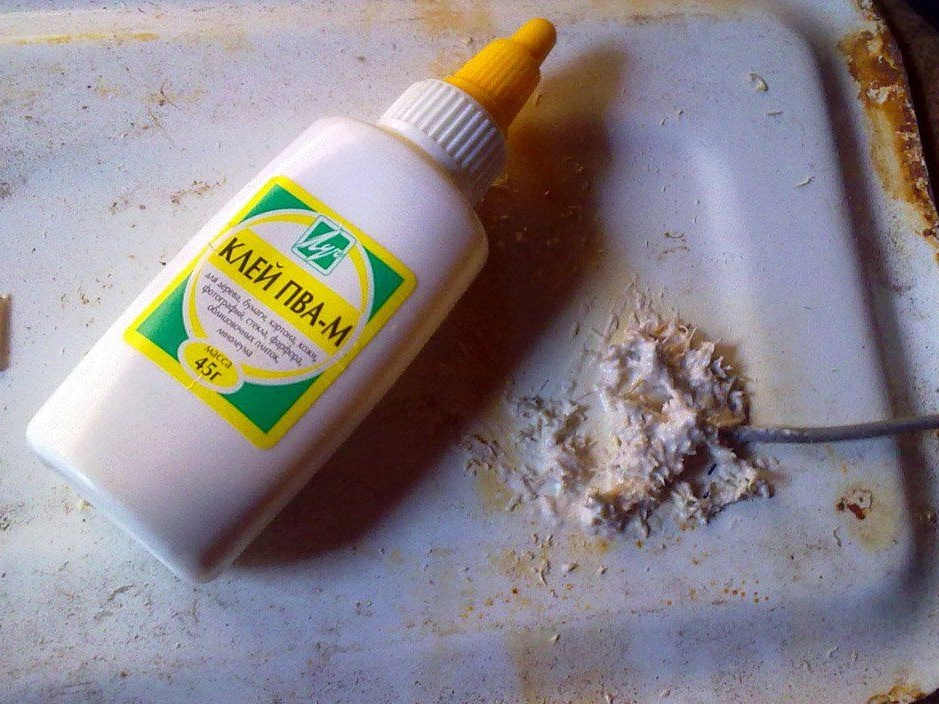
A boomerang is going with glue. Of course, before this you need to dry the wood. Before gluing, grooves must be thoroughly cleaned with a file. Any glue is suitable for wood, it can also be PVA, and best of all epoxy. The author clamped the boomerang with clamps, their traces can be seen in the photo. You can hold a boomerang in a vice between books, for example.
After gluing, the seams will remain on the boomerang, they must be repaired with fine wood sawdust and PVA glue, making a kind of putty. Also, these seams can be repaired with epoxy resin, but it will be much more difficult to process.
Seventh step. Preparation for painting and painting boomerang
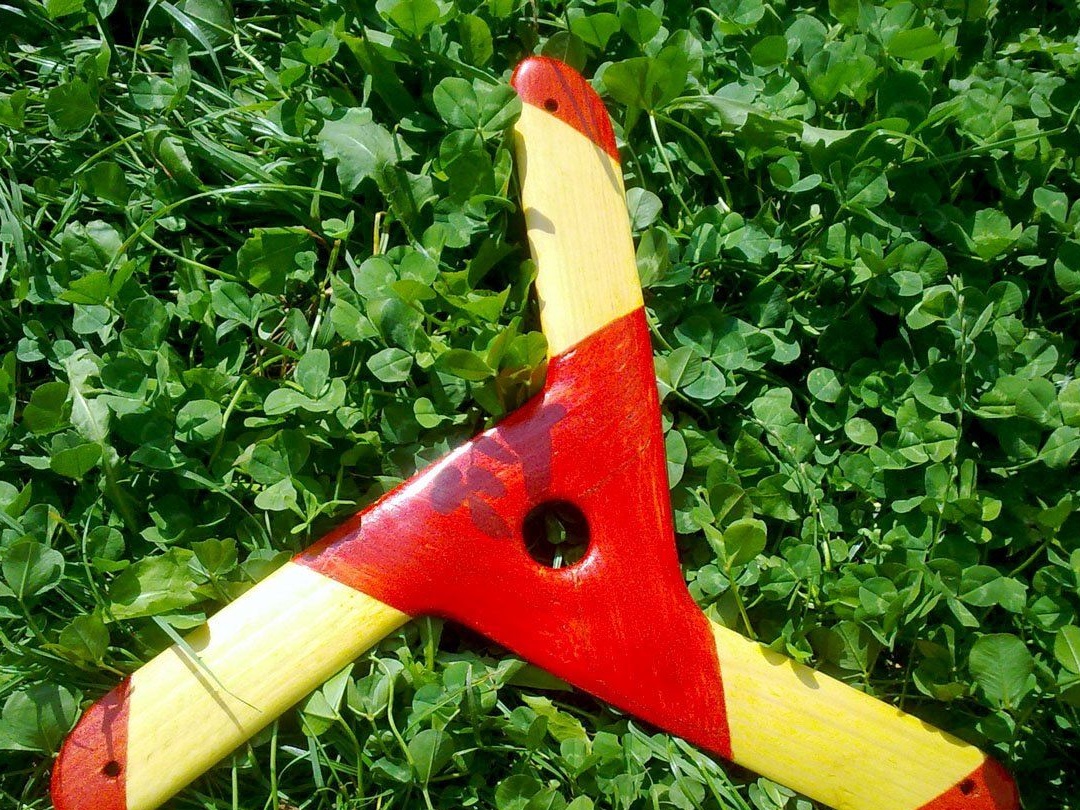
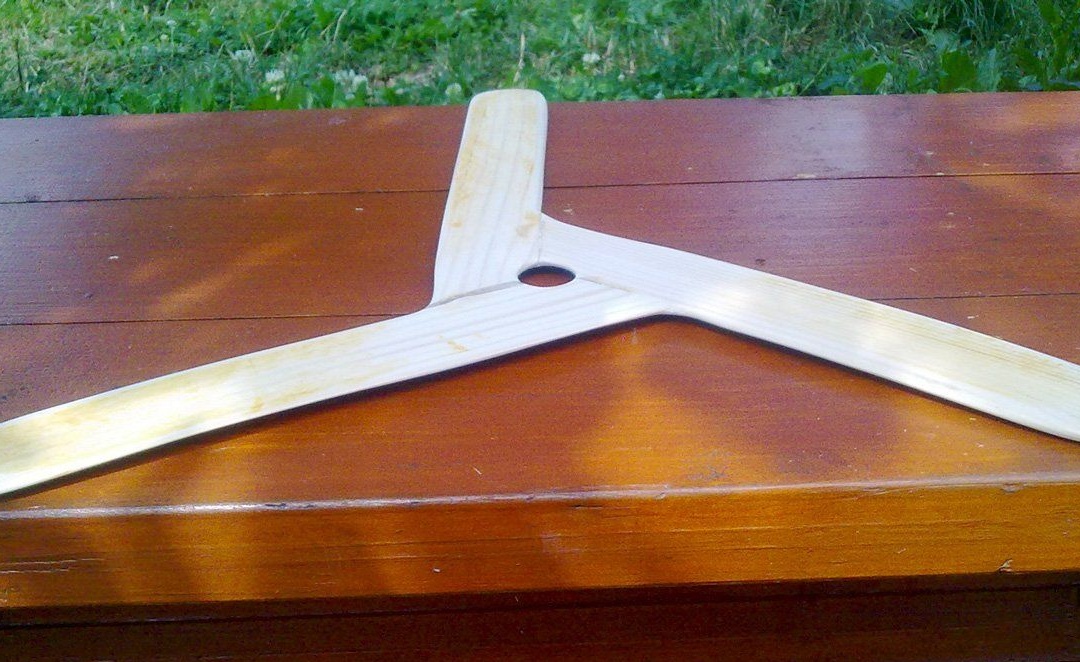
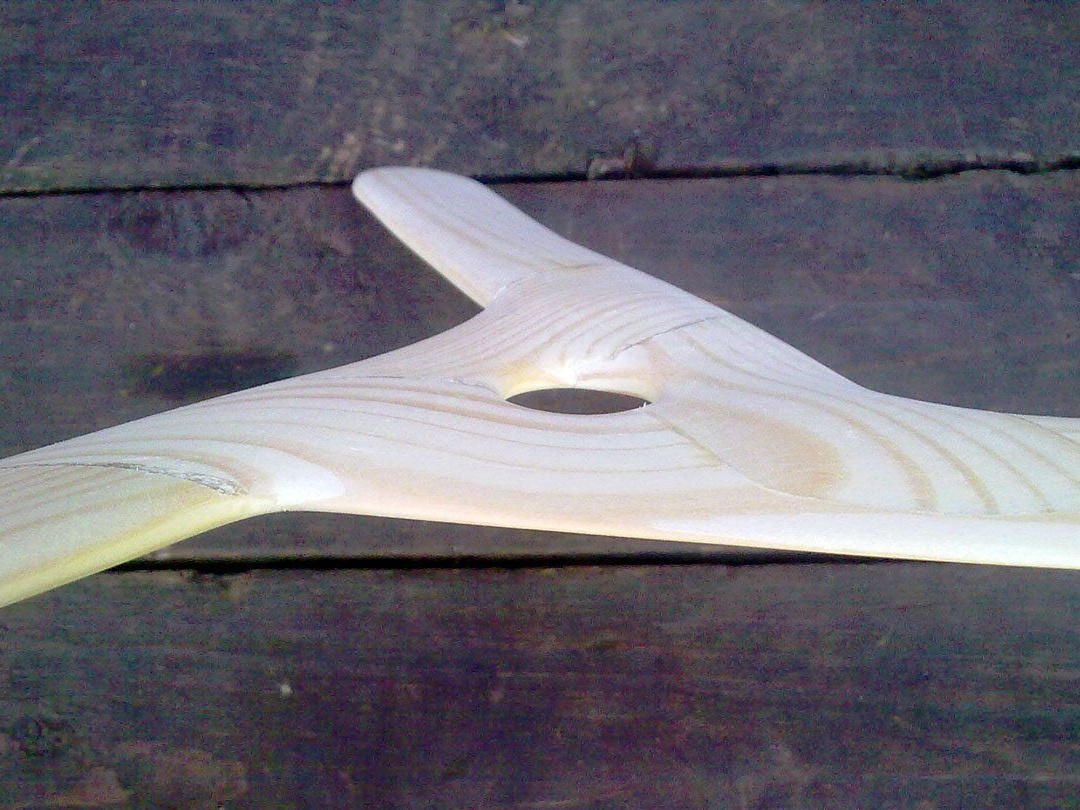
Now boomerang can be prepared for painting. First, it must be carefully treated with sandpaper and a file. It is necessary to achieve perfectly smooth and smooth forms, only in this case the boomerang will clearly return to the throwing point. The hole in the center was enlarged and made round.
So that the boomerang does not absorb moisture and, as a result, does not crack, it needs to be painted or covered with colorless varnish. A colorless protective impregnation for wood is also suitable. In addition, the varnish coating will make the boomerang more streamlined.
This time, the author decided to paint his boomerang in different colors. To make such patterns, a boomerang needs to be glued with electrical tape, and then painted. After painting, the boomerang stays dry on a plywood sheet. In order not to grease the paint, the boomerang lies on three nails, which are driven into the plywood with the tips up.

If it so happens that the boomerang will spin too fast, it can be slowed down by drilling holes at the edges. This will facilitate his capture during the return. That's all, now the boomerang is ready for testing. In more detail, everything can be seen on the video.