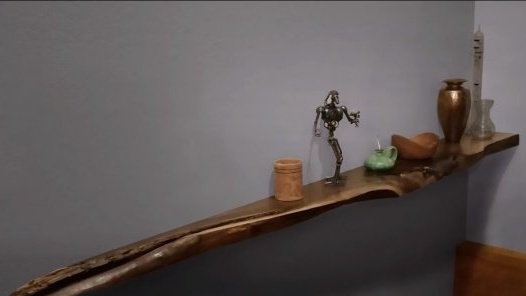
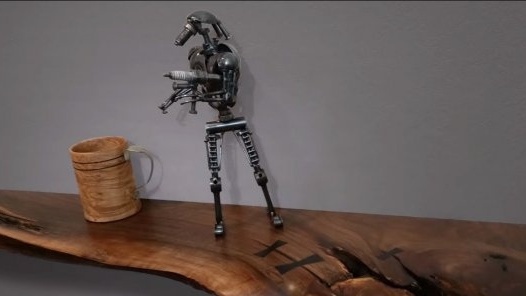
Hello fans to craft, today we will consider the technology for making a beautiful and unusually fixed shelf, which gives the impression that the shelf is floating in the air. Actually design homemade quite simple, it’s all about special fasteners, one part is screwed to the wall, and the other part is a long steel rod that is inserted into the end of the shelf. As a result, when there are a lot of such rods, the design is strong, and everything looks pretty pretty. The shelf is made of wood cut with a beautiful pattern, it looks very interesting. If you are interested in the project, I propose to study it in more detail!
Materials and tools used by the author:
Material List:
- cut a tree;
- ;
- oil or varnish for wood.
Tool List:
- drill;
- milling cutter;
- surface gage;
- manual grinder;
- Bulgarian with a nozzle for wood;
- a planer;
- a circular saw;
- hammer and chisel;
- clamps.
Homemade manufacturing process:
Step one. Wood board preparation
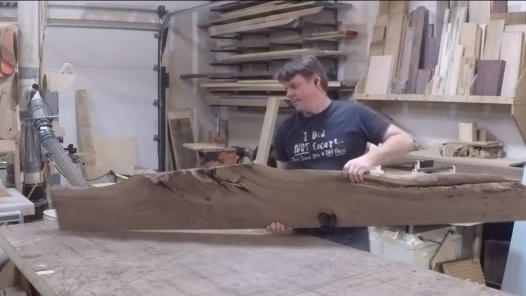
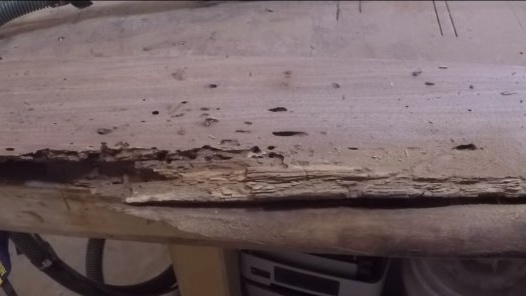
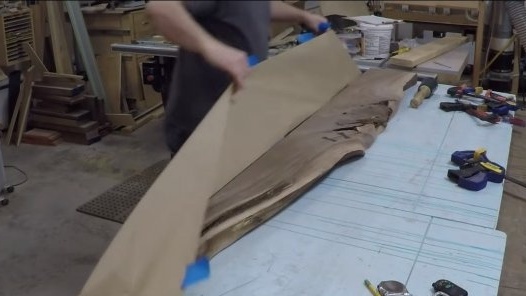
We will need a saw cut with a beautiful texture, but at the same time, the material should not be rotten. However, it is possible to strengthen a rather shabby material by using epoxy glue. But our author does not practice this.
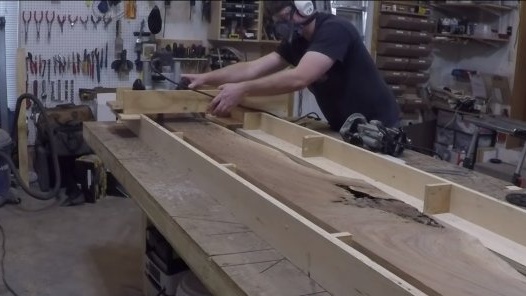
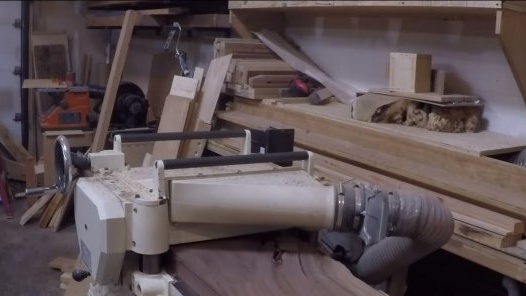
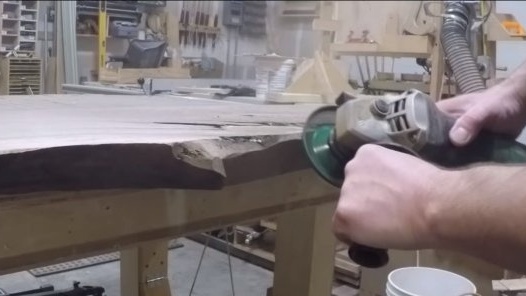
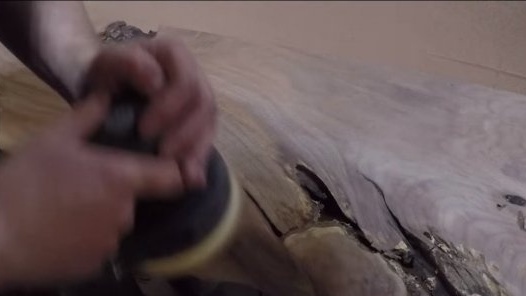
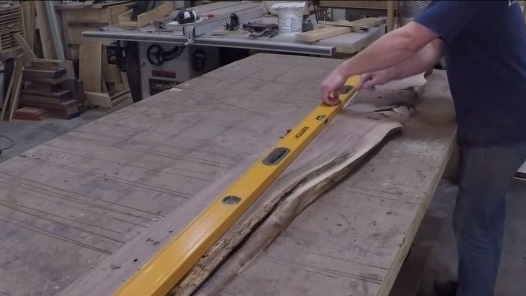
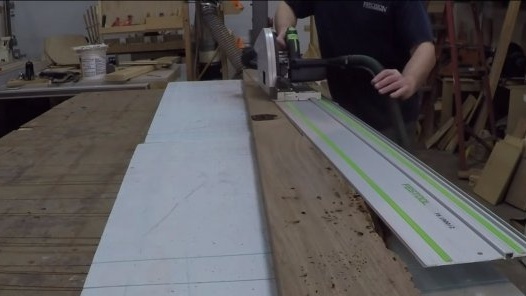
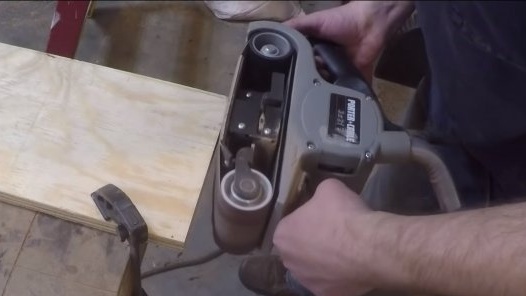
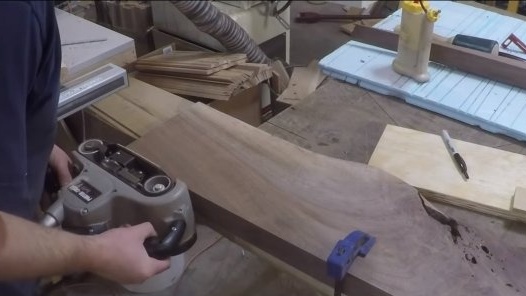
Material needs to be leveled, here we need a surface gage or a milling cutter. Having leveled the plane, we proceed to grinding, here we will need any grinding machine, belt or orbital. We bring the plane to a perfectly smooth state, remove all those areas that may fall off. If you need to set a special shape, we use a grinder with a special nozzle for wood.
Step Two We are strengthening
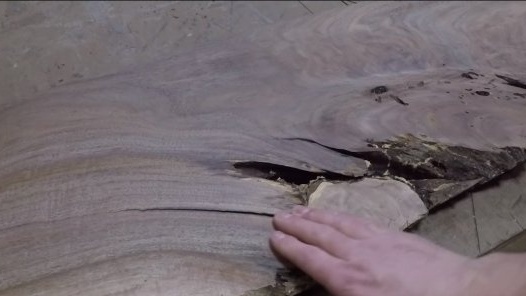
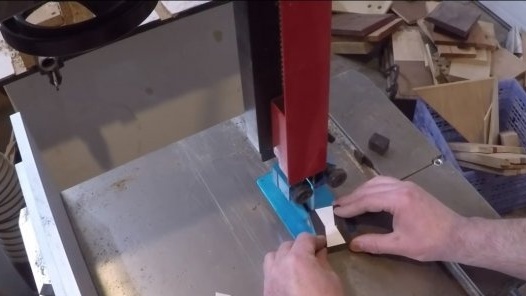
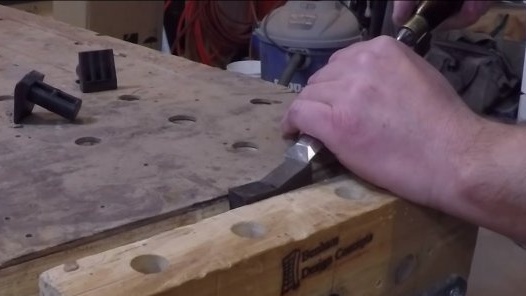
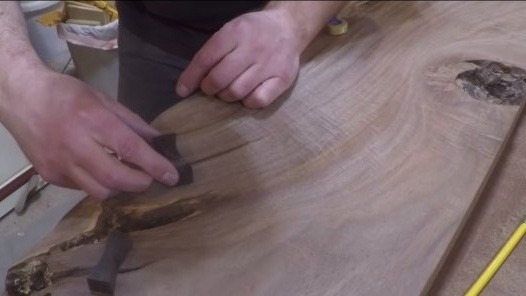
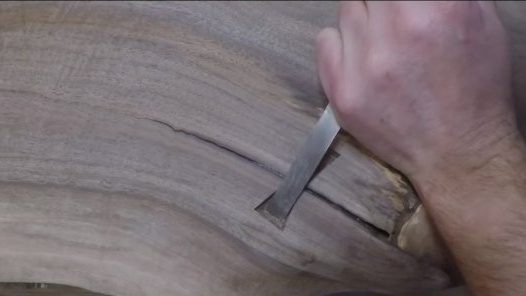
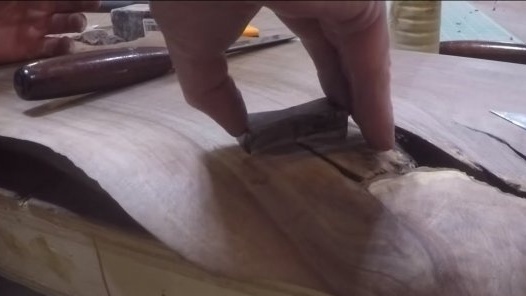
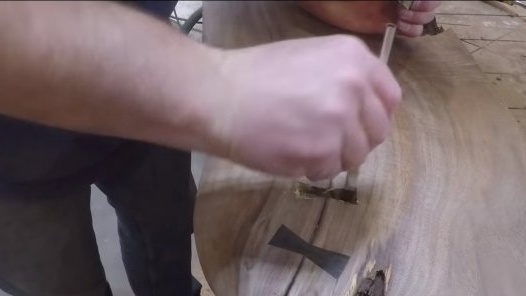
The selected material must be dry, otherwise the tree will crack and even deform for a rather long time. The author in the material had cracks which. In his opinion, they threatened the integrity of the regiment. Such areas are best reinforced. For such purposes, we will need jumpers that look like a butterfly. Such a detail is wide at the edges and narrow in the center. Under the jumpers in the material we make the corresponding recesses, rough work can be done with a drill or milling cutter. Well, then we cut out the recesses exactly in the form of a chisel.
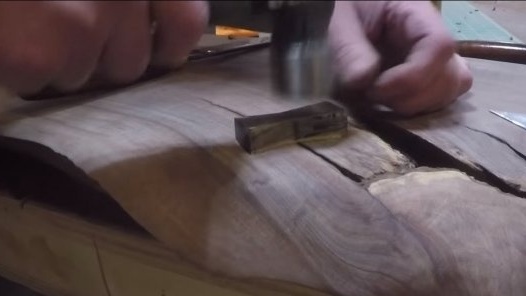
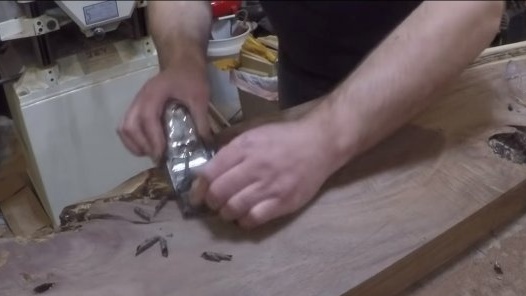
Jumpers can be set in place. Having put glue on a tree, we hammer jumpers with a hammer. What will protrude above the surface must be removed. If there is a lot of material, cut it with a hacksaw. We rest the rest with a plane and grind. As a result, we get a pretty strong connection.
Step Three Fasteners and installation
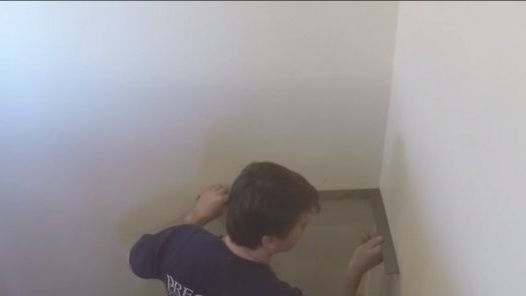
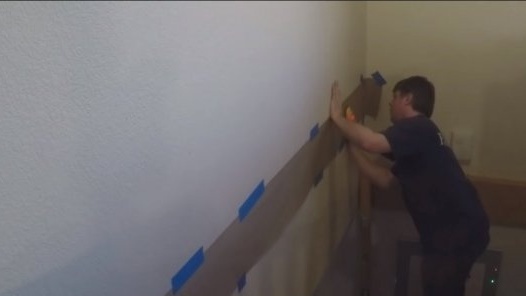
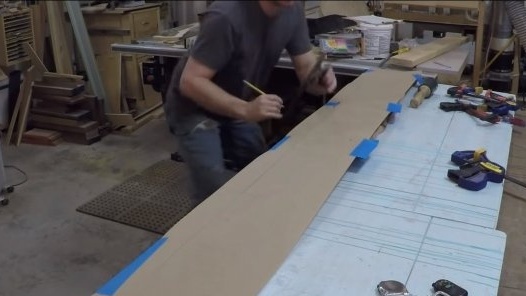
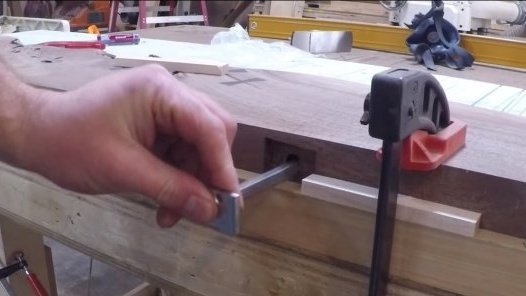
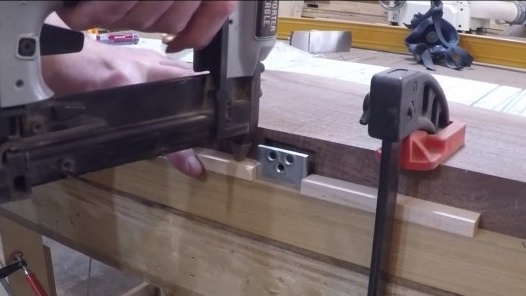
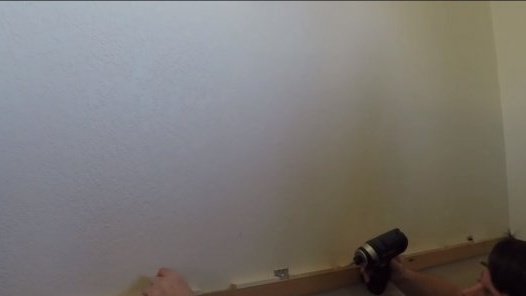
We make mounting holes for the shelf so that the rods from the fasteners go there. The shelf should hang at a right angle, so we carefully carry out all measurements on the wall. The author made a special template from plywood, according to which he installed a shelf.
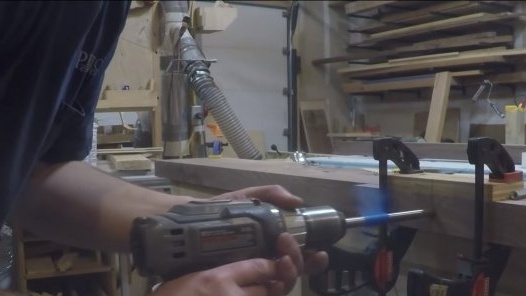
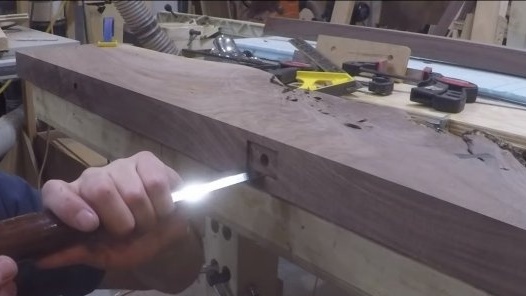
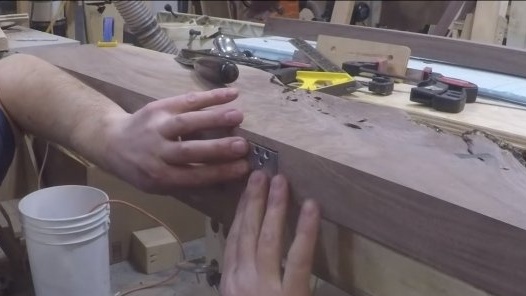
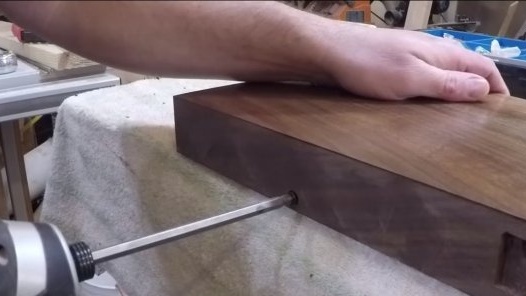
Now you can drill holes in the shelf, it is important that they are drilled perpendicularly. Under the protruding part of the fasteners above the wall, we make a chisel indentation in the shelf.
Now the shelf can be installed, we fasten the fasteners to the wall, if the wall is concrete, we drill holes with a drill on concrete and hammer in the dowels into which we turn the screws. If the wall is made of wood, it is important to use long and reliable self-tapping screws. We try to install the shelf in its place, if everything is fine, remove the shelf and impregnate the tree. It is best to cover the tree with oil, if the grinding is done efficiently, the tree will look natural and very beautiful. That's all, the homemade product is ready for this, the project has been completed successfully, everything looks beautiful and is done reliably. I hope you enjoyed your homemade work and found useful thoughts for yourself. Good luck and creative inspiration, if you decide to repeat this. Do not forget to share your ideas and homemade things with us!

