An open wardrobe is an unusual solution for storing clothes in your bedroom. Such projects are not common, but meanwhile they have a much lower cost, are simple in organization and are not inferior in any way to aesthetic full-fledged wardrobe rooms.
The author uses the most affordable materials for the manufacture of the wardrobe: thin plywood and slats of a small section. The decor this time was acrylic paint, the safety of which is not in doubt even if all paintwork is carried out indoors without ventilation.
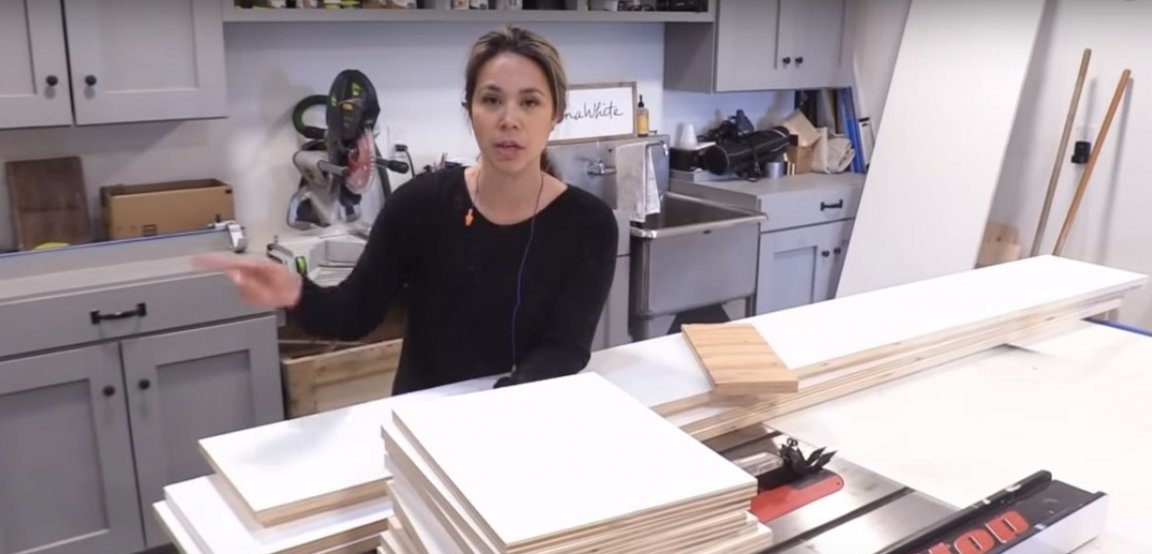
In order to organize an open dressing room you will need:
Materials:
- thin plywood for cladding the facade of the wardrobe;
- plywood is thicker for organizing shelves;
- slats for the construction of the frame;
- slats for facade decoration;
- a wooden or metal rod for organizing hangers, fasteners;
- wood screws;
- small nails;
- acrylic paint;
- acrylic varnish at will;
- masking tape.
Instruments:
- Miter saw;
- circular manual;
- a conductor for drilling holes at the required angle;
- drill;
- screwdriver;
- pneumatic nail gun;
- construction level and square;
- paint roller and brush;
- scissors.
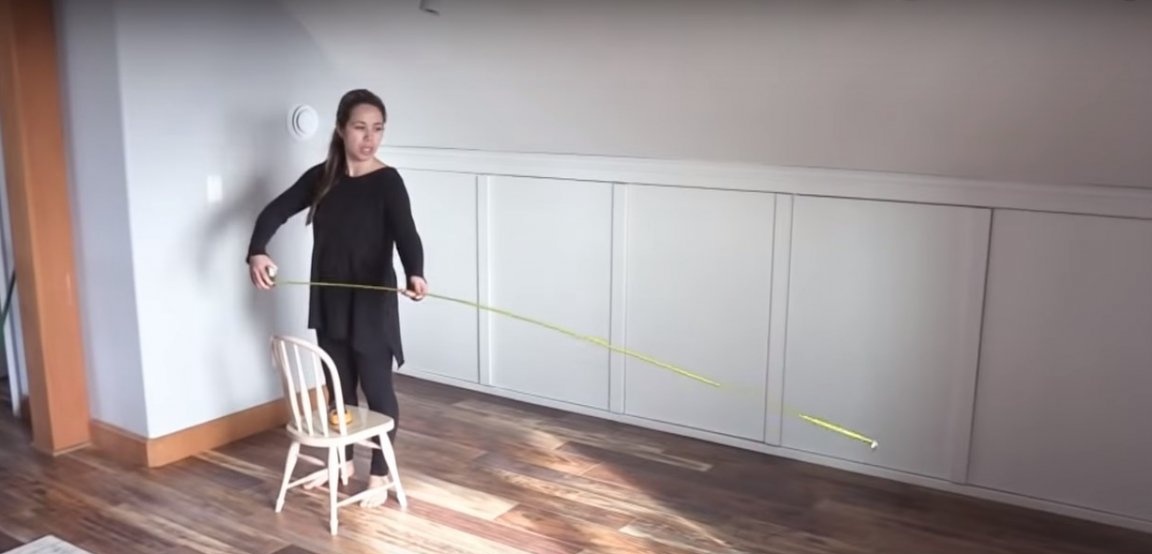
Step one: marking on the ground
Determine the location of your wardrobe, given the supply of space for its maintenance. Careful layout will save you a lot of time. Use the building level to indicate vertical guide lines.

Step Two: Preparation of Cladding
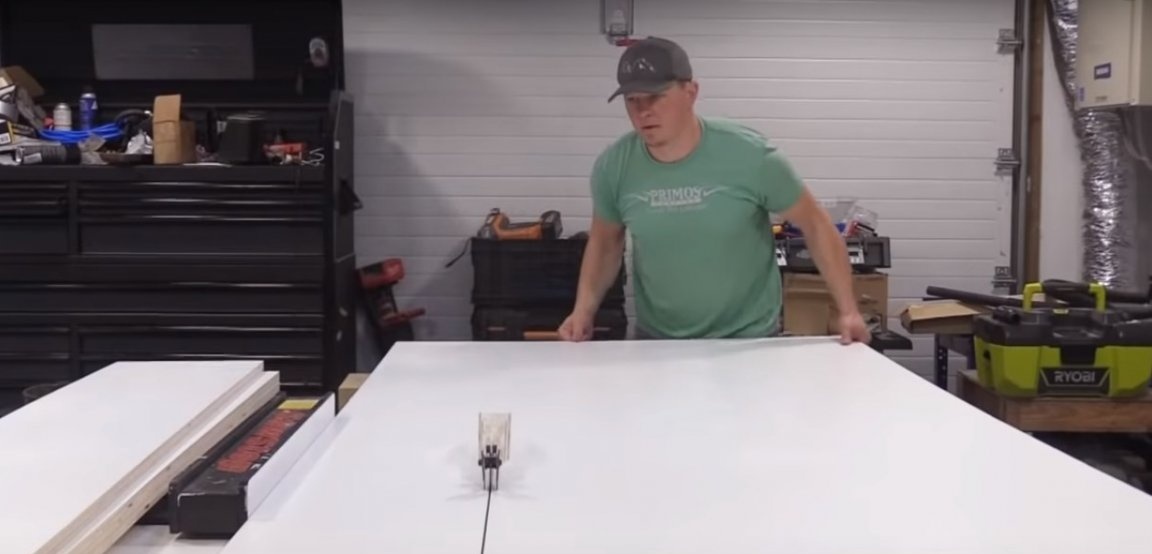
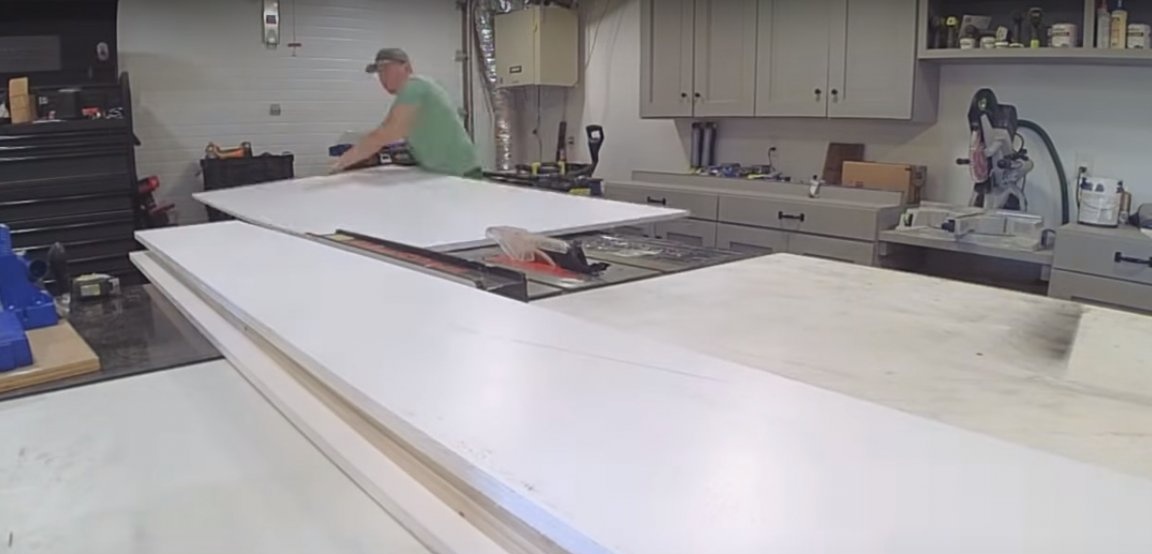
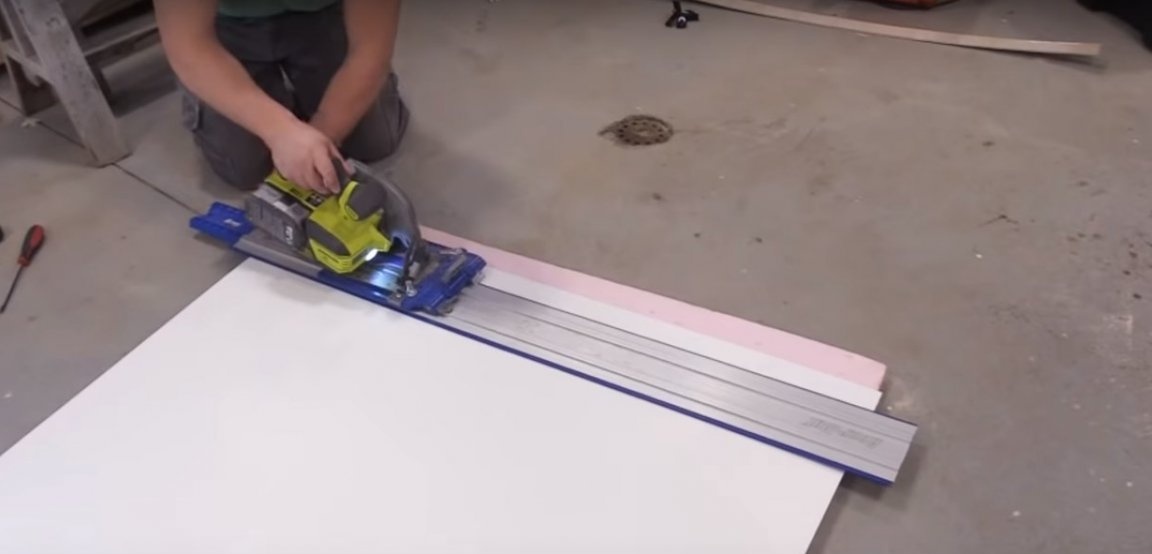
The author uses thick plywood as a cladding for the facade of the wardrobe. The most difficult task in this case is to cut a perfectly even part. To do this, he uses a special guide and a manual circular. To check the corners, take a large construction square.
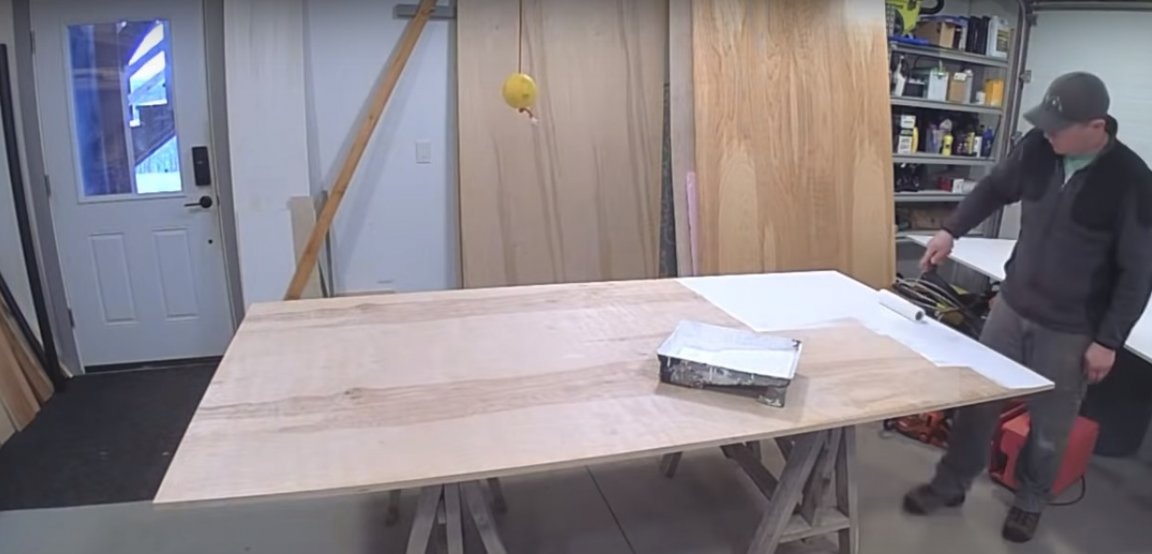
The facade consists of two parts, pre-painted with acrylic paint on one side. This is the inside of the wardrobe, painting which after mounting the entire structure would be extremely difficult.To paint the details of such an impressive area, be sure to use a paint roller. Brushes will be needed when painting finishing rails.
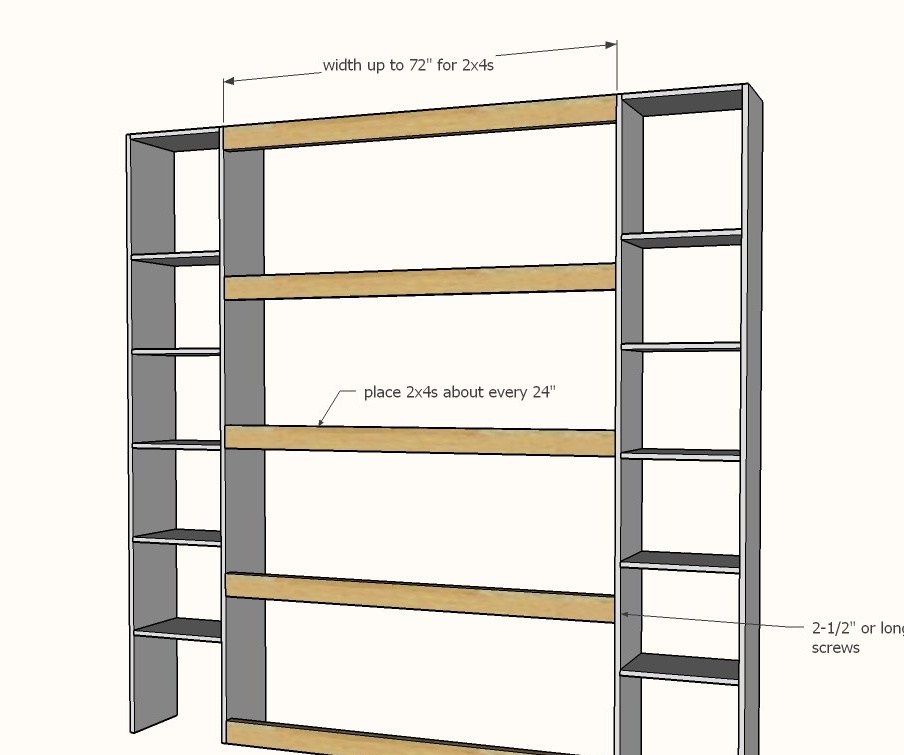
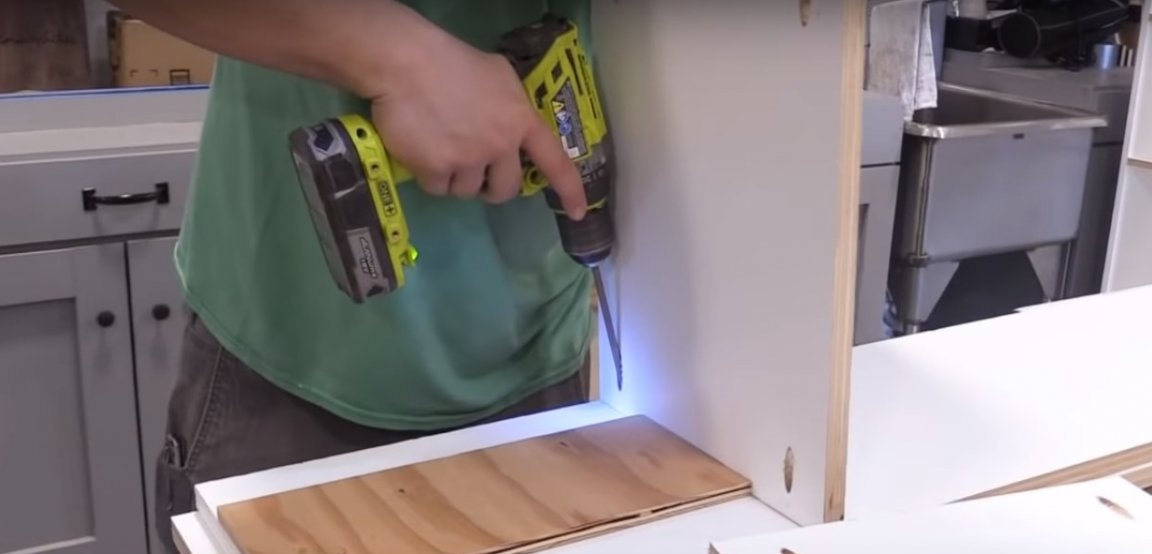
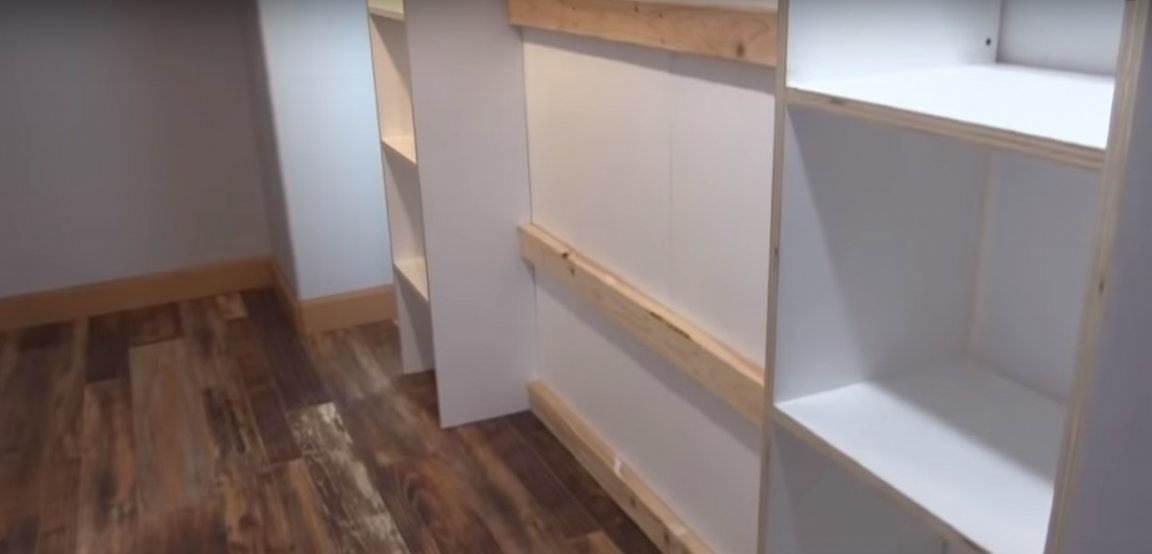
Step Three: Preparing Frame Parts
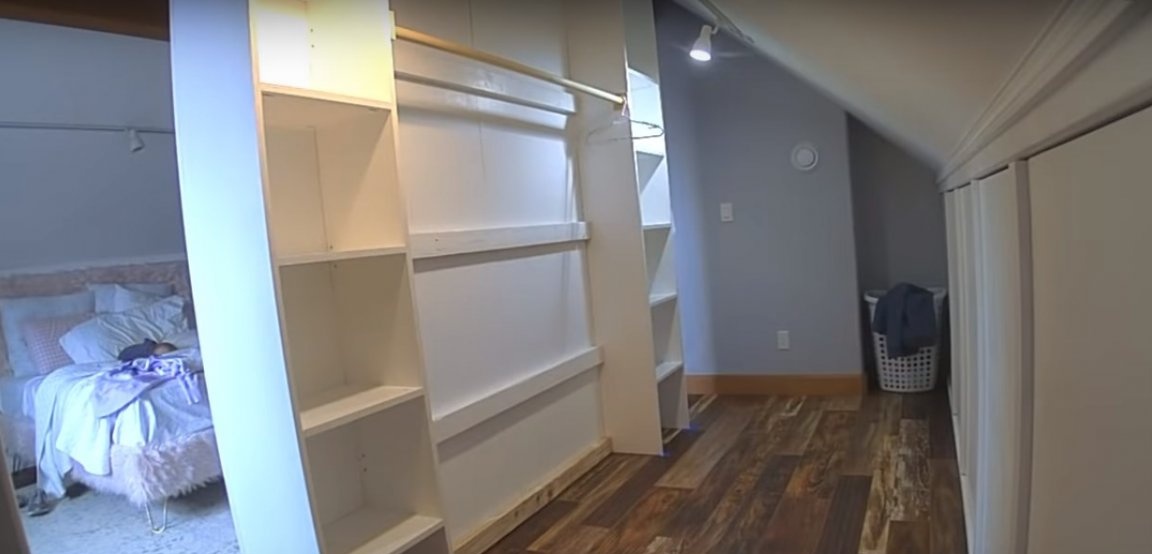
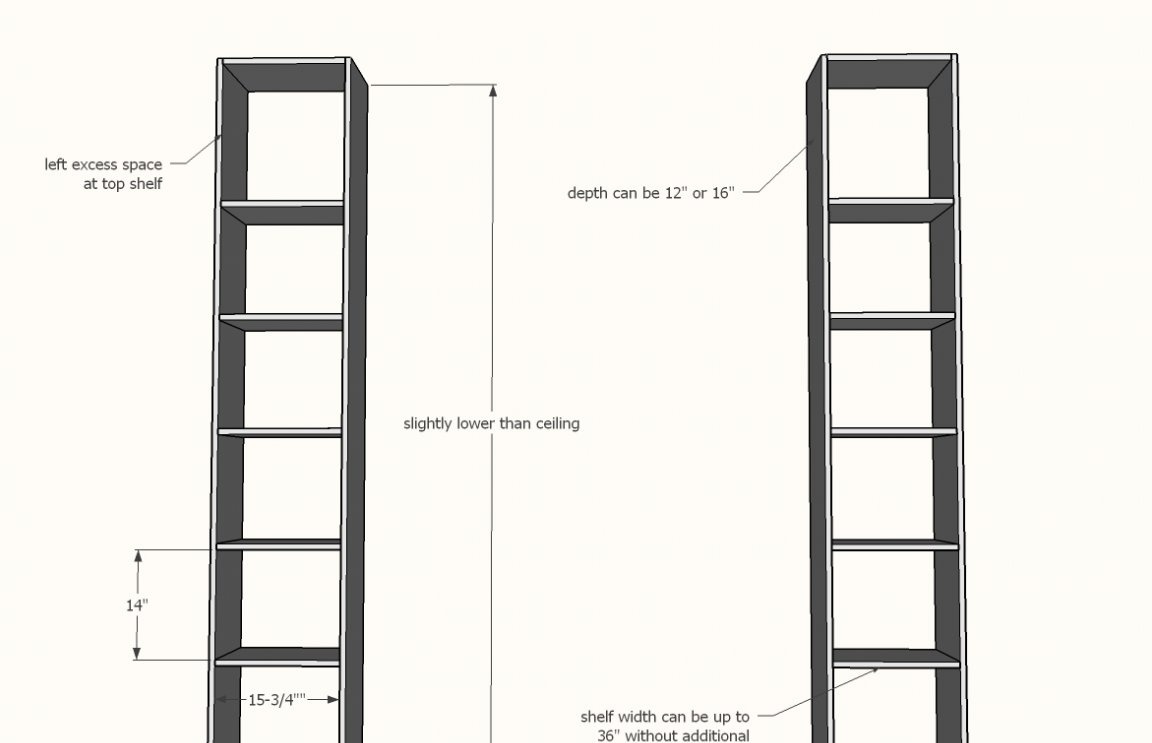
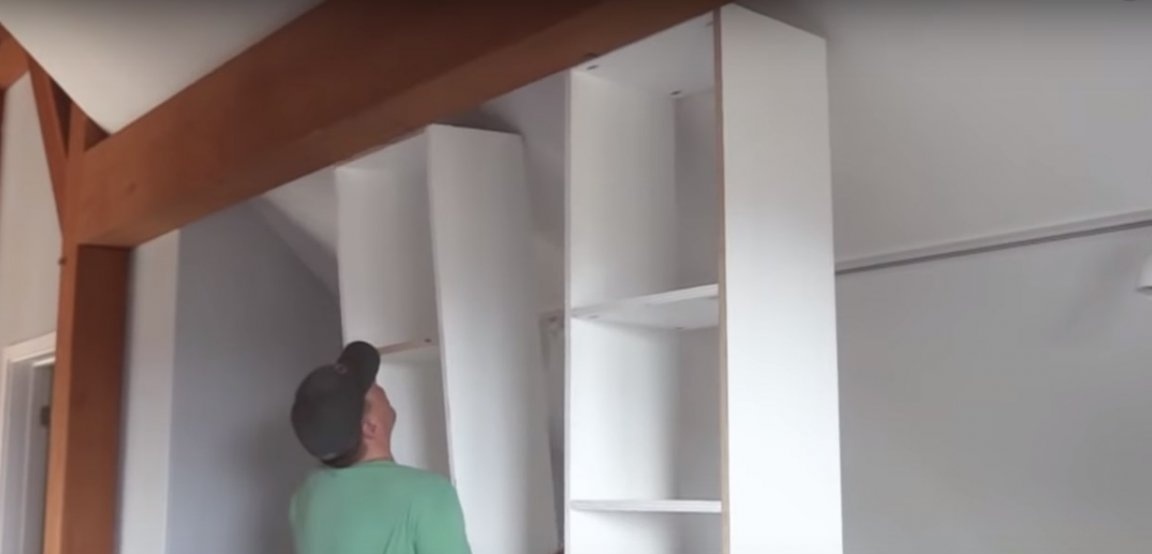
Having decided on the design of the wardrobe, proceed to the manufacture of frame parts and shelves. The wardrobe consists of two racks, shelves, interconnected by slats. The central zone is equipped with a pole for hangers.
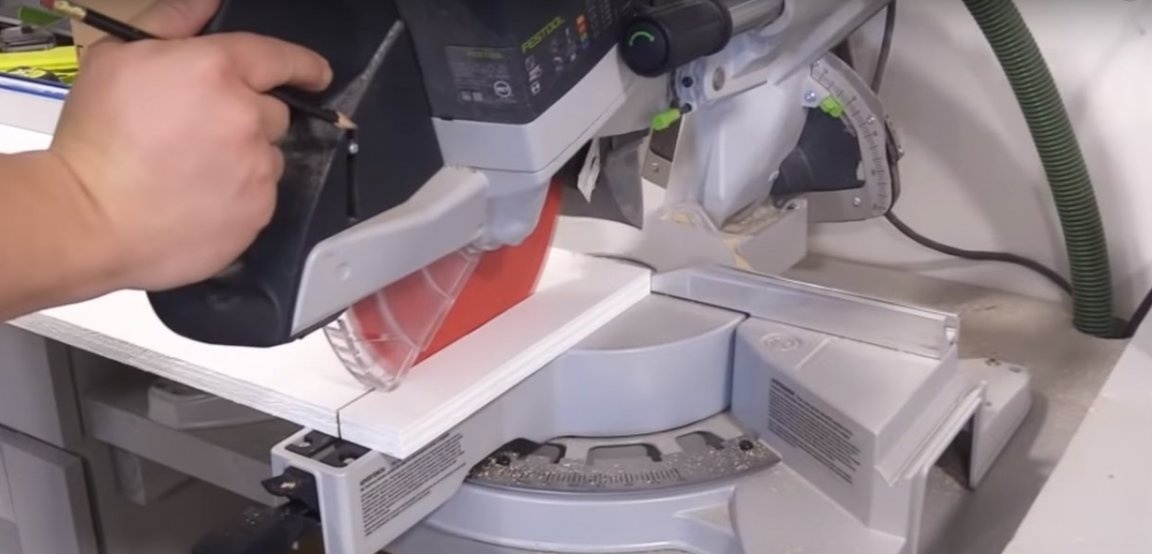
Using a miter saw, prepare the frame parts from wooden battens and the blanks of plywood shelves. Drill holes at an angle to fasten parts butt to butt with screws. A special conductor will help you with this.
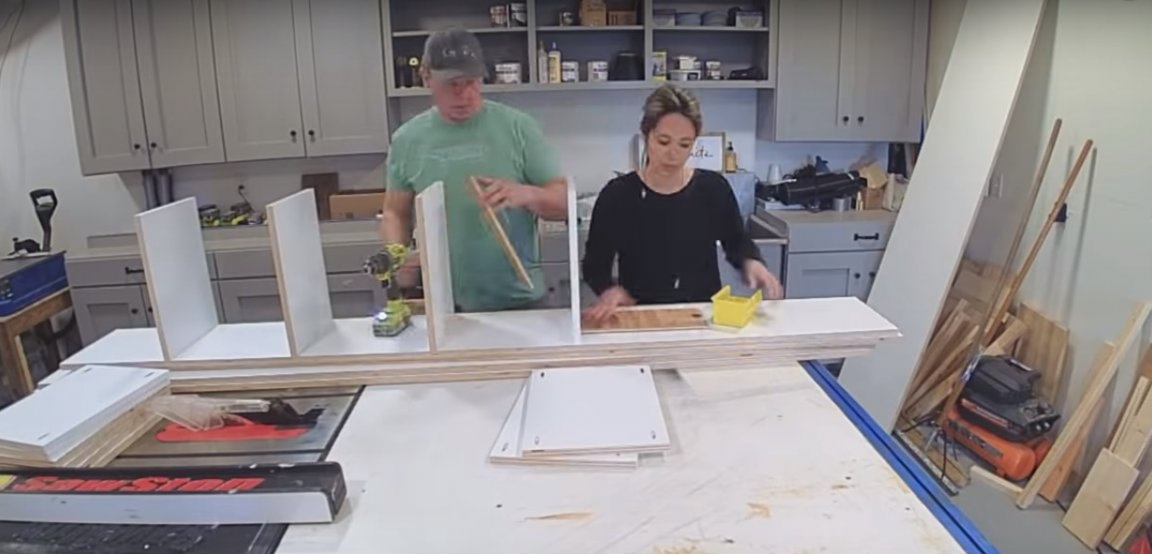
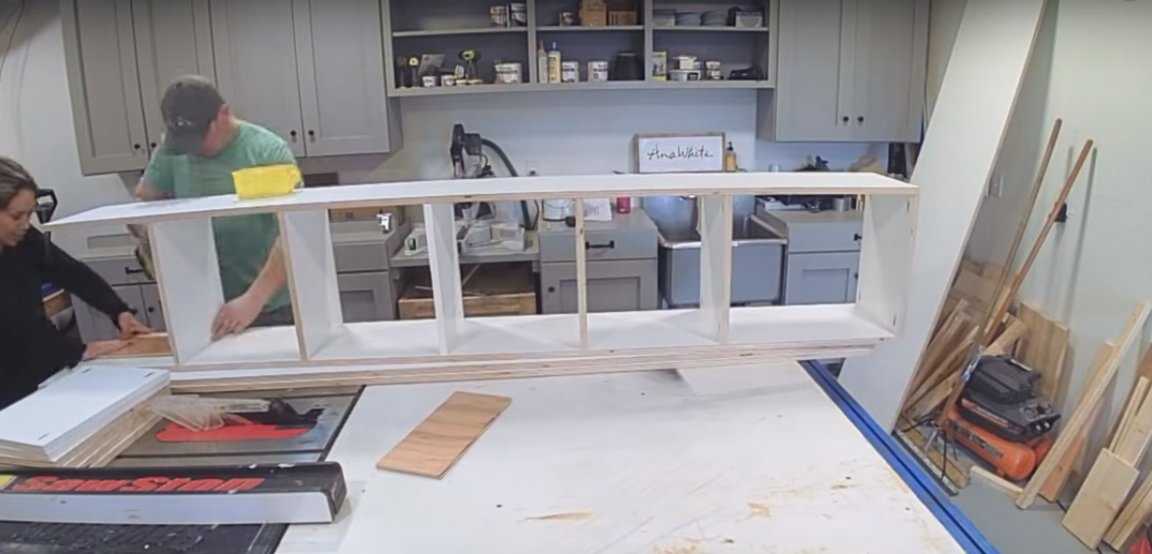
Step Four: Assembling Racks with Shelves
Prepare a pattern equal in length to the gap between the partition walls and shelves. Fix the shelves on the sidewall with screws. For reliability, you can use wood glue. It will add structural strength and significantly increase the life of the product. Install the second sidewall on top and assemble the first rack as a whole. Do the same with the second rack.

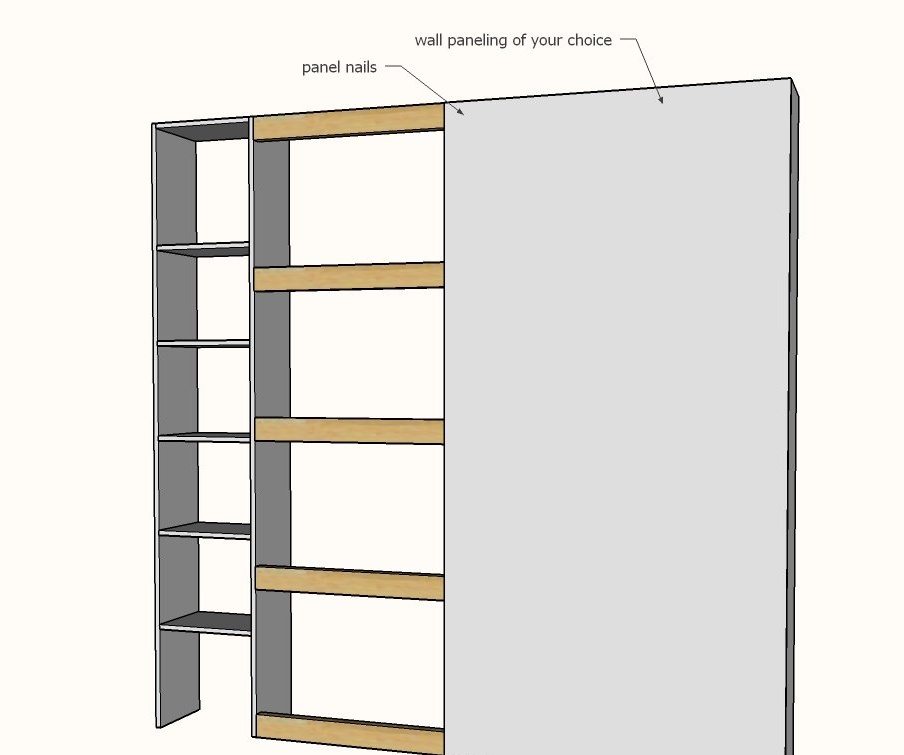
Step five: final assembly on site
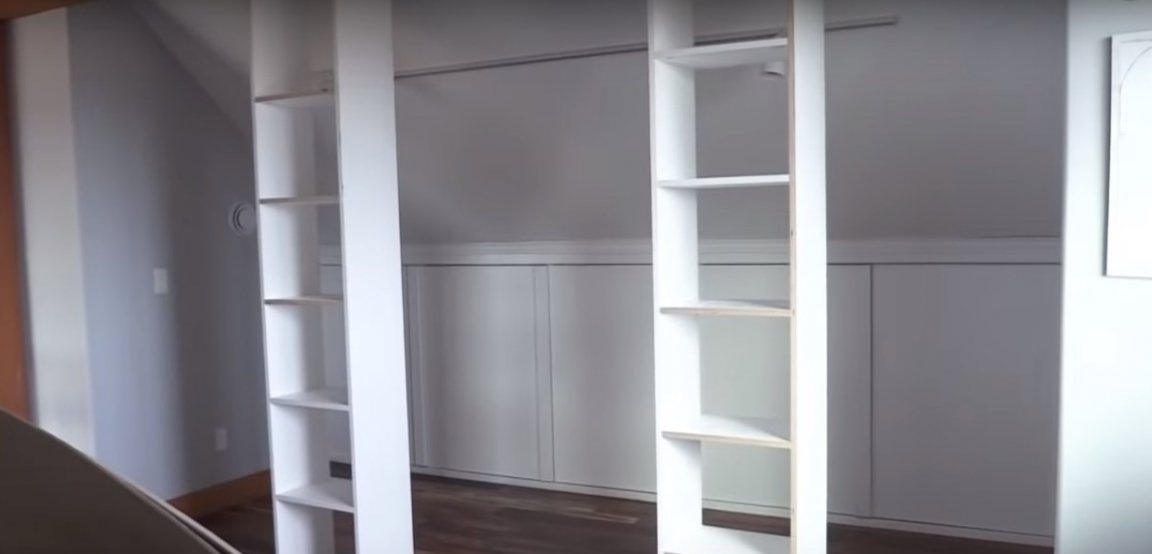
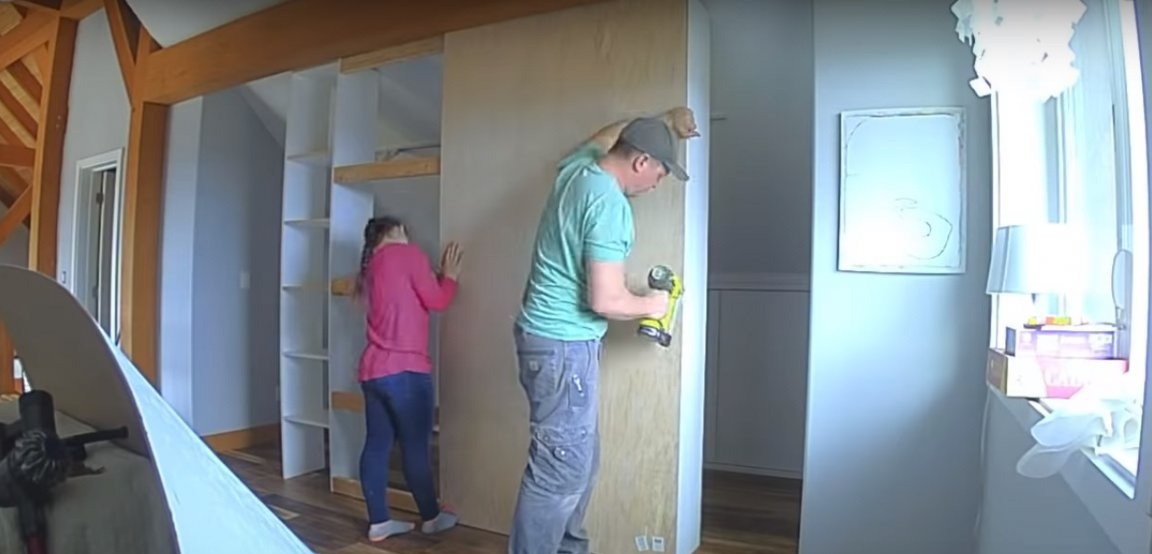
Since the design of the wardrobe implies its location from floor to ceiling, installation should be done right on the spot.
Mount the racks to their stationary location and secure to ensure stability.
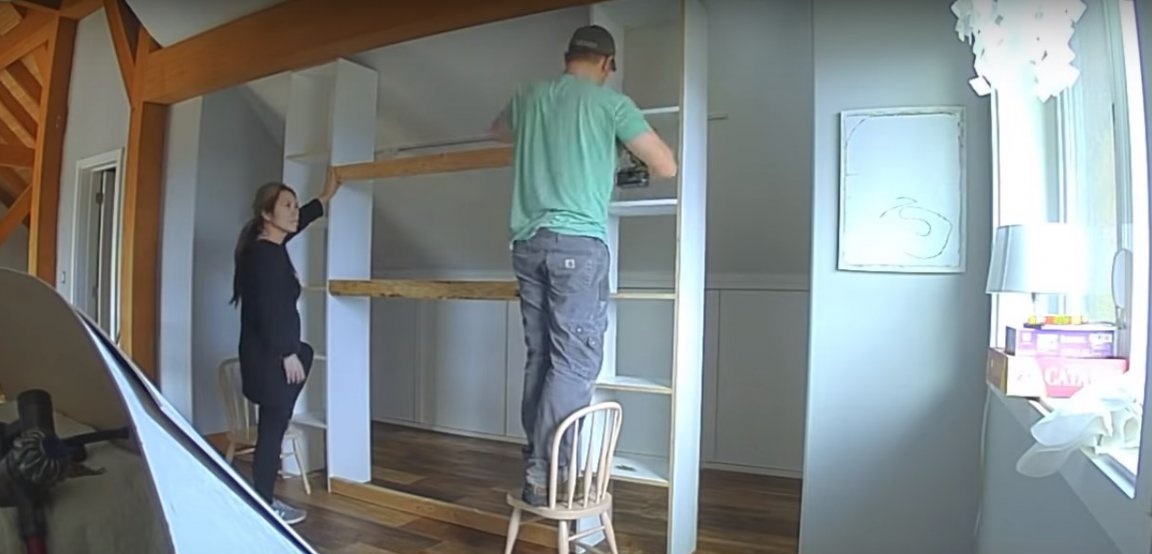
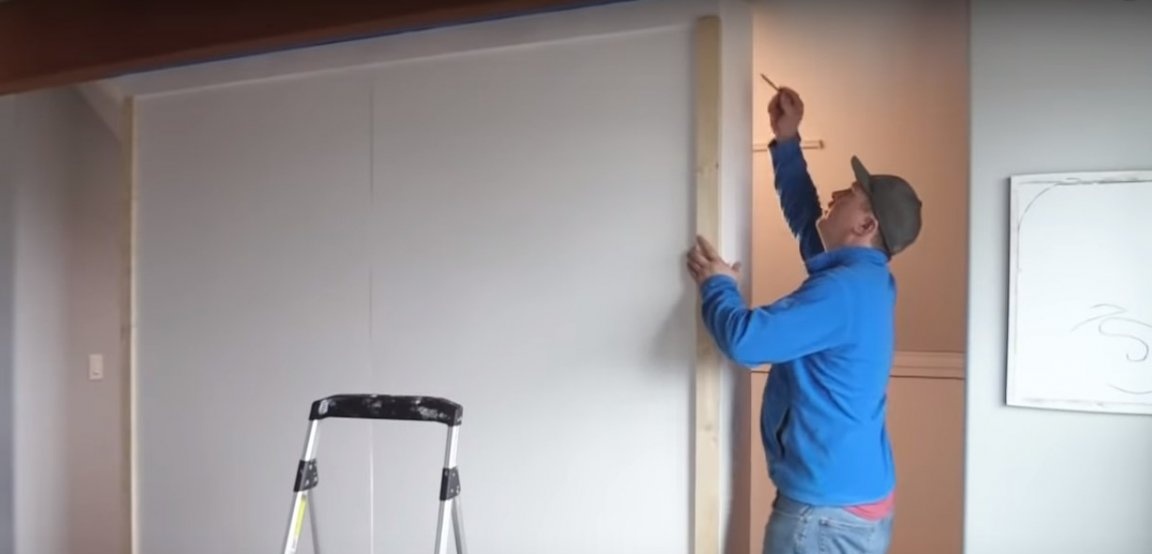
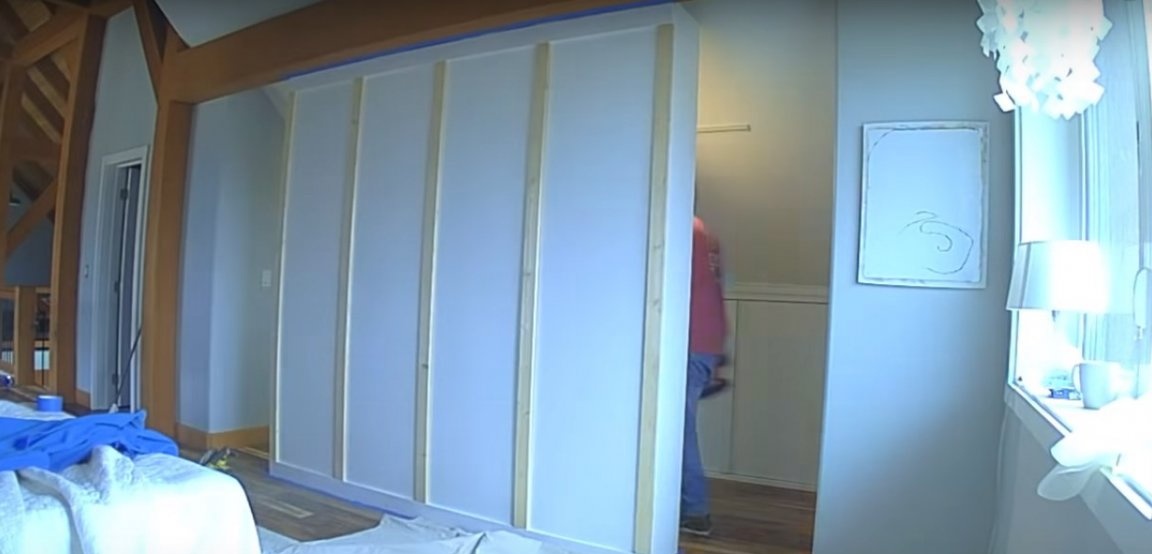
Connect the racks with rails using self-tapping screws. Sew the facade with plywood. For fastening, the author used a pneumatic gun and small nails.
At the bottom and top, pre-install the trim rails as shown in the photo.
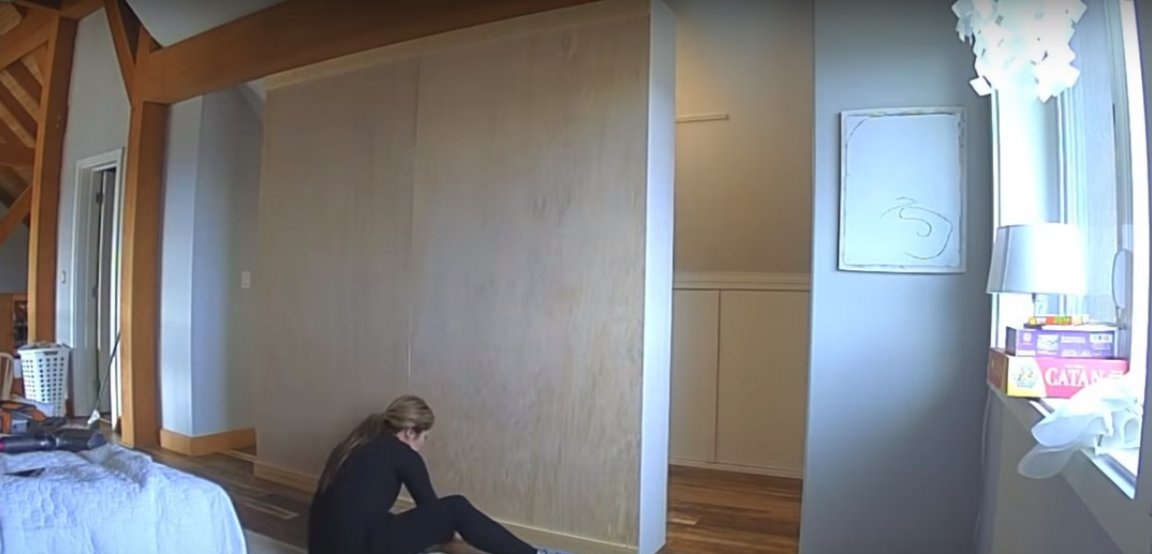
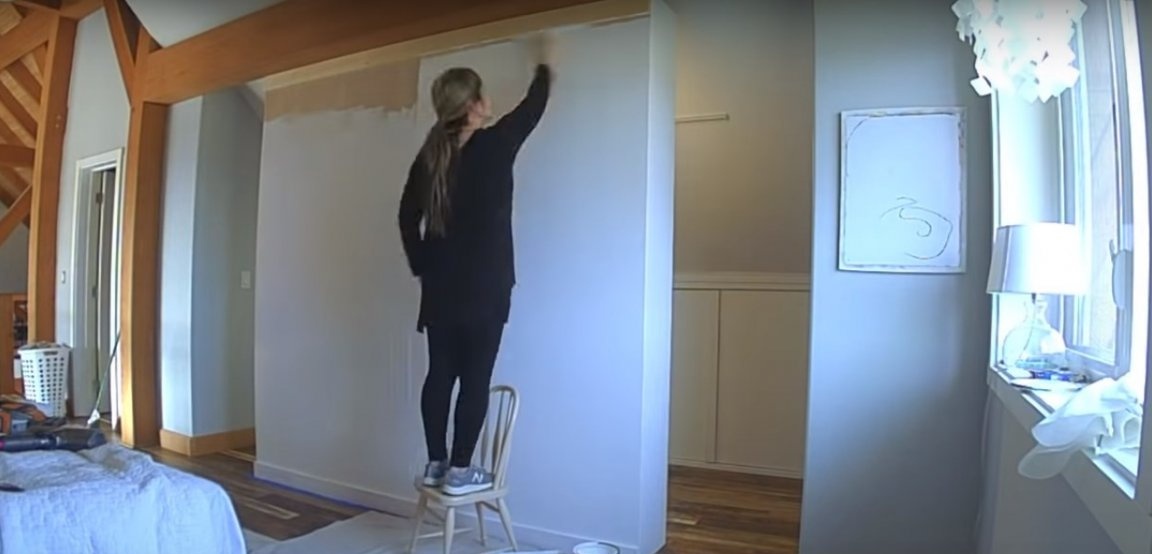
Step Six: Painting and Finishing
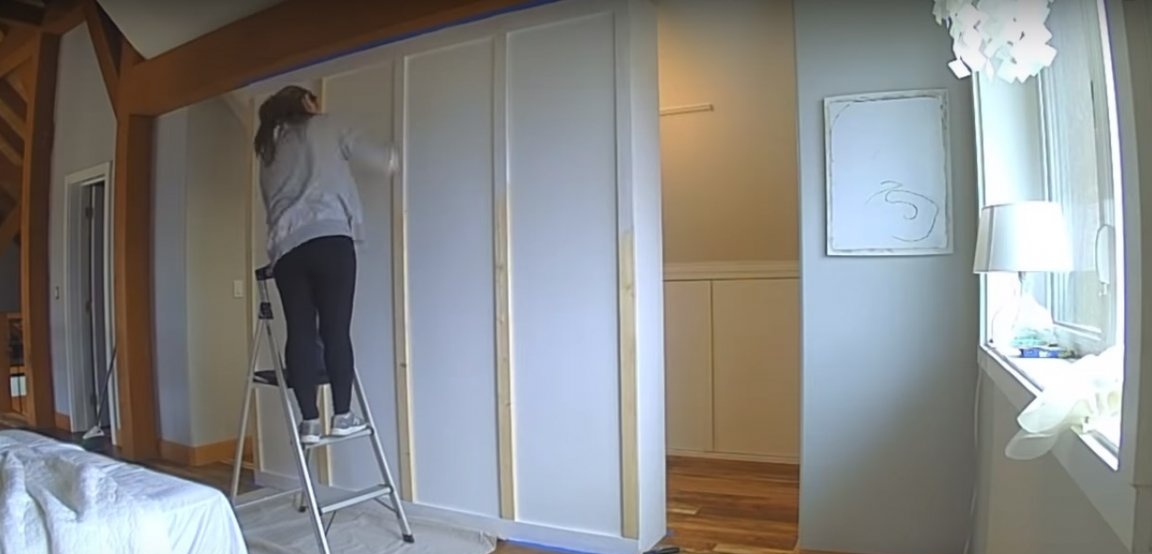
Paint the front side of the wardrobe with acrylic paint in two layers. Be sure to use a roller to evenly distribute the paint. In order not to stain the floor and ceiling, the author used masking tape.
The choice of acrylic paint is not accidental. The fact is that any acrylic paint is the most quick-drying coating. It is absolutely safe and practically odorless. Therefore, you can paint work in the living room without leaving it.
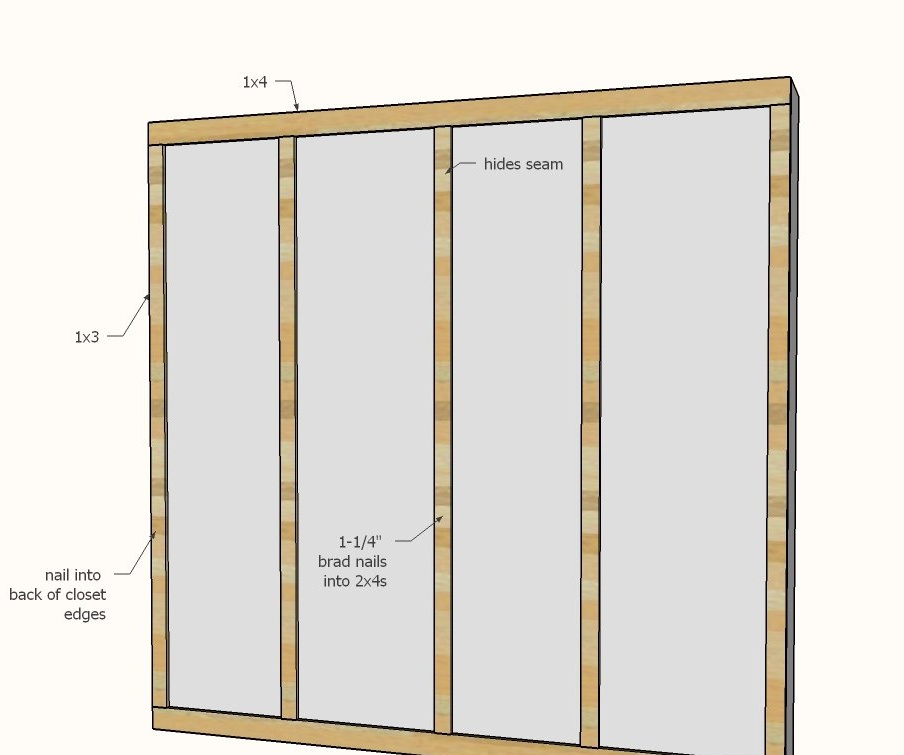
Fasten the vertical trim rails with nails. Please note that the central rail closes the joint of the two parts of the skin. Paint the slats also in two layers.
Step Seven: The Final Touch
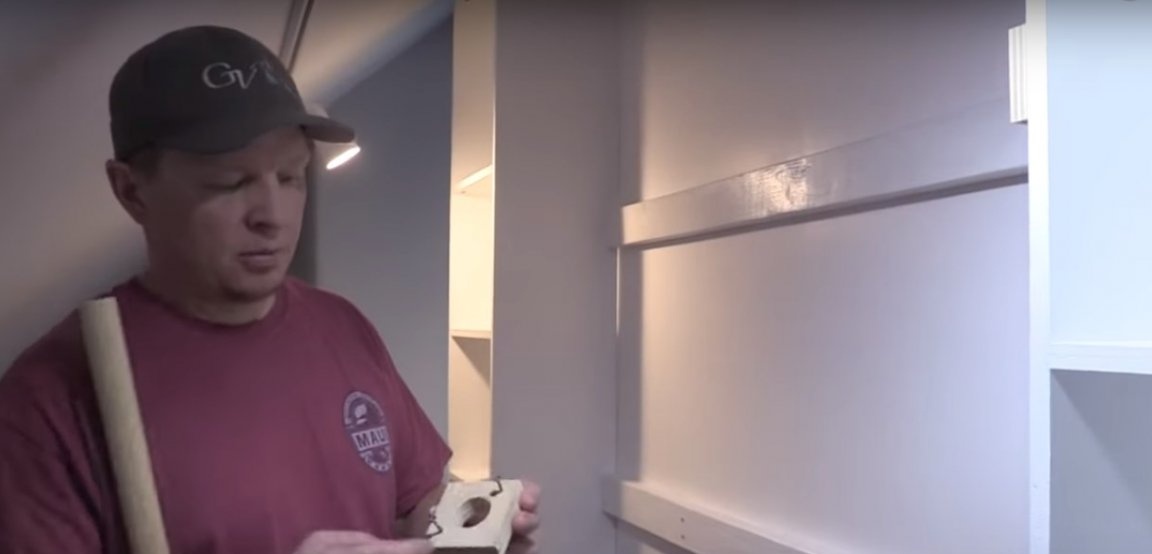
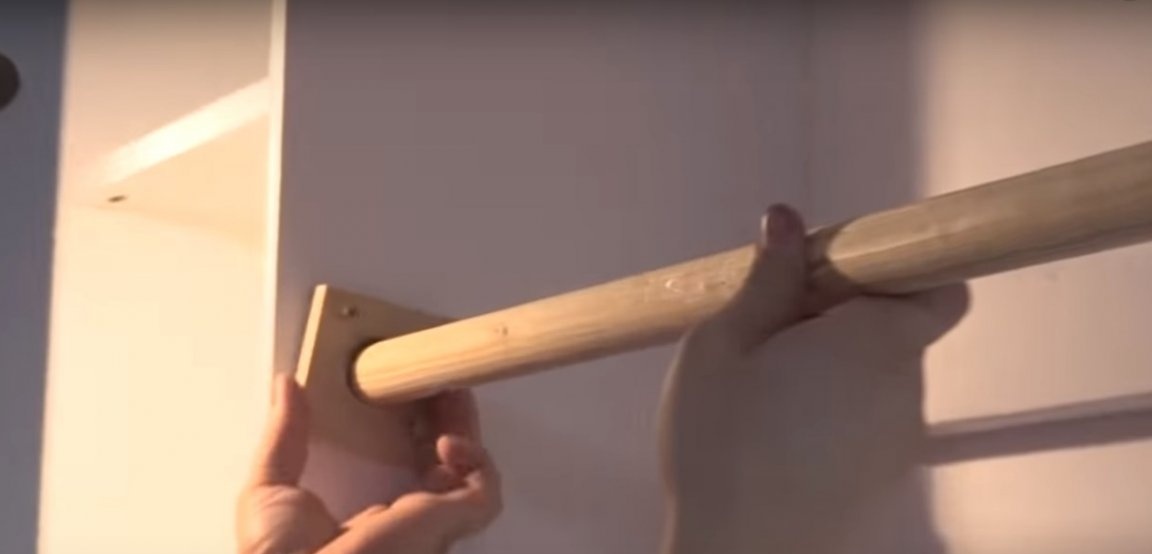
The author provided in the design of the wardrobe a wooden rod for hangers. The fasteners in this case are home-made, with a round hole in the middle and a diameter equal to the diameter of the rod. There are holes for screws.
You can also think about stationary lighting by installing an LED strip or several small LED spotlights around the perimeter.
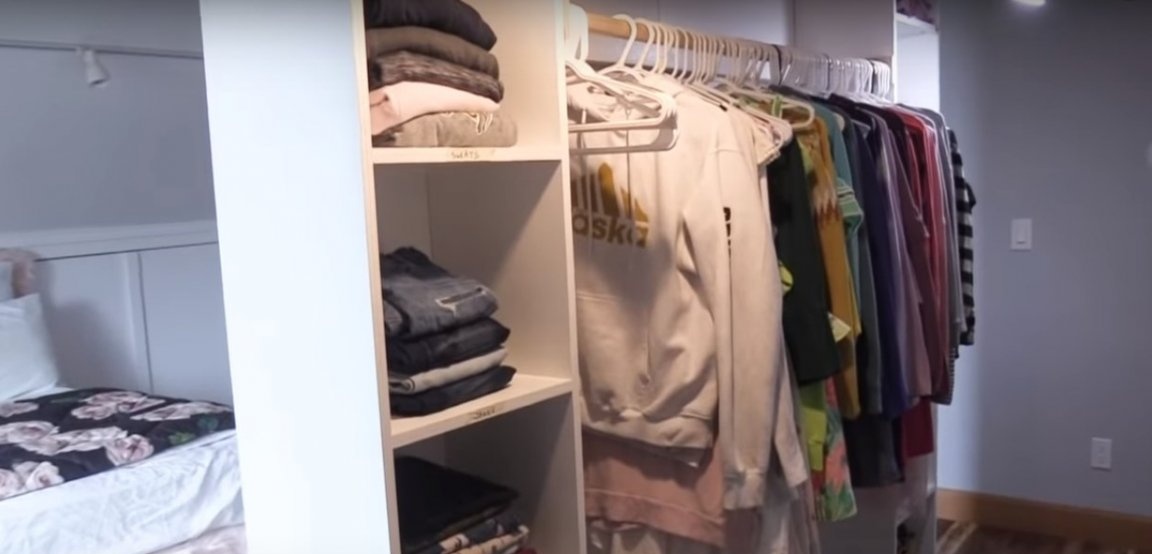
The work is over! It remains only to fill the wardrobe with clothes and evaluate the result of the work!