

Everyone who lives in a private house, in winter there is a need to clear the territories of snow. It is especially hard for those who have a car, including me. In addition to the paths, you must clean the race. Remembering the winter of 2016-2017, then there was a lot of snow compared to this winter. I decided to make a shovel on a walk-behind tractor, thereby facilitating the task of cleaning the territory. After reviewing the options for factory, as well as homemade shovels on the Internet, I decided to do it myself. This option is less expensive, the more material there is.
To make a shovel you will need:
Materials:
- profile pipe 20 × 40 mm.
- iron sheet 6 mm.
- iron sheet 1.5 mm.
- angle 50 × 50 mm.
- corner 40 × 40 mm.
- strip 4 × 40 mm.
- iron rod 10 mm
- bolts, washers, nuts 10 mm.
- bolts, washers, nuts on 8 mm.
- conveyor belt
- paint
Instruments:
- Angle grinder (grinder)
- welding machine, electrodes
- drill drill
- hammer
- pliers
- wrenches, etc.
All the materials are there, you can get to work.
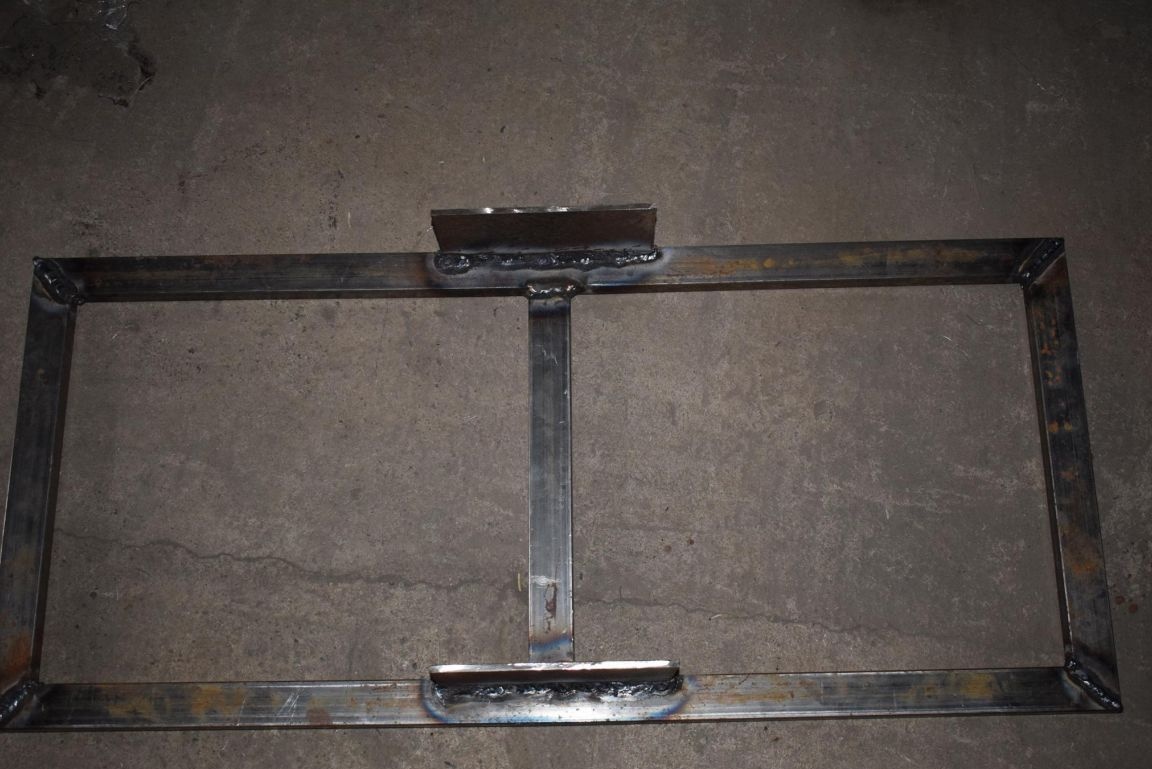
The size of the shovel is 1000 × 450 mm. I cut a profile pipe following sizes:
1000 mm. = 2 pcs.
450 mm = 2 pcs.
370 mm. = 1 pc.
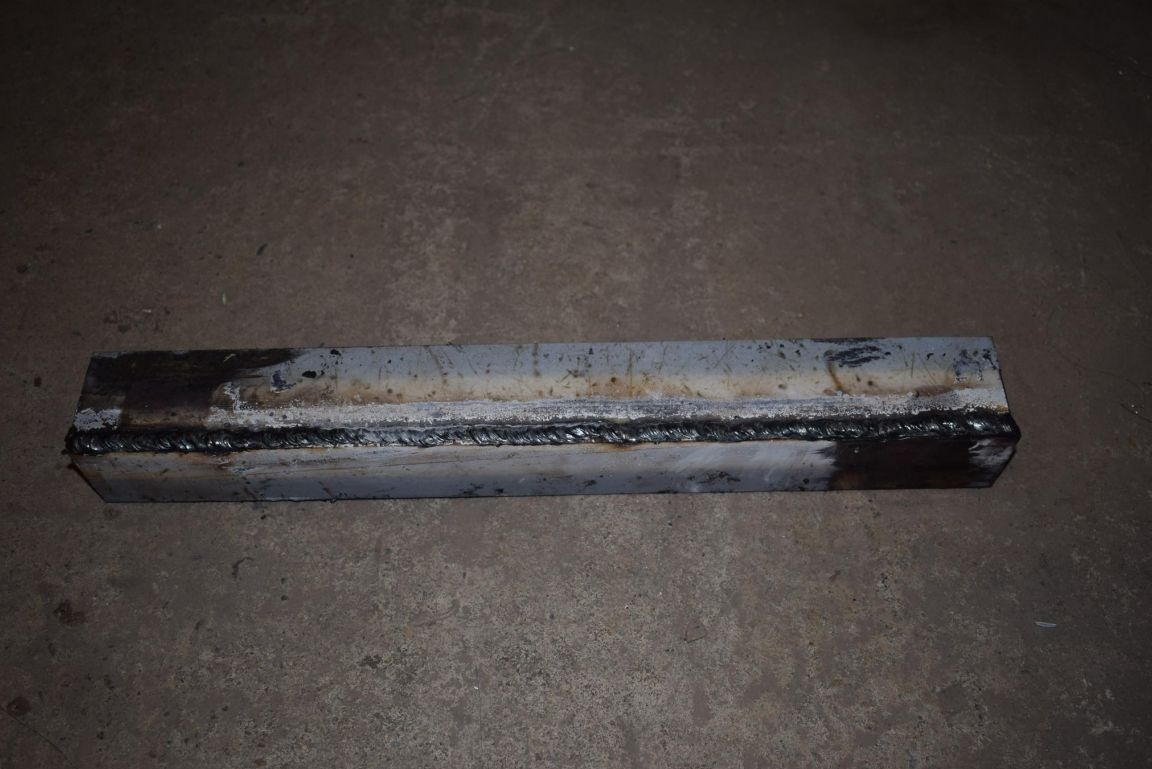
I slaughter all the pipes, except the one that is 370 mm., At an angle of 45 degrees. I weld. I clean the welds on one side, where a 1.5 mm sheet of iron will be welded.

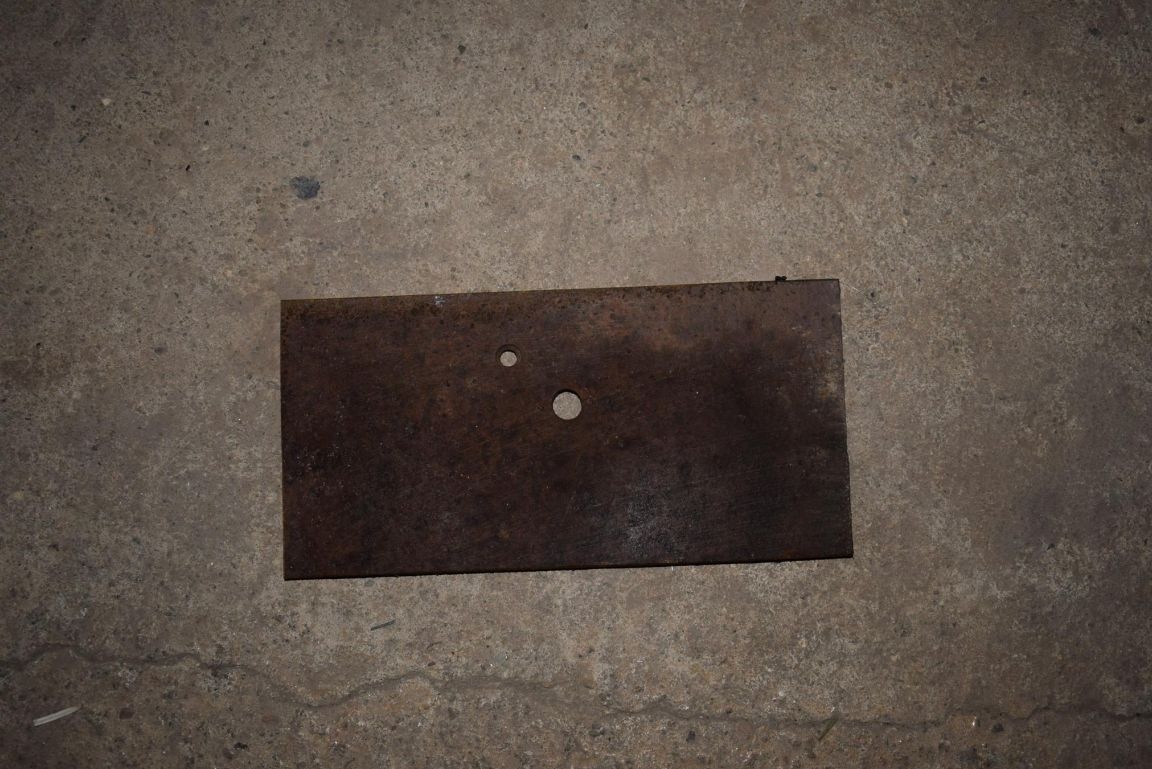
I cut from a sheet of iron 6 mm. two plates 200 × 100 mm in size. (since the sheet of used holes already had no need to be drilled).
I weld these plates to the frame from the profile pipe in the center, as shown in the photo.
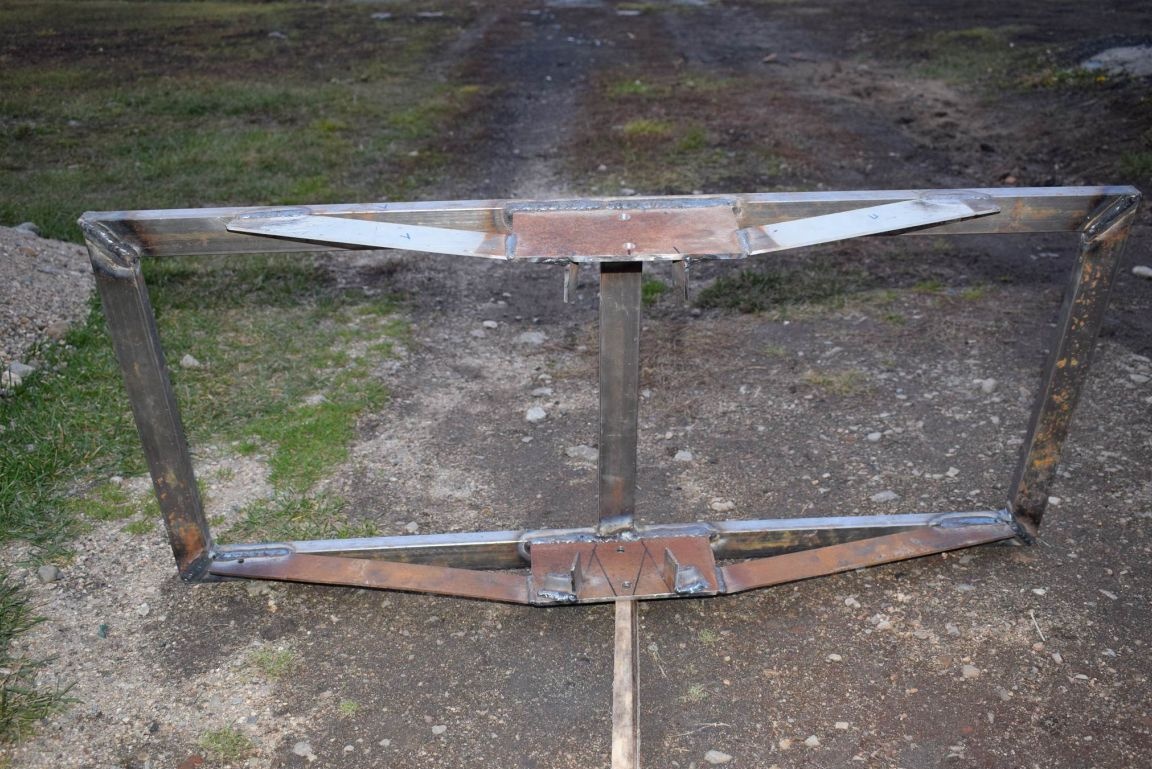
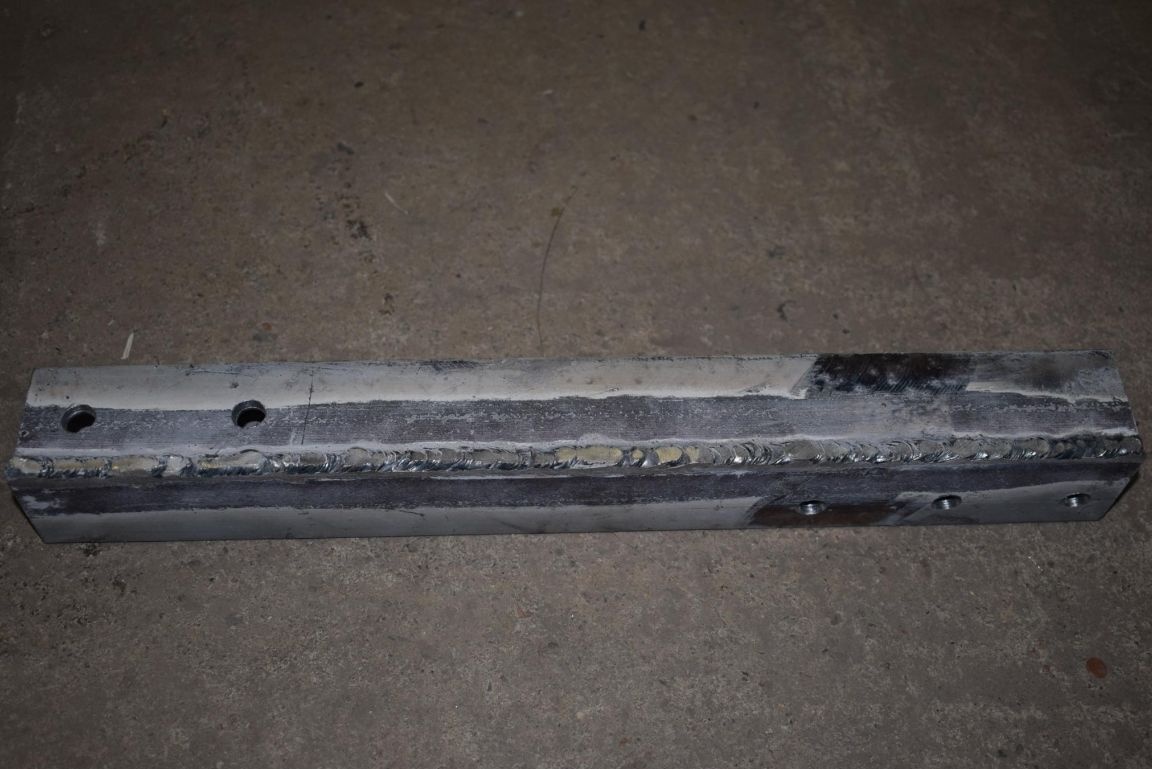
I cut four strips of 4 × 40 mm. approximately 400 mm. I weld them on one side to the plates on the other to a profile pipe. They serve to strengthen the structure.
Now cut four corners of 40 × 40 mm. 20 mm long. They will serve as a limiter for the rotation of the shovel (initially, by no means wanted to fix the shovel, it turned out to be not convenient). I make a marking, I weld 6 mm to the plates.
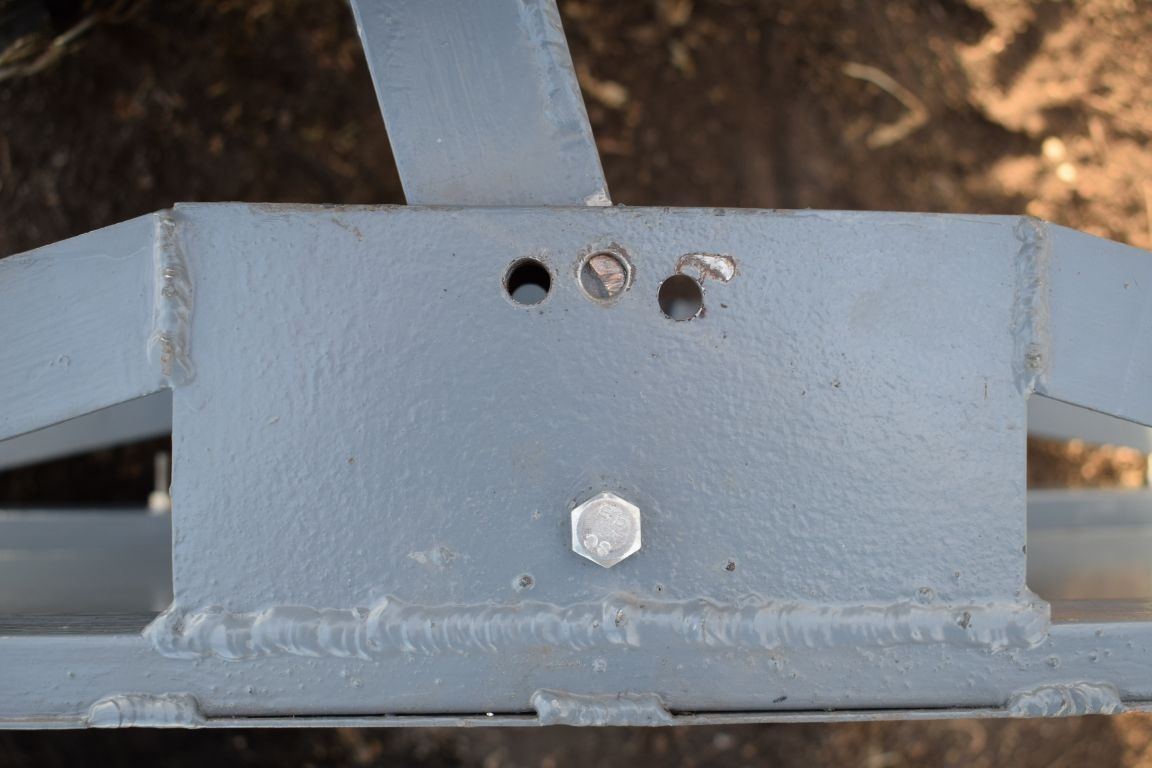
I will drill holes by 10 mm. for attaching to the bracket.
I weld an iron sheet of 1.5 mm.

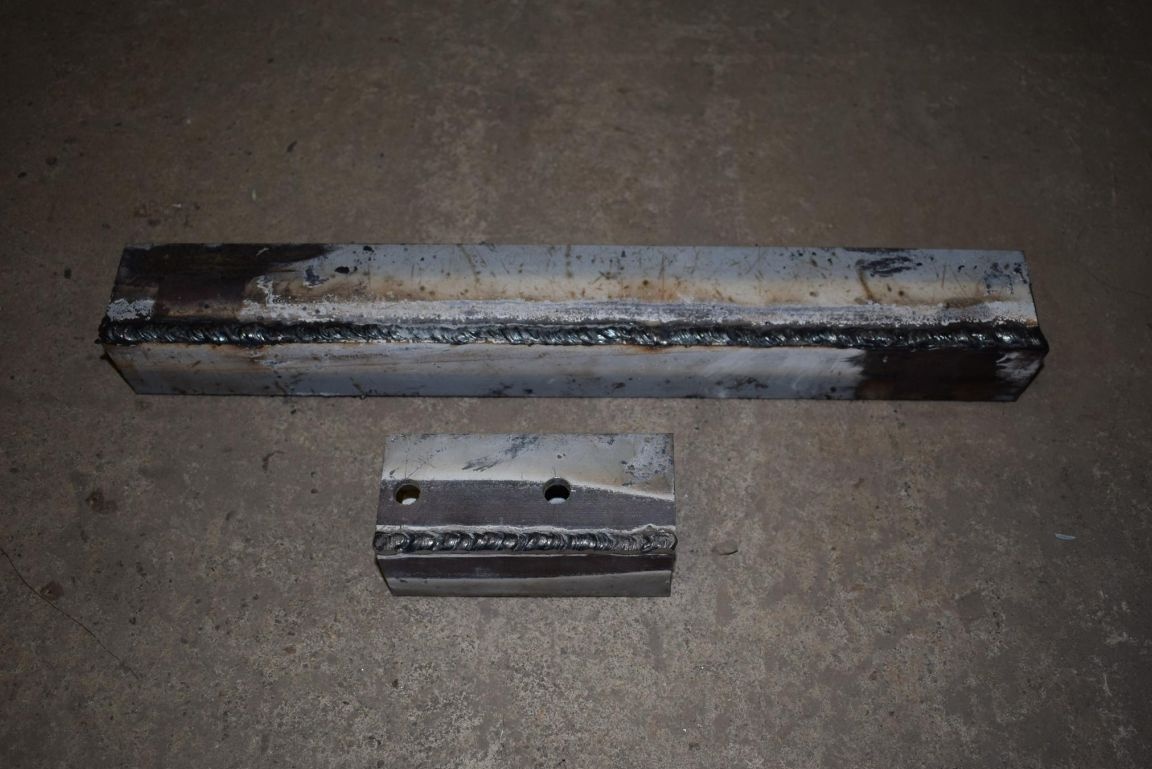
I turn to the manufacture of the bracket. He decided to make it from a corner of 50 × 50 mm. Welded together so that a profile pipe is obtained. I decided to refuse from the use of a profile pipe in this node, due to non-standard sizes and in my opinion there will be a weak design. In my case, the width of the bracket is 47 mm., The length is 500 mm. I cut one shelf at each corner of 47 mm. I weld together.
I will drill holes by 10 mm. for attaching to a walk-behind tractor, and for attaching a shovel.In the place of attachment of the shovel to the bracket, it is necessary to grind off the welding seam so as not to interfere with turning the shovel.
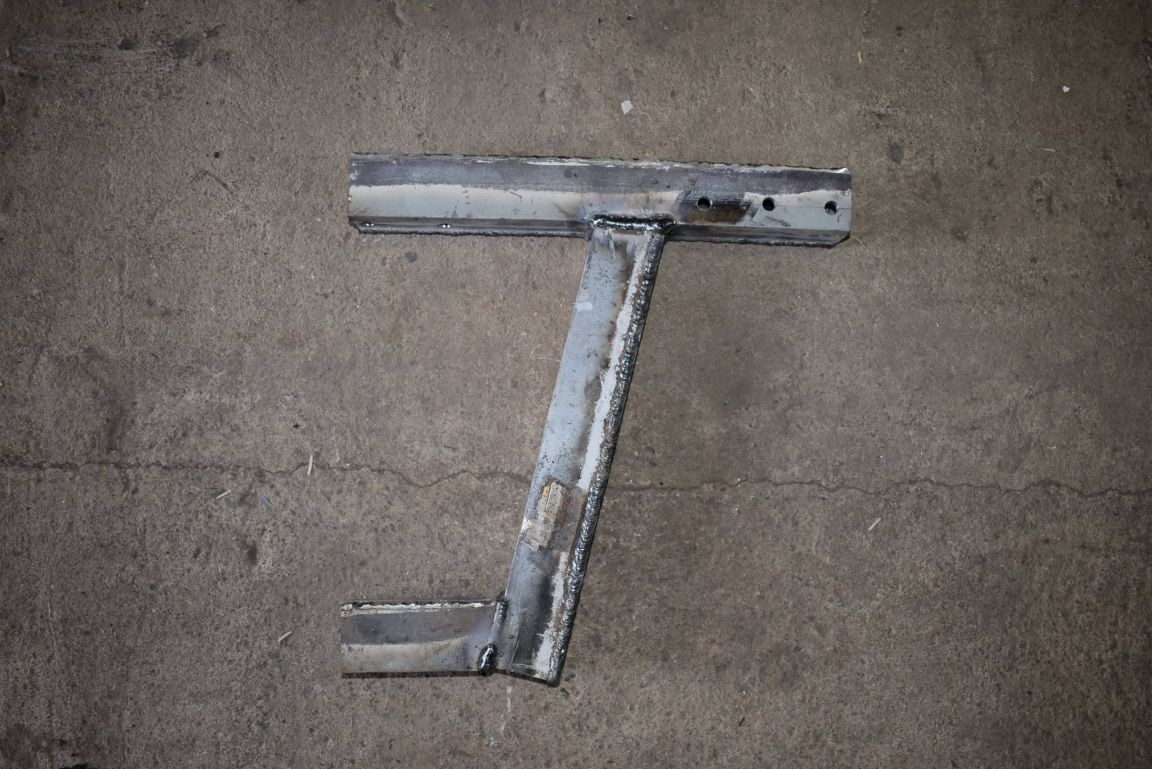
In the same way, I weld two more corners, it is not necessary to cut off the shelf on them. I will drill holes by 10 mm. for attaching the shovel in the lower part, just as I did before.
I weld all parts of the bracket. It turned out not quite exactly as we would like, it does not affect driving performance.
Now you can paint all the structures.
After assembly, I drilled two more holes to fix the shovel at the desired angle.
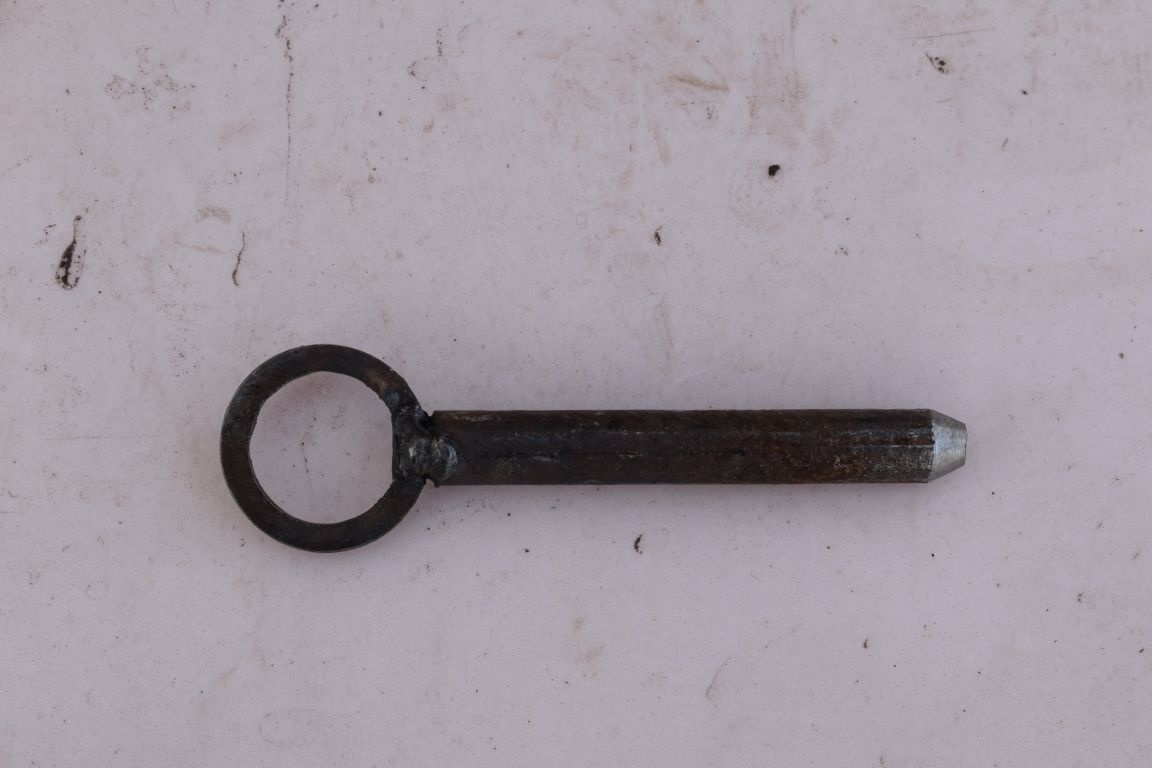
To fix the shovel at an angle, I use a 10 mm round, 70 mm long., With a washer welded on top.
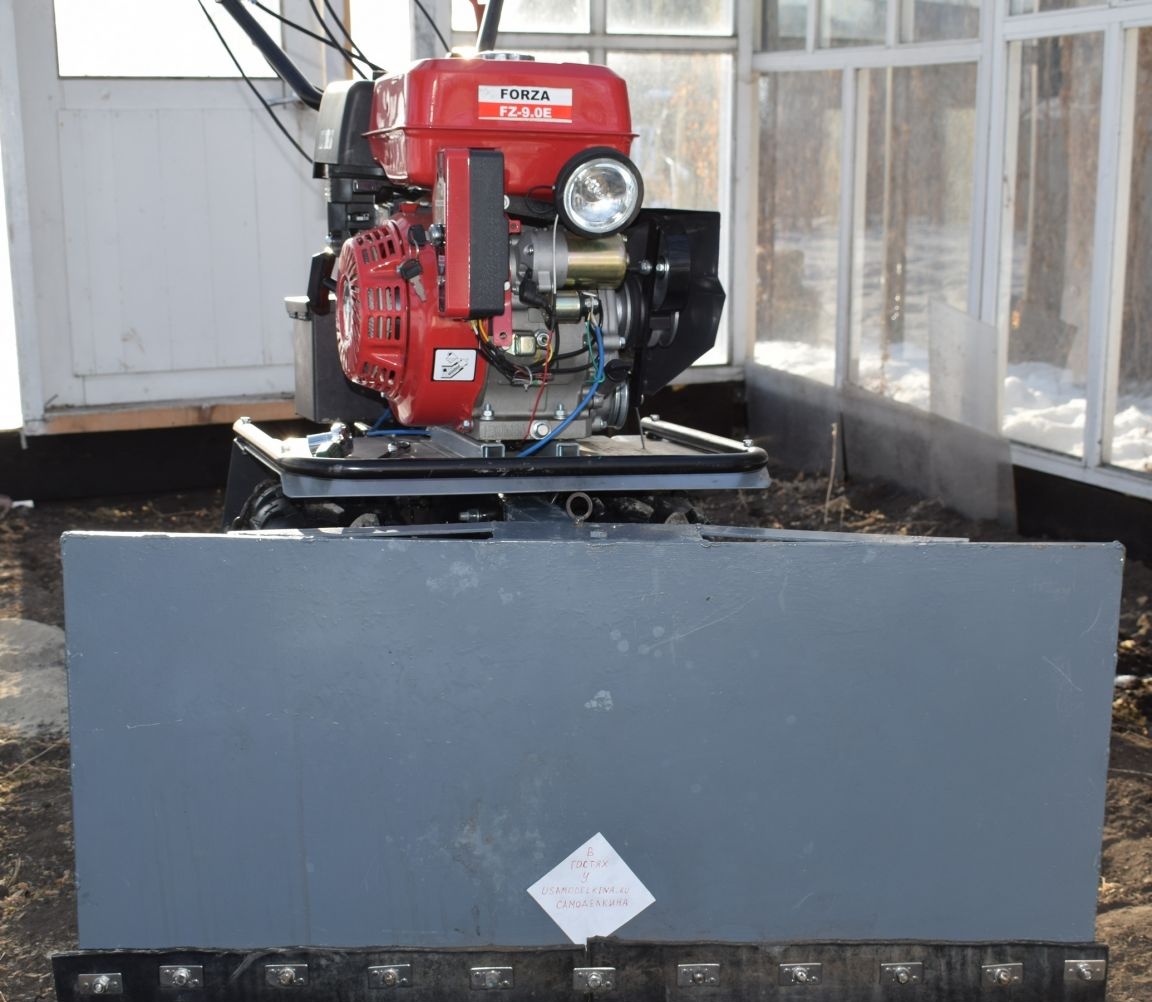
This is what it looks like in assembly. The angle was not large, but as practice has shown, this is quite enough.
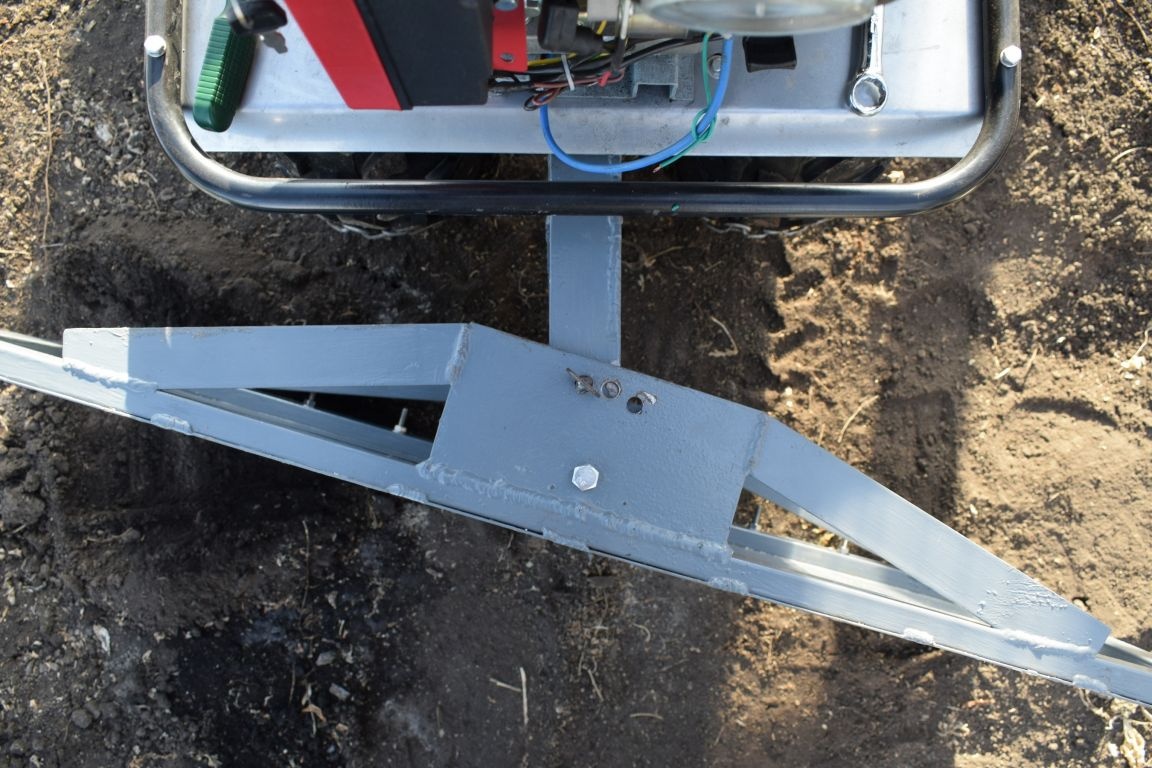
Tighten the nuts on the bolts until the shovel rotates freely. Lock or use self-locking nuts (which are with plastic inside).

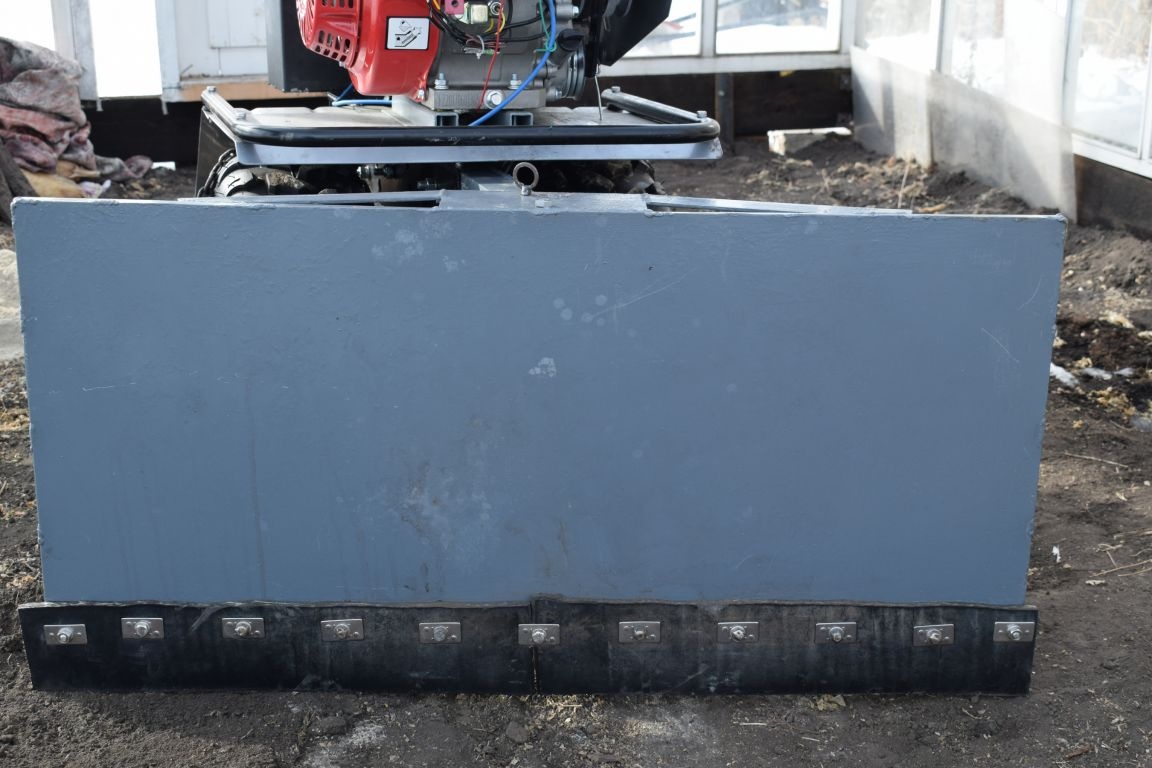
I fixed a conveyor belt to the bottom of the shovel. Removal of a tape of 50 mm. below the shovel. Secured with bolts with 8 mm plates. The distance between the bolts is 100 mm.
Conclusion
The spade turned out pretty good. I use the first winter. He copes with his task at 5+. With the shovel turned to the side, one passage is enough. Raising and lowering the shovel is carried out by tilting the walk-behind tractor forward and backward. In the lowered state, the shovel is perpendicular to the surface. Although the surface of the shovel is flat (and not curved like in the factory), snow does not pour over the top. Snow can be moved both forward and reverse. Instead of 1.5 mm. iron I think you can use a roofing iron of 0.5 mm., thereby further reducing the cost of construction. I installed chains on wheels on a walk-behind tractor, skidded without them.
I hope you enjoyed this article, andhomemade will be helpful.