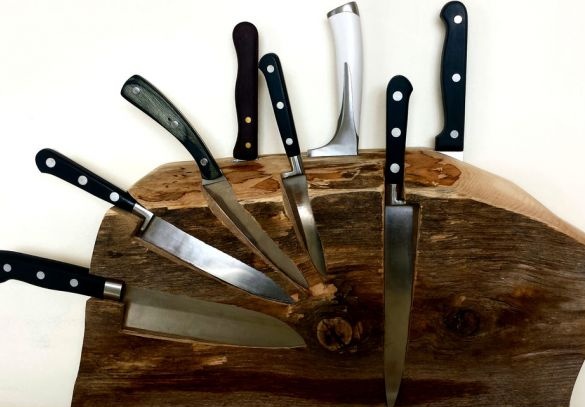
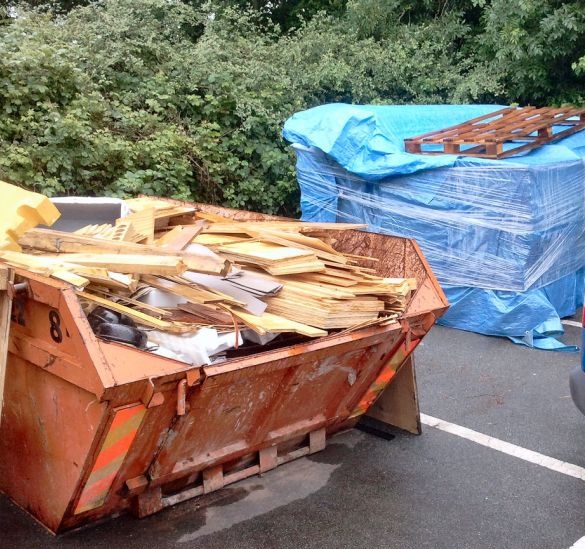
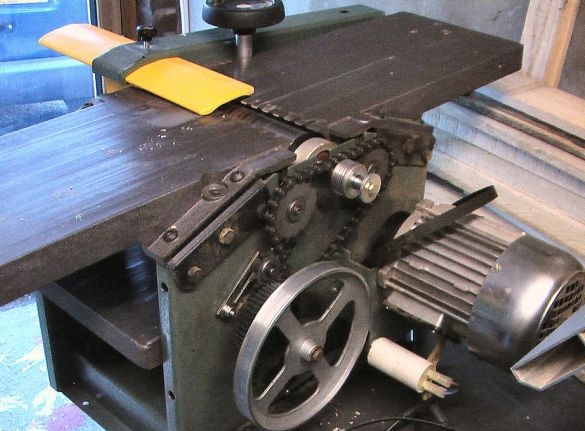
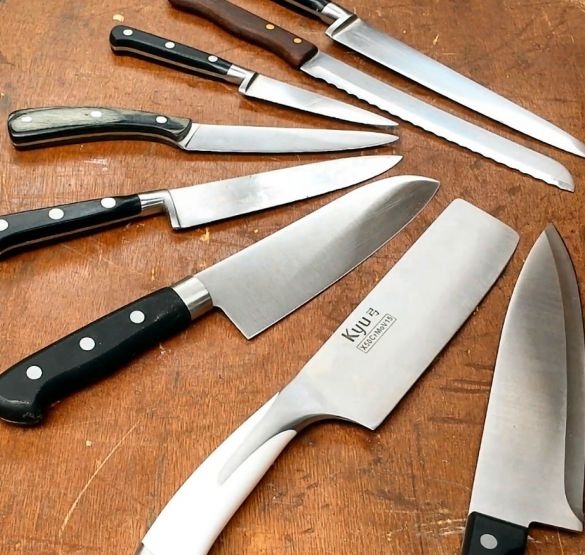
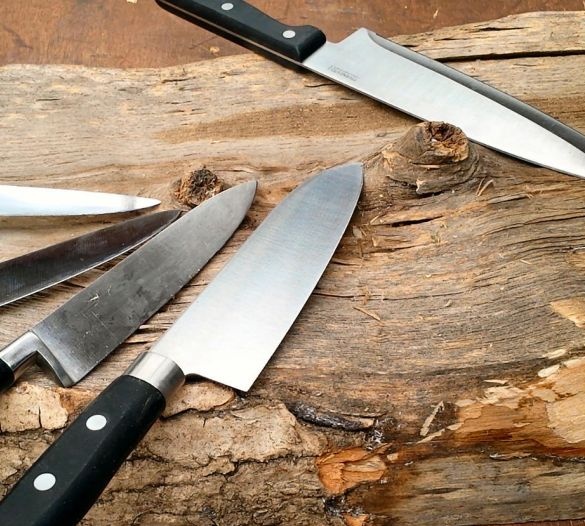
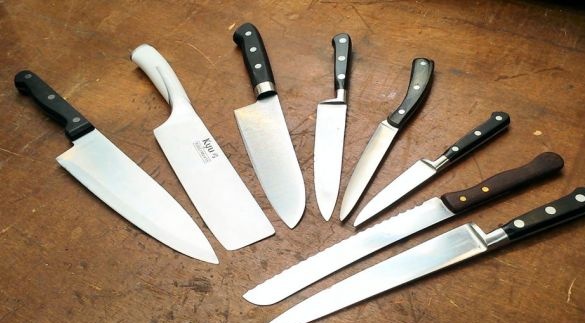
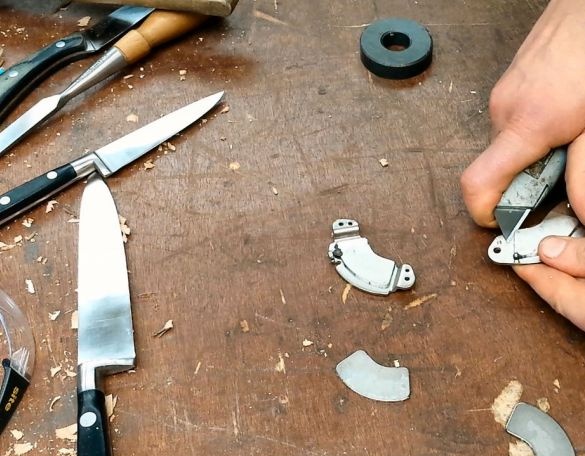
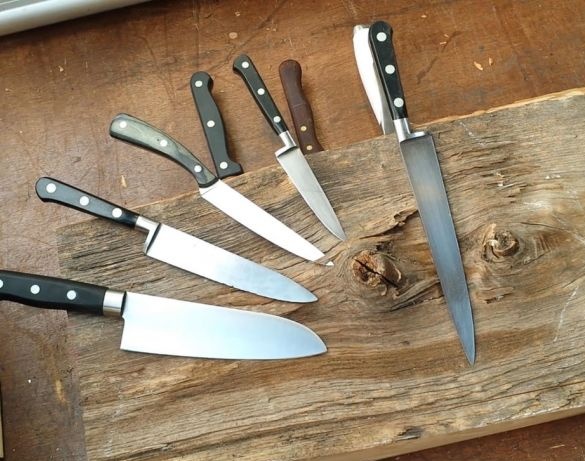
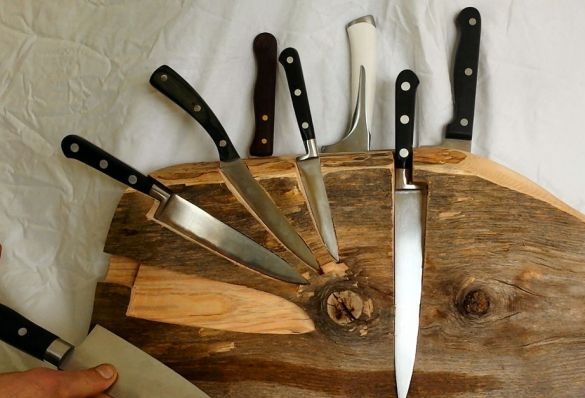
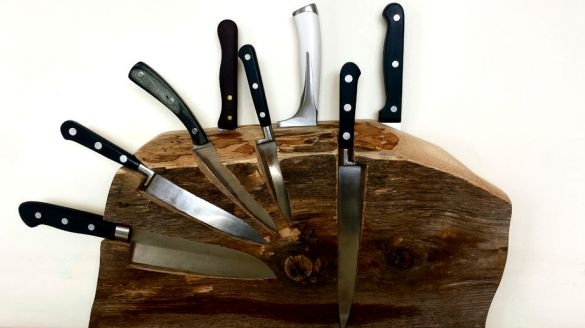
Many sets of knives already have a stand or a magnetic holder, but if you have knives not from the set, then you need to do the stand yourself. The stand, which was made by the Master, is made of waste material and, if desired, it can be made by anyone. Tools that the wizard uses can be replaced with more affordable counterparts. The master found some of the materials in the garbage container.
Tools and materials:
-Wooden chock;
-Plywood;
-Board;
-Magnets;
-Knives;
-Glue;
-Band-saw;
-Grinder;
- Planing machine;
-Calipers;
-Hammer;
-Knife;
-Chisel;
- Clamps;
-Pencil;
-Tape grinding machine;
-Rule;
-A circular saw;
-A screwdriver;
-Fasteners;
Milling cutter;
-Brush;
- brush;
-Oil with wax;
Step One: Material Preparation
First, the master assembled the knives for which he wants to make a stand. From the hard drives removed magnets.
Step two: planing
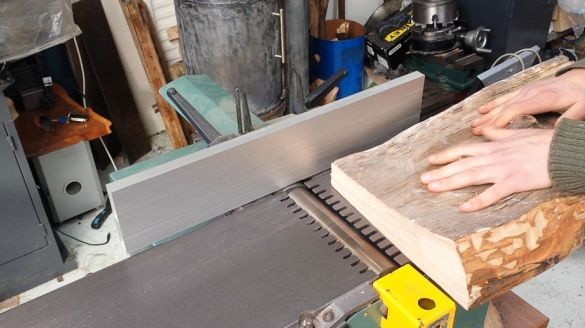
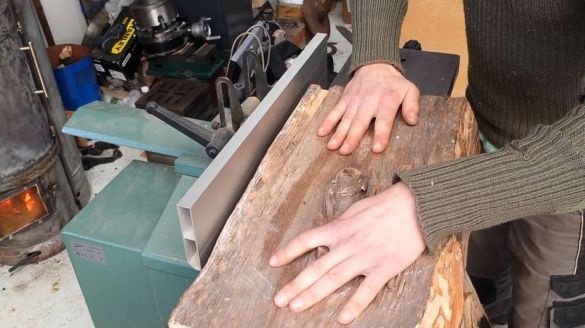
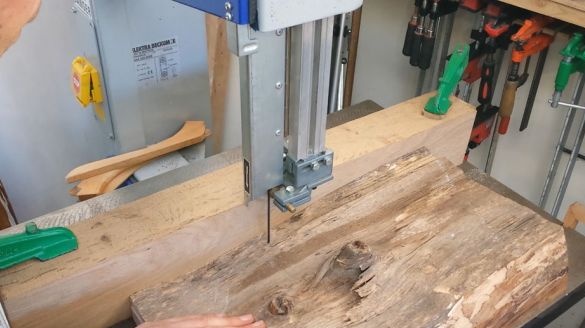
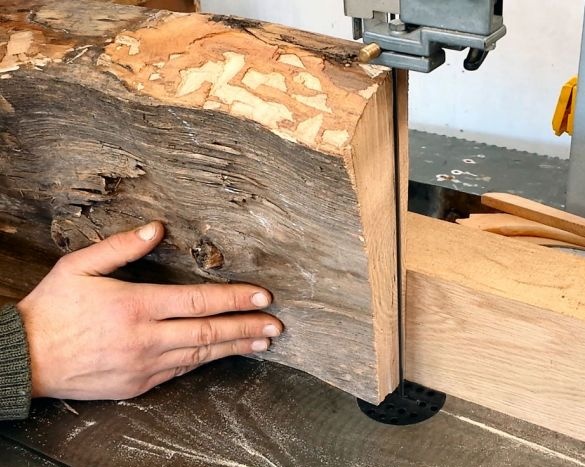
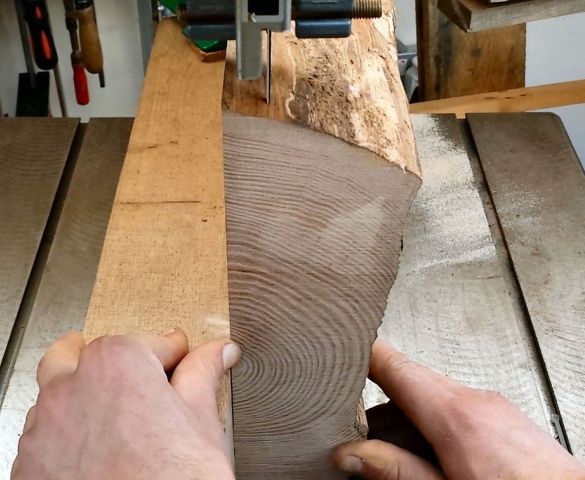
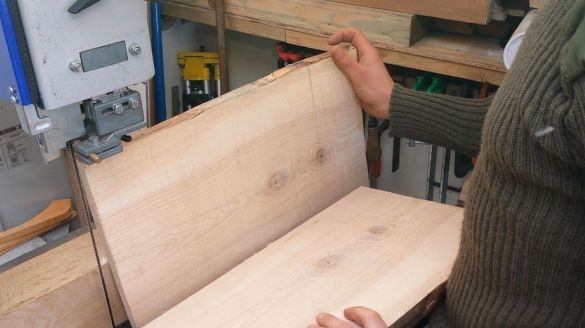
Places knives on the chock surface. Cuts off a stand of the necessary size.
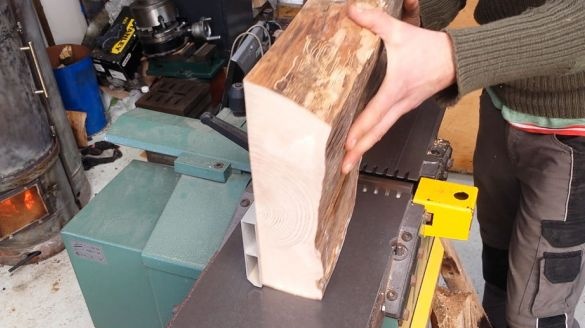
Trims the back of the stand.
Step Two: Template
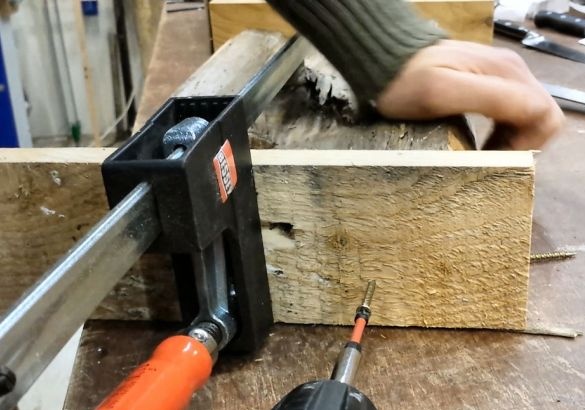
Clamps the stand between two parallel boards.
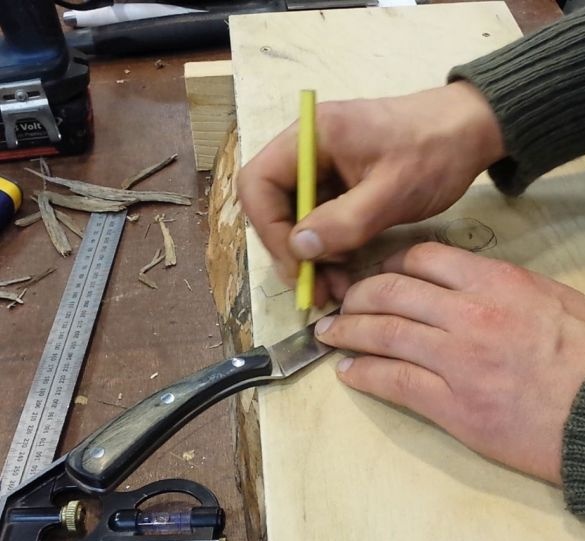
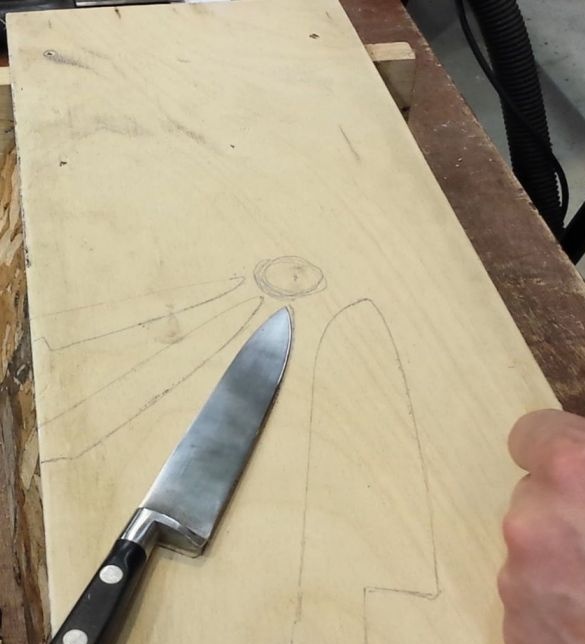
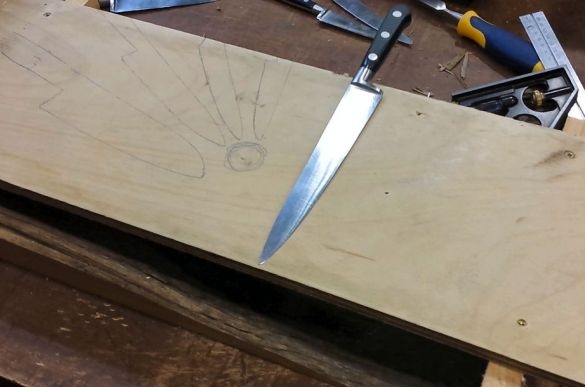
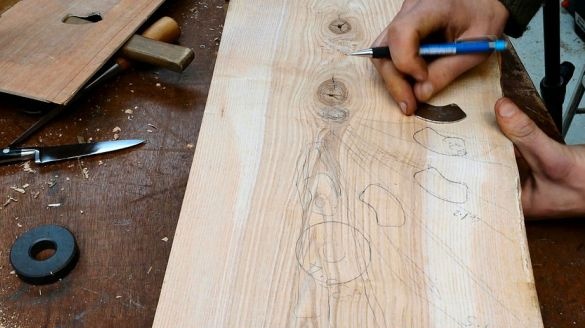
Installs plywood on top. Places knives on plywood. Outlines them.
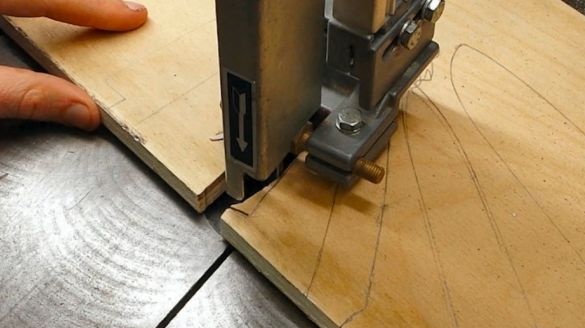
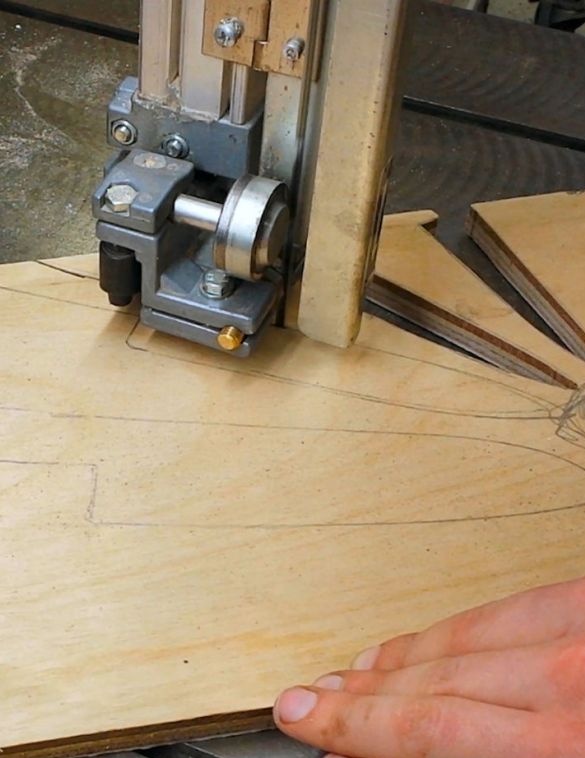
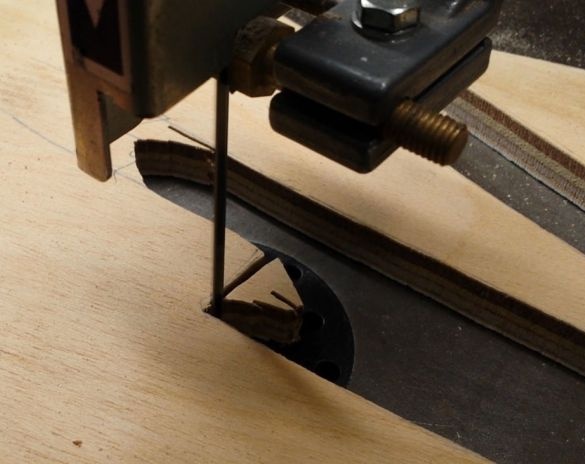
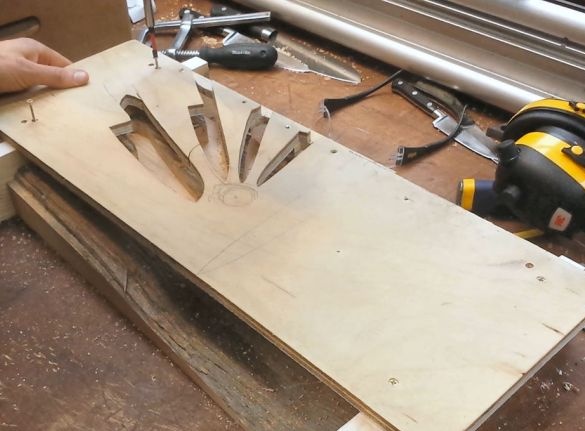
Cuts a pattern.
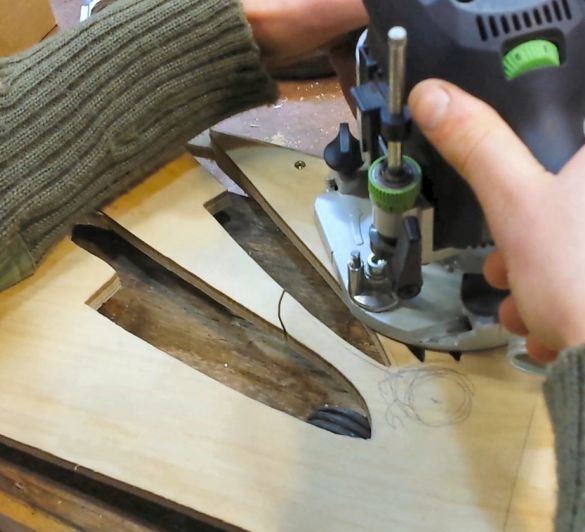
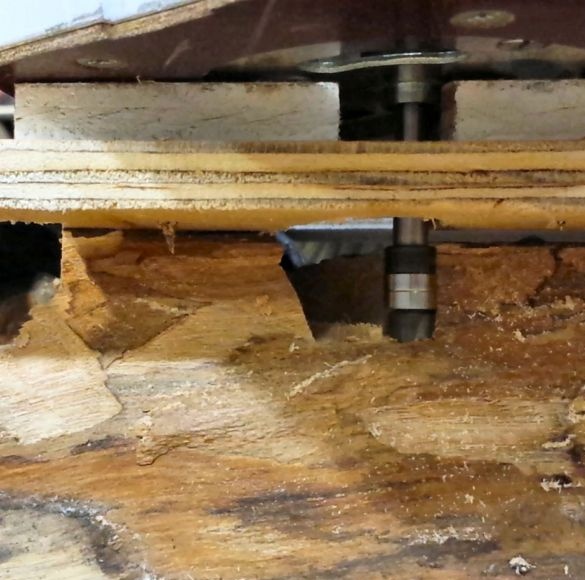
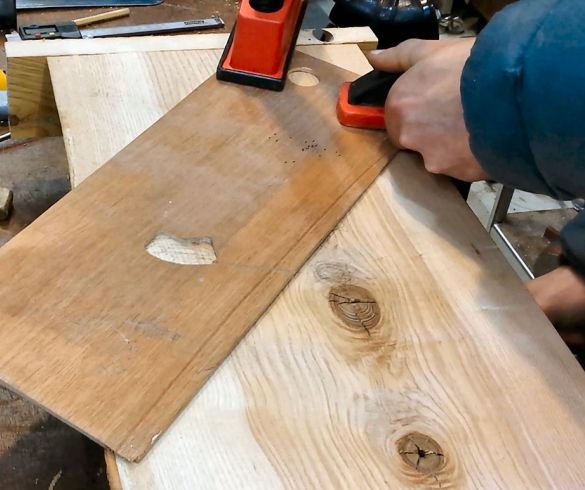
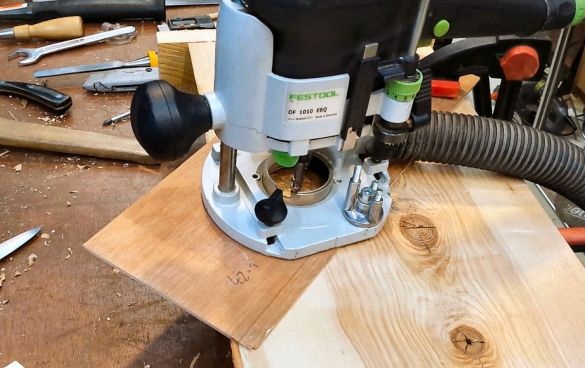
Secures the template to the stand and cutter, according to the template, cuts out the form.
Step Three: The Back
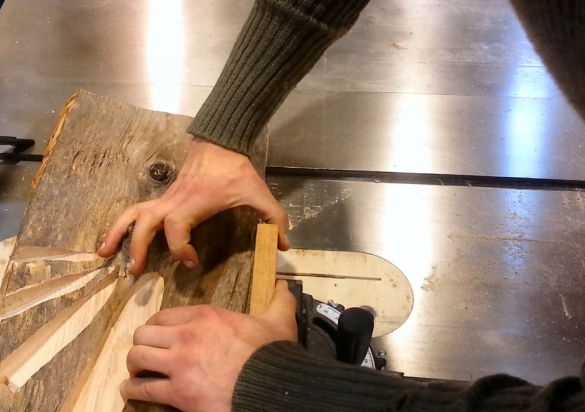
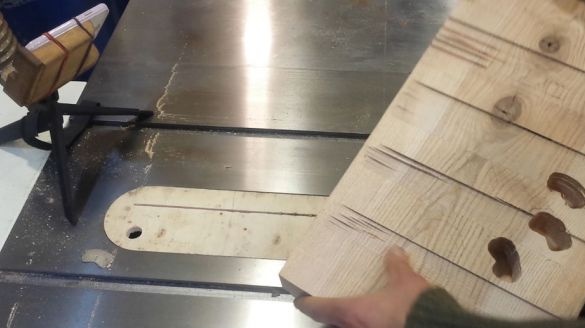
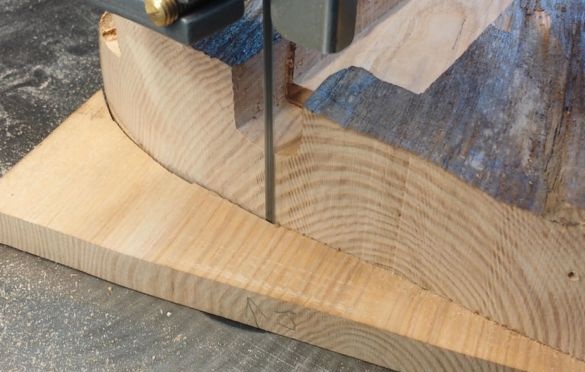
On the back of the stand, knives will also be placed. Slices from the back of the board.
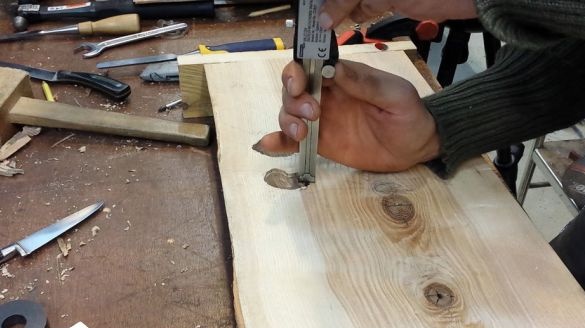
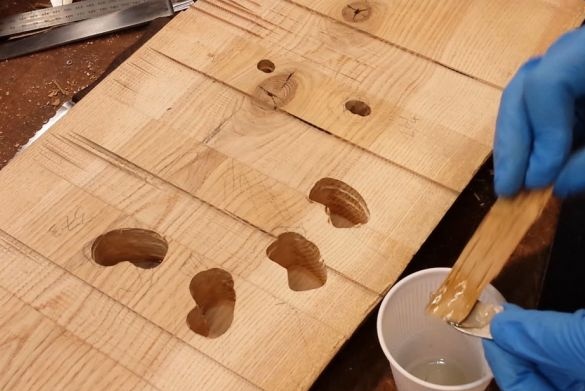
On the back of the stand marks the location of the magnets. Cuts out grooves.
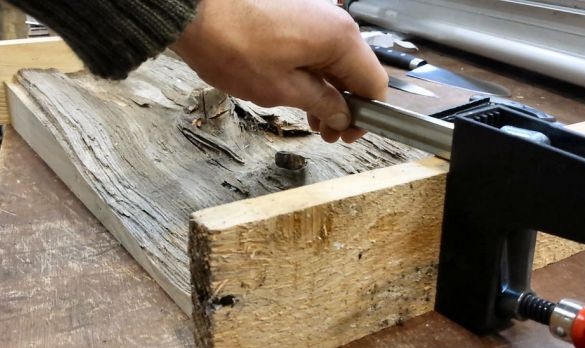
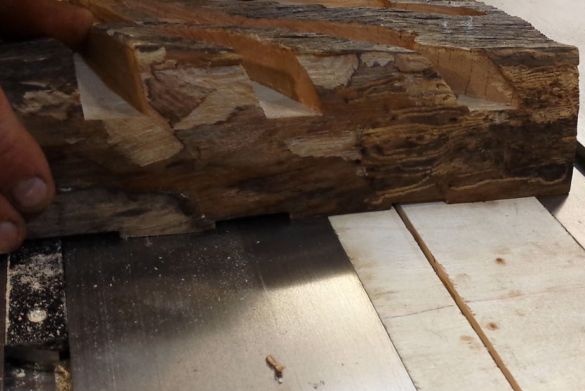
Marks out the places for knives from the back of the stand. It makes the marking cuts. Chisel chooses wood.
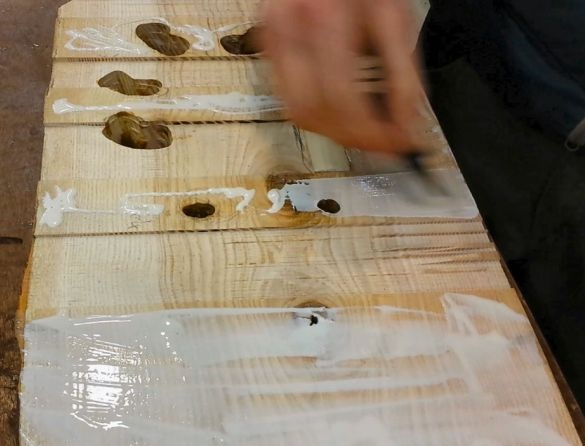
Installs magnets and fixes them with glue.
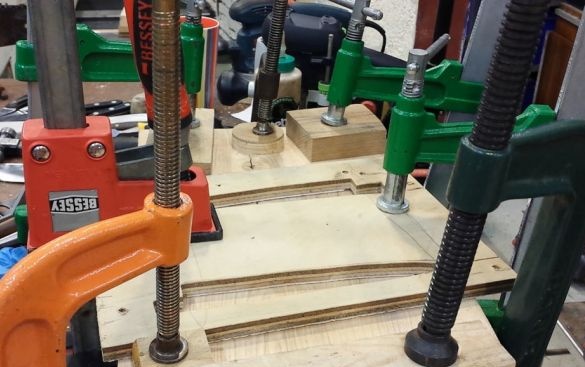
Glues previously cut board to the back.
Step Four: Shut Down
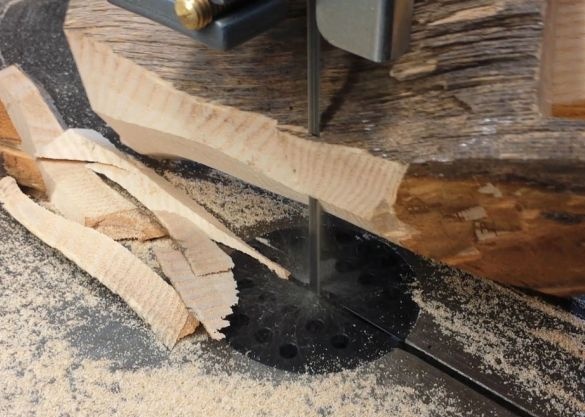
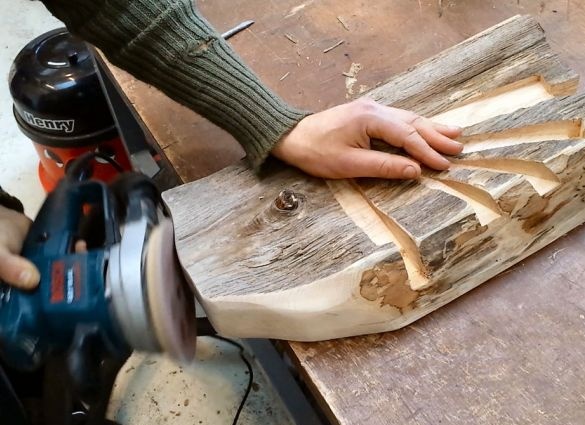
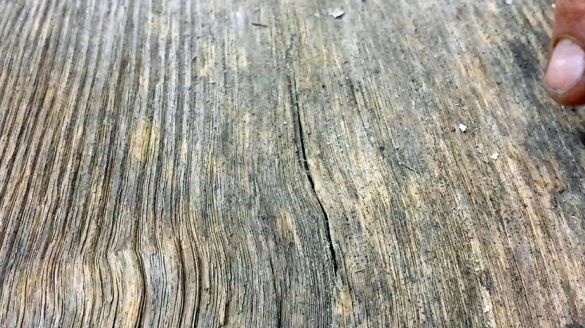
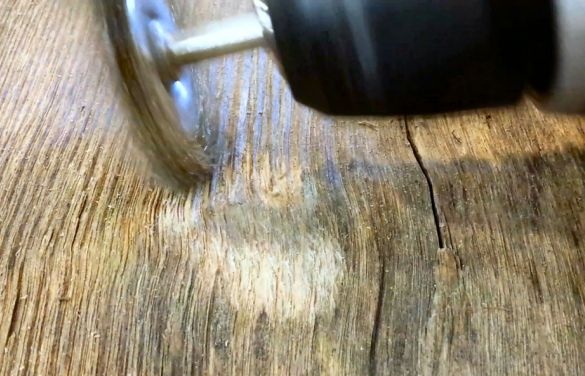
Cuts off excess parts. An iron brush along the fiber deepens the grooves. It grinds and puts wax and oil on the stand.
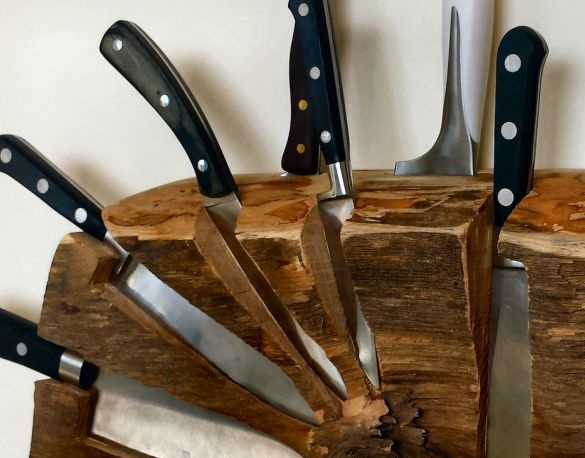
The knife stand is ready.
The whole process of making the stand can be seen in the video.

