

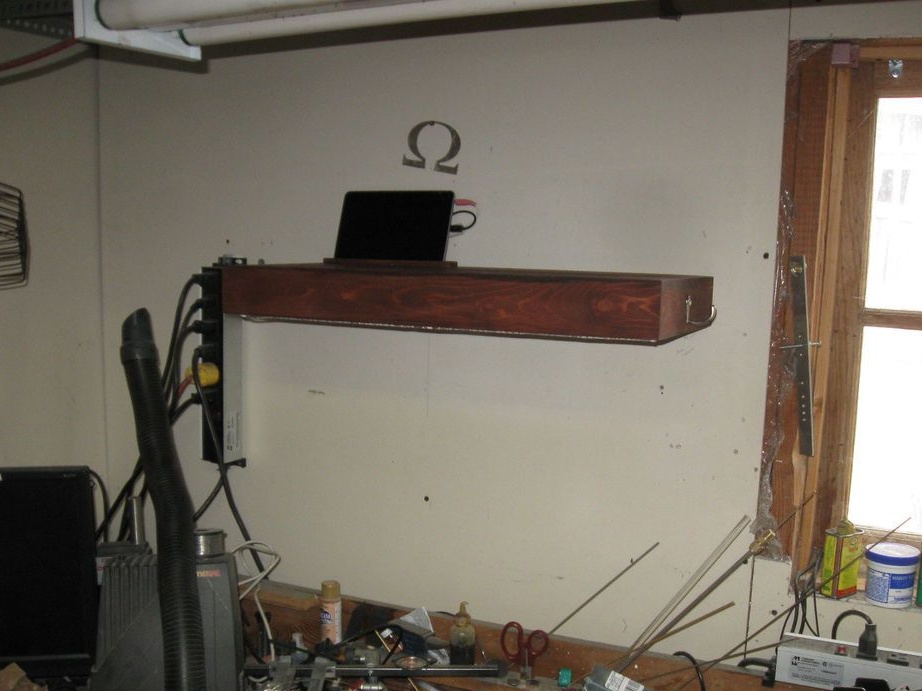
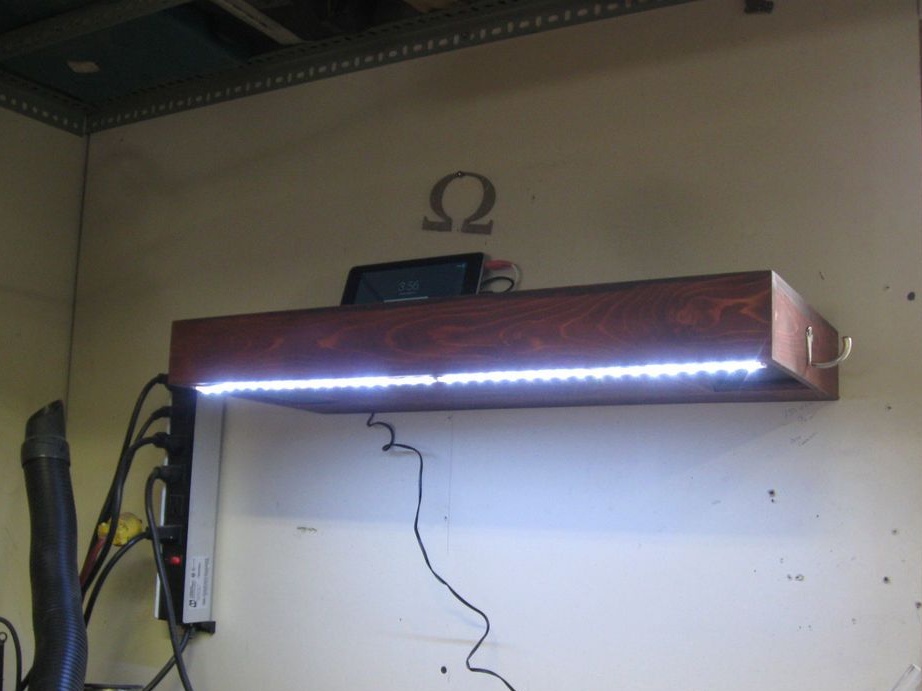
The shelf manufactured by the Master performs several functions:
-Mobile equipment charging place
-Audio system
-Lighting a workbench under a shelf
-Secret box
For the manufacture of shelves you will need the following
Tools and materials:
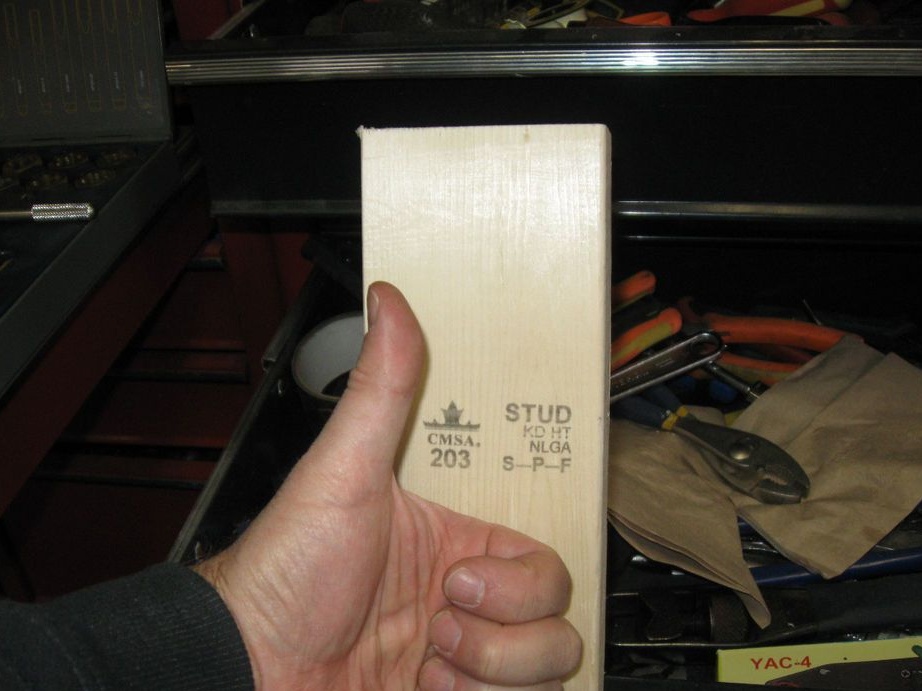
-Board;
-Audio speakers;
- LM386N;
-Circuit board;
-Capacitors, resistors according to the circuit;
-Wire;
-Soldering iron;
-LED Strip Light;
-Drill;
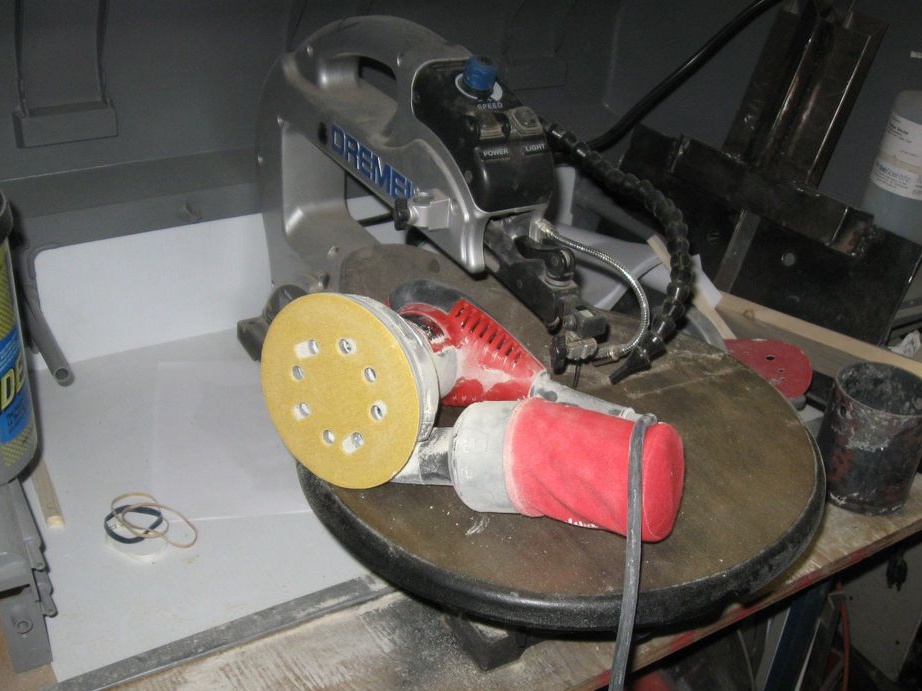
-Dremel;
-Drill;
-Bits;
-A circular saw;
-Bandsaw machine.
-Miter saw;
- Joiner's glue;
-Hook-hanger;
-Grinder;
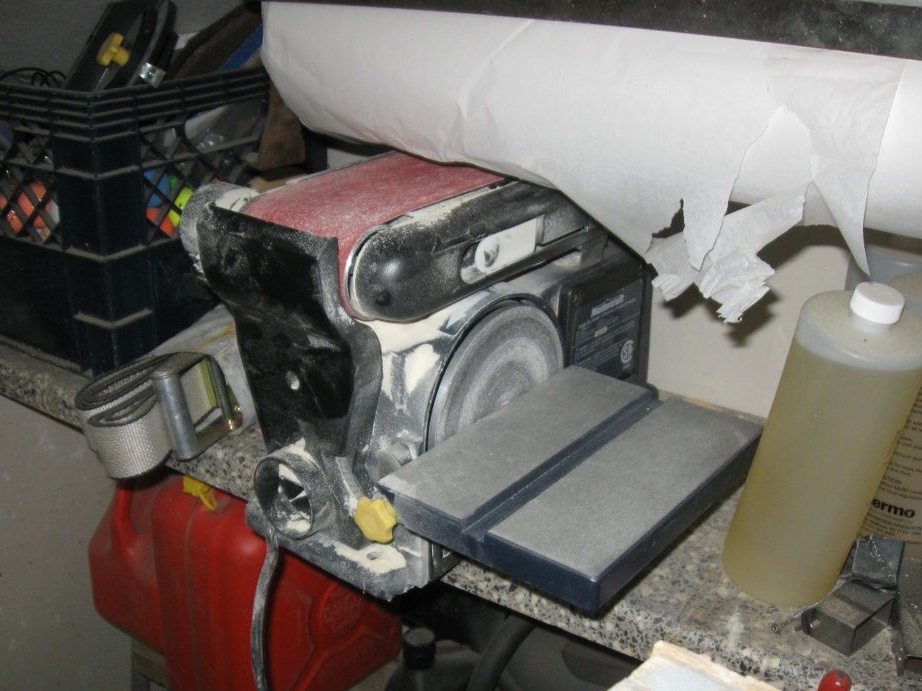
-Band-grinding machine;
- Putty;
- Stain;
- Clamps;
-Rule;
-Pencil;
-Fasteners;
-Springs;
-Power Supply;
-Level;
-Fasteners;
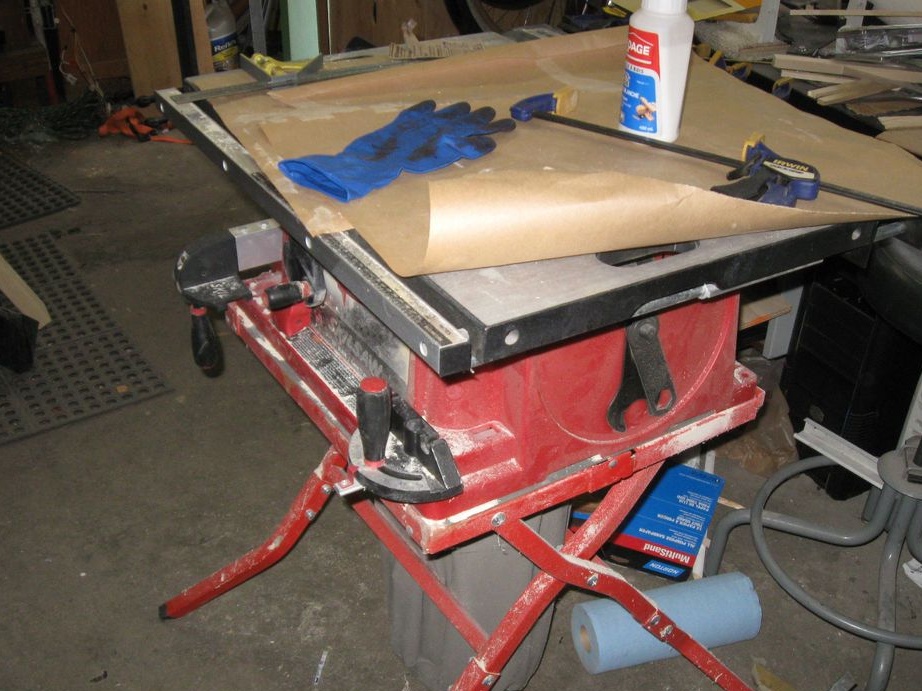
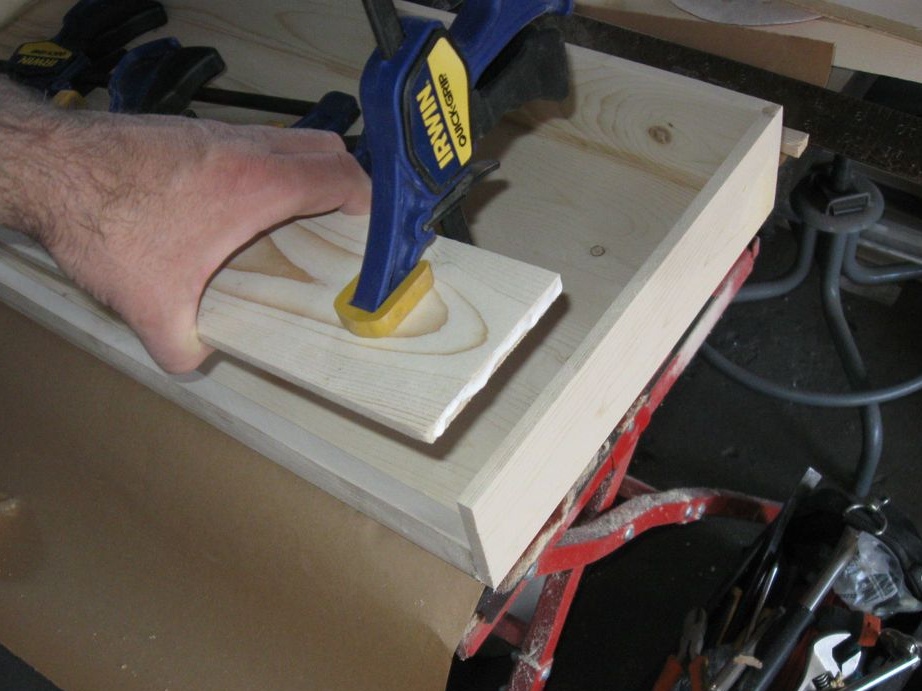
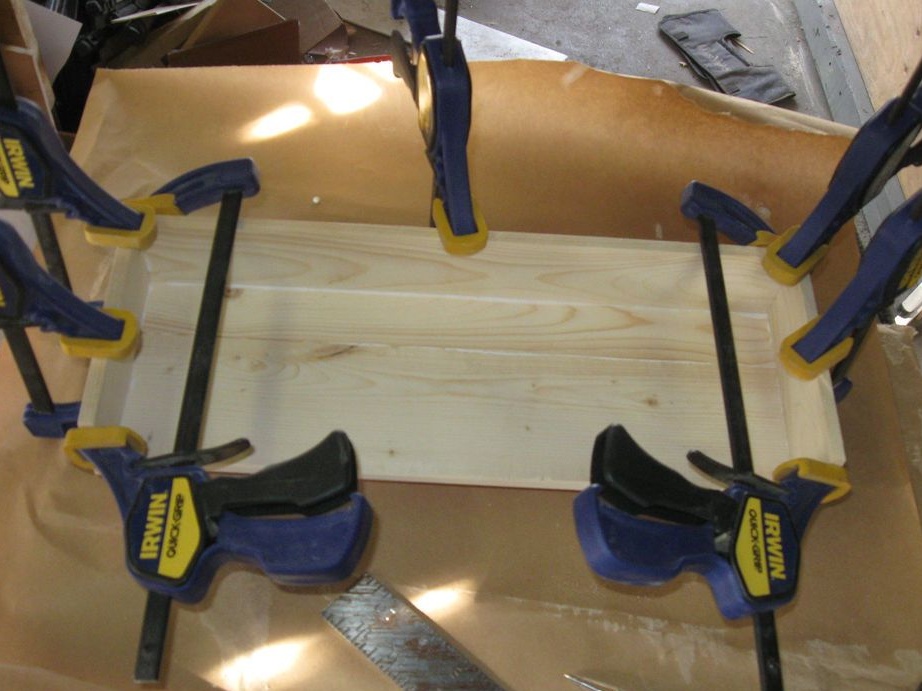
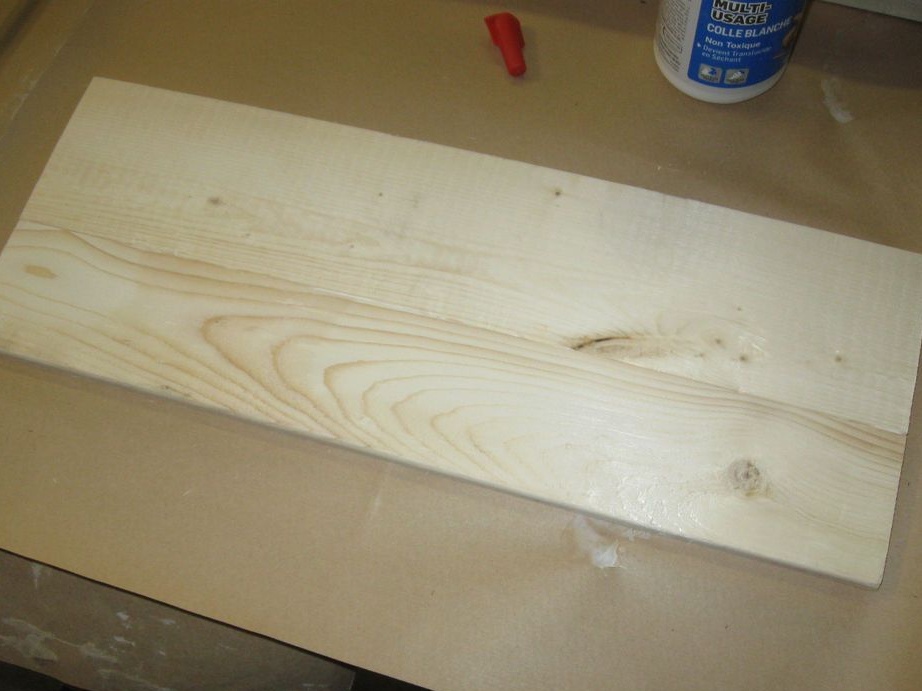
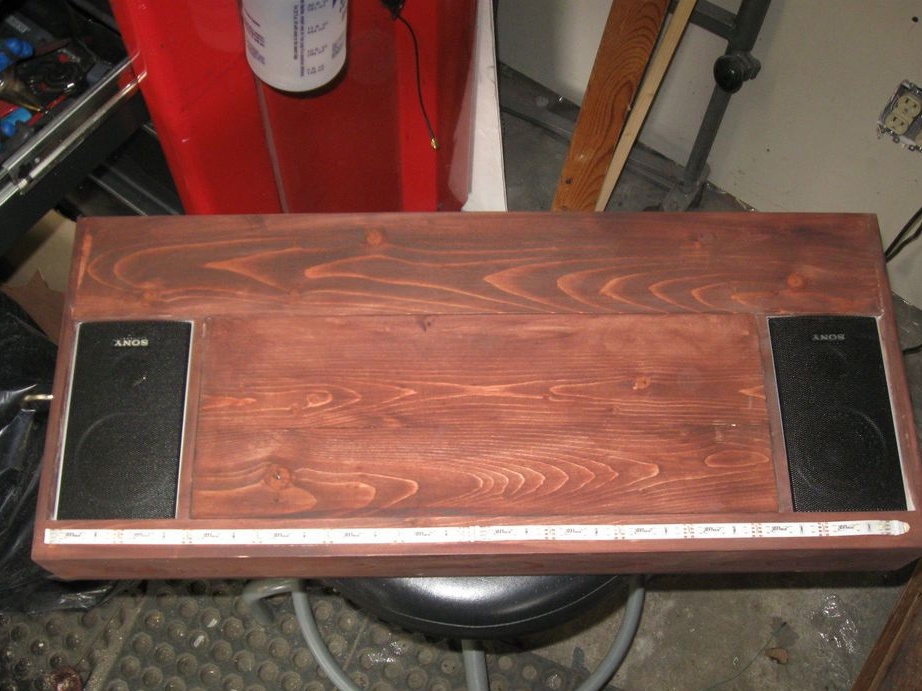
Step One: Shelf
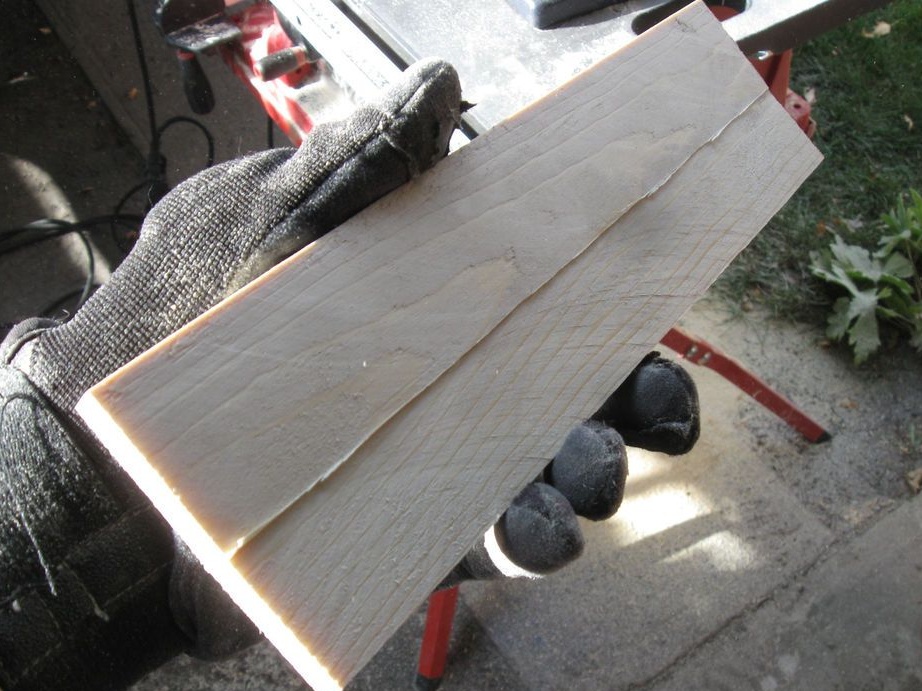
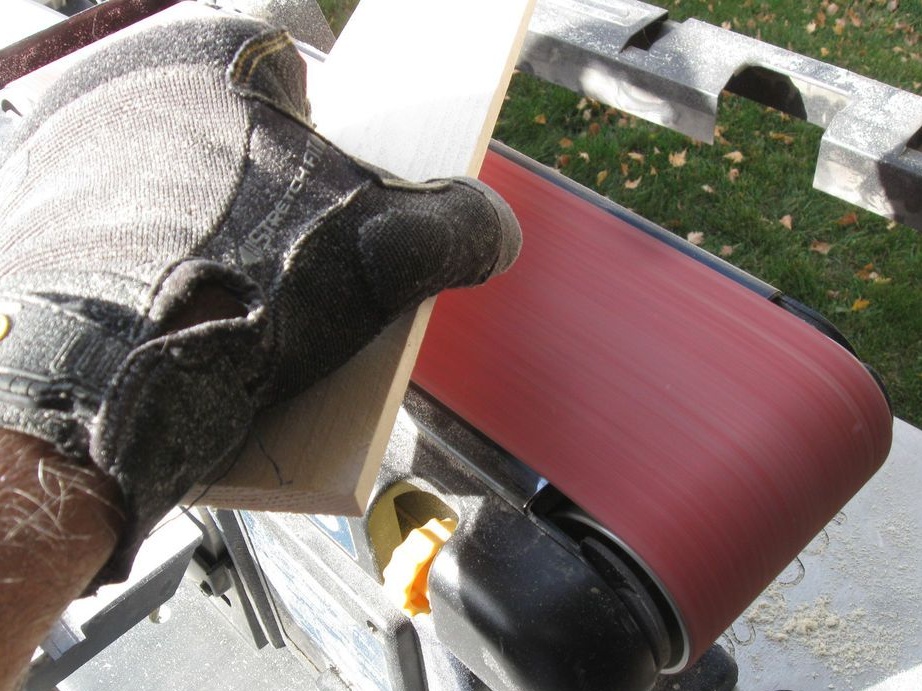
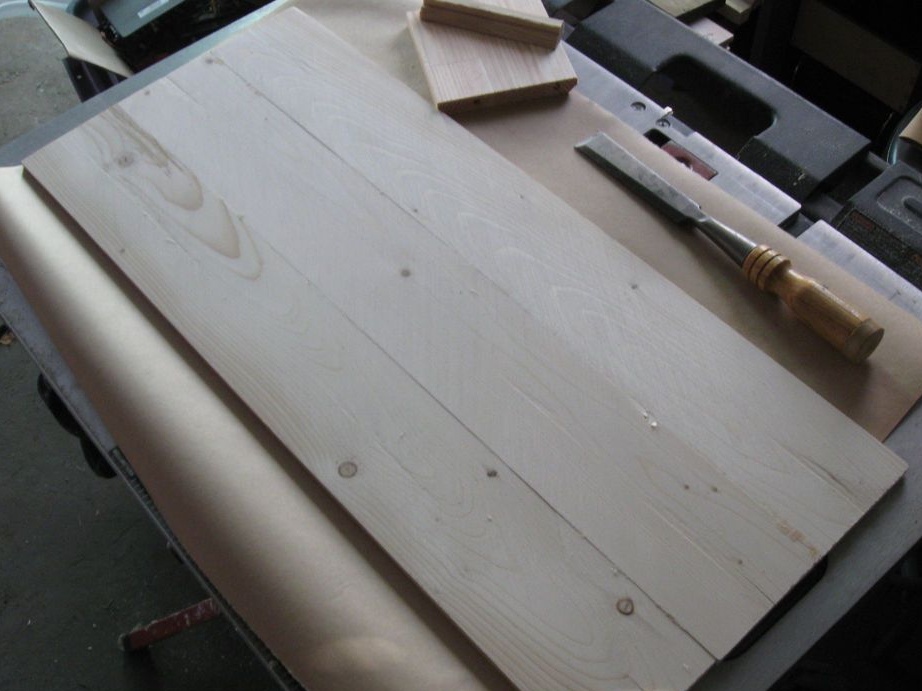
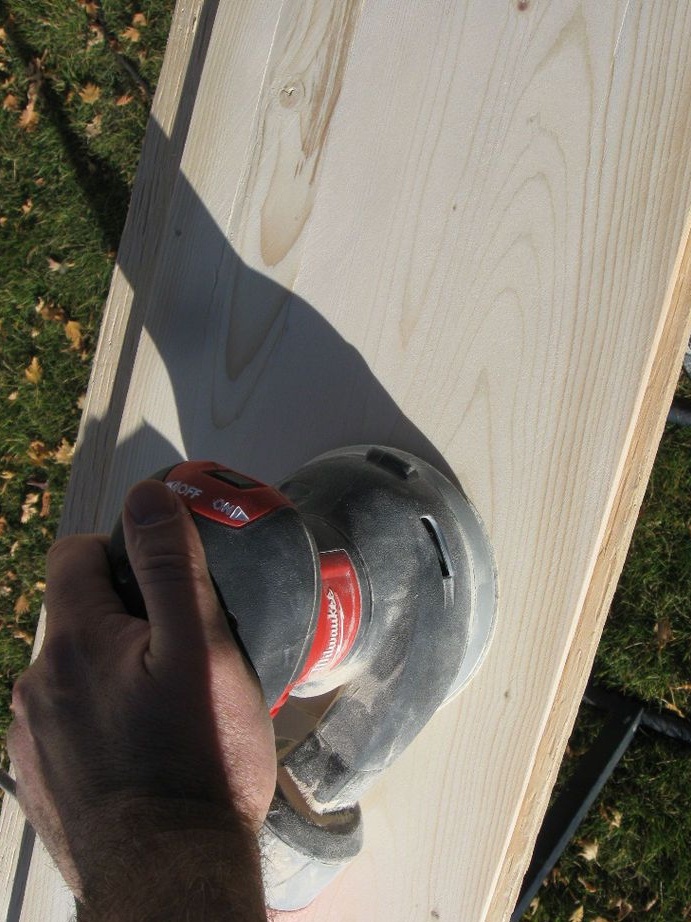
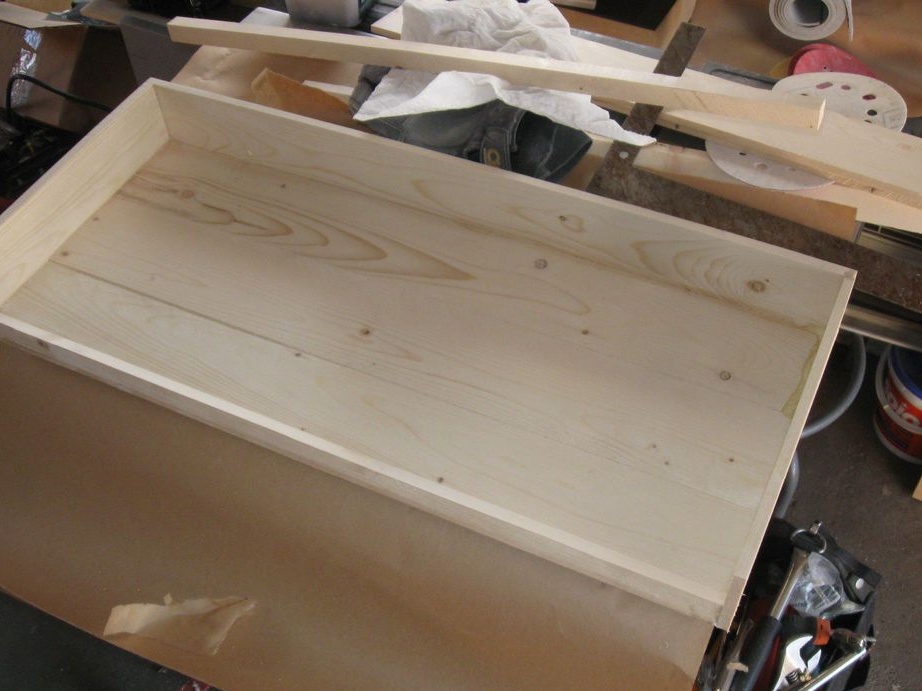
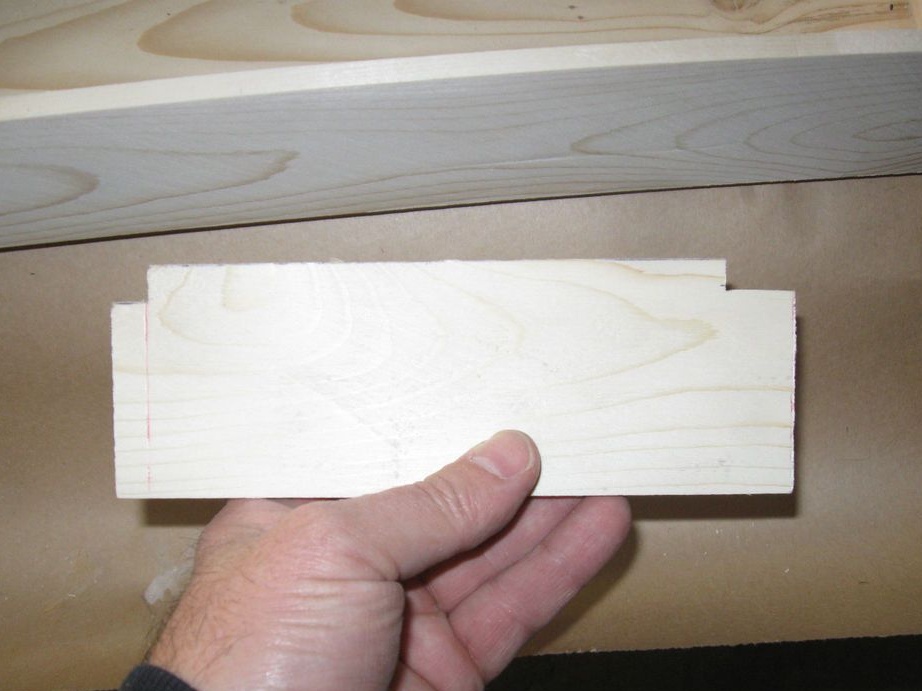
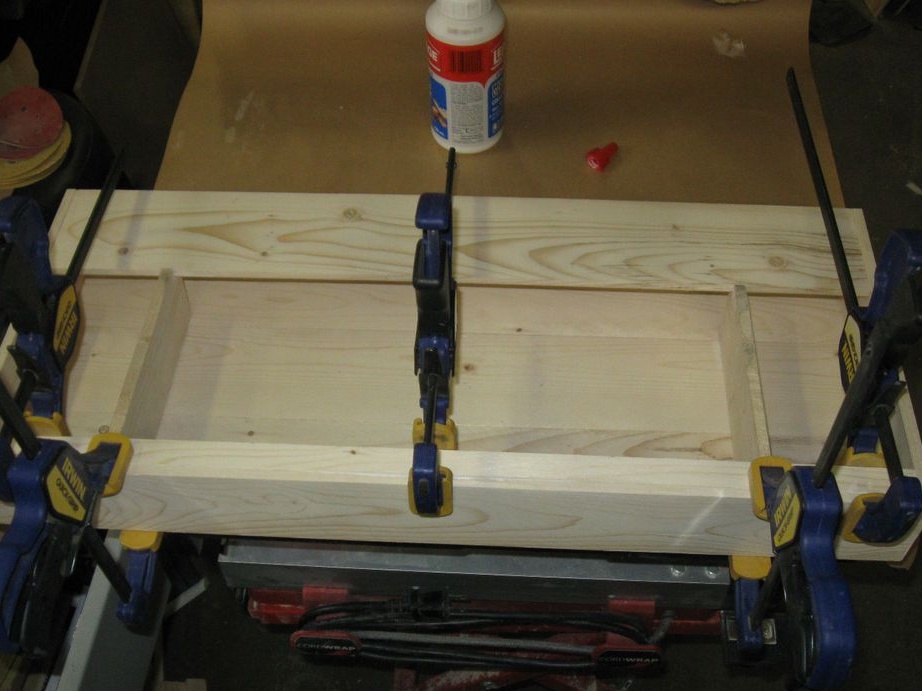
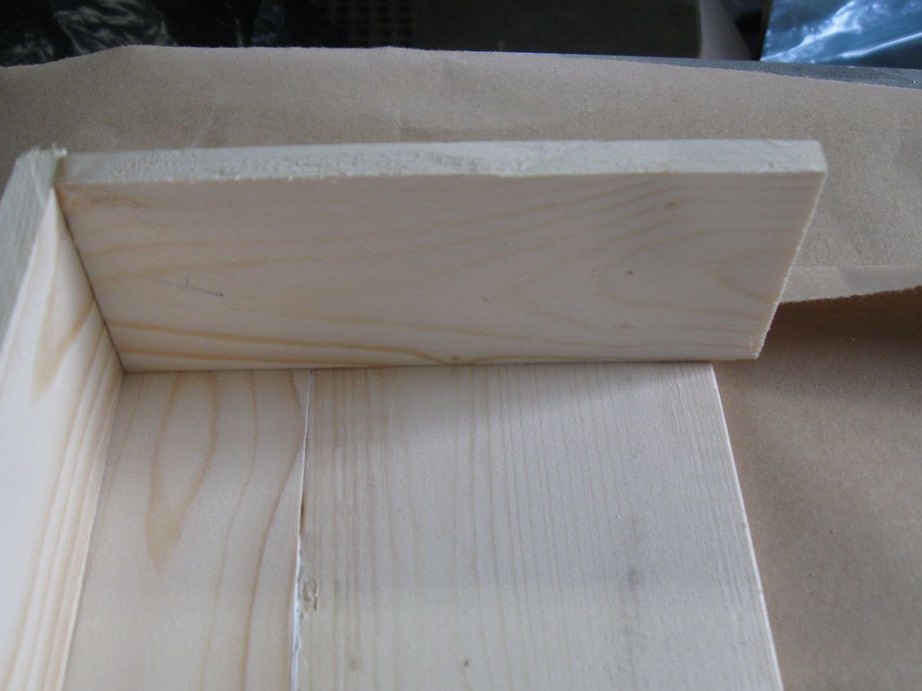
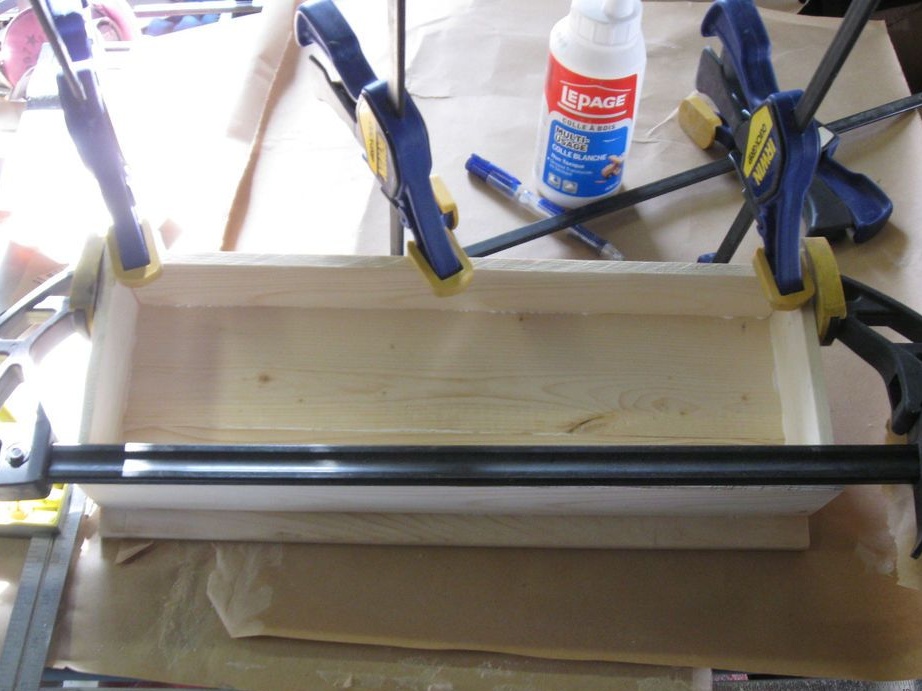
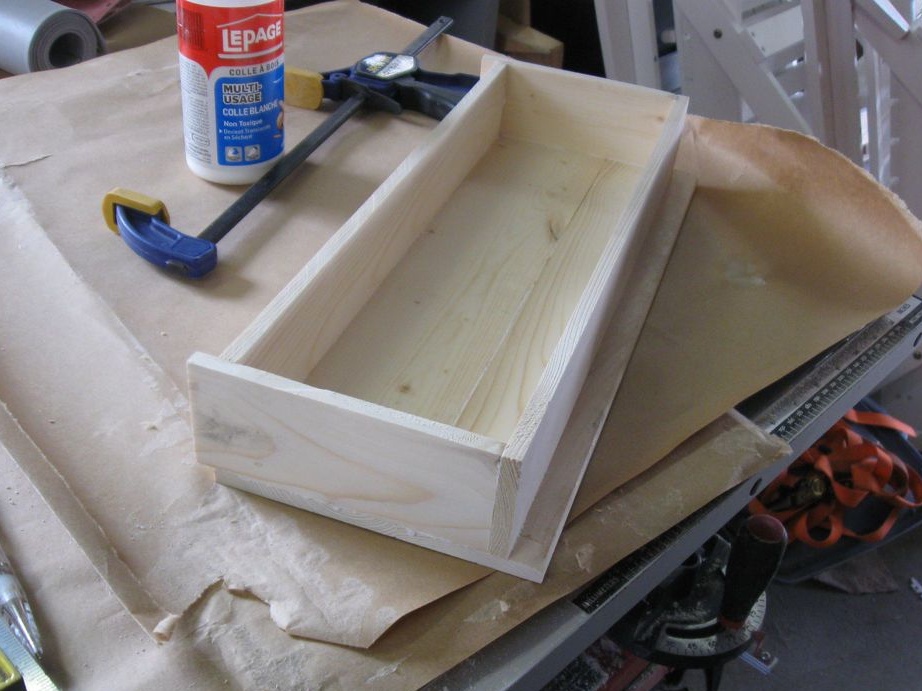
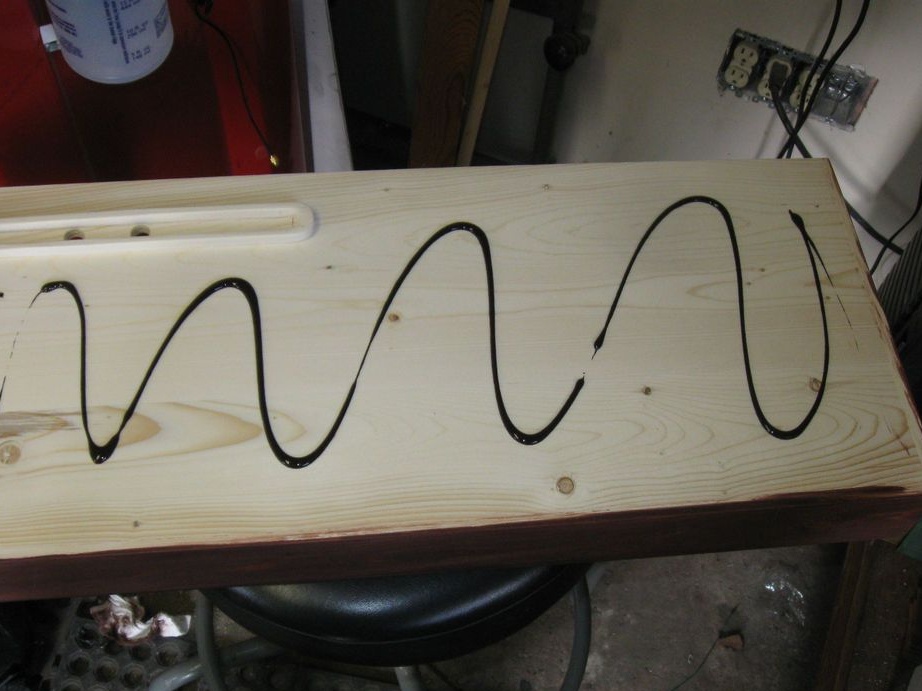
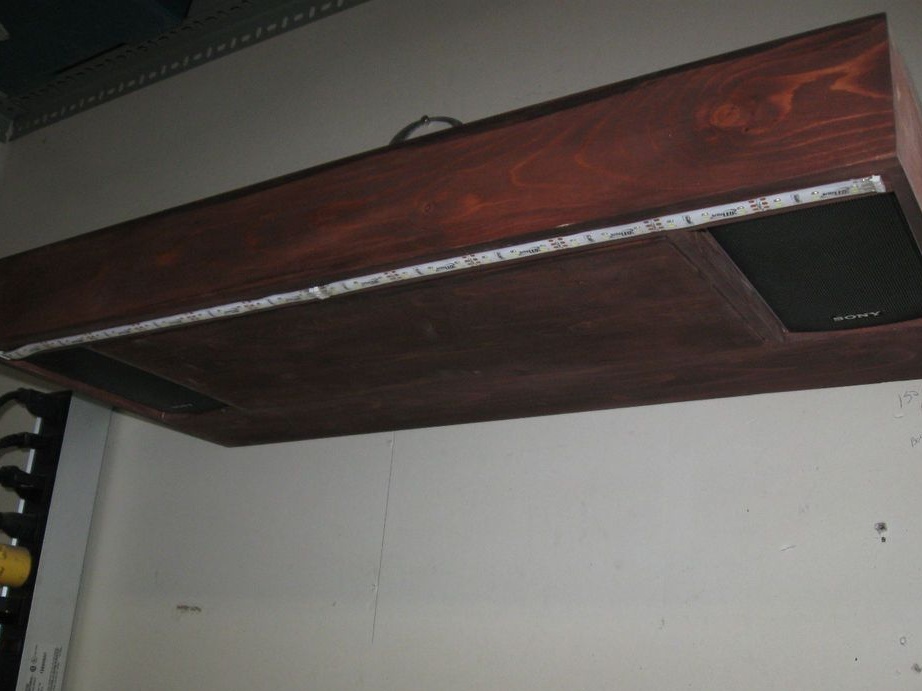
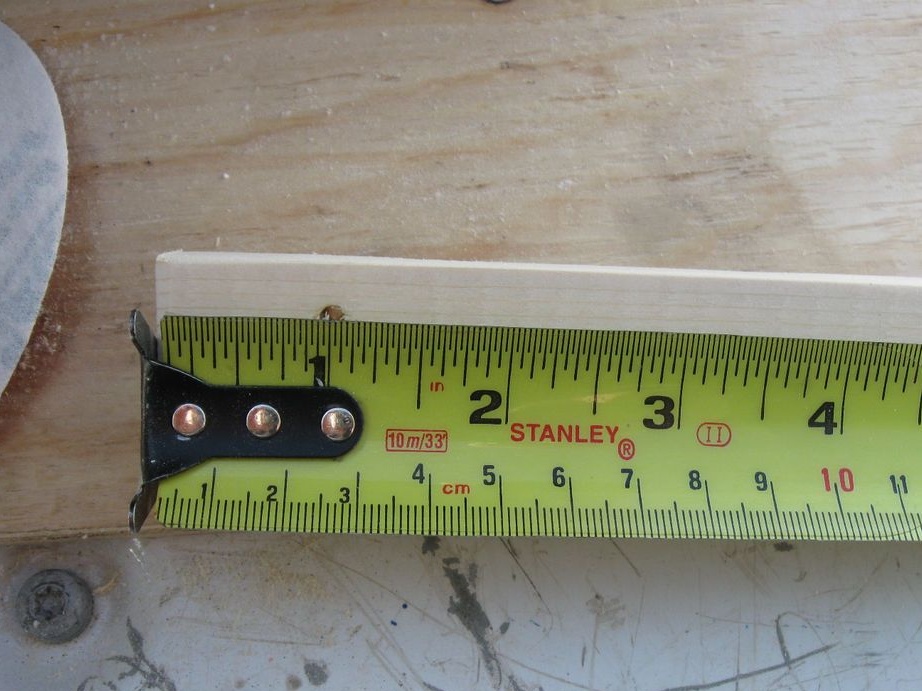
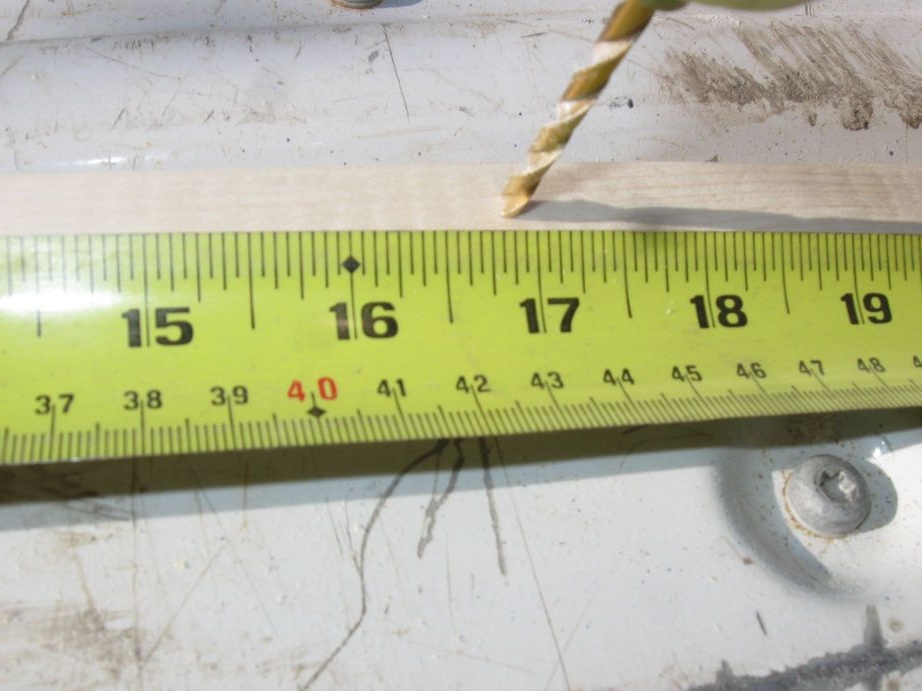
The shelf is made in the form of a box. Slices boards. Grinds.

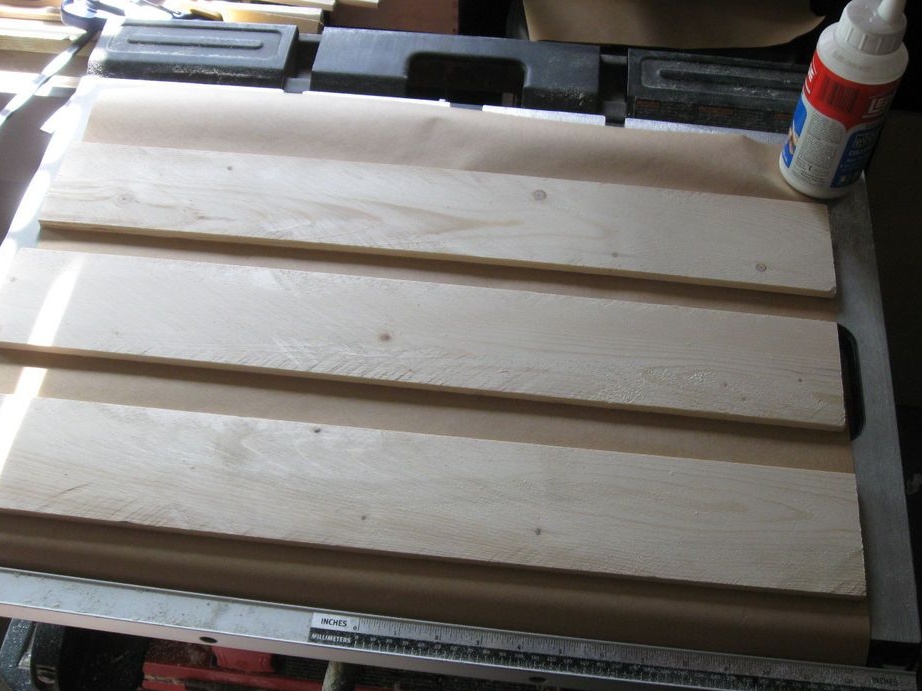
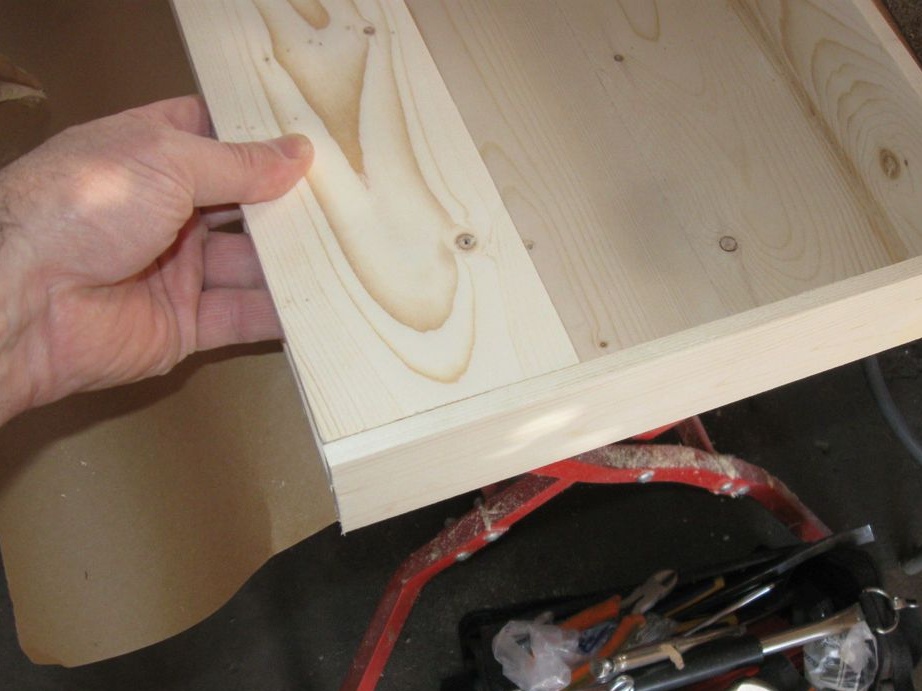
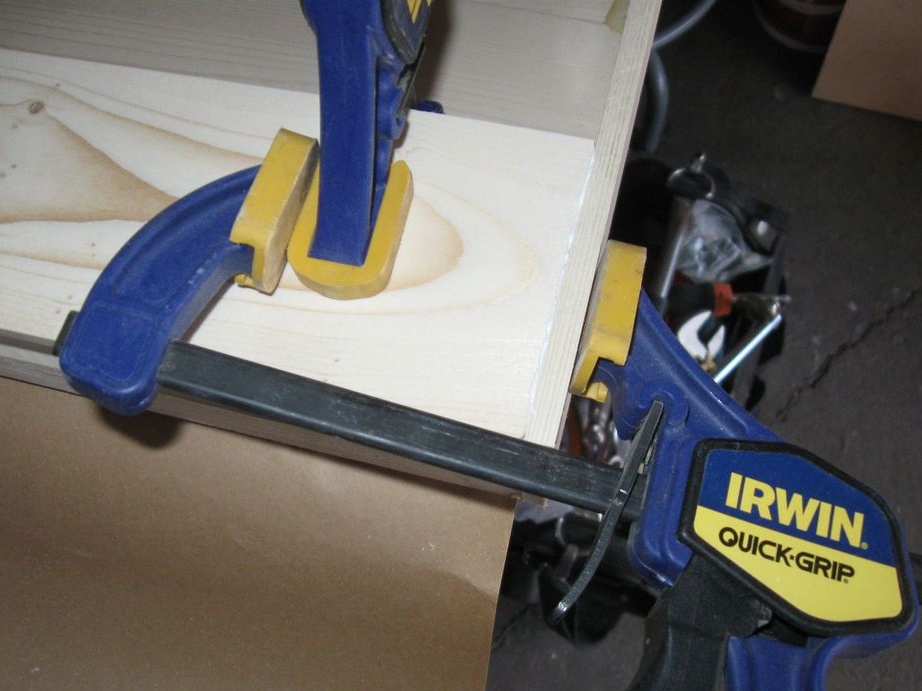
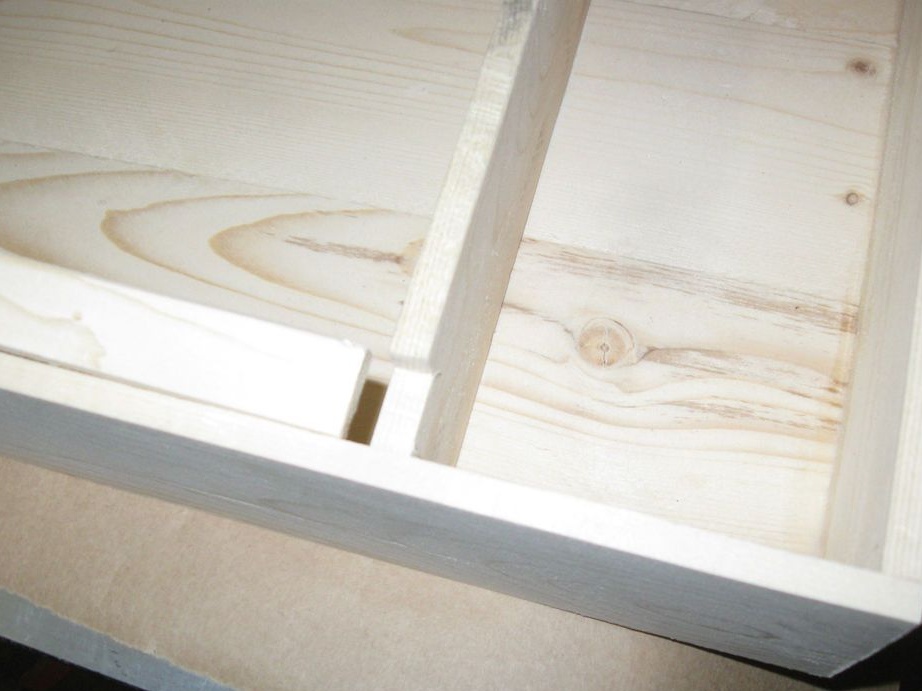
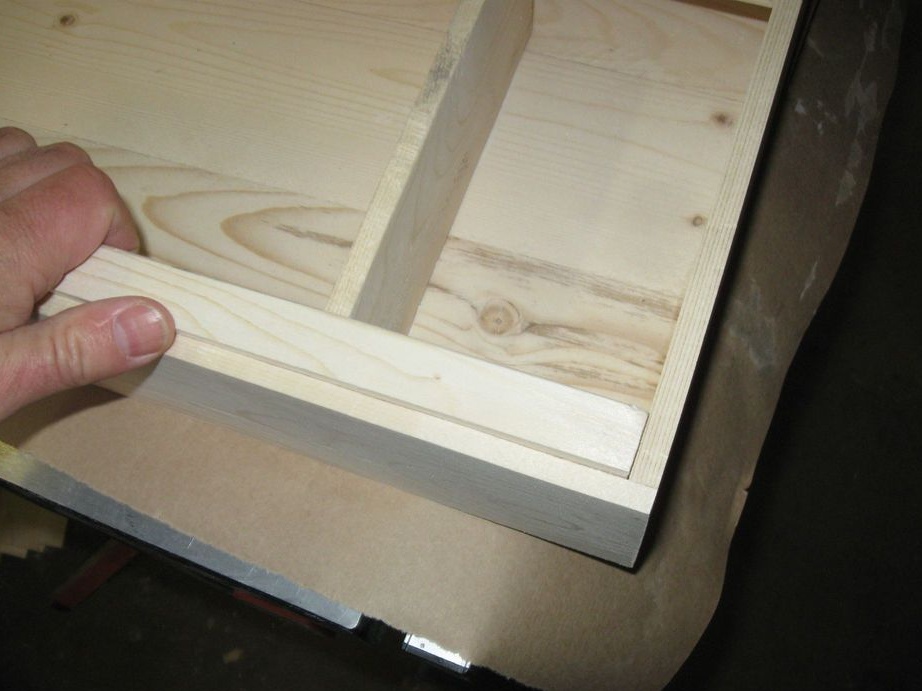
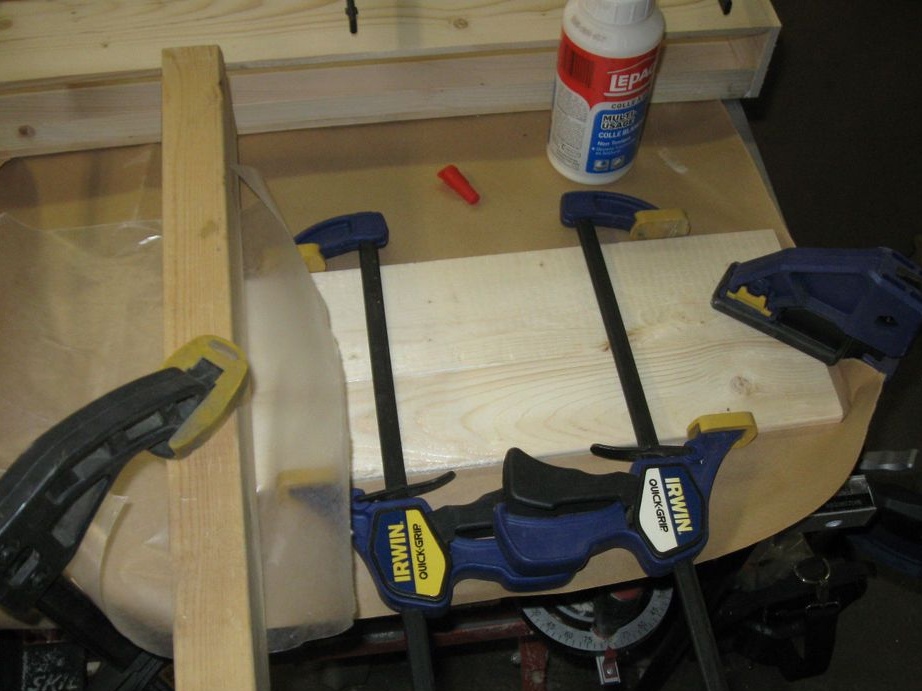
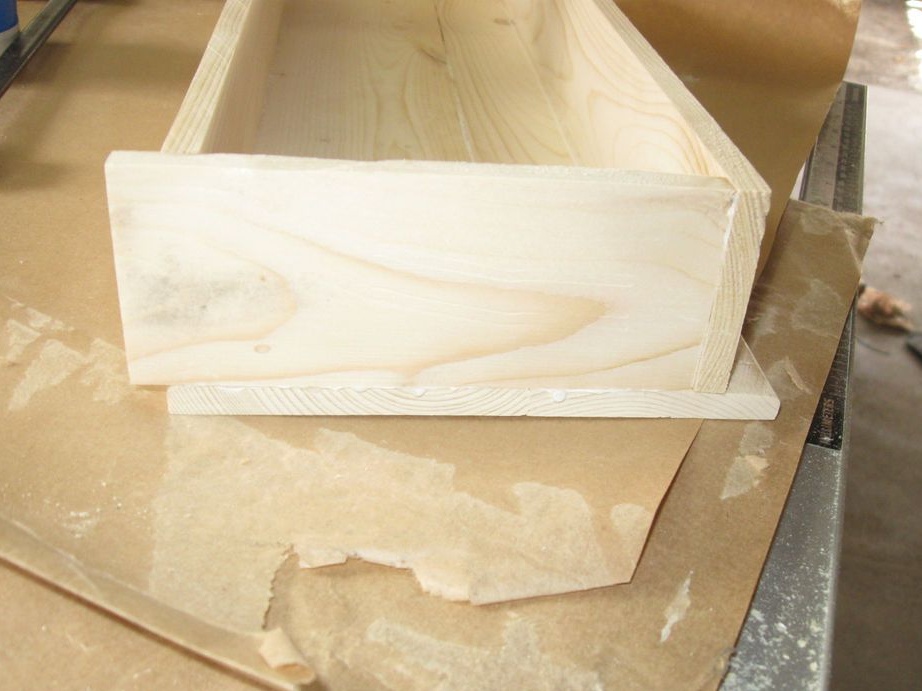
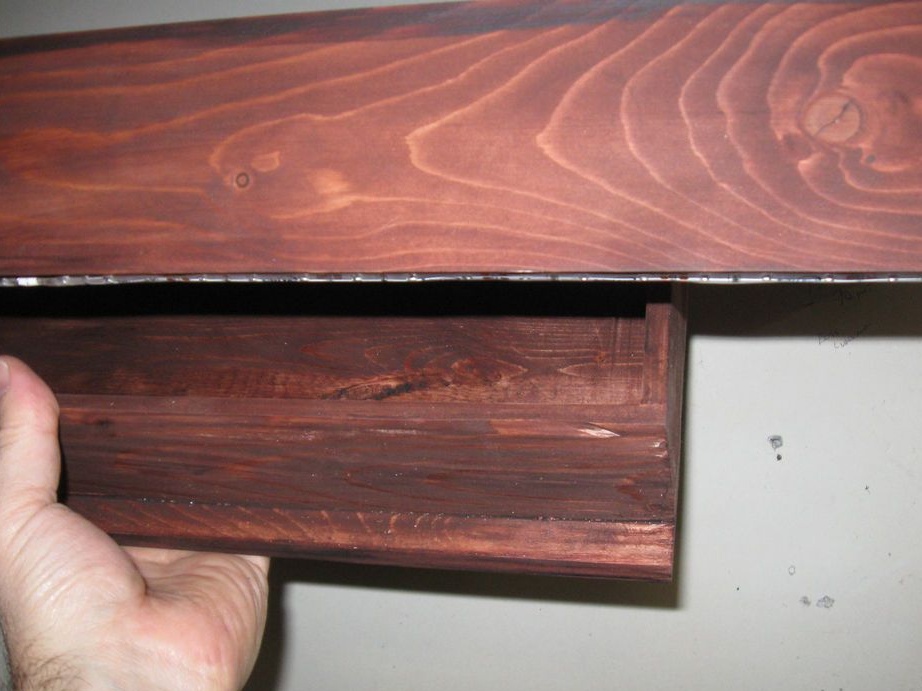
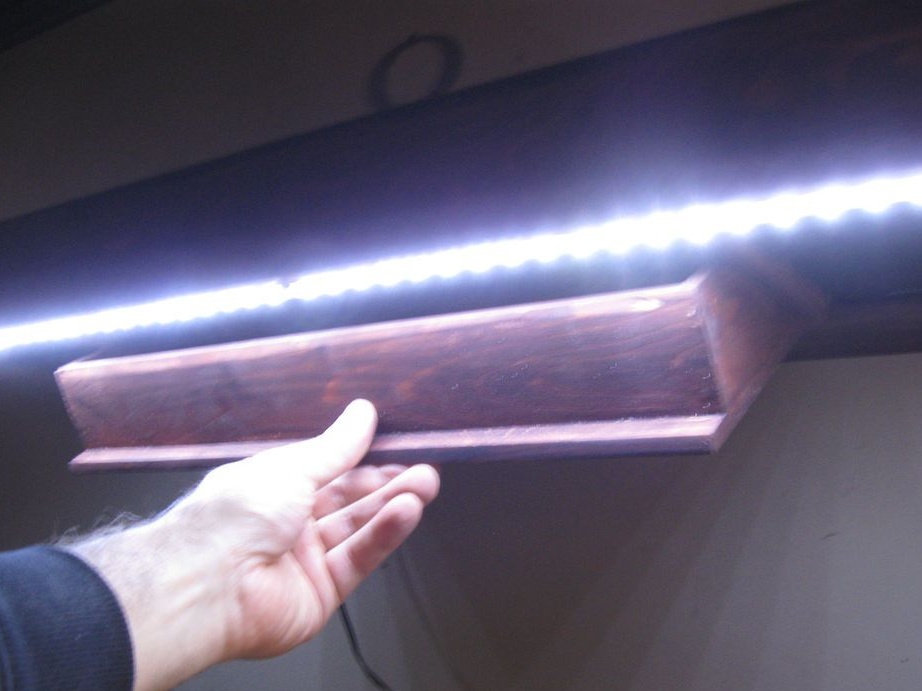
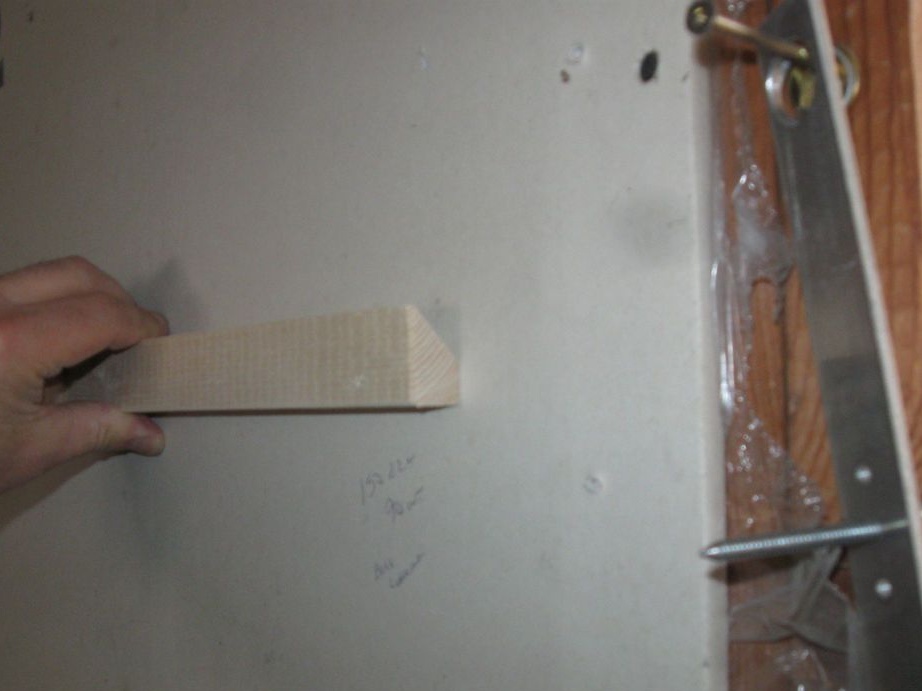
Glues the wall to the board. The rail is glued to the back side, sawn at an angle. The second part of the rail is useful in the future.

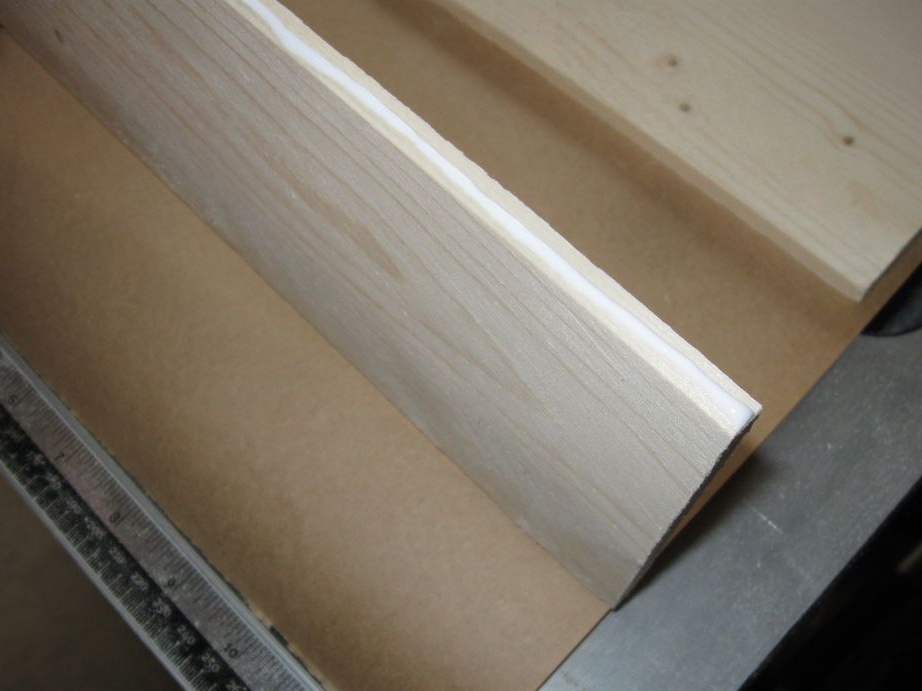

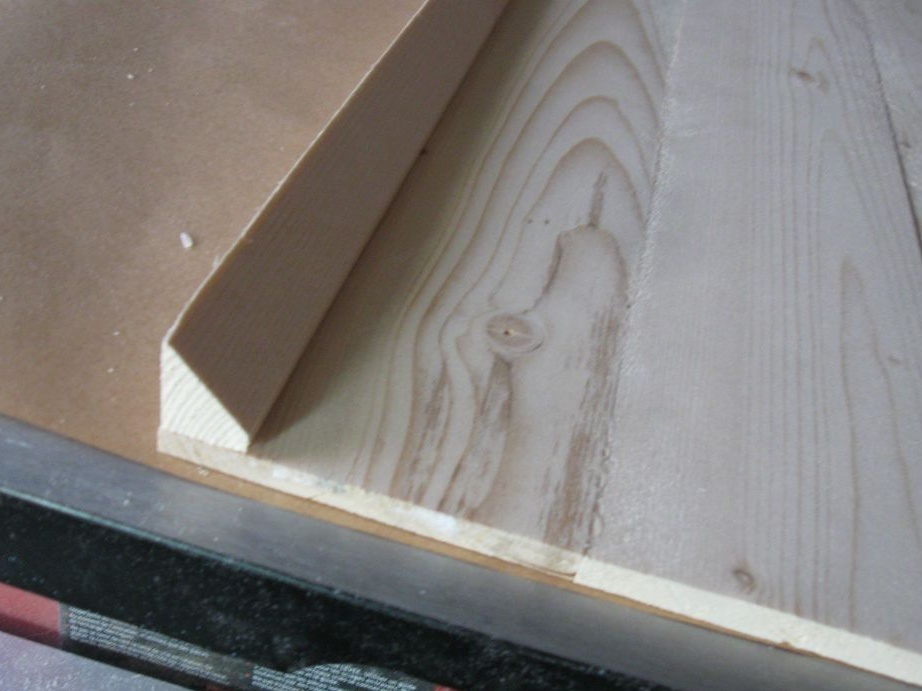
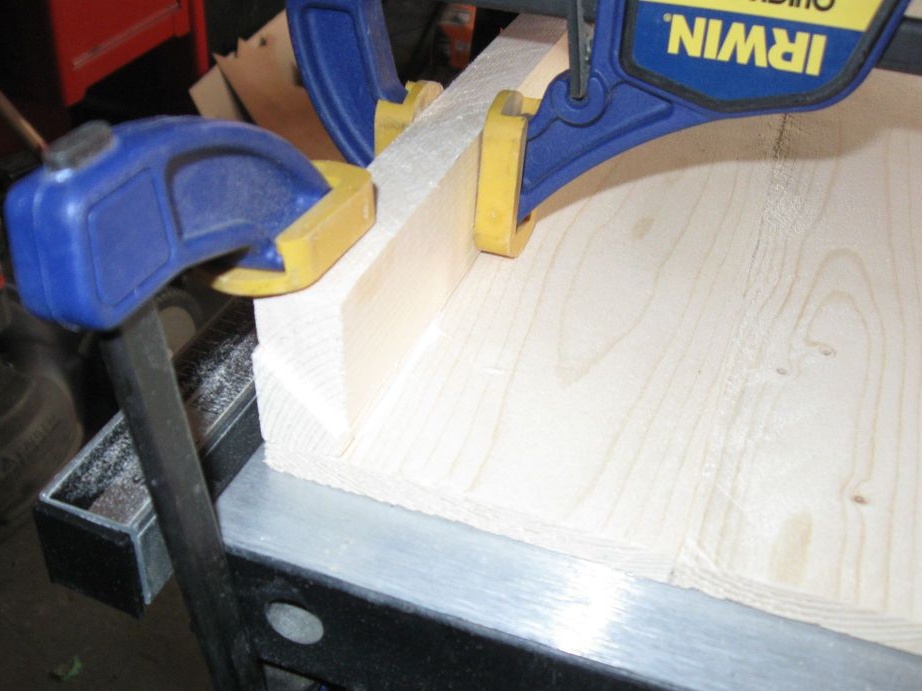
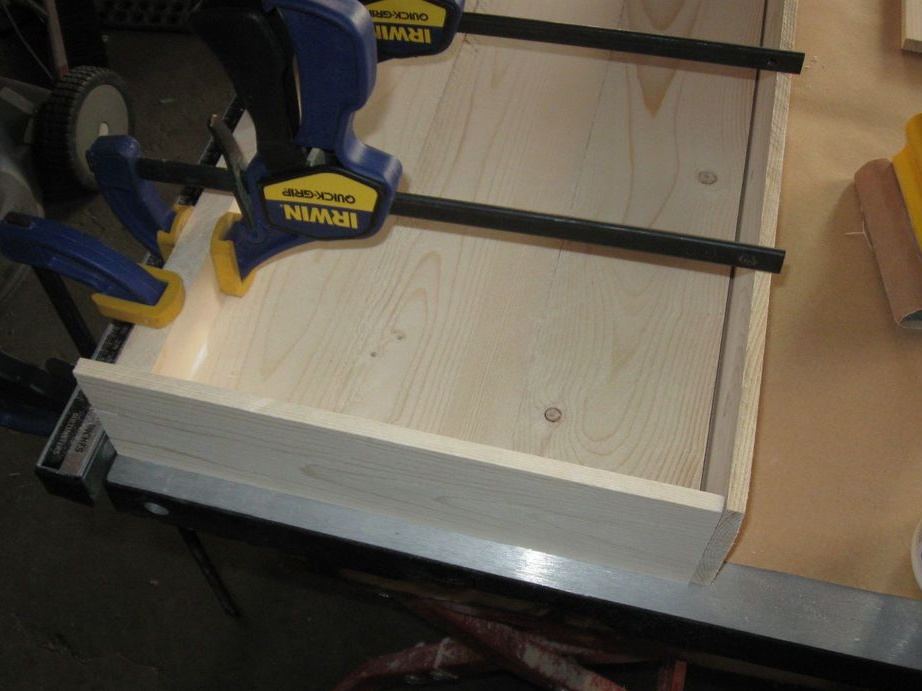
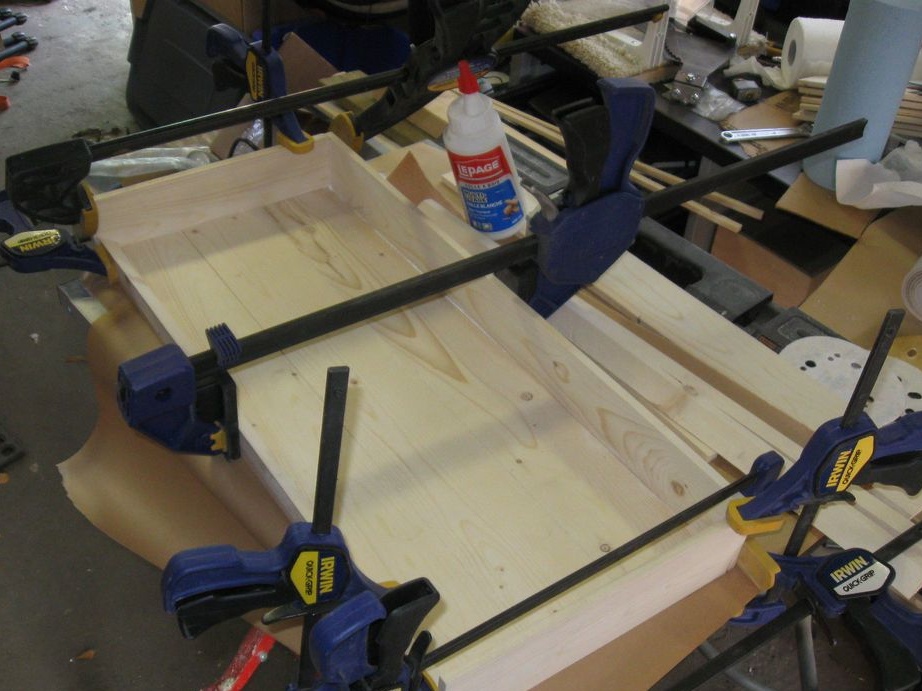
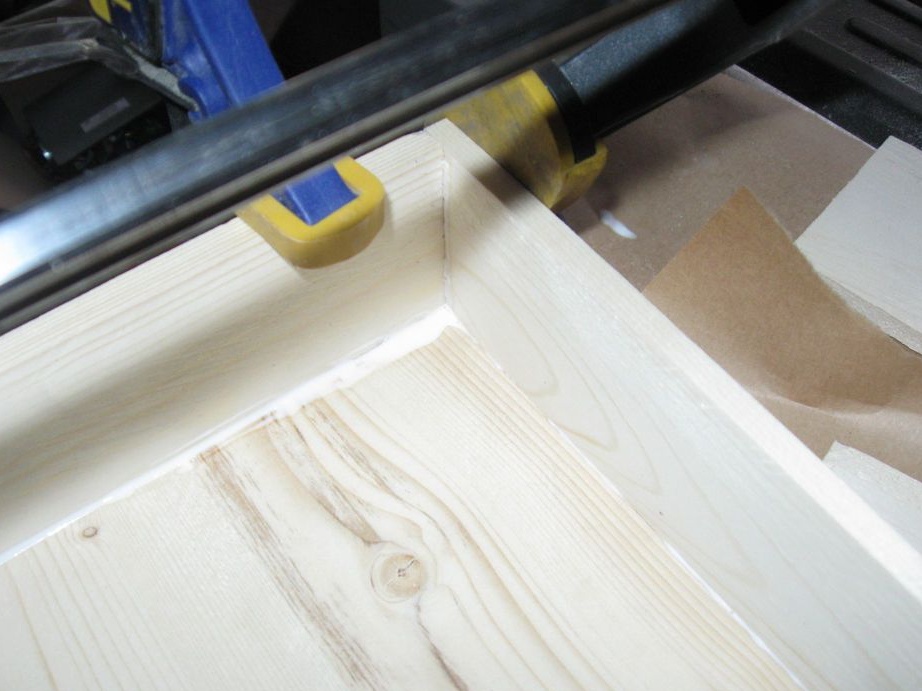

Adds a bottom board. There is space between the board and the slanted rail. The same rail will be mounted on the wall and a shelf will be hung on it.
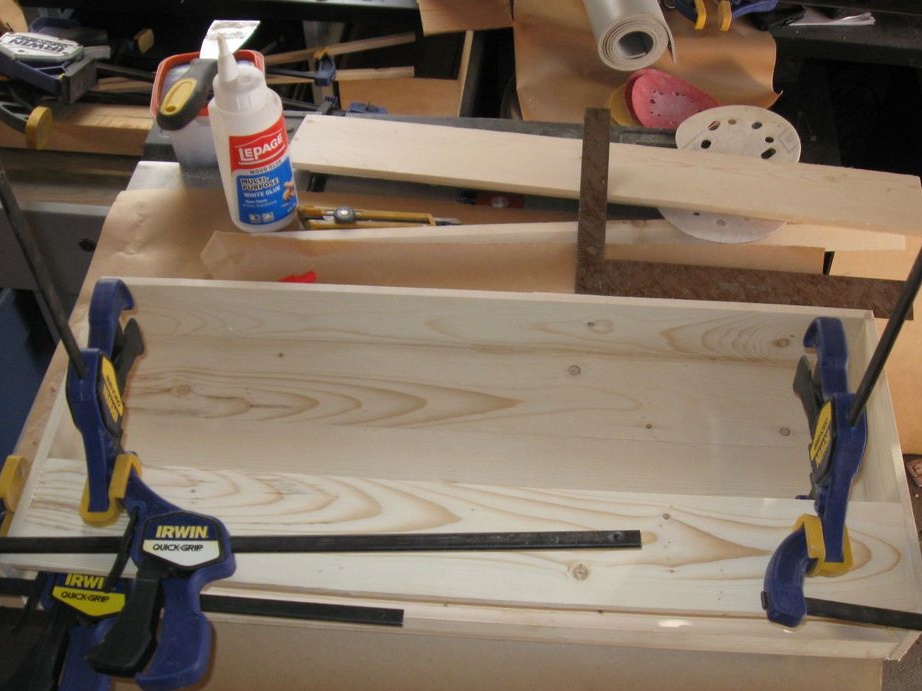
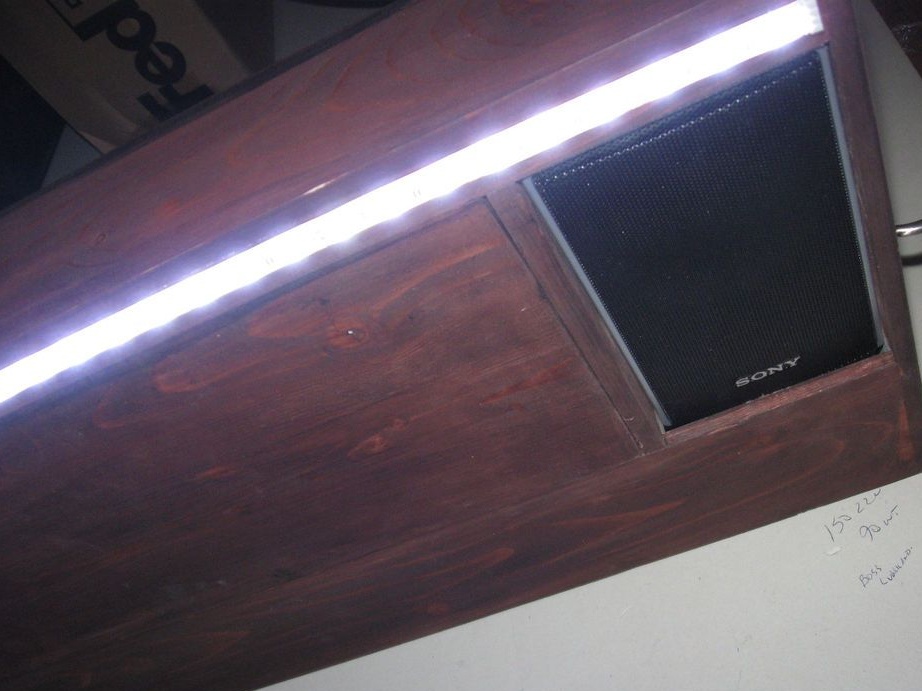
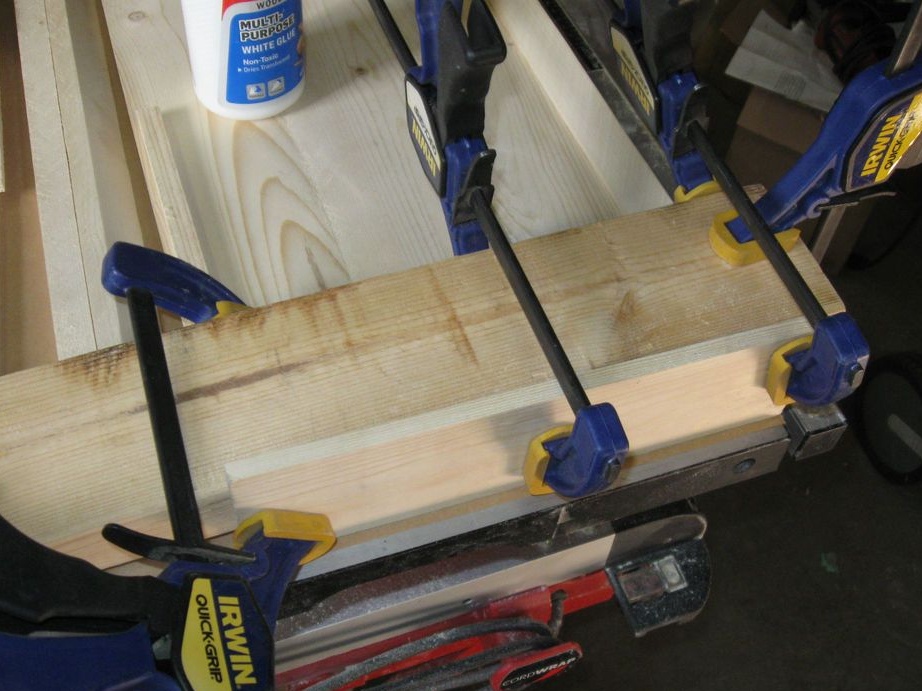
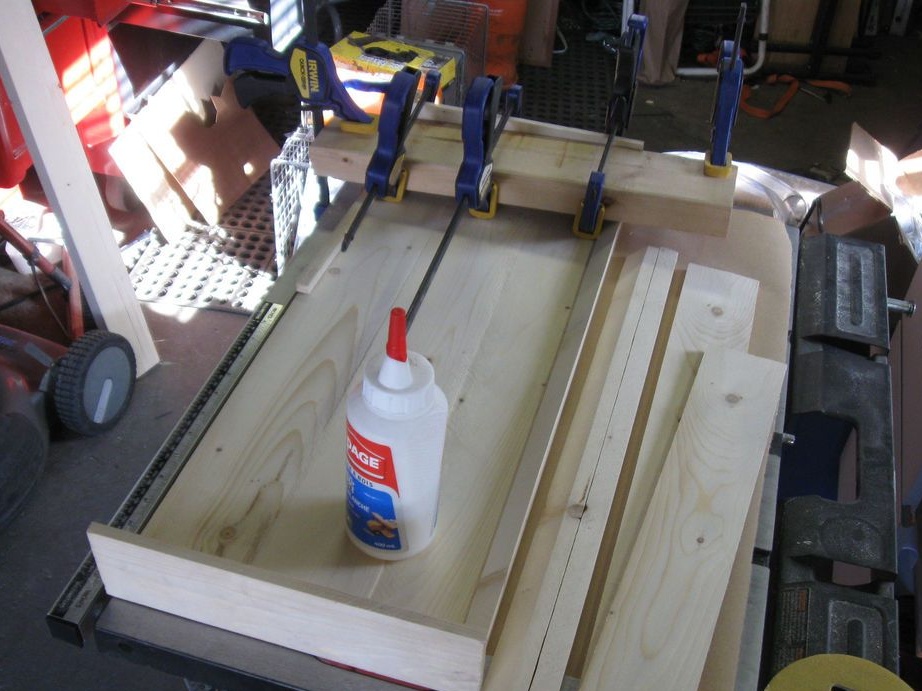
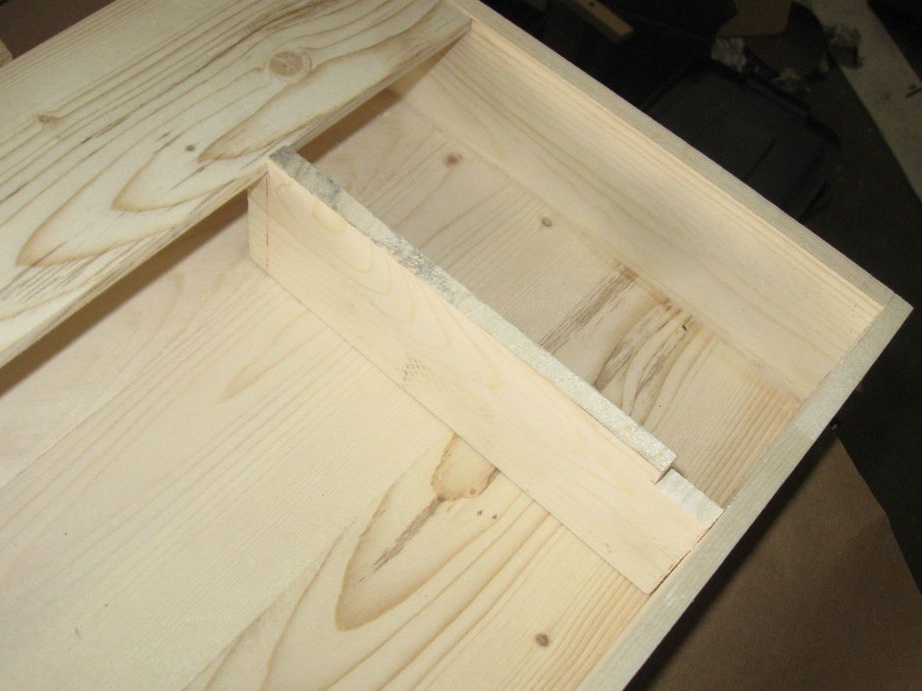
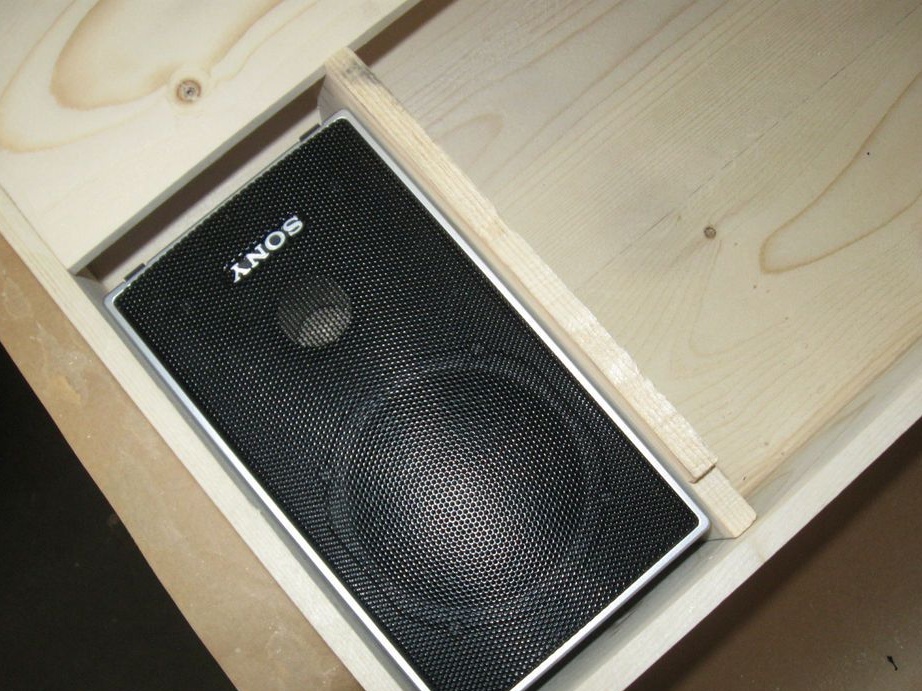
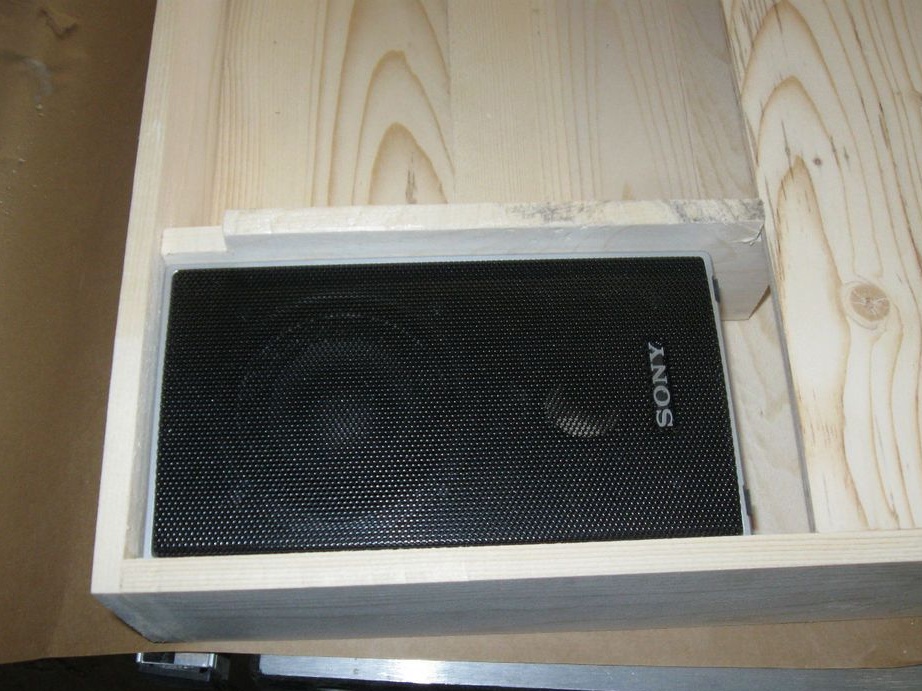
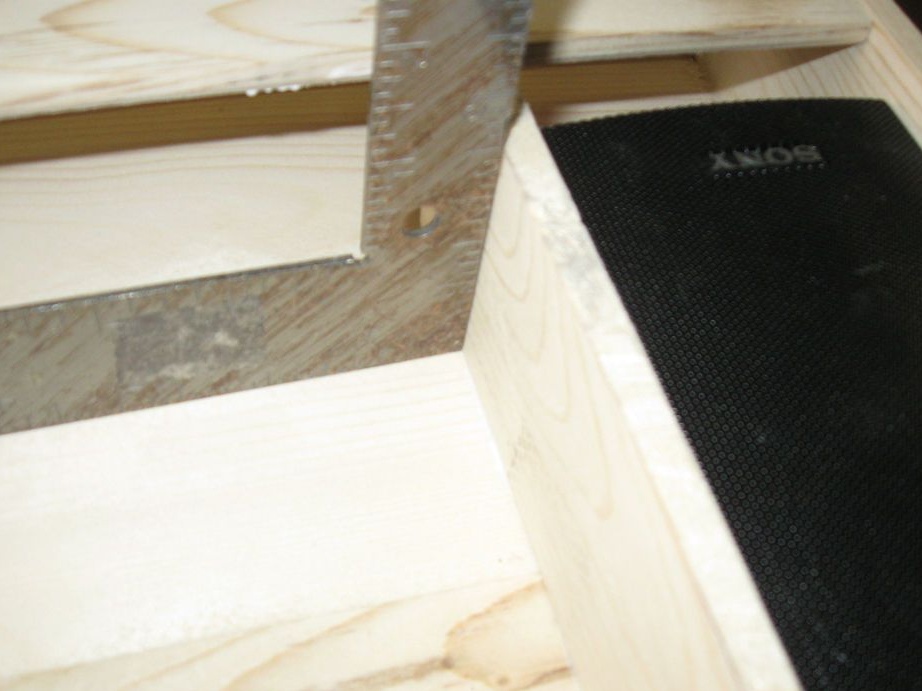
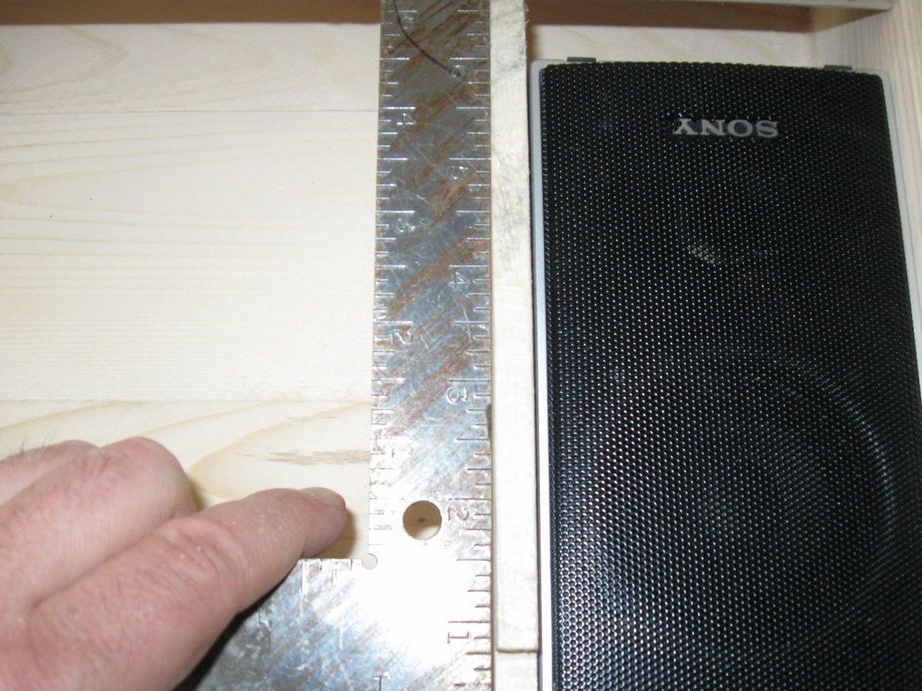
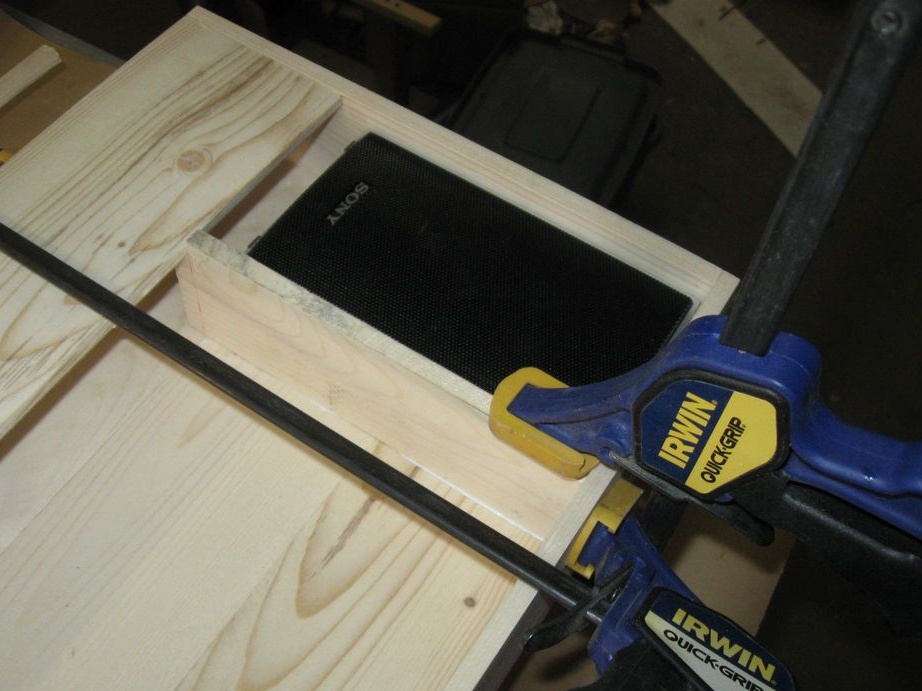
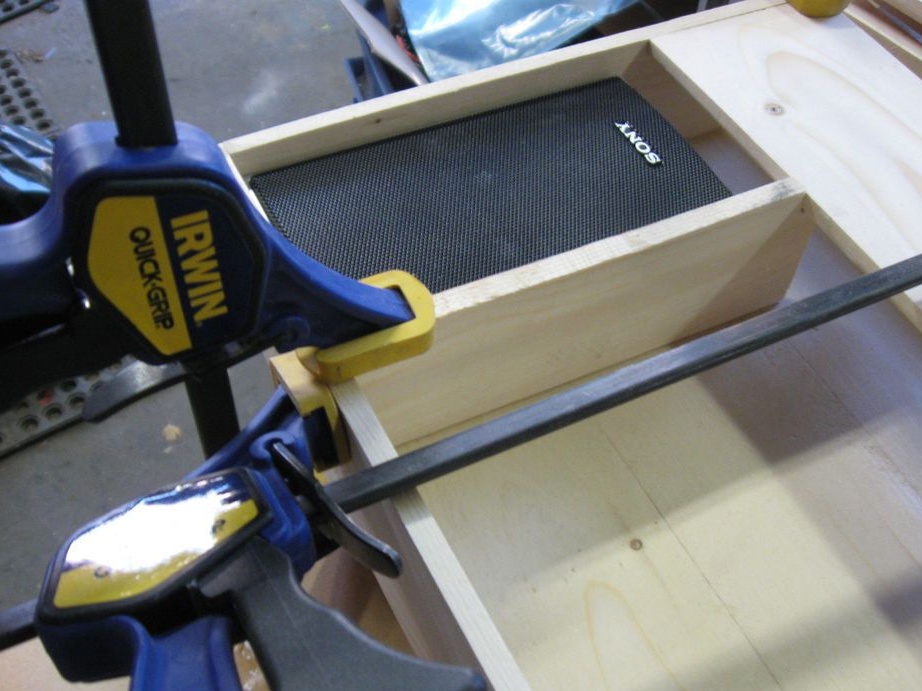
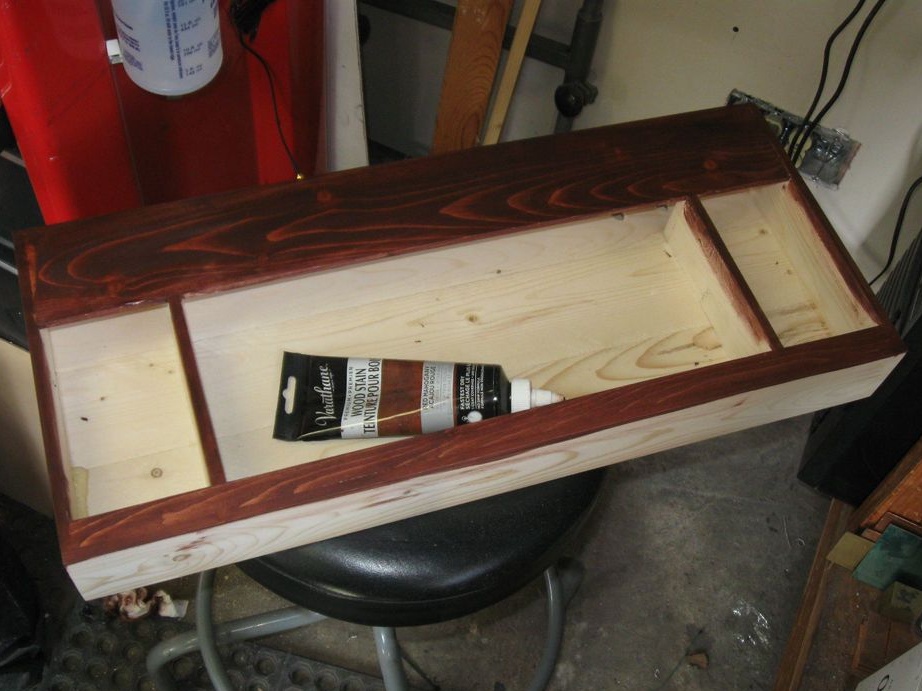
Makes boxes under the speakers.
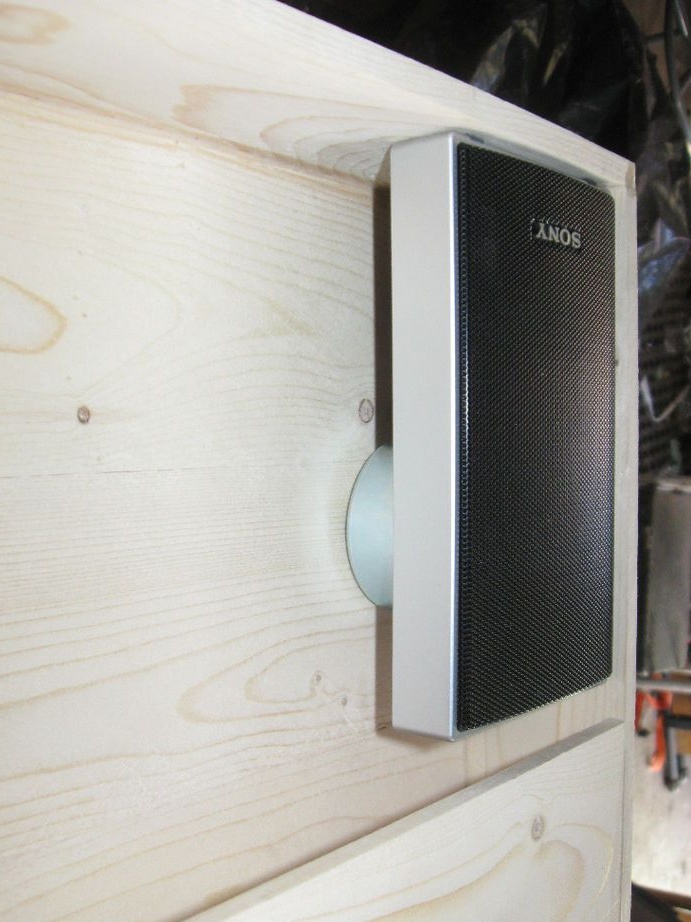


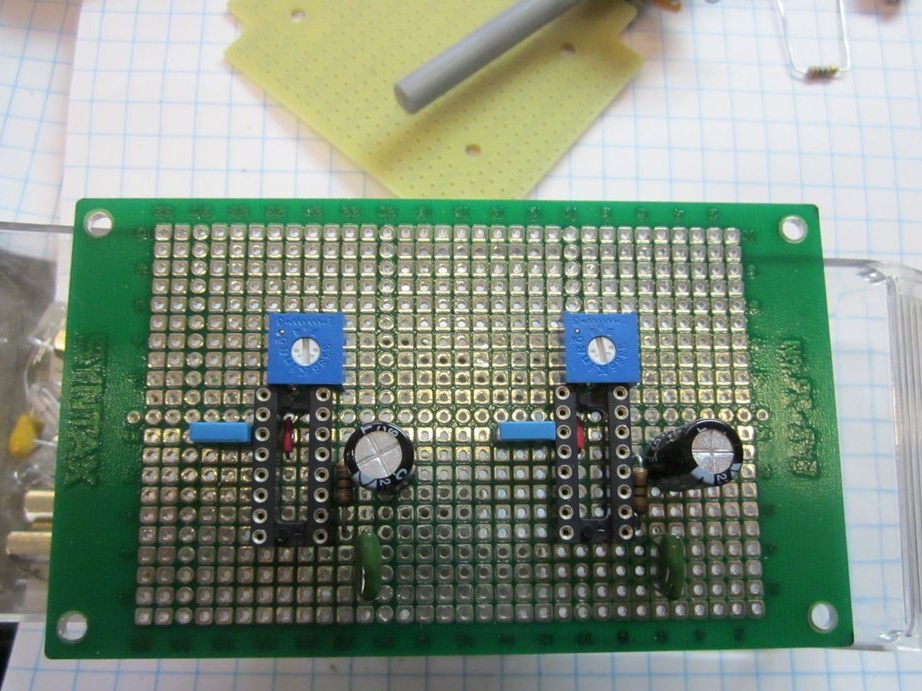
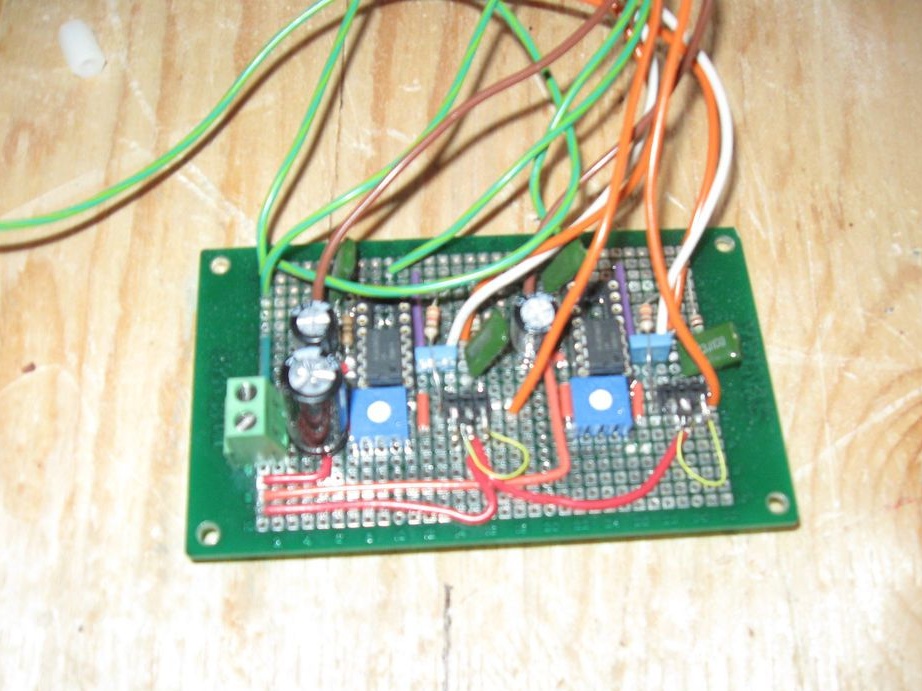
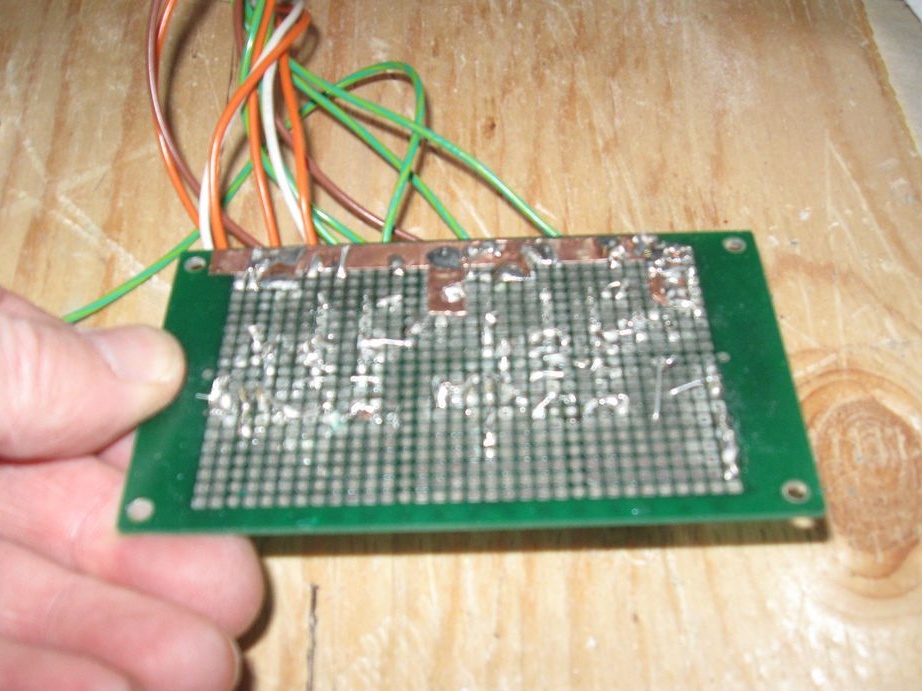
Step Two: electronics
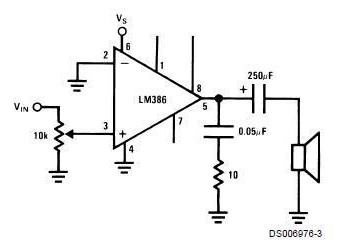
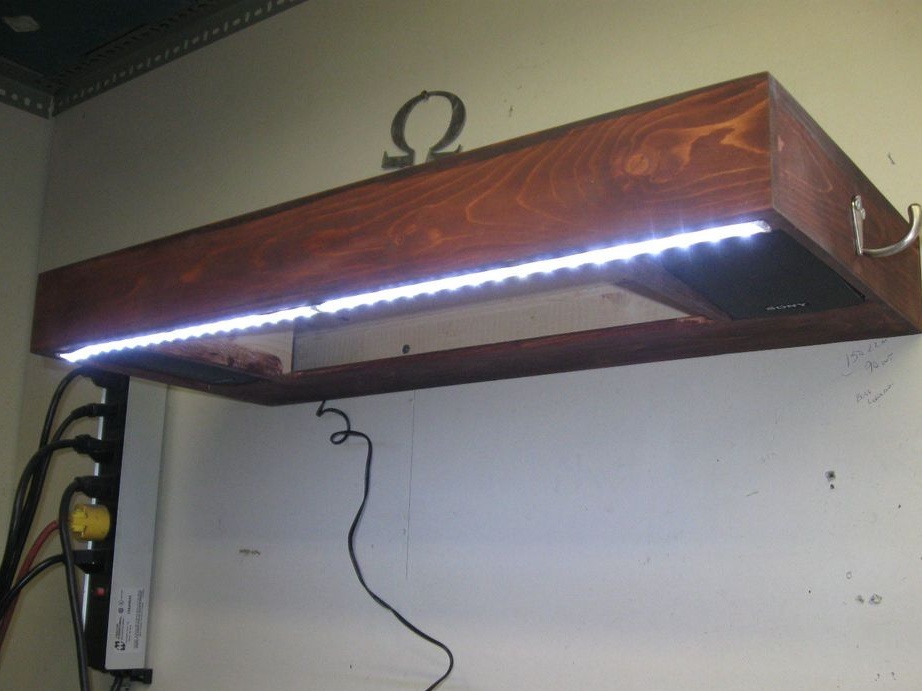
According to the scheme, it makes an amplifier. An audio input jack will be installed at the top of the shelf. At the bottom there is a 12 V power supply + two speakers + amplifier. The LED strip will be glued from front to bottom.
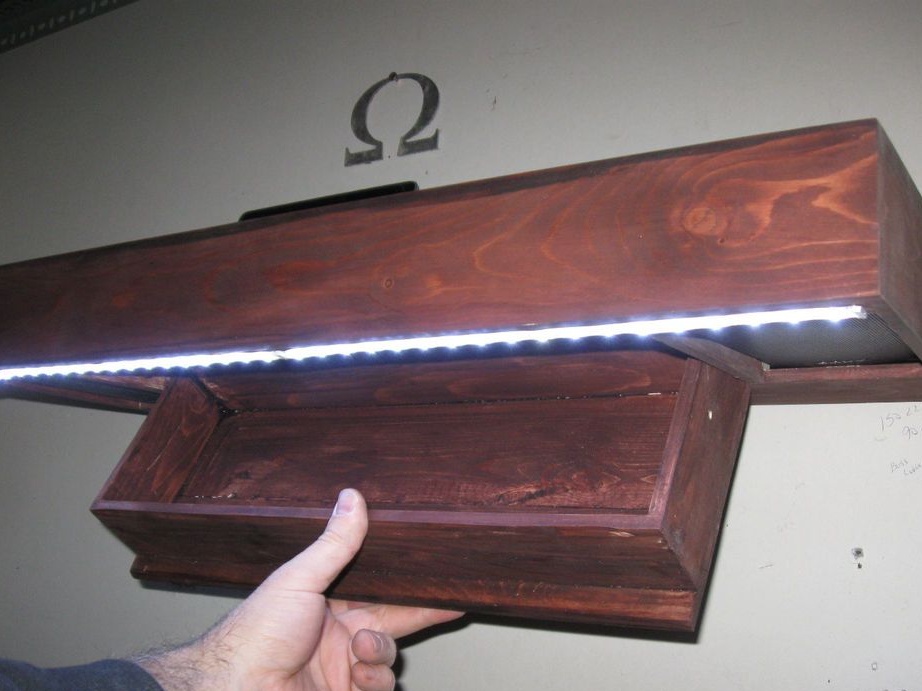
Step Three: Secret Box
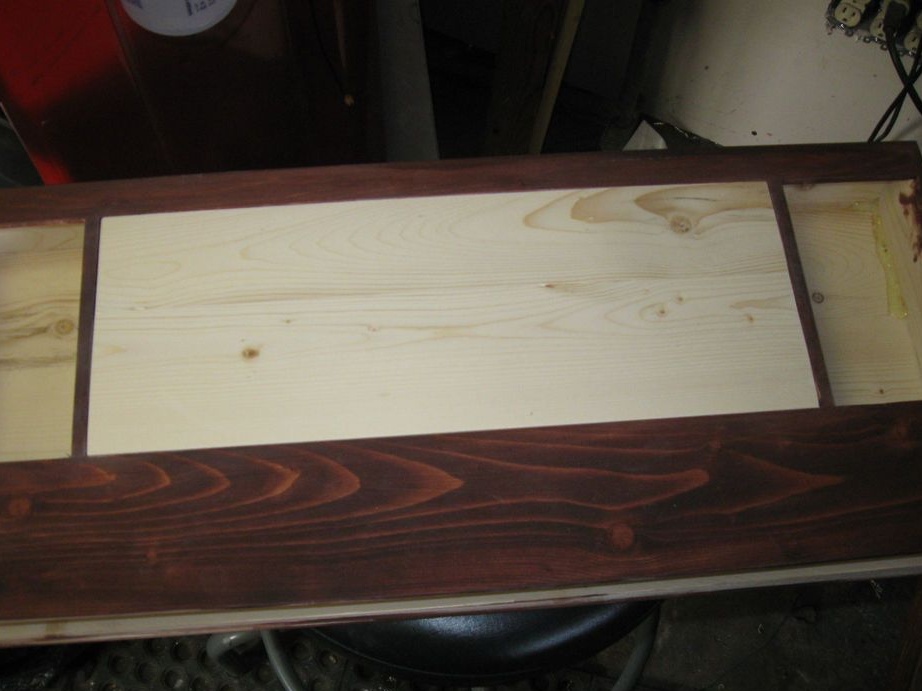
In the lower part, between the columns, a drawer is installed. Slices boards and glues the box.
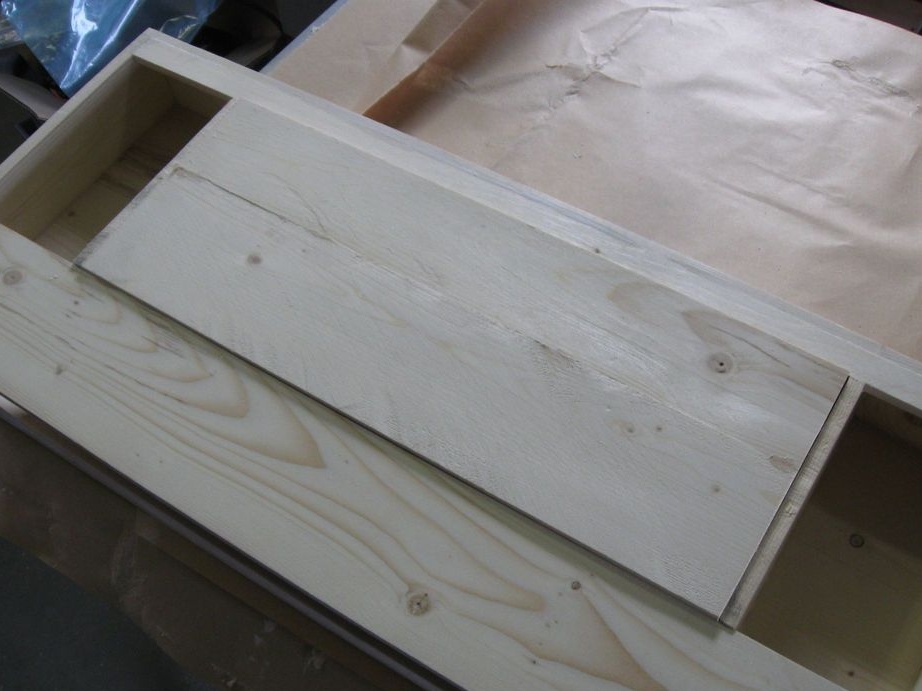
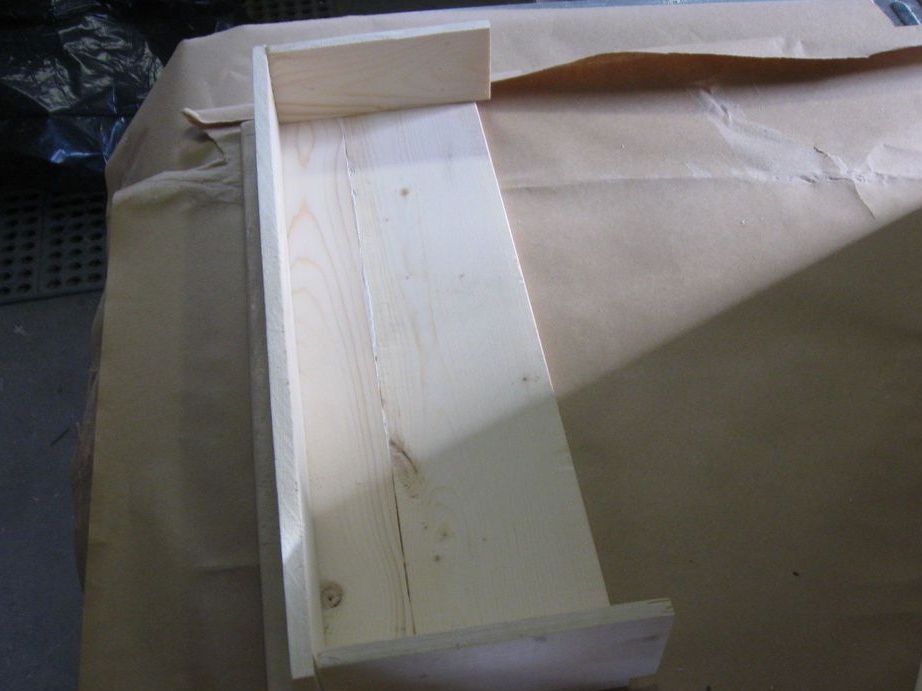
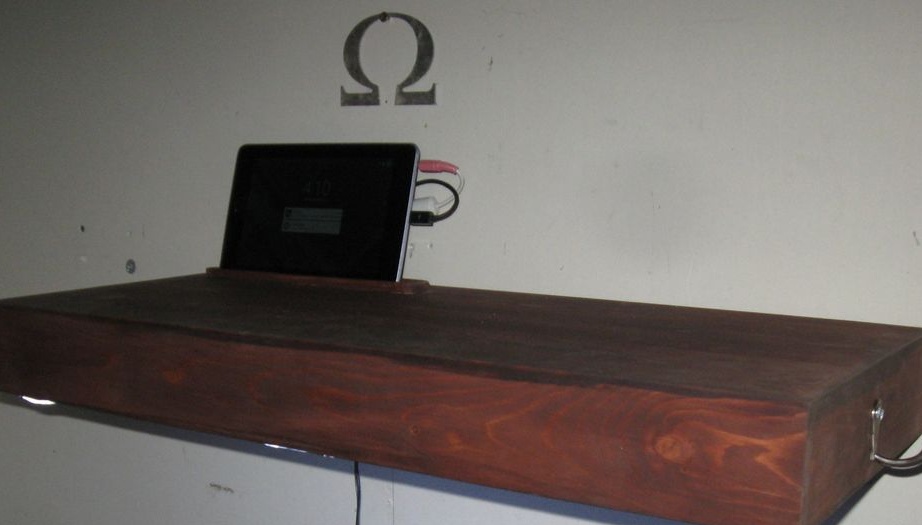
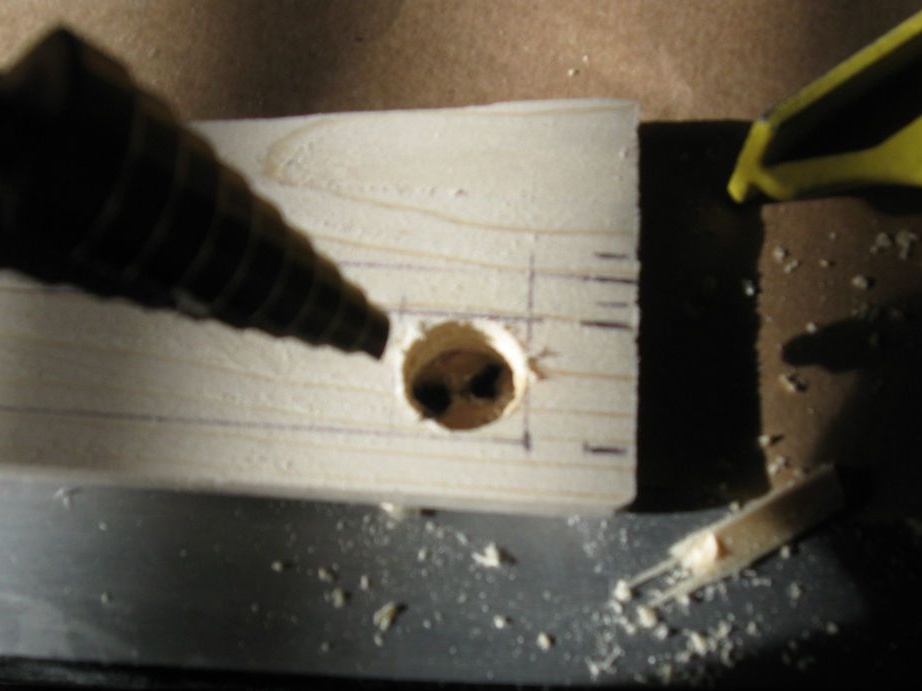
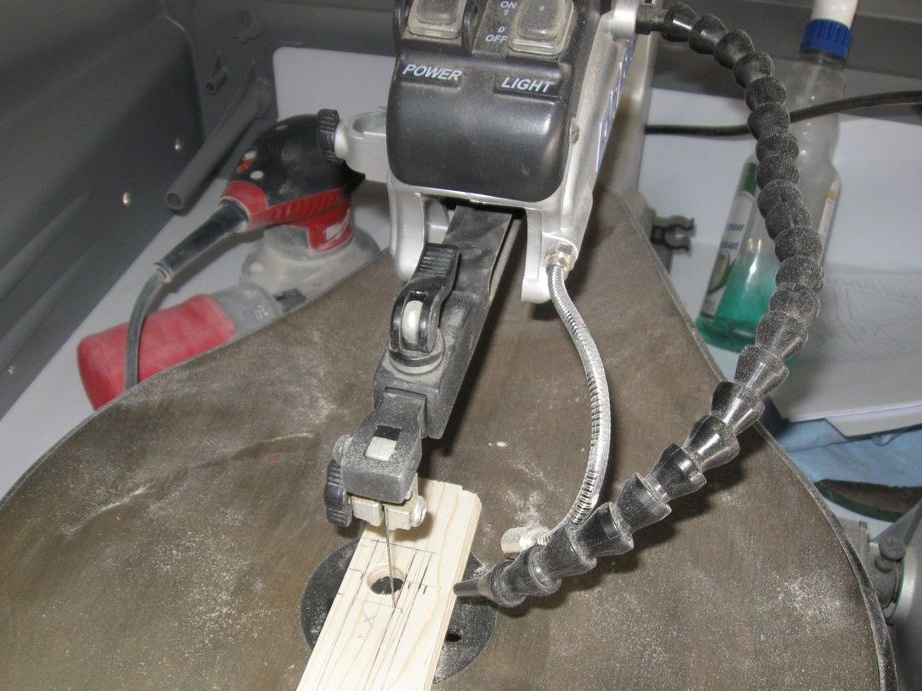
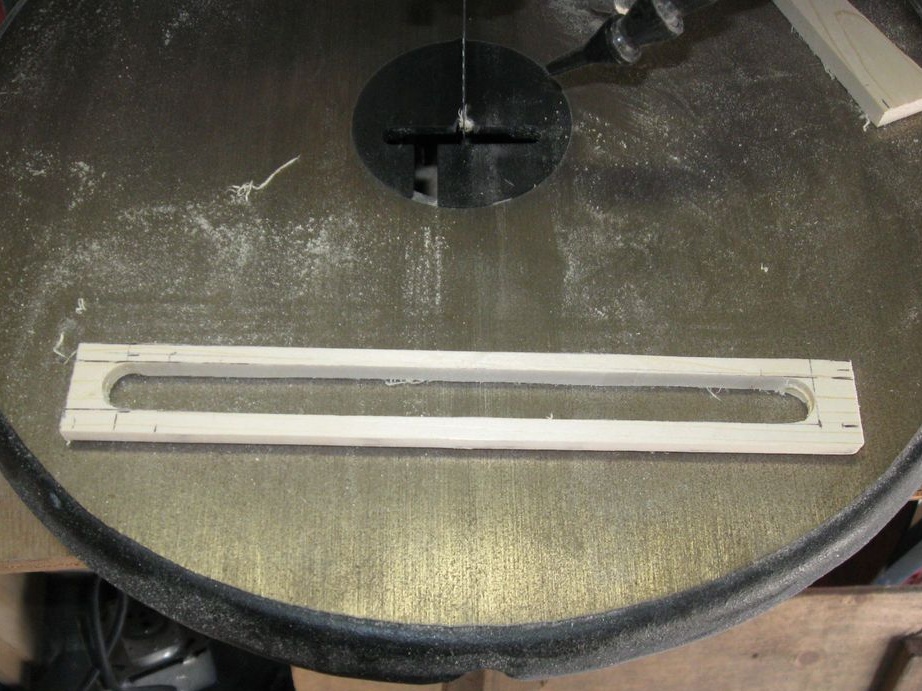
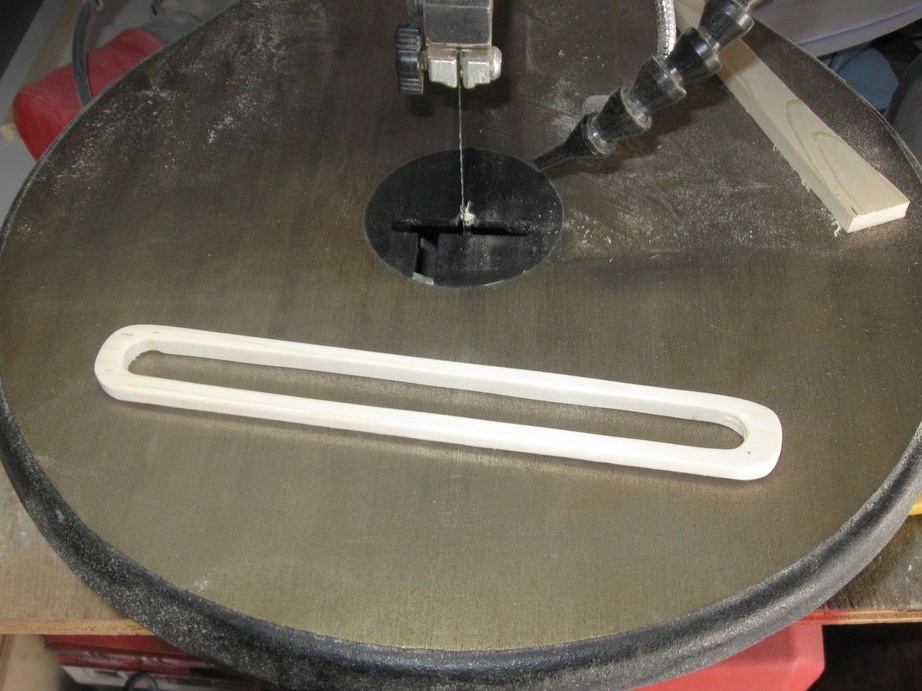
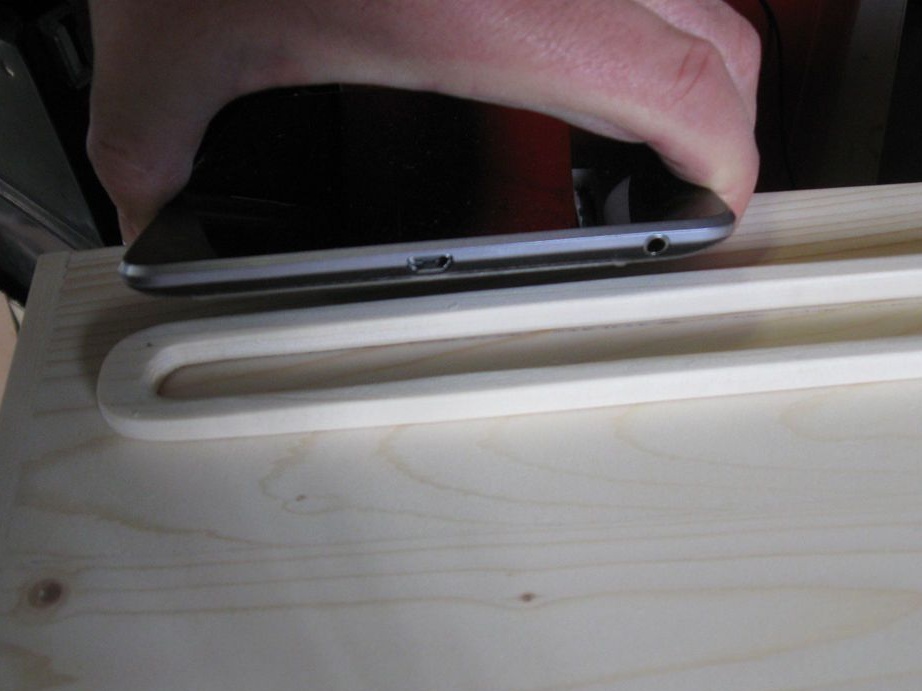
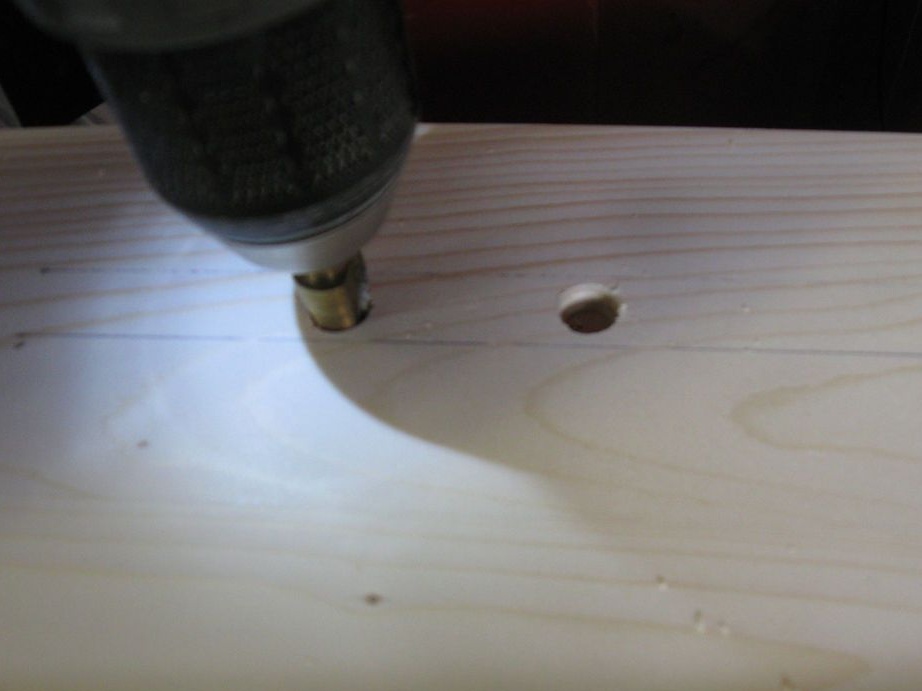
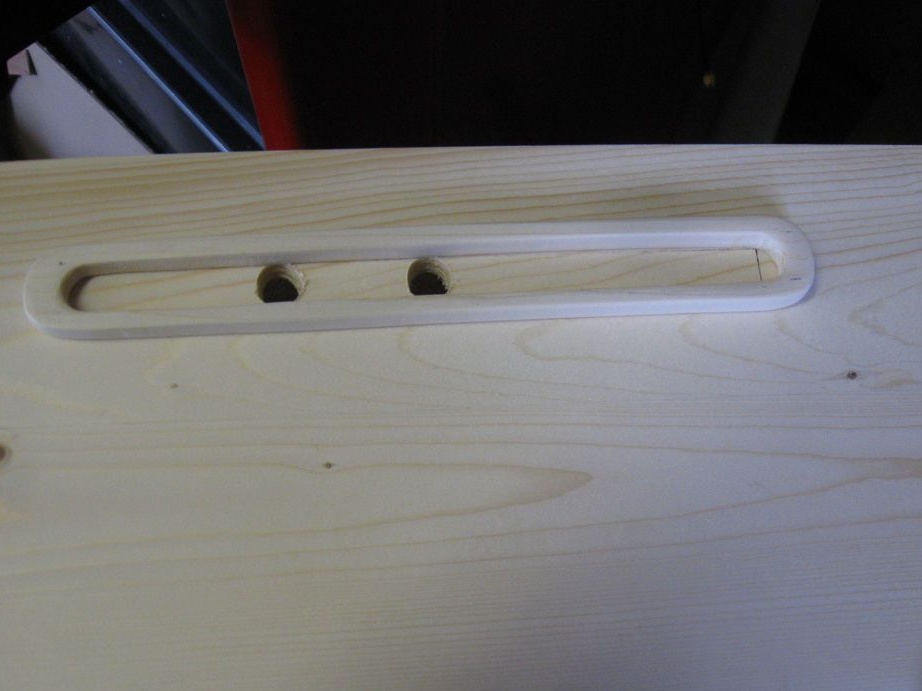
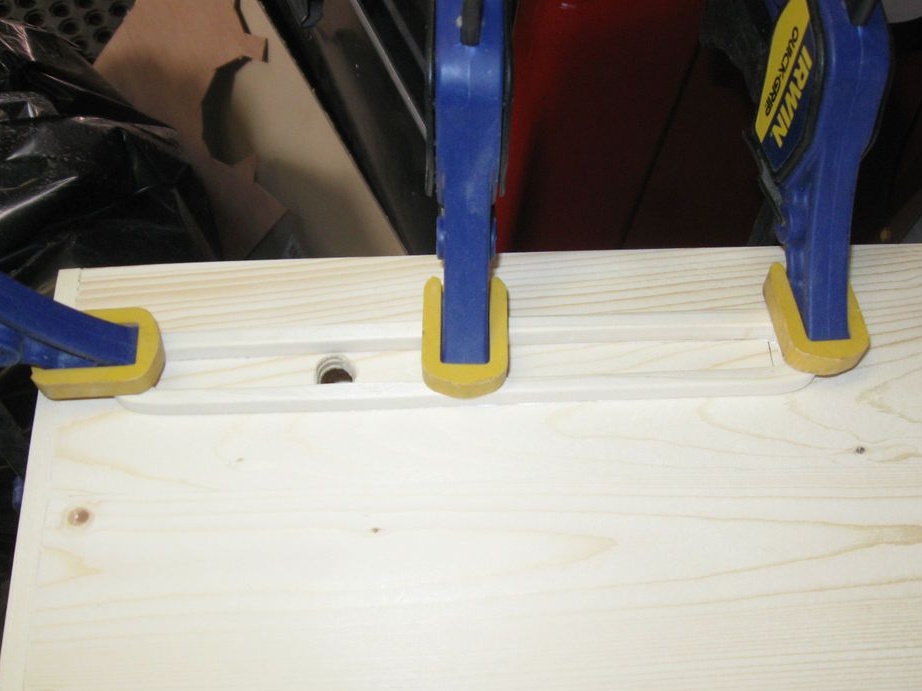
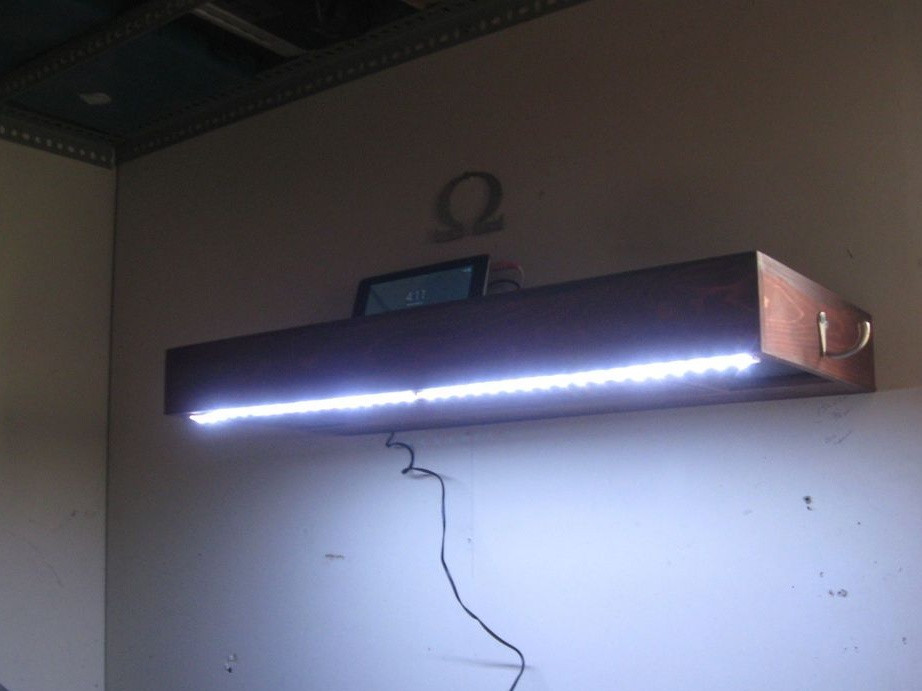
Step Four: Tablet Holder
From the board makes a holder for the tablet. On the bar, outlines the outline of the tablet. Saws the holder. Grinds. Glues to the shelf.
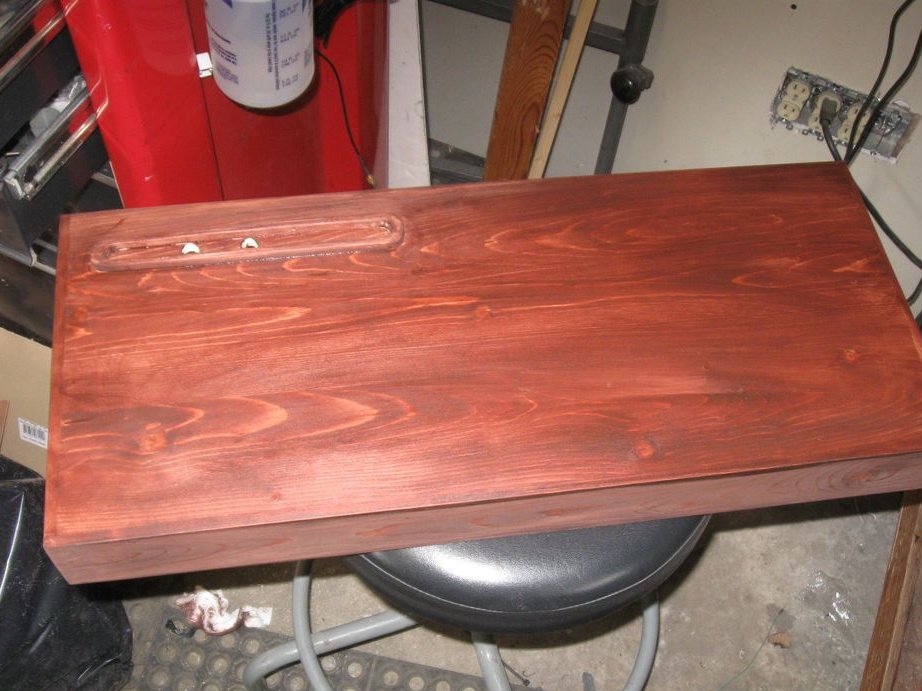
Step Five: Cover
Paints a shelf under mahogany.
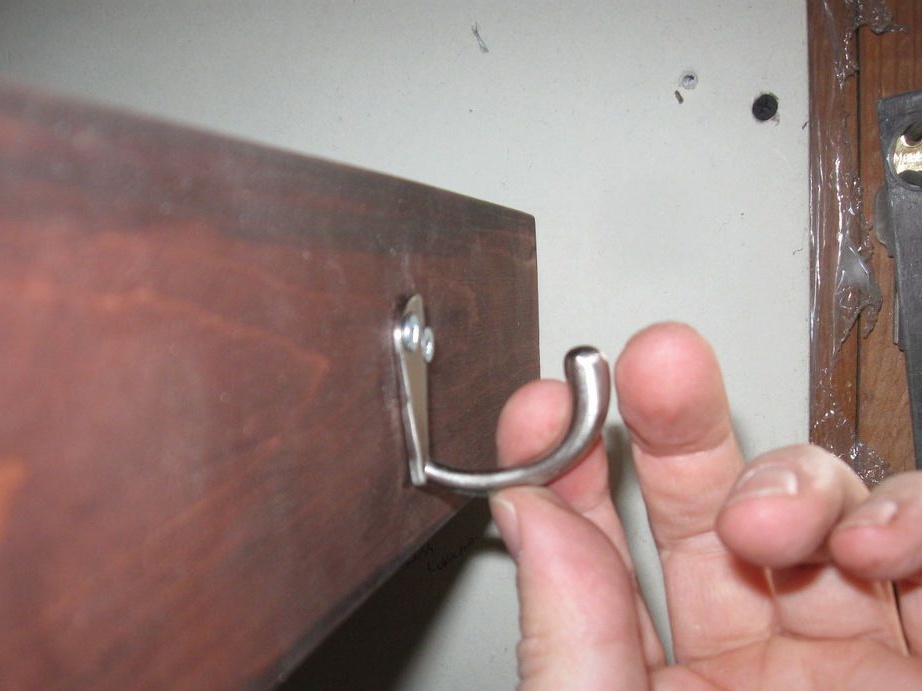
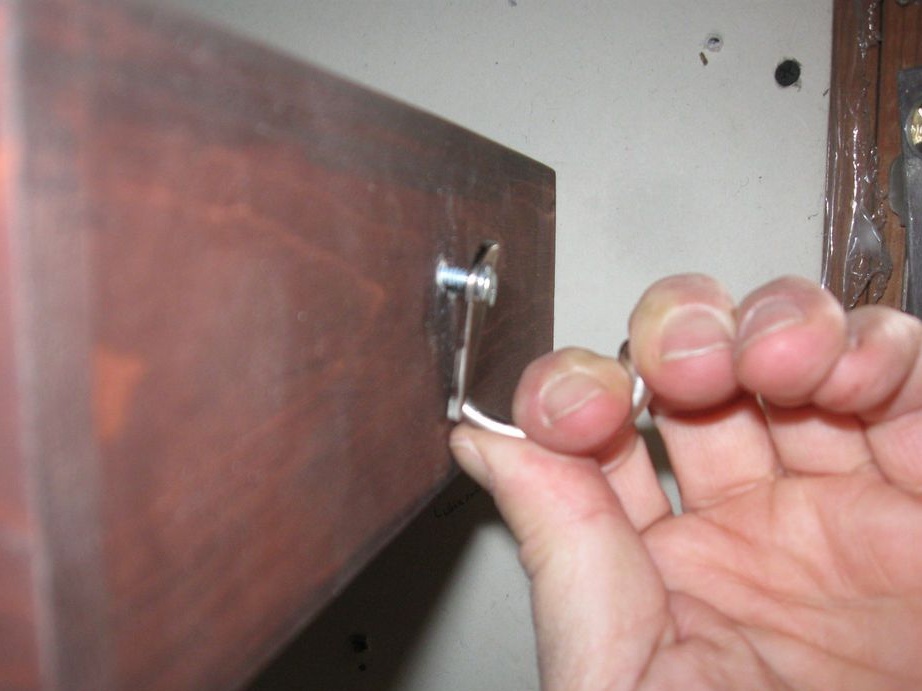
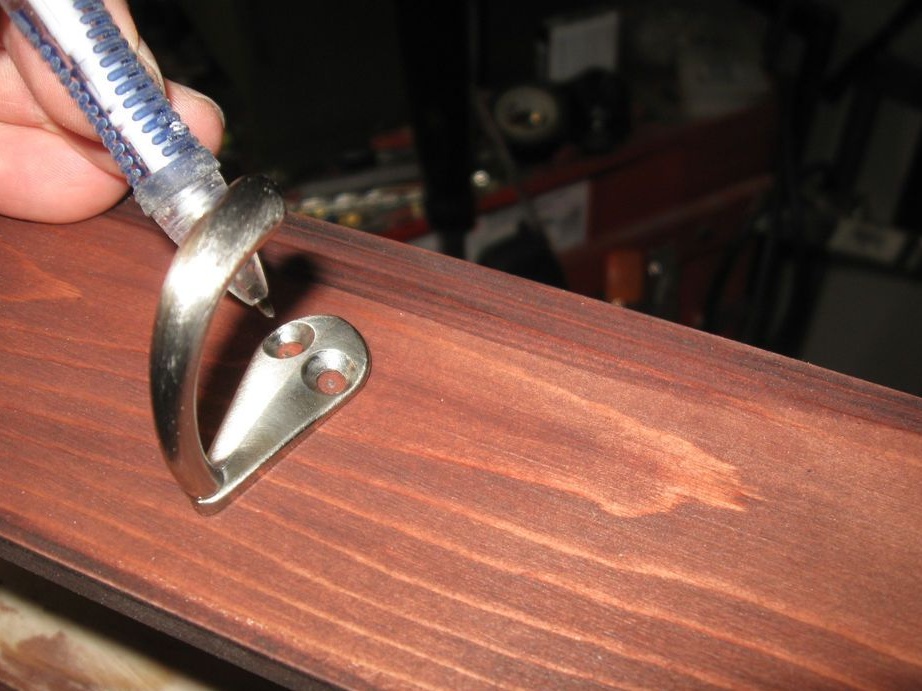
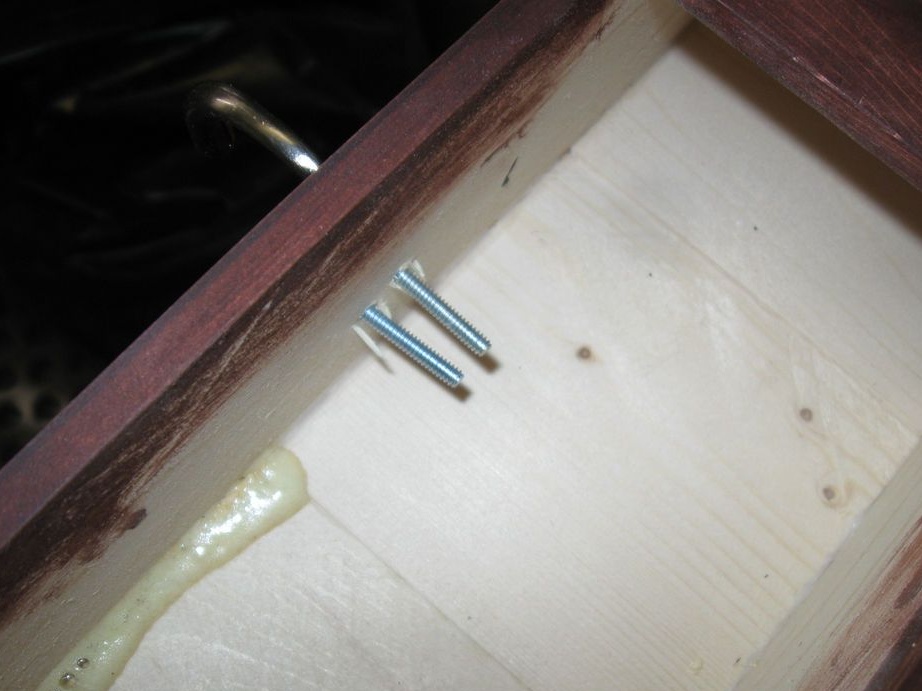
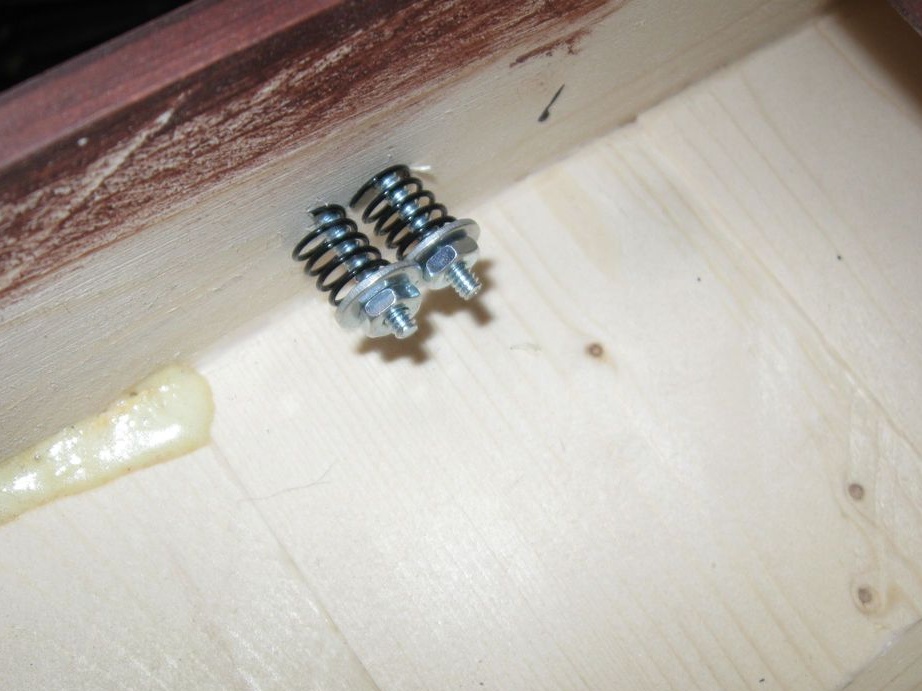
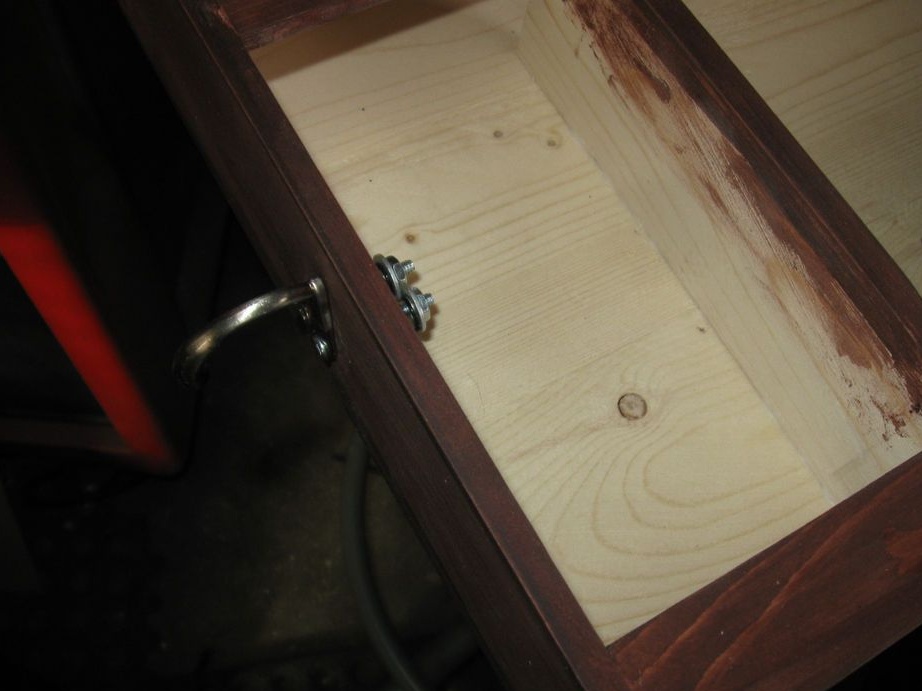
Step Six: Lock
The secret drawer lock is simple. A clothes hook is installed on the side wall. On the hook bolts, on the back, springs are installed. When pressing on the hook, the upper part moves away from the surface of the wall and pulls a metal rod. The rod comes out of the hole in the box and the box drops down.

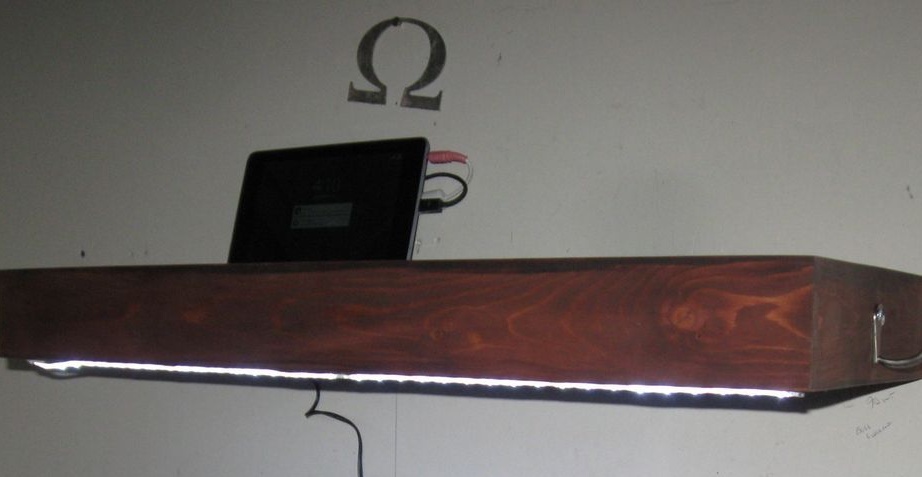
Seventh step: LED strip
Sticks on LED strip.
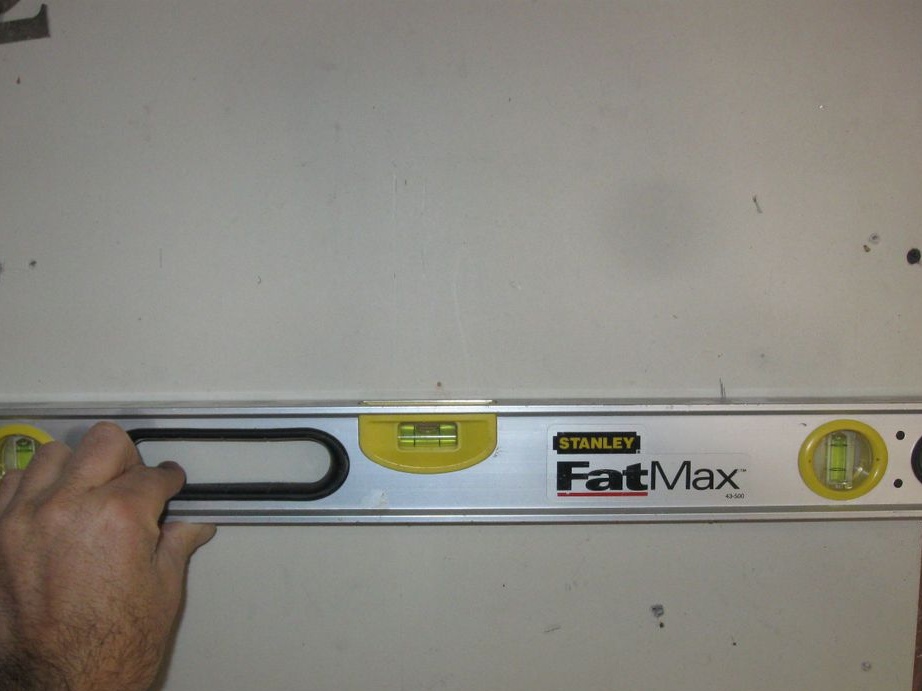
Step Eight: Installation
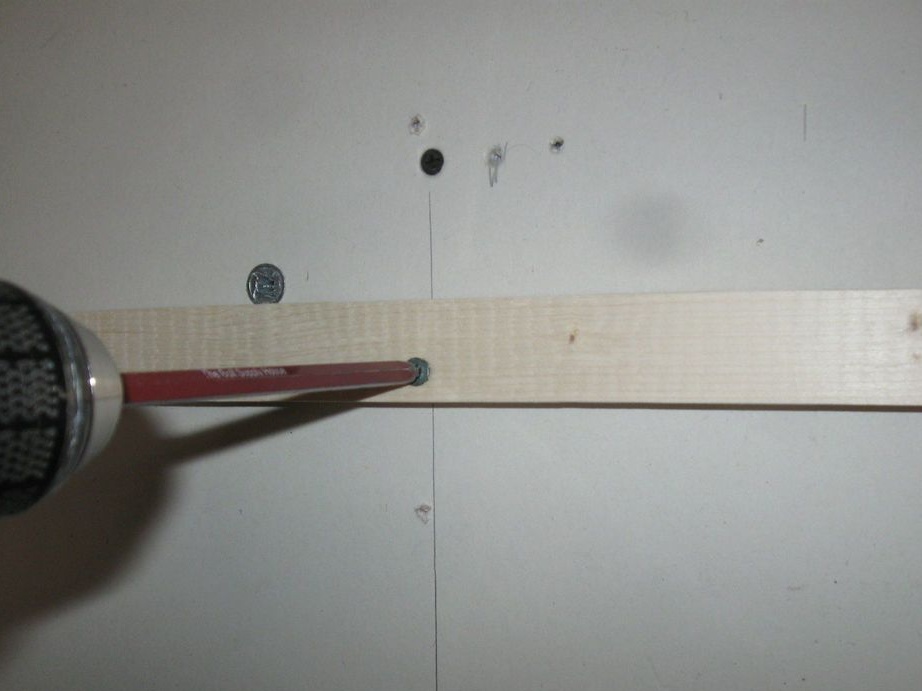
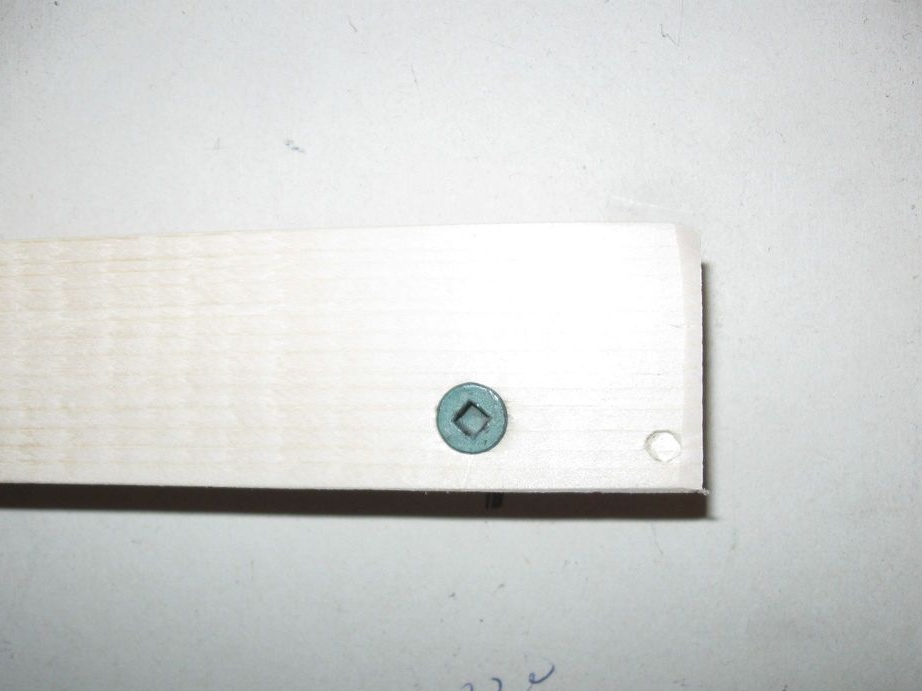
Screws the second rail with an angle cut to the wall. Hangs a shelf.

All is ready.