


By the way, I would like to say that she liked the present and she recognized it as practical enough ... Inspired by her assessment, I suggested, if she needed, to make any other tools like this ... She thought and said that it would be nice if I made a "classic chopper" with a flat solid blade, but very small in size. Having found out what size tool she needed, I proceeded to manufacture it. (Fortunately, this year, thanks to the “successful” calendar, the eighth of March “extended” four whole days off ...))))
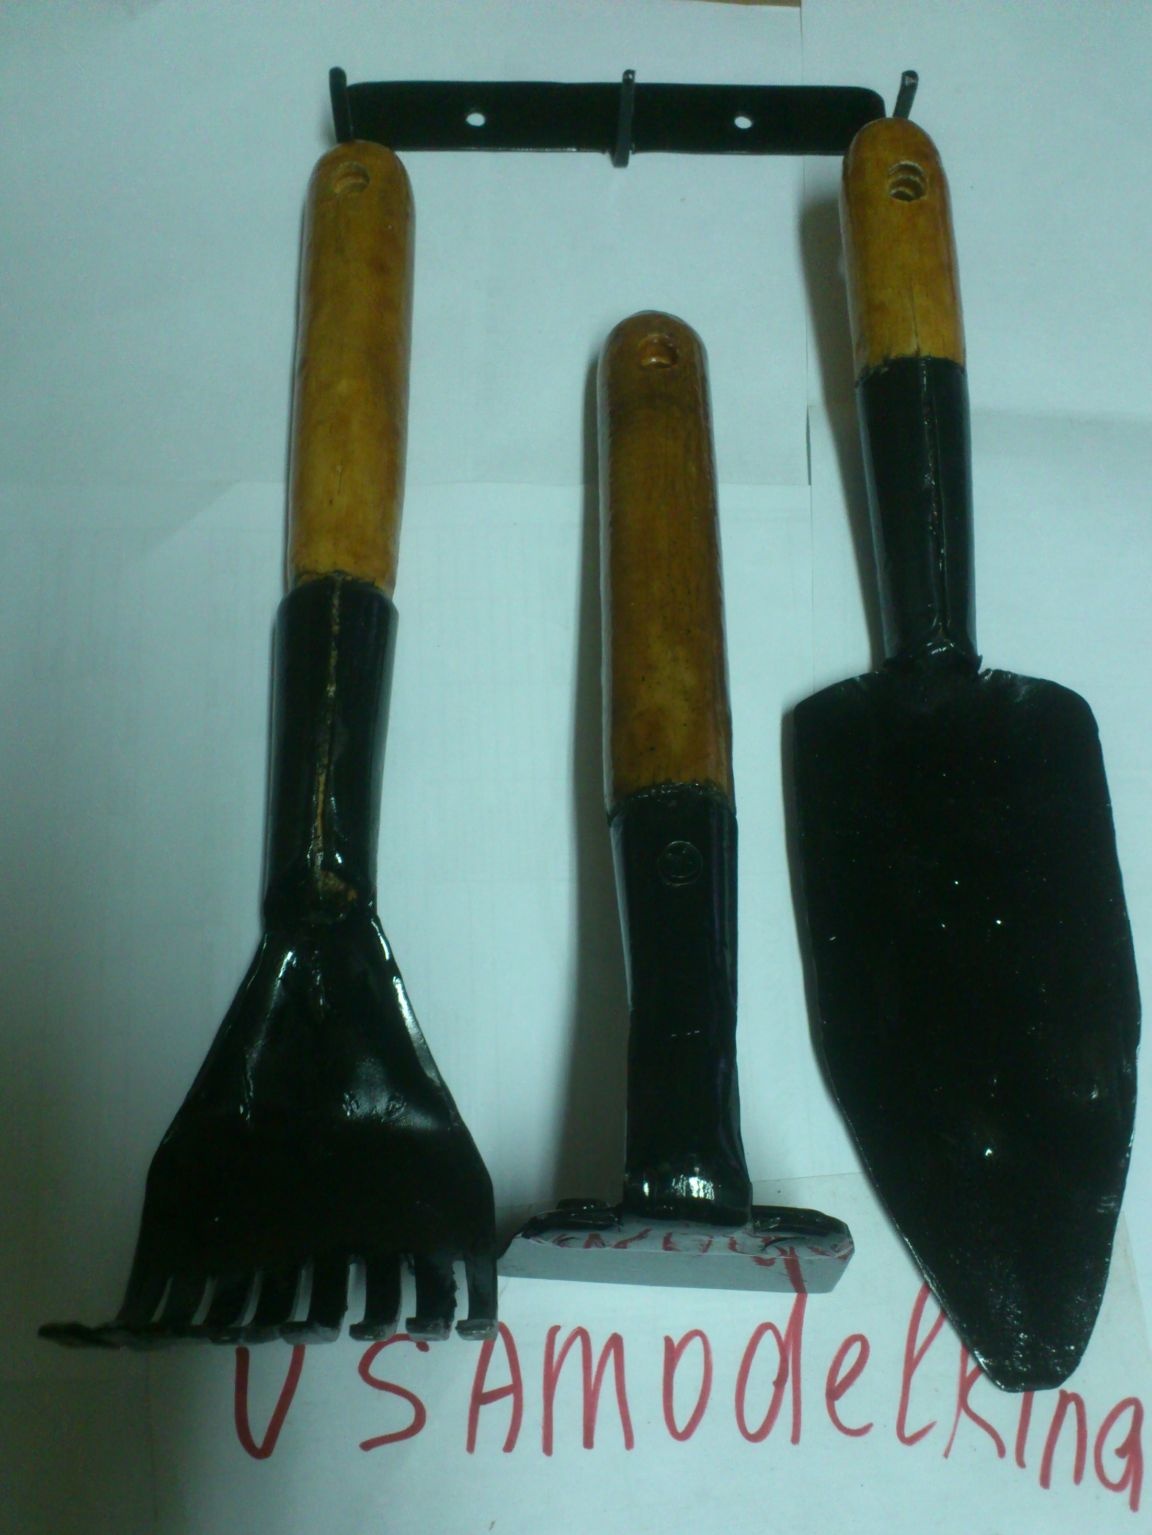
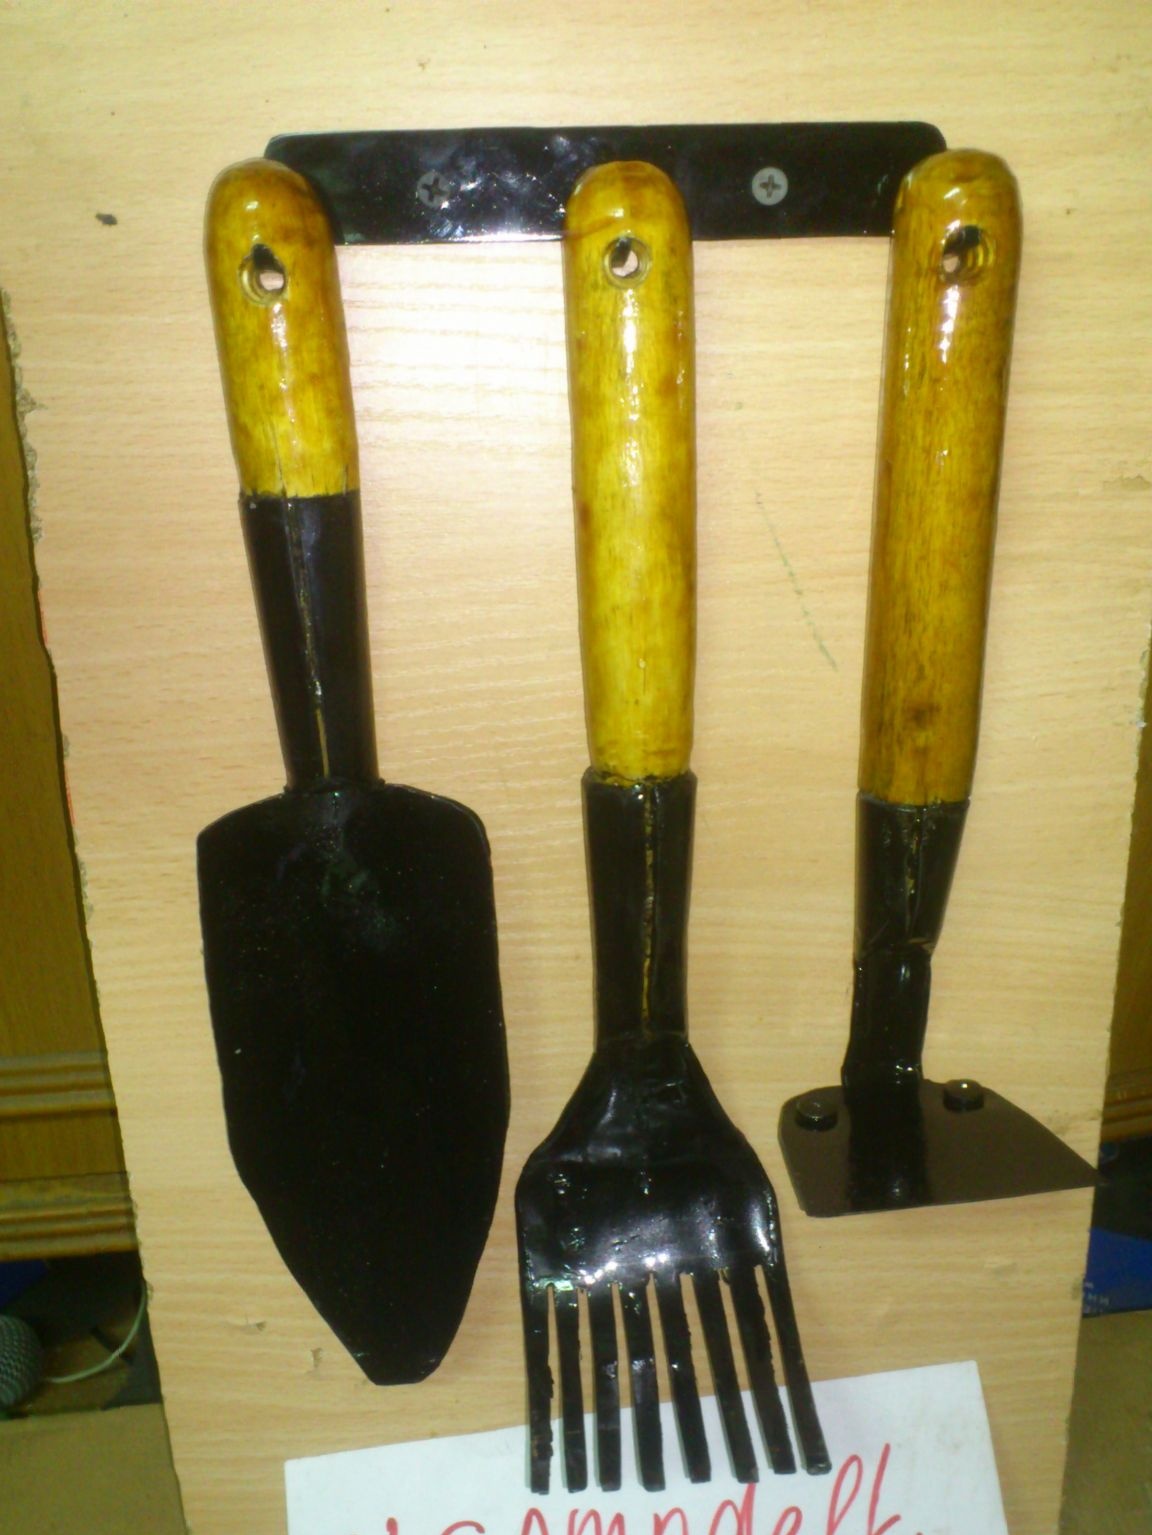
Looking ahead, I’ll say that I did it ... Moreover, I got carried away (as it often happens with me)))), I made a whole set of small tools, which, in addition to the previously described cultivator, was made of a small chopper and a garden scoop, which is convenient to dig up plants without damaging the root ..
And here is what I needed for this:
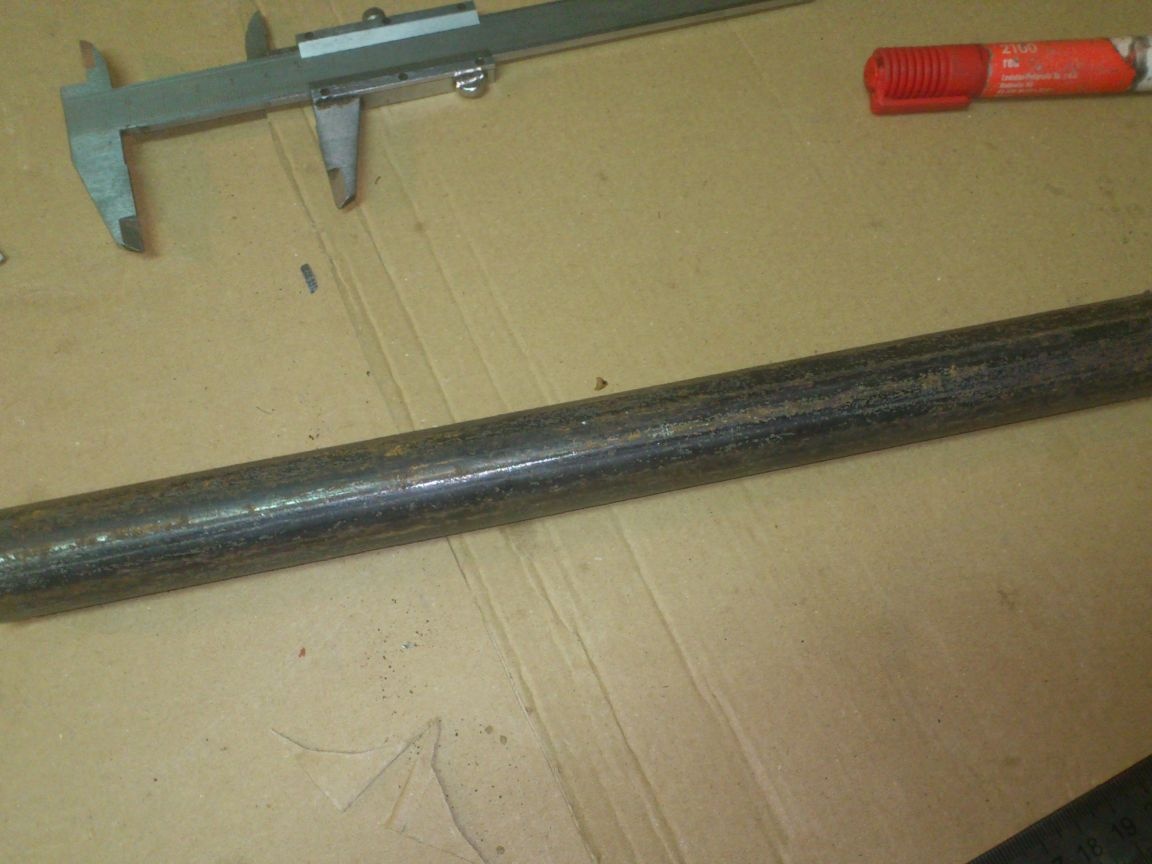
1. Trim water pipe DU-25
2. Trimming cuttings for rakes.
3. Cutting of a two-handed saw.
4. Trimming profile pipe 30 to 30 mm.
5. Screws M5
6. Screws.
As you can see, all the material is all kinds of trimmings!)))). I like to do homework, so I’ll say right away: I don’t think that I wasted my time, and it would be easier to buy such tools.)))). Although, if only because the home-made, unlike the purchased ones, have exactly the shape and dimensions that were originally required .... And they won’t bend during the first use, as is often the case with a cheap Chinese tool ...
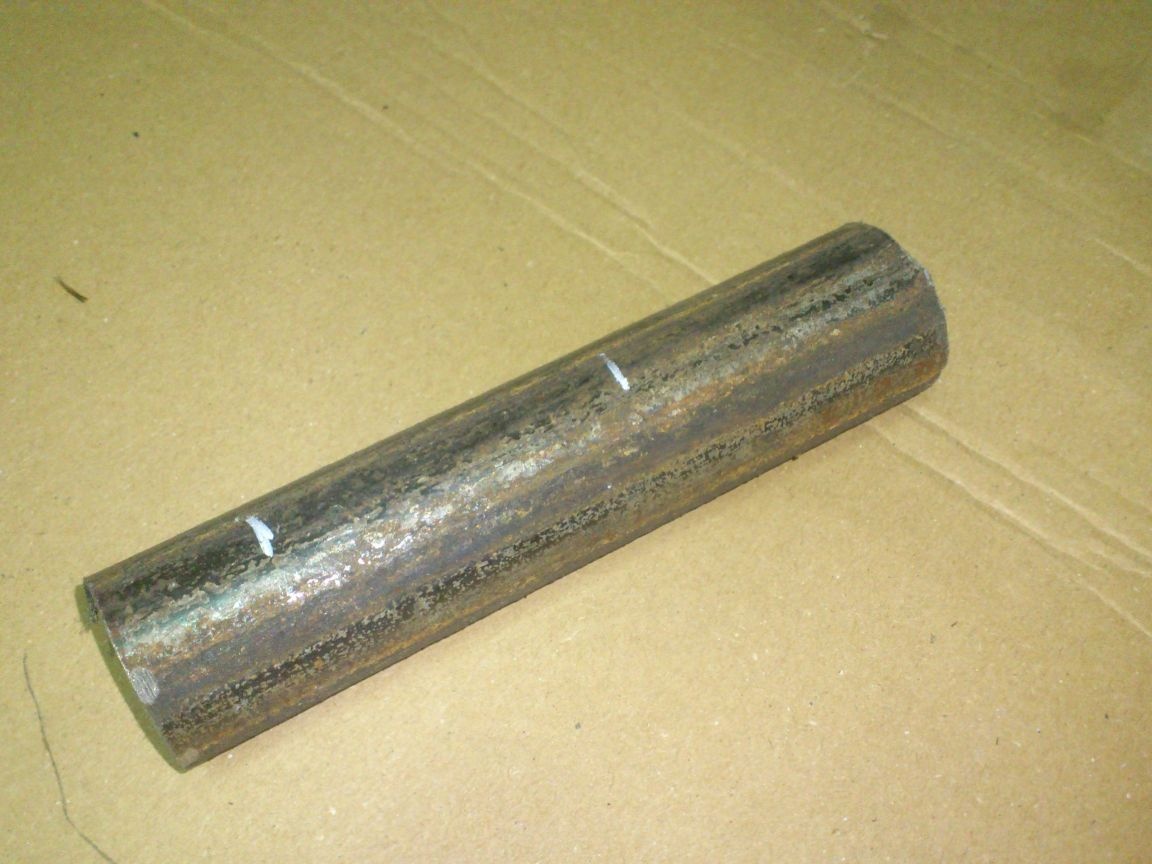
So let's get started. First I will describe the manufacture of choppers. A piece of pipe of the right size was marked and cut with a grinder:
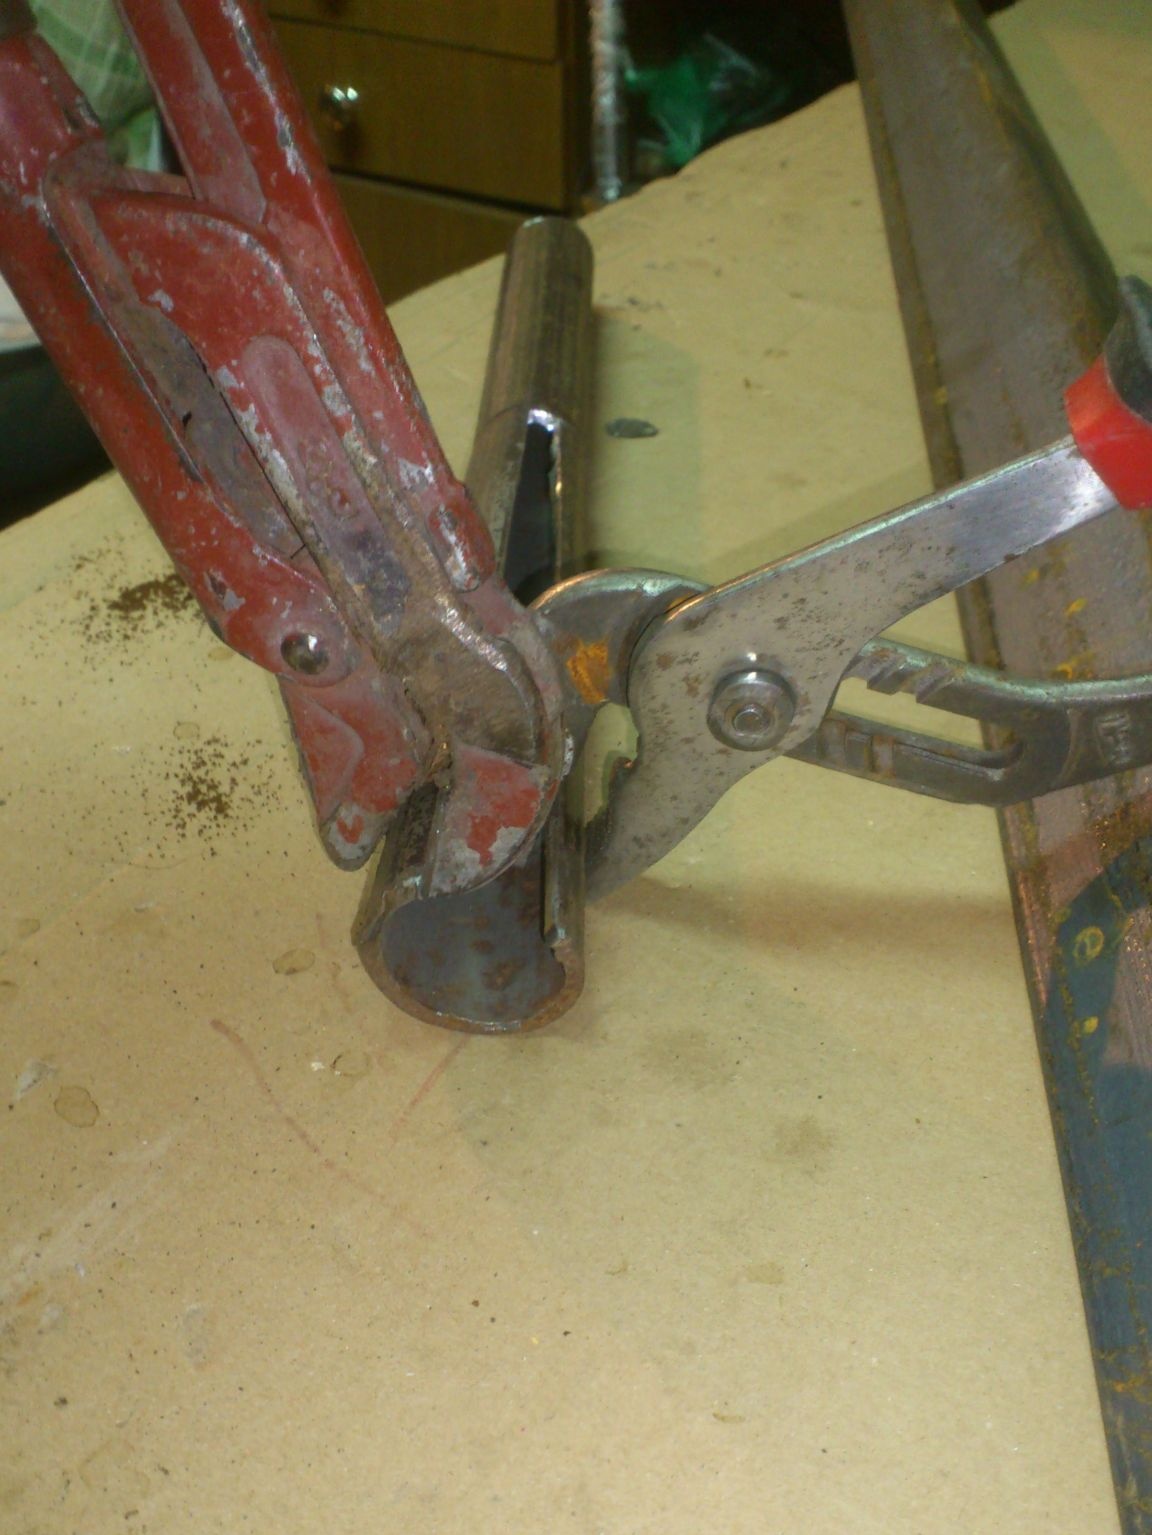
After that, I straightened part of it with lever tools (a description and a photo of this process are in previous publication).
And he straightened it with a hammer:
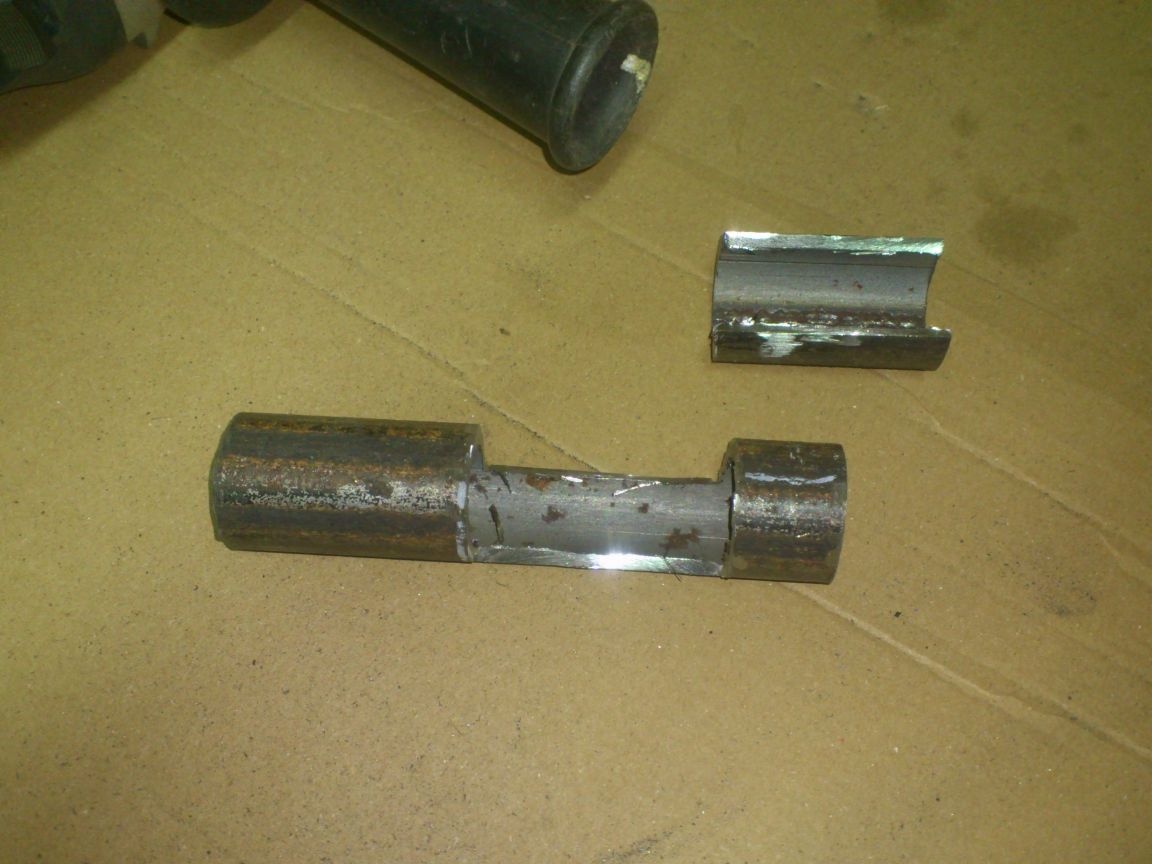
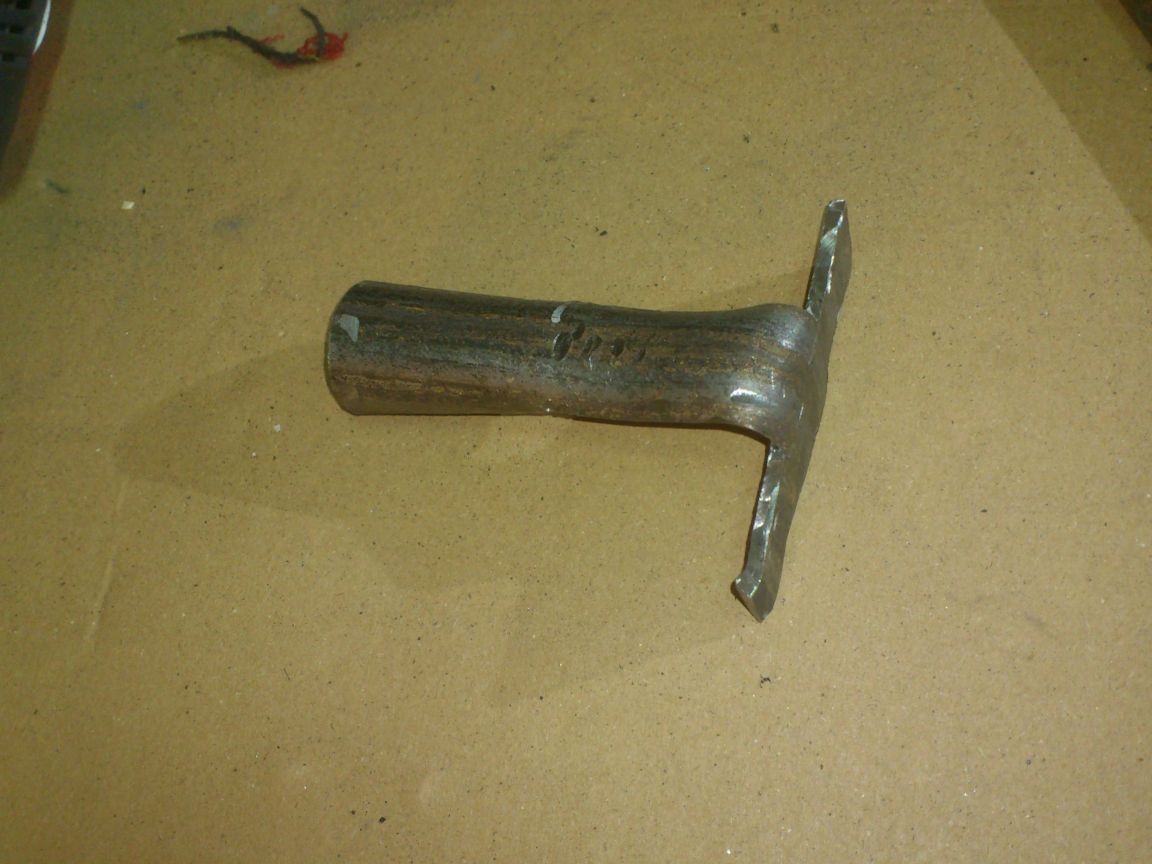
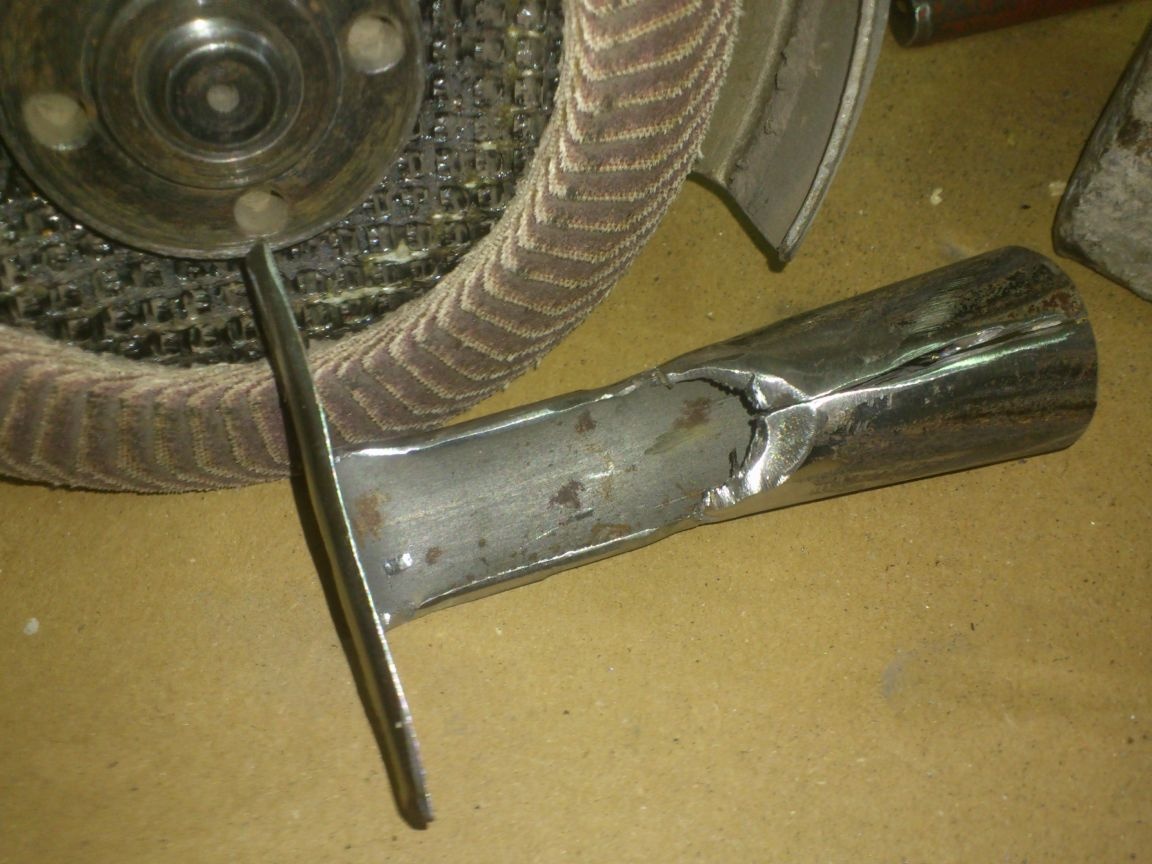
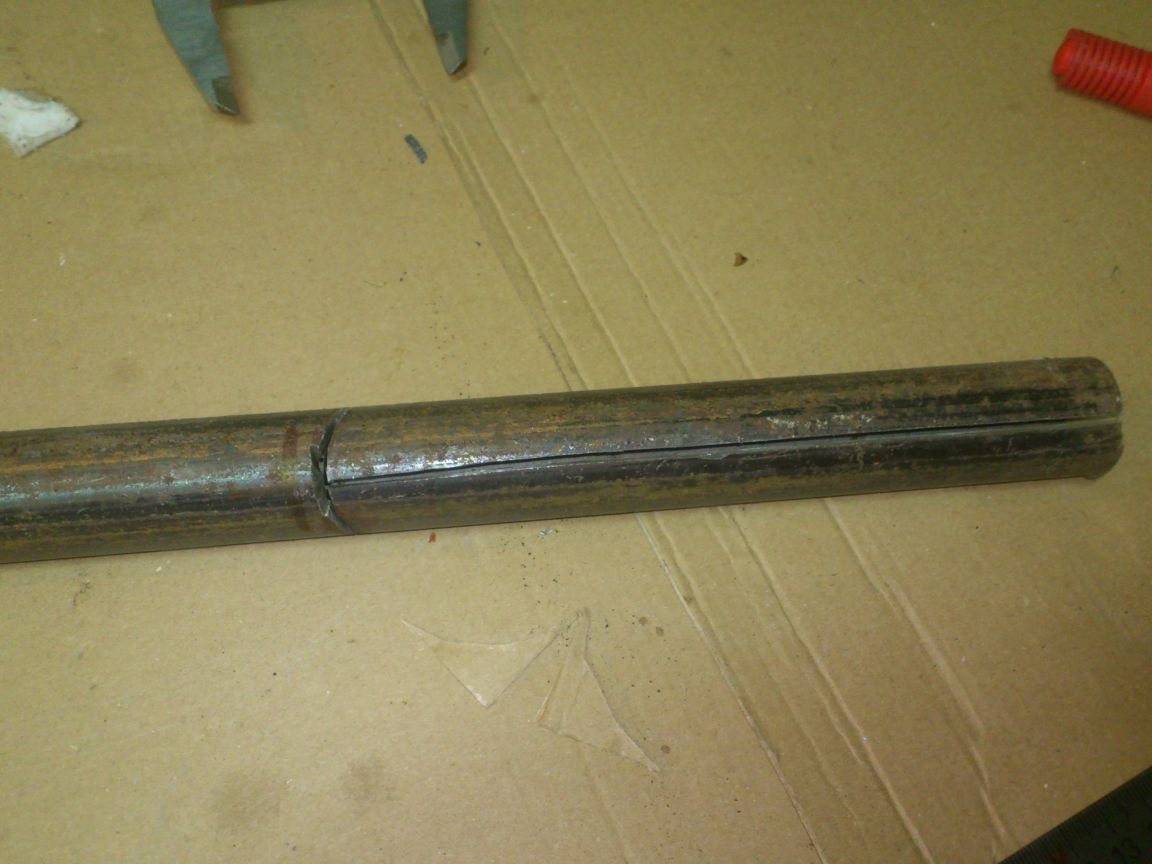
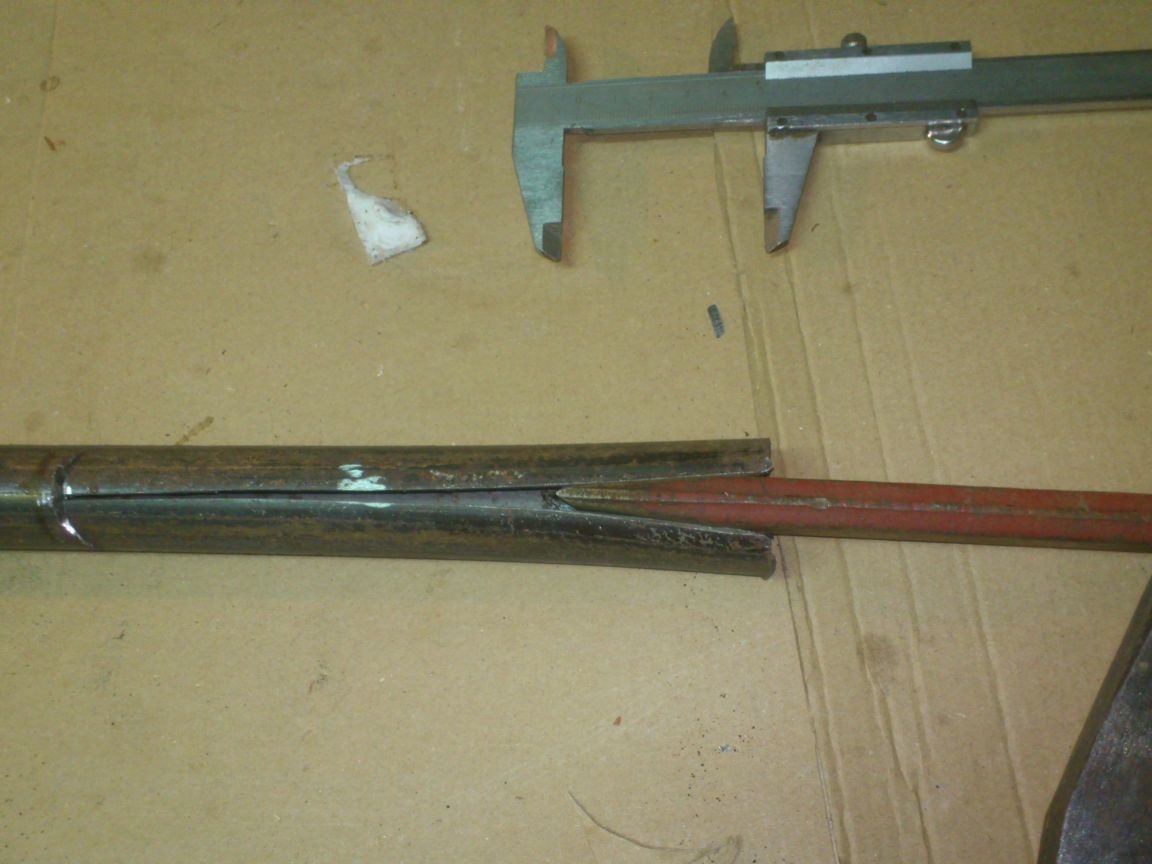
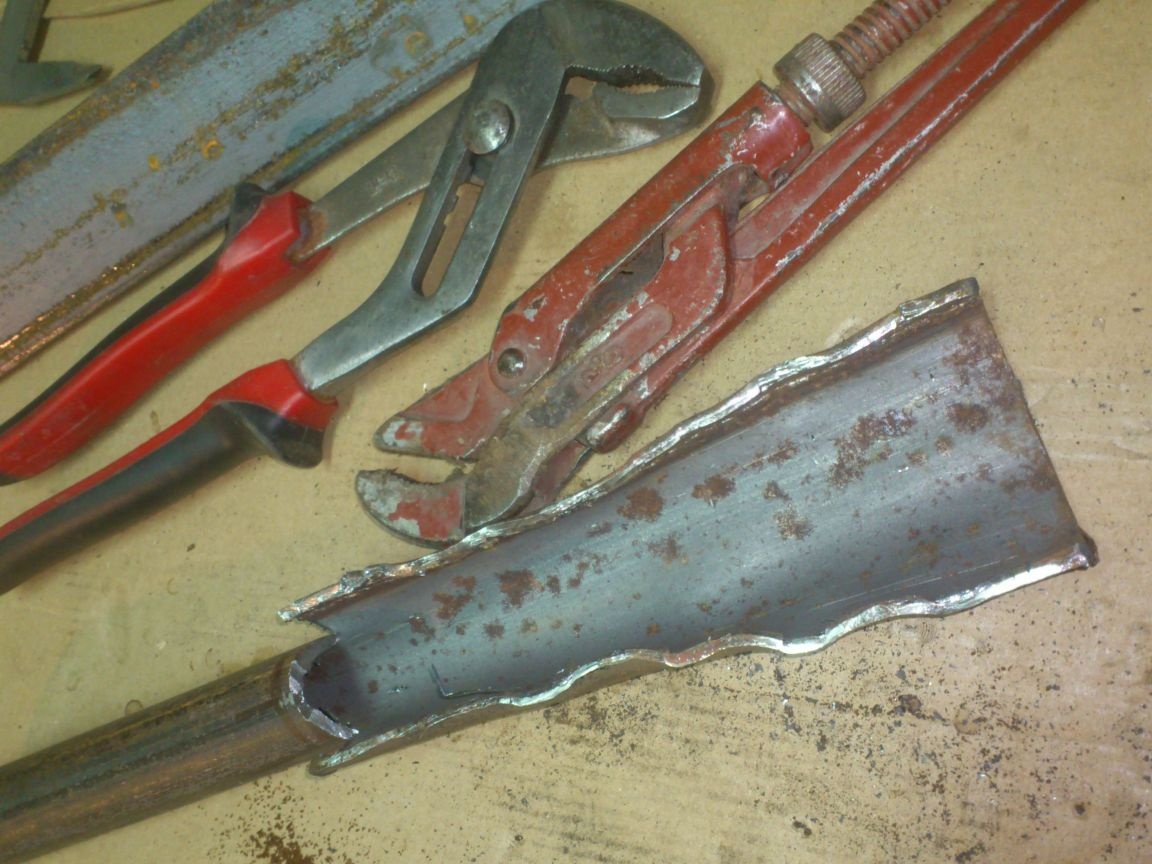
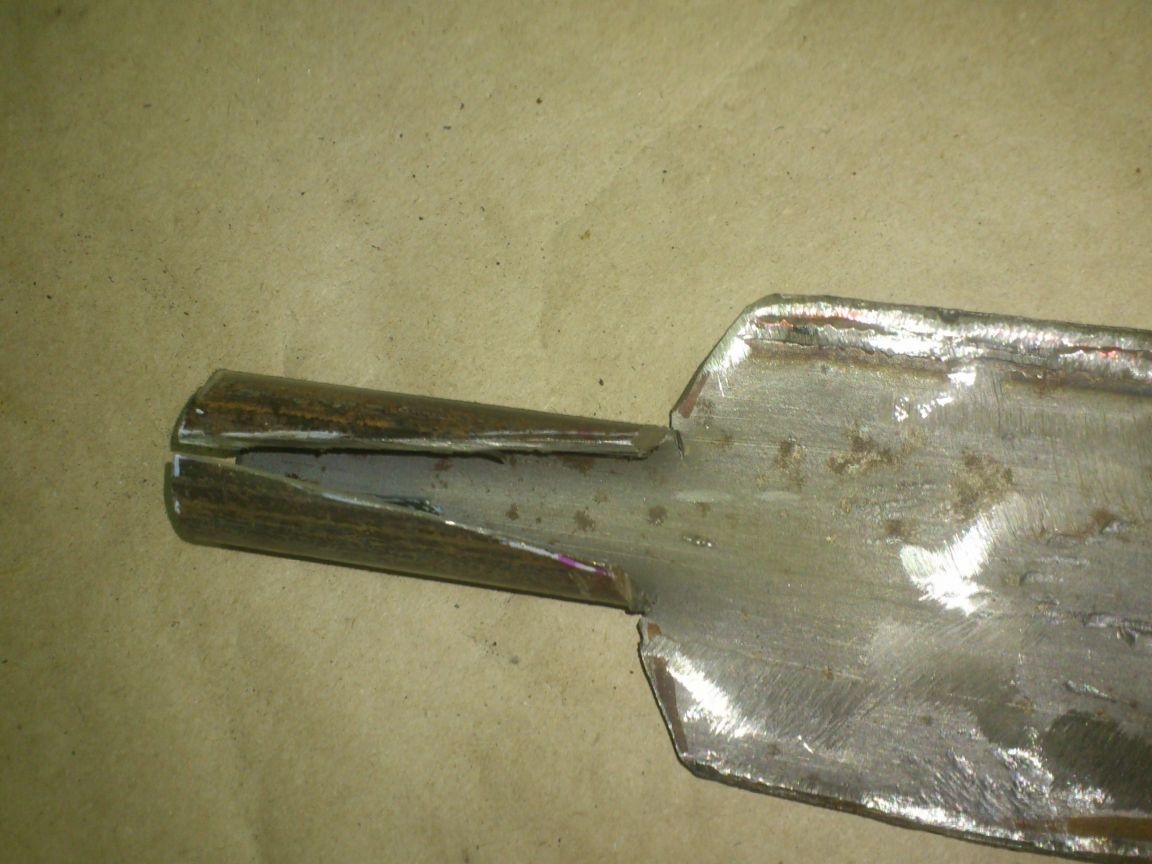
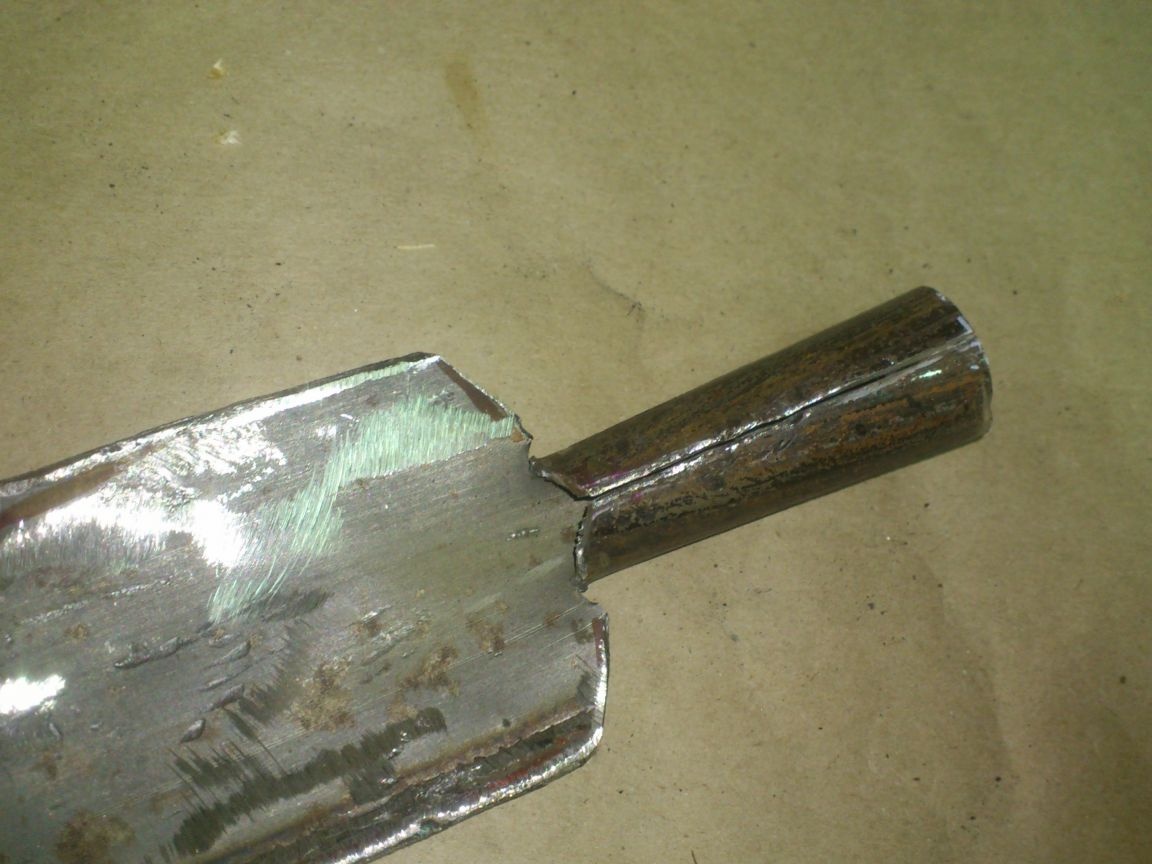
After that, I cut out a sector of the pipe to make a narrowing of the footprint under the stalk:
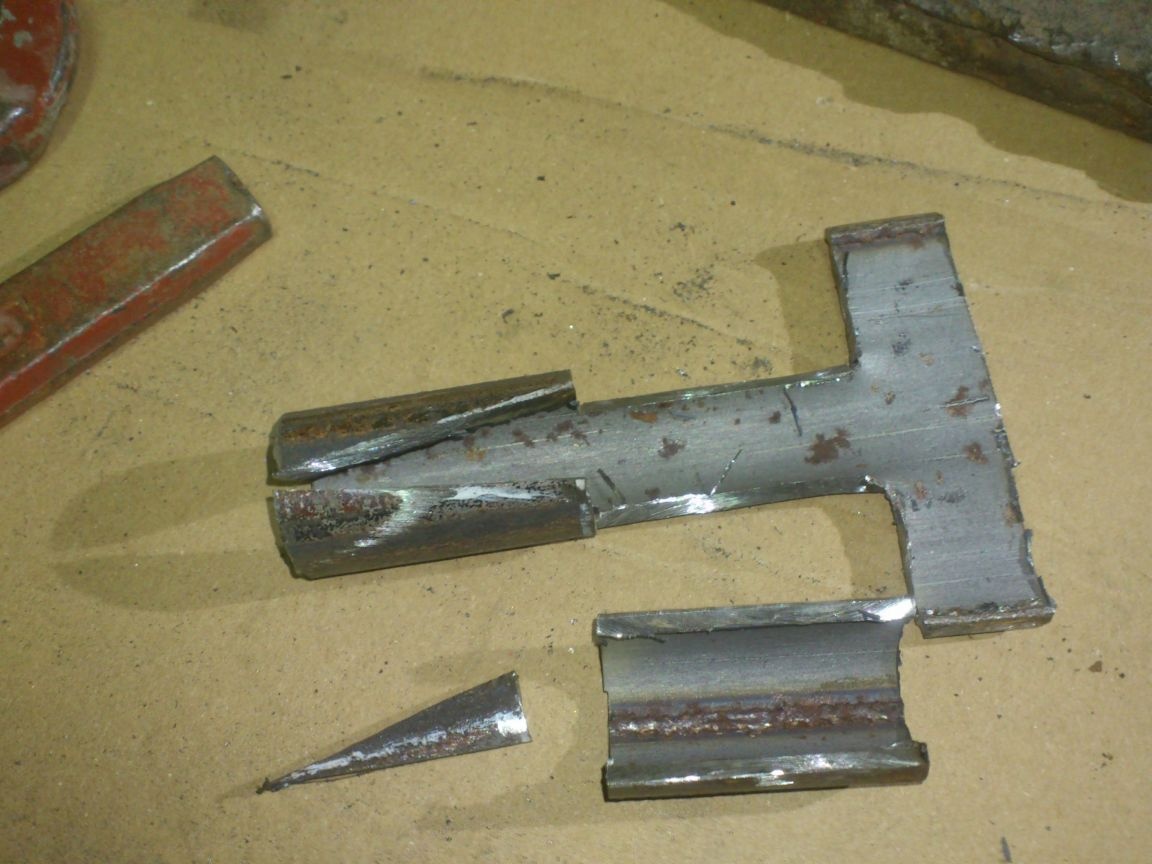
And with the help of a hammer he formed the basis of the future chopper:

Now I needed to make the chopper blade itself. I decided to make it from the trimmed two-handed saw, which I had left after making from it saws for gas silicate blocks.
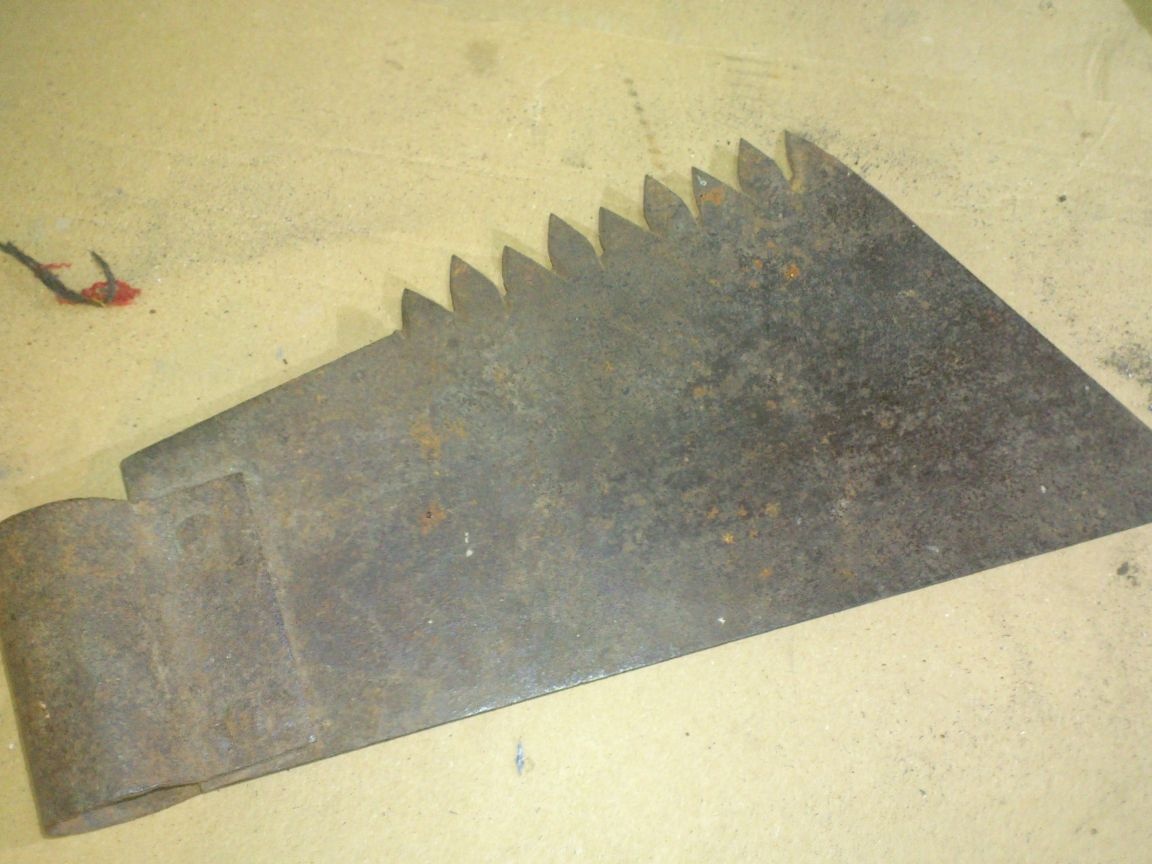
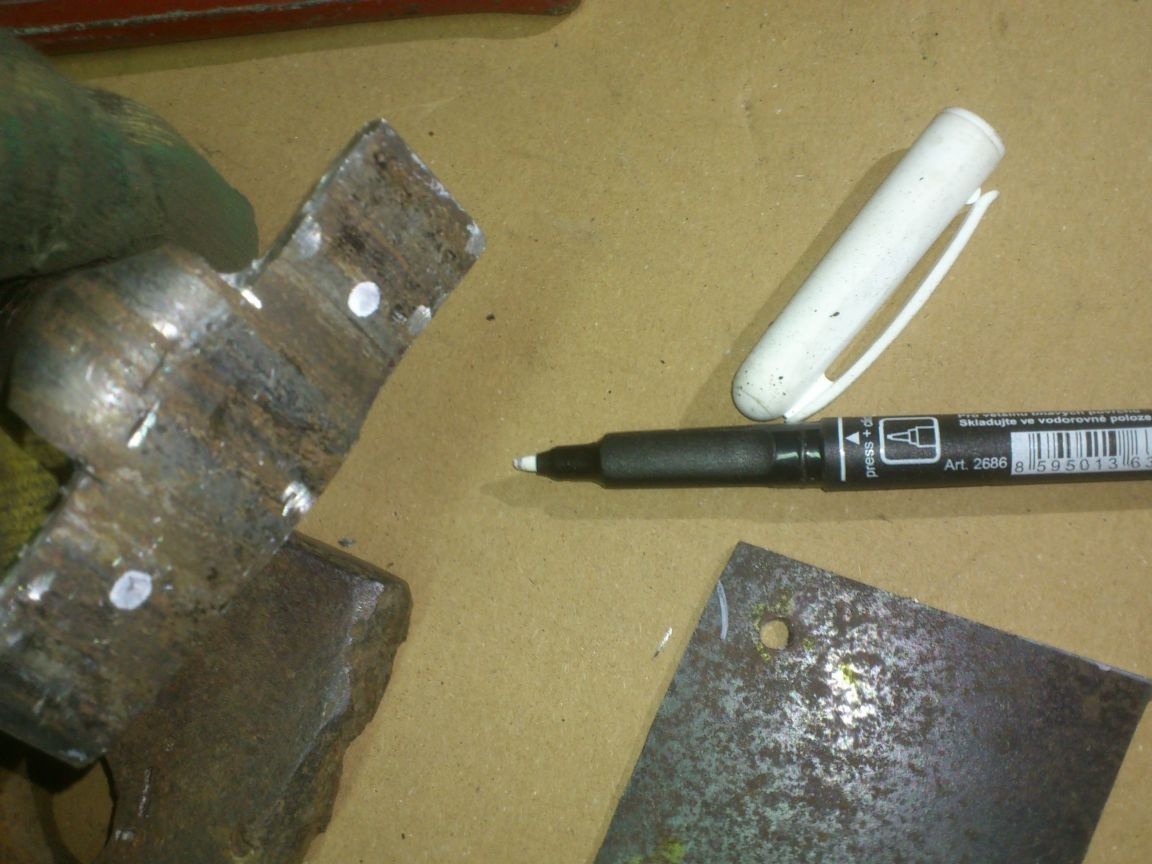
With a marker, I drew on it the contours of the future blade, marked out and punched holes for rivets:
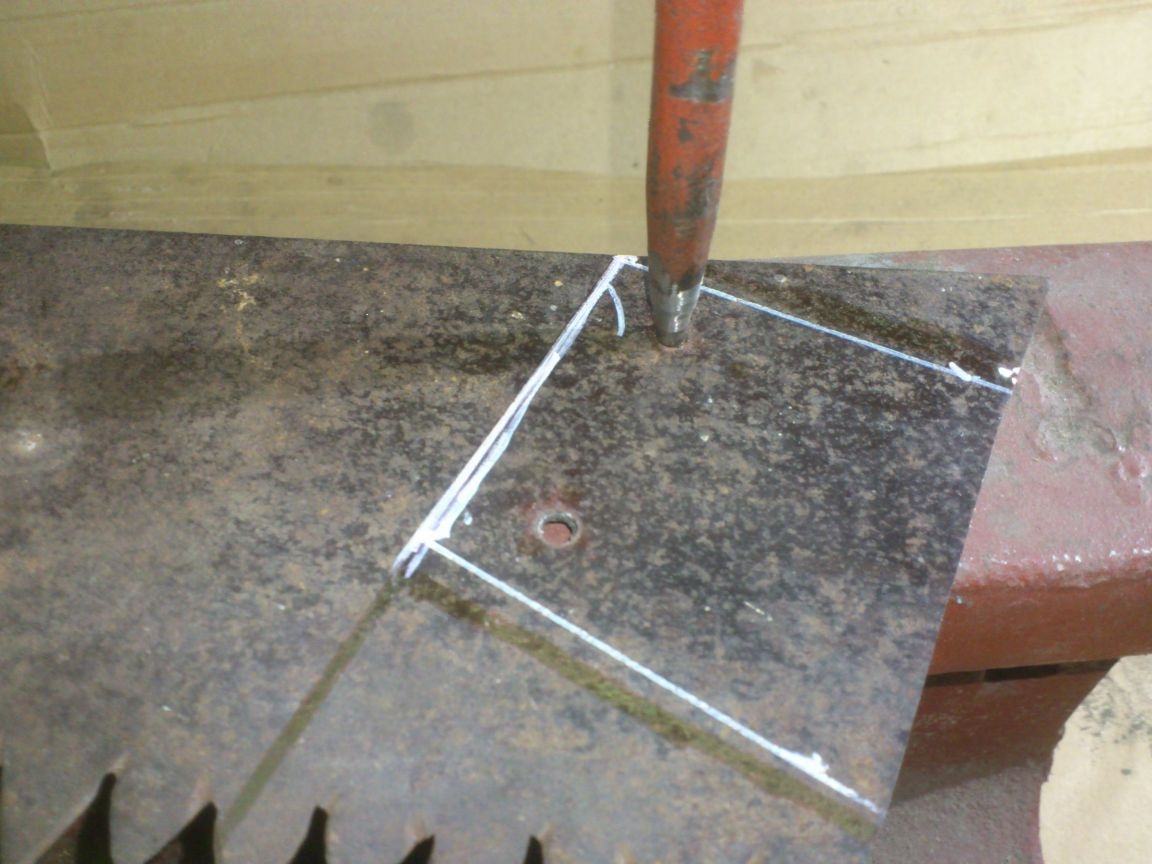
I described in detail this method of punching holes in an article about the saw. Briefly: the hole is punched with a punch with a blunted working part. On the other side of the workpiece are nuts of a suitable size. It is better to punch holes before the desired part is cut out, because carbon steel is quite fragile, and if punching near the edge, cracks are possible.
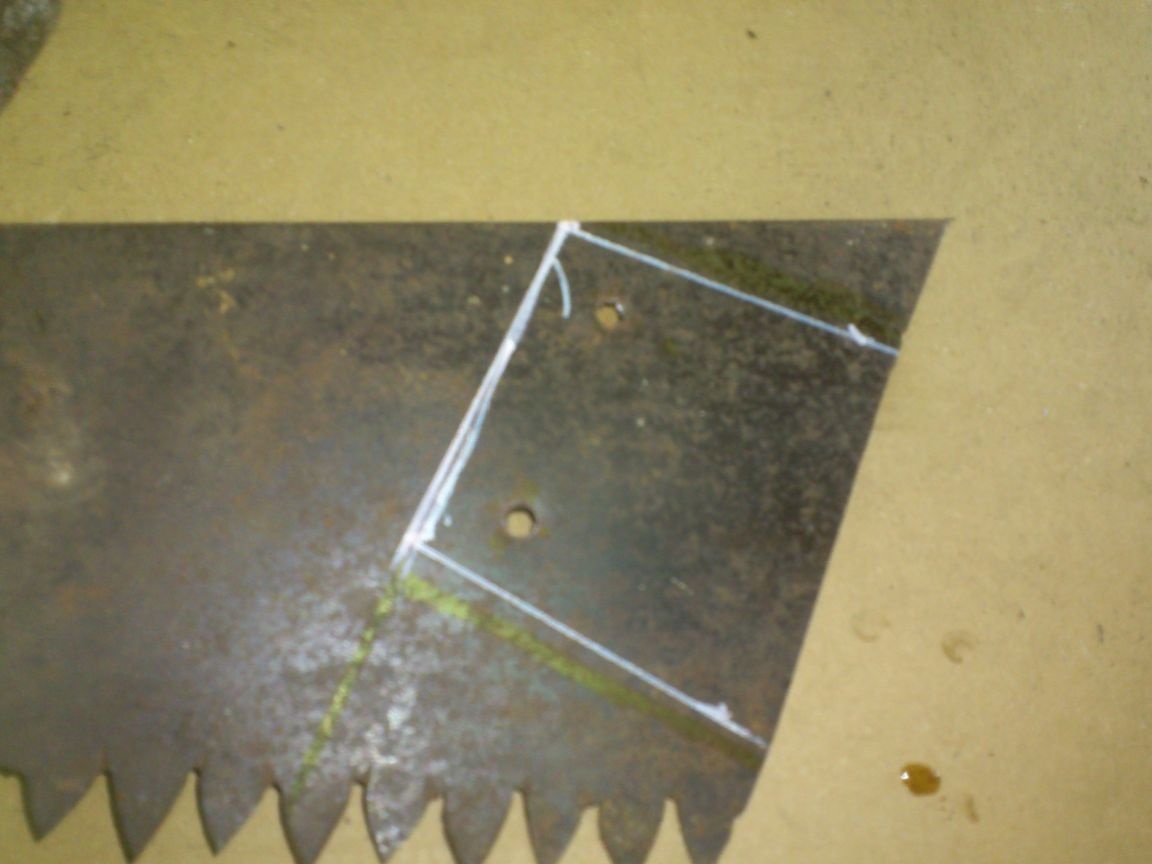
So I did ... First I punched holes, then I already cut out:
After that, putting the blade to the base, I marked the holes for rivets with a marker:
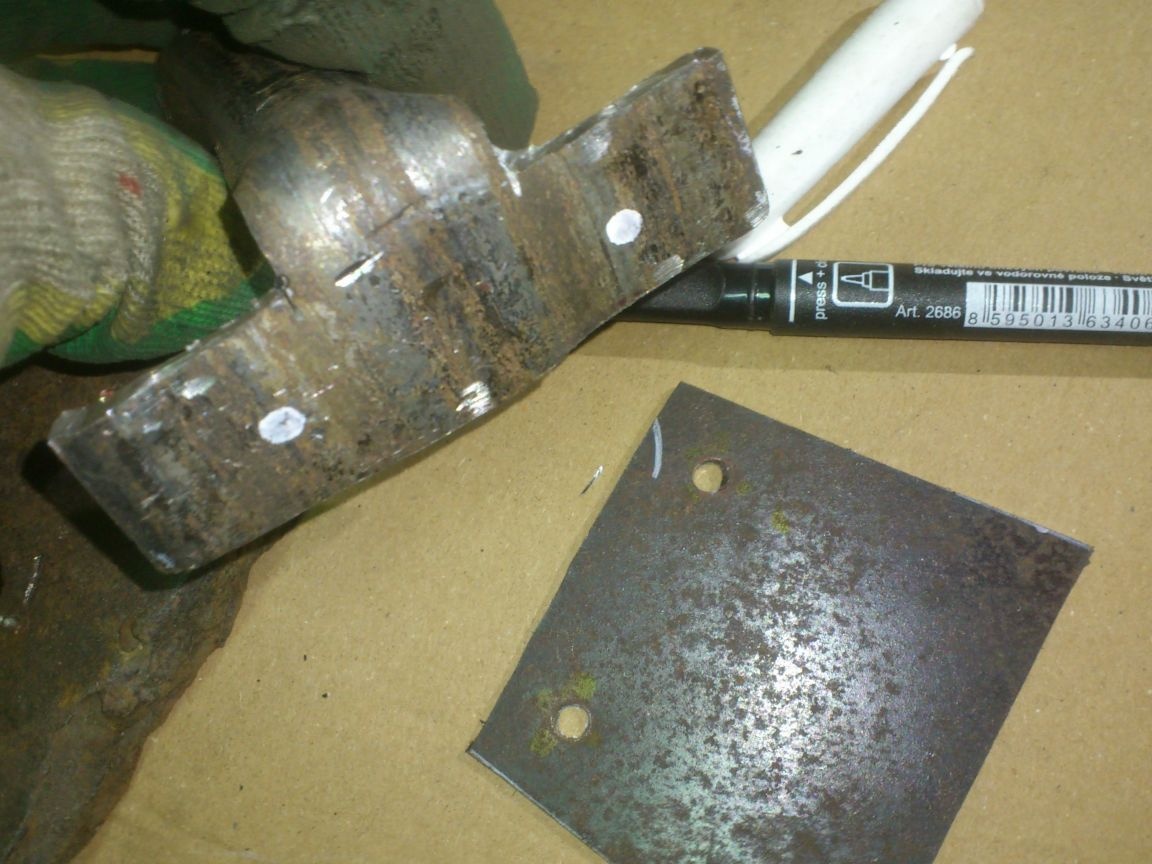
When working with metal, it is very convenient to use a white marker:
I drilled the hole marks with a drill, 5 mm in diameter:
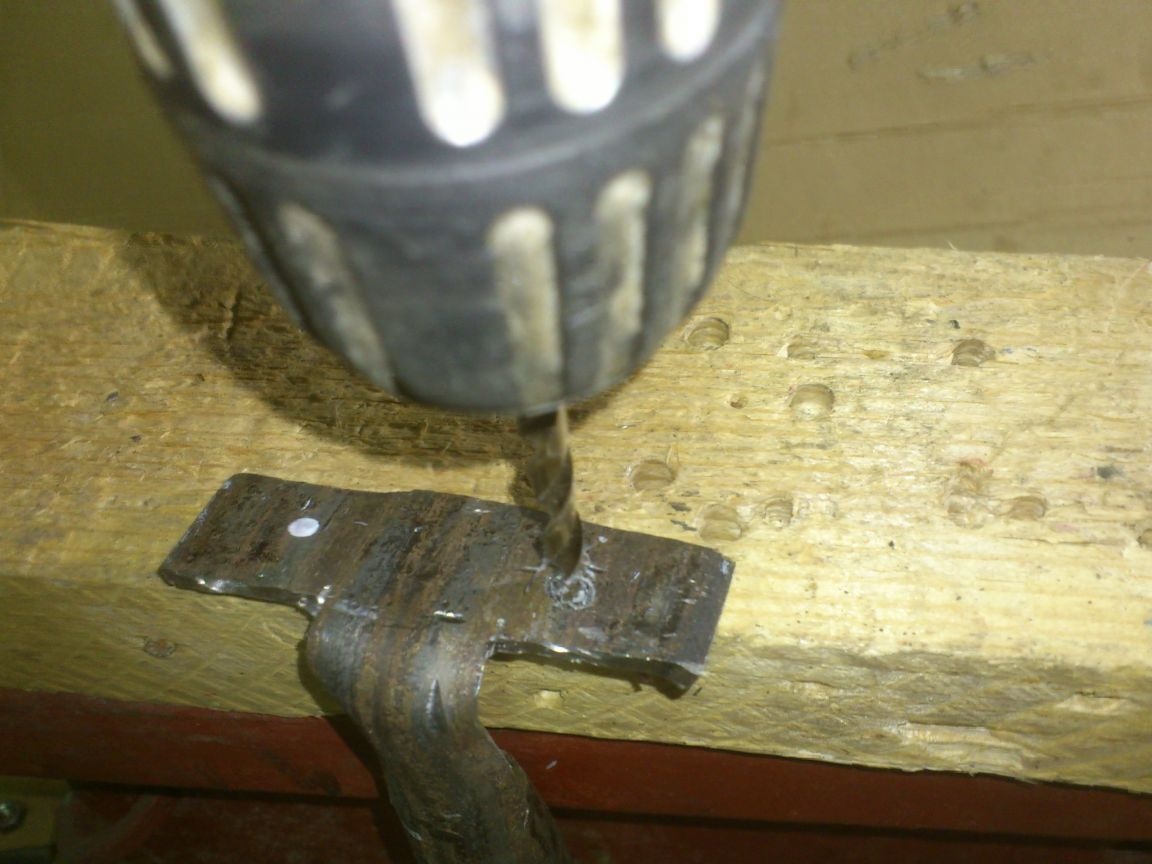
.... And again, as last time, spending half an hour to no avail finding a countersink, I used a large diameter drill for this operation))):
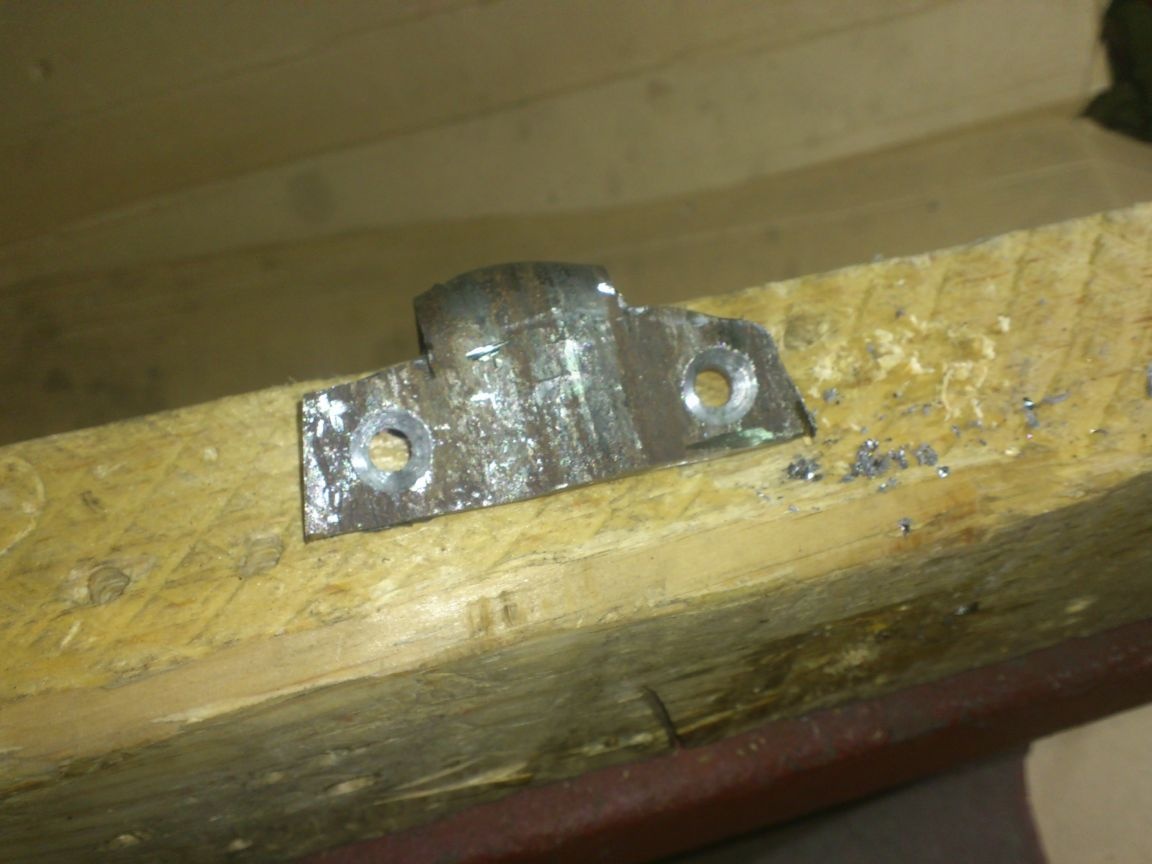
Now you can remove the burrs and clean:
As rivets, I decided to use the M5 screws:
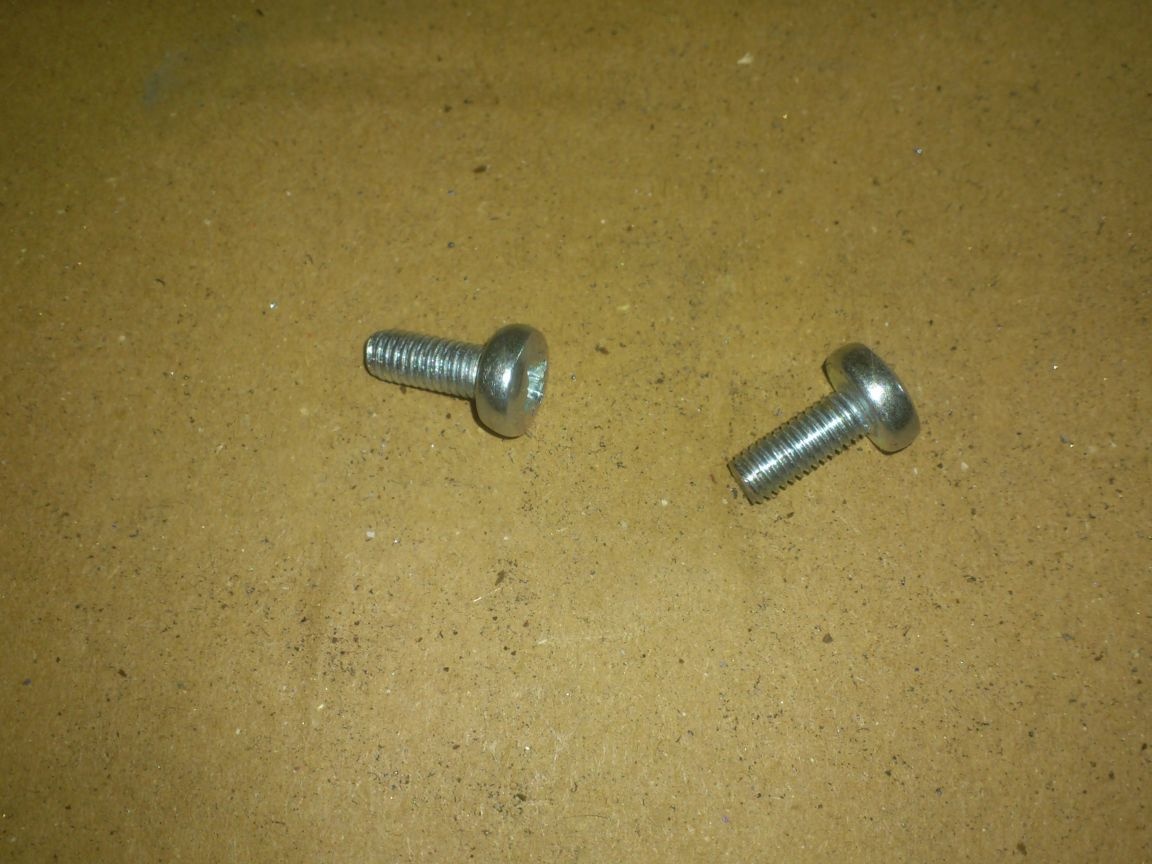
Having laid them with hats on the side of the blade, I riveted with a hammer on the other side their ends in countersink holes:
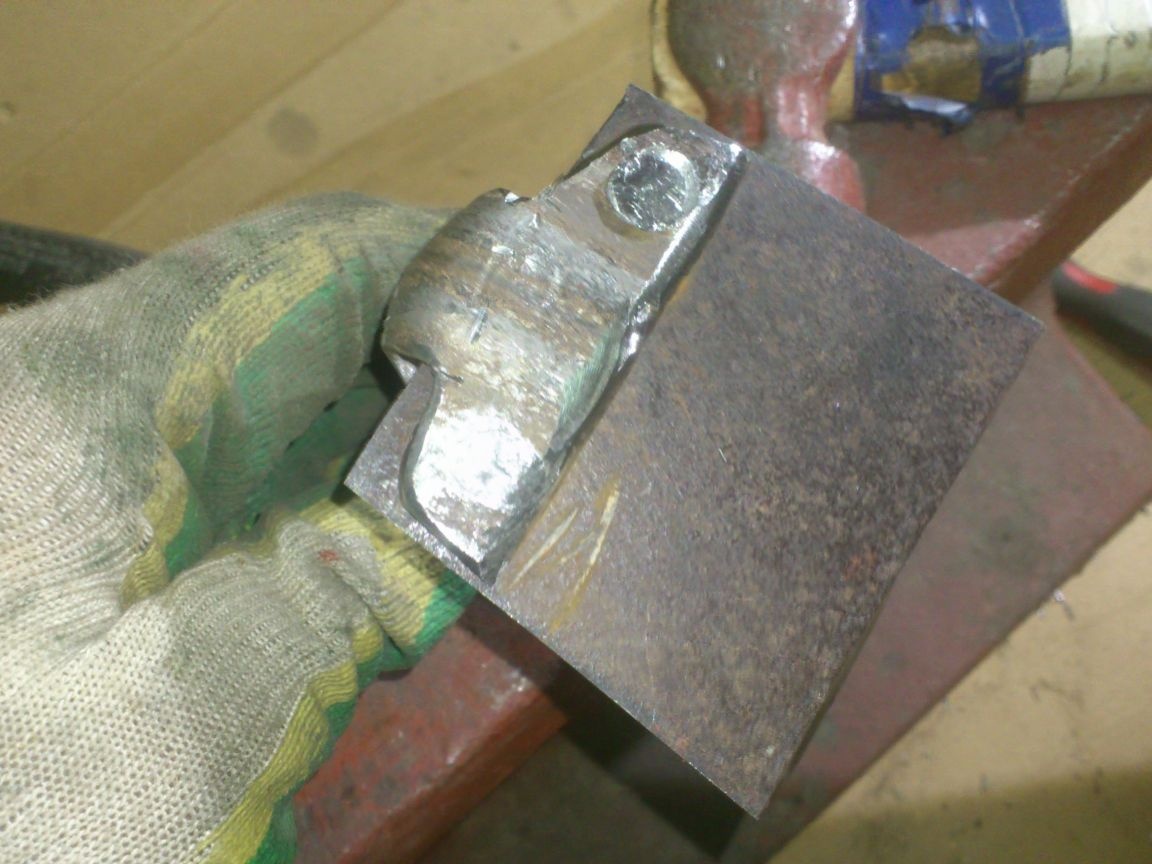
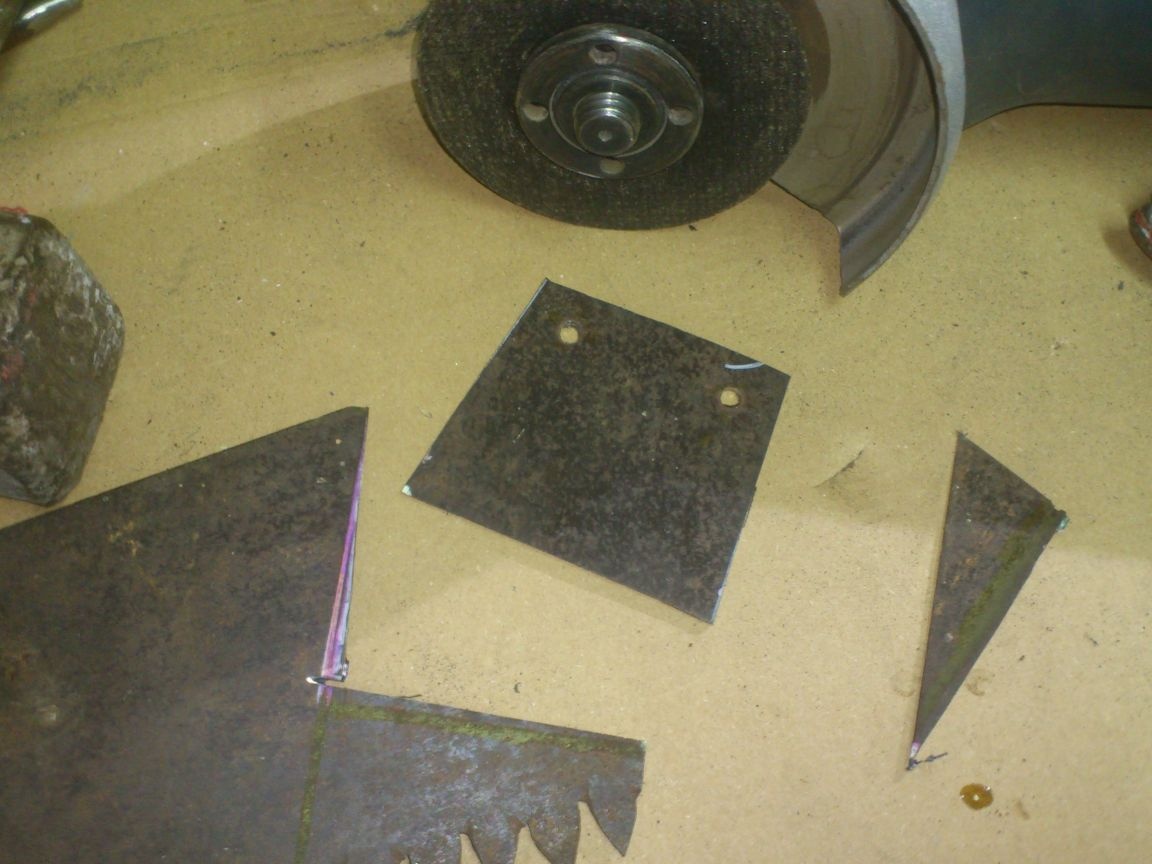
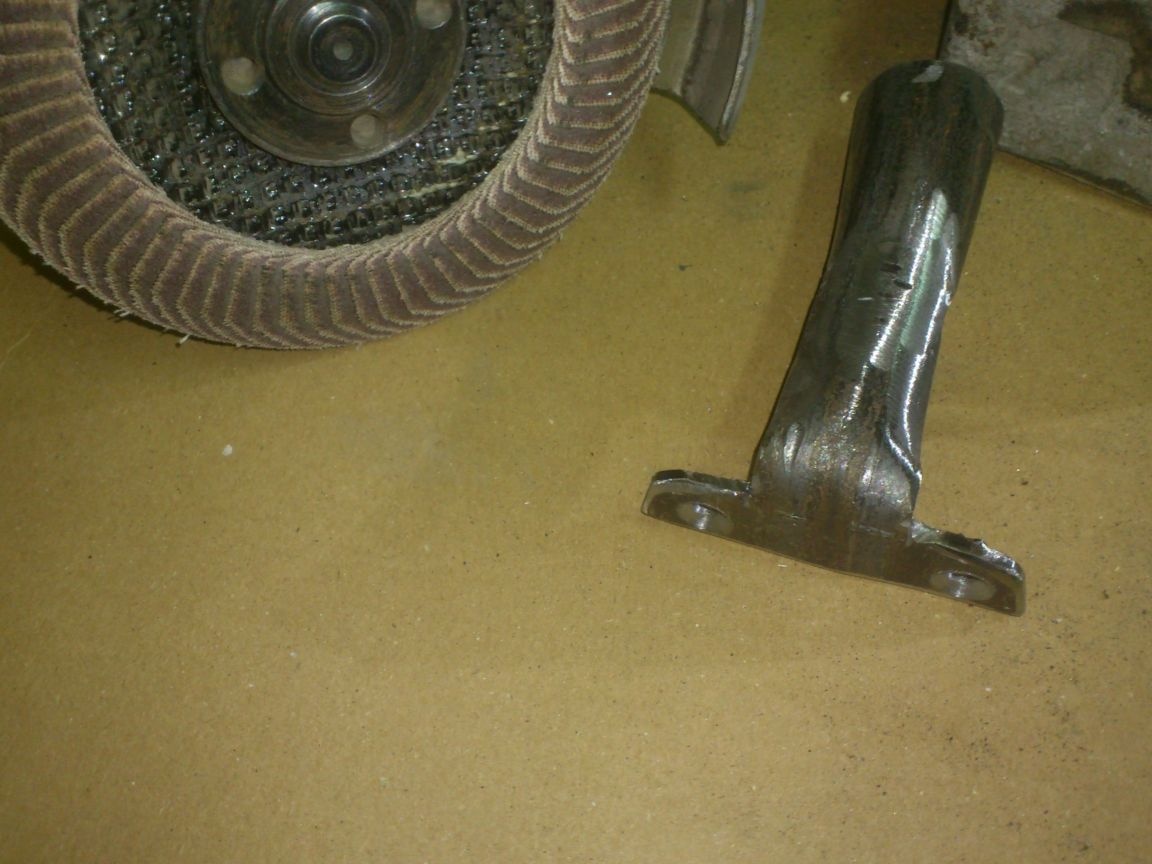
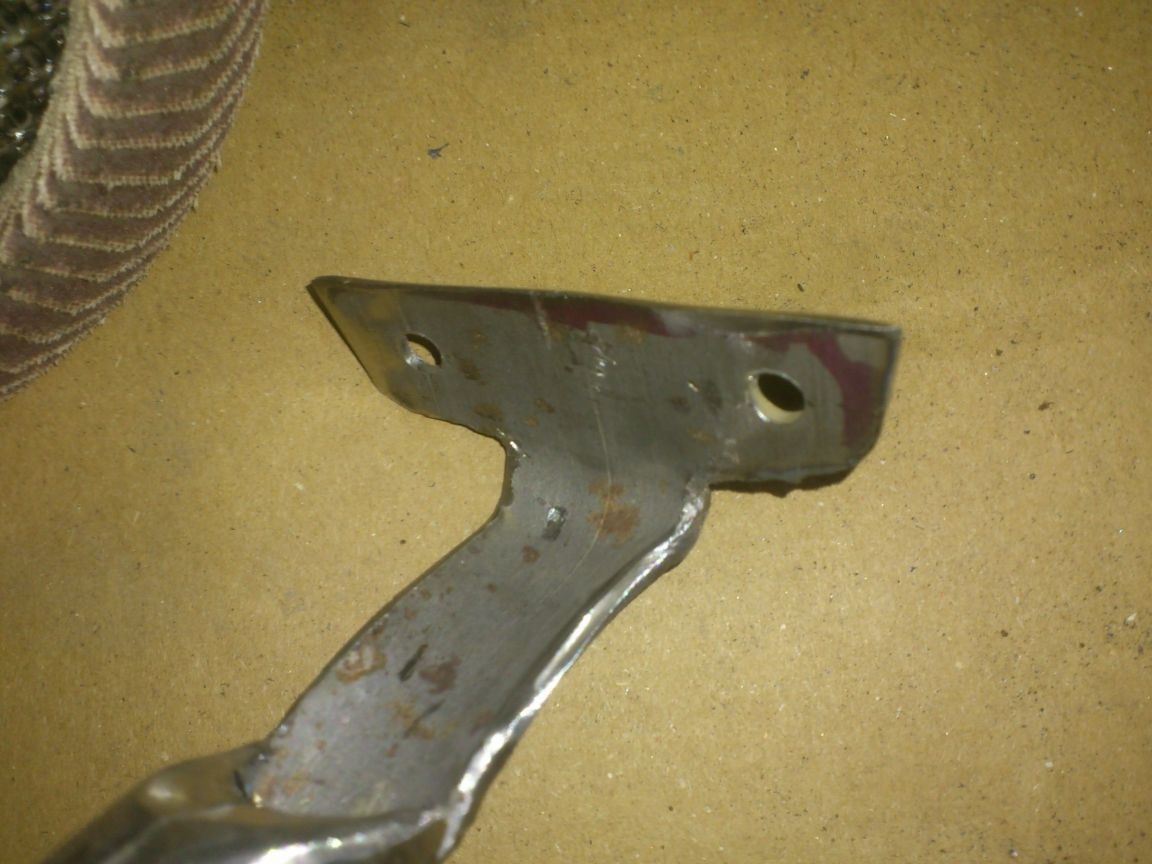
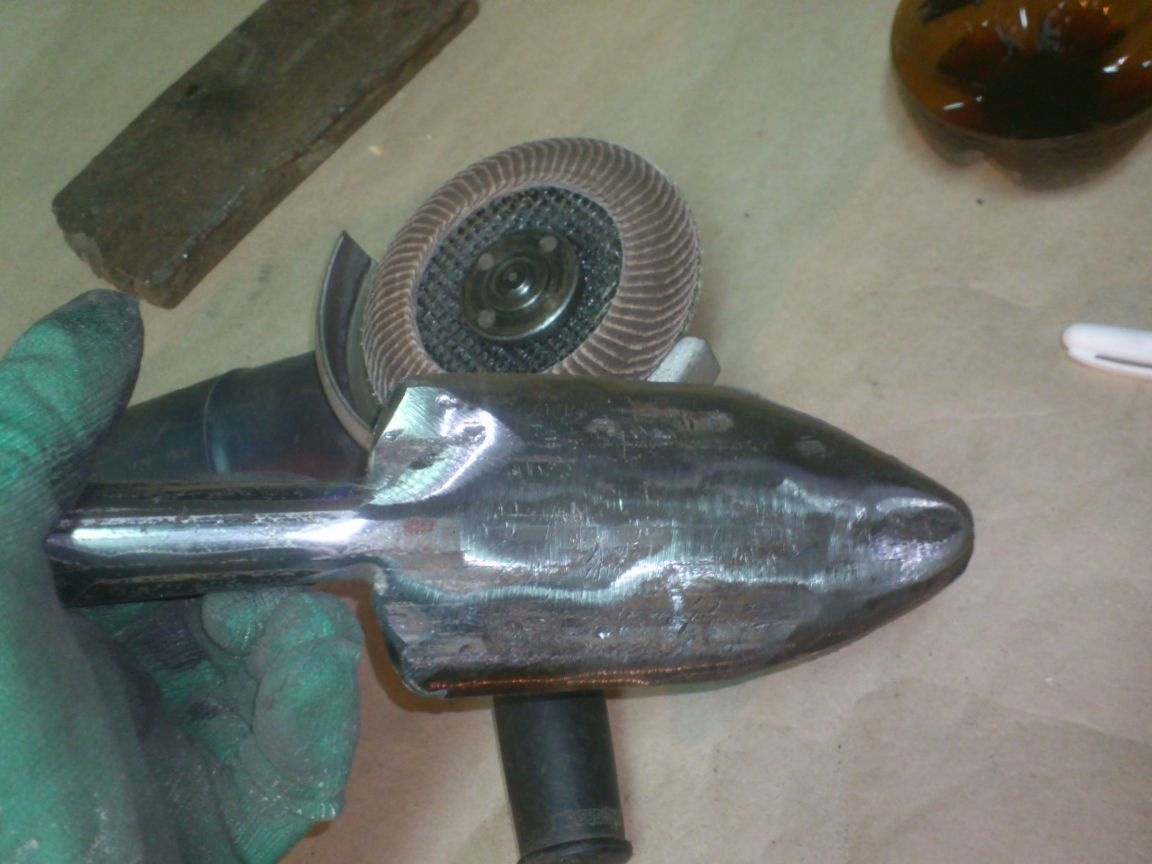
Now you can cut off the excess protruding parts of the blade and finally process it with an emery-petal wheel:
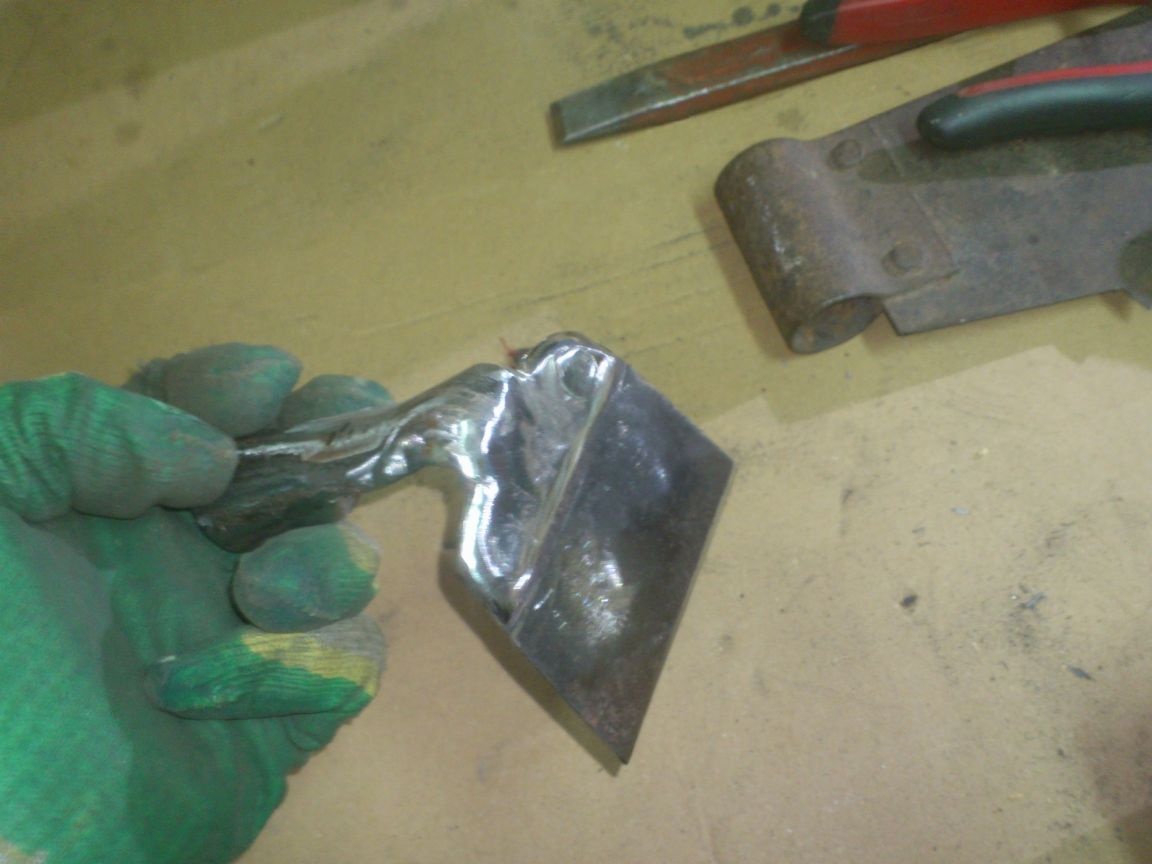

The chopper is almost ready. It remains to drill a hole for the screw:
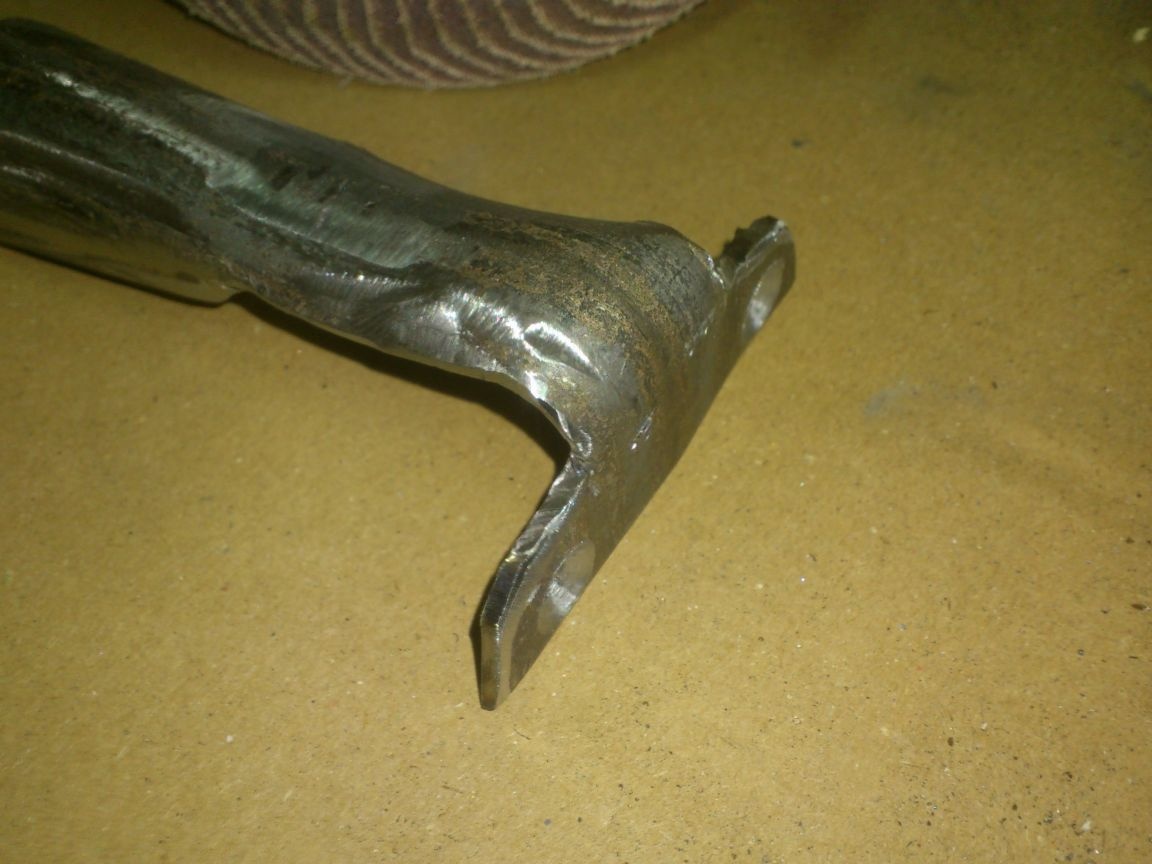
Sluggish, more out of habit, casting a glance at the places where the countersink might be lying, I again used a large-diameter drill)))):
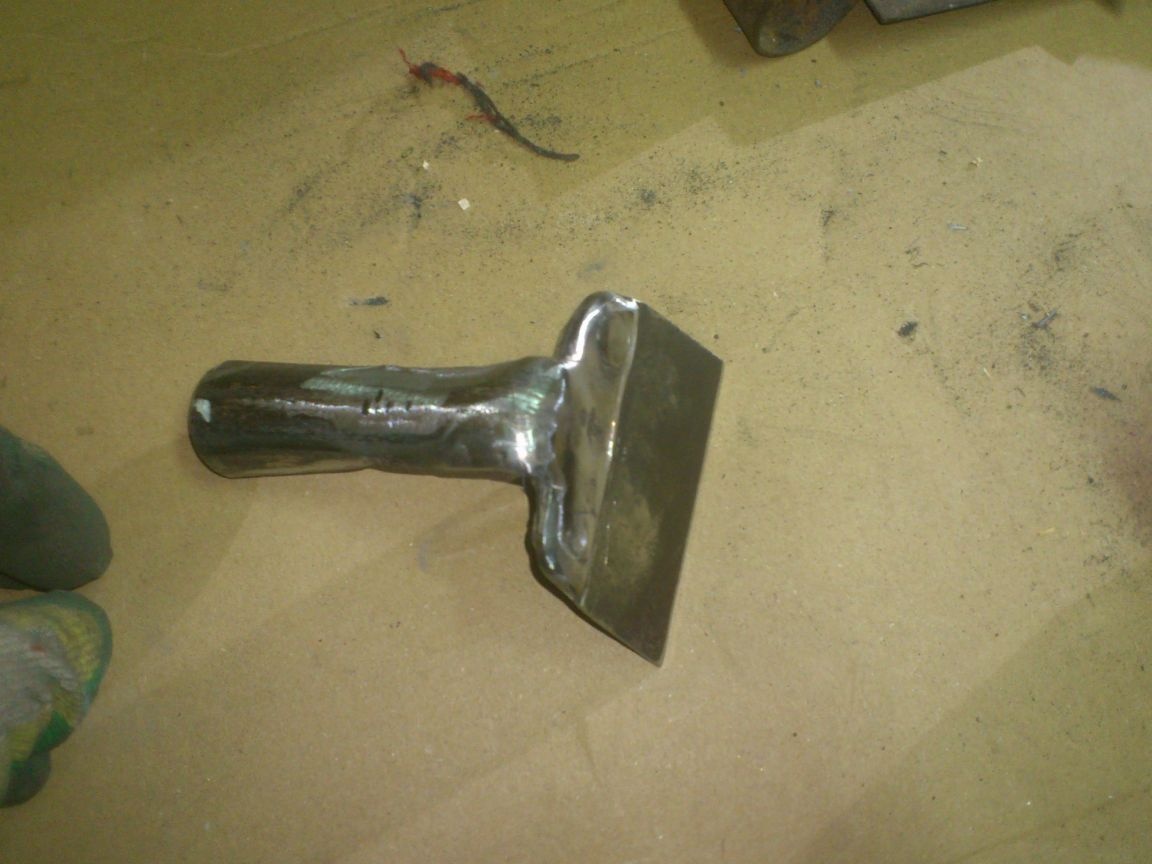
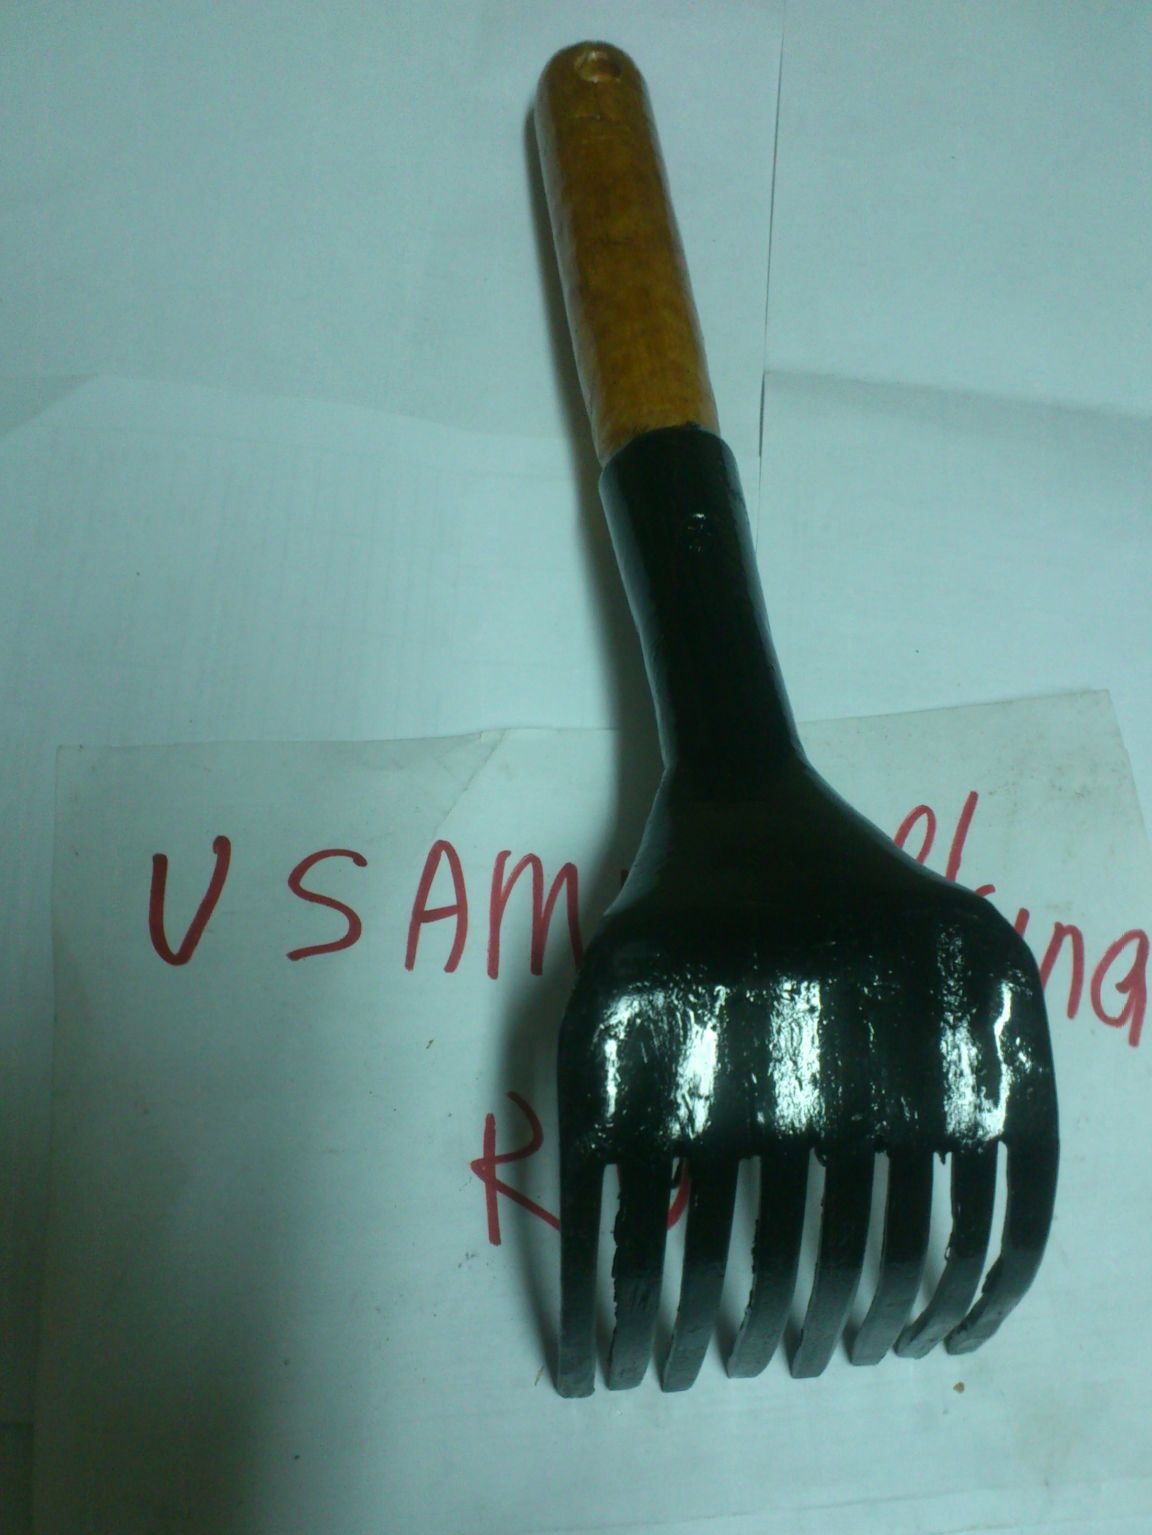
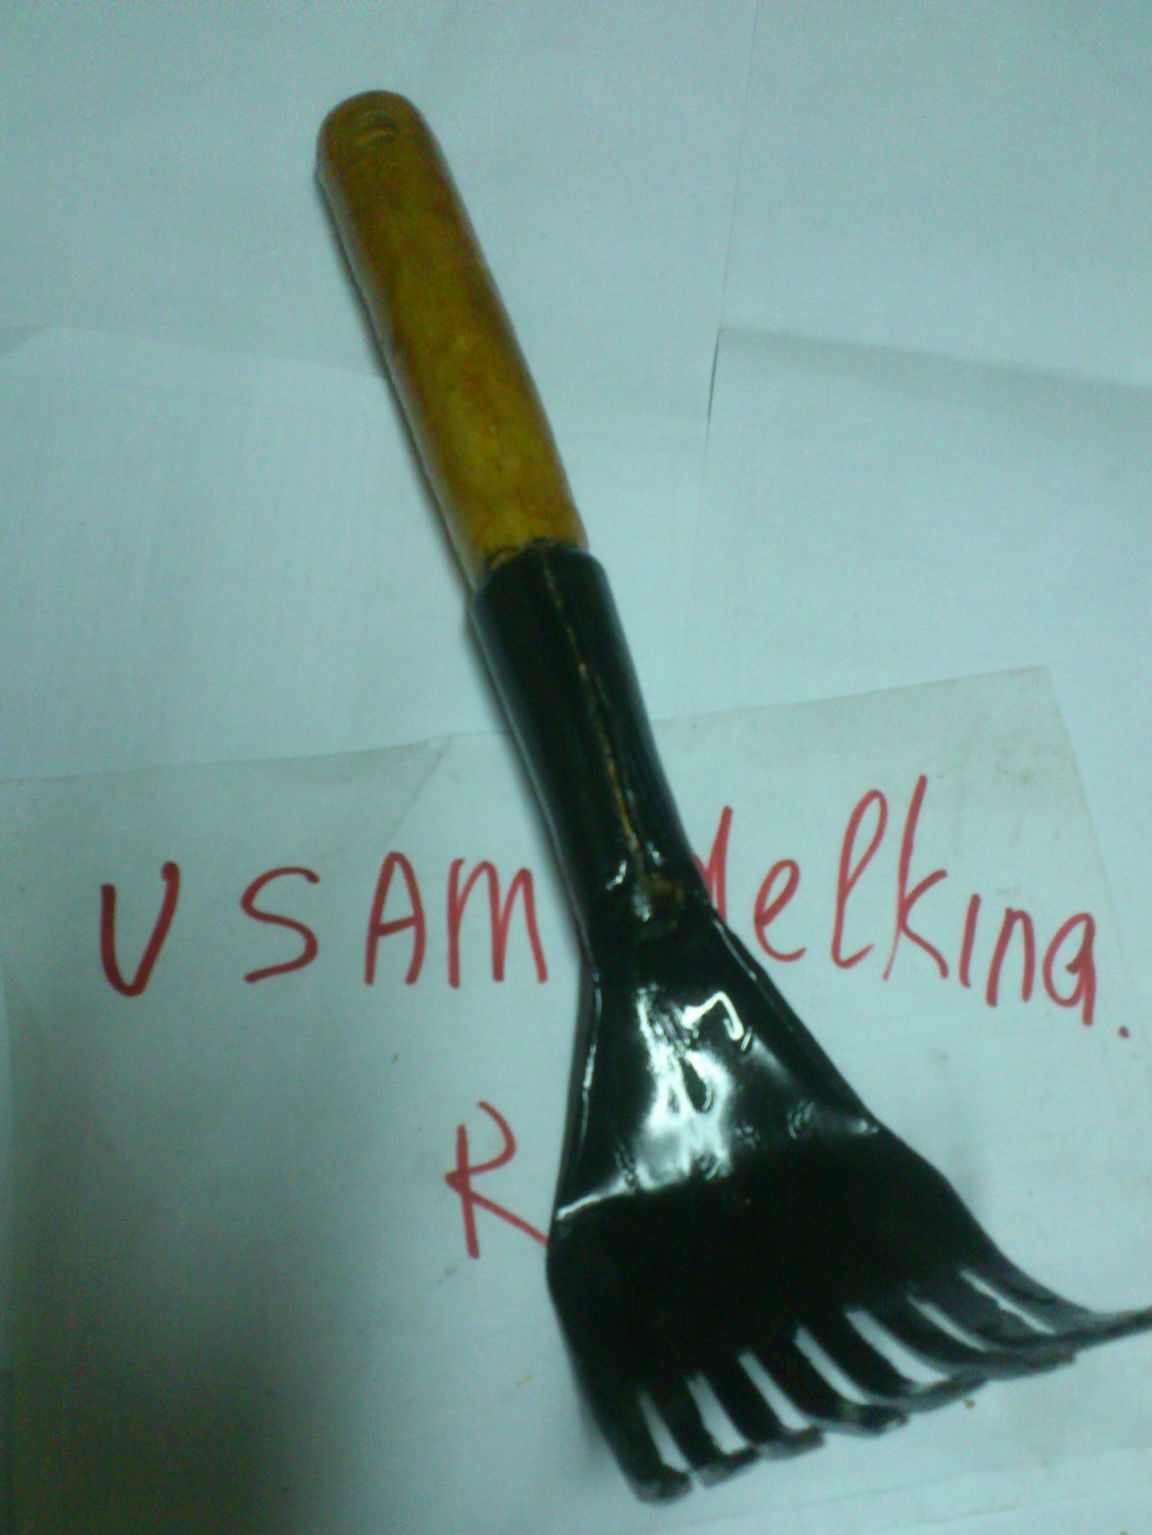
That's it ... The chopper is ready .. It remains to make a cut ...
But with this I decided to postpone ...
As often happens, carried away by work, I decided to make another garden tool from the same pipe - a garden scoop.
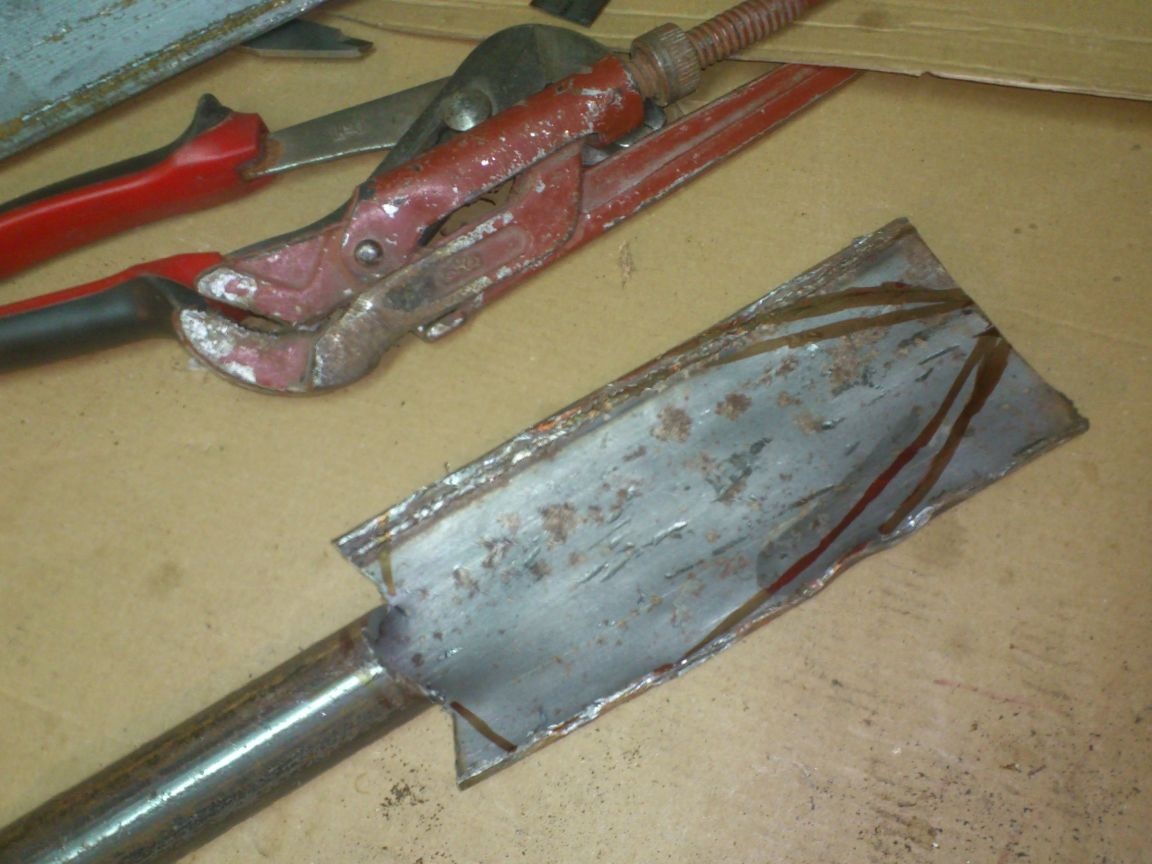
He started the same way. Cut off the desired size (as I thought then))) segment:
Marked and cut through:
First he straightened with a chisel:
Then with suitable lever tools:
Then with a hammer:
After that, I marked out the contours of the future instrument (from the second attempt)))):
And cut out a grinder:
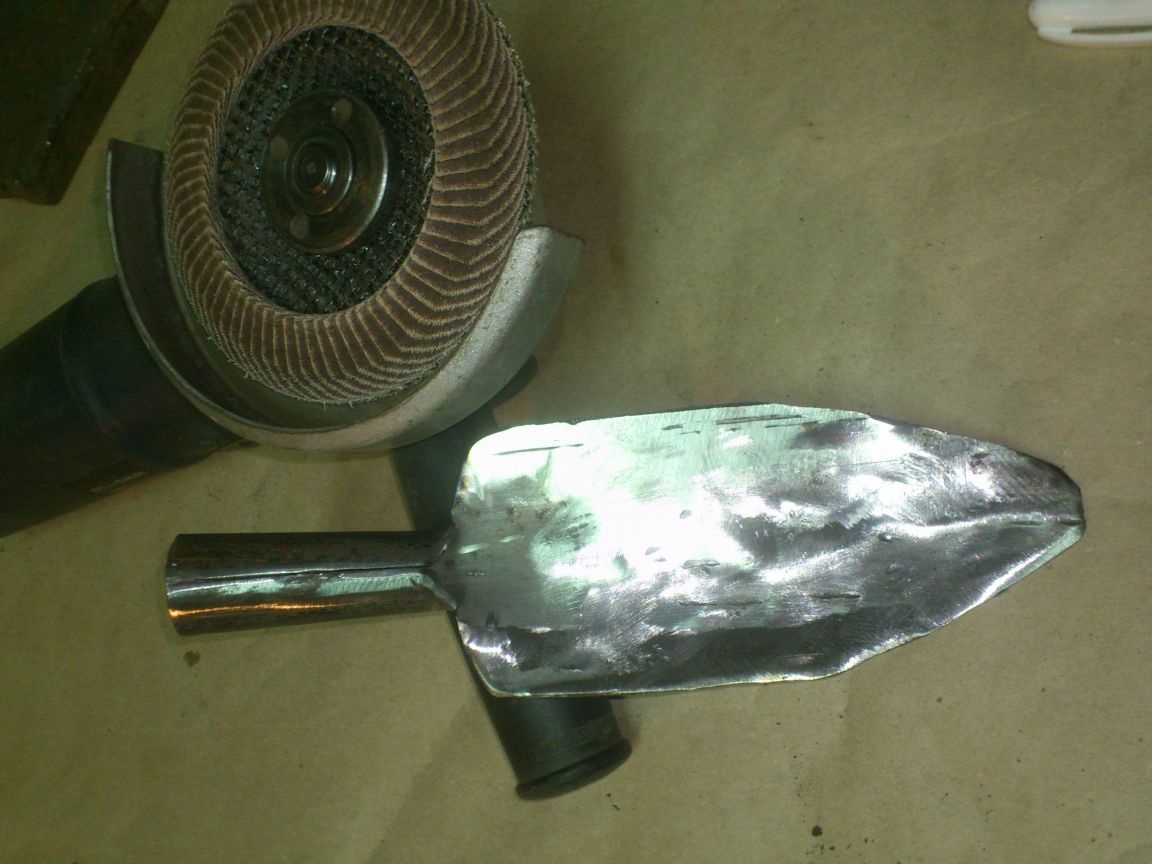
After that, I roughly processed the workpiece using a scraping abrasive wheel:
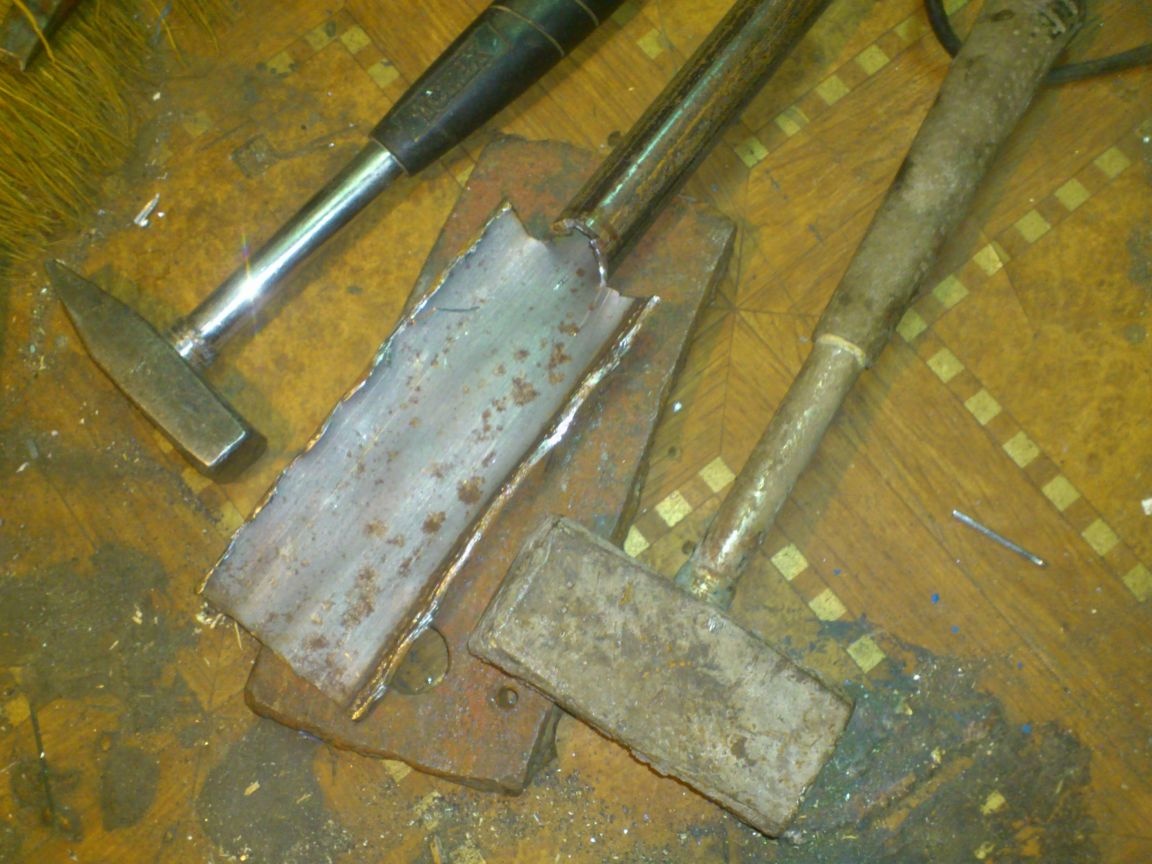
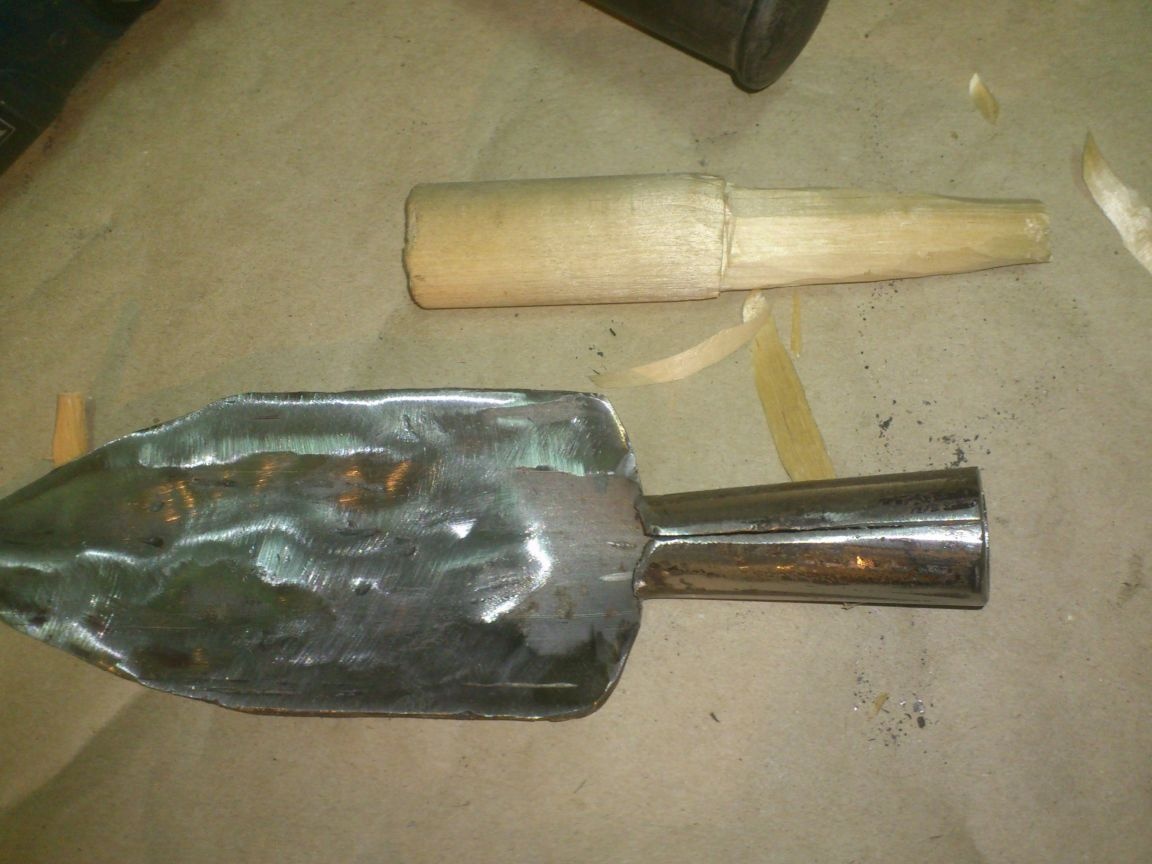
Putting next to an almost ready chopper, I found that there was twice as much of a scoop for a seat under the handle. Therefore, I noted the desired length and cut off the excess:

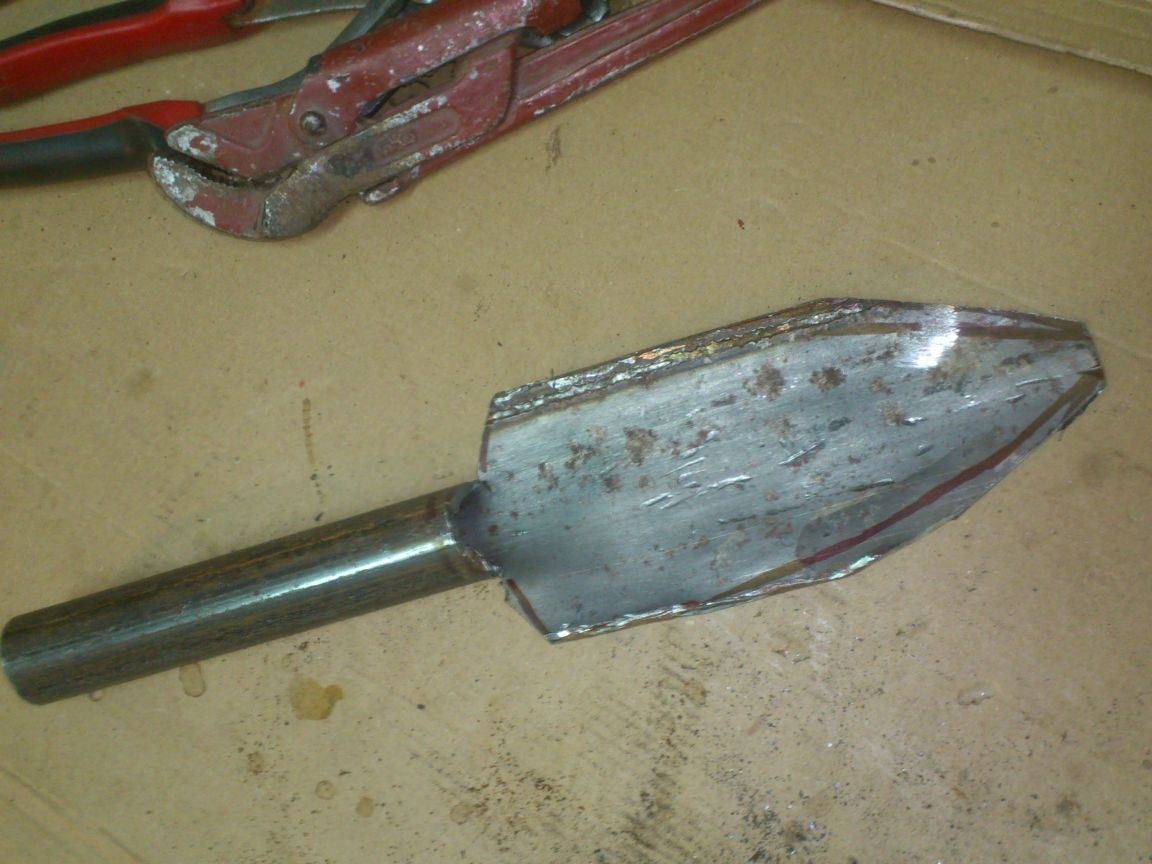
In the same way as in previous products, he formed a cone, cutting a pipe sector and flattening it with a hammer:
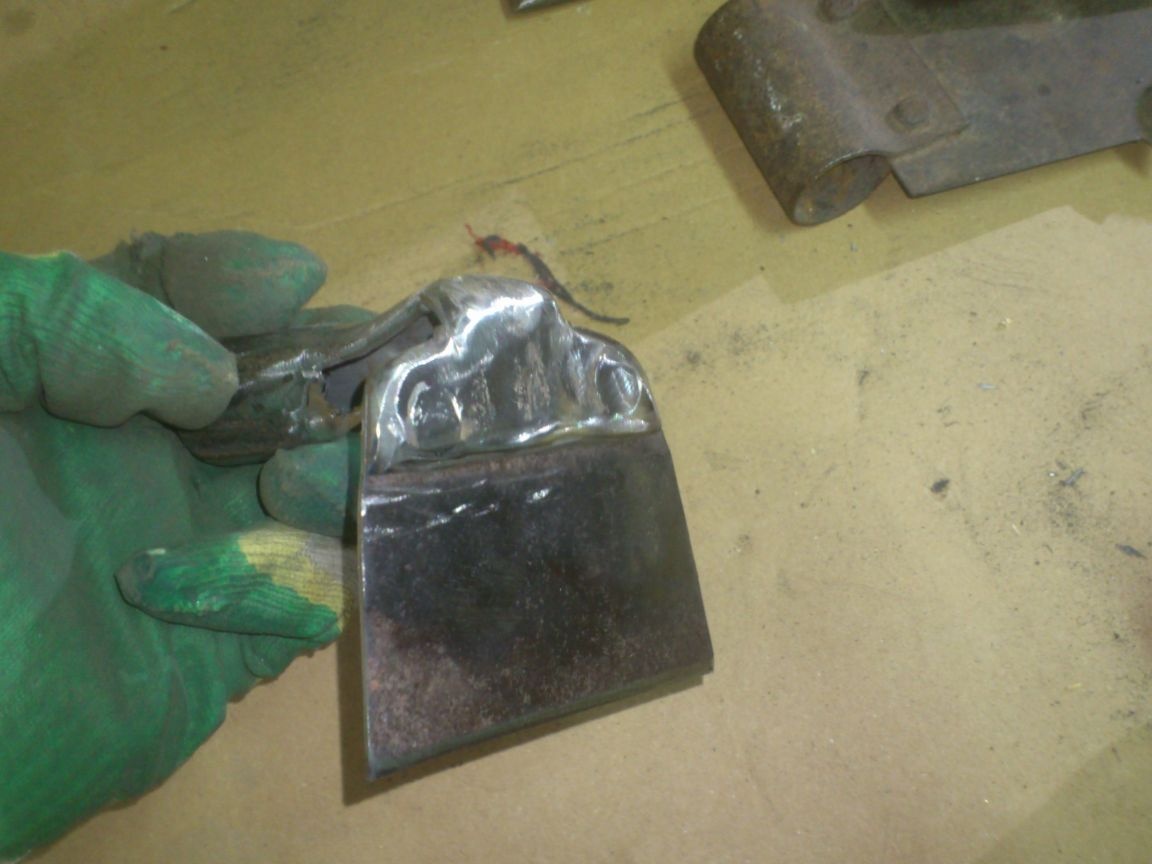
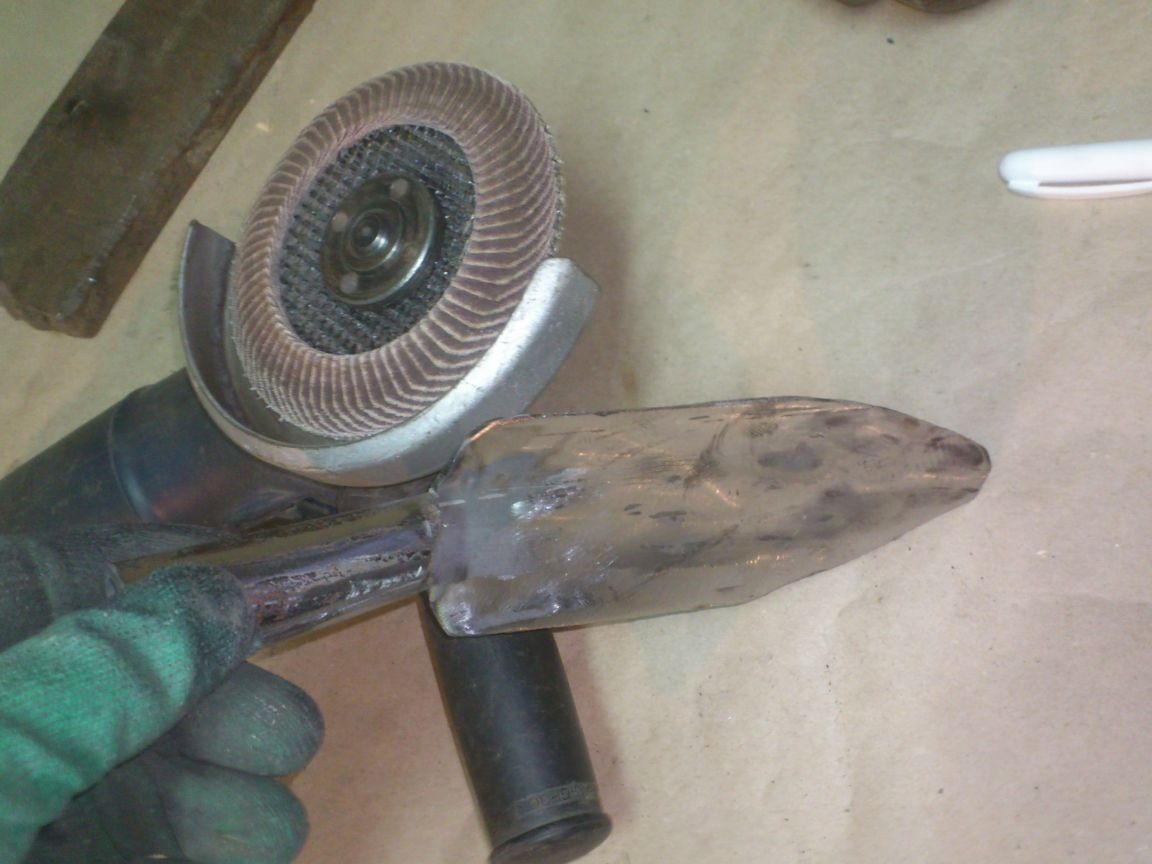
Now you can fully process the emery-petal wheel:
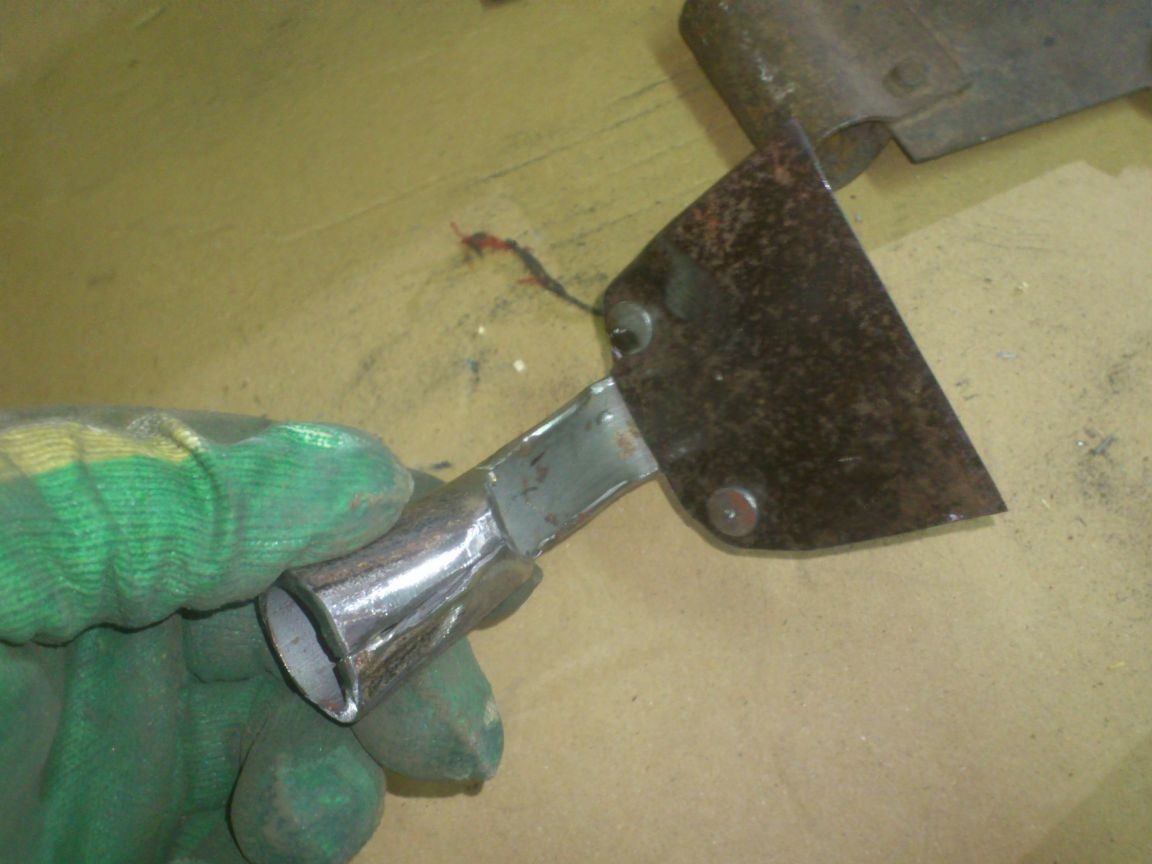
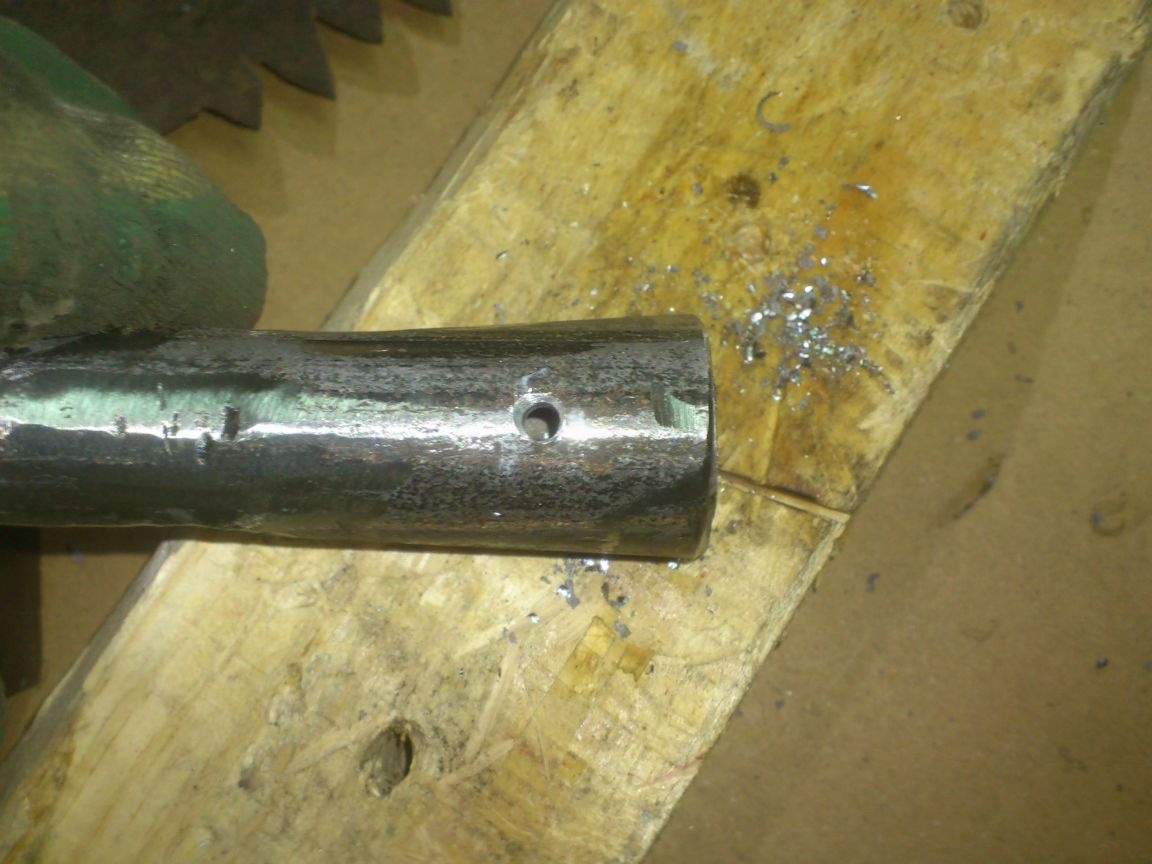
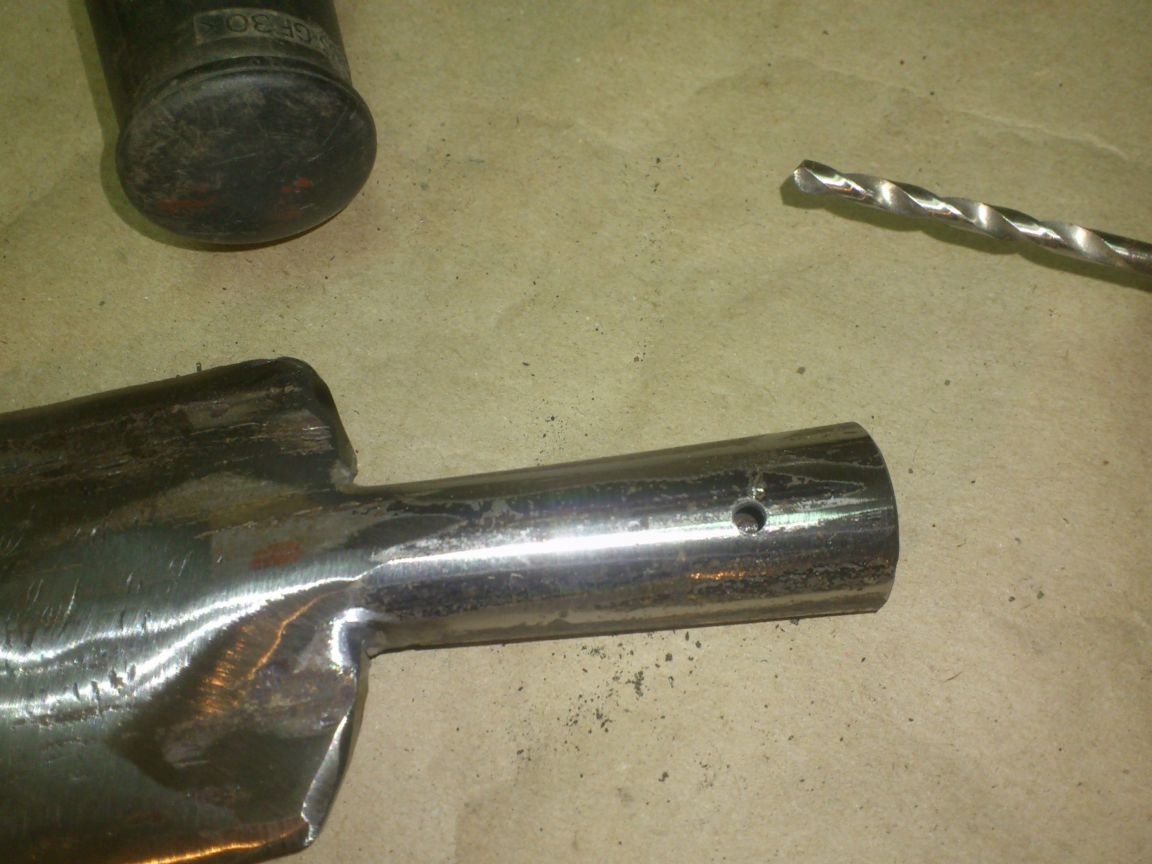
It remains to drill a hole for the screw. Being too lazy to pre-screw, I was punished for it.)))). The drill bit slid off the rounded surface and the hole was not in the center ... Well, God be with him ... The screw will not hold any weaker from this:
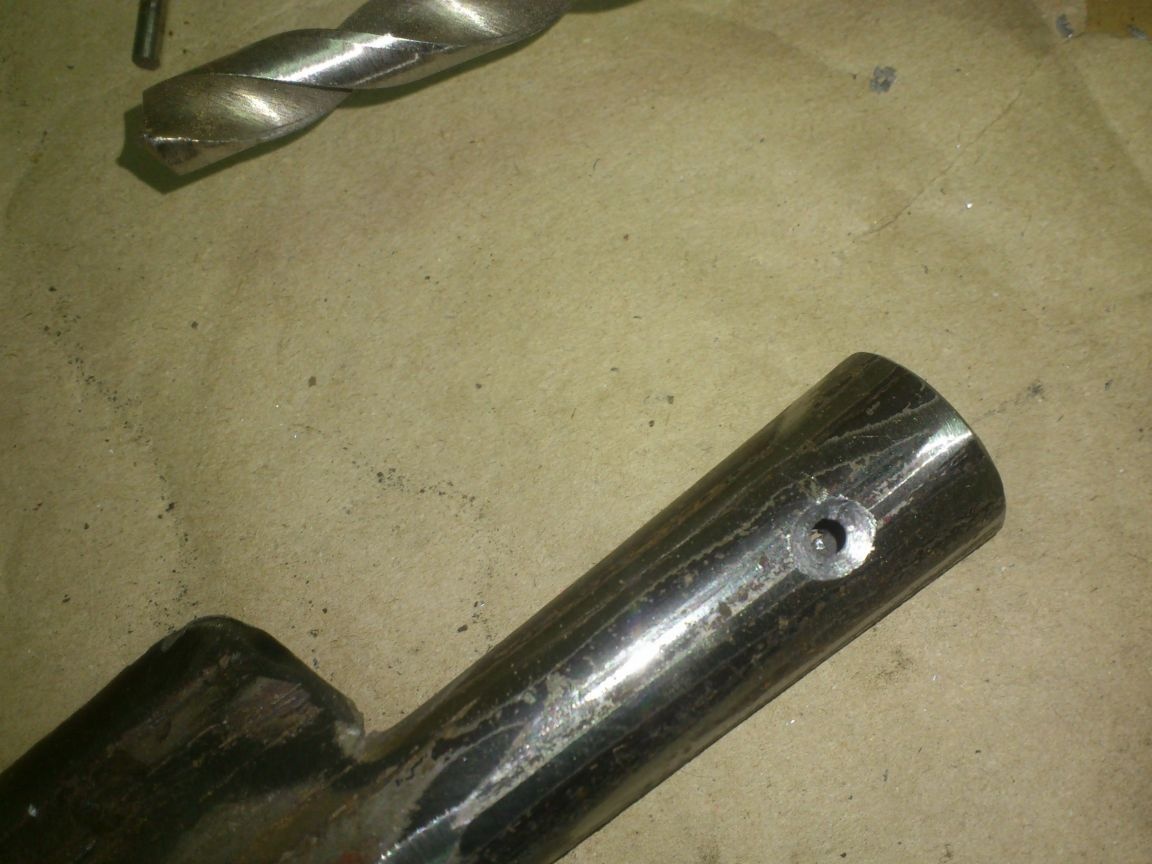
Even without already trying to find the countersink (Well, somewhere it lies !!!!), I immediately used the "familiar proven method")))):
That's it ... We make cuttings ...
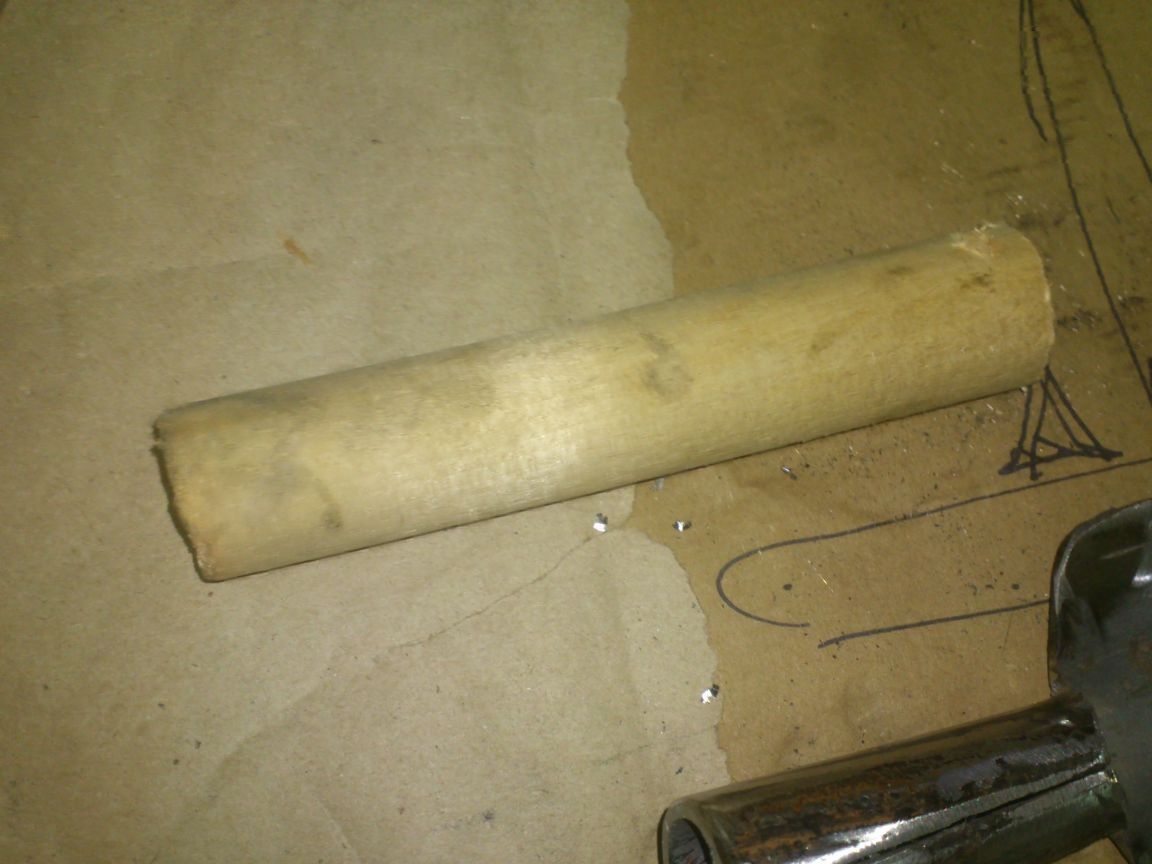
Like last time, I cut off the segments I needed from the stalk for a rake.
By the way, for such small woodwork, I use a slightly reworked drywall saw. I just made a tooth bite and sharpened it like a hacksaw is sharpened on wood. It is very convenient if you need to saw off something small:
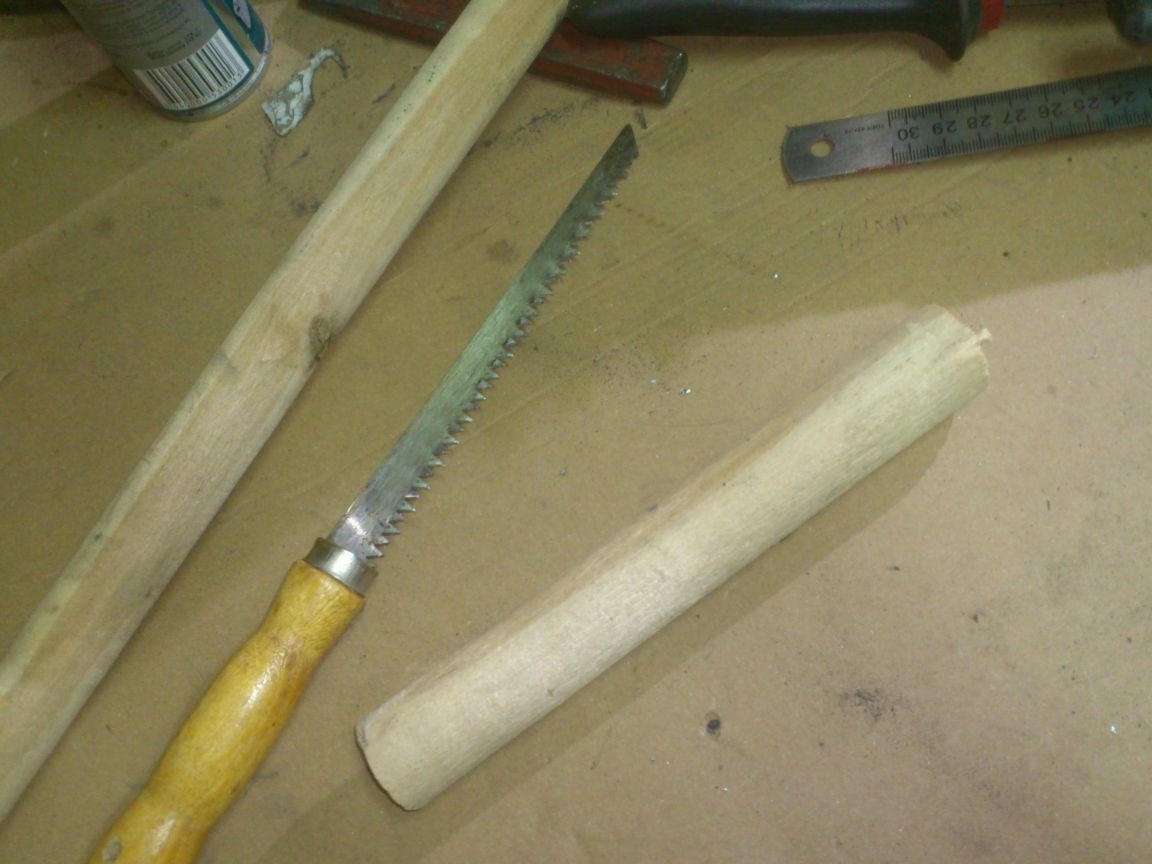
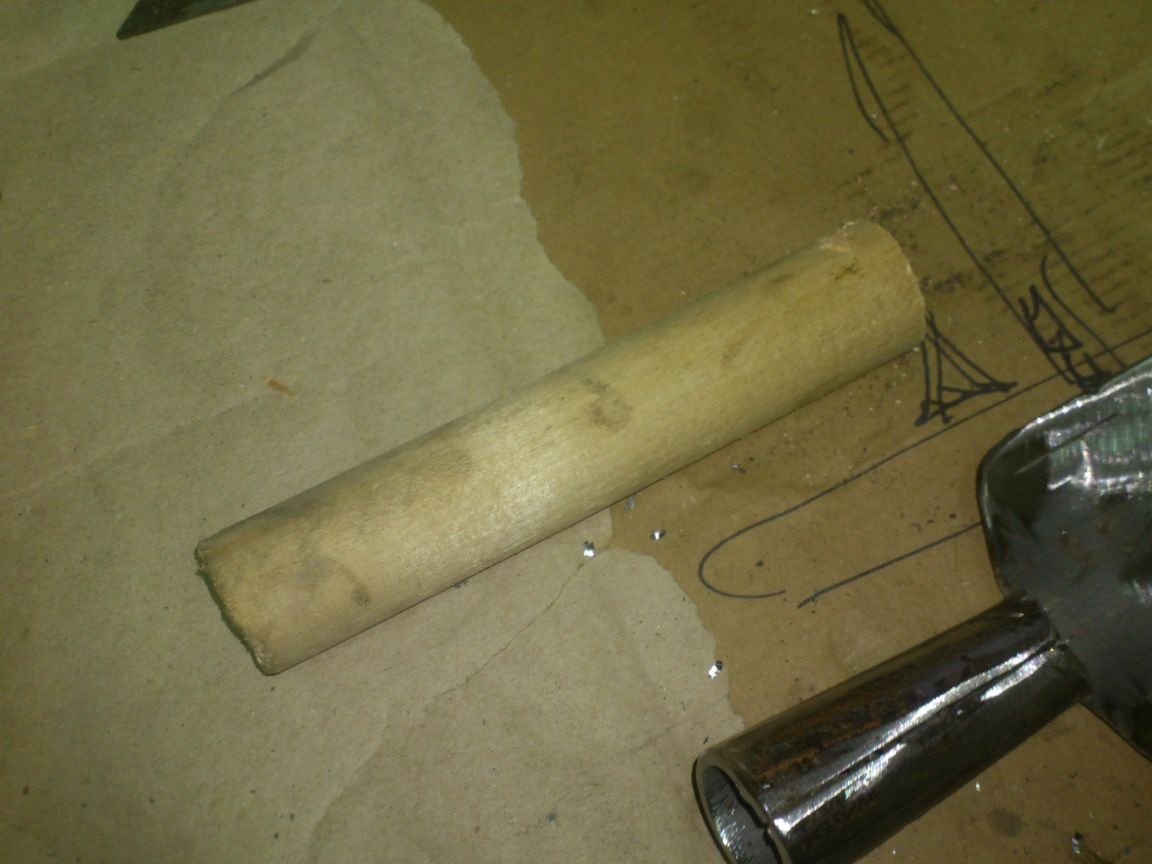
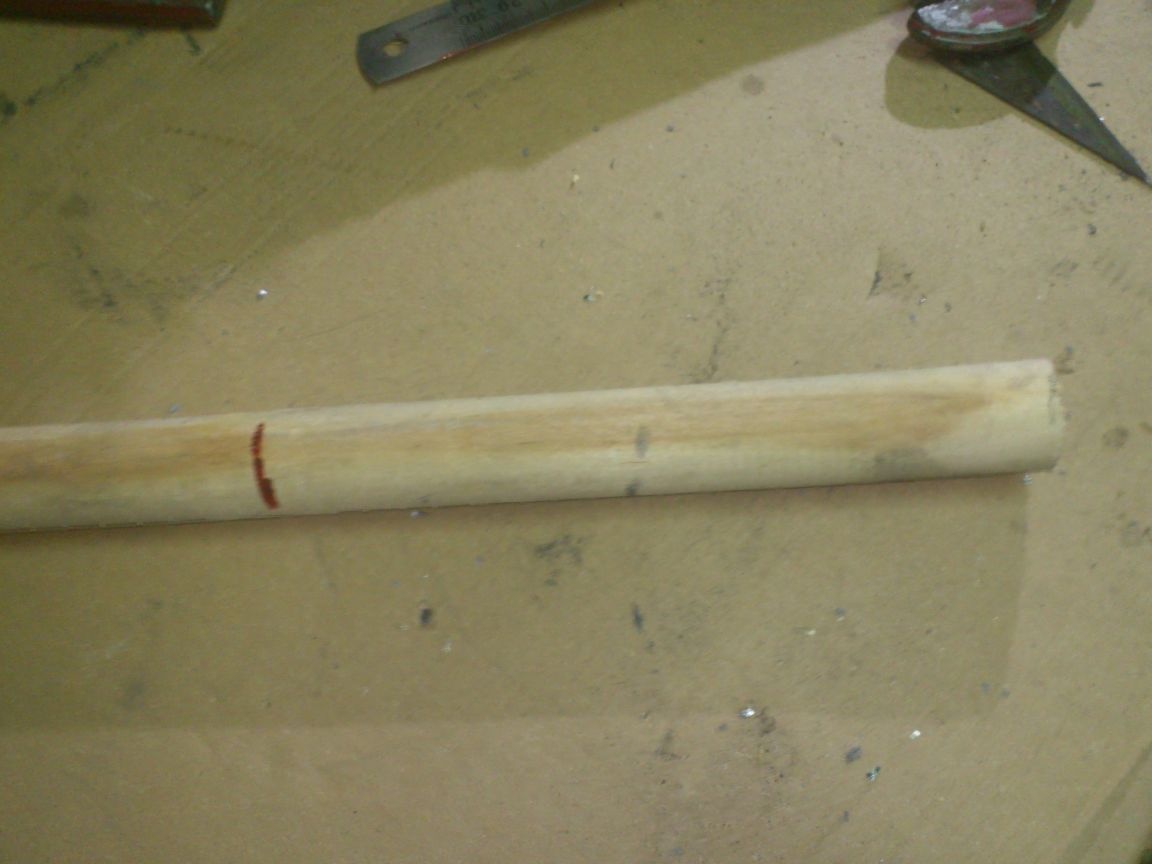
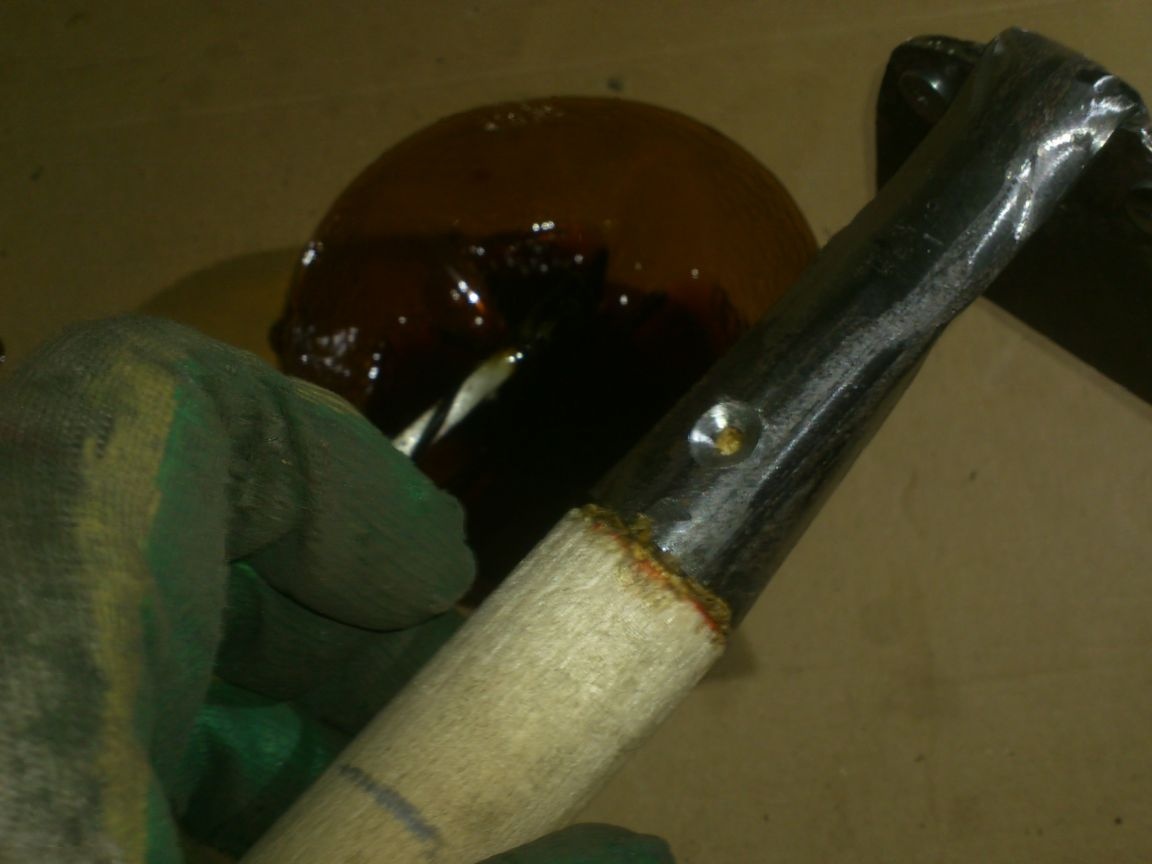
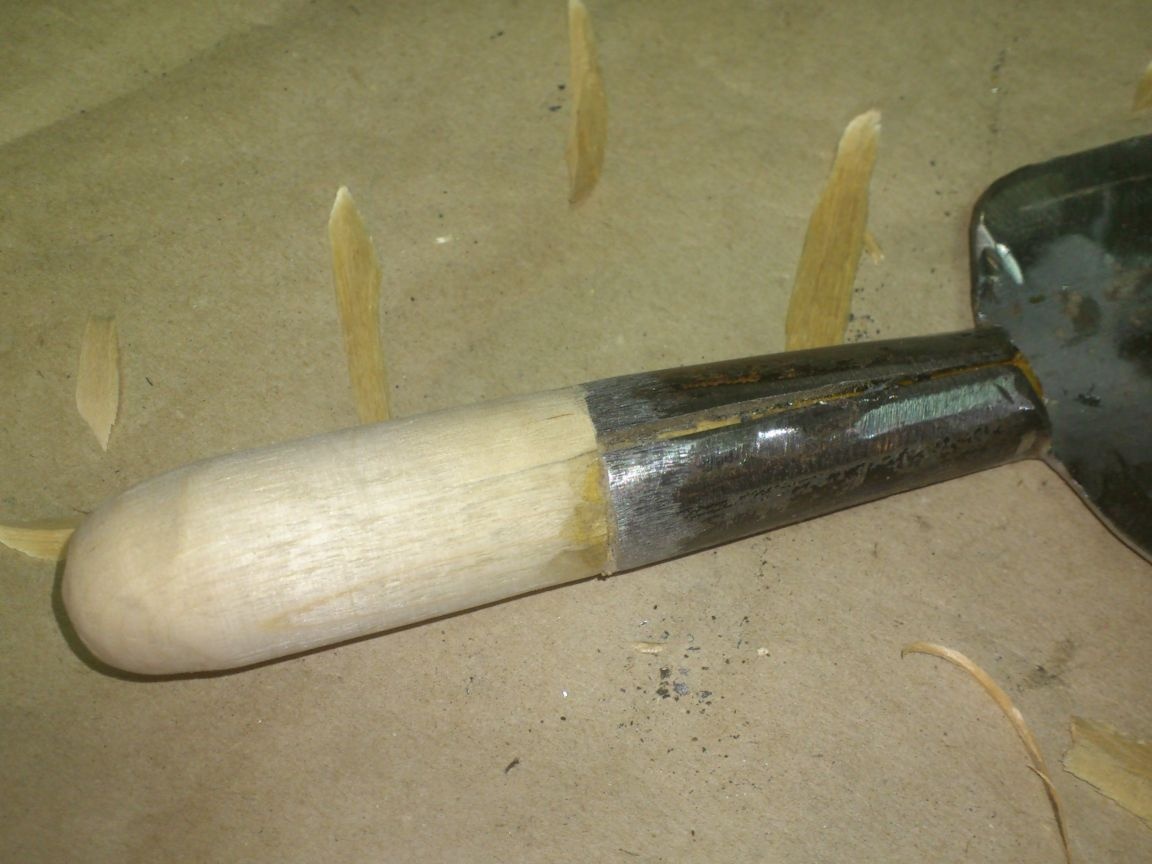
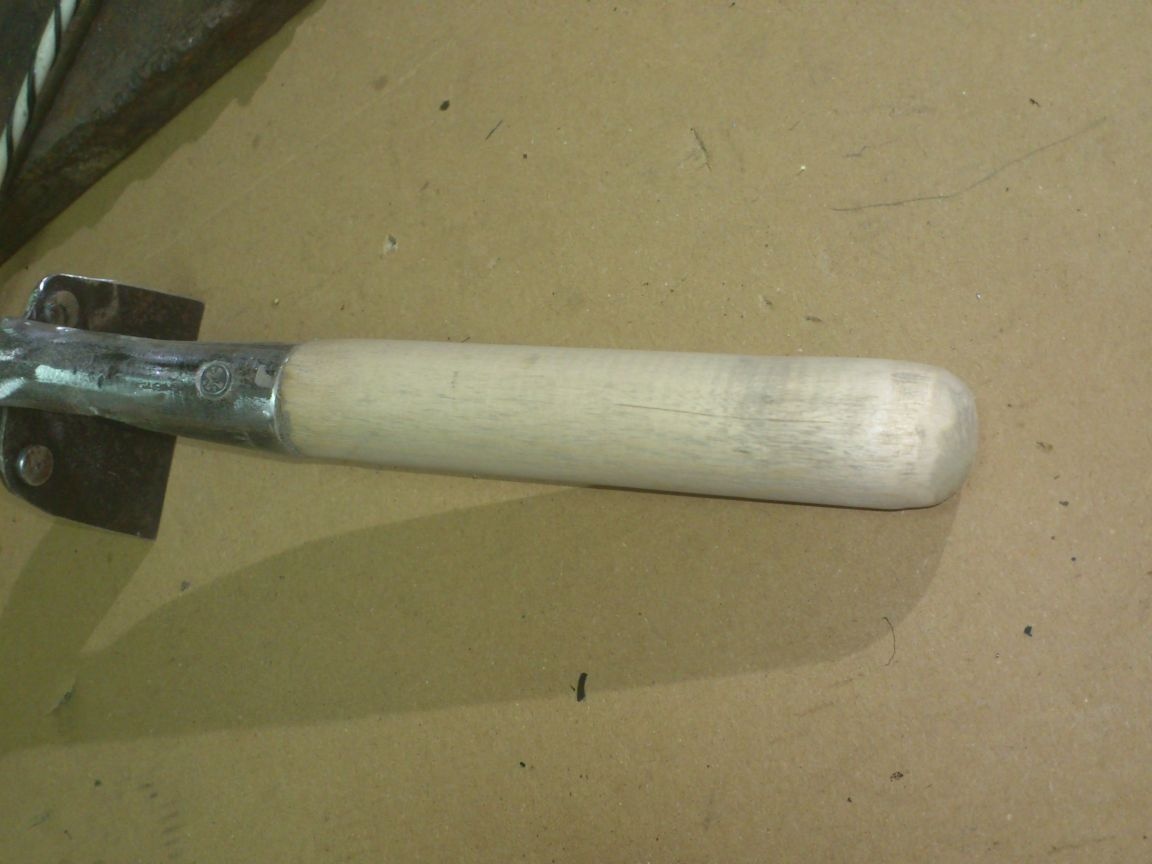
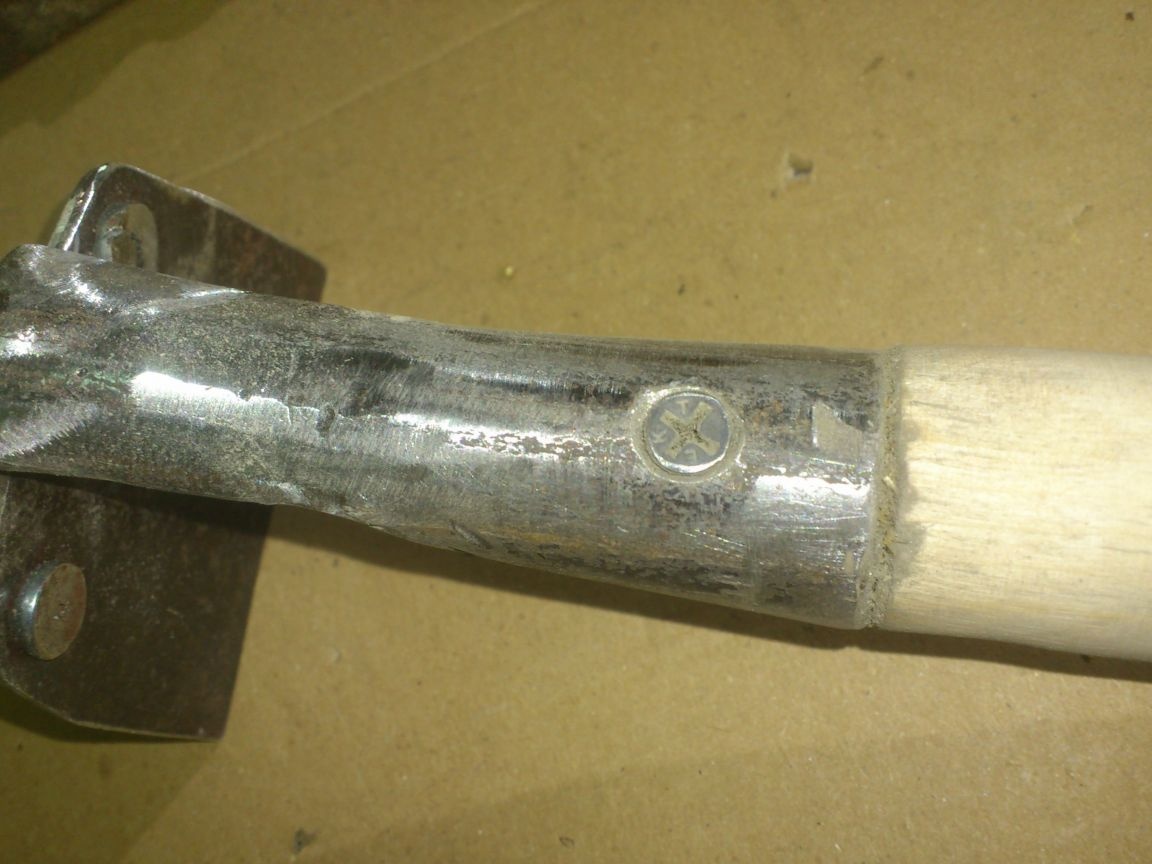
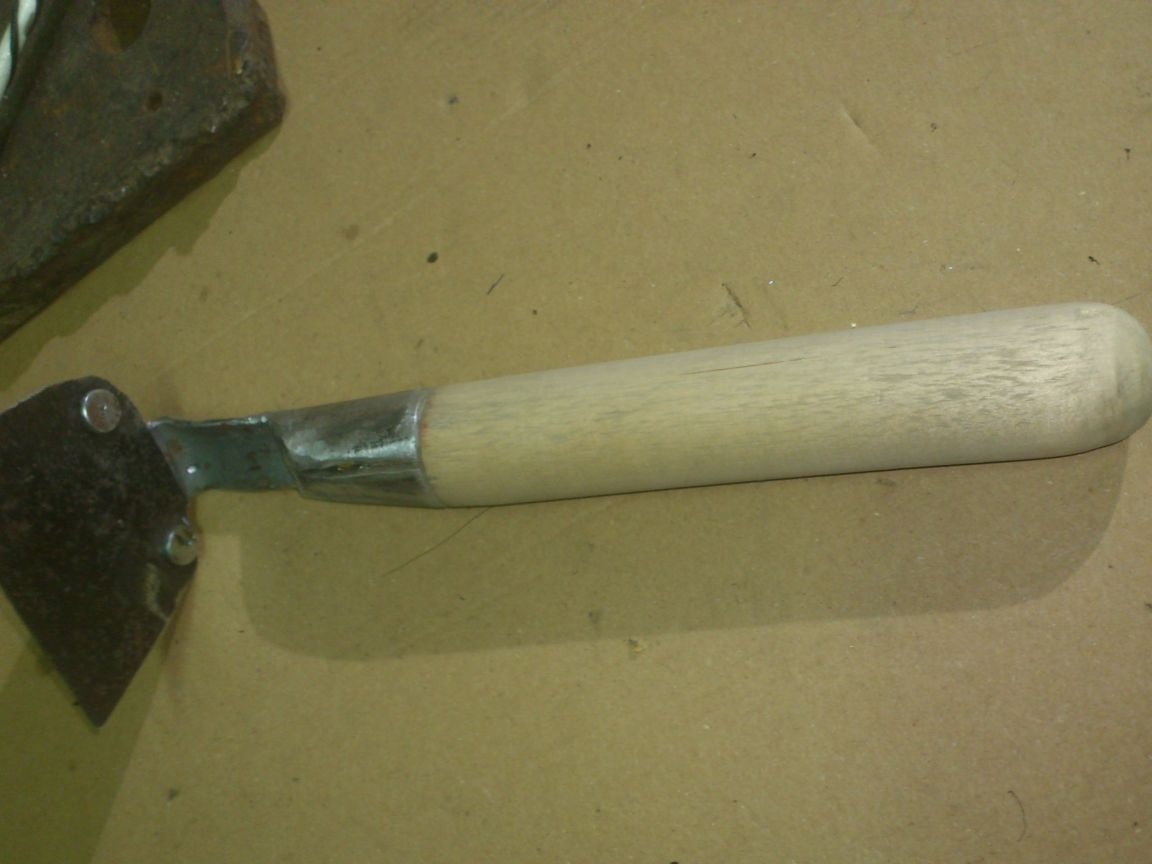
Then I marked out and, using a knife, gave the corresponding shapes to the ends of the cuttings, which will be hammered into the tool:
After that I thoroughly, very abundantly prolaculated these ends and, until the varnish froze, planted the tools. I did this in order to protect the wood from moisture. After all, moisture in any case will fall under the metal, but it will be difficult for it to dry from there. And if the wooden parts are firmly glued to the varnish, moisture simply can not get there.

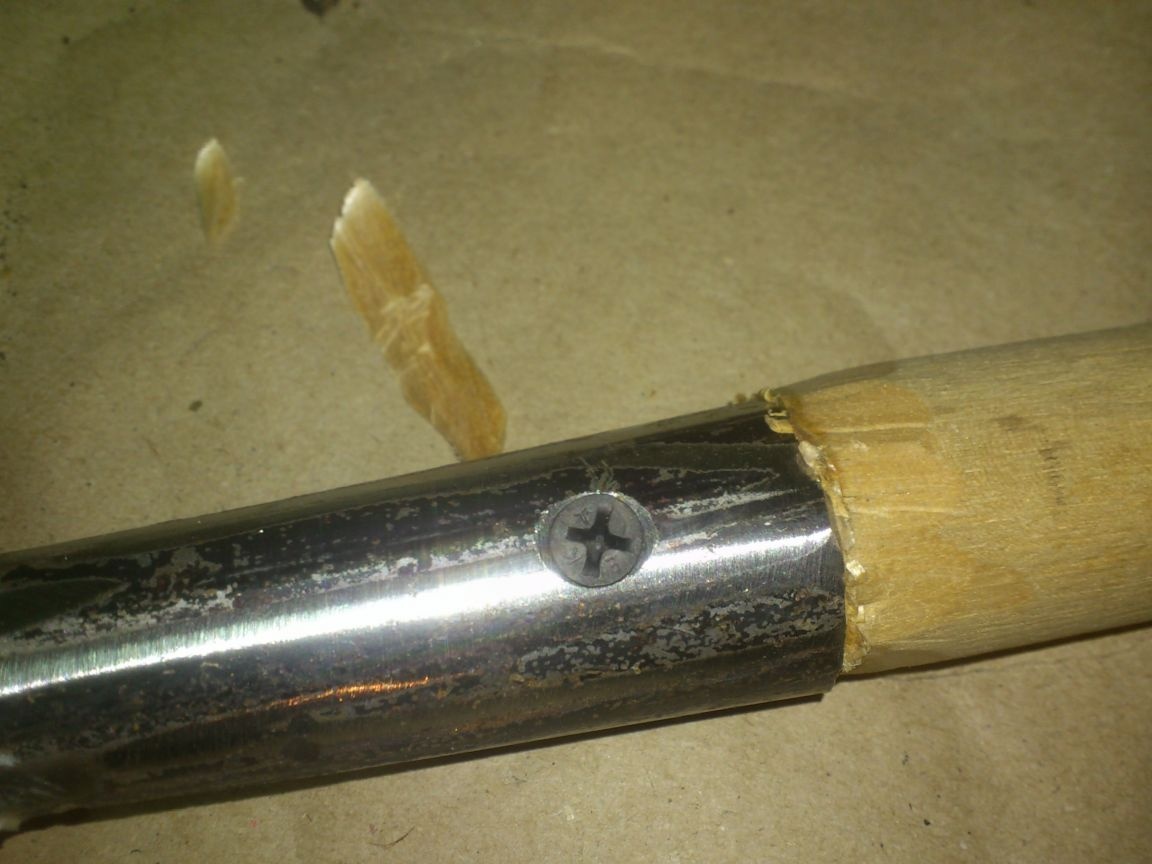
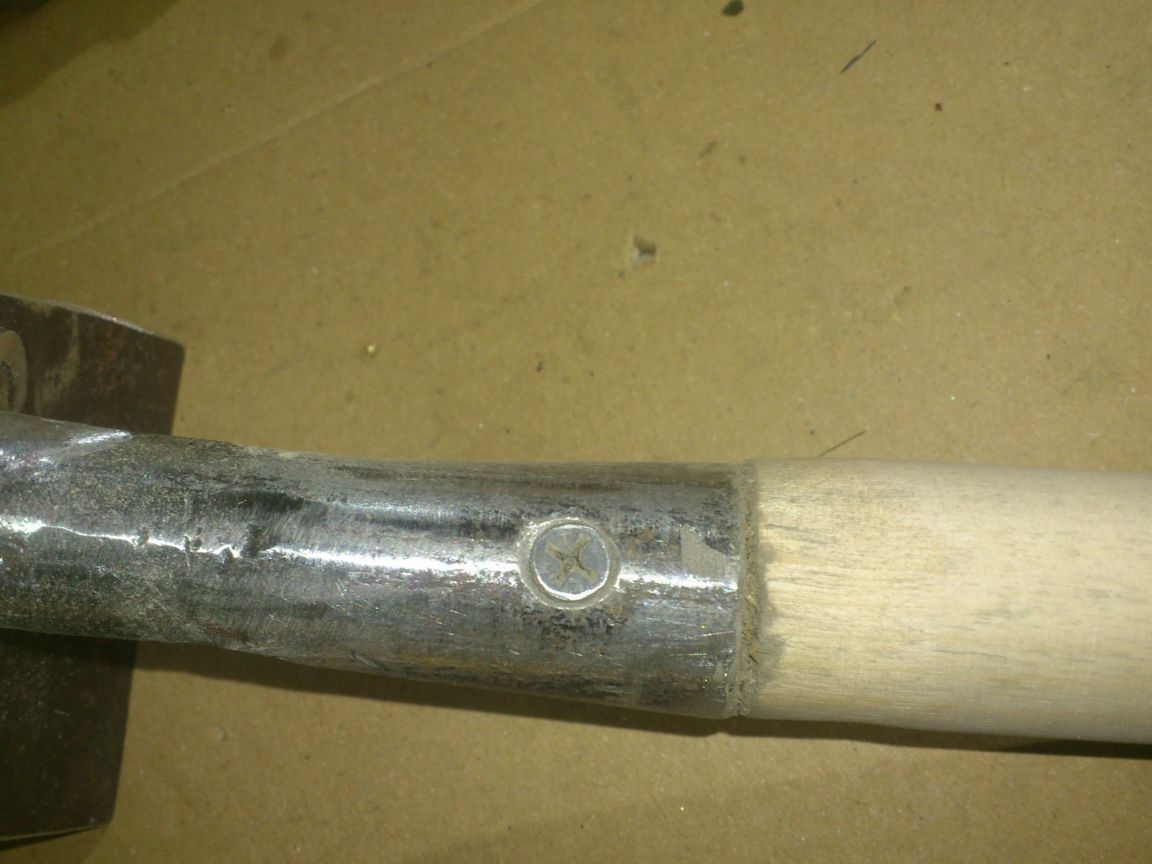
And only after that, twisting the screws, I processed the cuttings first with emery, then with sandpaper:
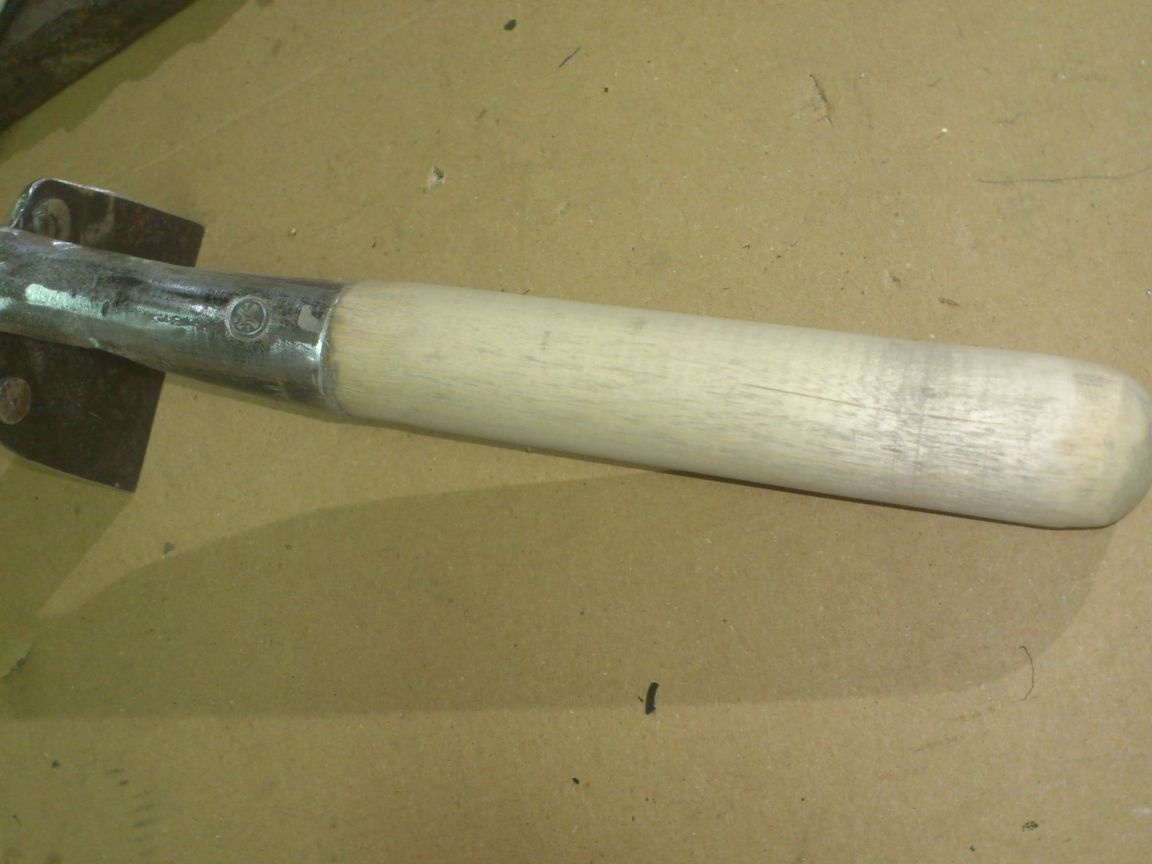
It remains to thoroughly varnish the wooden parts of the instrument and paint the metal ... I have also postponed this process so far ... And now, for what reason ..
... Since I made not one tool, but a whole set of tools, it would be logical to somehow arrange their storage ... As experience shows, it is most convenient when the tool does not lie on a shelf, but hangs on a wall. So they will not be littered with something, and will dry well after washing ... You can, of course, just hang it on nails driven into the wall, but it will be more convenient to make a bracket.
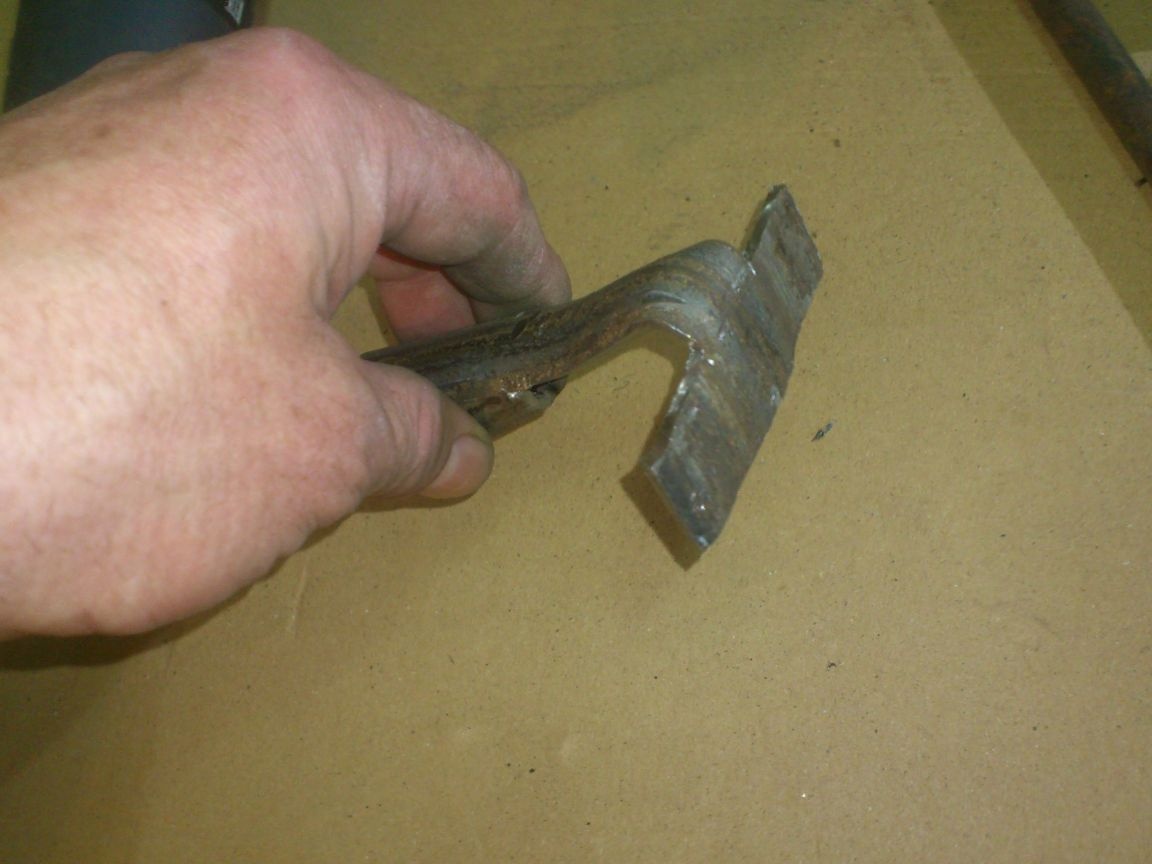
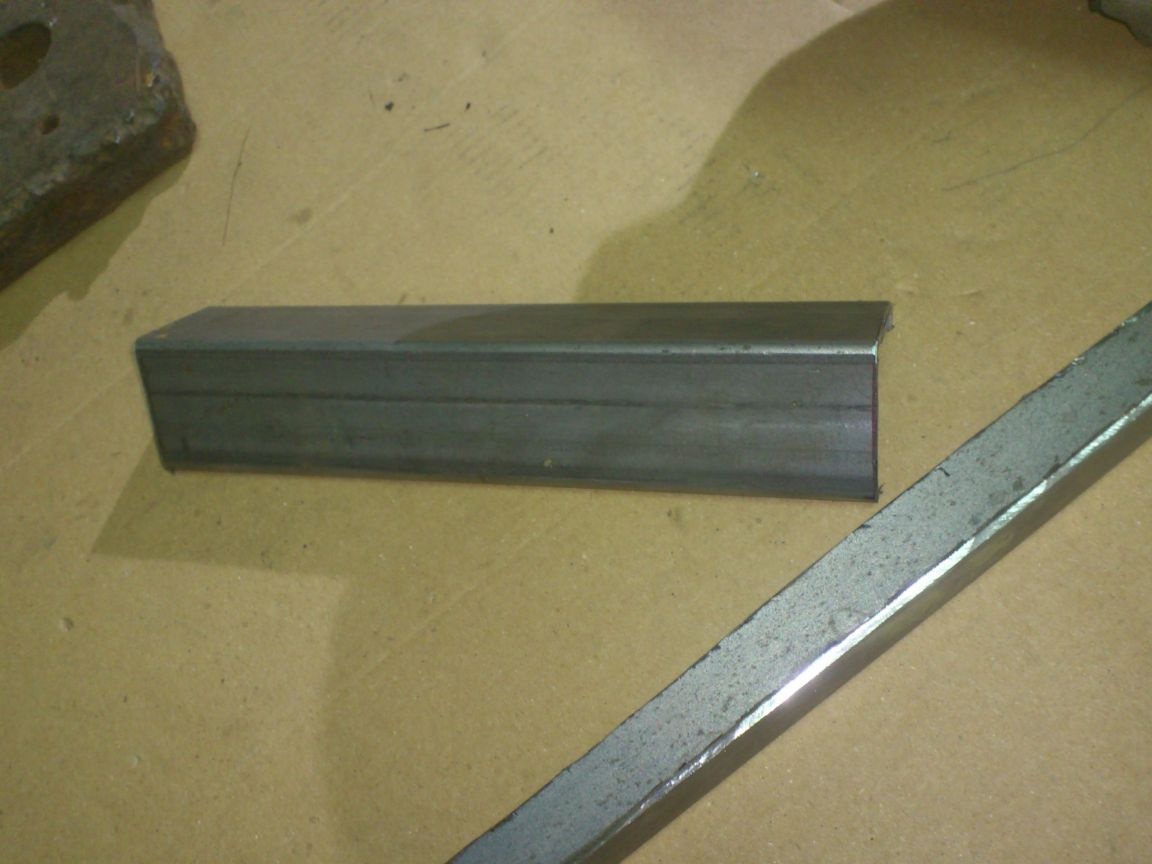
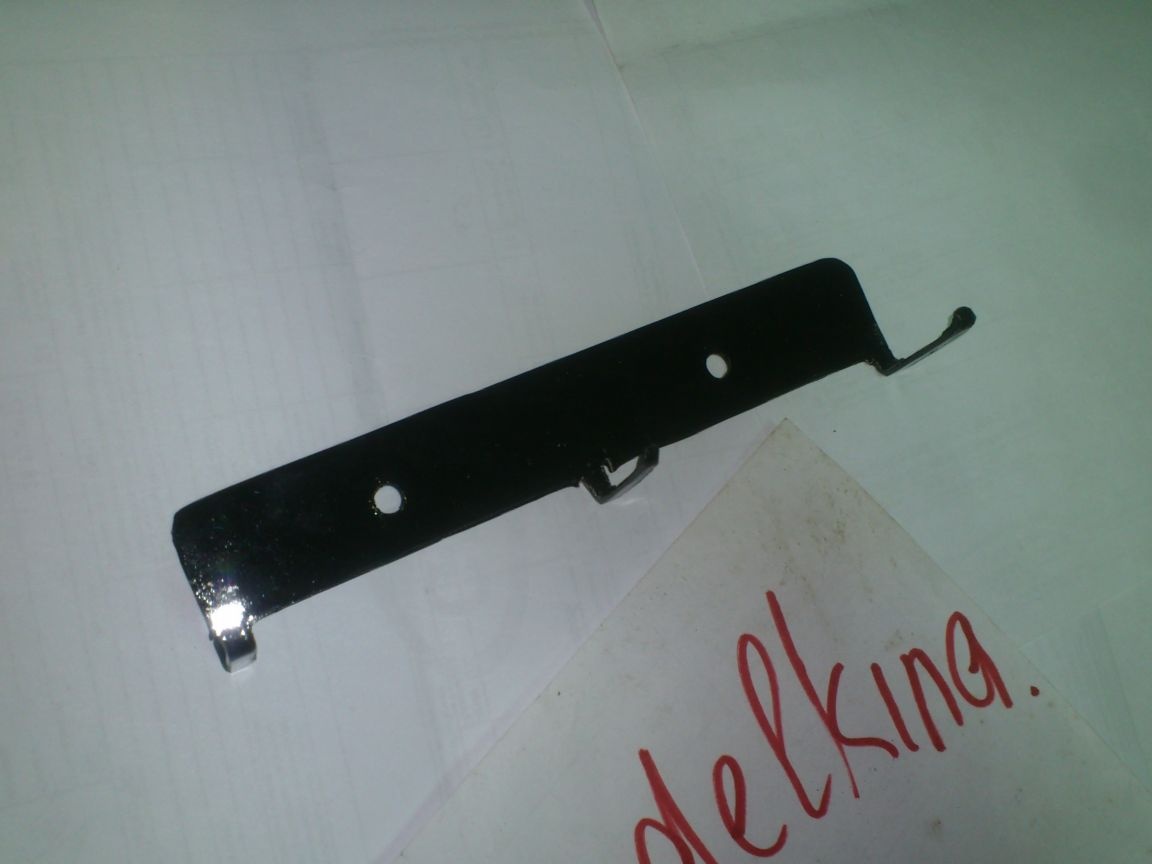
I decided to make it from cutting a profile pipe of square section 30 by 30 mm, which was lying in my "scrap metal". Having roughly estimated the required length, I cut a corner from the pipe:
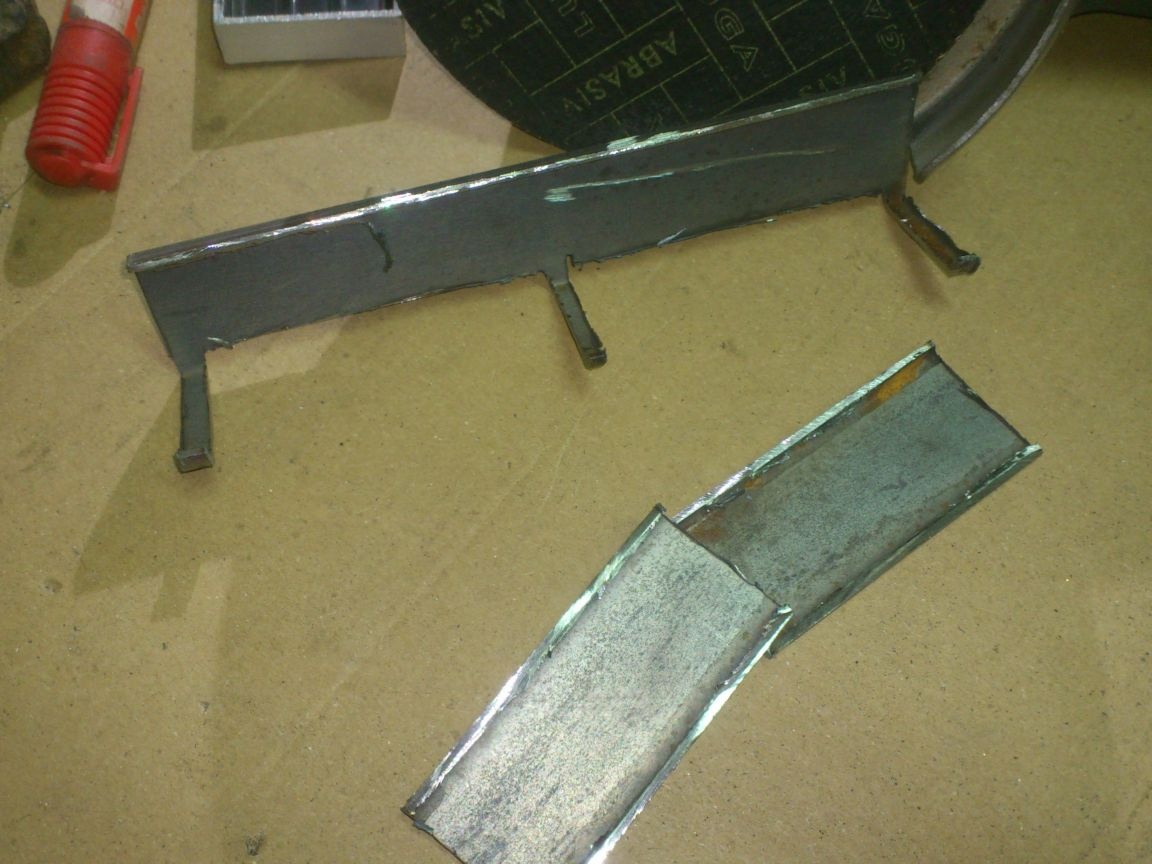
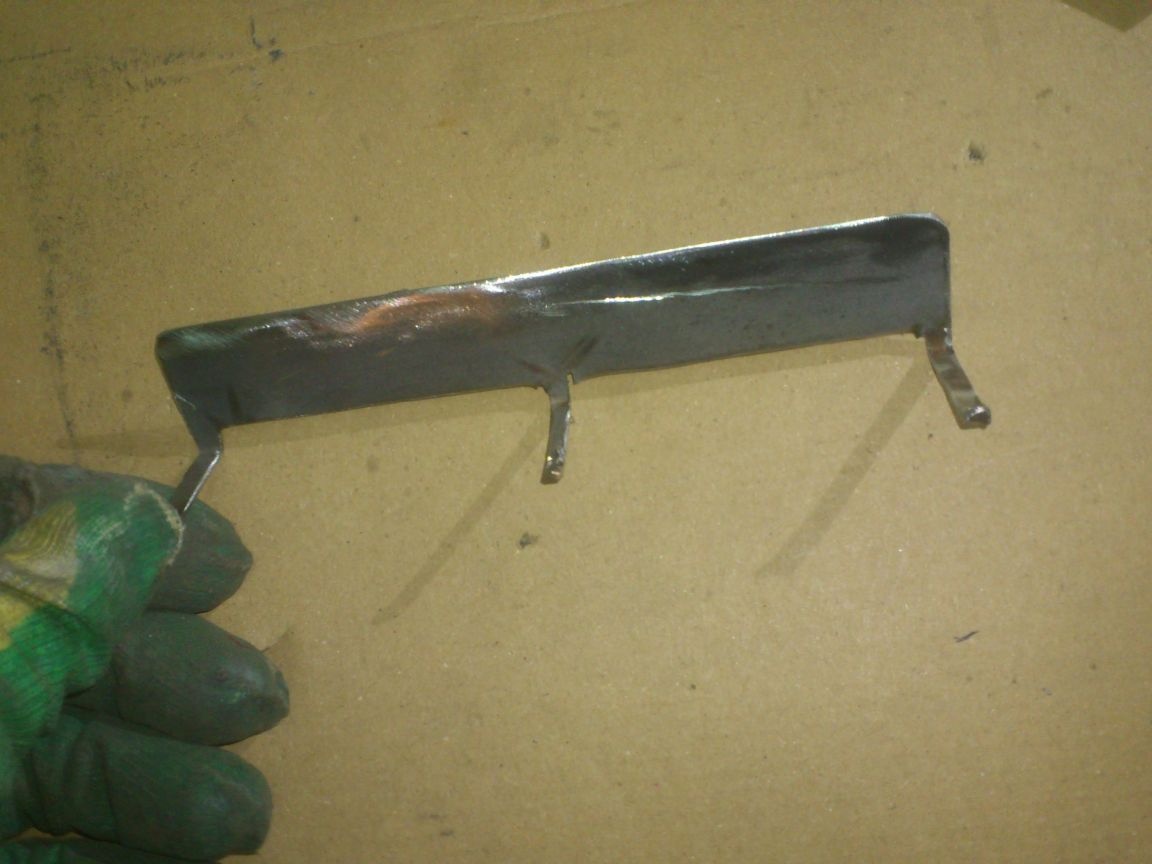
I marked on it three "hooks" and cut out cherries:
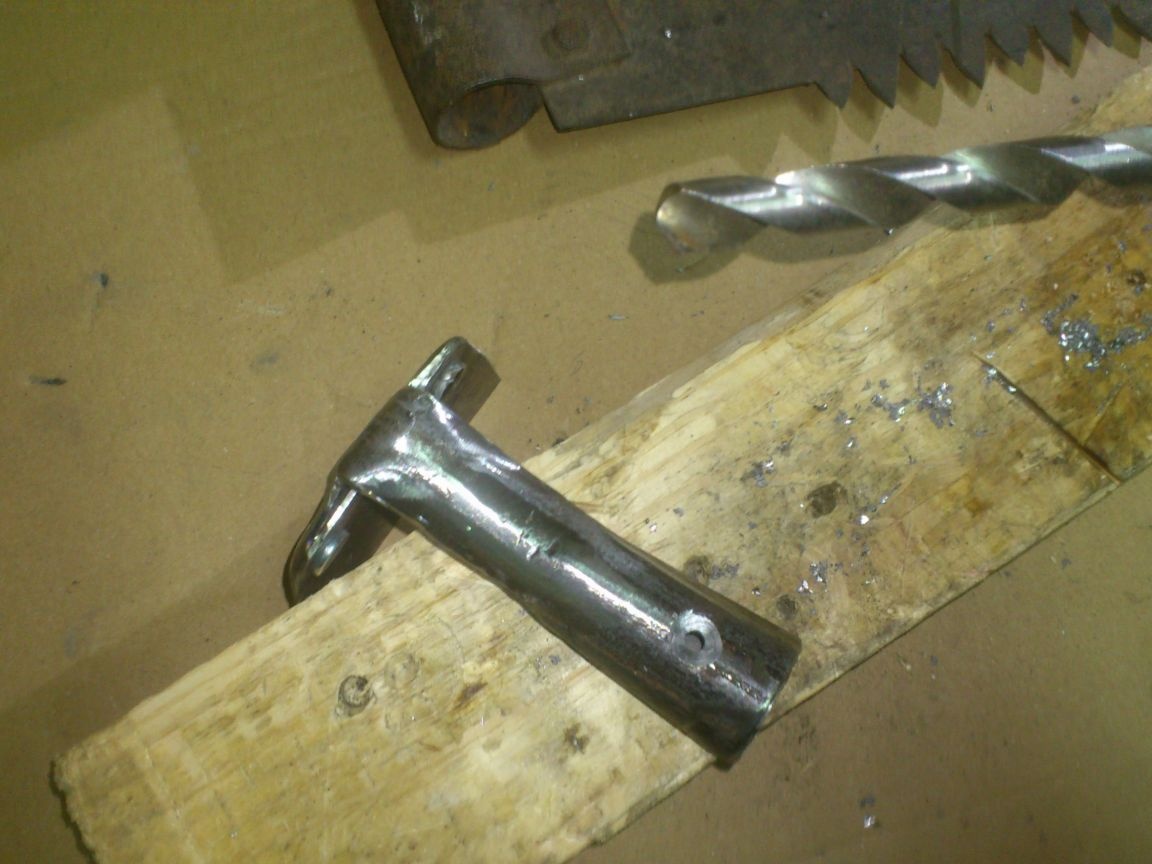
Here is the bracket I got:
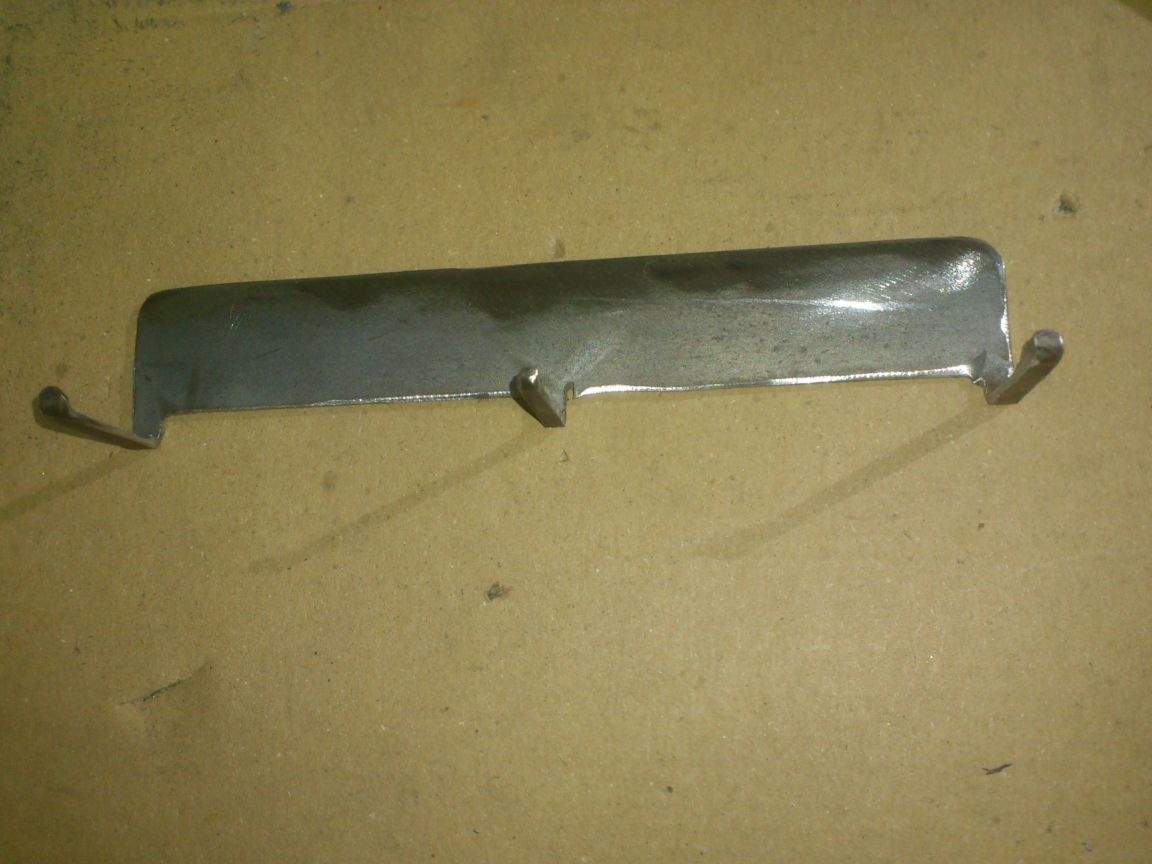
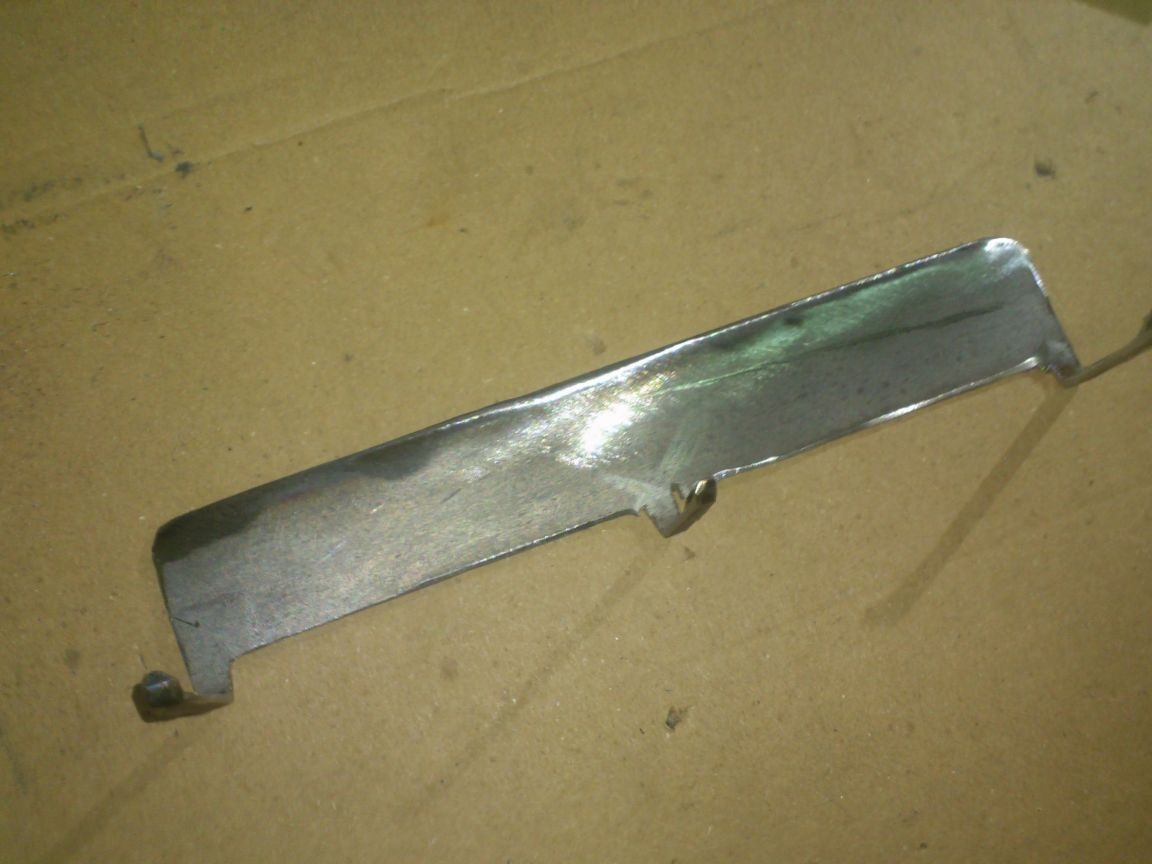
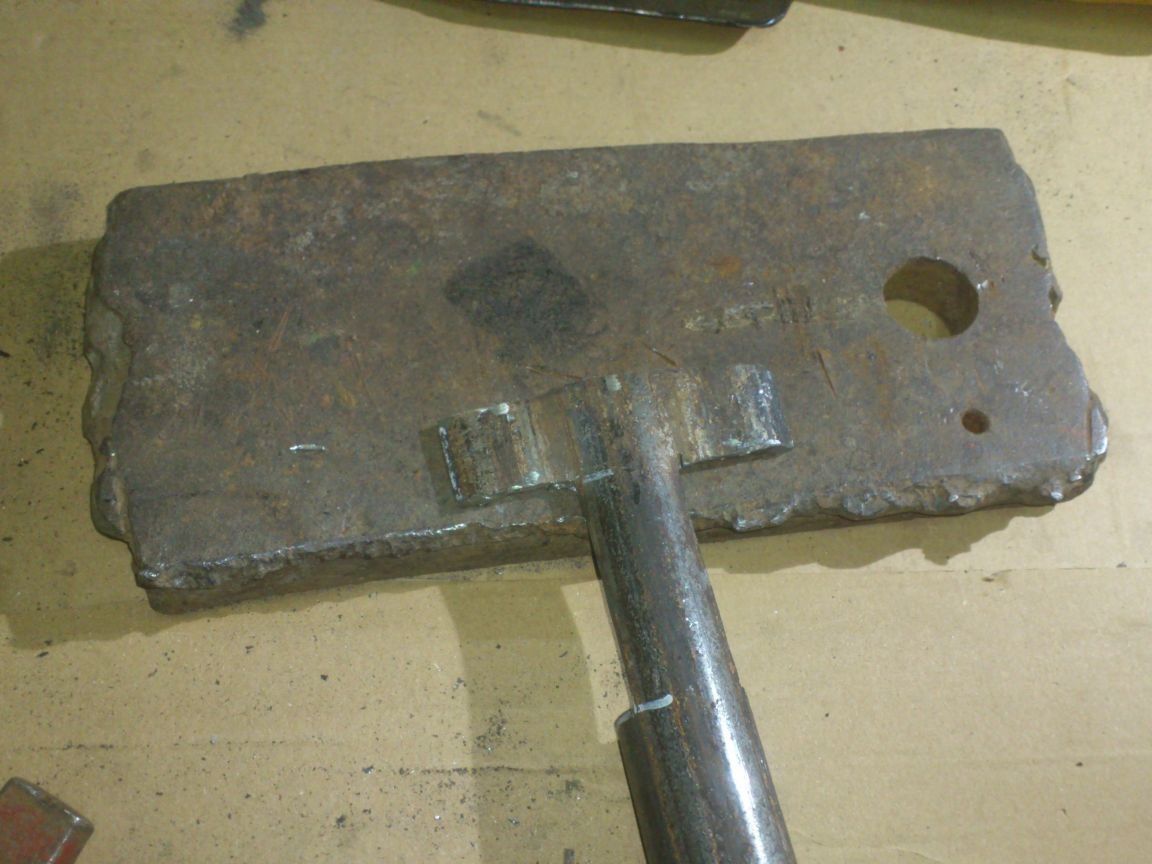
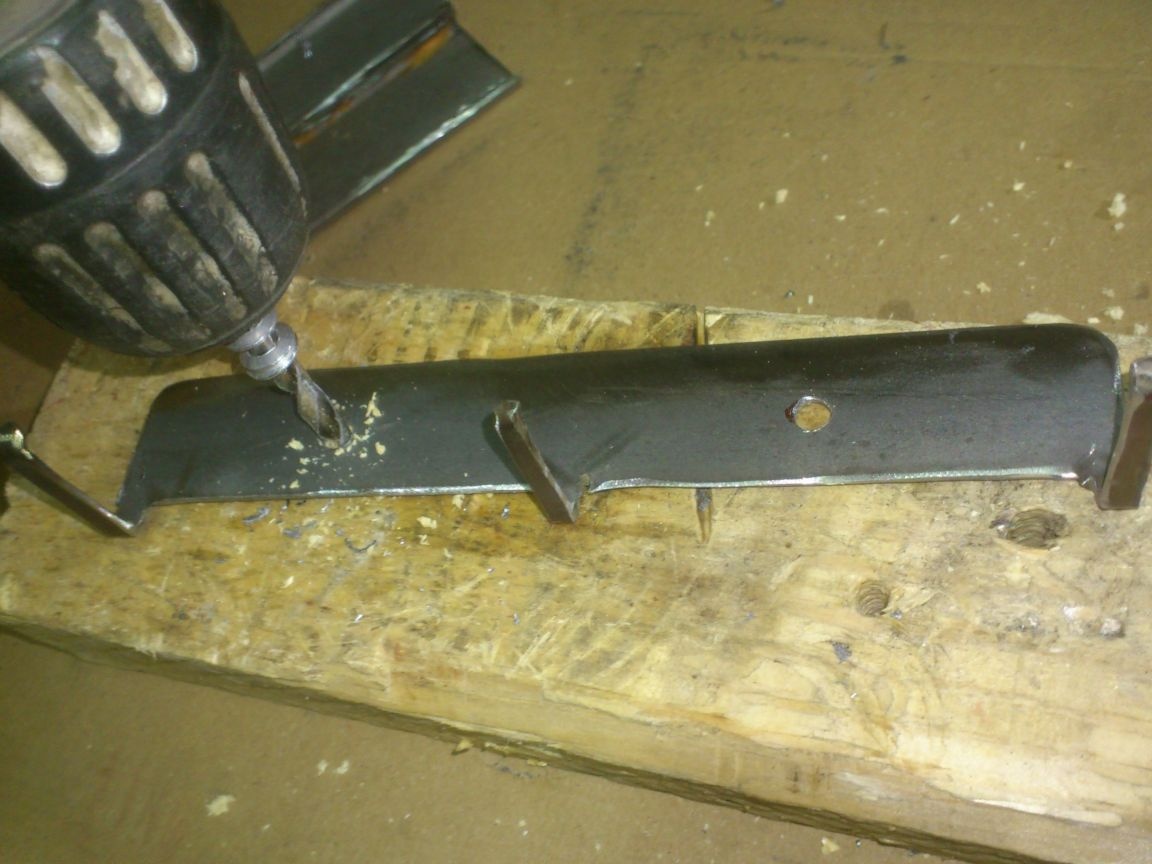
It remains only to drill holes in it for screws, with which he himself will be attached to the support:
After that, I painted the entire instrument ... Metal parts - with black enamel from a spray can, wooden covered with three or four layers of varnish .....
And only then I realized that I had forgotten a very important detail ... Namely, to drill holes with which the tool would hang on the bracket ... It would be more convenient to hang the tools "head up", holding the handle, but for this we would have to drill technological holes directly in the working parts. And this would significantly reduce their rigidity ...
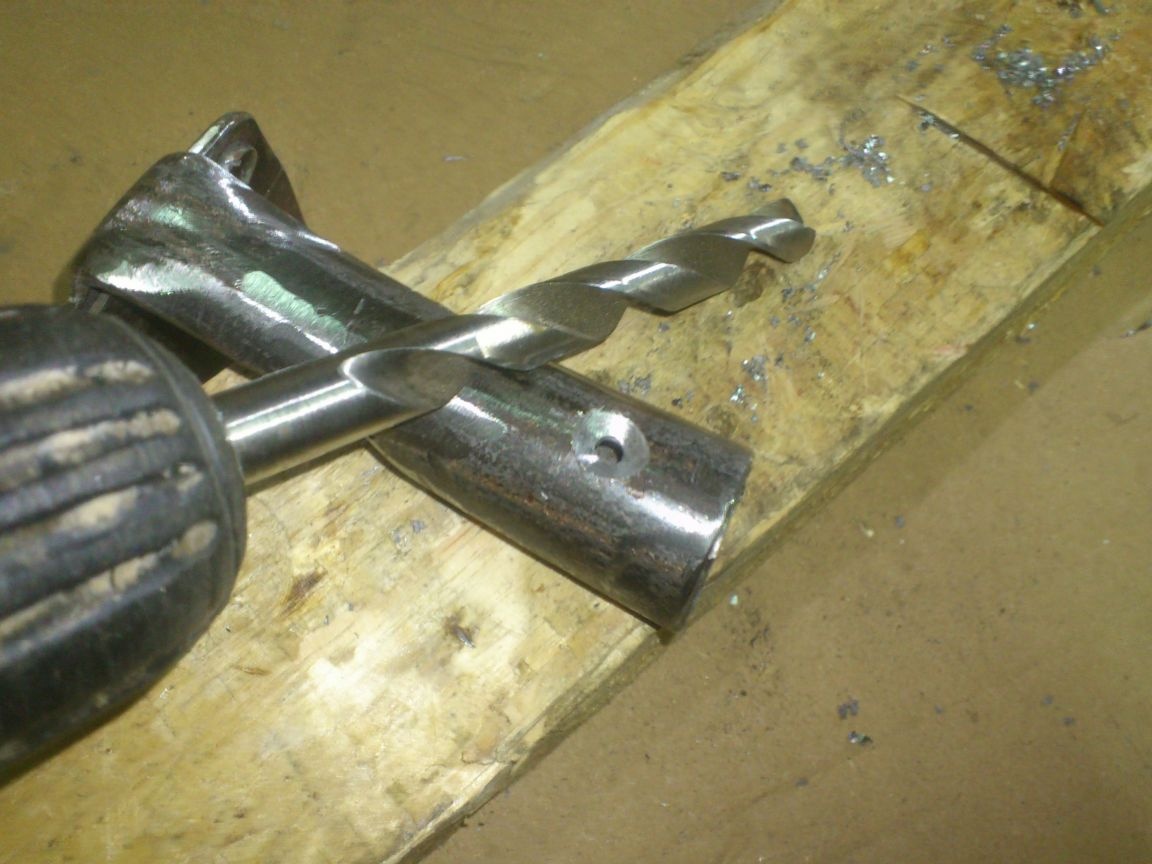
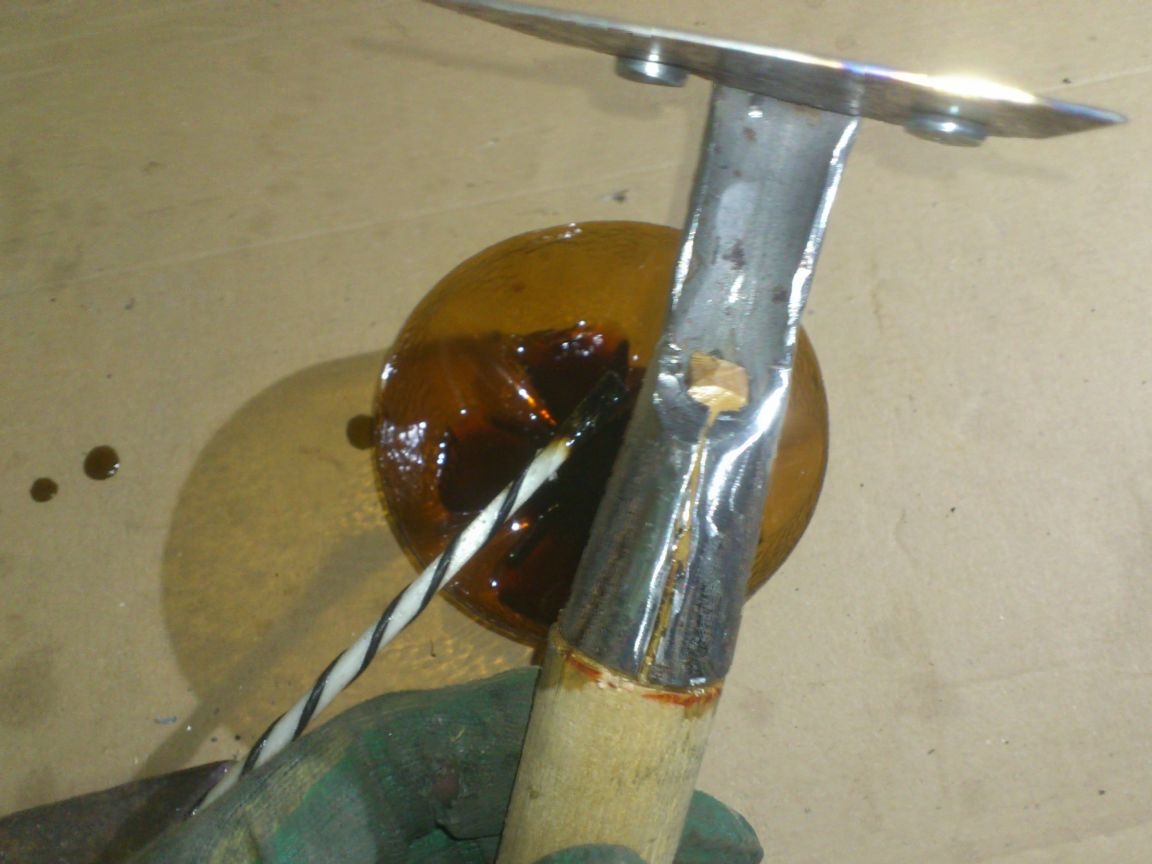
Therefore, I decided to make holes in the cuttings. Which he did with a drill with a diameter of 6 mm.
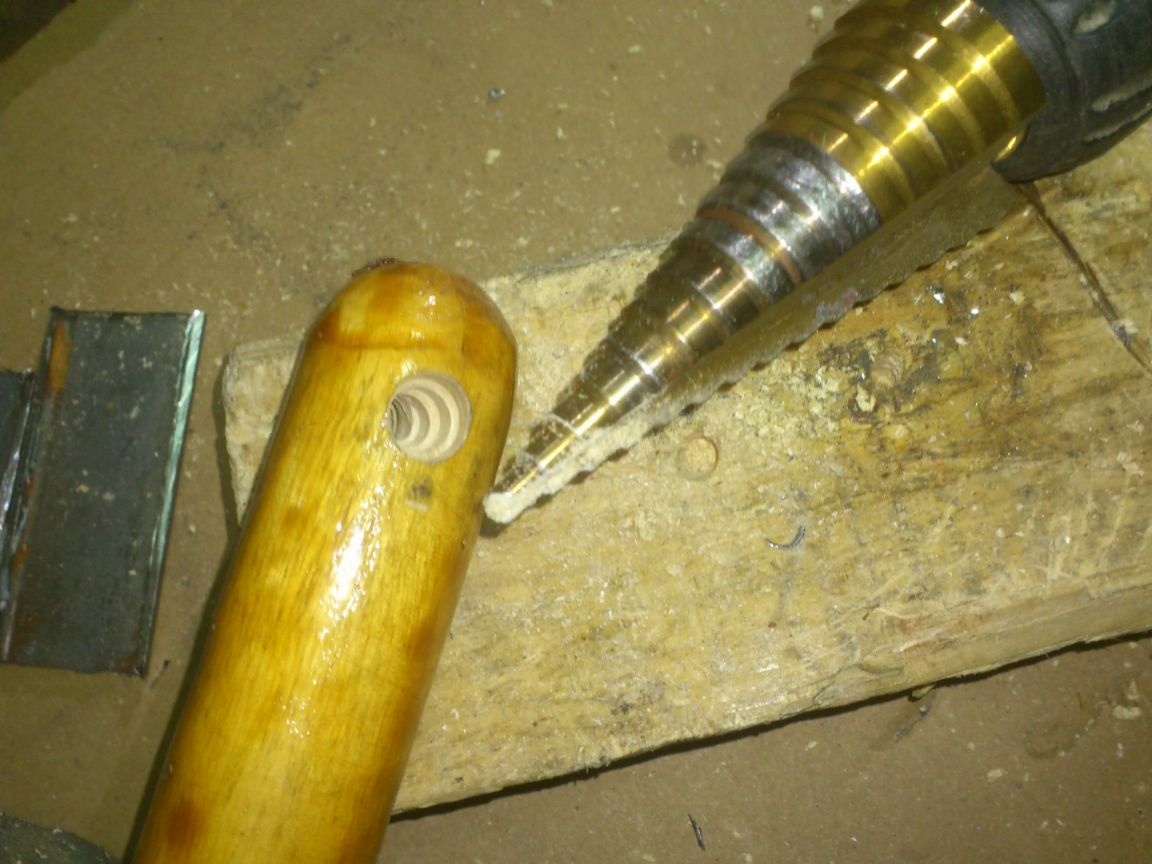
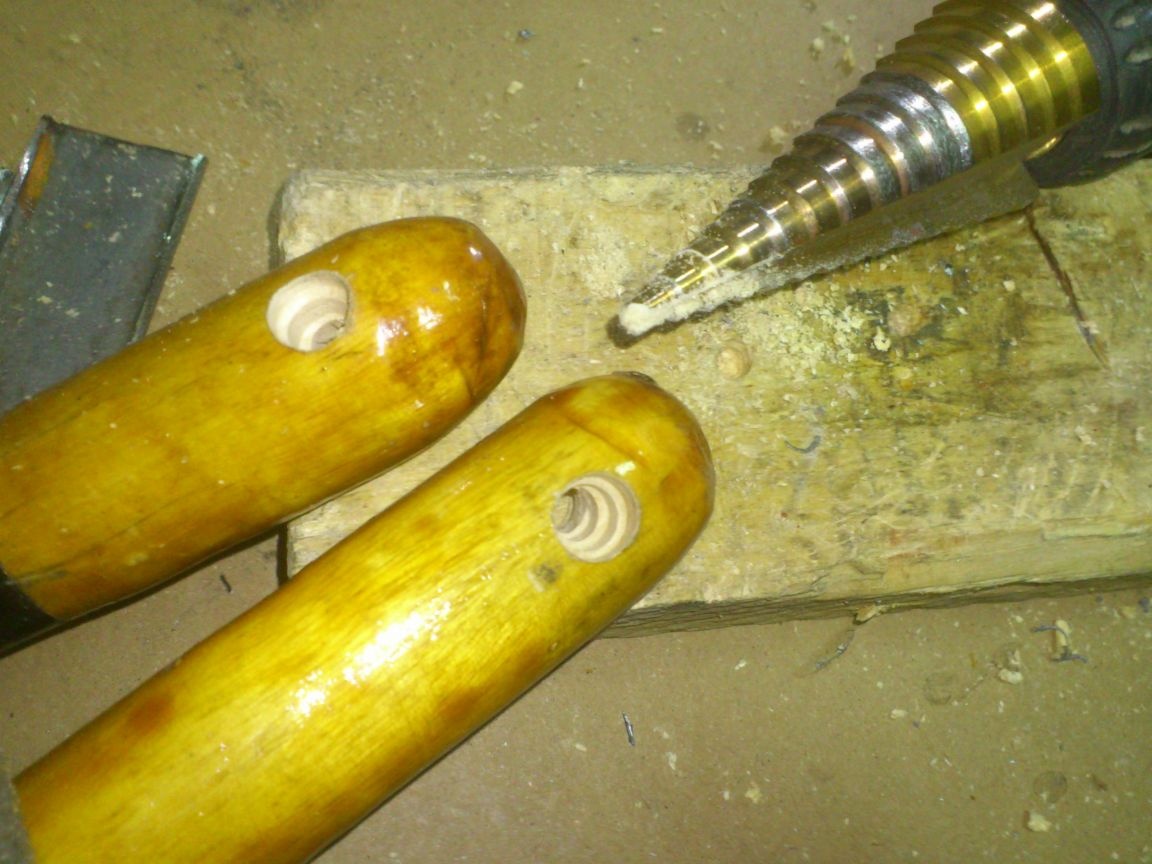
To make it easier to hang, and the current is to ensure that the tool does not slide off the hooks, I decided to "countersink" them on both sides "under the cone." Which he did with the help of a stepped drill. (After all, I have finally come to terms with the idea that it is not realistic to find a countersink!

 ) :
) :
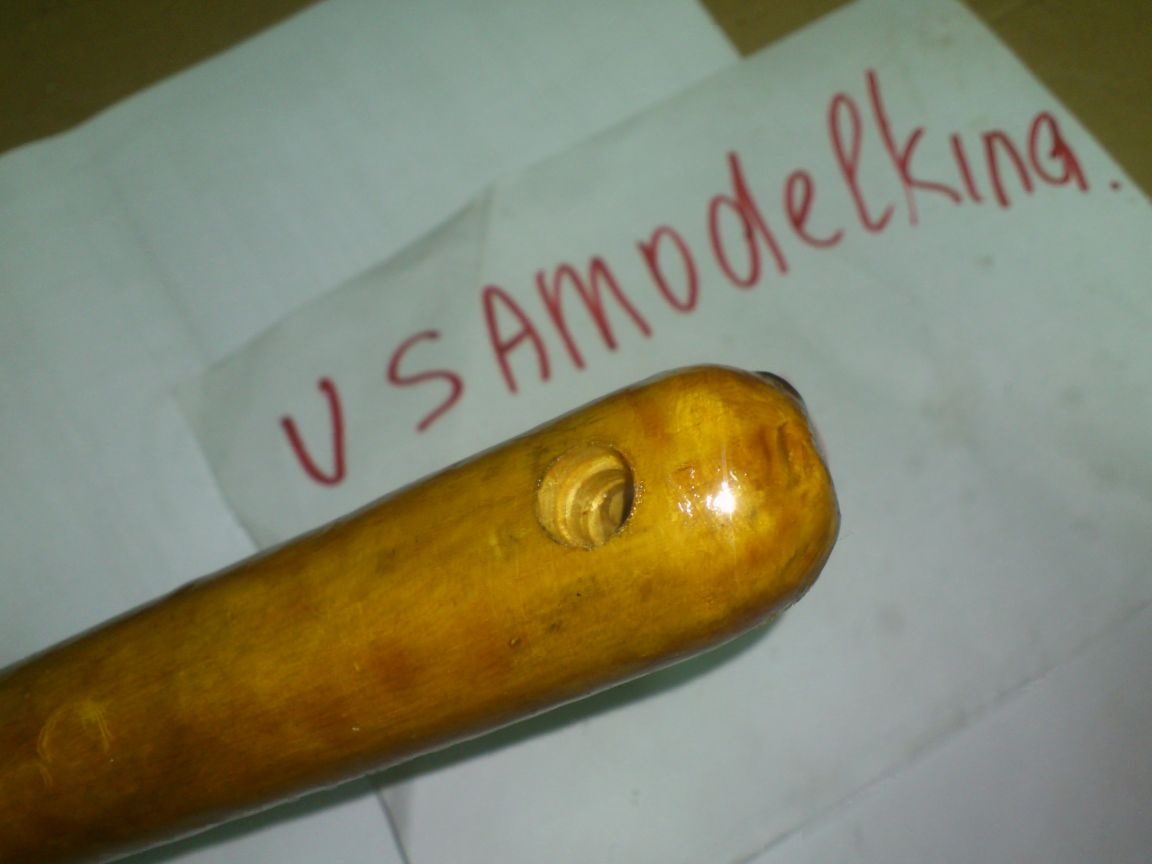
Holes well proklakirovany several times:
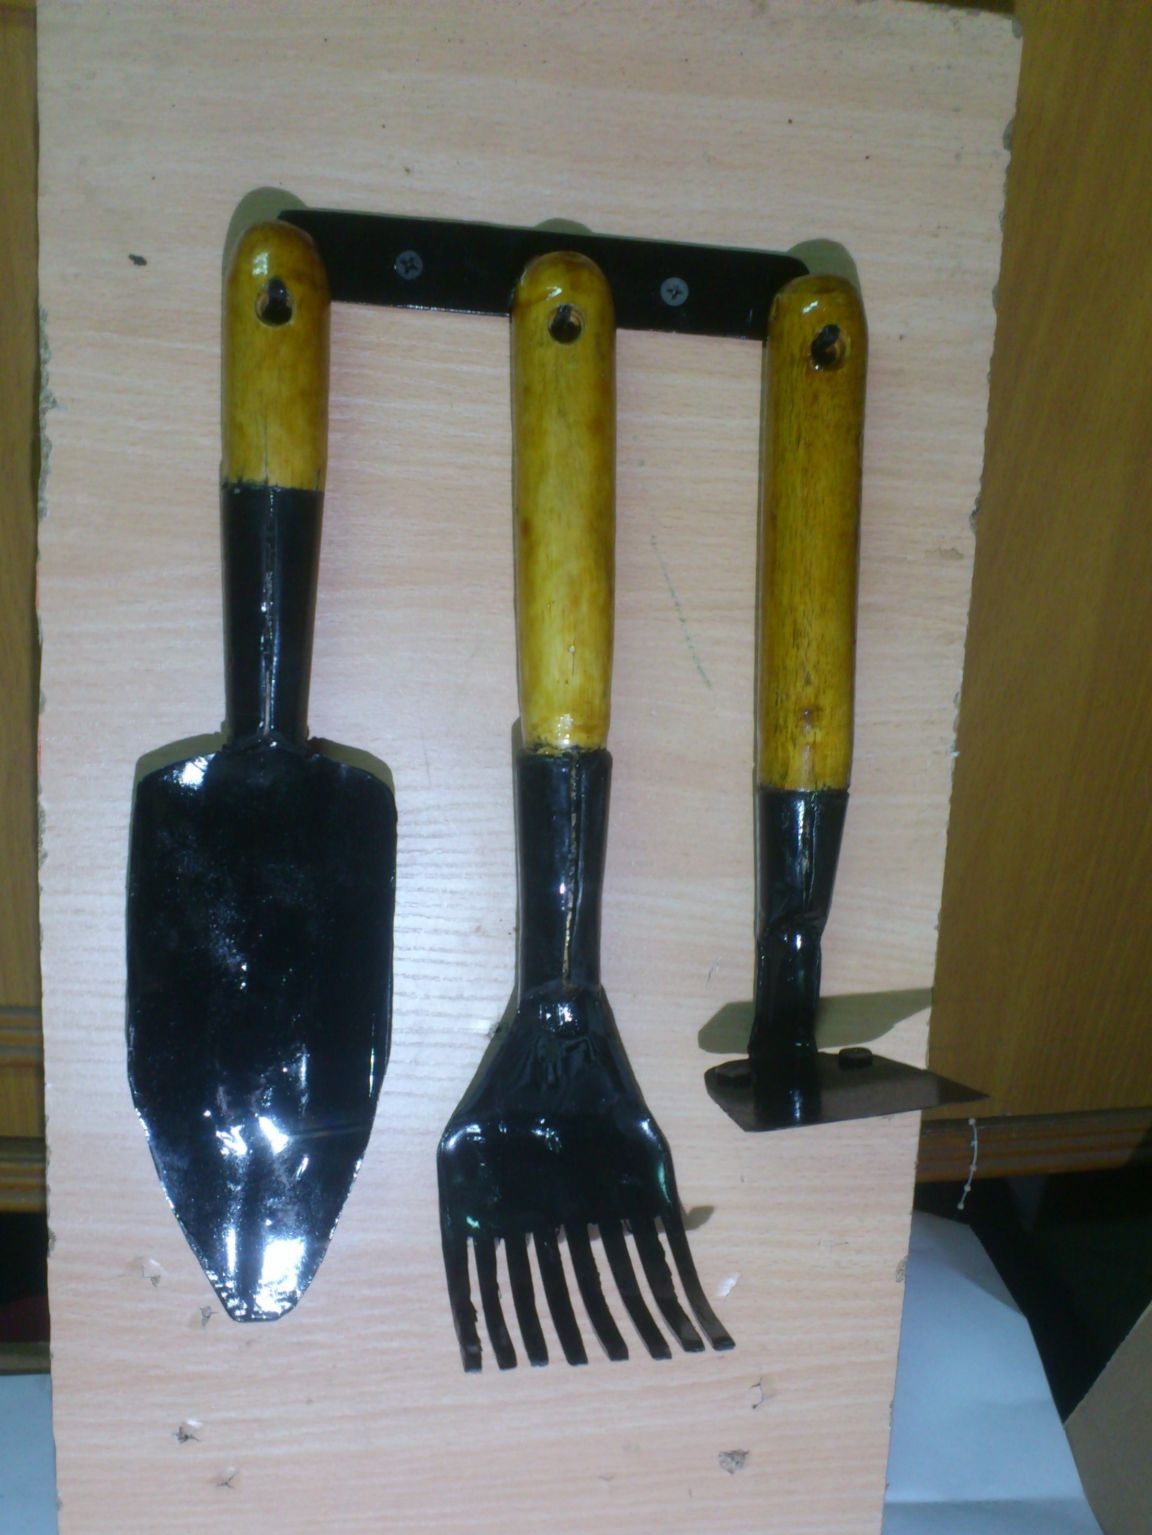
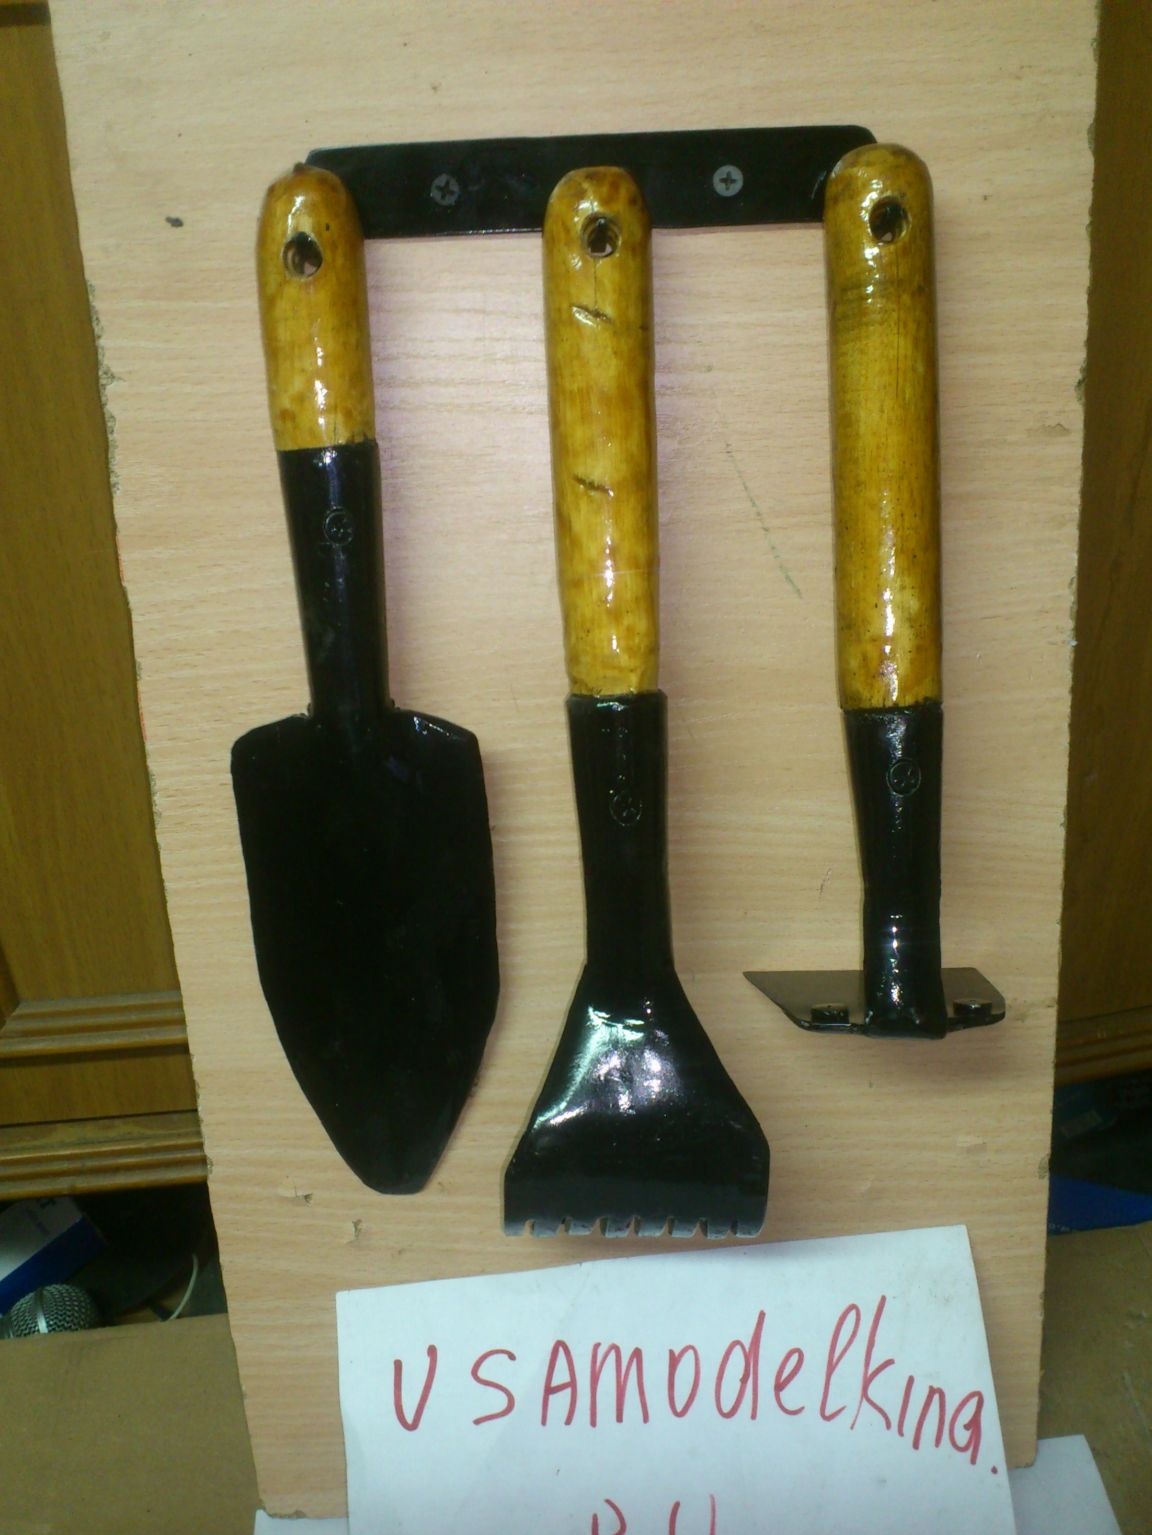
All!!! All is ready. That's what I did:
For the “final photo” I decided to fix the bracket on a piece of laminated chipboard, which fell into my arm, and hang the tool on it ... I had to go to the next room for the screwdriver, and therefore I decided to use a reversing screwdriver with a set of bits that lay on shelf next to:
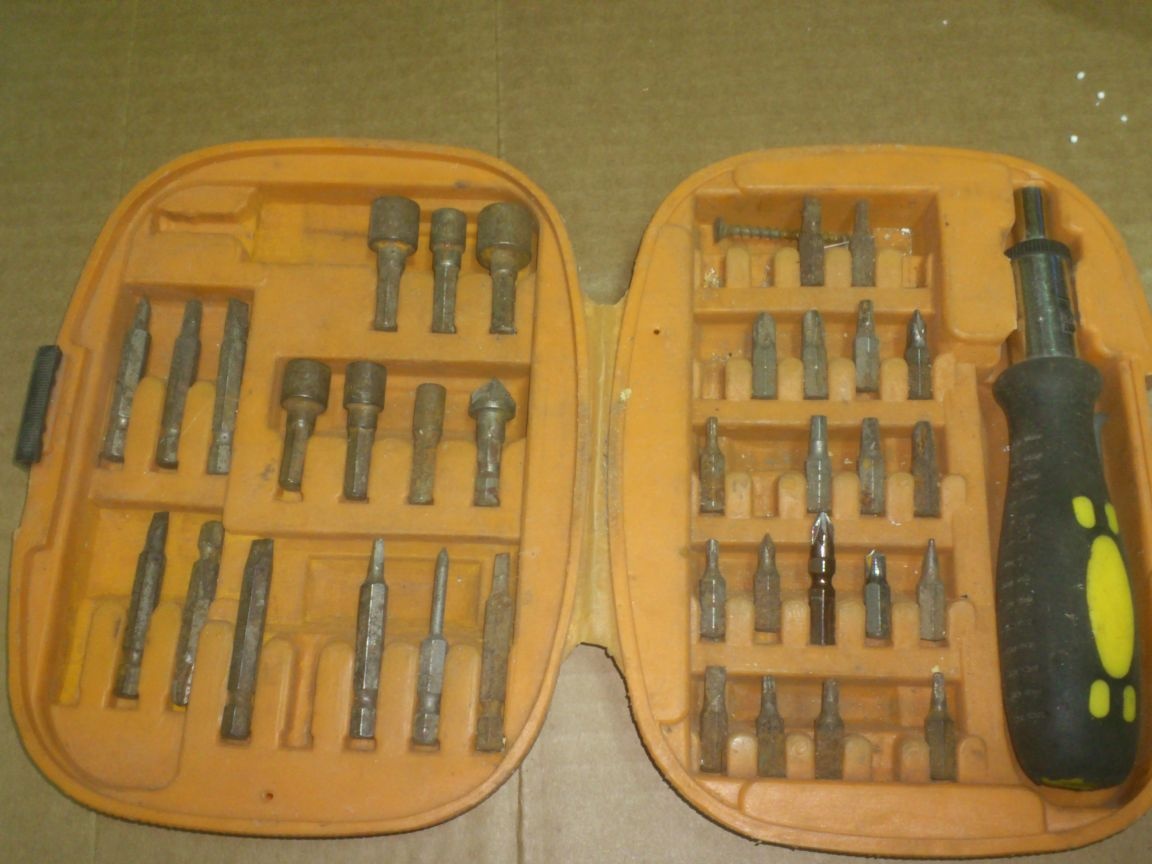
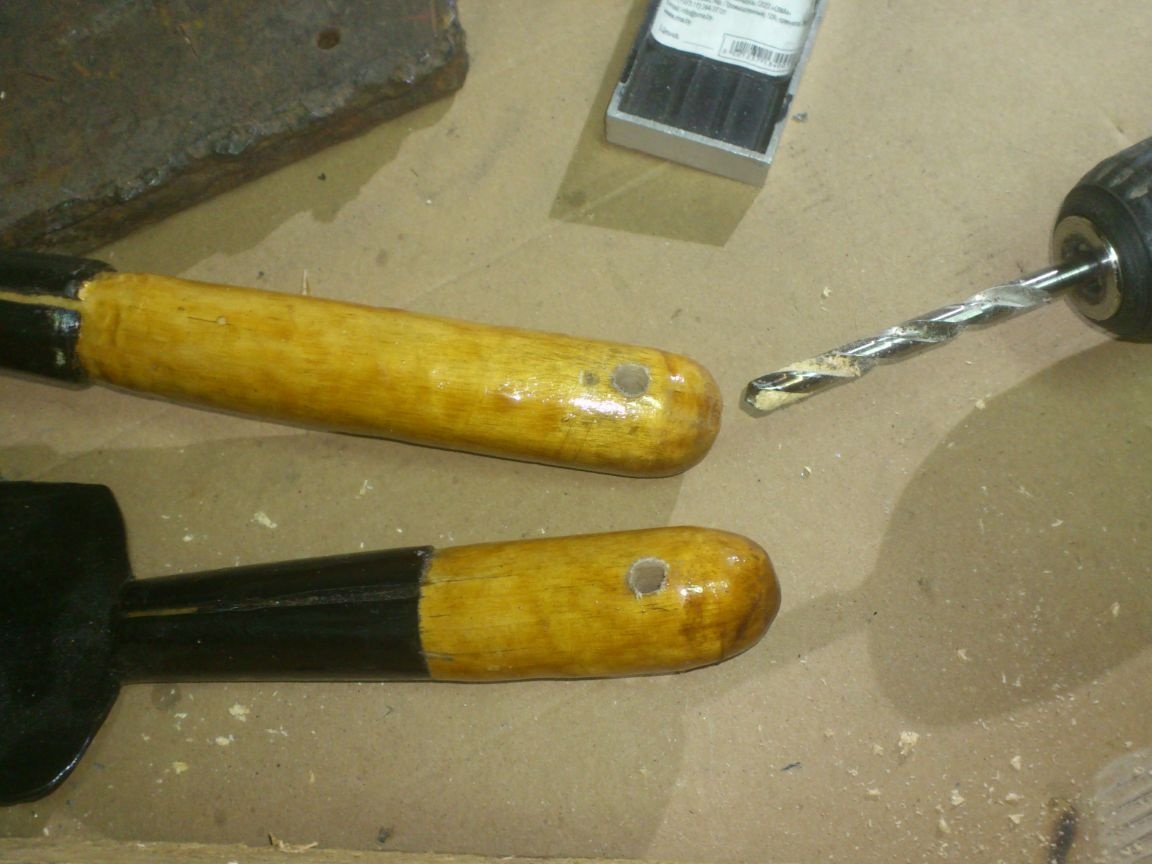
And what do I see ??
COUNTERSINK!!!! THERE IS WHERE !!!


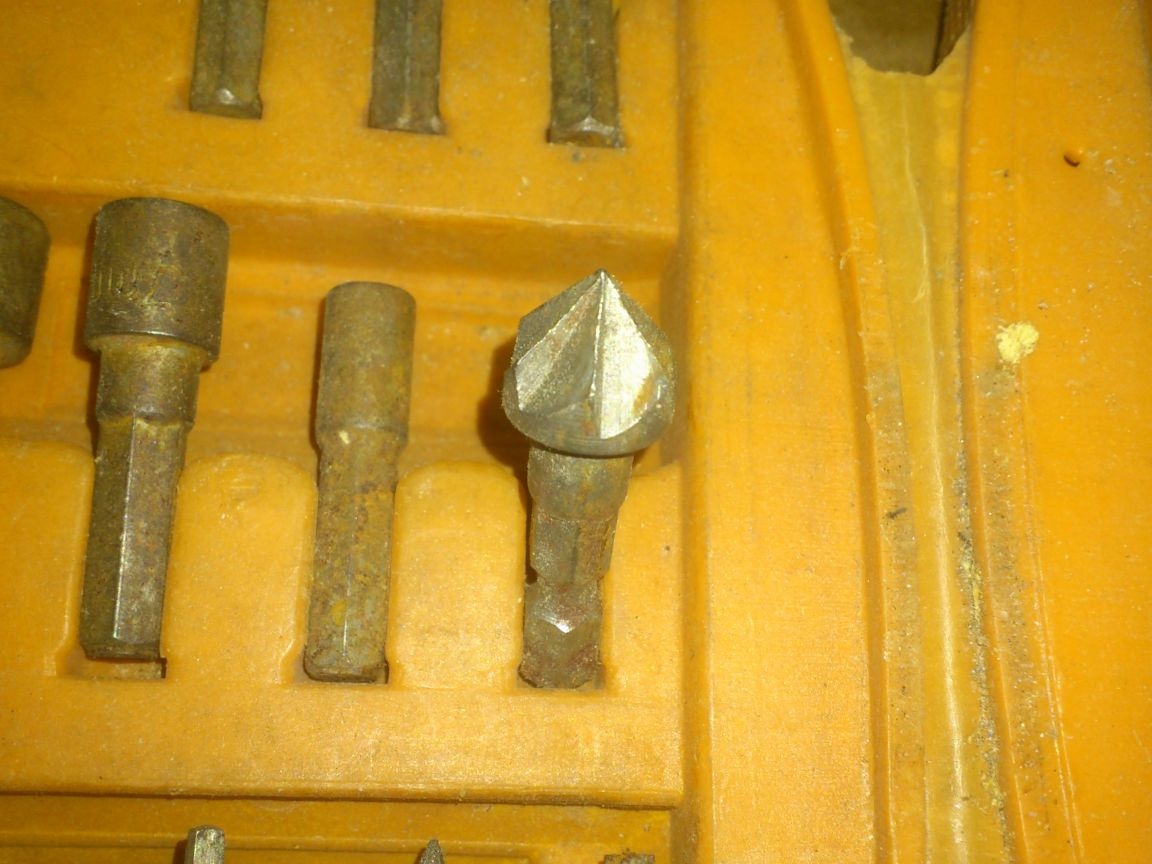
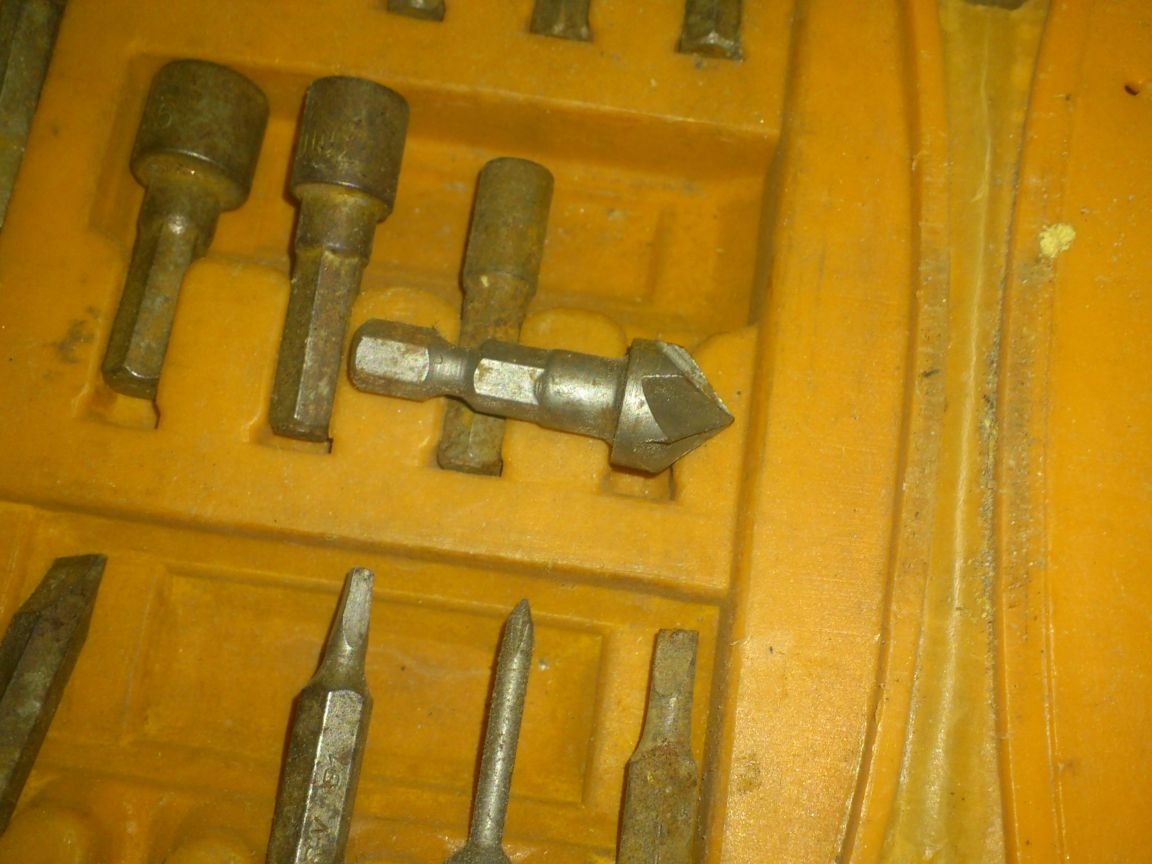
Apparently, once, removing the tool after work, I, purely automatically, on the basis of external similarity, put the countersink into a set of bits for a reverse screwdriver !!!
 That is why I could not find her !!! After all, there was not even a thought to look for her here !!! Not her place here !!! It is impossible to use it with this handle ....
... Although .... If with wood, or plastic ....
Well, okay ... Everything that is done is everything done !! And some of this, all the same, for the better! )))) (At least I finally found her !!!
 )
)Though I have already finished the work ...
And here are the results of this work:
P.S. Wife appreciated ....