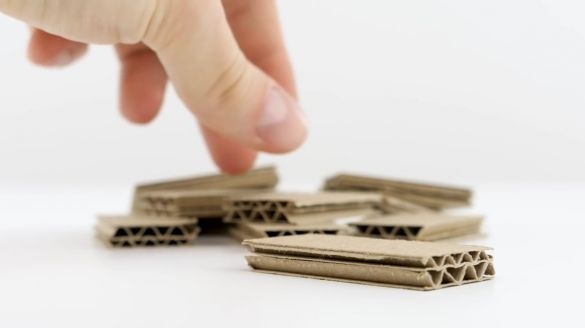
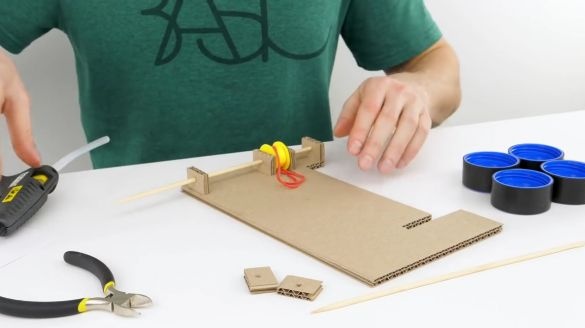
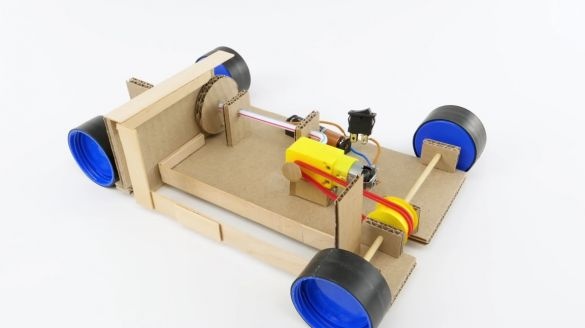
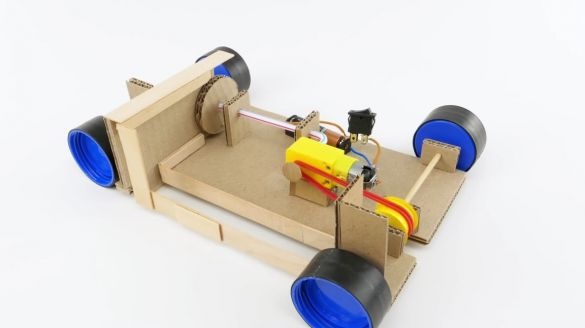
And so, for the manufacture we need:
- double corrugated cardboard
-common corrugated cardboard
-tube for cocktails
1.5 volt finger battery
finger battery connector
-switch
-motor gear (you can buy)
wire
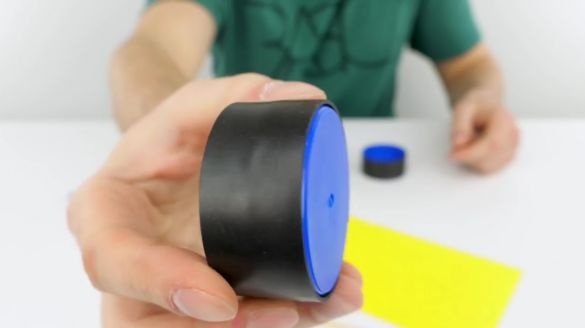
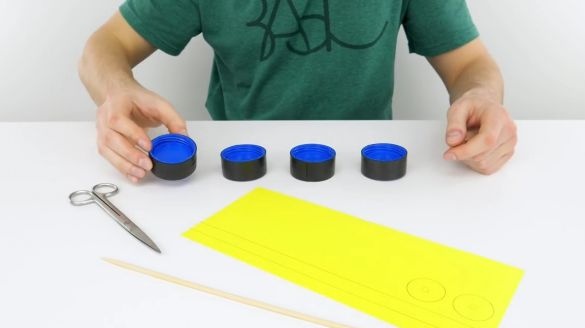
-8 caps from five liter bottles
thin rubber
-wooden sticks
- wooden skewers or skewers for barbecue
office gum
color paper
- wooden spatula
ice cream sticks
Of the tools we will also need:
-Super glue
thermal glue
soldering iron
screwdriver
-saw
line
-pencil
-scissors
-stationery knife
We proceed to the manufacture of:
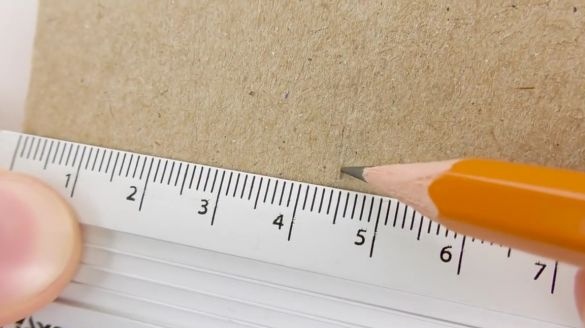
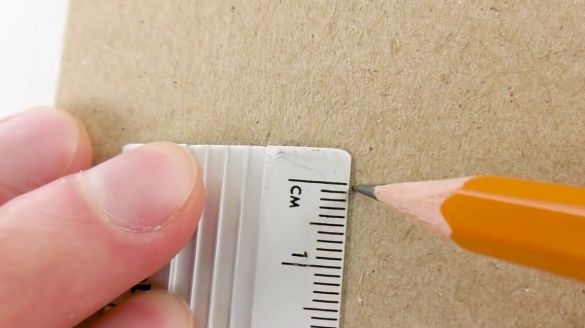
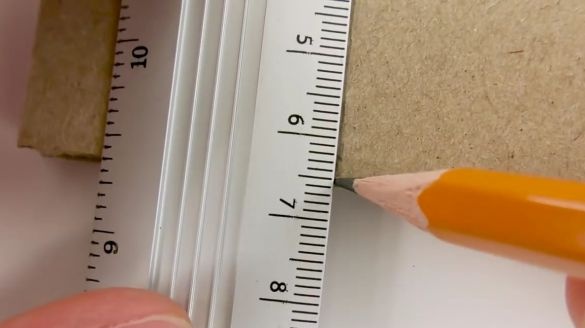
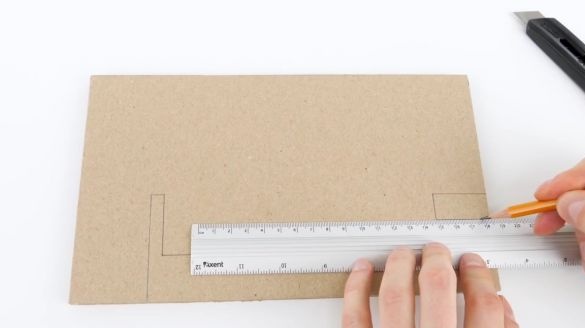
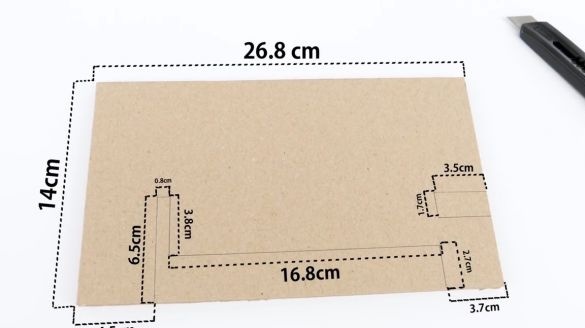
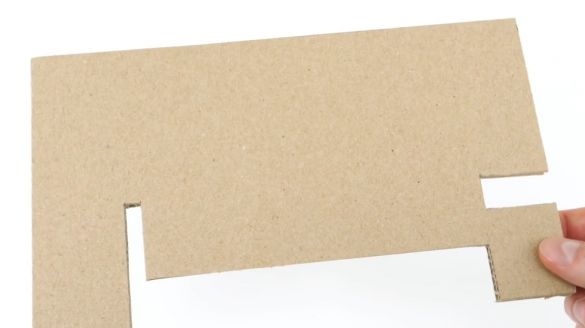
The first step is to take a pencil, double cardboard and a ruler. Then it is necessary to draw the same detail as accurately as possible, as shown in the photo, all sizes are also shown in the photo below:
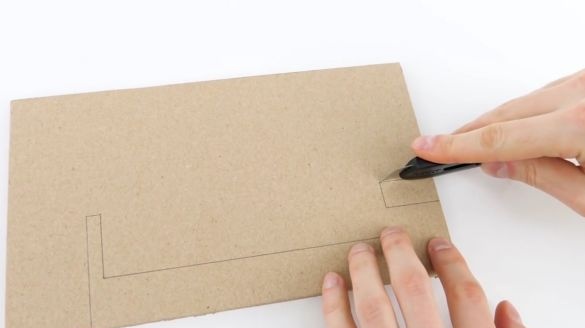
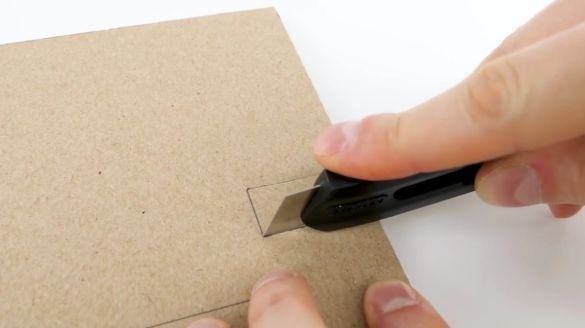
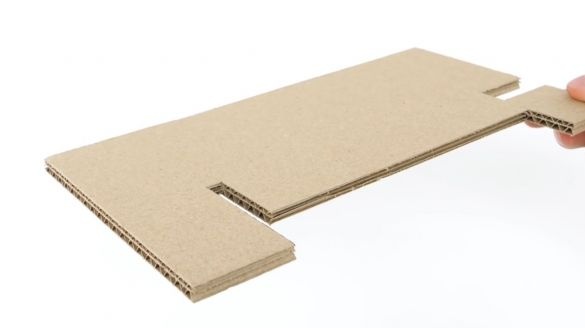
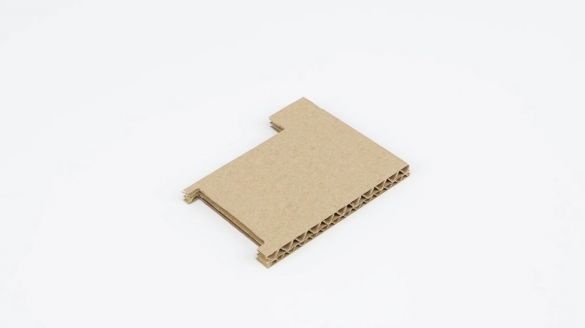
Cut using a clerical knife:
Here is such a blank we should get:
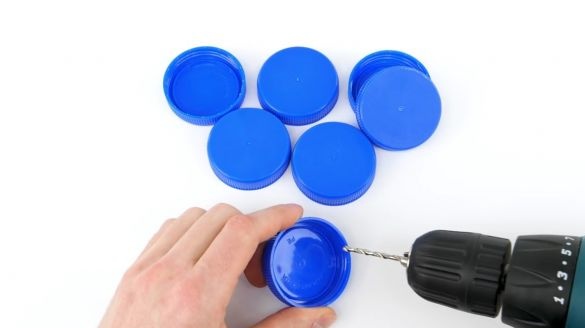
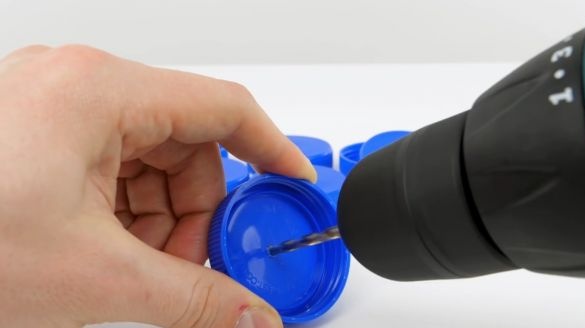
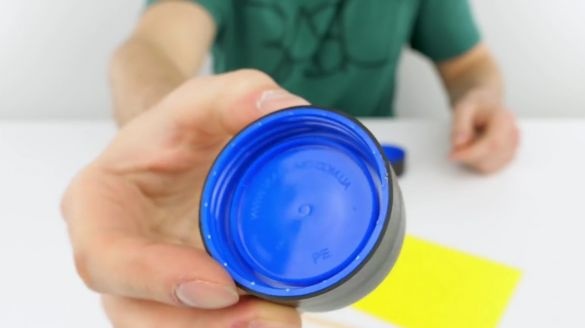
Now we take the caps from the plastic bottles and using a screwdriver and brought them together with a diameter equal to the diameter of the skewers, drill through holes in all the caps exactly in the center:
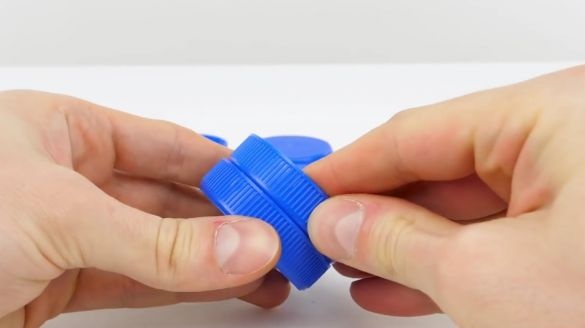
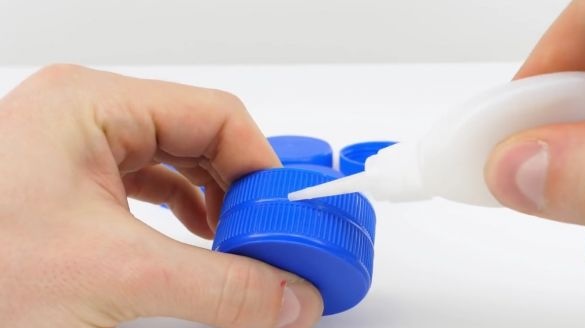
Then we put the two covers together and glue them with super glue as shown in the photo:
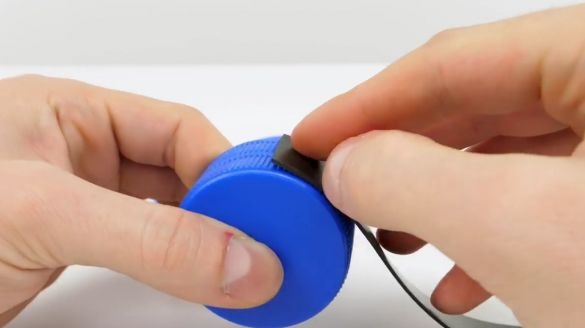
We cut off a strip of rubber from the rubber sheet (I think you can also use rubber from the bicycle’s cameras), the width of our “wheel” from the covers, and glue it to the wheel, as shown in the photo. This is necessary for better adhesion to the surface, otherwise the movement may not be so uniform. So it is necessary to do with all 4 wheels:
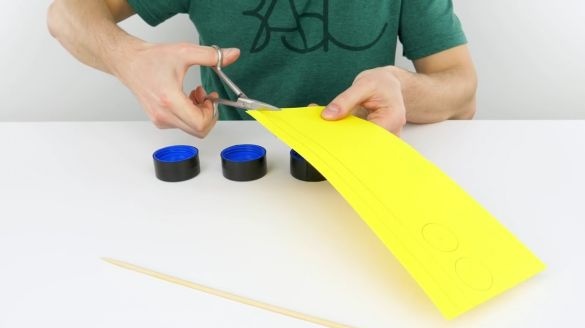
On a piece of paper, draw two equal strips and two equal circles, and then cut out:
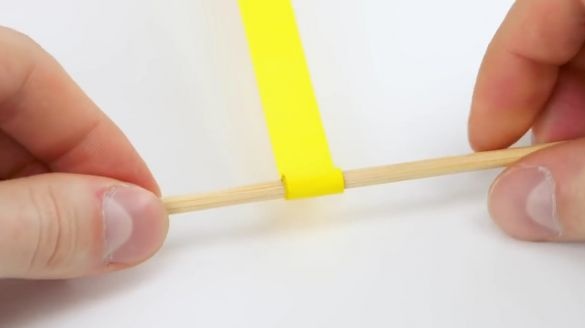
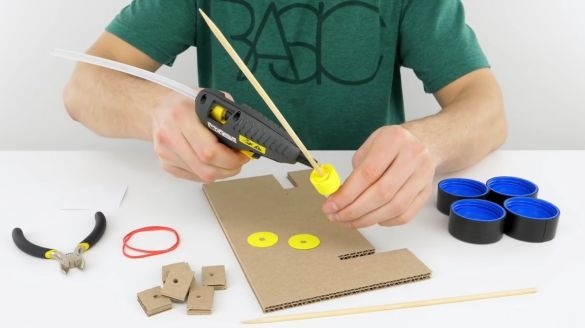
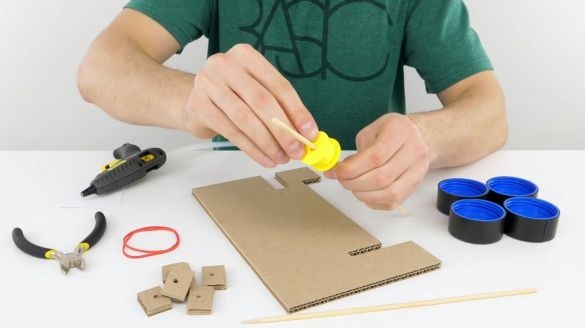
Approximately in the center of the wooden skewer, we begin to wrap one paper strip first, then the second, and then we fix the end, drip a little thermal glue around the entire circumference and glue circles with pre-made holes exactly in the center.
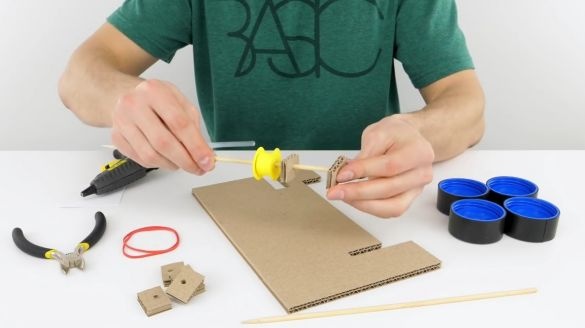
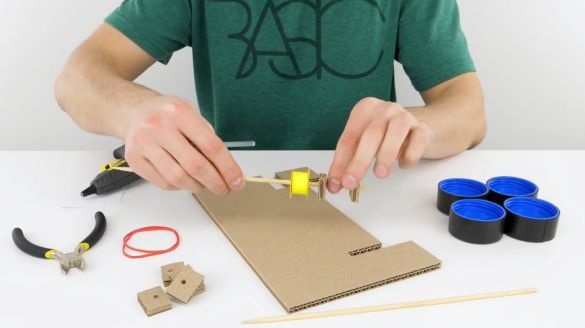
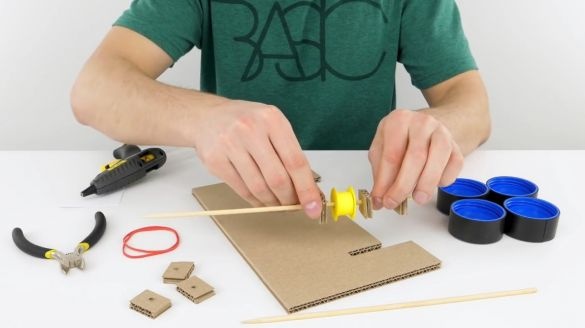
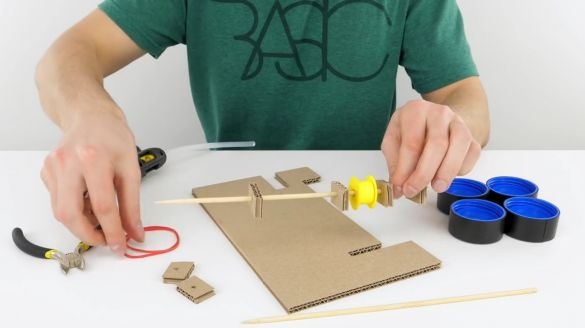
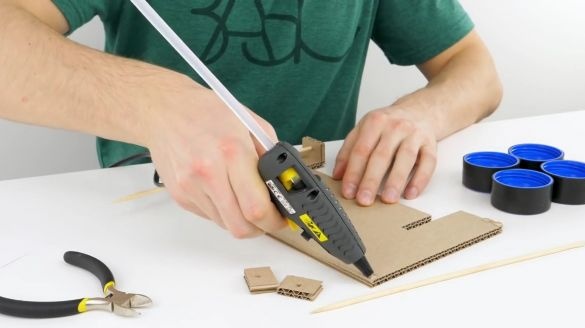
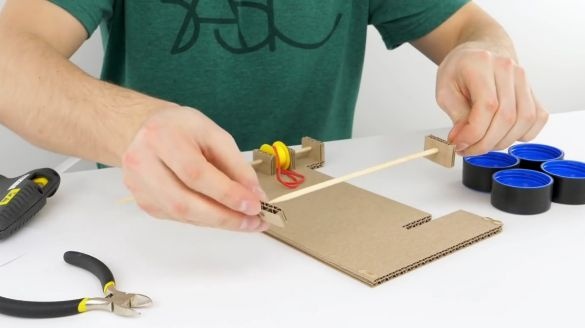
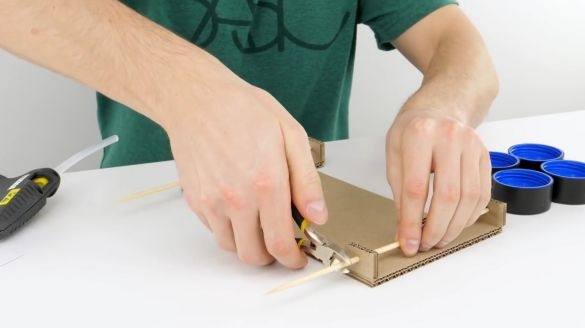
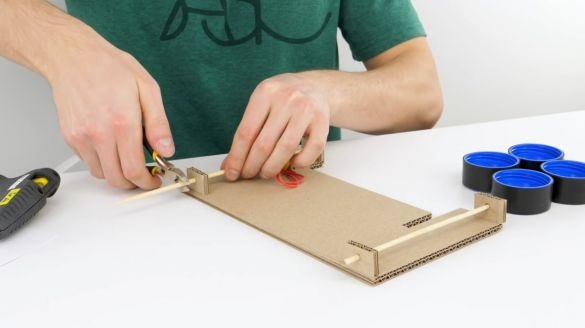
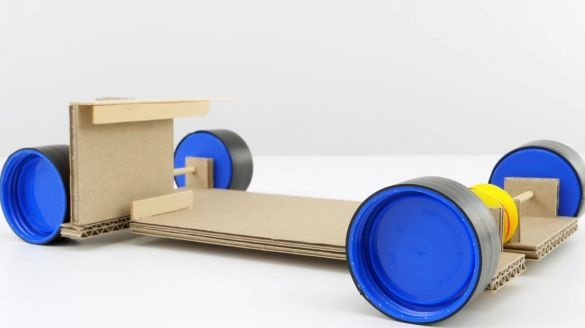
Now we cut 4 equal rectangles from the cardboard, make holes in them and put them on our blank, as shown in the photo:
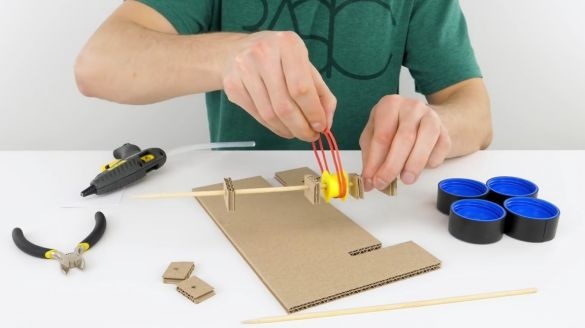
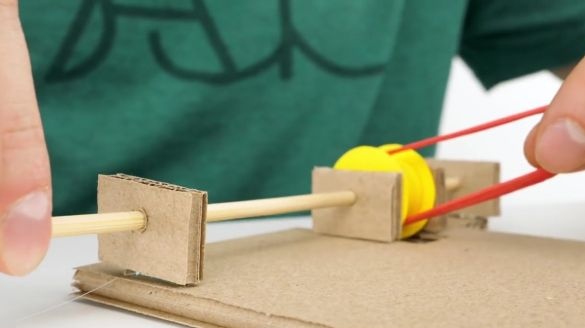
Then we put two office gum on the "block":
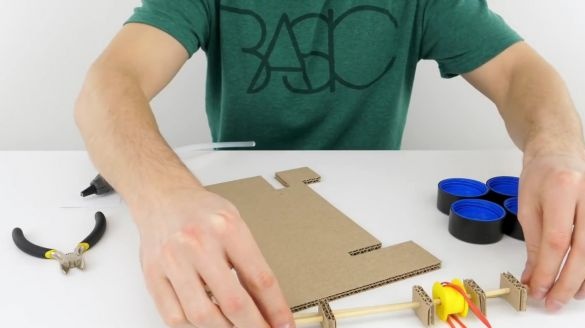
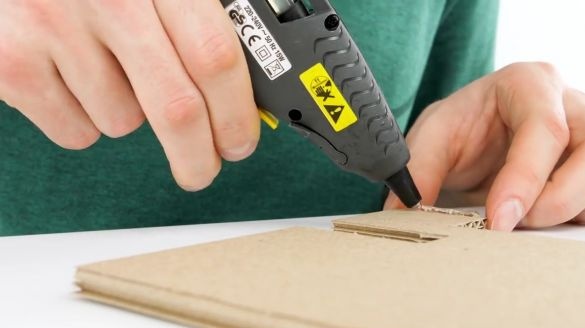
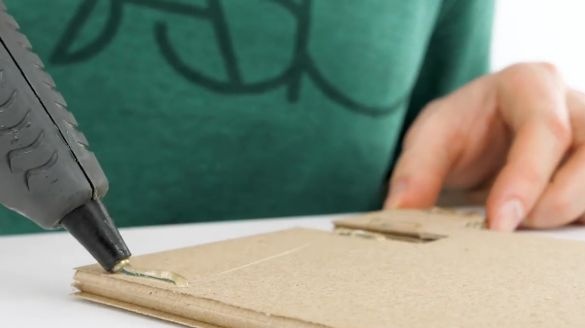
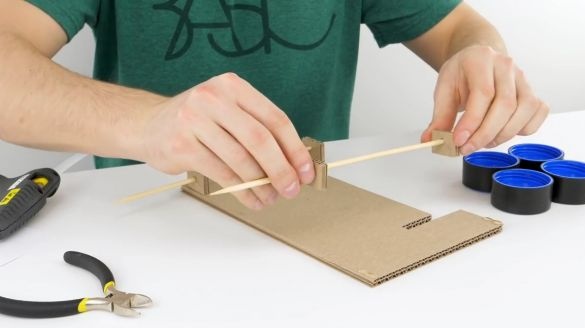
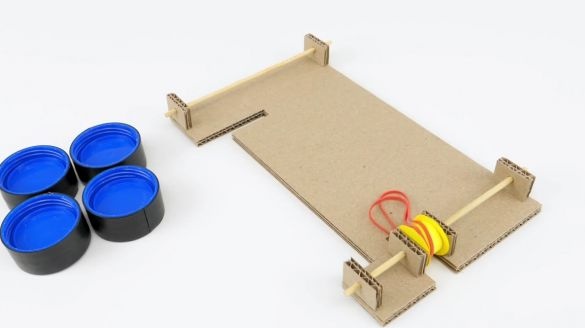
We apply a little thermal glue to the base of the structure and glue the blank that we did earlier:
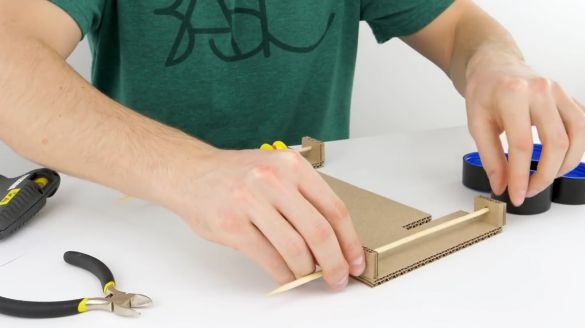
We cut out two more exactly the same cardboard rectangles, put them on another wooden scarf and glue them on the other side of the whole structure:
With the help of nippers we bite off the excess:
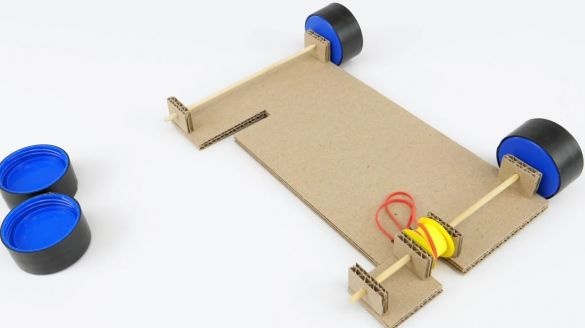
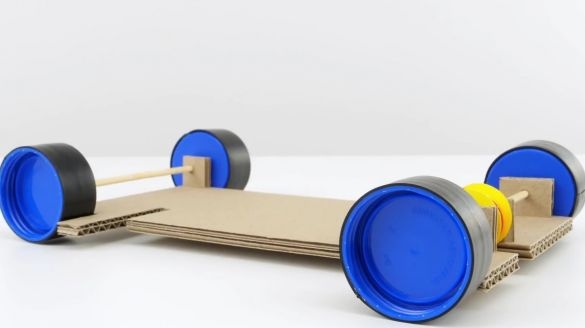
We put on and glue the wheels as follows:
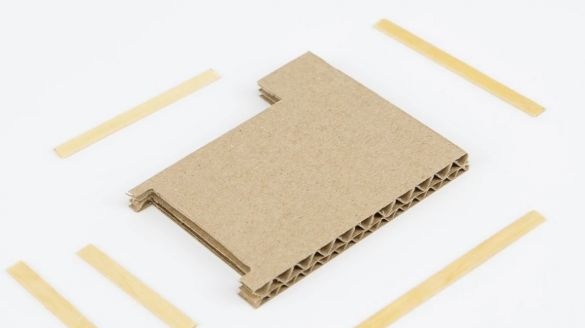
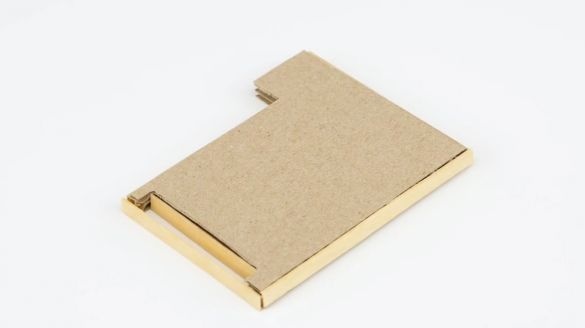
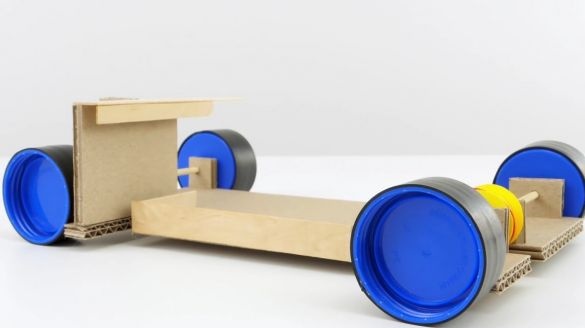
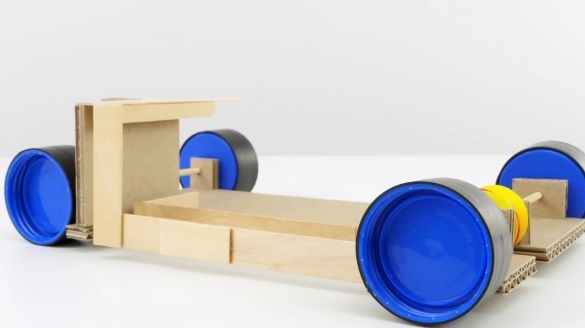
It is necessary to cut exactly the same detail from the cardboard as shown in the photo, then cut out long rectangles from thin wooden planks and glue it to the cardboard detail as shown in the photo:
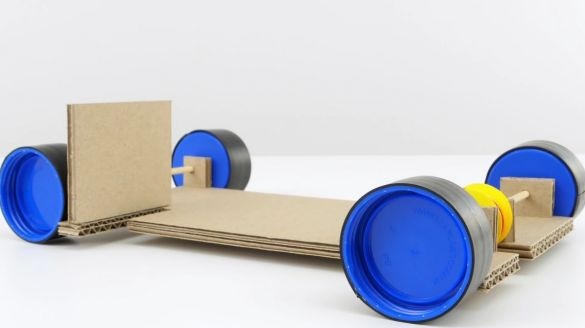
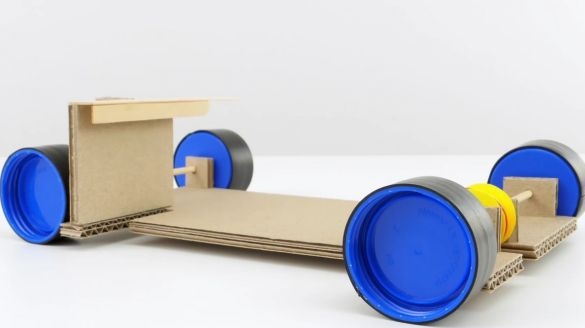
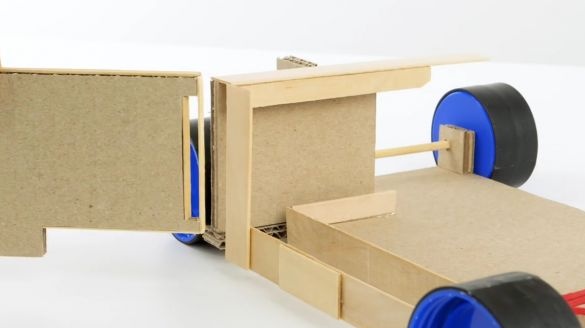
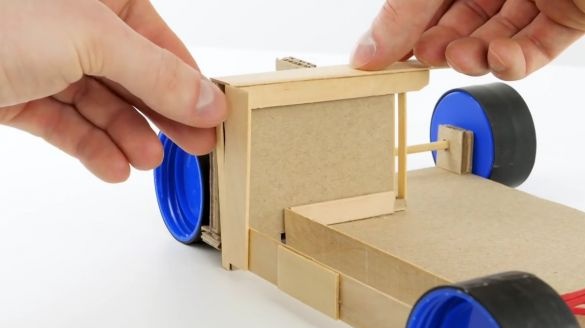
Glue cardboard blanks to the whole structure as follows:
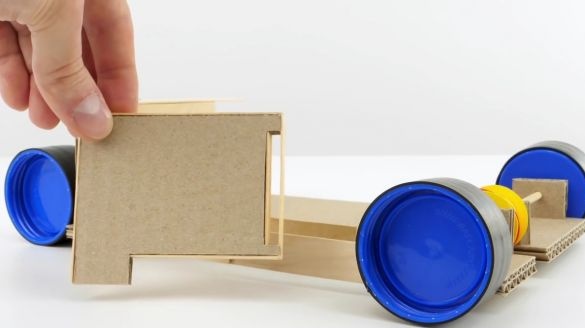
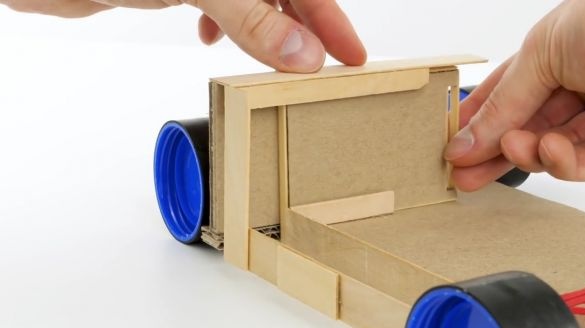
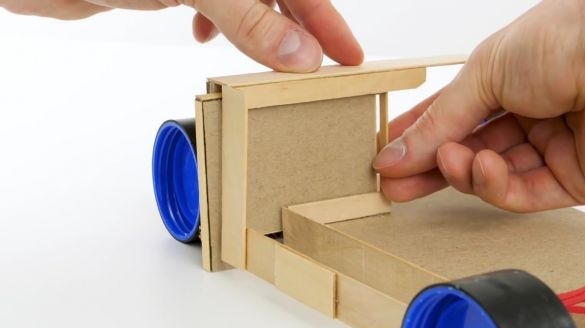
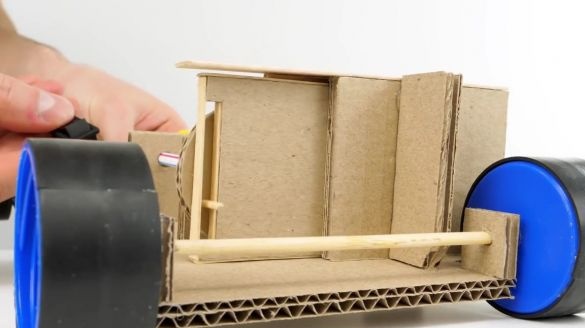
We take the workpiece that we did earlier and insert it into the groove, as shown in the photo, this workpiece should freely move forward and backward:
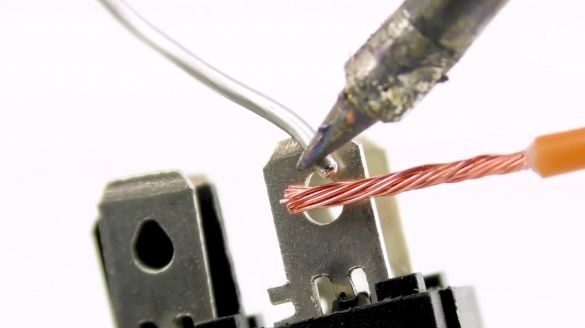
Now you need to solder the simplest electrical circuit.
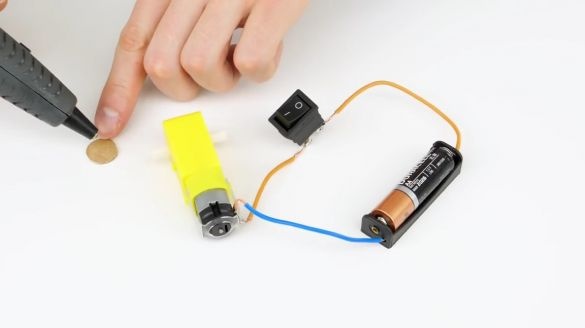
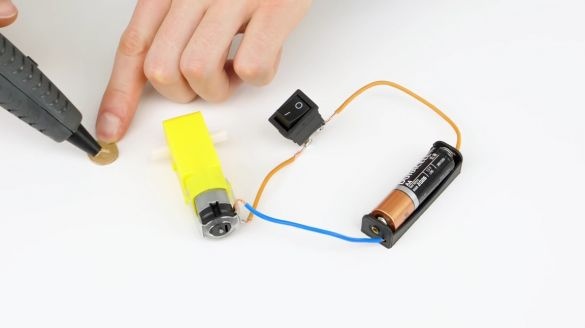
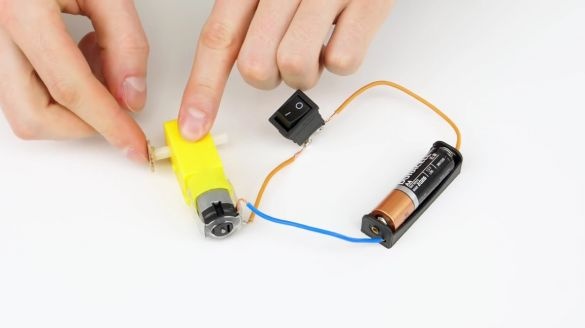
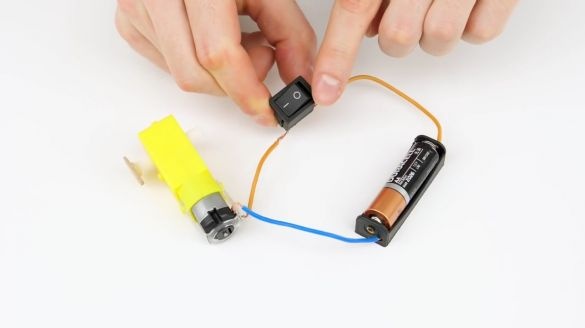
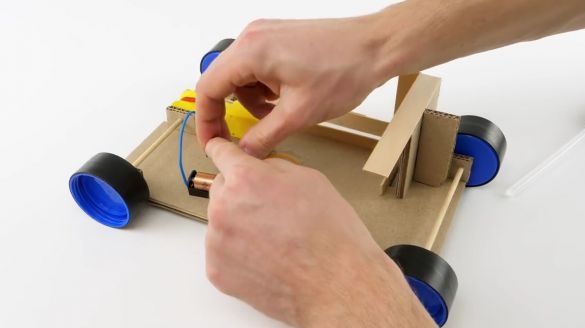
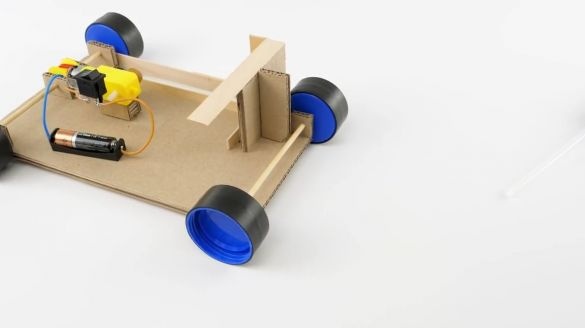
We take the gear motor, the connector for the finger battery, the switch, wires, the battery itself and solder the circuit so that the switch can turn the gear motor on and off. After that, on one side of the motor axis, glue a small circle of cardboard, and test:
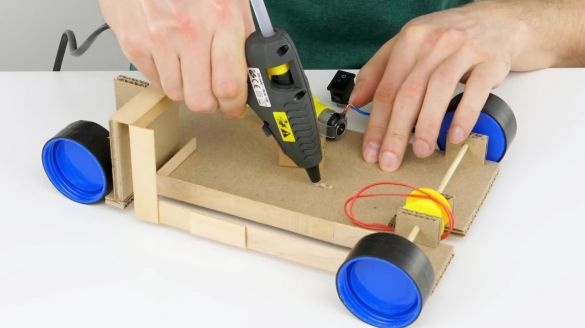
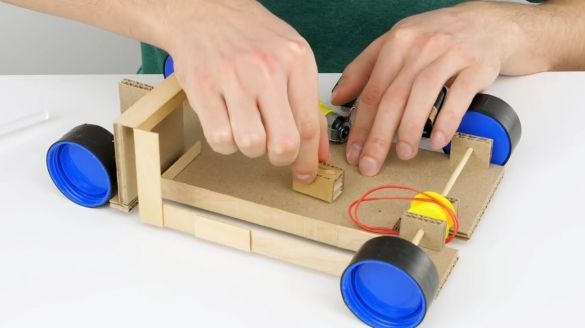
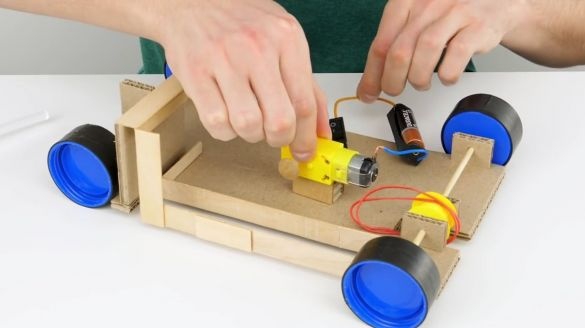
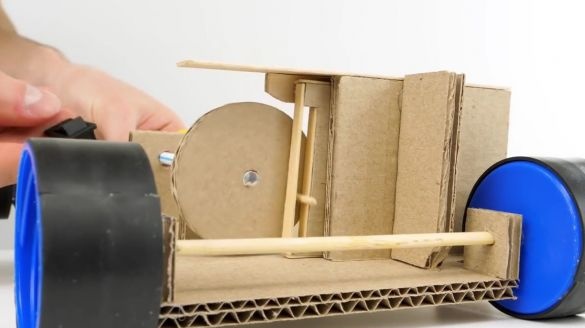
Also, from cardboard we make a small elongated cube and glue it to the general structure, and we attach the gear motor to it:
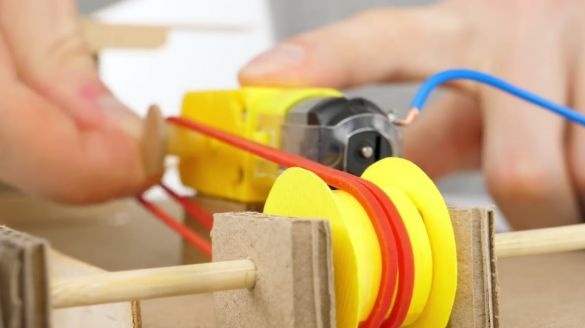
We put stationery gum on the gearbox axis, on the side where we glued the cardboard circle:
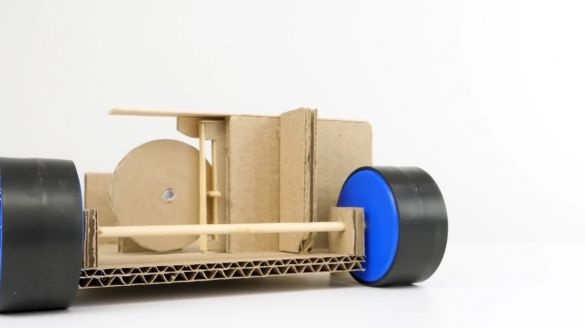
And again we are testing, the platform should start moving:
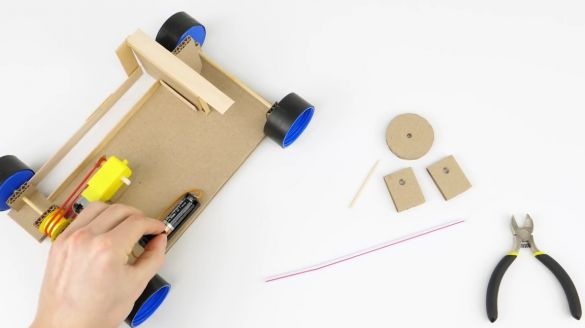
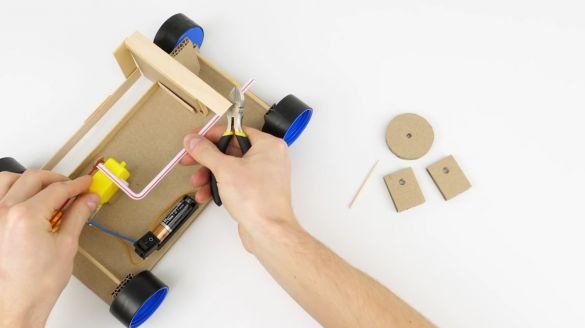
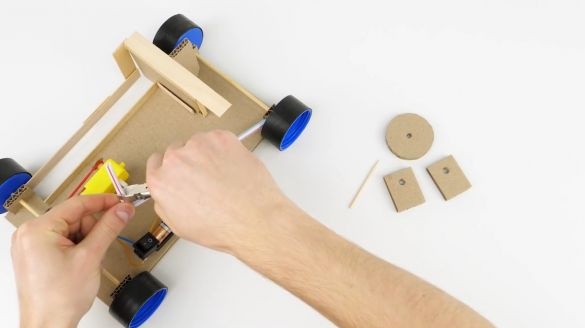
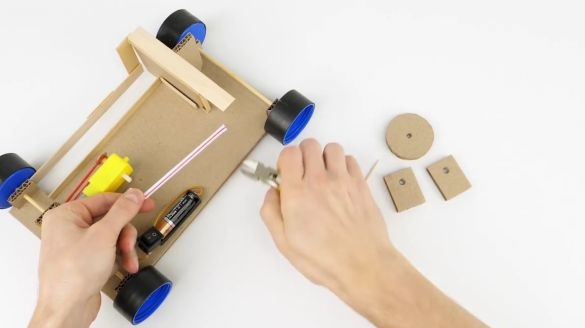
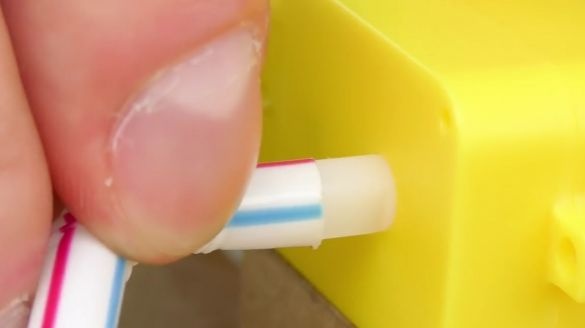
Take a cocktail roll, a piece of barbecue skewers and some cardboard parts.
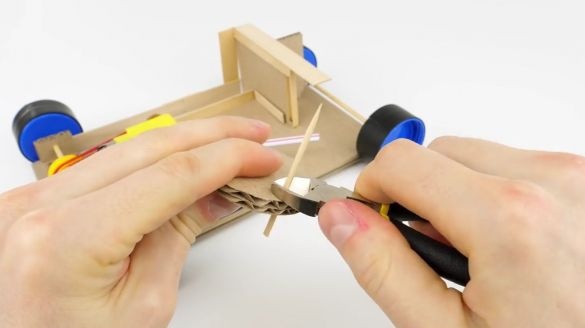
We bite off the excess and stick the gear motor to the axis.
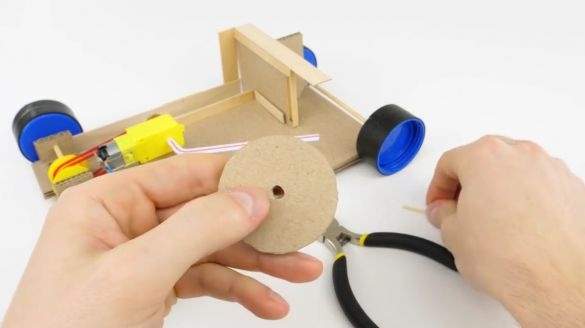
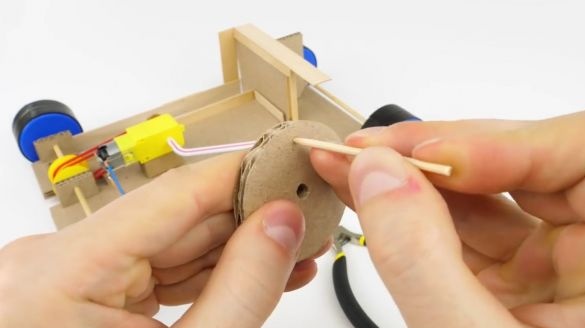
In a cardboard circle, insert a segment of the barbecue skewer as shown in the photo, and also bite off the excess:
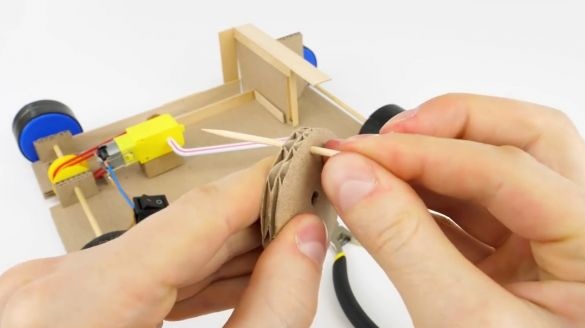
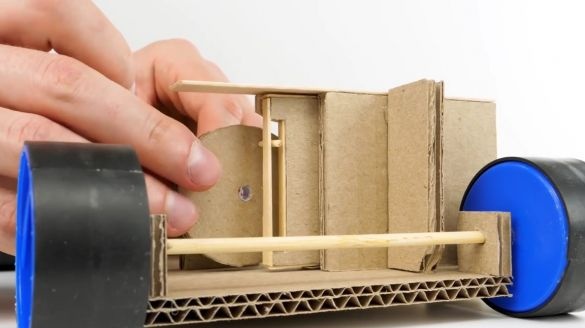
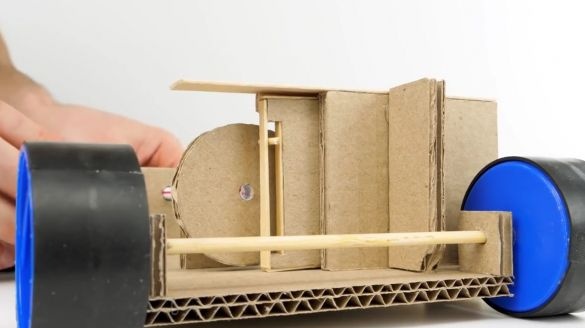
We put cardboard parts on the tube and on the very edge that circle into which we inserted the barbecue skewer, then we put a piece of skewer through the hole in the moving part. Only after that it is possible to glue the rectangular cardboard parts that we previously put on the tube:
Testing:
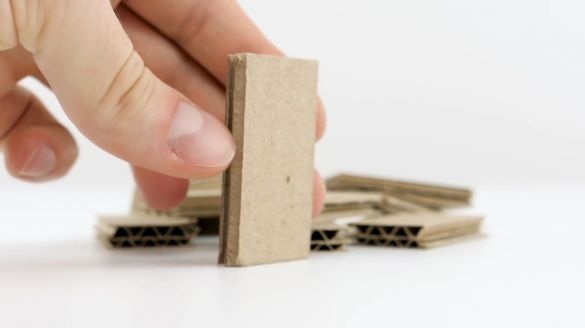
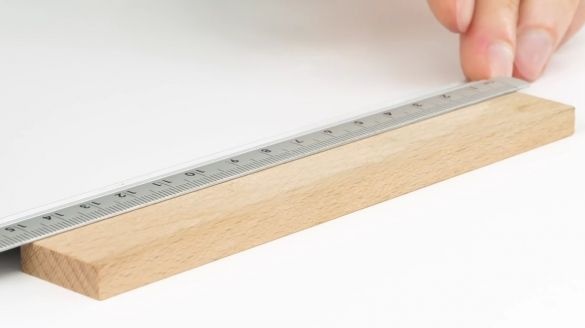
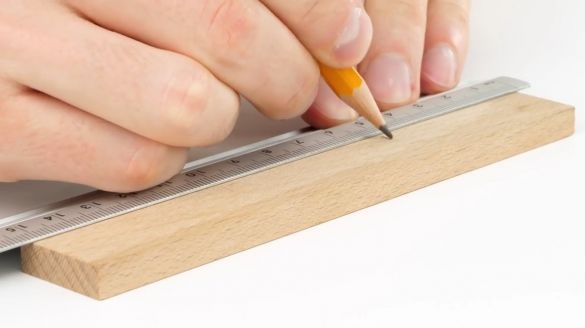
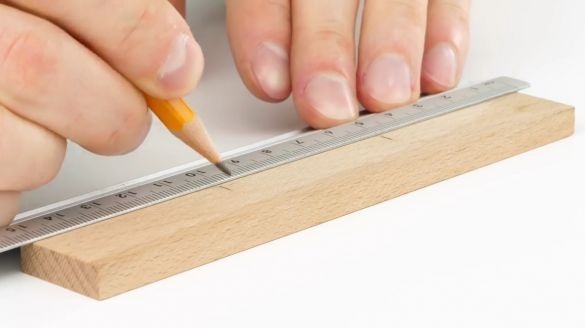
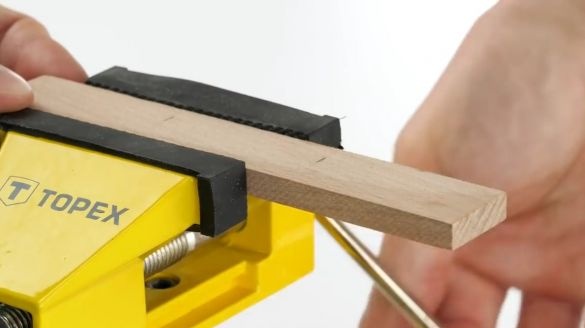
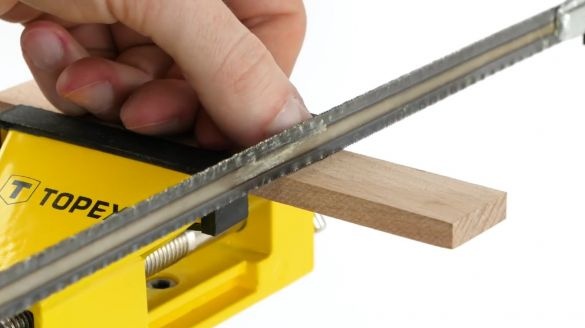
We take a wooden plank, mark 5 cm marks on it and with the help of a saw we cut out "dominoes" of equal size:
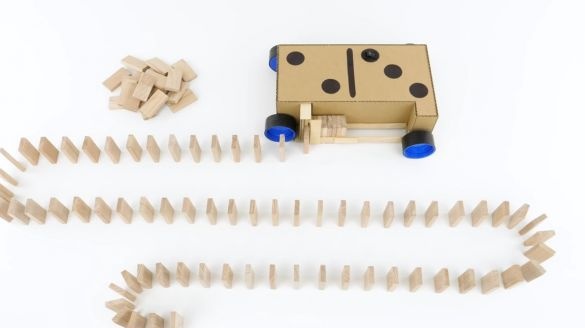
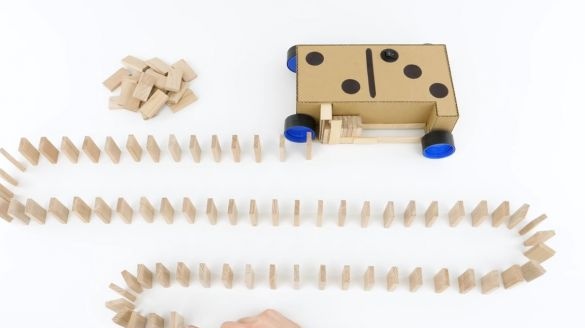
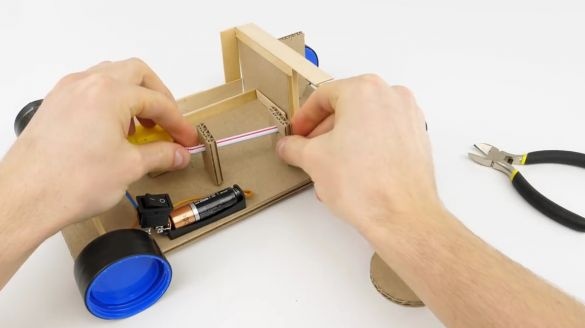
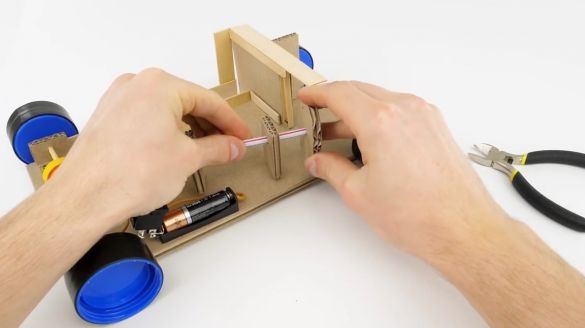
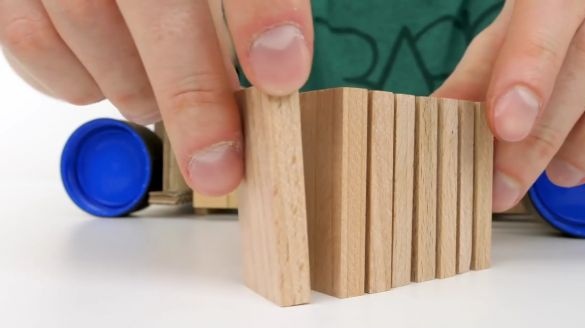
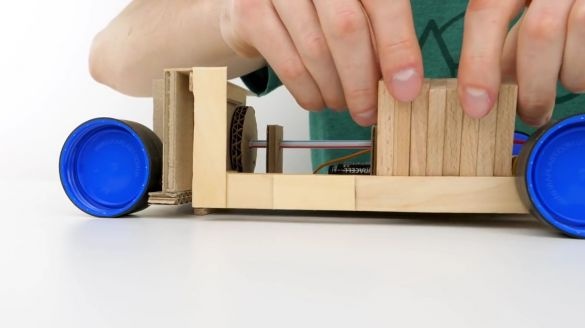
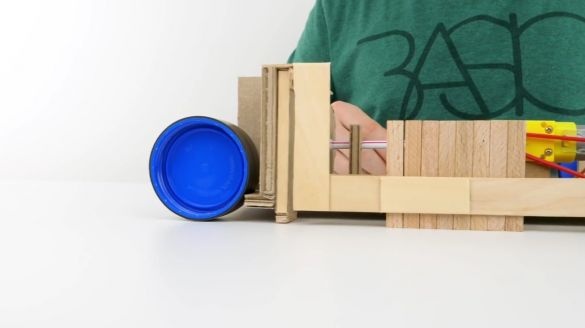
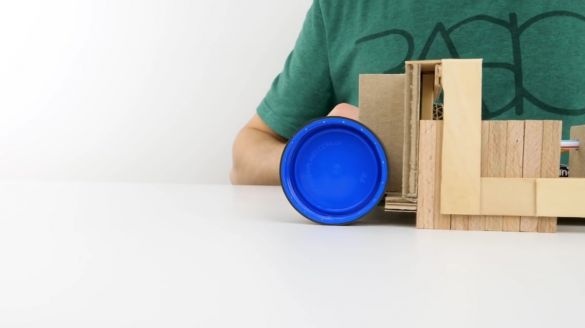
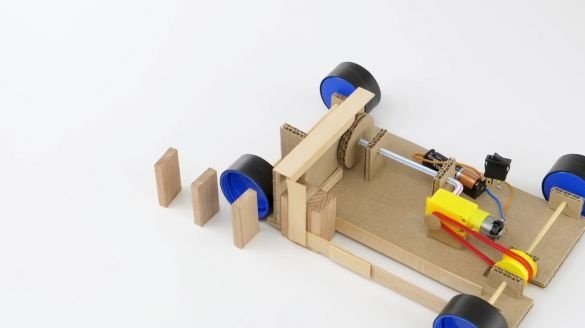
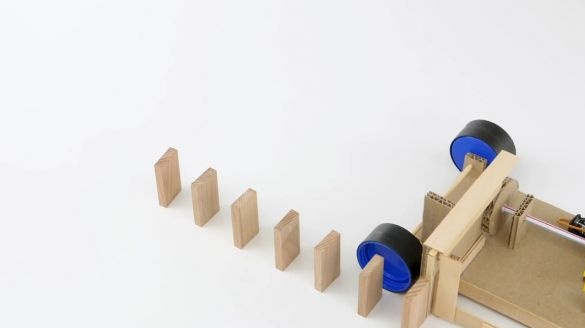
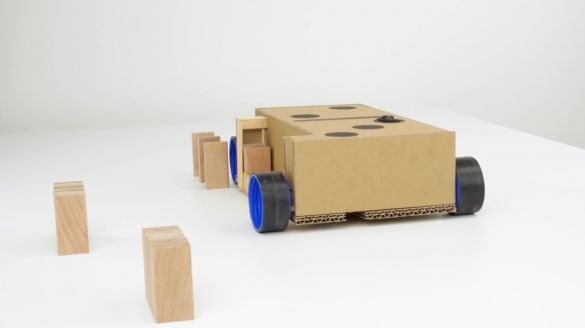
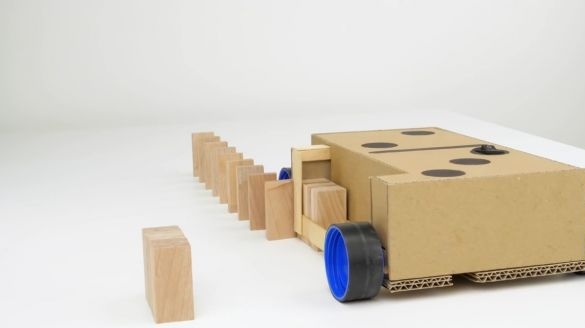
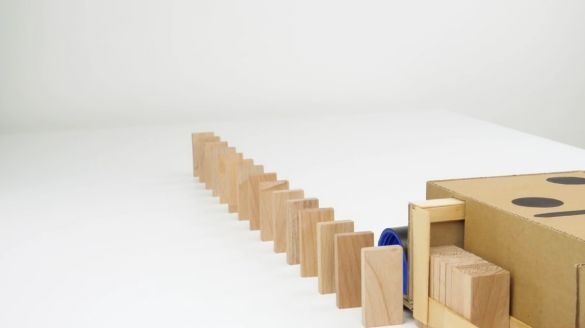
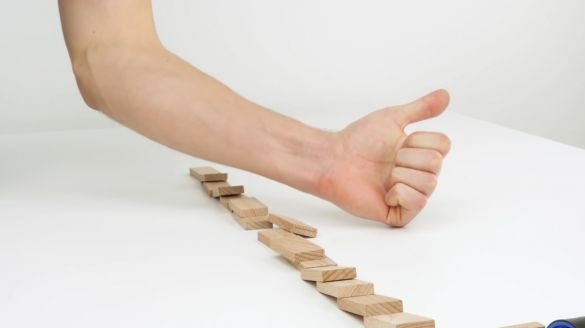
After we have made several “dominoes”, we put them together and put them as shown in the photo, after which we turn on our entire structure and see what happens. The design should begin to move forward and place the "dominoes" in a row:
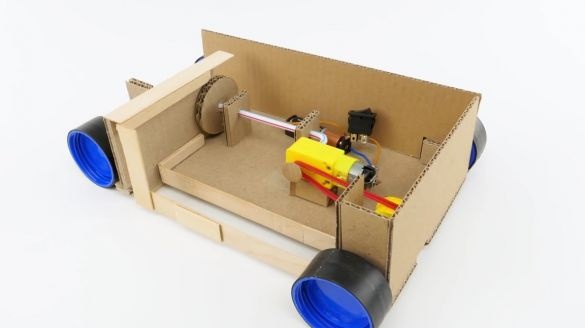
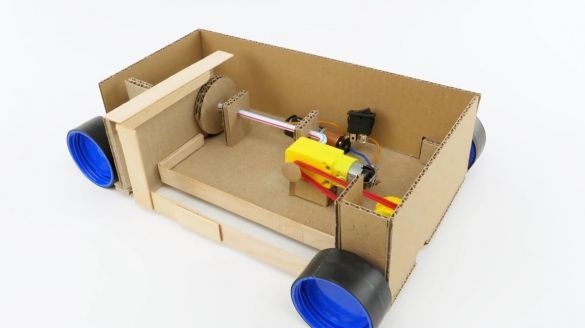
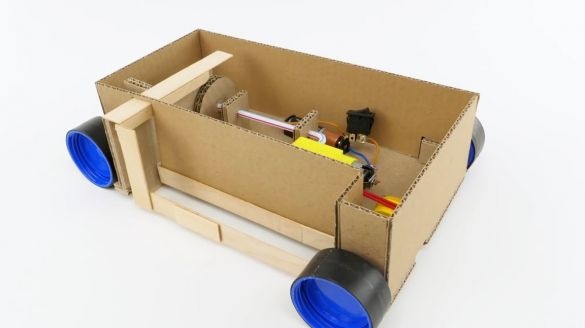
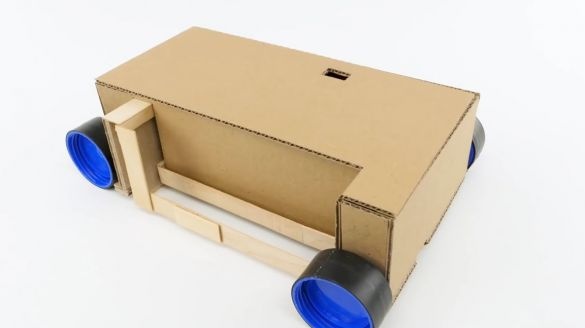
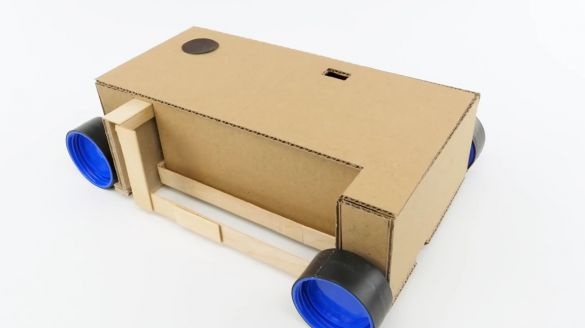
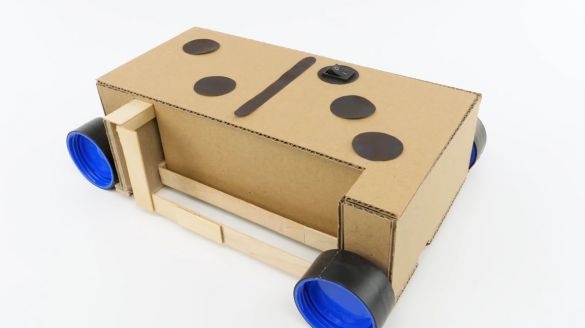
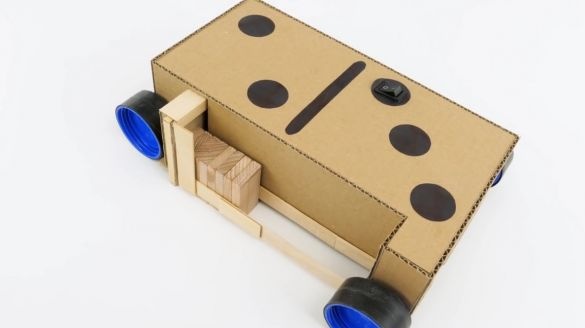
We make a body for the entire platform, through the upper hole we pass the button and fix it there. We also decorate using colored paper, there’s nothing complicated here, it’s enough to just do everything as shown in the photo:
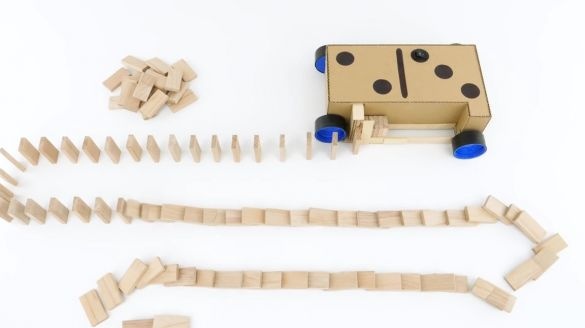
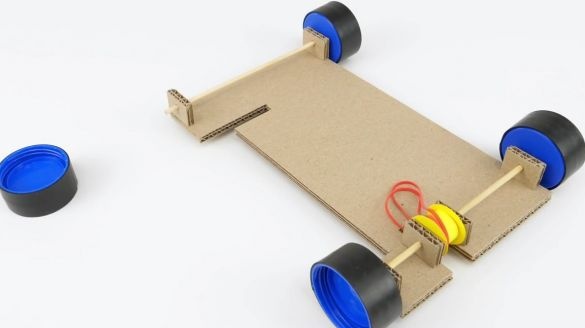
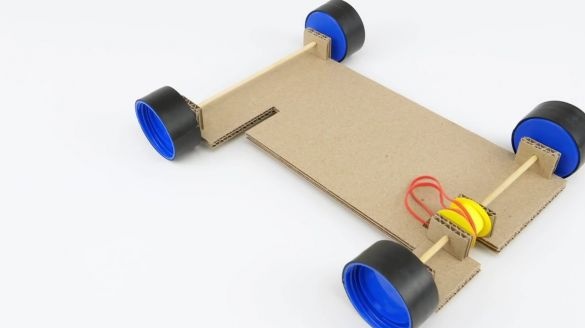
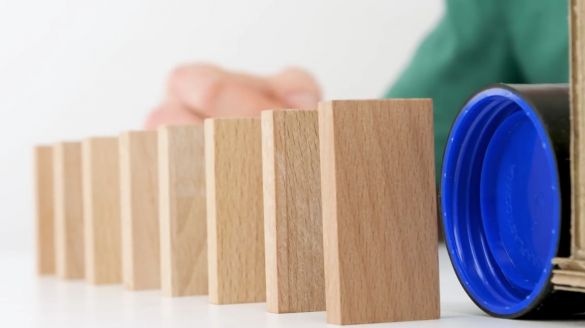
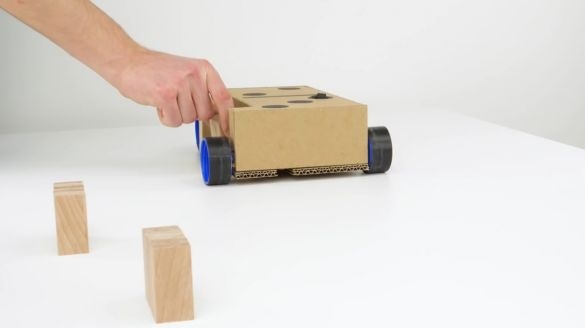
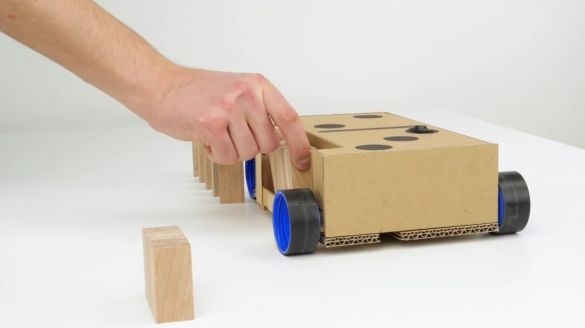
That's it! A platform that can place dominoes is ready and it remains only to test it! To do this, simply put the “dominoes” in the platform in the same way as we did before and press the switch, the platform will begin to move in front and push the homemade “dominoes”.
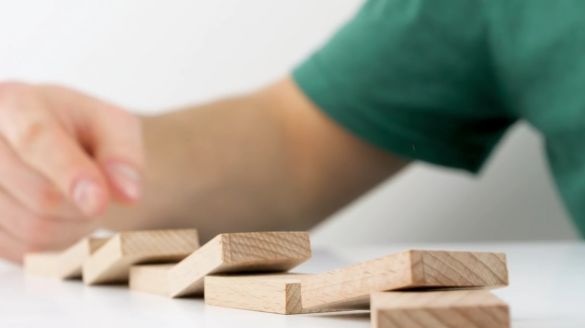
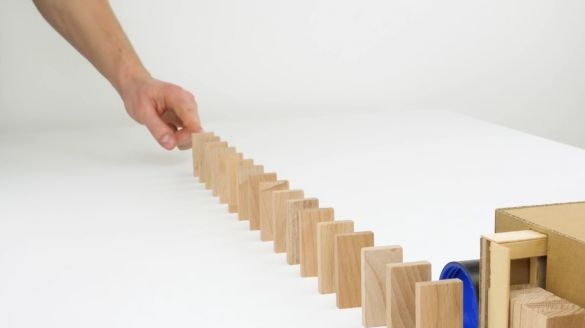
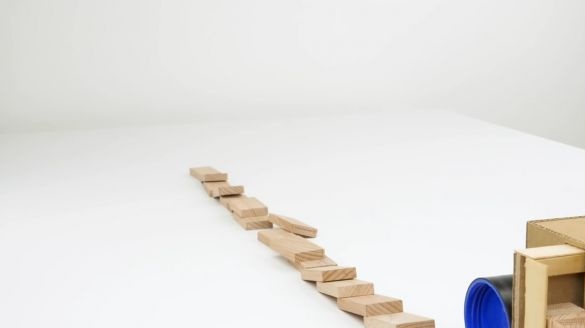
Well, and for the sake of what all this was done, we bring down one "domino", because of which a chain reaction is launched, which brings down all the others. Great and very simple toy!
Here is a detailed video from the author with tests and a complete assembly:
Well, thank you all for your attention!

