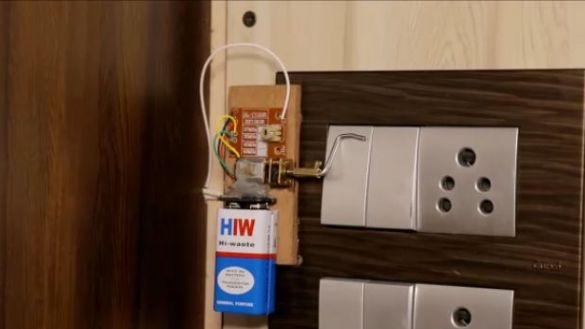
Good day to all dear friends! In today's article, I would like to show you a rather interesting and simple homemade, namely a remote switch. For him, we need a minimum of material and most importantly, we absolutely do not need arduino. This homemade product can be adapted not as a light switch, but as a remote control of the water in the tap or even the control of the heck. What is your fantasy? As components, the cheapest materials from Chinese stores and local radio markets will be taken.
In general, today we will consider how to make the simplest electronic device for controlling the light in the room. Well, let's not delay with a long introduction, let's go!
And so, for this homemade product we need:
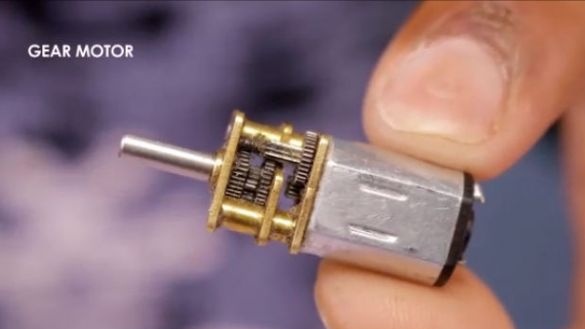
- electric motor with gear.
- 9V battery of the crown format.
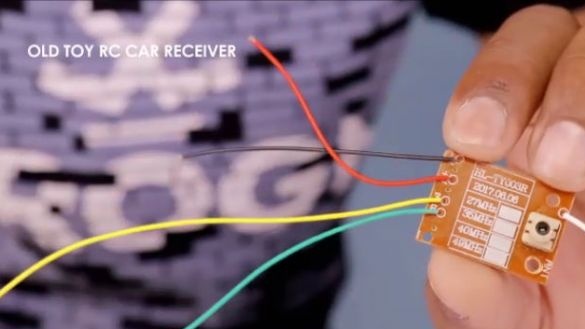
- control board and control panel from the simplest radio-controlled machine.
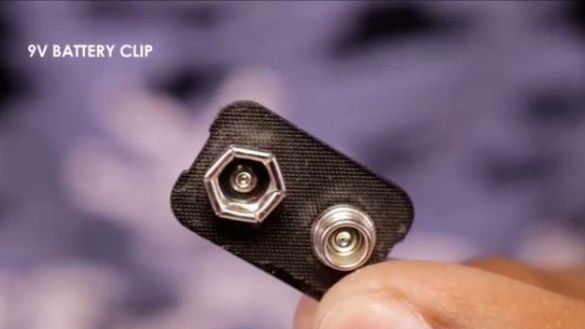
- connector for the battery.
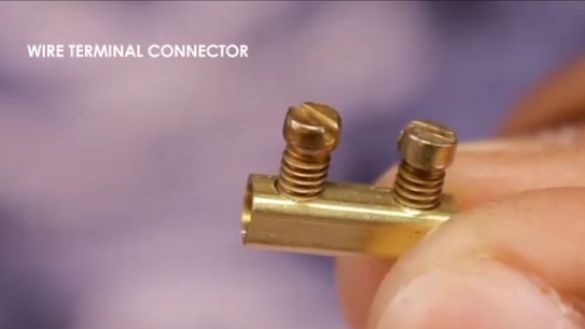
- an adapter for a shaft of a reducer of the electric motor.
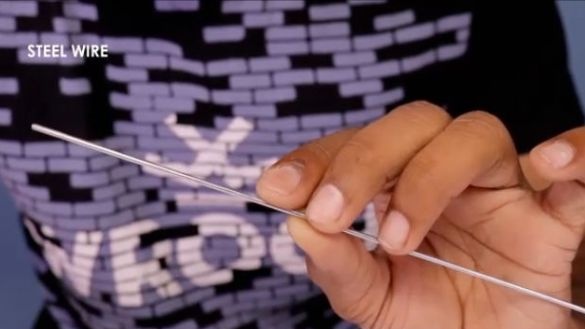
- metal wire with a diameter of 2-4 mm and a length of not more than 10-12 cm.
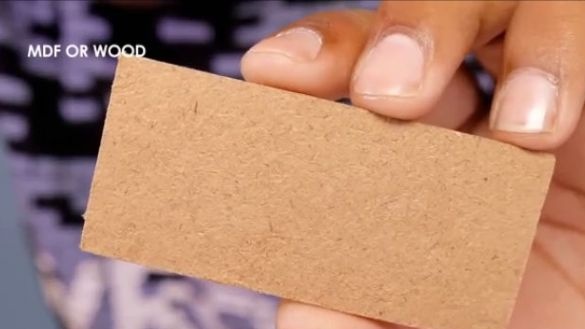
- MDF or an ordinary wooden board about 10 cm by 5 cm.
Of the tools we will also need:
- terma glue.
- Super glue.
- a screwdriver.
- soldering iron.
- pliers.
First of all, we need to cut out the main part from a wooden board or MDF panel, on which a structure of about 10 cm by 5 cm will be assembled.
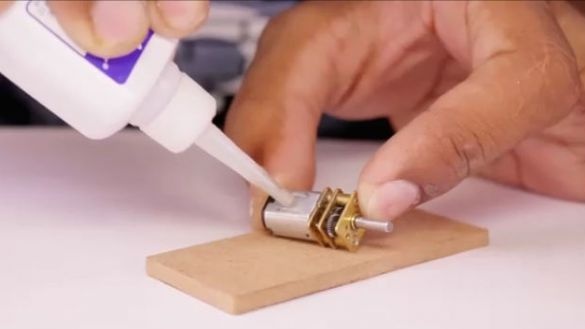
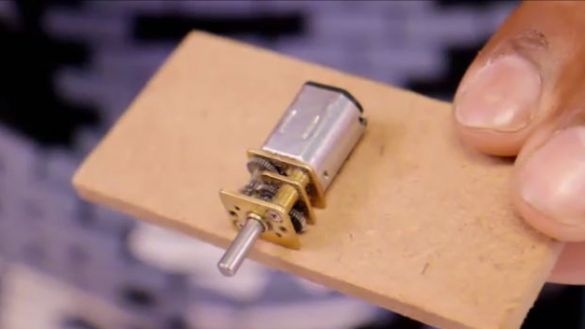
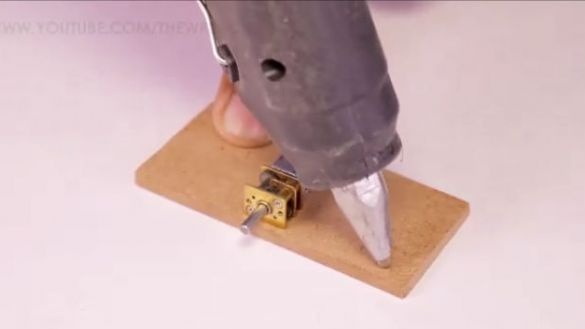
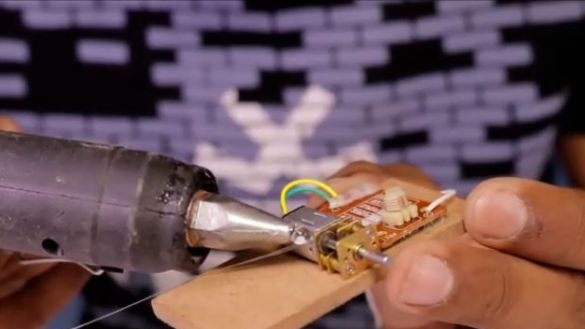
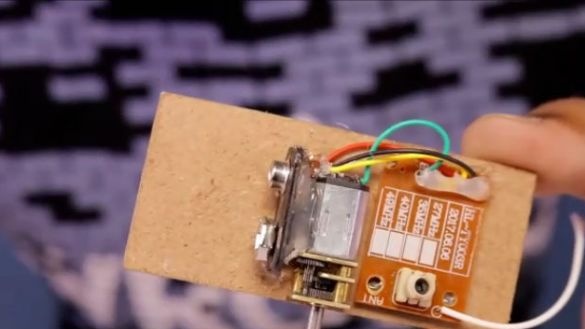
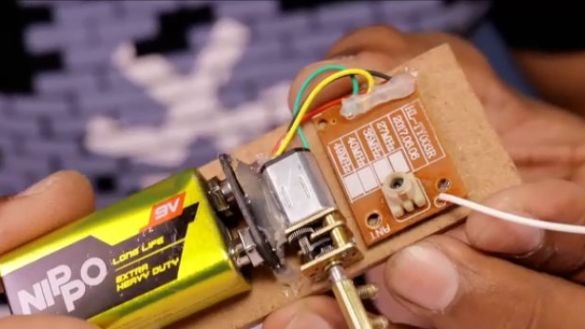
For the next step, we need an electric motor with a gearbox, which can be purchased in the Chinese online store or on any radio market. The motor we have taken should be glued to the middle of the wooden base that we prepared earlier. Glue should be with super glue.
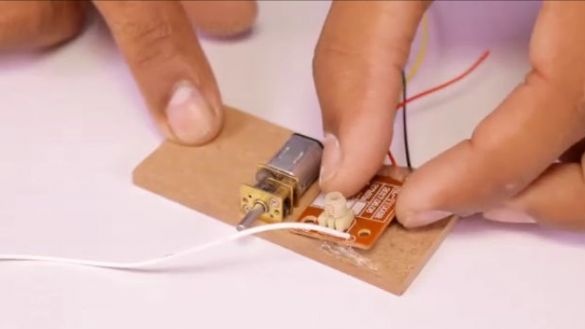
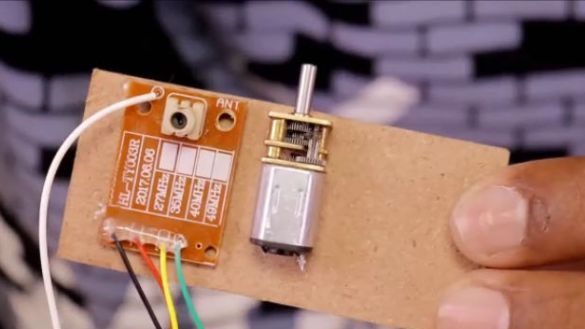
Then the simplest control board is useful to us, it can be taken from the simplest and cheapest radio-controlled car, which can only drive forward and backward, these abilities of the board are enough for us.
The control board must be glued to the wooden base with a glue term.
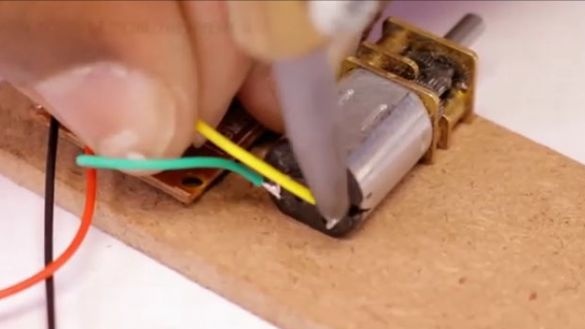
After that, we should solder the wires “+” and “-” to the electric motor from the control board. In our case, it is a green and yellow wire.
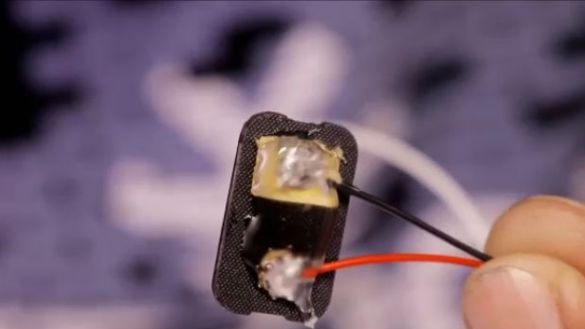
Then we need the crown connector, which you can buy in the store or do it yourself. Such a connector can be made from an old crown-shaped battery by simply disassembling it and soldering it off the wire connector itself. Solder “+” and “-” to the connector from the control board, this is a black and red wire. And for the tightness of the connection, fill the place of soldering the term with glue.
Taking the term glue, glue the connector to the specified location (see photo below).
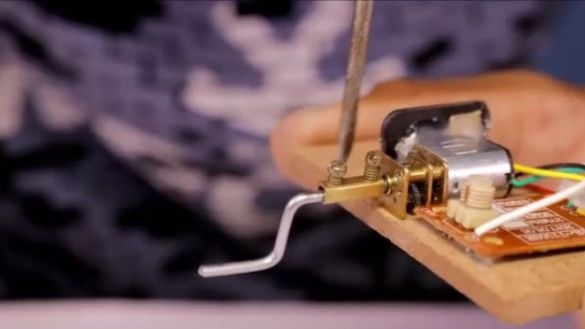
For the next step, we will need a similar detail (see photo below). This is a similar adapter, which is worn on the shaft of the gearbox of the electric motor. A kind of adapter is usually used to make homemade mini drills and boron machines.
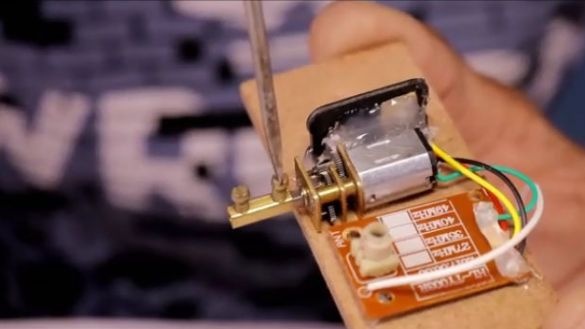
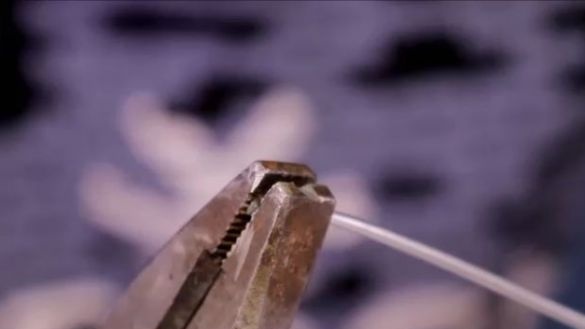
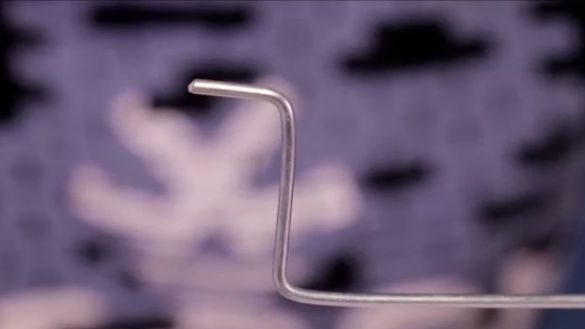
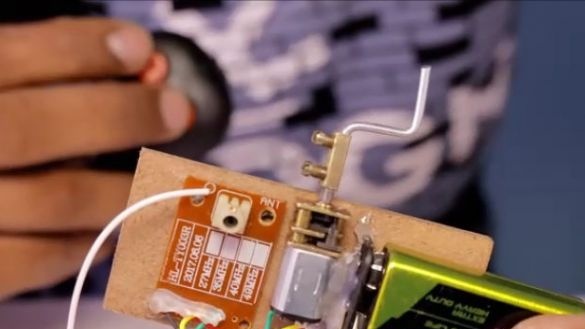
We install the adapter on the shaft of the gearbox of the electric motor, while not forgetting to fix it on the screw connection, just tightening with a screwdriver. Taking the wire and pliers, we produce a zigzag blank, which in turn needs to be fixed in the adapter.
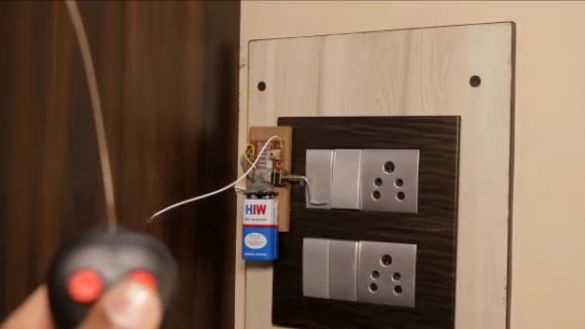
We insert the battery in its place and check the design. It should turn out so that when you press one of the buttons, the motor rotates in one direction, and when you press another button, respectively, in the other direction.
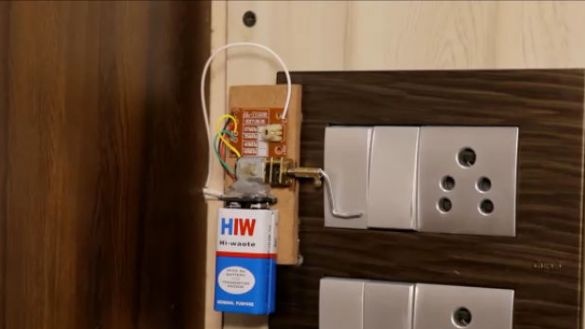
We install the structure near the switch so that the mechanism can turn the light on and off. Done.
As a result, we got a simple and very reliable design, which can be taken as a basis and used in another area, as I already mentioned, for example, for opening and closing a screw crane. I think many will like this simple homemade product, especially for techies and amateurs to do something for themselves.
Here is a detailed video from the author with the assembly and corrections of this homemade product:
Well, thank you all for your attention and good luck in future projects, friends!

