

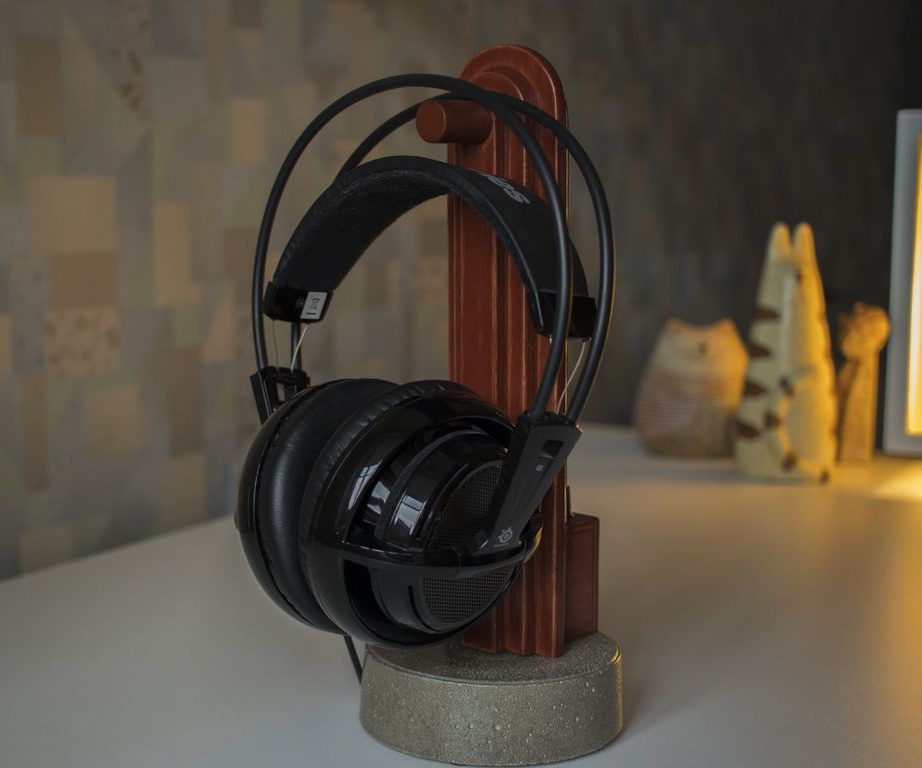

In this article, we consider the manufacture of a stand for storing headphones. To make it, you need the following
Tools and materials:
-File;
-Drill;
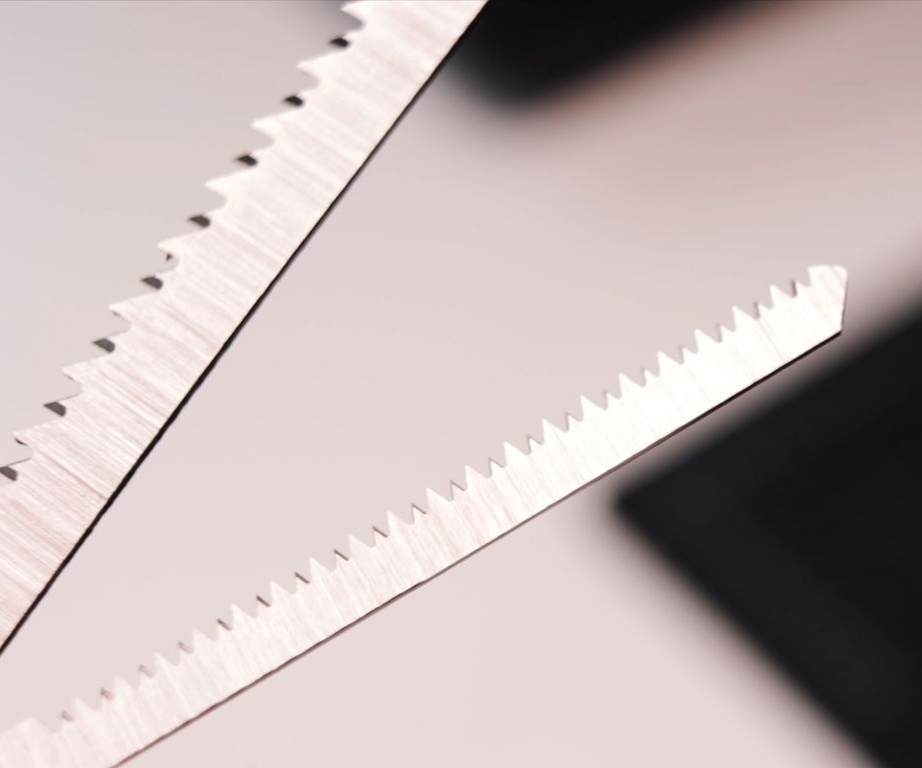
- Jigsaw;
-Screwdriver;
-Soldering iron;
-Glue gun;
-Knife;
-Brush;
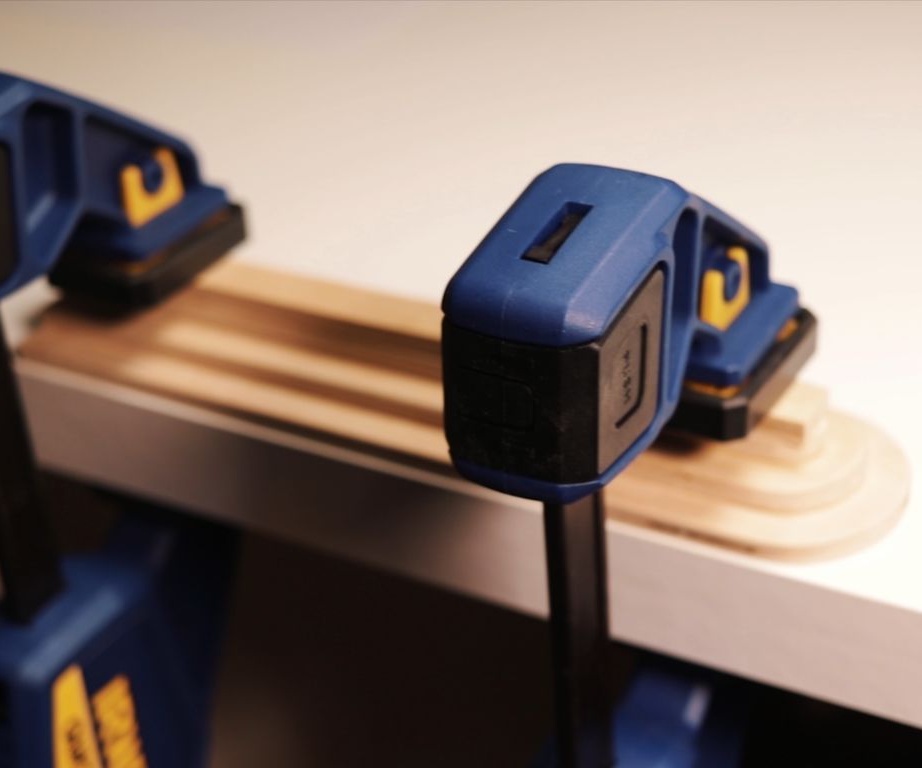
- Clamps;
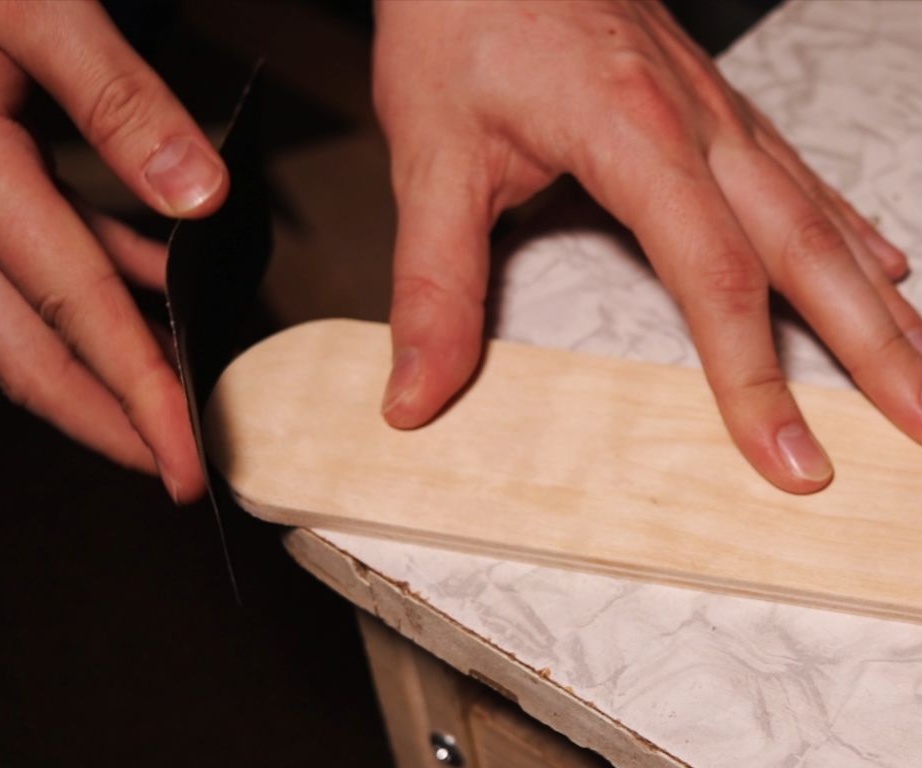
-Sandpaper;
-Capacity plastic;
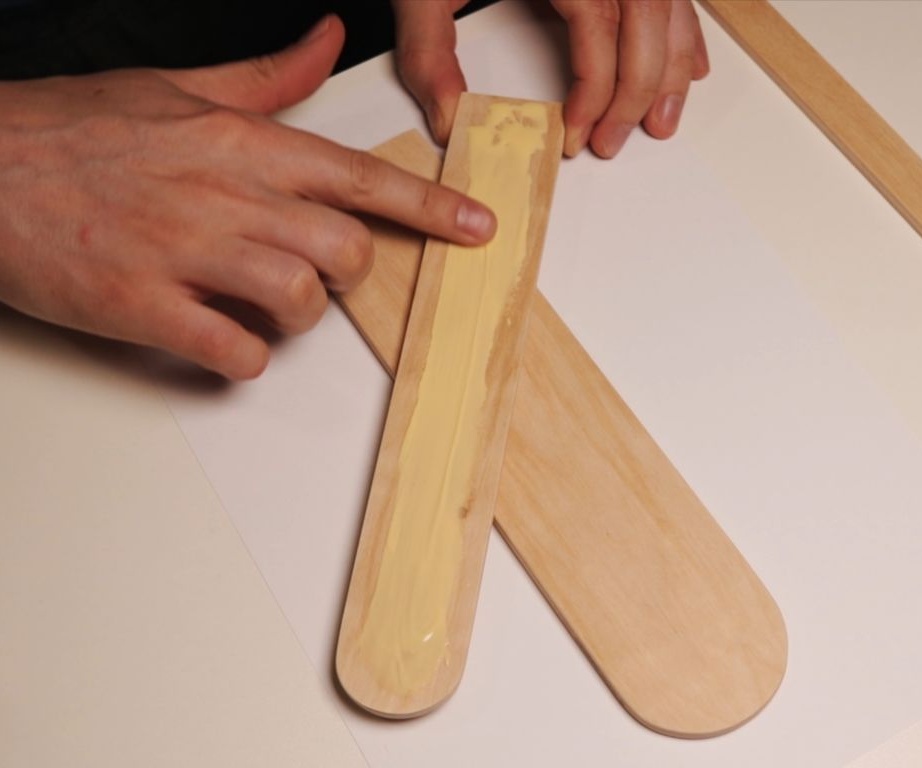
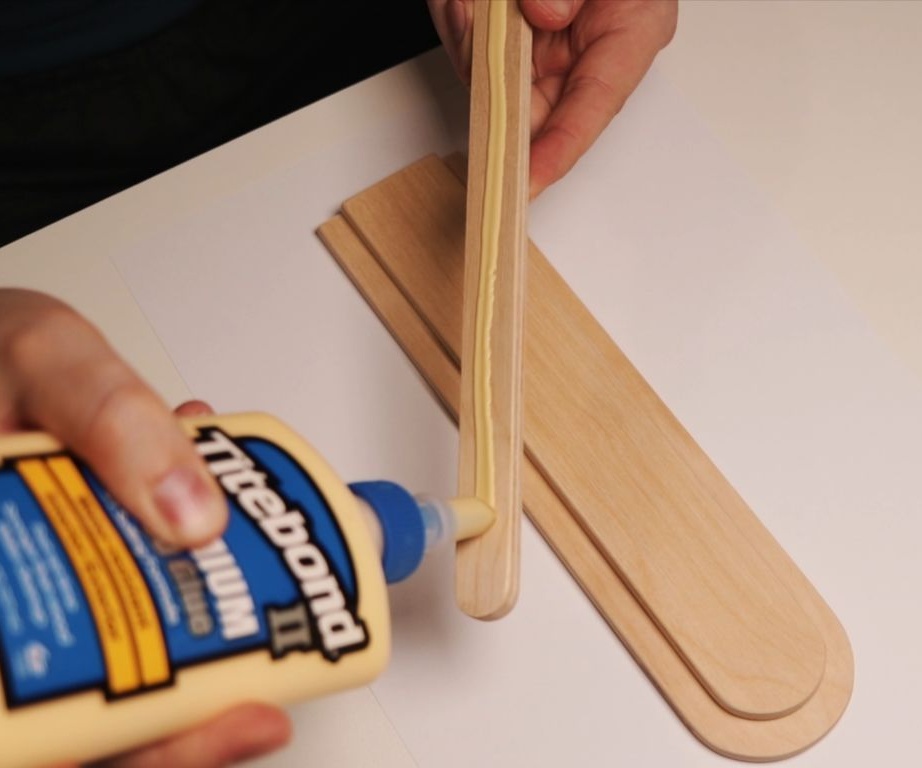
-Glue;
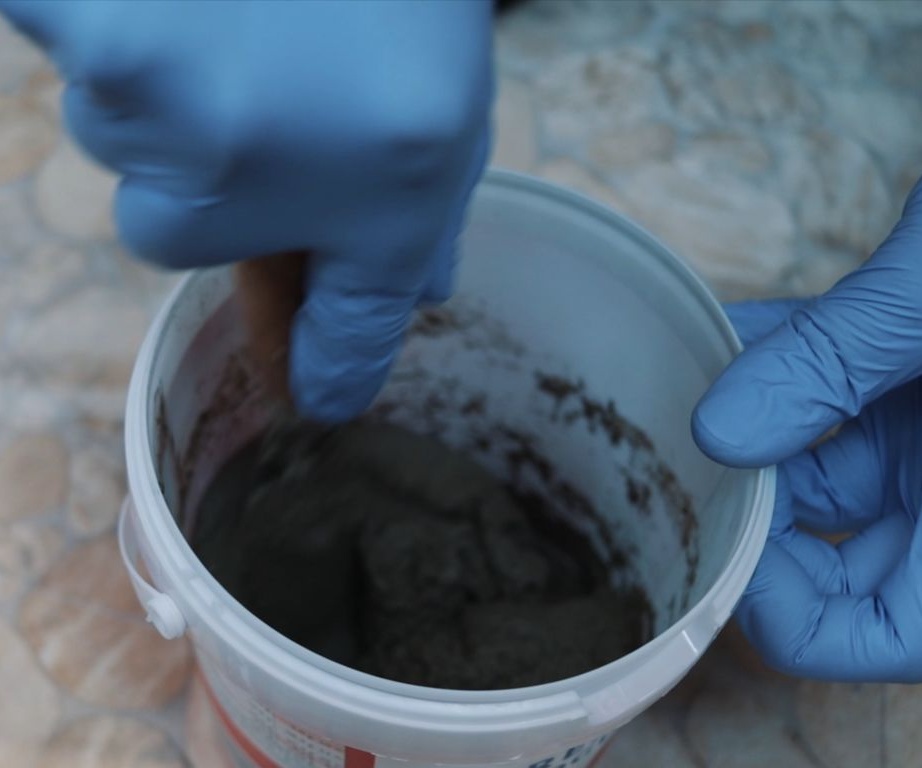
-Cement;
-Sand;
-Water;
-Plywood;
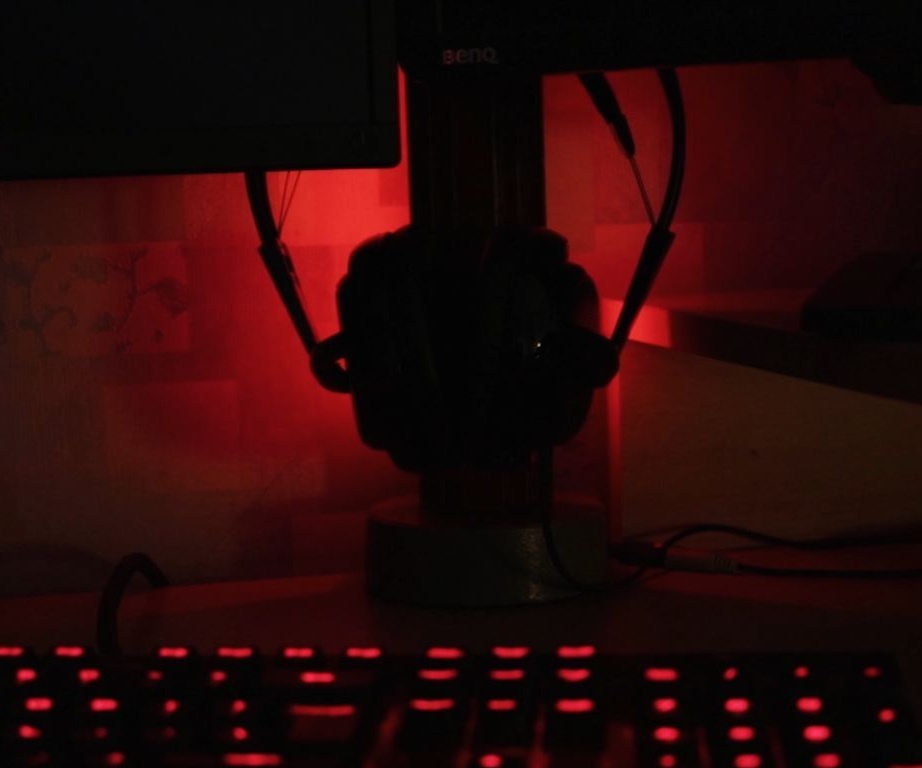
-RGB LED strip;
- Power supply 12 V 2 A;
-Wood dowel;
-Wire;
-Silicone lining;
-Coating for concrete;
-Coating for wood;
-Vegetable oil;
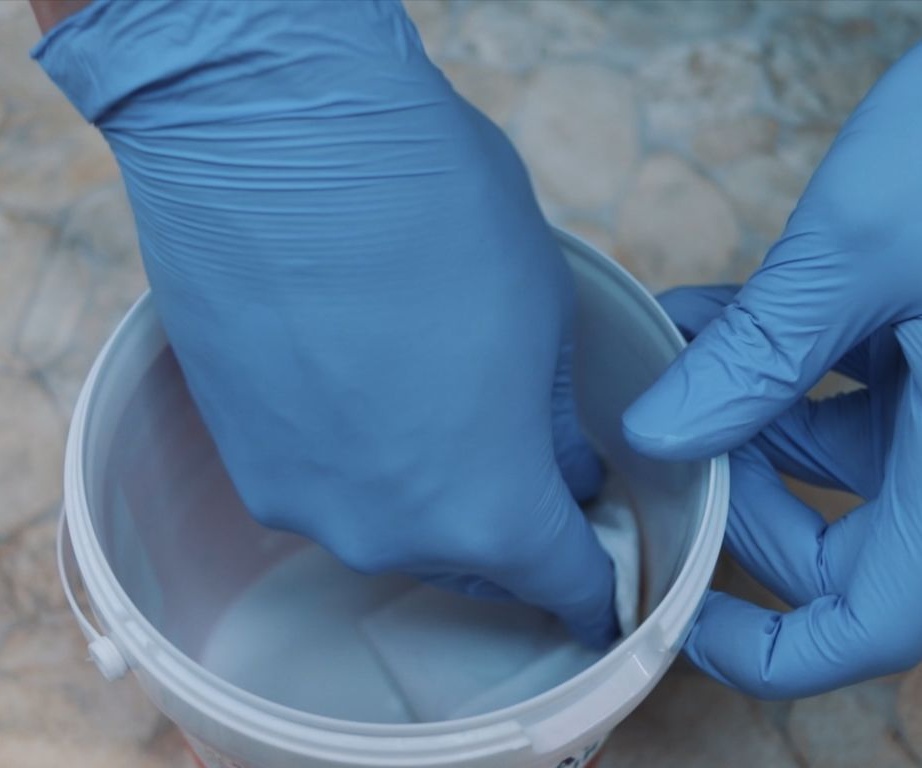
Step One: Concrete Base
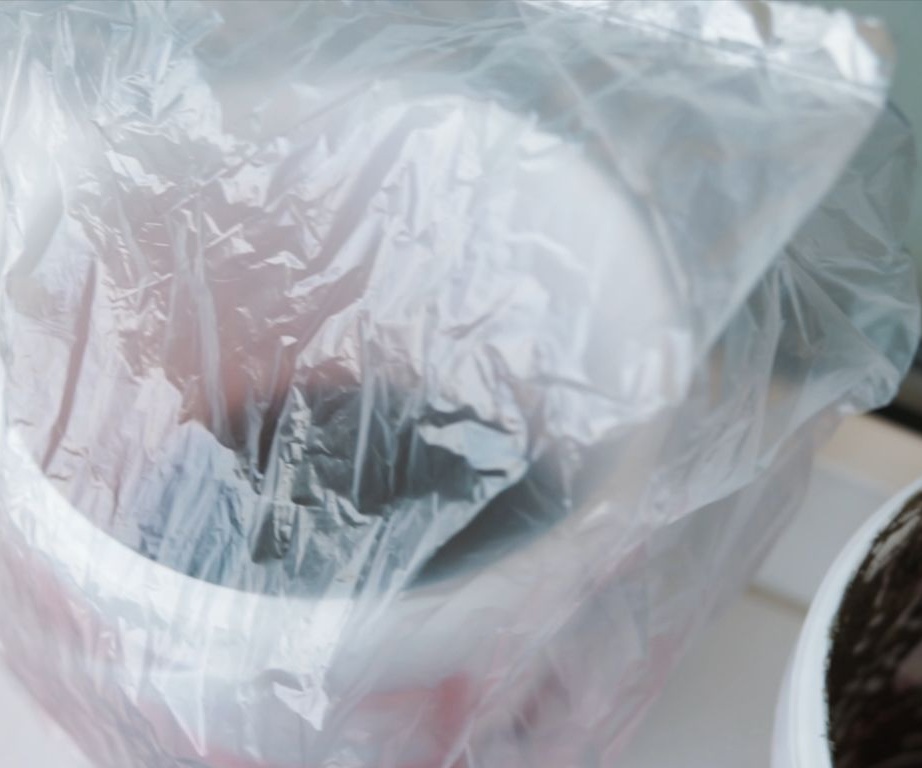
Mixes concrete. Lubricates the mold with vegetable oil. lays concrete in a mold. Concrete height 3.5 centimeters. Covers the mold with foil and leaves for three days.


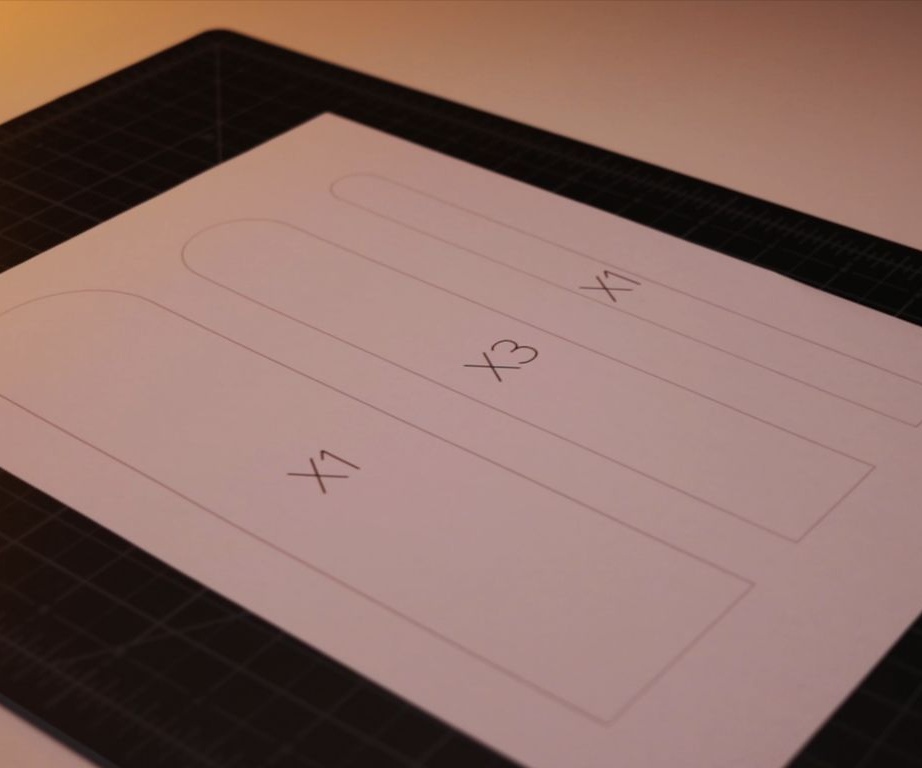
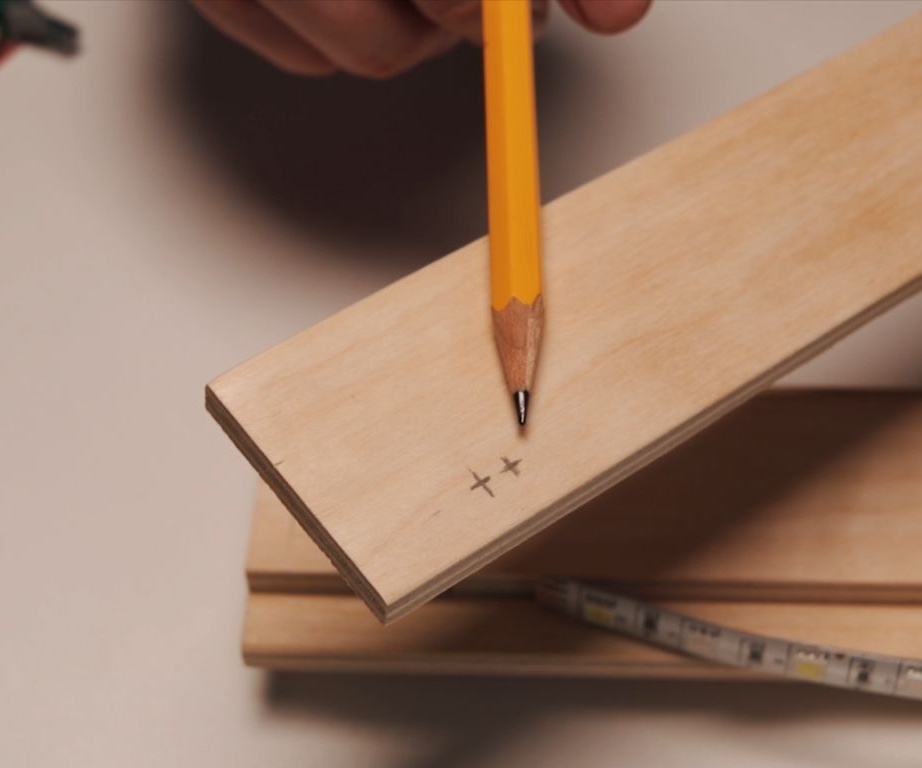
Step Two: Template
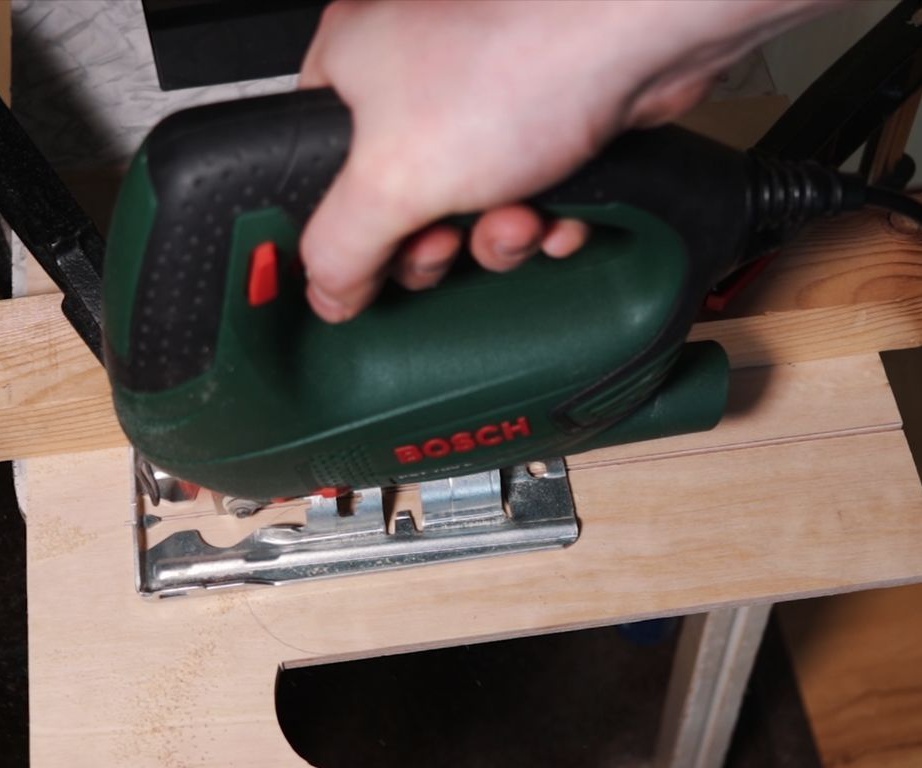
Using template cuts parts out of plywood.
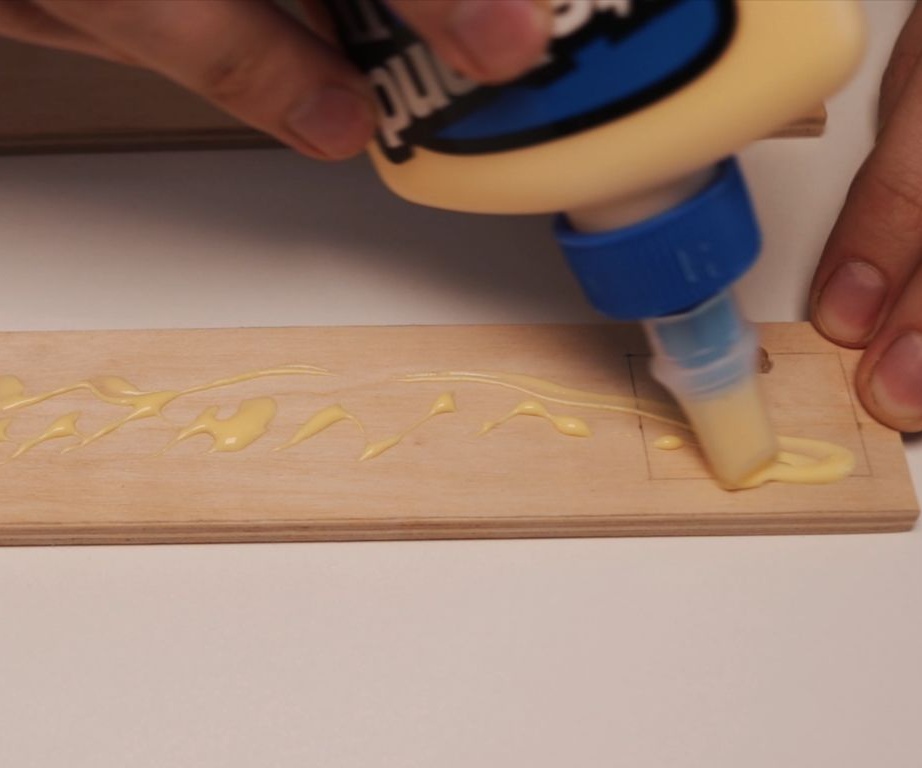
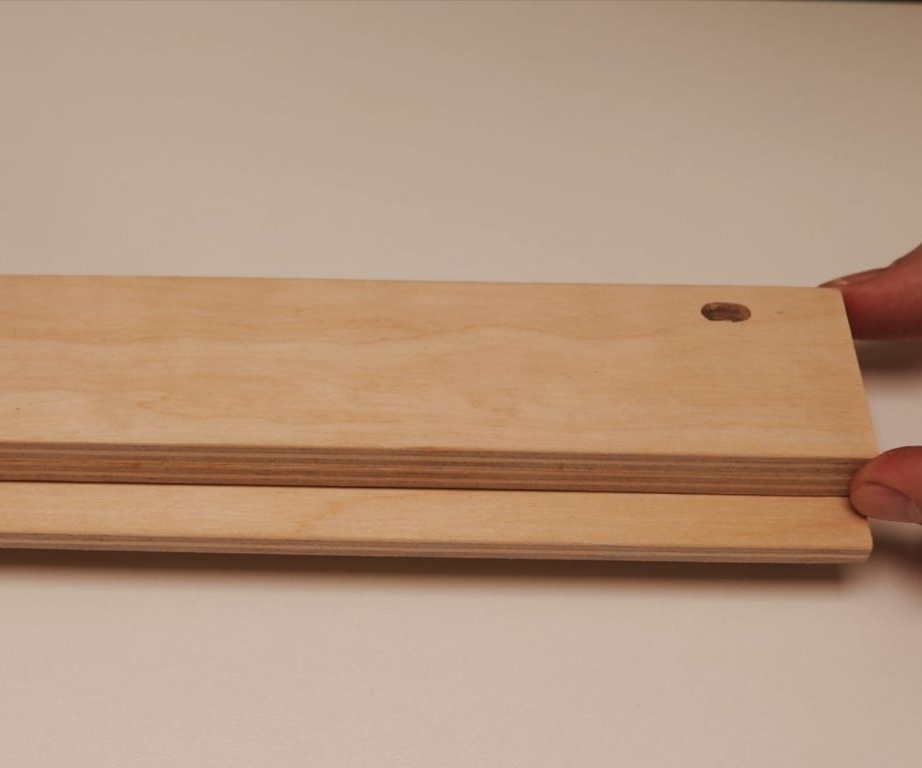
Step Three: Bonding the Front
Glues the front of the stand.

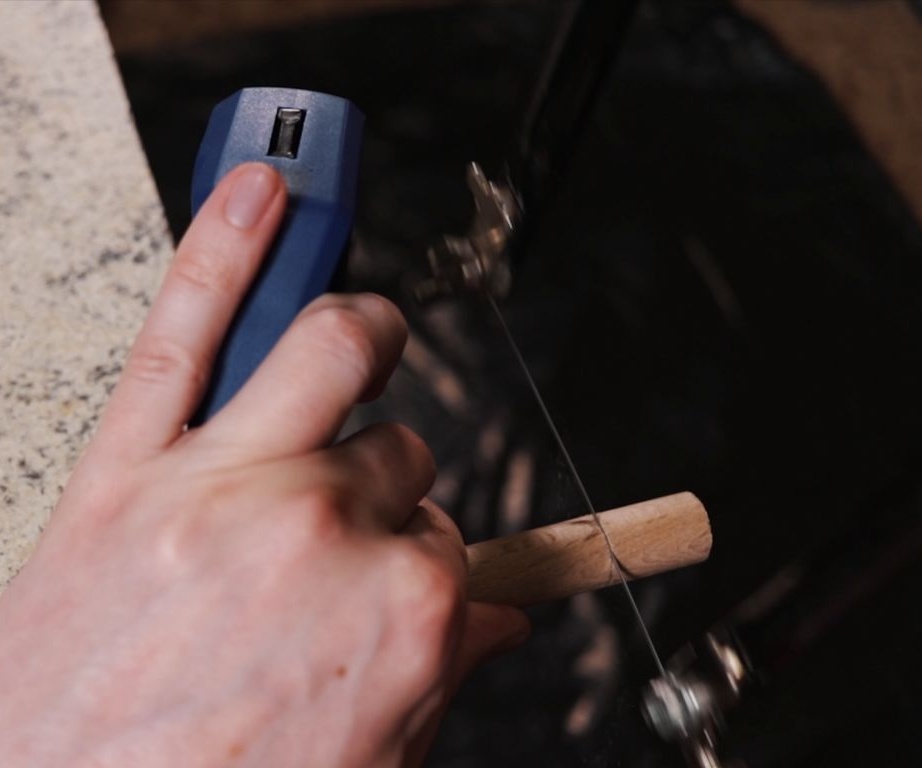
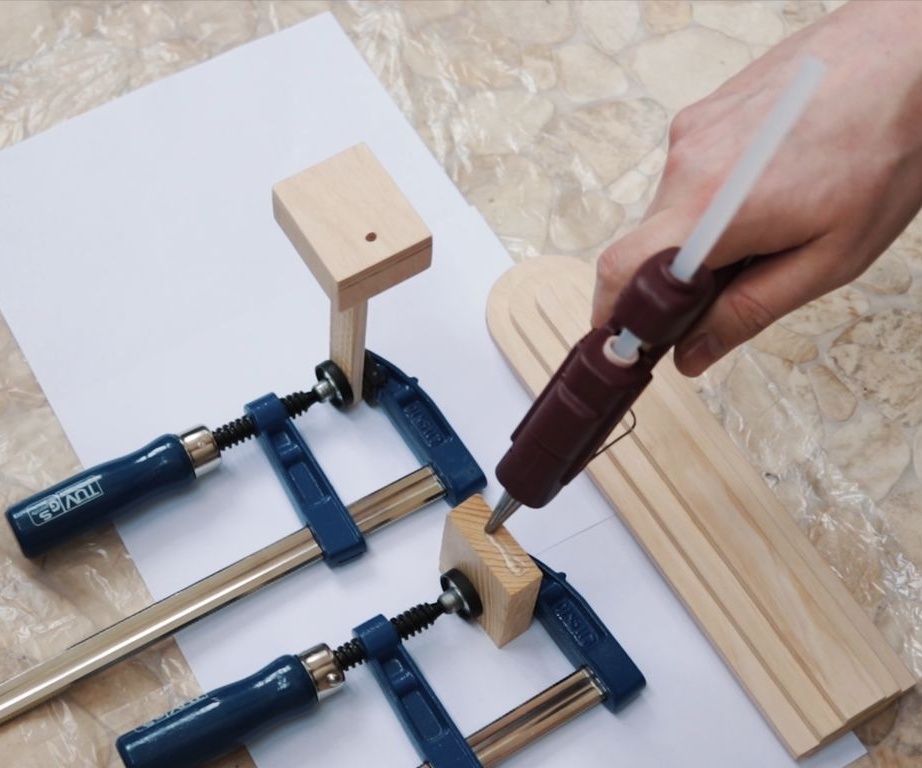
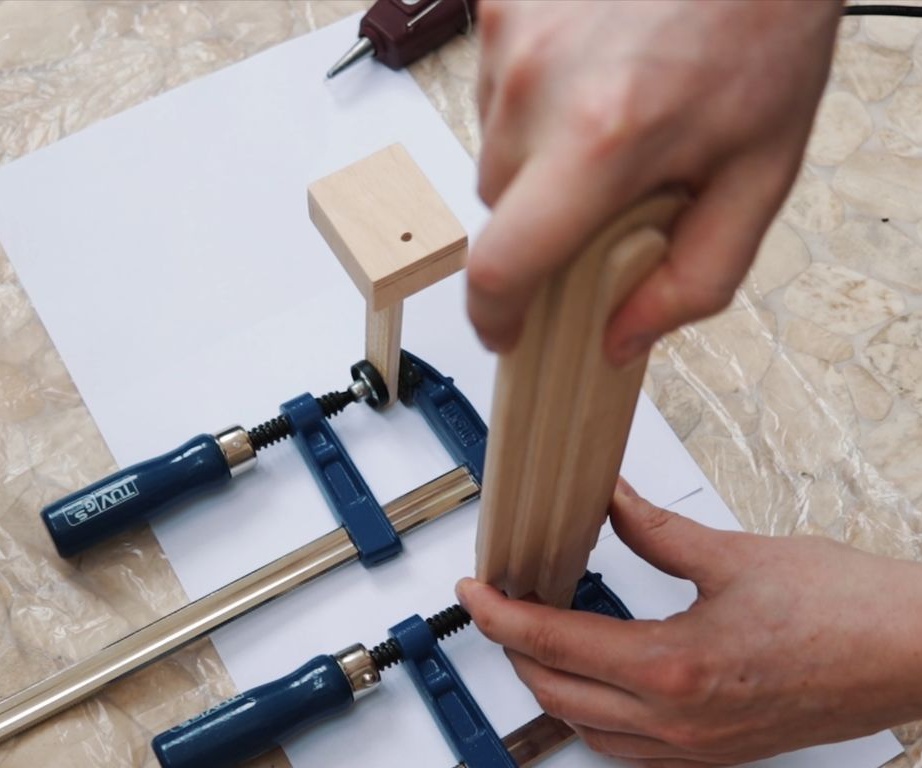
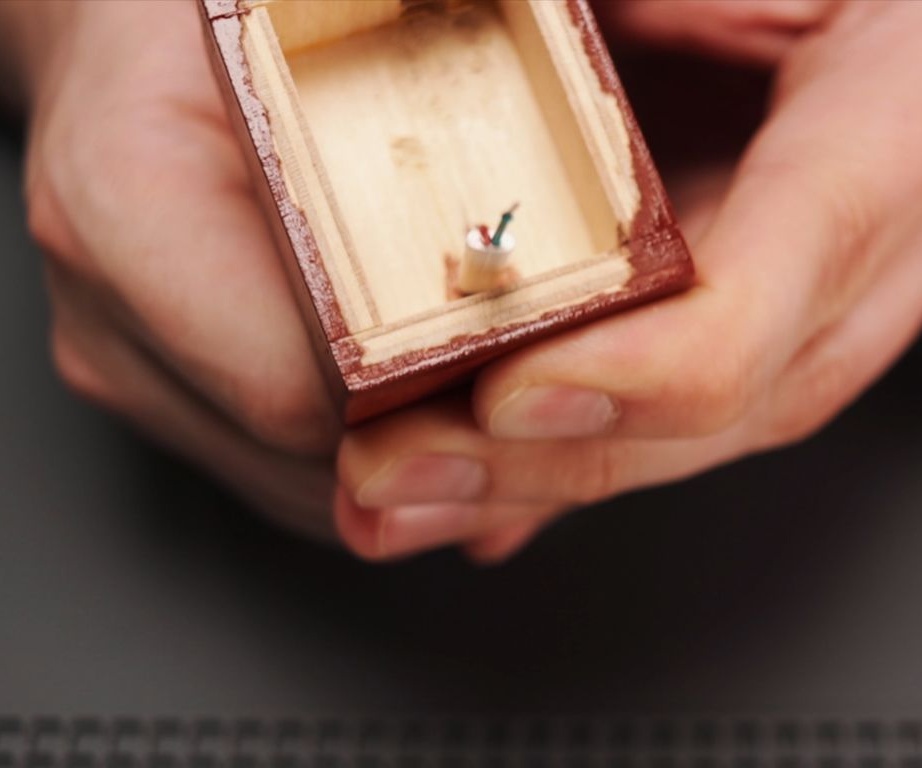
Step Four: Suspension and Dimer Housing
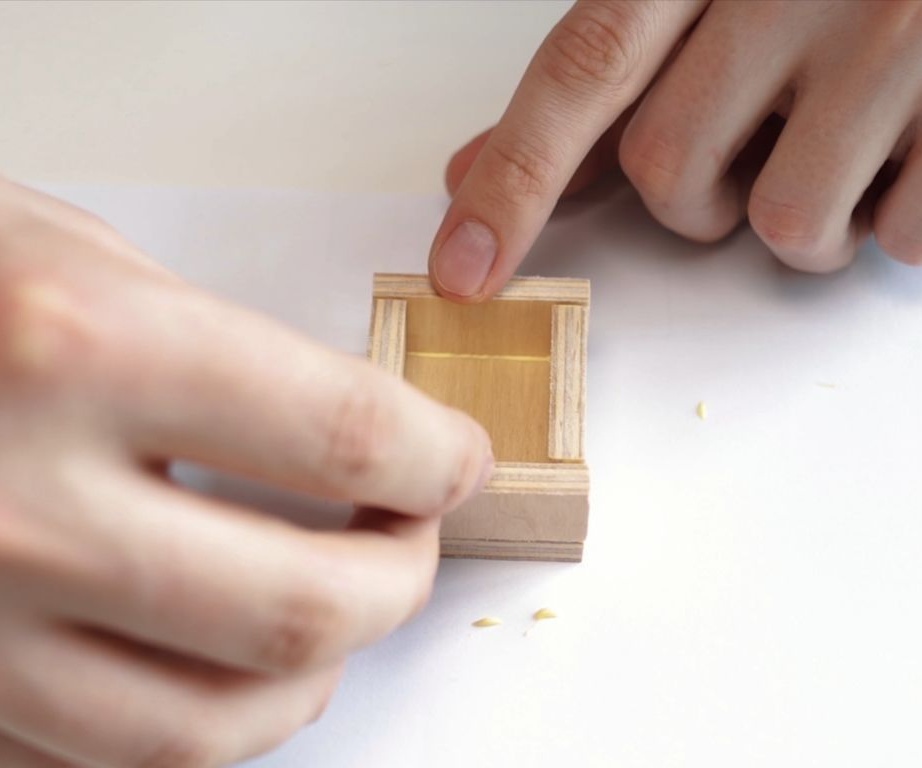
It cuts 2.5 cm from a wooden dowel. Then, from plywood, it makes a case for a dimmer.
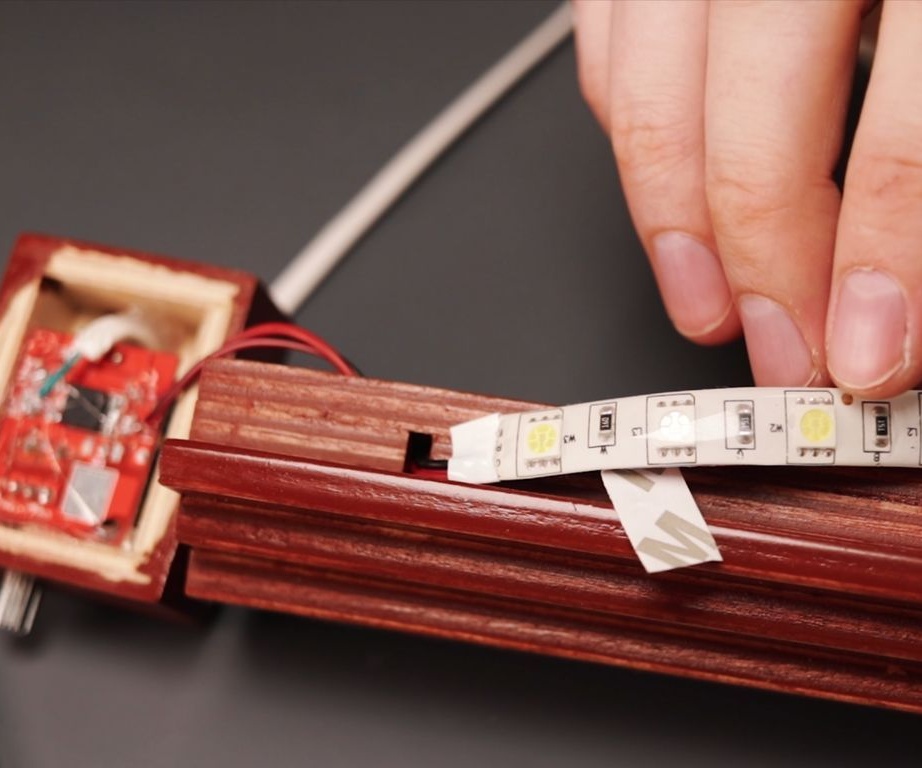
Step Five: Channel
Further, the author makes a channel for laying the wire.
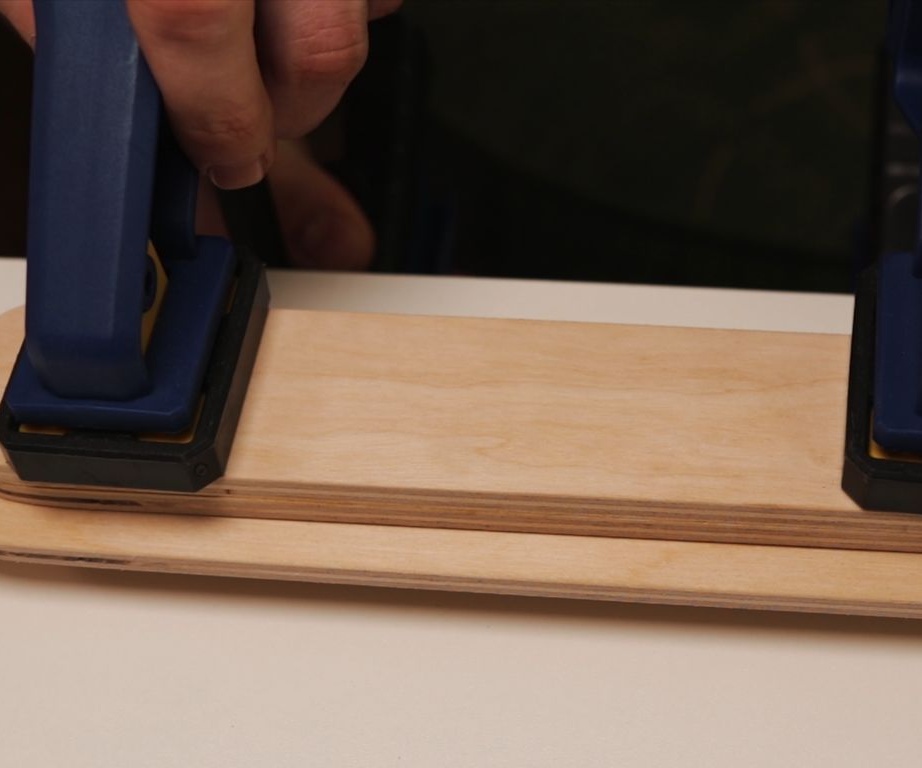
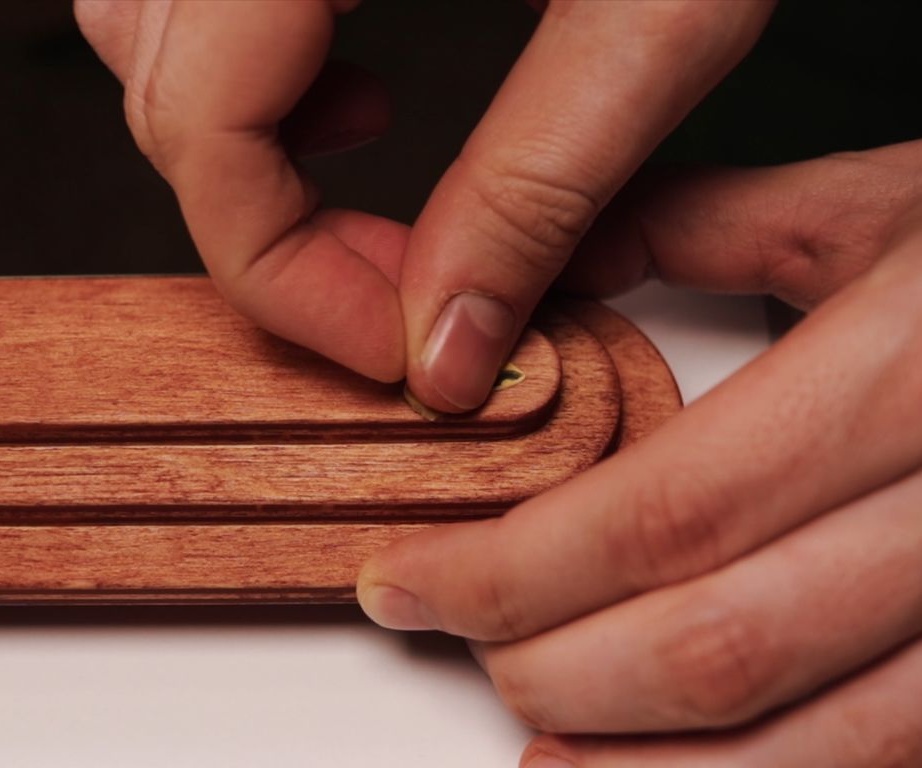
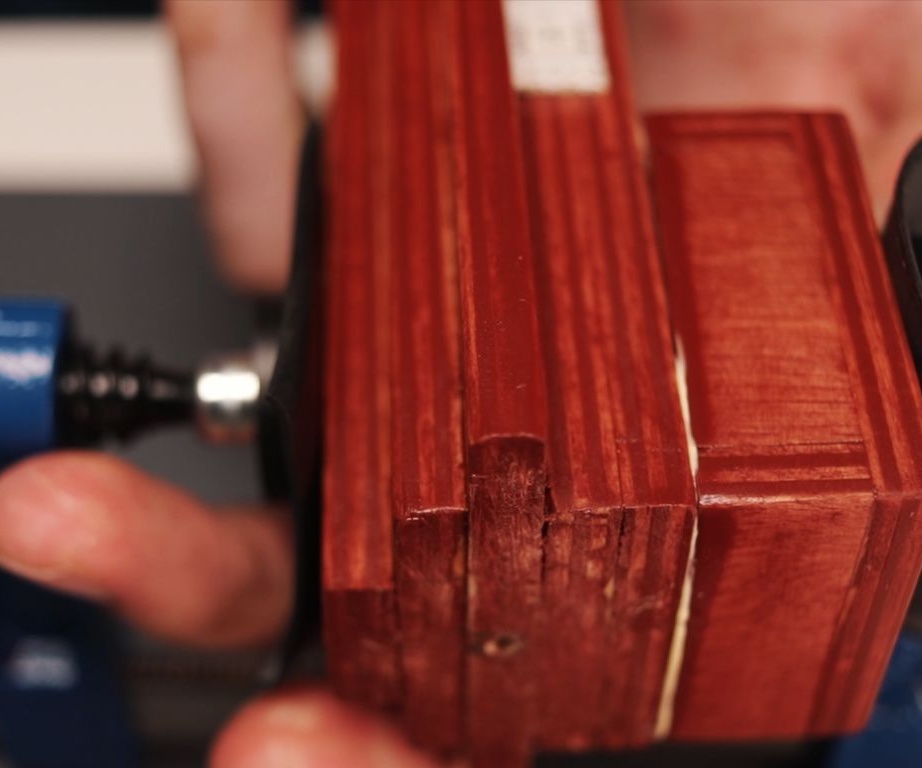
Step Six: Continue Bonding
Now you need to glue the back of the rack,
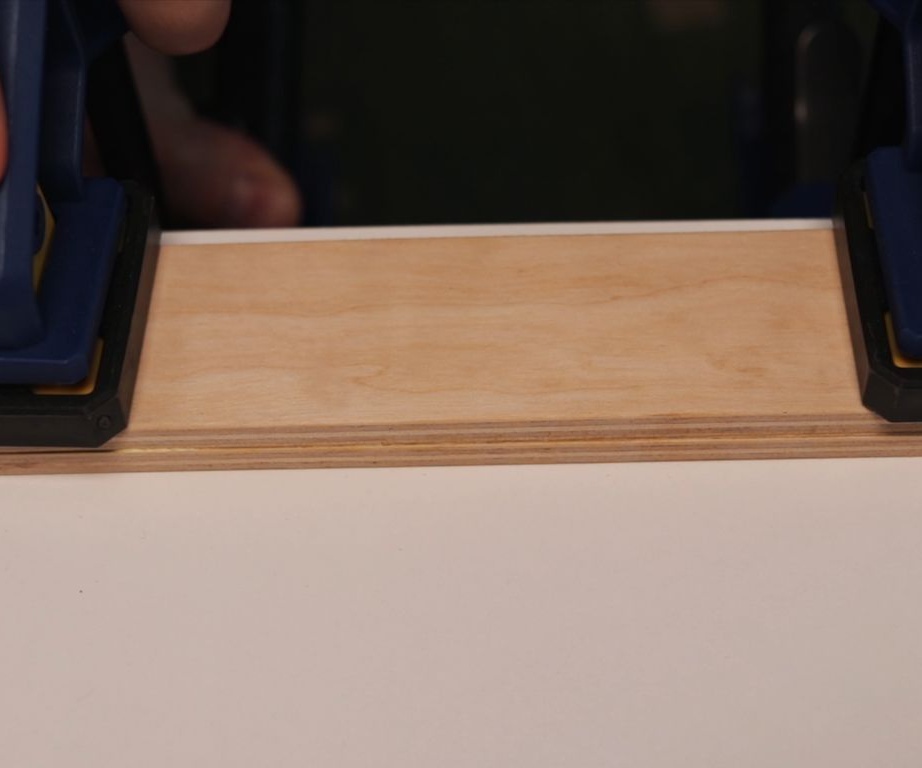
front and back of the stand.

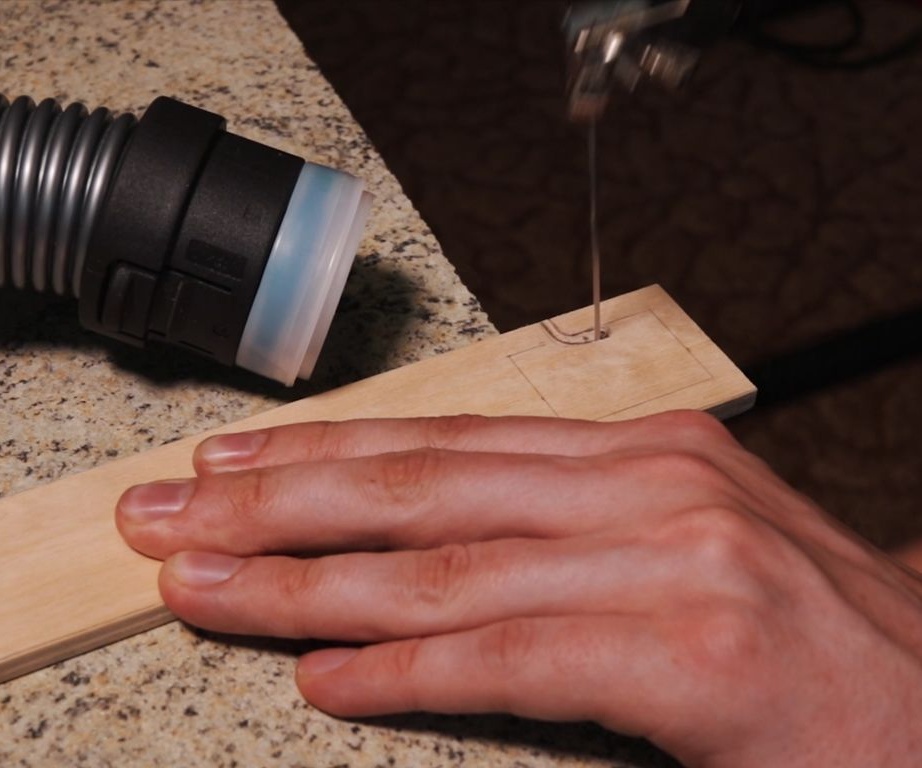
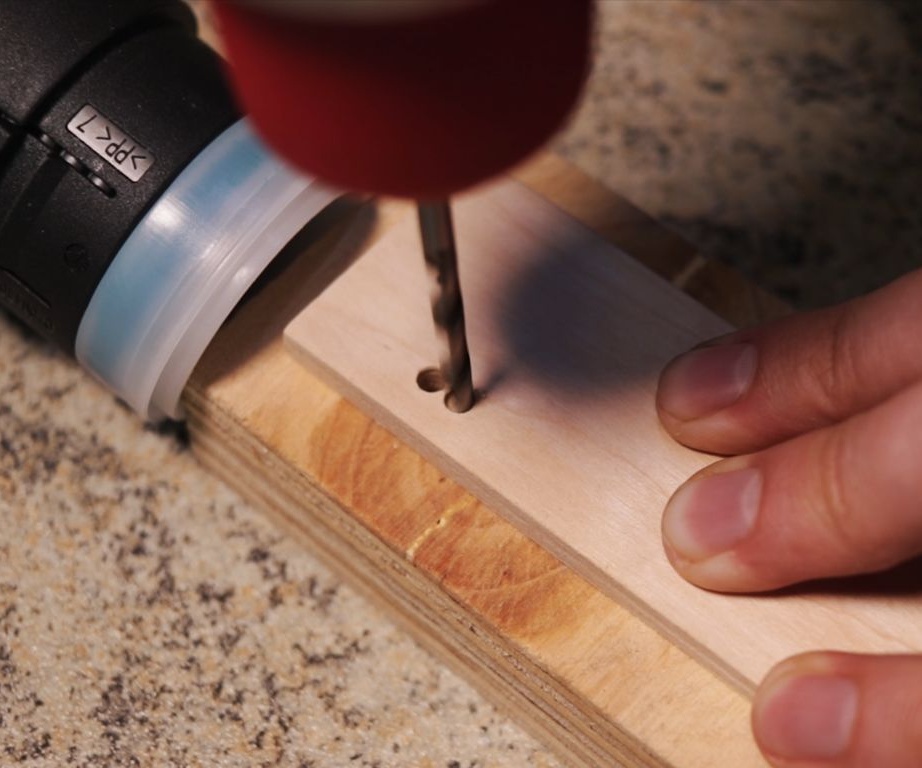
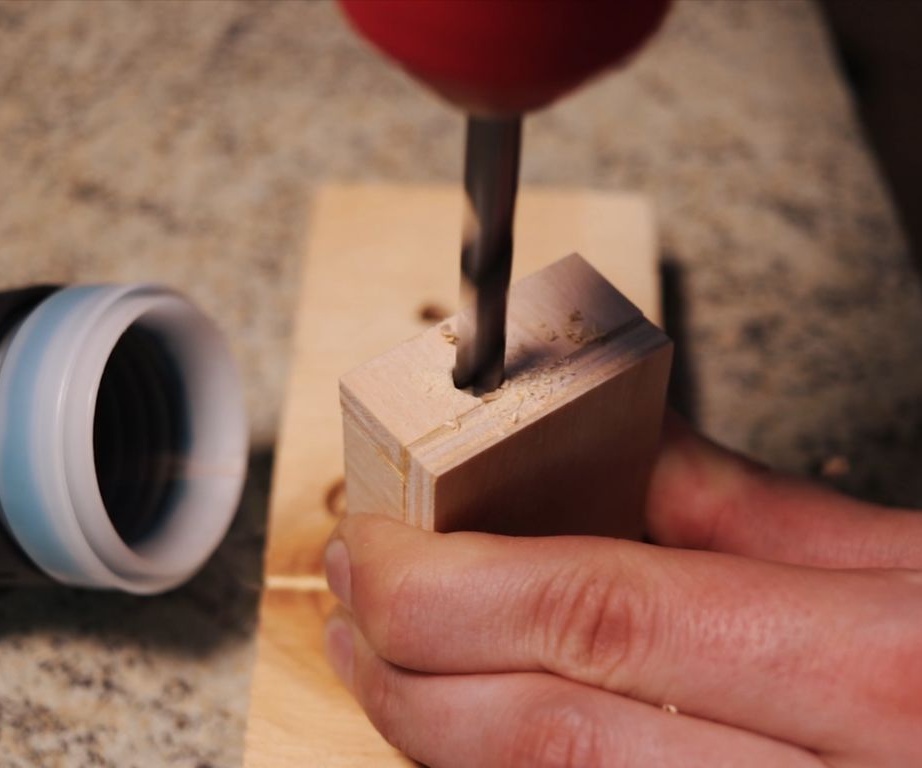
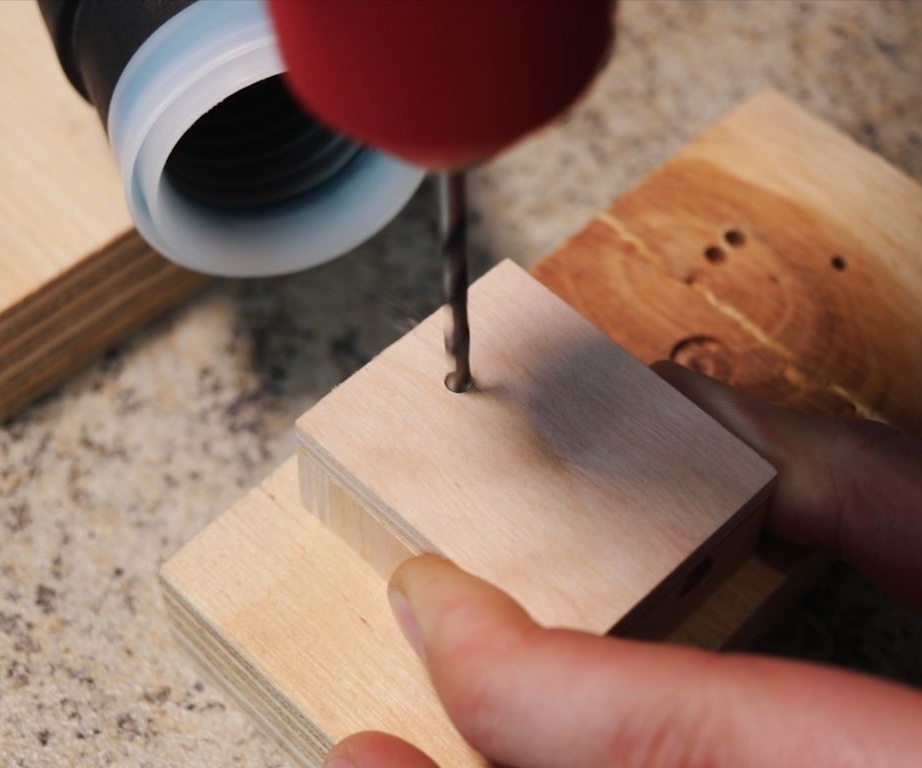
Seventh step: holes
In the dimer housing, drills two holes, for the wire and for the handle.
Step Eight: Cover
Glue the stand to the wooden block and apply the coating.

Adhes the suspension to the rack.
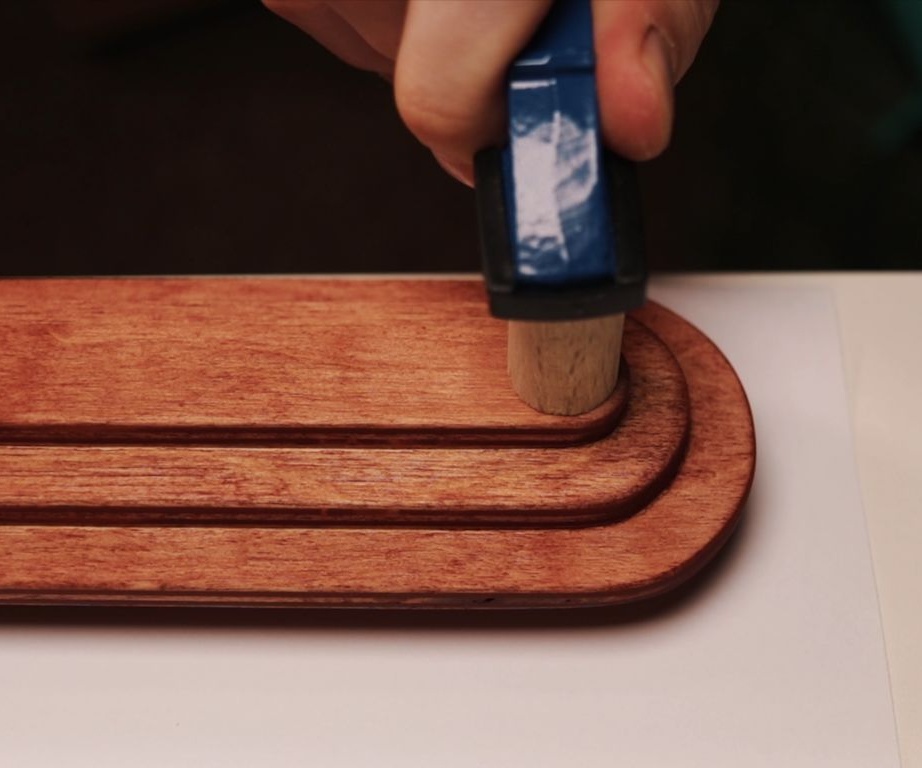
Drills a screw hole.
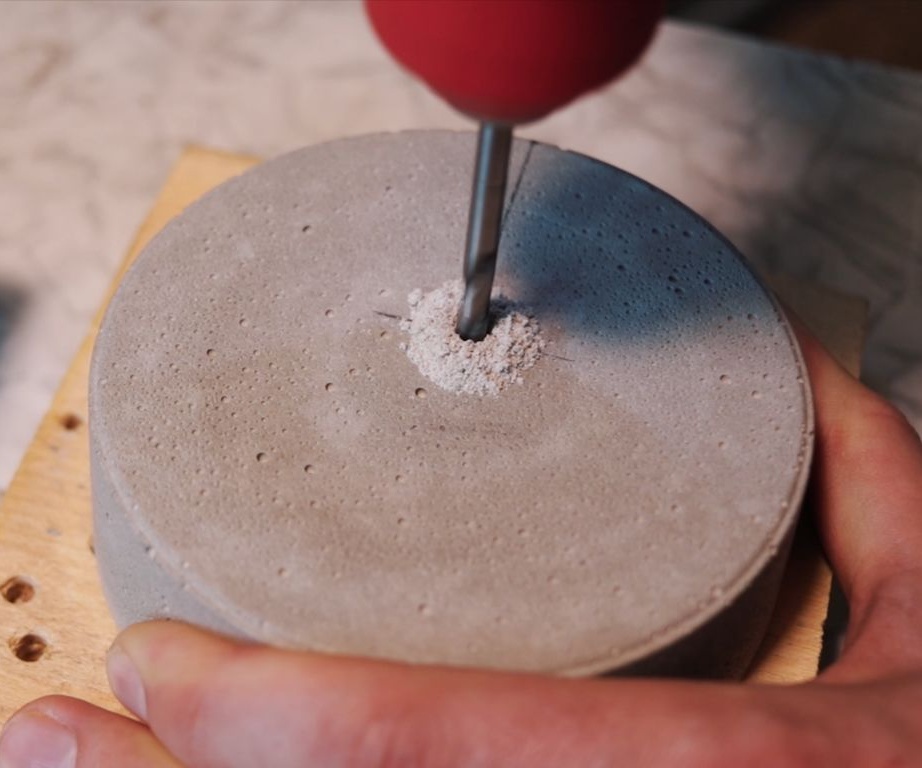
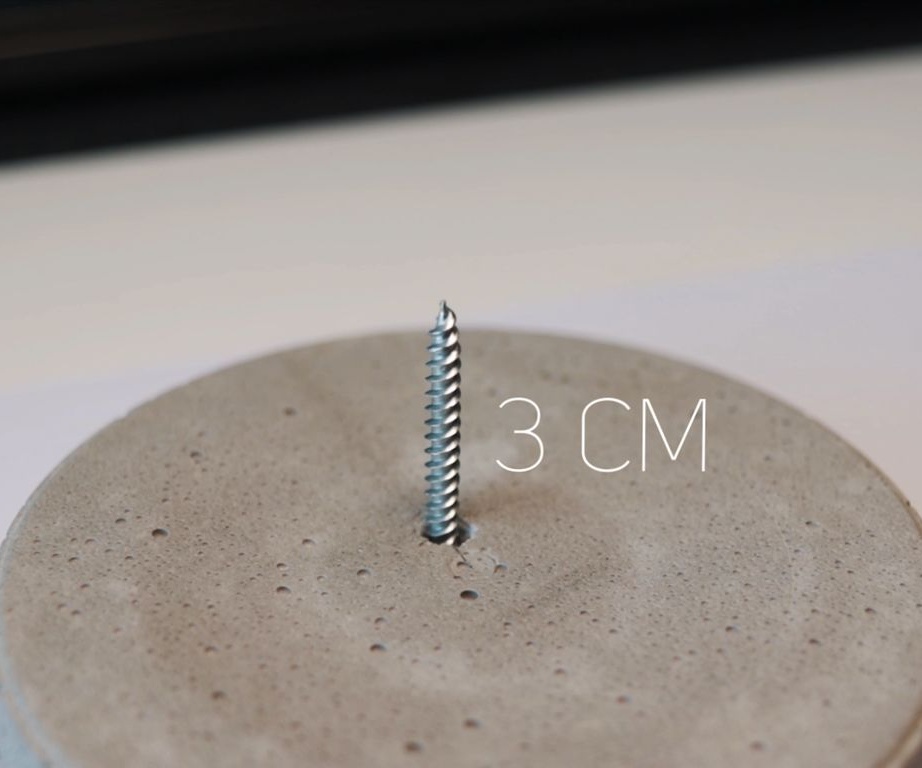
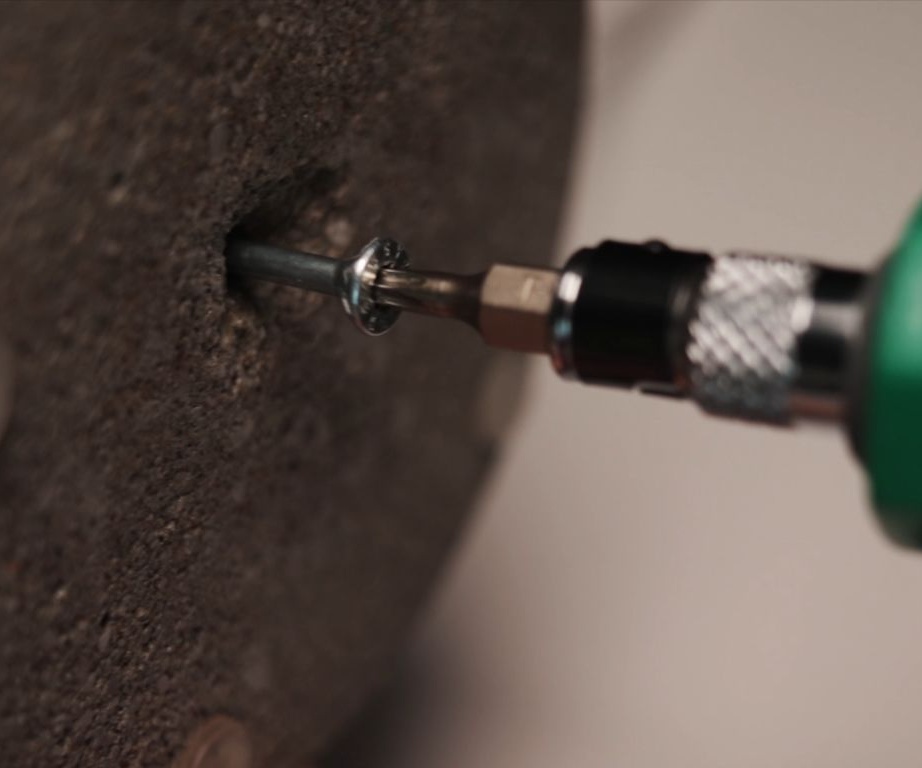
Step Nine: Foundation Preparation
One centimeter in any direction departs from the center of the base. Drills a screw hole. The screw should protrude 3 centimeters.
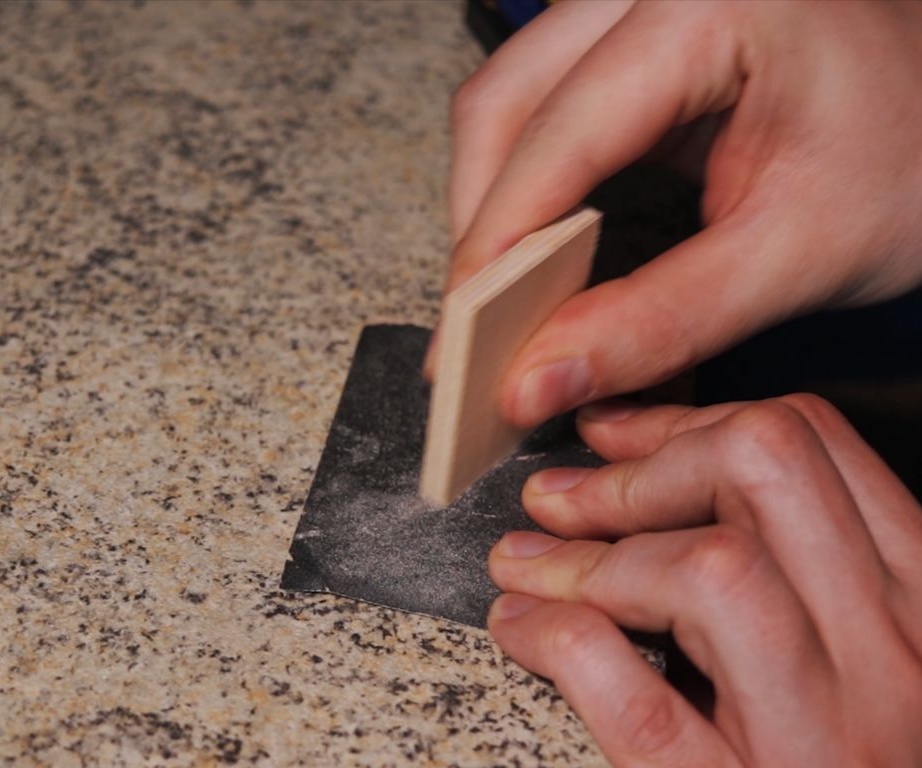
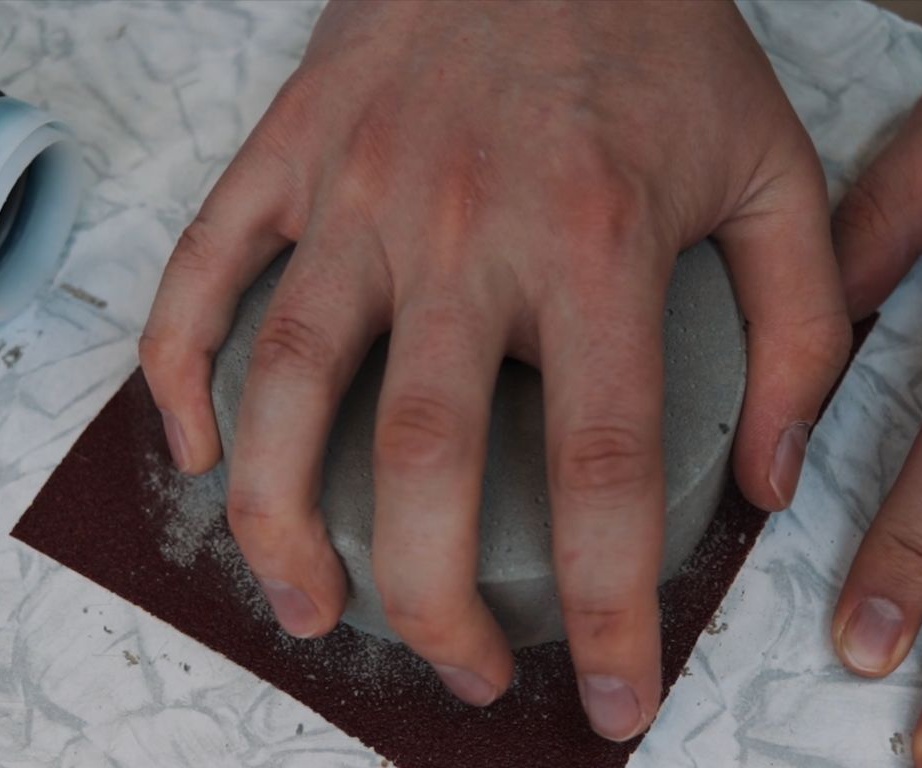
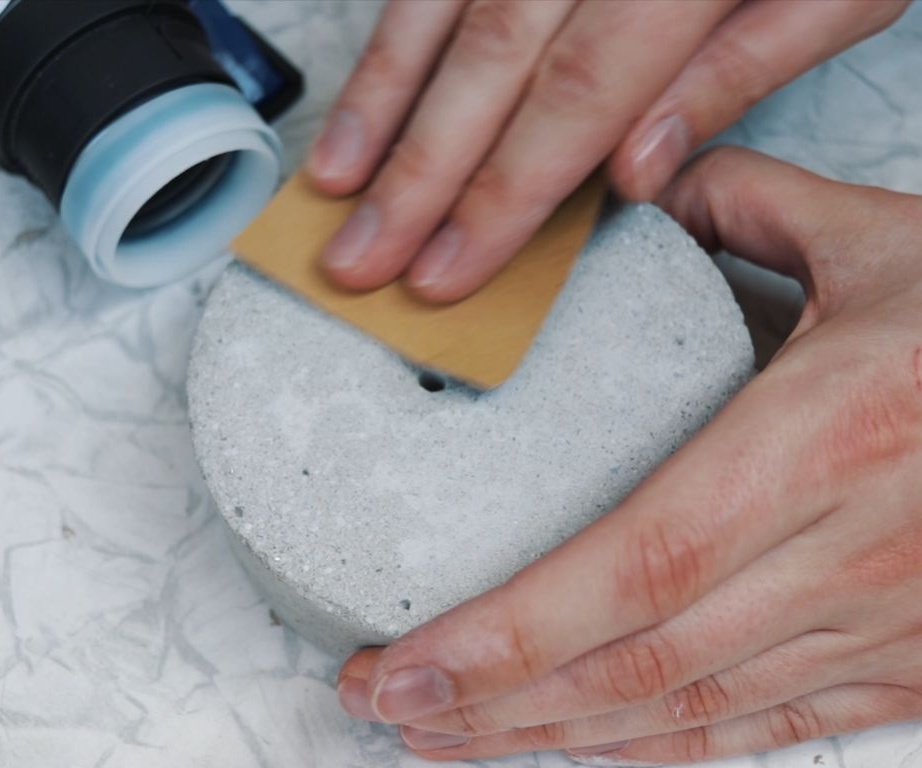
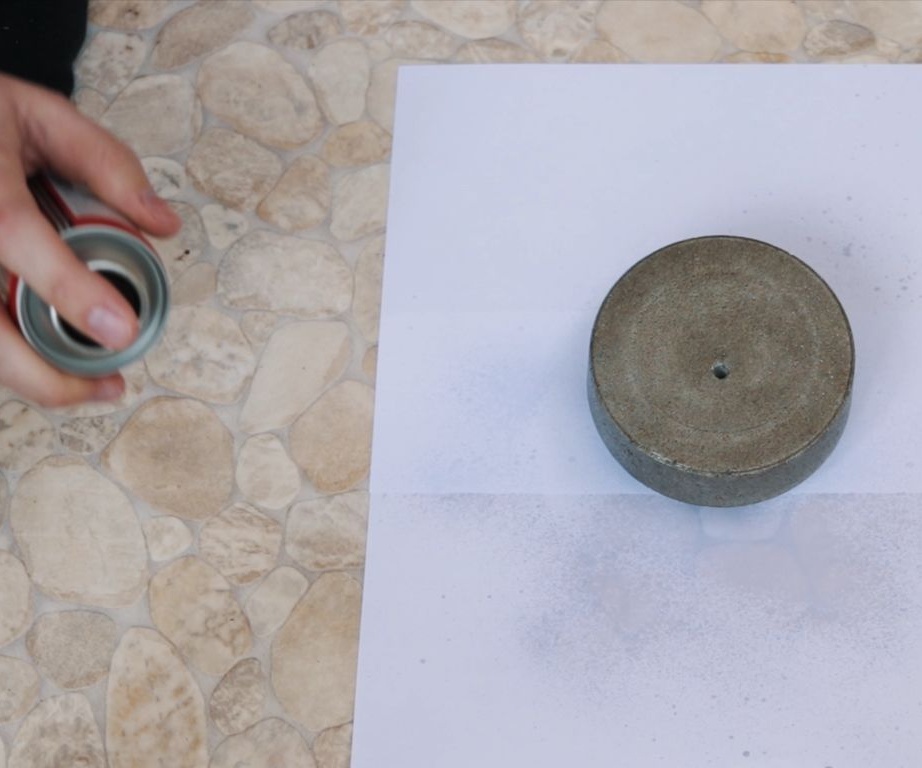
Before screwing in the screw, the master processes the base. Grinds and coats.

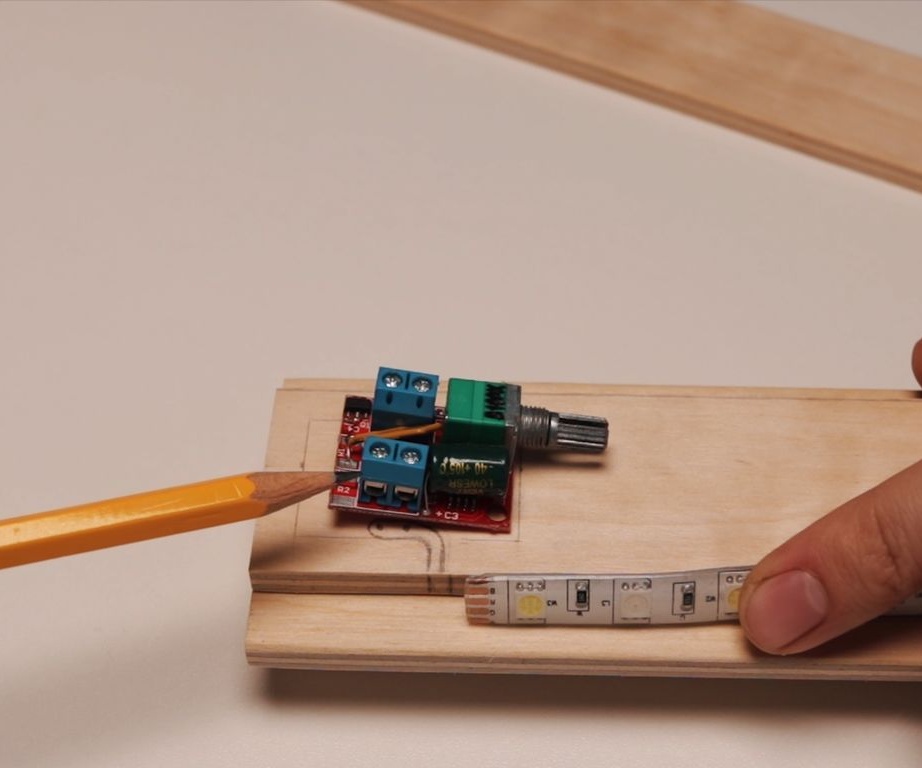
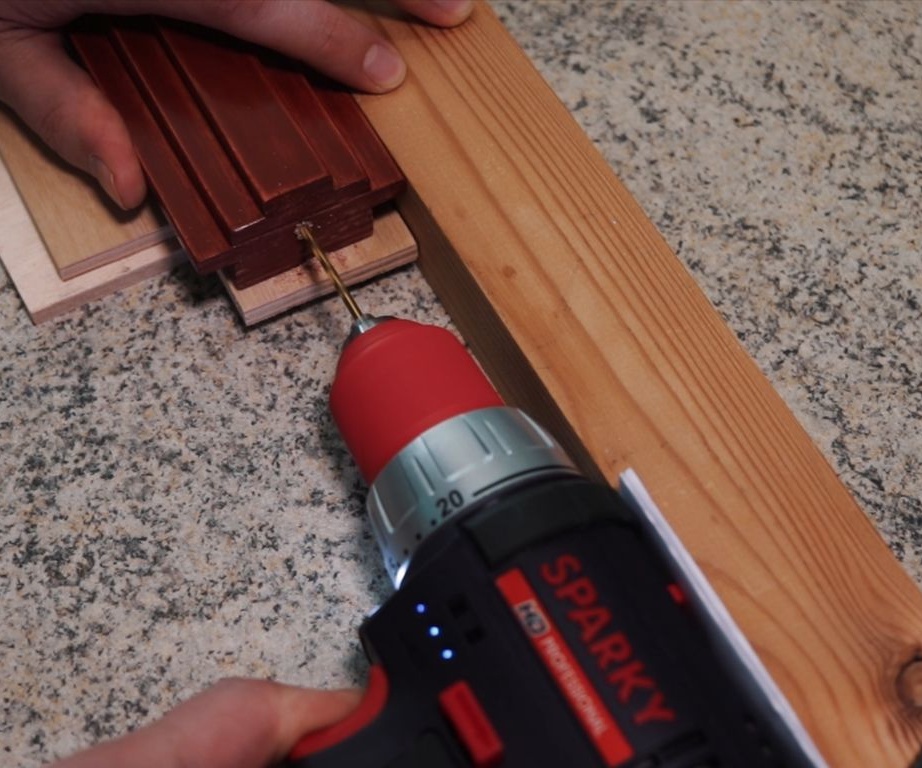
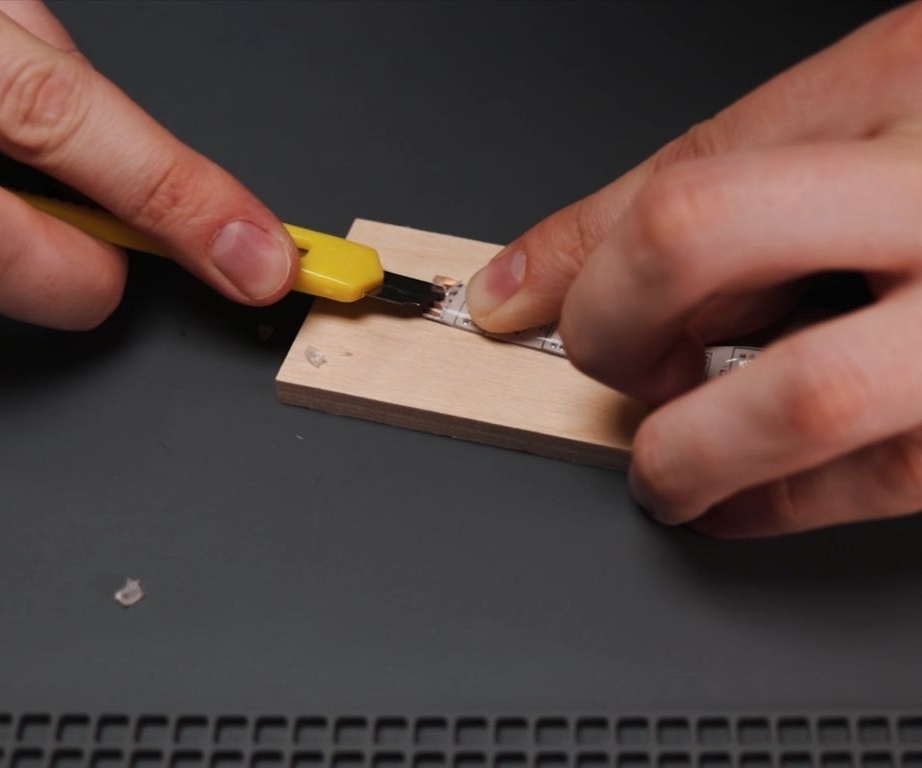
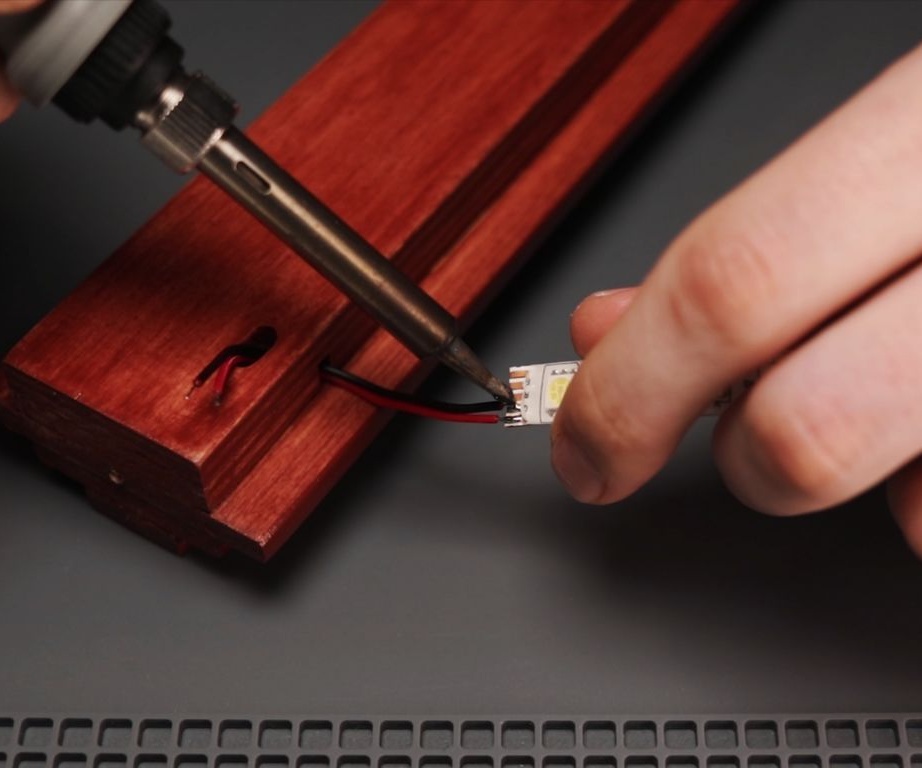
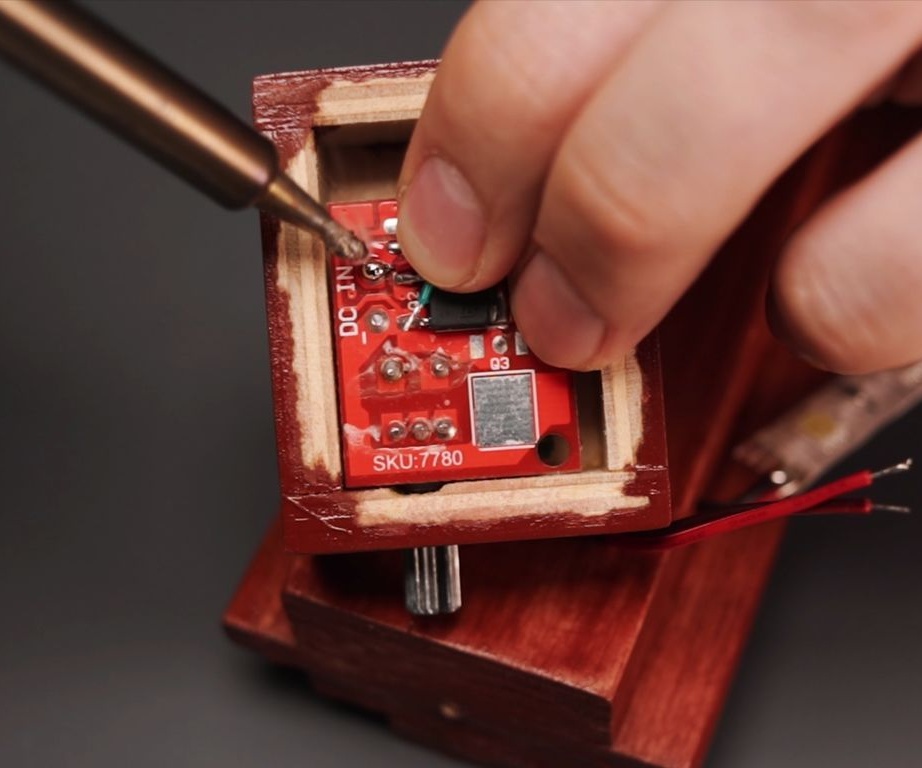
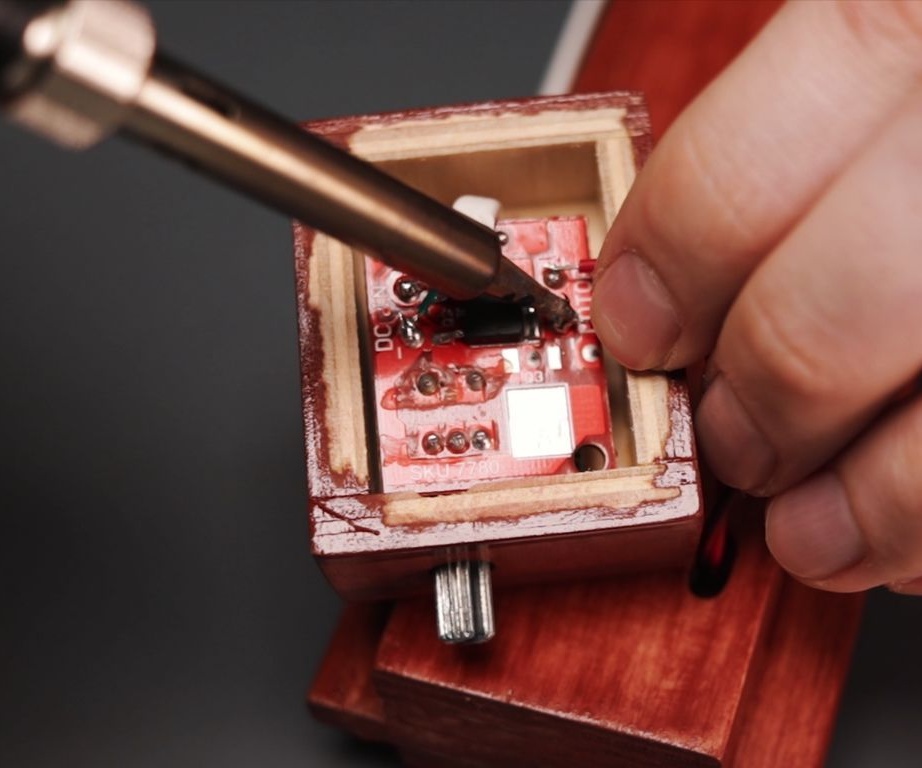
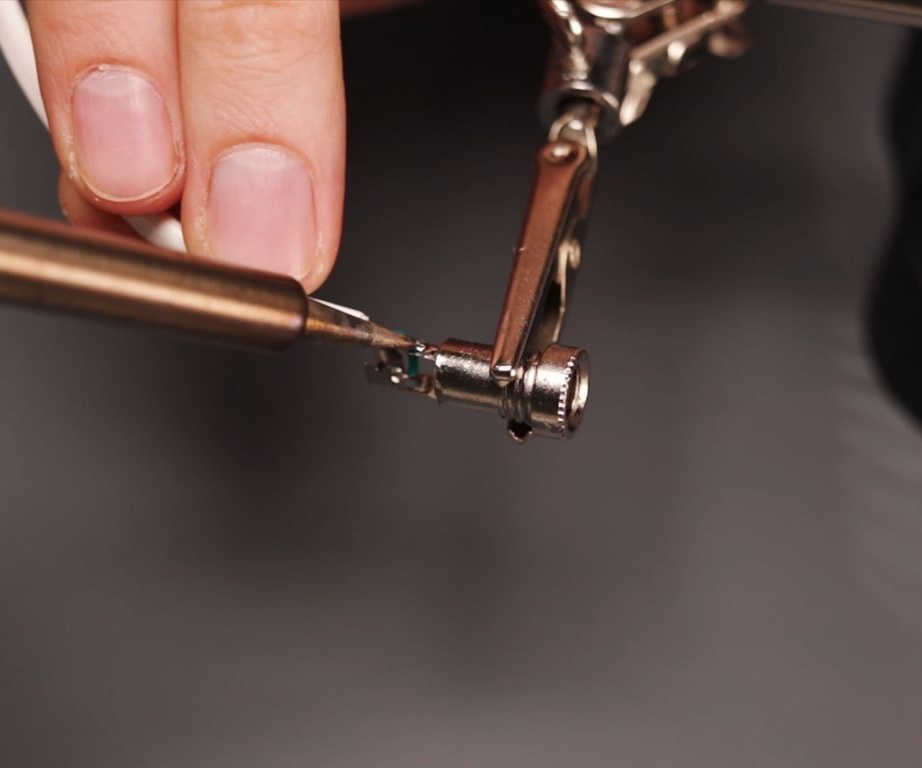
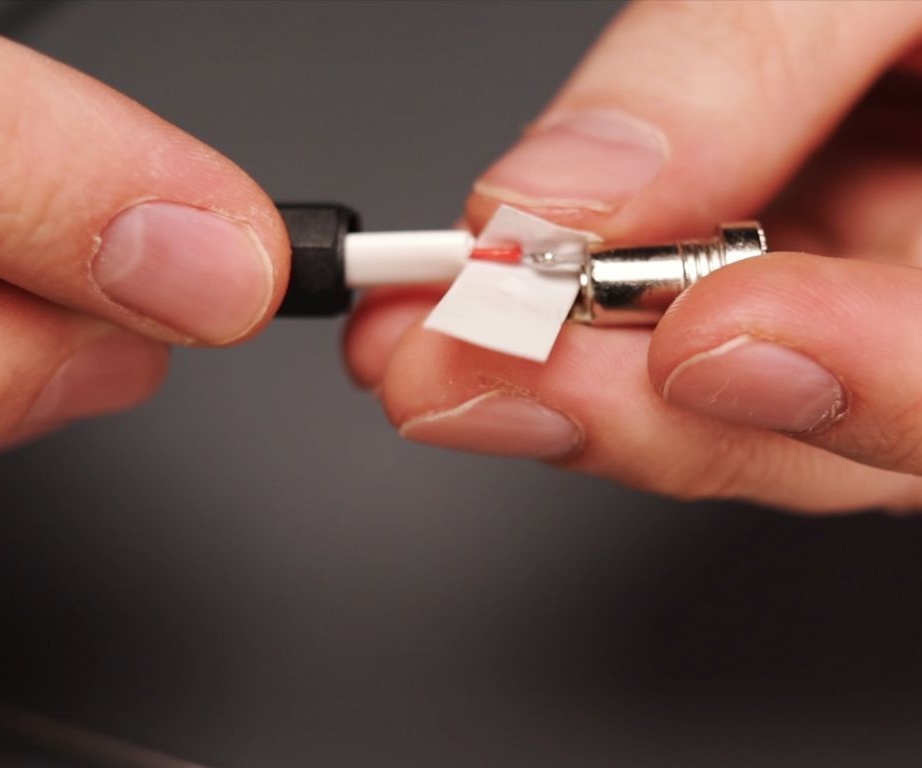
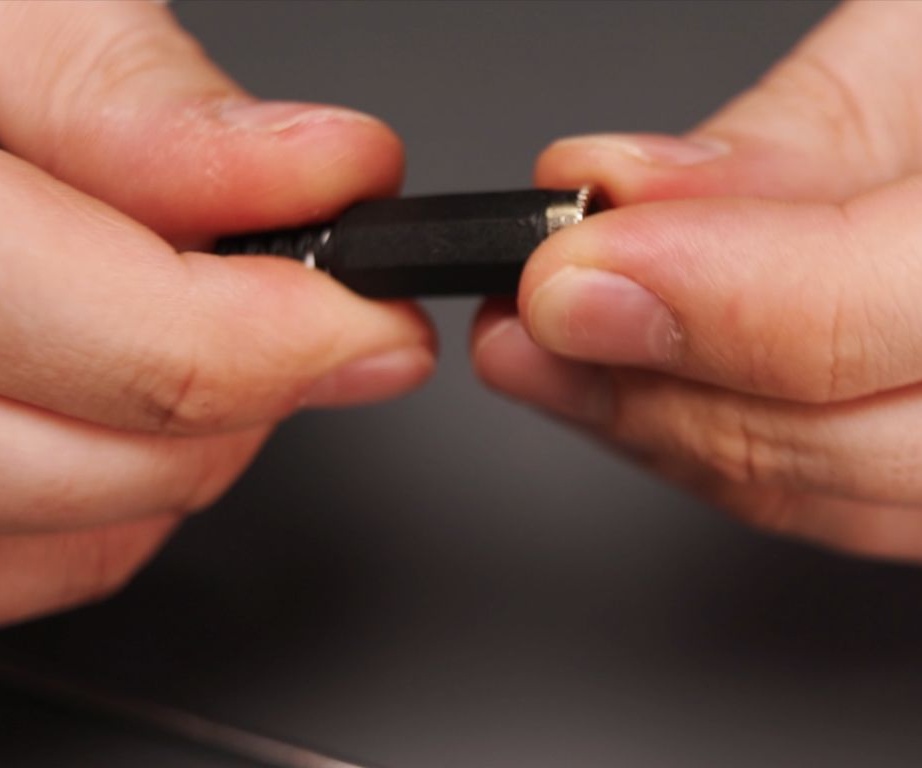
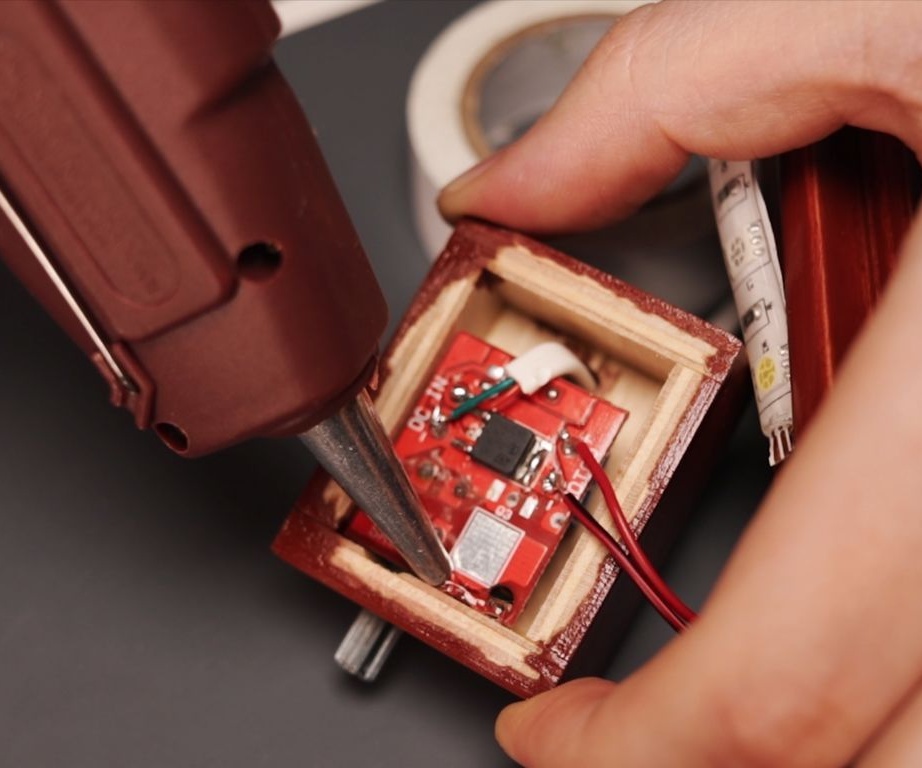
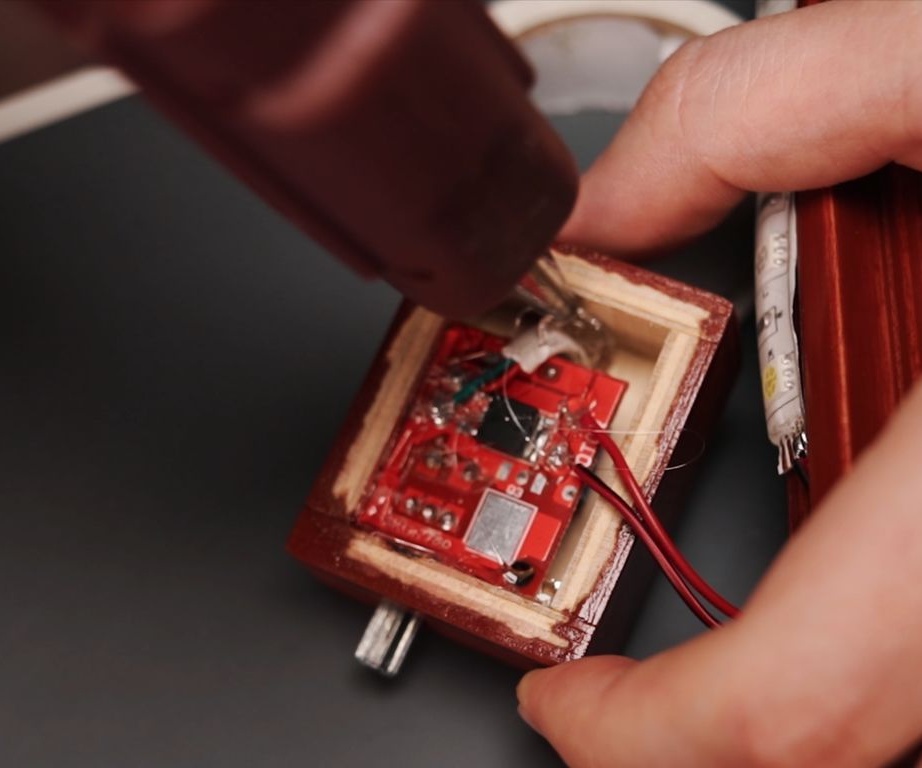
Step Ten: Soldering
Next, the master prepares the electrical components for soldering. Stretches the wire, strips the ends, installs a dimmer in the housing.

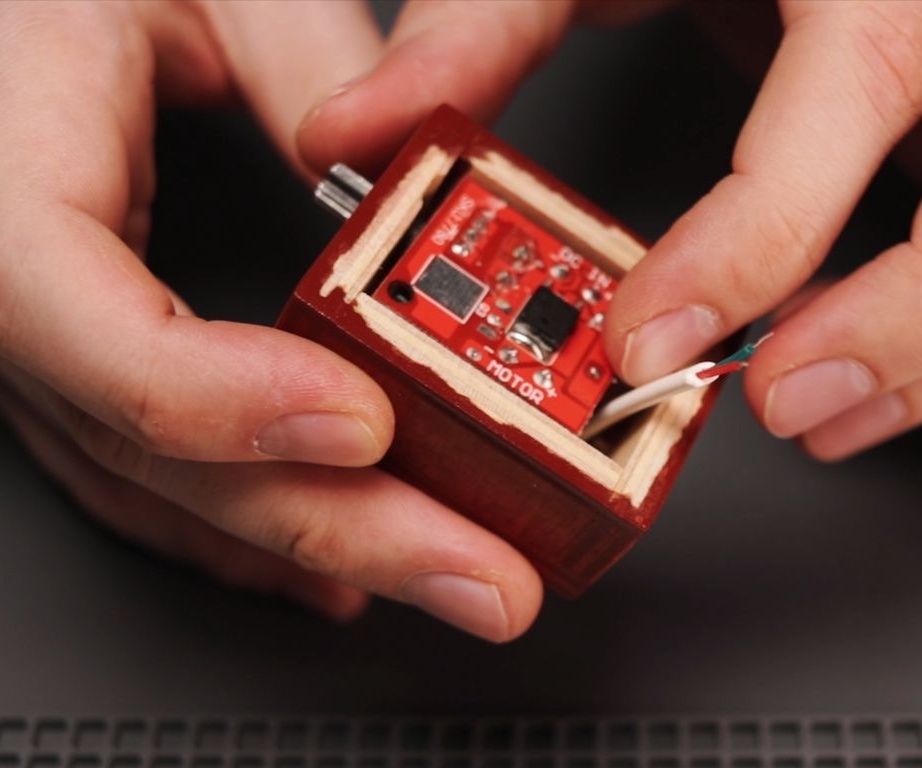
Solder the wires to the LED strip, dimmer. Solder the wire from the power supply.
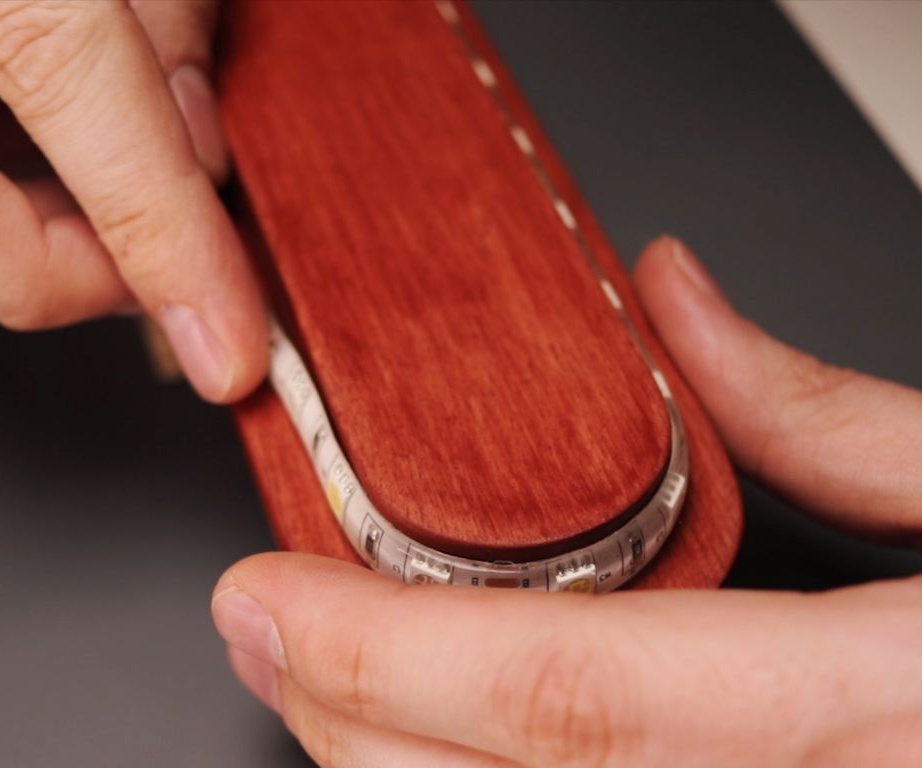
Glues the dimer to the body. Glues the LED strip on the back of the rack.
Step Eleven: Final Assembly
Glues the dimmer body to the rack. Then glues the silicone pads to the base and fastens the stand to it.

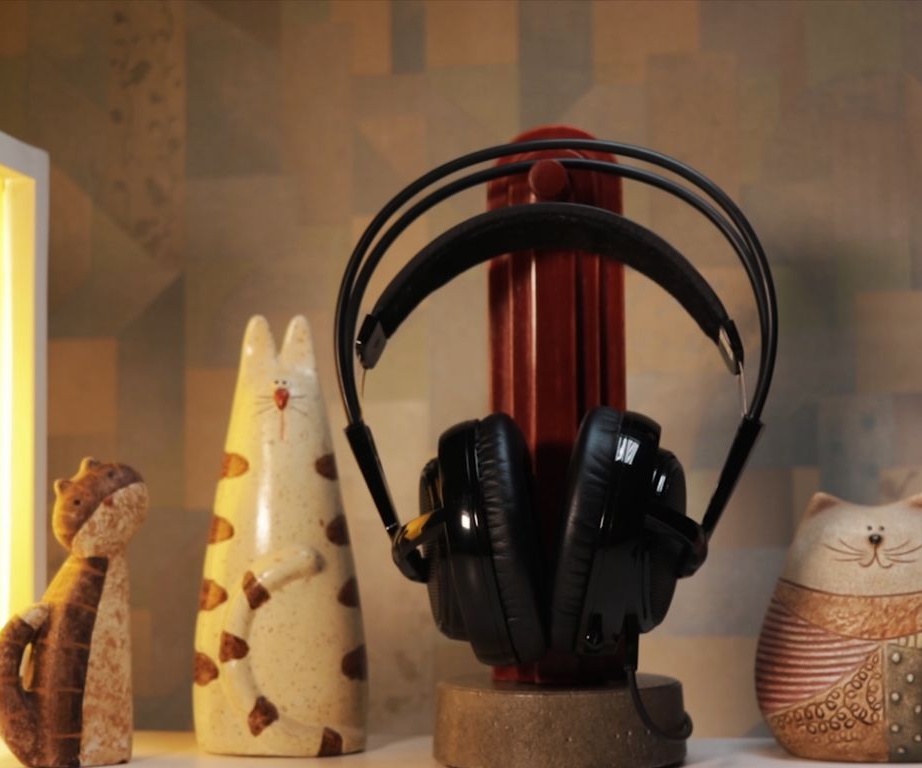
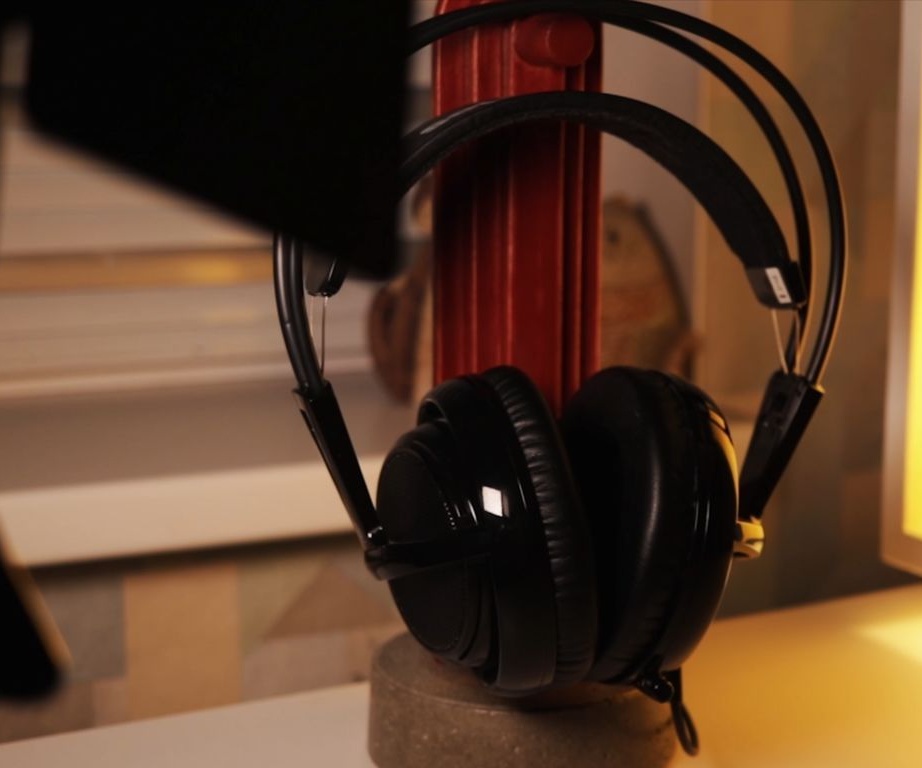
The headphone stand is ready.


The whole process of making the stand can be seen in the video.