Hello everybody!
It turned out that the case of my laptop (HP pavilion g7 2330 sr) could not stand the test of time, the corner broke off,
where the lid bracket with the display is attached, and attempts to find a new one at the right price were unsuccessful.
Second-hand buildings are not whole either, because everyone breaks this corner. As a result, it was decided to make a stationary PC from a laptop.
The laptop case was thrown right away. DVD drive, battery, display and keyboard put up for sale. Eventually
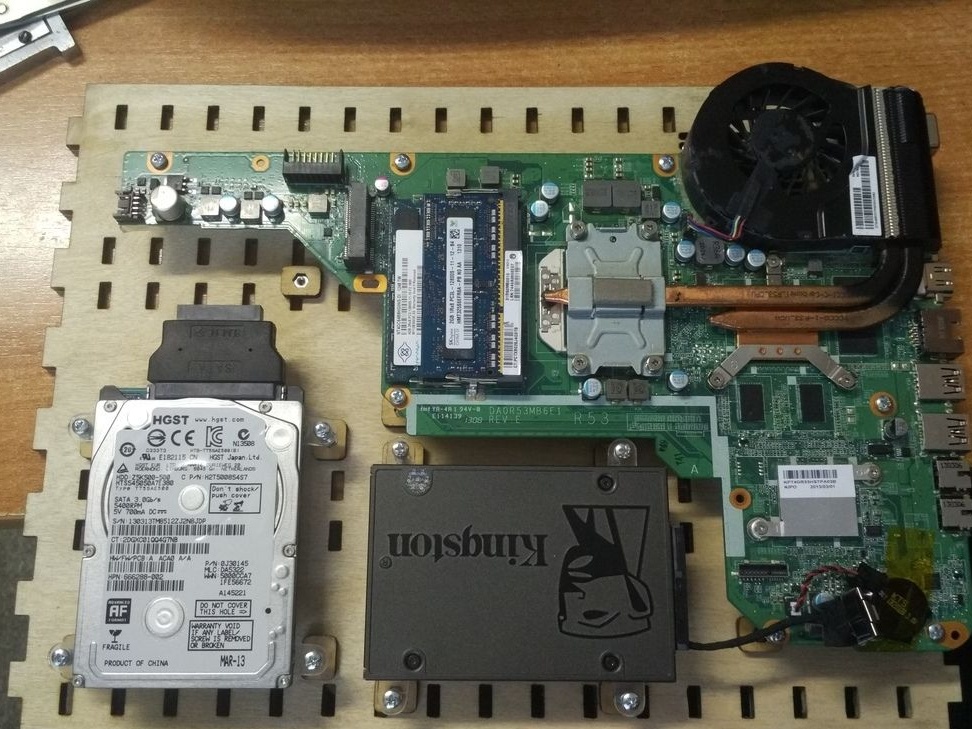
From the laptop left: the motherboard, HDD and wi-fi antenna. To cheer up a bit
native components, I took another 120GB SSD for the system. To connect the HDD to the DVD drive connector,
I ordered a small adapter on Ali.
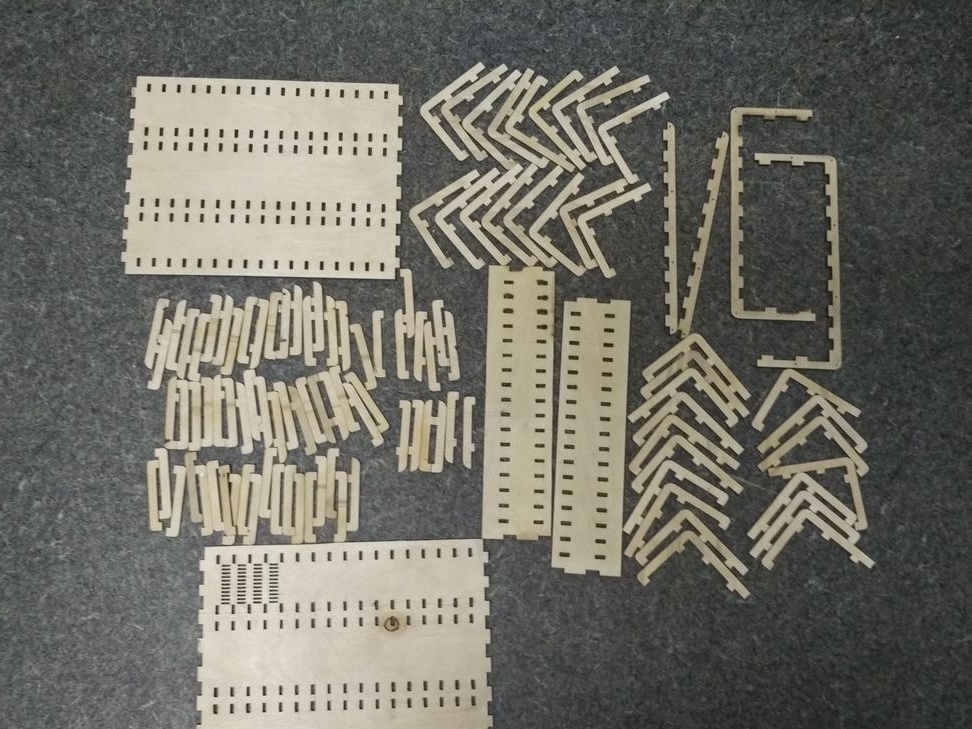
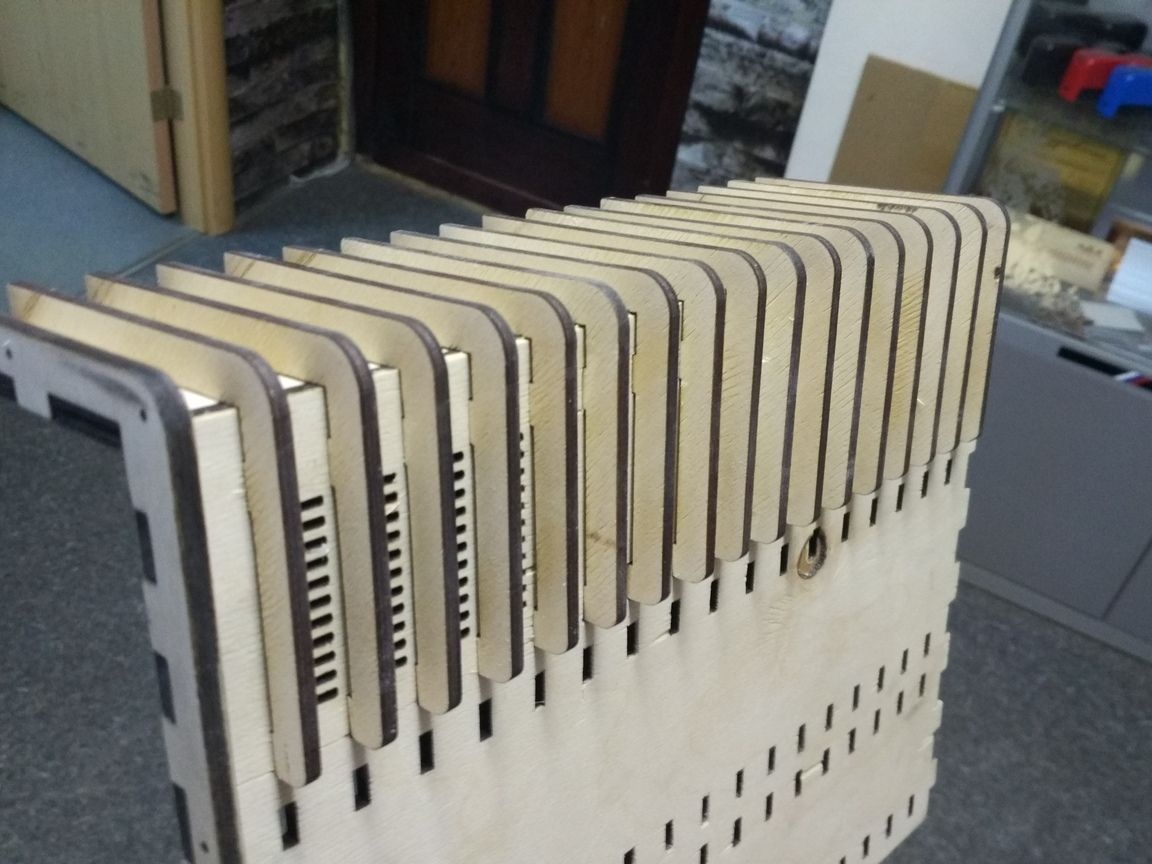
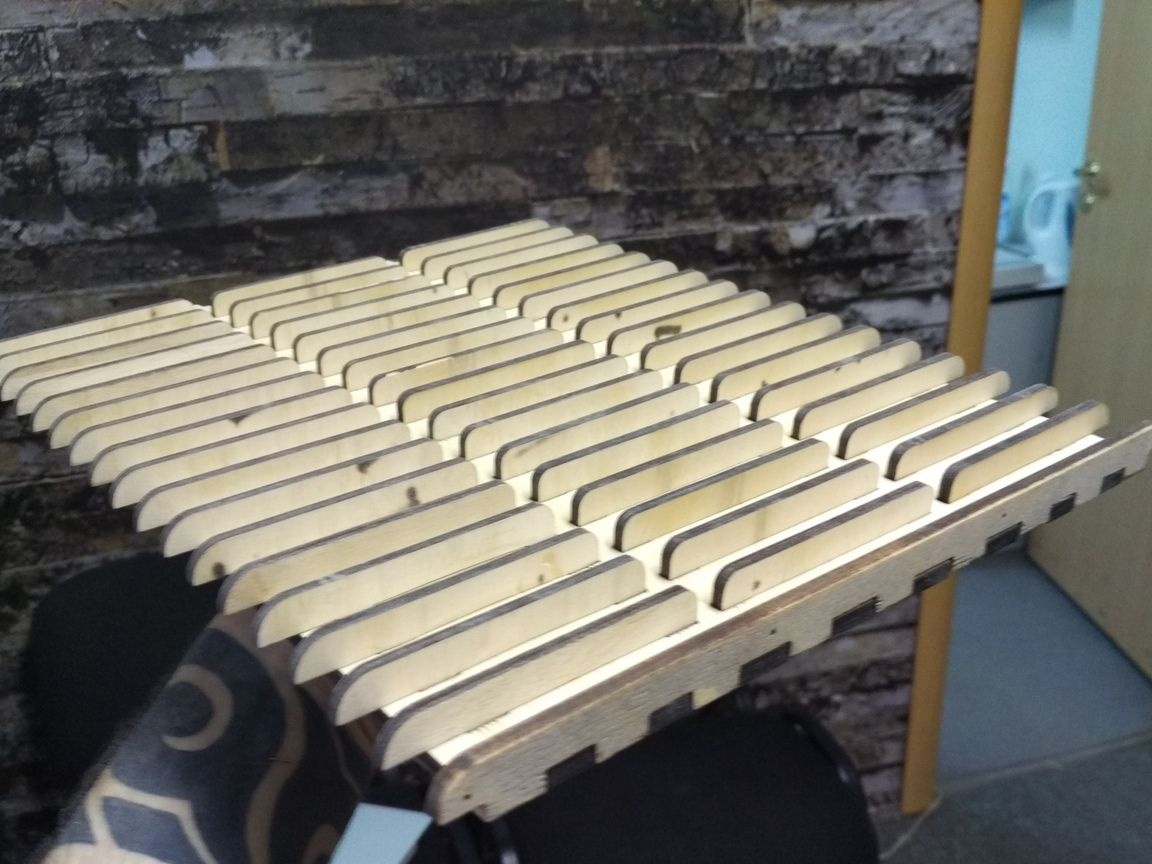
Since I deal with wood at work, I decided to make the case out of plywood. Drawings made in the program CorelDraw,
because he cut the plywood on a laser machine.
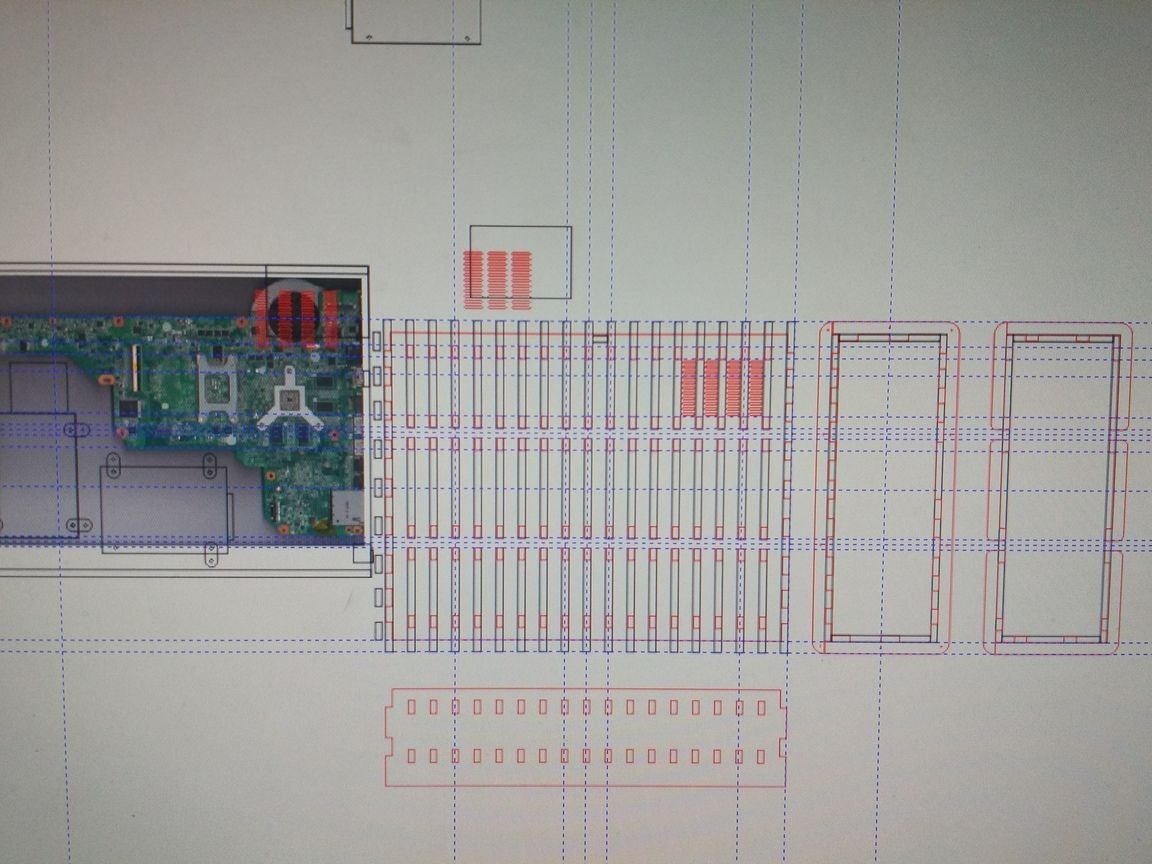
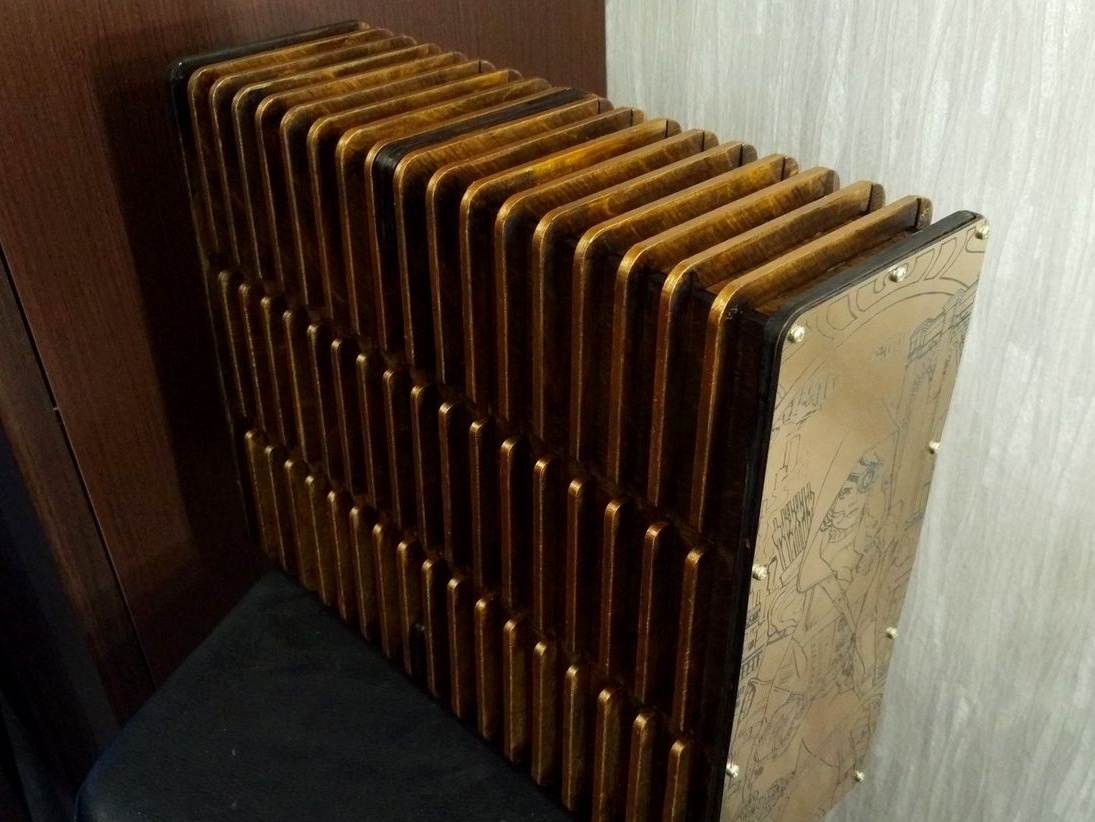
In size, the case turned out to be 33x27x11cm. The case was made thicker in thickness, then I want to install another cooler or completely replace the native cooling system. The case itself was cut out of plywood 6 mm thick, and decorative elements from plywood 4 mm. Two plywood sheets of approximately 50x50cm took all the details, and the total length of the cut was almost 42 meters.
The body was glued with glue Moment on wood.
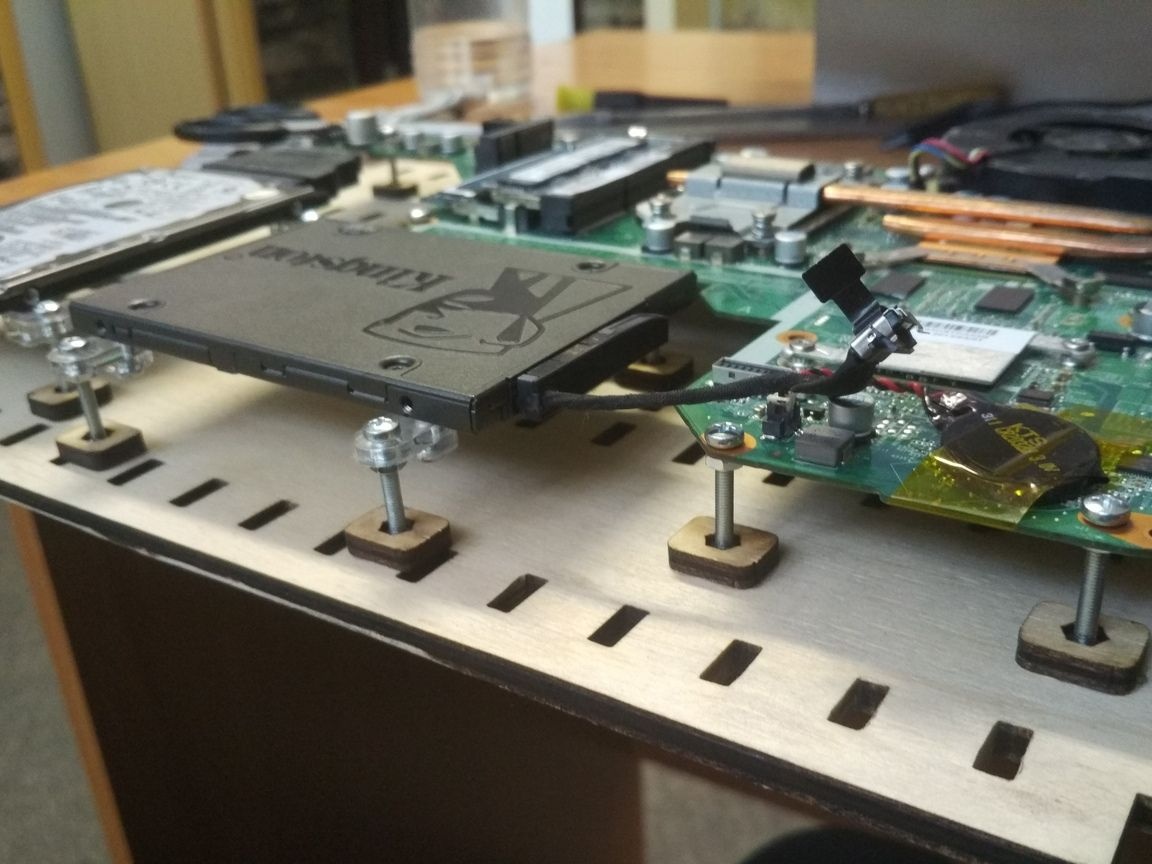
The board was bolted to the case so as not to cut holes in the case, cut out small washers from wood and pressed nuts into them.
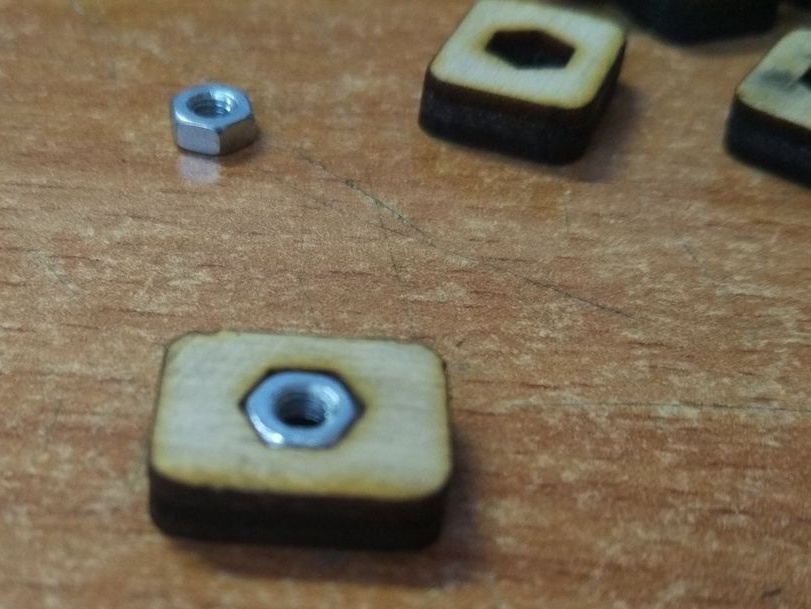
To also fix hard drives to the wall of the case, I cut parts from acrylic. After trying the board
and discs, glued washers with nuts to the wall of the housing.
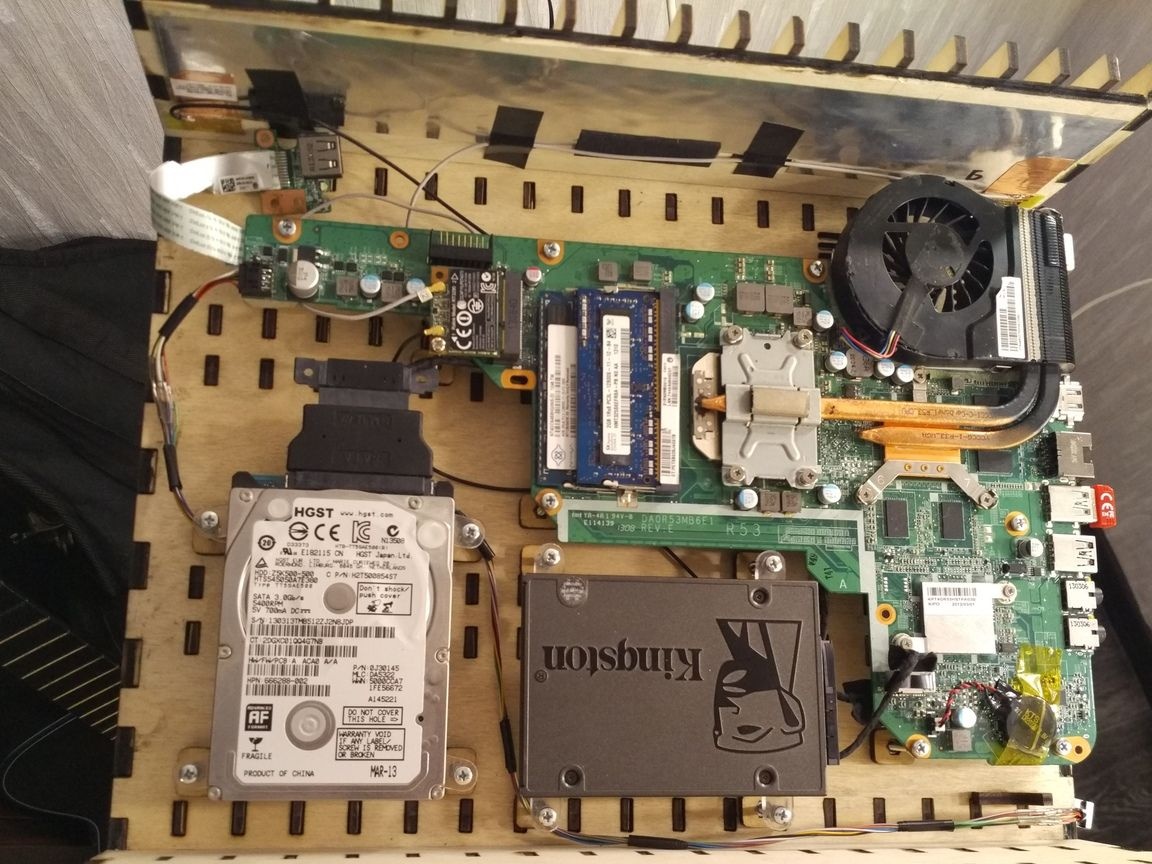
With the power button, I didn’t make anything wise, she had a short cable, so I screwed it to the wall of the case under the motherboard and drilled a hole in the wall.

The Wi-Fi antenna was cut to the size of the upper wall and glued to a double-sided tape.

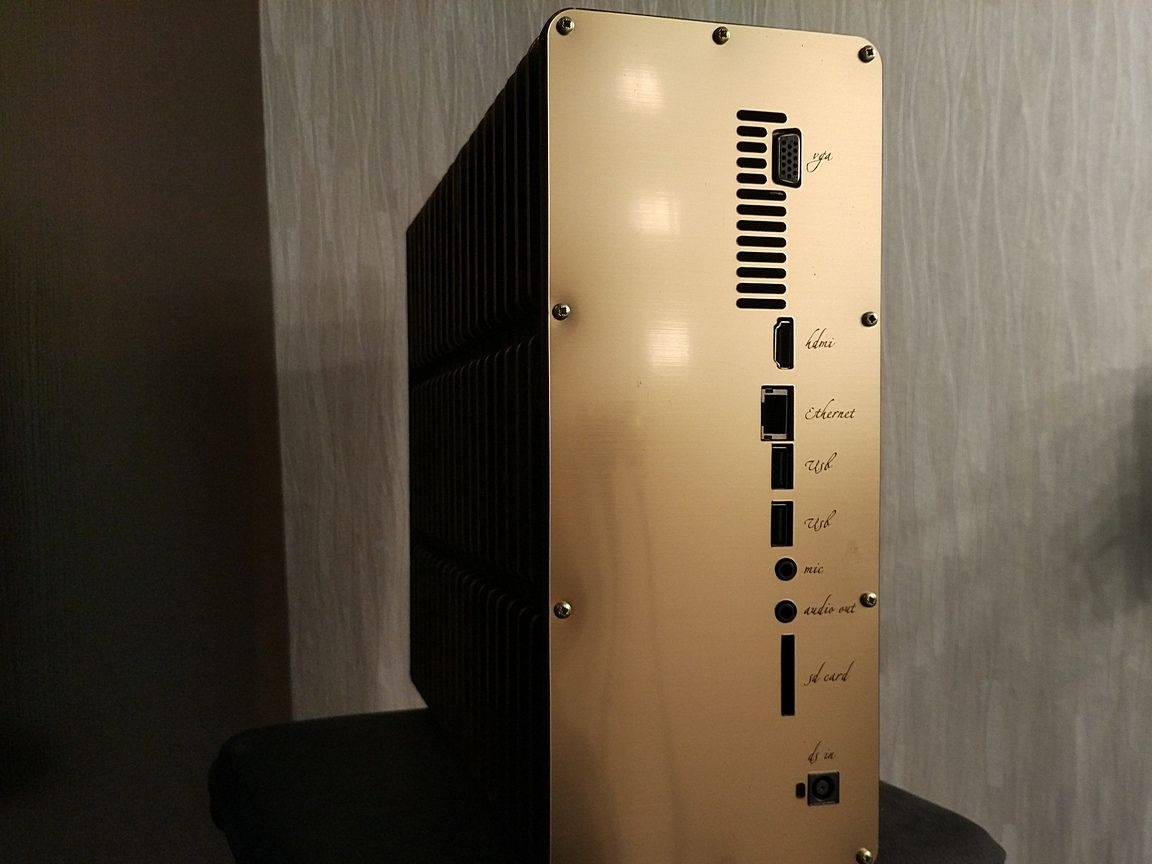
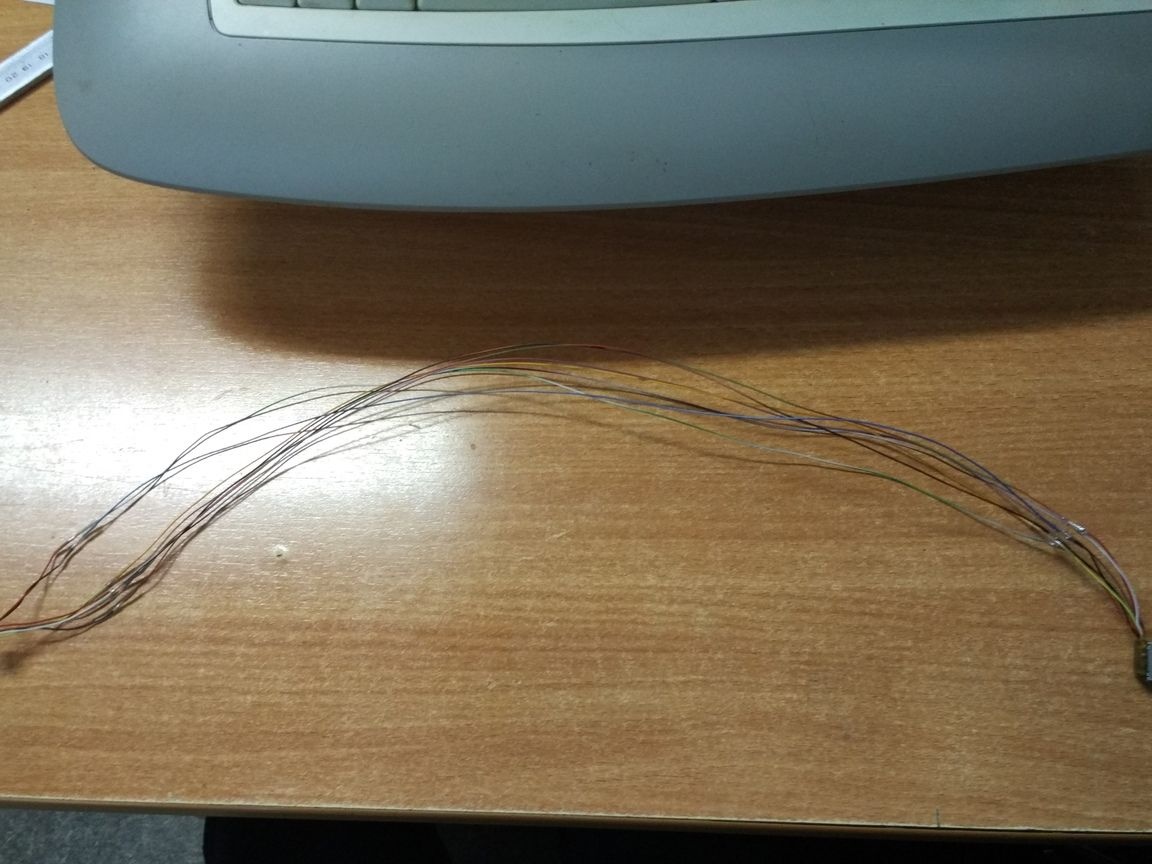
The power connector in the laptop was on the other side of all the other connectors, I wanted all the connectors to be on one side, so I had to extend the power cord.
On the other hand, there was another USB port, I decided to leave it inside the case, I will connect the bluetooth receiver for the keyboard and mouse to it.
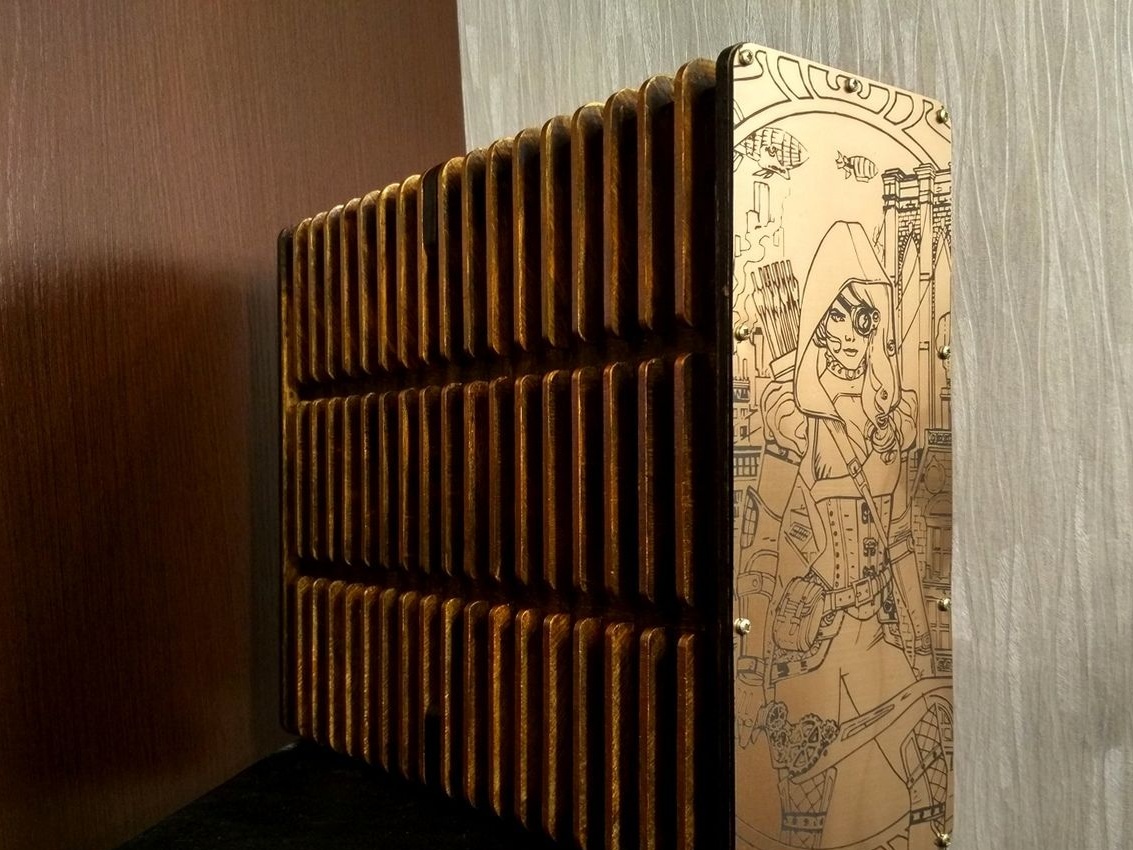
Then I had to sweat with fitting holes for the connectors. A few trial stencils made of cardboard and everything was ready to cut out the remaining walls. I also cut it out on a laser machine from plastic 2mm thick for engraving, well, and did the engraving for beauty.
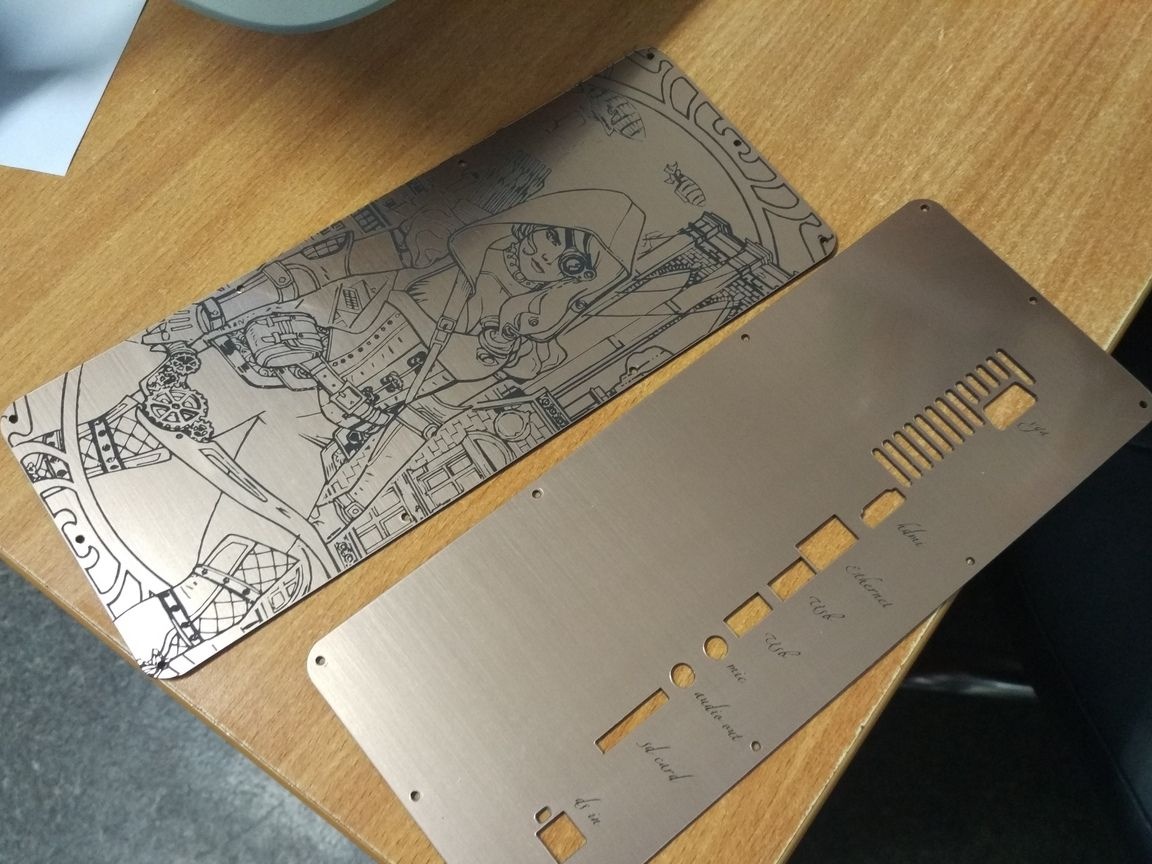
The tree was tinted with wood stain, and the ends were painted with bronze acrylic paint. Well, in the end, this is what happened.