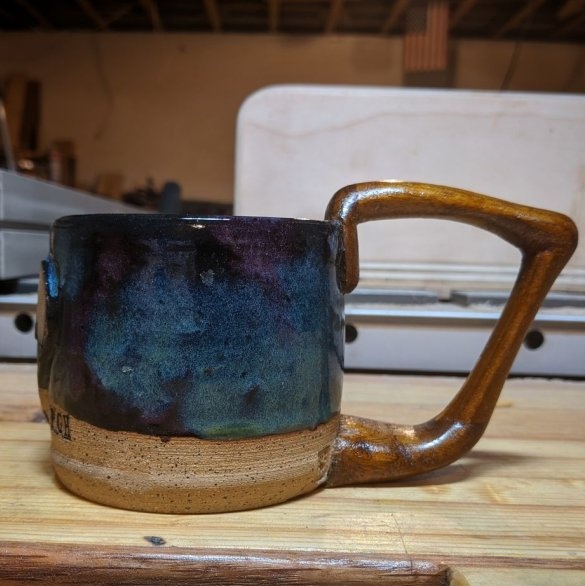
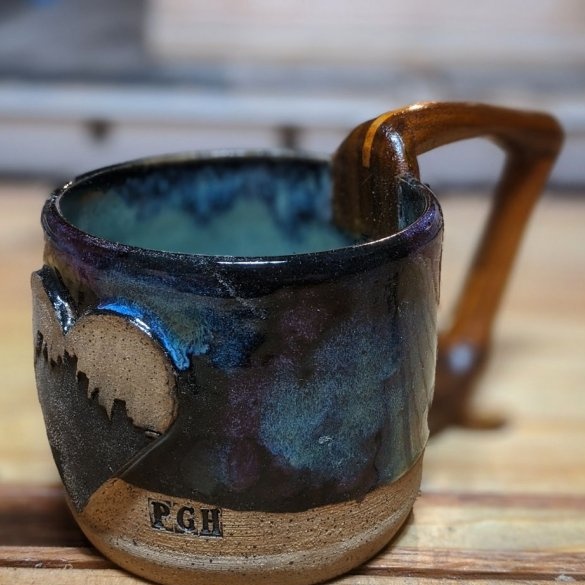
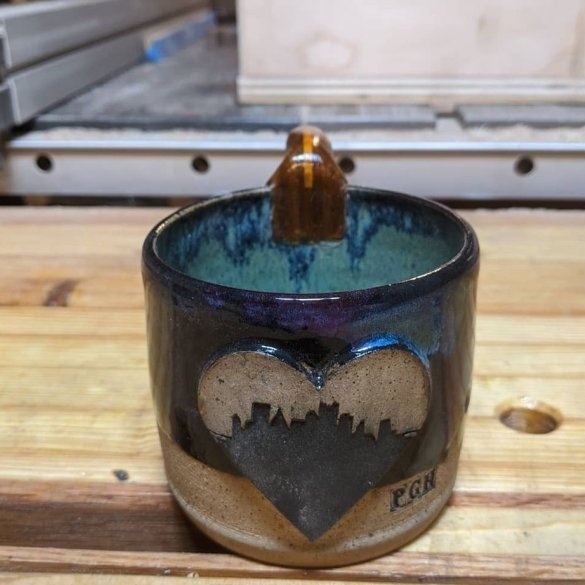
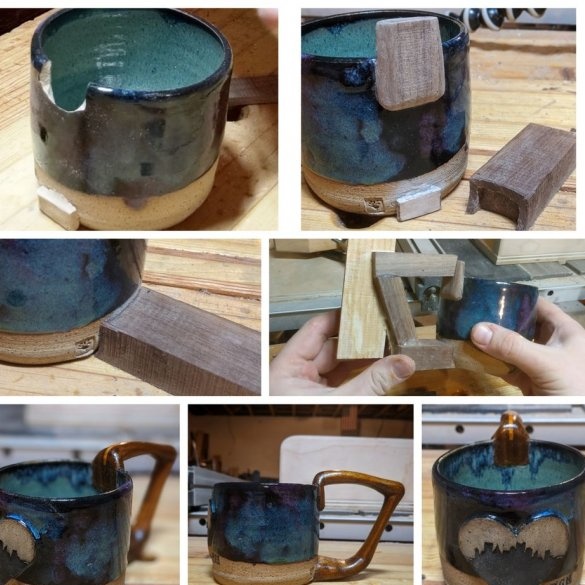
In this article, we will look at how a craftsman made a ceramic mug and made and fixed a wooden handle on it. The combination of ceramics and wood gave an interesting result.
Tools and materials:
-Clay;
-Board;
-Glaze;
-Glue;
-Potter's wheel;
-Fire for firing;
Step One: Modeling
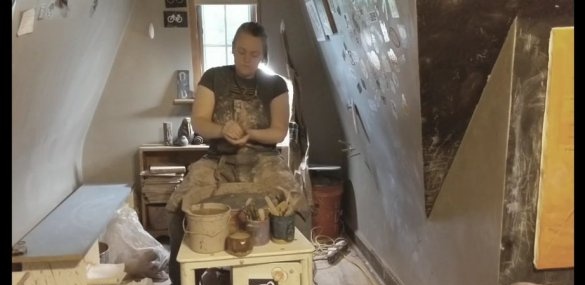
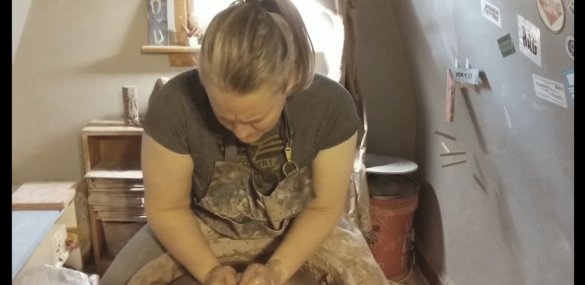
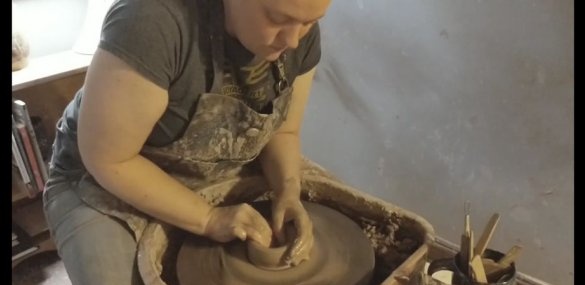
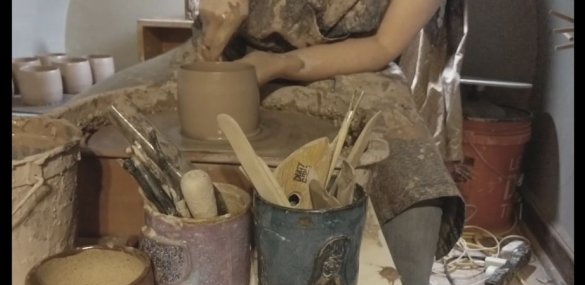
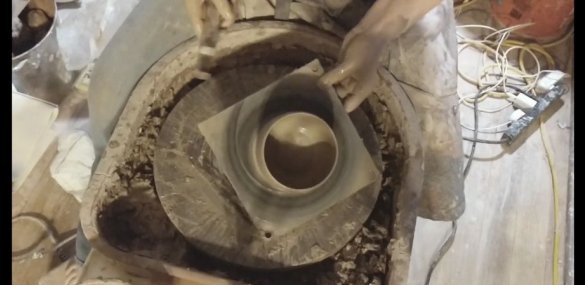
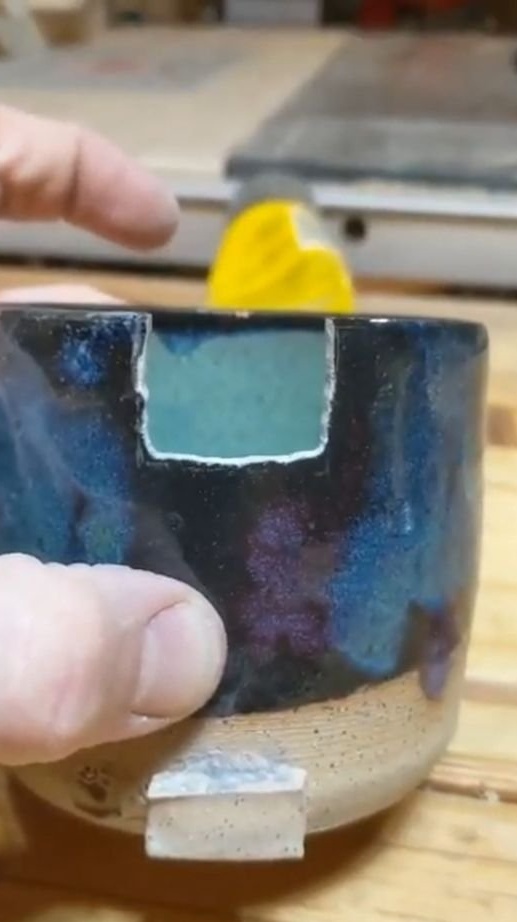
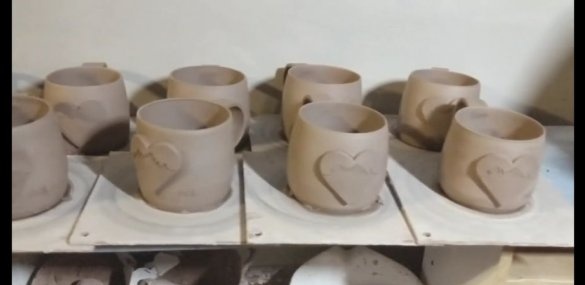
Start by sculpting a clay ball. Then you need to place the ball in the center of the pottery wheel. Make a cylinder of clay, and then the blank mug. So that you can then add a wooden handle, you need to cut a hole in the upper and lower parts of the body of the mug. Then during the week you need to dry the workpiece.
Step Two: Firing
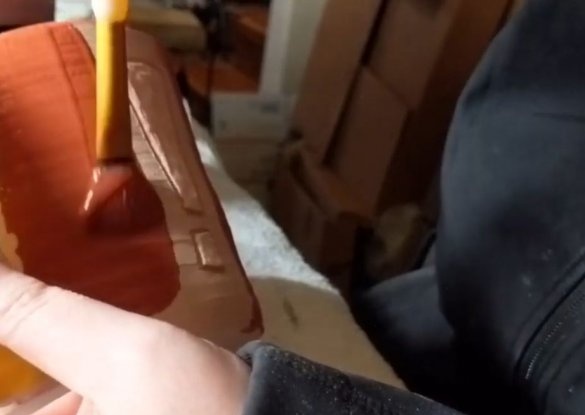
After a week, the master places the mug in the kiln. Then it covers with ceramic glaze and burns again.
Step Three: Wood Inserts
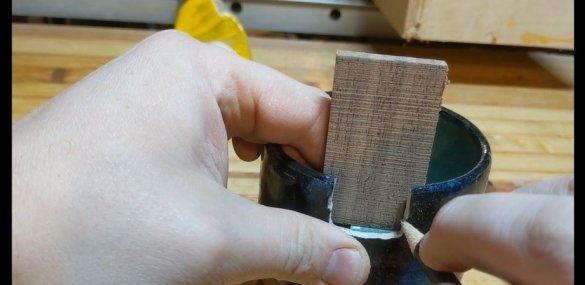
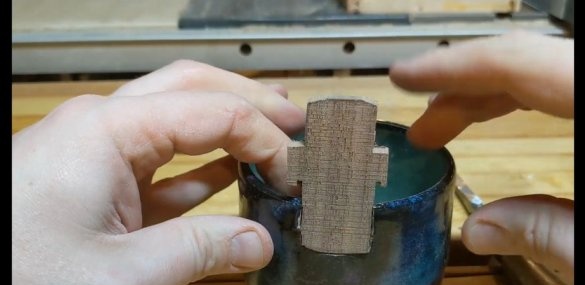
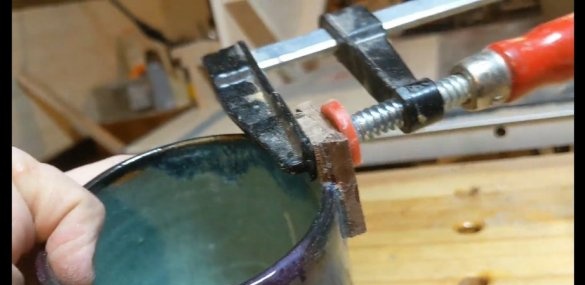
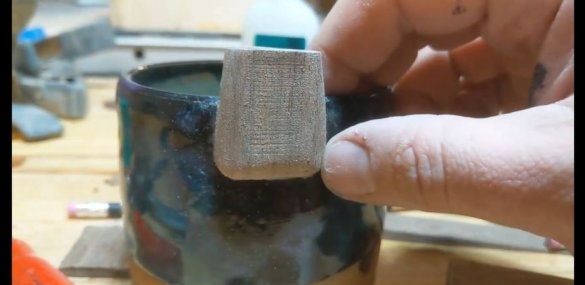
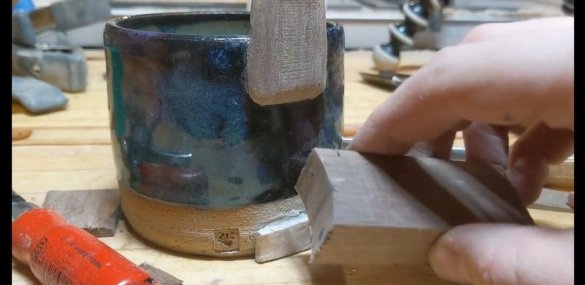
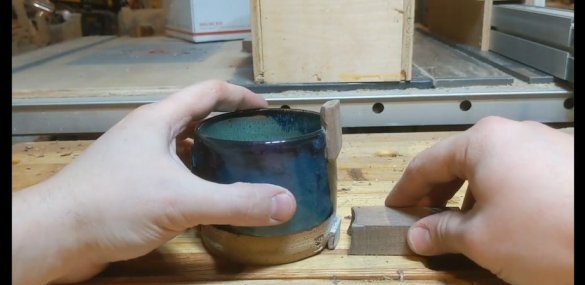
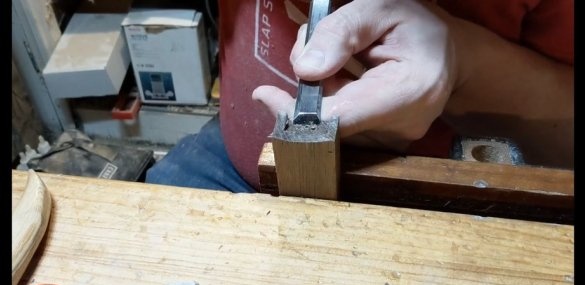
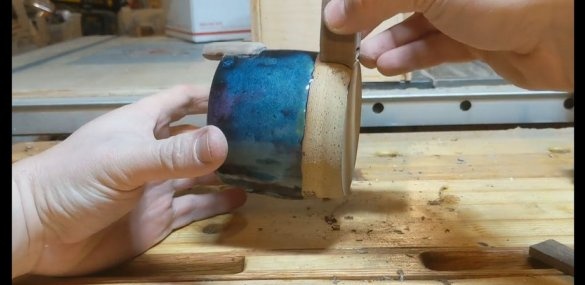
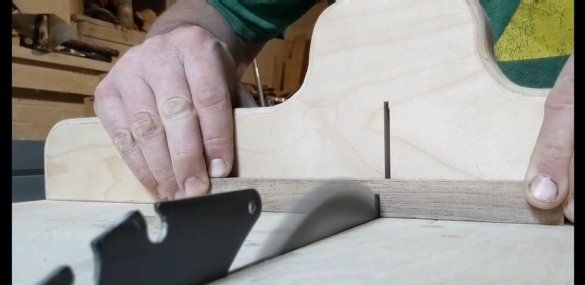
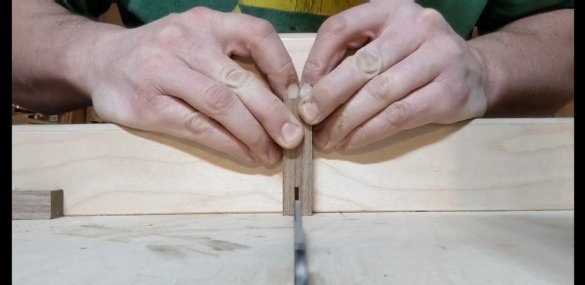
Further, the master makes wooden inserts in the holes in the upper and lower parts of the mug. Inserts with a recess on three sides and rest on the walls of the circle. To fix the inserts, the master uses glue.
Step Four: Pen
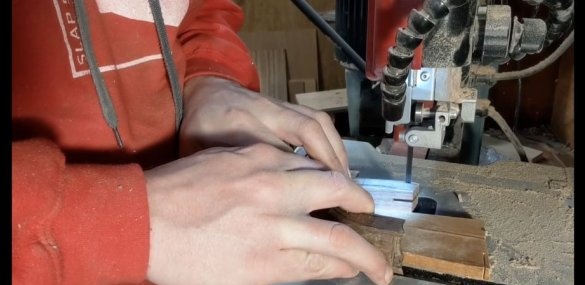
The handle is made of three parts. First, the master took two blanks and adjusted their ends to the plane of the upper and lower inserts. Then he cut out the middle part of the handle and glued the upper and lower to it.
The result was a rough workpiece handle.
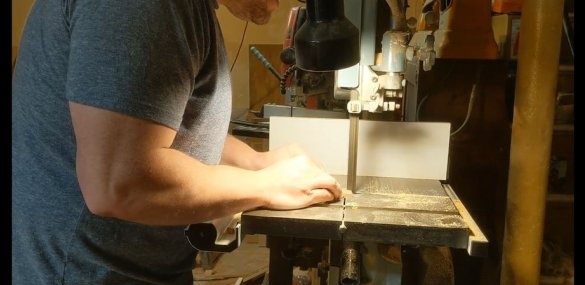
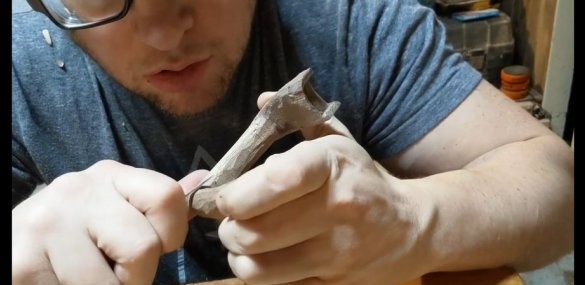
Now the master cuts the handle, first with a saw, and then manually.
Adhes the handle to the inserts. Grinds, varnishes.

