

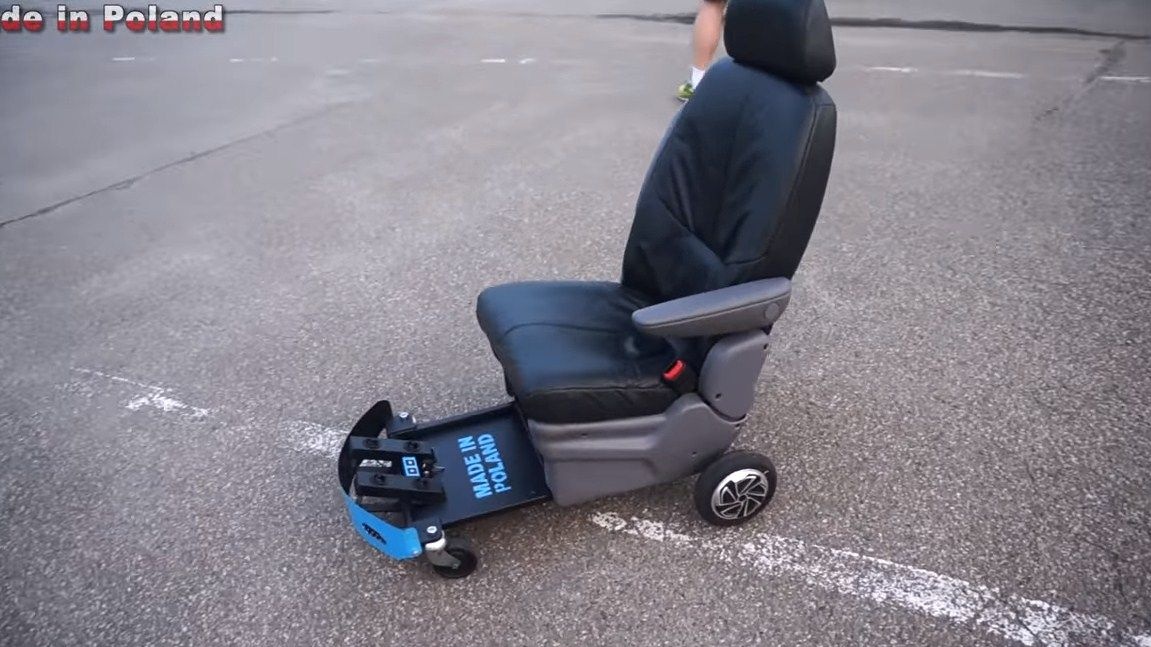
It was evening, there was nothing to do, about such is the history of the manufacture of this homemade. But if you are a fan of unusual equipment, this homemade product is just for you! I present to you a motorized chair, on which you can ride to the store for a beer or somewhere else. You will never be left unattended when riding in such an armchair. The machine is driven by electric motors from. Everything is going to be quite simple.
[media = https: //youtu.be/7DH-UXT6fGY]
The author used an armchair. Under it, you need to assemble the frame, install the motor wheels, as well as the battery and other details. In general, everything turned out quite interesting, not taking into account the not too high practicality of homemade work. So, we will consider in more detail how to assemble such a riding chair.
Materials and tools used by the author:
Material List:
- motor wheels and electronics from;
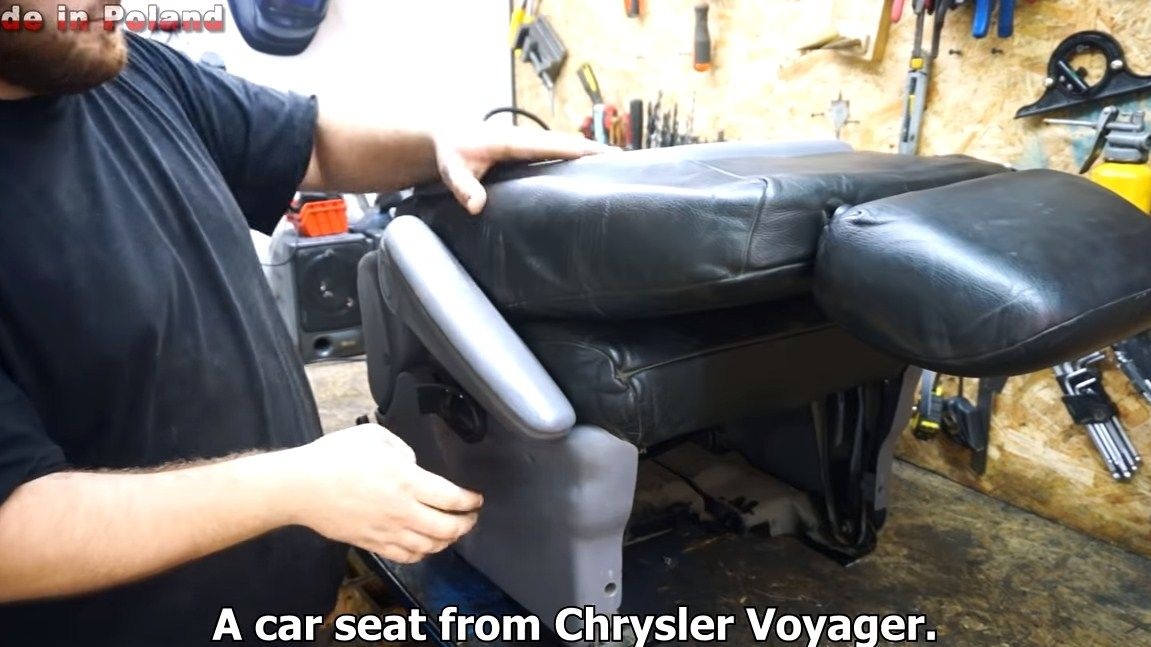
- Car seat;
- square steel pipes;
- sheet metal;
- two wheels from carts;
- nuts, bolts, wires, etc.
Tool List:
- Bulgarian or pendulum saw;
- welding machine and all welding tools;
- drill with drills;
- measuring tool;
- soldering iron;
- painting supplies and paint.
The process of manufacturing a motorized chair:
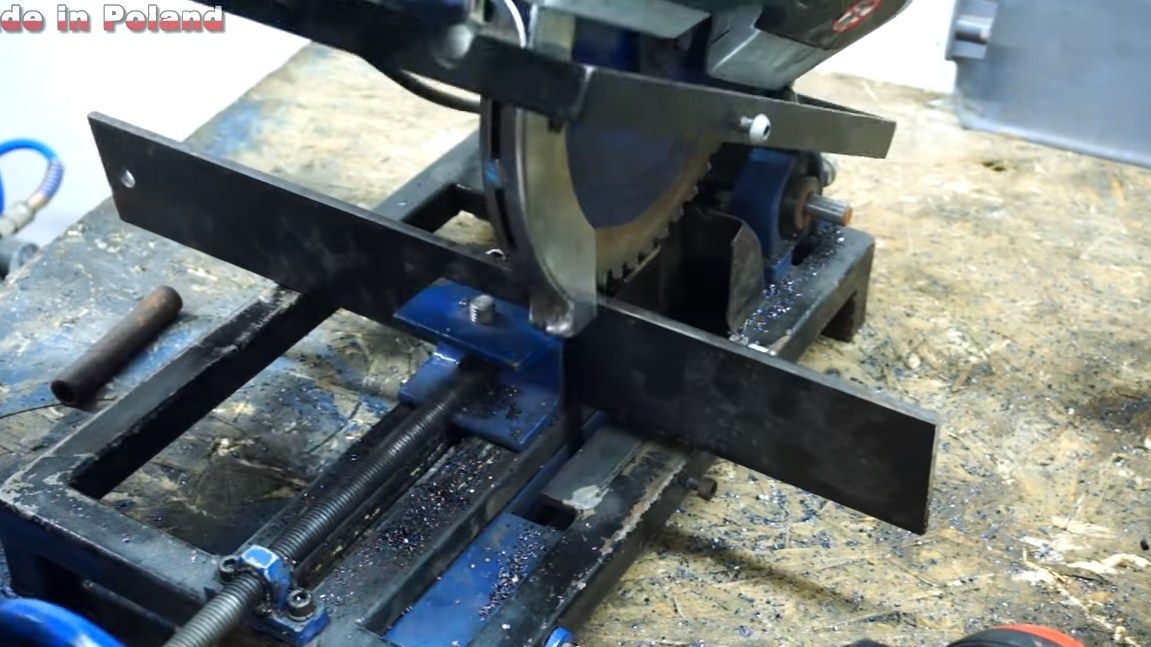
Step one. Assemble the frame
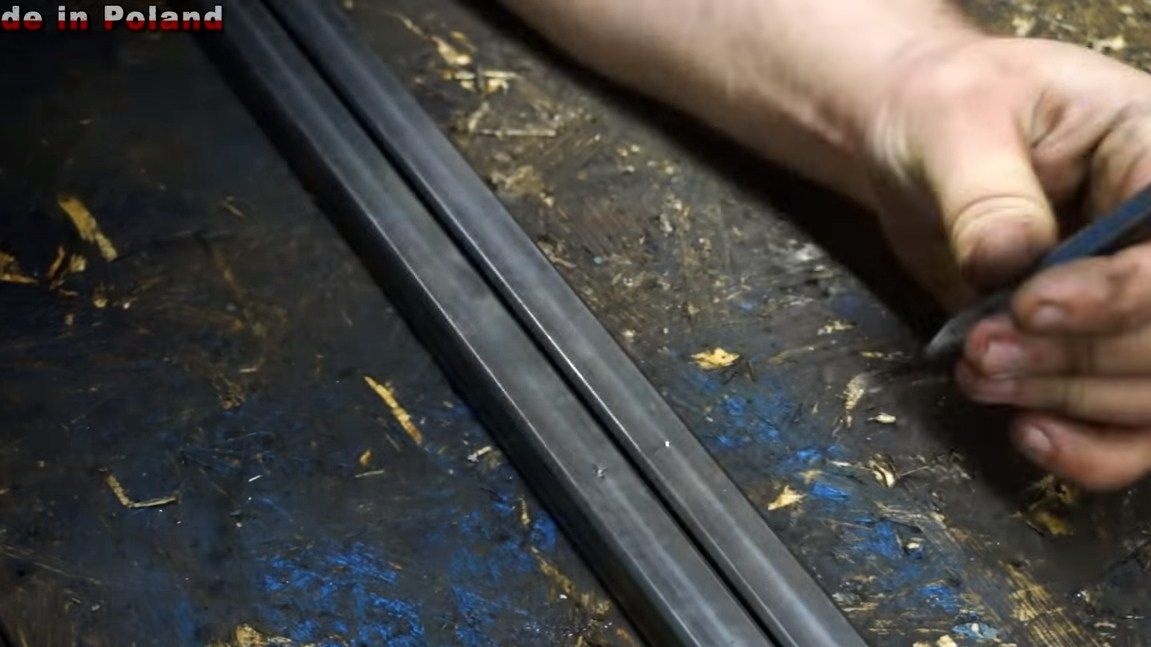
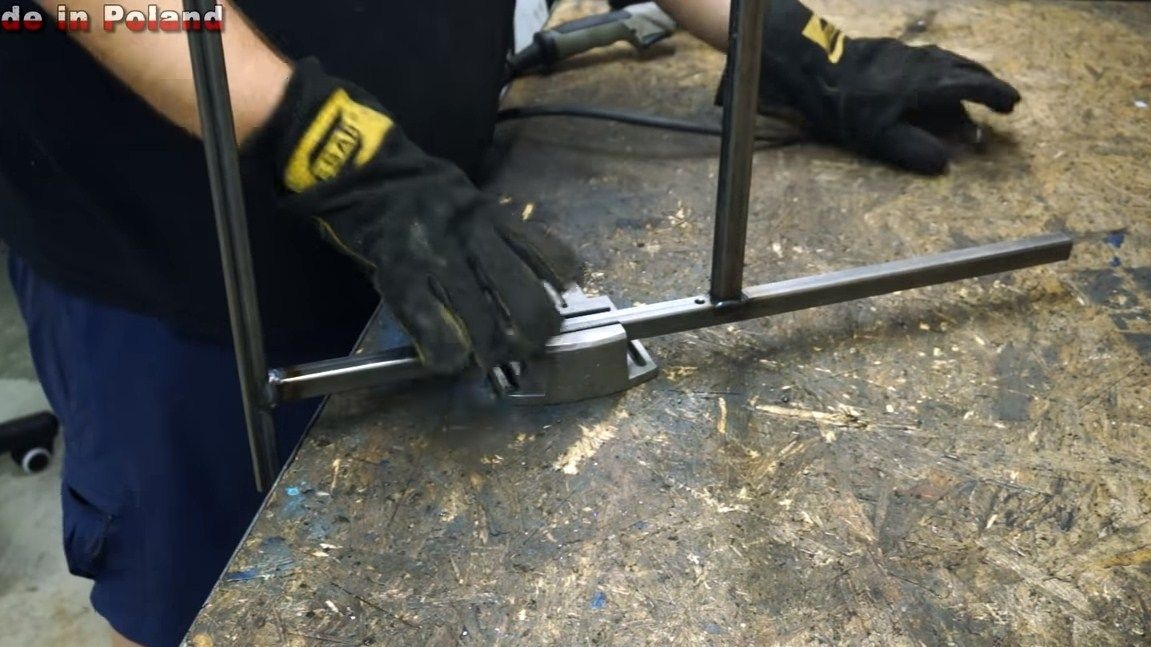
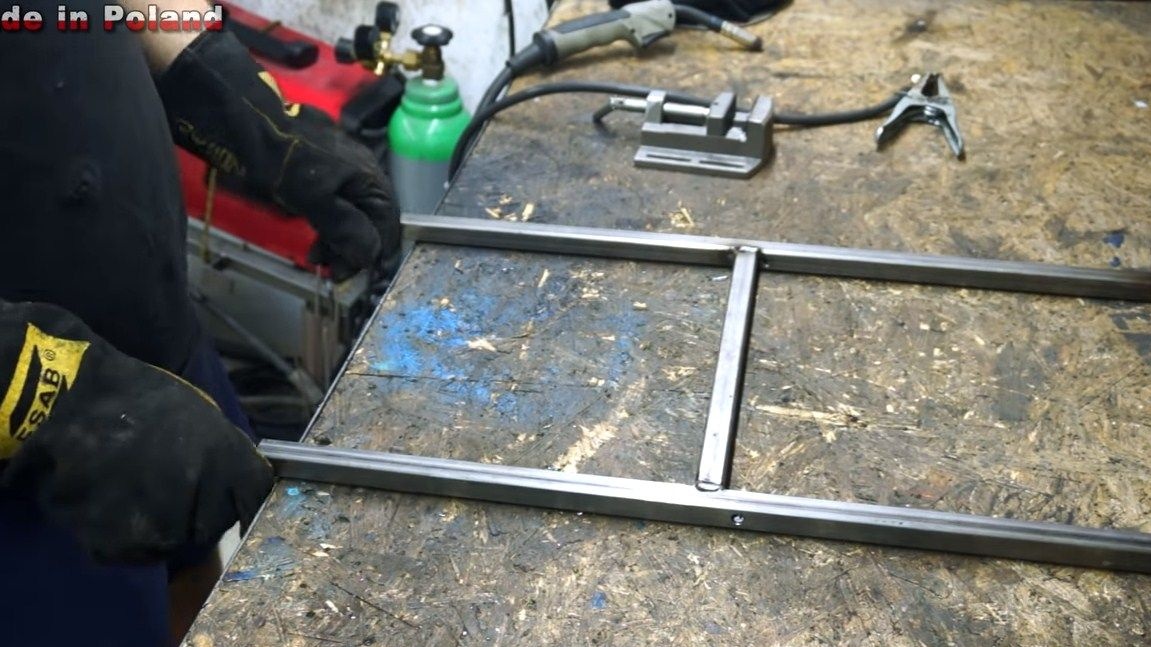
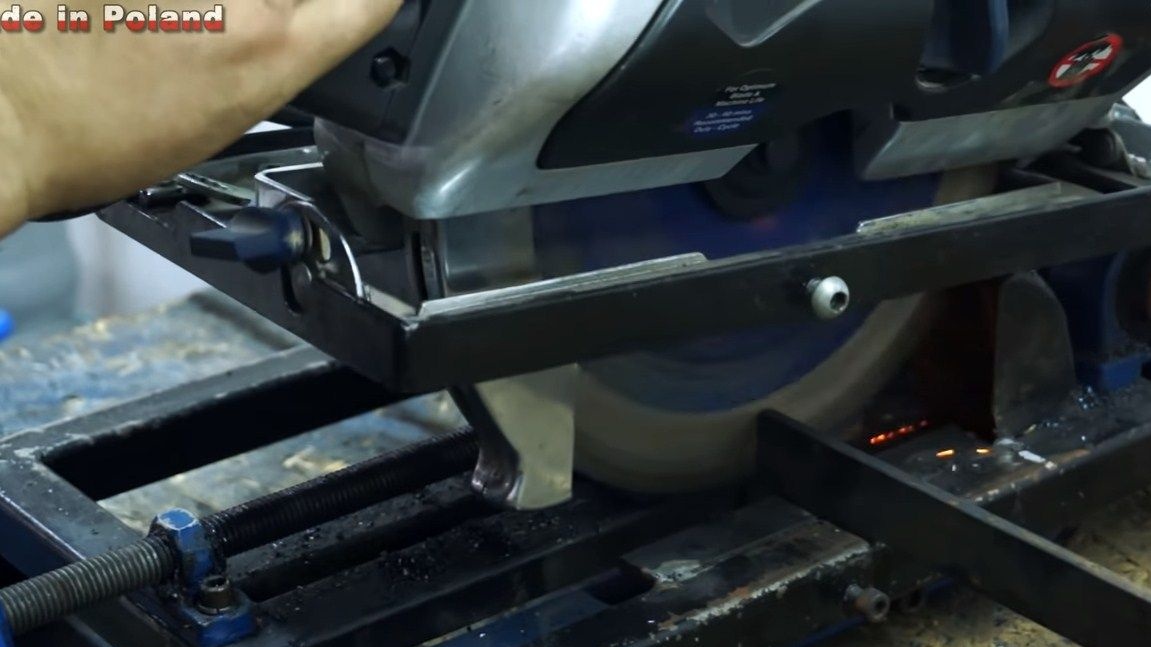
First of all, we will assemble the frame, on which the chair will then be installed. A frame is also needed for attaching wheels to it. It is assembled from square pipes or the like. We cut into the necessary pieces of the pipe, and then weld at a right angle, here it is useful to use magnetic corners.


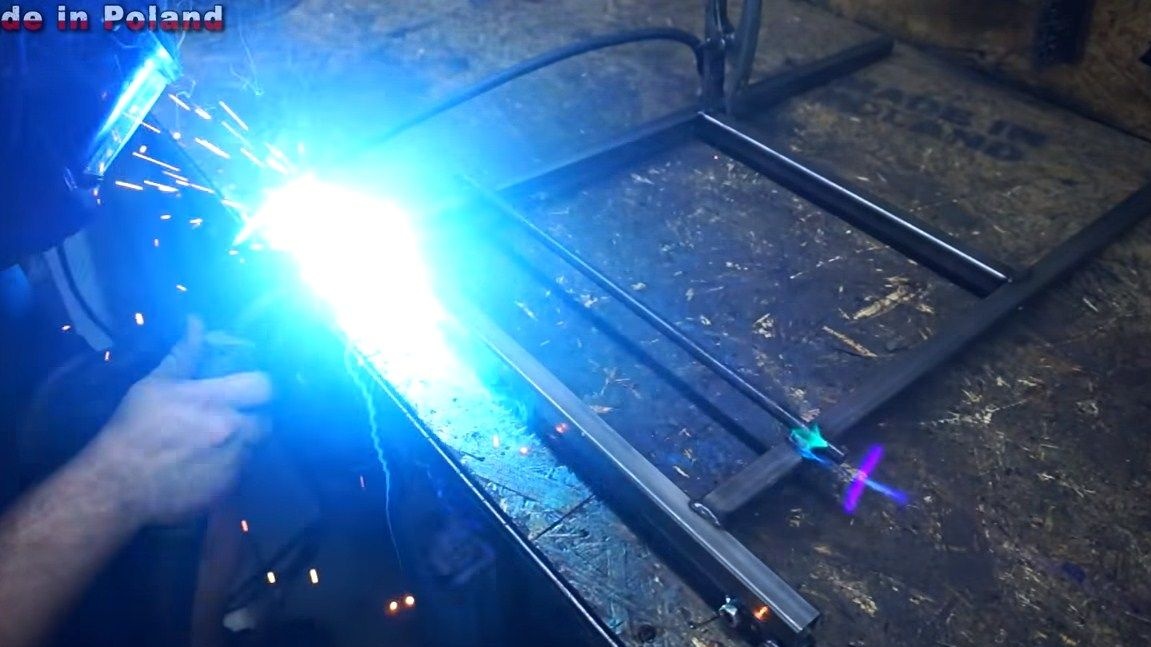
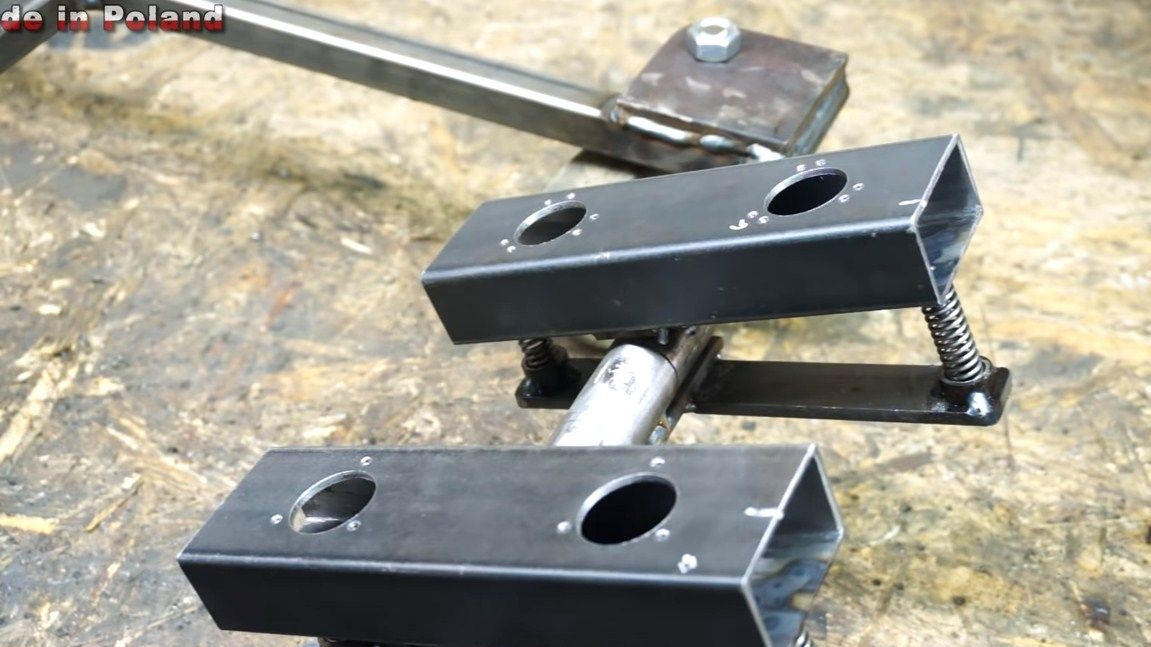
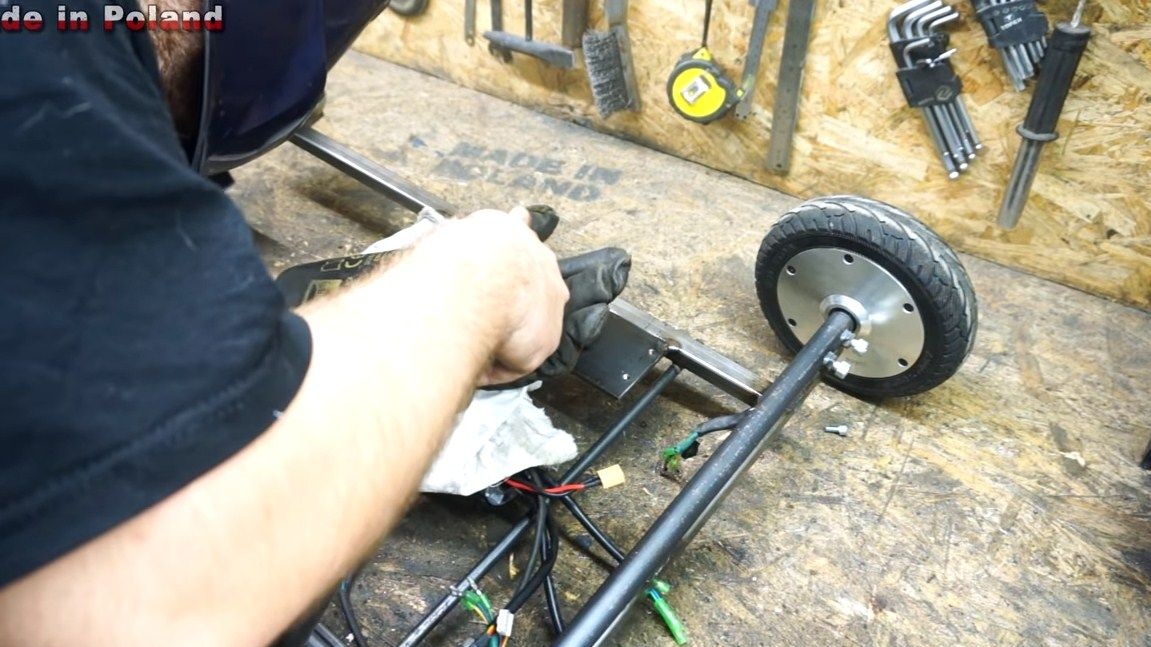
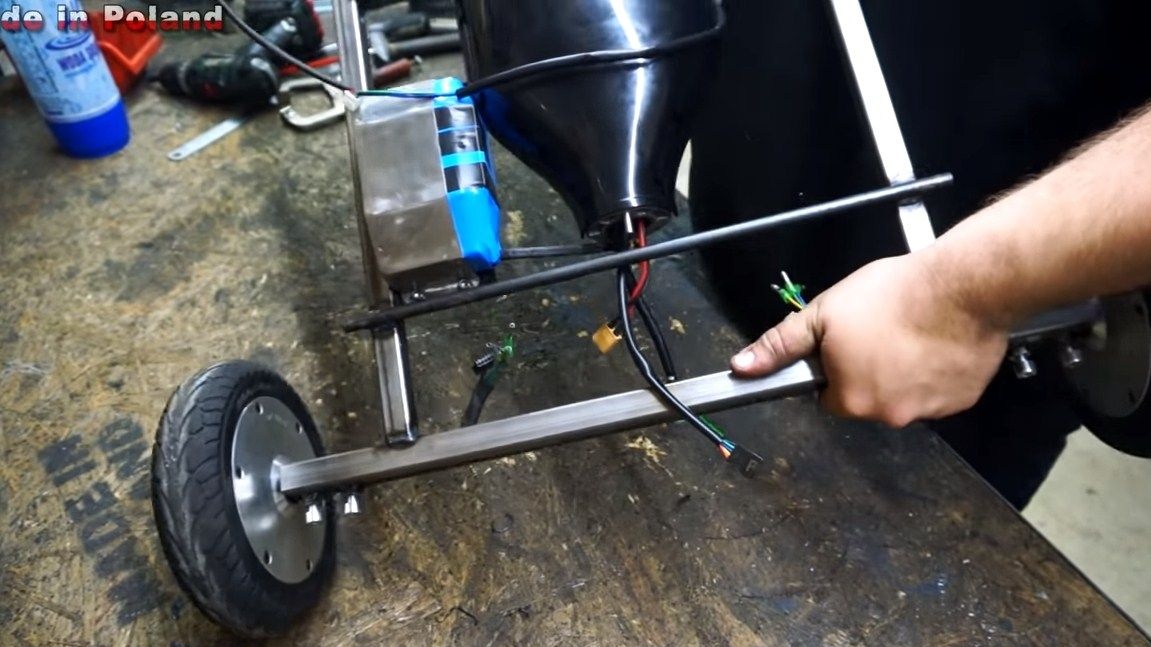
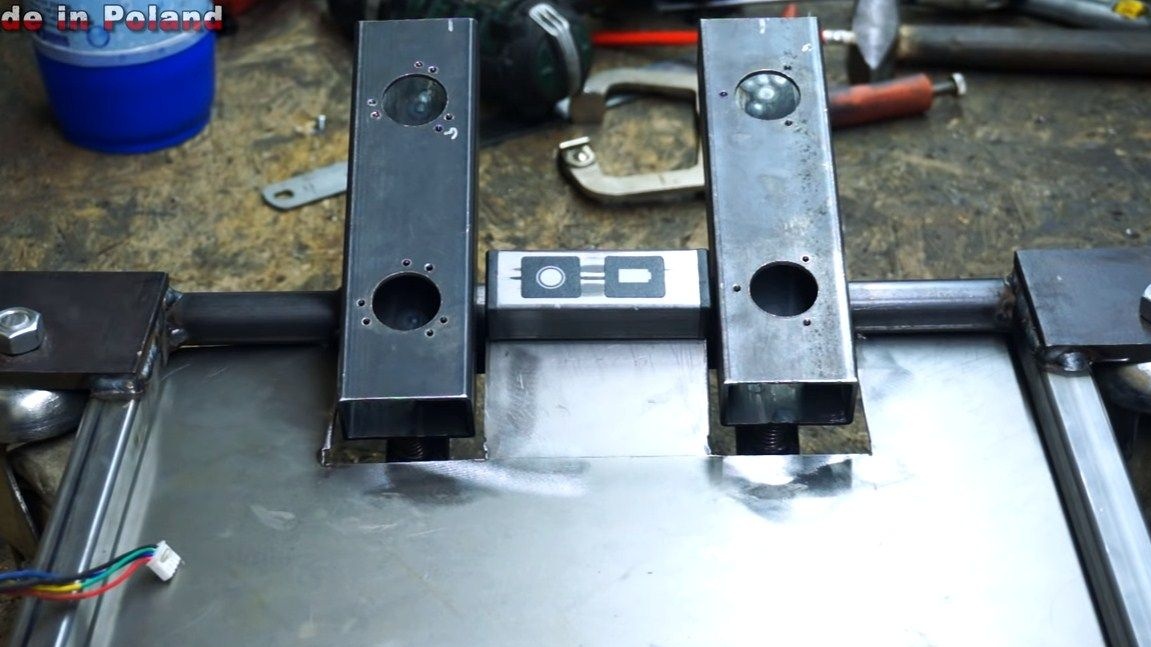
Step Two Rear axle
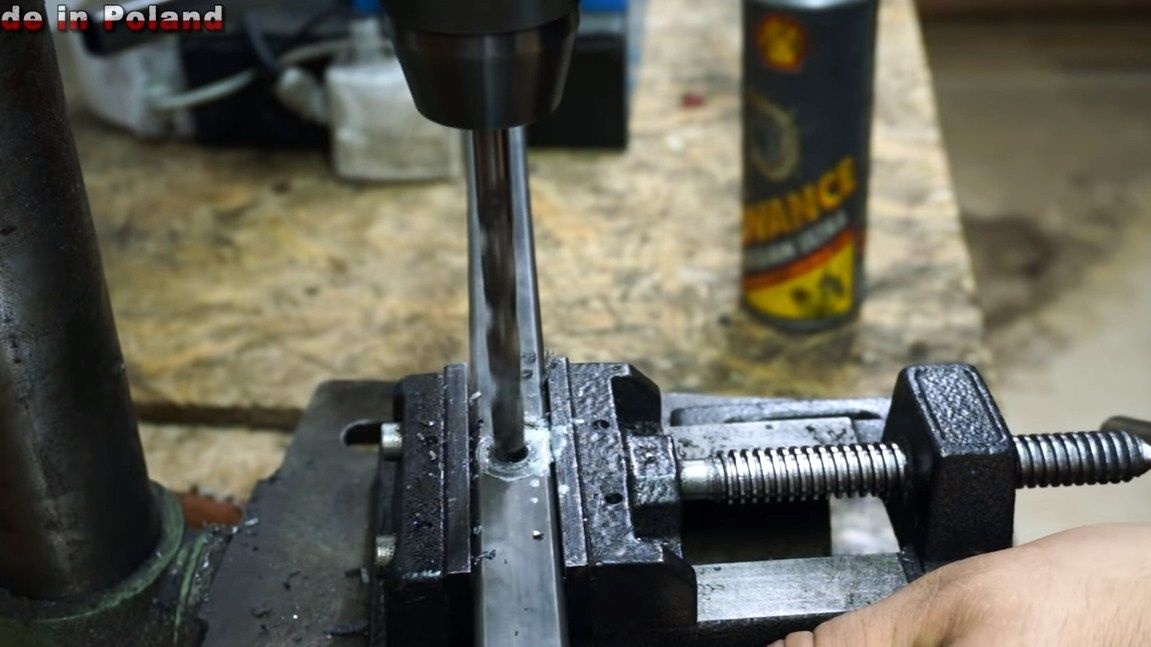
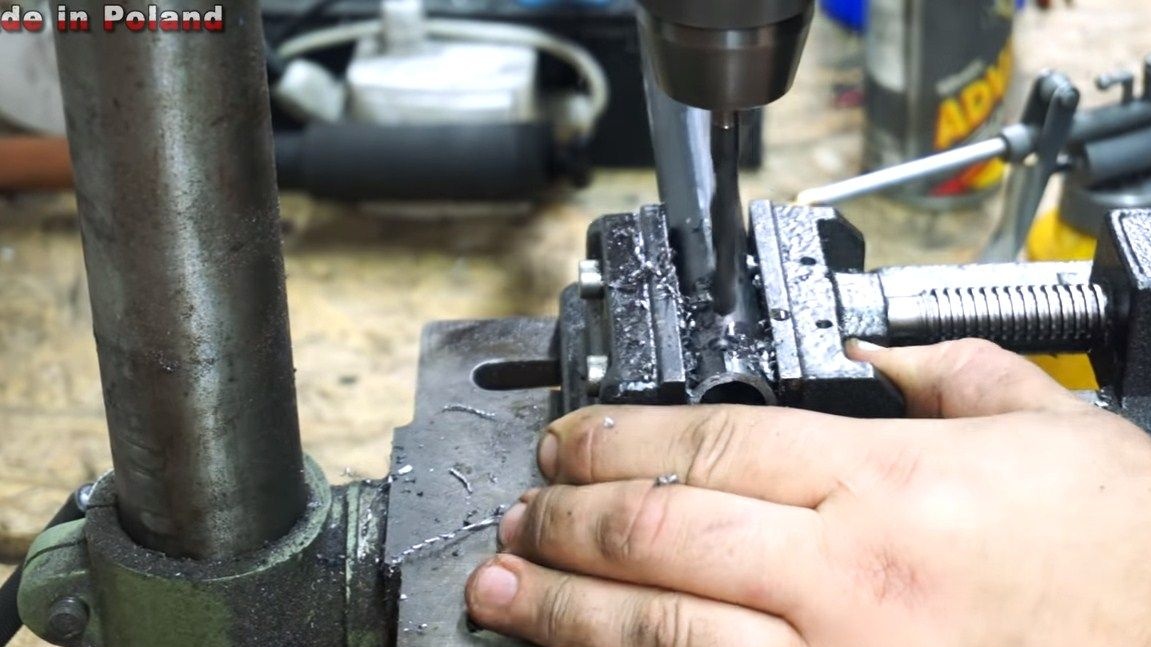
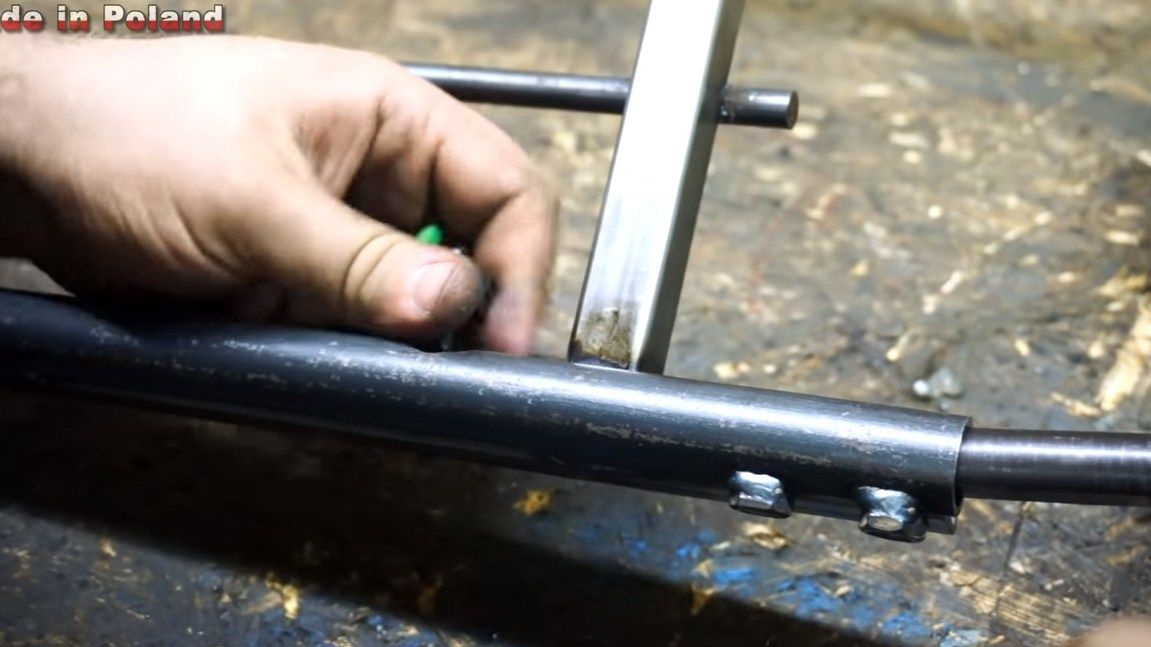
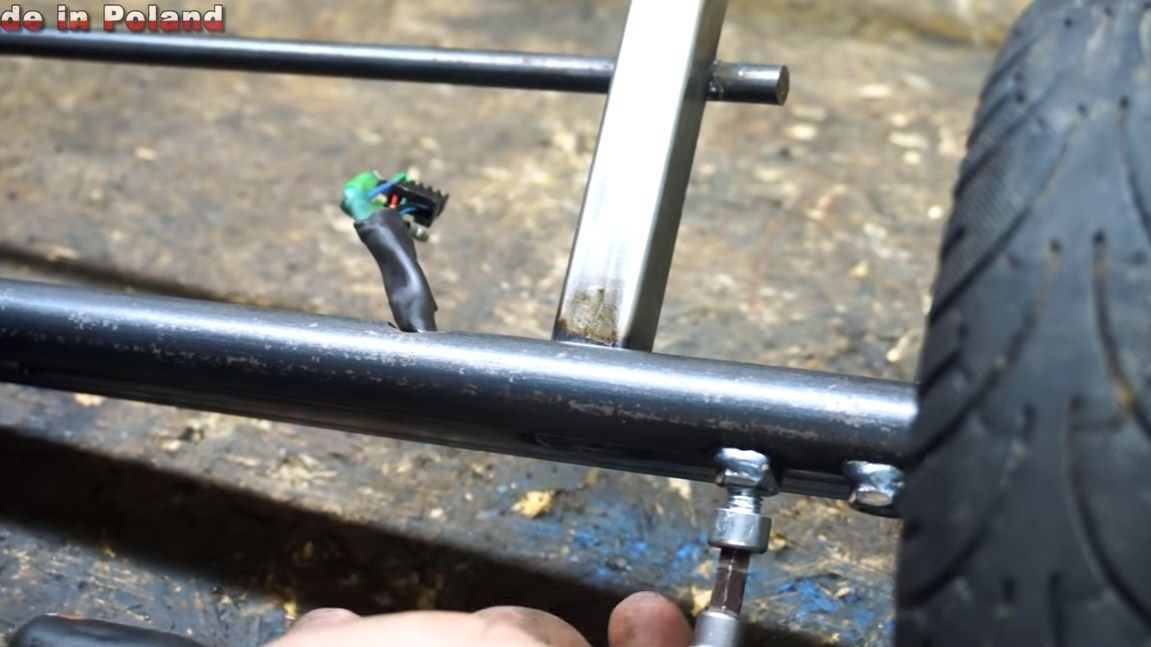
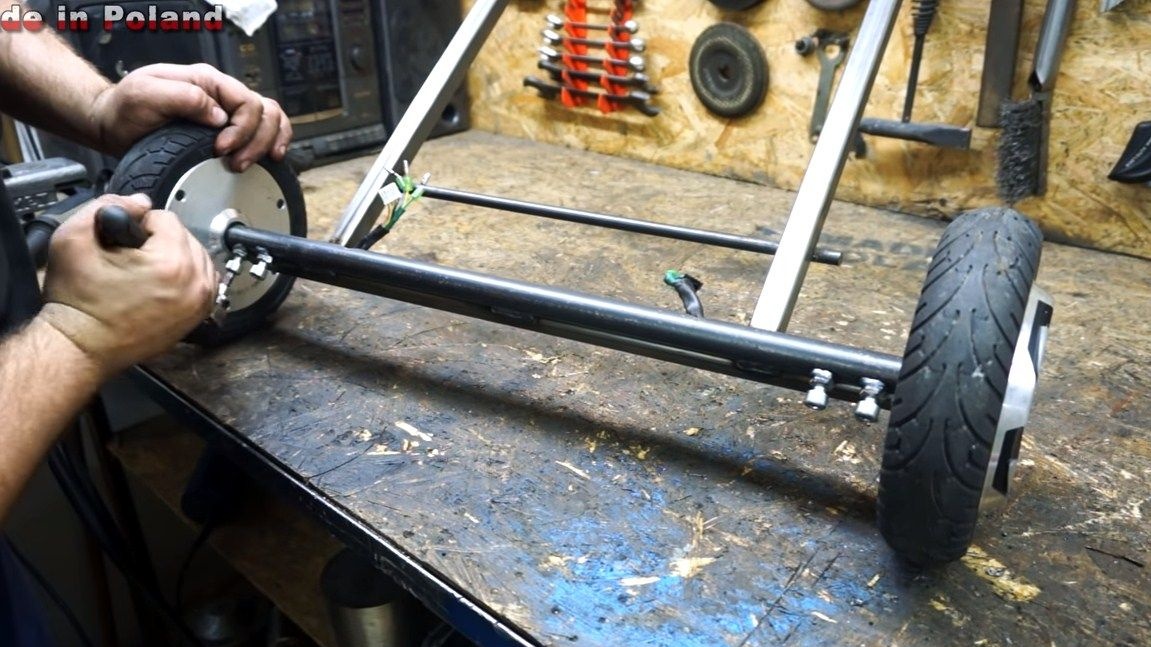
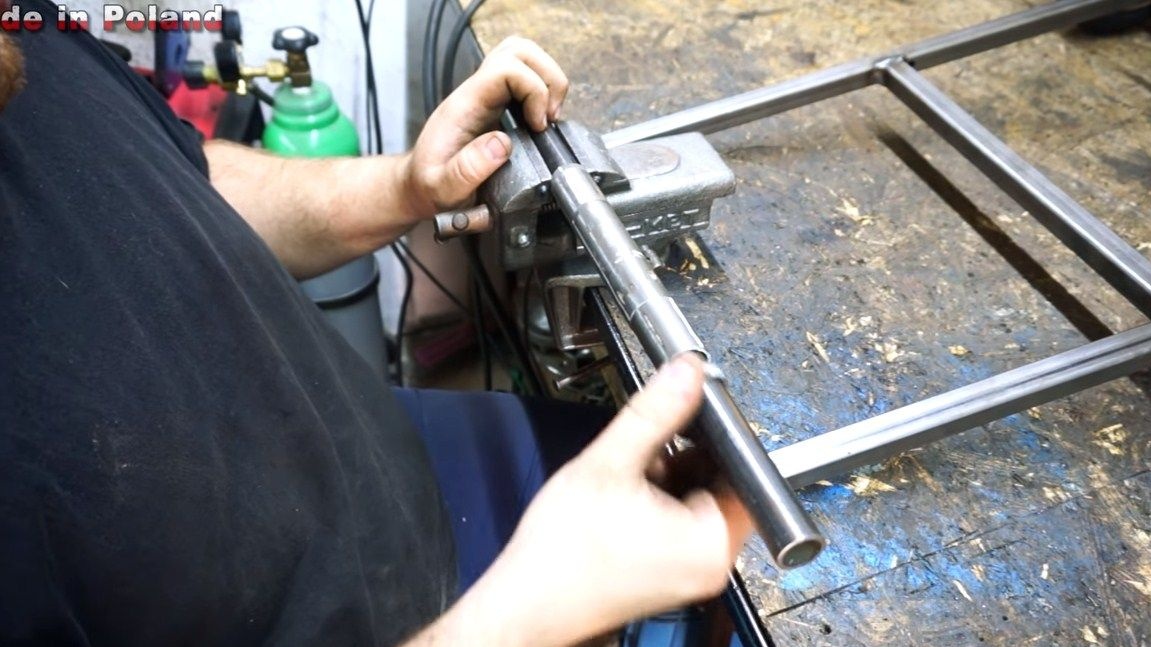
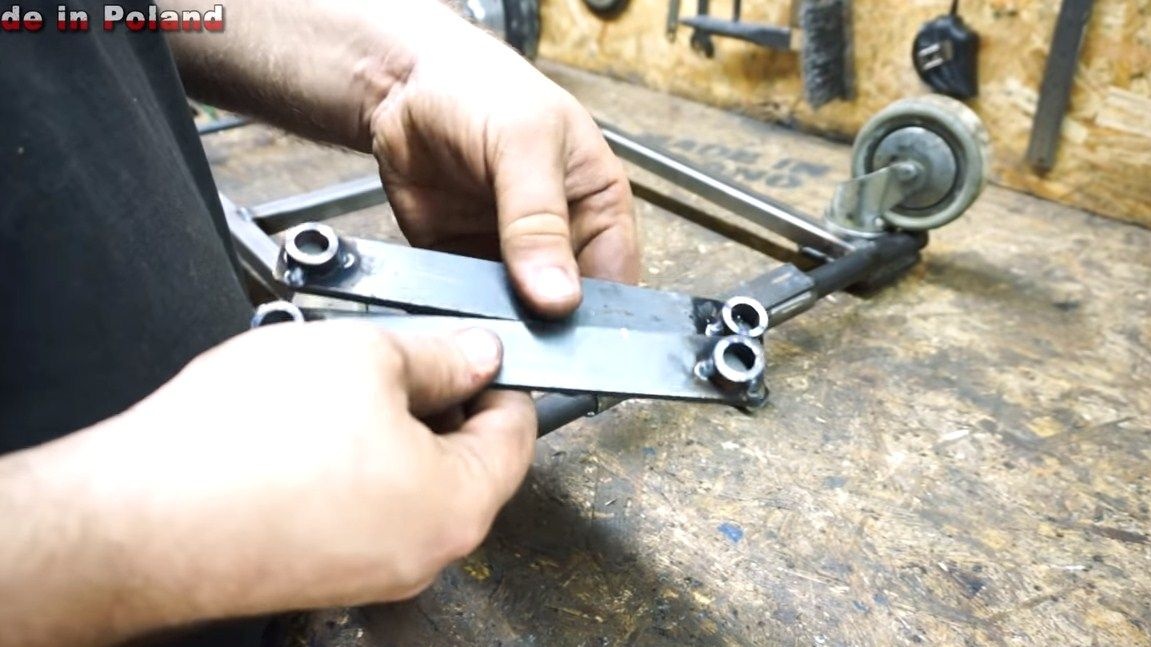
The rear axle will hold the motor wheels. Each such wheel has an axle with a groove. To fix this axis, we select a thick-walled steel pipe of suitable diameter and cut the piece that is necessary along the length. This pipe is welded to the frame. Next, to mount the axes, drill two holes on each side and weld the nuts. Now you can install the axles of the wheels in the pipes, and we will fix them with bolts. The undercut of the axis should be opposite the bolt. In such a simple way, we have already installed two driving wheels on the frame.
Step Three Front axle installation
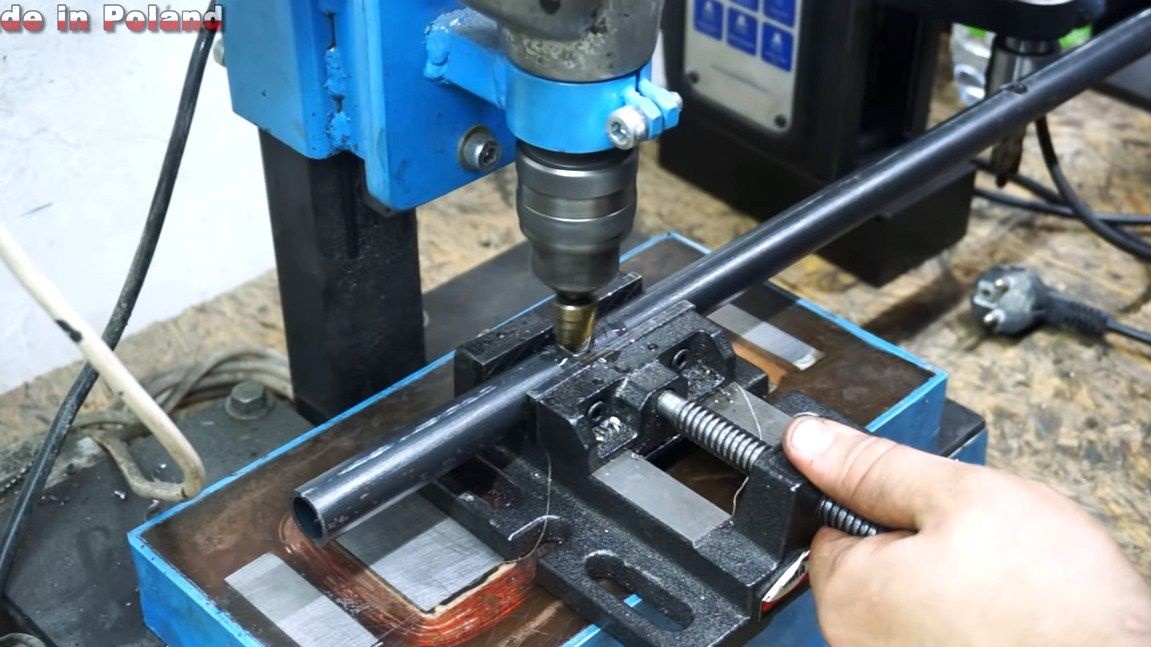
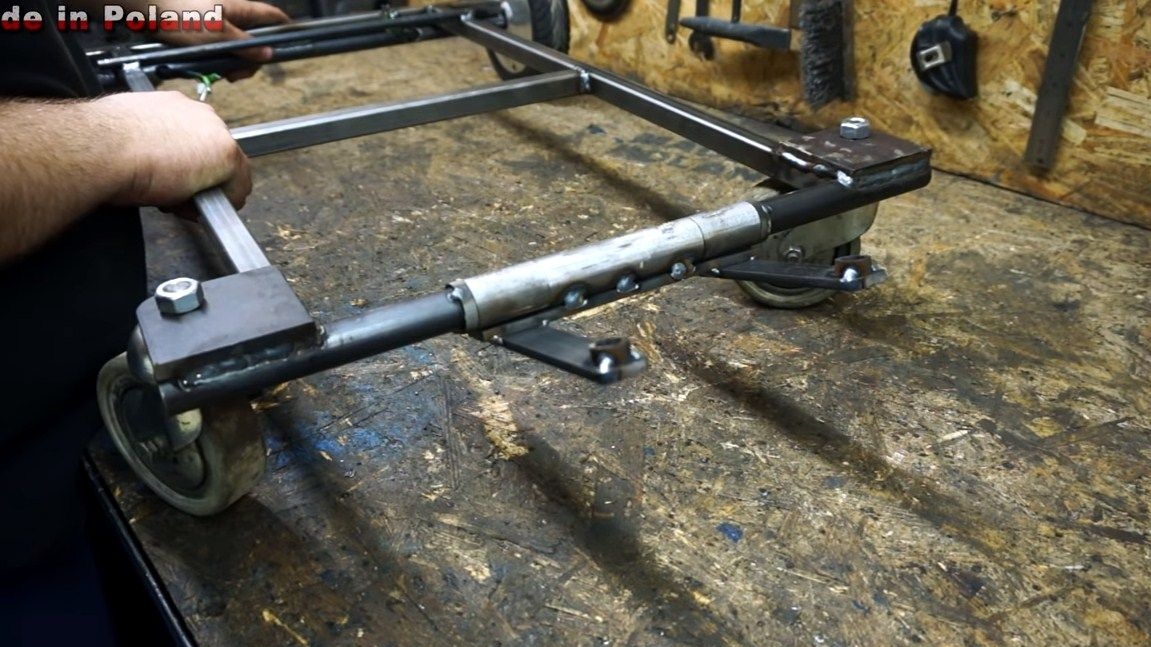
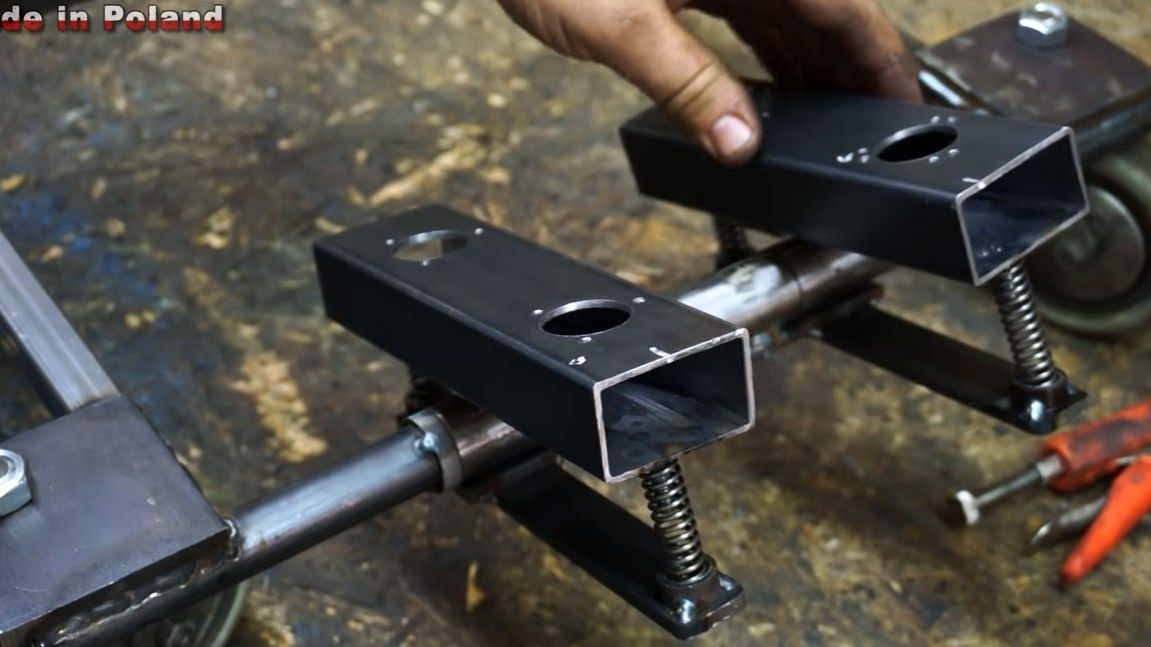
We need the front axle in order to have something to put our feet on, and there will also be pedals.We take a round pipe of a suitable pipe and diameter, we put on it pipe segments of a slightly larger diameter, they will be needed to install the pedals. Well, then this pipe is welded to the front. In the front corners of the frame, we weld pieces of thick sheet steel and drill holes. Now we fasten the wheels from the carts here. As a result, we already have a frame on four wheels.


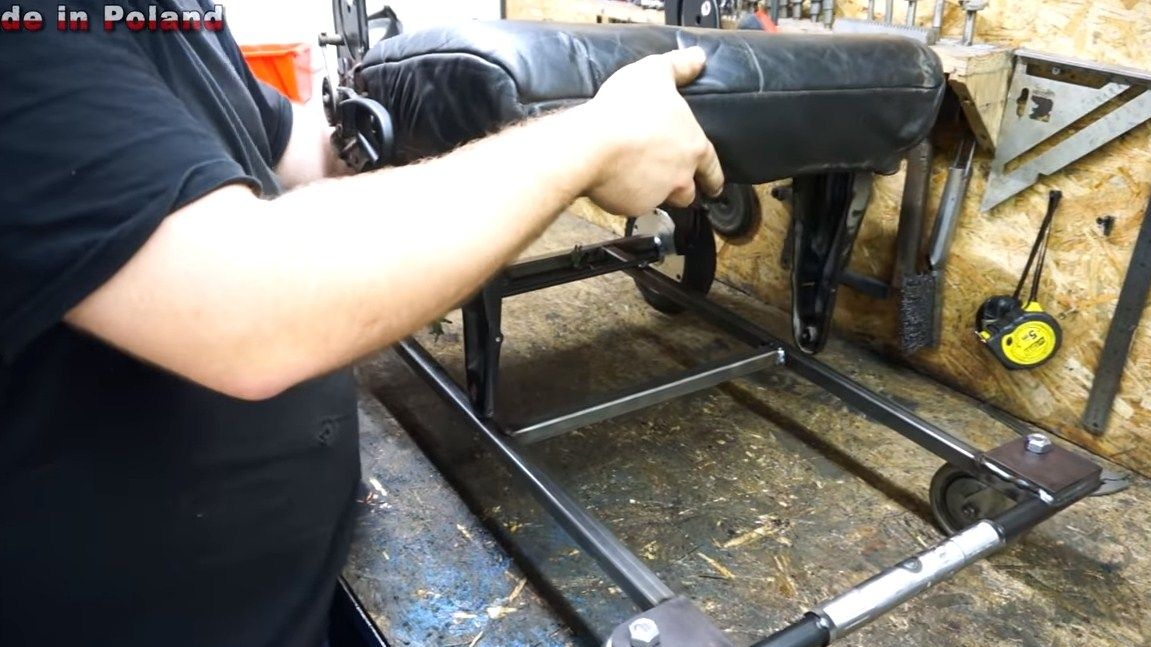
Step Four Chair preparation
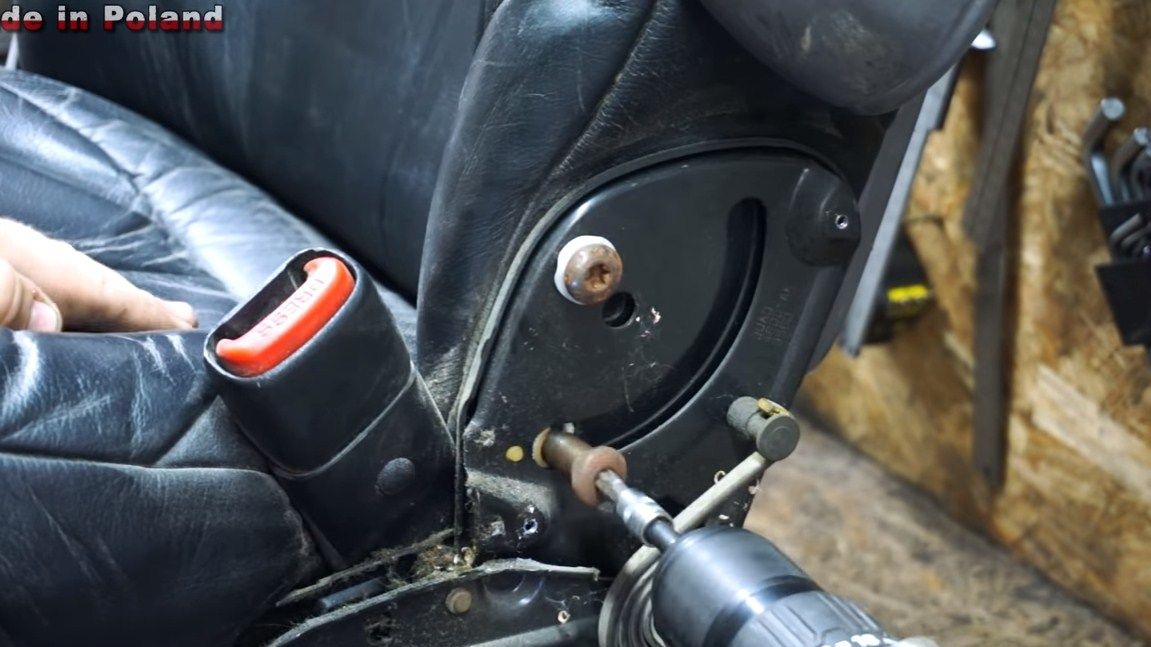
We take up the chair, it will be necessary to unscrew everything superfluous from it. Next, the task will be how to securely fix it to the frame. All seats are different, but there should not be any problems with the mount. The most important thing is that it rests securely on the frame. At a minimum, this should be four mounting points.


Step Five Pedals
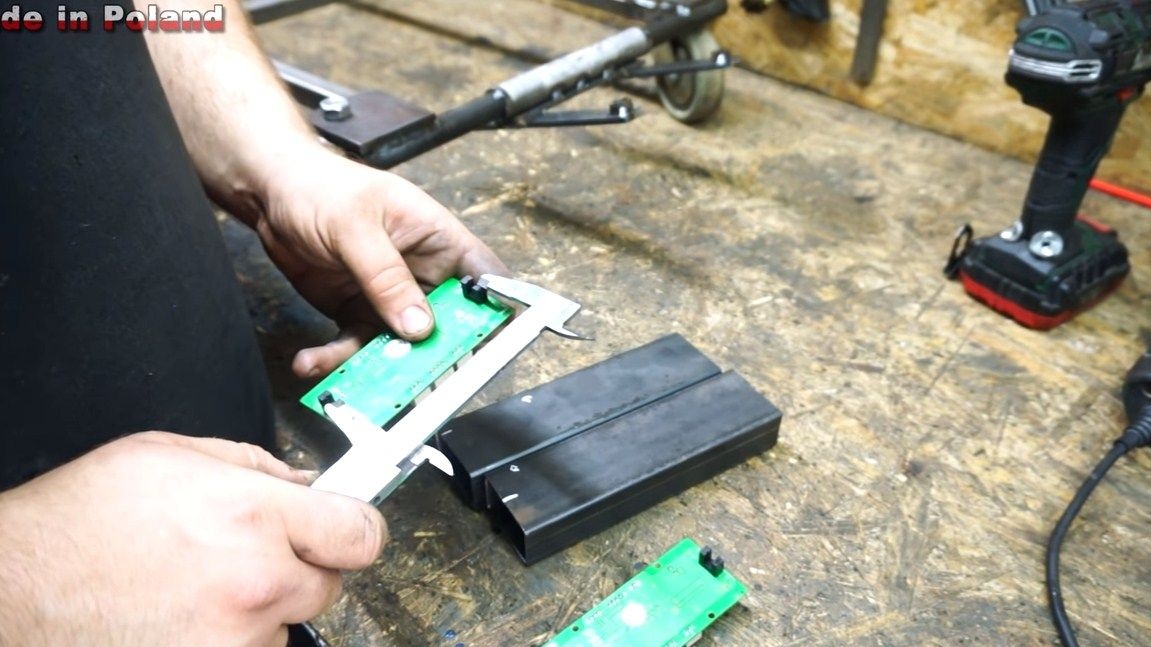
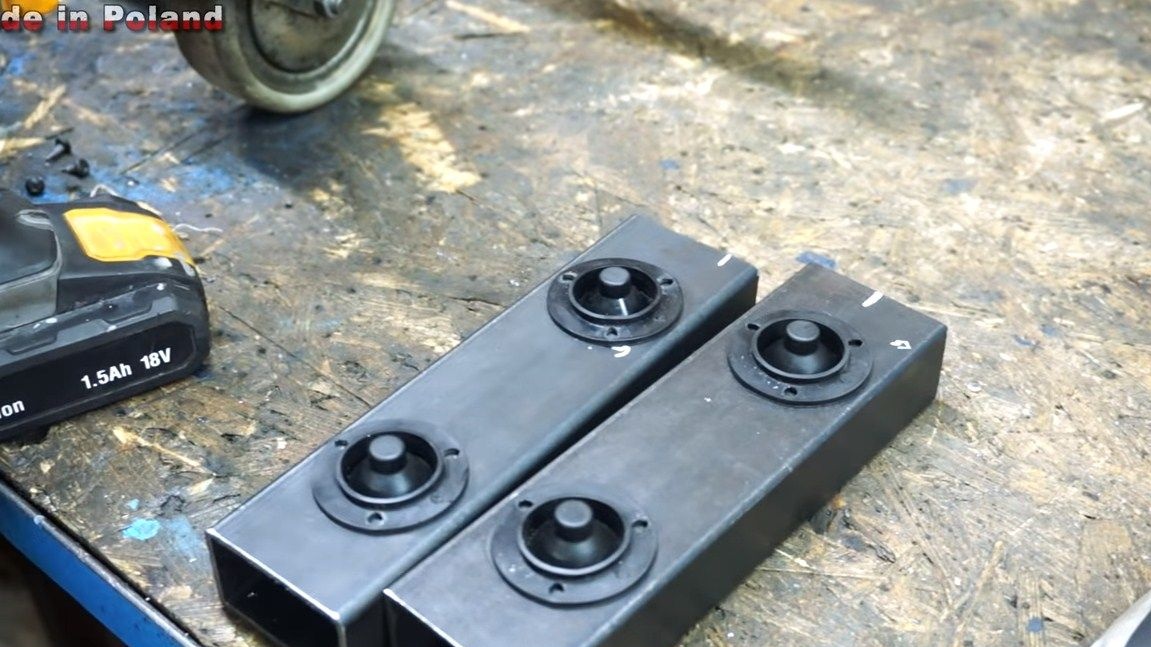
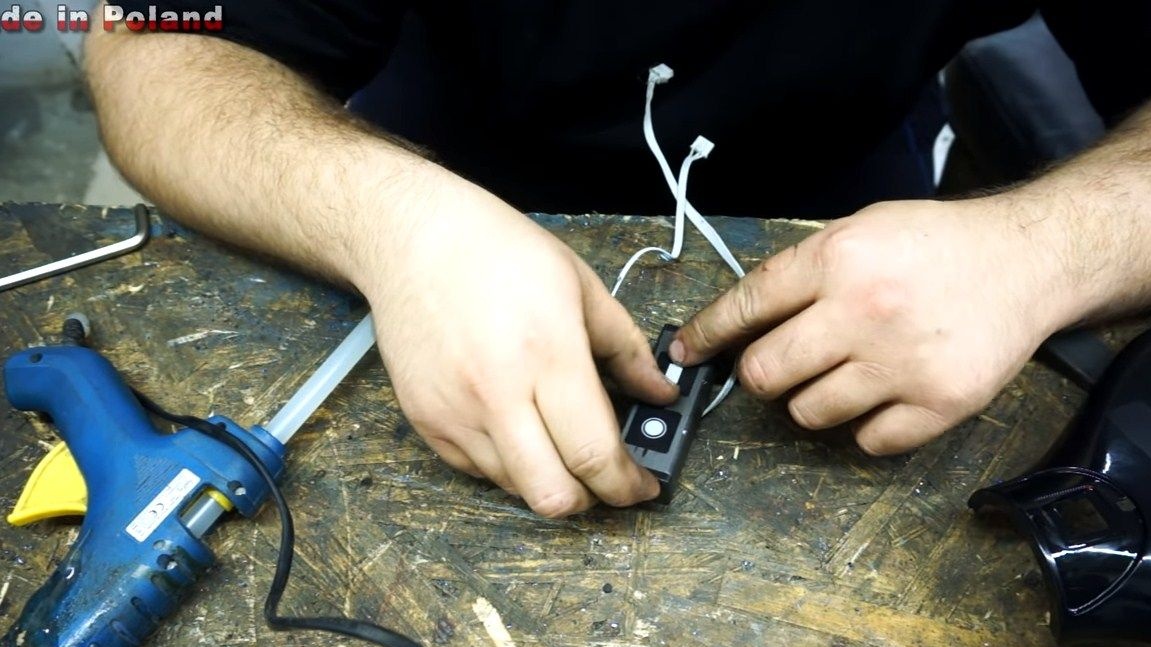
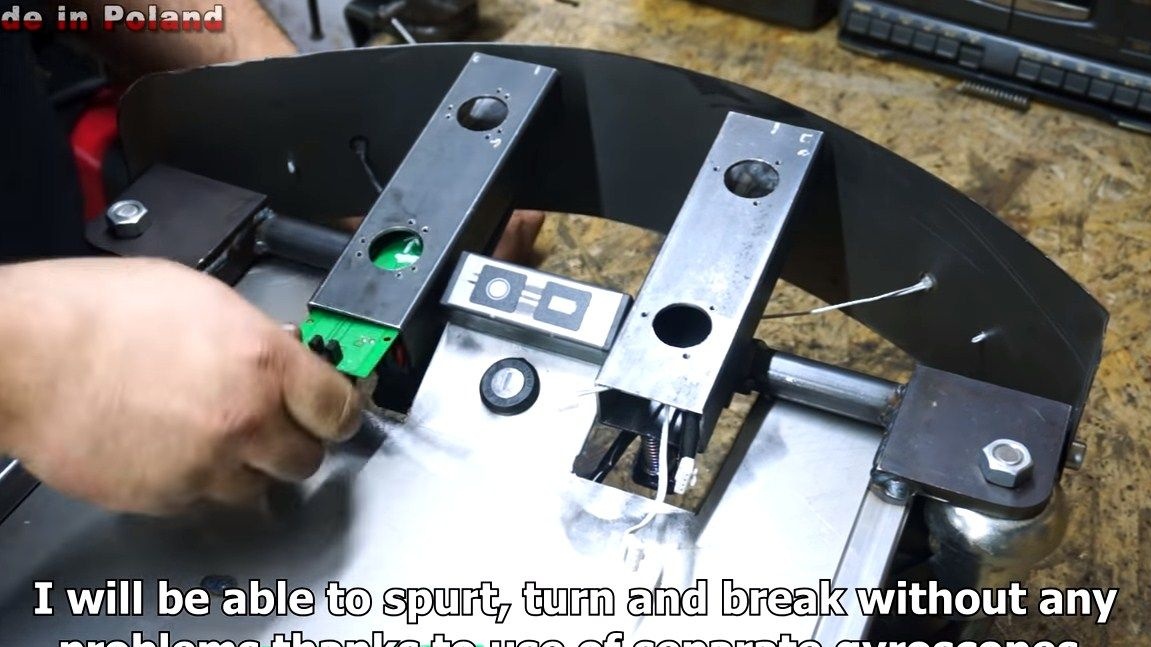
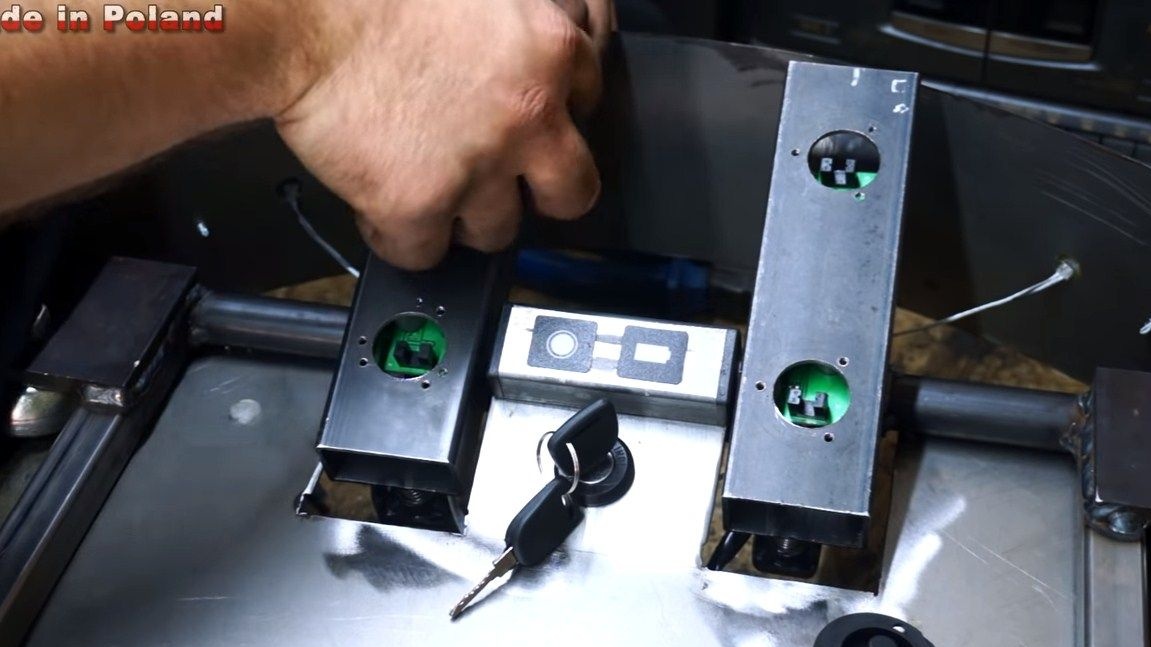
I could not understand the design of the pedals. There are probably two buttons on each pedal. But why in this case, the author fixed the pedals pivotally, remains unknown. Most likely for more realism.
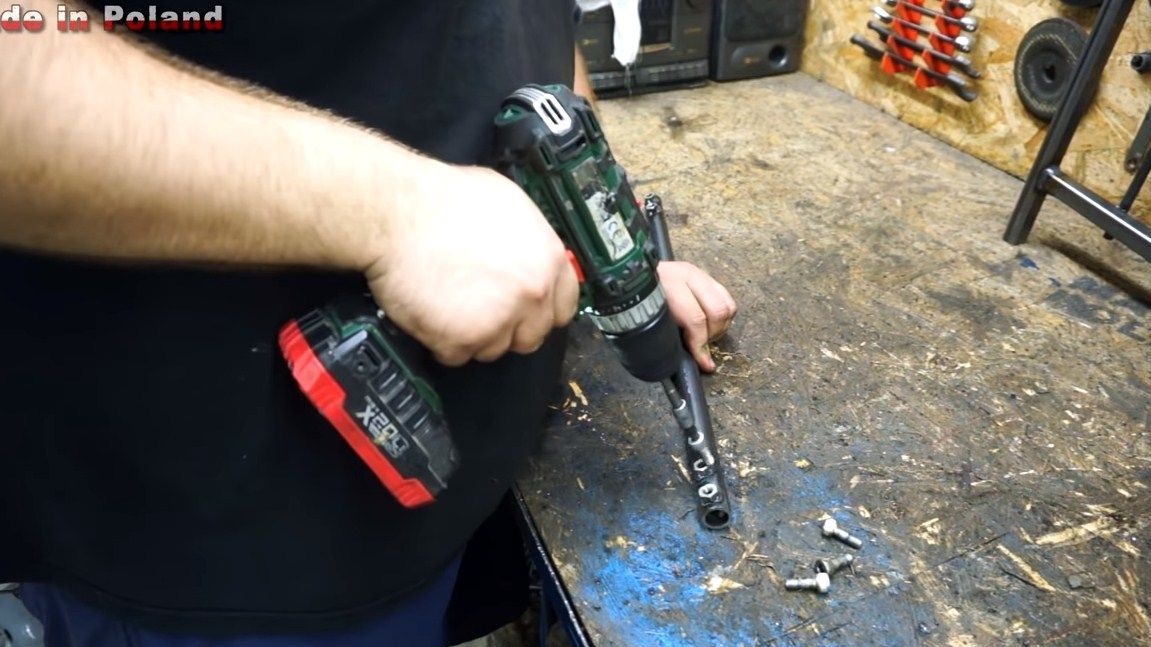
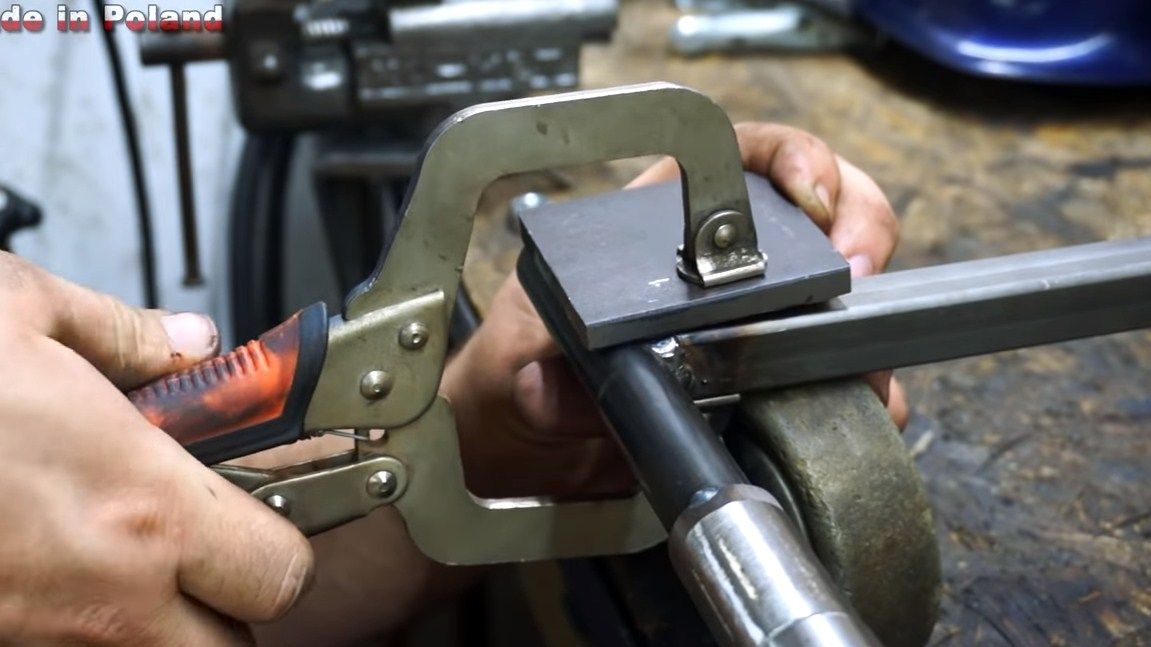
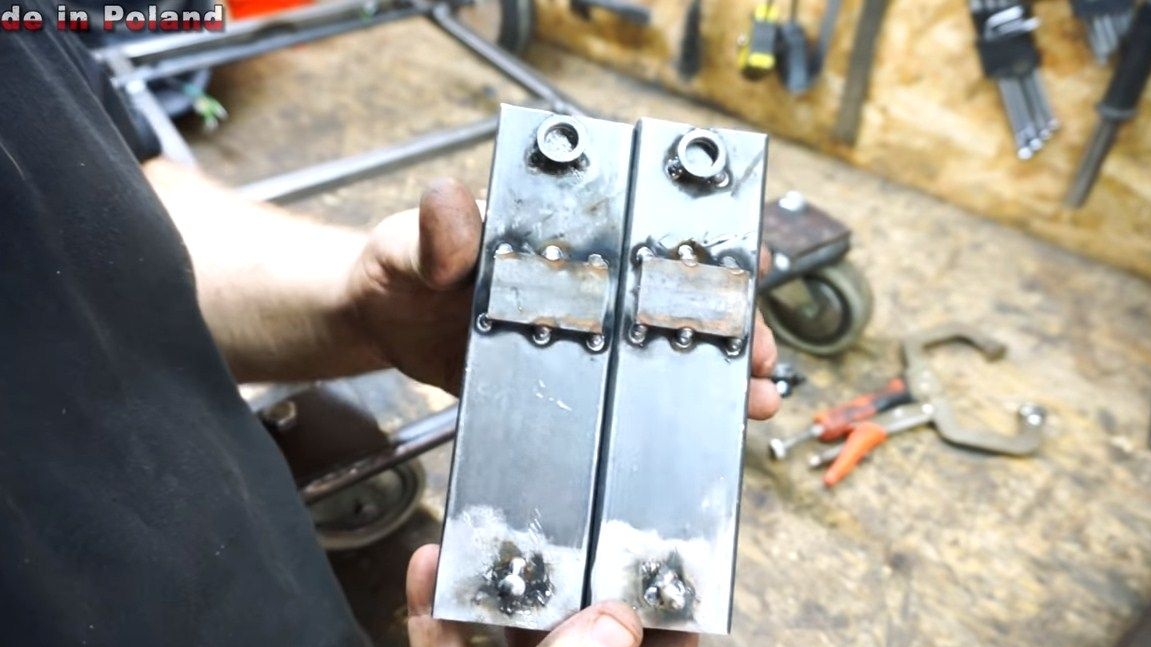
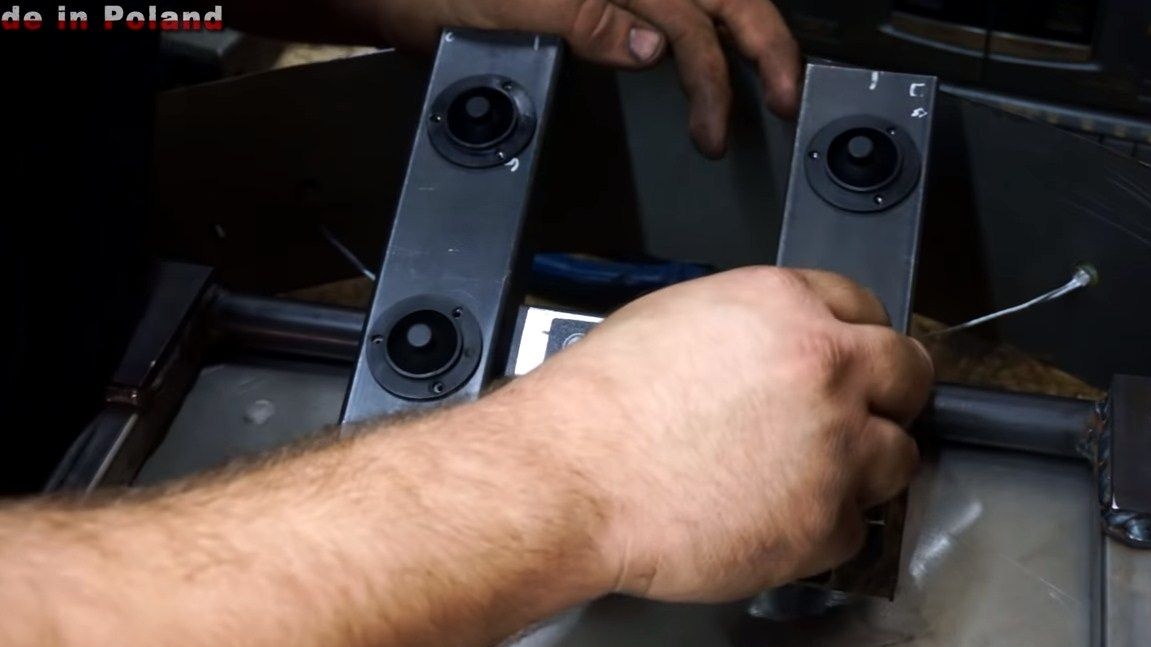
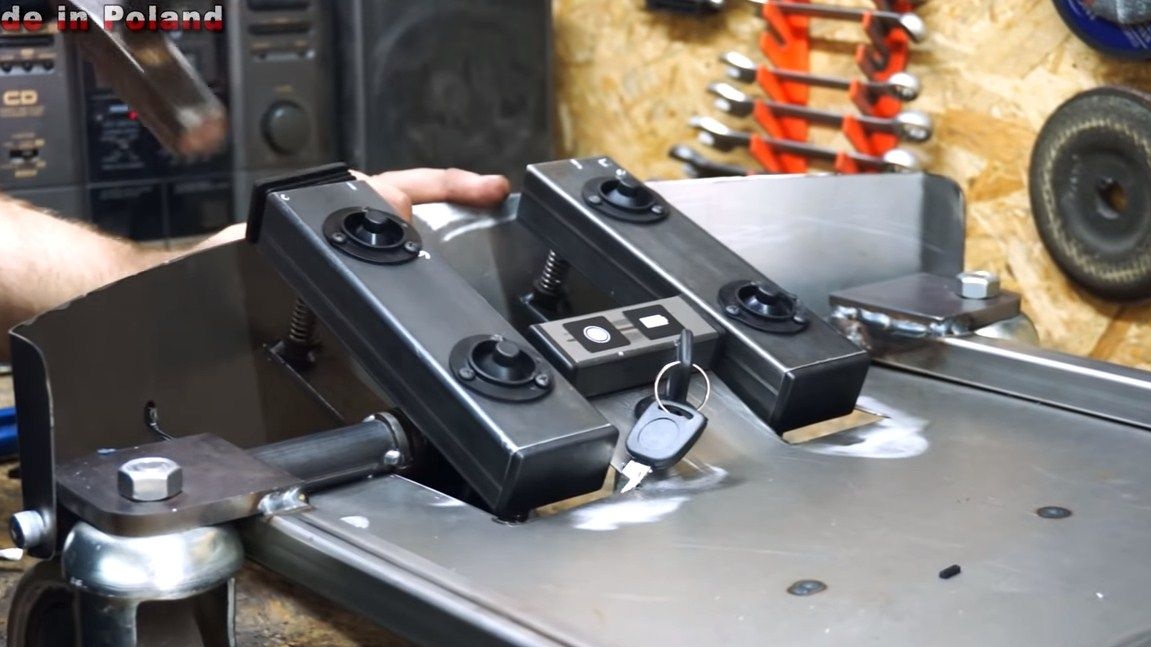
We weld steel plates to the front axle, and as the pedals themselves, the author used pipe segments of rectangular section. In them, we drill a hole for the switches with a crown. The pedals are pivotally mounted and spring-loaded.

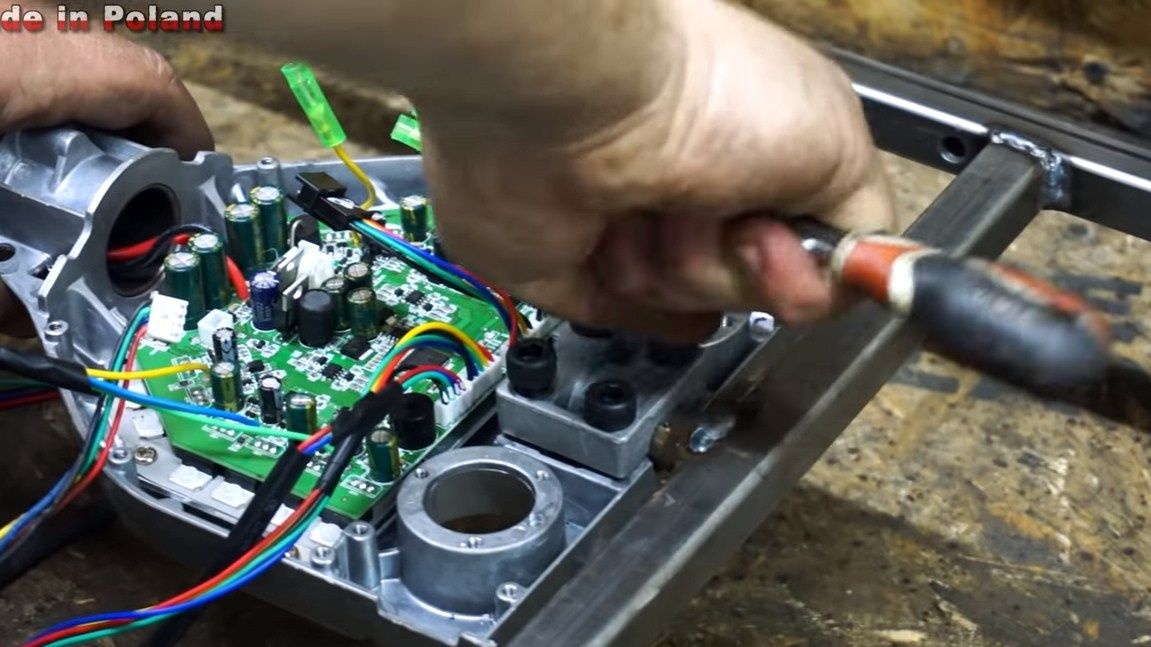
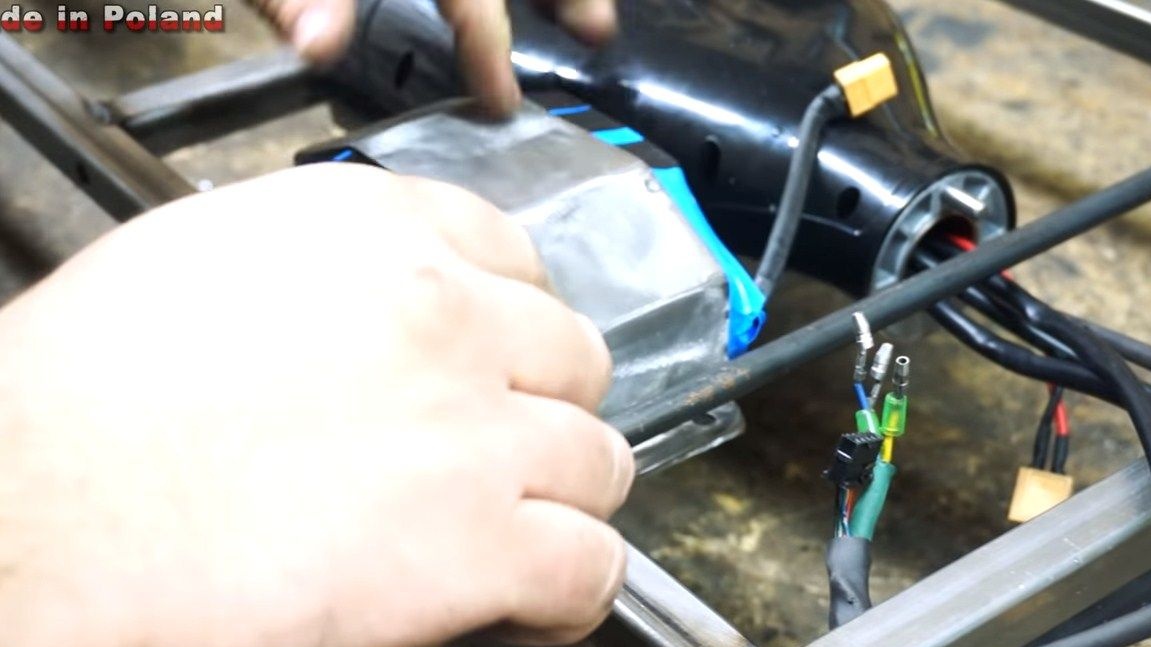
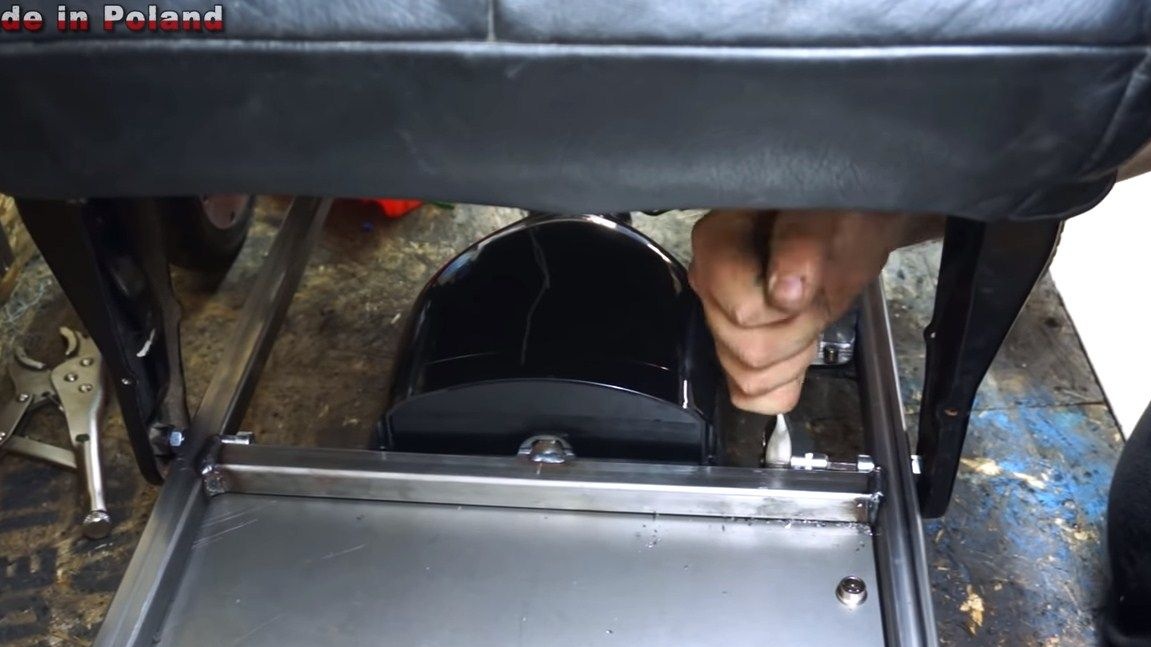
Step Six Brains and battery
Now we need to install the “brains” on the machine, that is, the electronics that will control the brushless motors. We fix it under a seat or in another convenient place. The author welded a piece of steel rod to the frame, and then screwed this whole structure here.
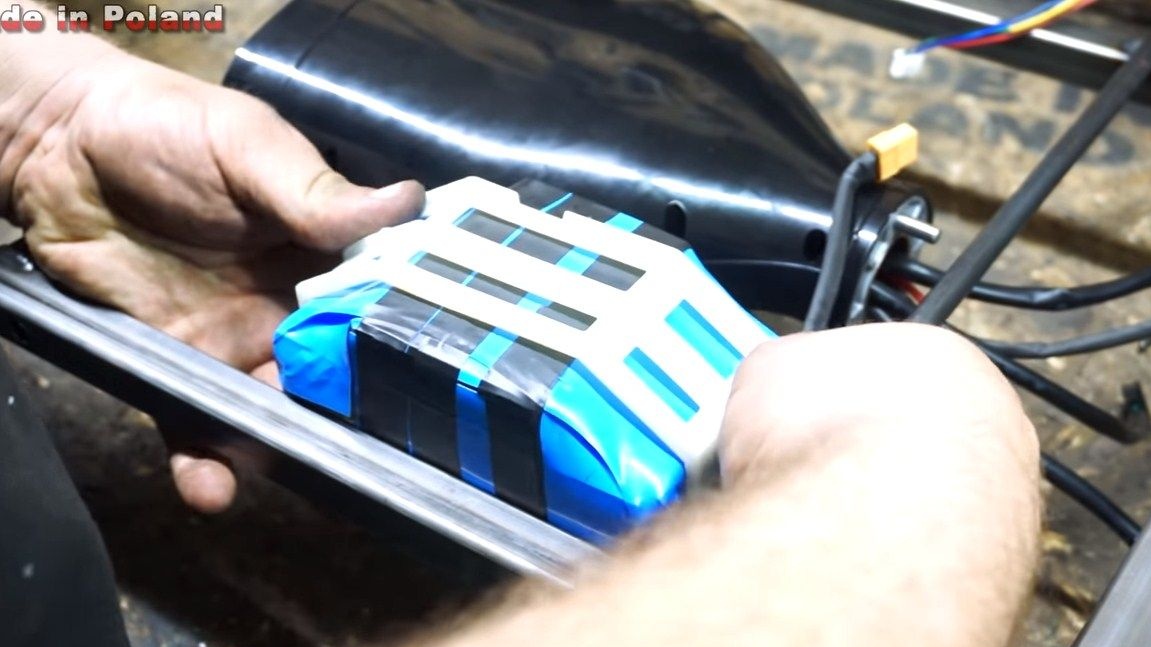
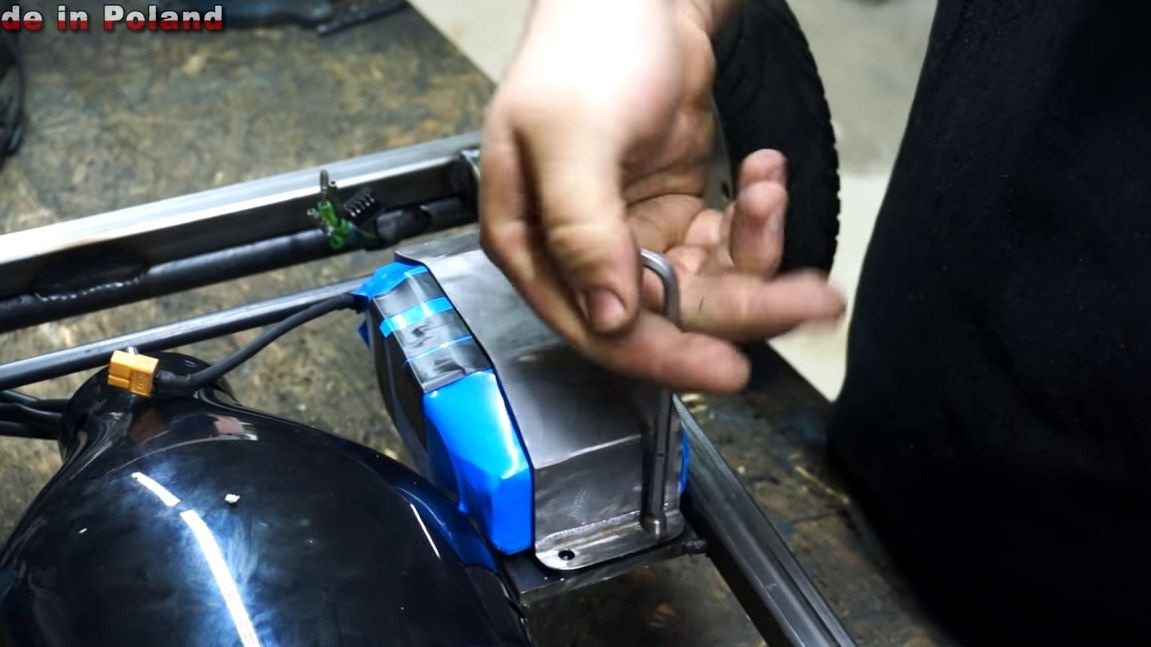
You will also need to secure the battery. We cut out the steel plate and weld it to the frame, and then we fasten the battery to it with a homemade clamp.


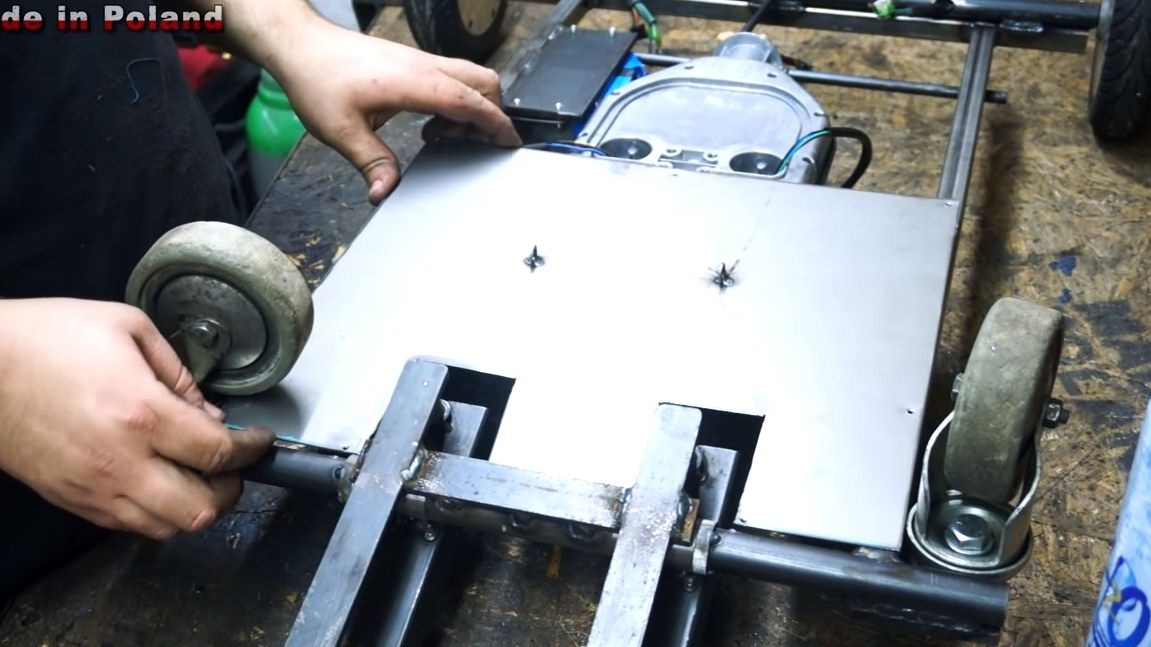
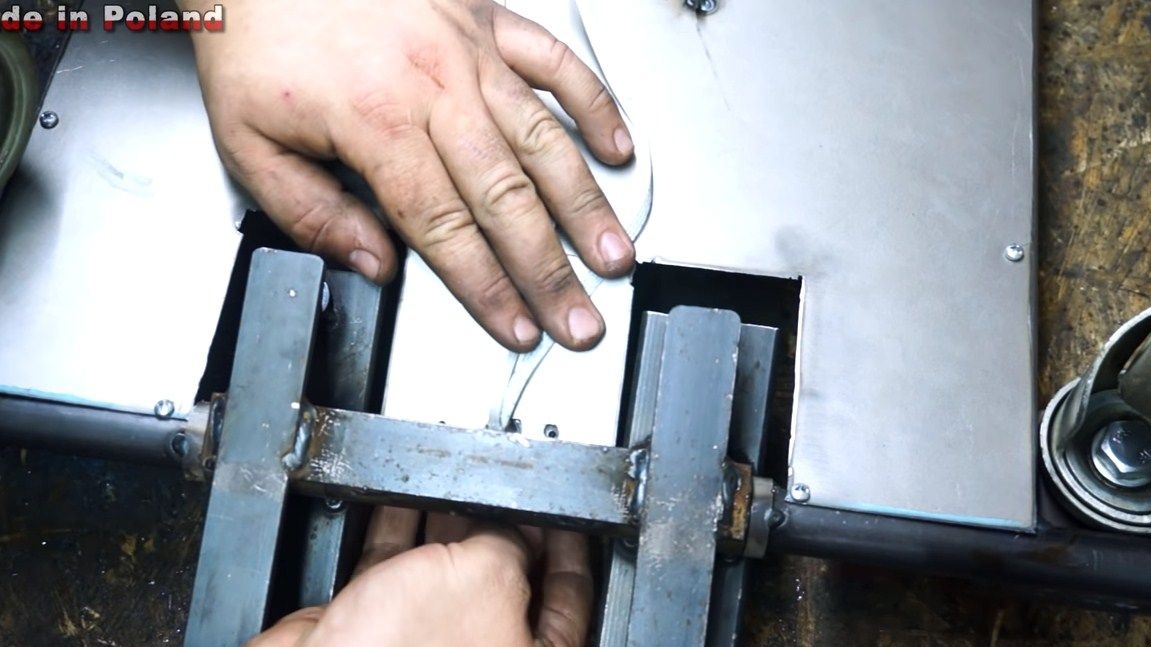
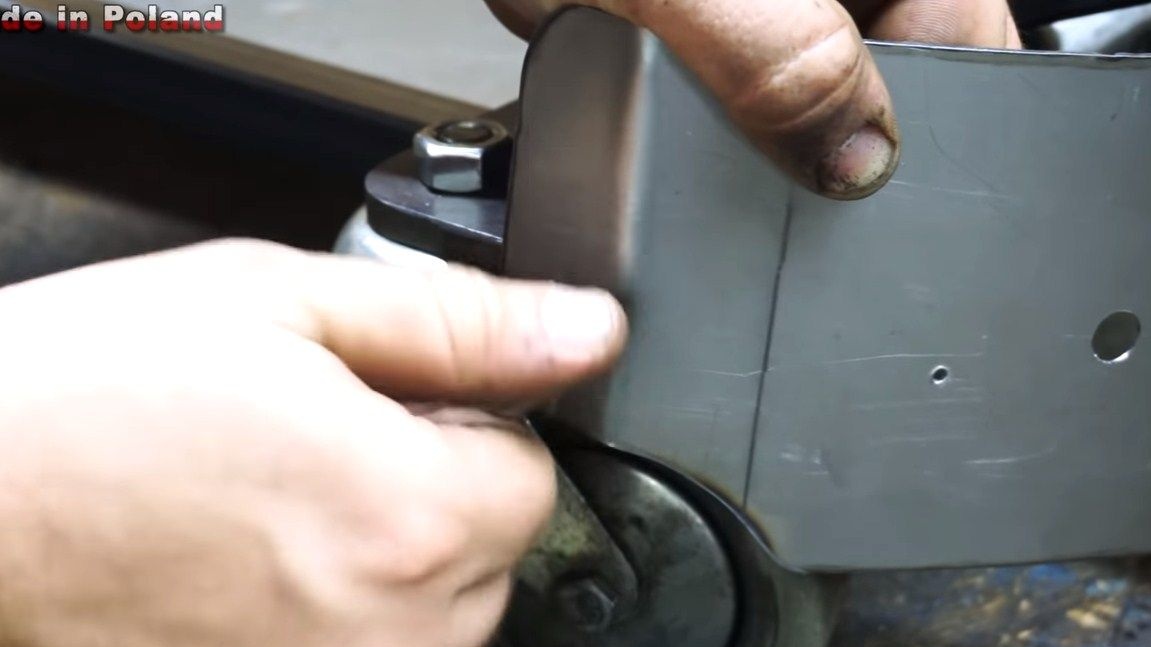
Seventh step. Bottom
Make a bottom for your vehicle. This will protect you from dirt, stones when driving, and everything will look much more beautiful. As the bottom, sheet steel is suitable, but rather sheet aluminum, since we do not need excess weight. We fasten it with screws to the frame.

Step Eight. Further assembly
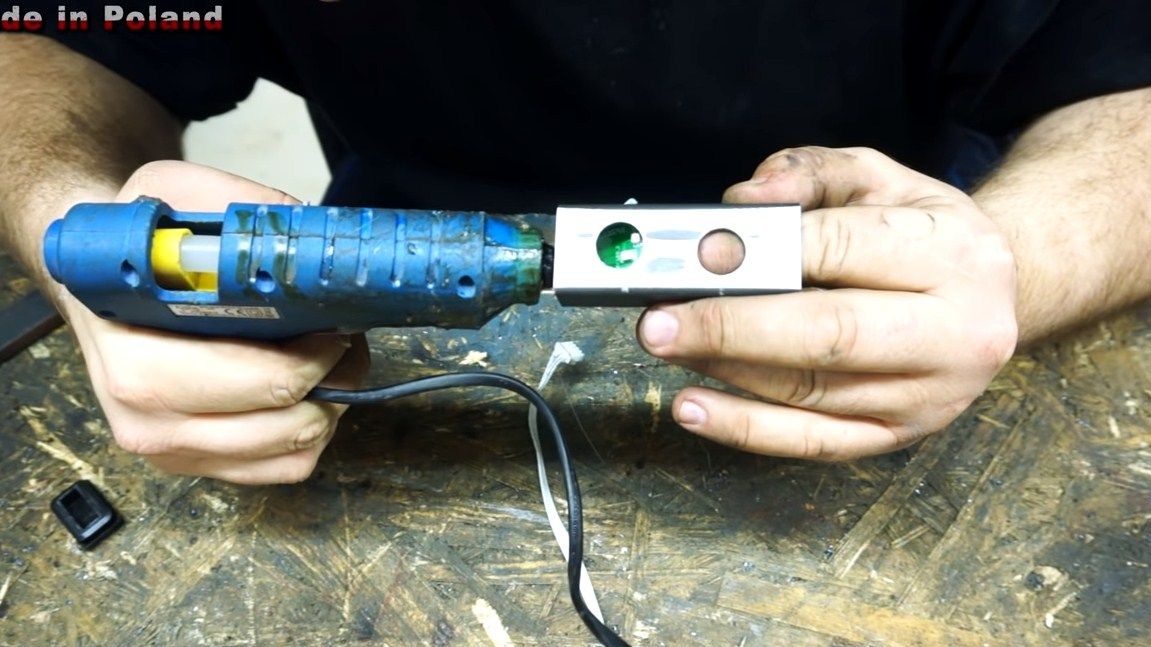
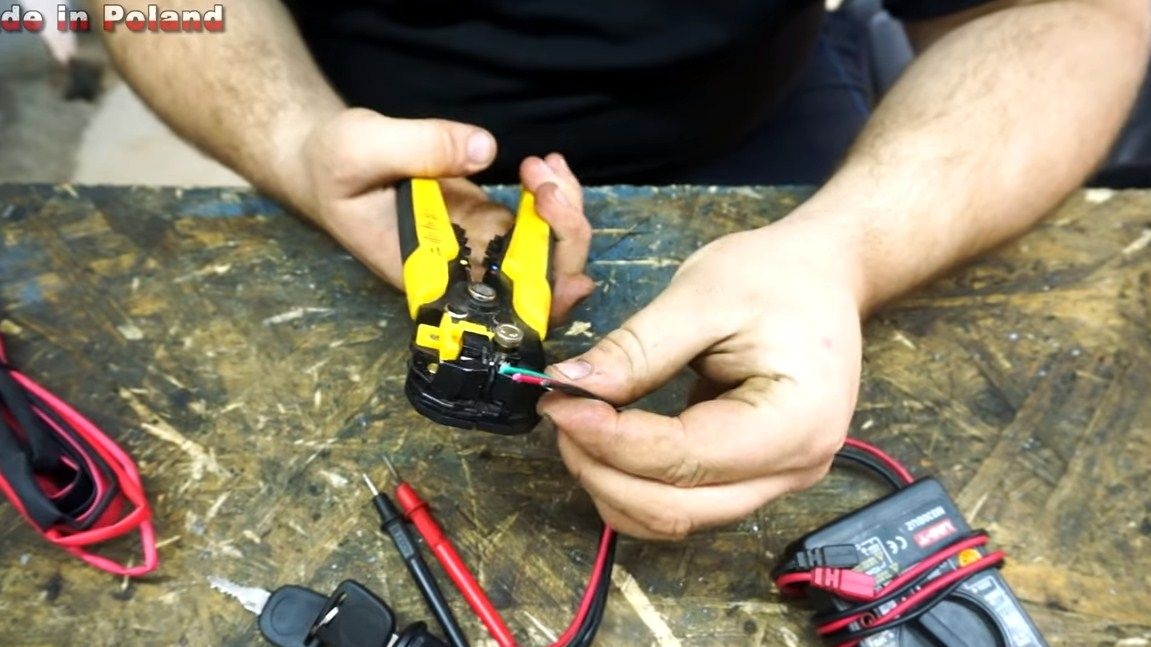
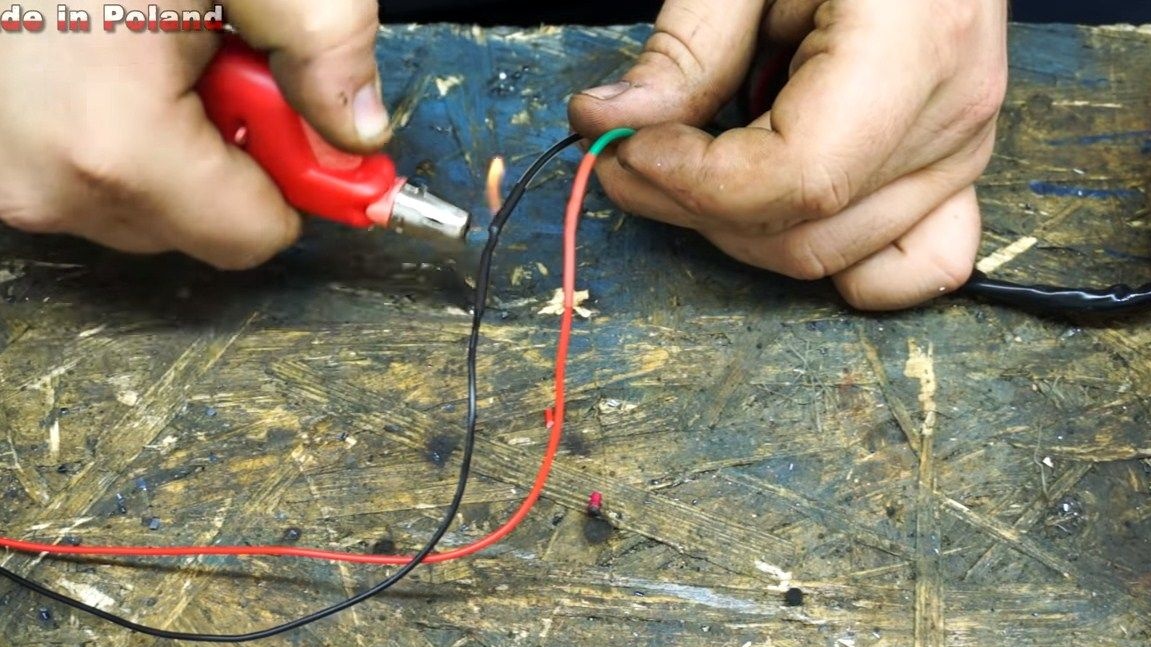
Next, we connect all the necessary wiring, solder the joints and isolate using heat shrink. Wires should not interfere with your driving or dangling over the road, as they can be easily broken. We also install buttons on the pedals, and, if desired, we also mount the ignition switch. The author also decided to make a battery indicator for himself. He placed it in a square tube case. We suppress pedals by means of plastic caps for pipes, as well as other open sections of pipes.
In front of the author placed a protective shield, LED strips are installed on it, they will be used as headlights.


That's all, in the end you just have to fasten the chair. Homemade ready, you can experience. The author's chair travels quite briskly. The driving range will depend on the battery capacity, and the battery here can be put quite large. The project is over, I hope you liked the homemade. Good luck and creative inspiration, if you want to repeat it! Do not forget to share your best practices and homemade products with us!