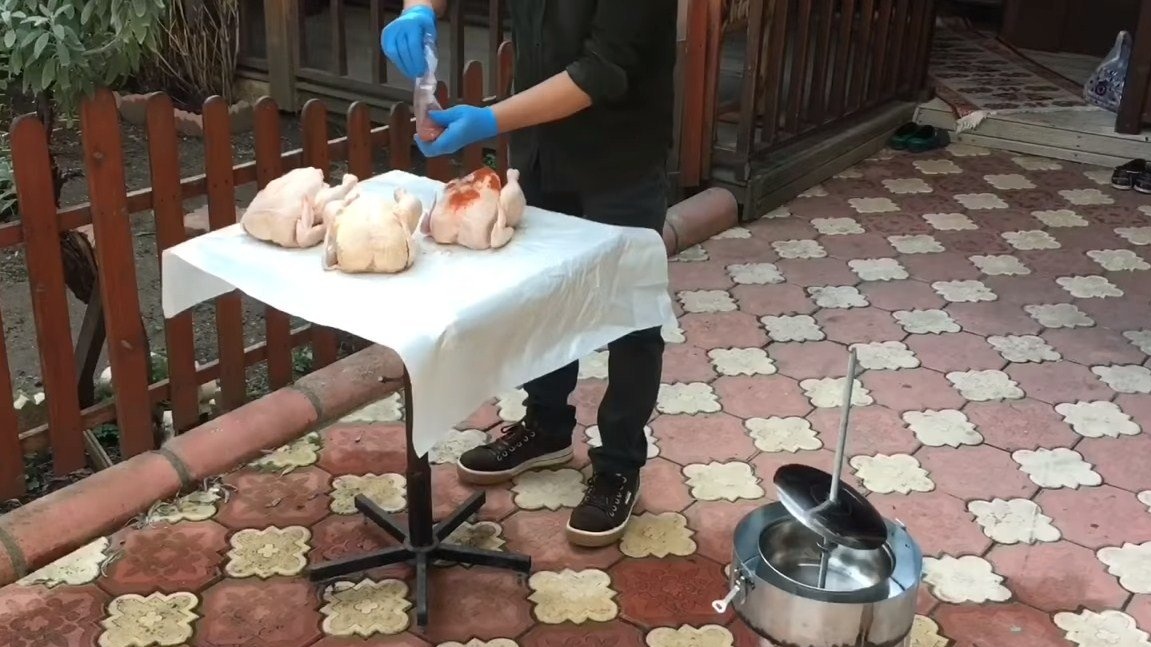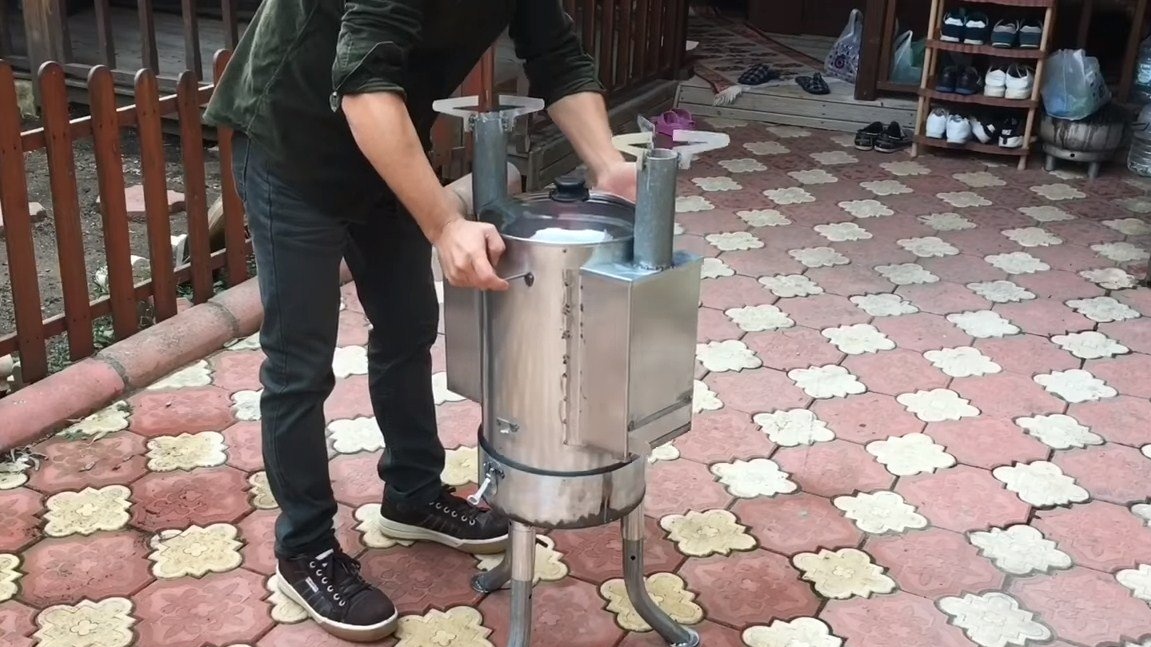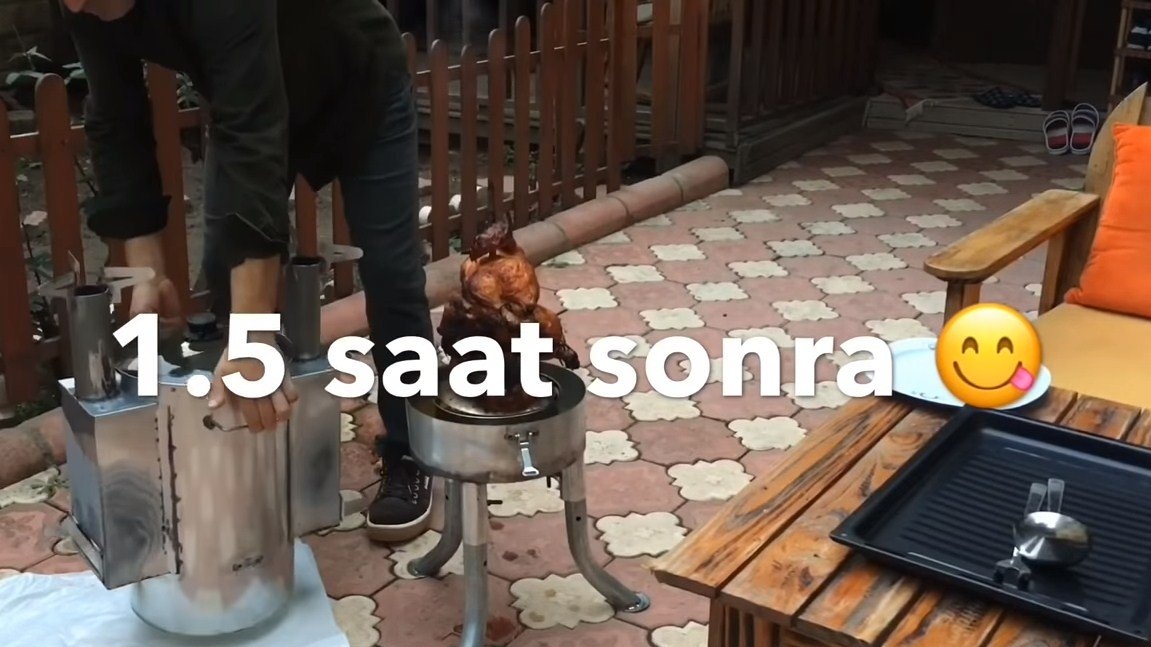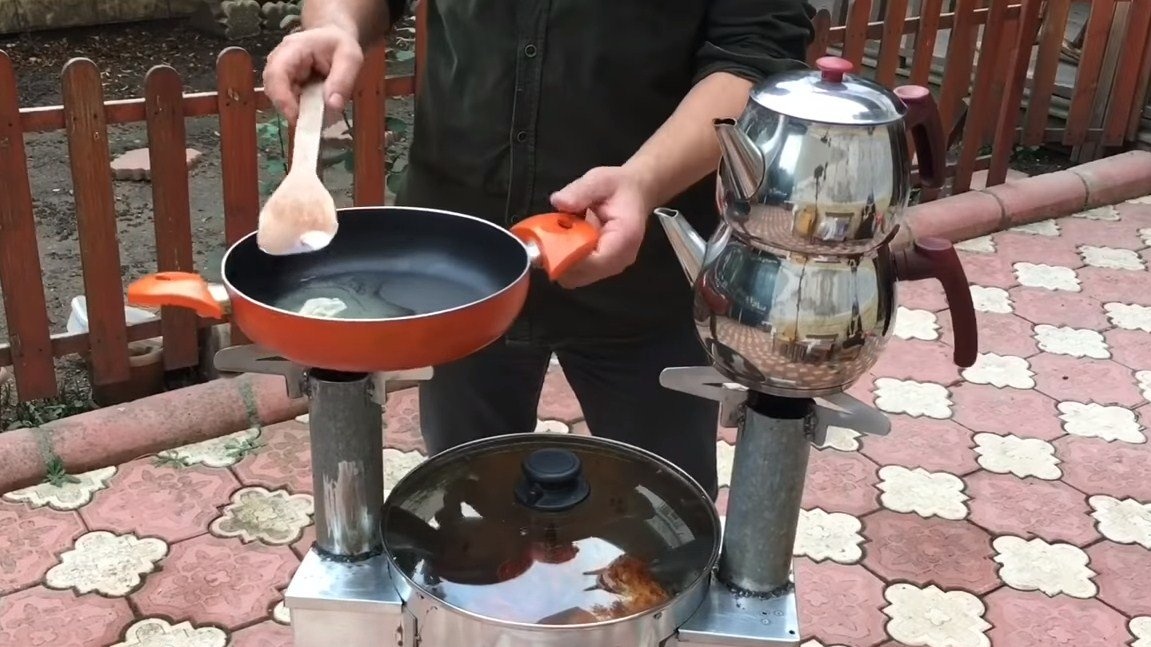
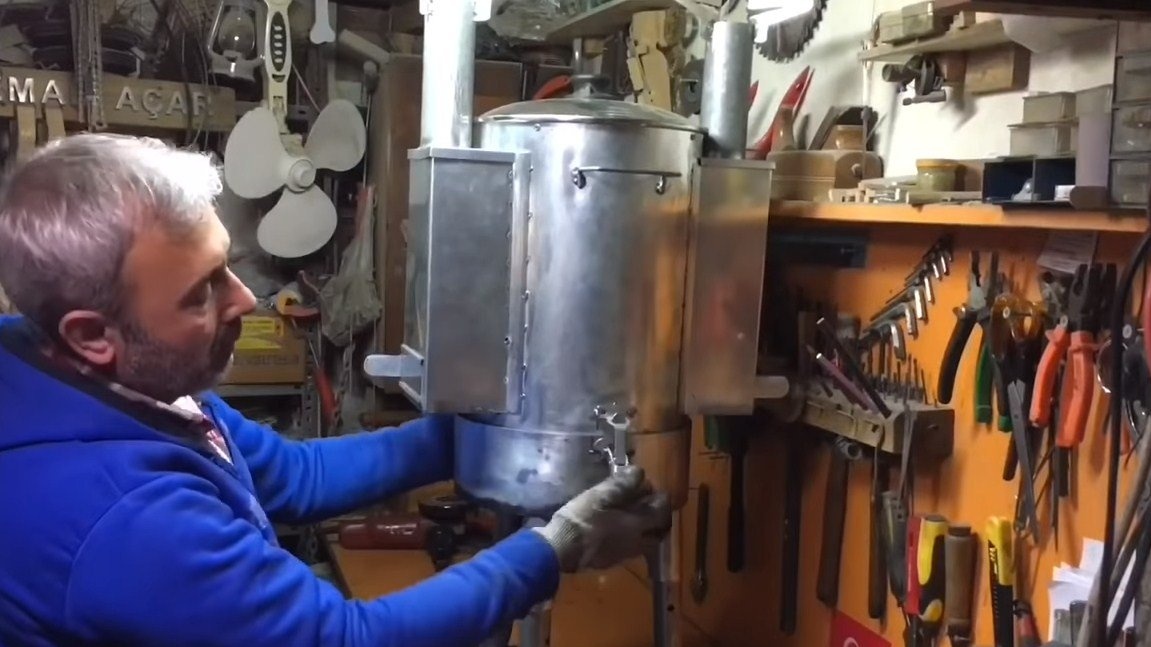
In this manual, we will look at how to make a simple coal-fired cooking stove. On the stove there are two pipes with grills for installing dishes, here you can cook or fry something. And in the center of the oven there is a large chamber, the author uses it to bake with chicken, 3 hens easily fit here.
There are two coal furnaces in the furnace, in all there is a blower with a convenient and simple adjustment of the incoming air. Only an hour and a half and you have ready excellent chicken, as well as baked vegetables for her. The design of the furnace is very simple, it is best to make it from stainless steel, which can be welded. If you are interested in a project, I suggest that you familiarize yourself with it in more detail.
Materials and tools used by the author:
Material List:
- galvanized steel sheet or stainless steel sheet;
- bolts and nuts;
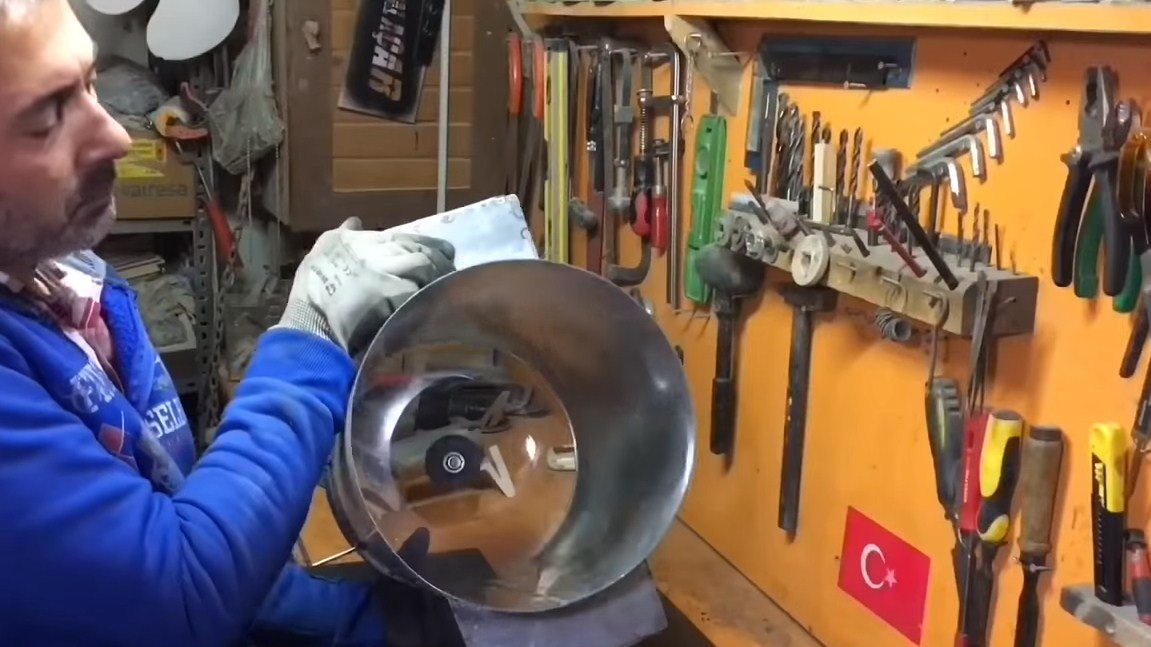
- a large glass lid for the pan;
- round pipes for legs;
- stainless pan and lid;
- threaded rod and nuts;
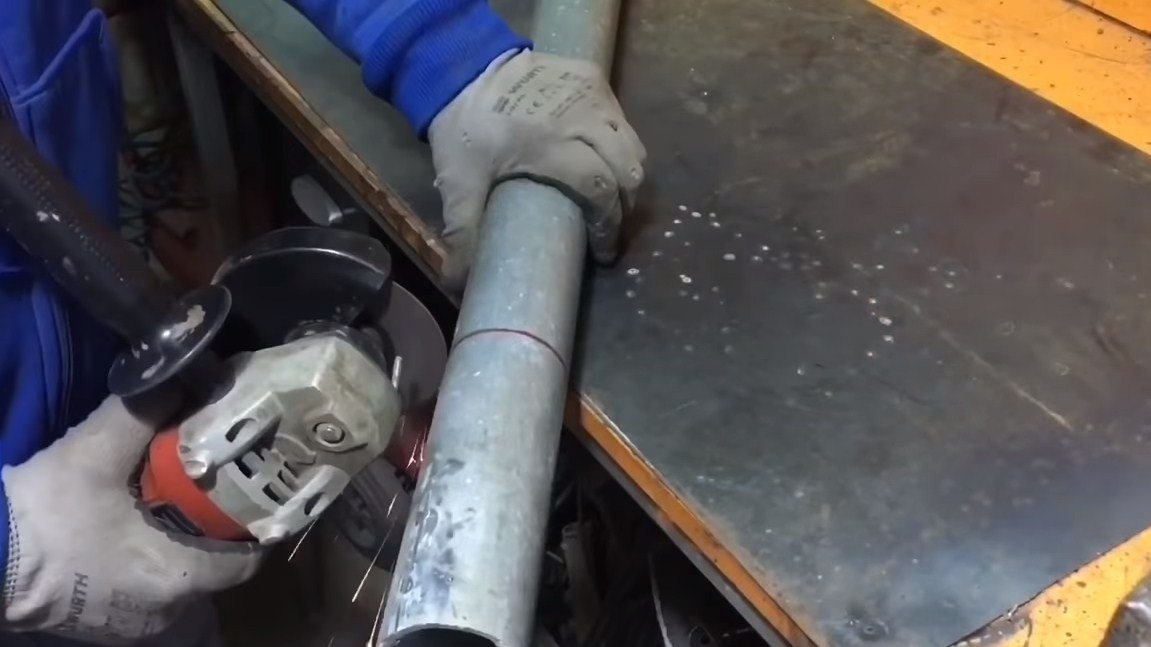
- round pipe (for chimneys);
- steel grill.
Tool List:
- welding machine;
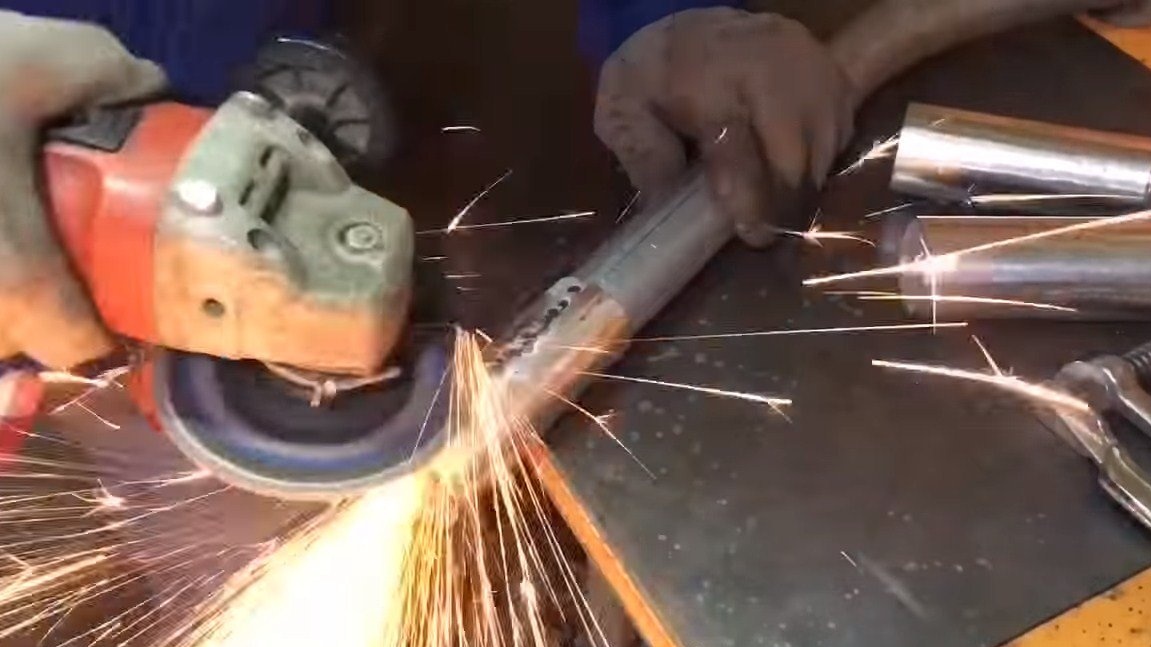
- grinder;
- vise;
- drill;
- scissors for metal;
- marker;
- ruler.
Furnace manufacturing process:
Step one. Housing
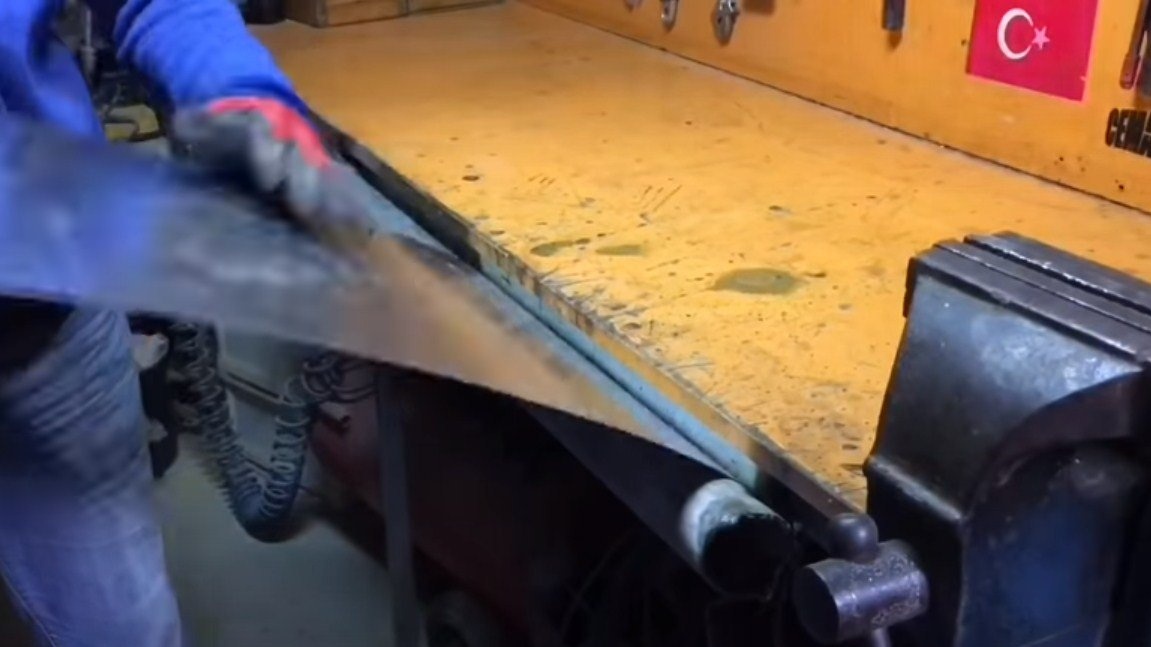
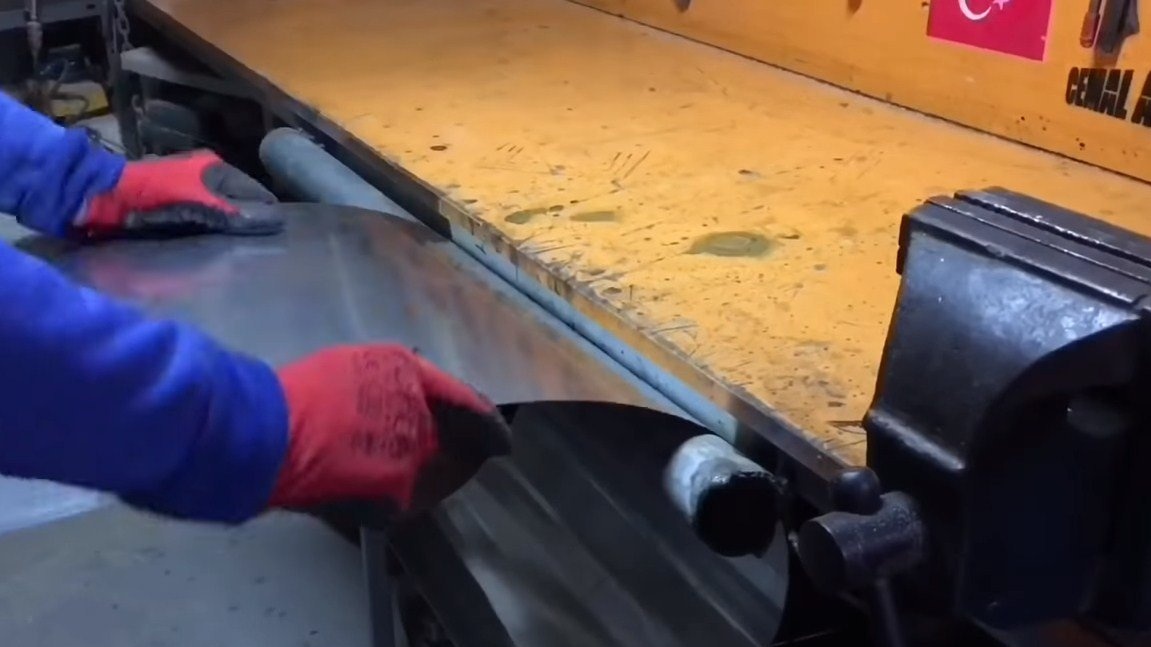
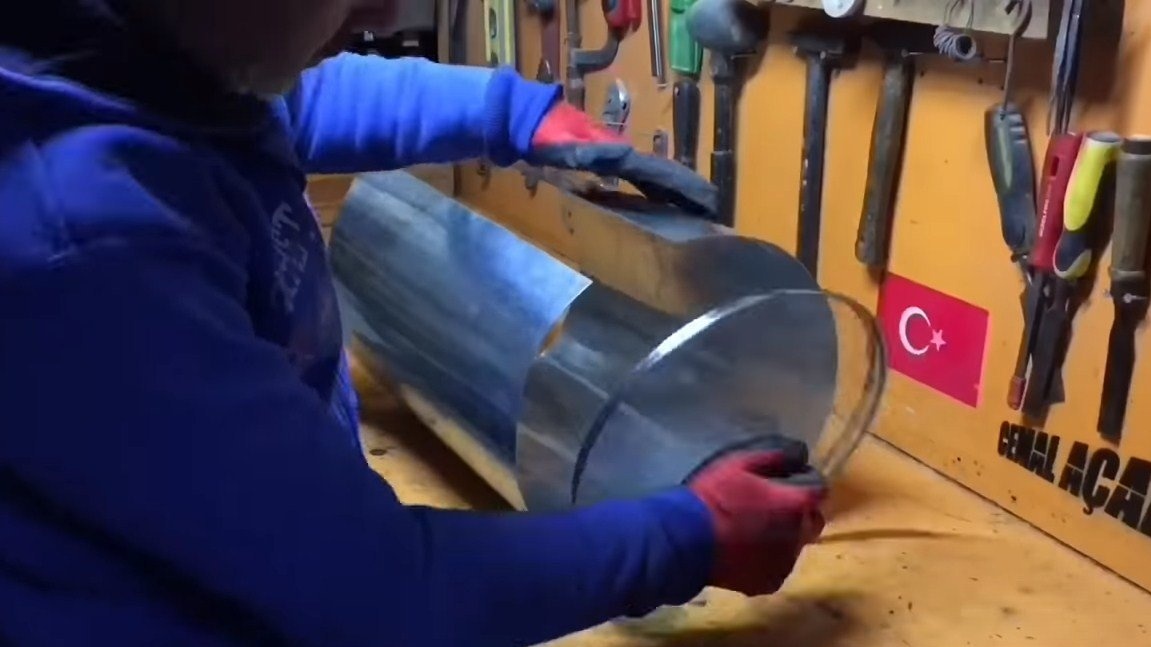
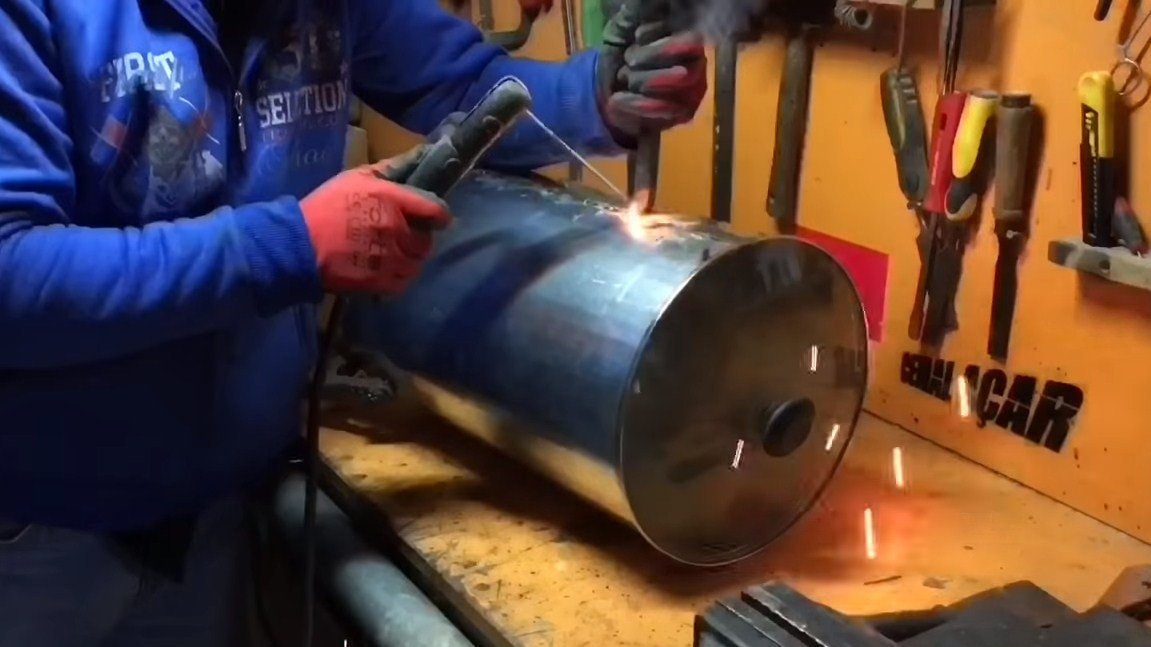
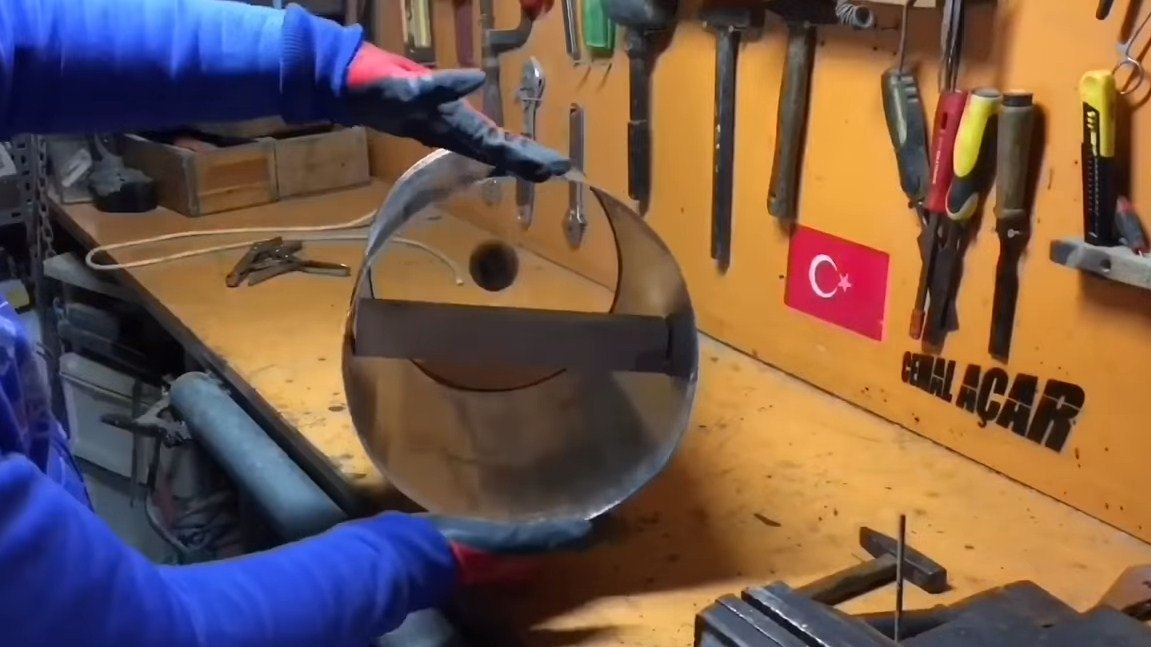
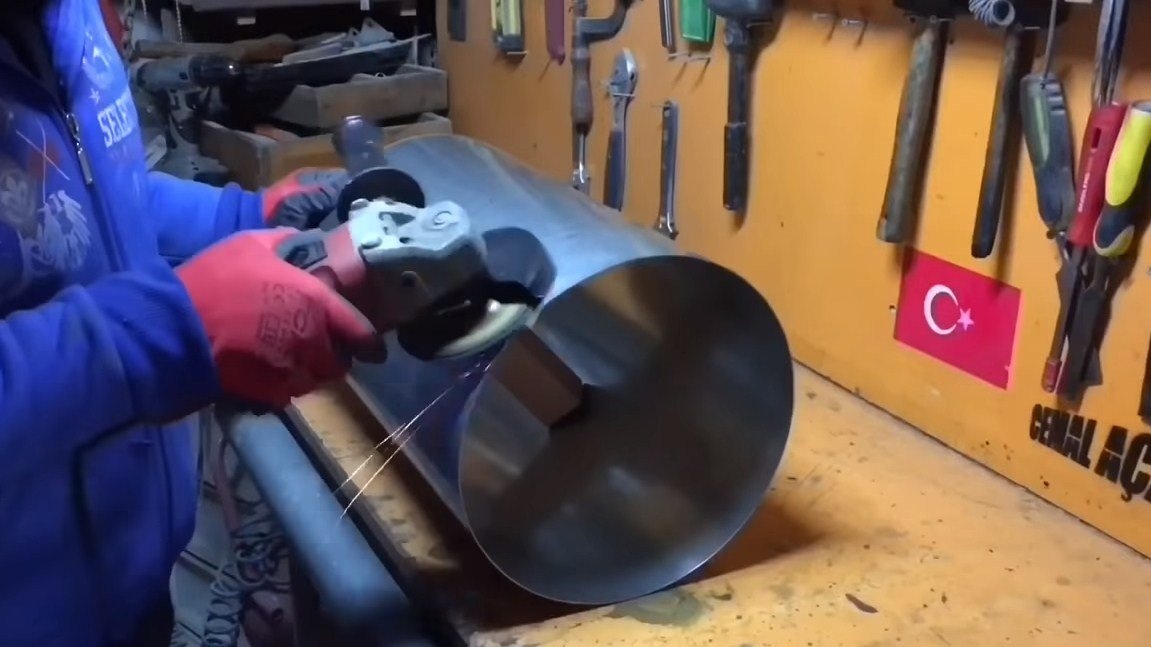
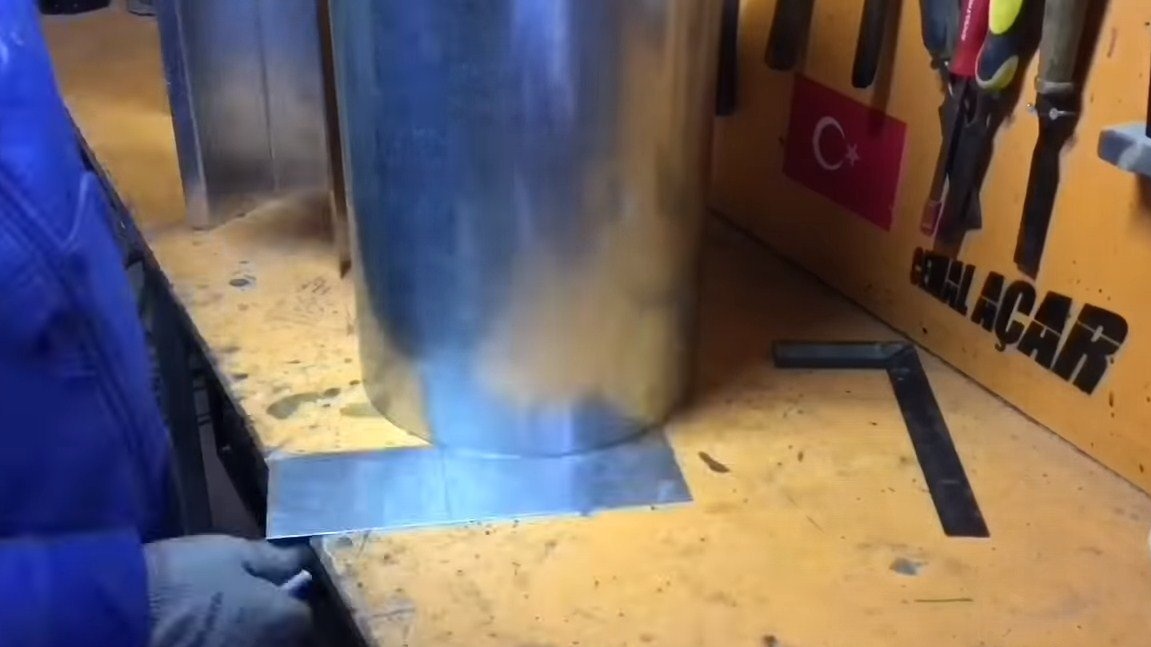
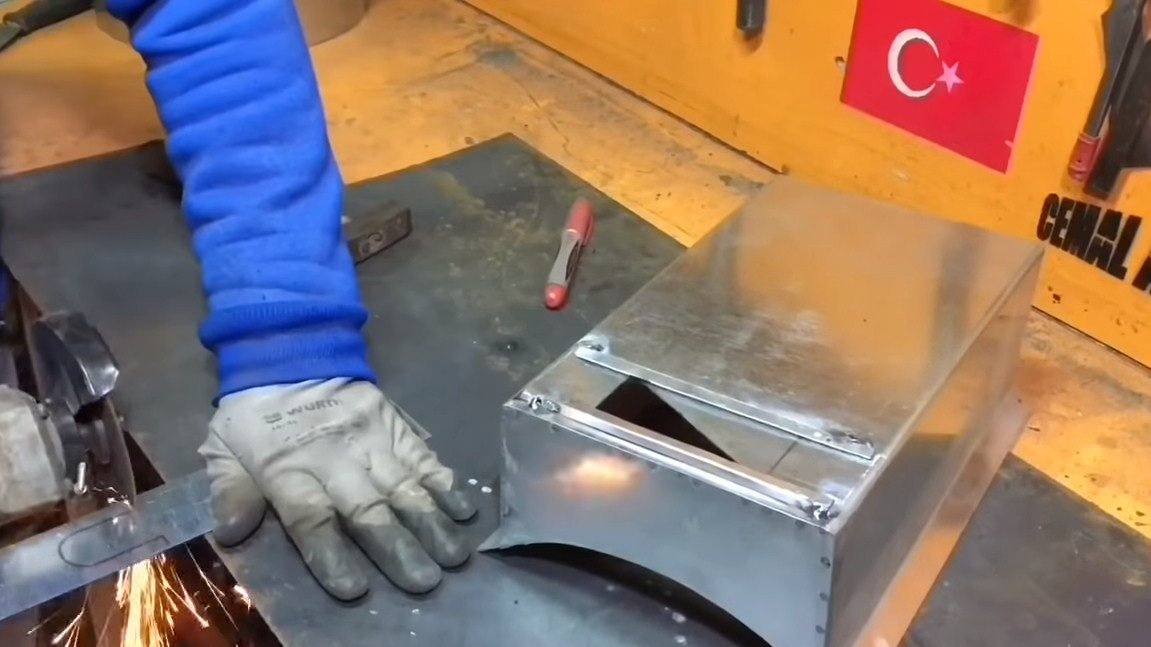
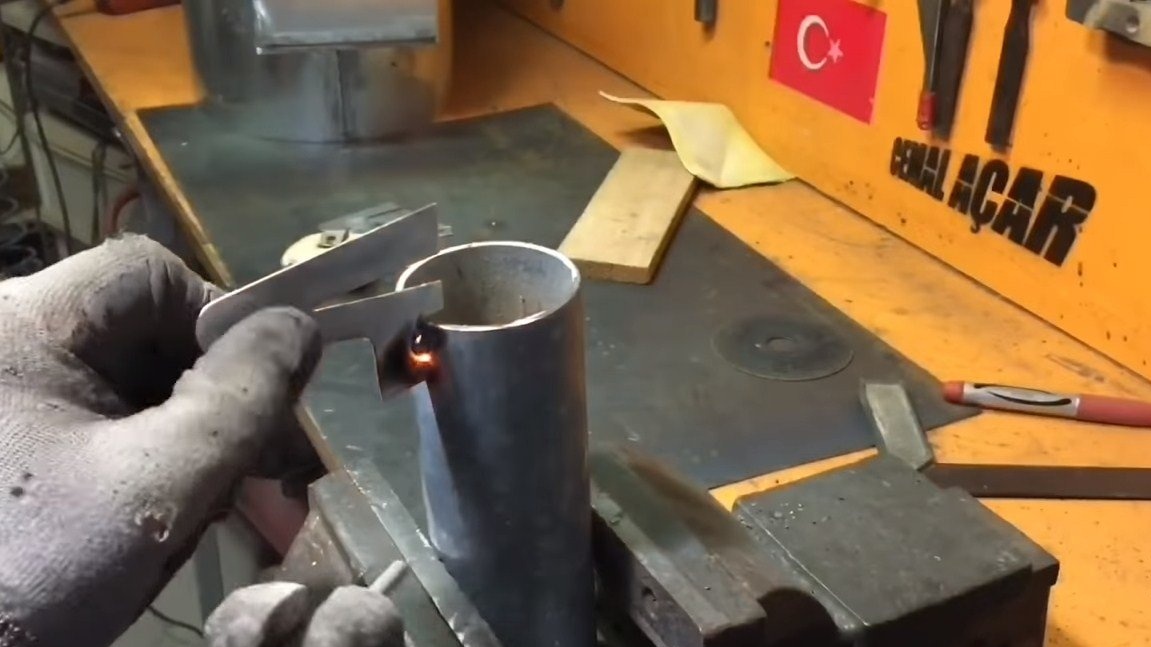
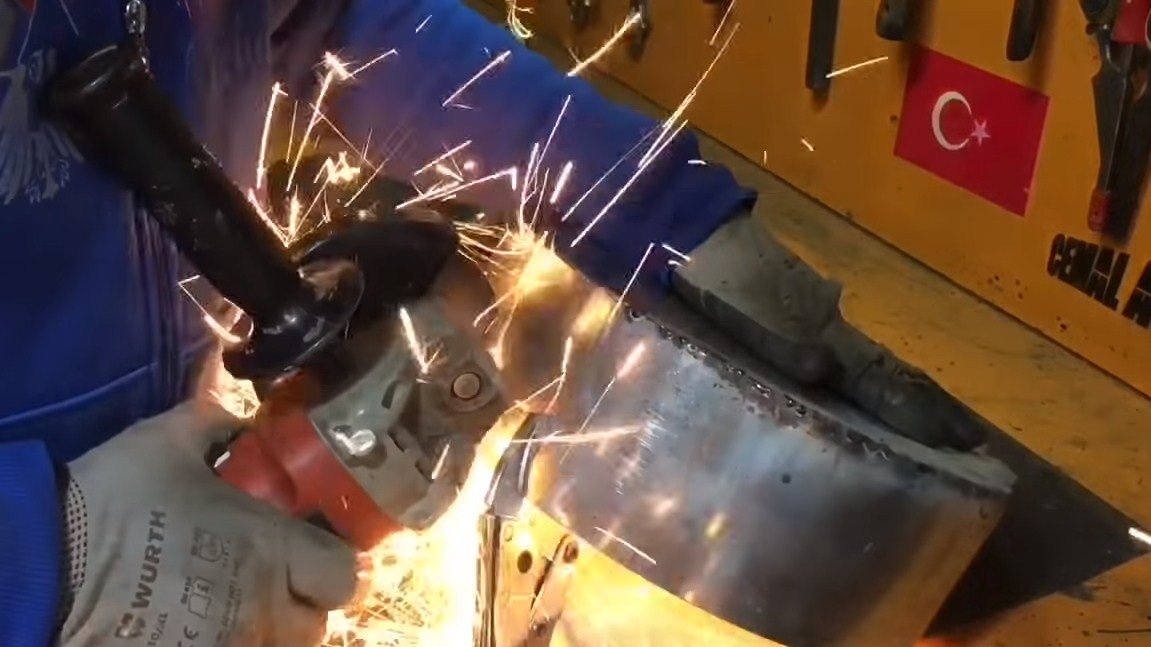
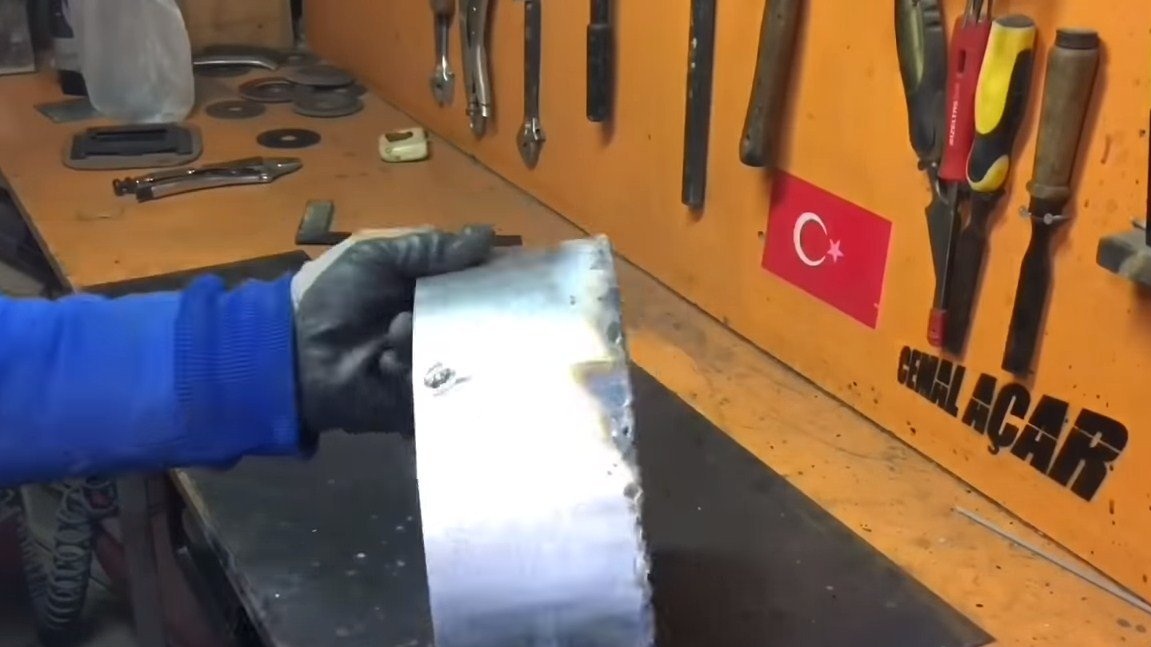
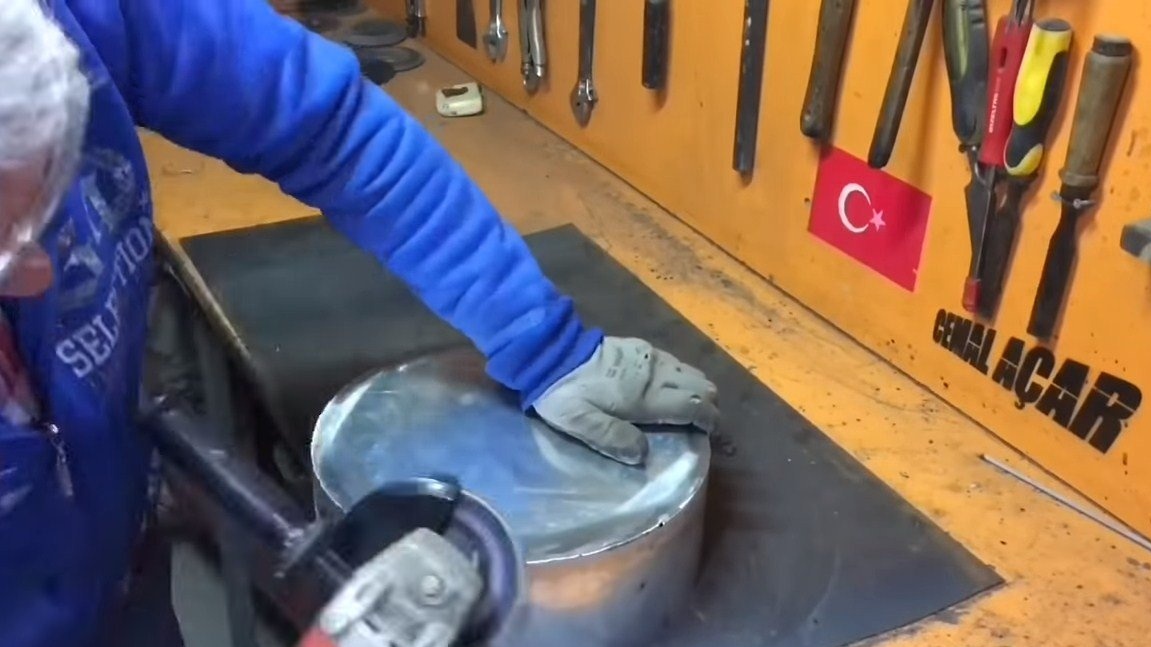
Let's make the main body, for this the metal sheet needs to be given a cylindrical shape. To bend the material, the author welded a piece of steel pipe to his desk. Slowly, slowly and we have a cylinder ready. We adjust its diameter depending on the cover and spot weld the ends.
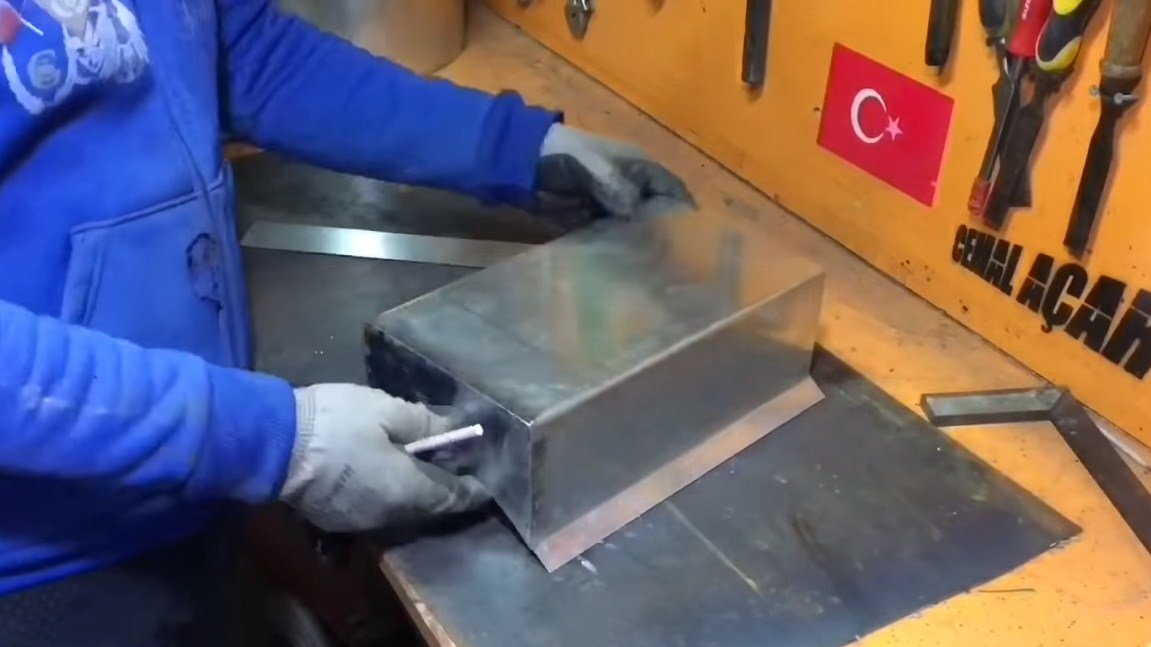
Step Two Production of combustion chambers
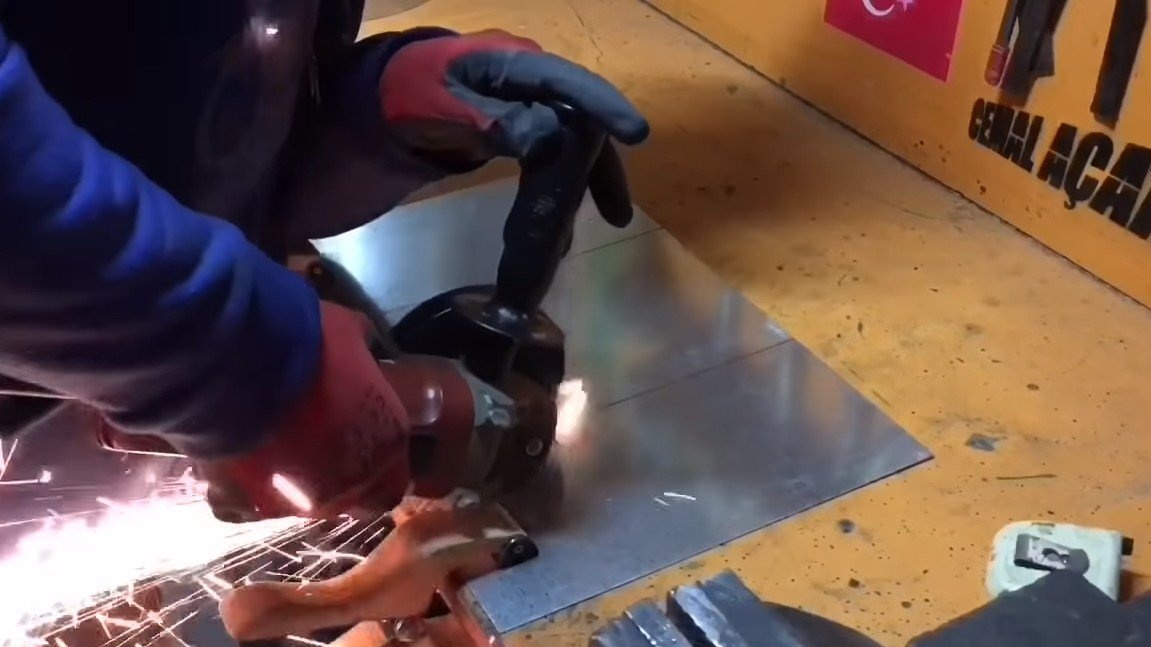
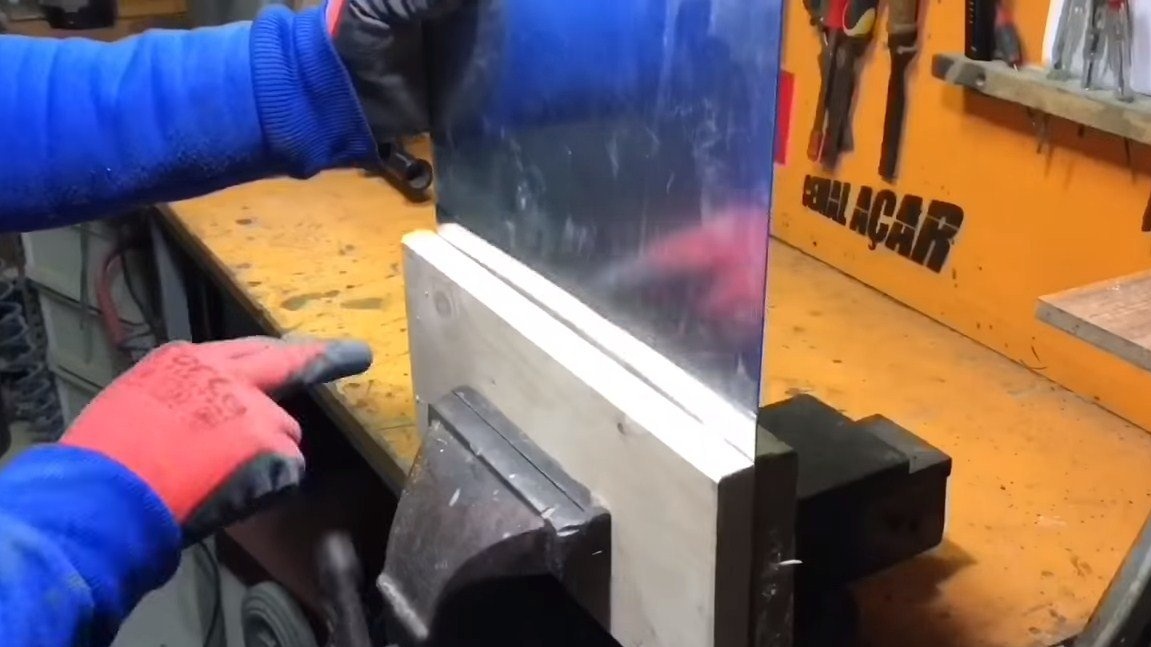
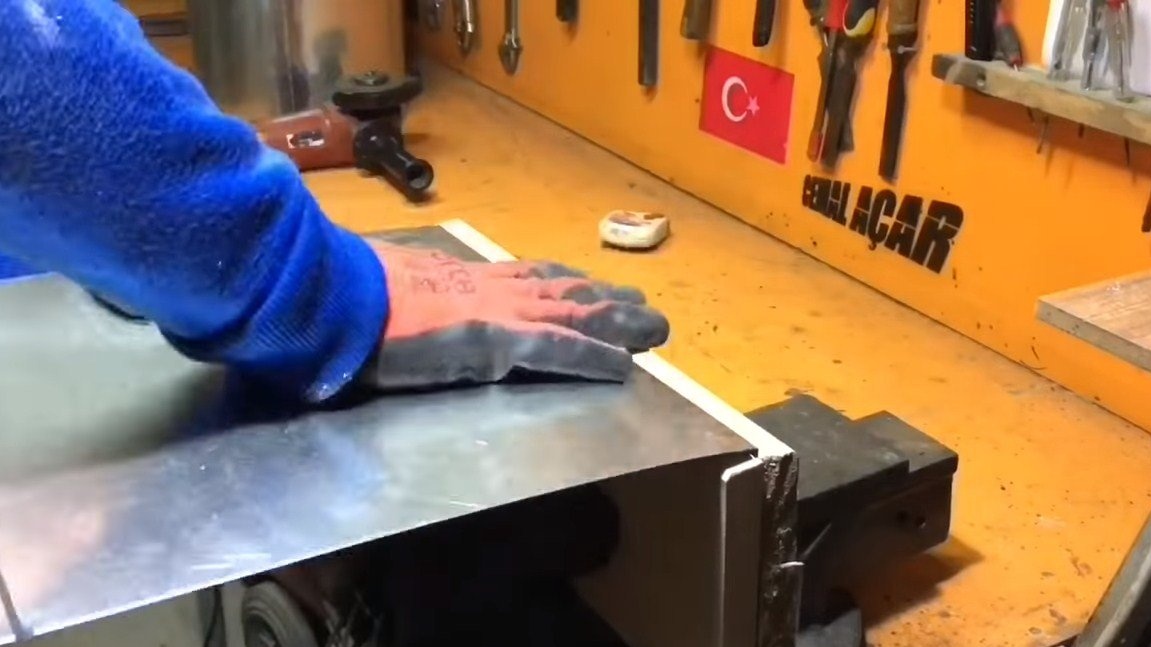
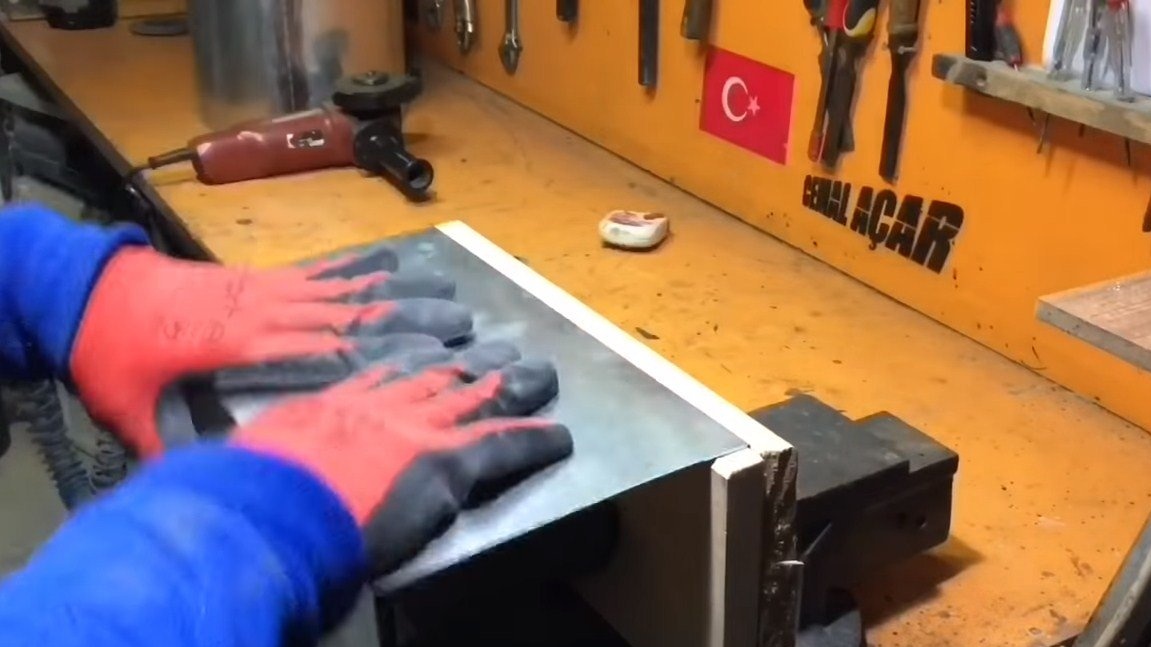
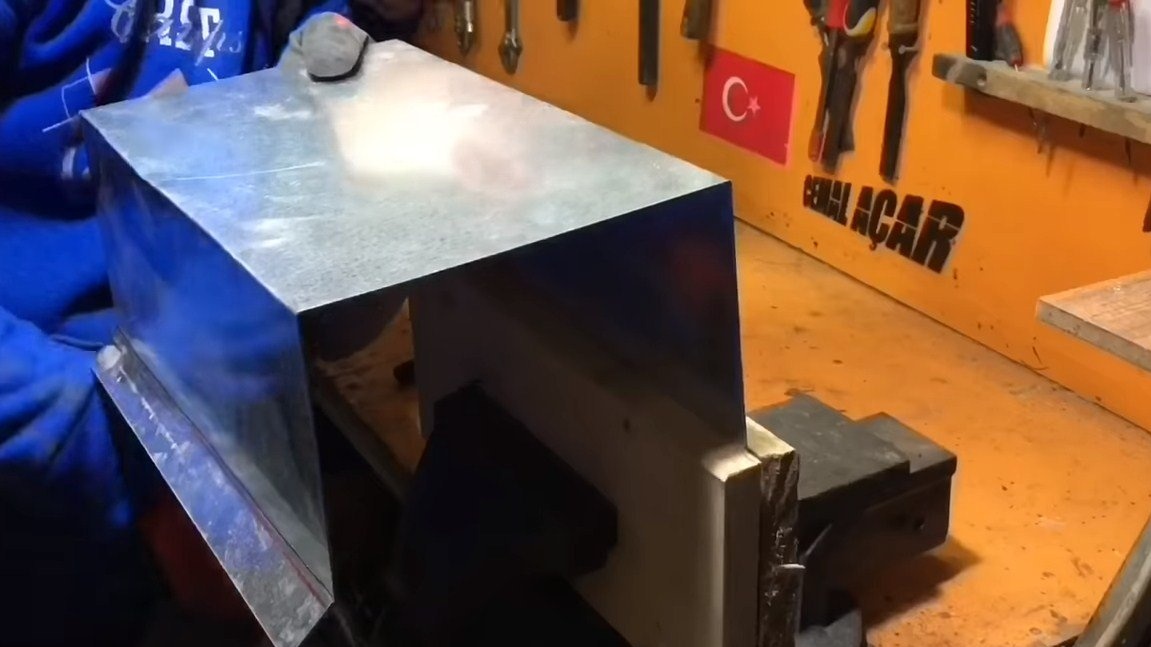
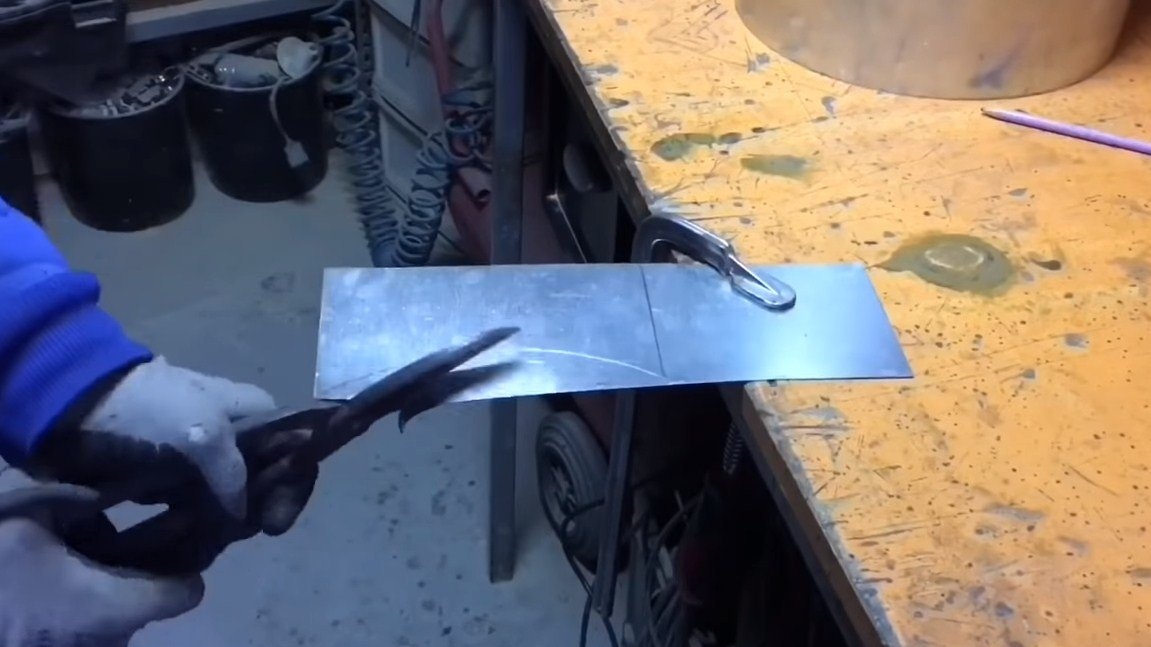
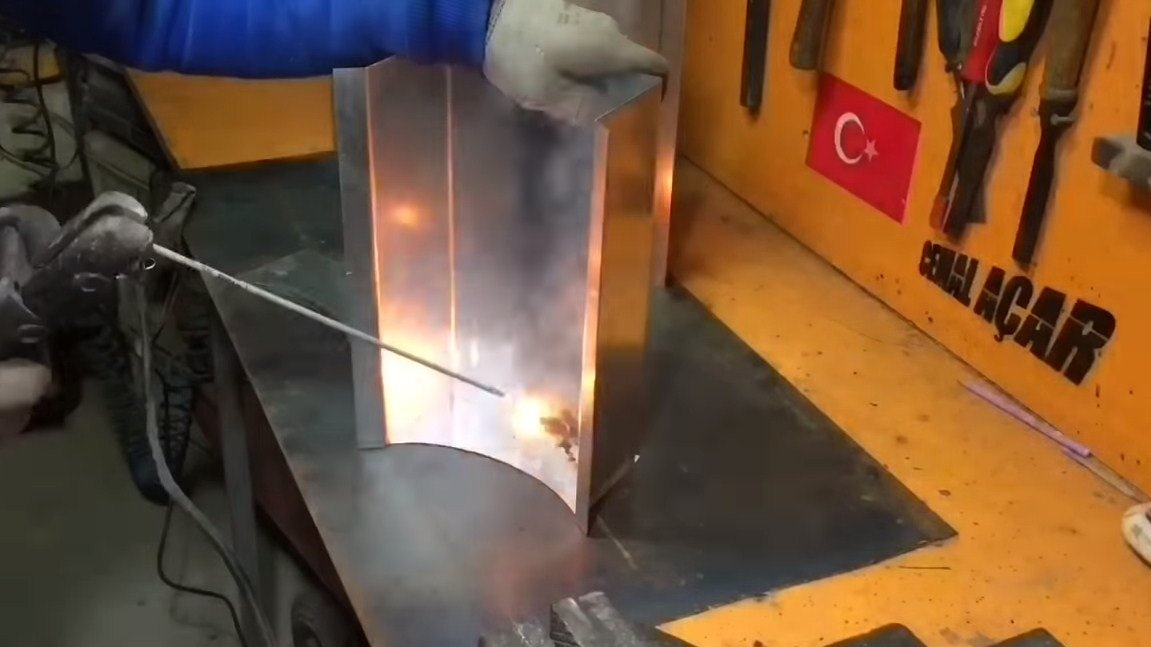
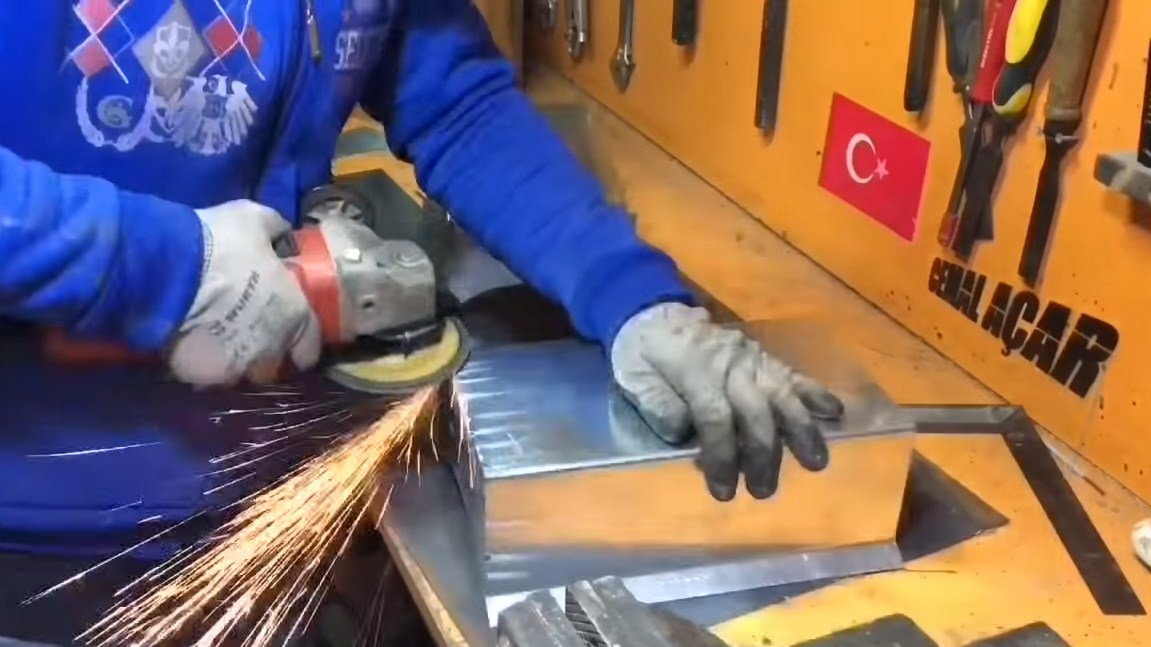
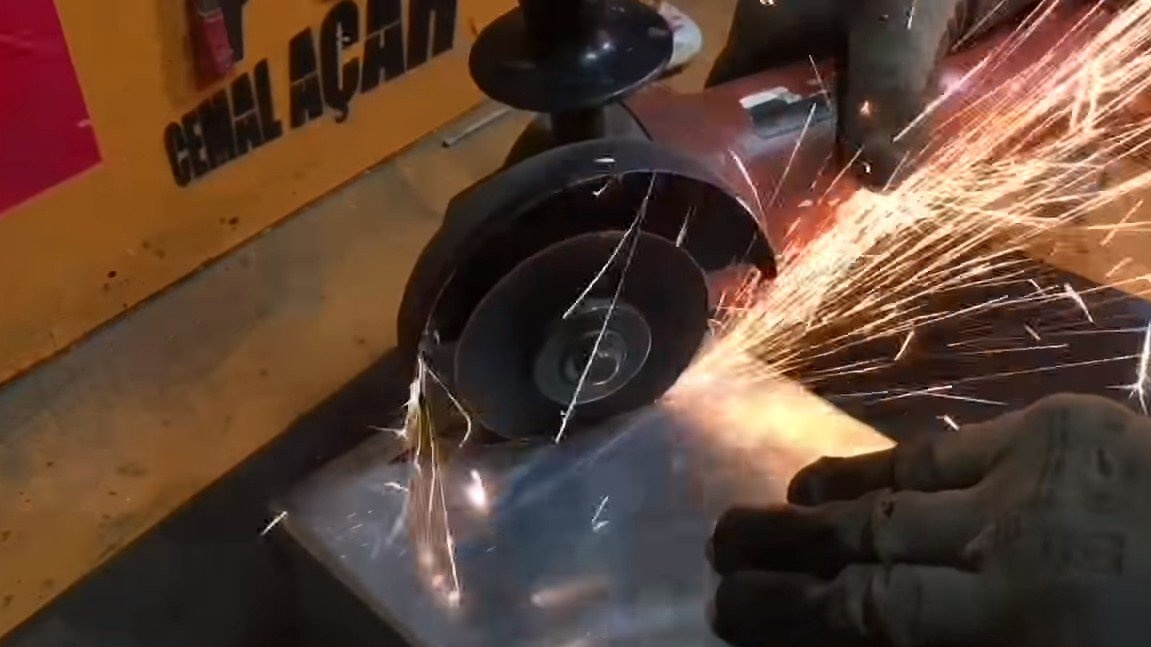
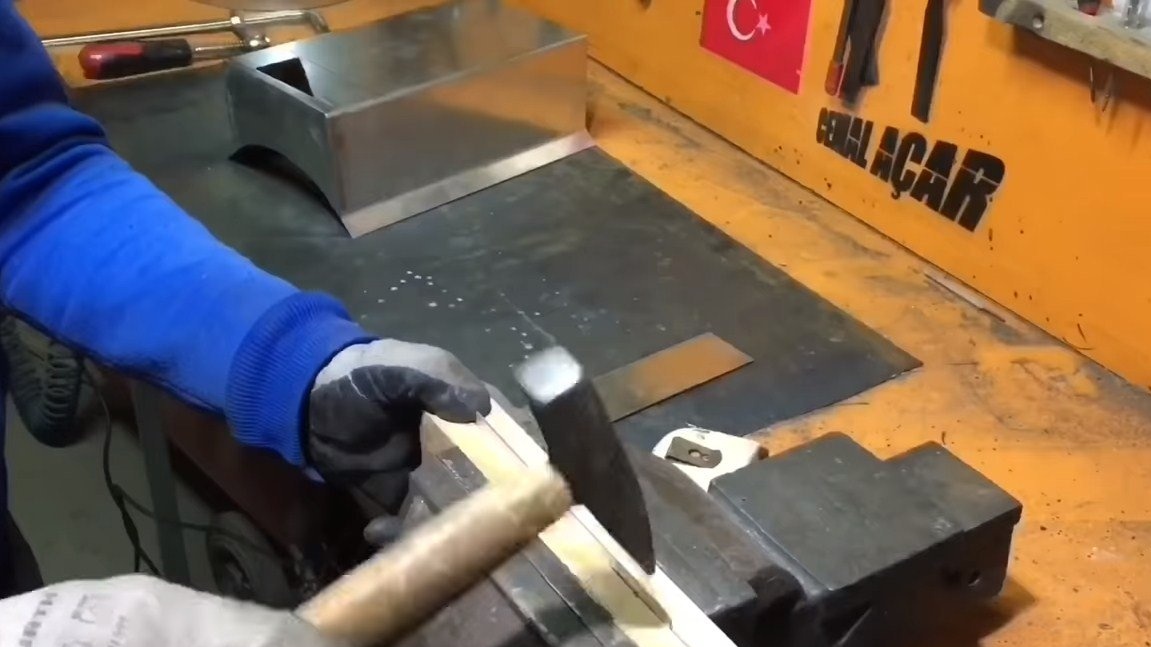
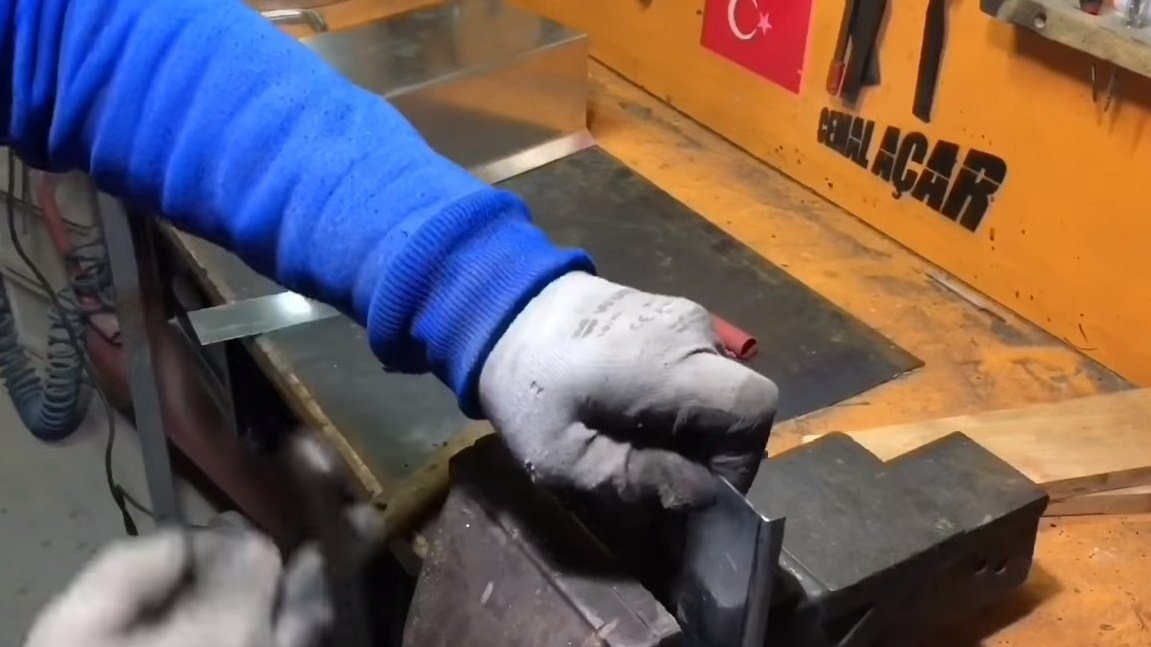
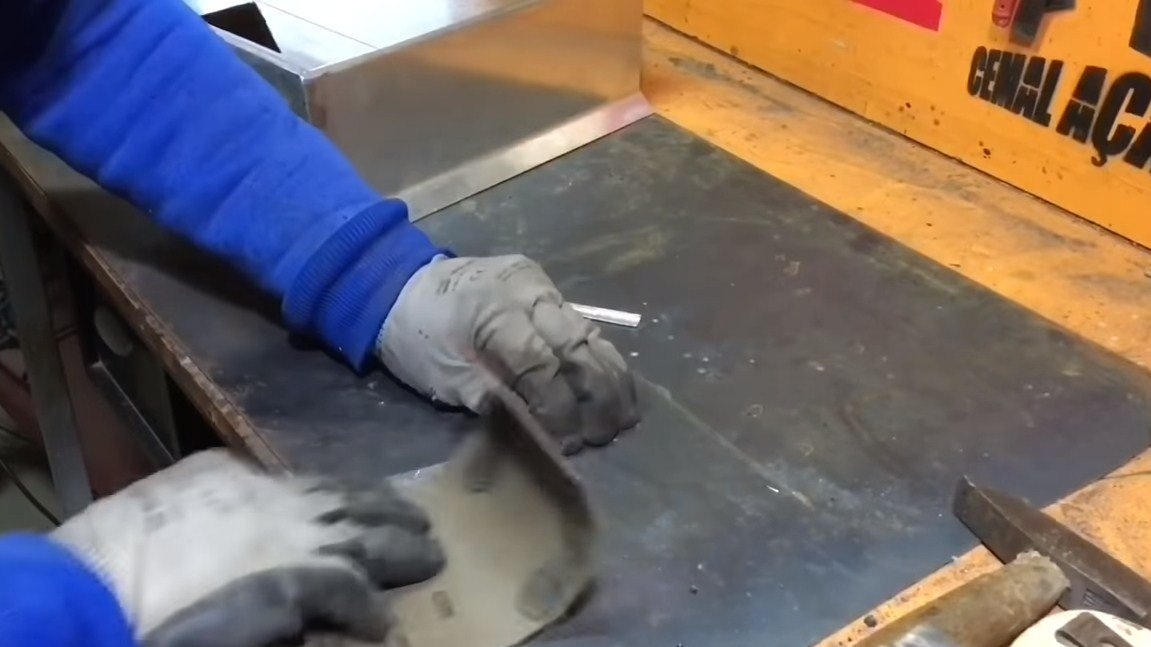
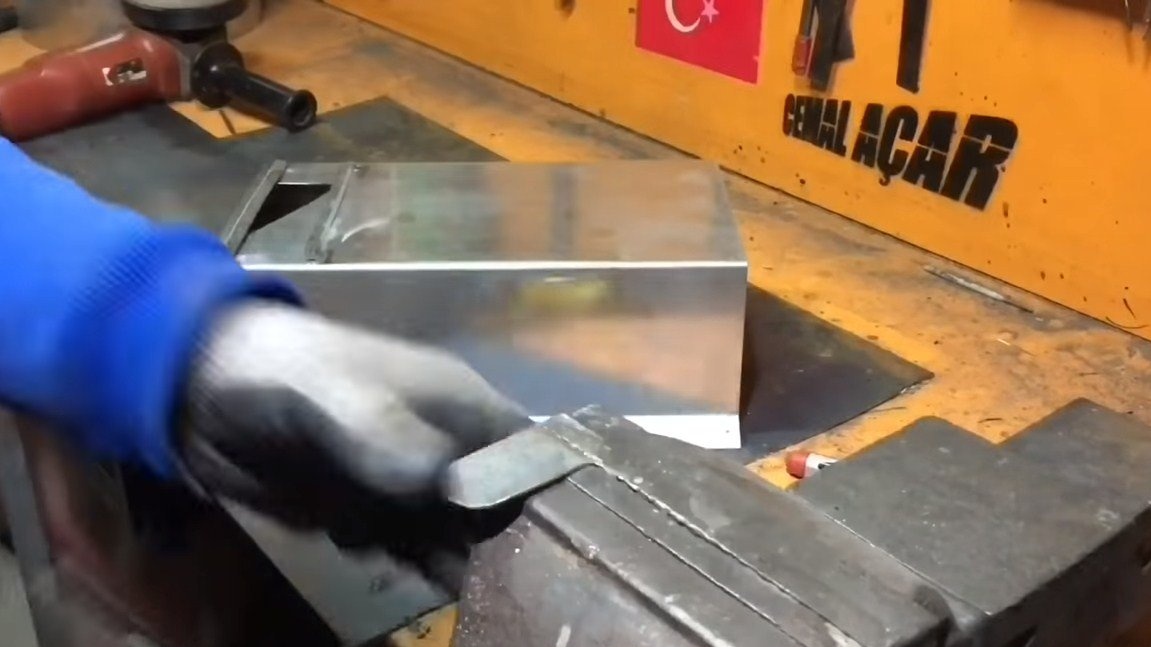
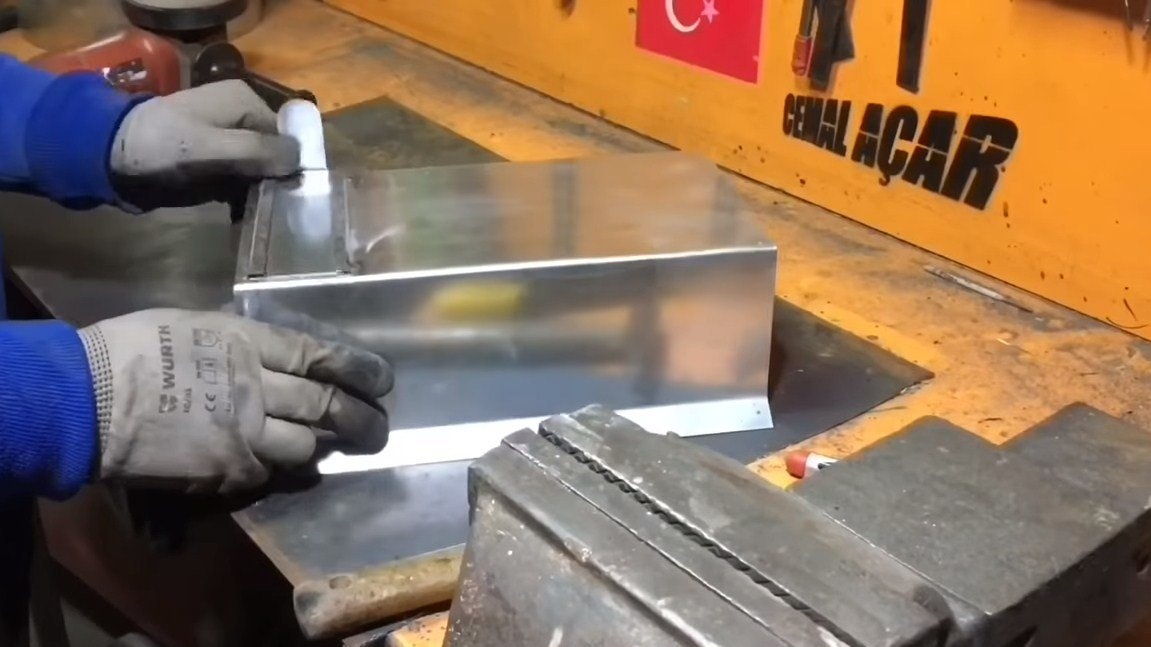
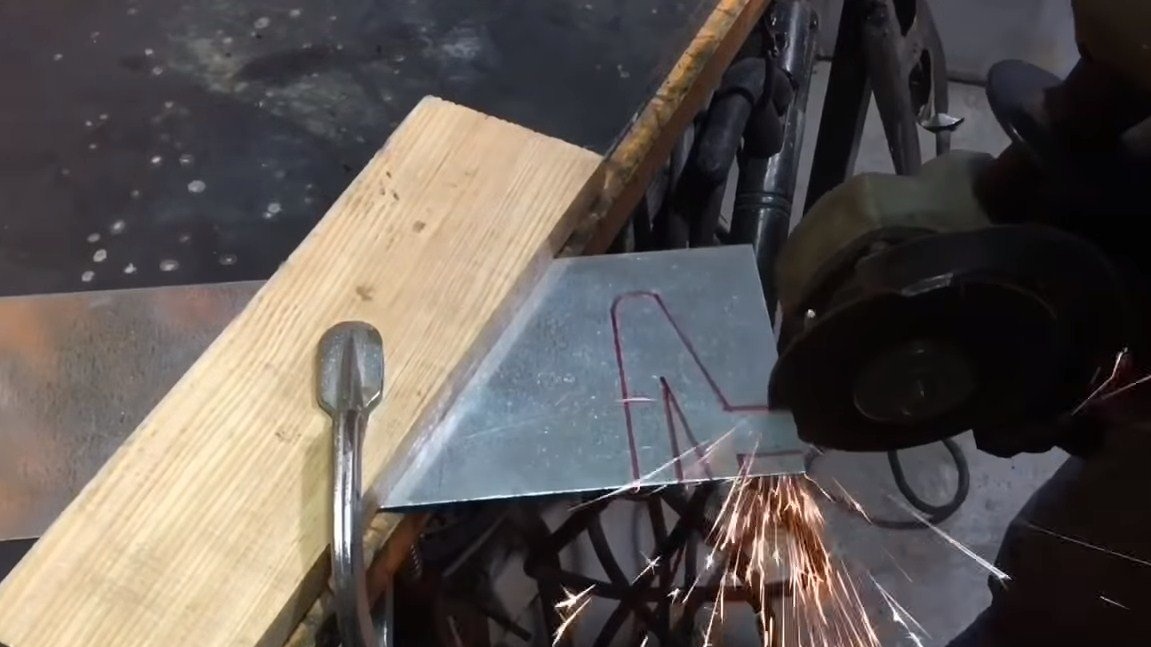
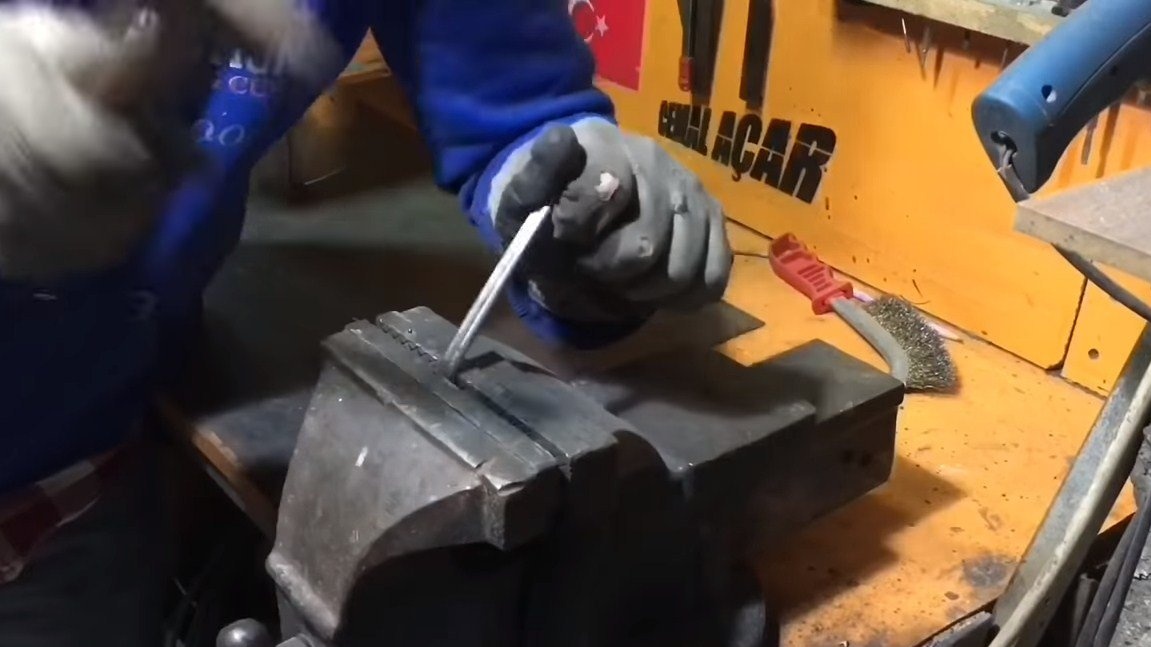
We produce two combustion chambers, again we bend sheet metal to the desired profile. For simplicity of work, the author bends him between two boards, which are clamped in a vice. We also make the bottom, the author cut it out with scissors for metal. Carefully weld the parts and clean the welds with a petal nozzle.
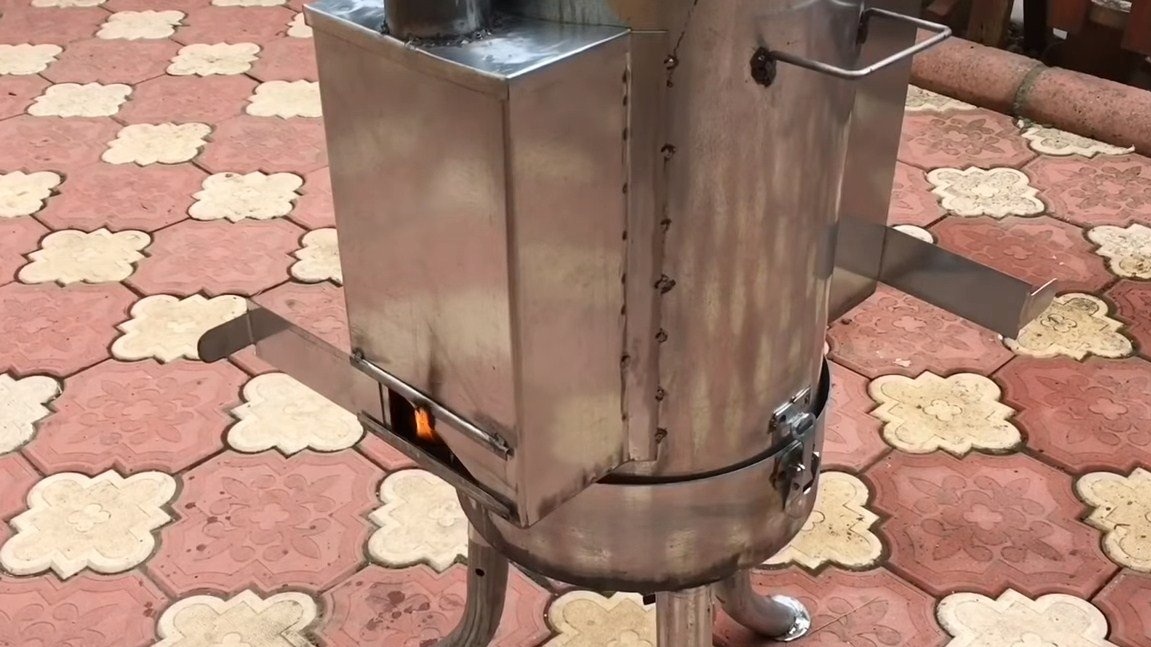
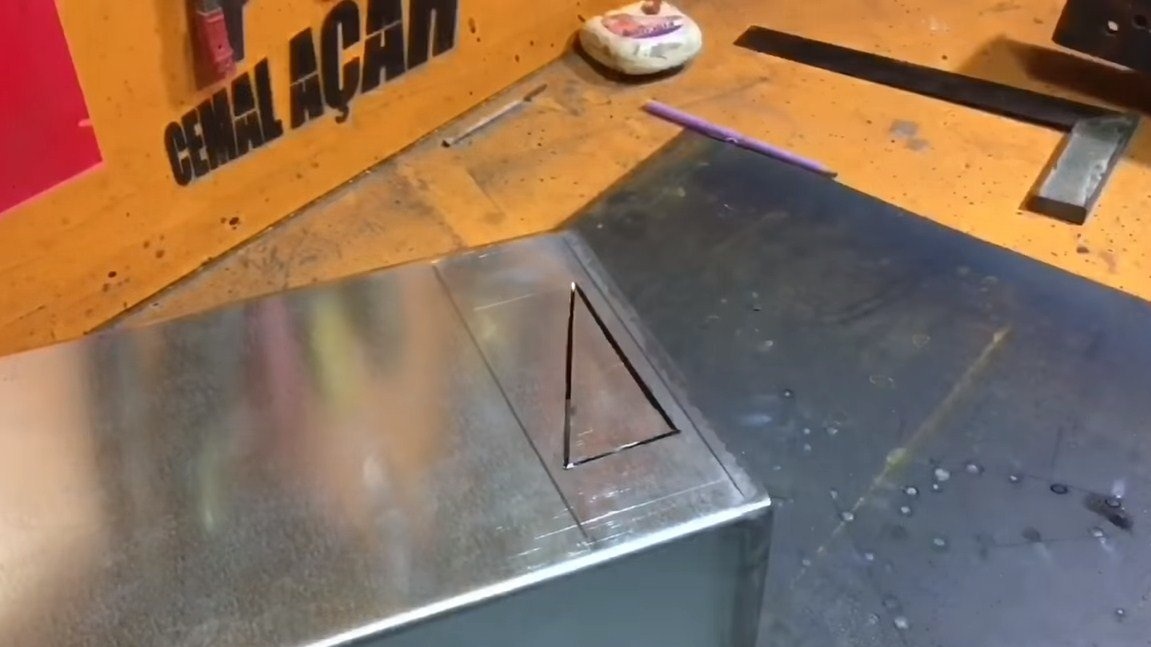
Step Three Blew
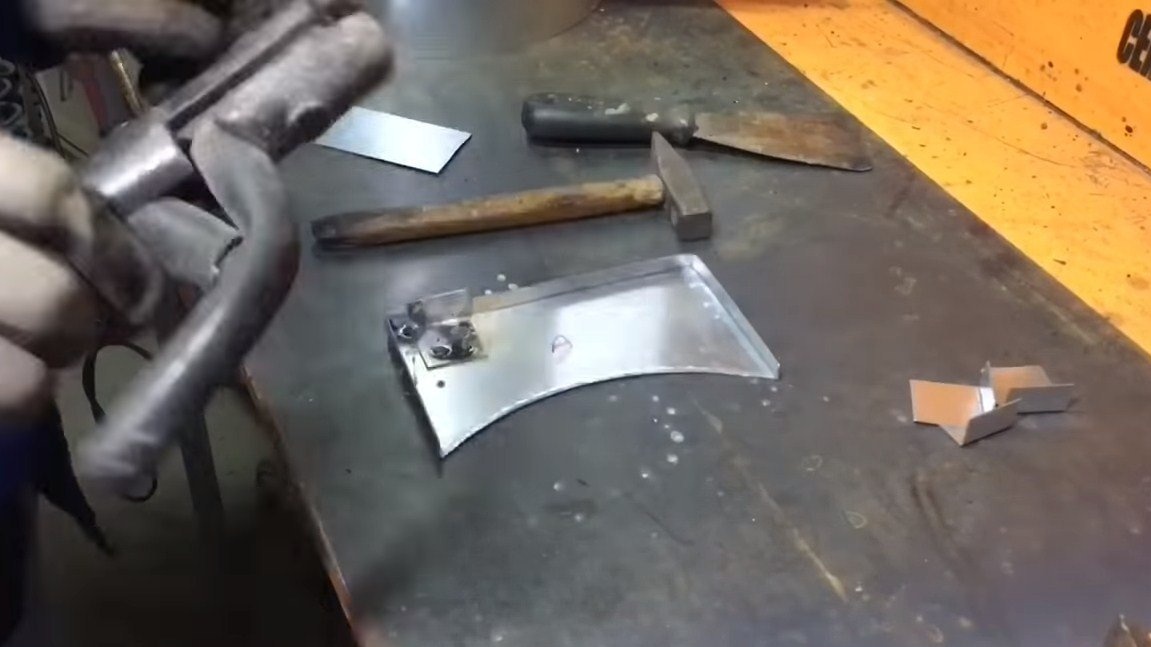
In the furnaces, we’ll make a blow, the author has a triangular shape. This is necessary in order to conveniently control the air supply. For the blower, we make valves, first we make and weld the guides, and then we install valves. Everything is made from the same sheet metal.
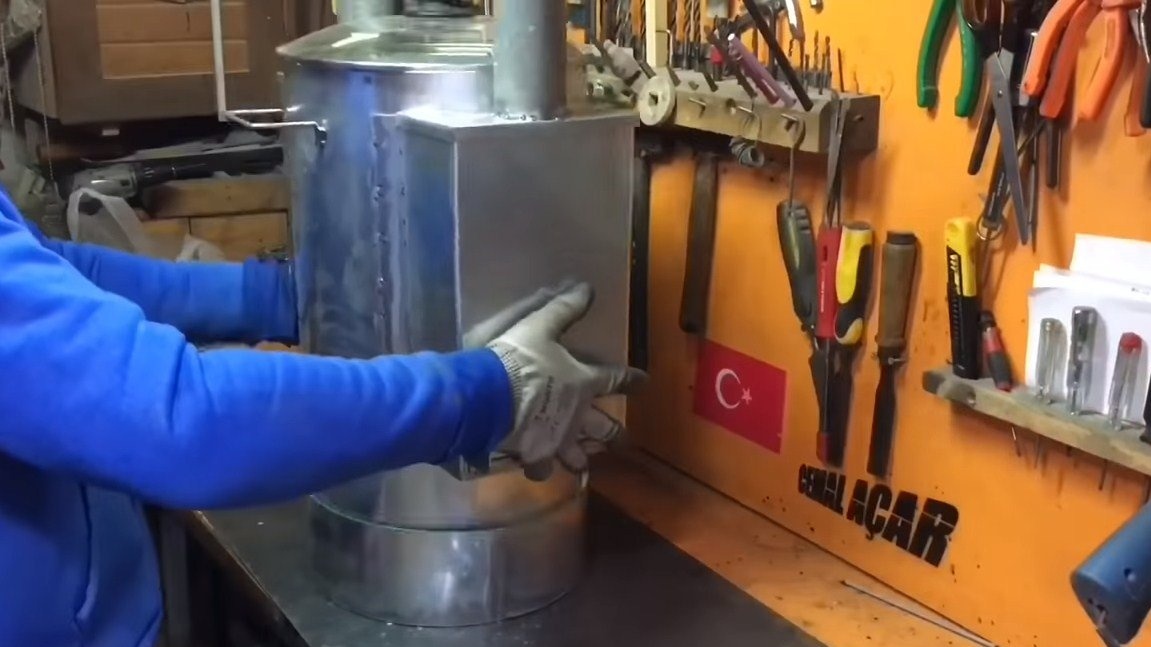
When everything is ready, we weld the furnaces to the main body of the furnace.
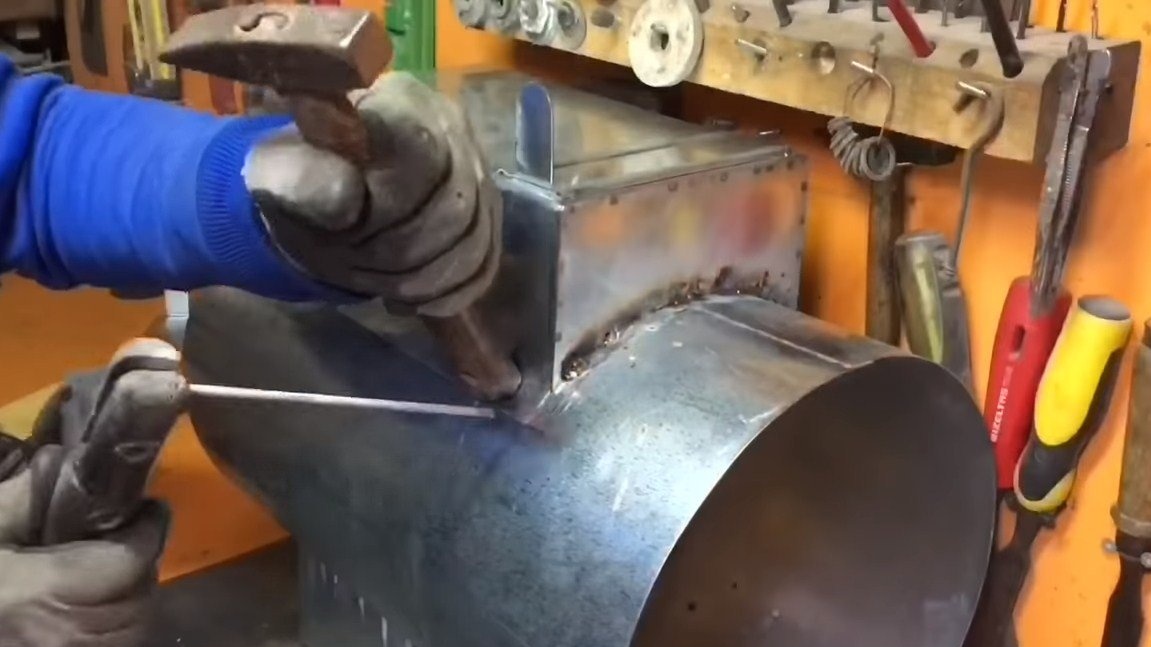
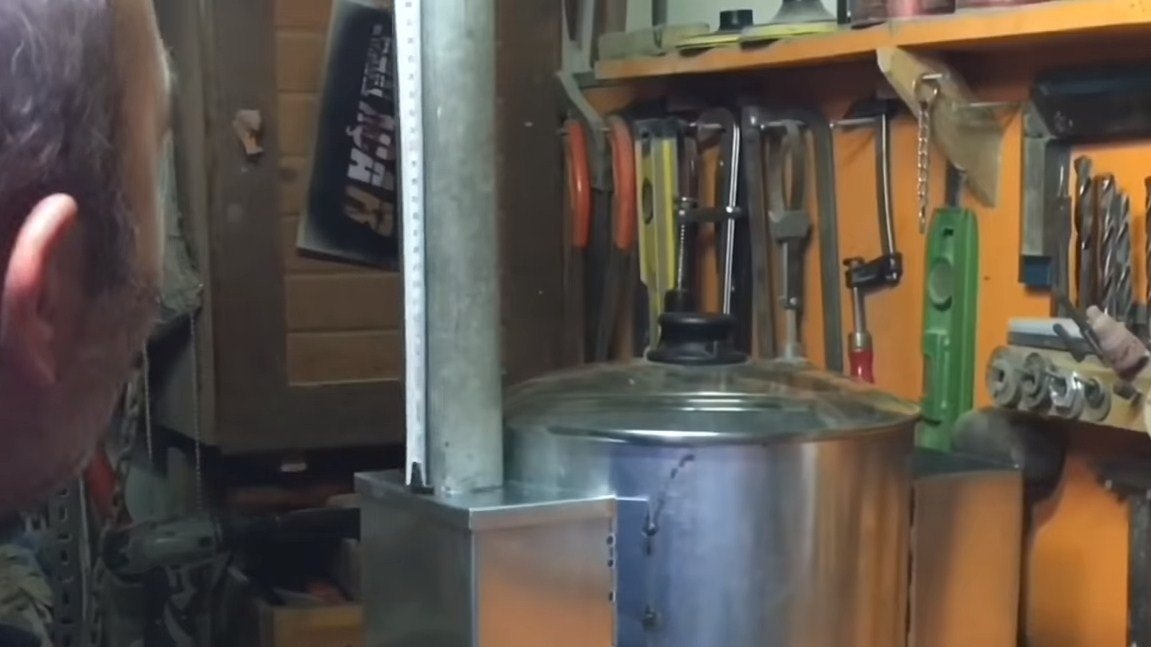
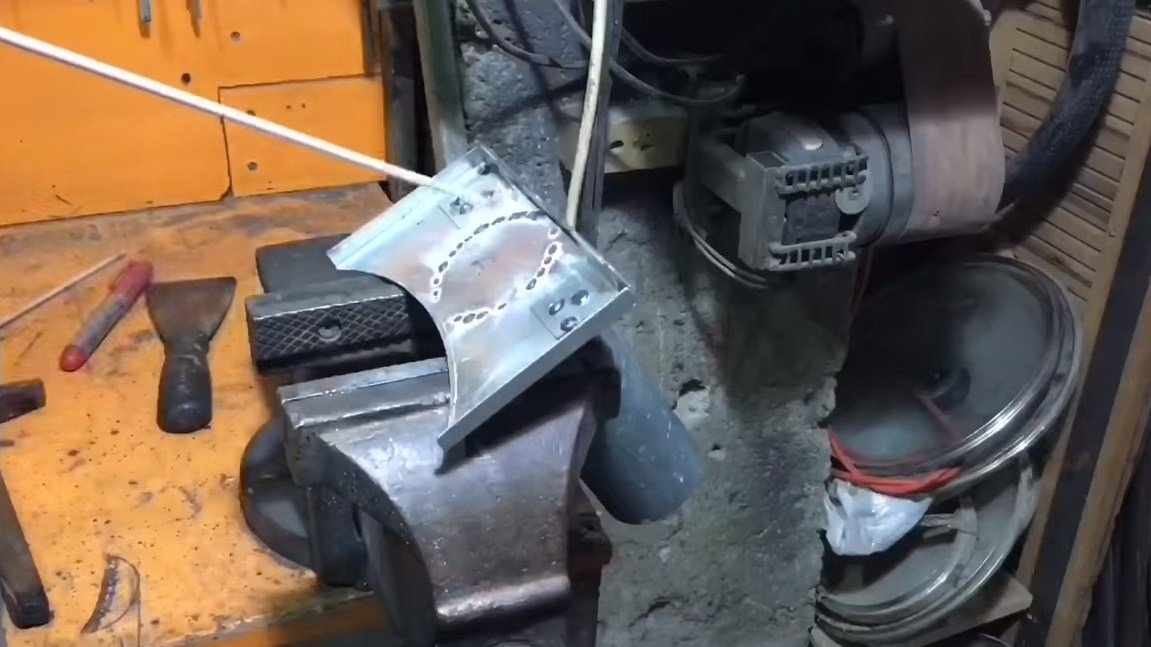
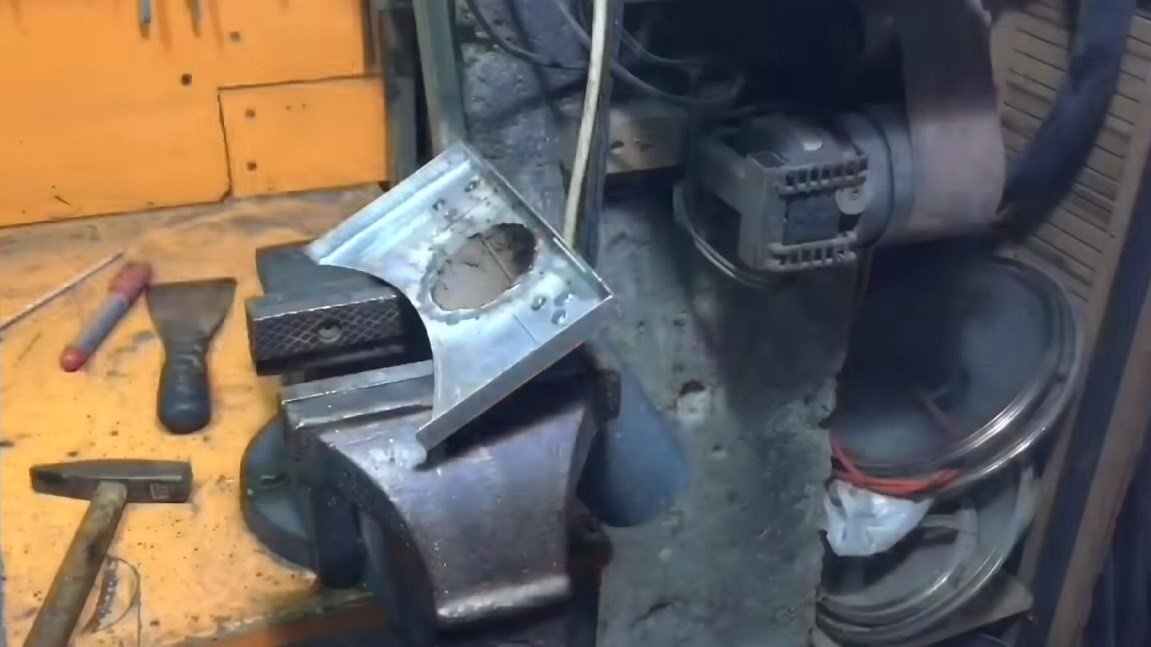
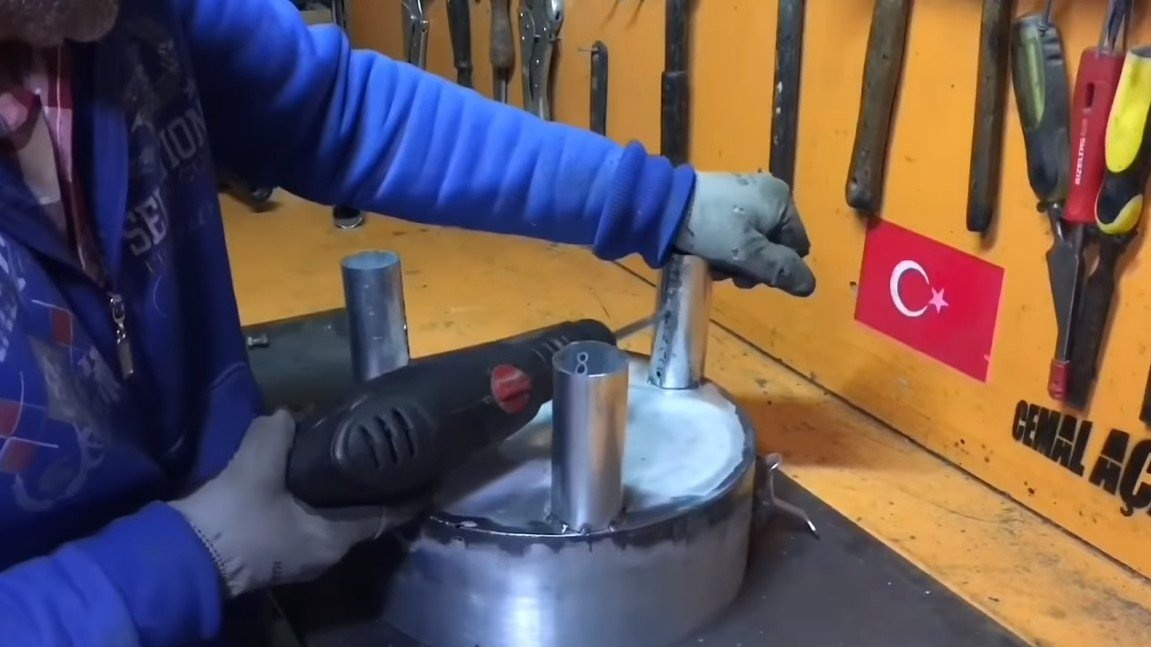
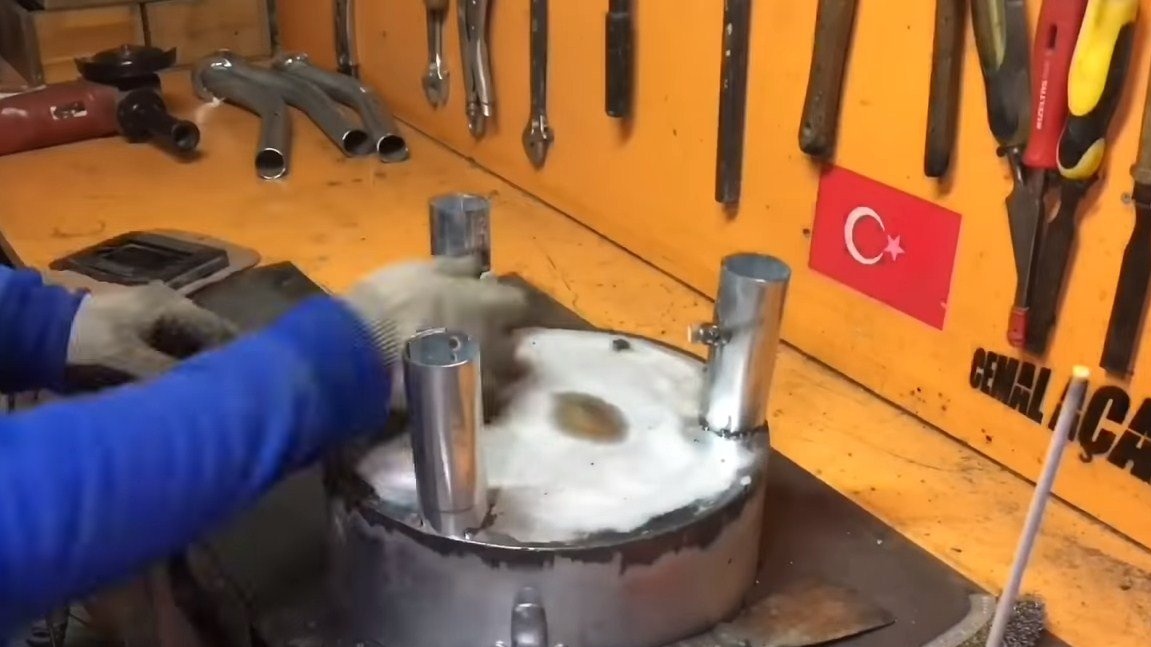
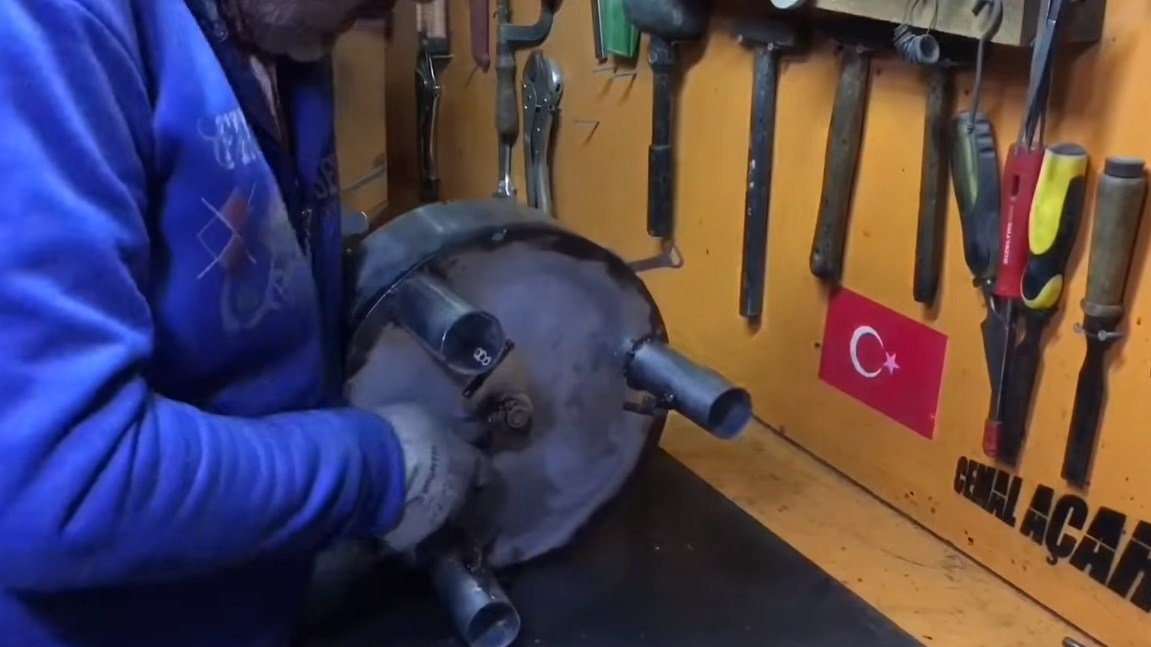
Step Four Firebox Covers
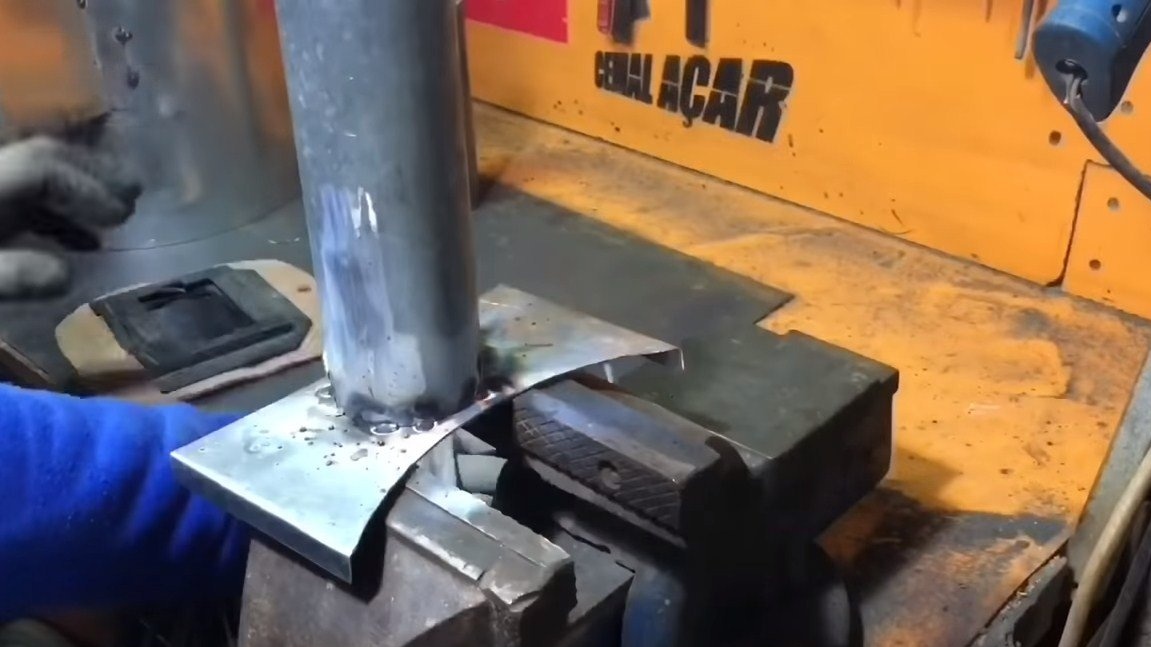
We make firebox covers, they must be removable. In addition, chimneys are welded to the covers. The author burned the holes in the covers by welding after installing the pipes.
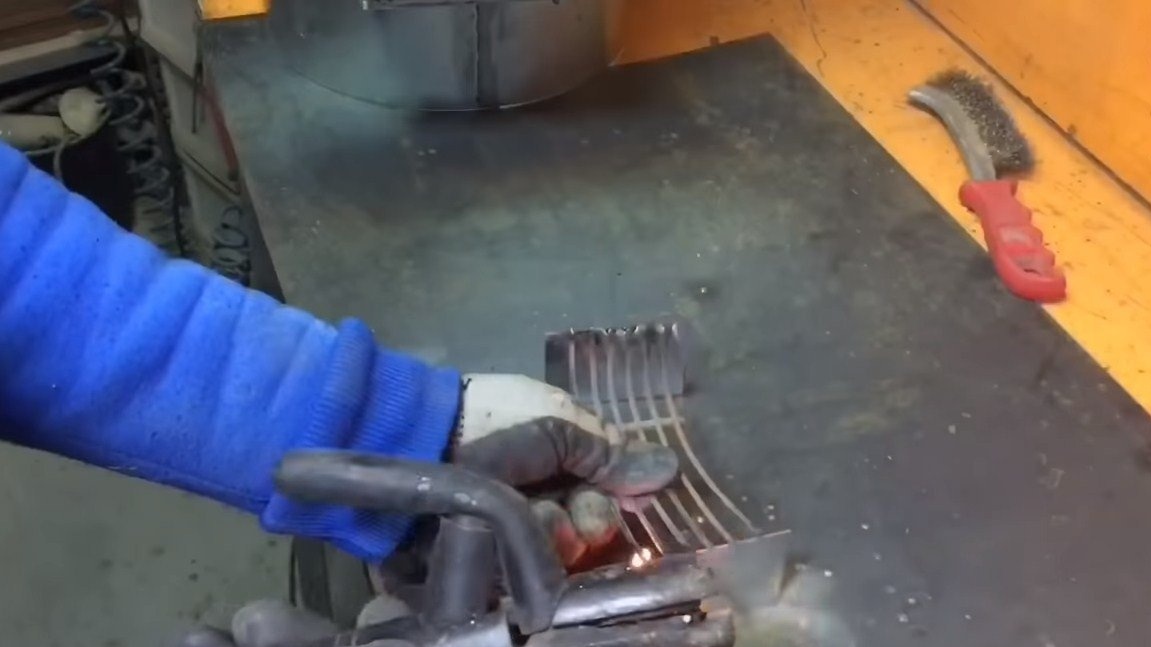
Step Five Grate
For fire chambers, we definitely make grates, this will allow air to enter the fire chambers well. Here we need a steel grate, we weld plates to them so that the grates are at a certain distance from the bottom.
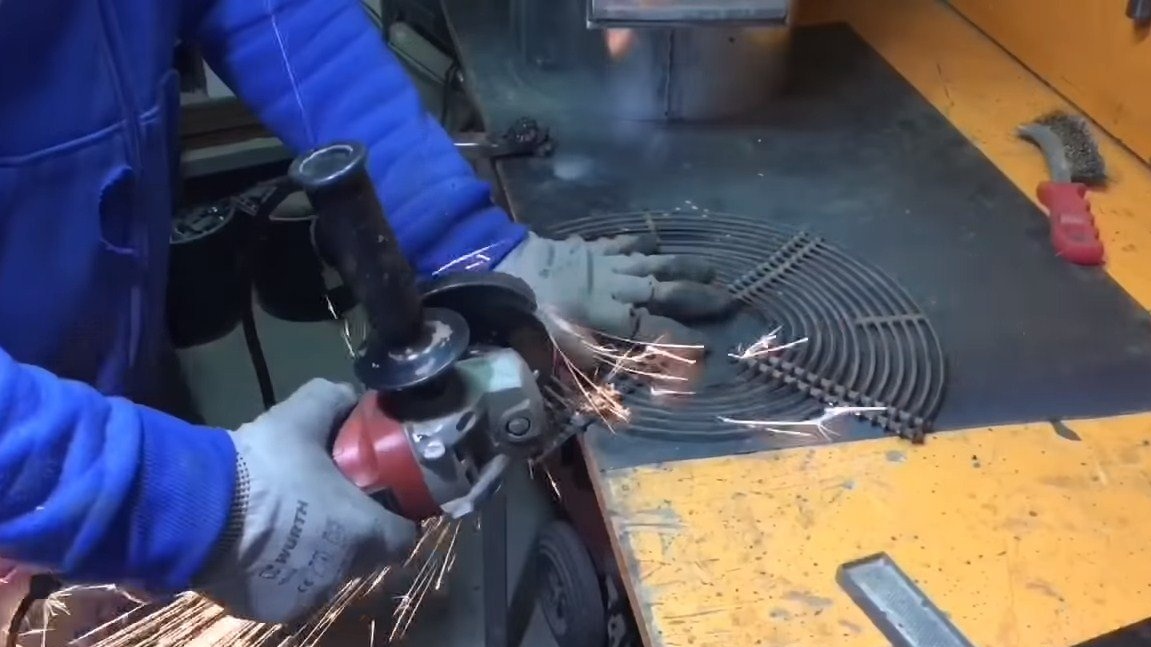
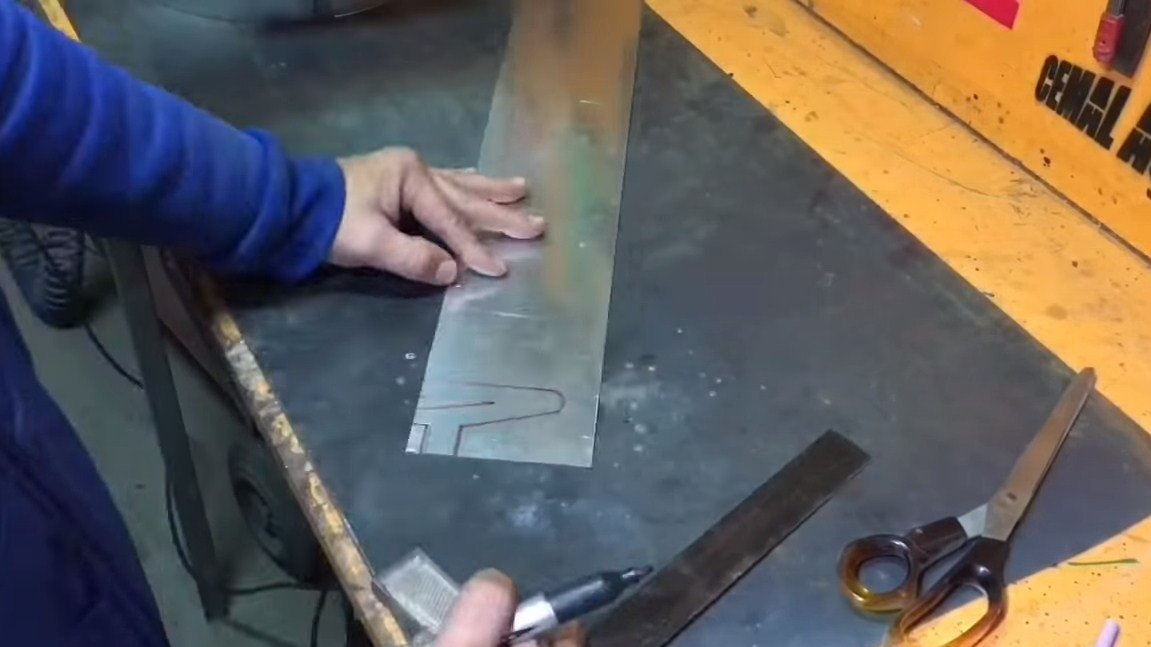
Step Six Lattice for dishes
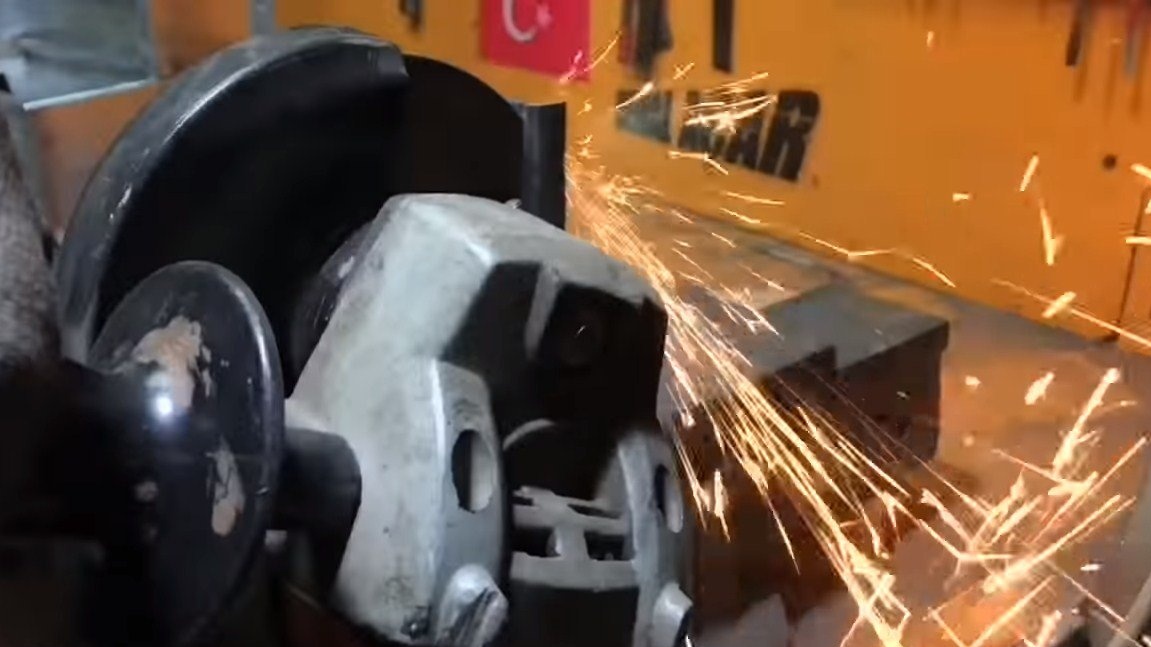
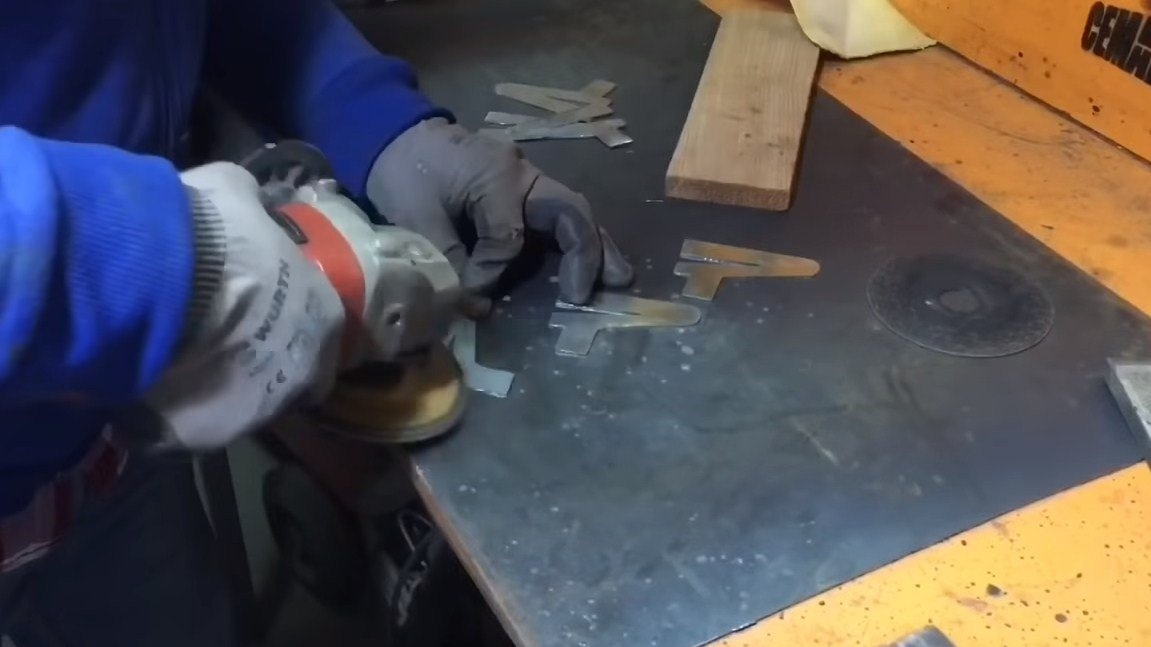
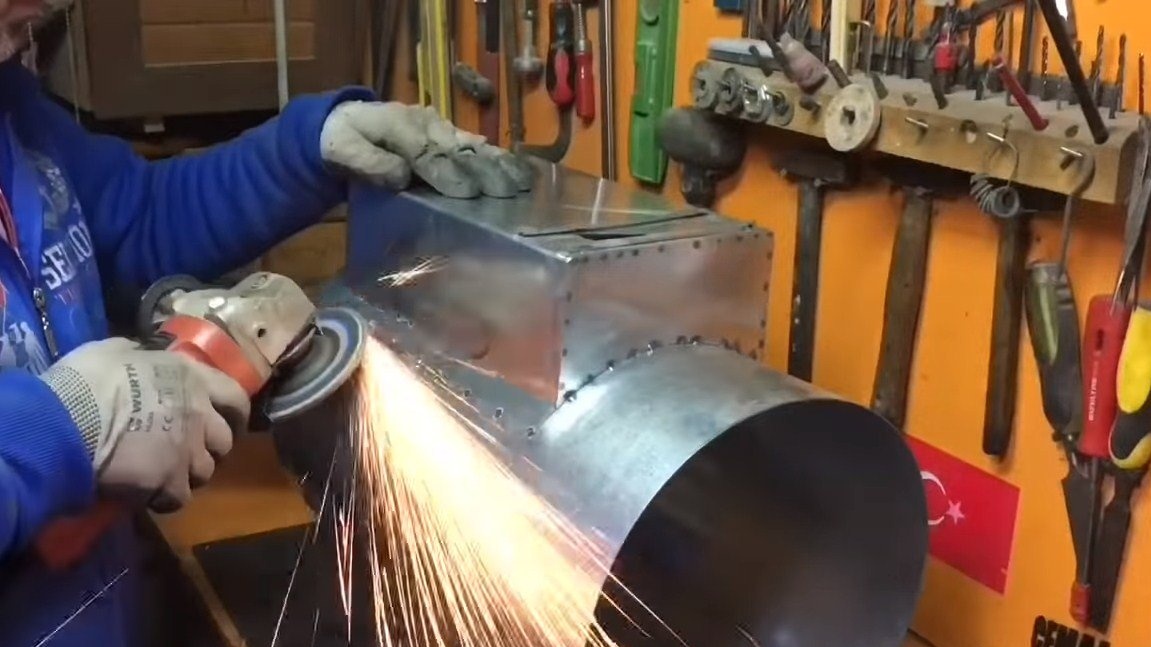
Make grids on the pipes for installing dishes. The author cuts parts from sheet metal, and then welds to the pipes. Everything looks pretty pretty. And to make everything look even more beautiful, we clean the welds and grind all the bumps.
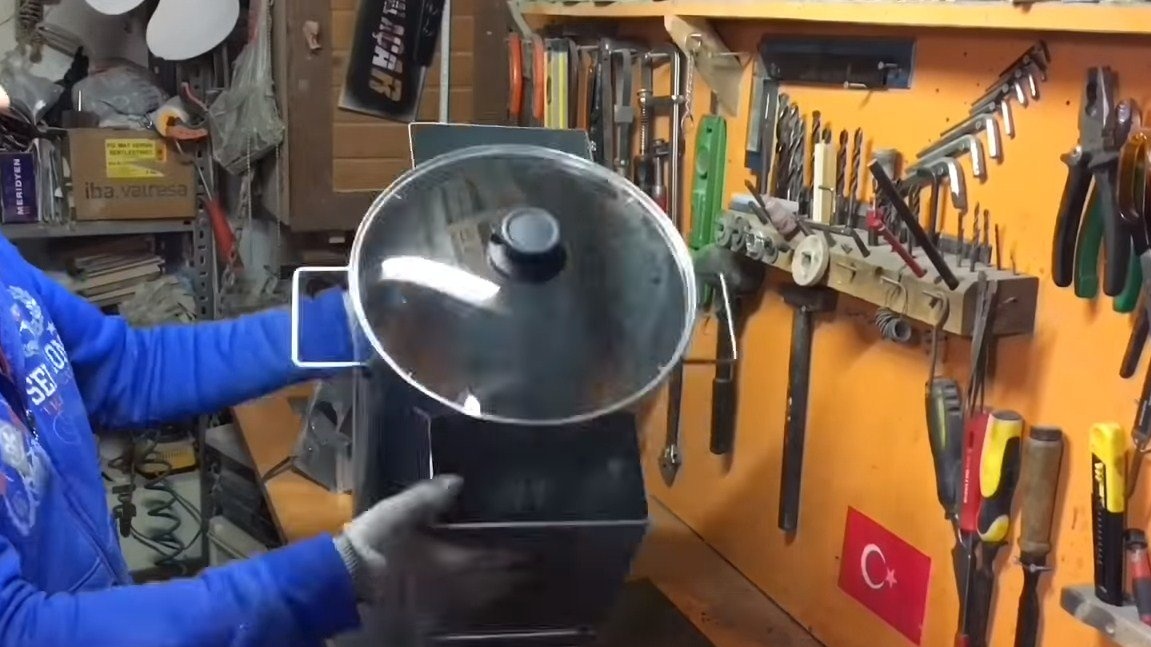
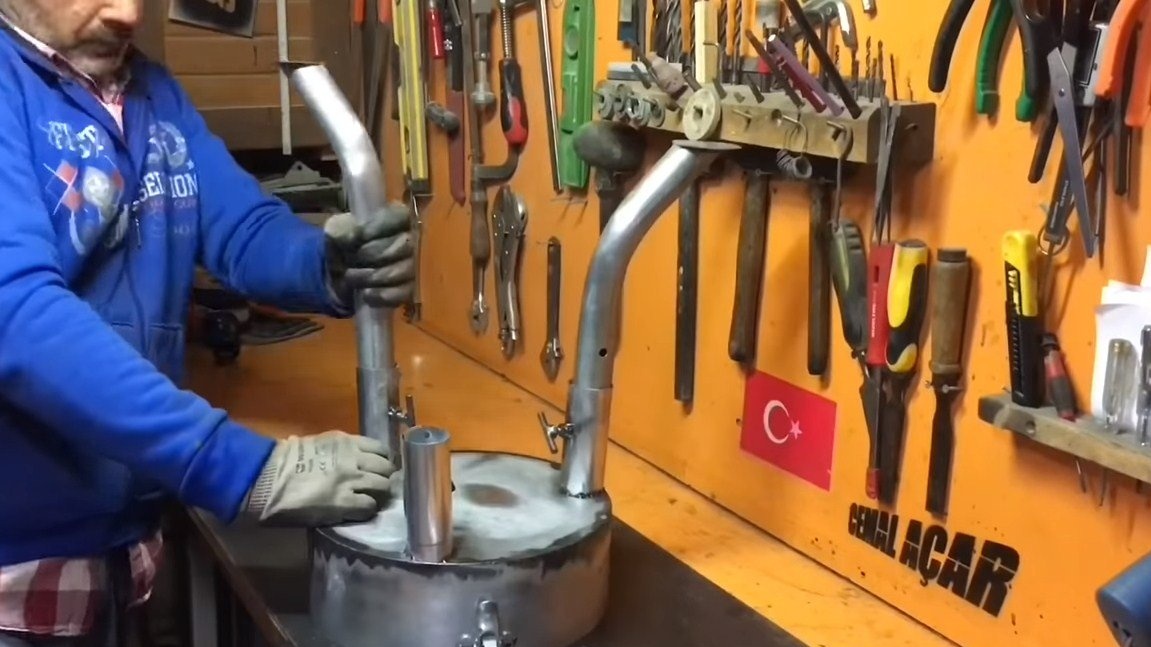
Seventh step. Pens and cover
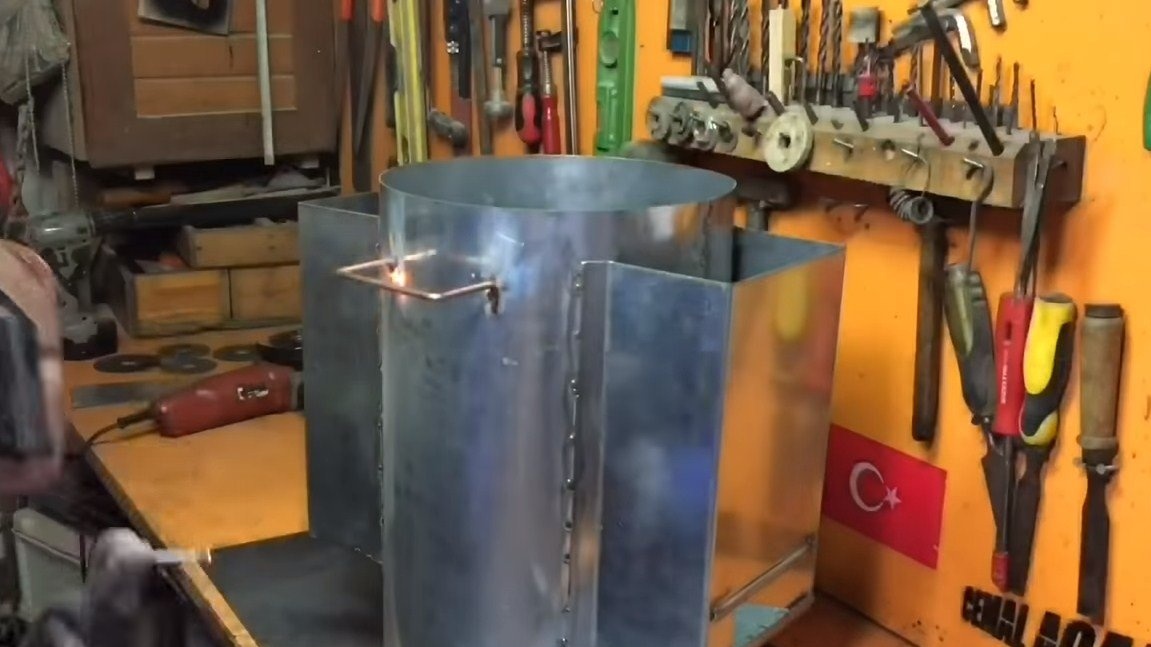
Handles can be made from round timber. We bend the rods and weld to the furnace body so that it can be lifted.
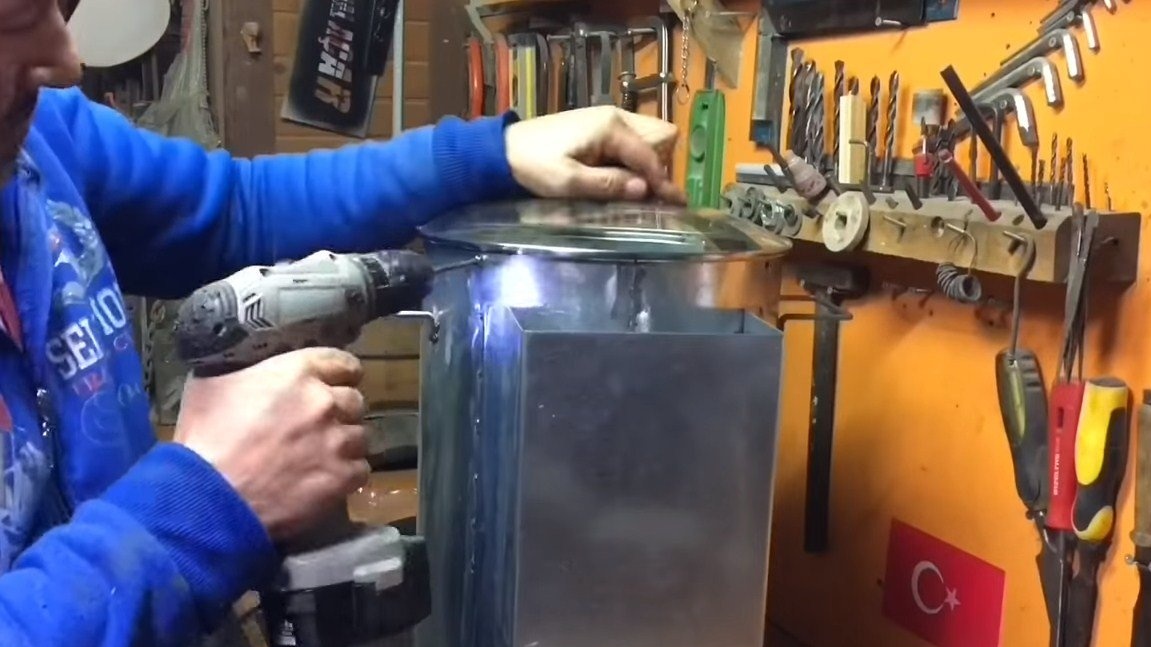
Also fasten the screws and the cover to the body.
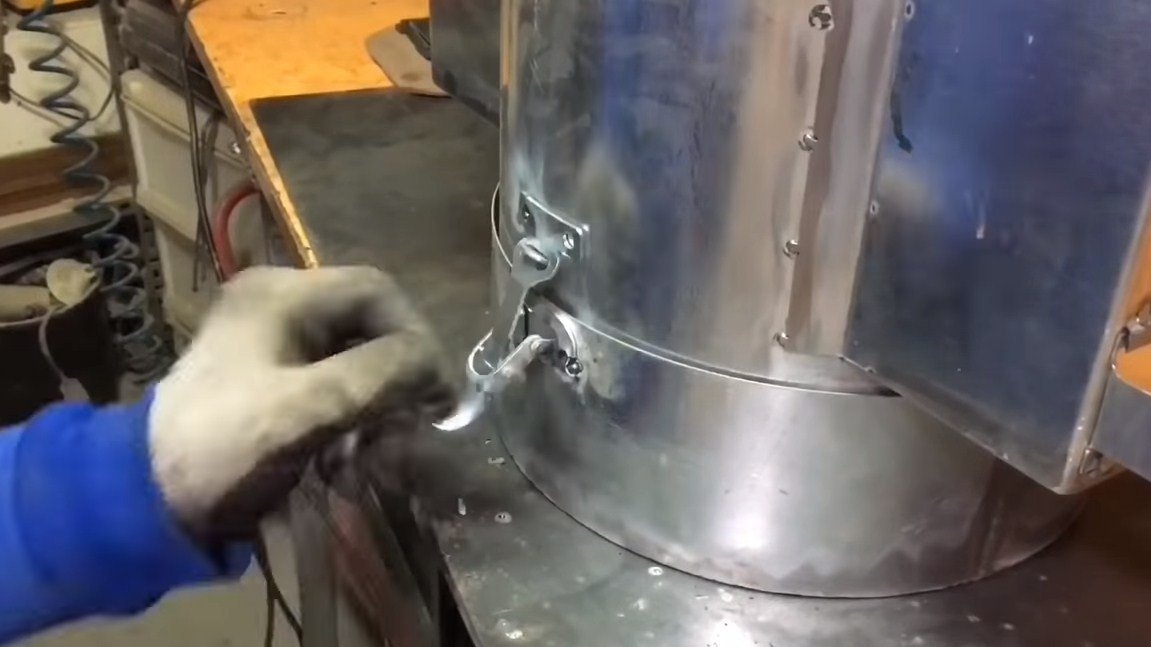
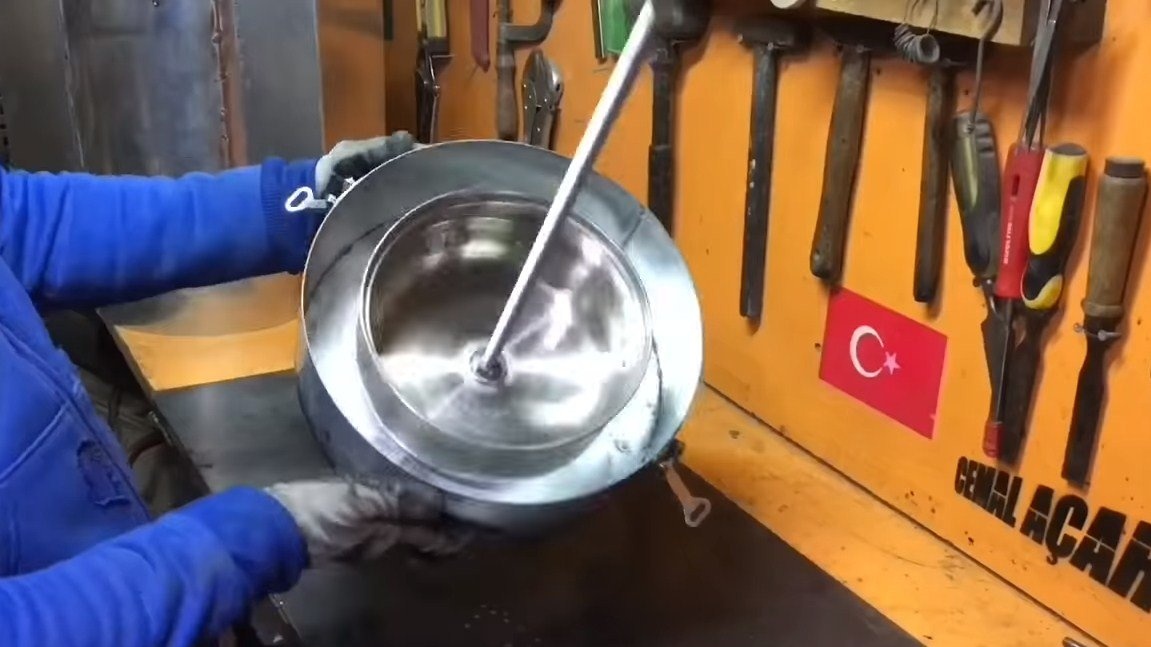
Step Eight. Bottom
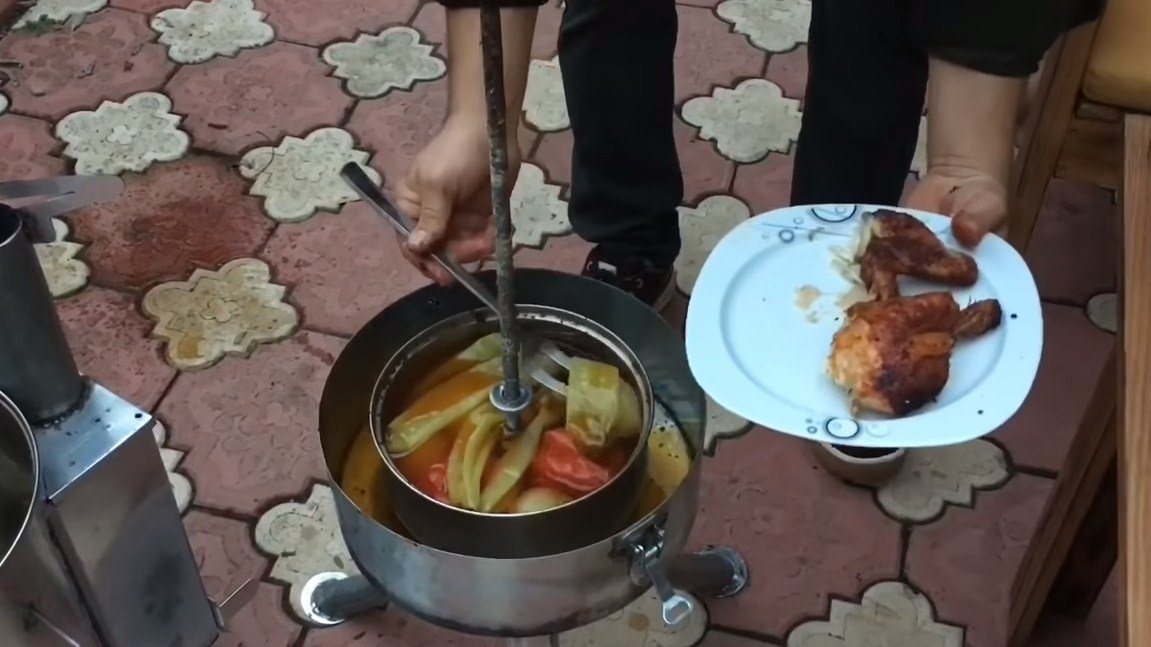
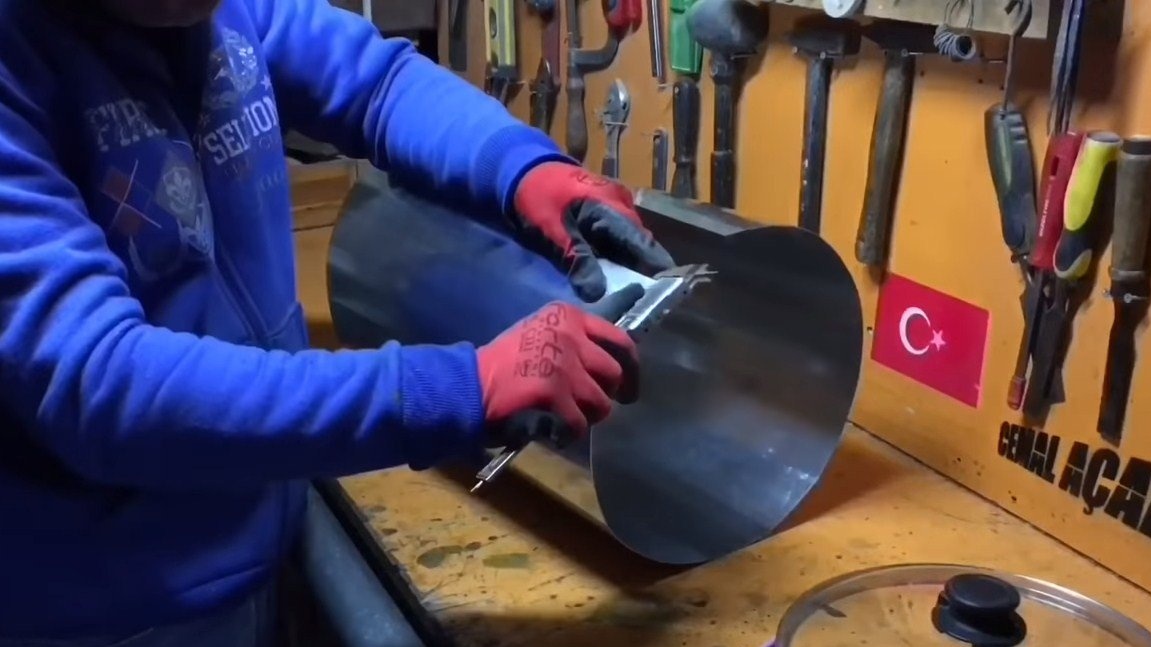
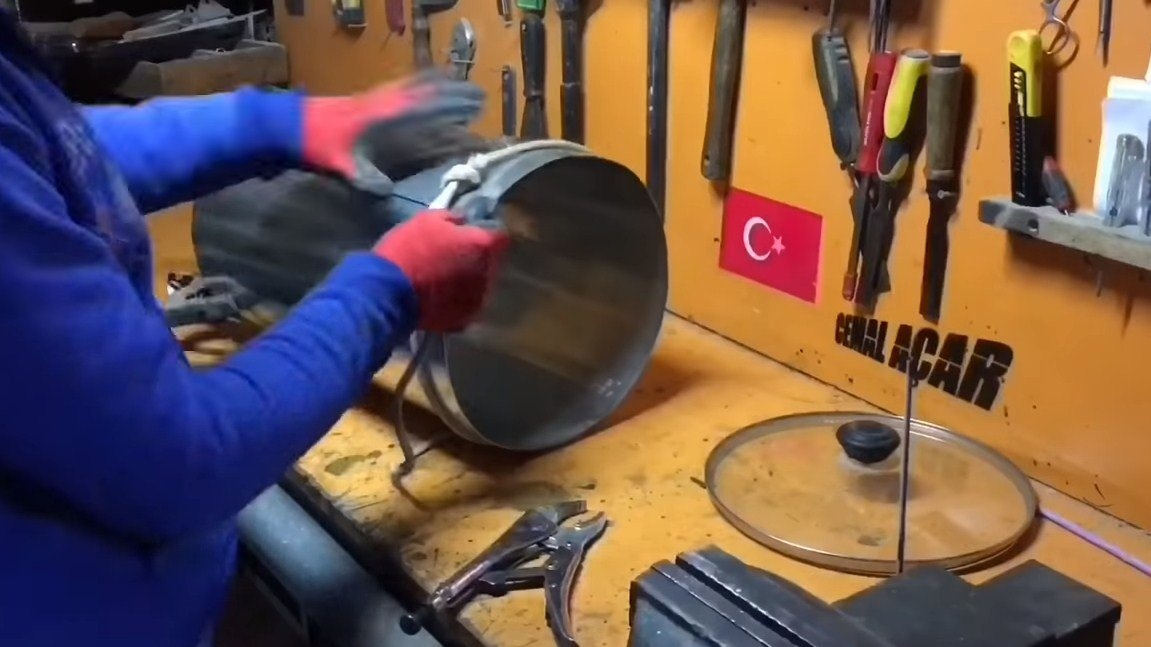
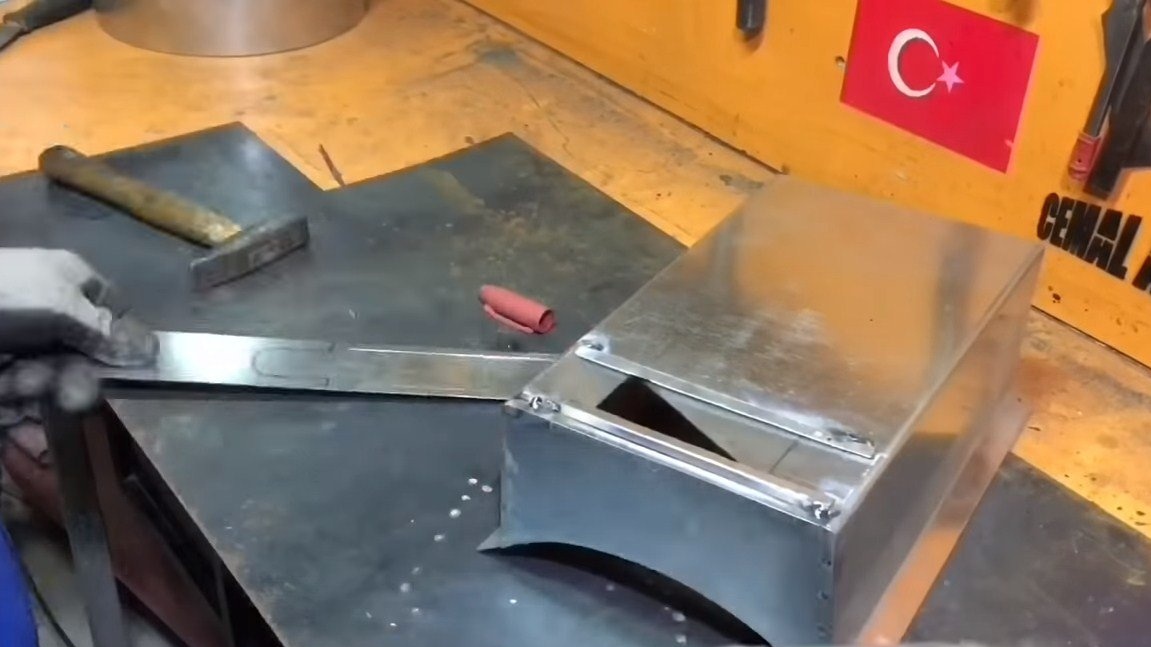
For the oven, you need to make a bottom, a pot for vegetables will be installed here, and a steel rod for stringing chicken will be fixed. We collect the bottom from sheet steel, it should be slightly larger than the furnace body. We weld special steel ties to connect the bottom and the furnace body.

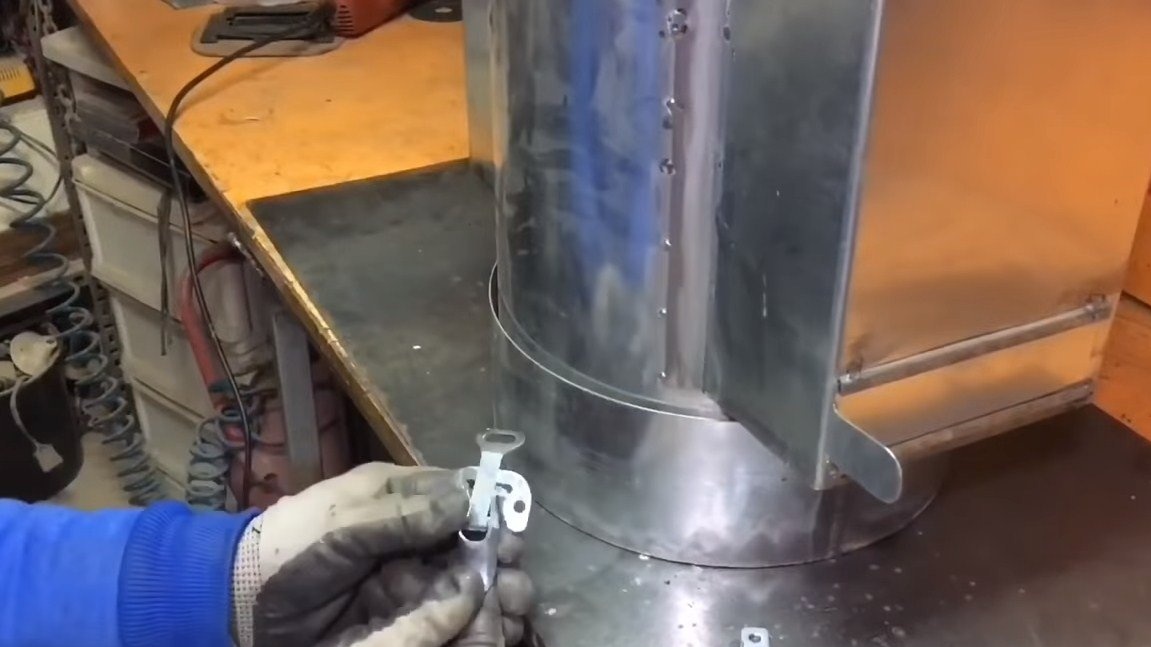
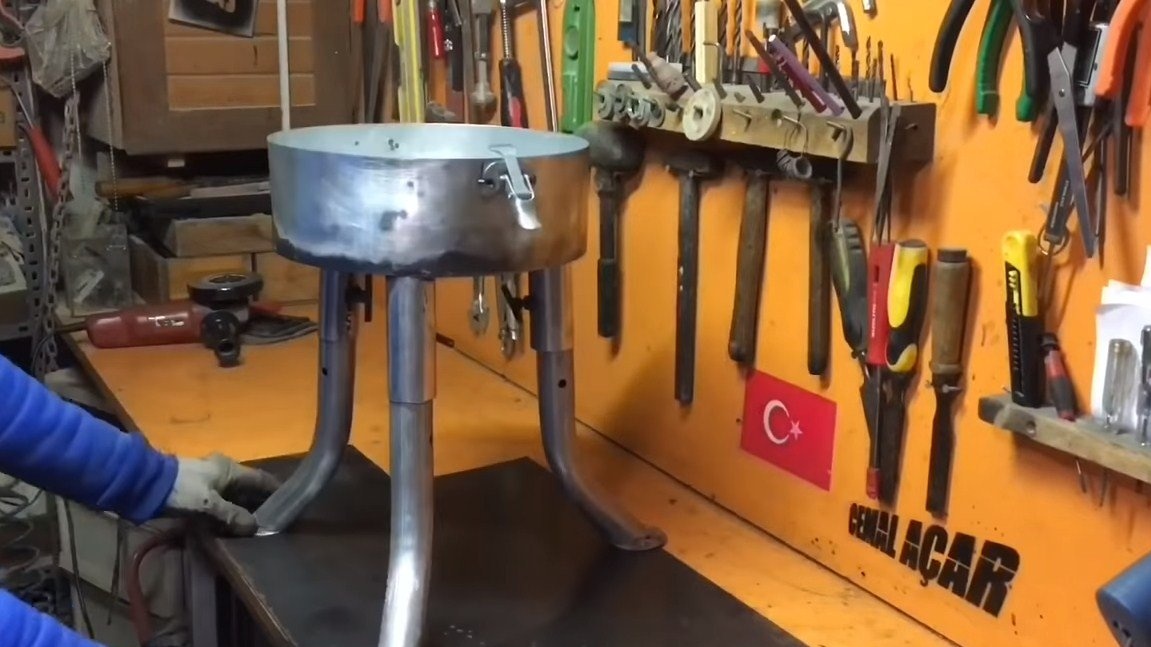
Step Nine. Legs
We make legs for the furnace, they are installed on the bottom. The legs are removable, they are made of a round pipe, the author bent them to the desired shape and welded steel plates as a support. The legs are fixed using bolts to which convenient handles are welded.
Step Ten Finishing touches
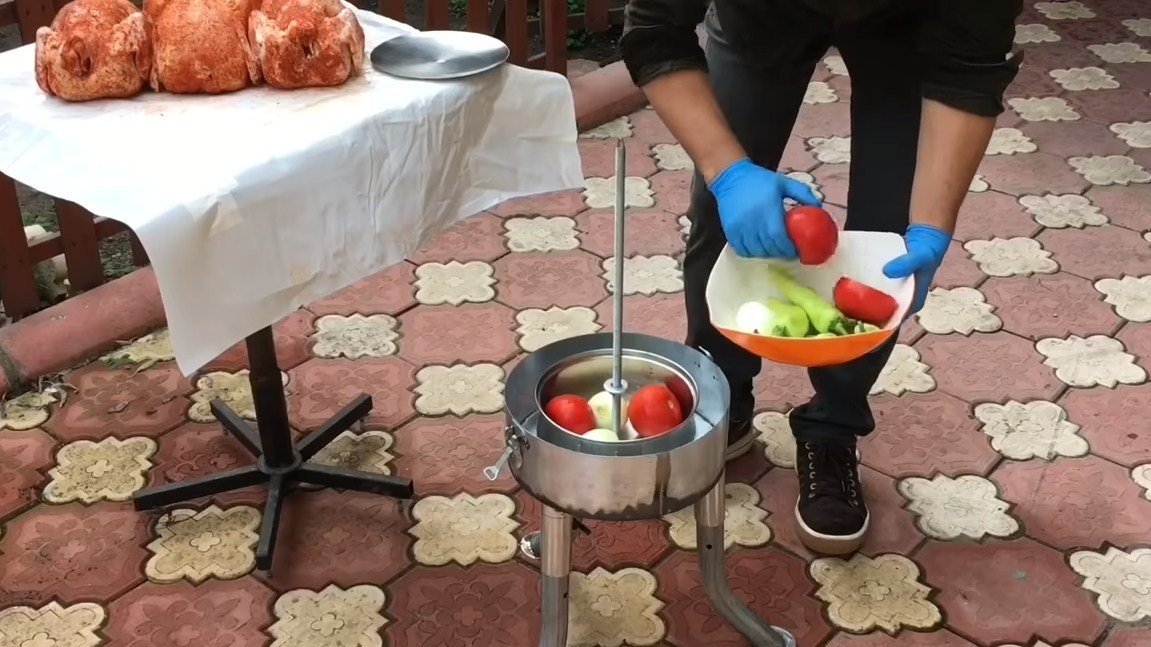
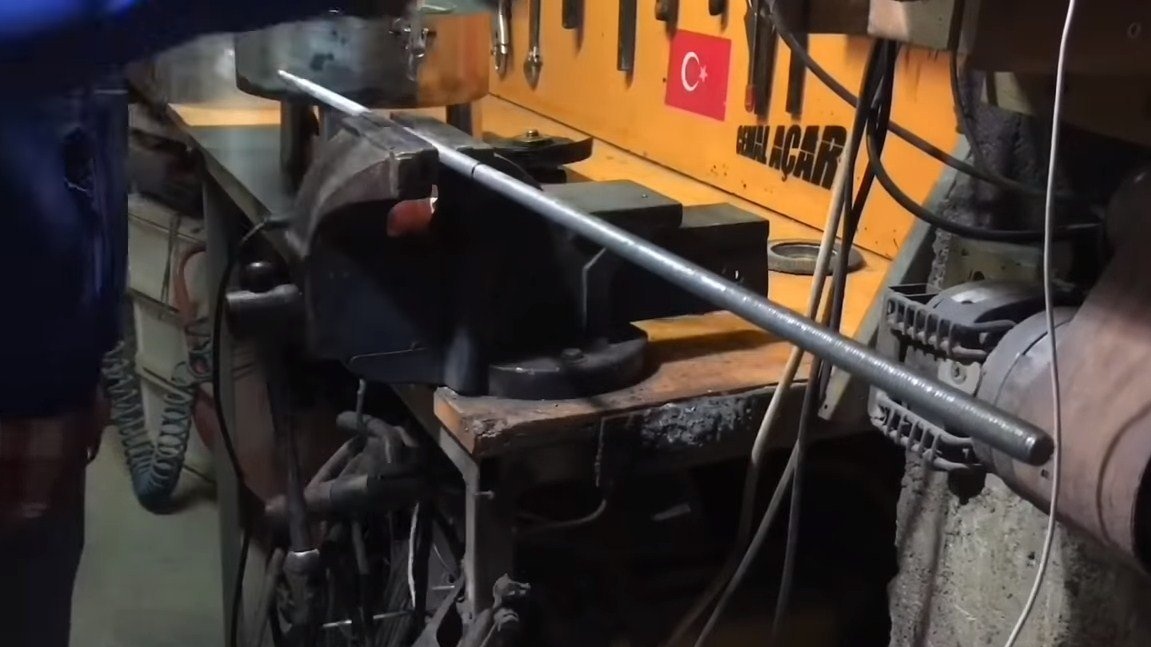
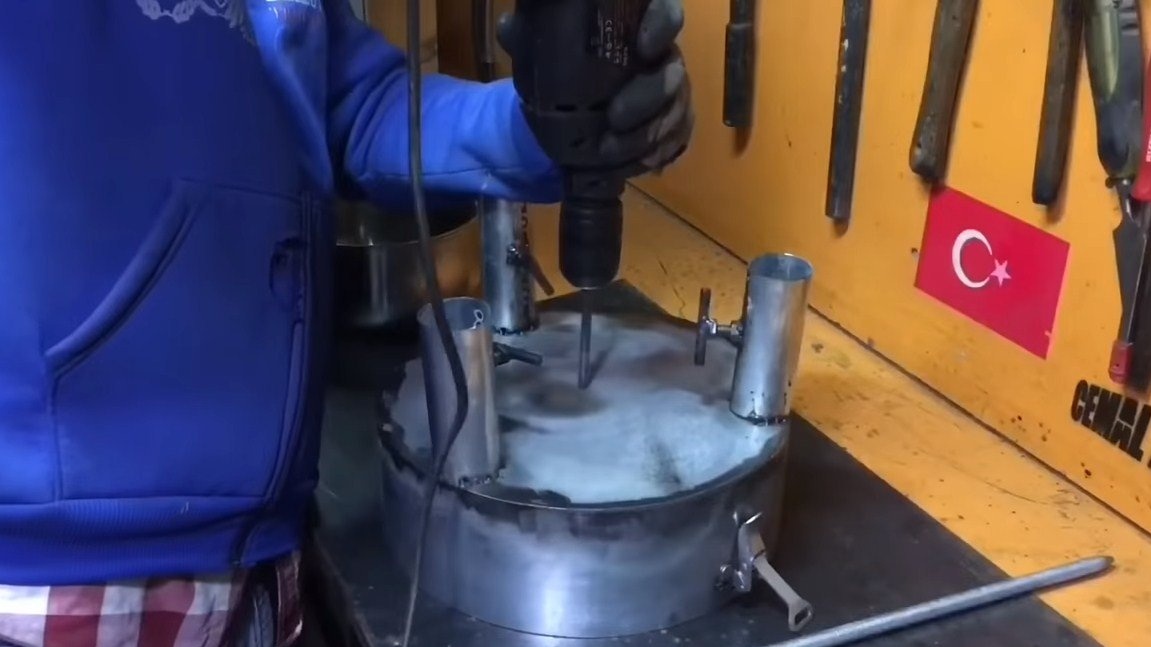
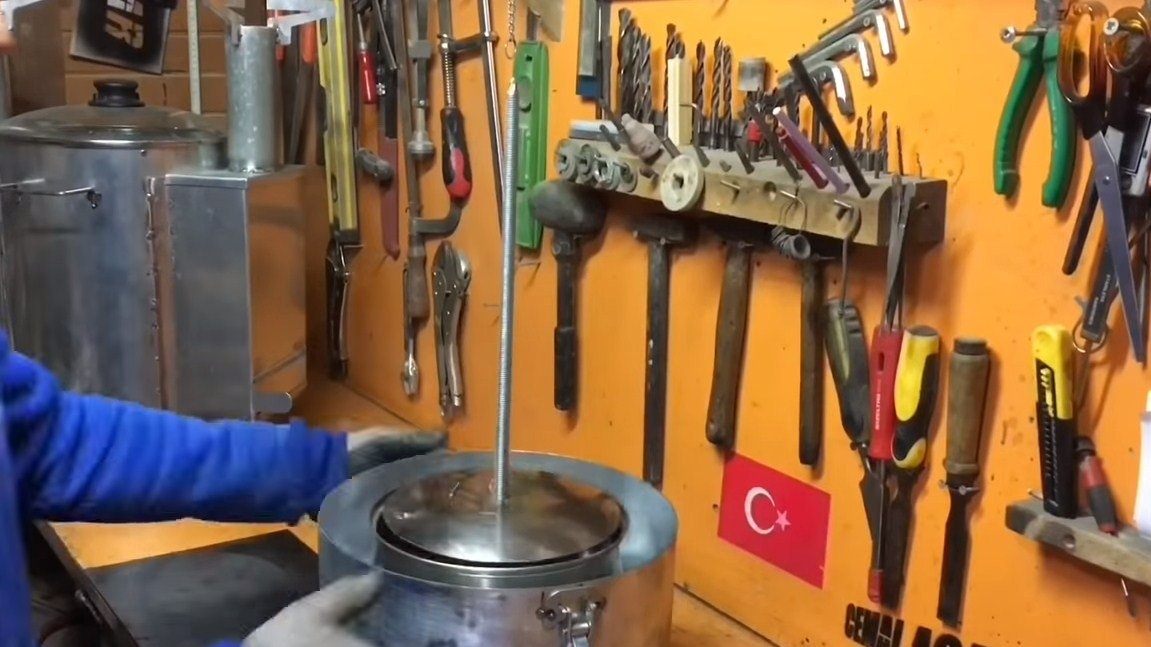
As a completion, you need to install a stainless steel pan in the bottom, here we will put fruits and vegetables. There will be a steel plate above the pan; it can be made from the pan lid. Well, all these parts are fastened together by a long threaded rod with a sharpened end.
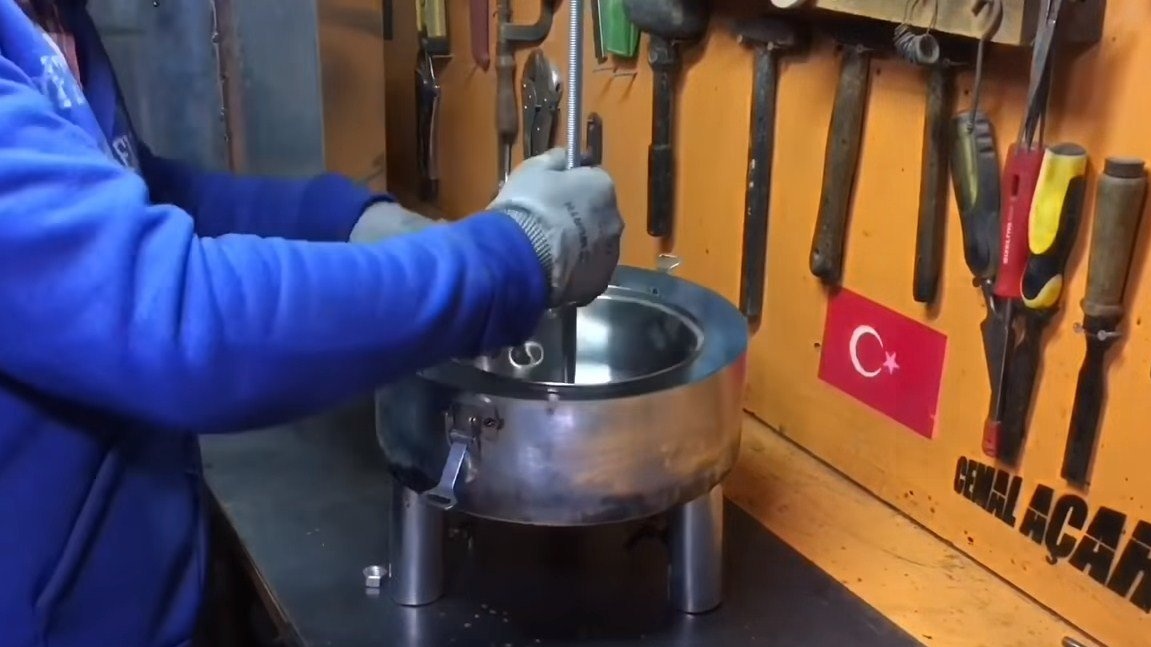
Step eleven. Testing
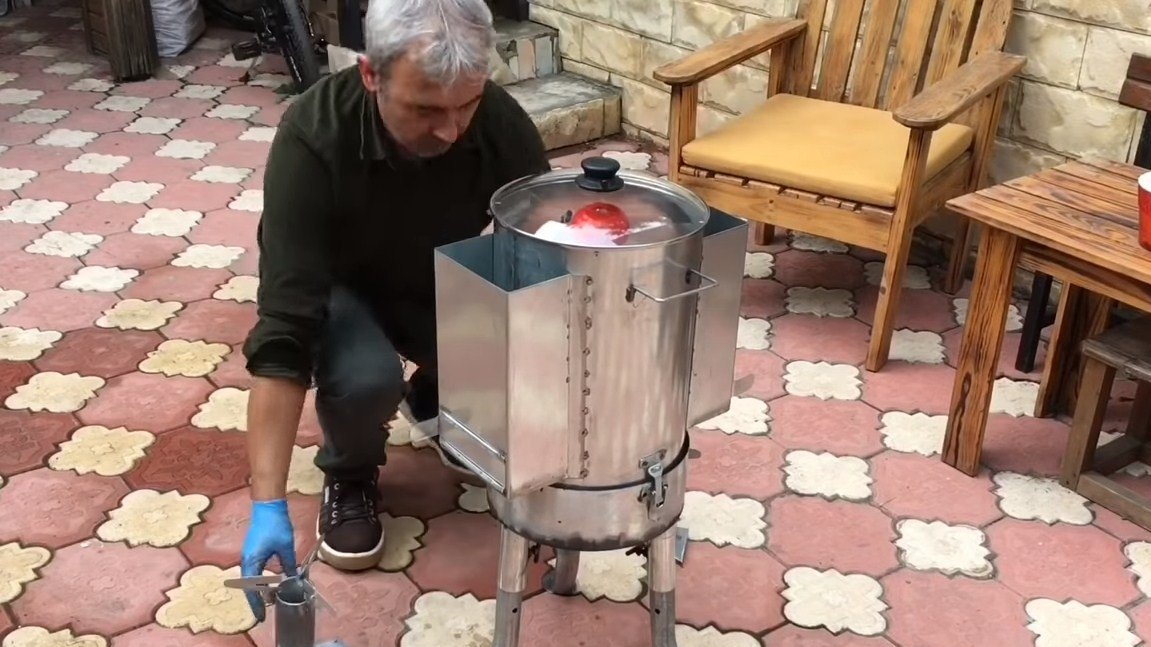
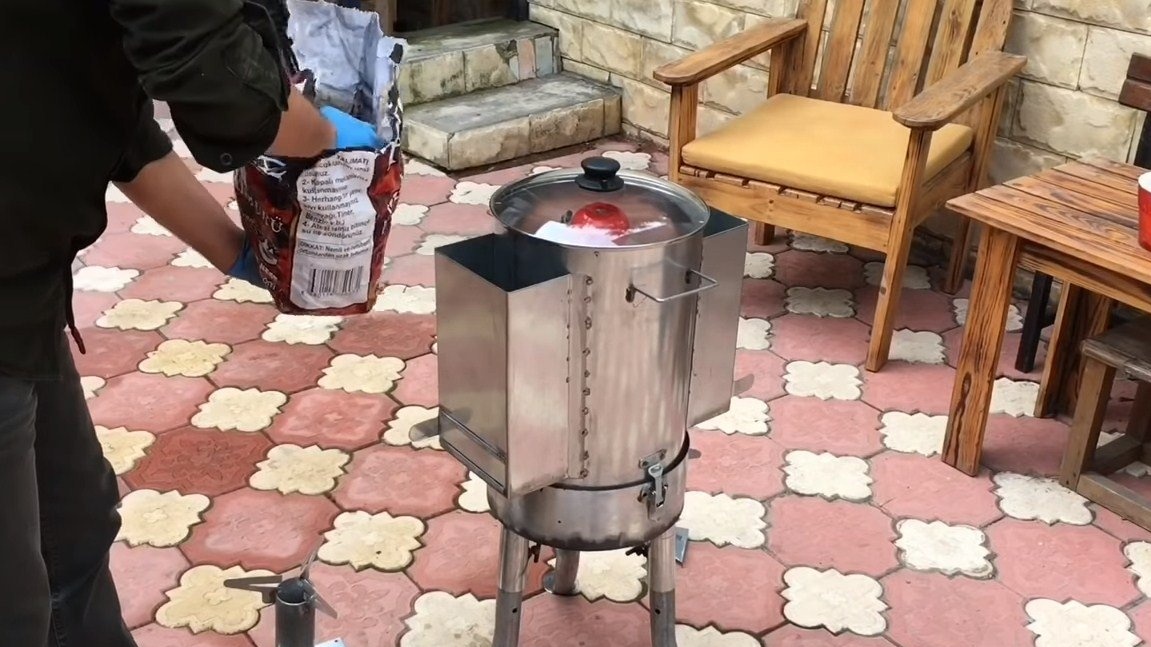
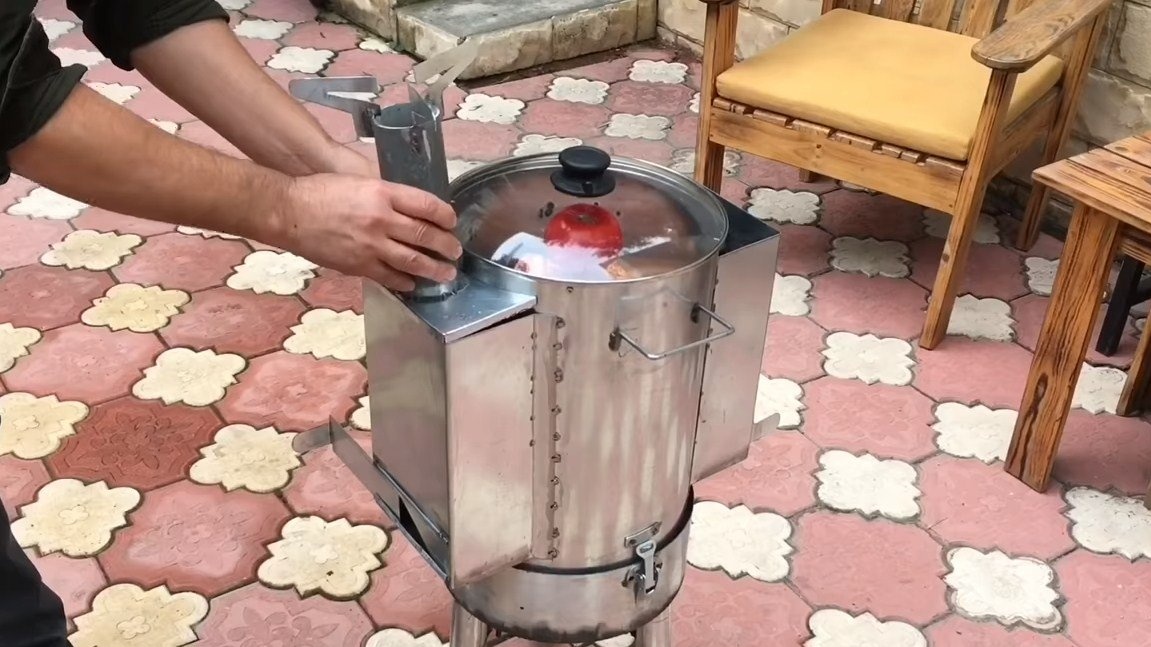
The oven can be tested. Rub the chicken with seasonings, and put vegetables and fruits in the pan. String chicken on a threaded rod and install the furnace.
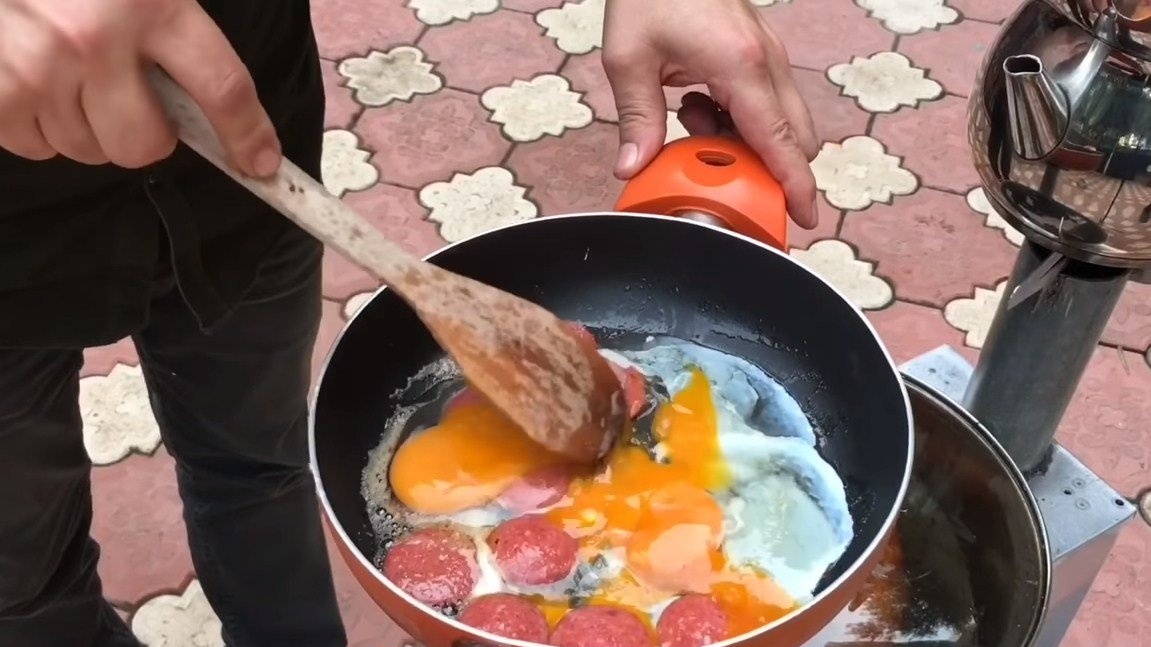
Then we load coal into the furnaces and set it on fire; it is convenient to use the ignition liquid. We install pans, pans, kettles or other utensils on your pipes at your discretion. The oven works pretty well; it took 1.5 hours to cook the chicken.
That's all, the project is over, I hope homemade you liked it, and certainly you got it after such an appetite. Good luck and creative inspiration, if you decide to repeat this! Do not forget to share your ideas and homemade things with us!