In this manual, we will look at how to make a simple and reliable rocket-type furnace. On such a stove you can quickly boil water, cook something or fry, spending a minimum amount of firewood. In such stoves, fuel burns very efficiently because a high combustion temperature is achieved.
There are many designs of such furnaces, but they all have one principle of operation. The bottom line is that the combustion chamber is isolated from the outside world, as a result, it is very hot and thereby a high combustion temperature is achieved. The stove, which the author made, has a relatively small size, so that you can take it with you, going to nature by car. If the project interests you, I propose to familiarize yourself with it in more detail.
Materials and tools used by the author:
Material List:
- thick-walled pipes of different diameters;
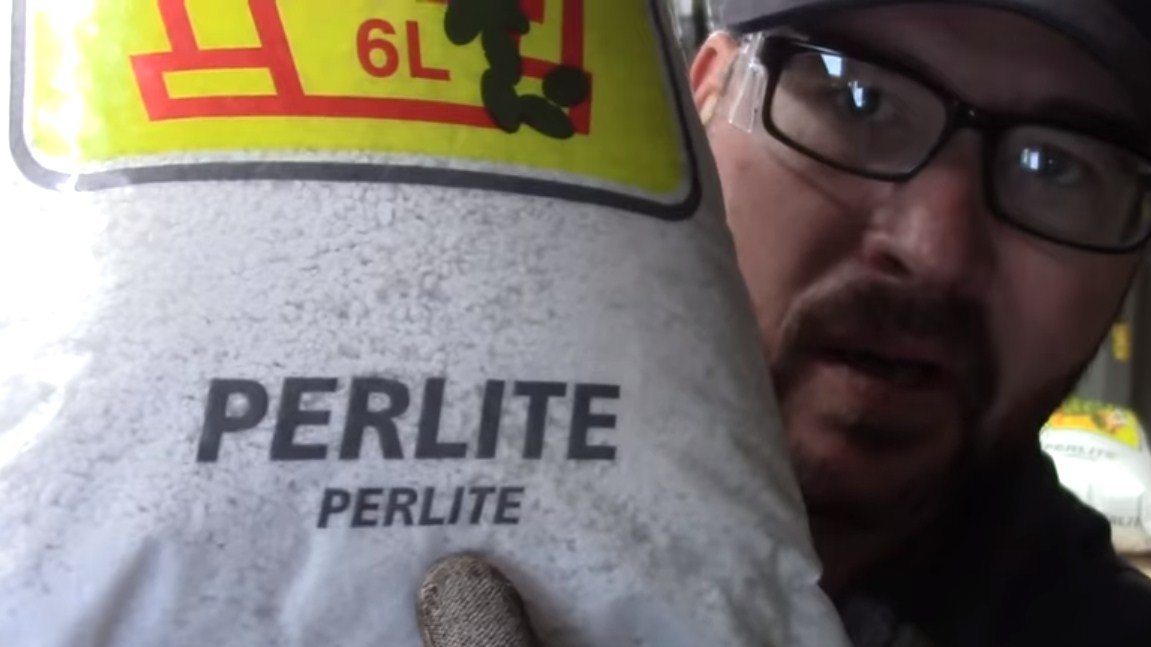
- perlite (as an insulator);
- Sheet steel;
- steel mesh (for grate);
- heat resistant paint.
Tool List:
- grinder;
- welding machine;
- tape cutting saw;
- drill or drilling machine;
- crowns for drilling;
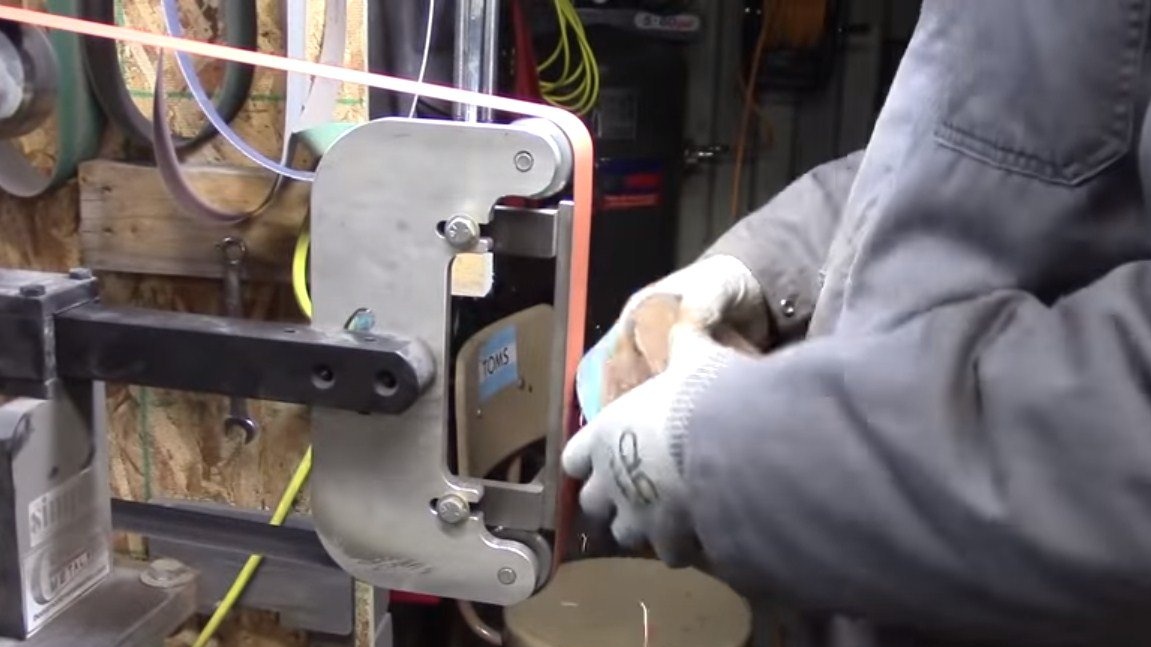
- belt sander;
- marker and tape measure.
Furnace manufacturing process:
Step one. The outside of the furnace
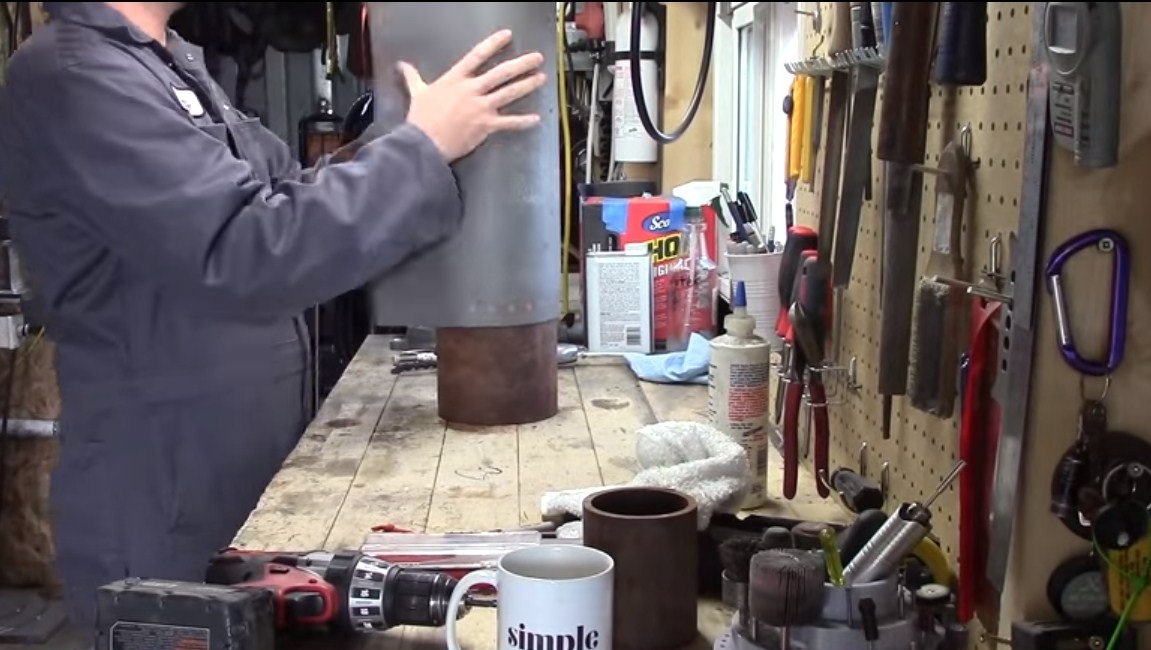
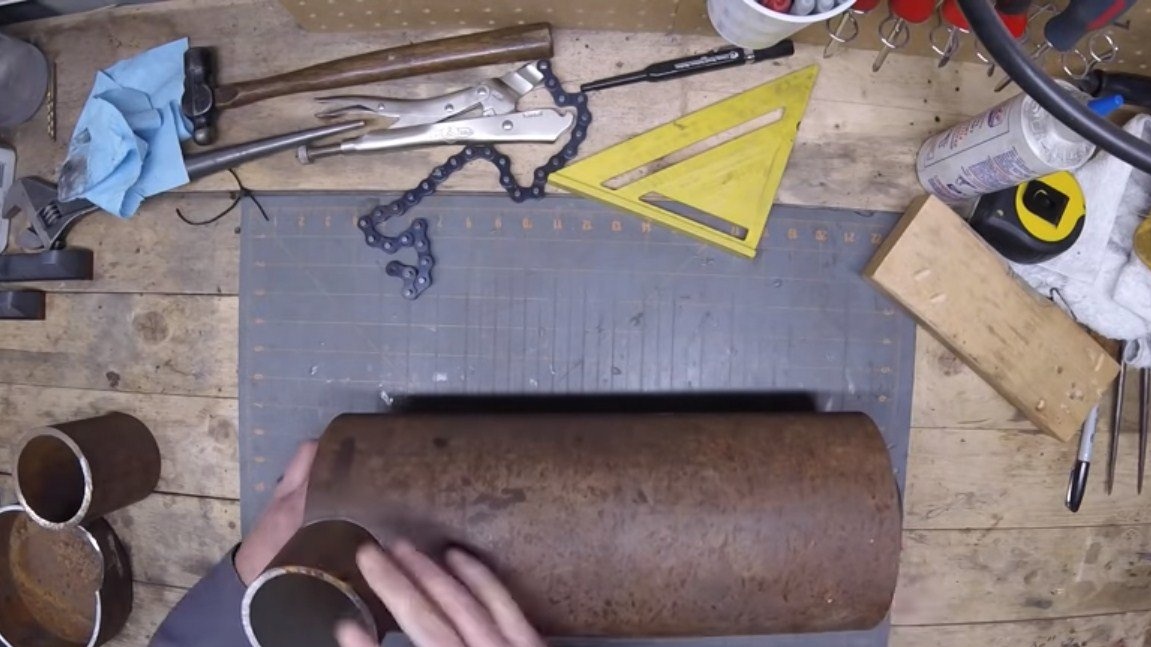
The outer part of the furnace is a piece of pipe. The essence of this part is to create a chamber between the furnace and the outside of the furnace. It is not necessary to use a thick-walled pipe, since an insulator will fall into the chamber, which will not allow the outside to become too hot.
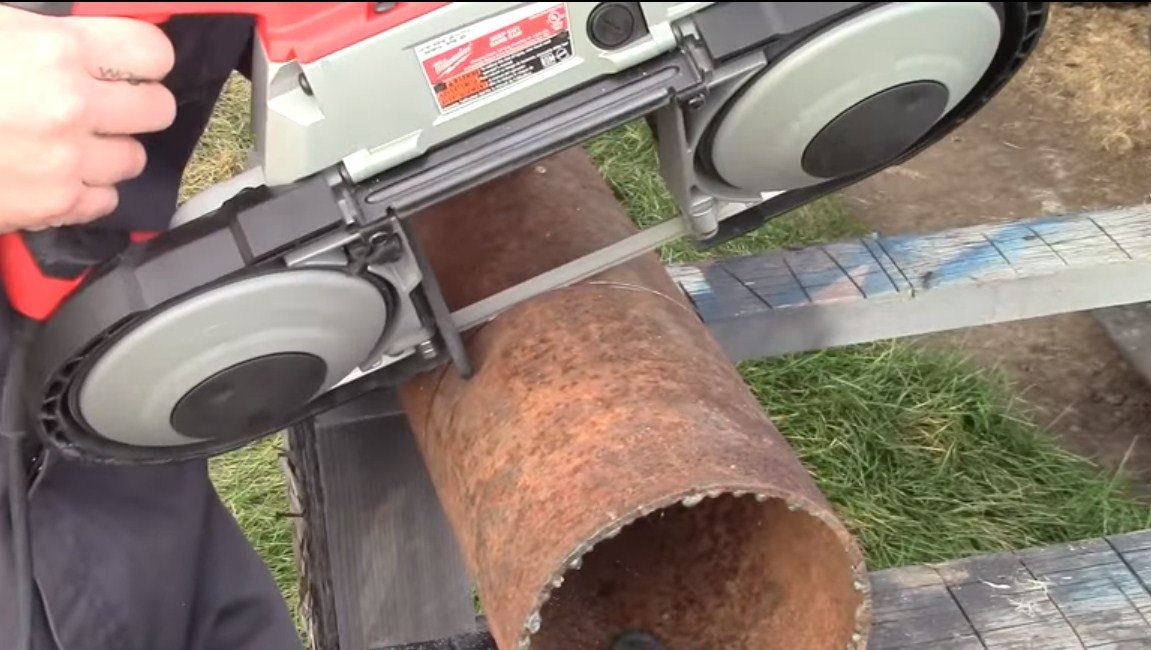
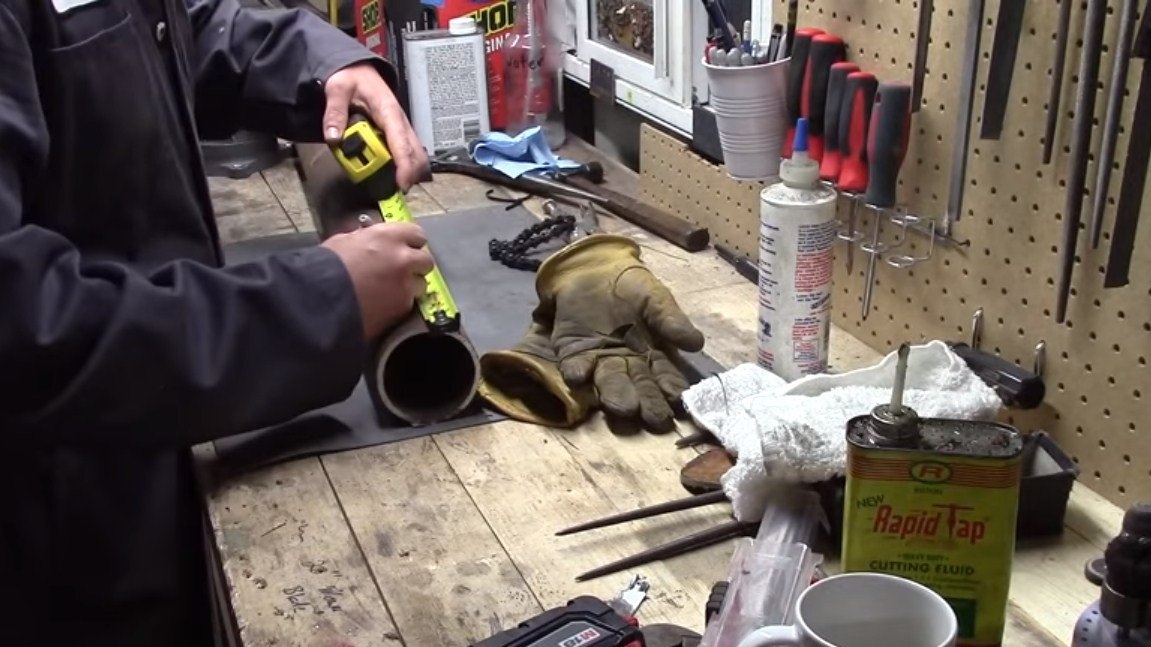
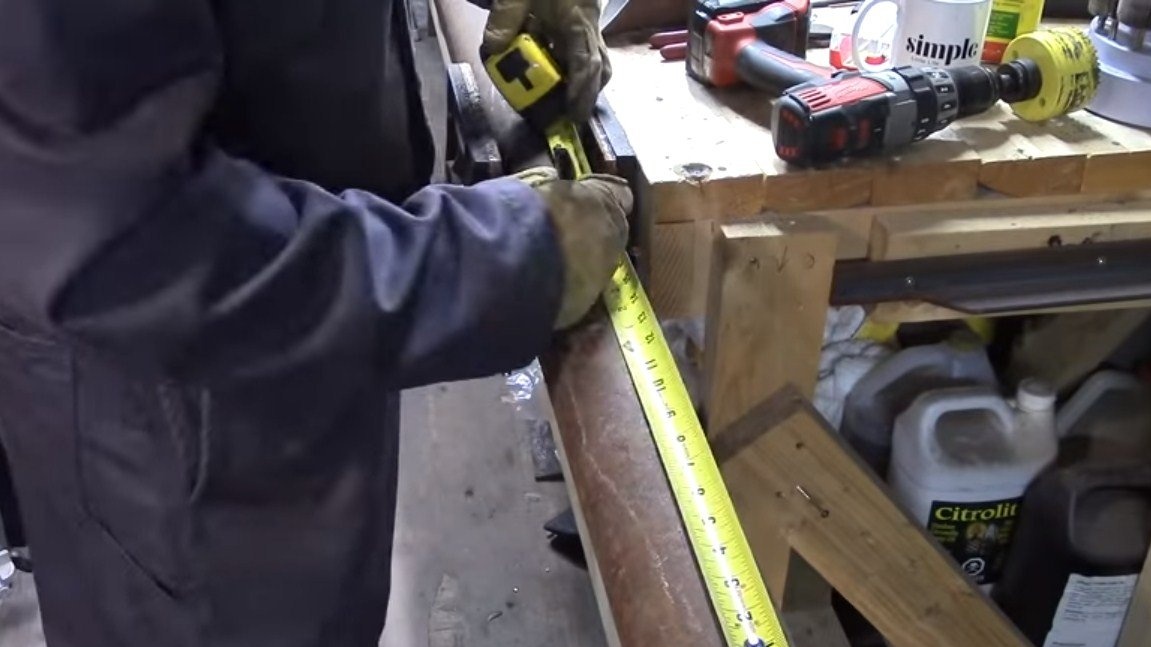
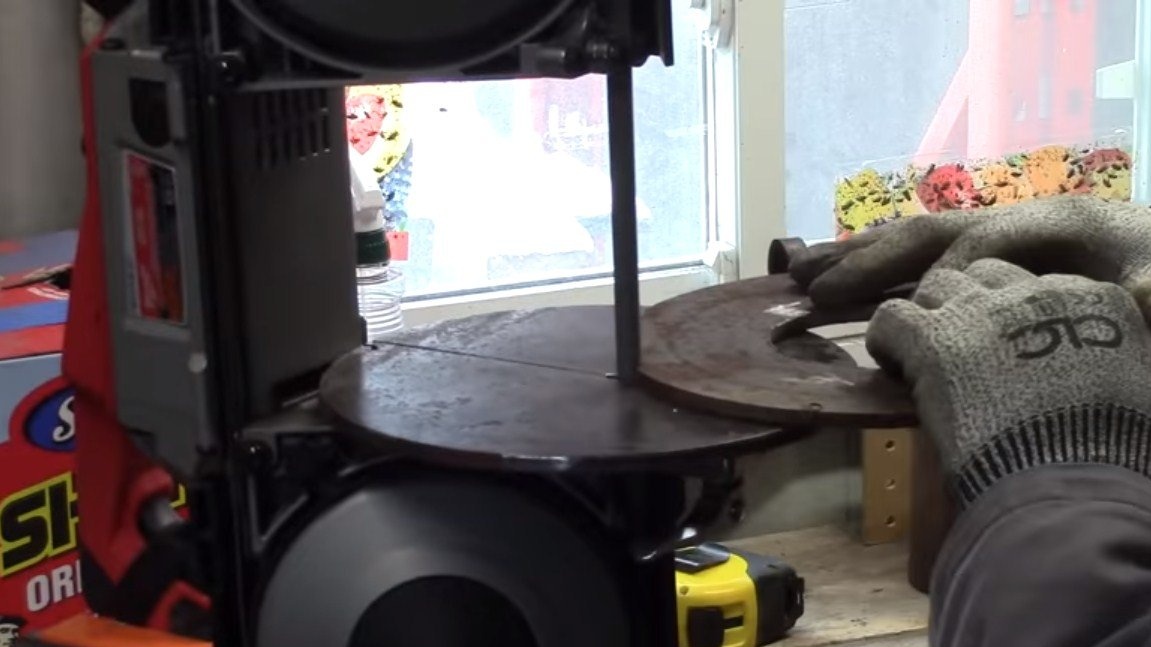
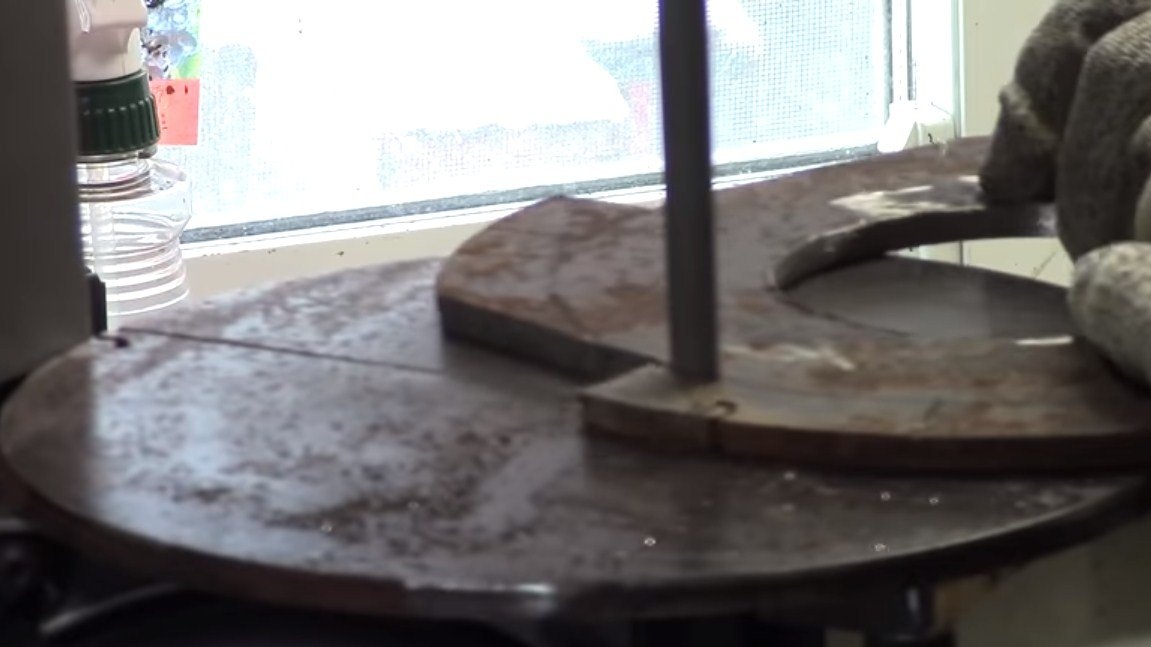
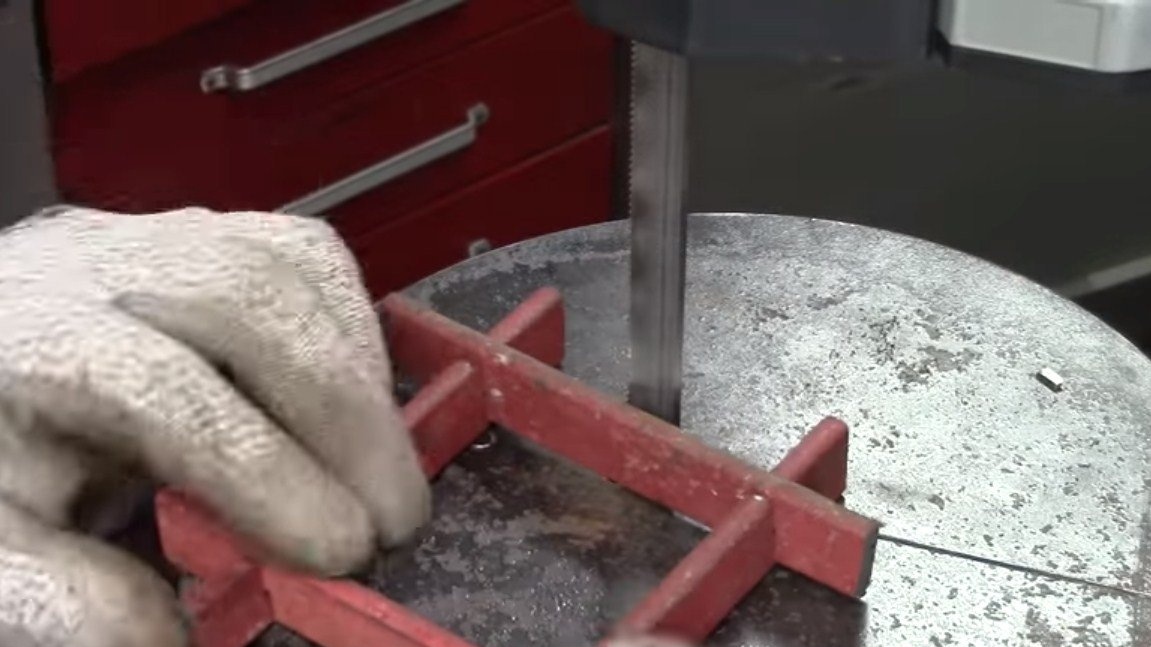
We cut off the desired piece of pipe, for these purposes the author uses a band saw.
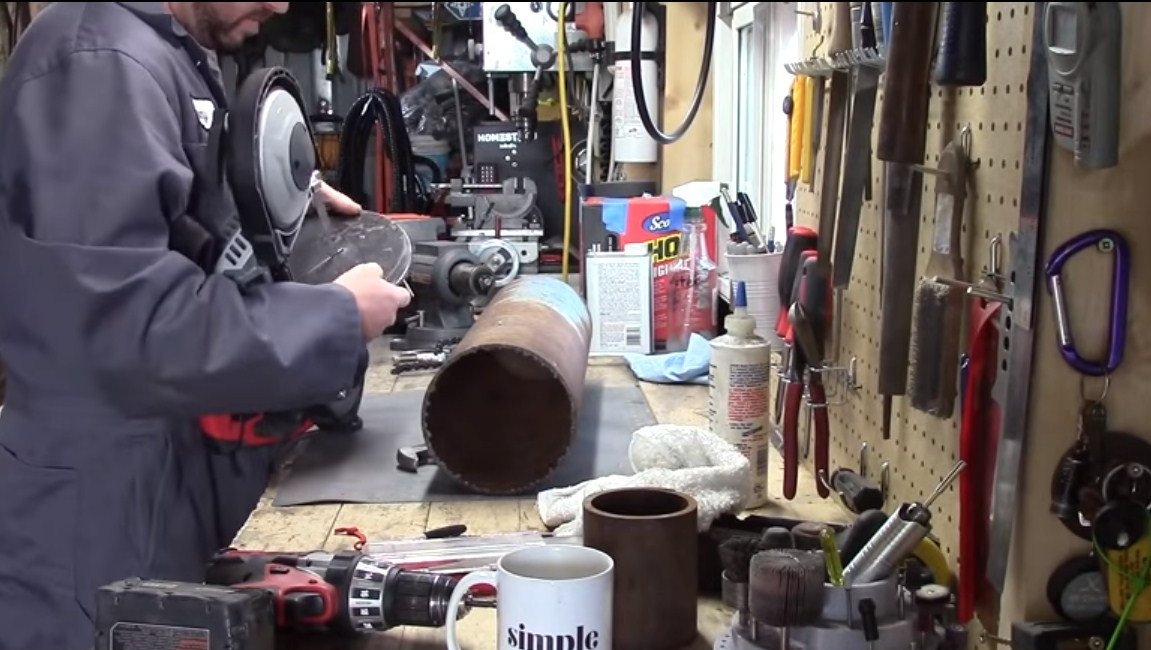

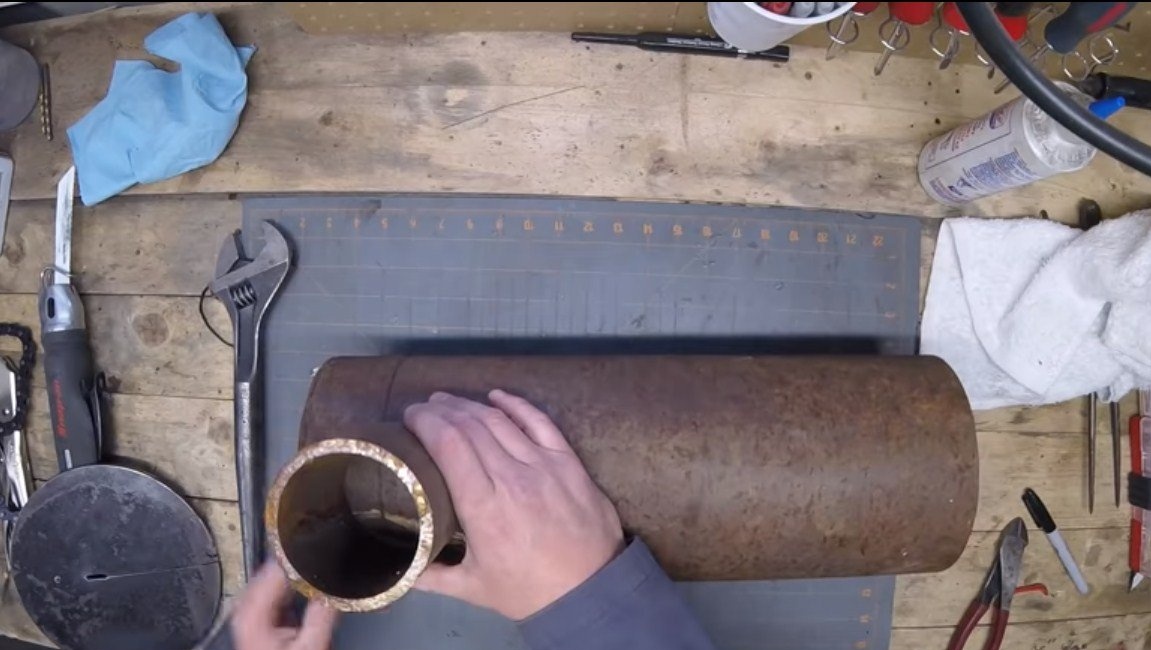
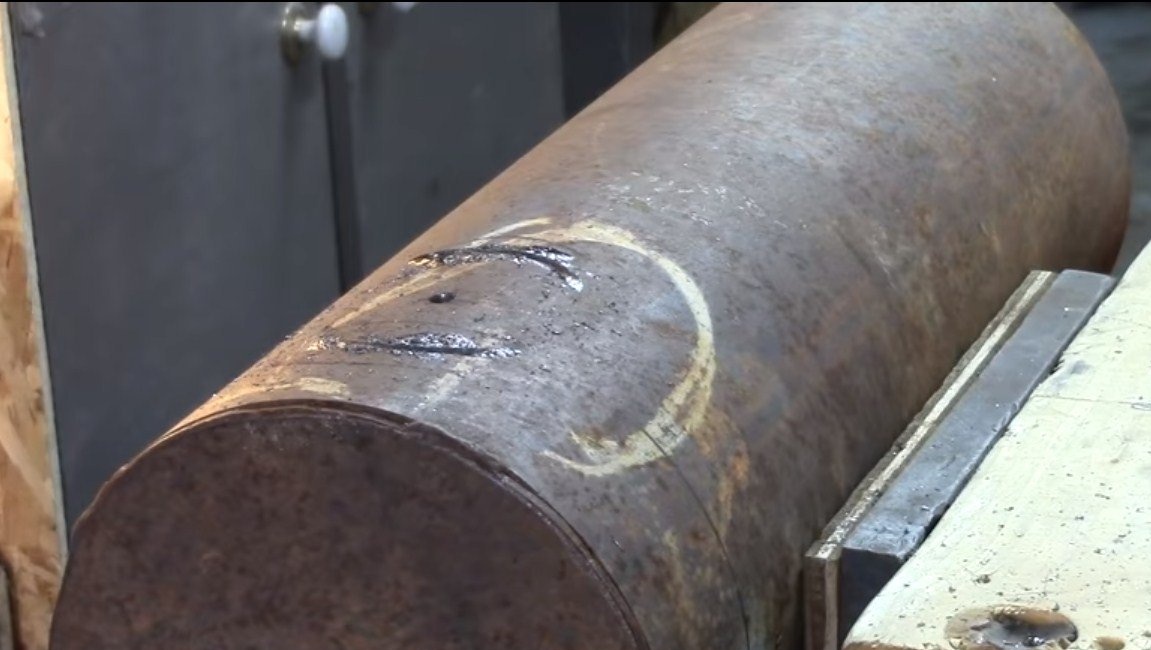
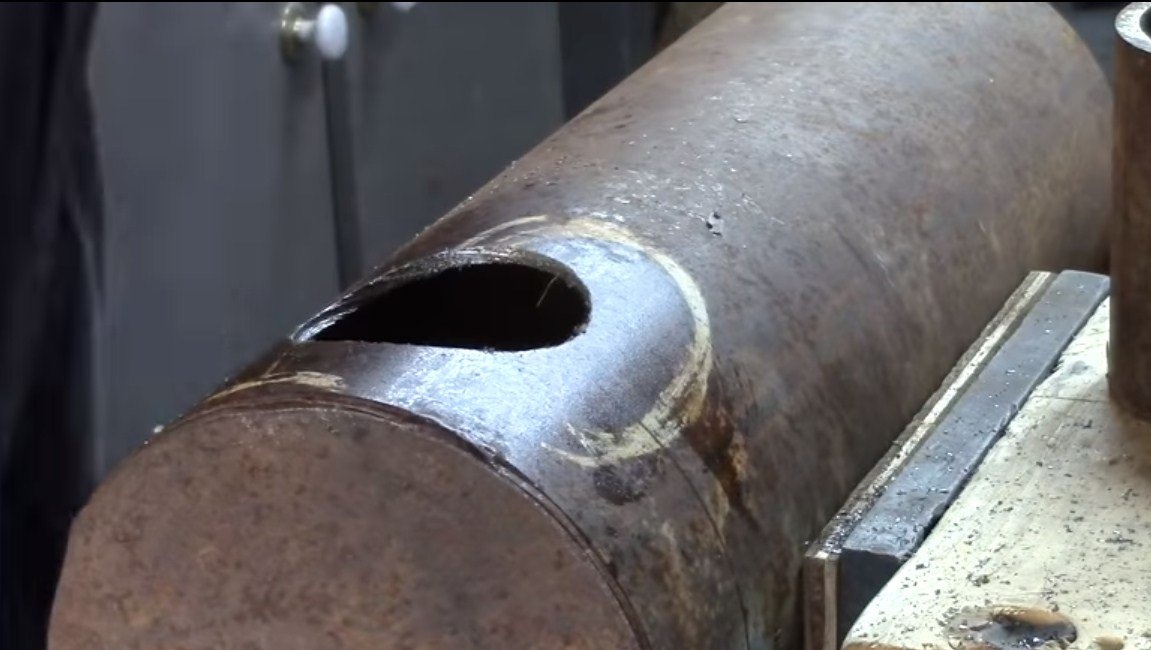
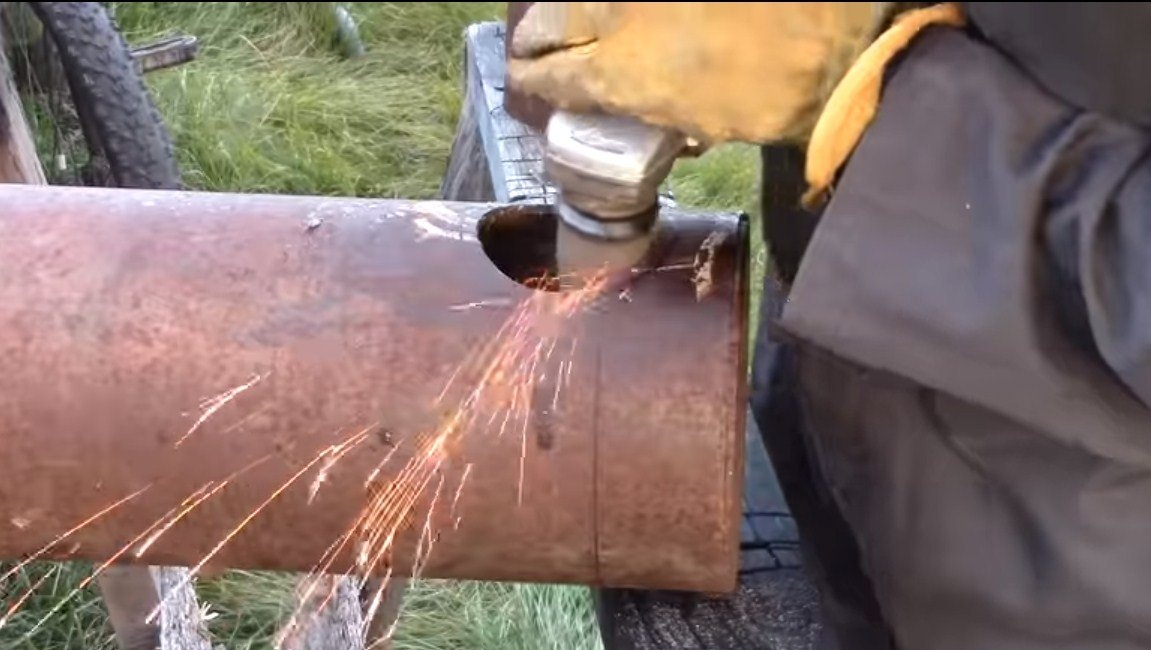
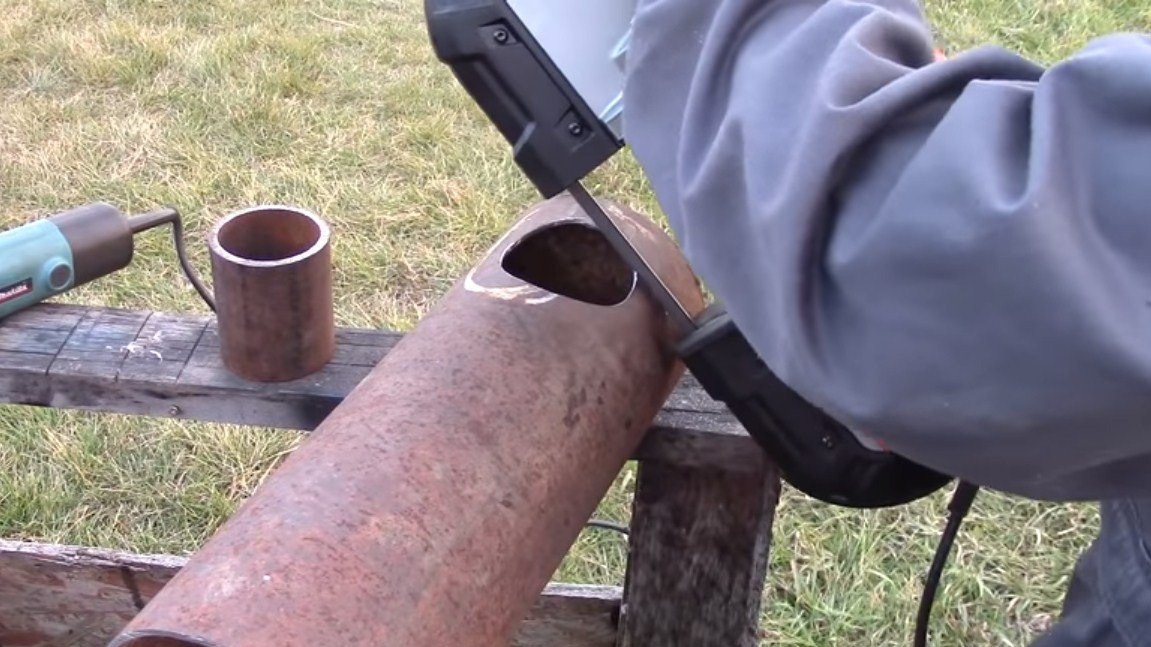
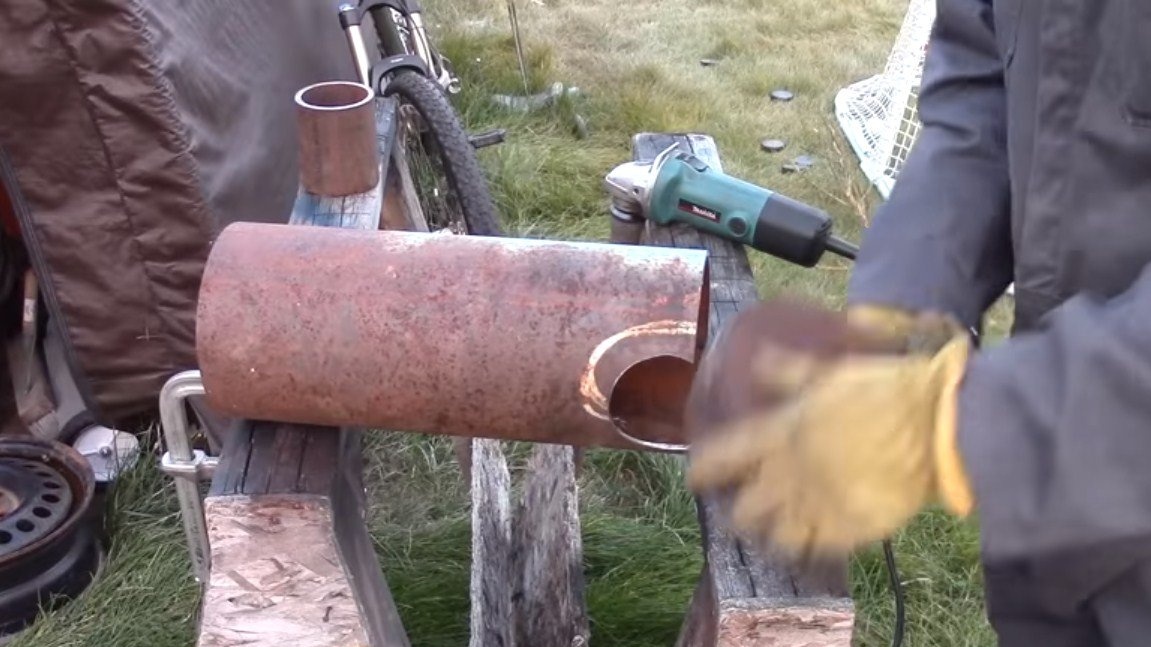
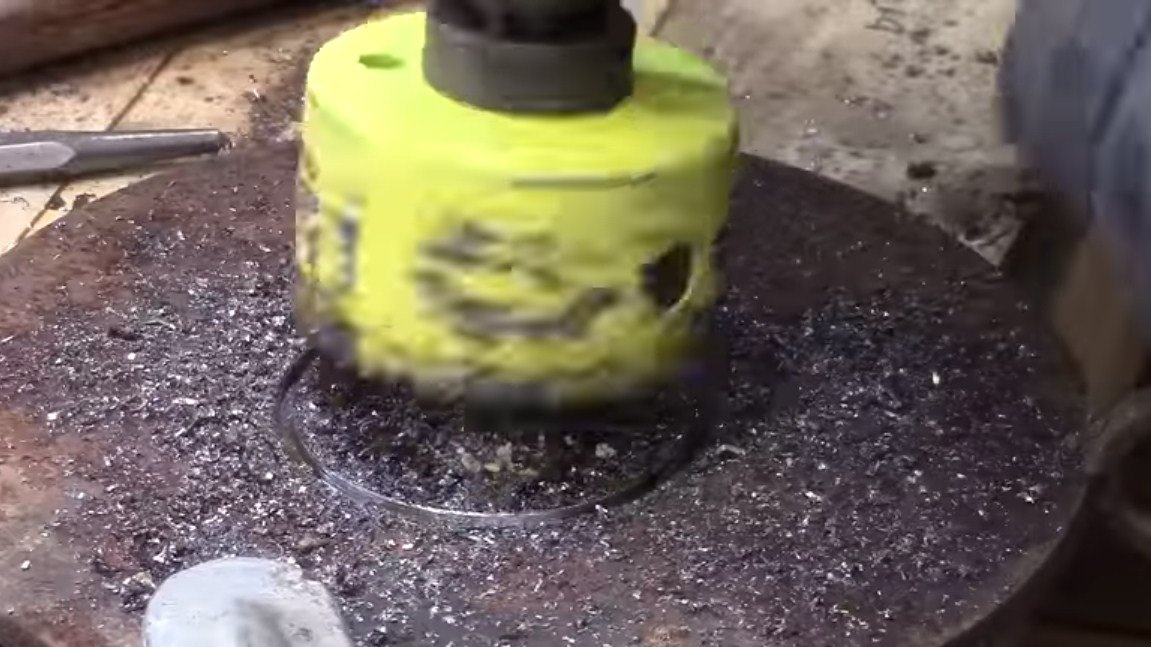
Next, you will need to cut a hole for the diameter of the pipe, which will be the combustion chamber. We make the necessary measurements and cut a hole with a crown. We need a minimum clearance between the pipe and the furnace body, so that we drill a little smaller hole, and then bore it to the desired size. The author works with a grinder and a special rotary nozzle.When the hole is perfectly fitted, we cut the part from the pipe again, capturing the hole. What are you talking about, see the photo.
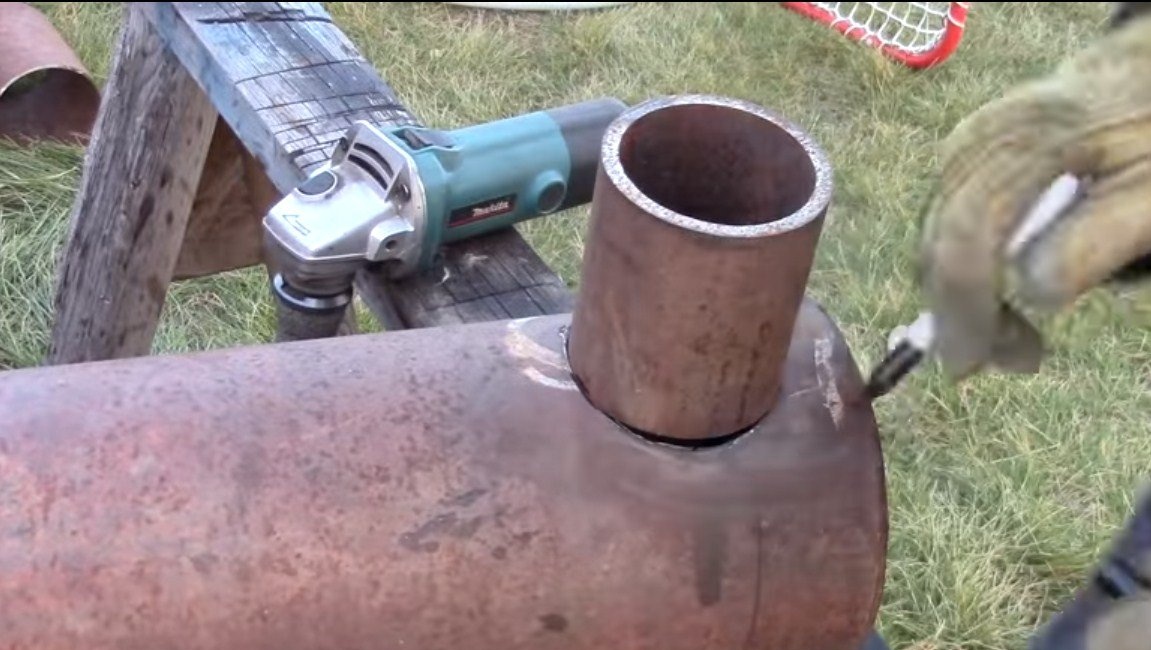
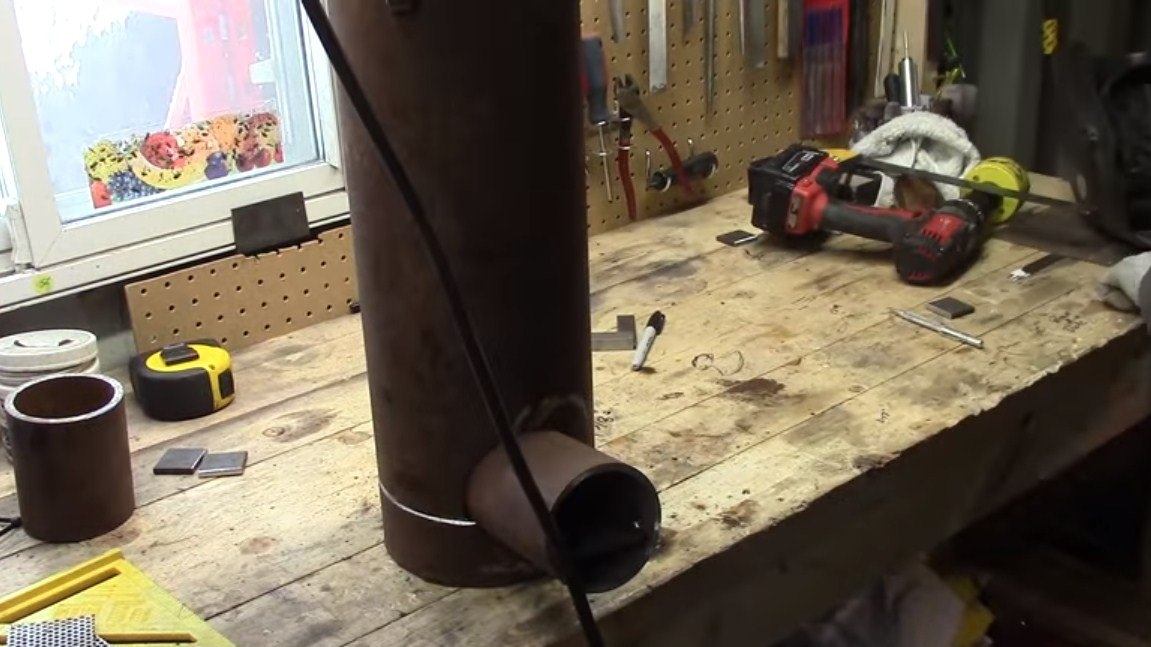
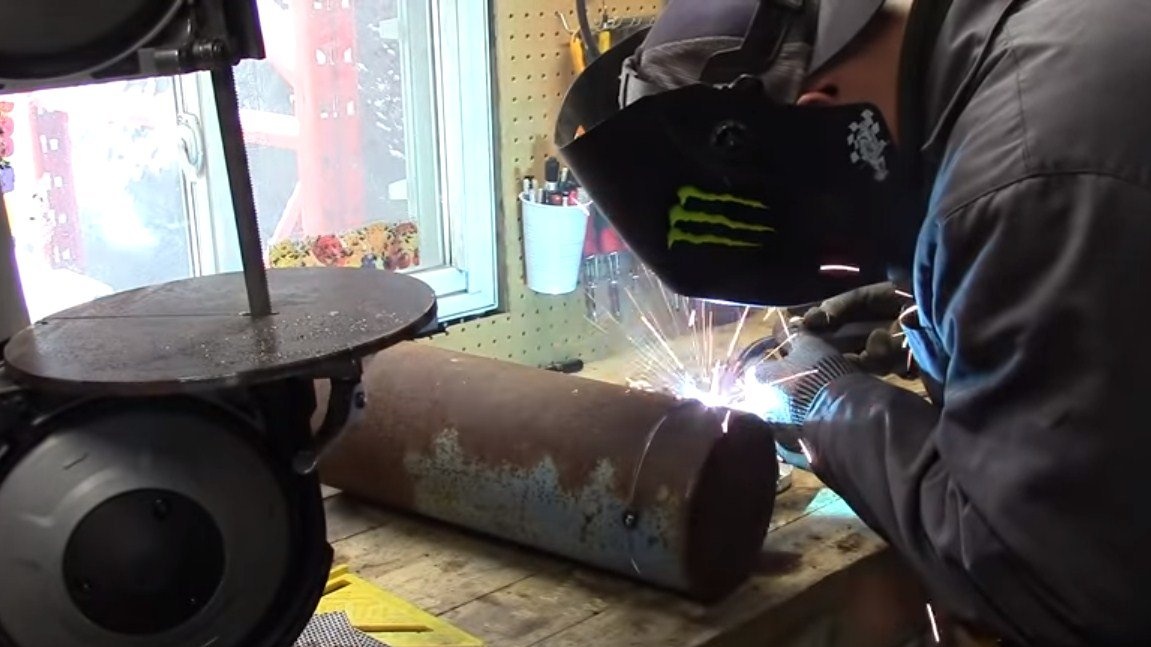
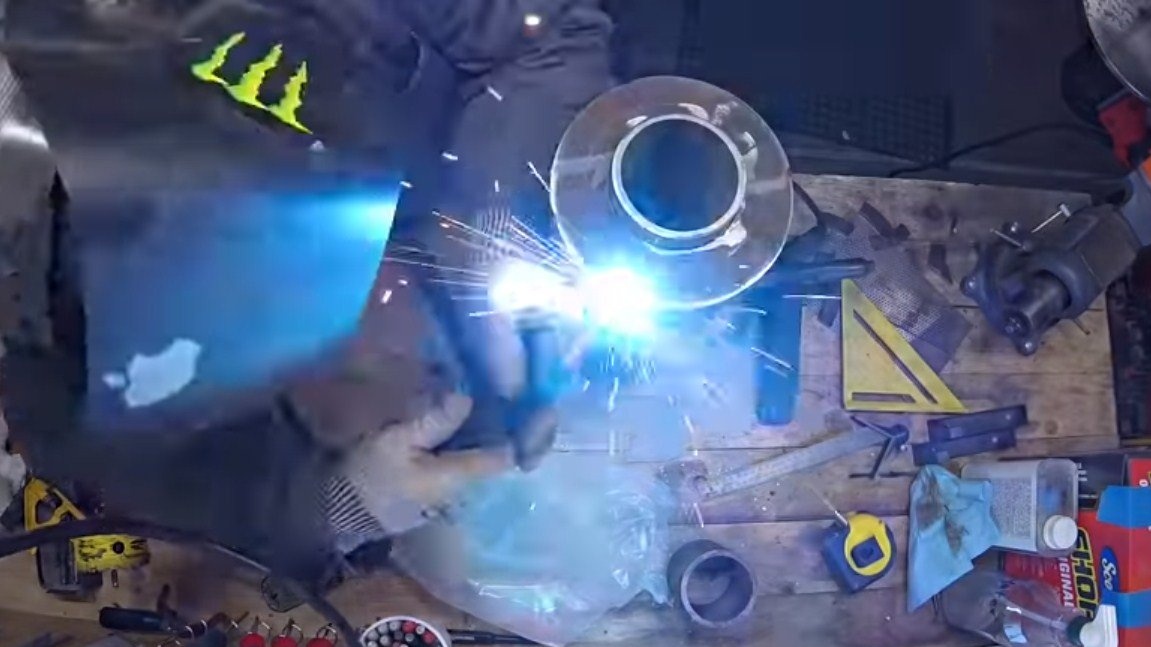
Step Two Combustion chamber
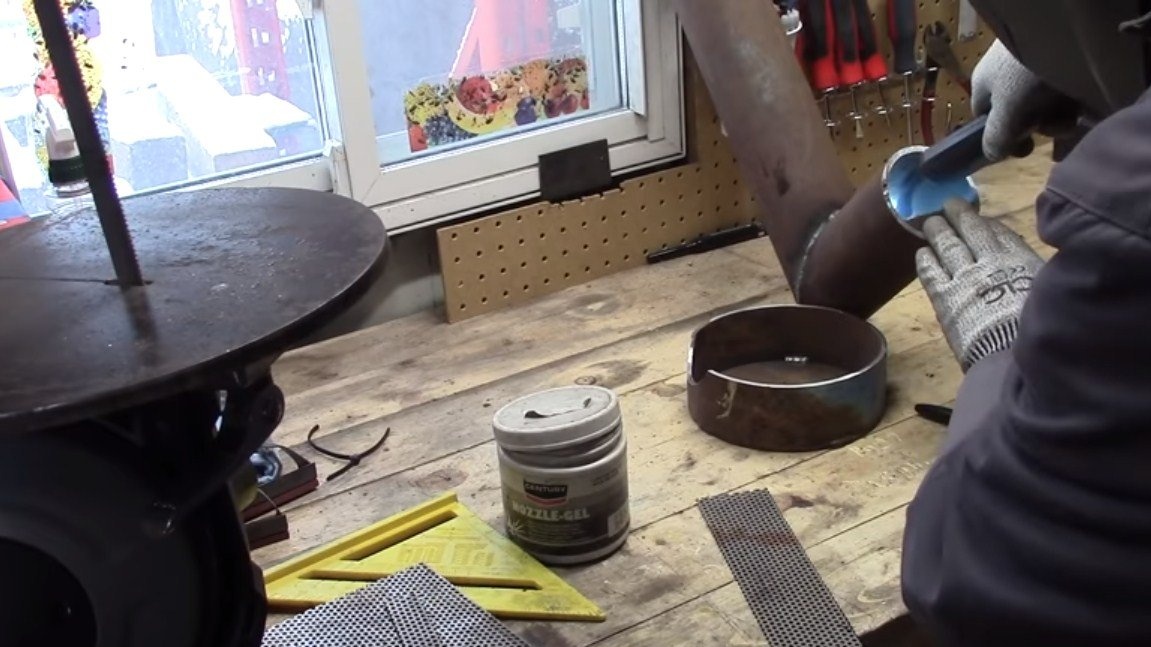
Let's make a combustion chamber. Here we will need a pipe with as thick walls as possible, since the heating temperature here is huge. We need to weld the knee at a right angle to achieve this, the pipe must be cut at an angle of 45 degrees. Well, then we weld well so that there are no gaps, and we clean the weld.

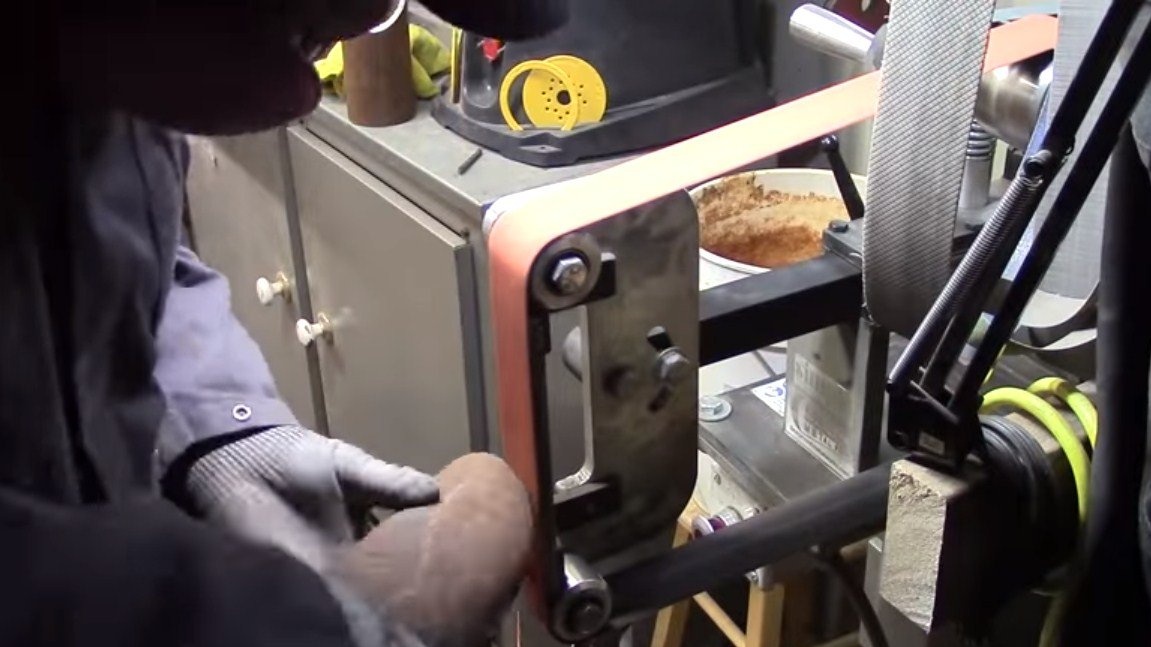
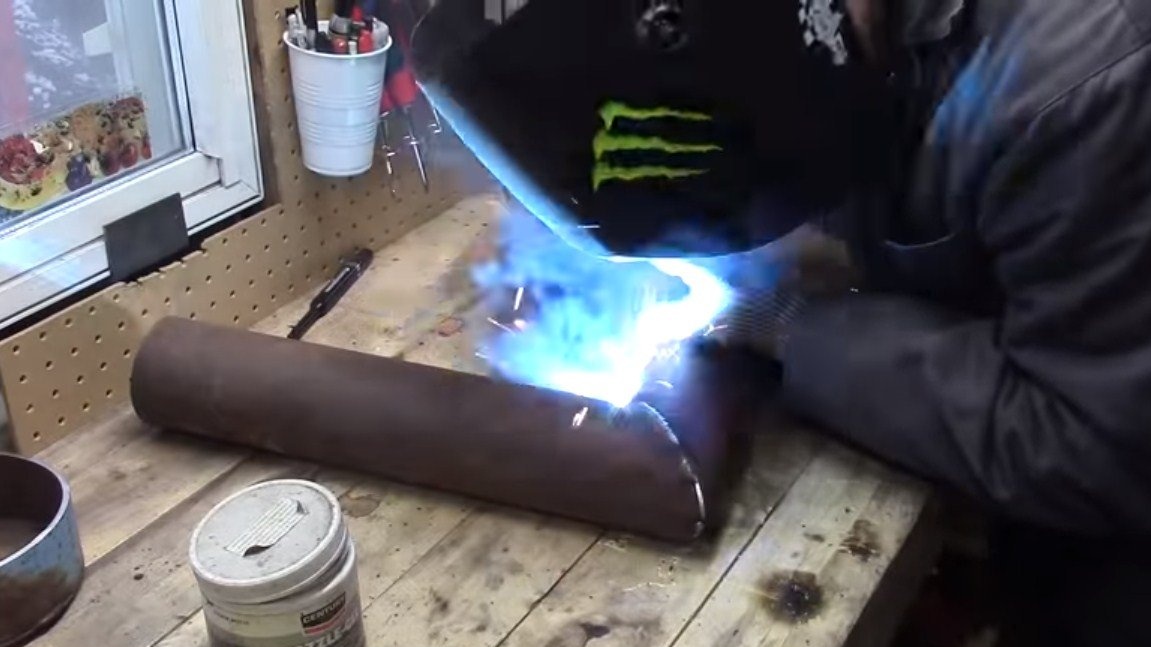
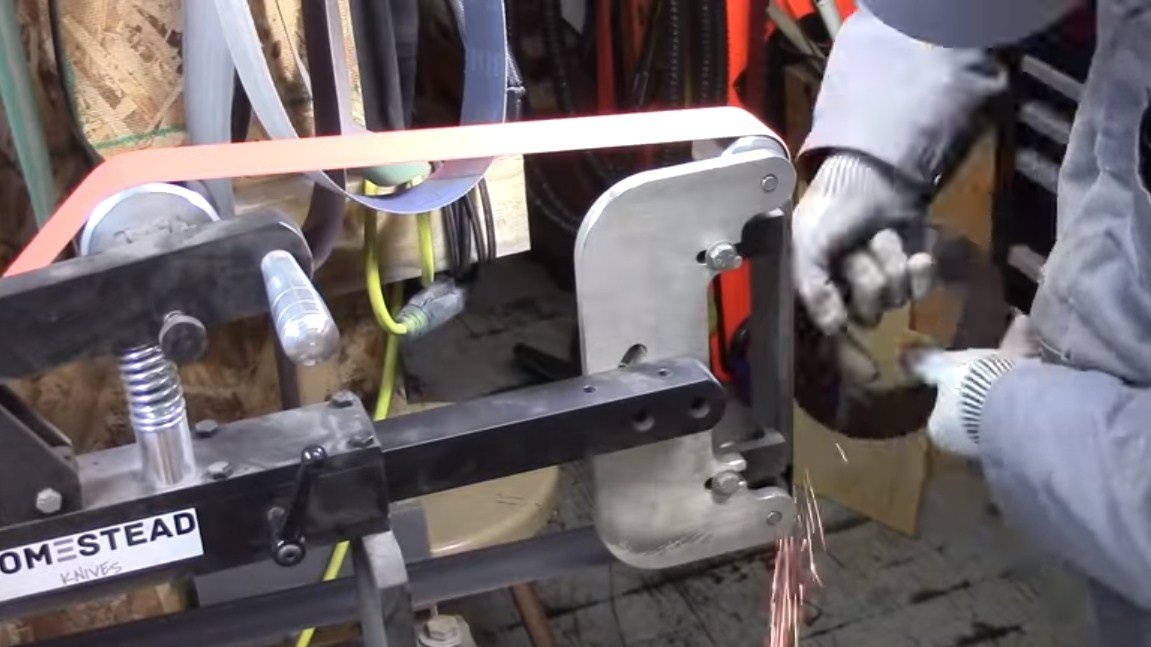
Also at this step we brew the lower part of the furnace body with a piece of sheet steel. Well, then grind the weld on the tape machine, so that the design is monolithic.
Step Three Grate
For the manufacture of grates, you will need a metal mesh. Cut off the desired piece and weld into the combustion chamber. Grid-irons are necessary for good air supply to the furnace.


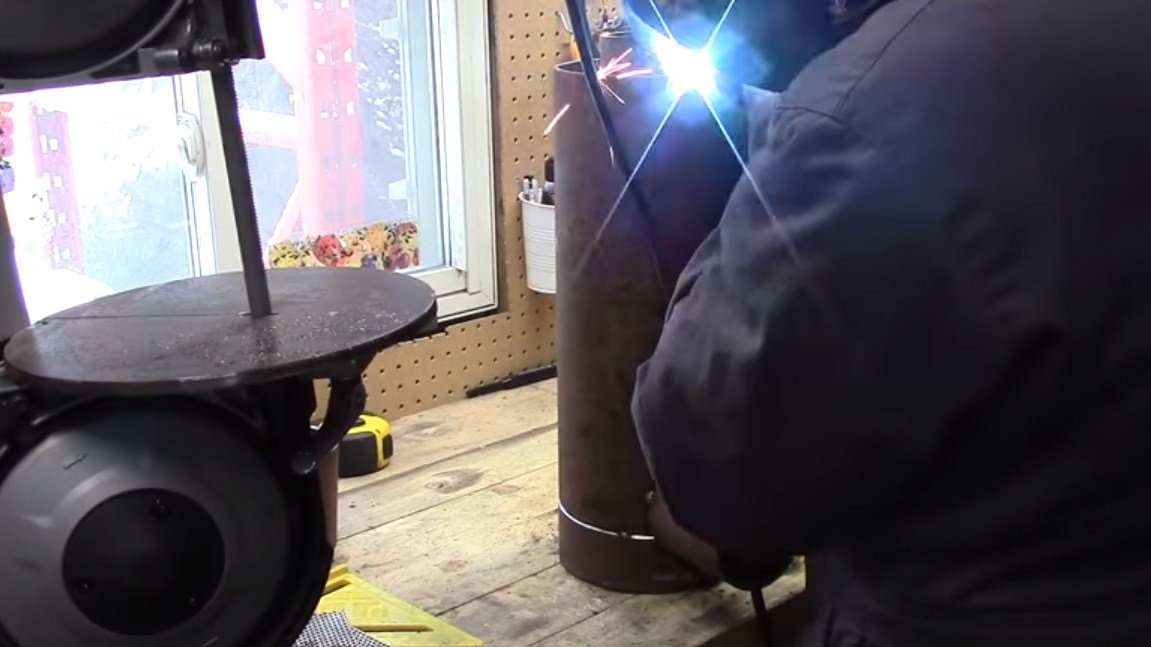
Step Four Putting the case together
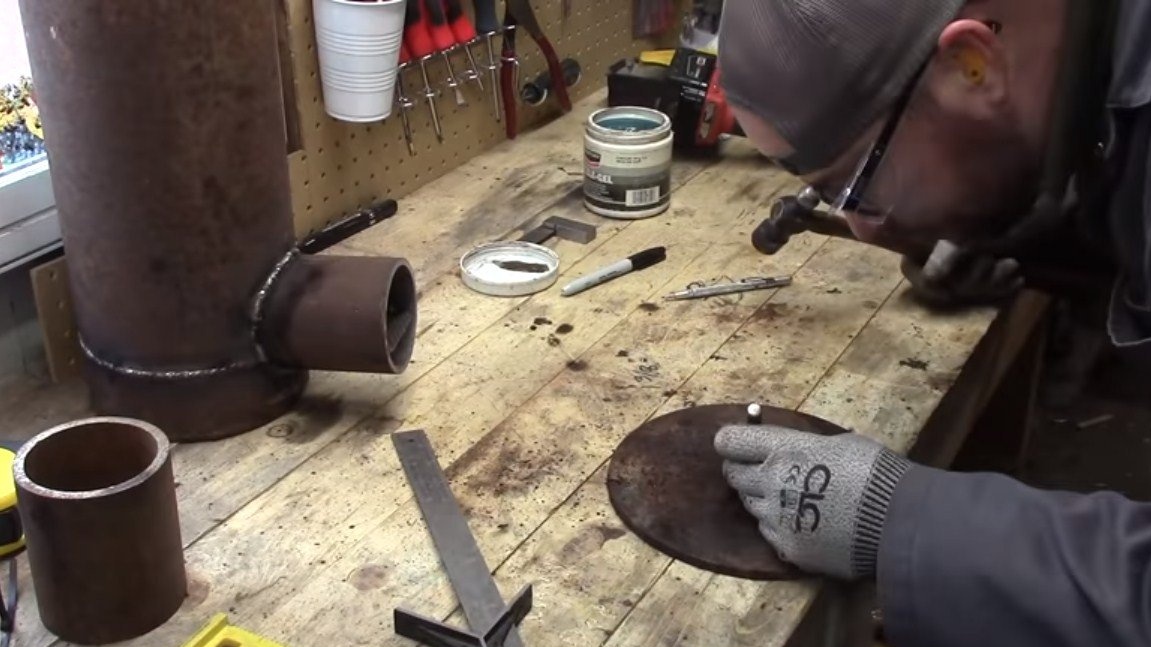
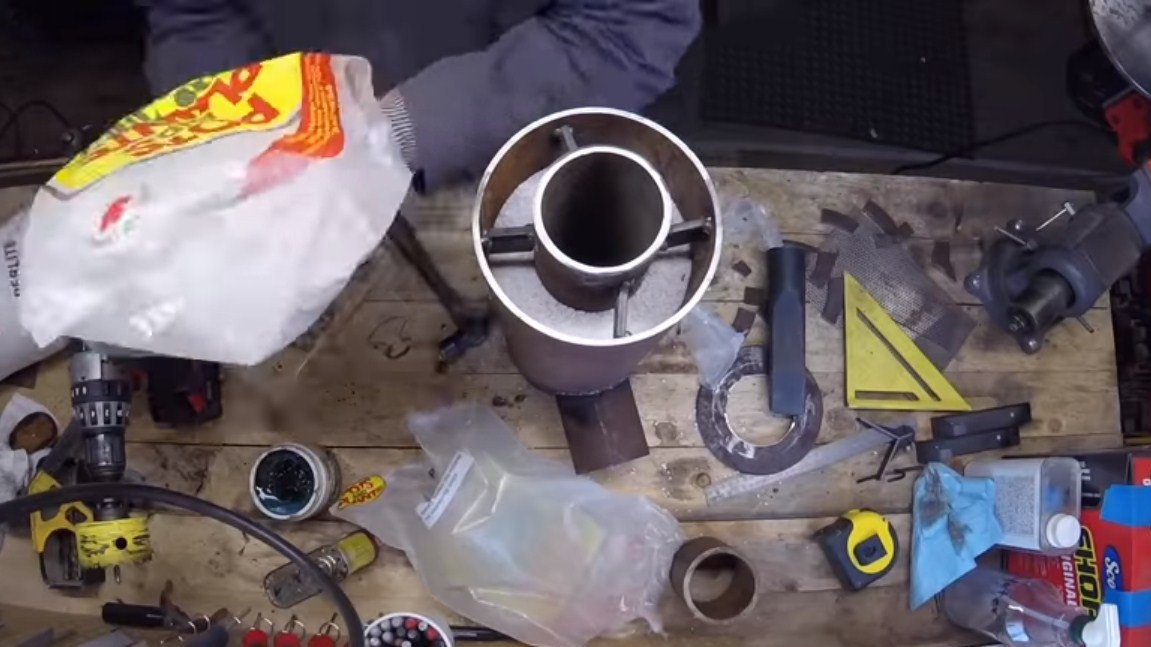
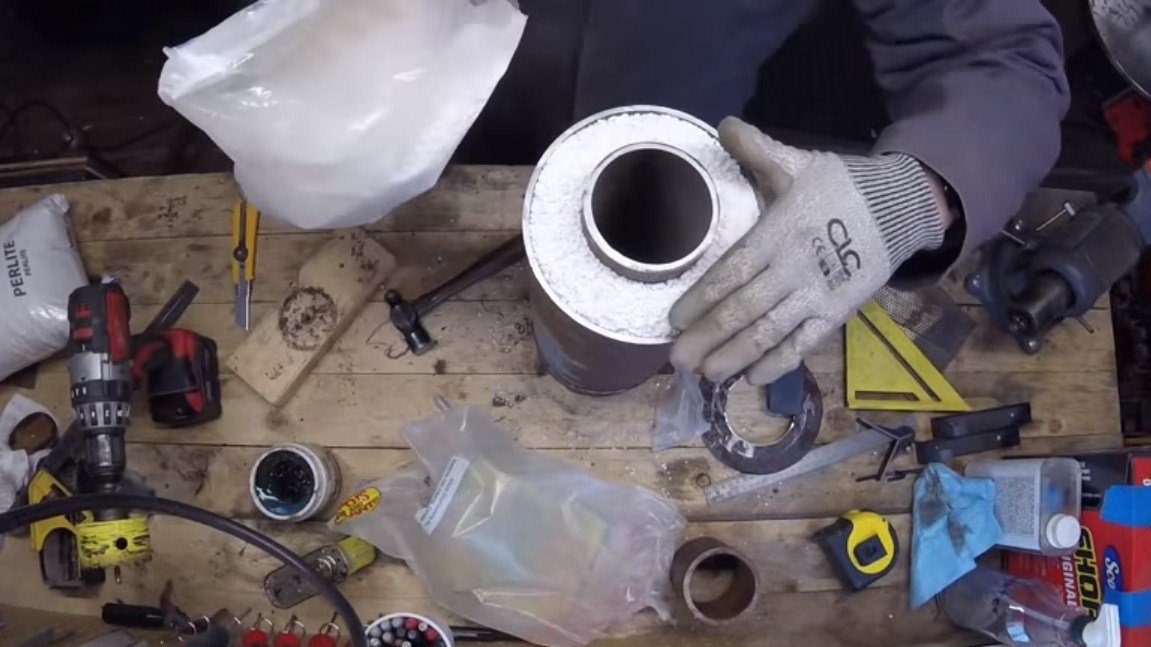
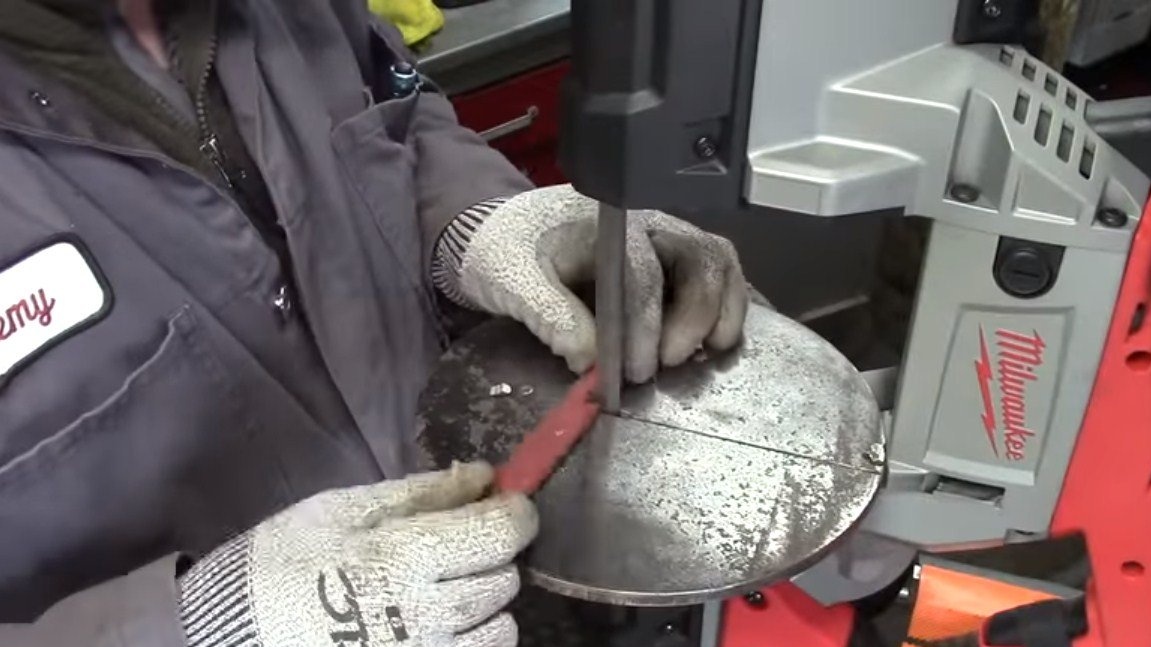
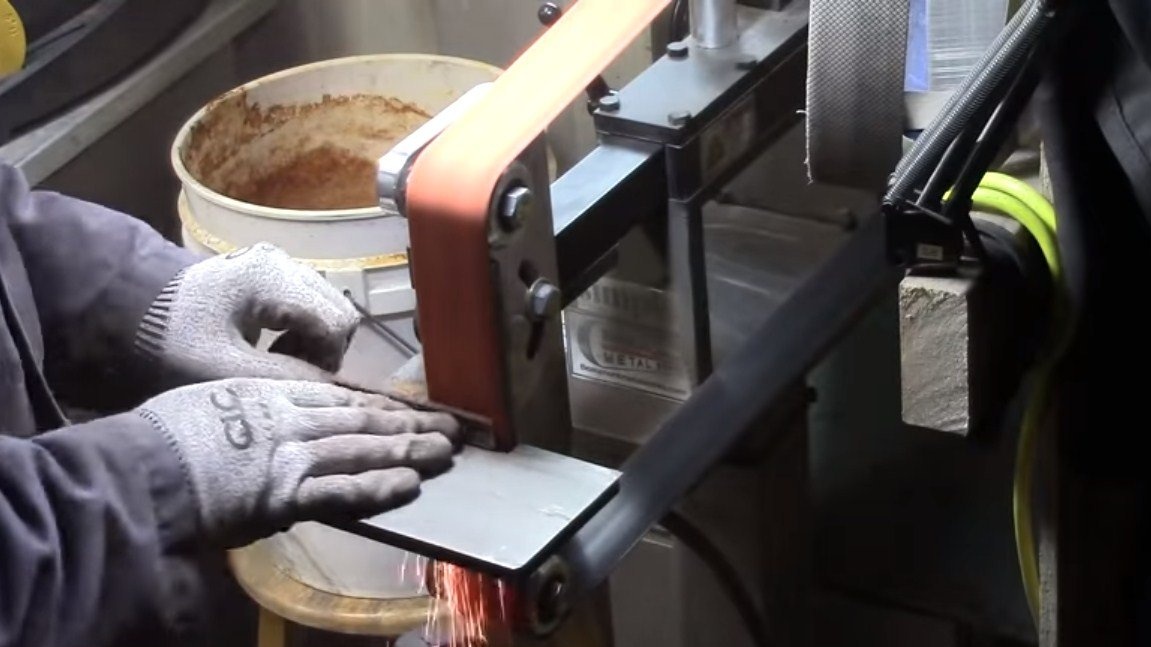
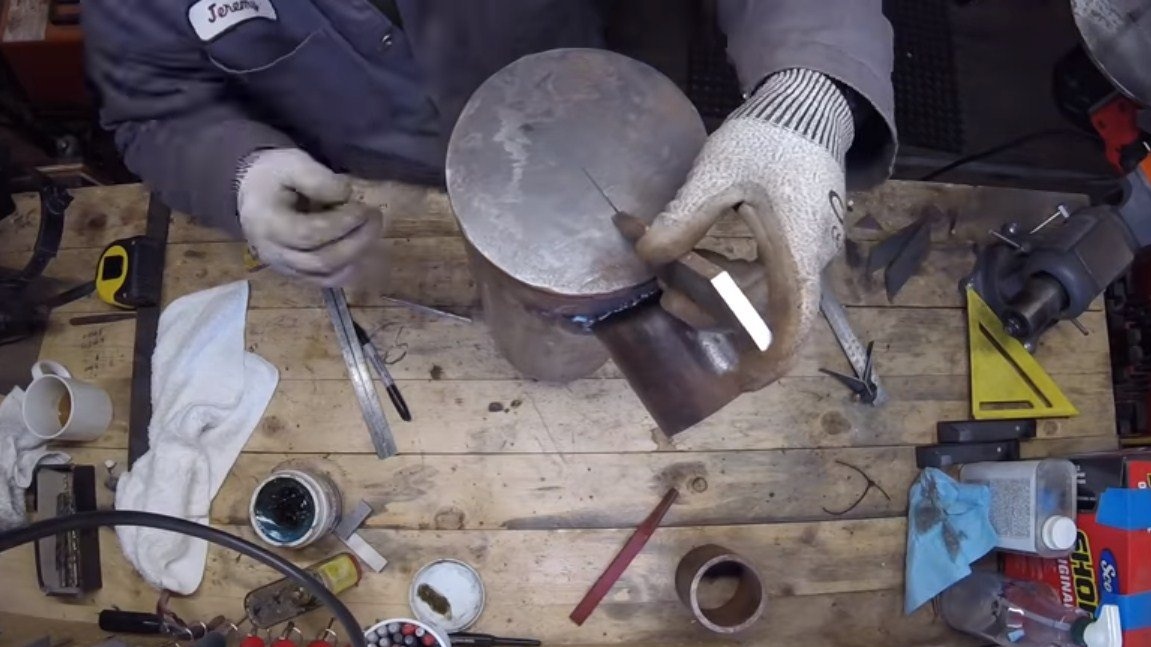
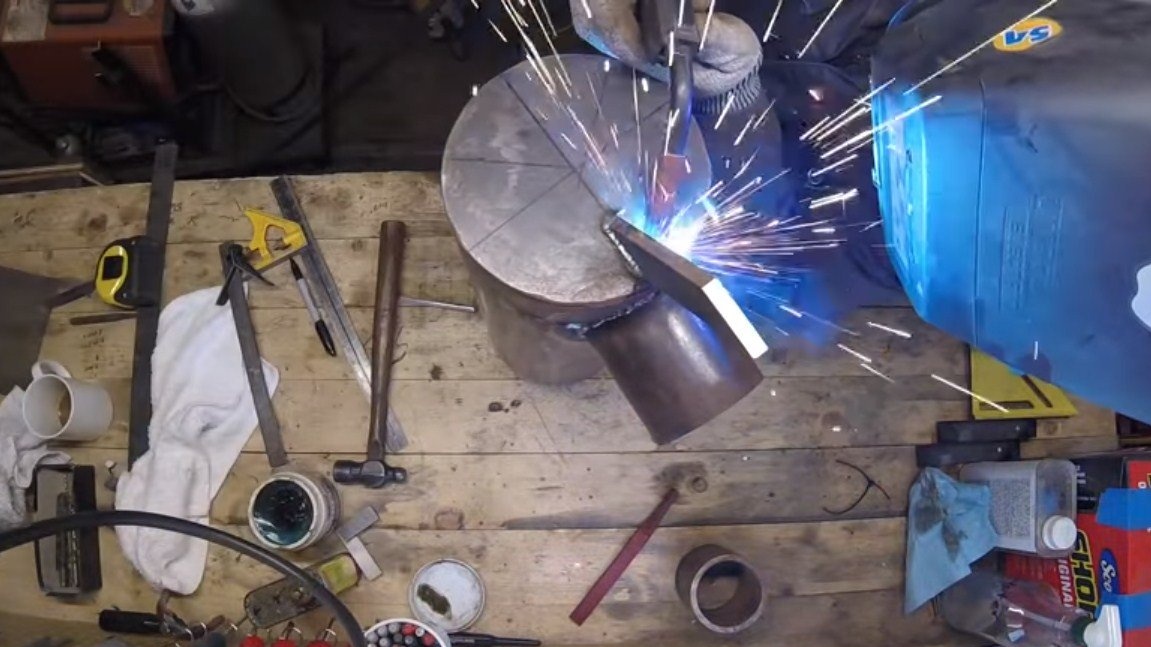
We assemble the furnace body, for this we weld the outer one over the internal system. We make welding seams so that the insulator does not fall out later. We also have to cut a cover with a hole for the chimney. We select the desired piece of sheet steel, cut a hole with a crown and cut off excess on a band saw. And to get a perfectly even circle, we polish it on a tape machine.

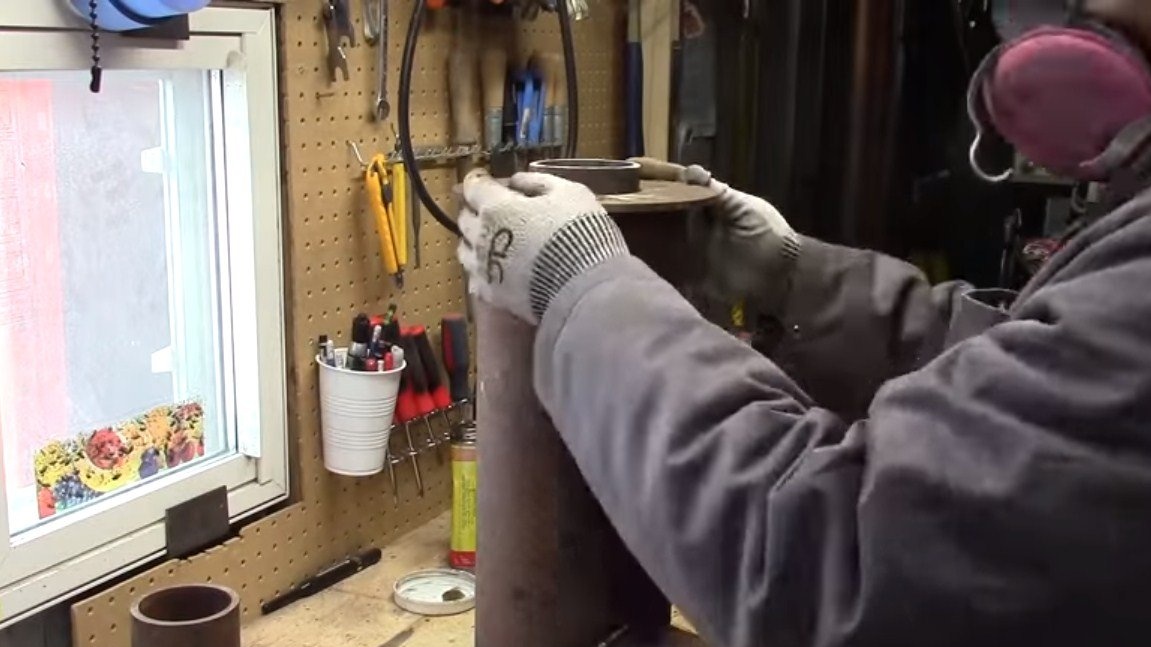
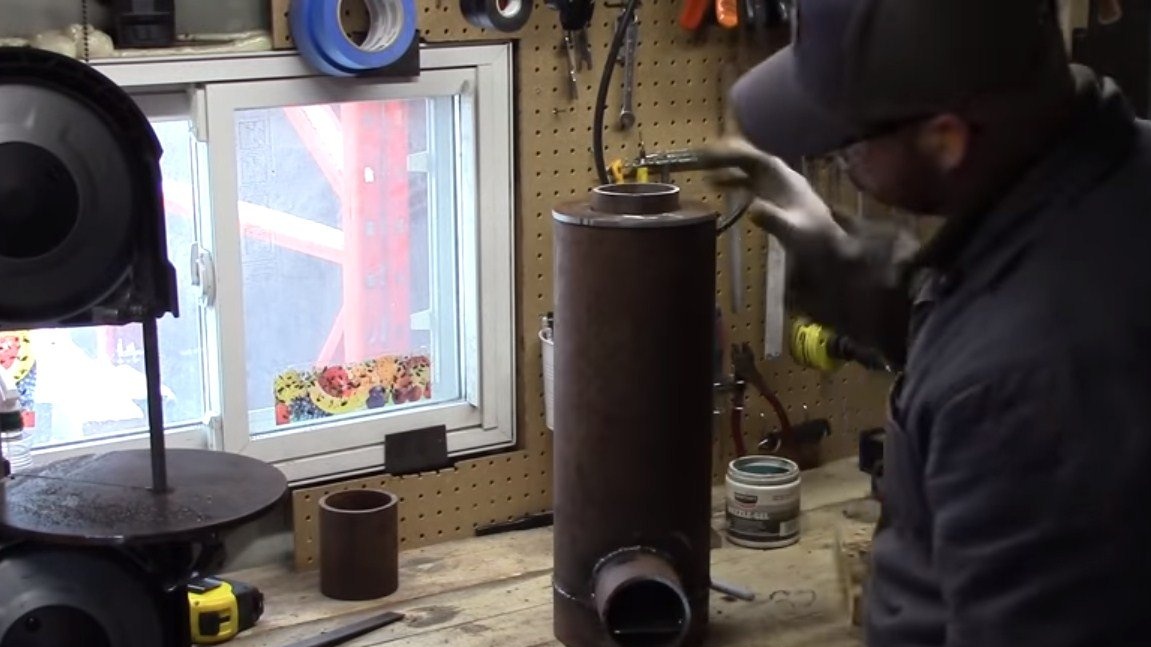
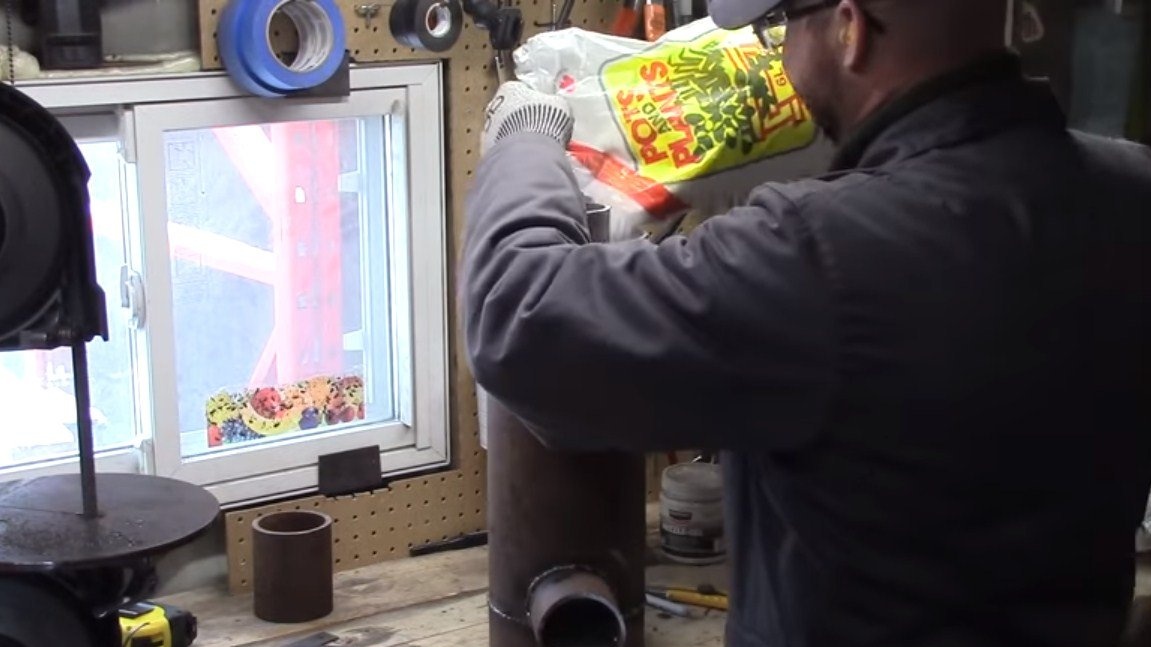
An insulator is put into the case, which will not allow heat to be transmitted through air and through infrared radiation. The author used perlite as such an insulator. In order for the material to settle down well, you need to tap on the furnace body during backfill. Now it remains to tightly weld the lid.
To make the oven look beautiful, we clean the welds, for these purposes you will need a grinder with a petal or other similar nozzle.

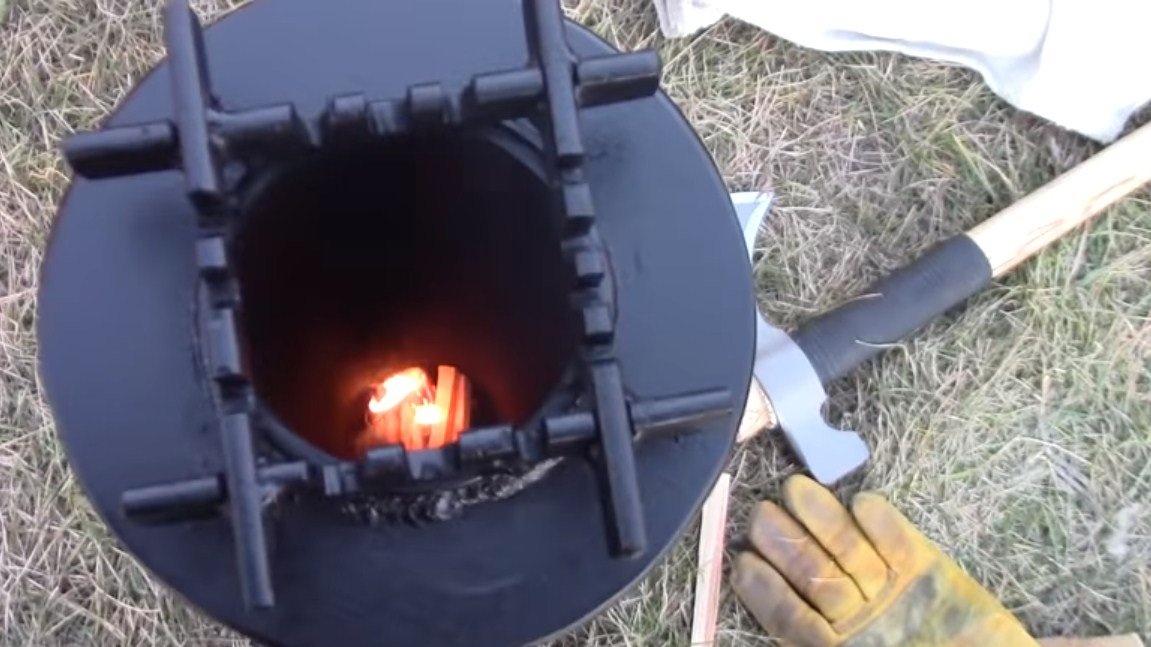
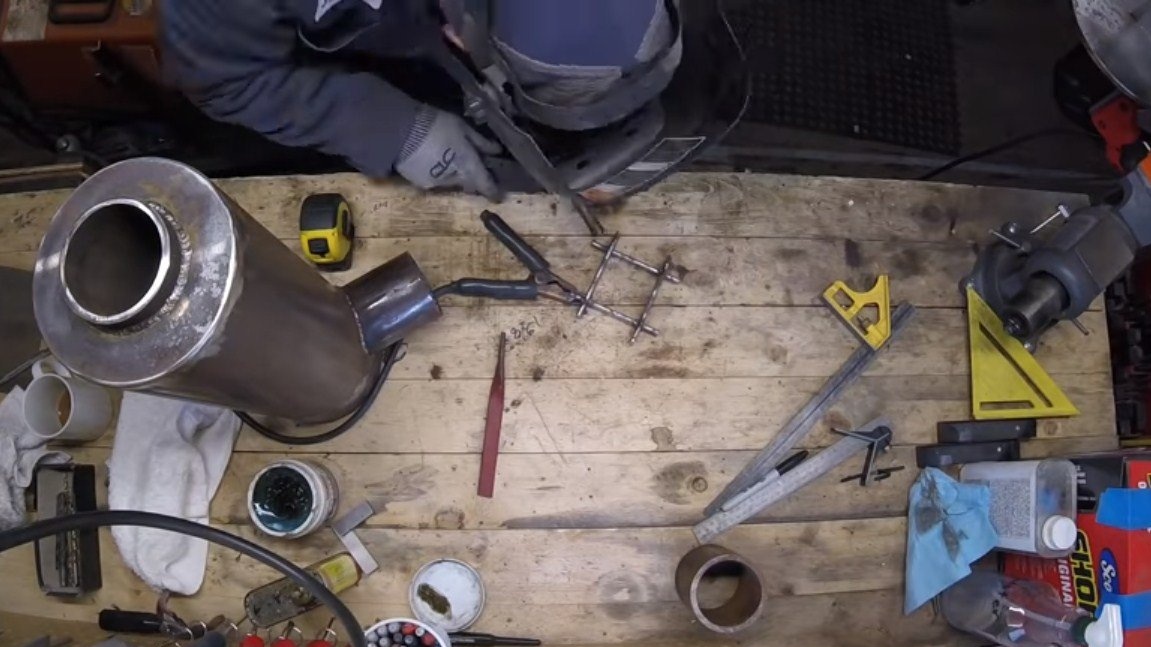
Step Five Dish rack
In the upper part of the oven you need to install a grate, on which we will install the dishes. It can be welded from pieces of plates. Keep in mind that there must be a gap so that the combustion products can exit the chimney after installing the dishes.

Step Six Legs
We install the legs on the oven, they can be made of sheet steel. Just weld them to the bottom of the oven. At the end, the whole furnace is well grinded.

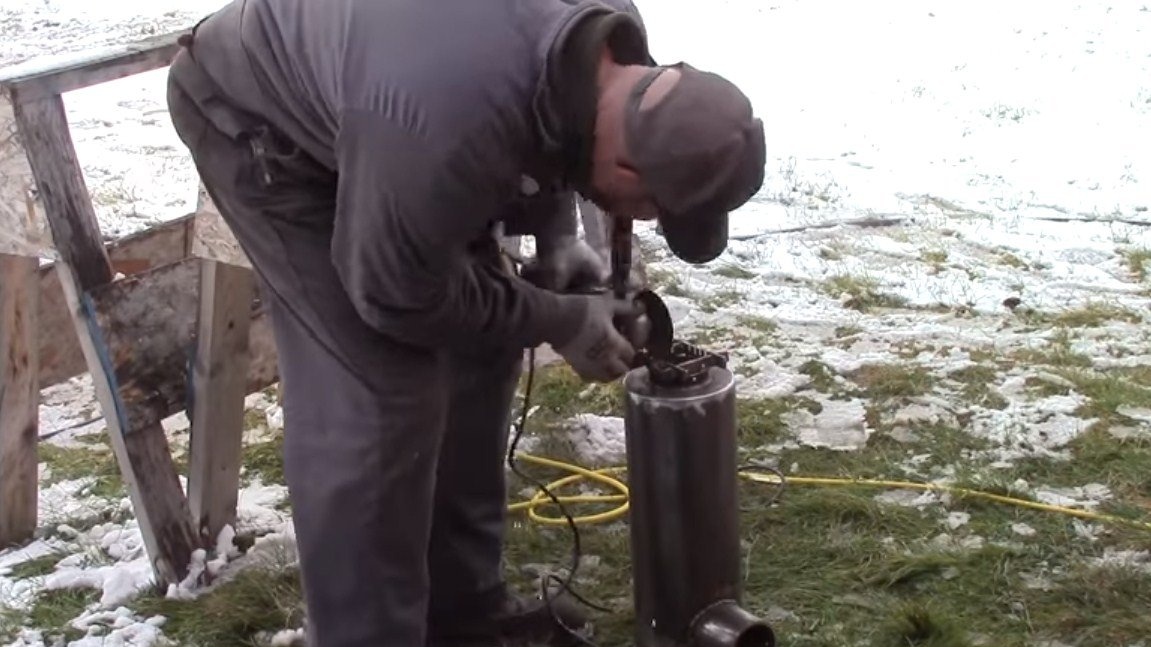
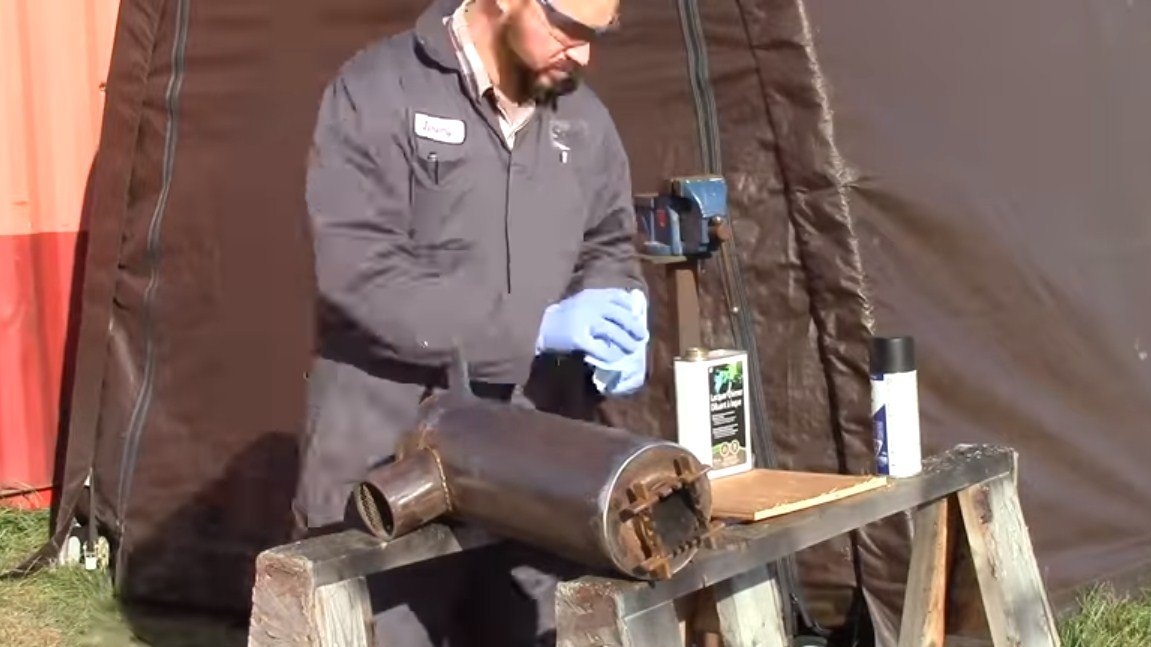
Seventh step. Painting and testing
We will color the furnace, otherwise it will immediately rust from heating. First, we cover it with a primer for metal, and then you can paint the oven with heat-resistant paint. Now the stove looks beautiful, and it is well protected from rust.
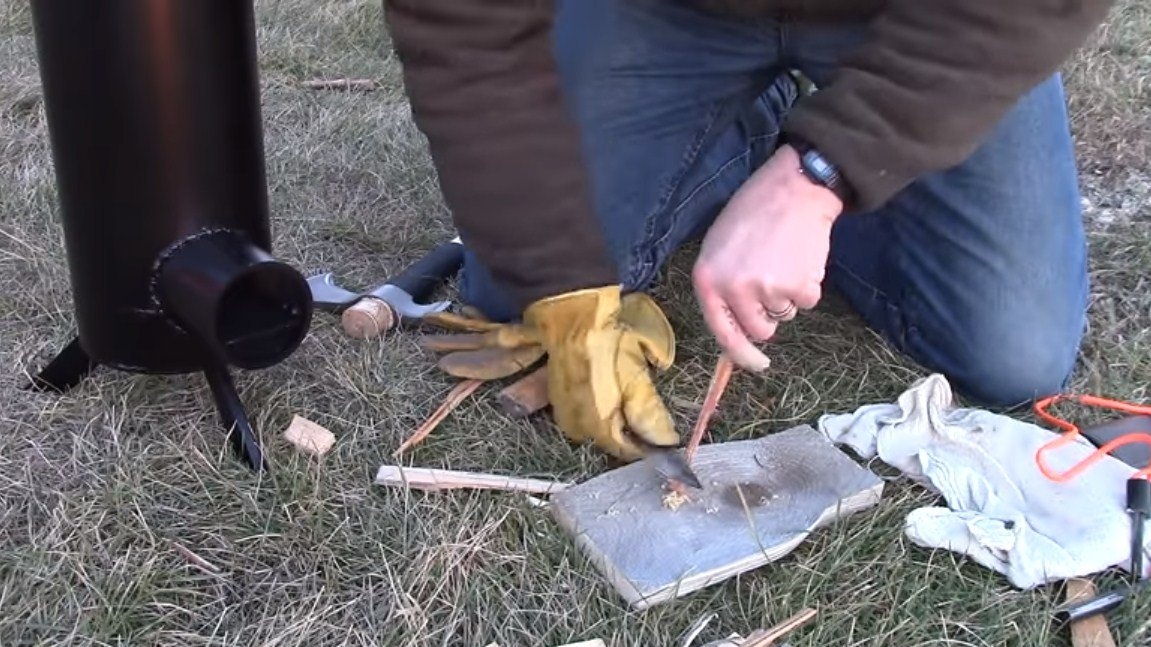
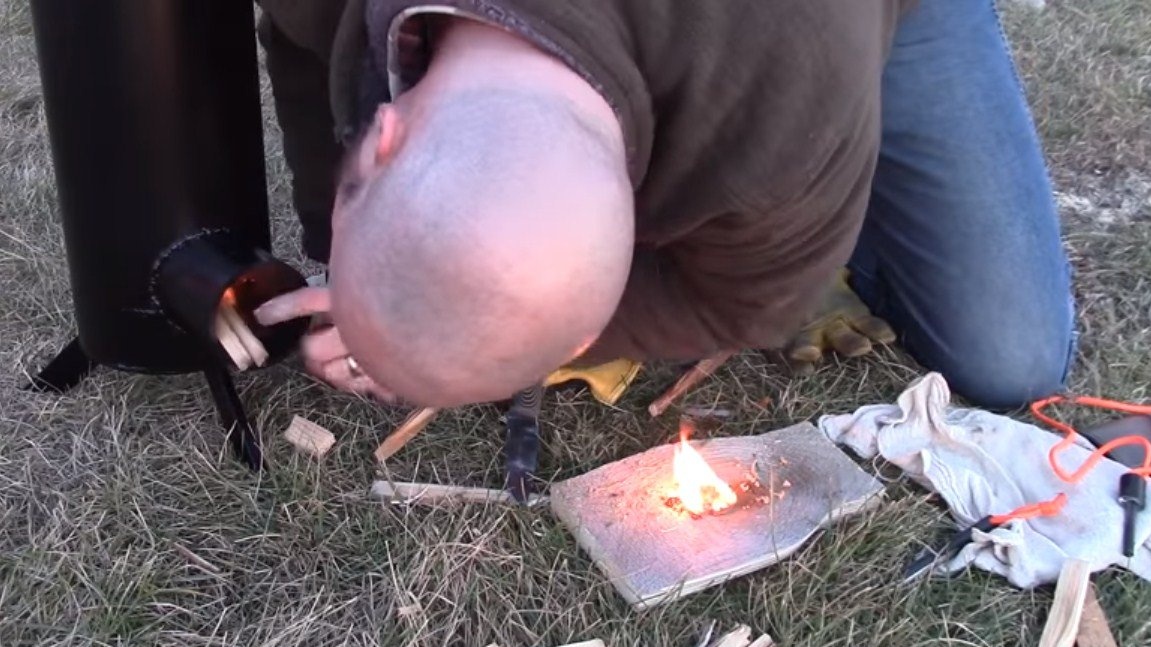
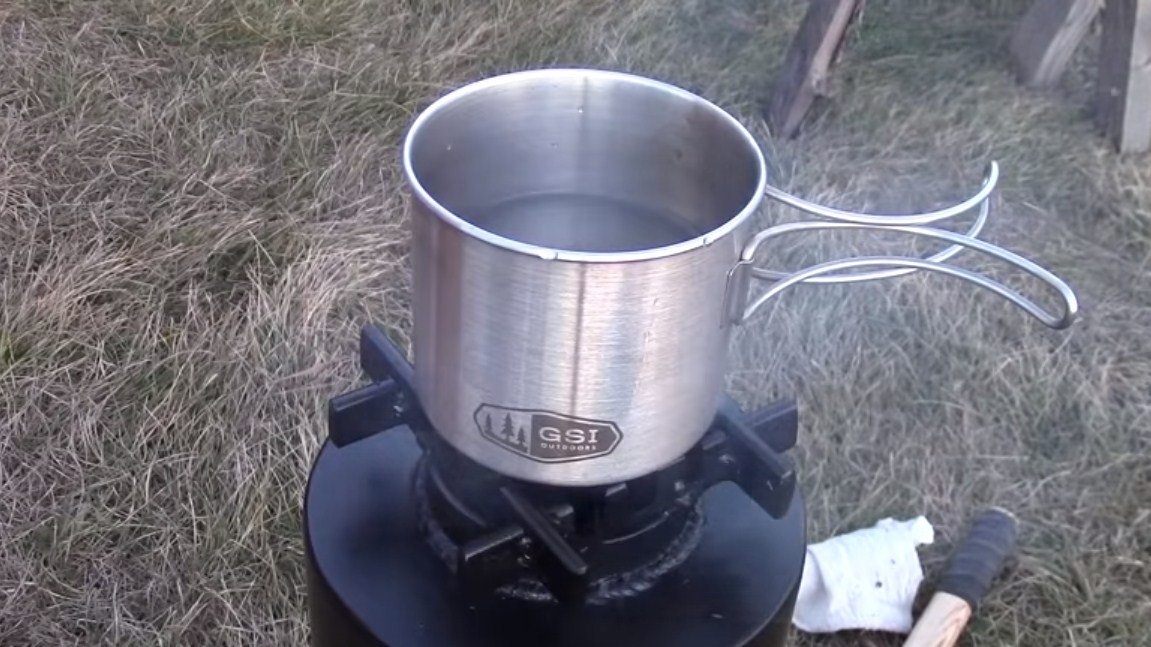
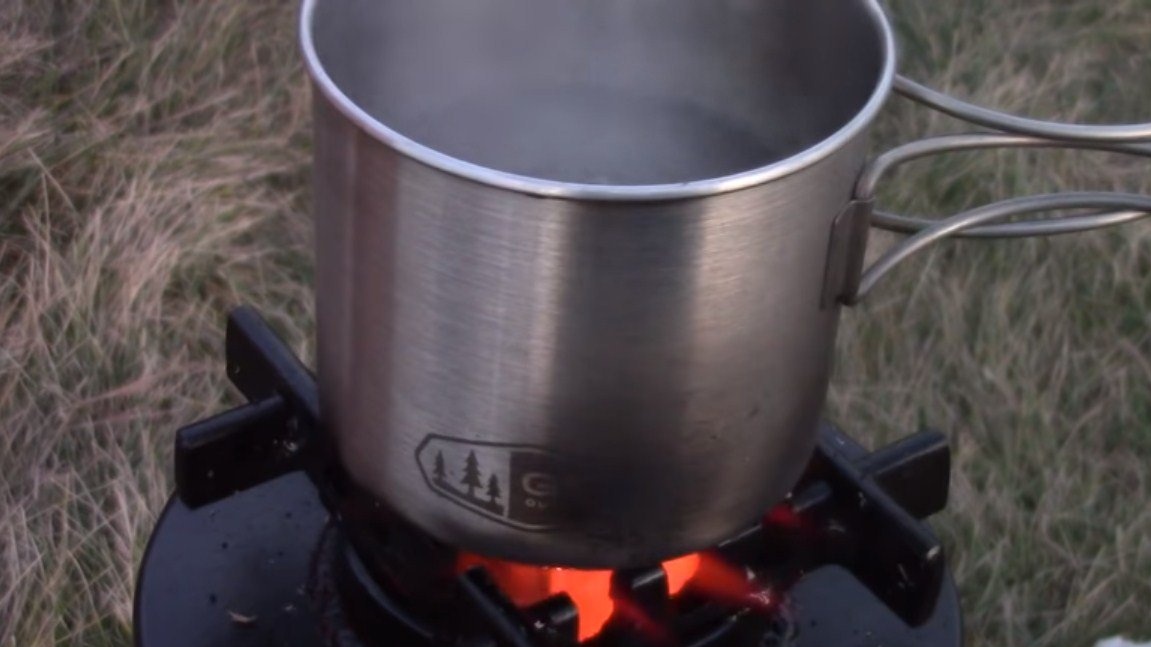
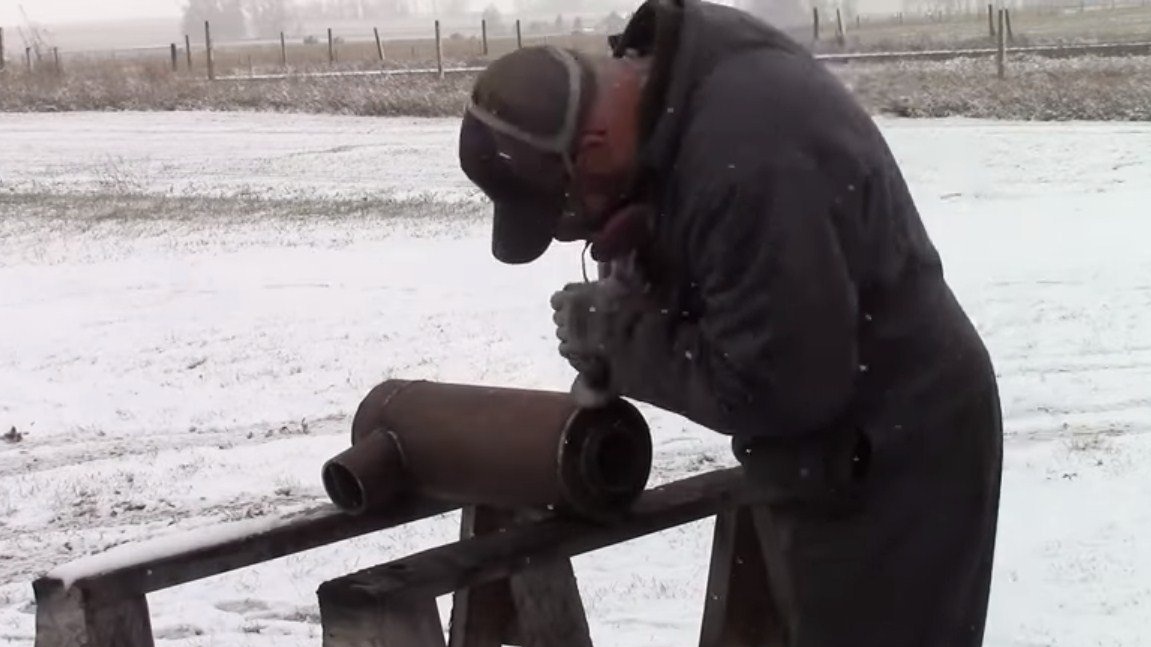
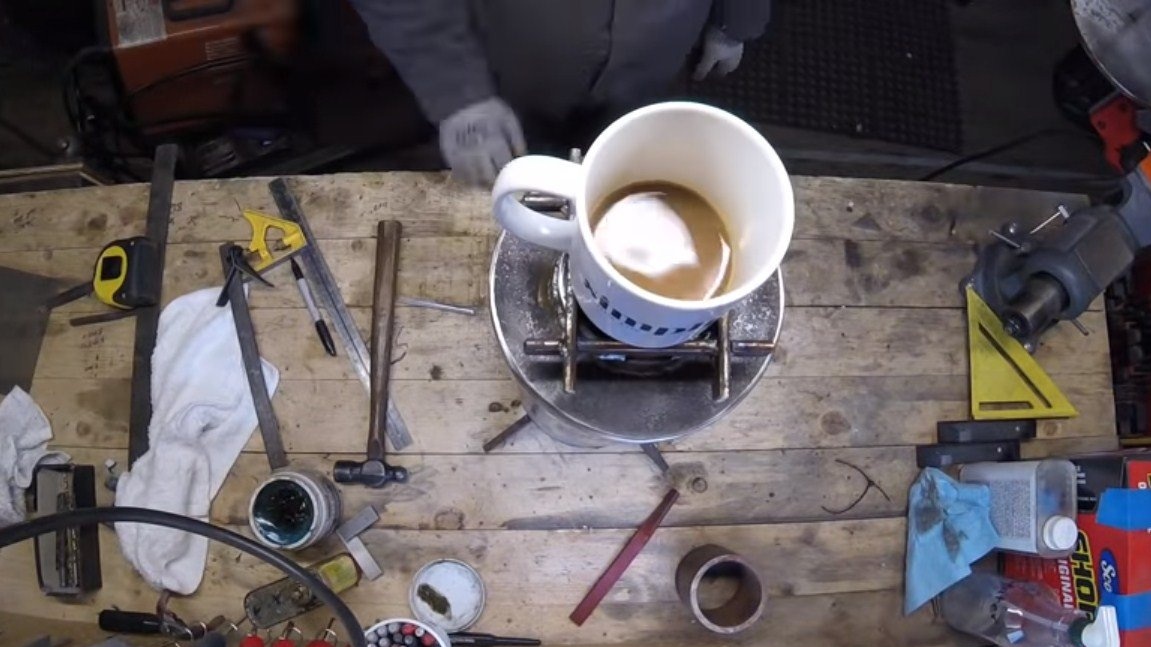
We test the furnace, the firebox is small here, so you can heat it with chips or sticks. Such an amount of furnace fuel is quite enough. Immediately after starting, the stove smoked for some time, and the fire was visible only in the lower part, in the furnace. And when the stove warmed up, all the smoke started to burn out and a fire started to come out of the chimney, as if it were burning not gas, but gas. At this rate, the water in the bowl begins to boil rather quickly, since the combustion temperature is high here.
That's all, the stove is ready and works great. I hope you enjoyed the project and found useful information for yourself. Good luck and creative inspiration if you want to repeat something like that!