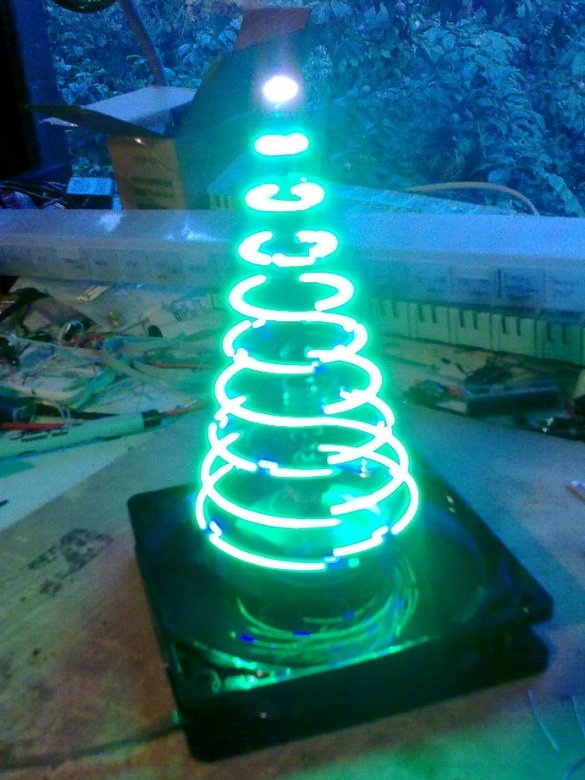
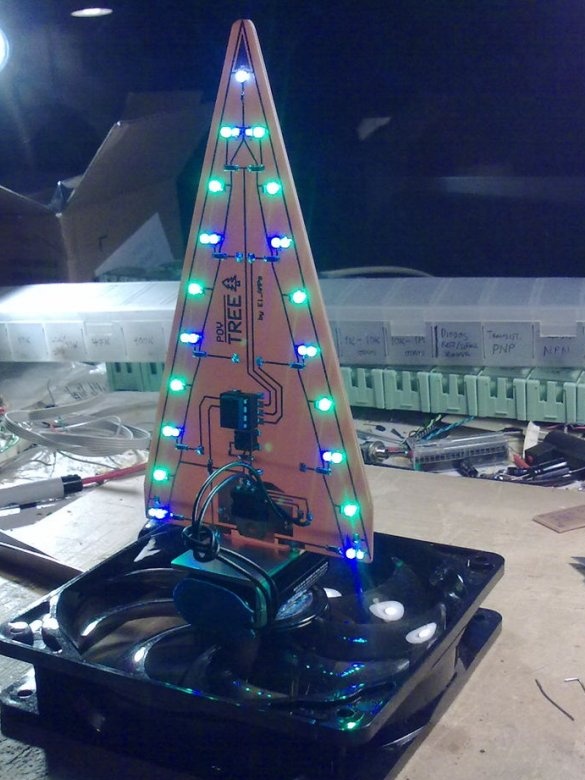
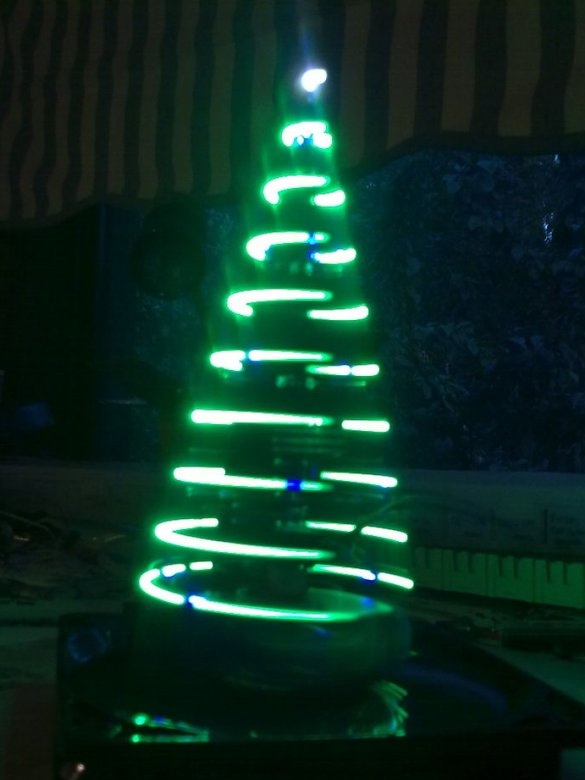
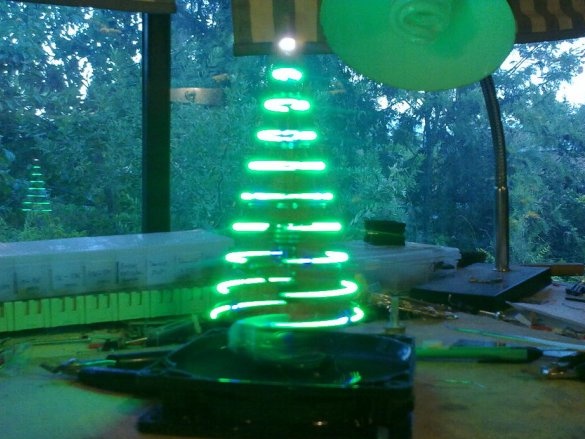
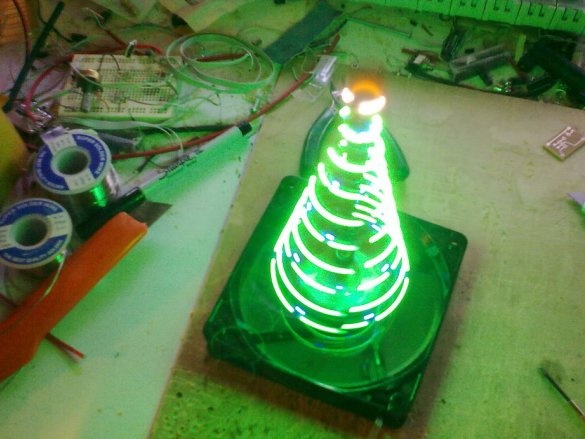
New Year's Eve and it's time to think about the Christmas tree. Of course, the Christmas tree presented in this article is not real, but very interesting. The Christmas tree is a triangular board with LEDs. The board is mounted on the fan and when it is rotated, a volume effect is created.
Let's watch a demo video.
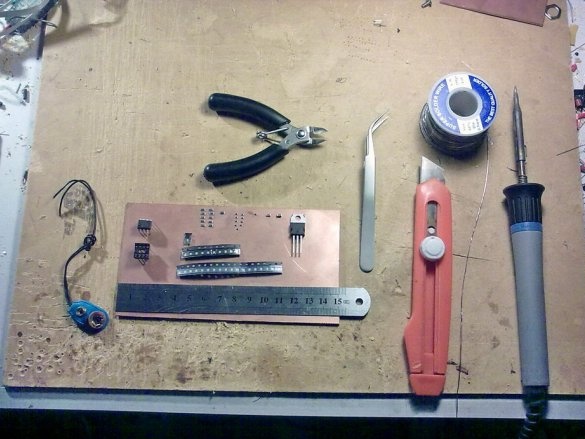
To make a LED Christmas tree, you need the following
Tools and materials:
microcontroller PIC12F689 or PIC12F675;
-LM7805 5V voltage stabilizer;
- capacitors 0.1 μF 50V (1206 SMD) and 10 μF 16V (1206 SMD);
-resistors 220R 1 / 4W (1206 SMD) 10 pcs;
-resistors 220R 1 / 10W (0603 SMD) 9 pcs;
-resistor 10K 1 / 10W (0603 SMD);
- green LEDs (0805 SMD) 18 pcs;
- blue LEDs (0805 SMD) 10 pcs;
- white LED (0805 SMD);
- button;
- battery compartment
-9V battery;
-printed circuit board;
- brushless fan 12 cm;
soldering iron;
-solder;
-nippers;
-tweezers;
-knife;
-line;
-double sided tape;
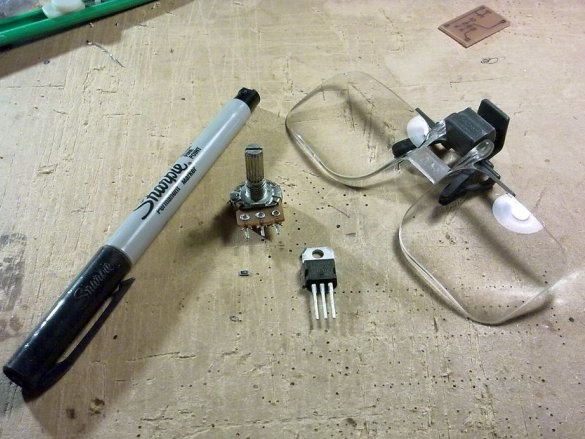
-magnifying glass;
-programmer;
- equipment for etching circuit boards;
For the manufacture of a speed controller, you must additionally:
voltage stabilizer LM317;
-220R resistor (1206 SMD);
5K potentiometer;
-12V power supply;
-the wire;
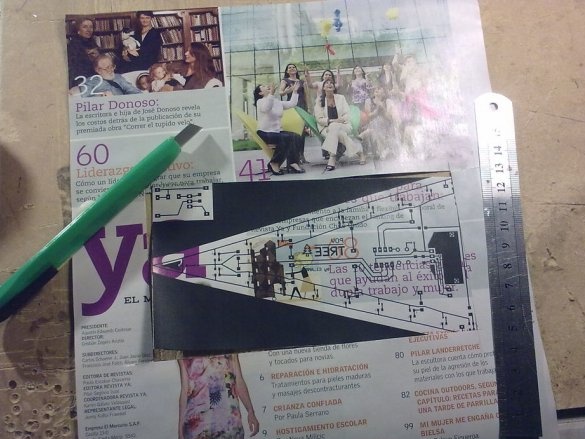
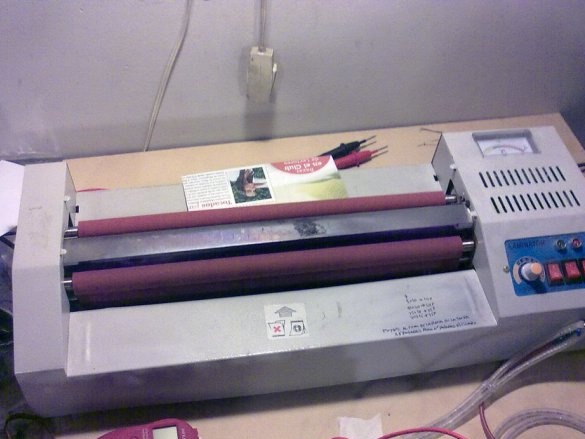
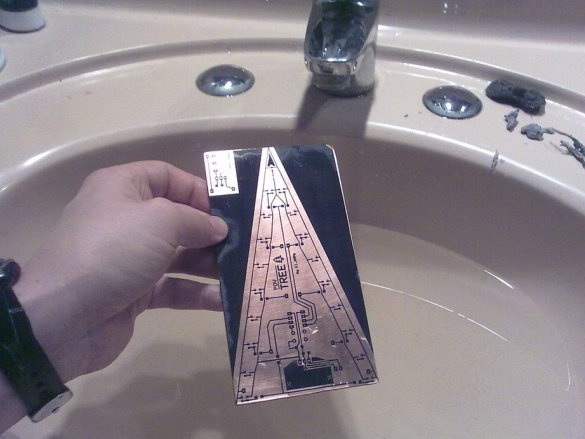
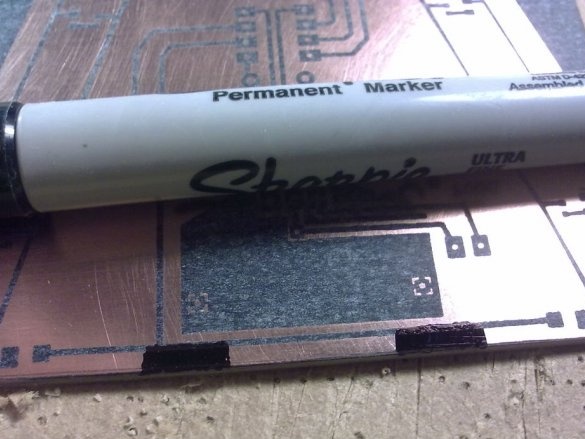
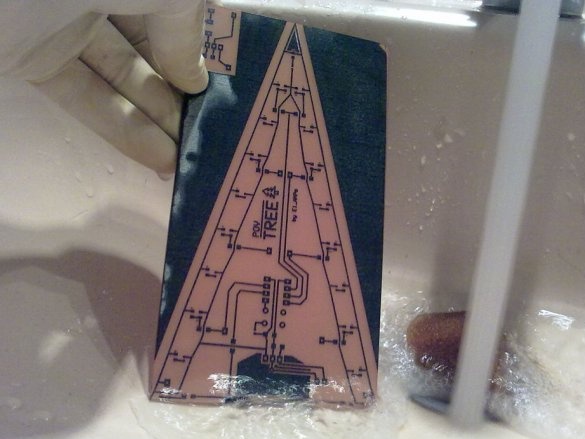
Step One: Board Etching
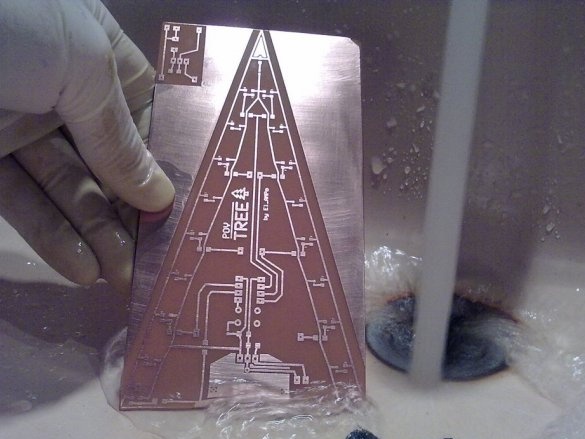
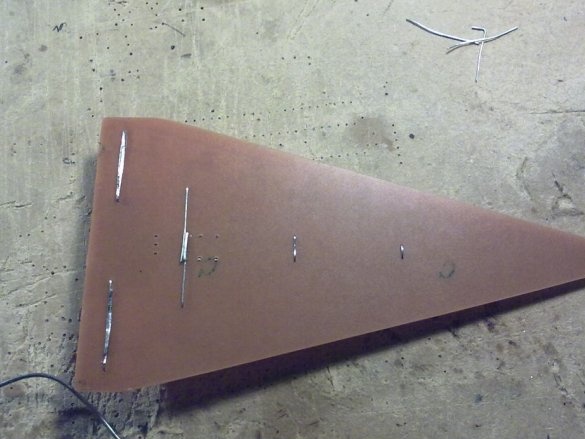
First you need to make a printed circuit board. The board has the shape of an equilateral triangle. The base of the triangle is 8 cm, the sides are 15 cm.
Below you can download the link to the printed circuit board and firmware. After downloading, you need to change the extension from tmp to rar.
Tree Firmware + PCB 2.0.rar.
Step Two: Soldering
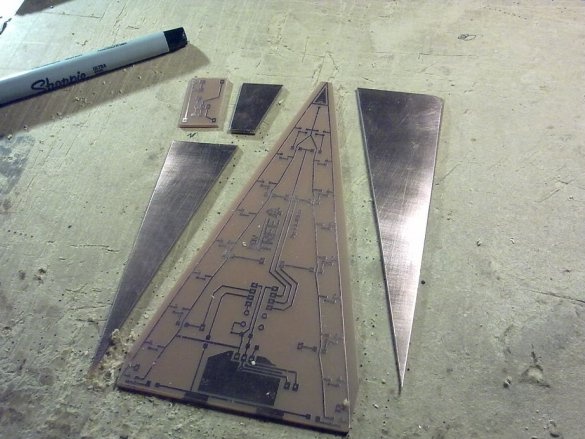
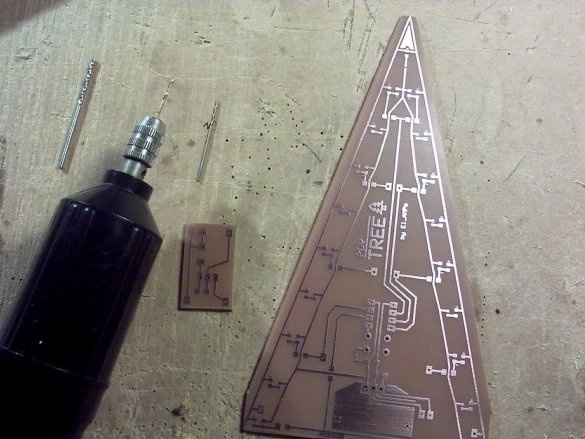
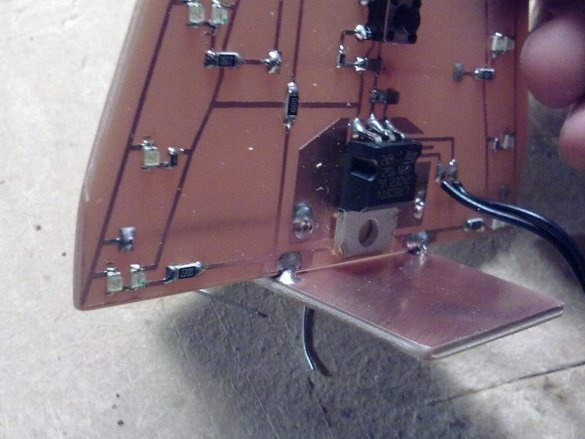
We cut the board. Large triangular board for the Christmas tree, small rectangular for the speed controller. We drill the necessary holes in the board.
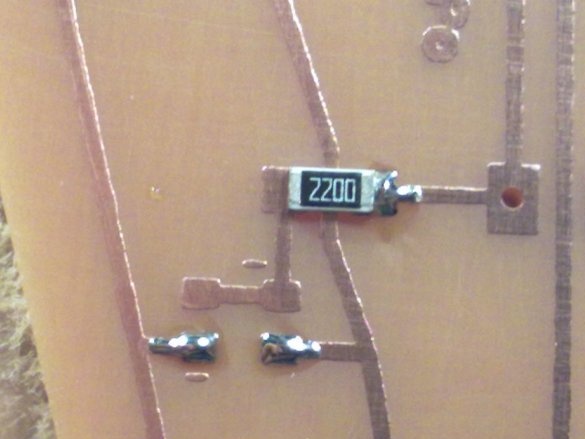
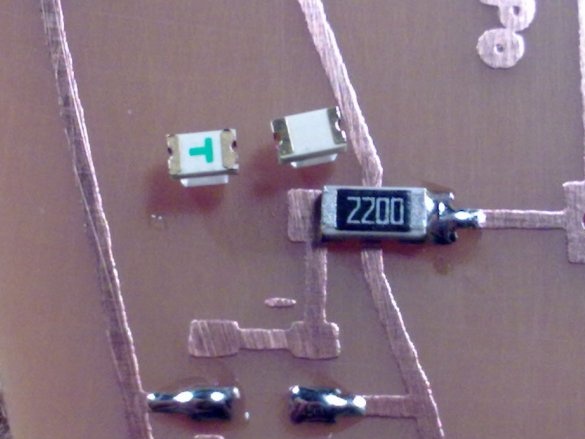
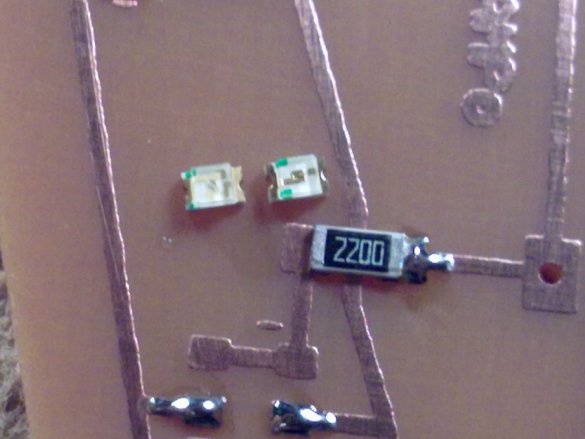
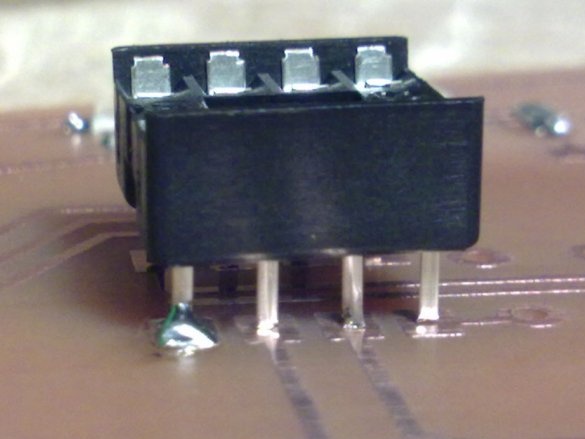
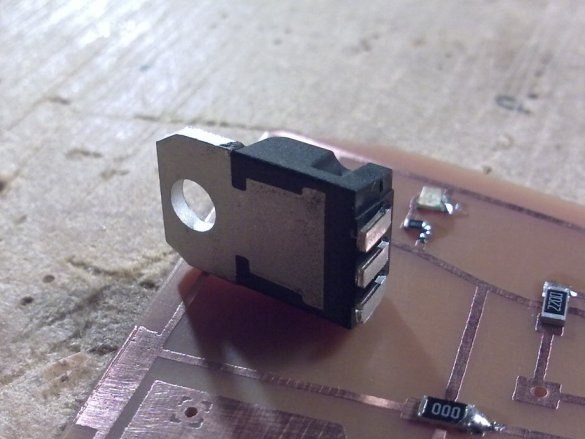
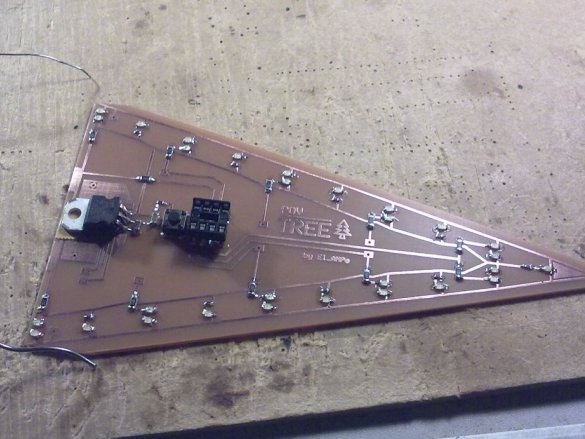
Solder to the board electronic Components.
After soldering, you need to program the microcontroller.
Step Three: Build
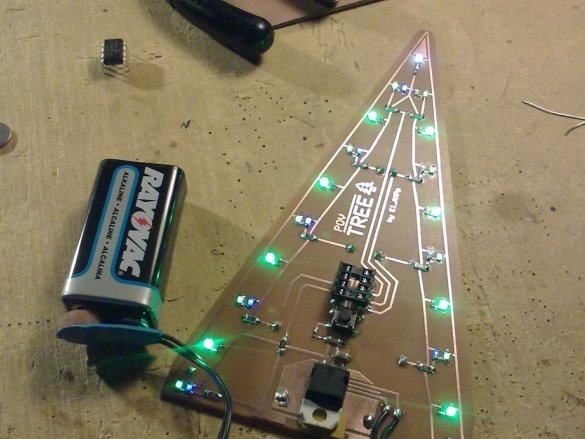
After flashing, you need to connect the crown and check the performance of the board.
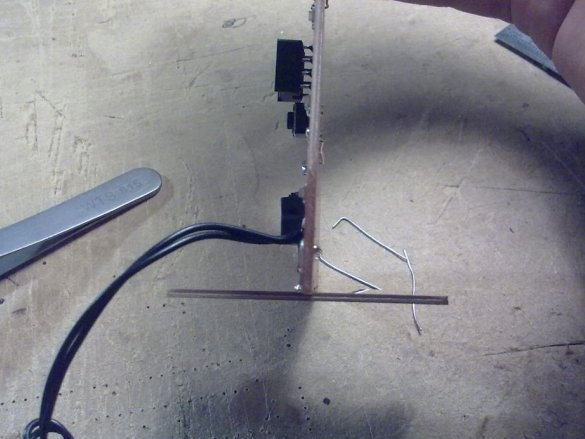
Then we fix the board and the battery on the fan impeller. If necessary, balance.
Now it remains to turn on the Christmas tree, the fan and you can celebrate the New Year.

