
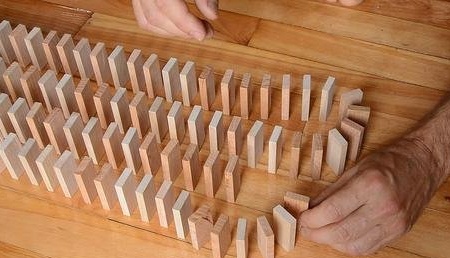
In this article you will learn how to make a wooden machine for arranging dominoes in rows.
Further description and instructions are taken from the Matthias Wandel YouTube channel.

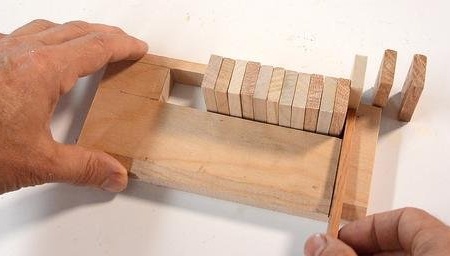
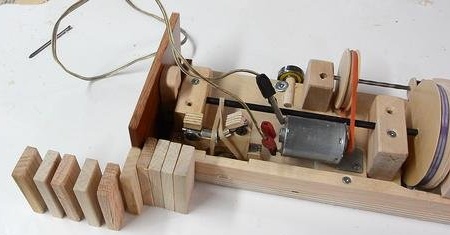
This machine moves forward with dominoes on board. At the same time, the slider advances the dominoes in turn while the machine is moving slowly.
Necessary materials and tools used by the master:
- wooden beam;
- steel spoke for shaft;
- pantorouter;
- screwdriver;
- roulette;
- 3 small bearings;
- gum;
- a pencil;
- self-tapping screws;
- screwdriver;
- belt sander;
- band-saw;
- nails;
- emery;
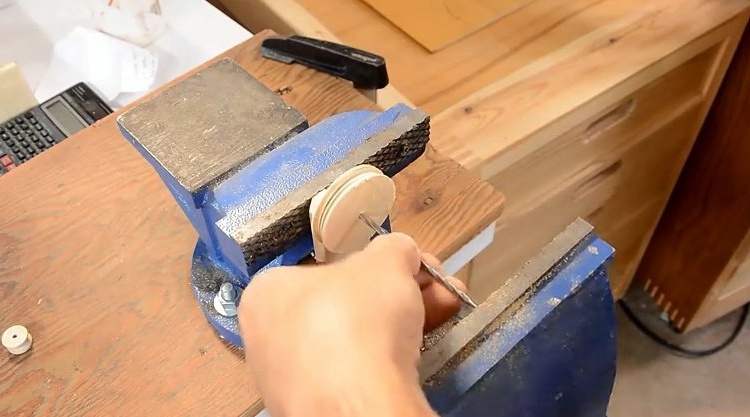
- vise;
- electric motor 12 V;
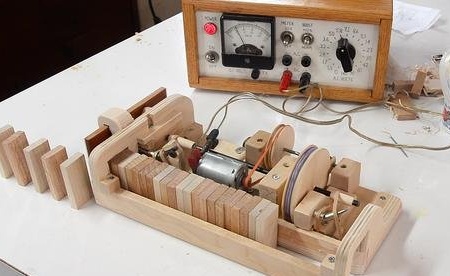
- power supply (for test);
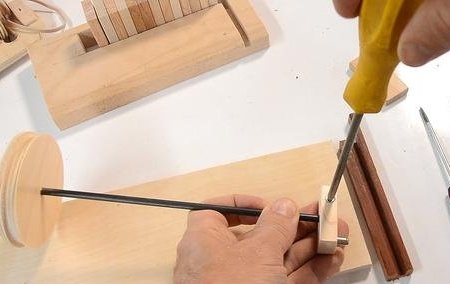
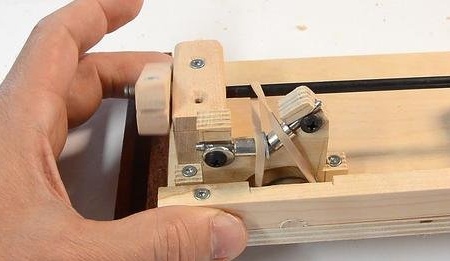
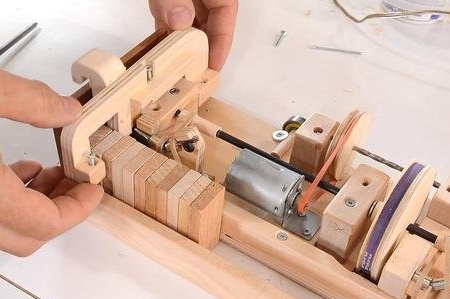
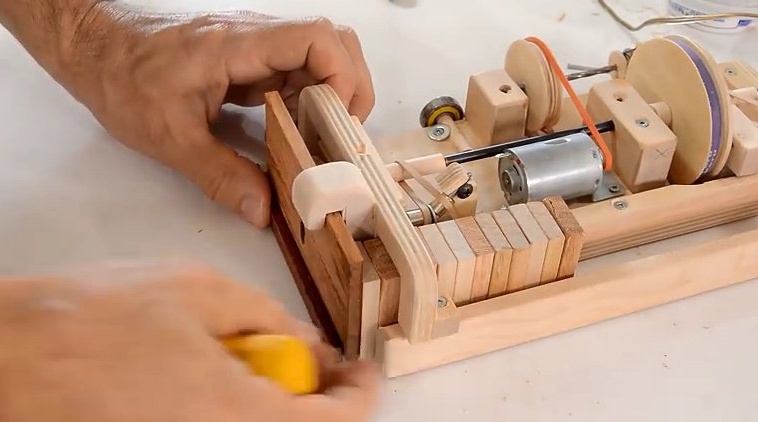
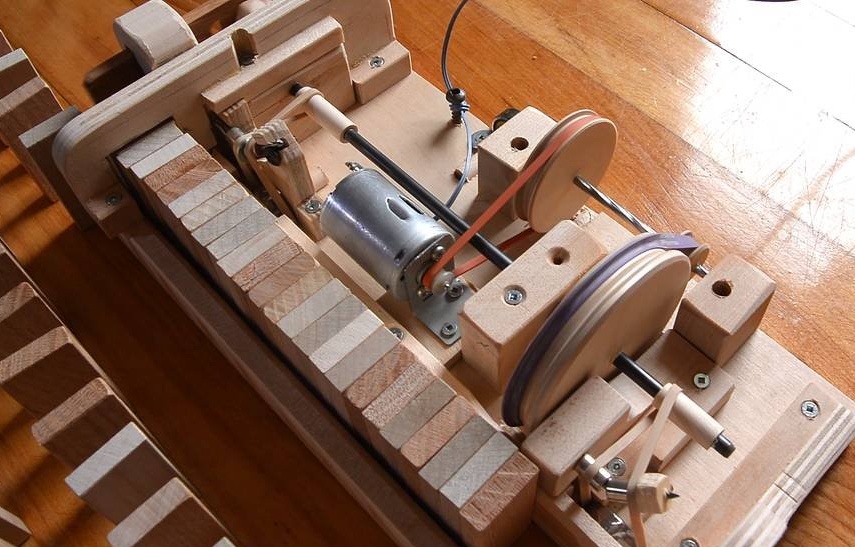
The master made a crank, which is attached to the end of a 5 mm steel shaft.
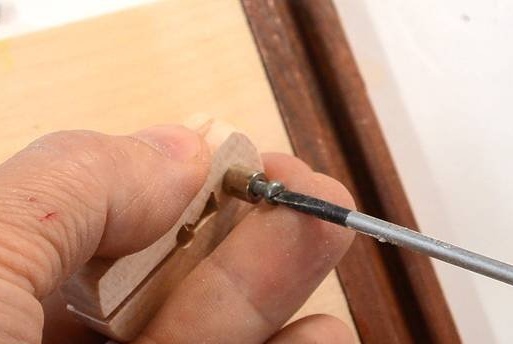
At the end of the auger, he used a small spacer as a connecting rod roller.

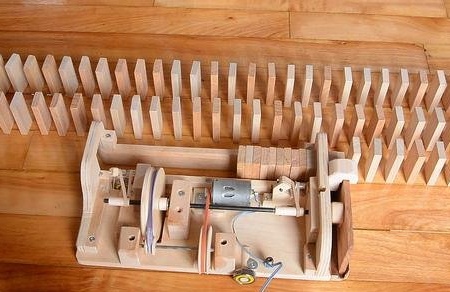
This movie works in the groove on the slider. The master cut a groove on the pantorotter.
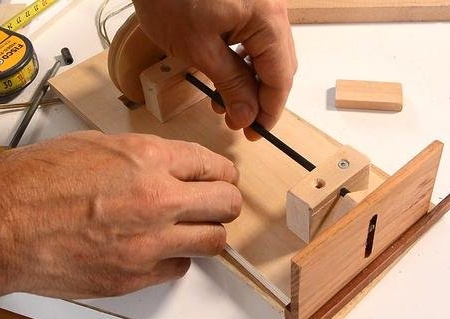
The crank handle and slider are a Scottish fork-type mechanism for moving the slider forward and backward.
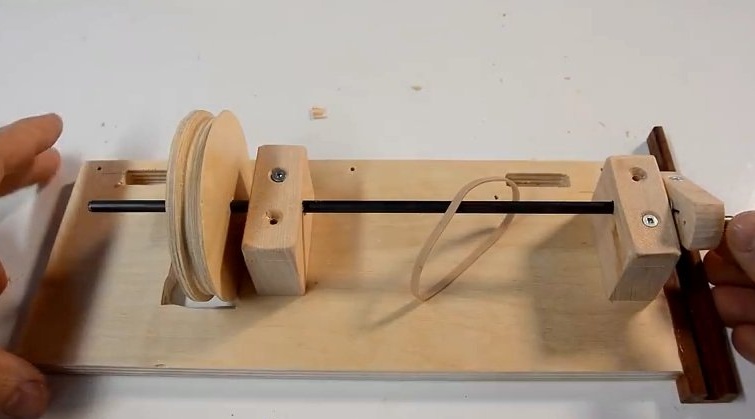
As for the front-wheel drive, it’s easiest to wrap some kind of wheel with a rubber band to control it.
The master used roller bearings as wheels. But making the gum run around the shaft was not easy.
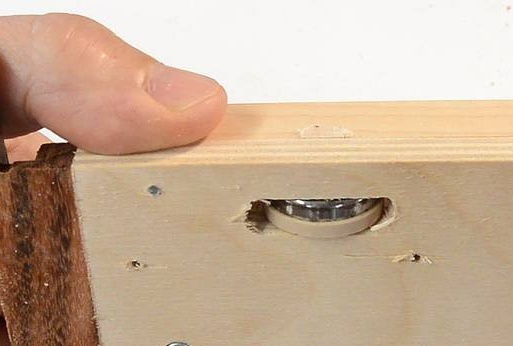
The first thought was simply to fix the two small rollers on the screws, as shown in the figure. But the rubber band fell off.
Moving the gum on the rollers up and down made the mechanism work stably.
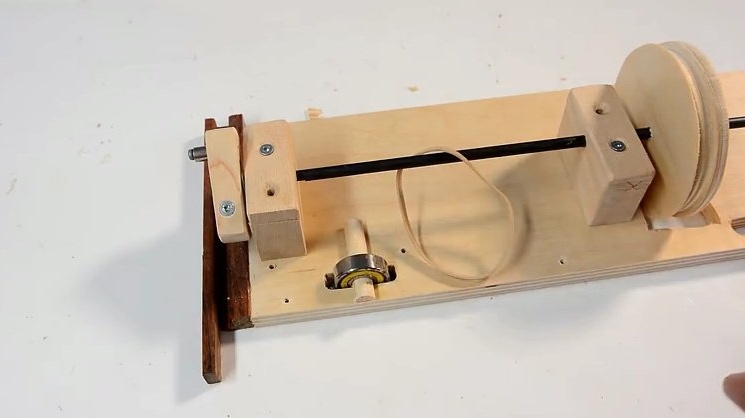
The master decided that he should make a copy of this arrangement of rollers in order to set in motion another wheel (to make sure that there is enough traction), but there was no place on the front of the machine for the same arrangement. Therefore, the master made another support for the rollers held only at one end. This part of the work was much simpler, and if you had to do it again, the master would use the same arrangement for both wheels.
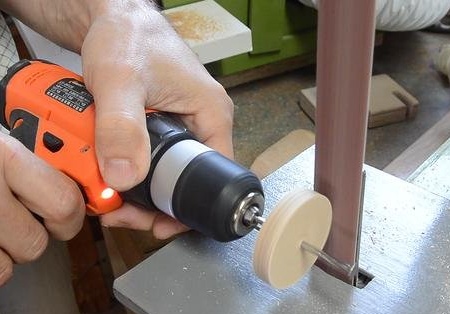
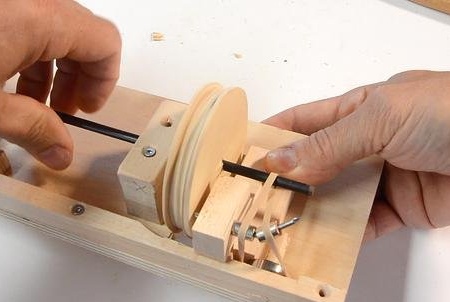
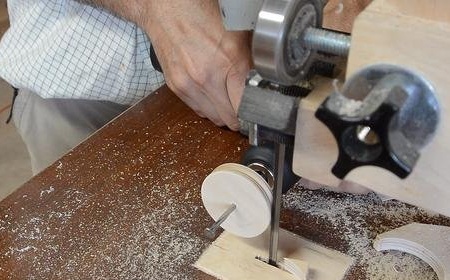
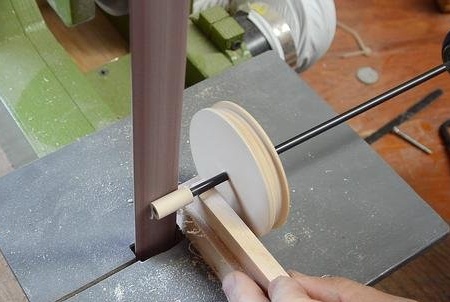
It was necessary to reduce the engine speed to drive the main shaft, and for this the master made several more pulleys. He cut a disk from Baltic birch plywood, drilled a hole a little smaller than the diameter of a large nail and hammered a nail into that hole.
Then the master decided to make the disc perfectly round, secured it to a screwdriver and grinded it against the movement of the belt grinder.
Then he rotates the blade opposite the band saw (working) to cut the groove for the tape in it.
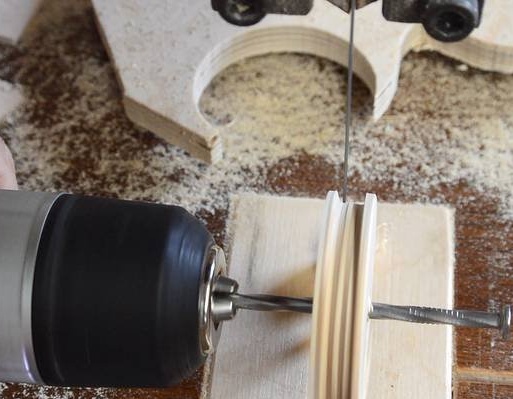
Of course, such things should be done on a lathe. But this approach was much simpler. No need to worry about the cutter catching on a tree, and no need to think about how to install a disk in a lathe.
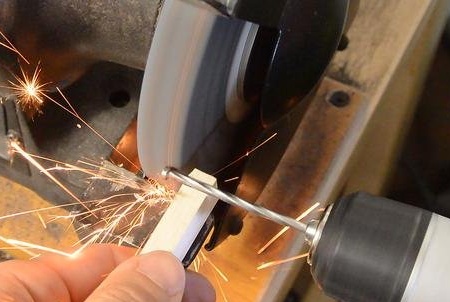
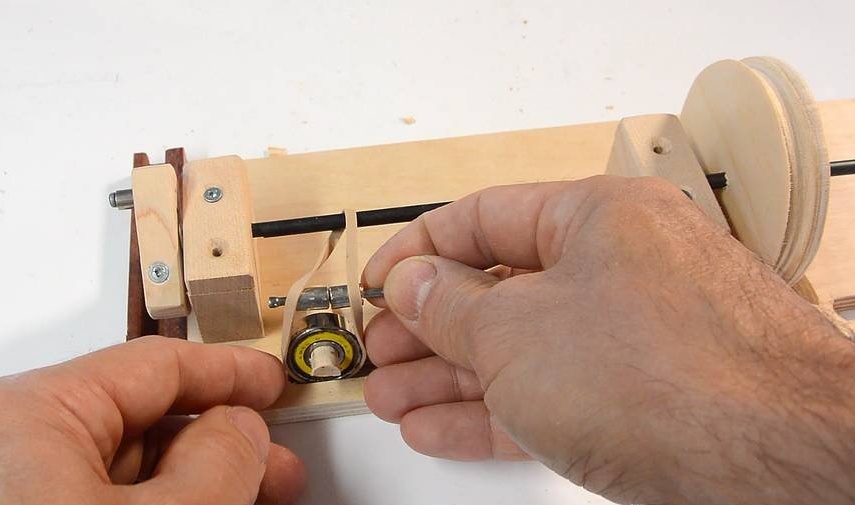
The master made a large and small pulley. As an axis, he used the same twisted nail as for the formation of pulleys.

... then, using a belt sander, the craftsman made a notch at both ends of the nail. So the pulleys will hold tight.
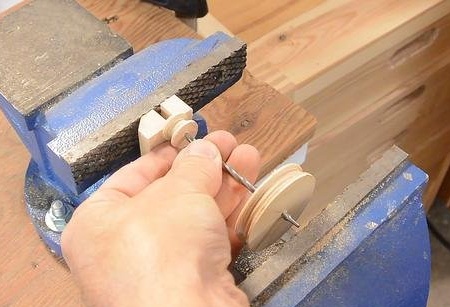
Then the master pressed onto the nail the large and small pulleys with a vise.

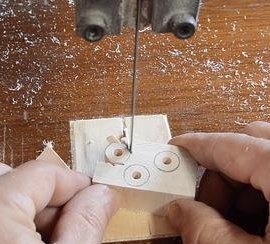
Two wooden blocks with small holes in them serve as a support for this nail. The engine drives the red rubber band on the nail shaft, which then drives the purple band on the main shaft at the desired speed.
Test machine.
The distance between the dominoes was too small. It was necessary to make the drive wheels rotate further for each rotation of the main shaft.
The master found out what diameter of the main shaft he needed to get the distance between the knuckles of about 2.5 cm.
Then I cut out wooden sleeves on a band saw and shaped them so that they fit perfectly on the grinding machine (this could also be done (with much greater complexity) on a lathe).

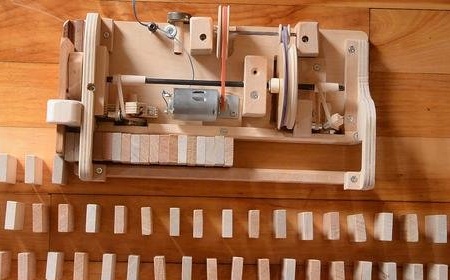
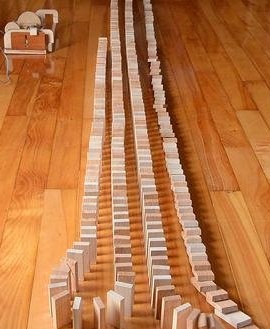
Check again. The distance was good. Now a second guide rail for dominoes was needed.
A curved piece of plywood is placed on top of the machine and above a row of dominoes to hold the guide rail at the tail end of the machine.
A hook attached to the other side of this curly plywood also guides the top edge of the slider.

The bracket for attaching the front edge of the rail was a little easier.
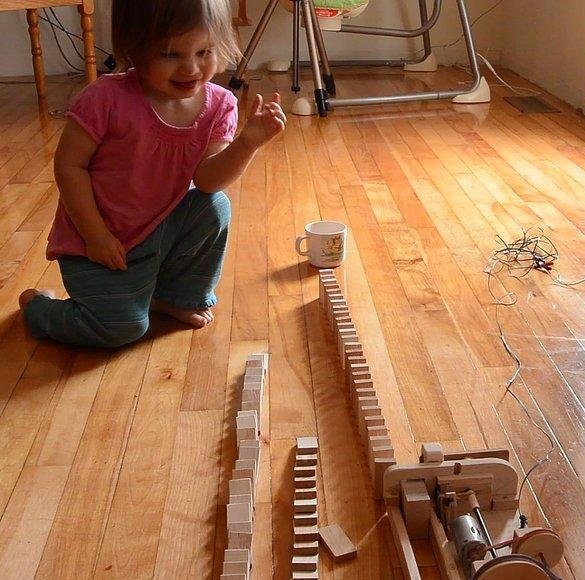
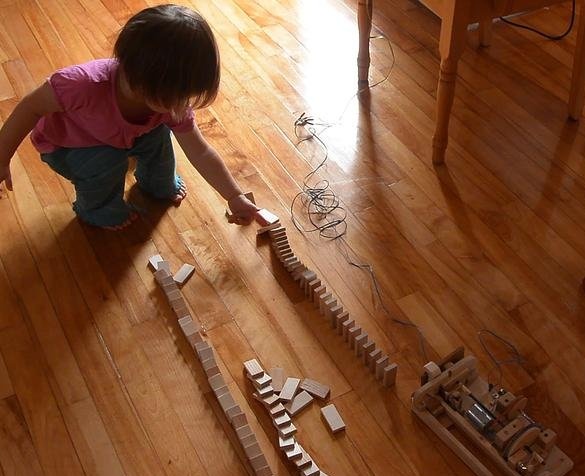
Testing the finished machine.
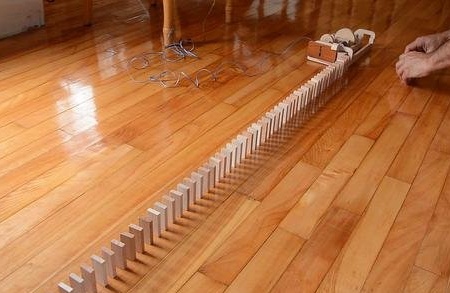
Then the master proceeded to test the car on the floor in the kitchen. For the operation of the machine requires a flat floor. Any punches can cause dominoes to tip over spontaneously.
It took several attempts to get everything to work.
There were problems with front-wheel drive. Whenever the master pushed the car to the side, the rubber tape fell off the wheels and jammed near the wheels, which impeded the movement of the machine. Problems became less as soon as the master began to constantly raise the car before moving.
The master manually made several turns of the machine at the end of four long rows installed by the machine. Then he knocked over the rows of dominoes.
If you like homemade author, then try to repeat and make.
Thank you for attention.
See you soon!