
In this article, the YouTube author of "TheDacchio" will tell you how to expand the capabilities of a conventional clamp.
This design can be made with fewer machines, and you can also select the size individually for your needs.
Materials
- Steel strip, or sheet 10 mm thick
- Extended nuts M10
- M10 bolt with wing head
- Hairpin M10
- Steel bar 25 mm in diameter
- Spray paint.
Instruments, used by the author.
- Welding machine
- Bulgarian
- Band-saw
- Hammer, core
- Drilling machine
- tap
- Lathe
- Petal stripping and cutting discs
- Vise, clamps, clamps.
Manufacturing process.
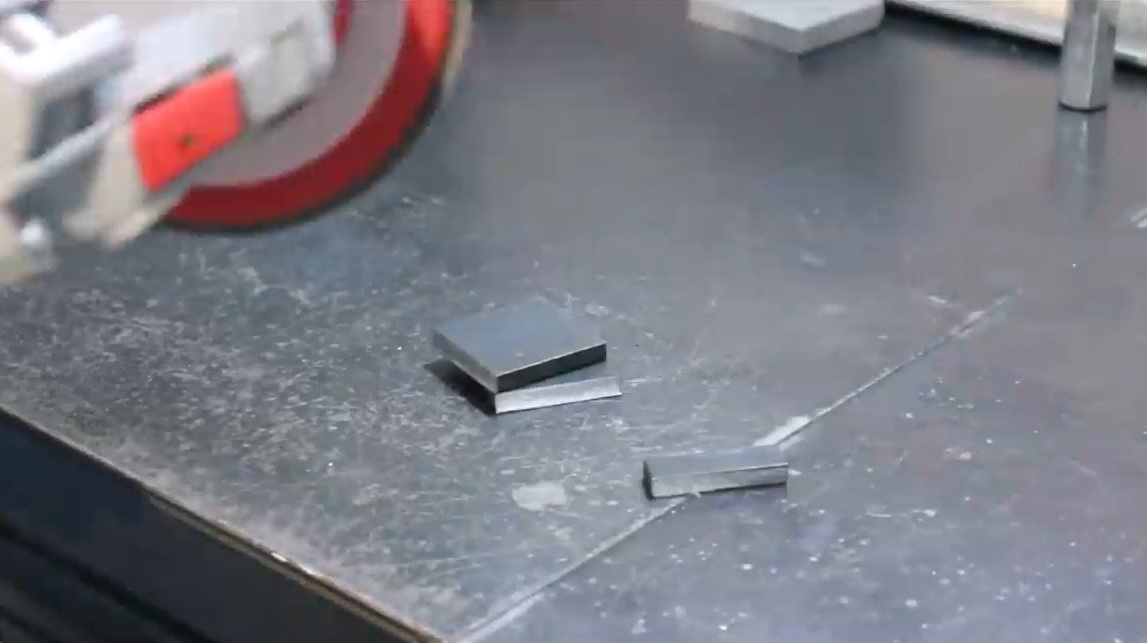
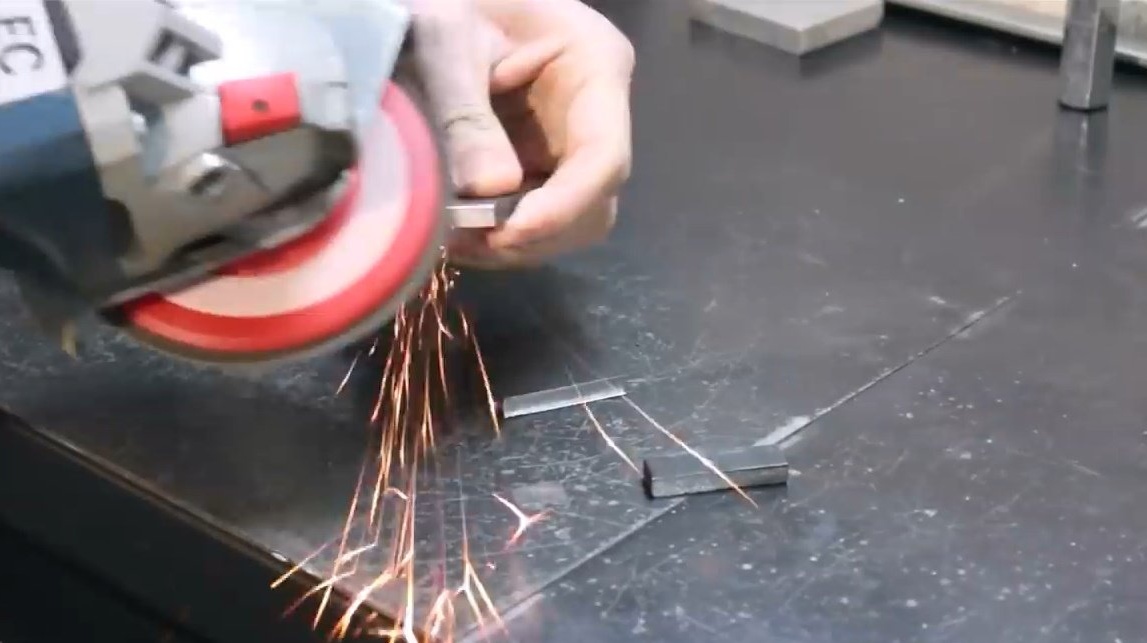
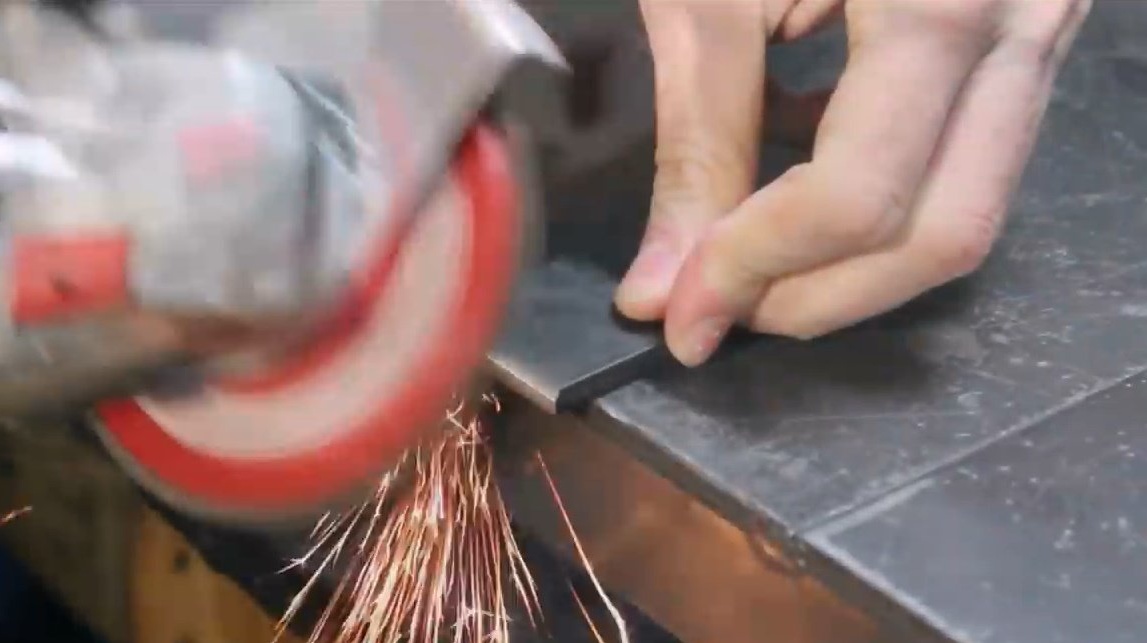
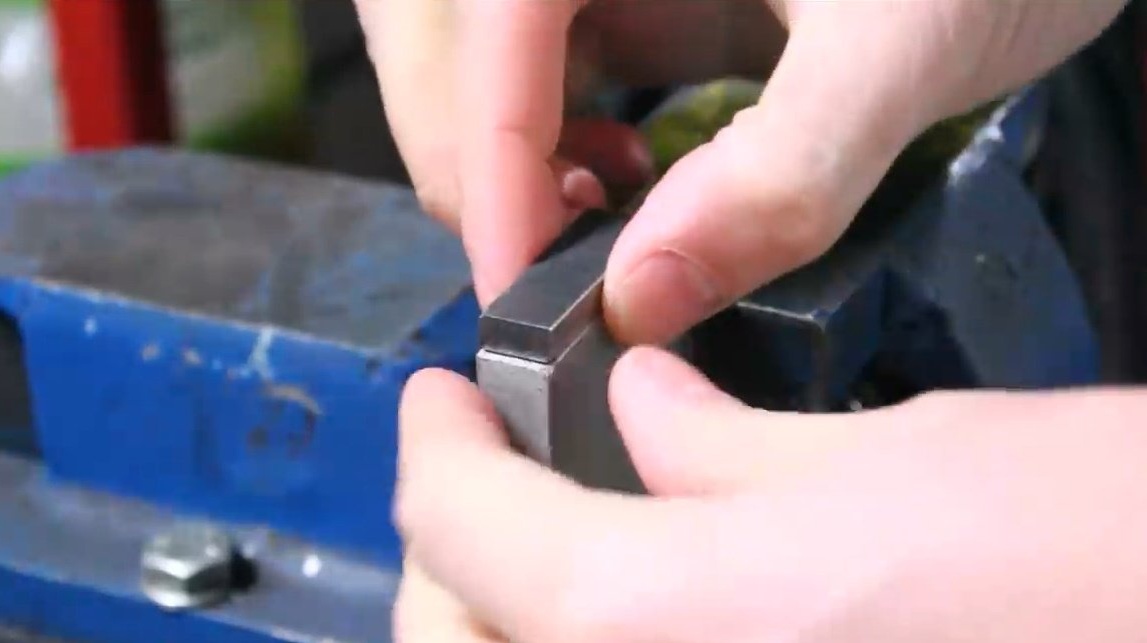
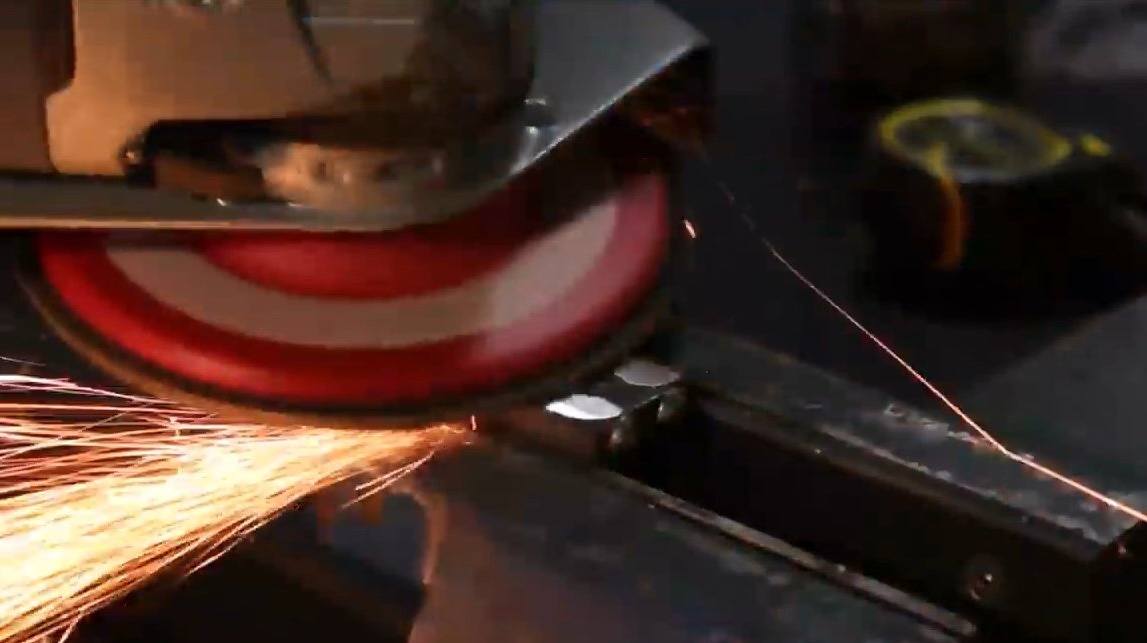
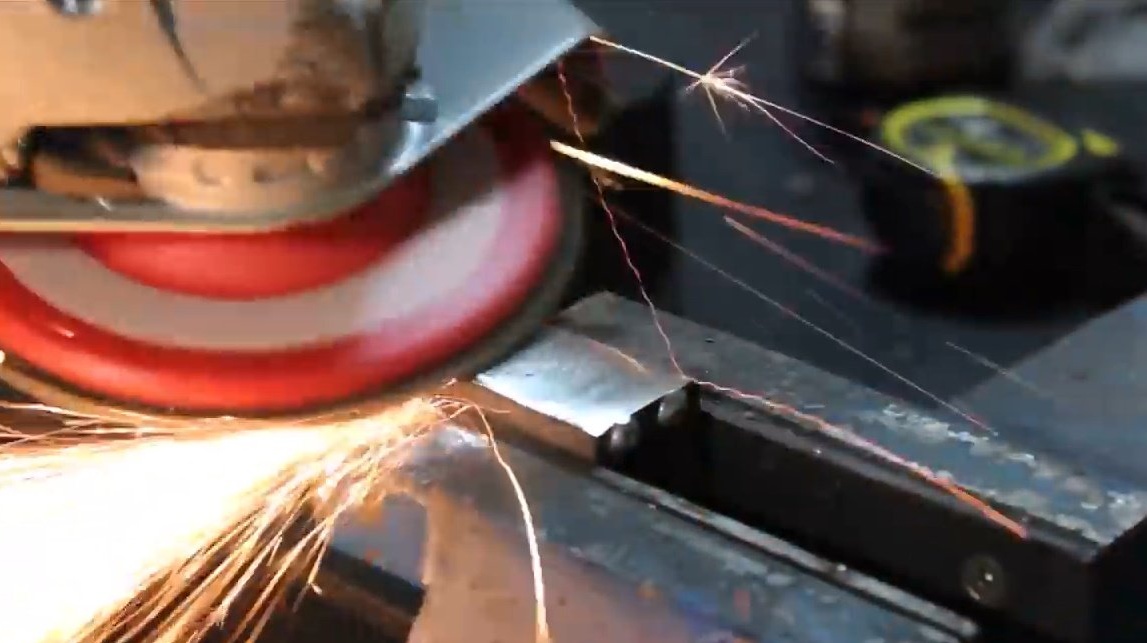
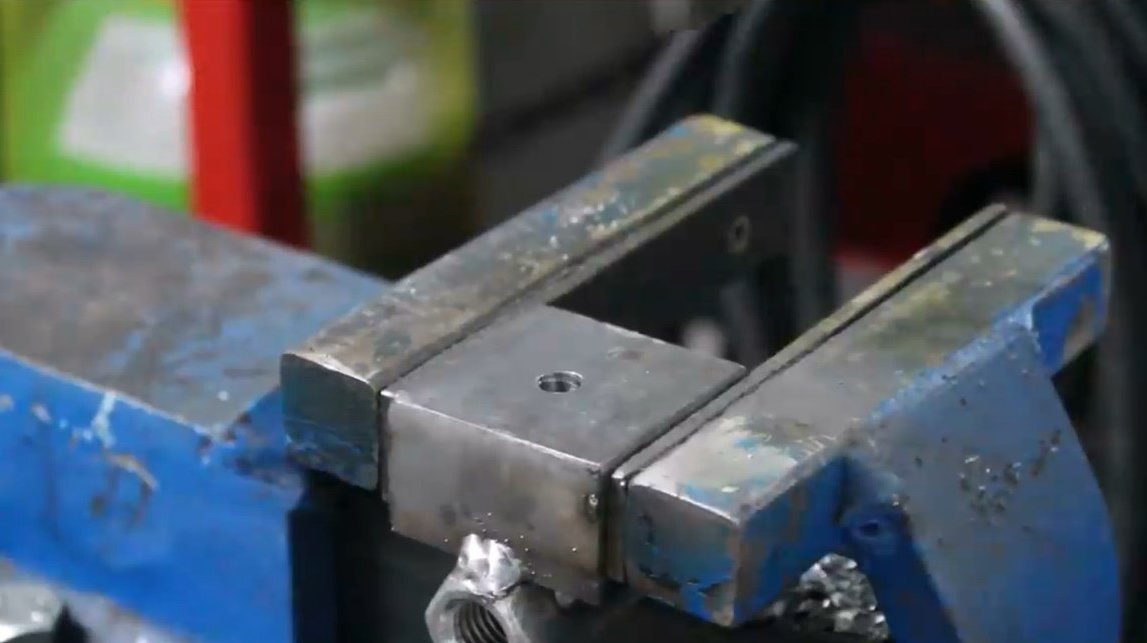
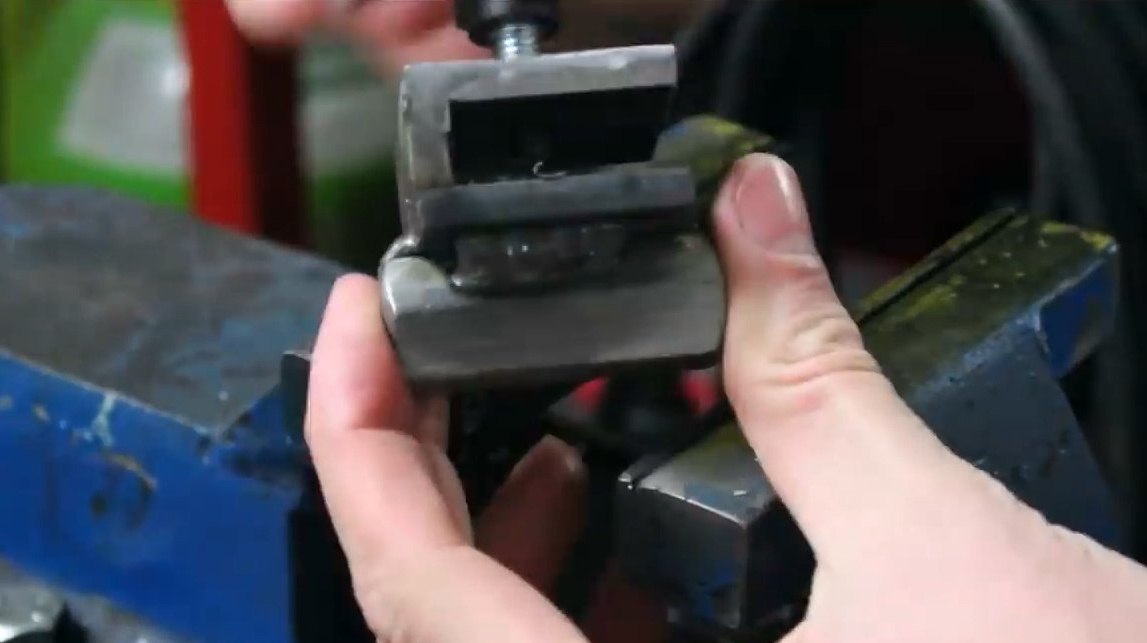
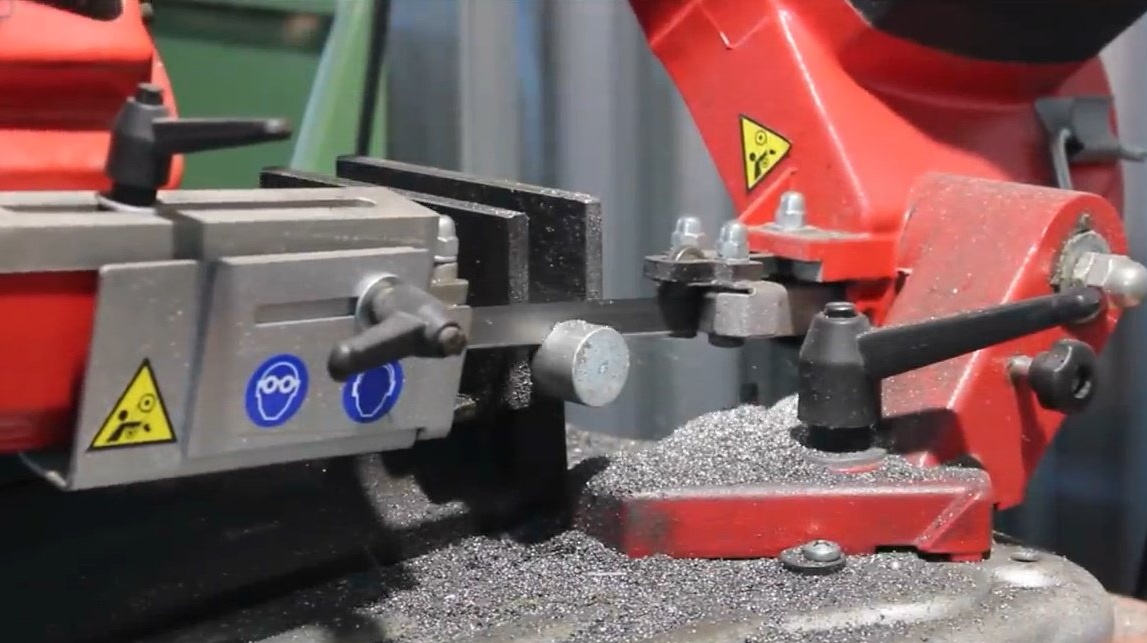
Cutting out a couple of squares and a small strip of steel strip, grinds off sharp edges, setting a petal stripping disk on the grinder.

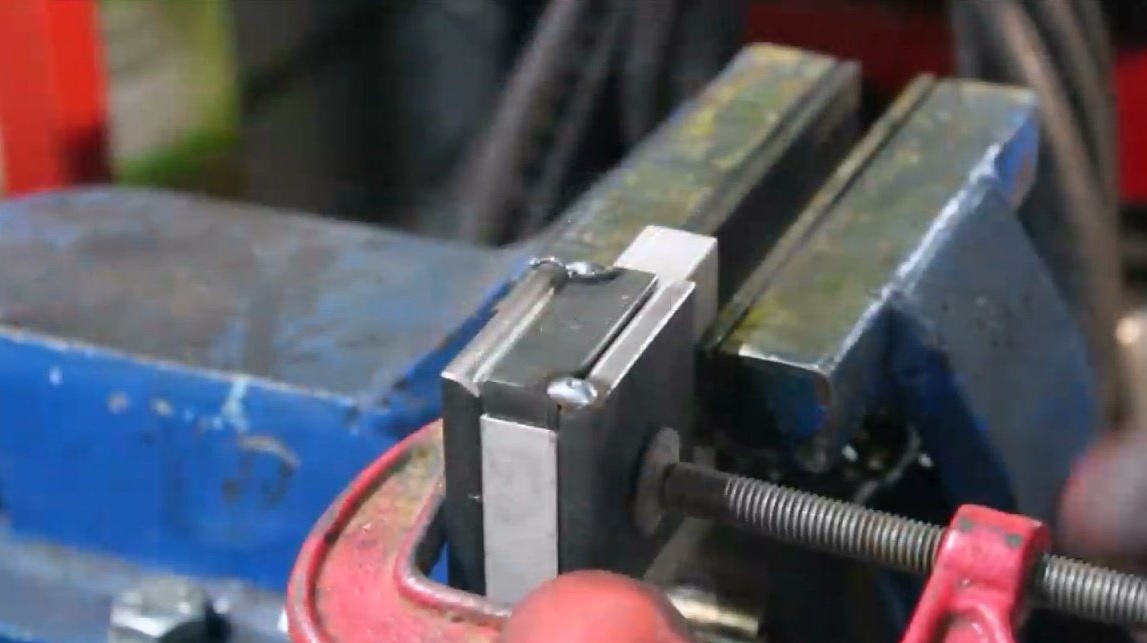
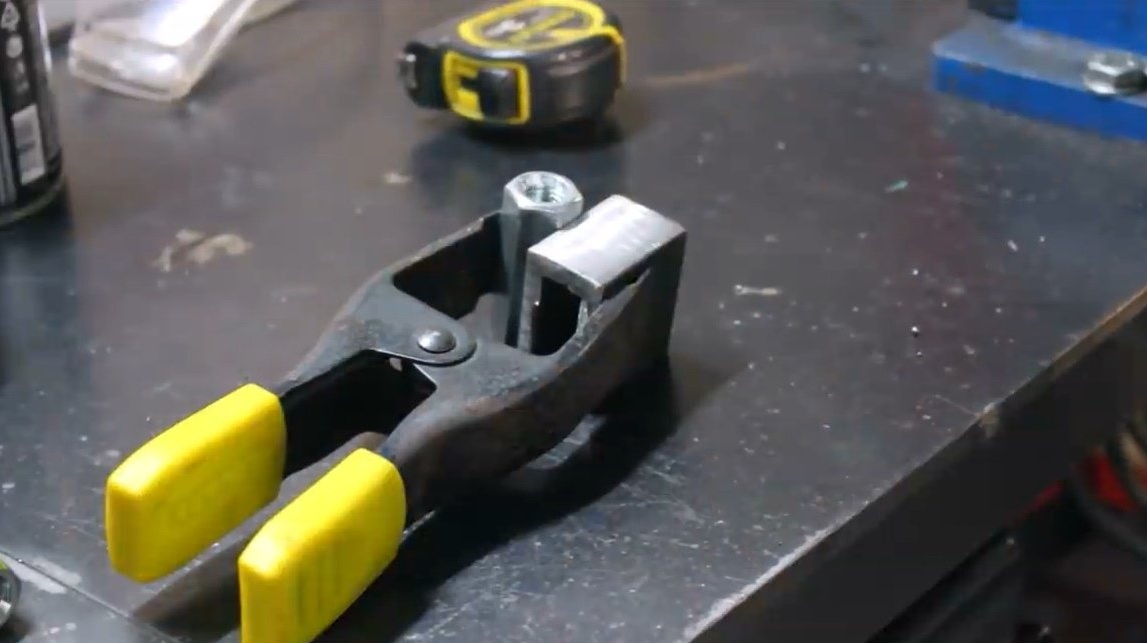
Then, holding the lining in a vise, lining it with blanks in the form of the letter P, fixes the structure with a clamp.

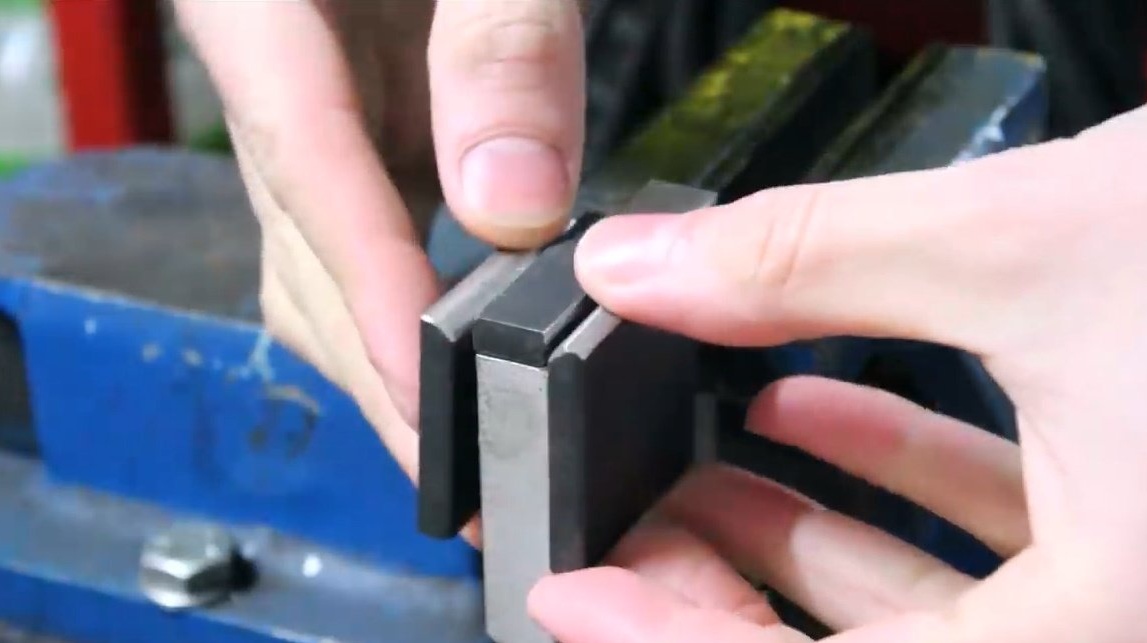

First it grabs a couple of points by welding, and then carefully boils the joints.

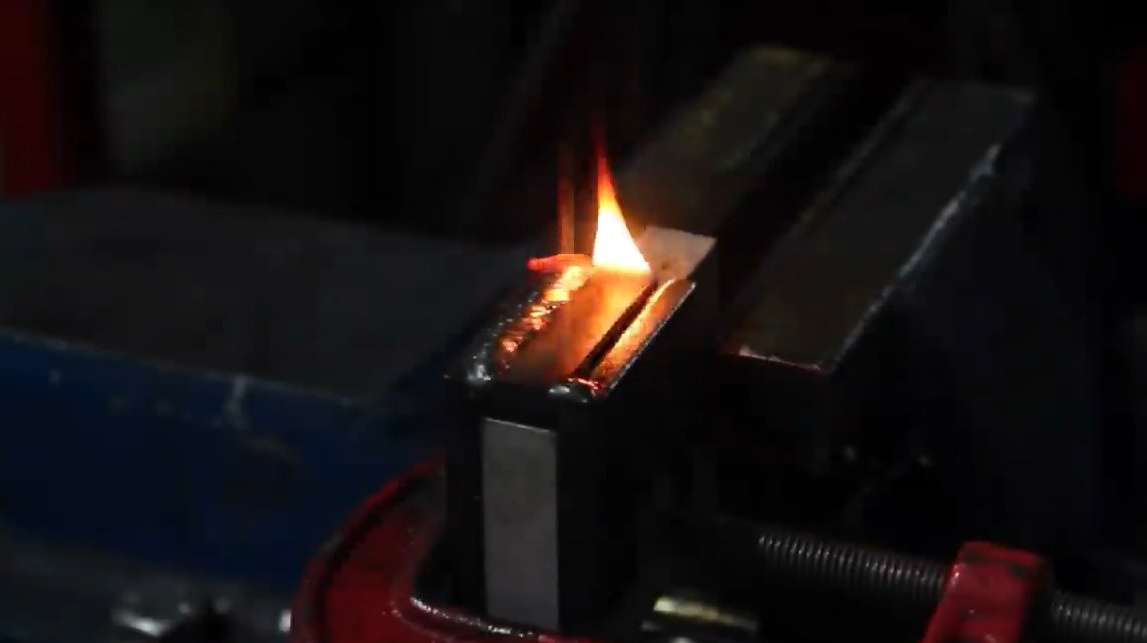
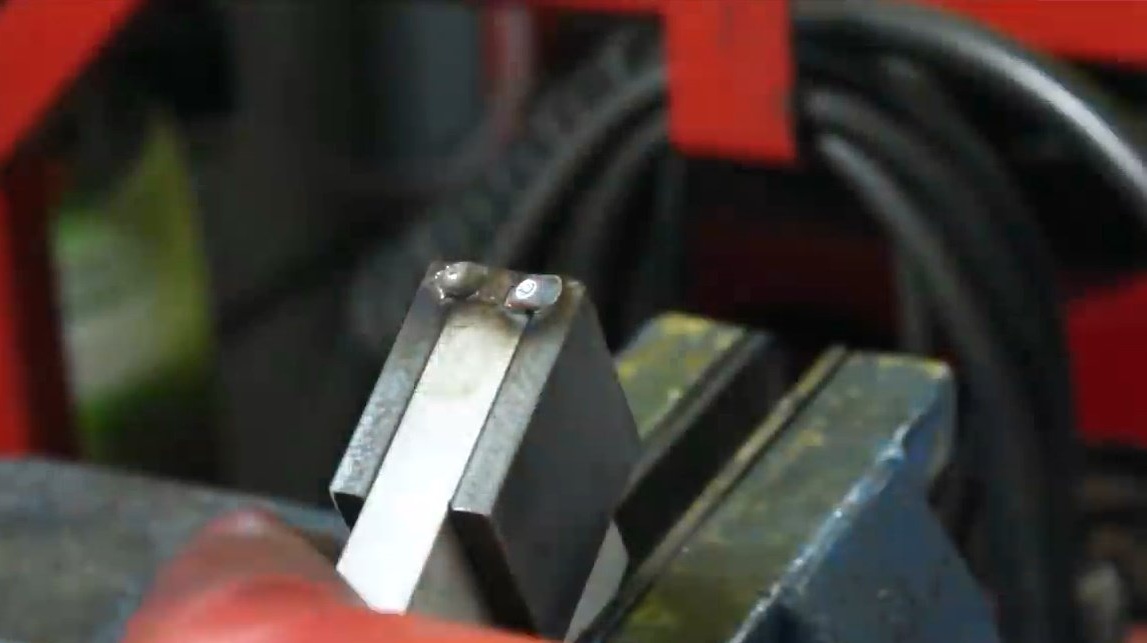
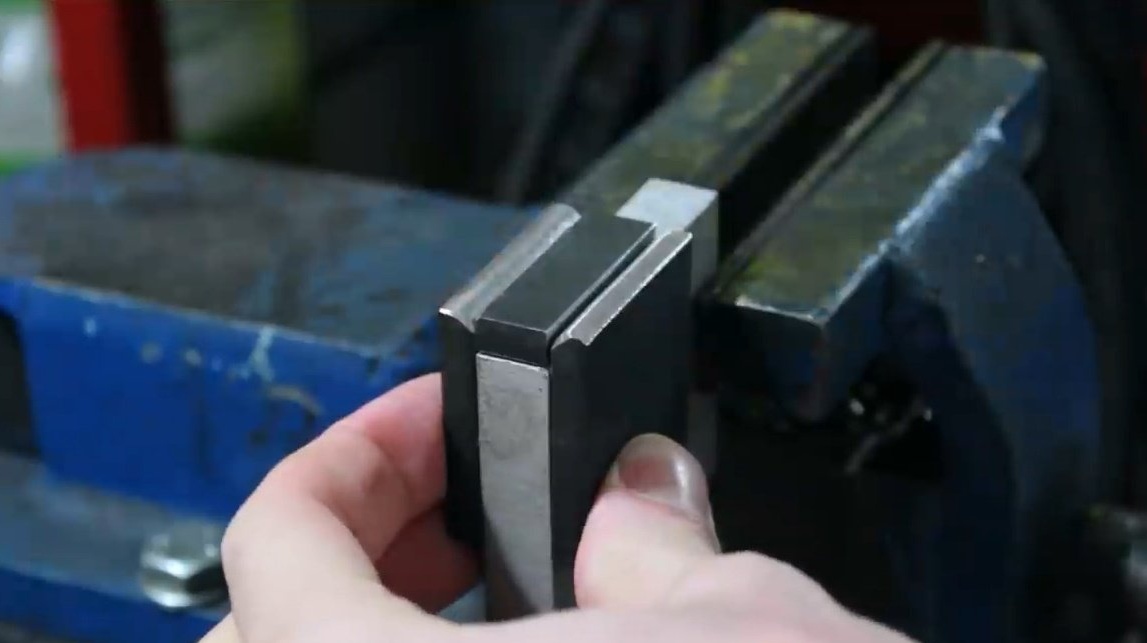
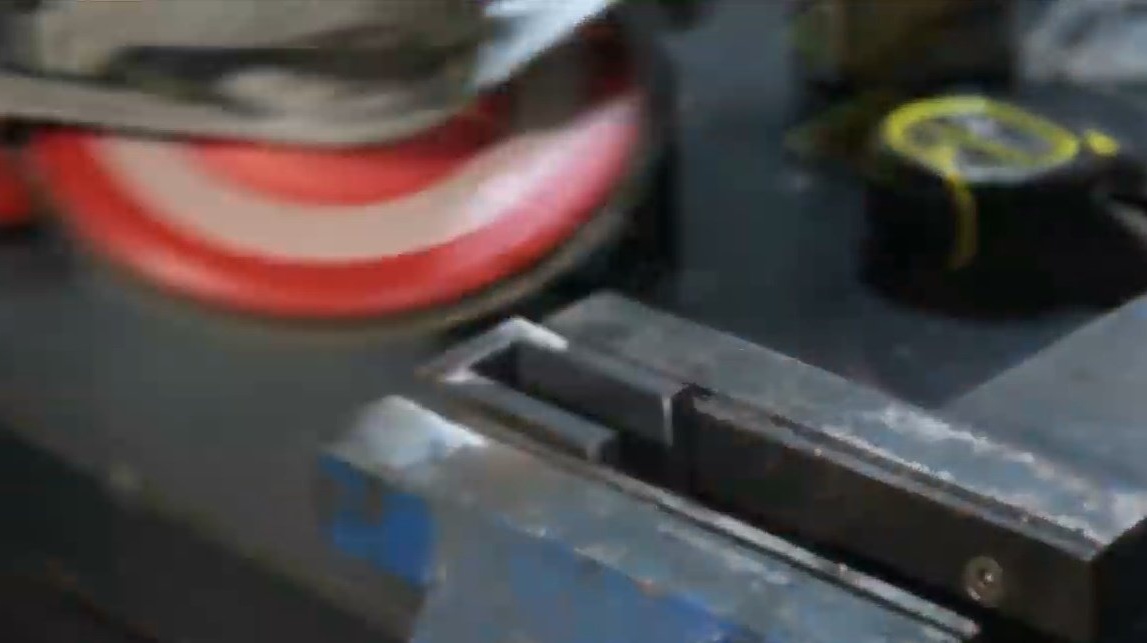
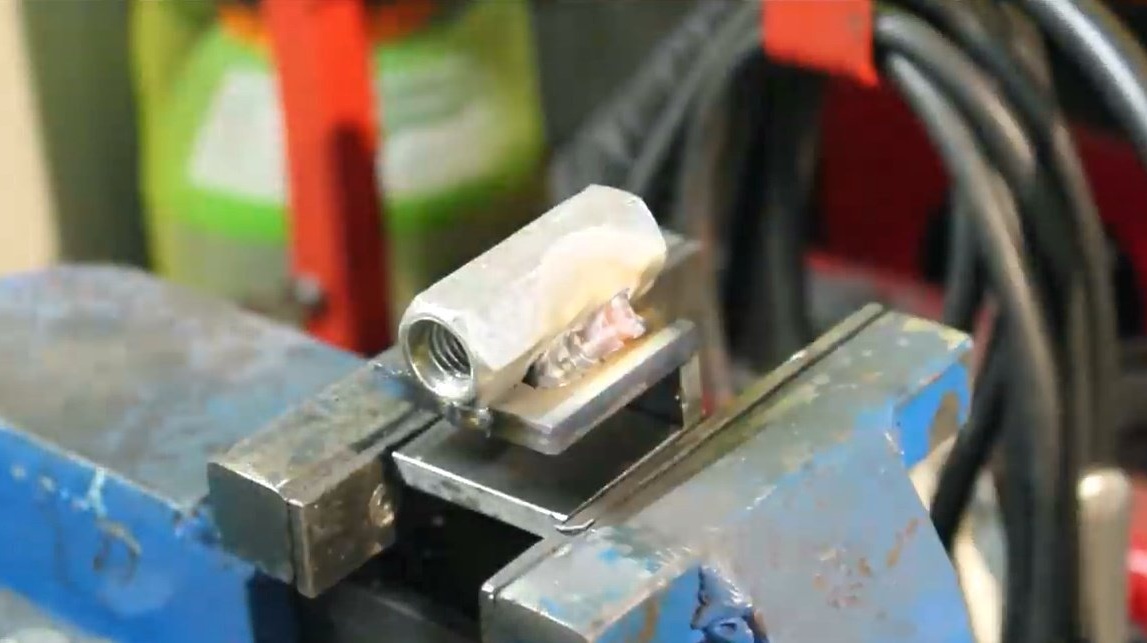
Then it cleans the resulting seams with a petal disk.

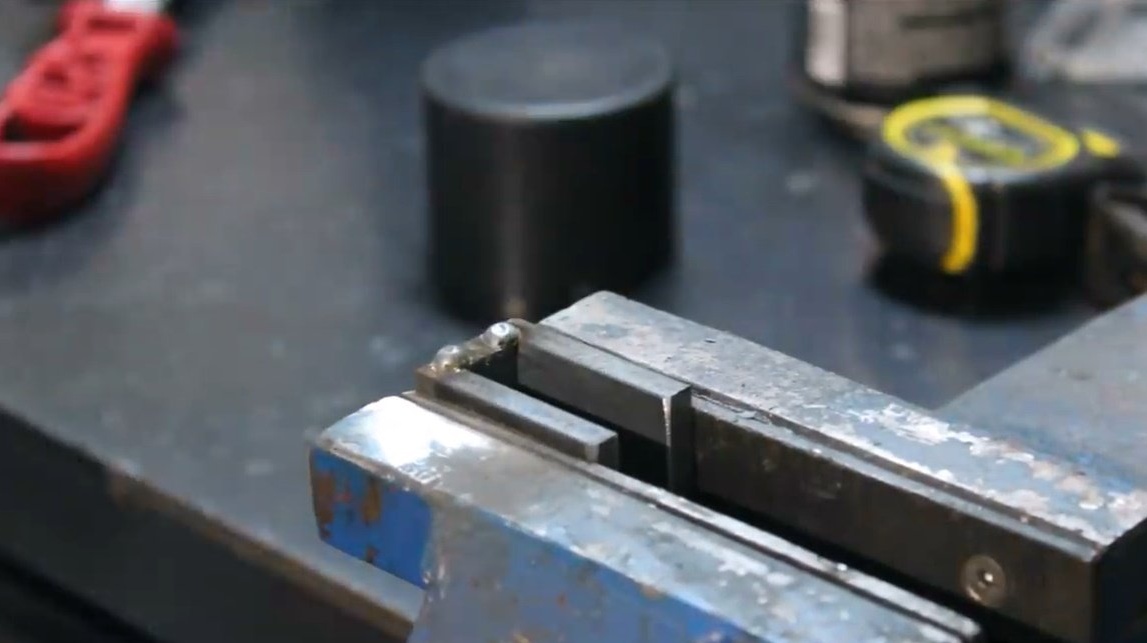
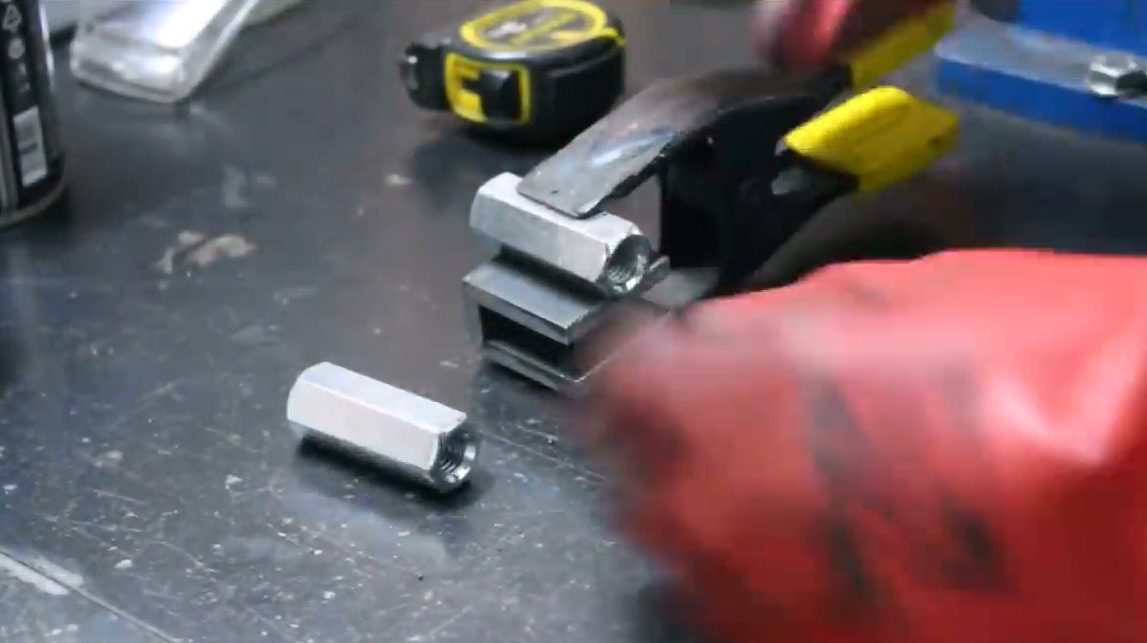
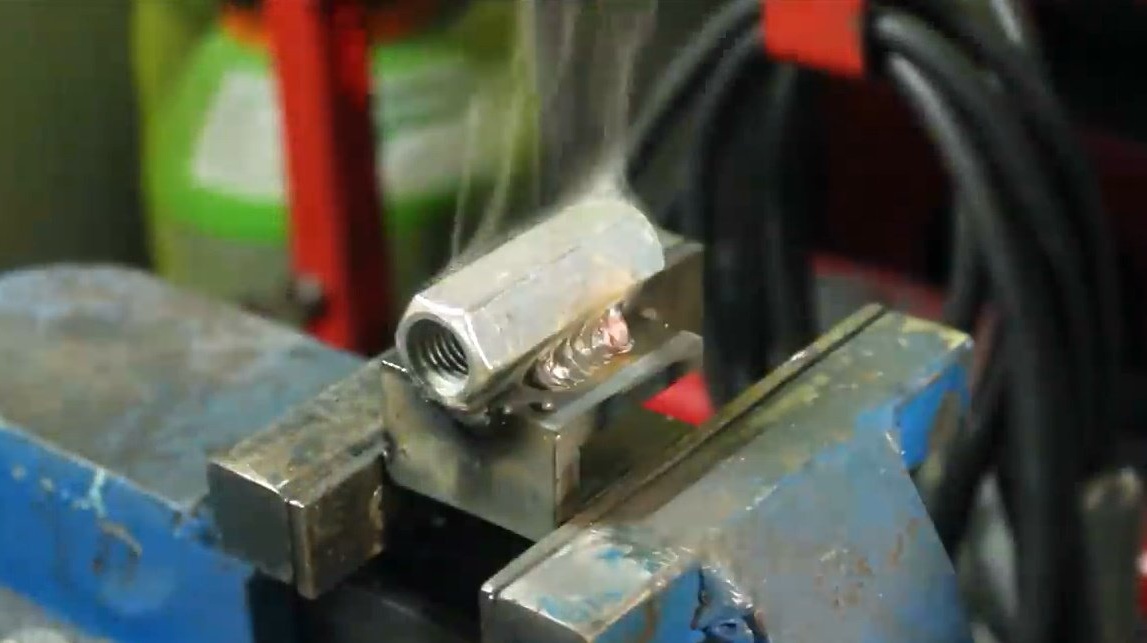
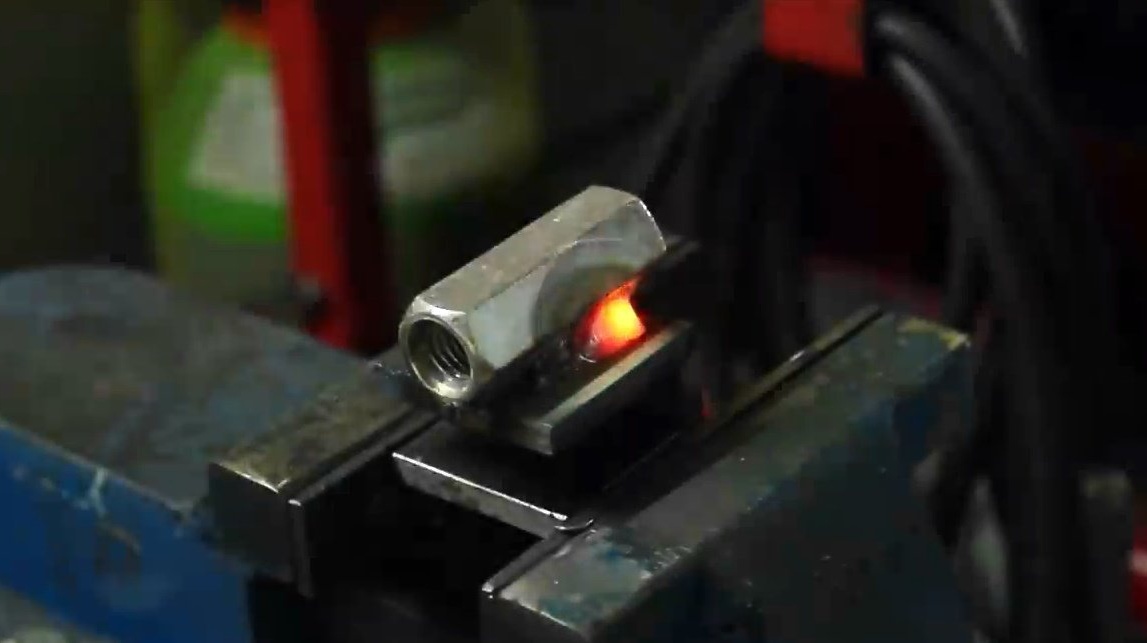
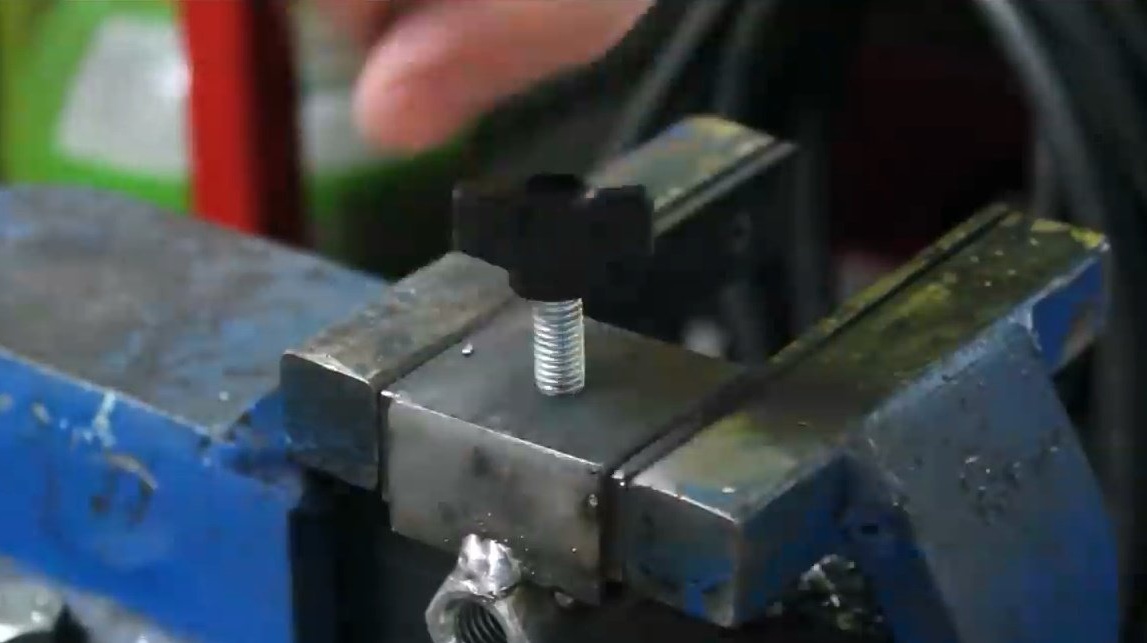
Now he takes an elongated nut, applies it to one side of the resulting workpiece, grabs it with welding.


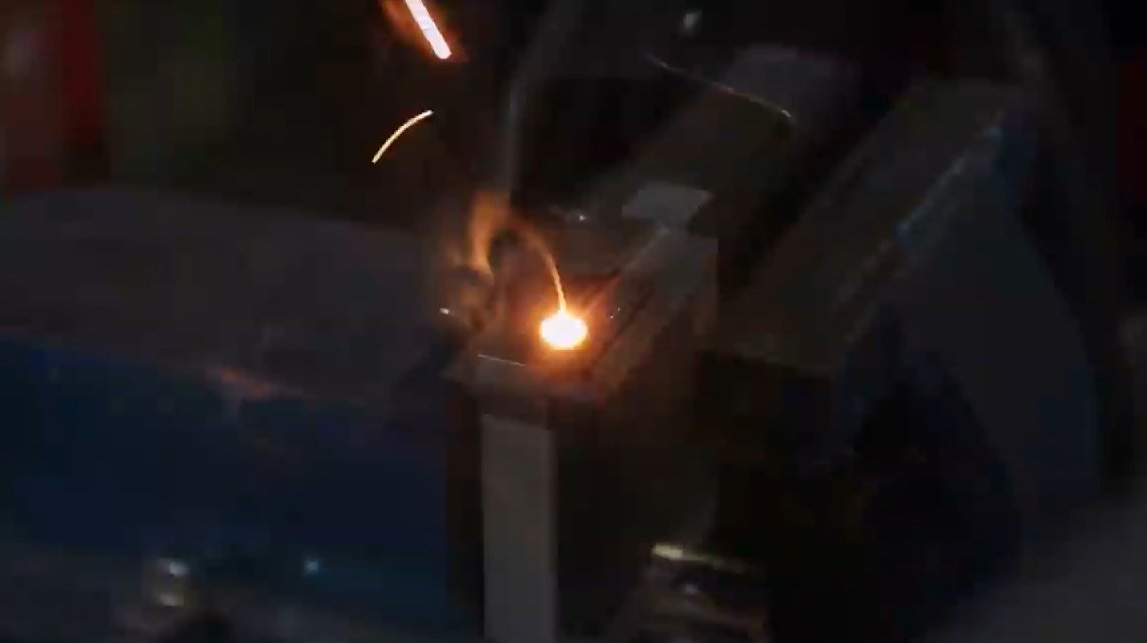
Removes the clamp, fixes the workpiece in a vice, boils the seams.
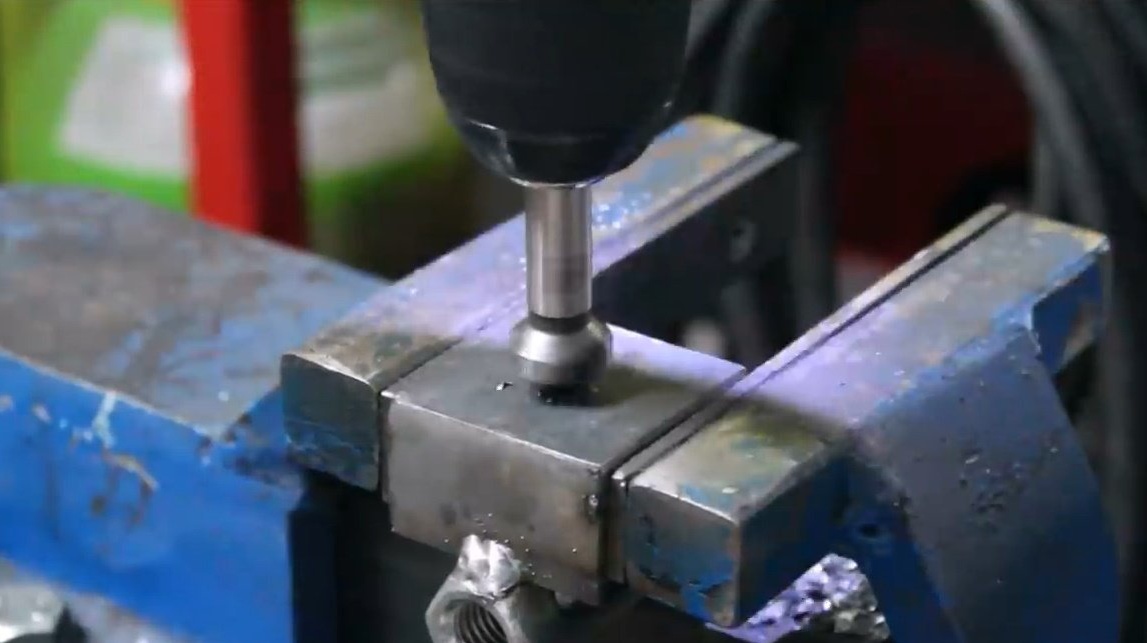
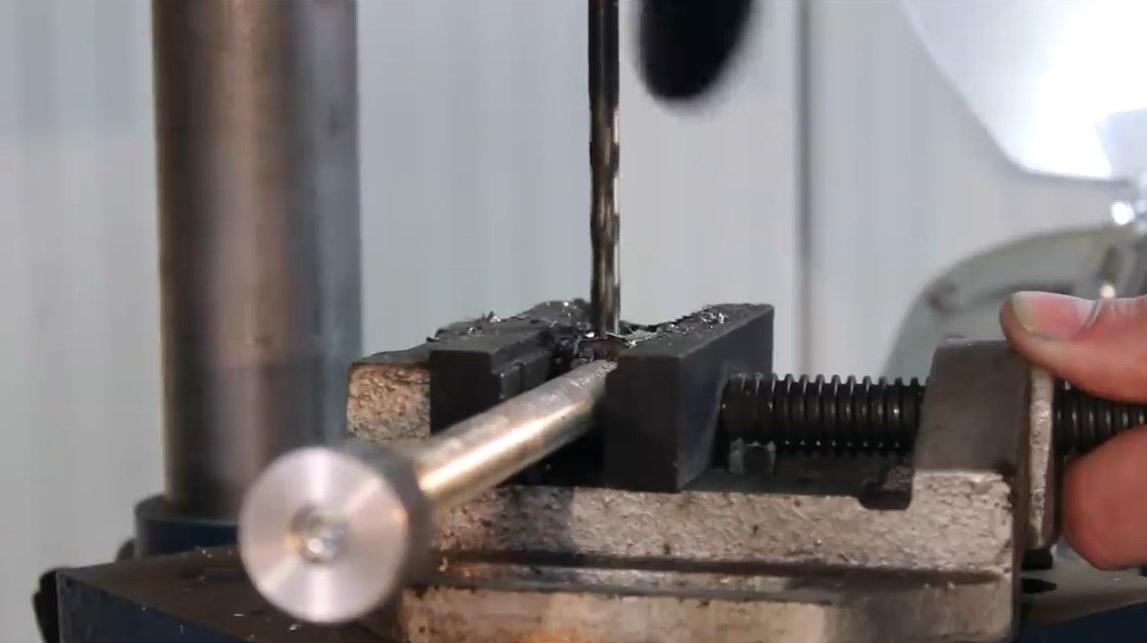
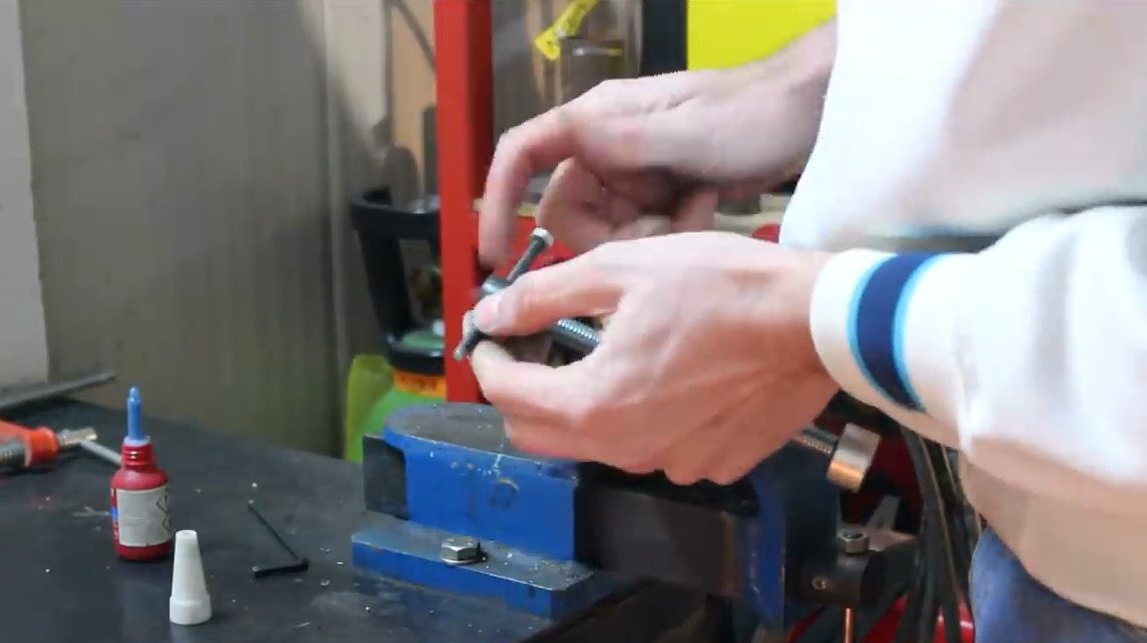
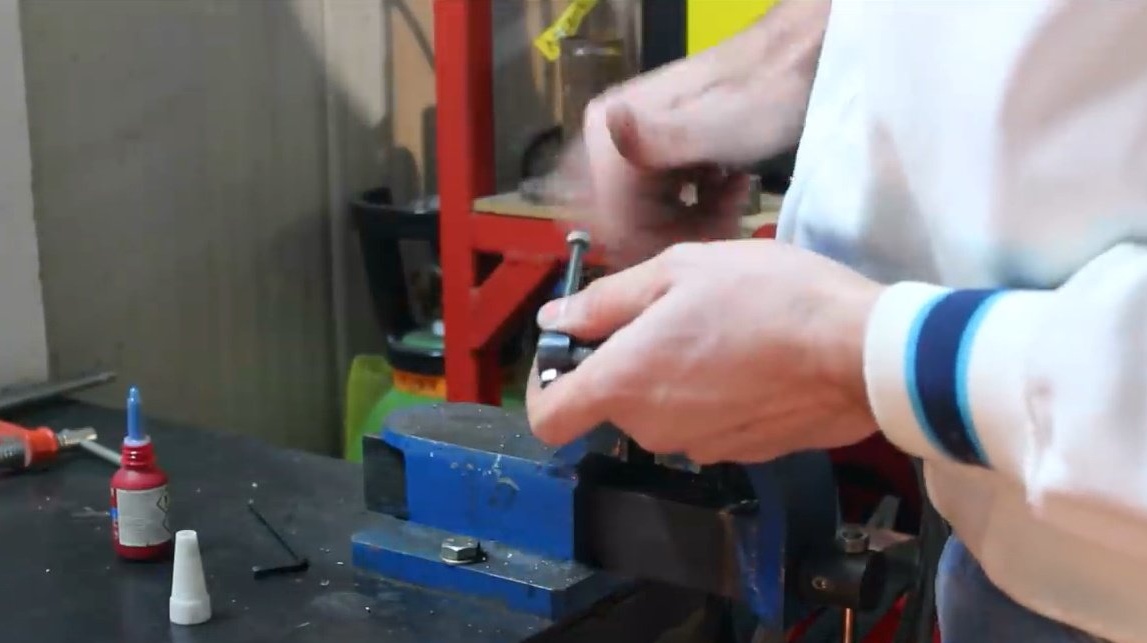
On the opposite side of the nut, punch and drill a hole, countersink the edge and cut the M10 thread.


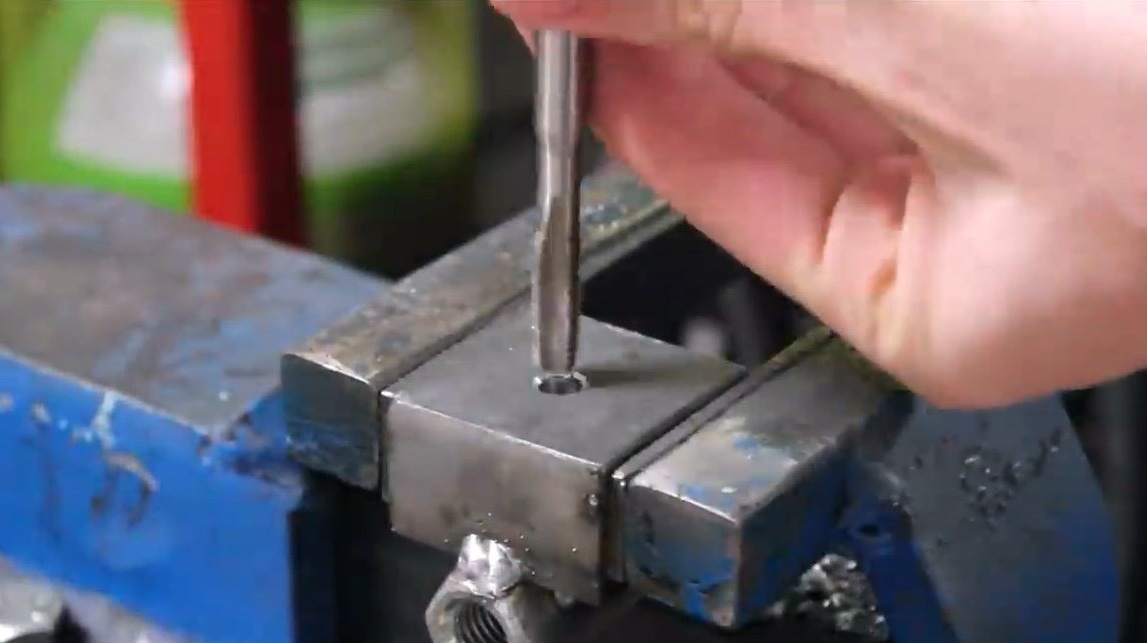
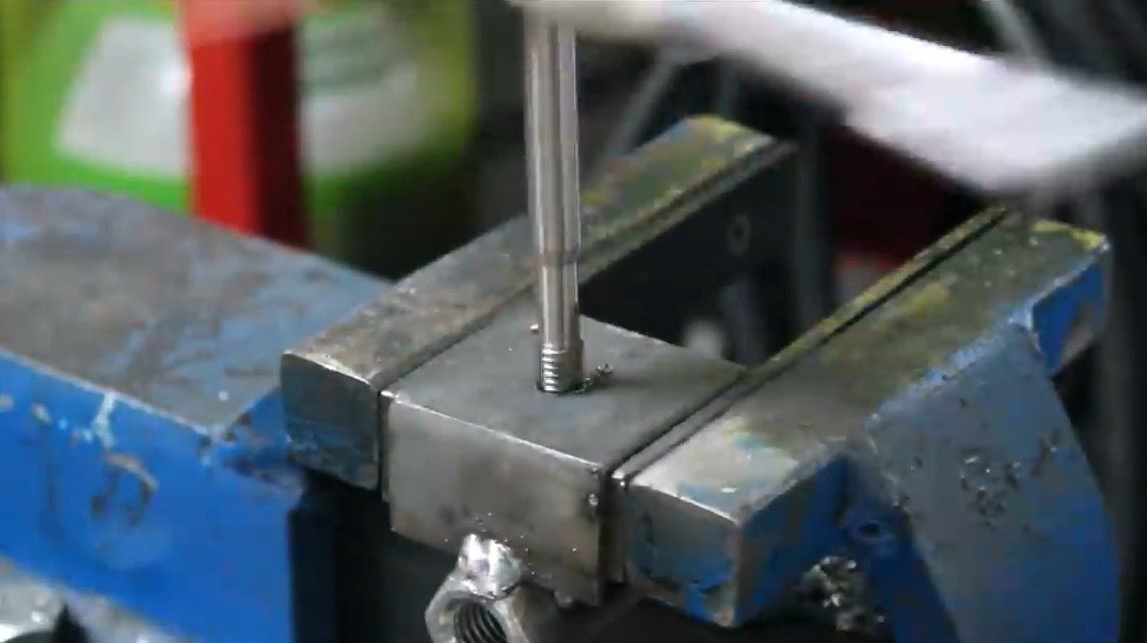
A bolt with a wing head is screwed into the resulting hole.
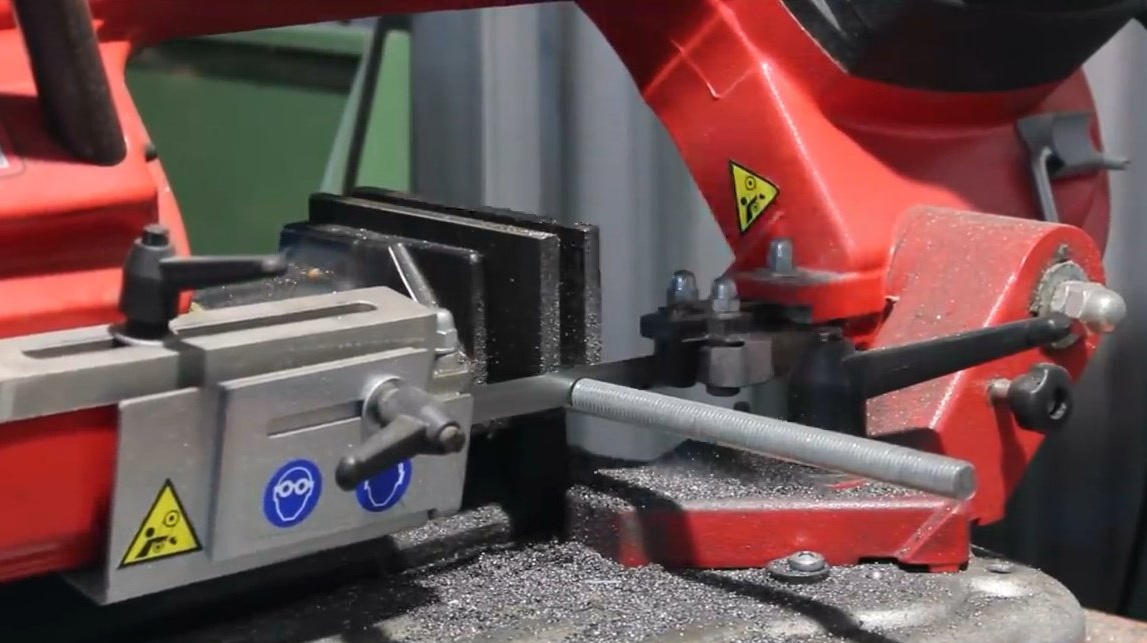
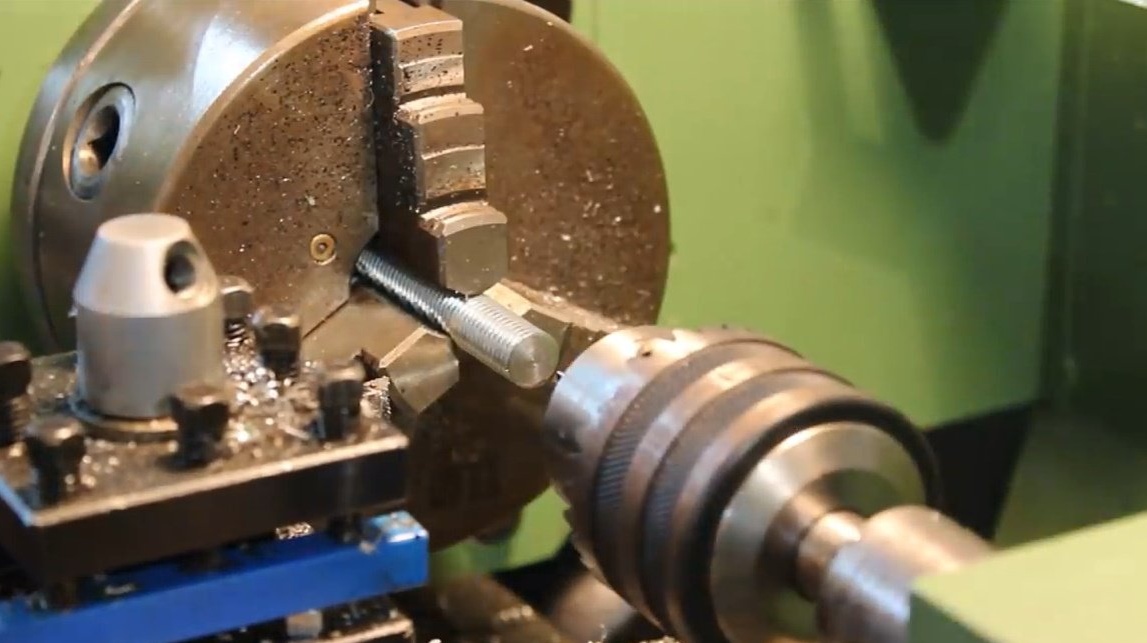
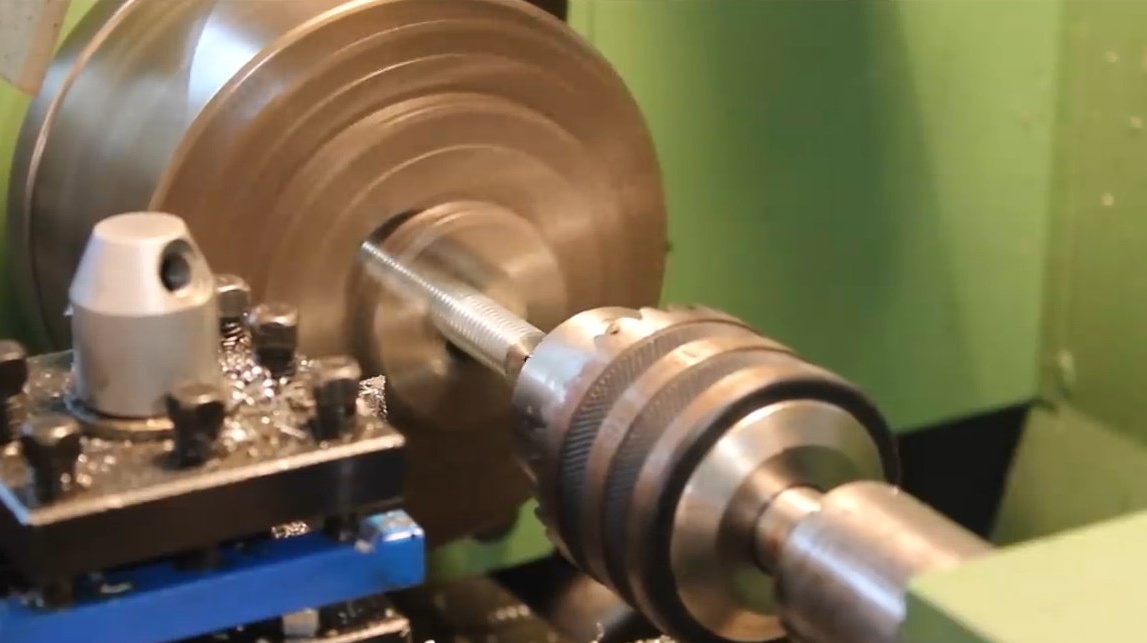
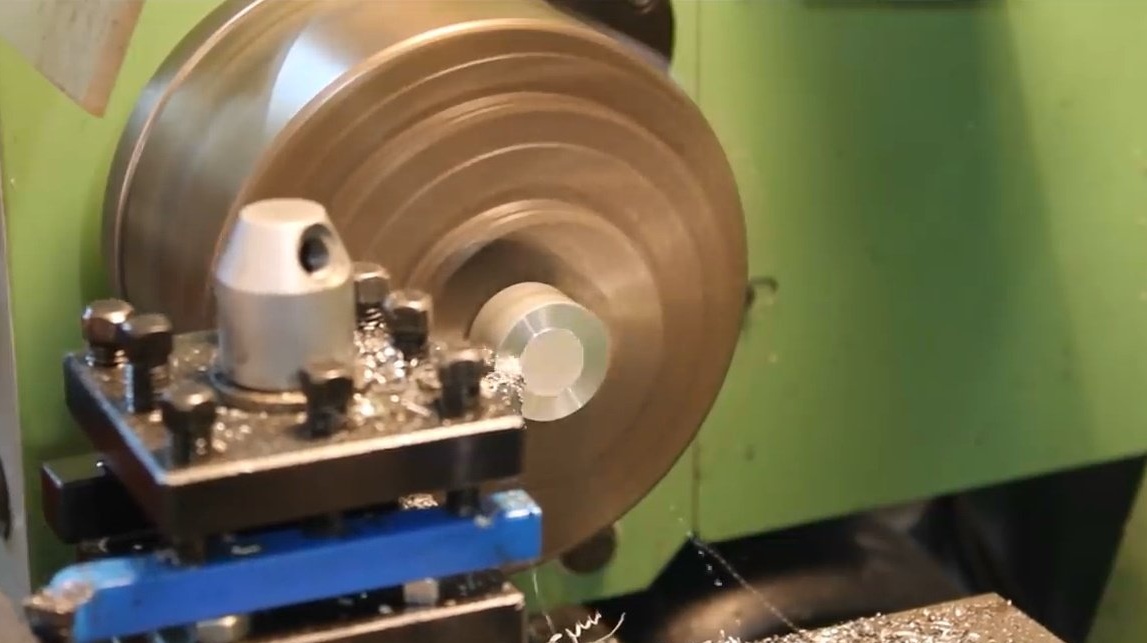
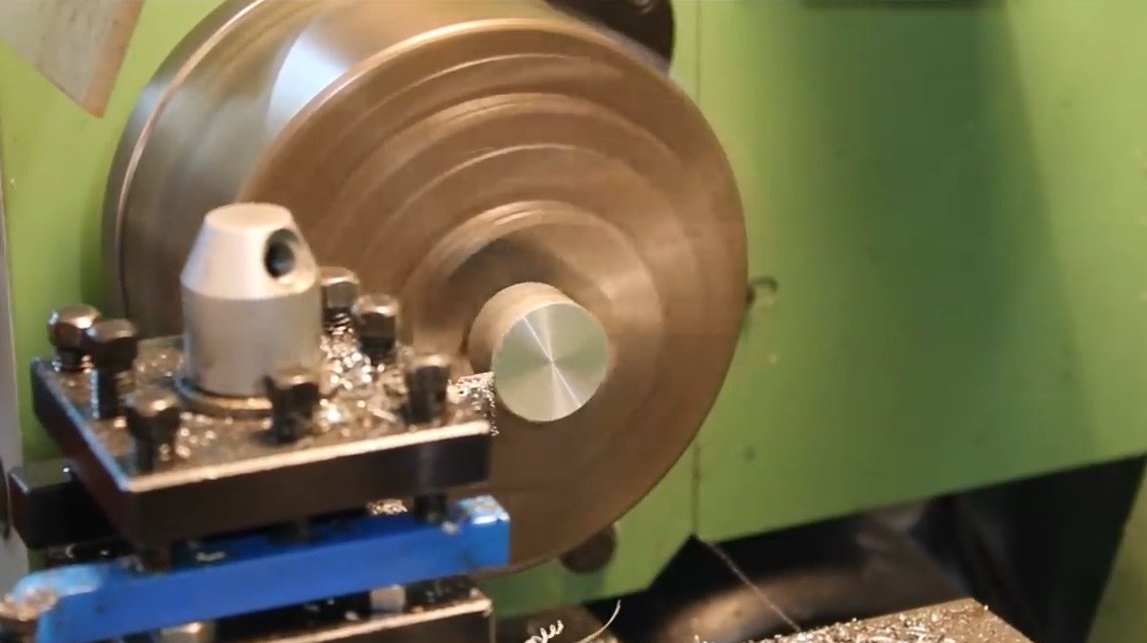
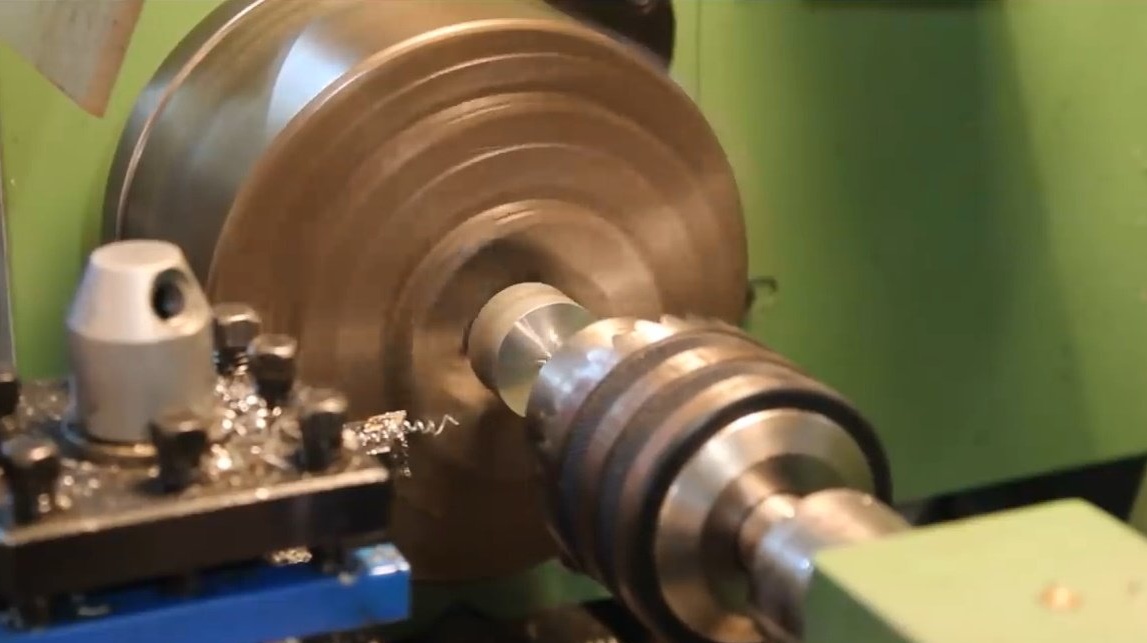
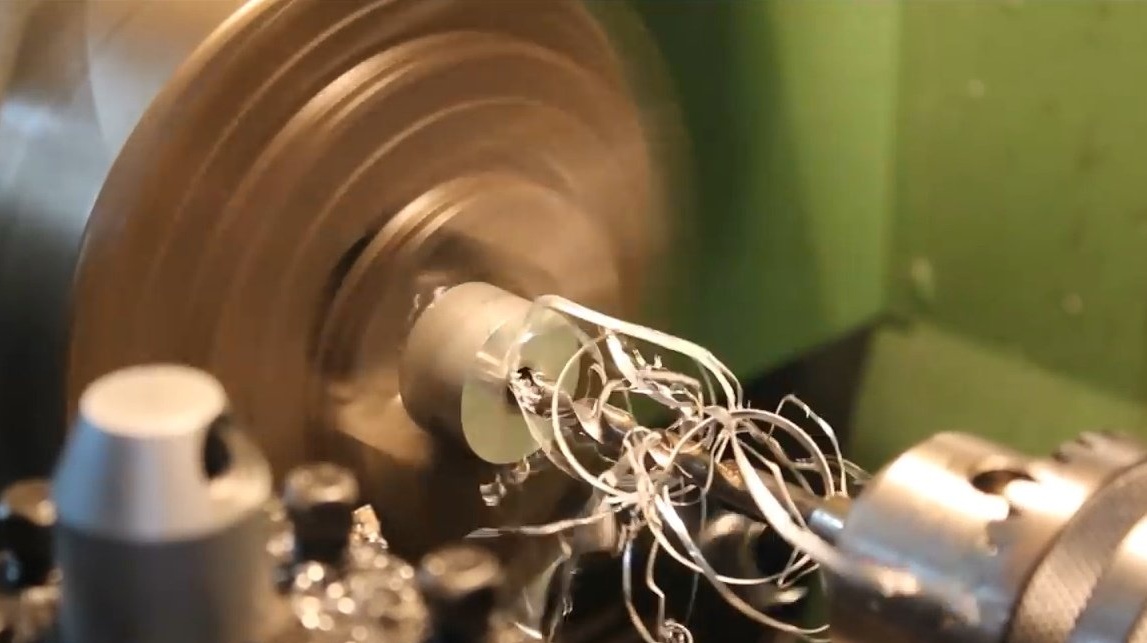
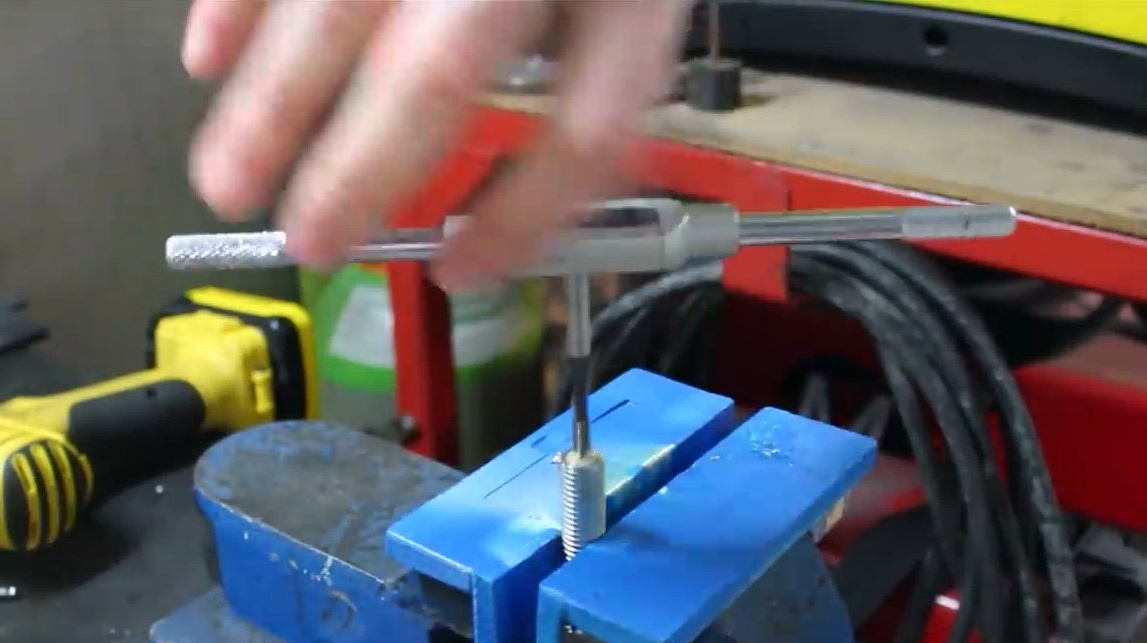
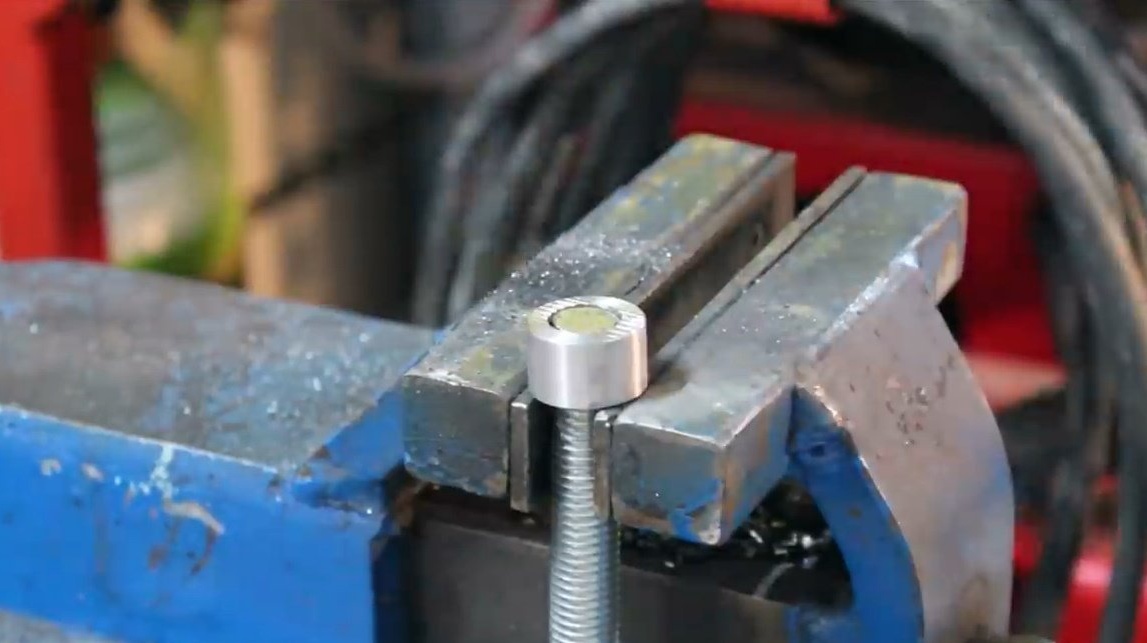
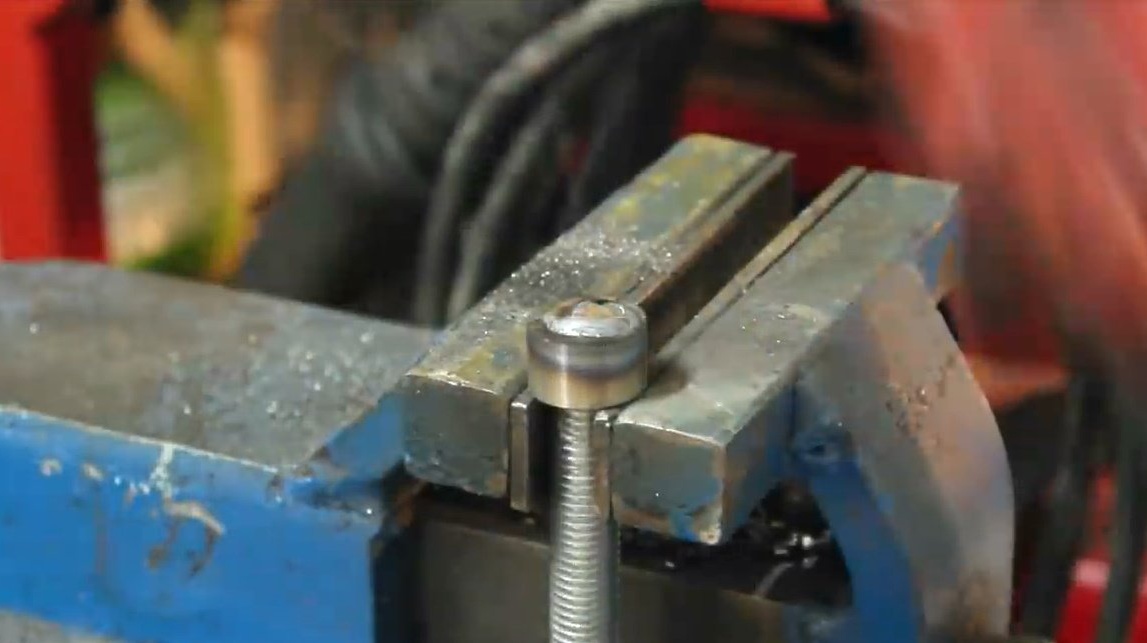
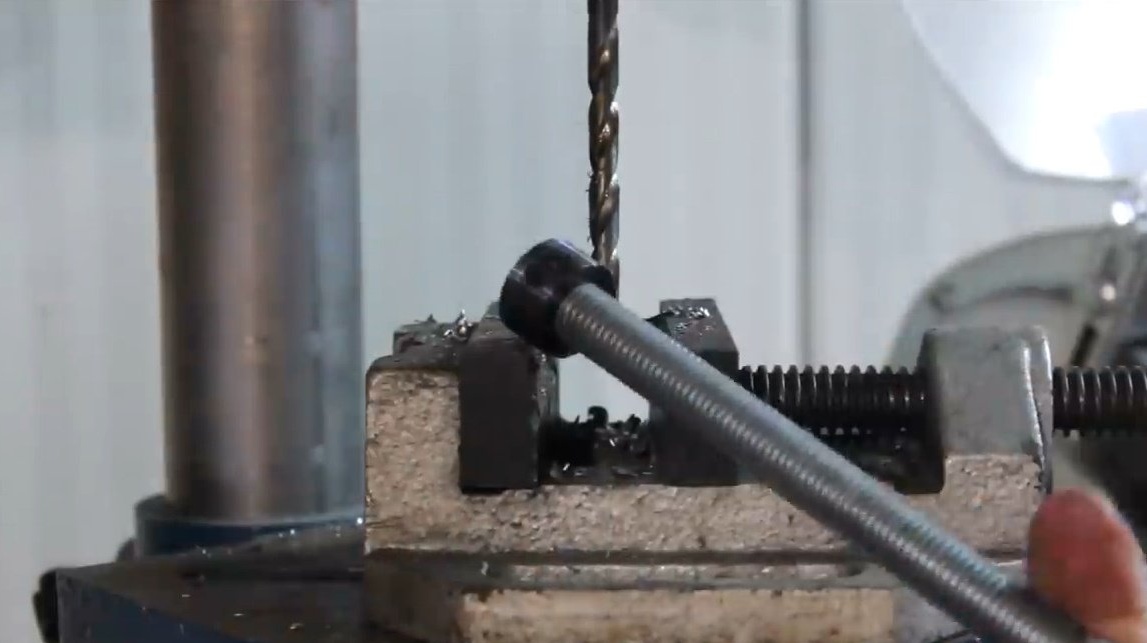
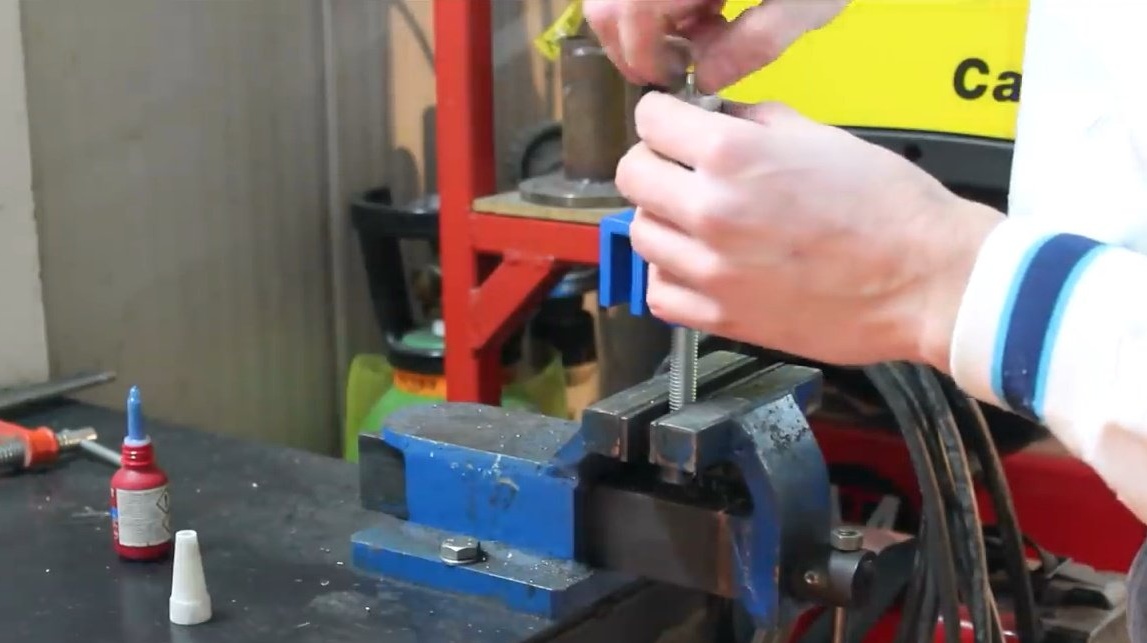
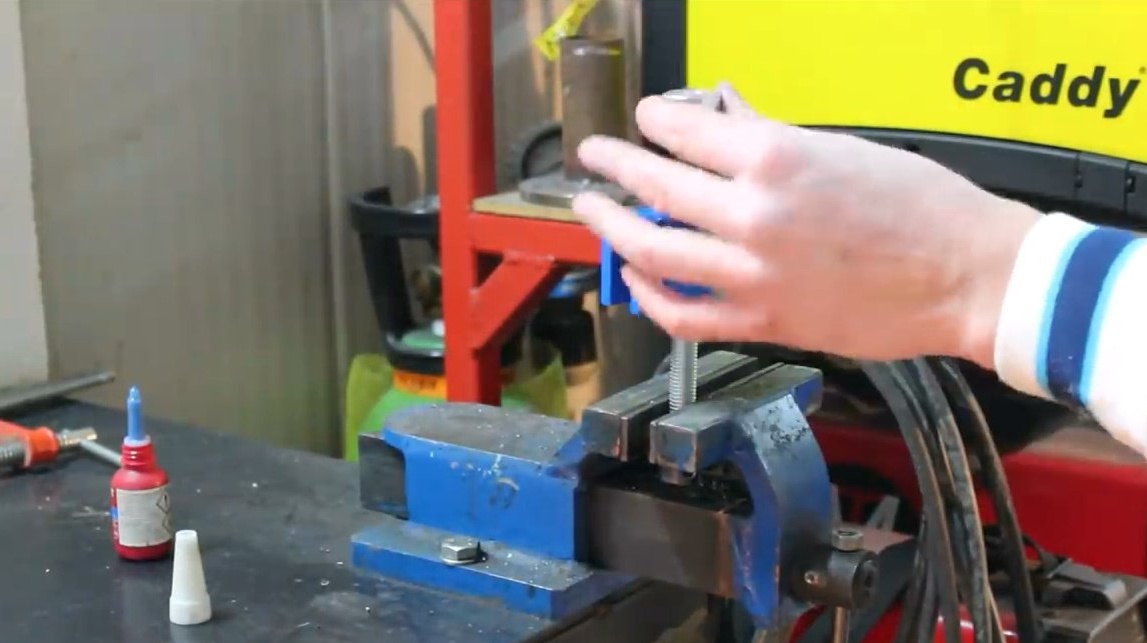
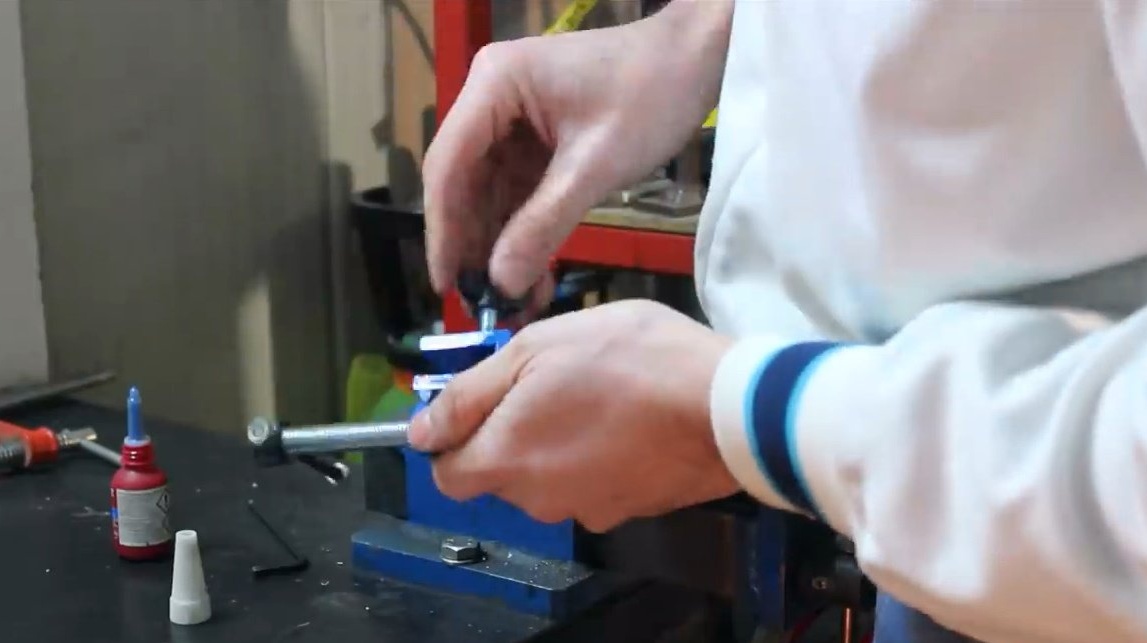
Using a band saw, he cuts off the workpiece for the clamping screw from the M10 pin. The butt ends on a lathe, it should have a smooth surface.
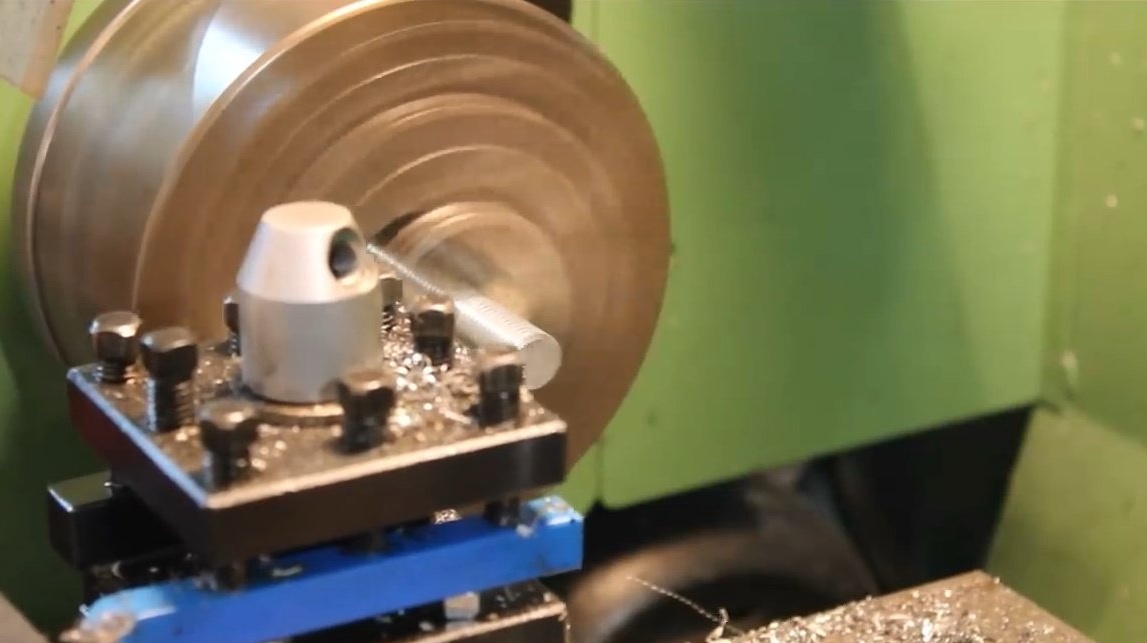
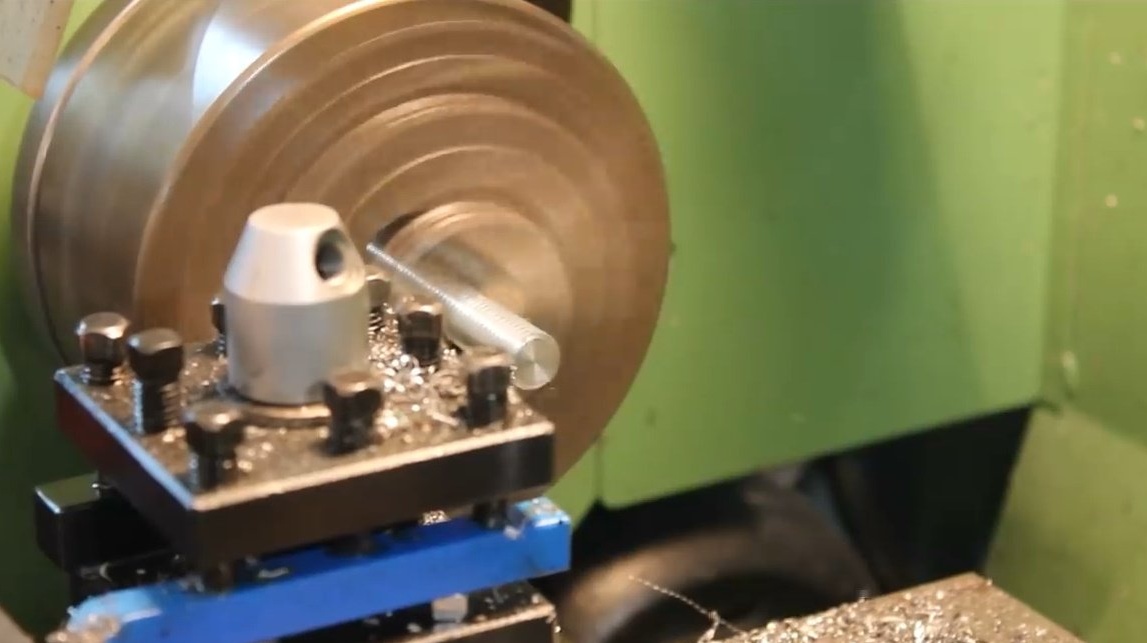
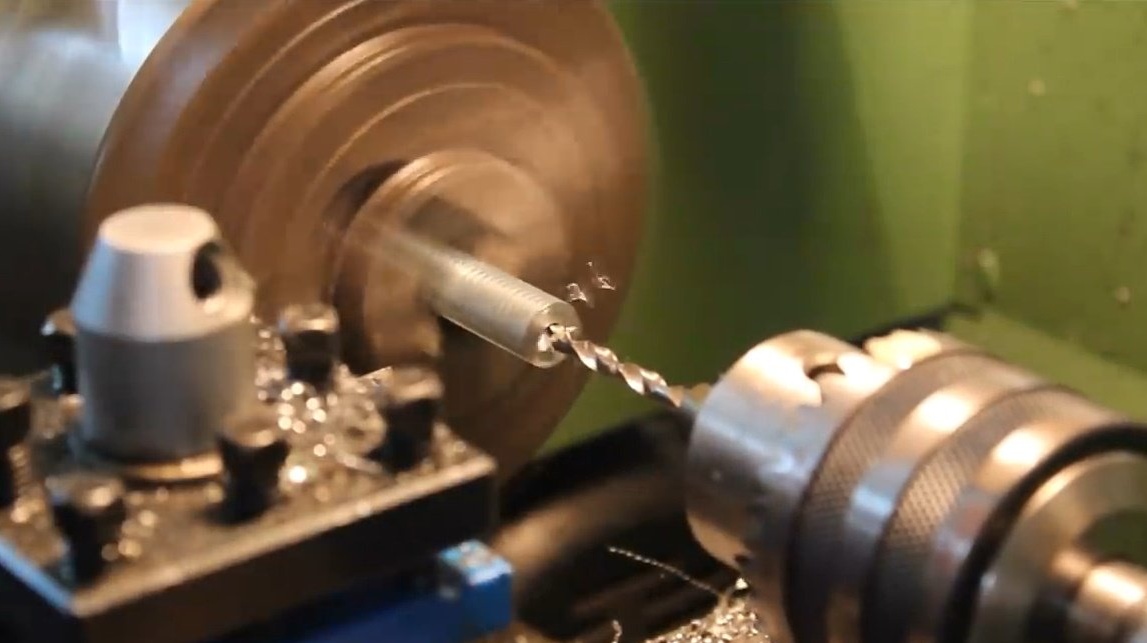
Drills a hole in the end of the stud.
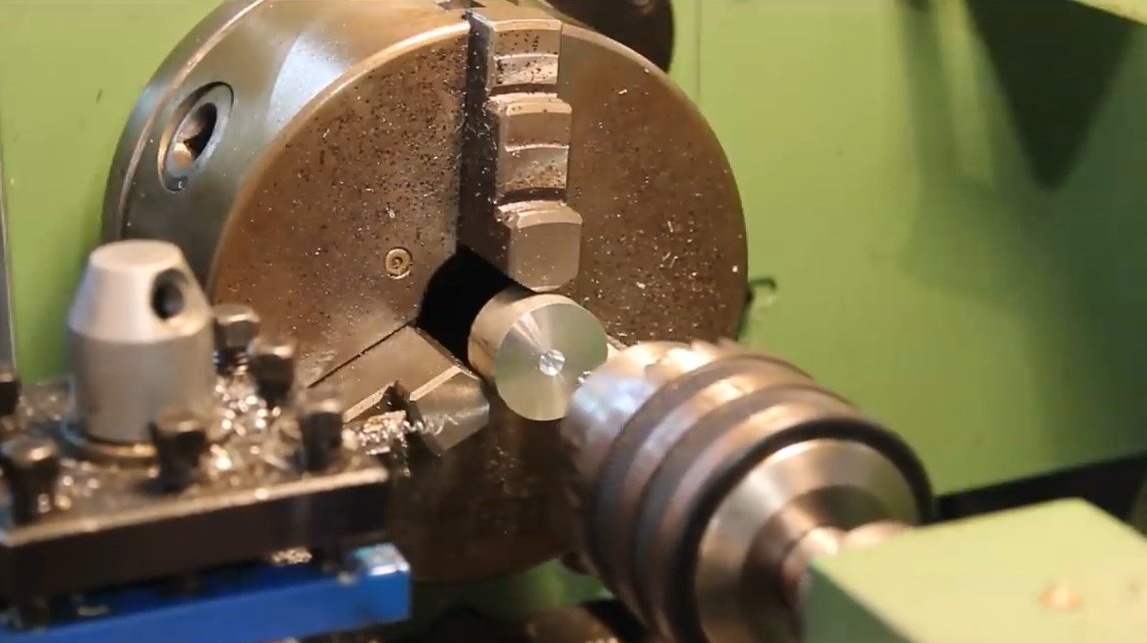
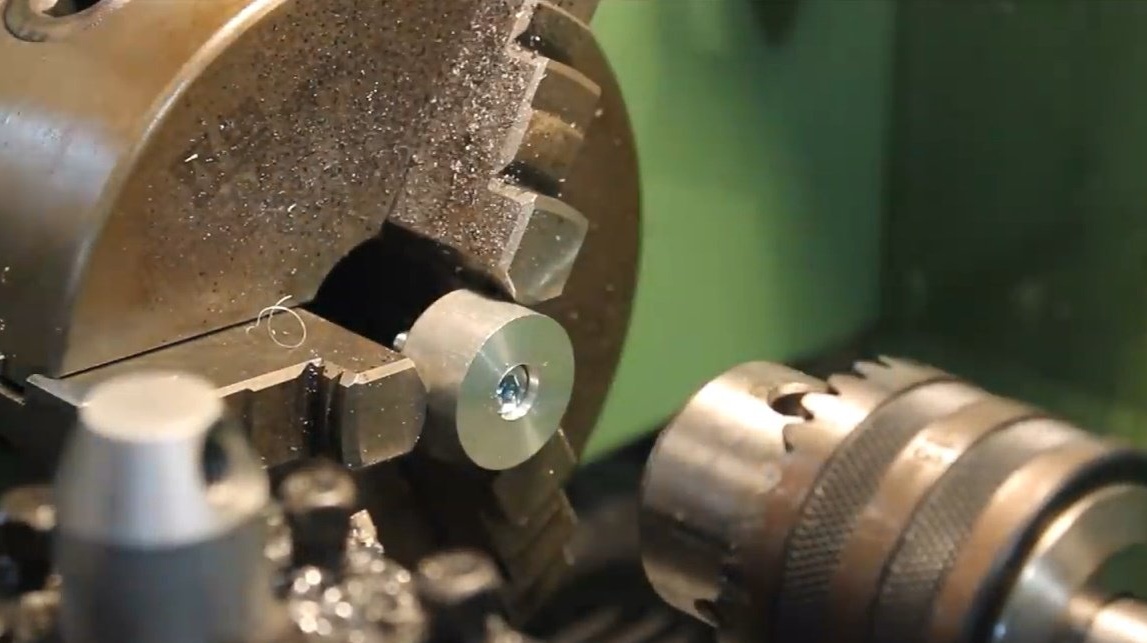
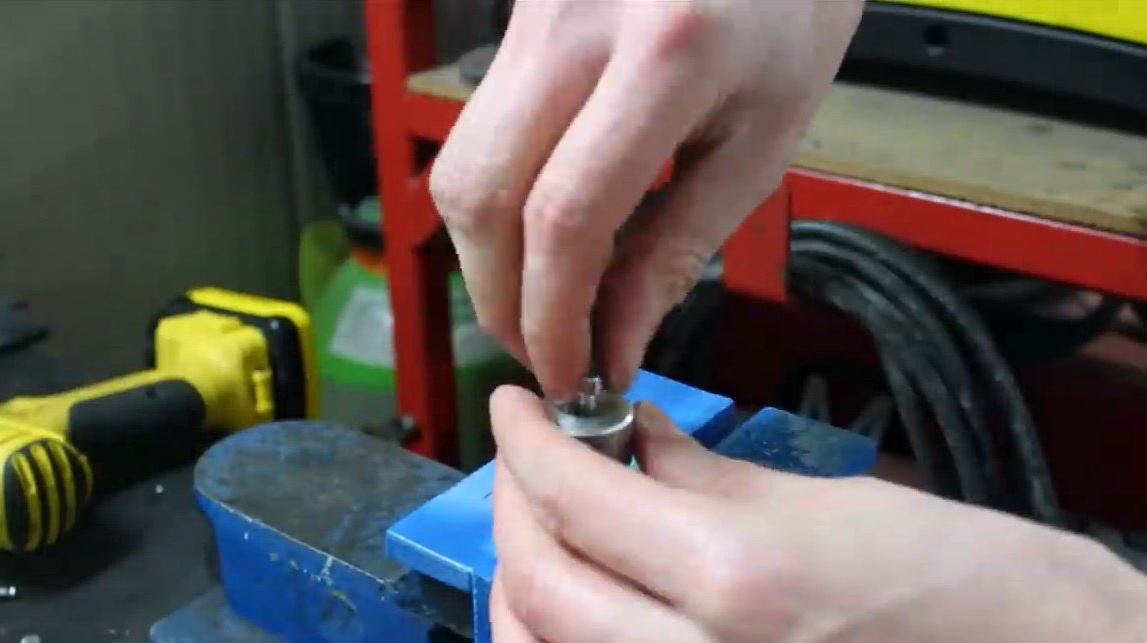
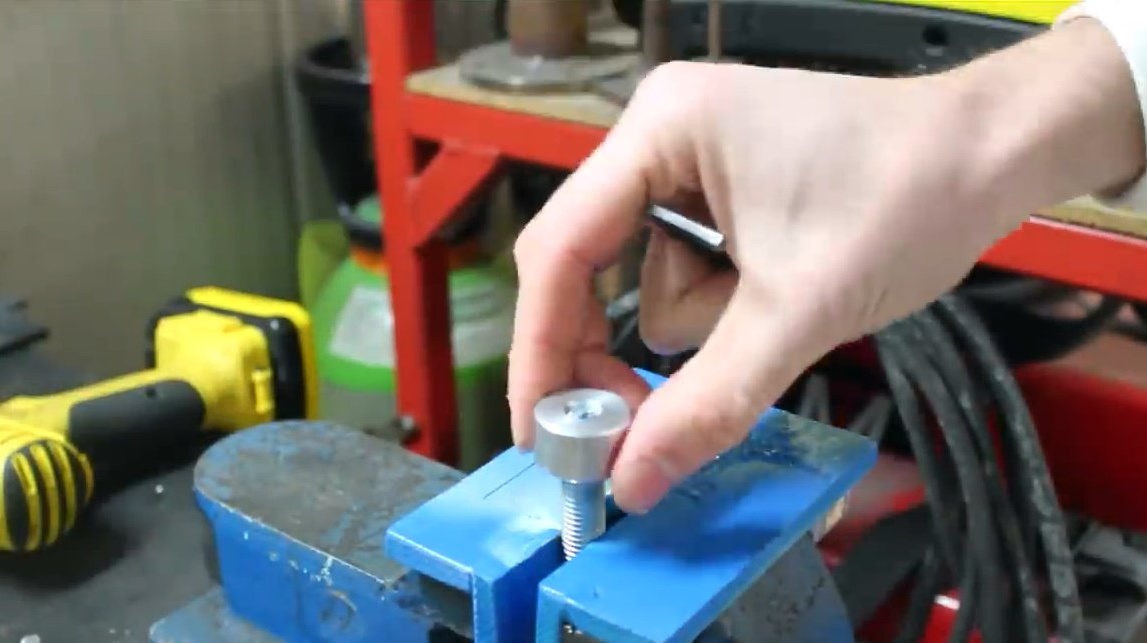
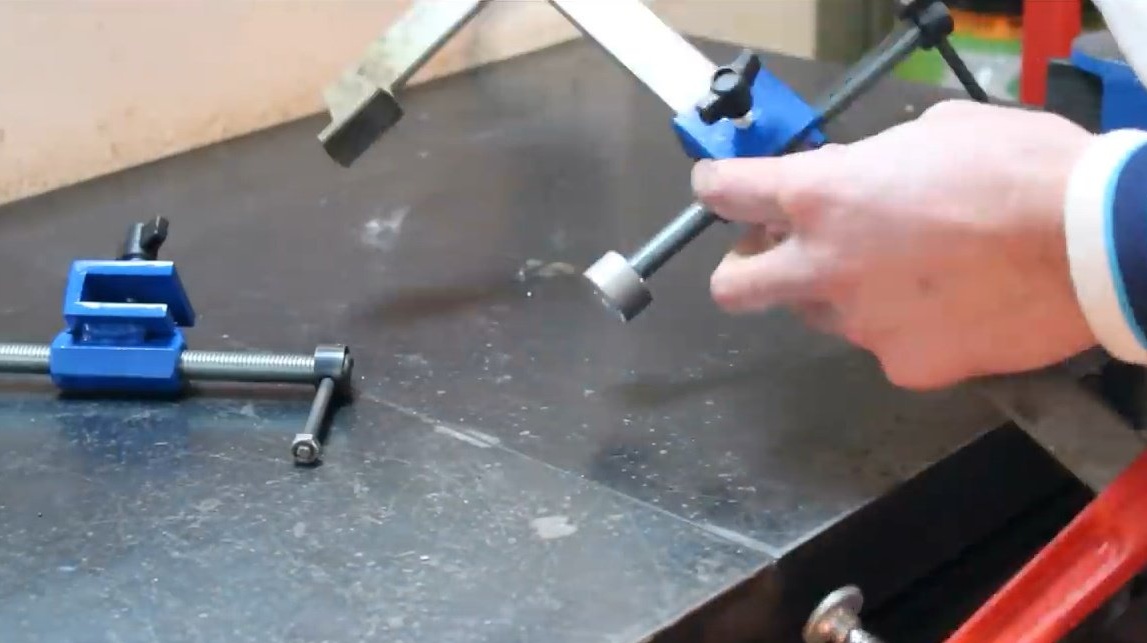
A small cylinder cuts off the steel round log and also smooths the sides on the machine.
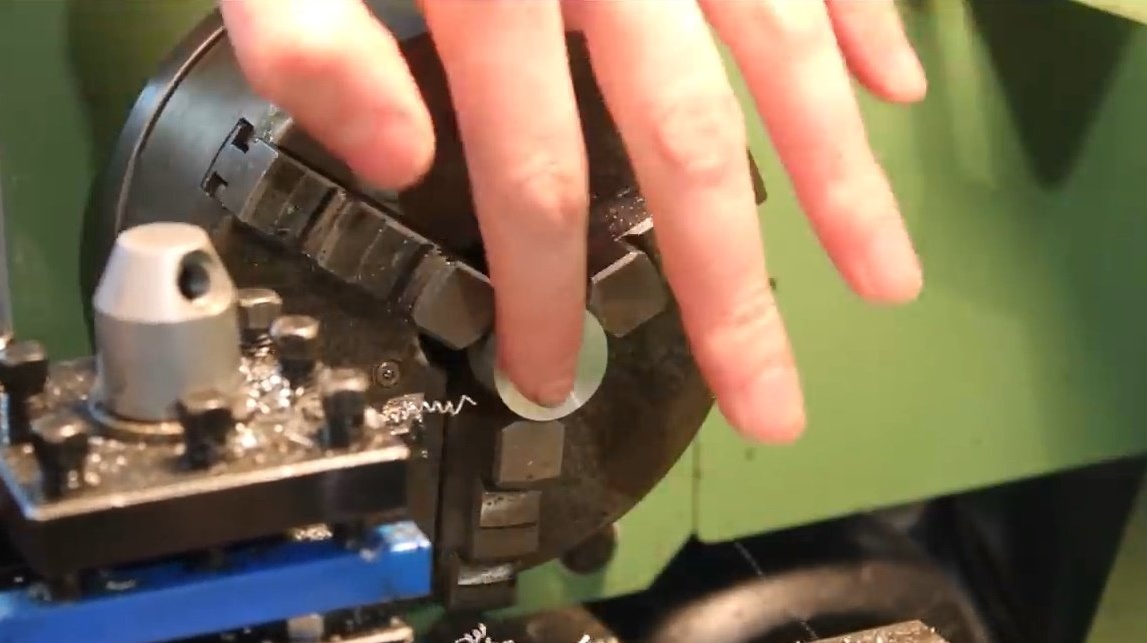
Now it drills a through hole of 6 mm in diameter, and a second hole for the bolt head. Inserts a bolt, he perfectly "hid" in the groove.


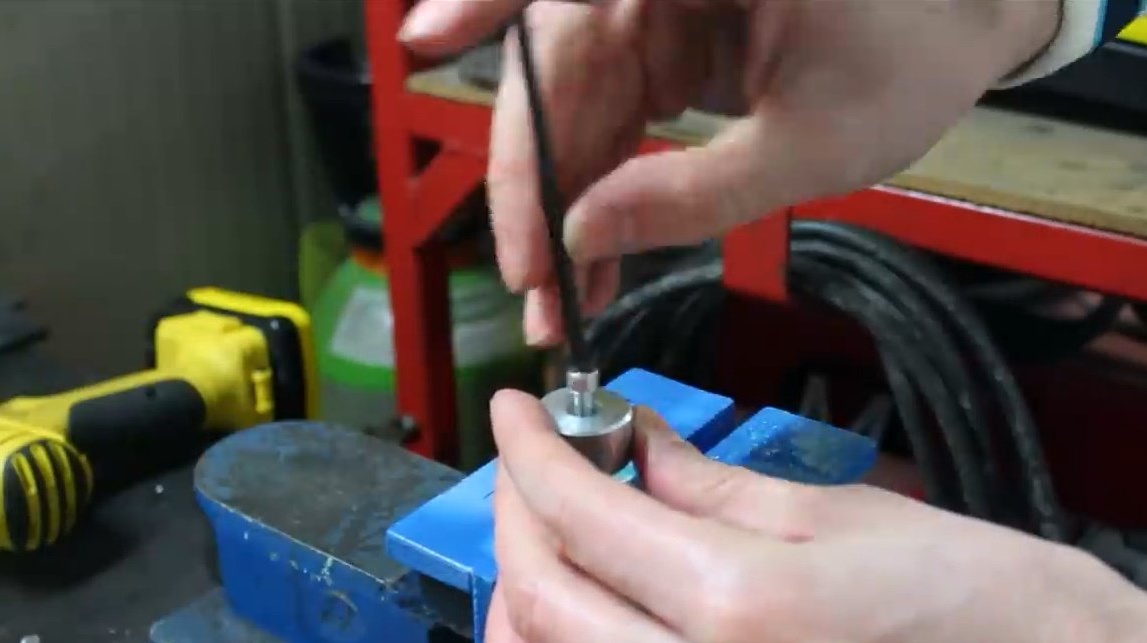
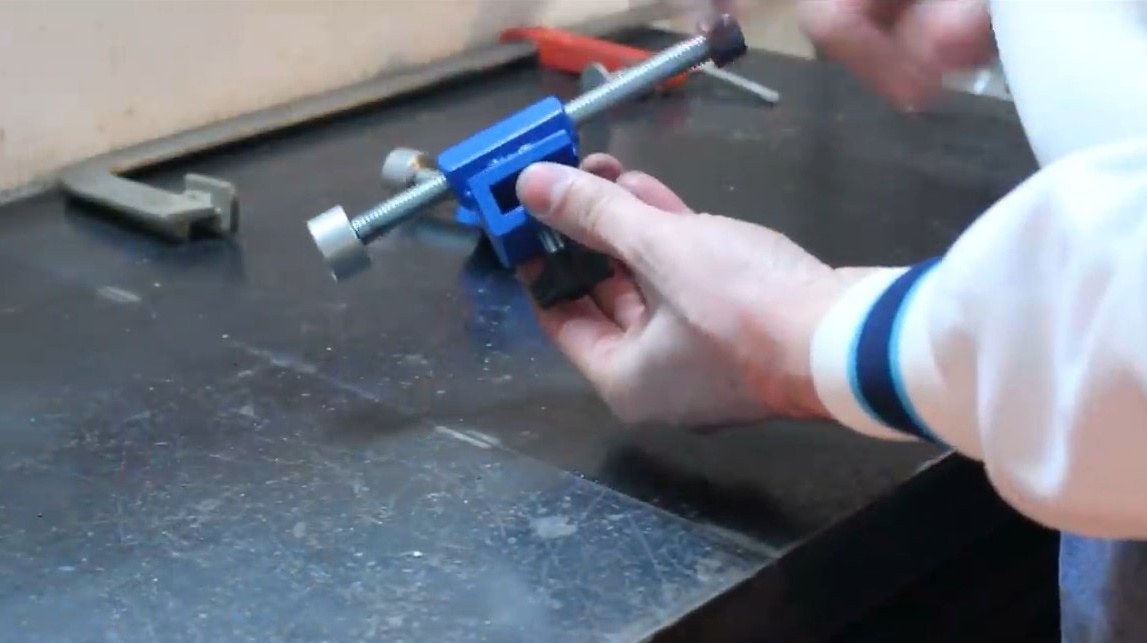
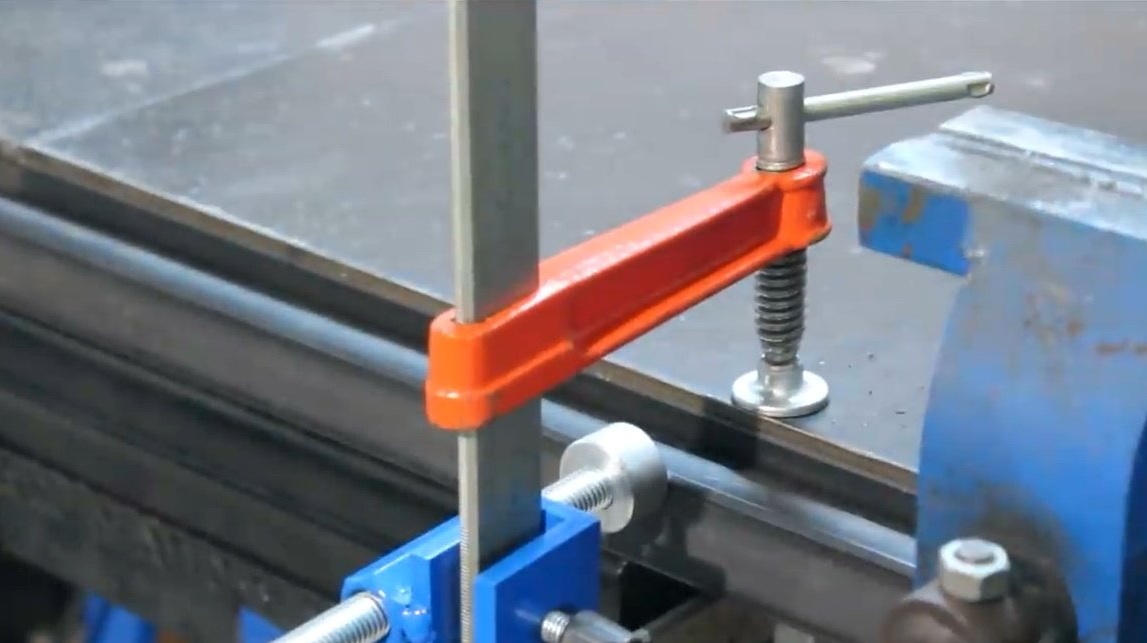
In the end hole of the stud, it cuts the M6 thread, sets the clamp, fixes it with a bolt. The clamp should rotate freely.
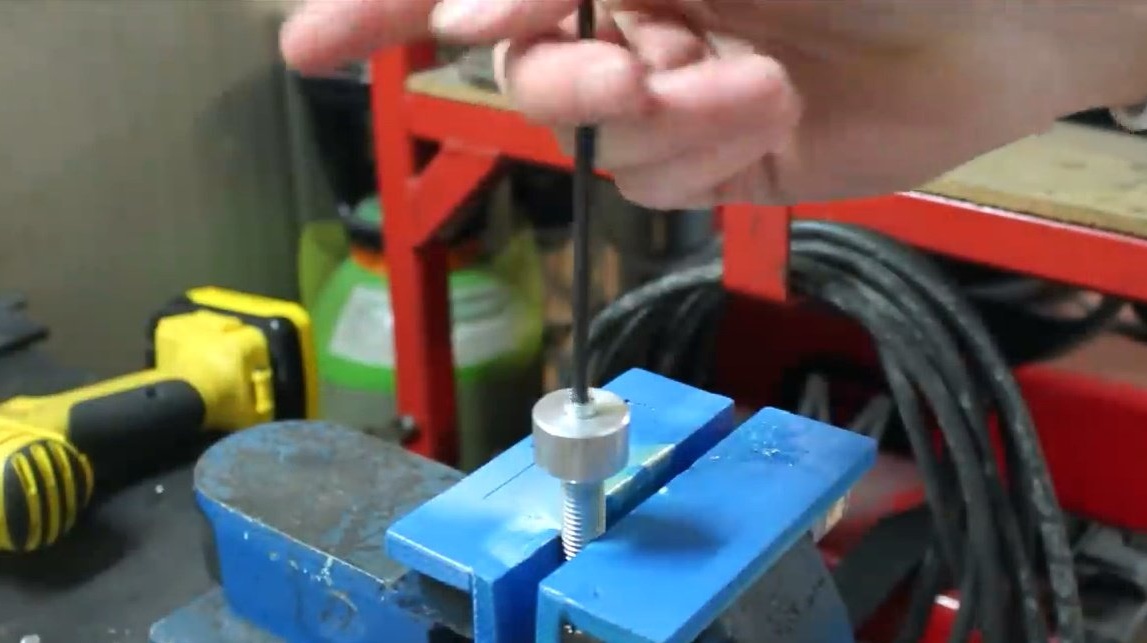
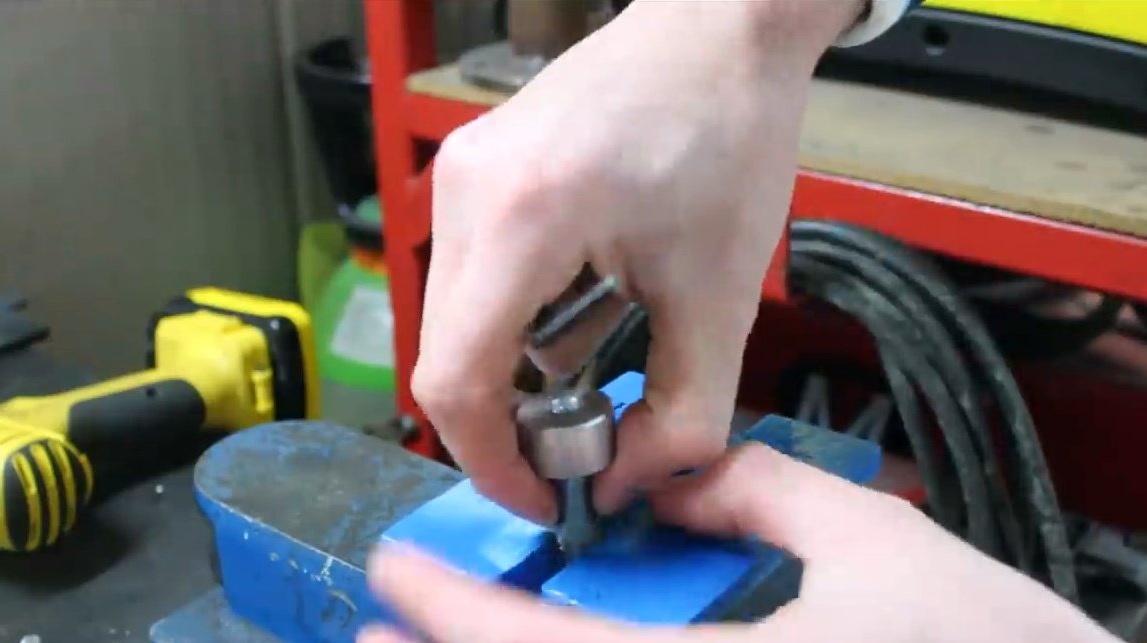
On the second side of the stud, she puts on a sleeve and welds it.
Then, a transverse hole is drilled in the sleeve. Stains the bulk fixtures blue spray paint.
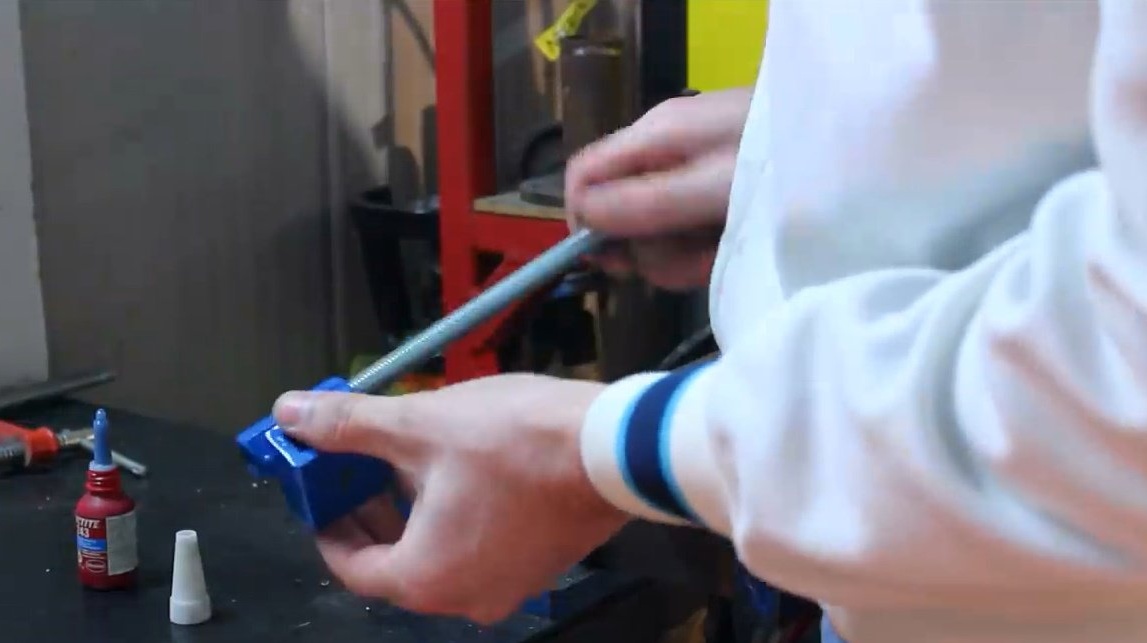
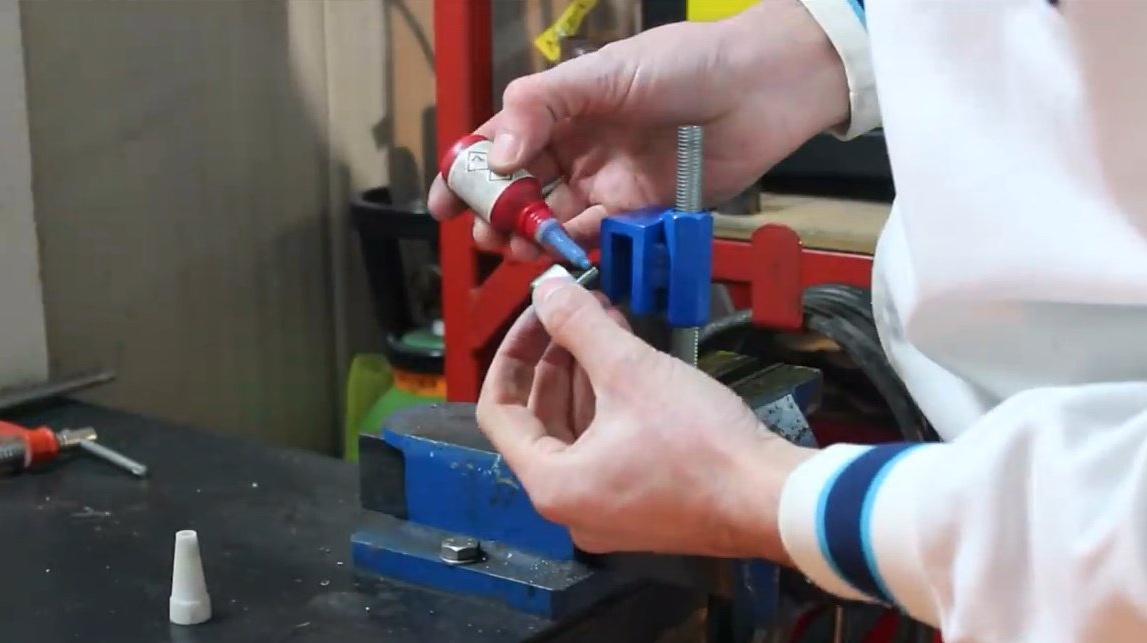
Screws the clamping screw into the elongated nut. Then he puts on the clamping sponge, fixes it with a bolt with a thread lock.
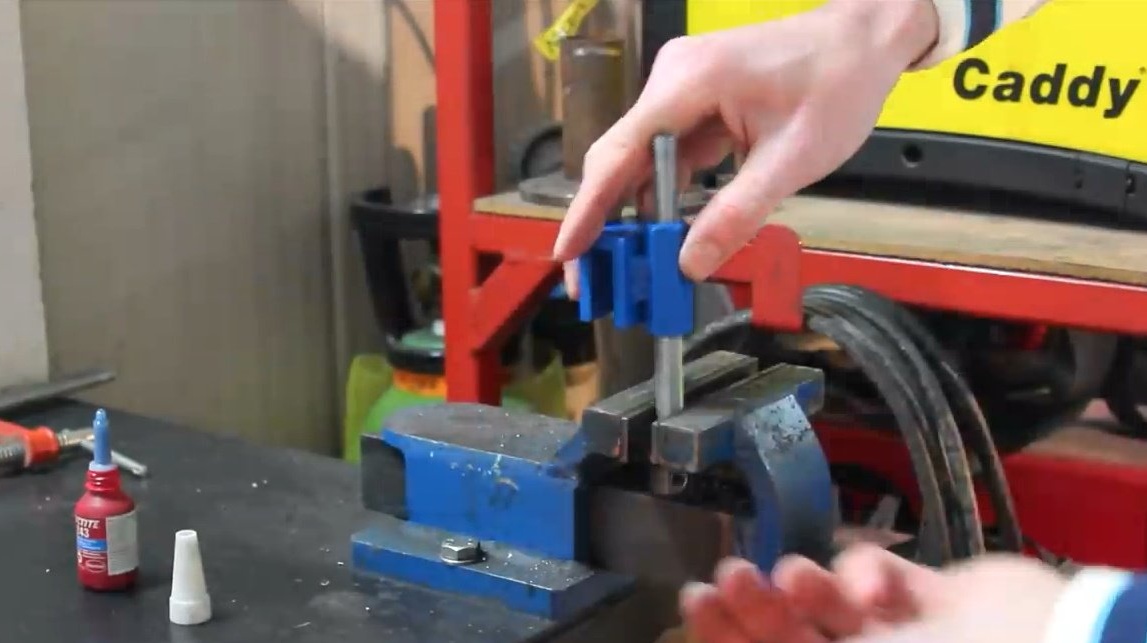
Then inserts and collects the swivel.

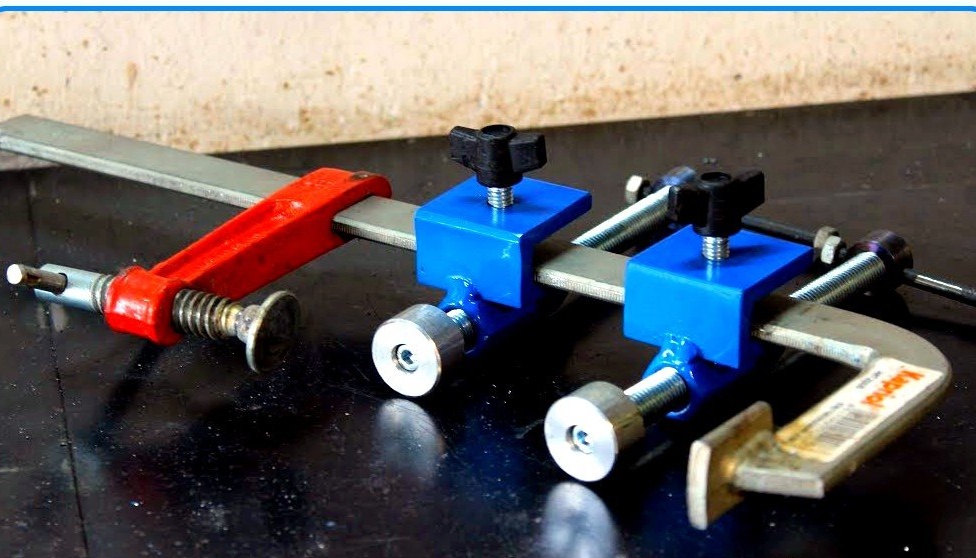
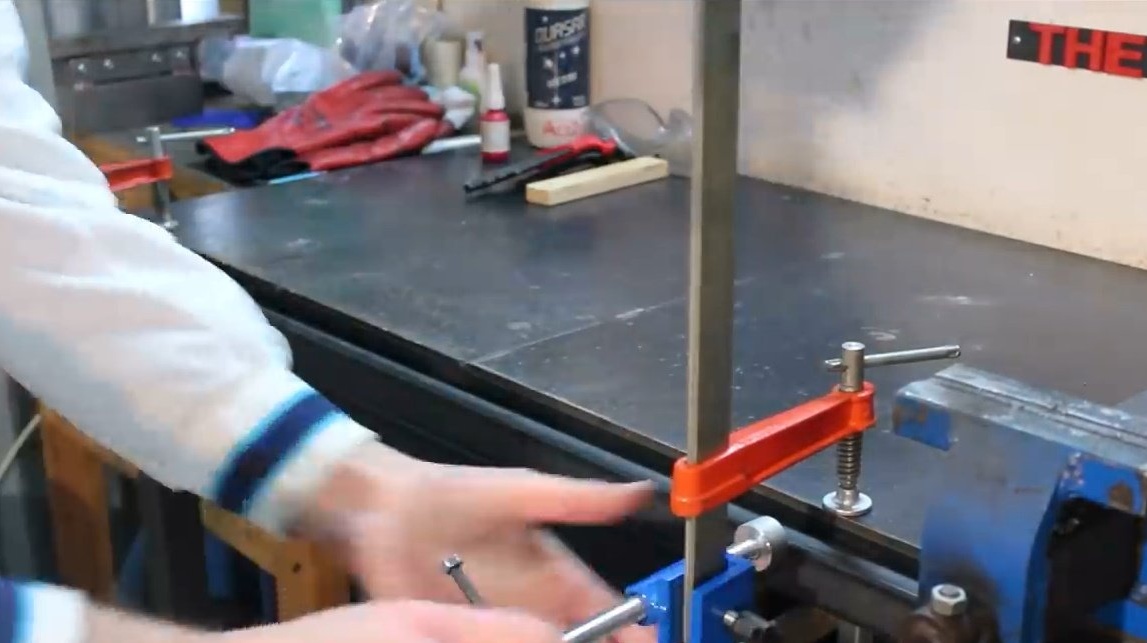
Installs the bolt with the lamb in its place, and the fixture is ready!

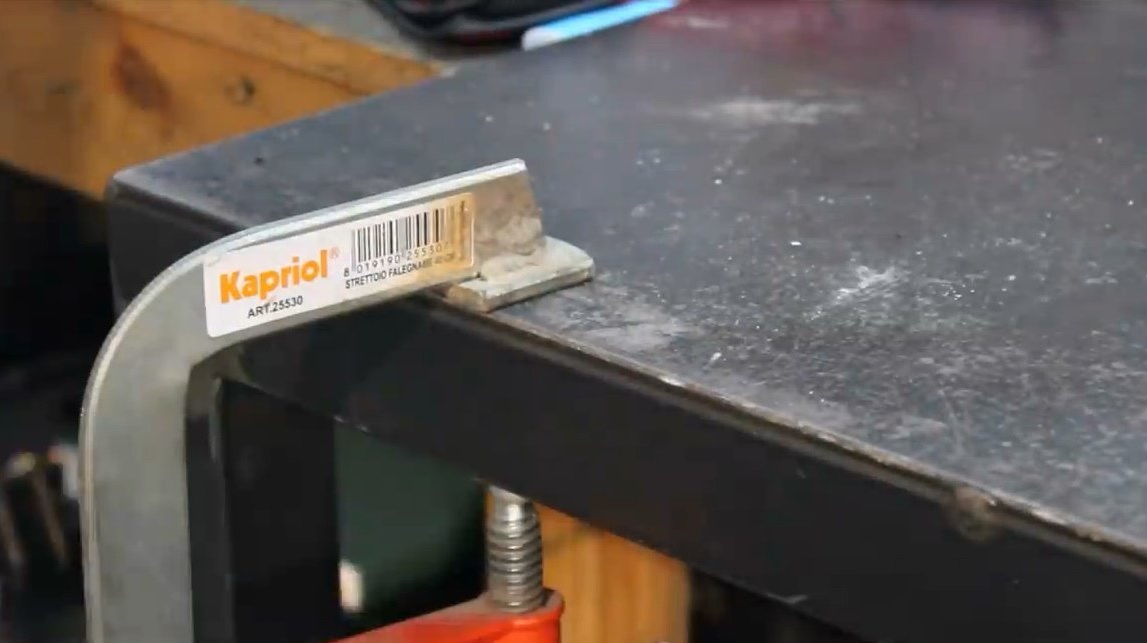
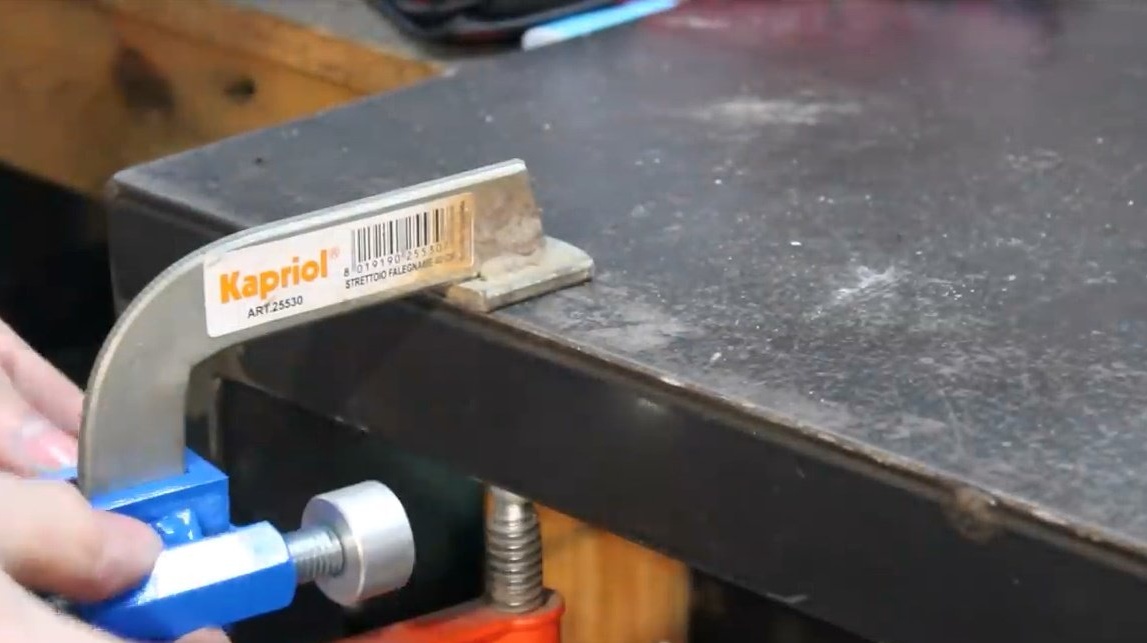
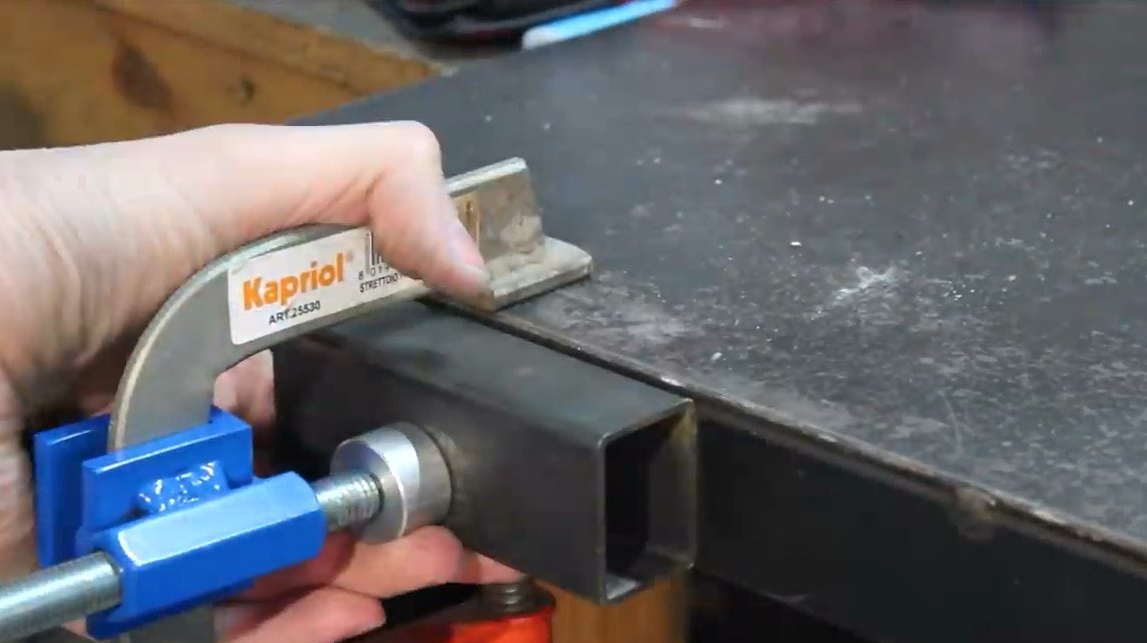
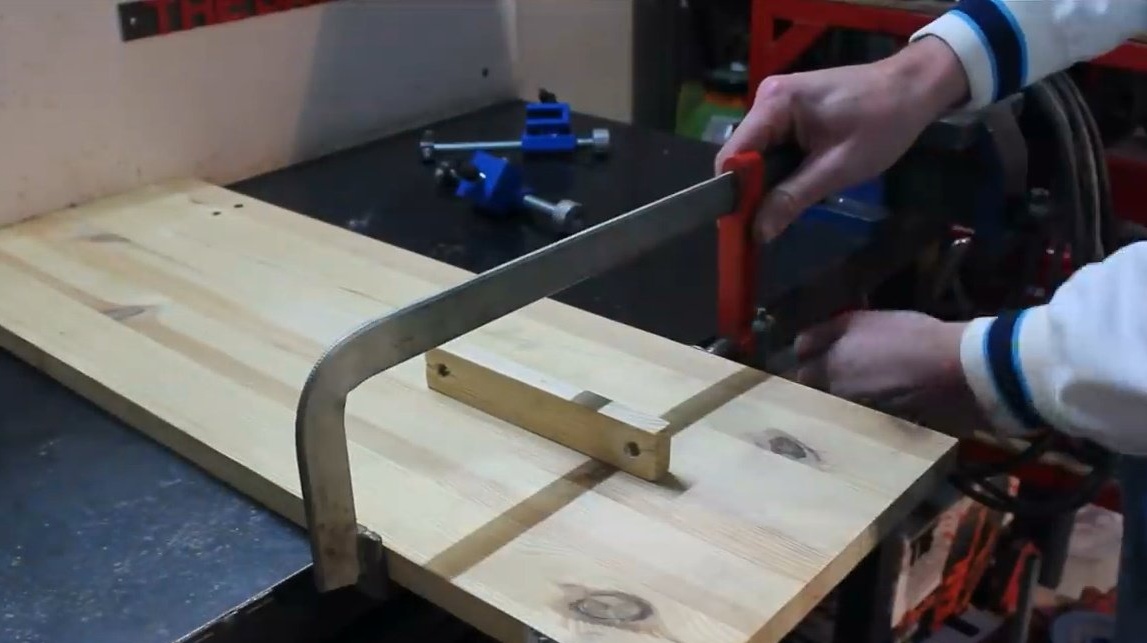
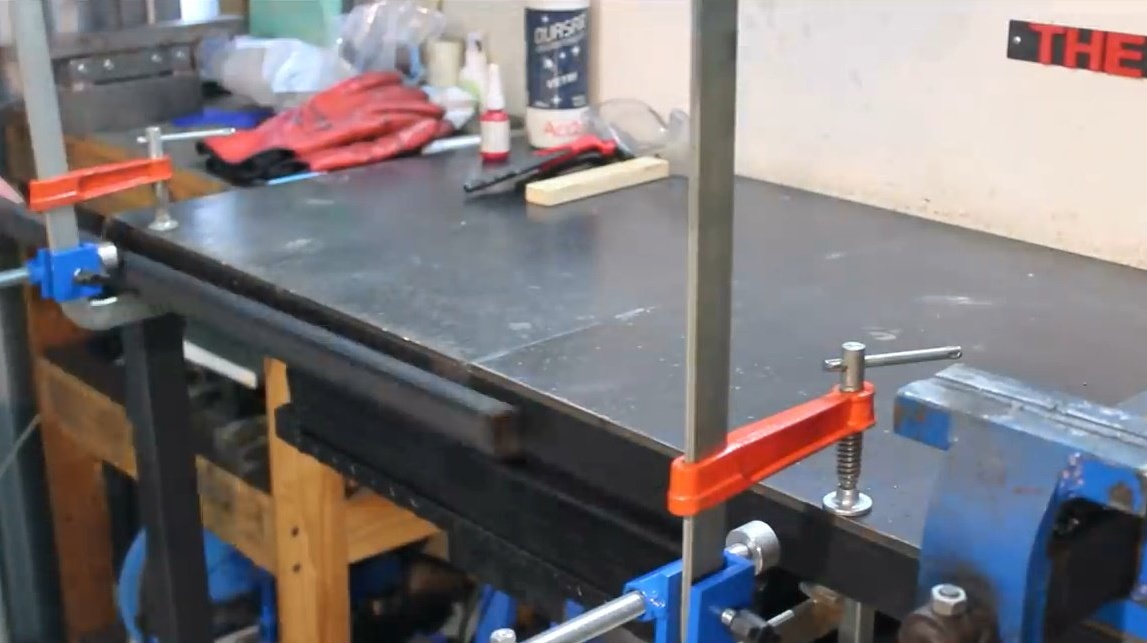
First he tests it on cutting a profile pipe, pressing it to the end of the table.
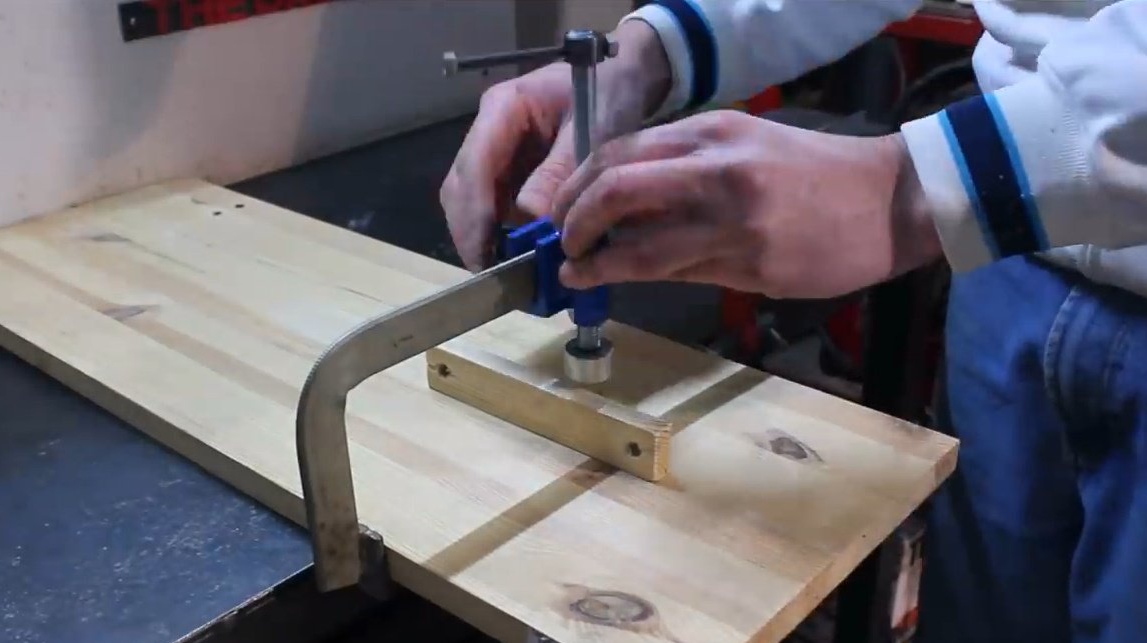
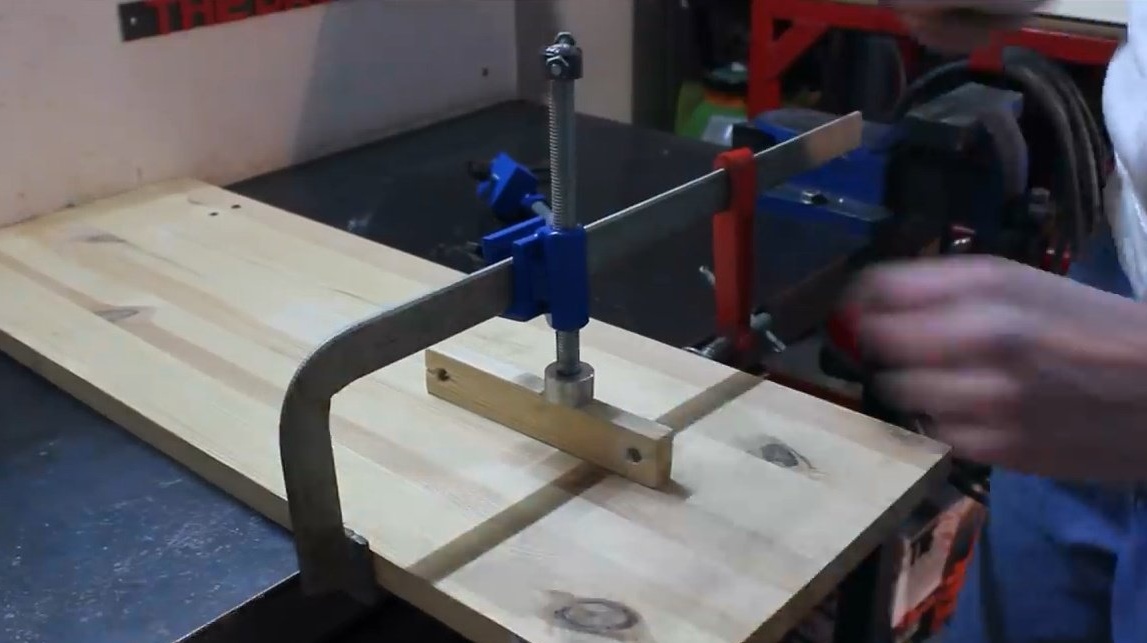
In these two ways, you can fix the workpiece in the middle of a large wooden shield.
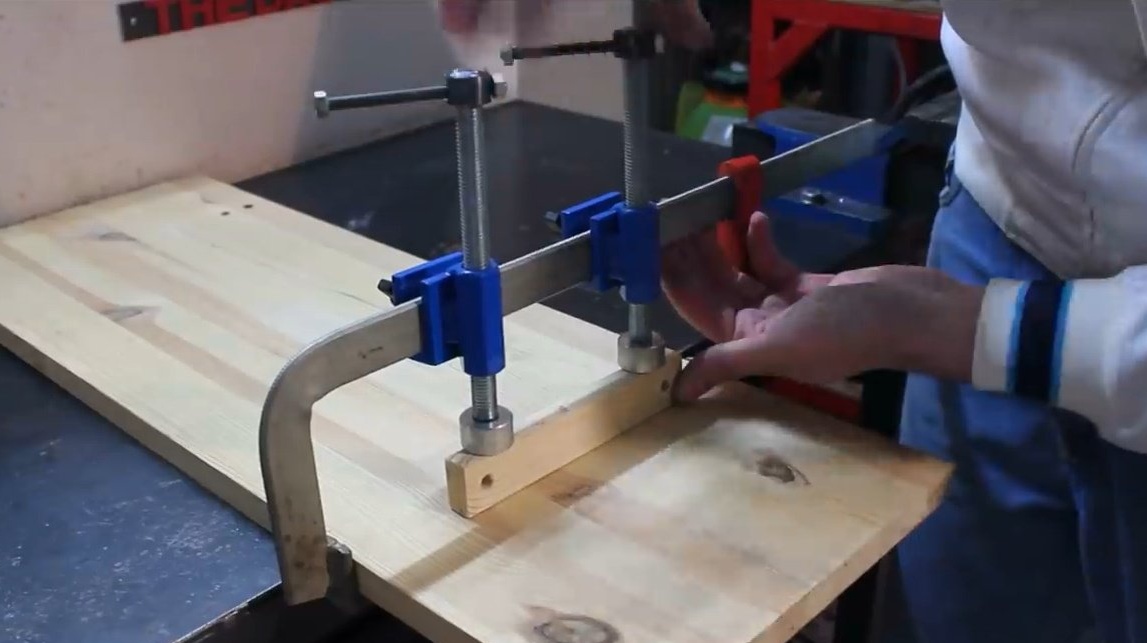
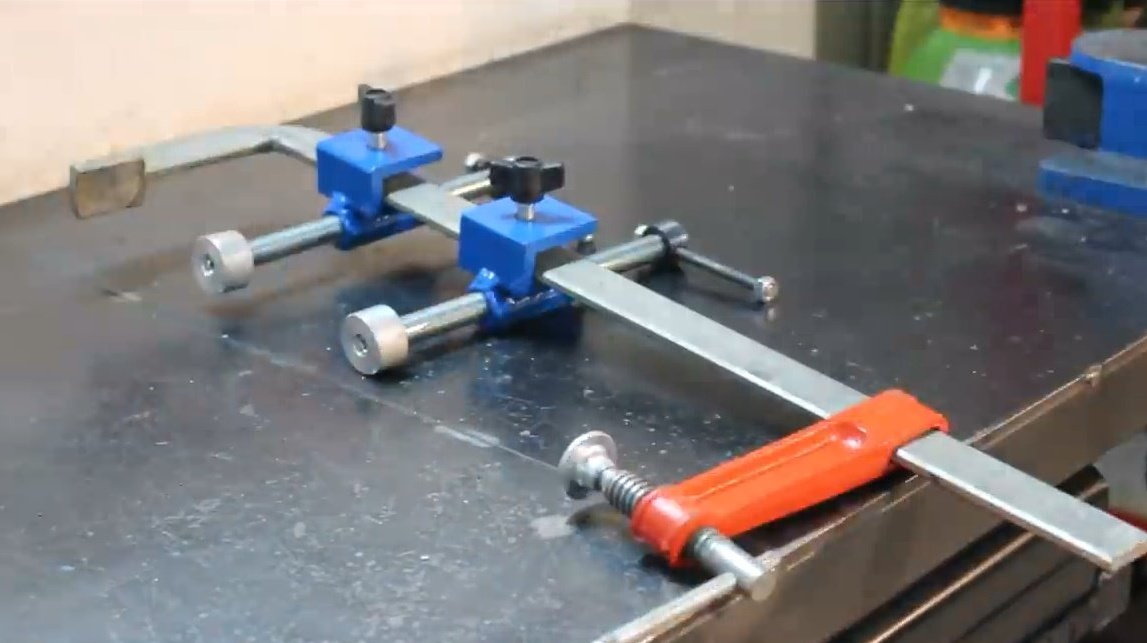
And with the help of two clamps, you can fix a long profile pipe.


Thanks to the author for a simple but useful tool for the workshop!
All good mood, good luck, and interesting ideas!