
Hello friends the inhabitants of our site! In today's article, we will consider an extremely interesting homemade product, which is likely to be useful to everyone. Namely, today we will consider how to make a jigsaw. This tool is very useful in the household and it very often comes in handy during the construction of any homemade products. Today we look at one of the cheapest and most affordable build options. The homemade product will consist of the cheapest and most affordable materials that you probably have at home, and if not, you can easily find them in your city, or you can order them from our Chinese friends. In general, the homemade product is very interesting, so let's not pull with a long introduction, let's go!
Links to the main components are left at the end.
For this homemade product we need:
- Collector motor 775 class. (such usually put on professional RU models).
- wires
- Some kind of plastic flywheel (big flat gear)
- PVC pipe, the inner diameter of which will be equal to the outer diameter of the electric motor
- Corner for PVC pipe
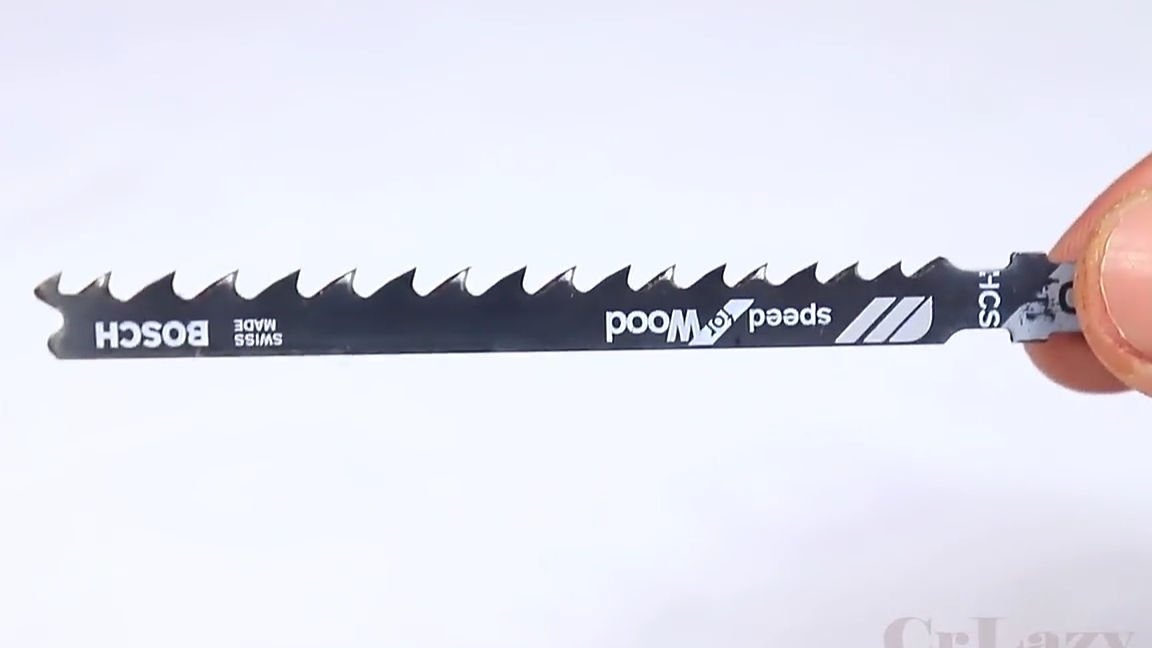
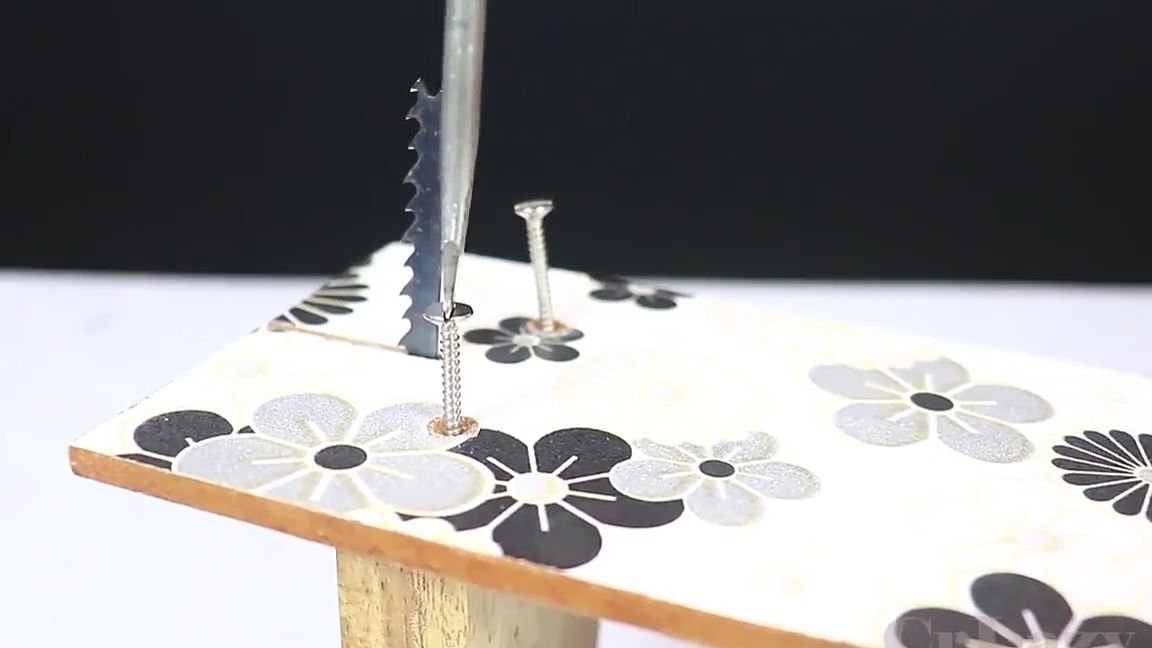
- Canvas for jigsaw
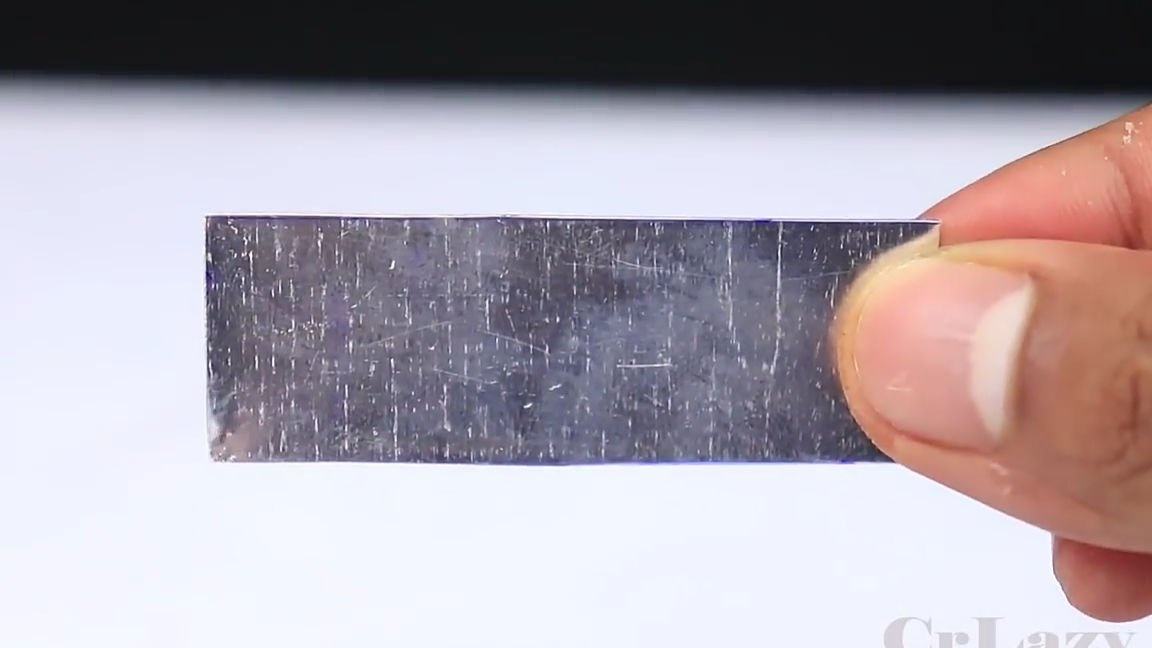
- Small metal plate
- A small (but thick) board
- Thick wire (or for example a bicycle spoke)
- Button
- Power connector
- Power Supply (12-24v 1-2A)
- Not a large sheet of laminated MDF panel or plywood
Of the tools we will also need:
- soldering iron
- solder
- marker
- Hot glue
- Nippers
- pliers
- Round pliers
- Cold welding
- Self-tapping screws
- screwdriver
- Shrink
- Drill and core drill (with a diameter equal to the diameter of the engine)
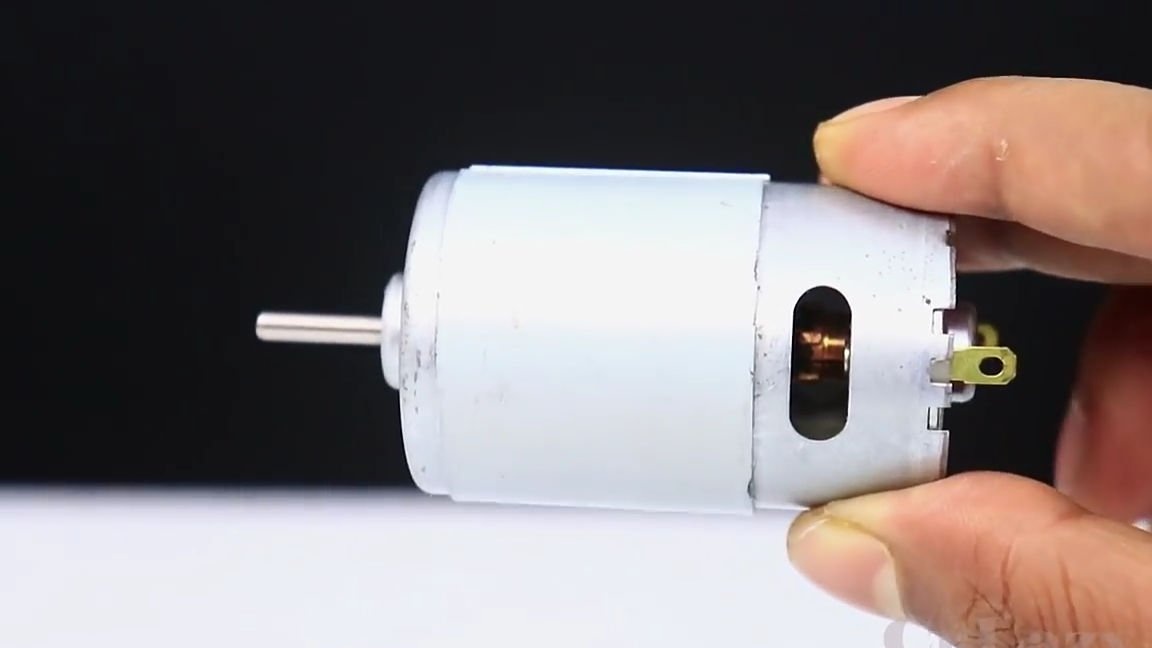
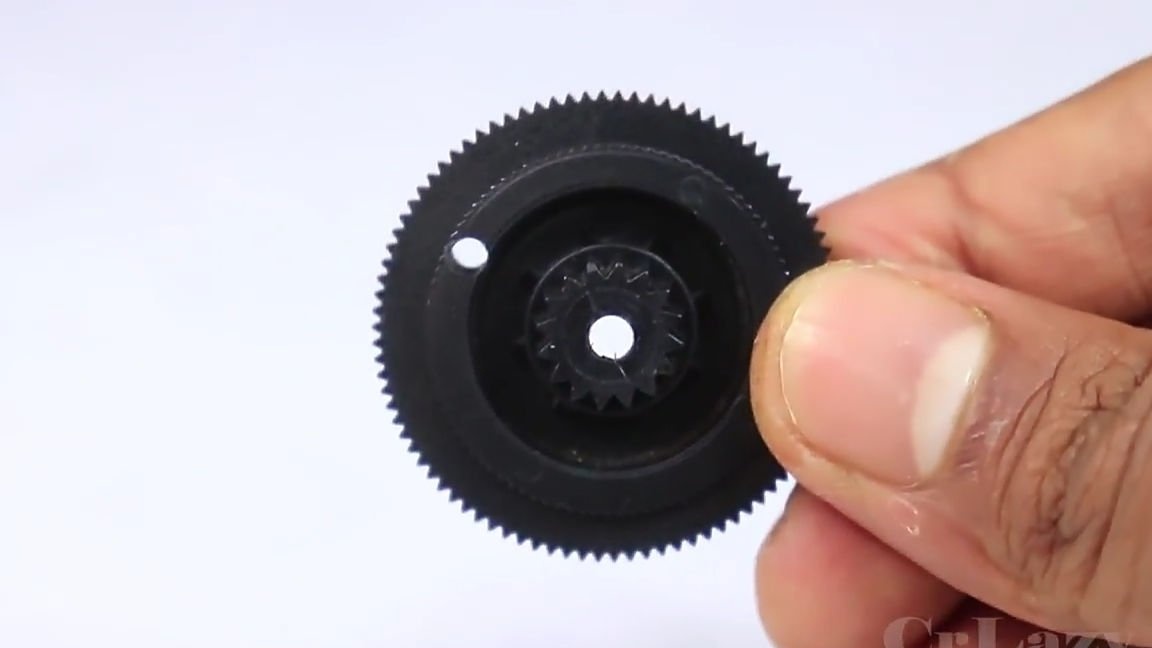
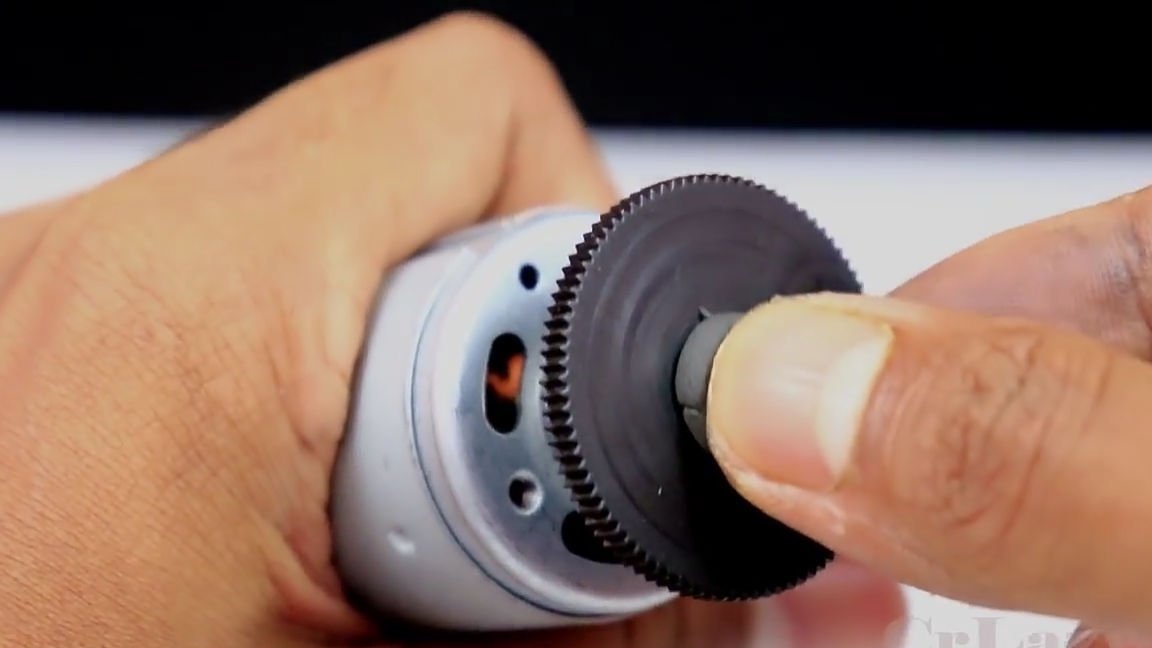
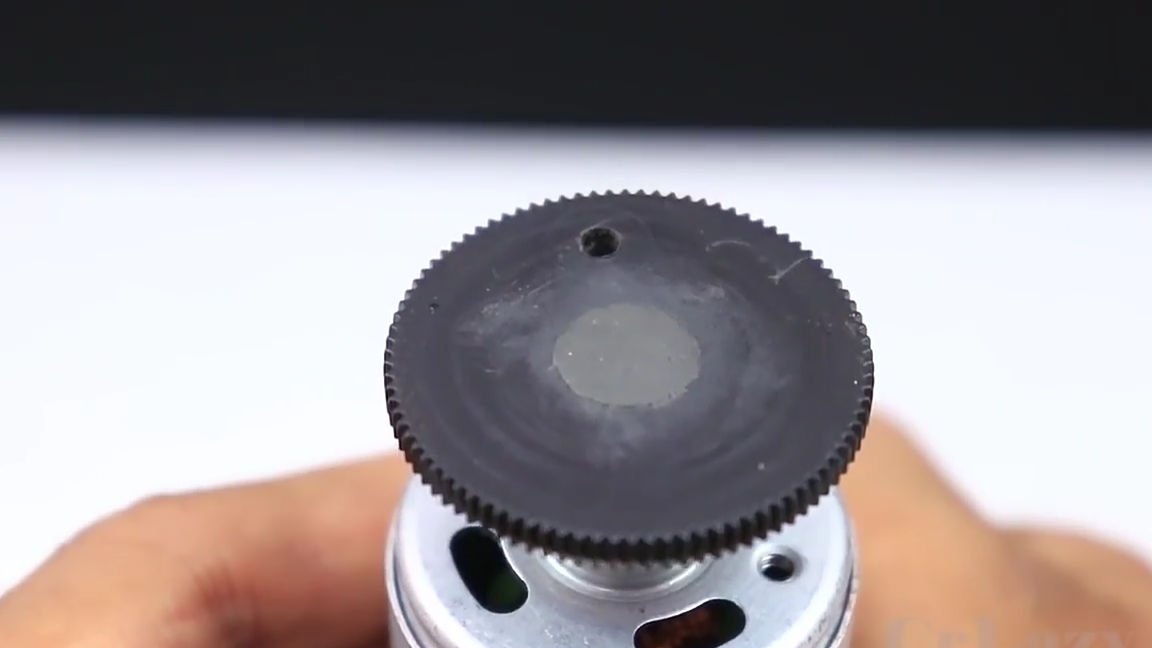
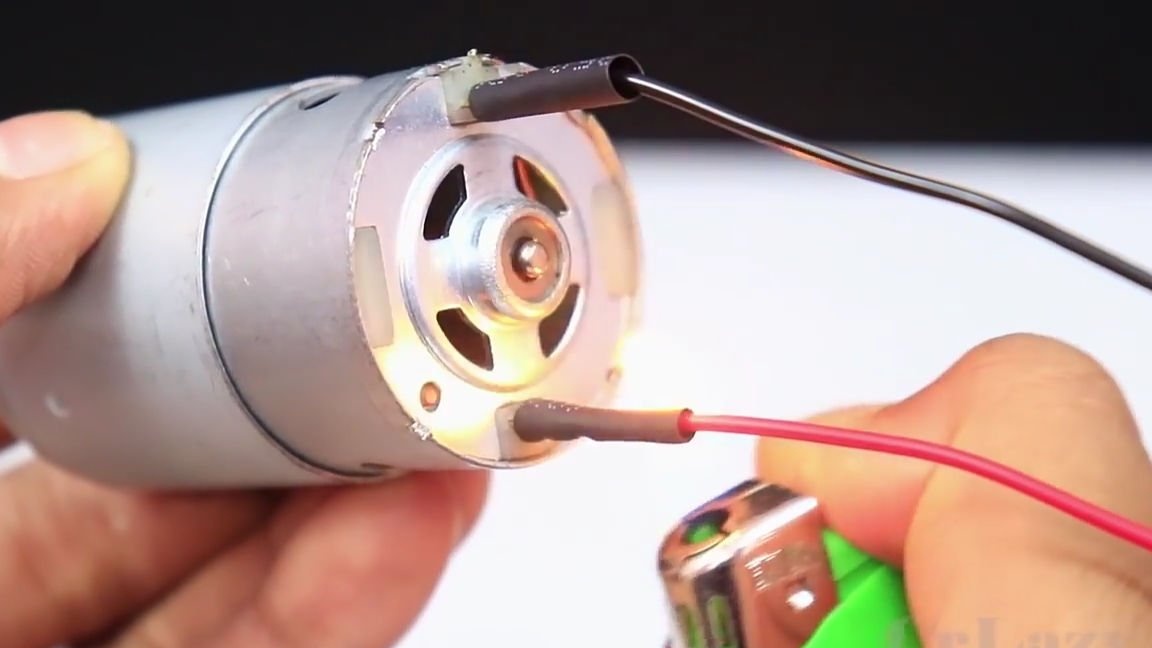
To begin with, we should choose the most important structural element, namely this electric motor. In our case, it should be with a large number of turns (such an engine has a large torque). And also, for the homemade product to serve you for a long time, it should be noted that it is desirable that the motor shaft should be on bearings, and not on the bushings, as is often the case. We also need some flywheel, the author of the homemade product took the large and flat gear that he had for this.
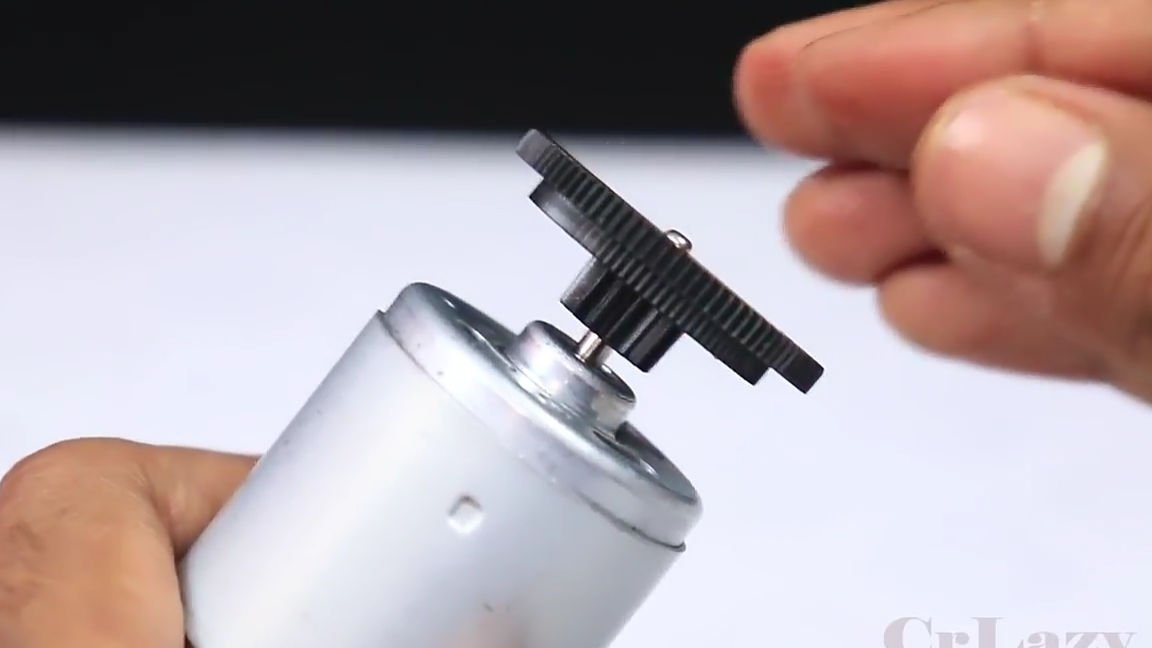
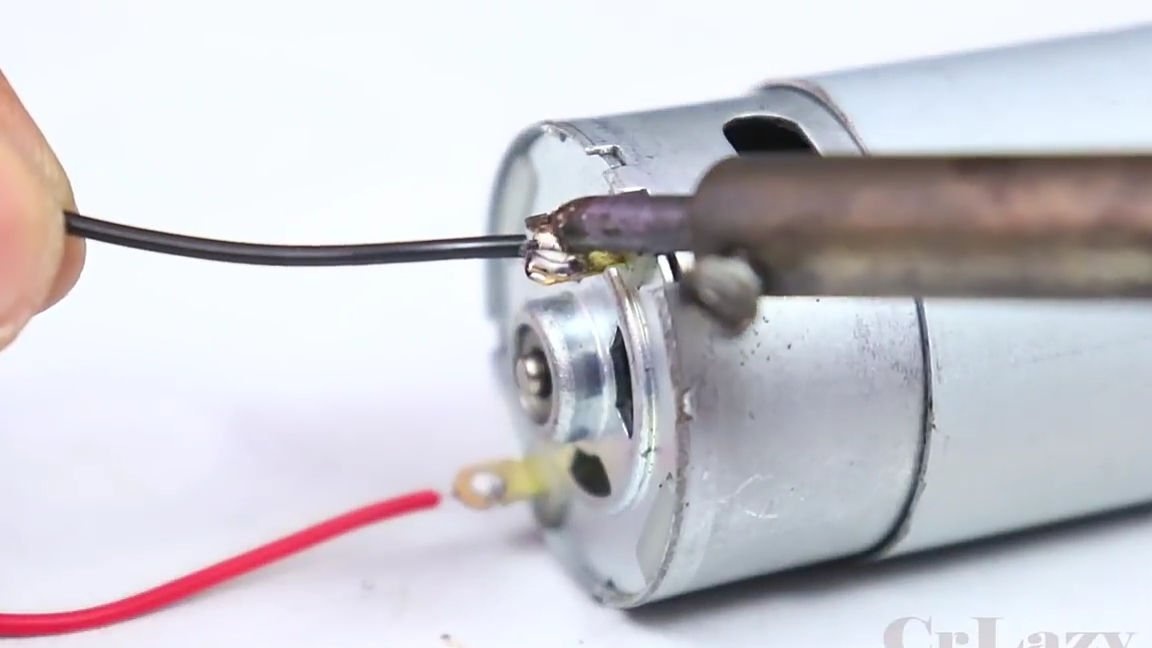
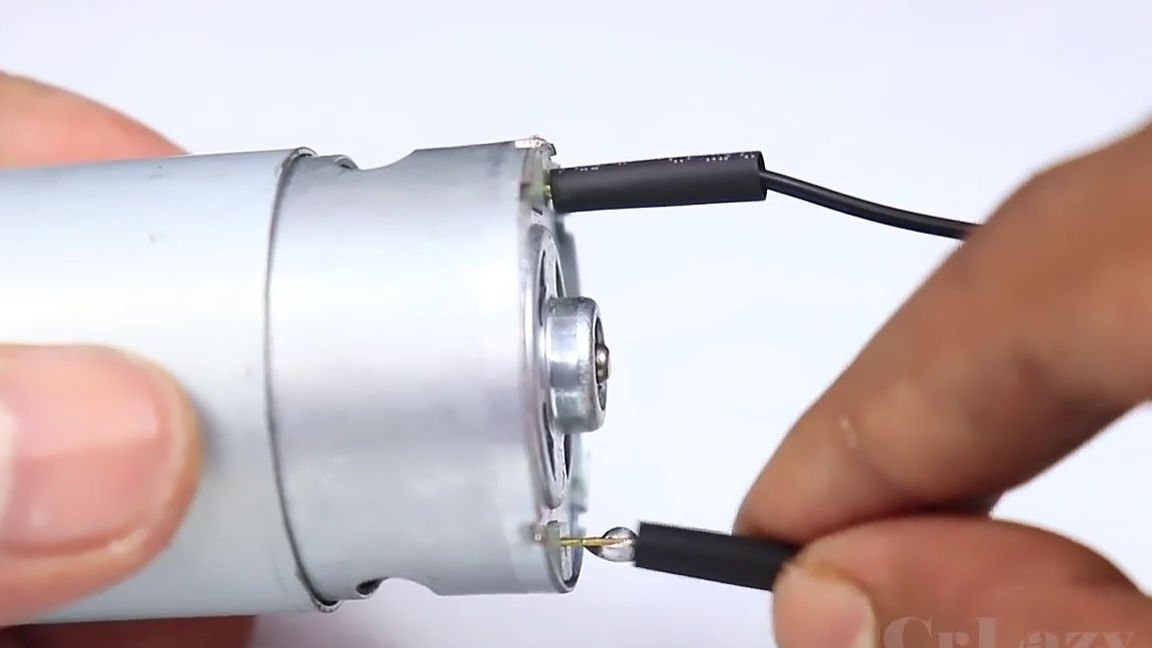
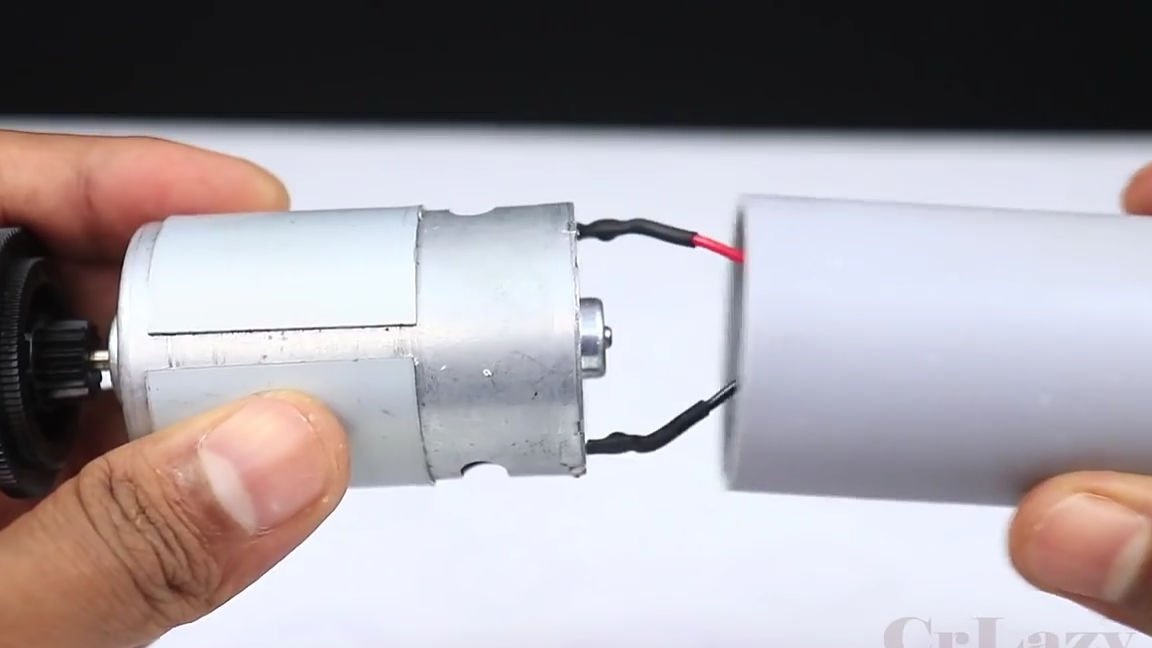
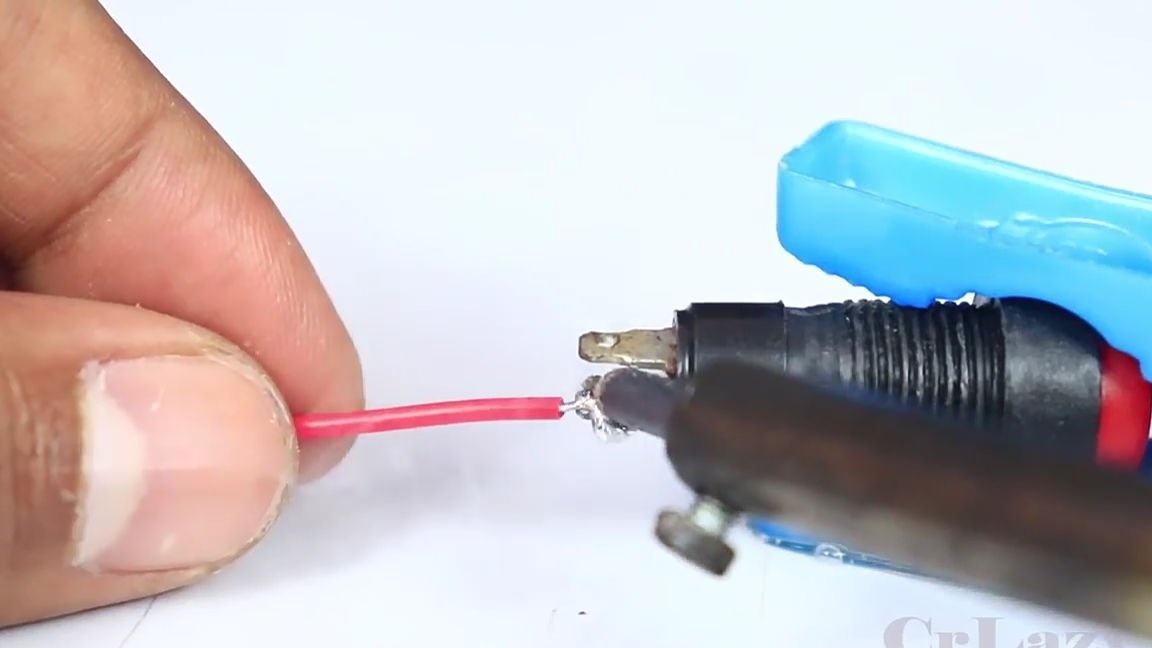
We put our handwheel on the motor shaft, and since the diameter of the inner hole of the flywheel is slightly larger than the diameter of the motor shaft, the author of the homemade product decided to strengthen the connection with a small piece of cold welding.This connection was quite strong and reliable. Then, using a simple soldering iron, solder two 15cm wires to the motor contacts and insulate the connection with heat shrink.
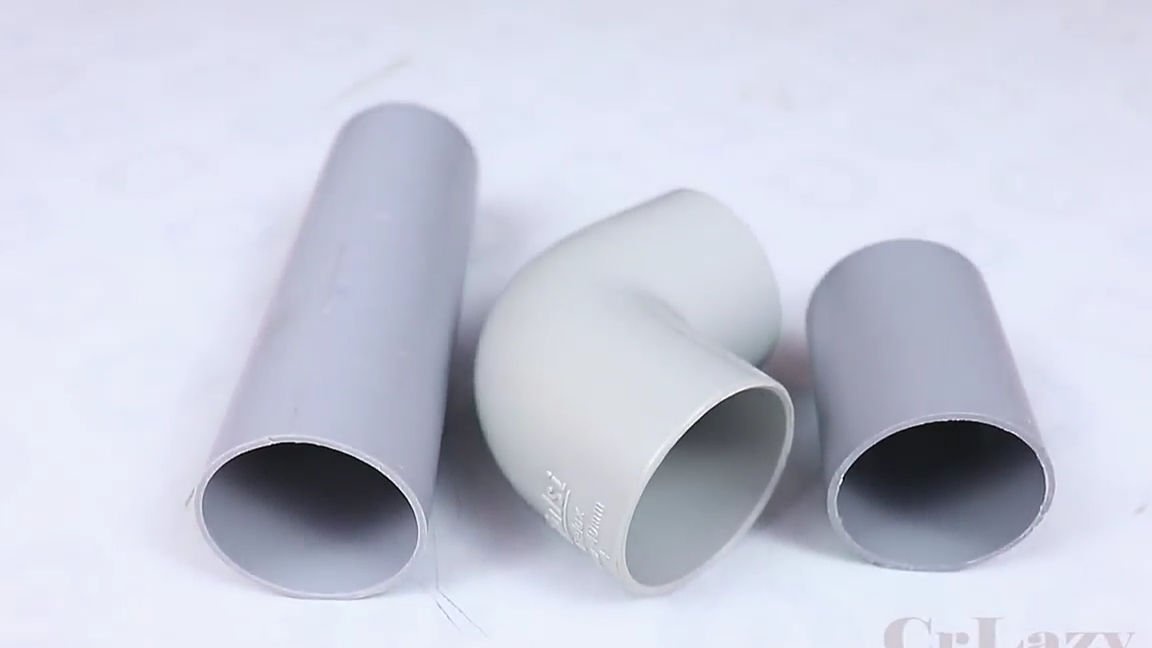
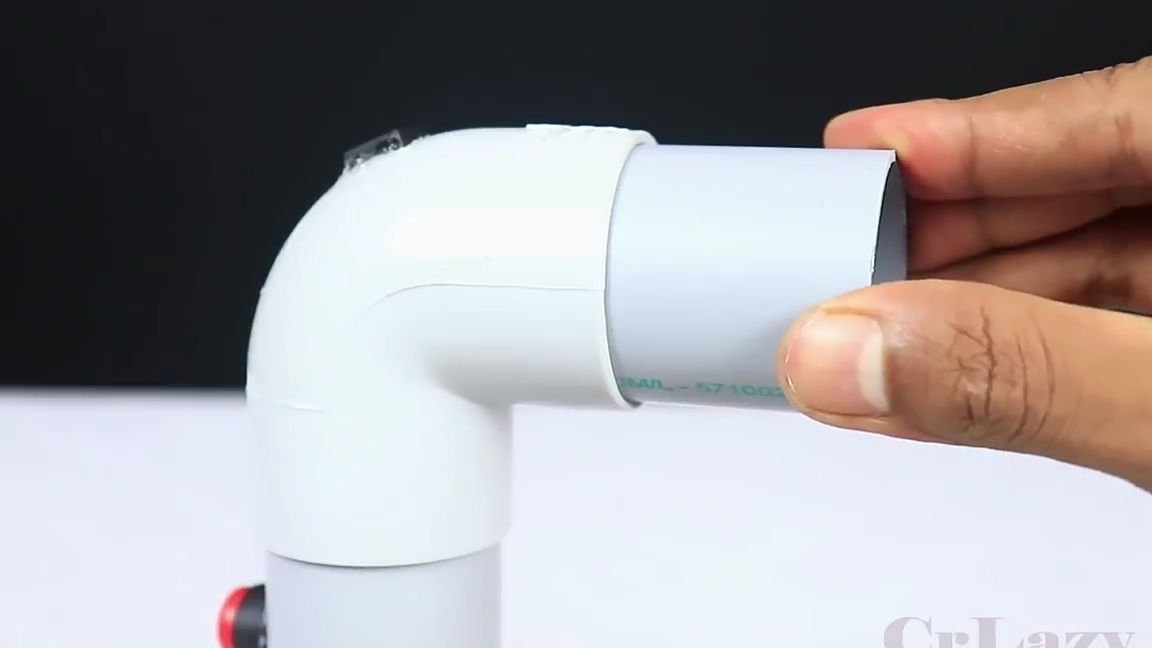
Then we need to take a PVC pipe, the inner diameter of which will be equal to the outer diameter of the electric motor. This pipe will play the role of both engine mounts for our engine and the handle of our tool. Also for this pipe we need one suitable PVC corner.
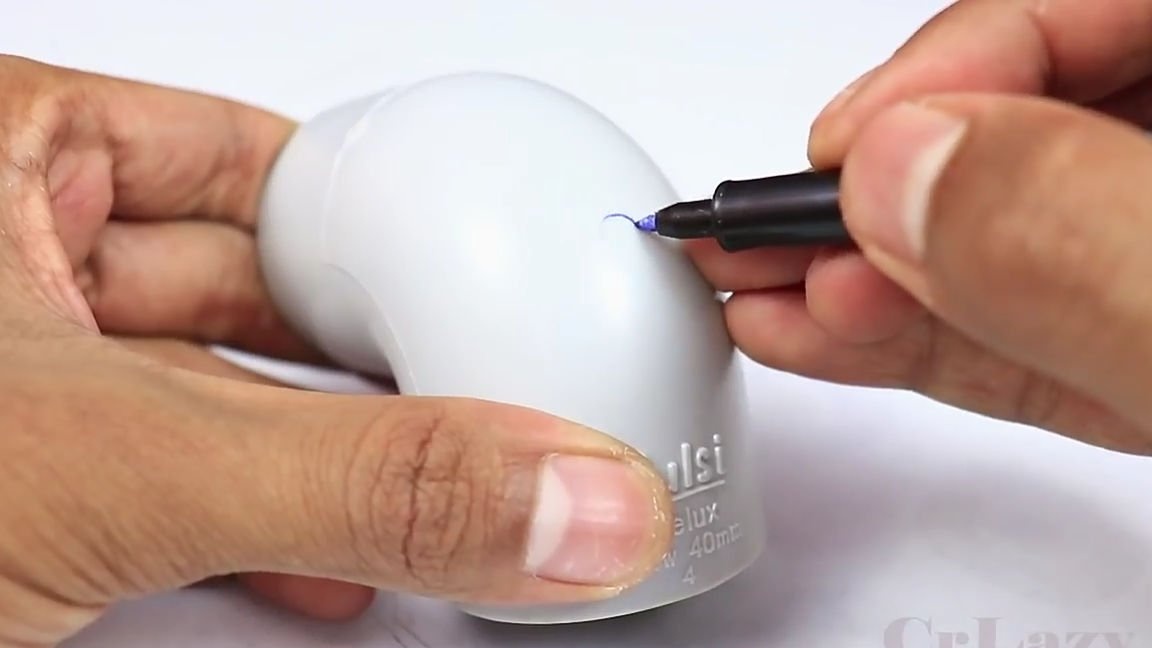
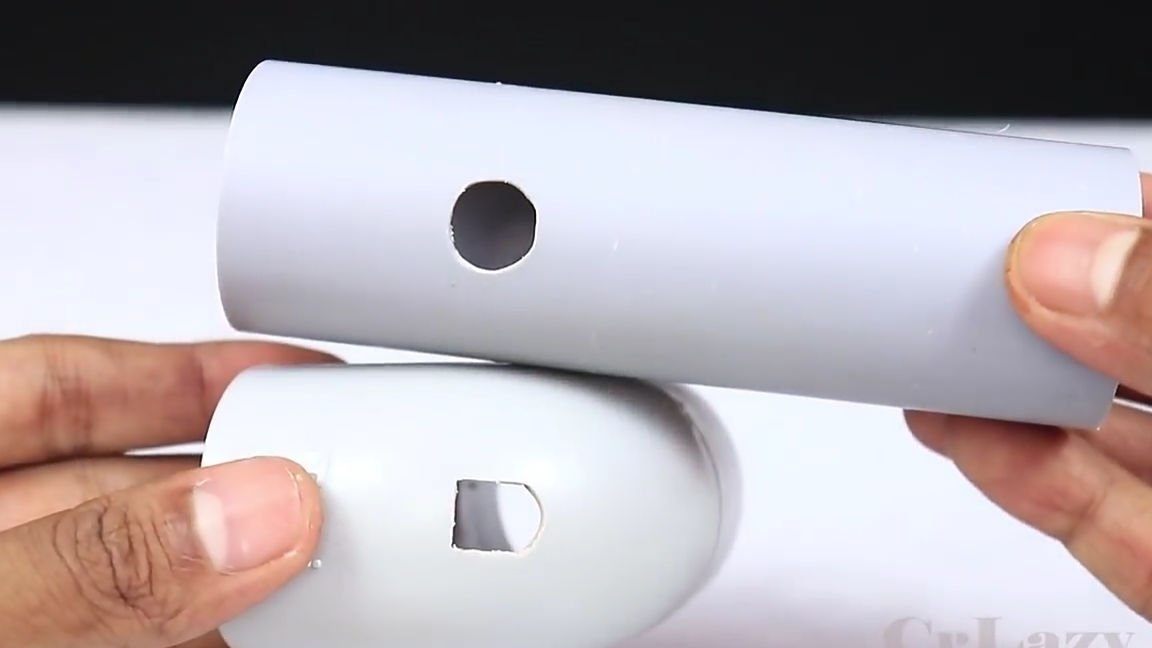
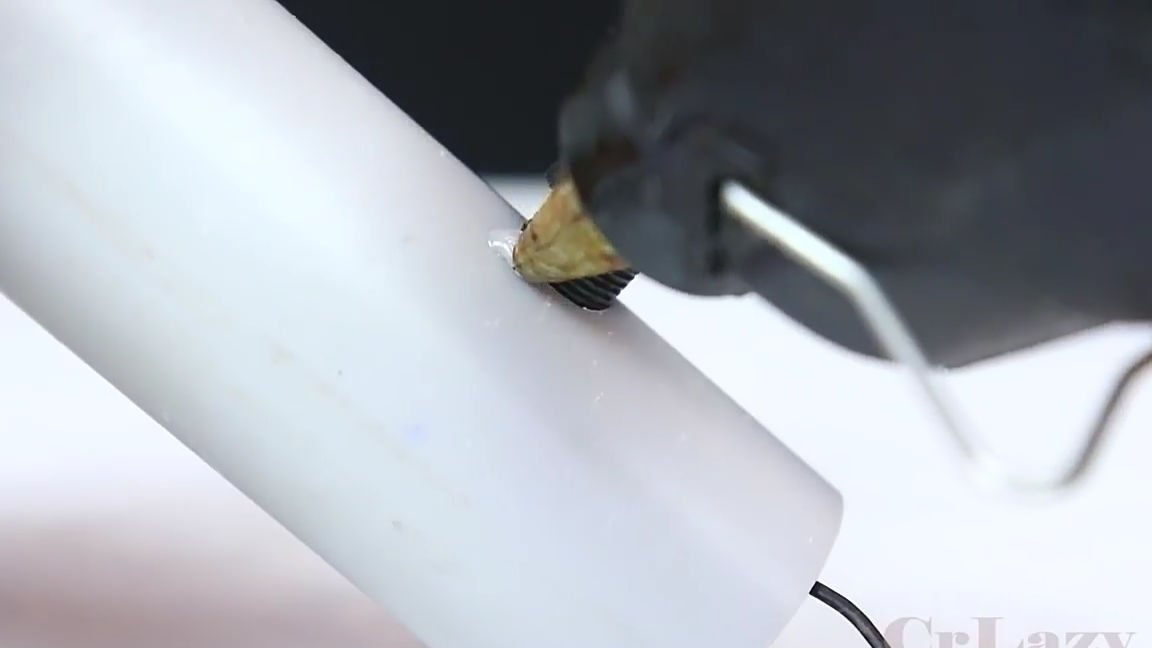
To begin with, in PVC pipes we should make all the necessary holes. Namely, on a long pipe, we should make a hole for the button. To do this, use a marker in a place convenient for you to leave a mark and make a through hole for installing the button. And at the corner we should make a hole for installing the power connector (to make a hole we repeat the same actions that we did with the pipe above).

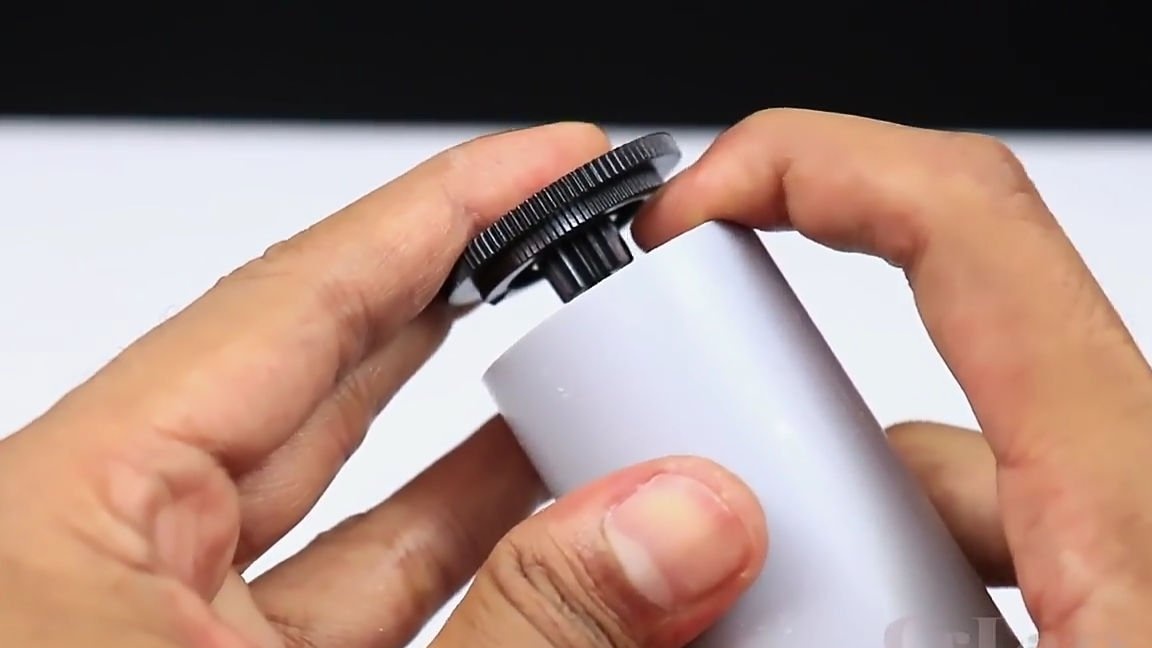
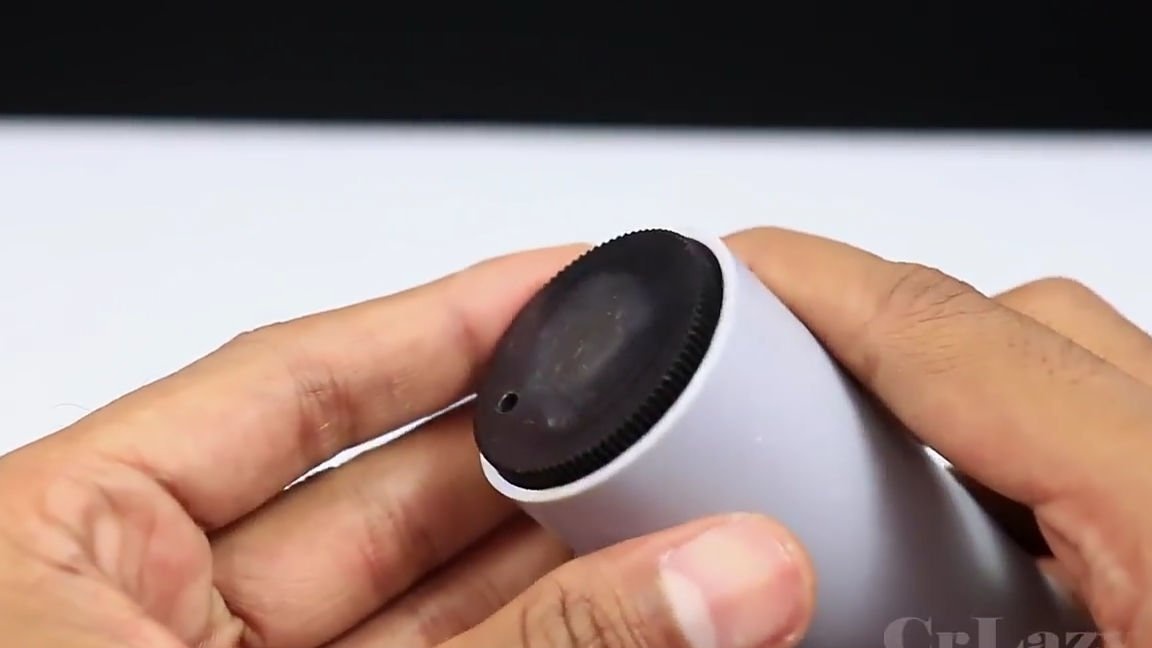
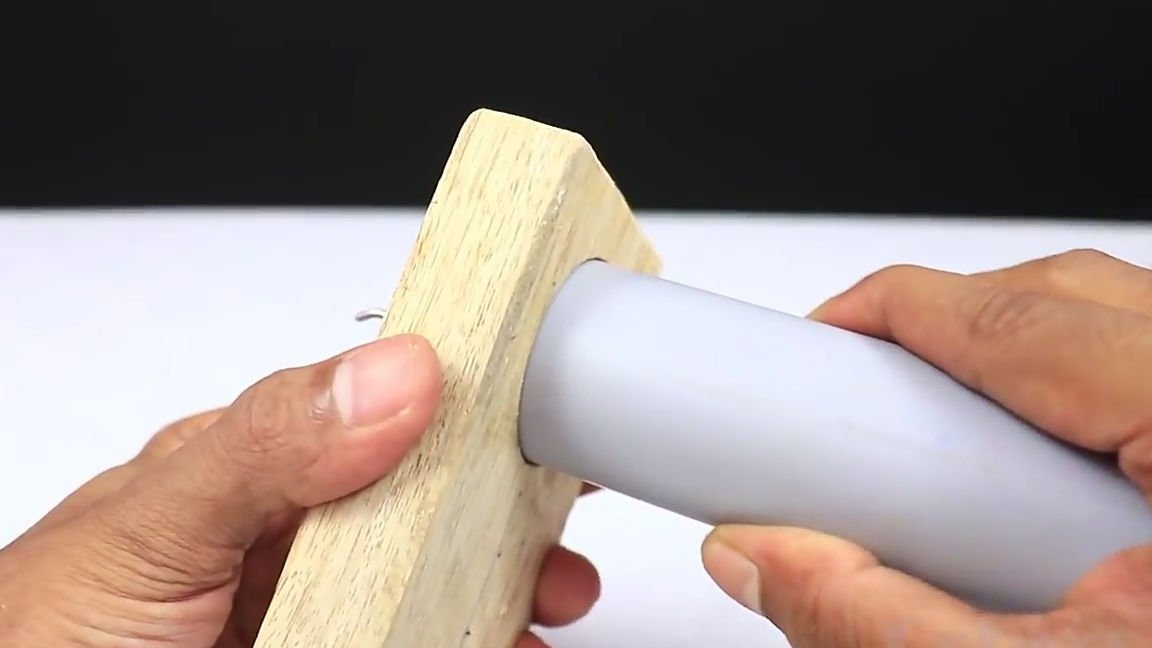
After that we “press-fit” the electric motor into the PVC pipe that we prepared earlier. Note that the engine must be installed so that there is a minimum clearance between the PVC pipe and the flywheel (but the flywheel itself should not touch the pipe).
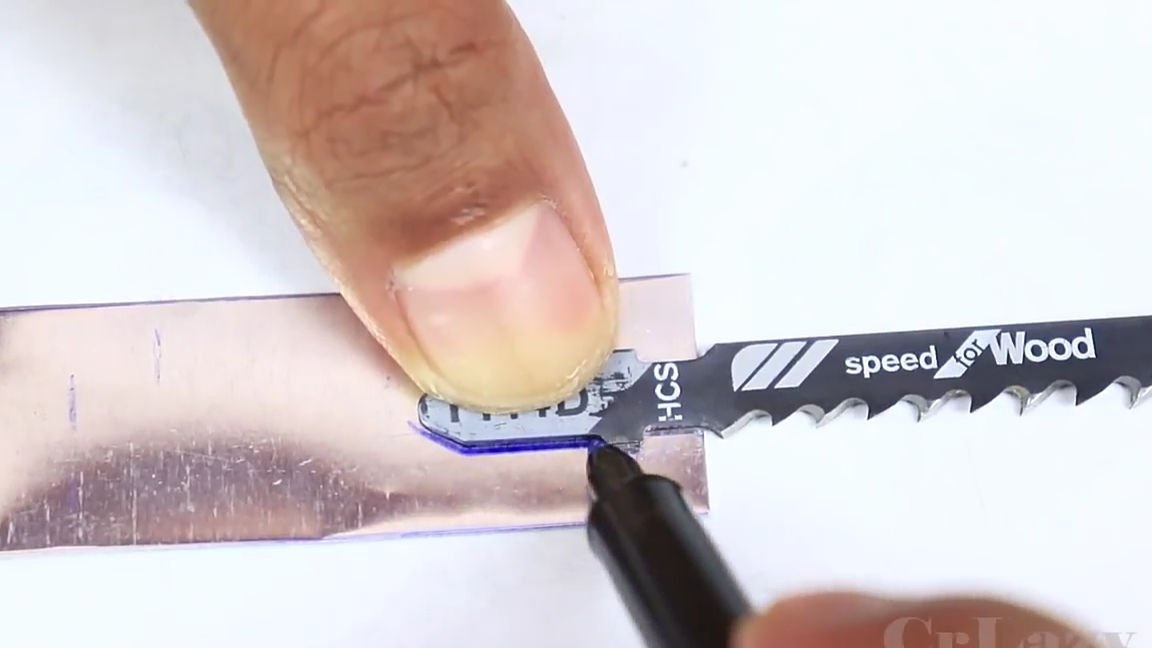
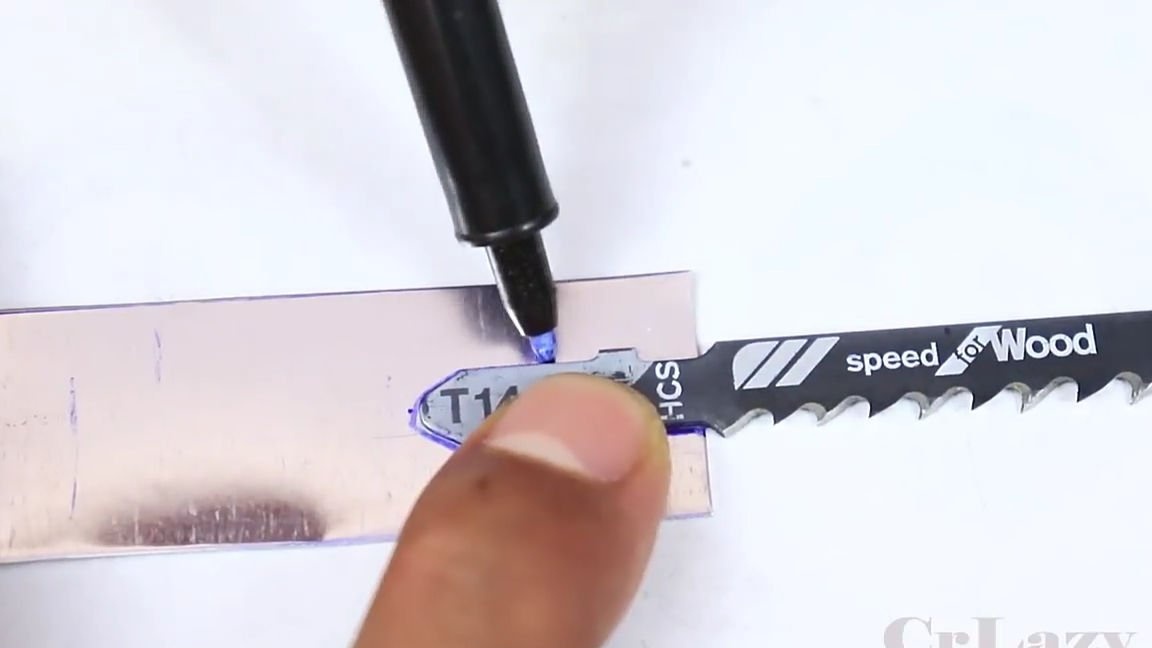
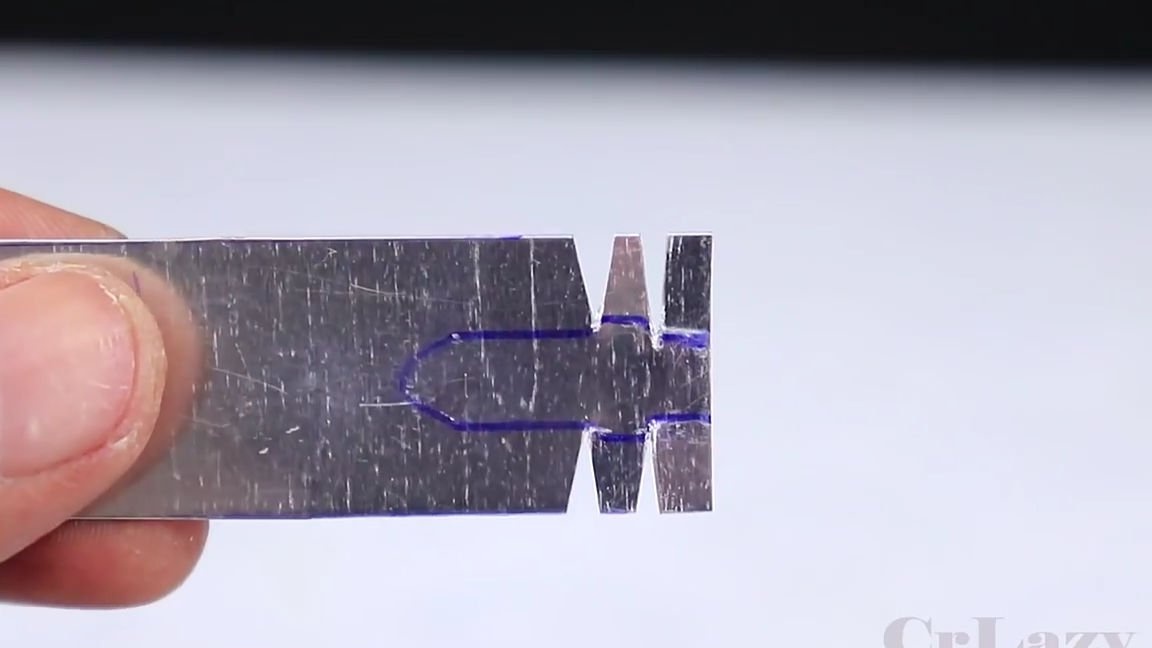
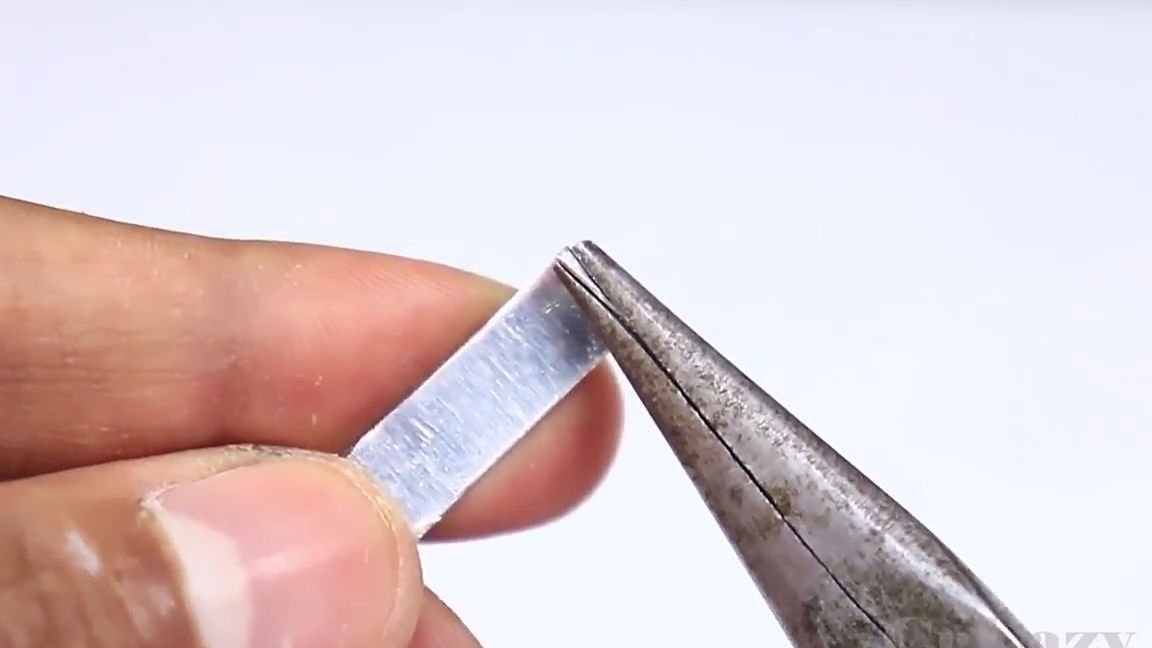
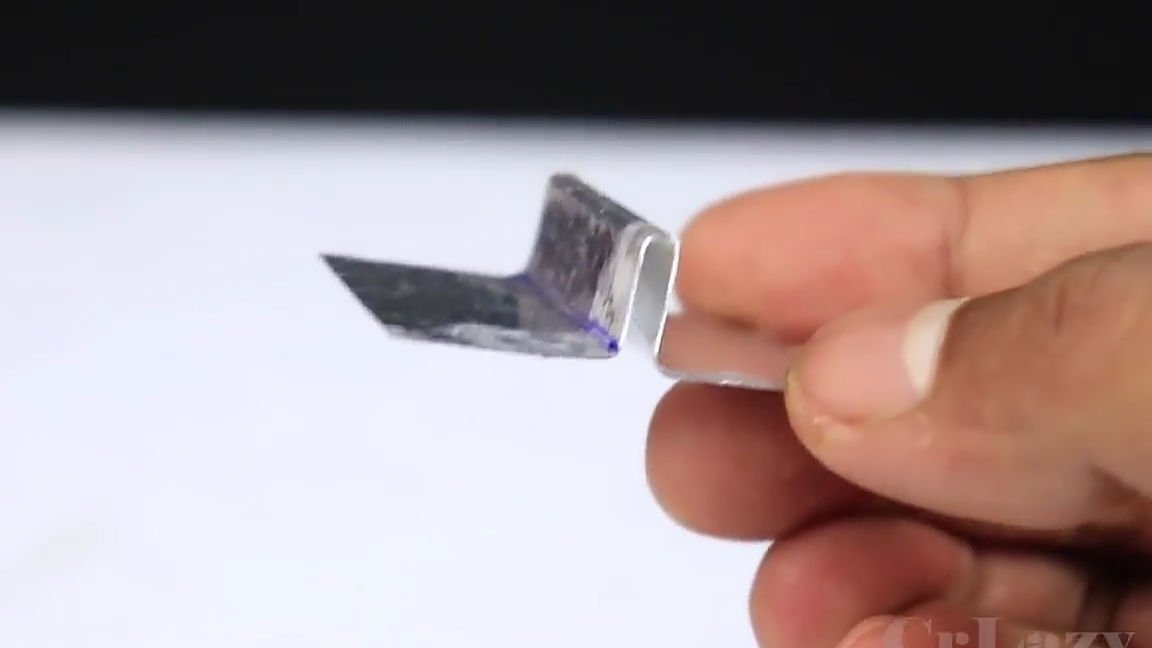
For the next step, we need to take the blade for the jigsaw (which you plan to use) and a small metal plate. We apply the canvas to the metal plate, as it is shown below and circle it around the office with a marker. Then with the help of cutters we cut out triangles from the metal plate so that as a result we have antennae in the place of expansion of the canvas.

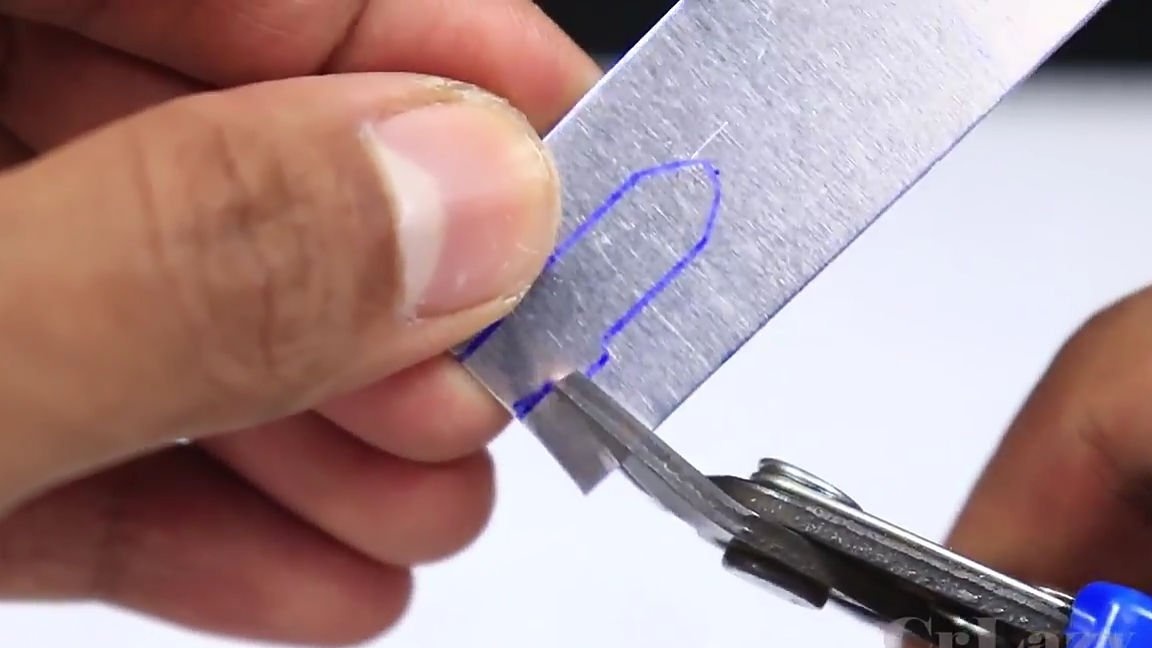
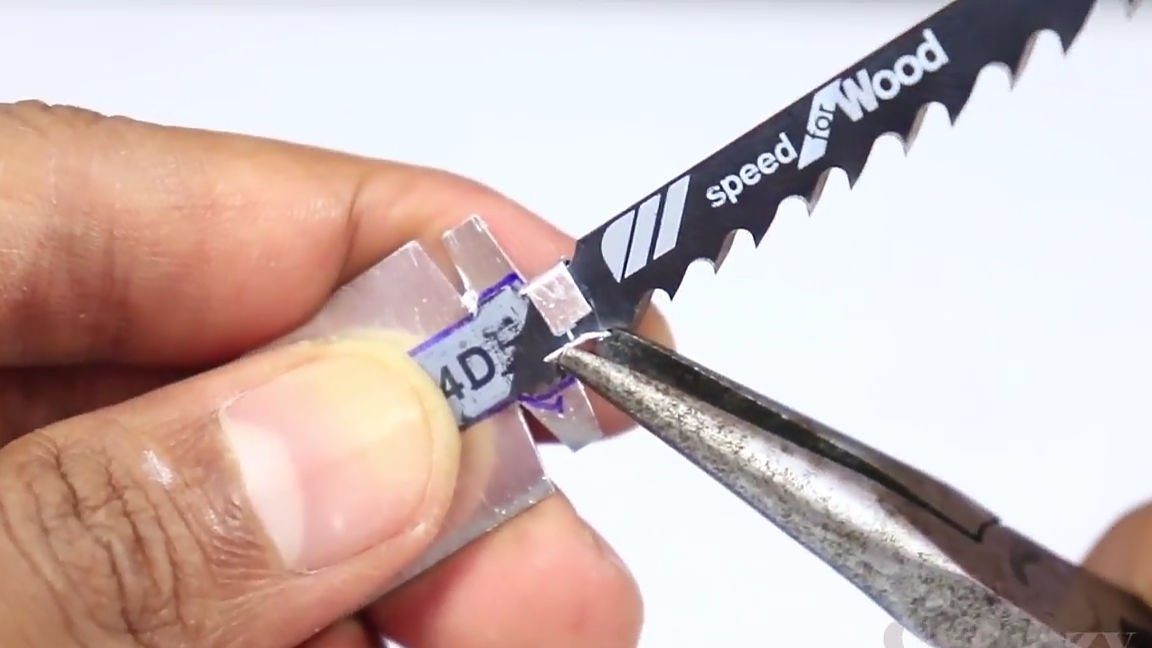
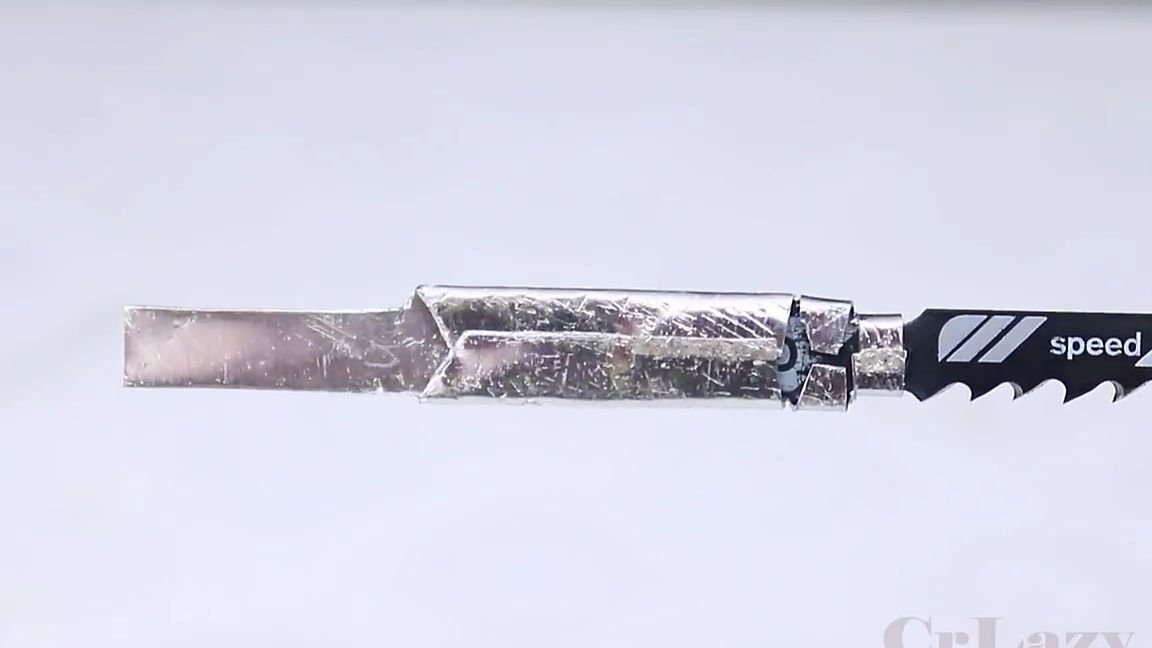
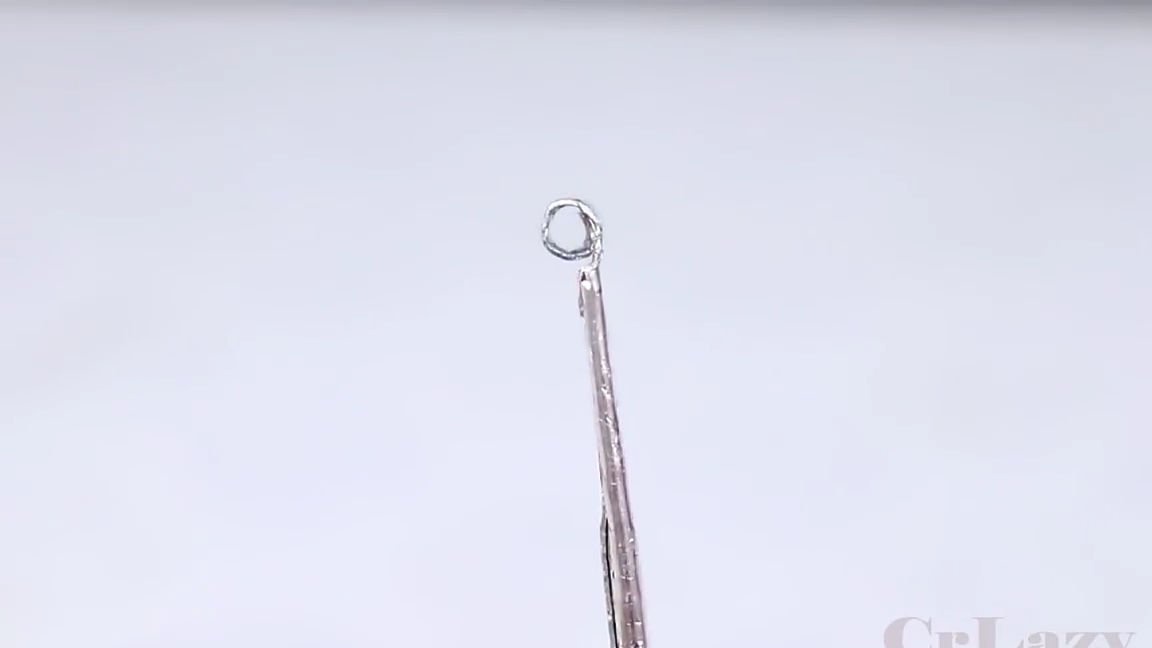
We apply the canvas to the plate in the same way as previously applied, and with the help of round-nose pliers we bend and press the antennae first, and then bend the plate, as it is shown below. Then we twist with the pliers the same as in the photo (see photo) “roll”.
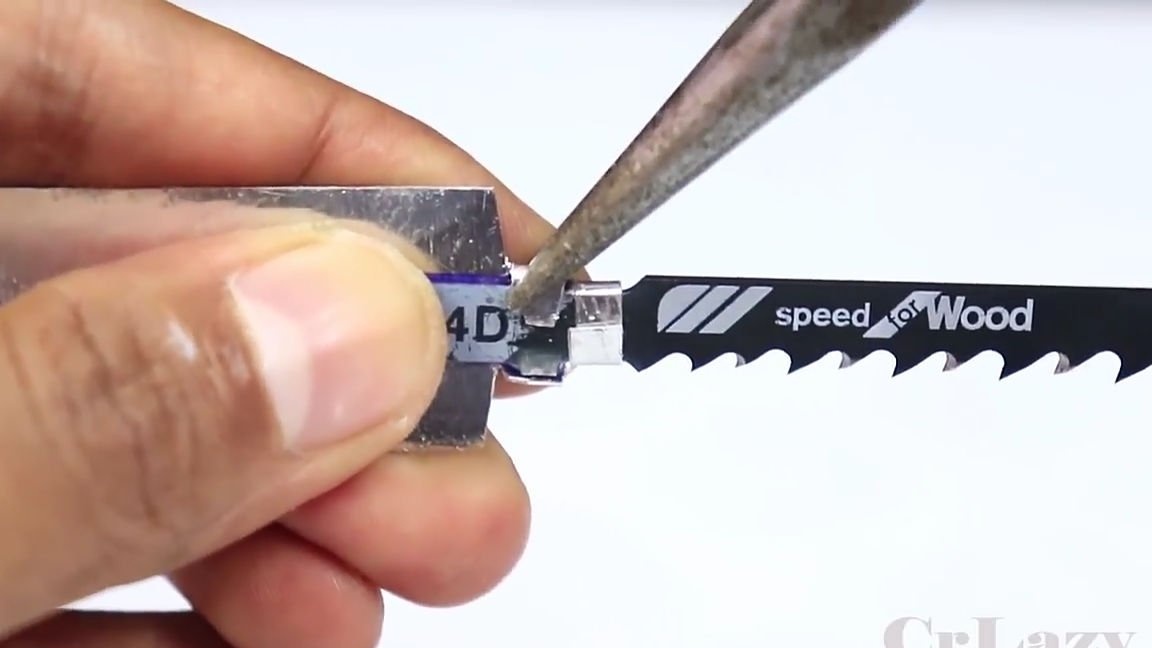
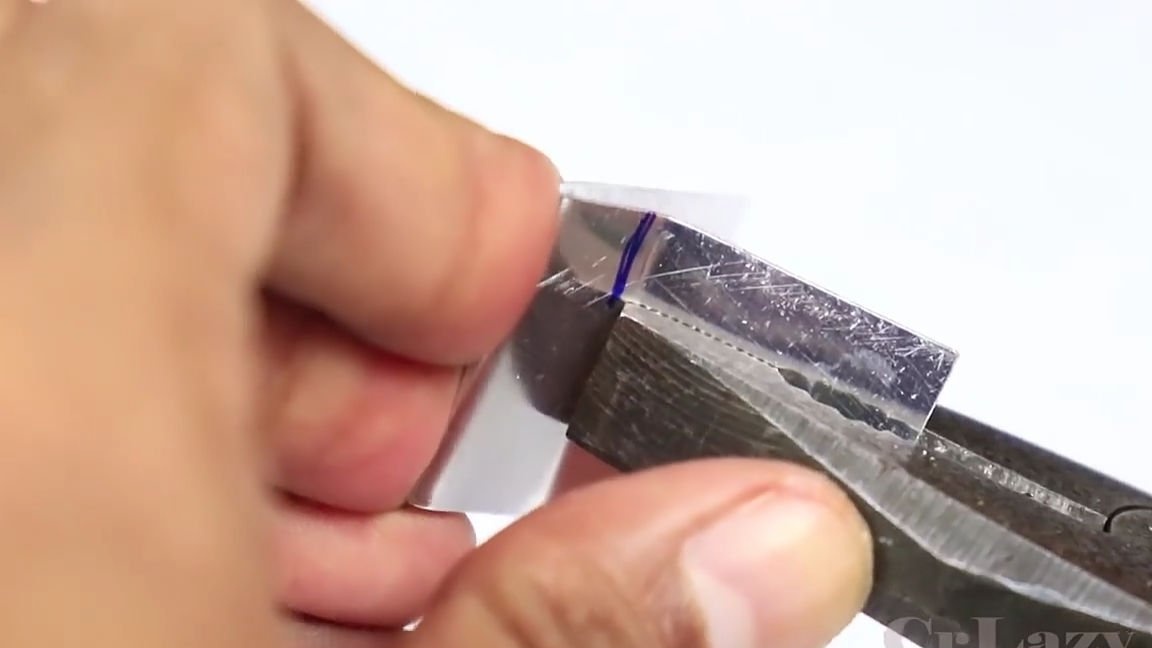
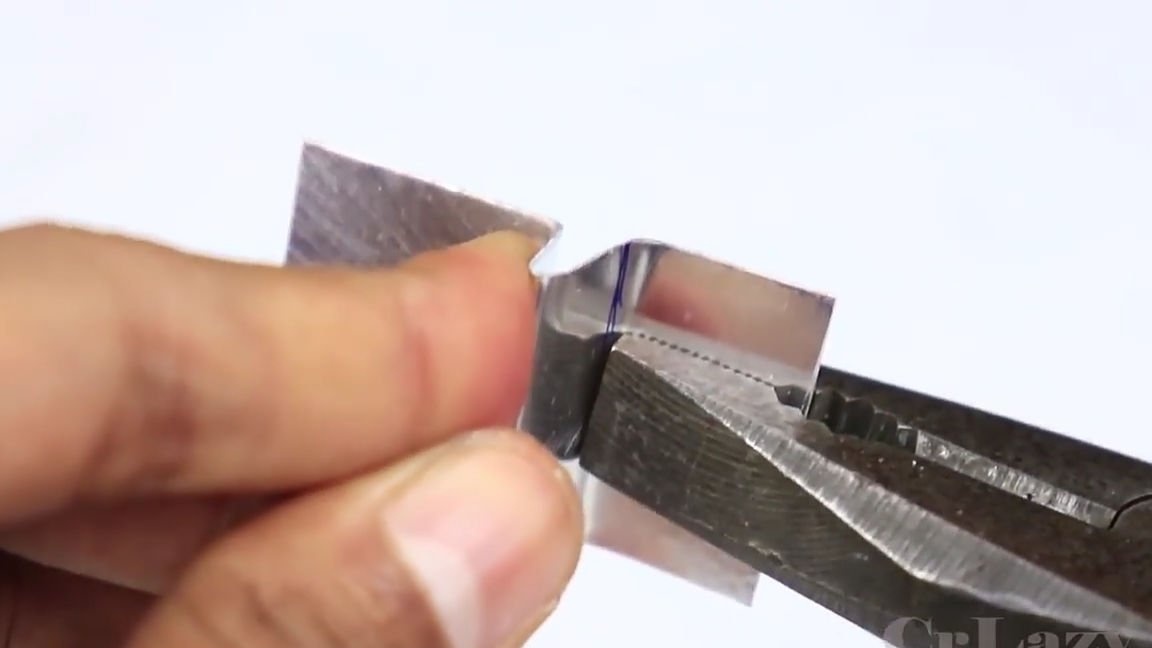
The next step, we again need to take a small metal plate. We bend this plate with pliers so that we get a “t” shaped part with a groove inside. Inside the groove itself, the canvas that we previously prepared should move quietly.
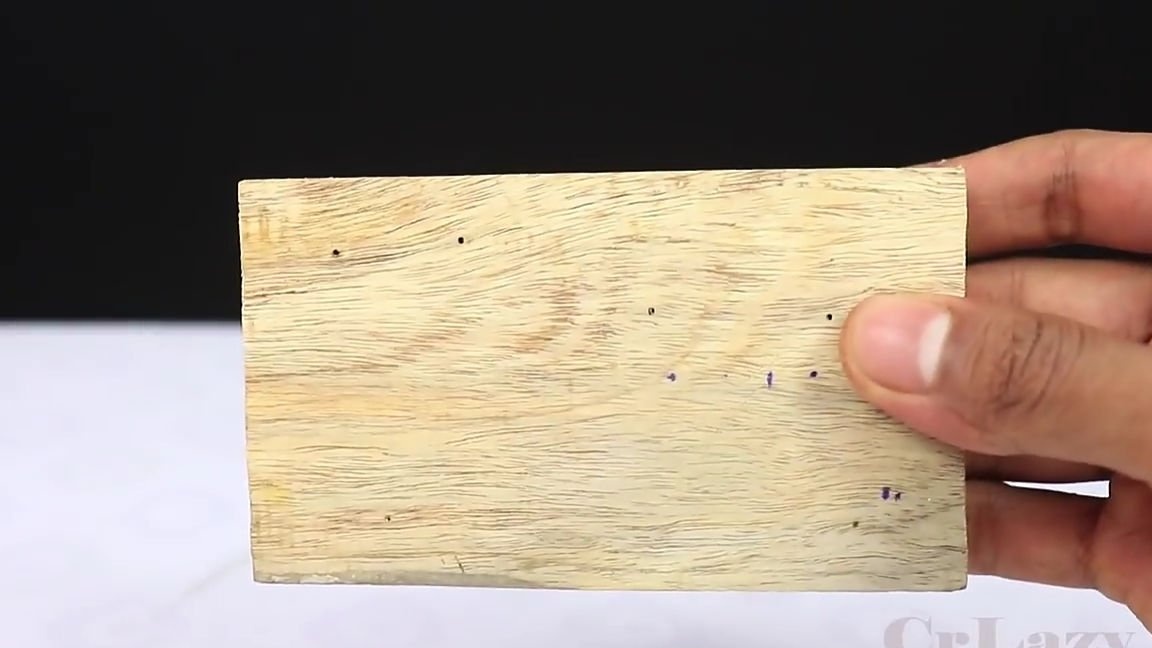
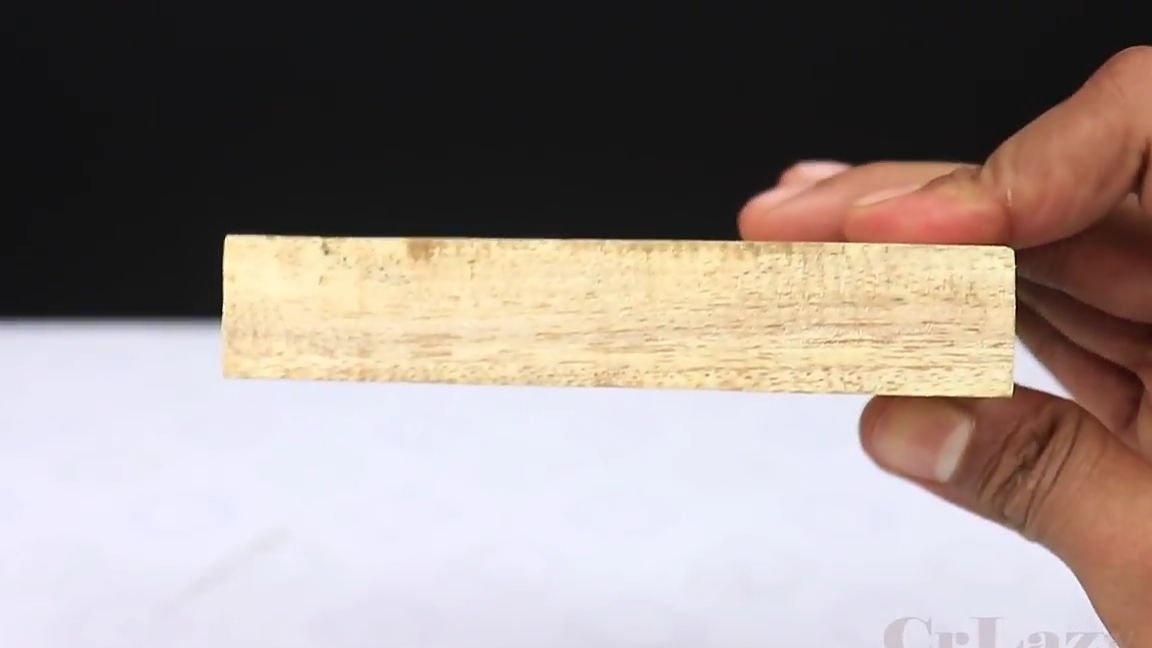
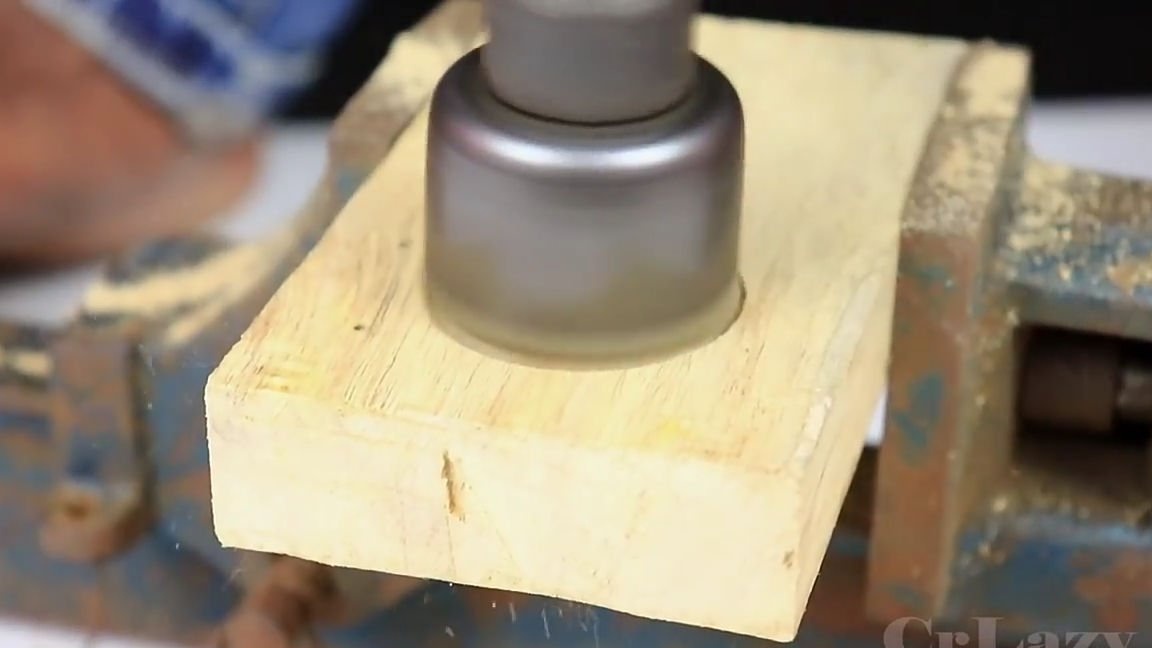
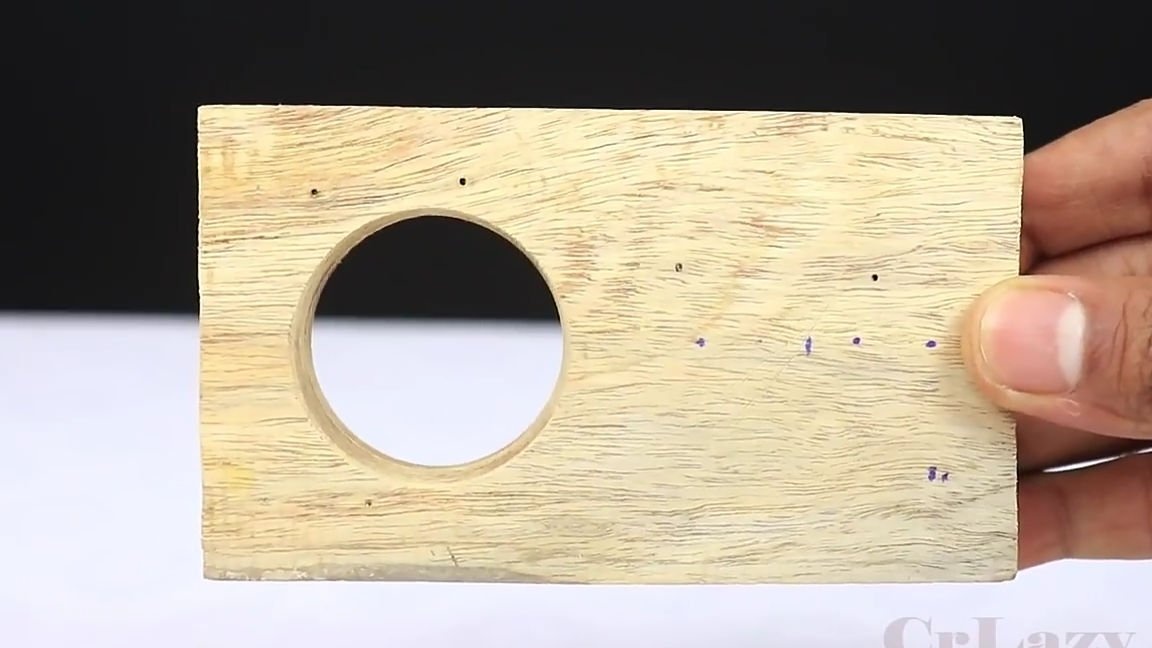
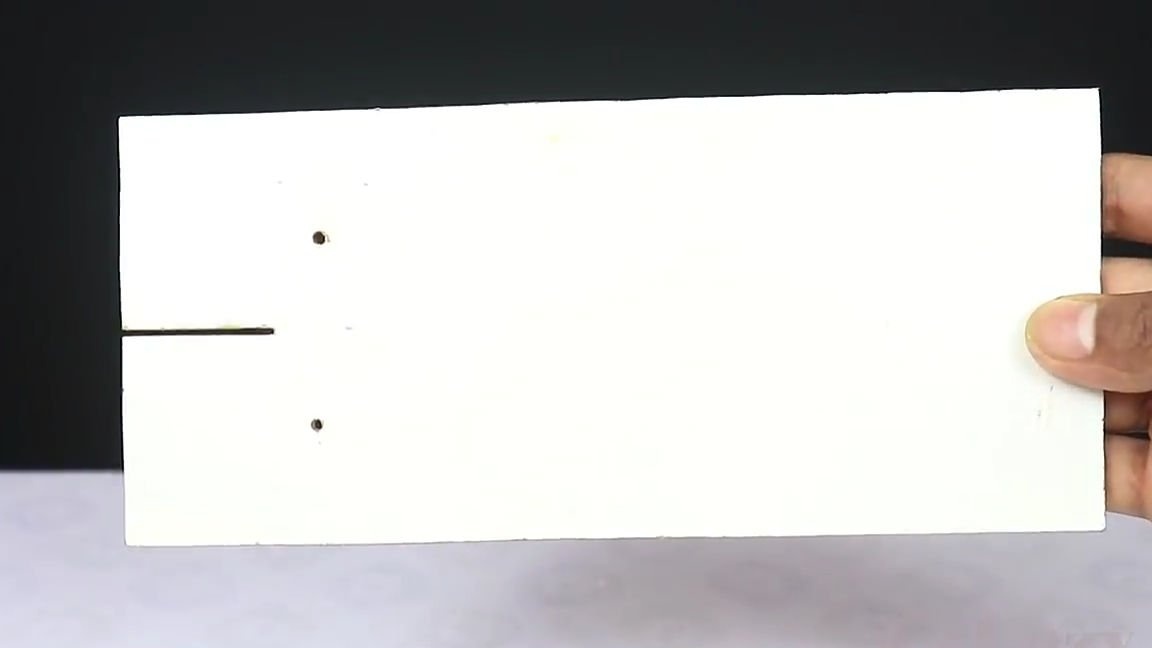
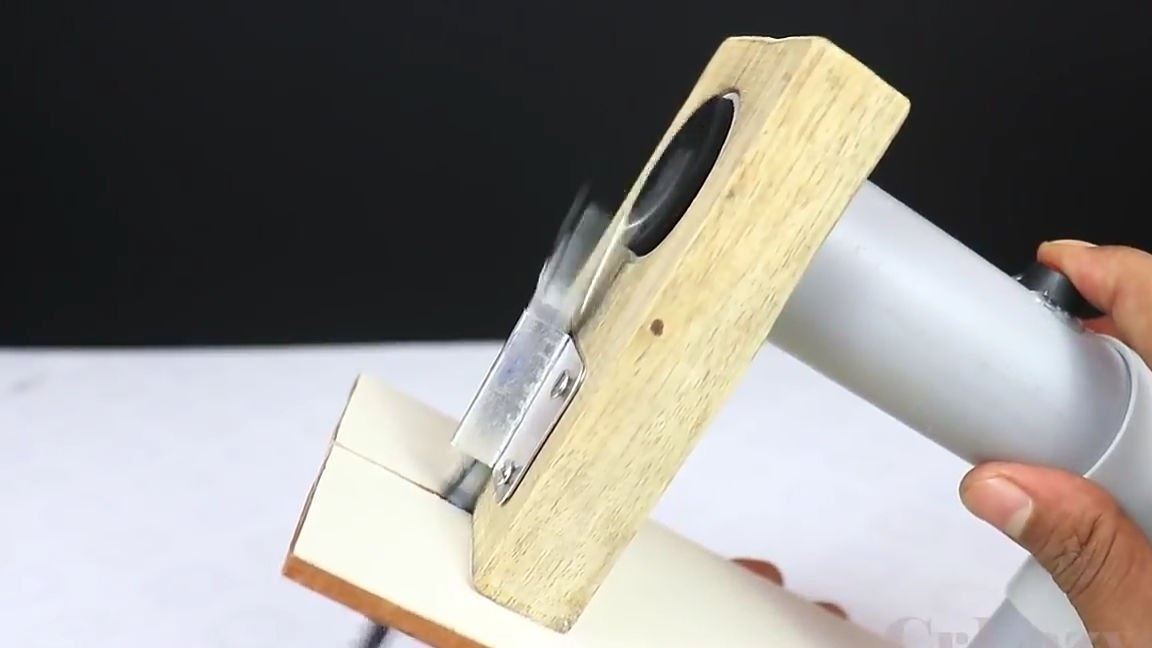
Then we’ll take not a large but wide plaque with dimensions approximately as in the photo below. Then, in the indicated place (see photo), we use a core drill to make a through hole with a diameter such that a PVC pipe with an electric motor fits securely in it.
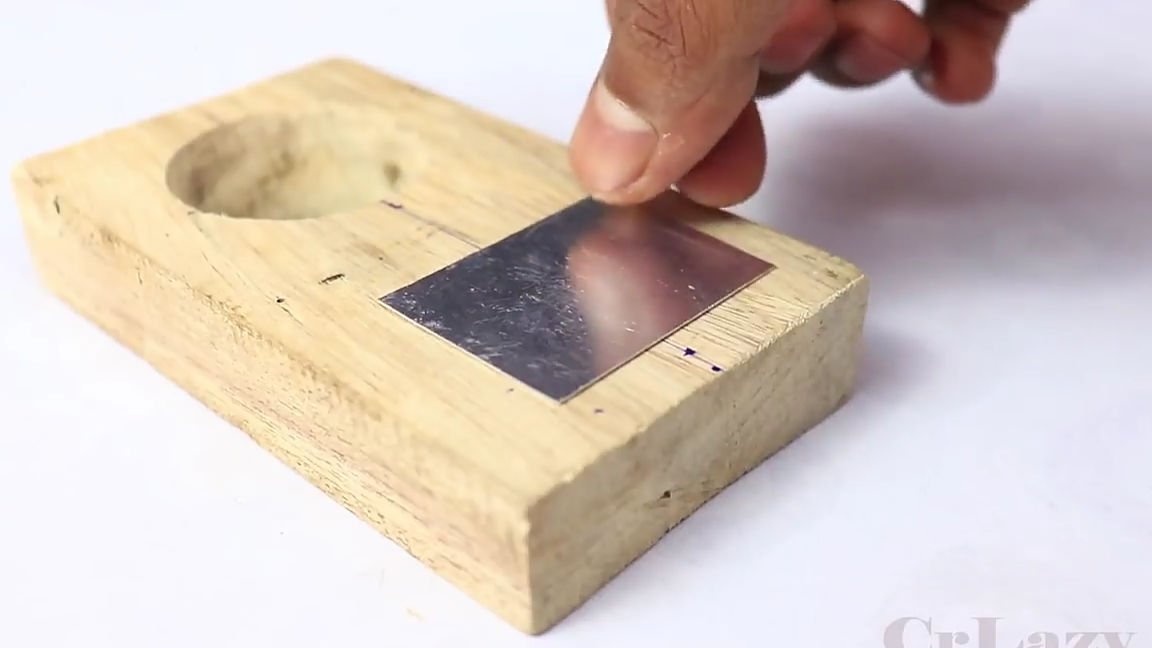
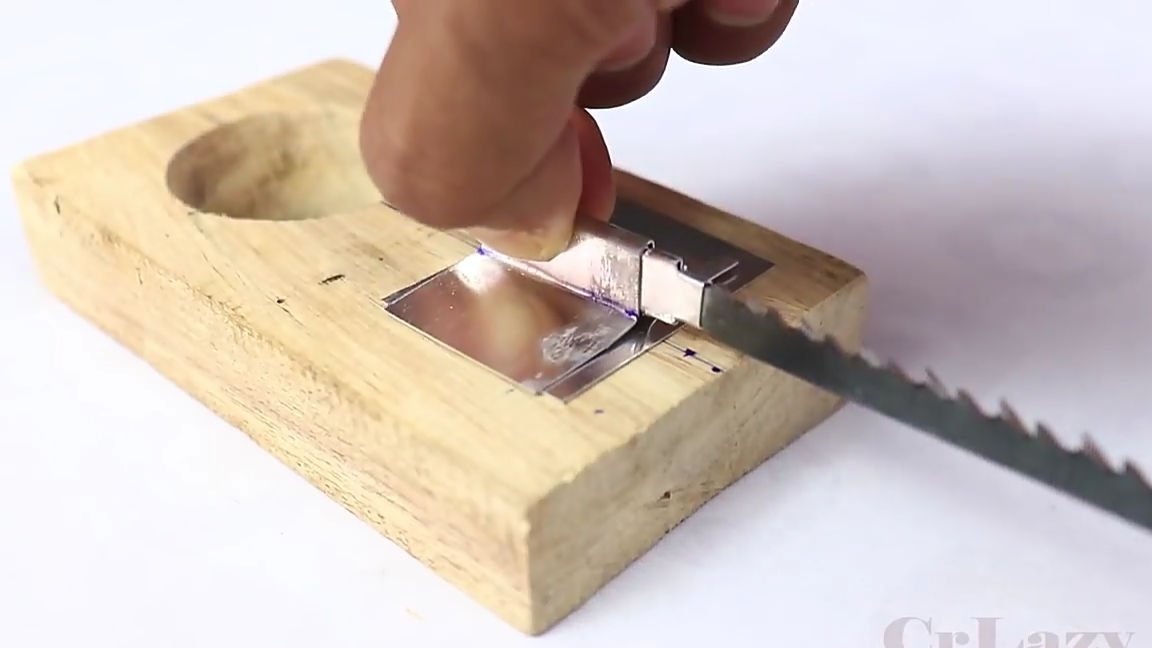
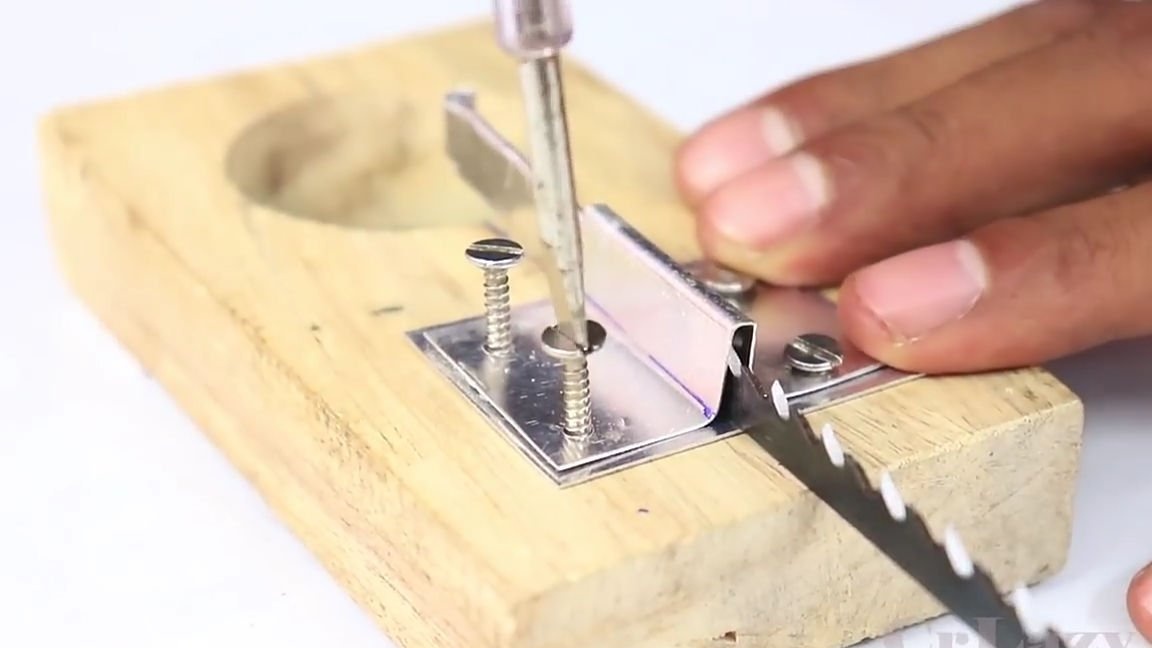
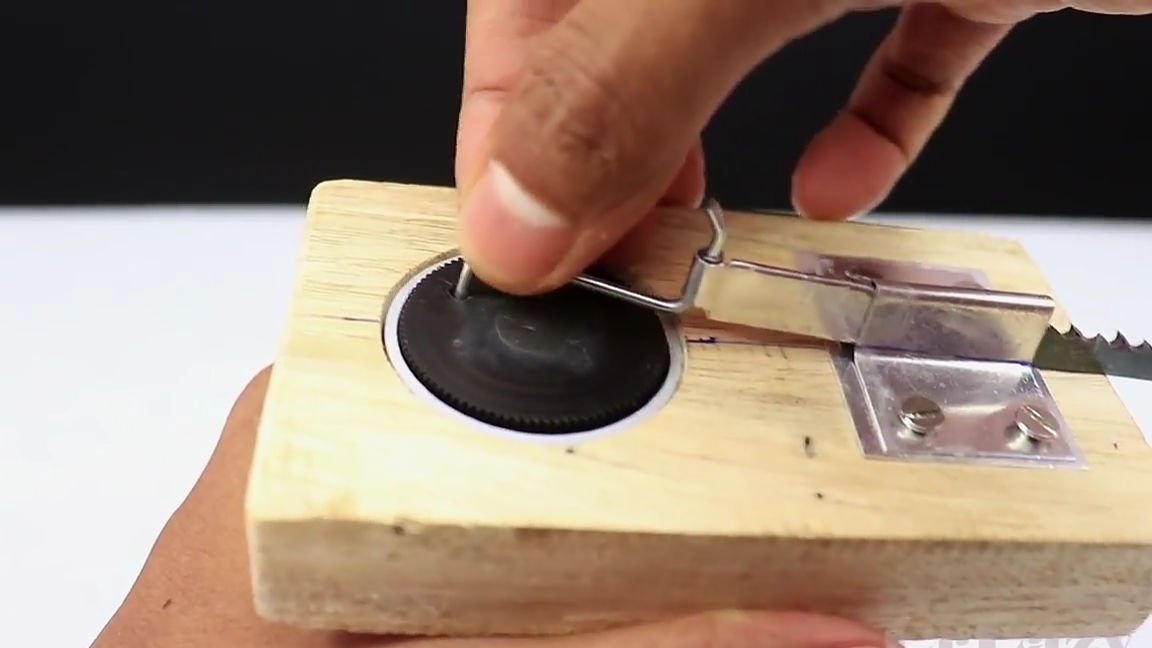
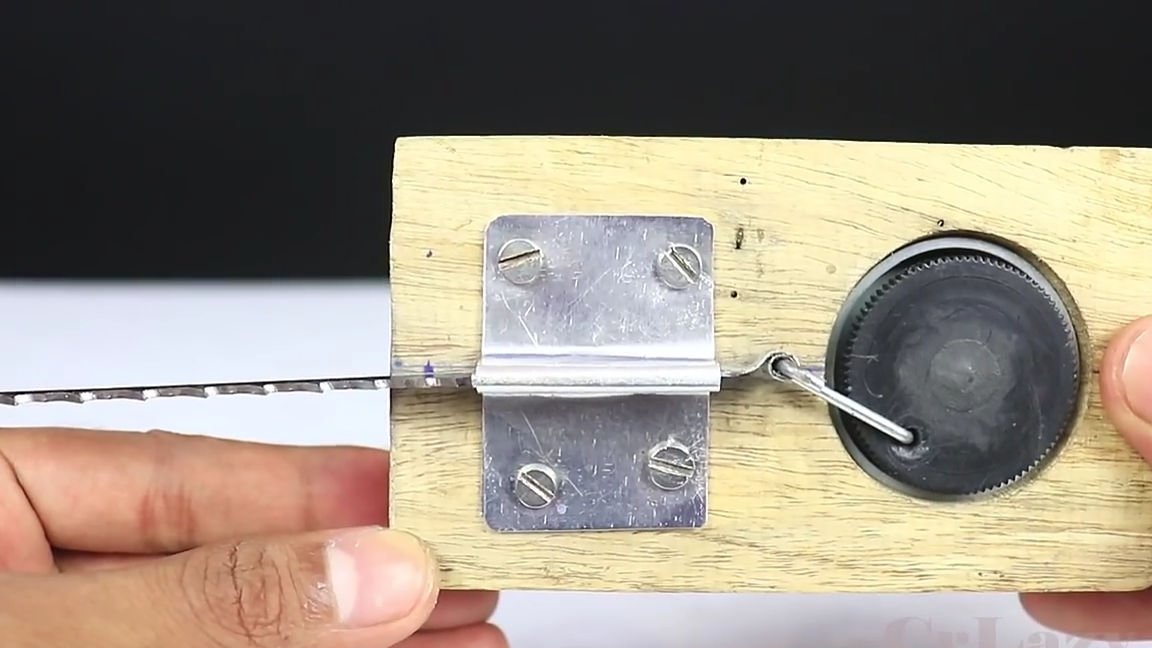
We apply another metal plate to the blank just made in the place indicated in the photo. The metal plate should be slightly wider in width and length than that “T” shaped part that was made earlier. Then we apply a “T” -shaped part to the plate that already lies on the plank and, having drilled holes, we fasten these plates to the plank using self-tapping screws.
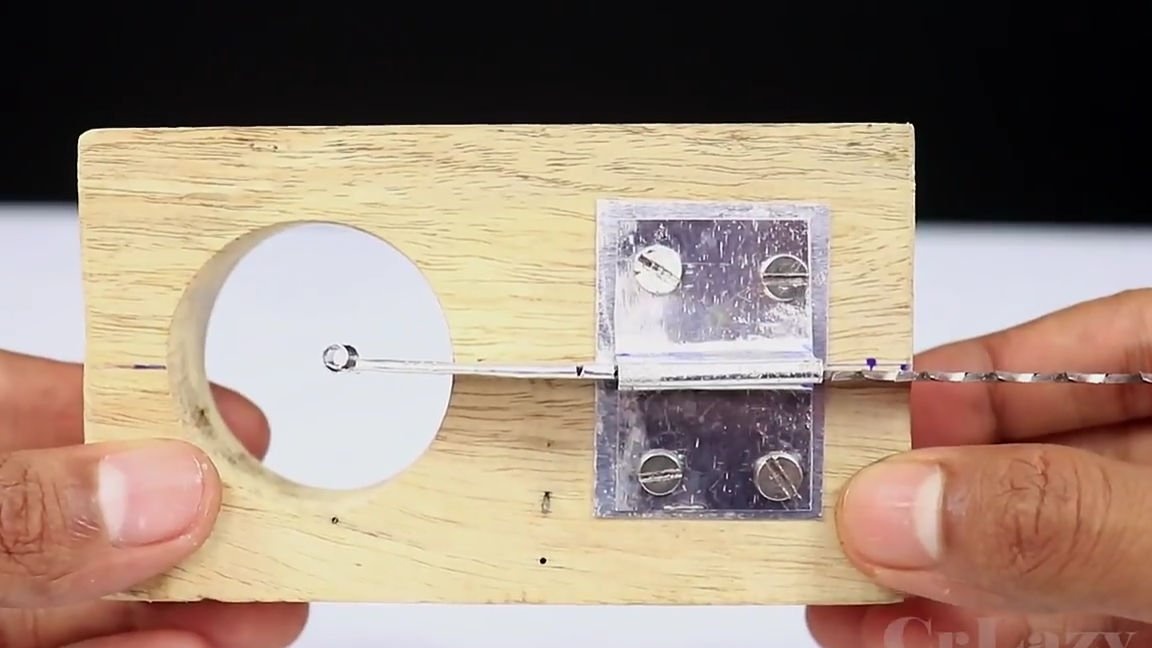
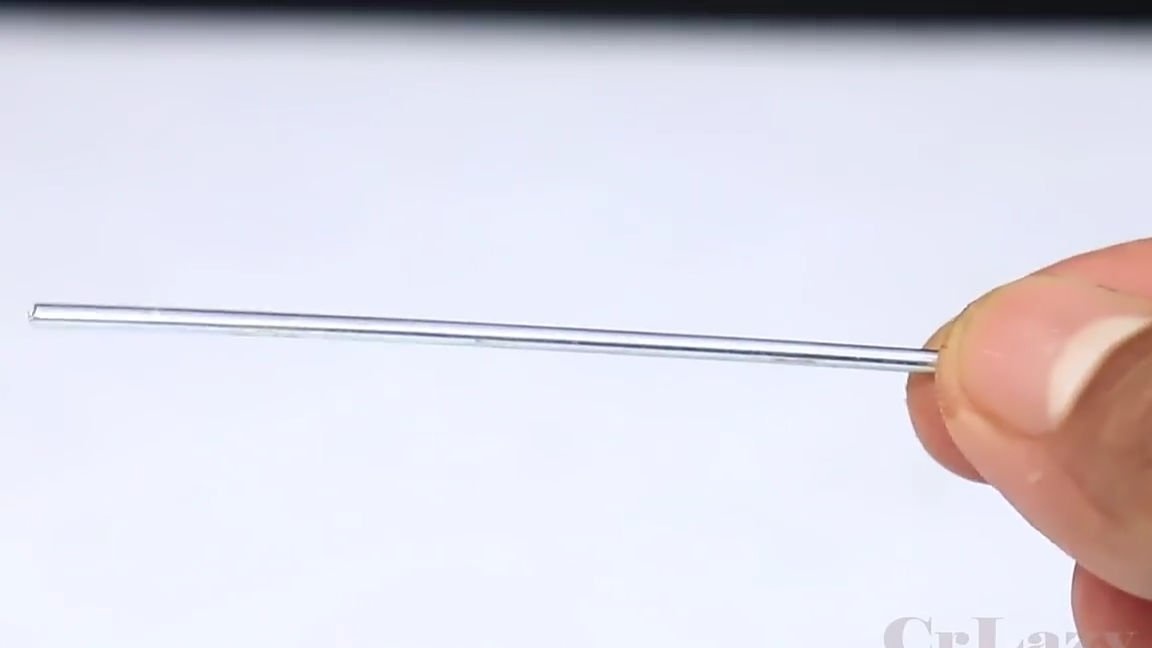
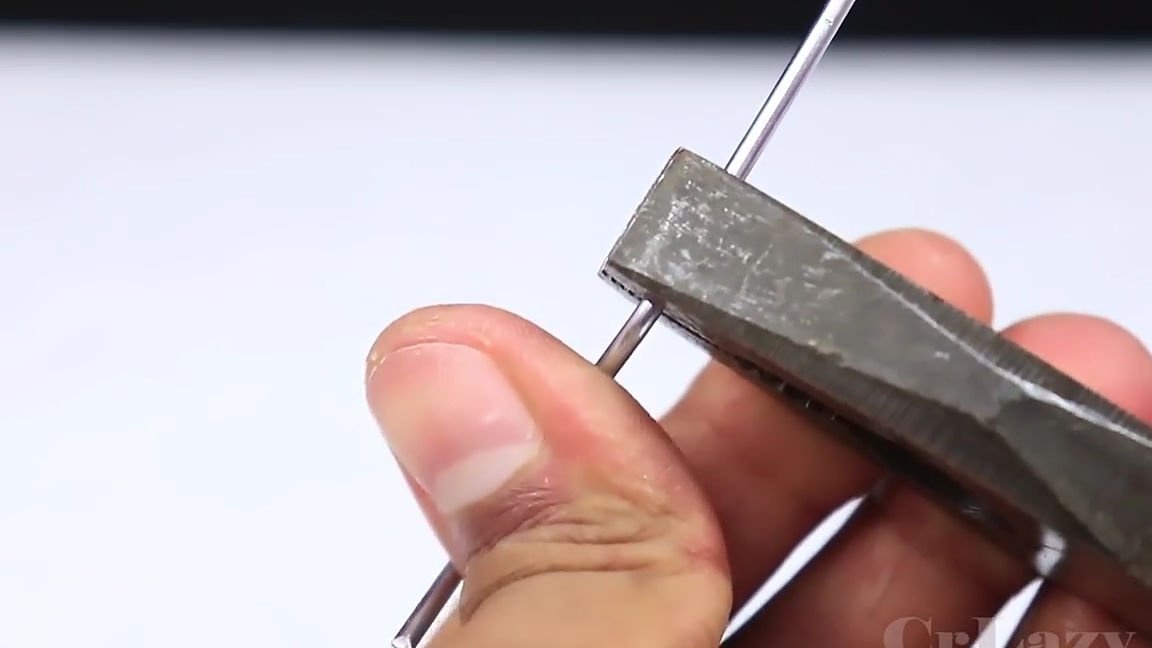
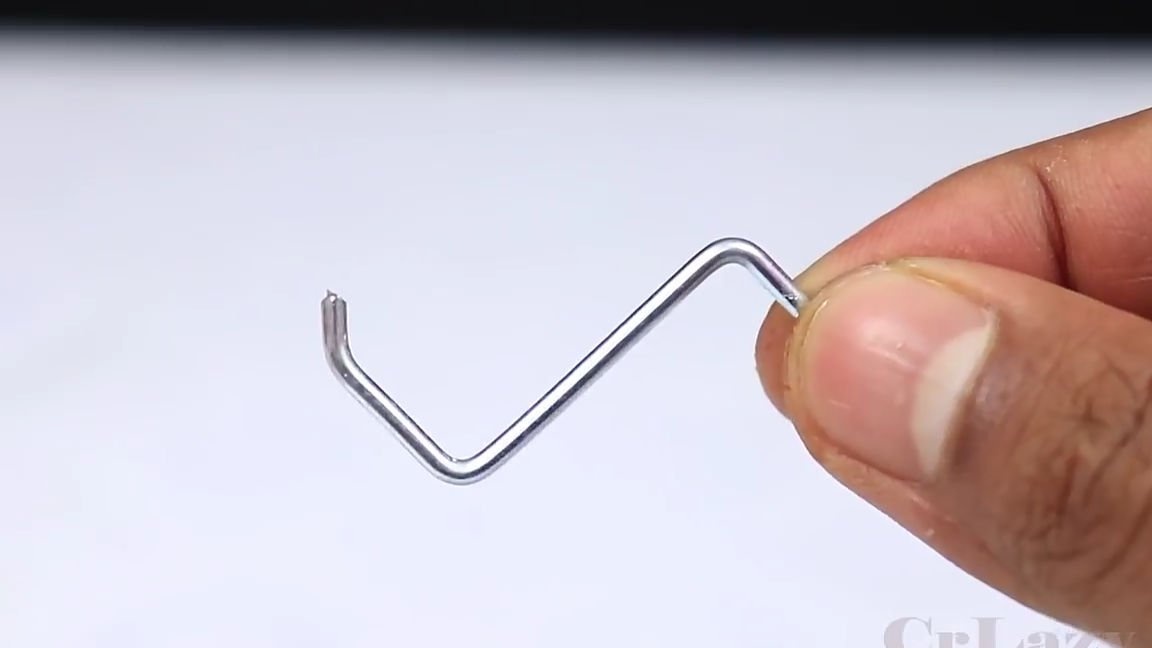
Then we need to take a thick and stiff metal wire or, for example, a bicycle spoke. And from this spoke we should make a kind of connecting rod (see photo). This part must connect the web and the flywheel so that when the flywheel rotates, the web moves “back and forth”. You should get the item about the same as shown in the photo below.
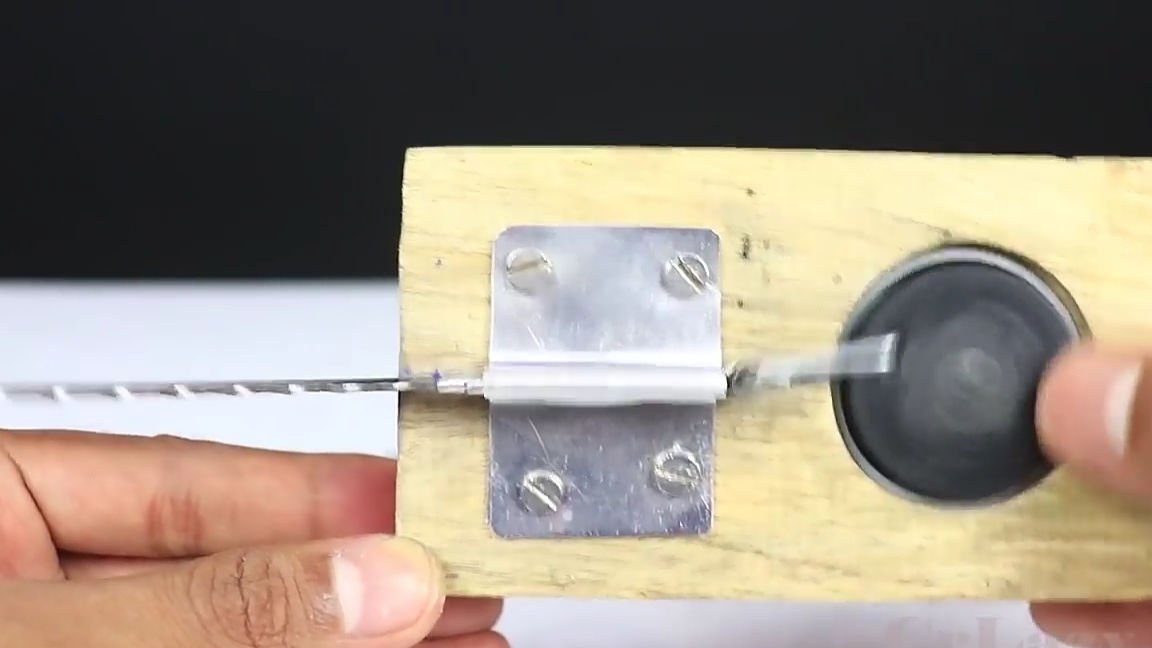
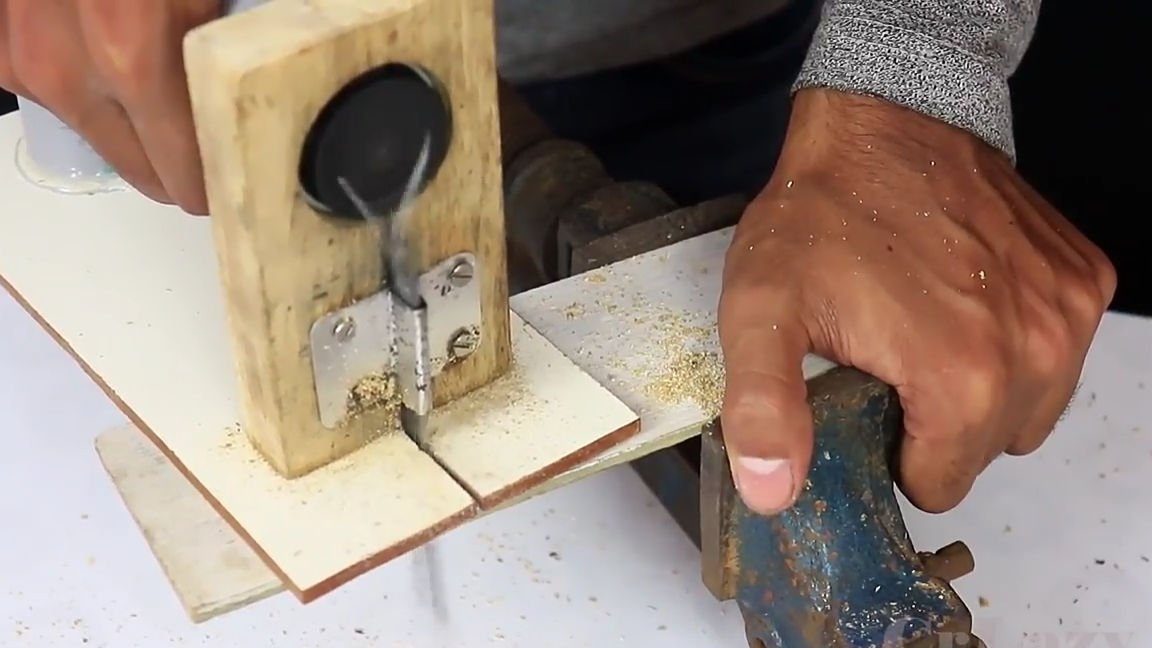
Then we install the “connecting rod” first on the canvas, and then install the PVC pipe with the electric motor in its place (to the plank, as in the photo below). And the second horse "connecting rod" in the hole of the flywheel. Turning the hand, the flywheel checks the operability of the mechanism.

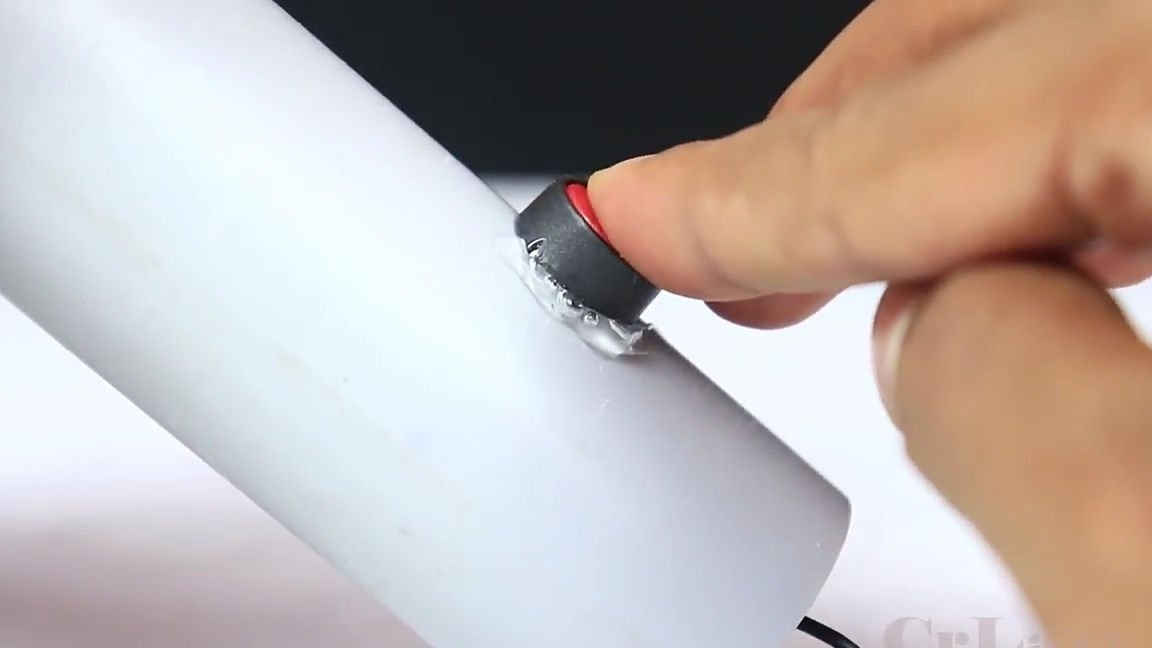
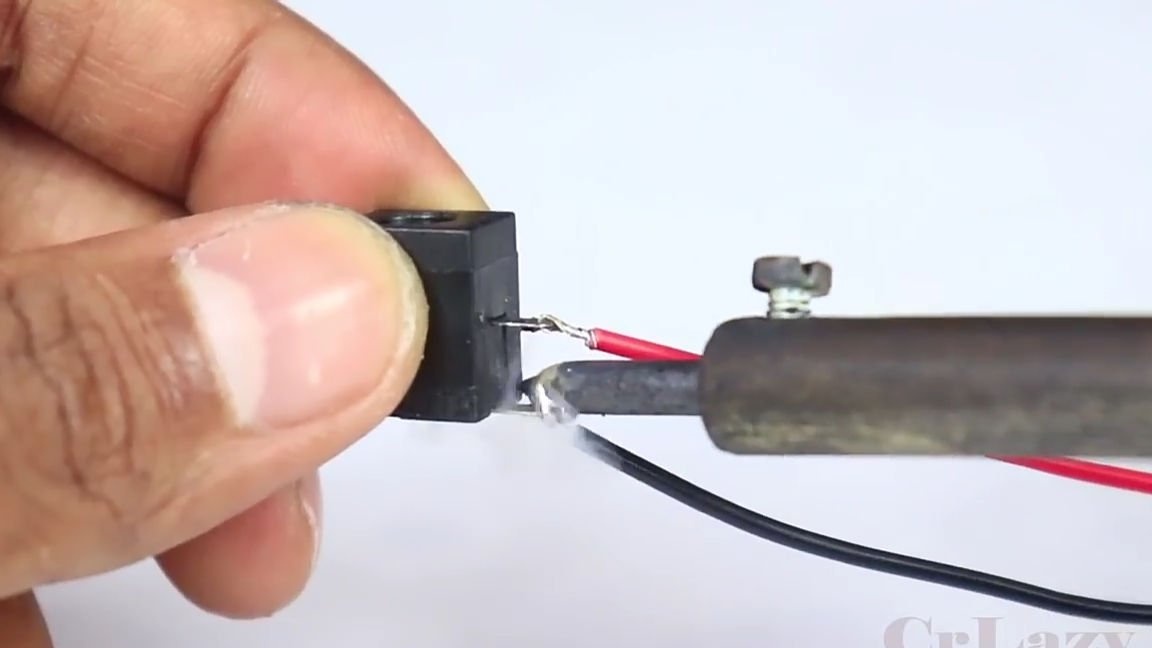
Go to e homemade parts. Namely, we install the button. Solder to the button one wire from the electric motor, and the second wire is just a 5-6cm length. We insert the button into our landing hole and fix it with hot glue. Then, pushing the wires through the corner, we install the corner itself on a plastic pipe, as it is shown below.
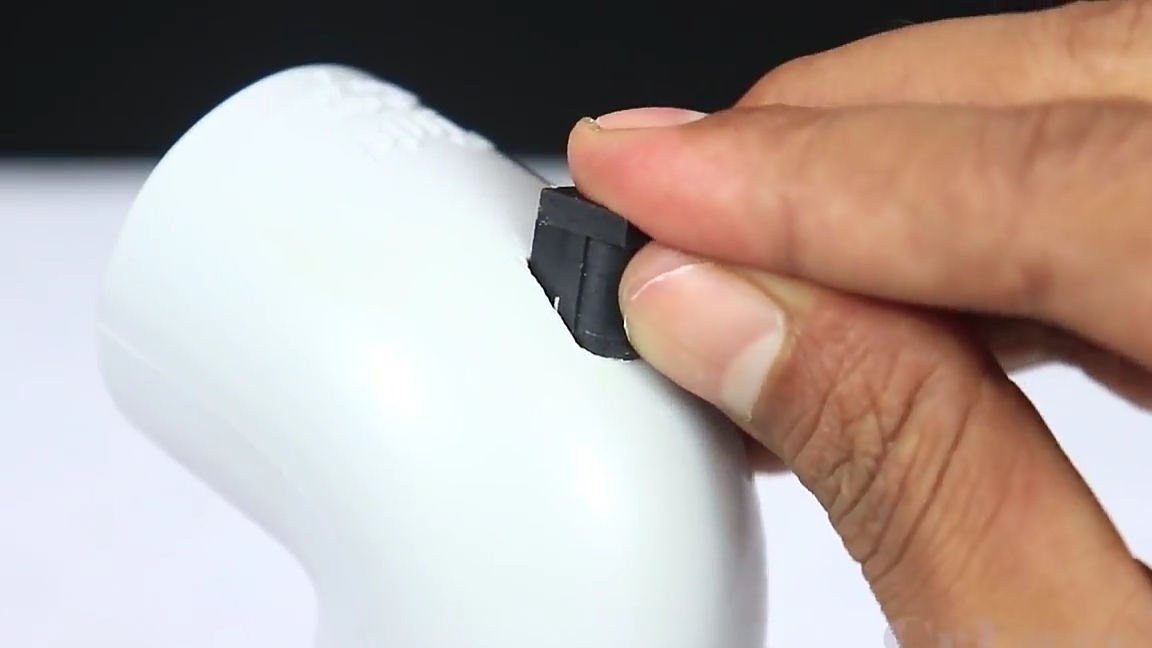
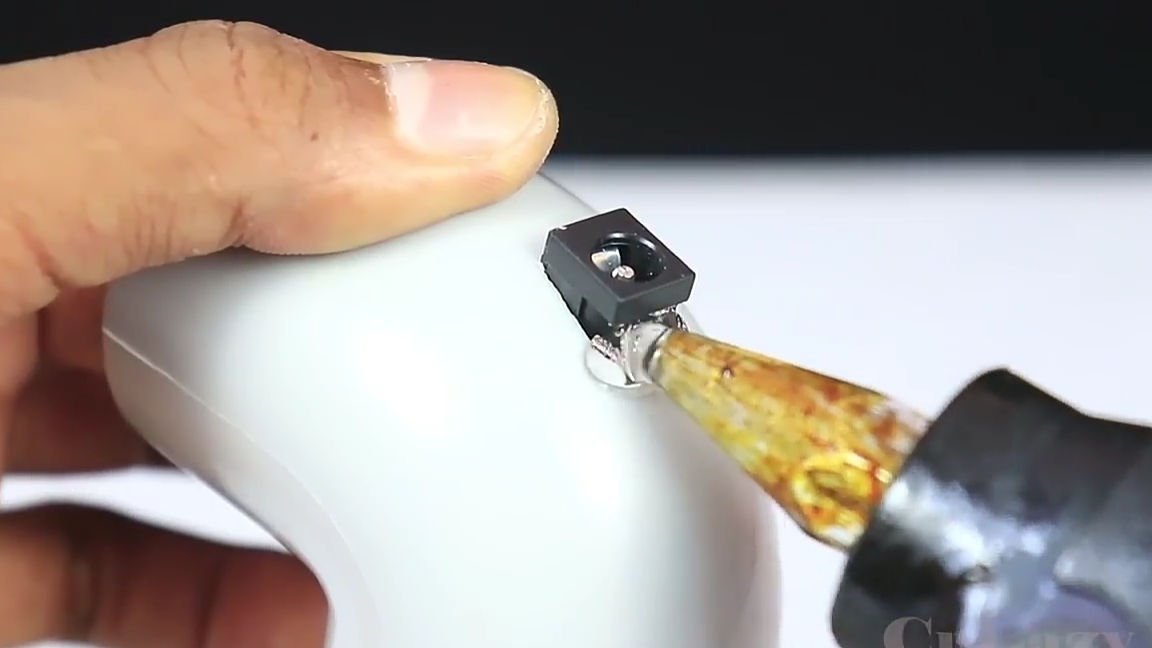
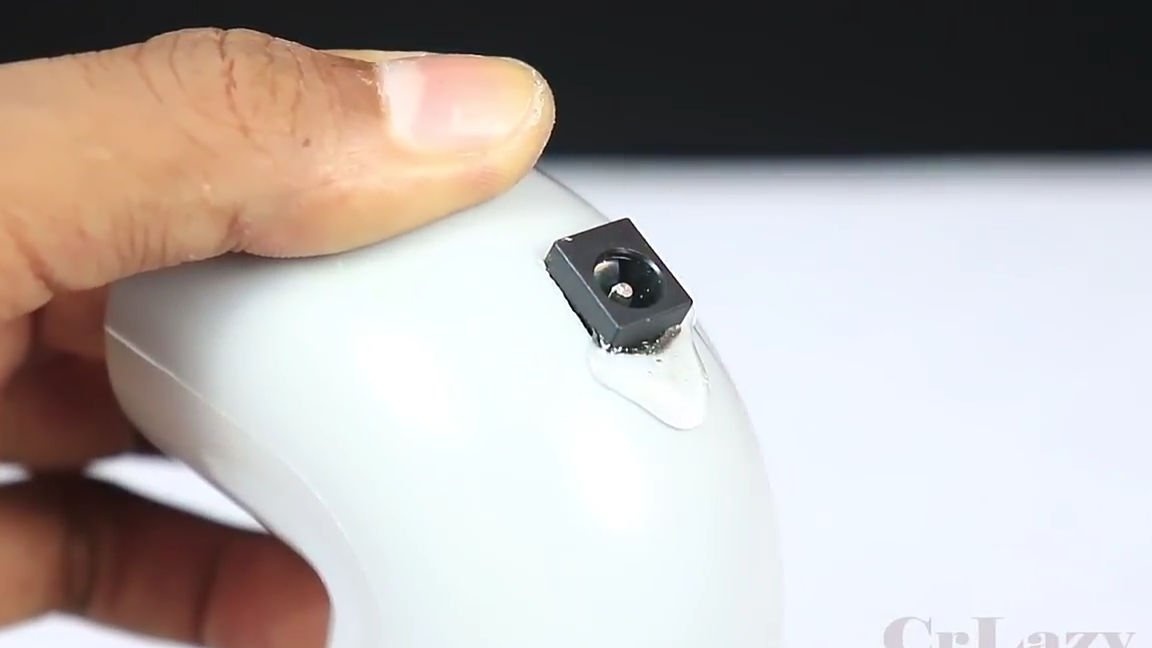
Then we should install the power connector.We solder the wires coming from the electric motor and from the button to the connector itself (wires should be inserted through the mounting hole for the connector), and finally, install and fix the power connector in its place using hot-melt adhesive.
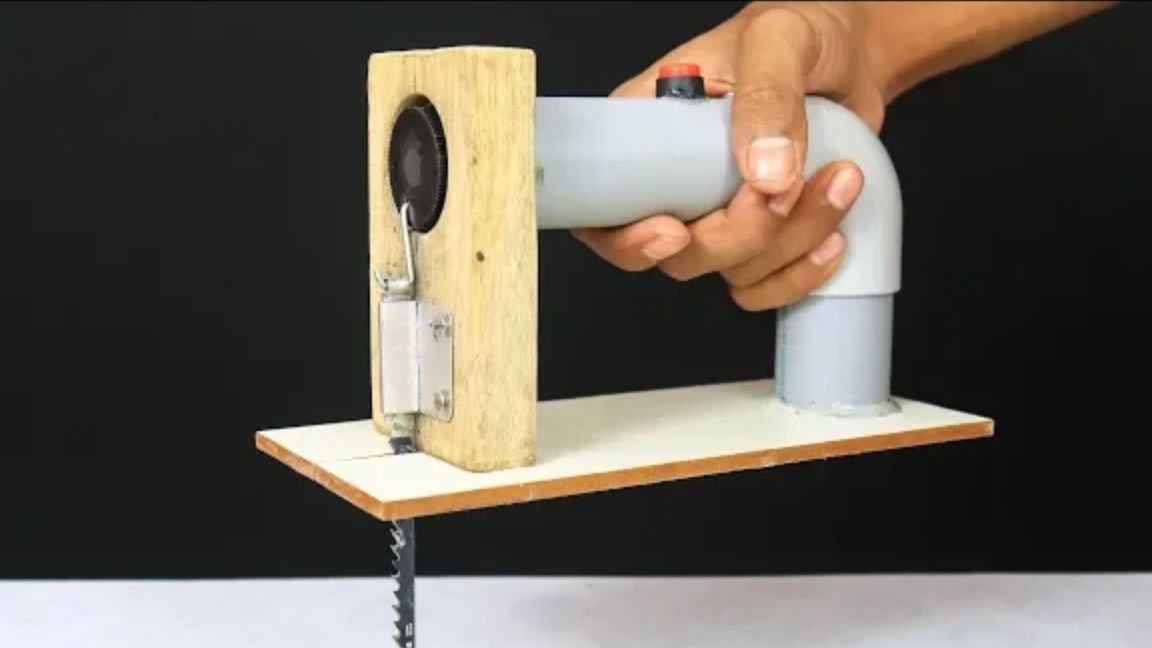
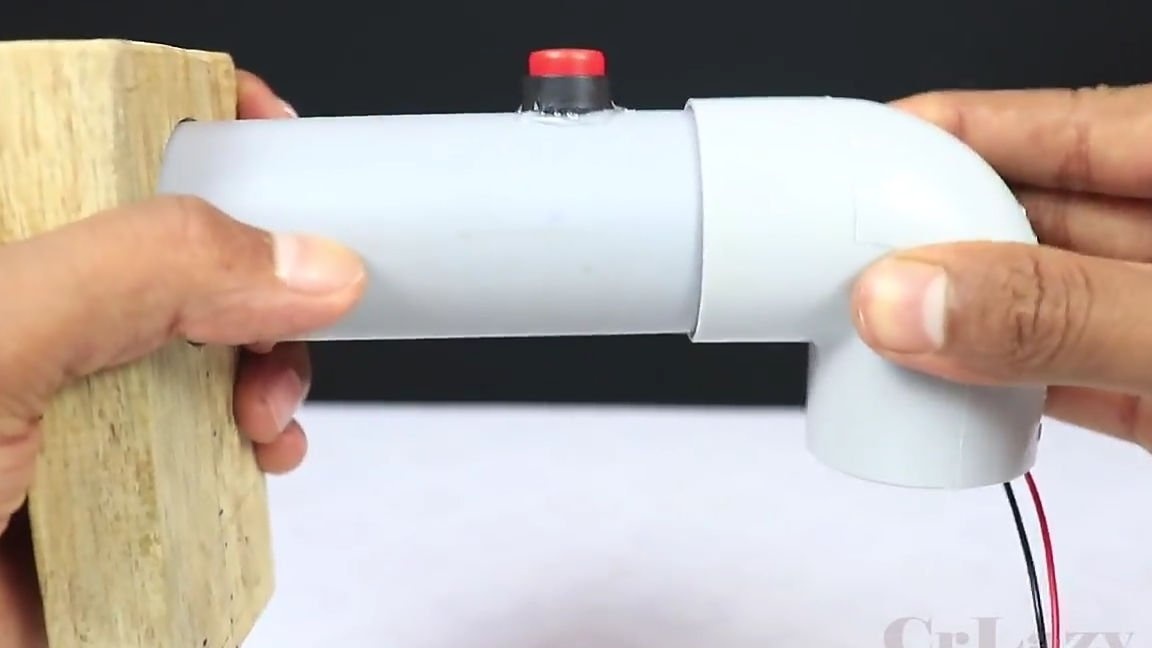
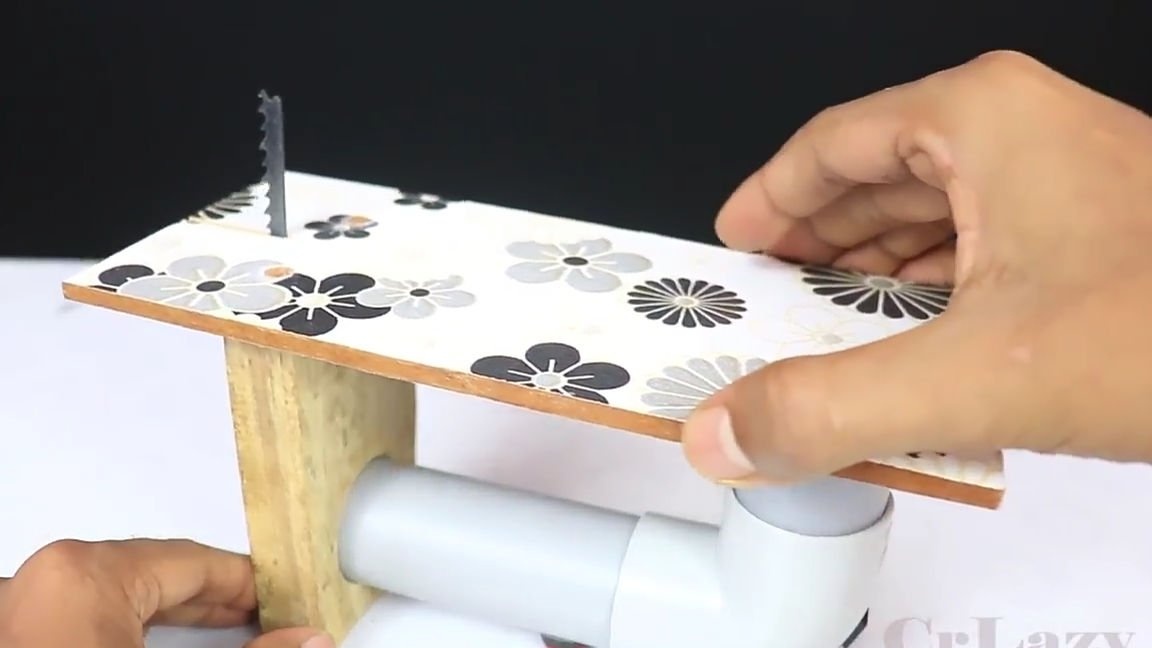
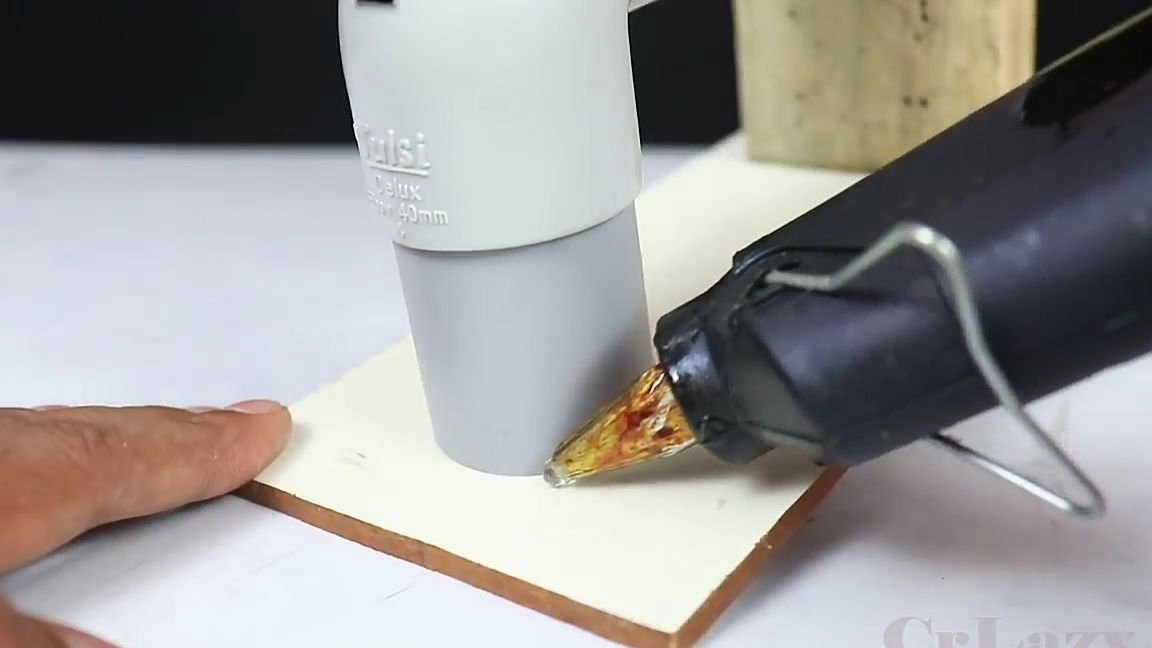
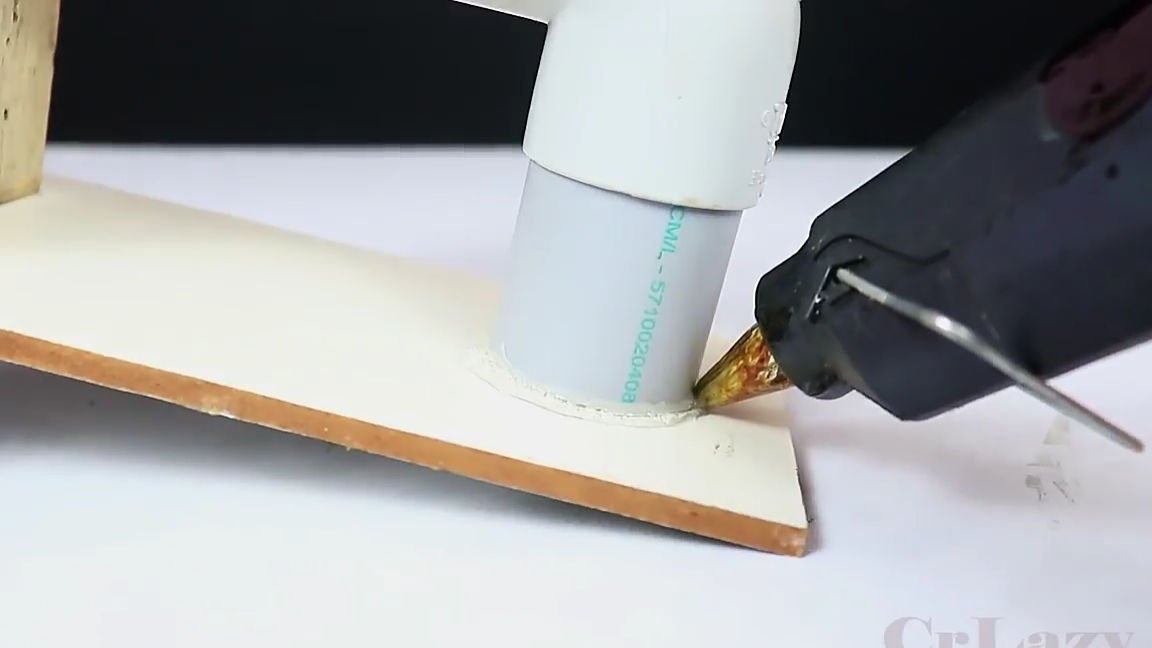
To the second end of the corner we insert a piece of the same PVC pipe. The length of the pipe should be such when we put the structure on the table, the handle itself should be exactly parallel to the table. After which we need to take some small sheet of laminated MDF panel or plywood, the main thing is that it glides well on the surface. From the panel you took, we cut out a similar blank, which is shown in the photo below, and connect it to our mechanism using hot-melt adhesive, and in the place where it connects to the tree, we fix it with self-tapping screws.

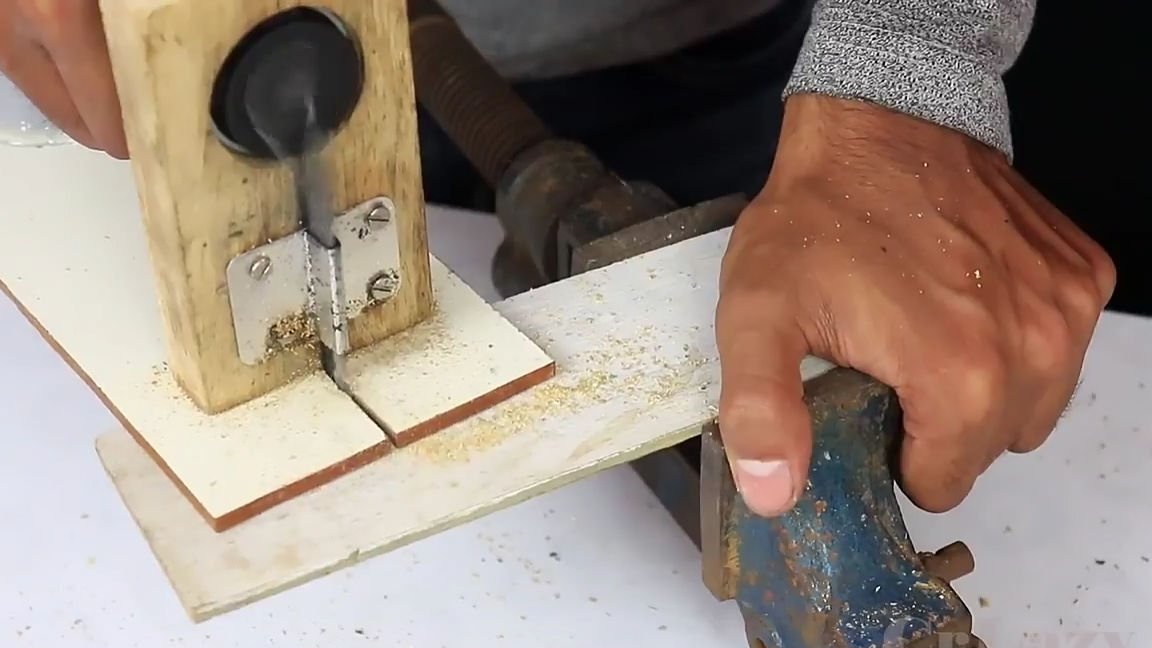
All is ready! As a result, we got a very useful tool that will definitely come in handy for you on the farm! It remains to connect the power supply and test it, you can see the homemade test below.


You can purchase accessories that can be useful for assembling this homemade product here:
Here is a video from the author with a detailed assembly and testing of this homemade product:
Well, thank you all for your attention and good luck in future projects, friends!