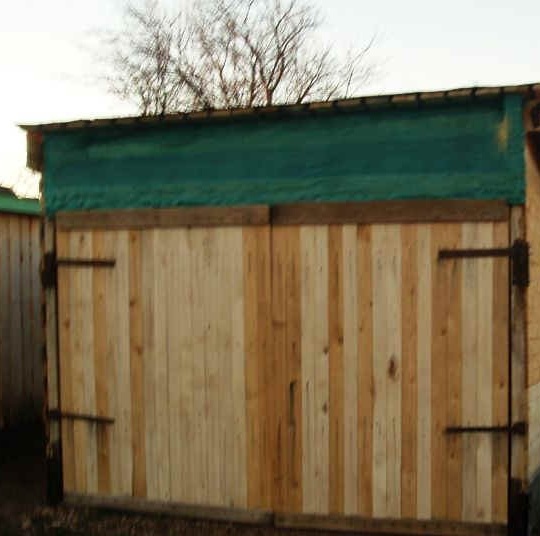
Recently I had a need to somewhere to lay down the supply of firewood, timber, boards and building materials that had been left on the barter, and then the idea ripened of how to quickly and practically for free build a shed. The idea is not entirely mine, was spied on by one good man, a local craftsman Boris Borisych, who built canopies for his equipment in approximately the same way.
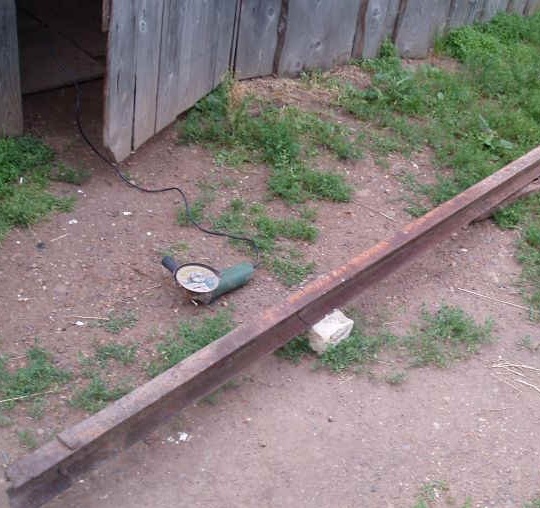
We take in the old scrap metal two pieces of the U-shaped channel, the remains from some construction. We cut it with a grinder into approximately the same parts, 70 ... 80 ... 90 cm, as it turns out, if only they would be approximately similar. We prepare scraps of pipes, corners and all sorts of other glands
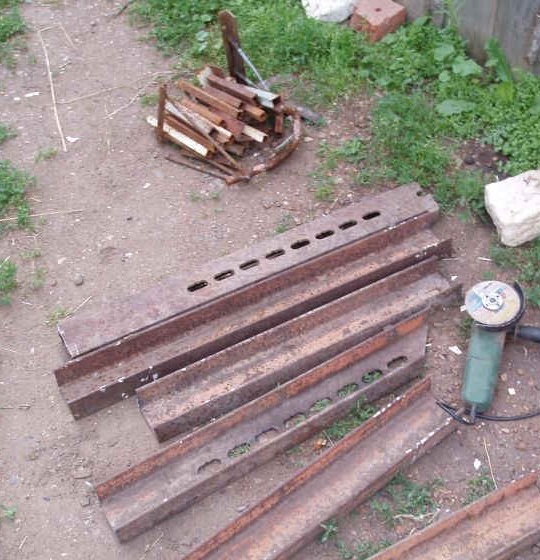
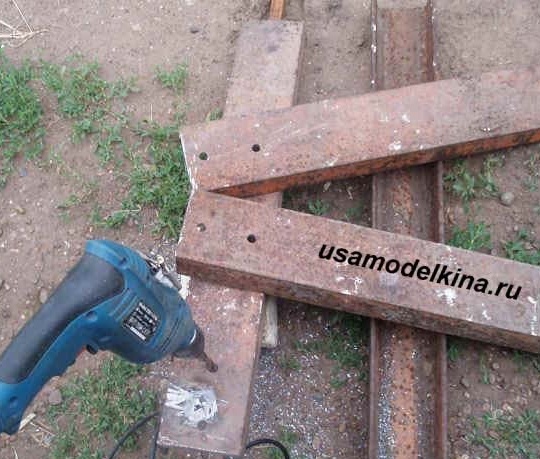
In each piece of the channel, we drill two holes for the M10 bolts. We weld pieces of iron, pipes, corners as shown in the figure. This will increase the footprint and stability of our channel.
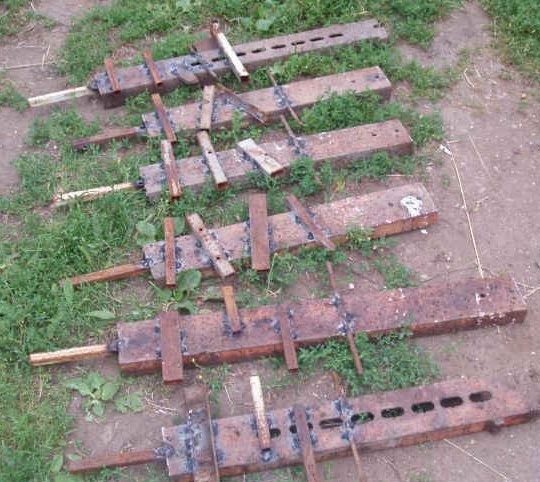
We dig holes (6 pieces) according to the size of the future shed and the depth of our channels, about 80 ... 90 cm. We install channels strictly according to the level and according to the dimensions of the future shed. Fill them with concrete.

While the concrete is hardening, we prepare the bolts M10 X 150, nuts and washers in the amount of 18 sets. The bolts will go to the uprights and to the translations of the future shed. At the same time, we cut the M6 threaded rods from the hardware store into pieces of about 200 mm. In the same place, in the store, we buy for them 100 grams of M6 nuts and washers. These studs with nuts and washers will fasten the hinges of the gate.
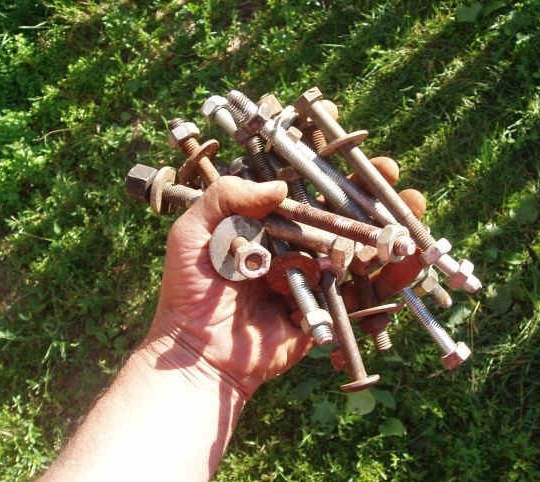
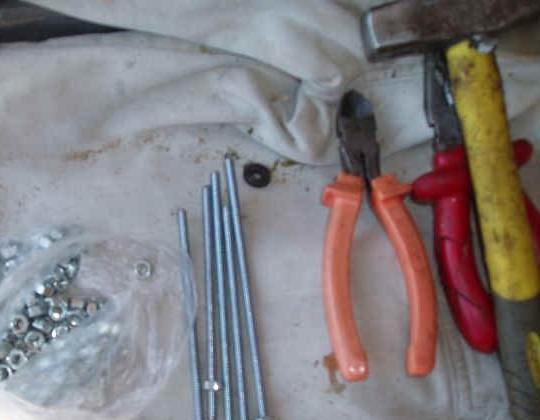
In 80X80 oak blocks prepared in advance at a local sawmill (these oak logs were bought in forestry for firewood, but then sawn into pieces), we drill holes in the place for bolts and fasten them with bars to the channels that were poured with concrete yesterday.

After the uprights with the same M10 bolts, we fix the upper horizontal roof translations.
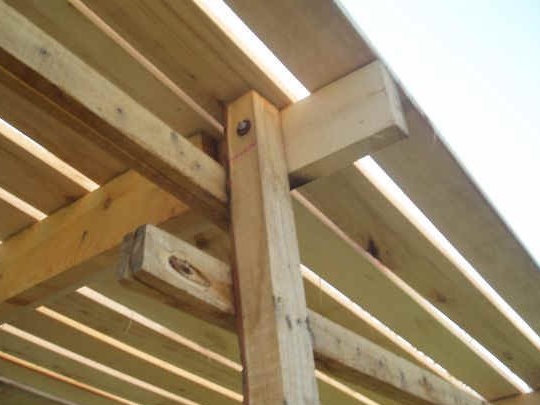
We sew the crate from the board of thirty for translations. Without waiting until it rains, we immediately begin to cover the roof of the shed. As always, in a good tradition, we again use covers from old decommissioned computers as roofing material. Lids this time took 60 pieces. We put them with a slight overlap, coat the side seams with white automotive silicone sealant. Practice has shown that there is nothing better than this sealant for the roof. 3 big tubes were just enough
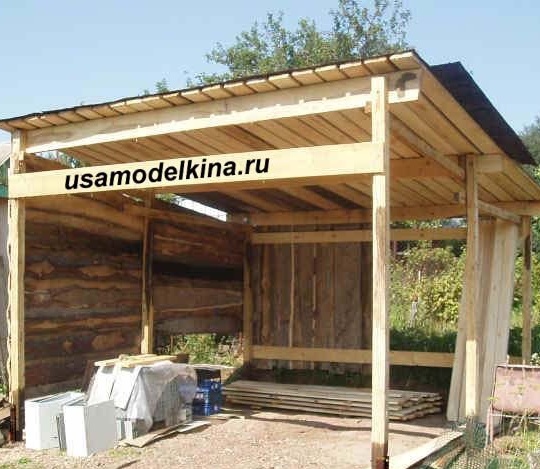
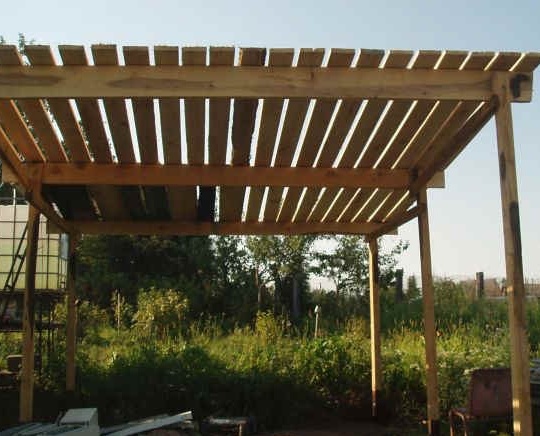
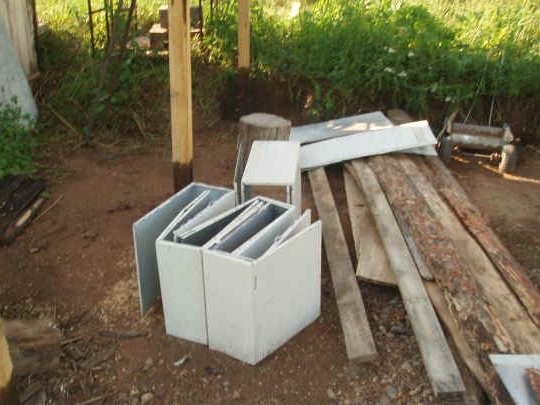
And now, the roof is ready! We begin to sew up the side walls of the shed. Of course, there is no aesthetics and design here, but the plates are inexpensive and hold well. Then, as the mood is, let us whitewash them with lime so that they rot more slowly.

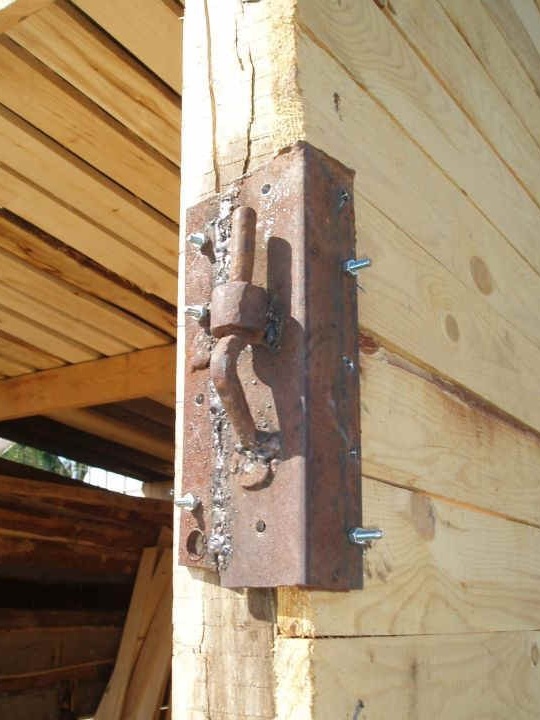
Due to the fact that the racks are quite thin, forged hinges from an old gate (found in scrap metal) we reinforce with a steel corner and fasten them to a large number (8 pieces) of through M6 studs. We expose the oarlocks of the future gate by level. We paint all this economy with kuzbaslak or some kind of oil paint.
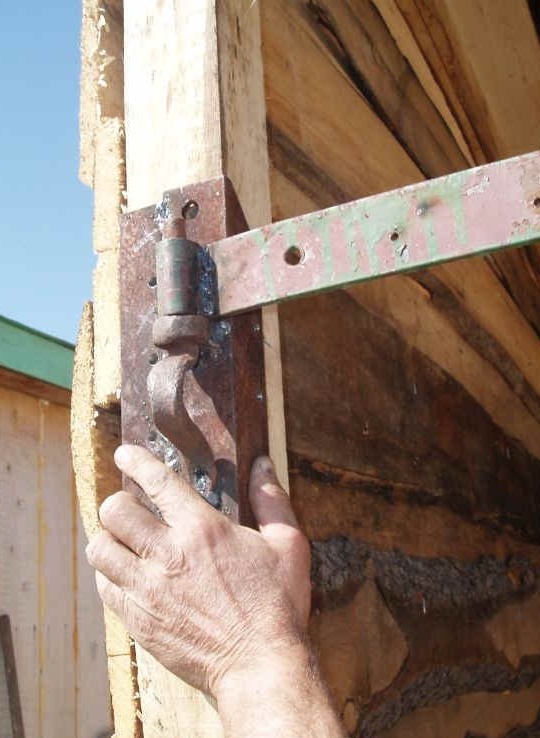
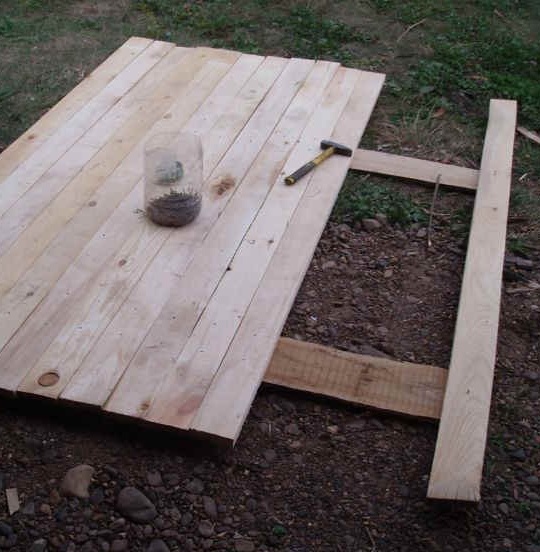
On a flat ground, we lay out the future gate leaves and sew the boards with nails tight to each other. On the reverse side, bend the nails and drive them into the same board. The cross-sections of the gates will be oak, these are trimmed boards from the same logs from which the vertical posts were made. With the help of a crowbar, an ax and some kind of mother (I have no other assistants) we hang the gates in place.

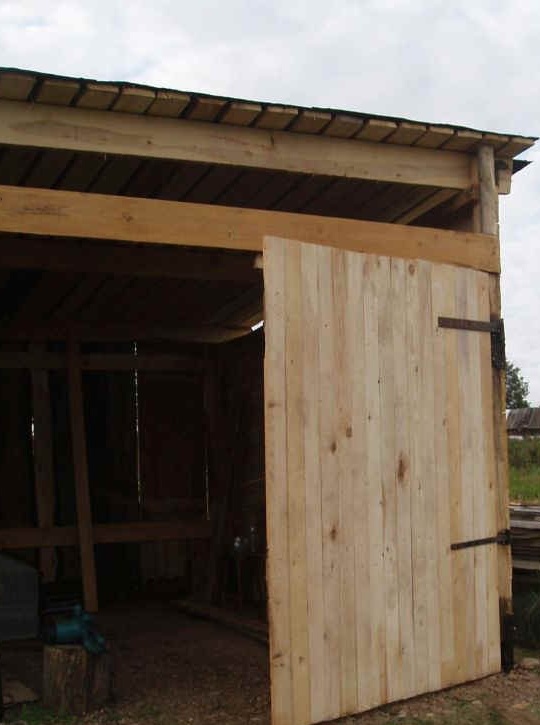
The top hole is closed with two layers of synthetic mesh. And what, and the shed will be aired, and the light passes, but then the snow and rain through the net does not blow.

Of course, knowledgeable people can say that in a simple wood shed such a large gate is useless, but I confess that the size of this shed is just under my Niva ... When I already use all the building materials and firewood from it, there it is will stand.
