

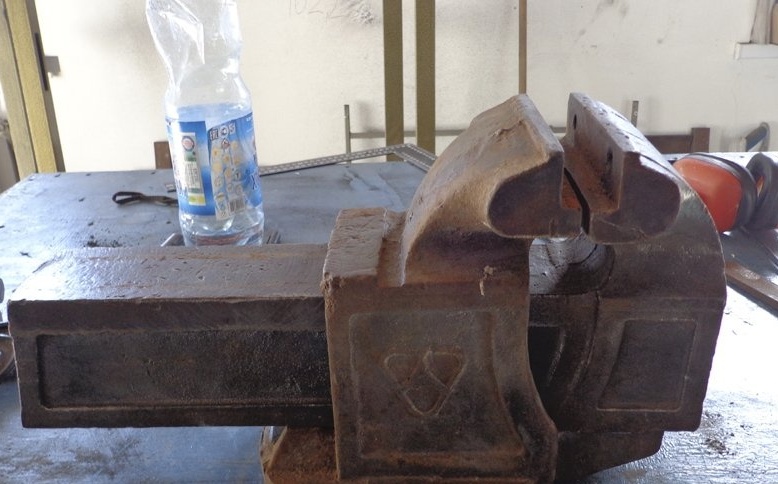
Hello dear readers of the site!
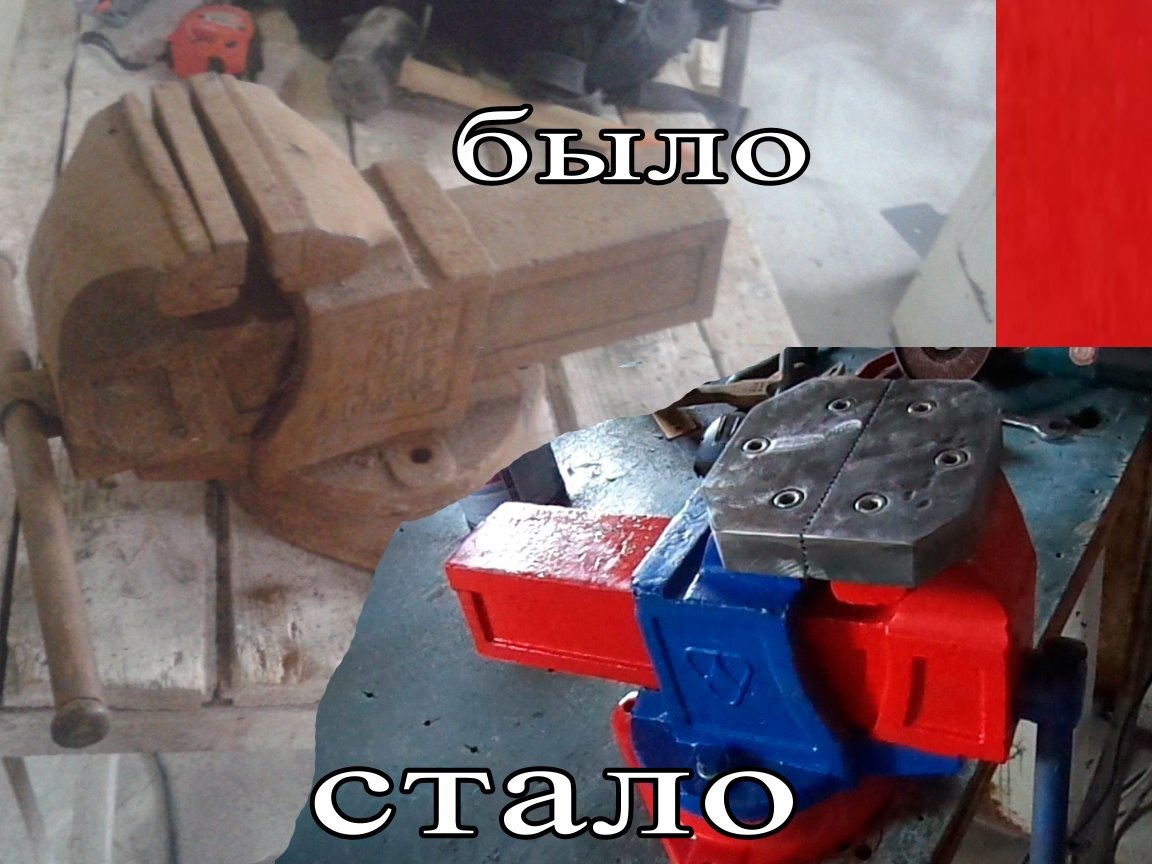
After this vise appeared, there was a desire to restore it. The vice was made in the days of the USSR. after some failures, the clamping jaws were returned to their place (the threads were torn off, there were m9, the bolts were practically unusable), and it was not possible to drill the jaws themselves to a diameter of m10 (hardened). Because of these difficulties, it occurred to me to make another type of clamping jaws, and make them so that there was a small flat surface on top for straightening small pieces of iron (strips, corners, etc.)
Materials and tools:
- old vise
- 25mm metal sheet
- screws (internal hexagon) m10x25 (6pcs.)
- brush for angle grinder (grinder)
- grinding wheel for angle grinder (grinder)
- cutting wheel for angle grinder (grinder)
- flap wheel for angle grinder (grinder)
- marker for marking (or marking pencil)
- spray paint
- sewer pipe cleaner
- degreaser (acetone, solvent, etc.)
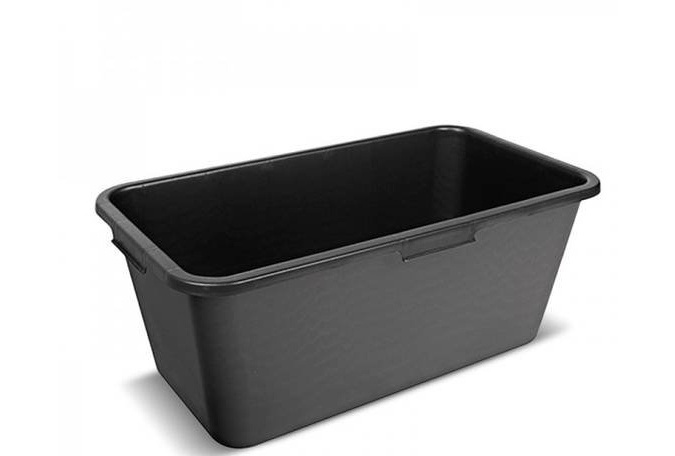
- construction basin 90 liters (plastic)
- tin metal (sacrificial)
- clamps (G and F shaped)
- work vice
- Angle grinder (grinder) 125 and 230 circle
- drill
- drill bits 8.11.17 mm
- car charger 12 volt
- imbus keys (hexagons)
- wrenches (spanners or spanners)
- tape measure, ruler, square (all that is suitable for marking)
- work vice
- thread cutting kit
- RESPIRATOR, PROTECTIVE GOGGLES, PROTECTIVE HEADPHONES and MANDATORY KNOWLEDGE OF SAFETY
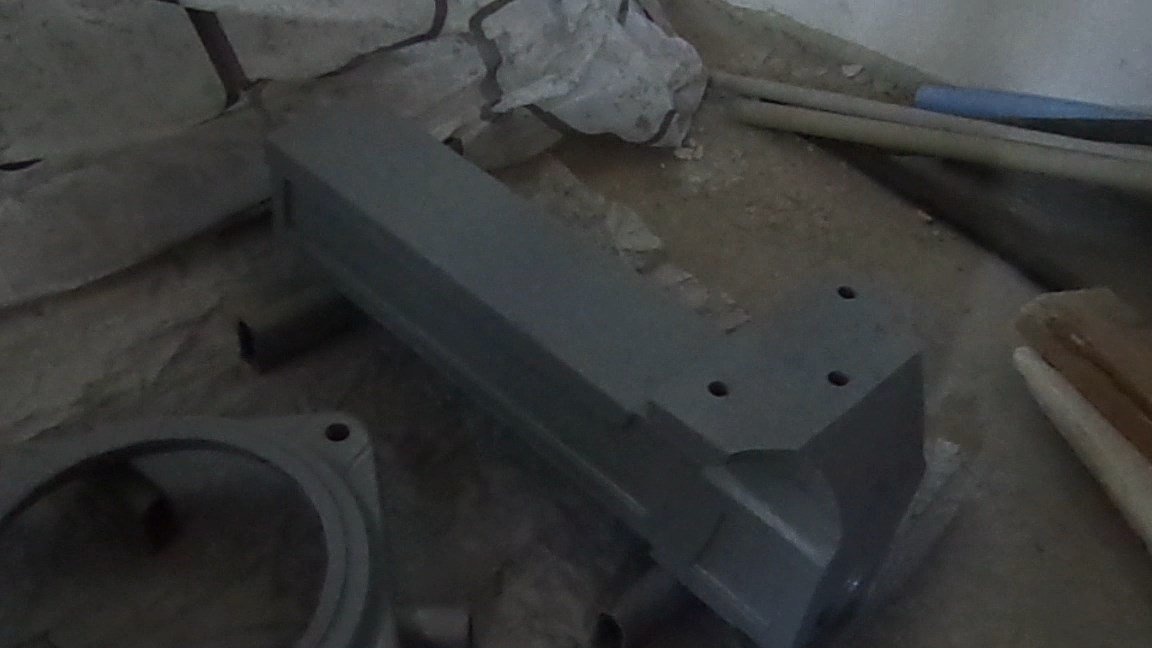
Step 1: Marking and Extent
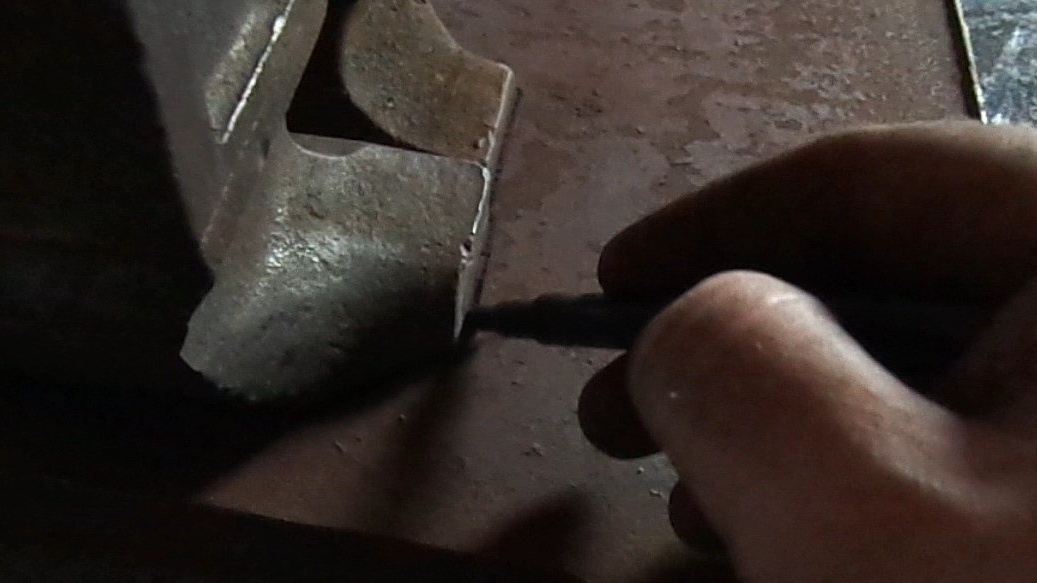
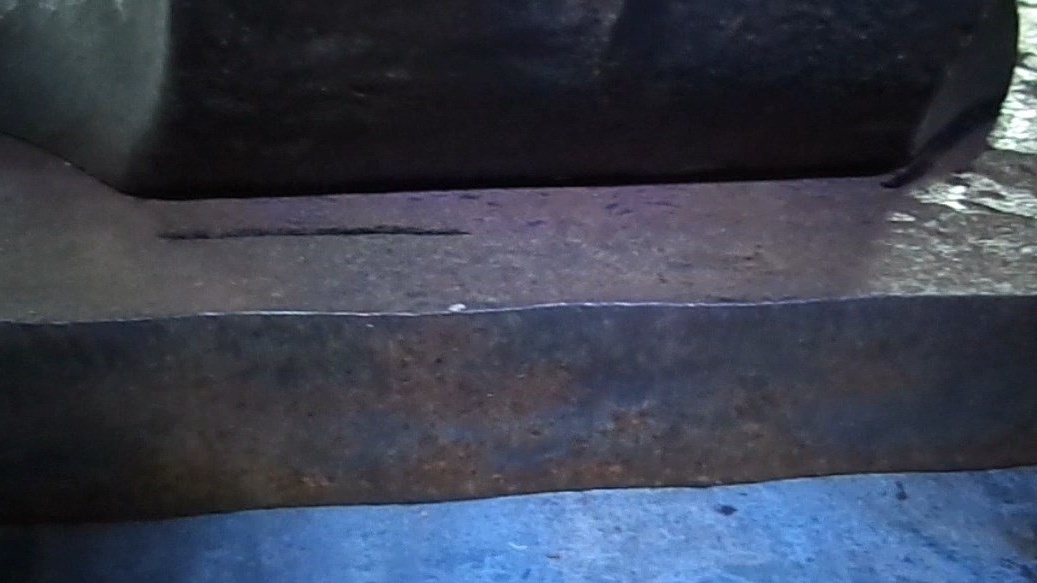
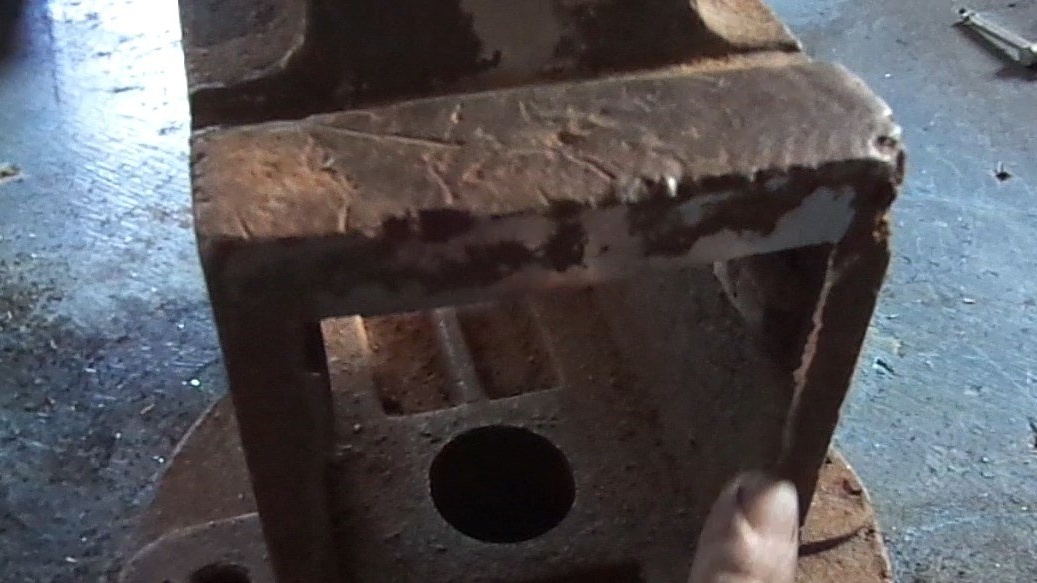
As all the excess has been removed (the support on which the stationary part of the vise rotates, the screw), we proceed to mark along the perimeter in place, so that you can cut off the attachment point of the old jaws and get a plane on which the plate will be mounted.

As everything is marked, proceed to sawing. BUT! if you have no or little experience, it is better to ask someone who has experience in cutting such thick plates with a grinder! Can contact organizations that can be cut with a laser, plasma, etc. Because when cutting, the cutting wheel may “bite” and you may suffer.

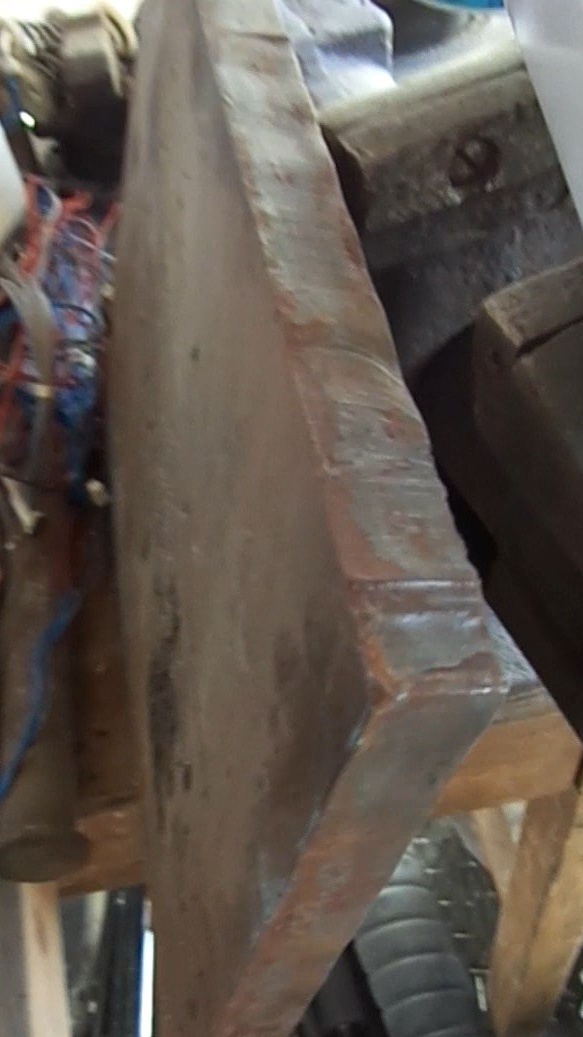
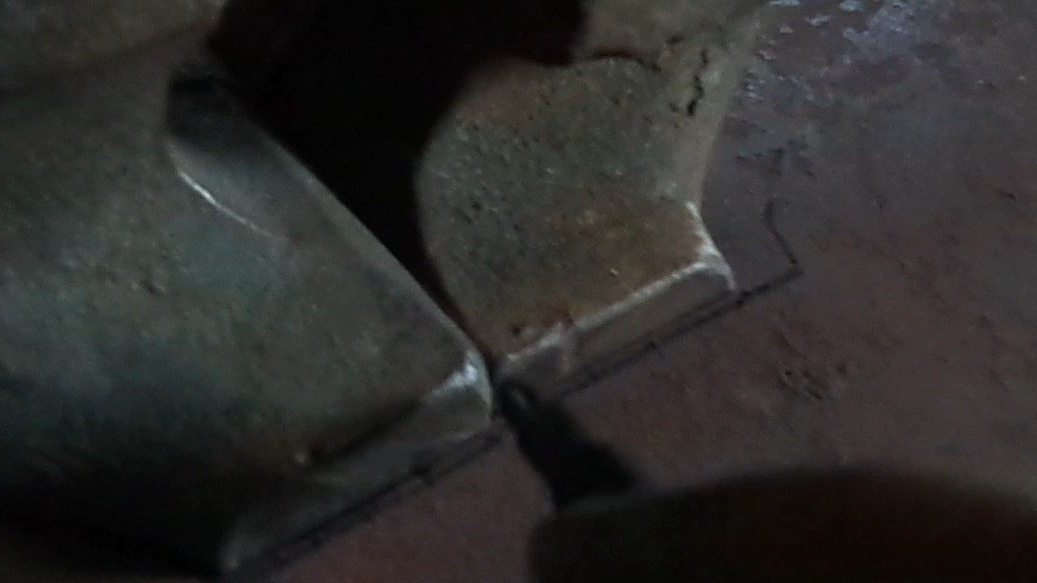
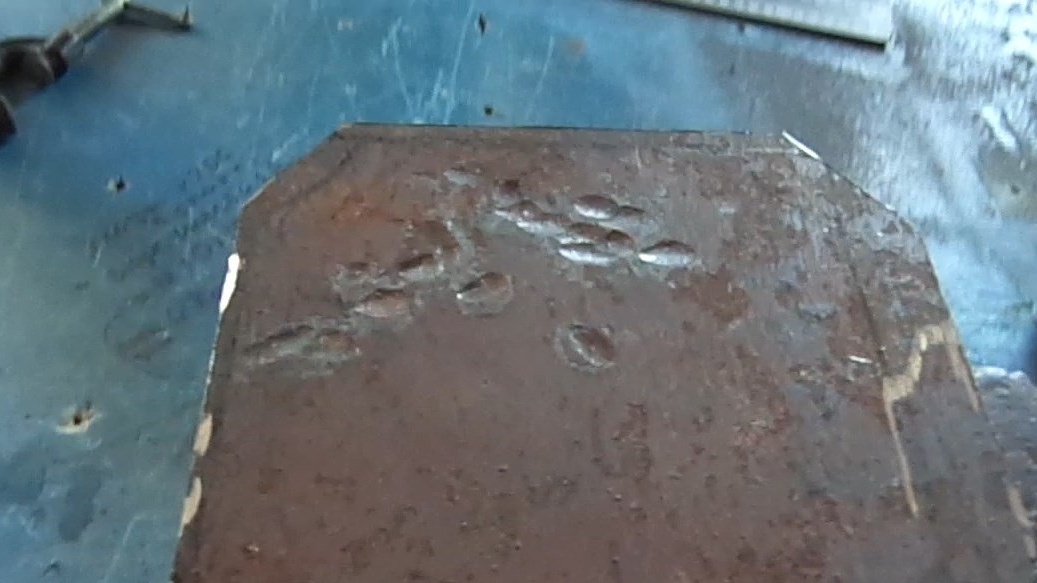
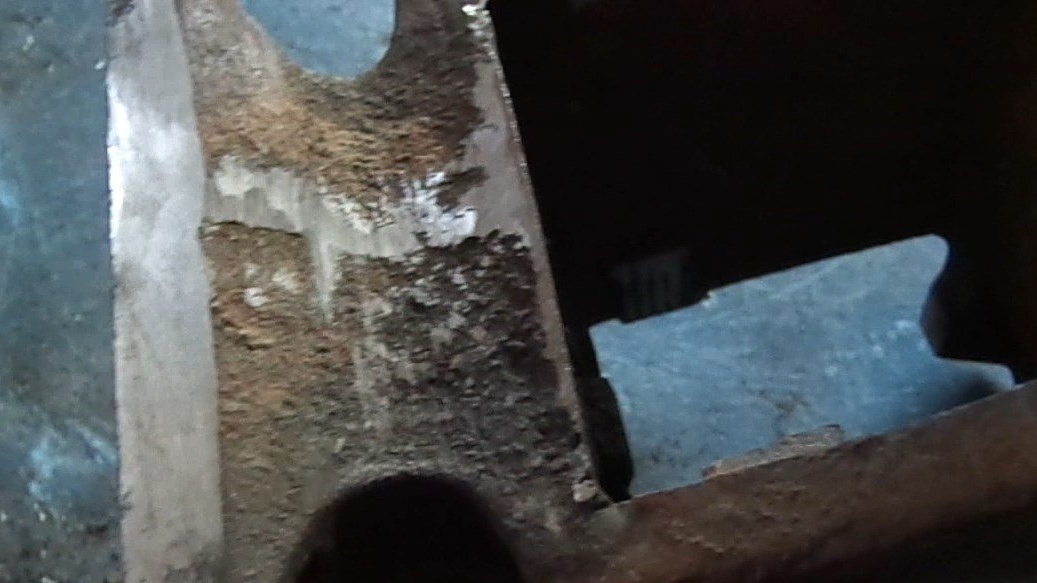
These sawed lips should remain after the sawing process

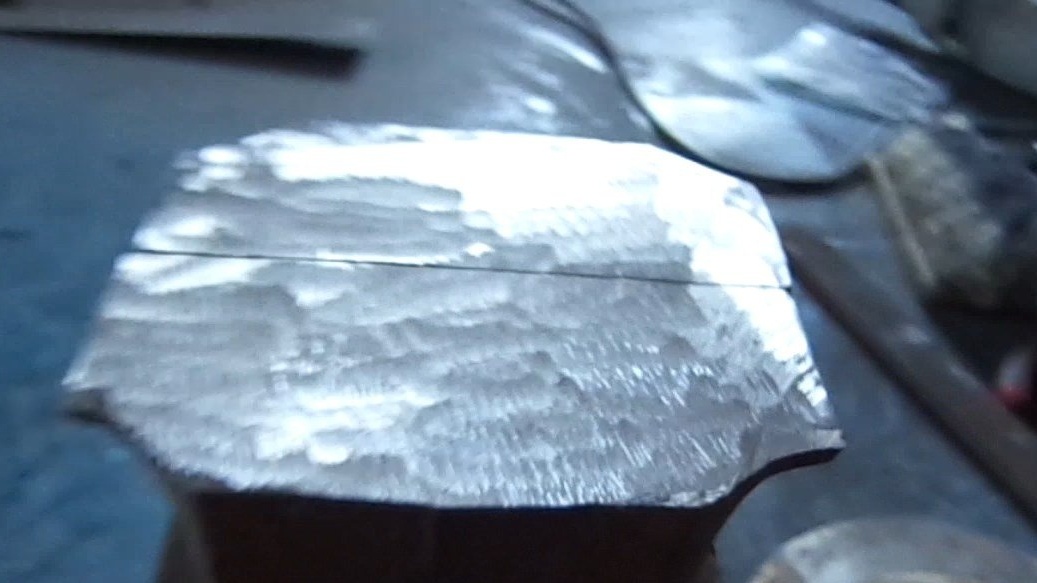
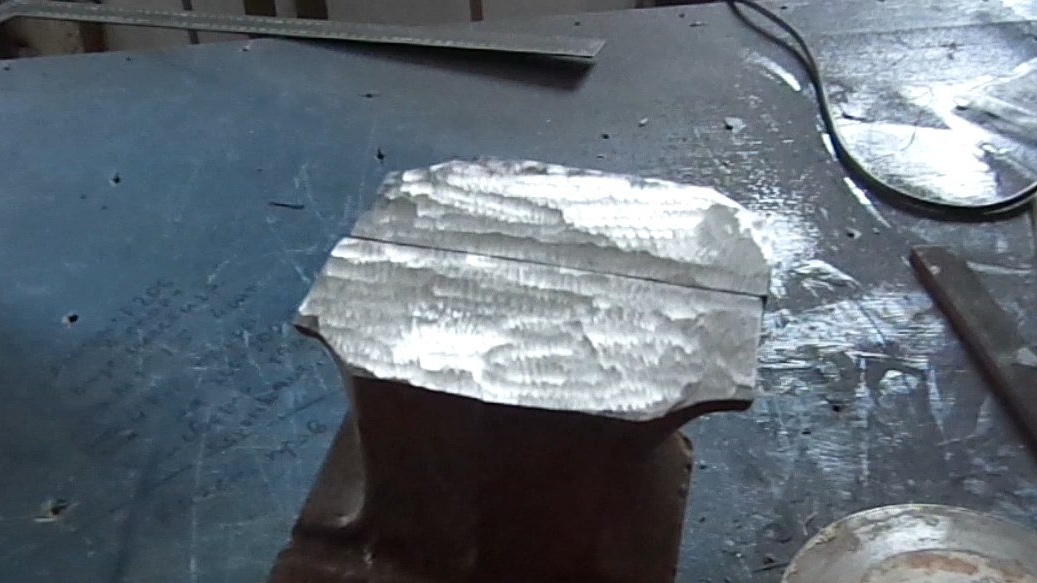
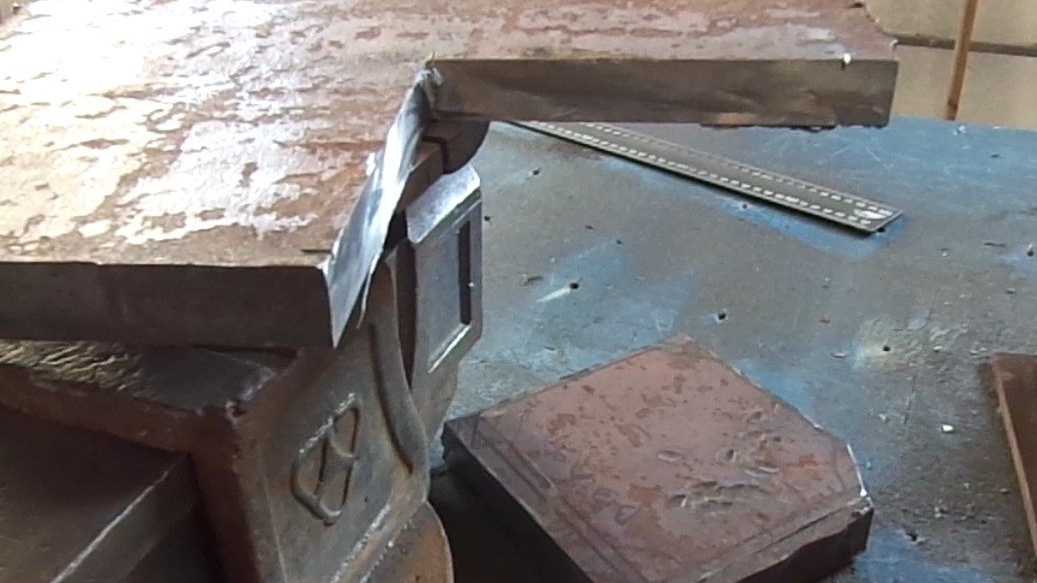
Now you need to grind the resulting surface until the plane begins to appear approximately .....If you overdo it and remove the excess metal layer with a grinding wheel, it's okay, you can fix the cracks or pits either by welding, or put pieces of metal of suitable thickness. To control the plane that you grind, use, best of all, a metal ruler or square. They will best show irregularities that must either be removed or welded (if necessary, if you overdo it).
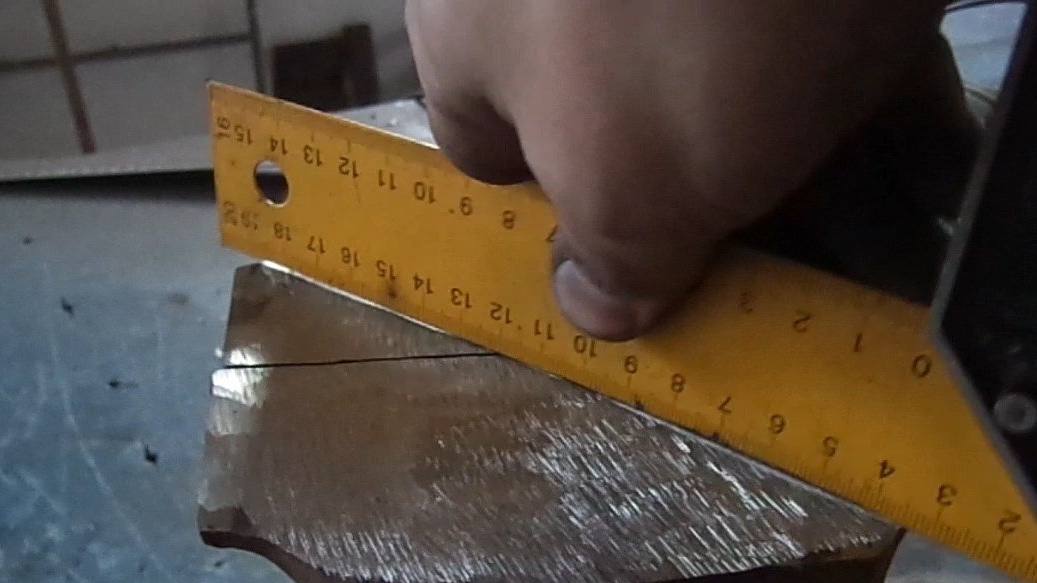
After grinding we get the desired surface. Grinding to an ideal surface is not necessary, this plane will still be covered with new sponges. The main thing is that the sheet of metal does not "dance" on this surface.
Step 2: Marking and cutting on 25mm sheet metal
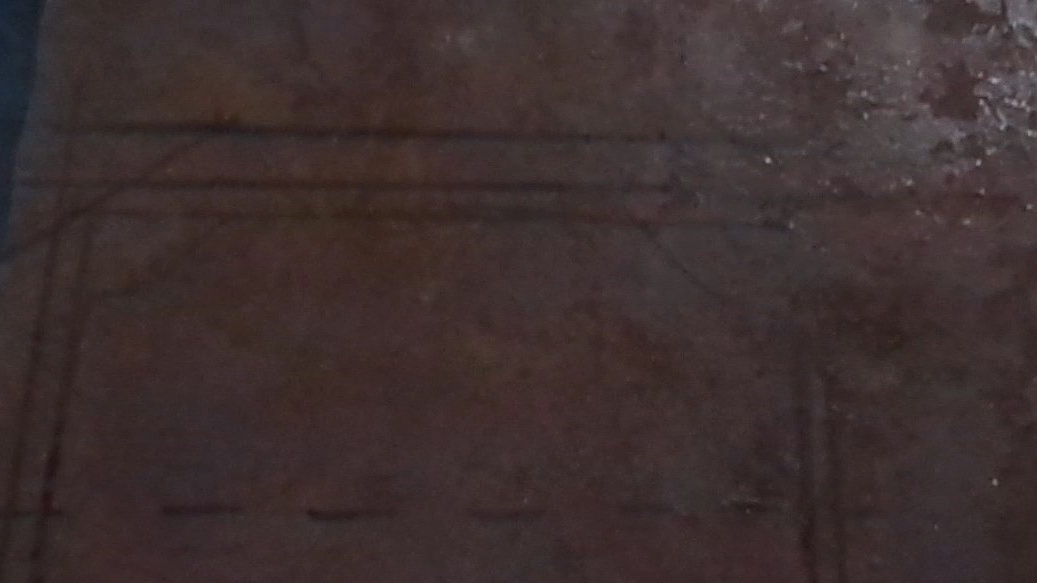
We take sheet metal (it can be easily found at the bases for receiving scrap metal, I found it there), put it on the table and put our vice upside down.
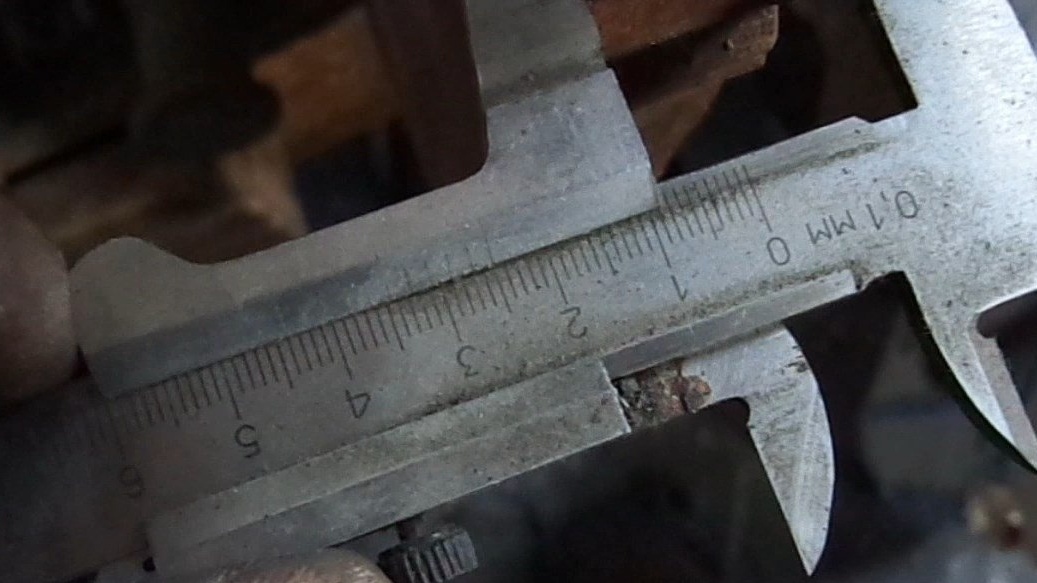
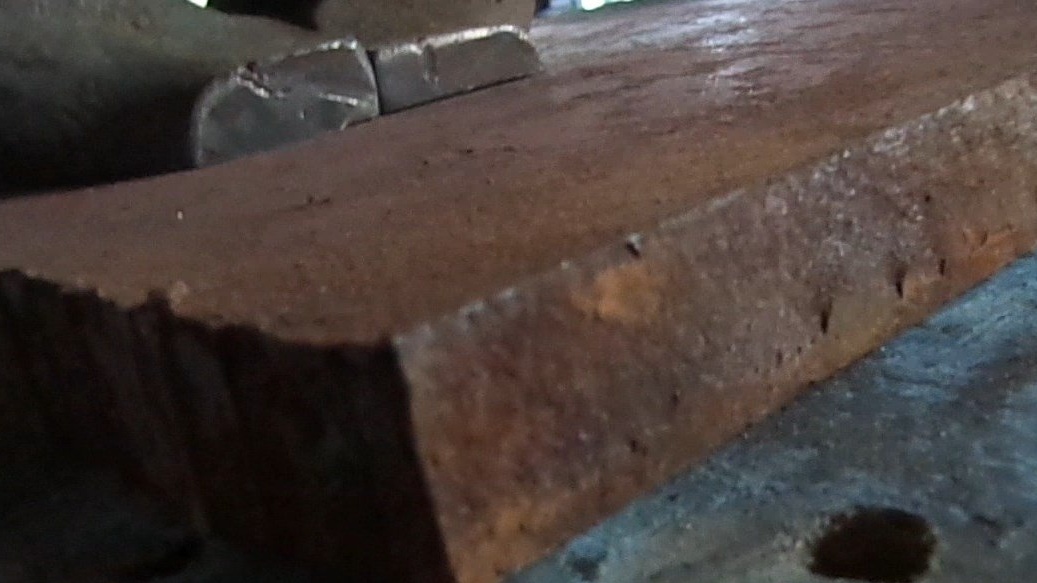
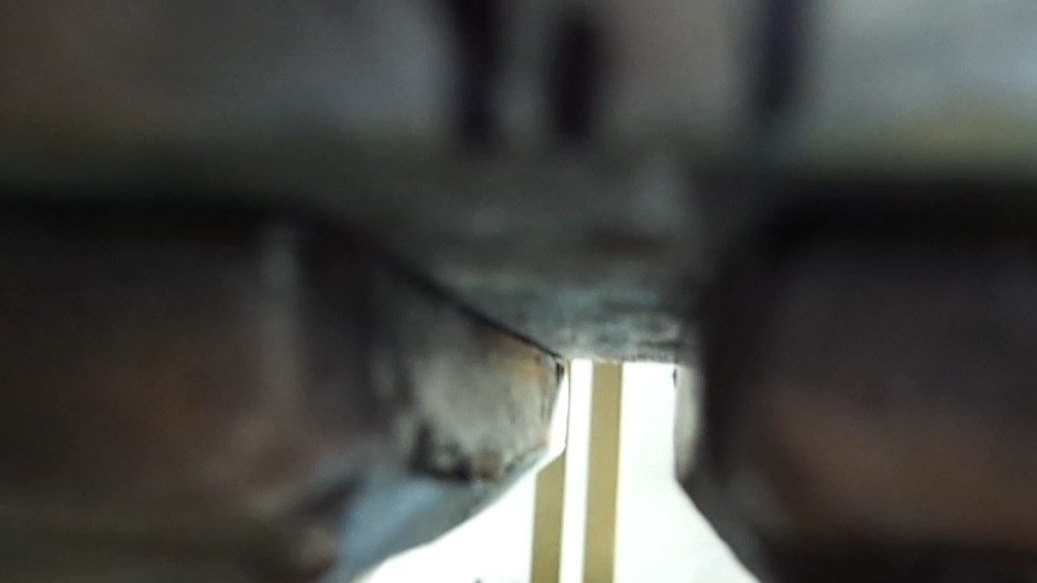
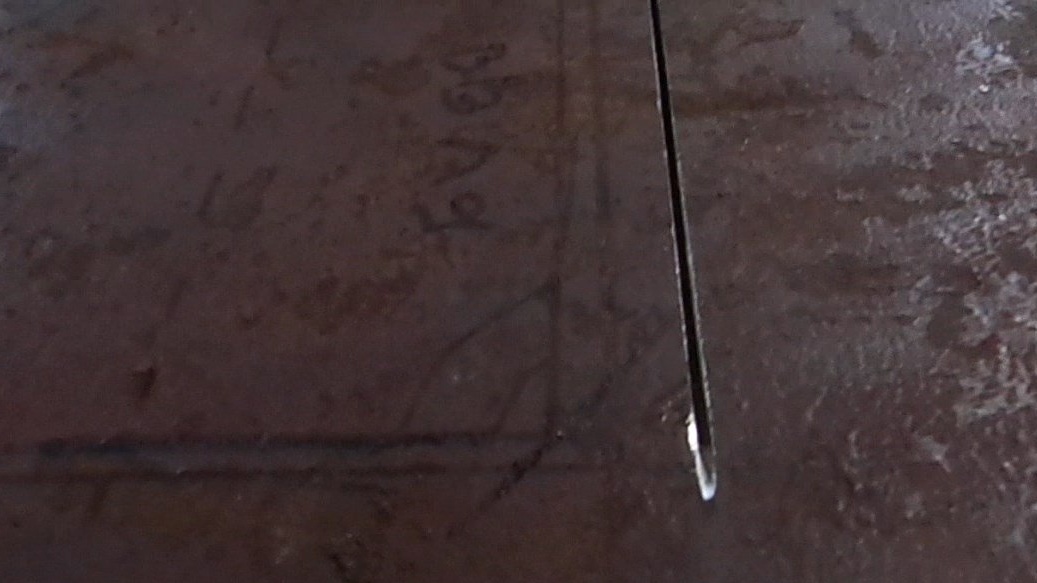
First, we circle the resulting sole. Next, make a stroke after the first markup with a margin of 5-10mm (anyone will like it). This is necessary in order that the casting in those days was not ideal (but the quality of the metal was up to par) and if done “back to back”, then in the end we can get a crooked performance in the final. The main thing is not to forget on the side that will be along the vise body to increase the length by 10-15 mm, this must be done so that the vise cast iron under the lips does not participate in the clamping of the part. If you pay attention to any vice, then under the lips in a clamped state there is a gap of 5 to 10 mm. Track. photo (below) shows an example .....
As we all marked out, we start cutting. Observe safety precautions! Cast iron was cut off quite easily, but the 25mm metal itself succumbed hard and bit the disk so that the washer on the cutting wheel could be chewed (see photo below).
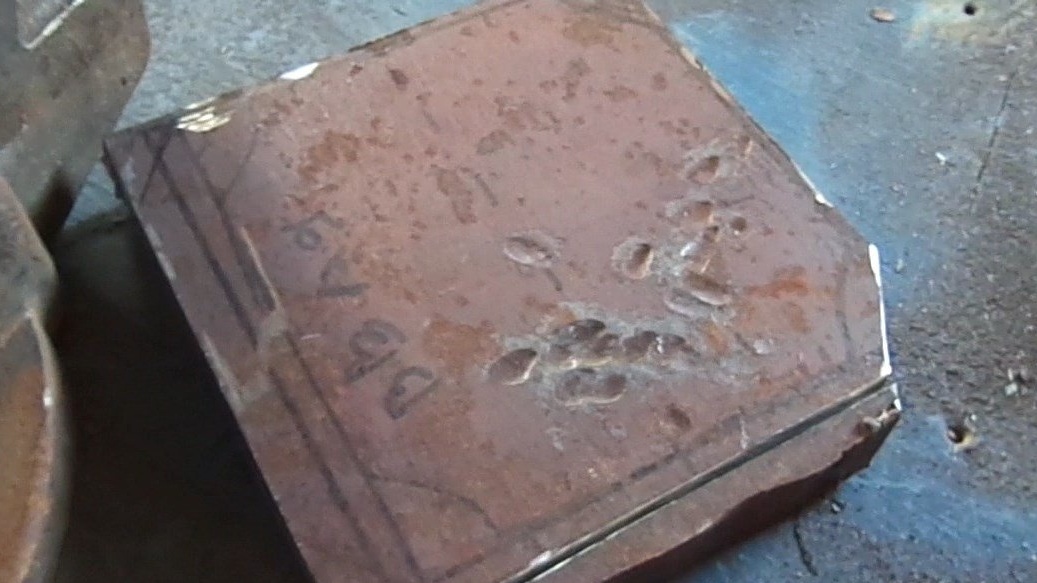
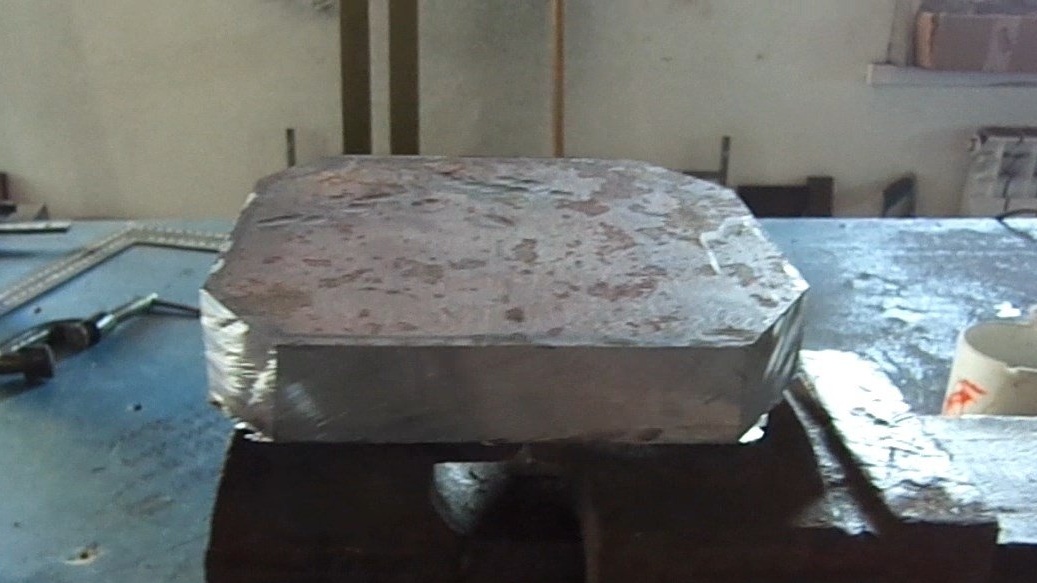
Now we get a piece of metal, which in the future will become new sponges for our restored vice.
Step 3: Installation of metal for further work
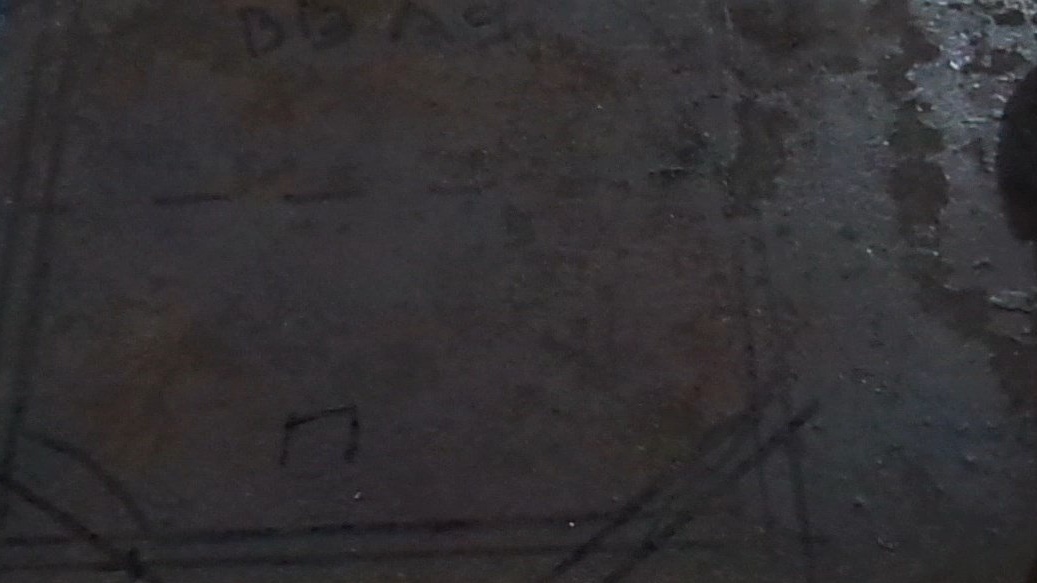
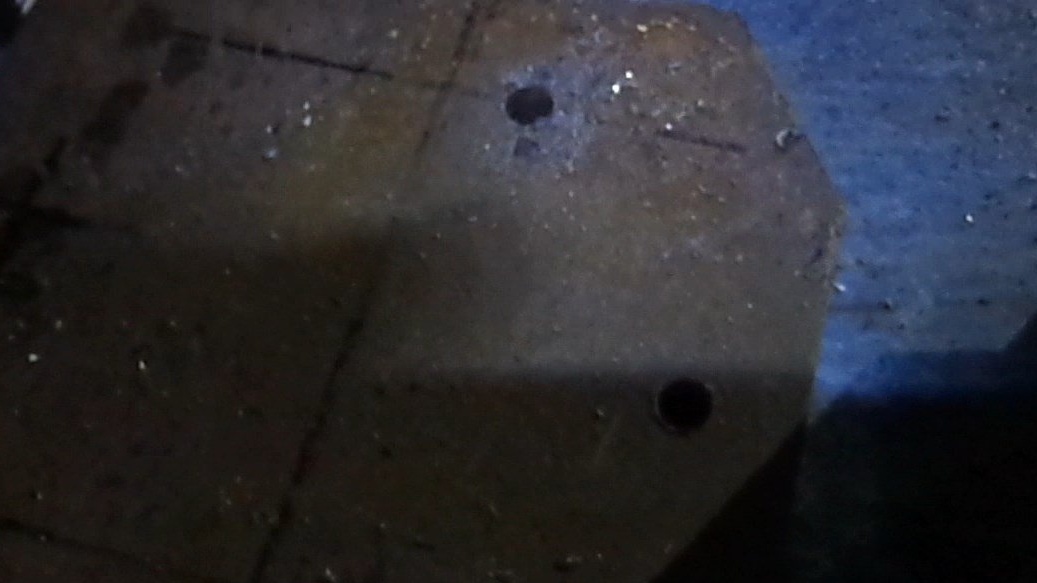
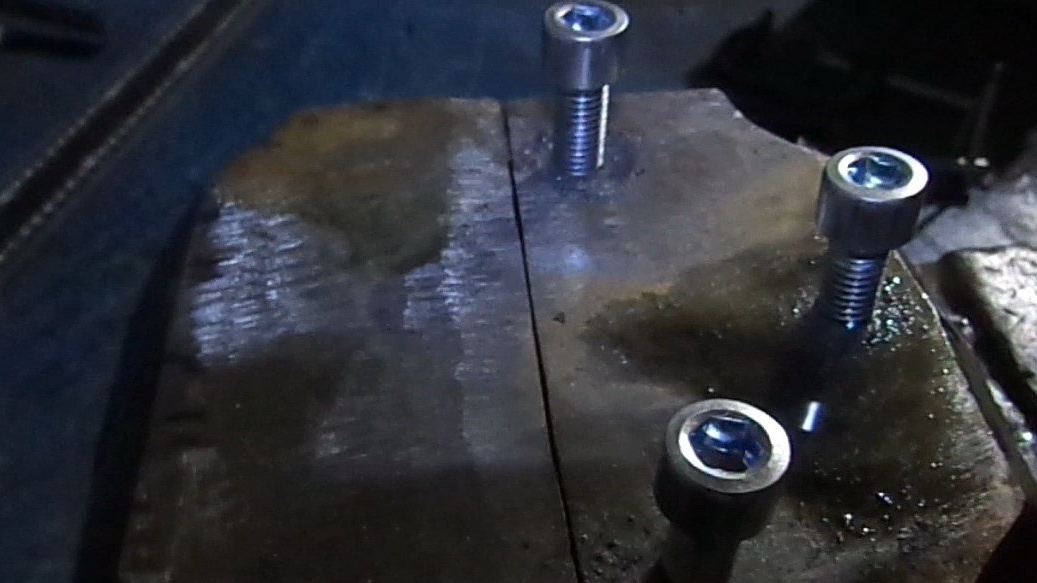
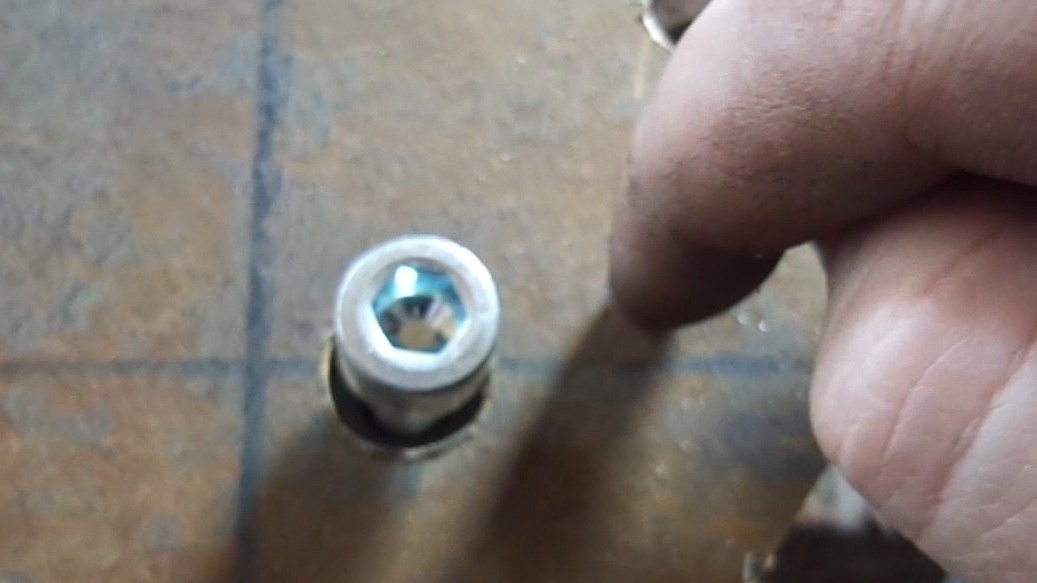
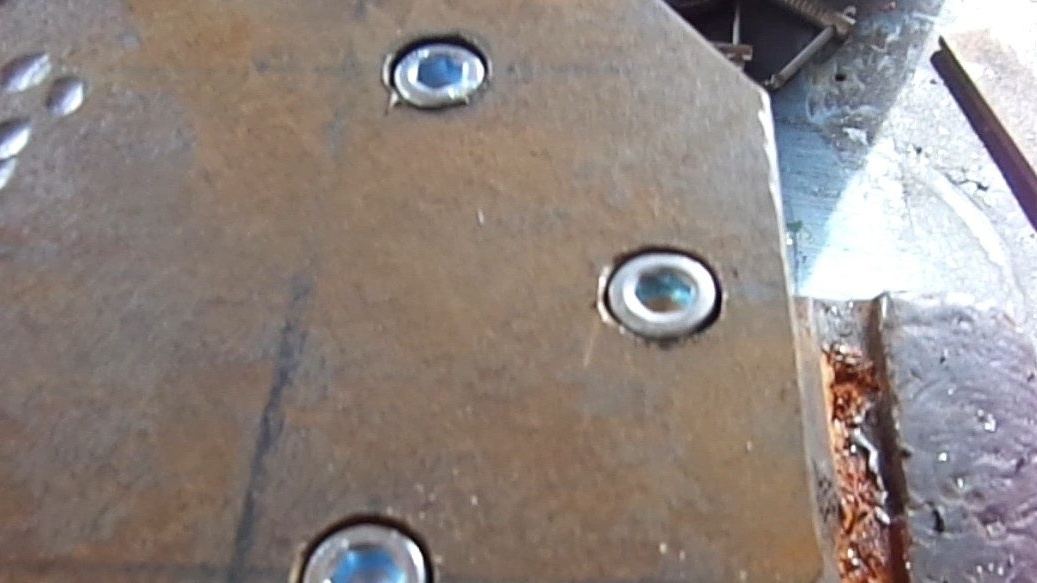
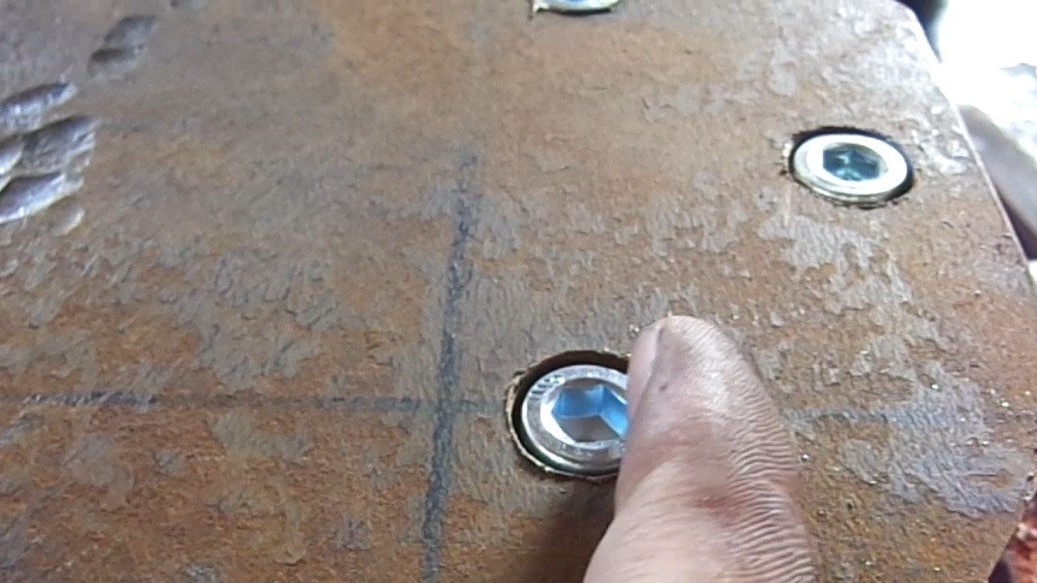
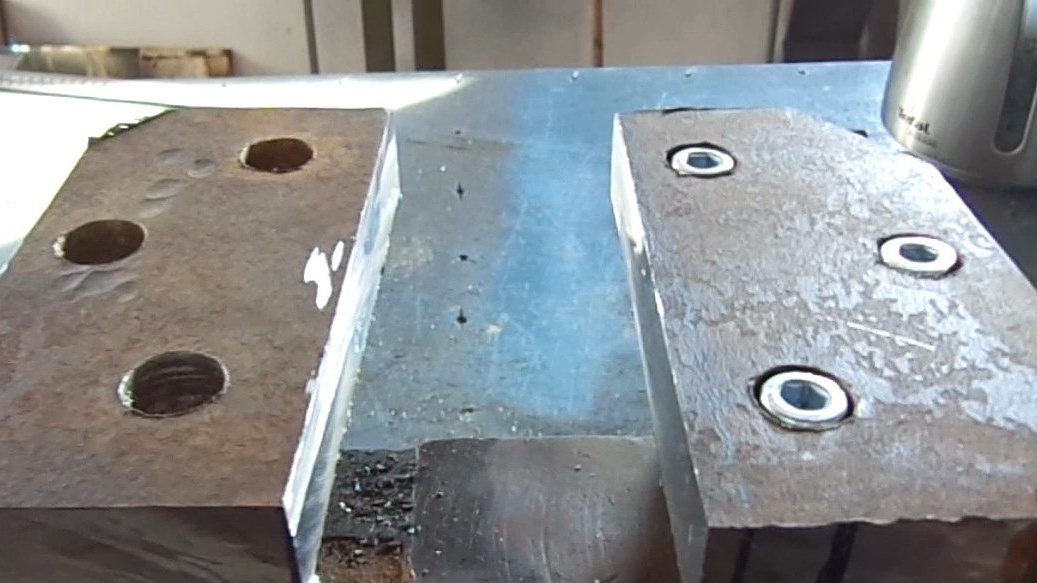
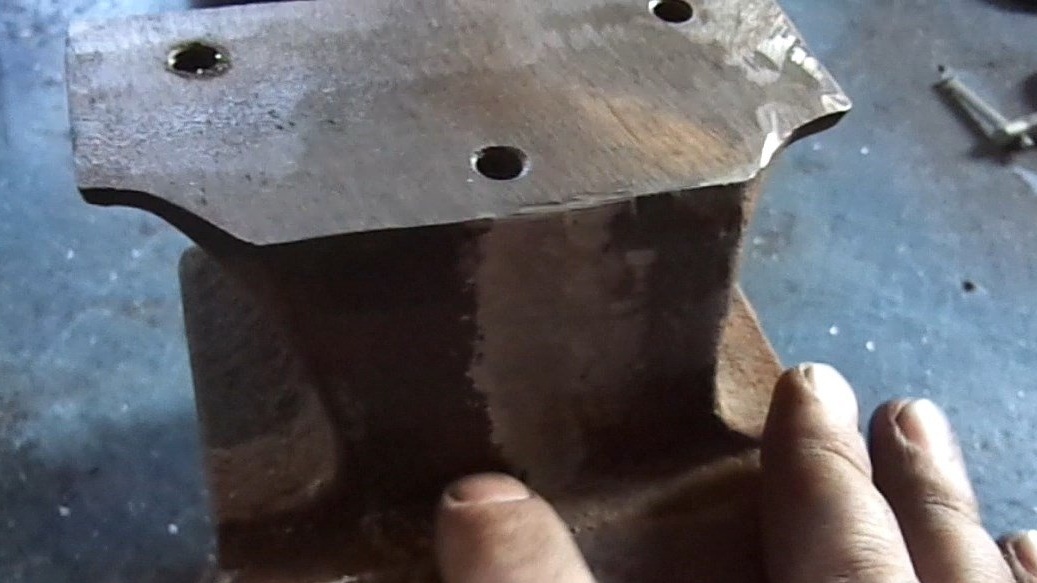
As everything was cut out and laid in place, now we need to mark the drilling places. As has been written, I will use screws m10x25 so that the heads are hidden in the thickness of the metal jaws.
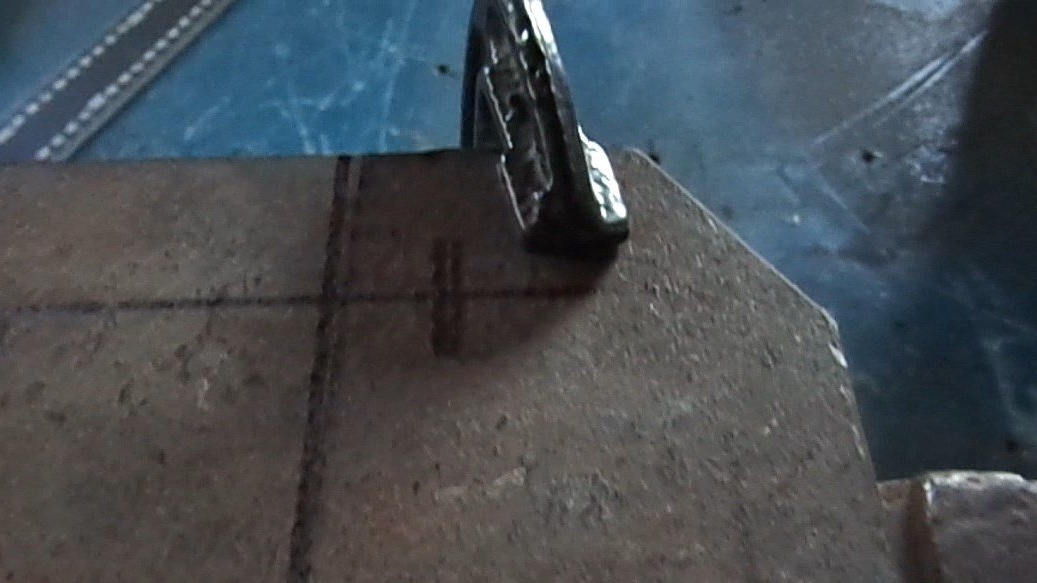
I decided to screw three screws into each of the sponges, I think it will be enough.
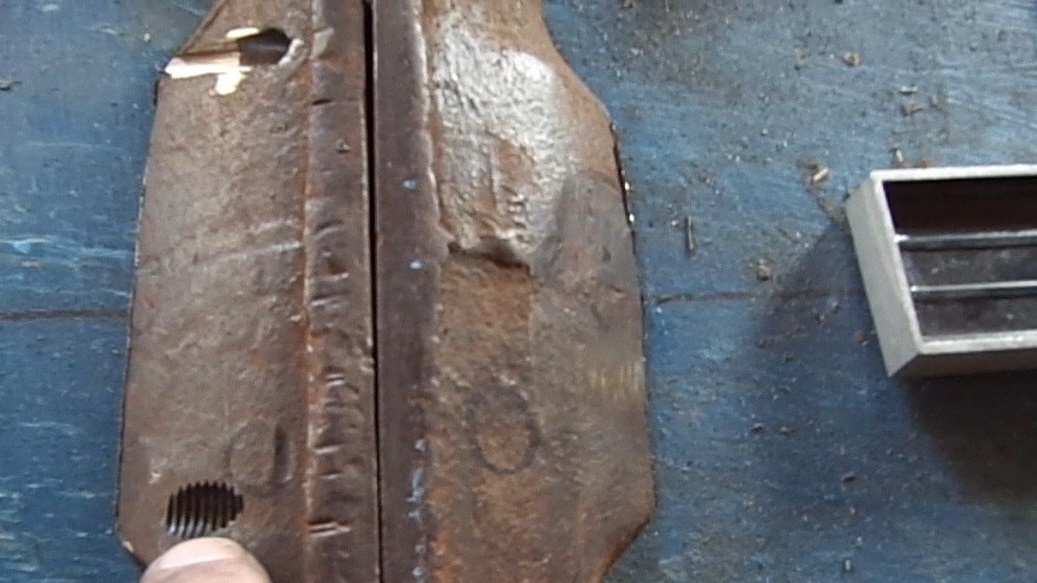
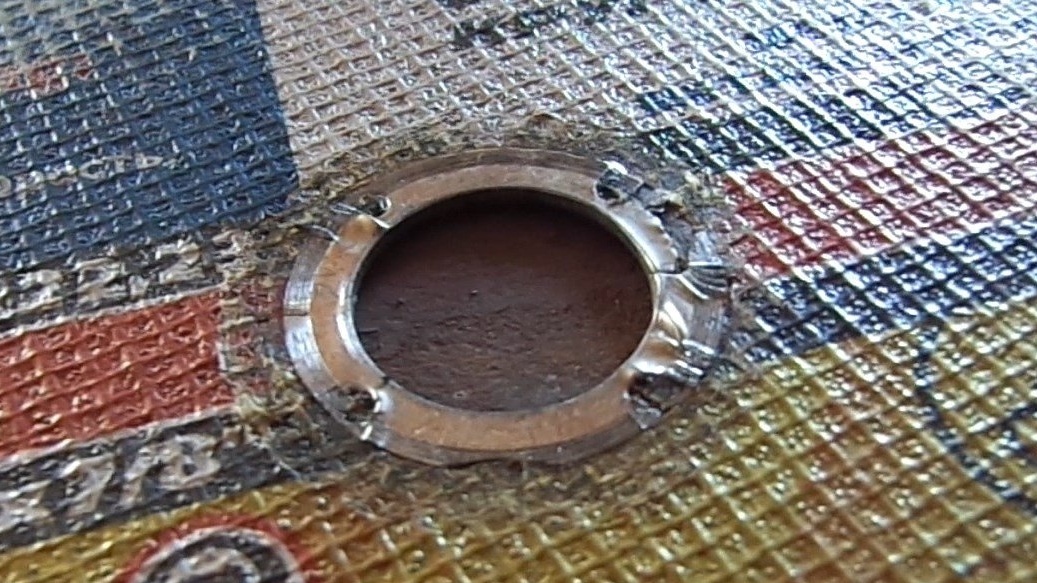
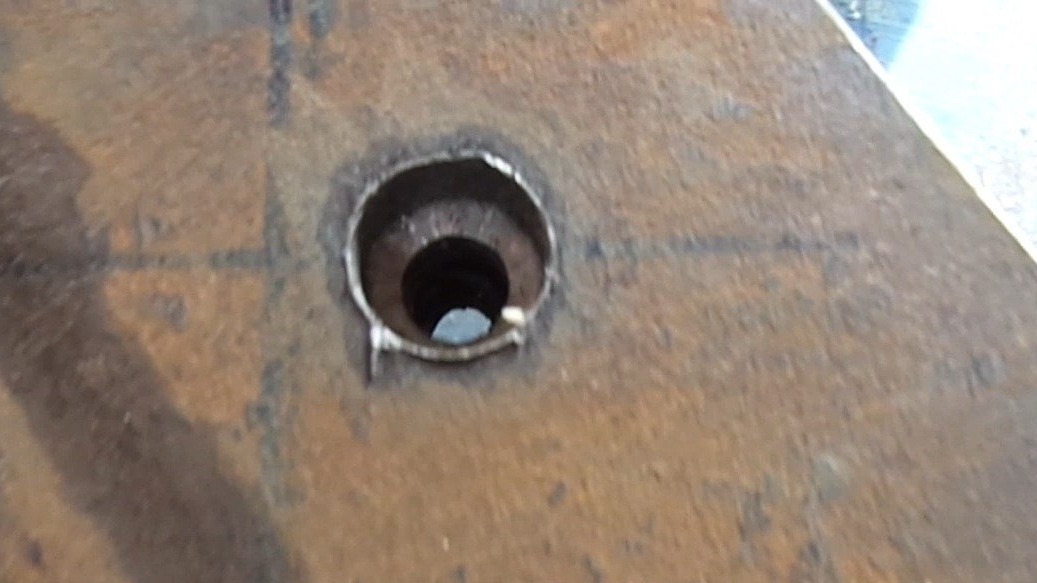
First, we fix in the right position a piece of sawn metal on the vice itself, as they will be at the end of the work. First of all, we drill a hole with an 8mm drill (under m10) both parts, a sheet and a vice, from one pass, we drill all three holes. Then we remove the sheet and expand it, in it, into the finished hole 8mm to 11mm, this is necessary so that the m10 screw tightens easily and does not meet obstacles in the face of the thickness of the metal. After drilling with the 11th drill into the same place, we drill 17mm to the depth of the screw head height, this is necessary so that the head “hides” under the plane of the jaws and is “flush” or flush with the surface. In the cast iron of the vise itself, we cut the thread under m10.
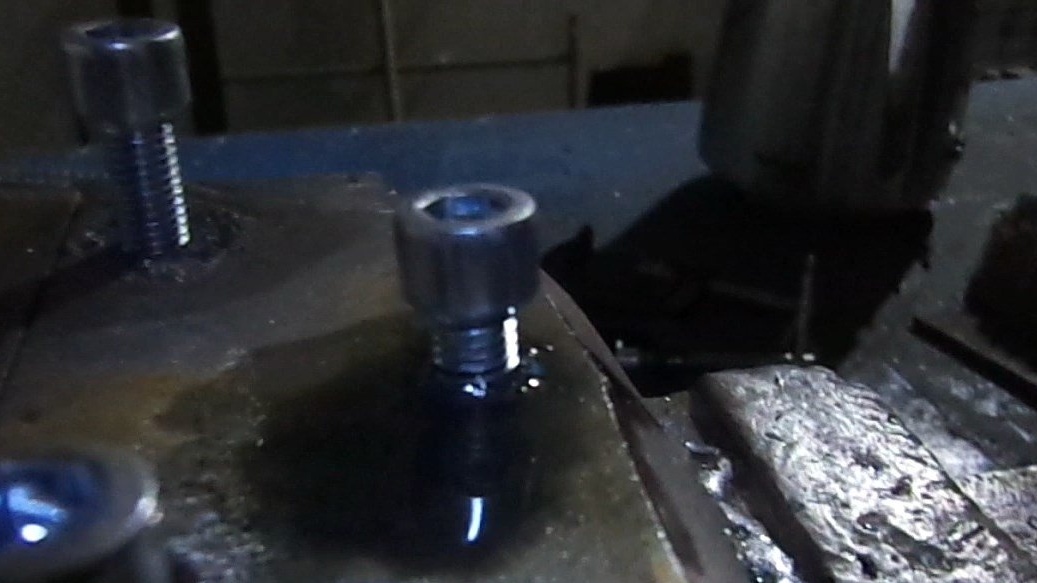

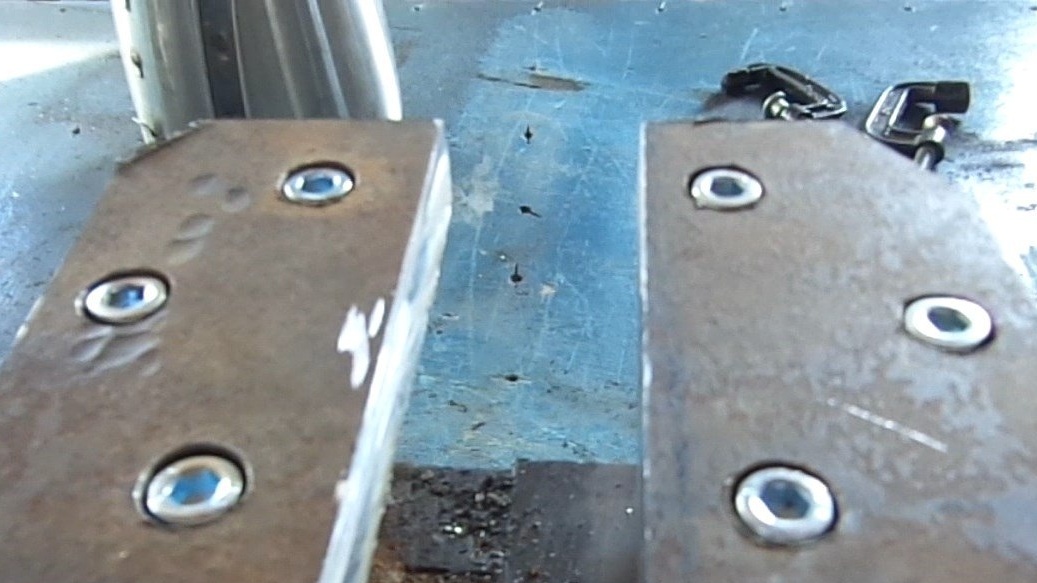
After we cut the threads in the fixed part of the vise, we drilled all the necessary holes, and secured the sheet with 3 screws, move on ... on the moving part we drill holes as described above.
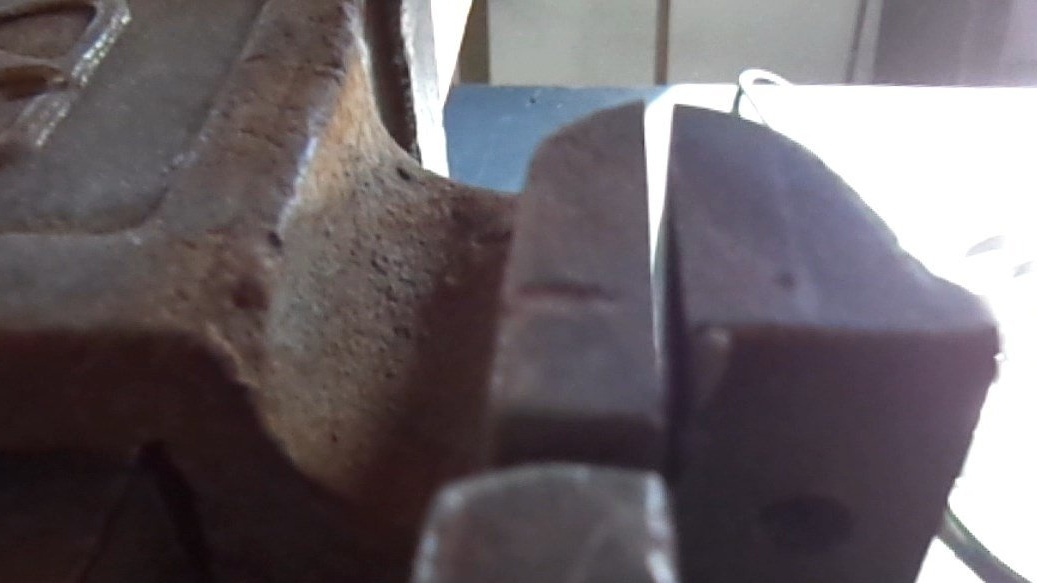
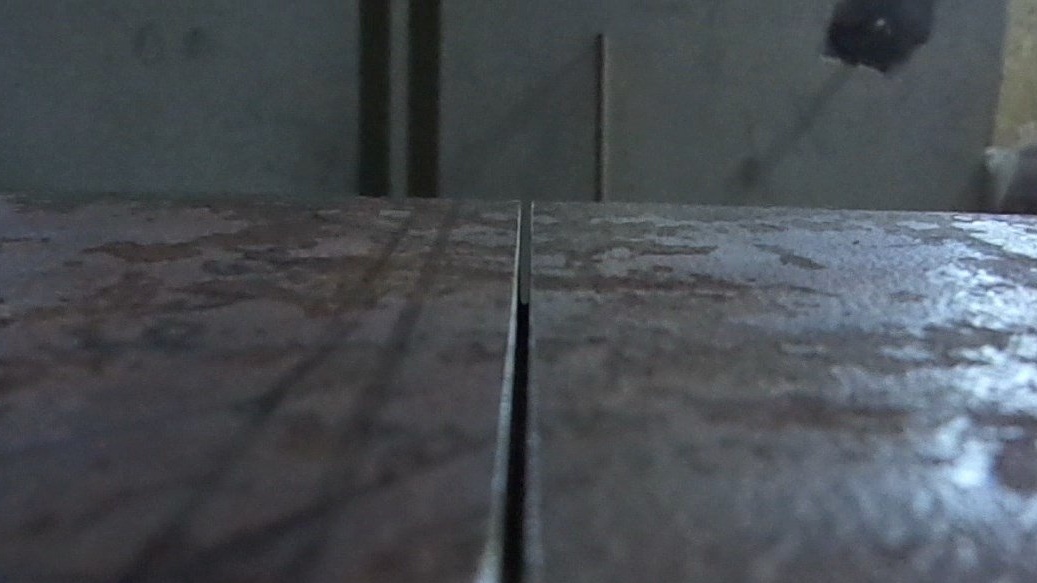
The sheet has not yet been sawn into sponges is attached, and we extend the movable part so that its future sponge does not lie on it, we make markup for sawing into two parts. And as we marked out, we begin to cut, and it is imperative that we try as much as possible so that the grinder is held at a right angle to the plane of the jaws. Otherwise, when the part is clamped, there will be a bias. Well, as we sawed, we fasten the second sponge .... and check with a square the accuracy of the cut.
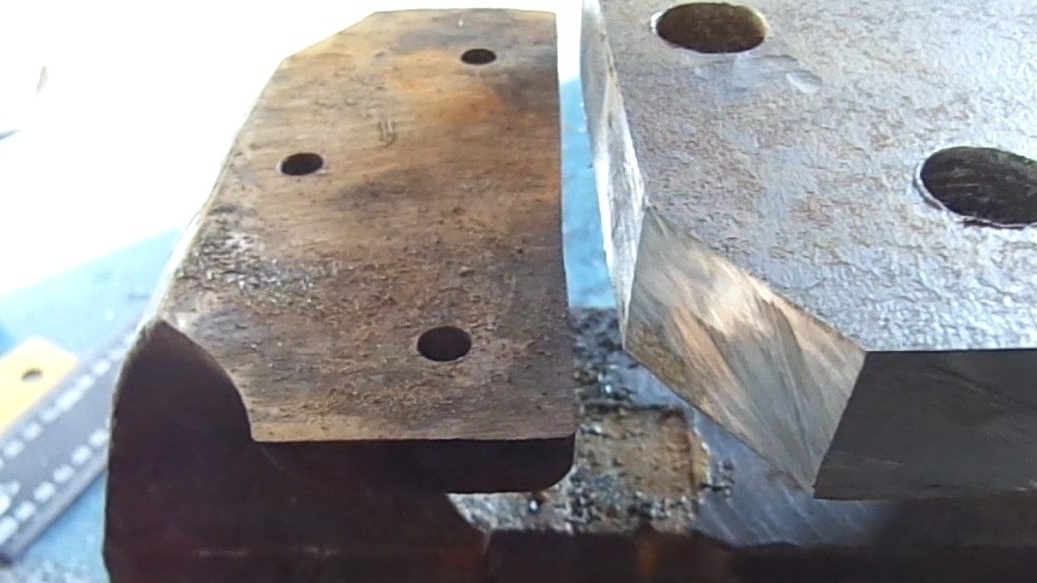
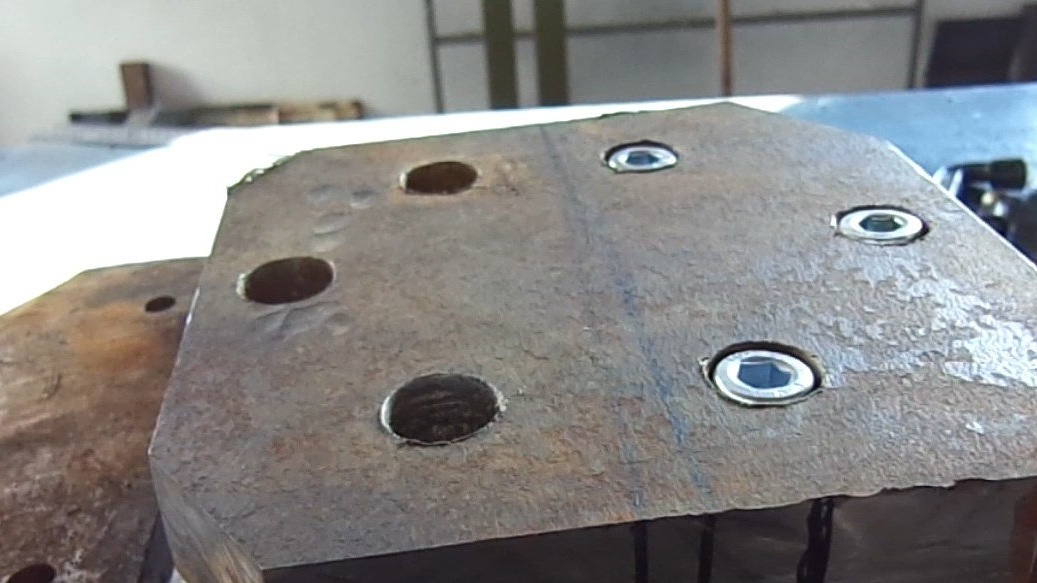
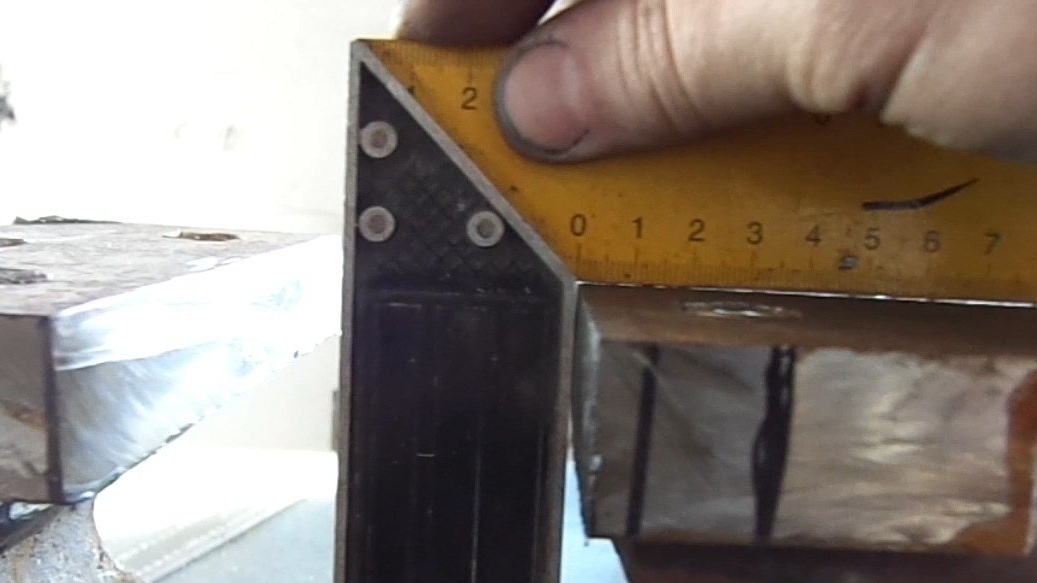
Everything succeeded .....
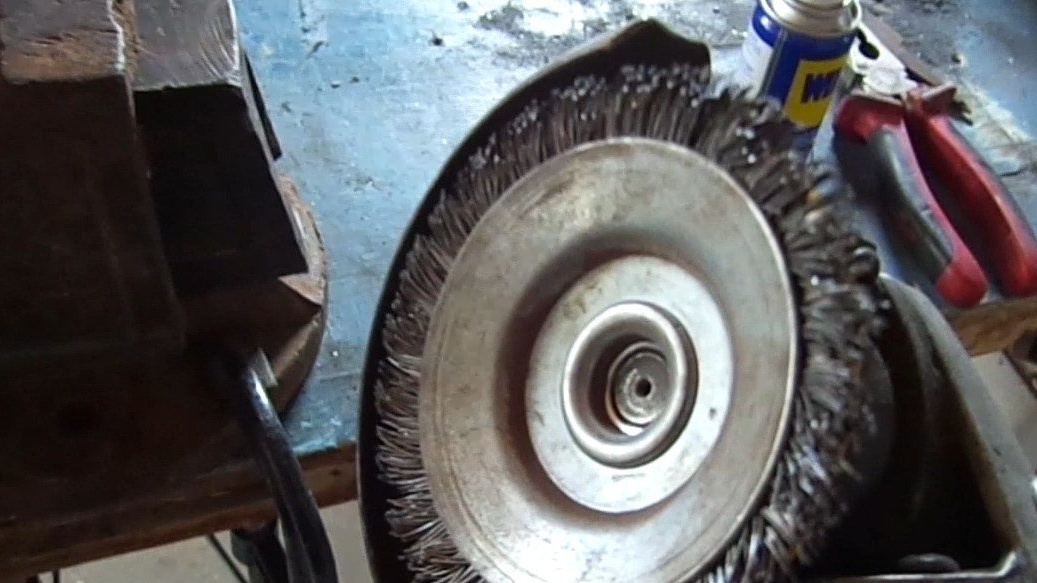
Step 4: Coarse cleansing before electrolysis with further painting
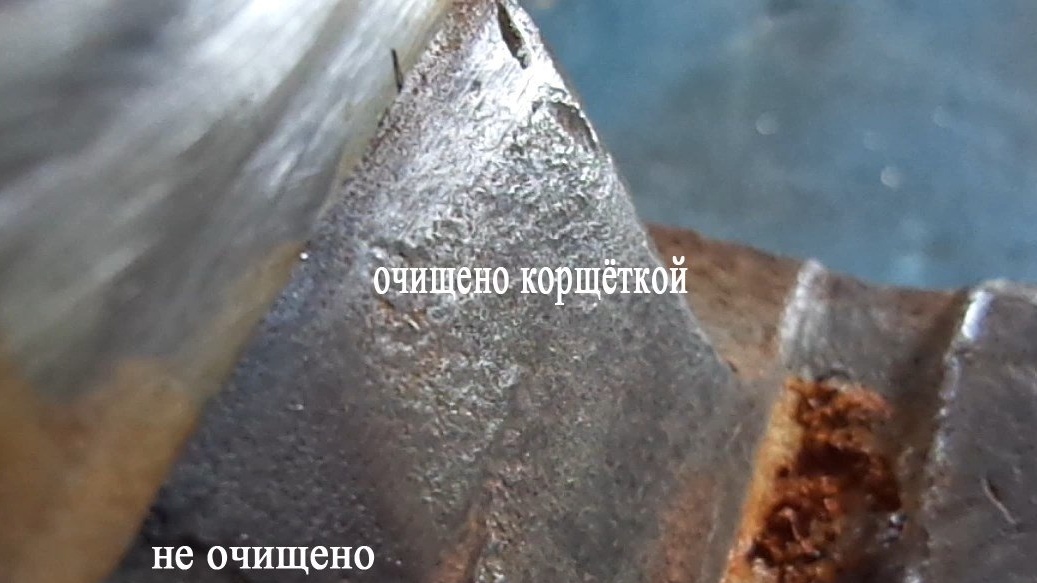
To clean pieces of rust from an accessible surface, it is better to use a grinder for a grinder. It removes rust on "Hurray", but for hard-to-reach places you need electrolysis. First you need to "fray" visible rust.There is one photo, but everything is clear on it.
Before cleaning, I decided to grind coarse places after casting, so that in the final result everything looked more or less neat.
All other cleaning work took place under electrolysis.
Step 5: Electrolysis
In order for all the parts to fit in one trough, I had to buy for 400r. 90 liter plastic construction basin. This decision was made to clean everything all at once.
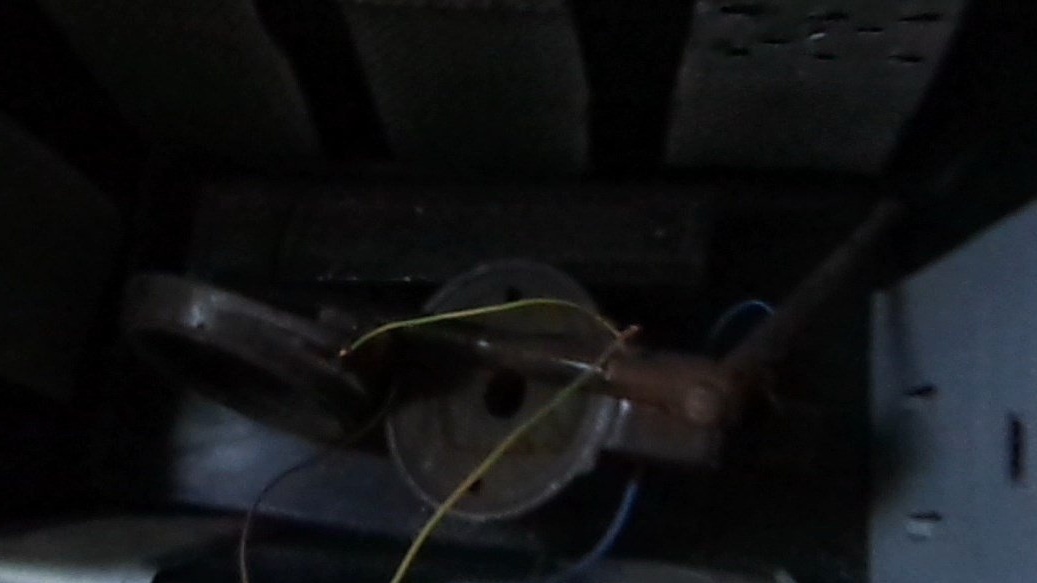
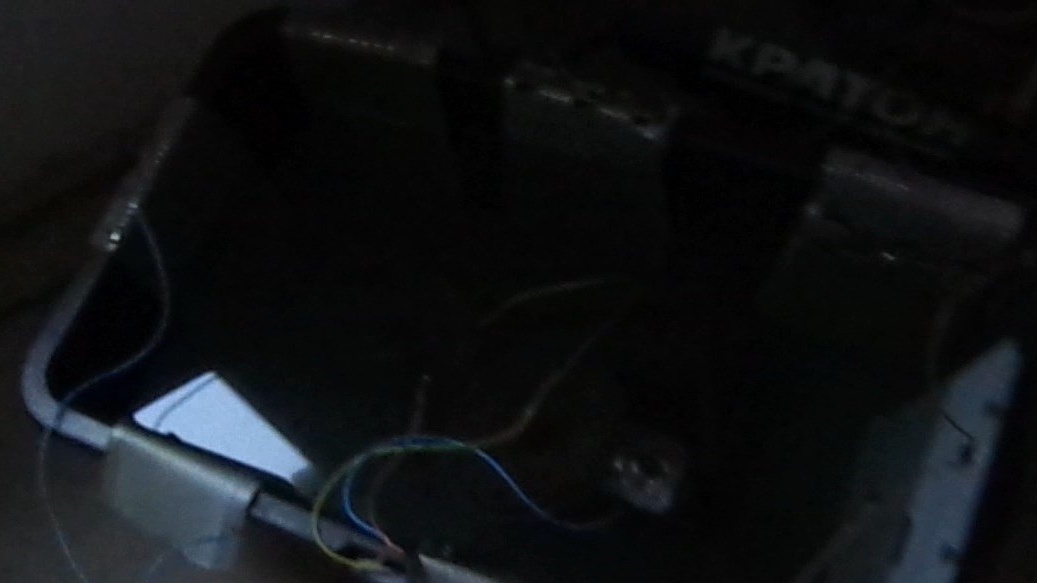
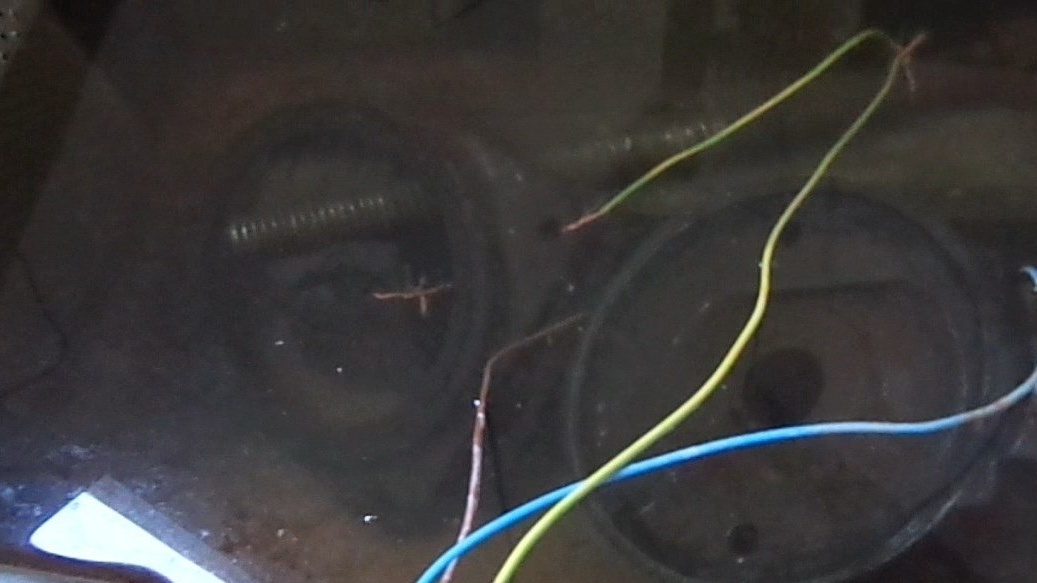
How all the parts are placed and connected to the wire (all parts must be connected to the wire, the better the contact, the better the metal is cleaned), connect to the “-” wire, then cut the sheet metal (sacrificial) and put along the walls of the pelvis, they will connect to wire "+". The most important thing is that the parts (-) and the sacrificial metal (+) do not touch, otherwise there will be a short circuit.
As everything is ready, we fill in the water (normal) and add a tool to clean the sewer pipes (there must be sodium hydroxide, you can use the cheapest, I did so and the result was on the face). Mix. We connect the terminals from charging the battery (as described above).


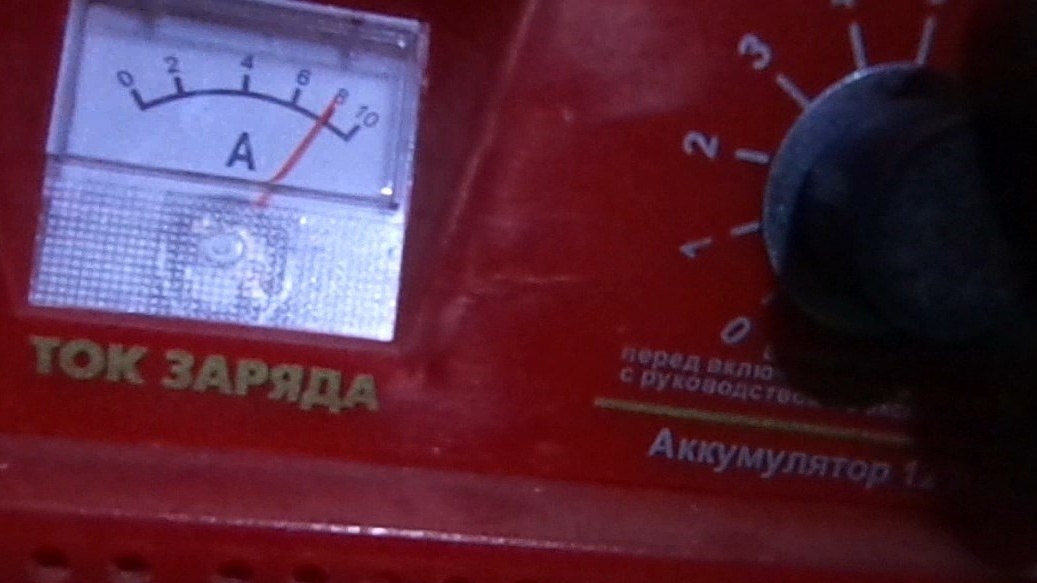
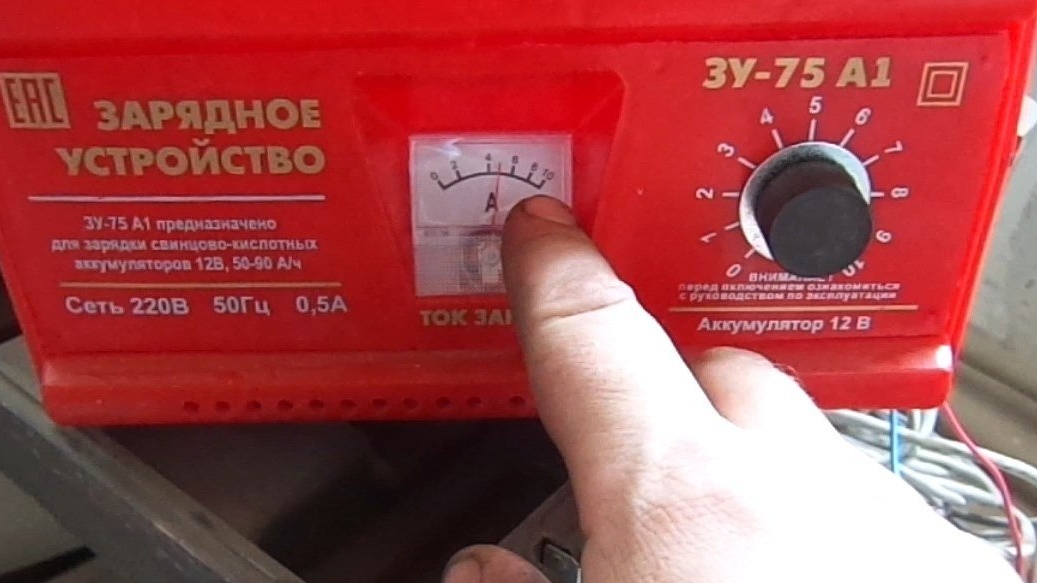
We connect the battery charging to the network and set it to 5A. Everyone has different charges, if you have a cool charge (not cheap), then you can immediately set it to maximum. In my case, charging was bought in order to charge the battery, so I took it, as they say, cheaply and angrily. First I set it to maximum (about 8-10A), it quickly overheated, the fuse worked, and I had to wait until it cools down, but at 4-6A, the last 12 hours, I set it to 5A. It worked fine until the end of the cleansing.
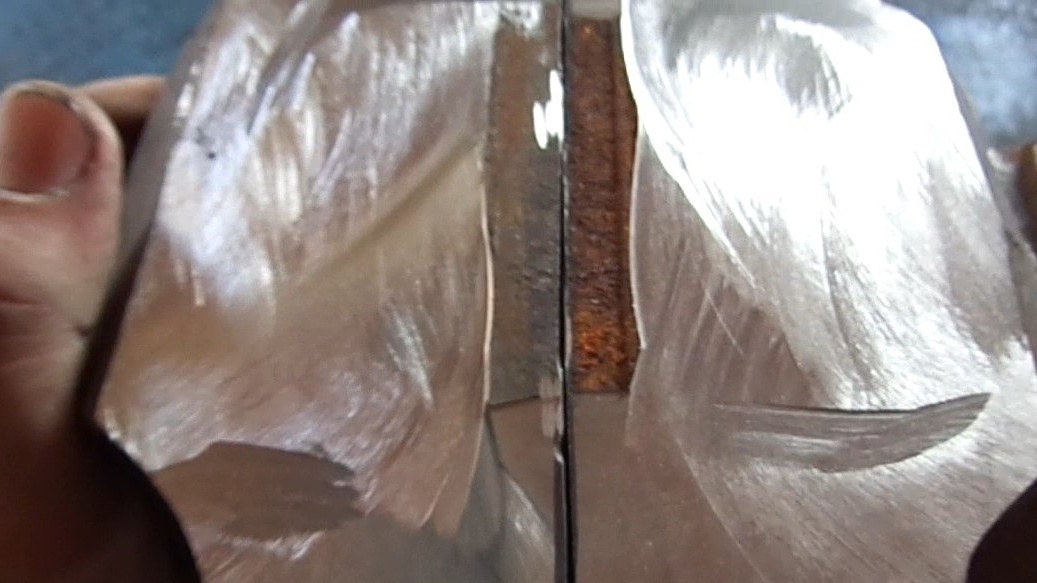
Purification is visible during the process. Places of metal that were dark or rusty will begin to lighten, acquire a characteristic metallic tint, which means that the process is going well. In this case, it will be like boiling, hissing, etc.
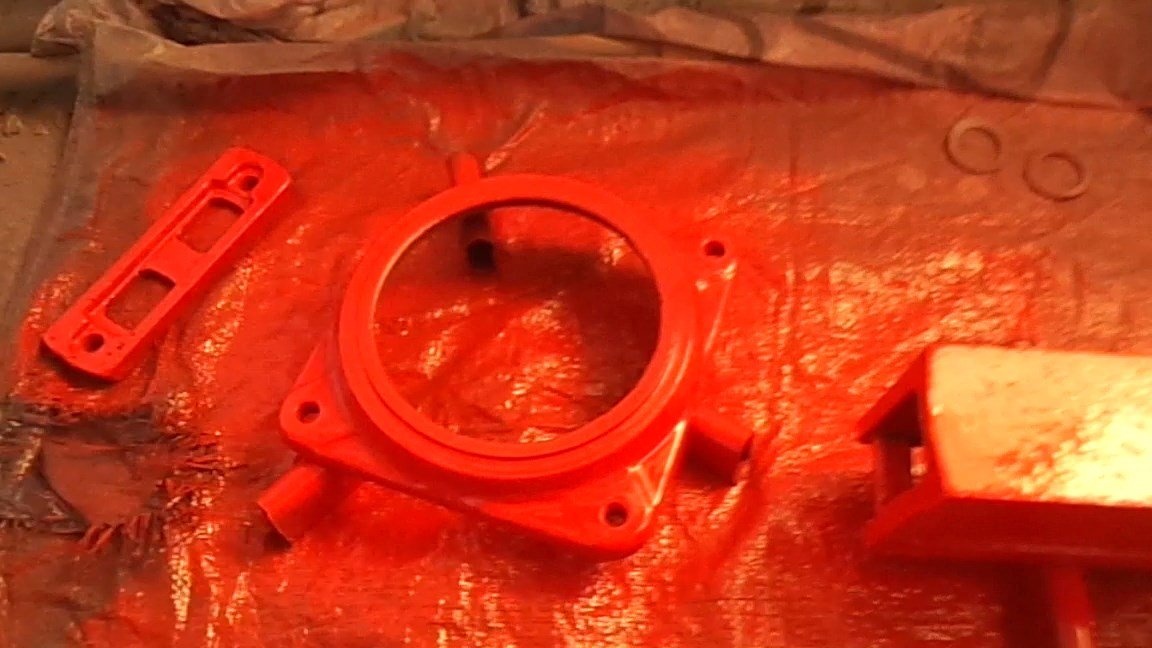
Step 6: Painting
After disconnecting the battery charging, we drain the water, and it is advisable to rinse the parts after such cleaning with water. the very means of soap consistency, to the touch on the details it is palpable.
We are waiting for the water to dry, or you can blow it with a compressor (if any).
Next, degrease these details and prepare the place where they will be painted so as not to spoil the surrounding areas with paint, I used the cheapest curtain for bathtubs.
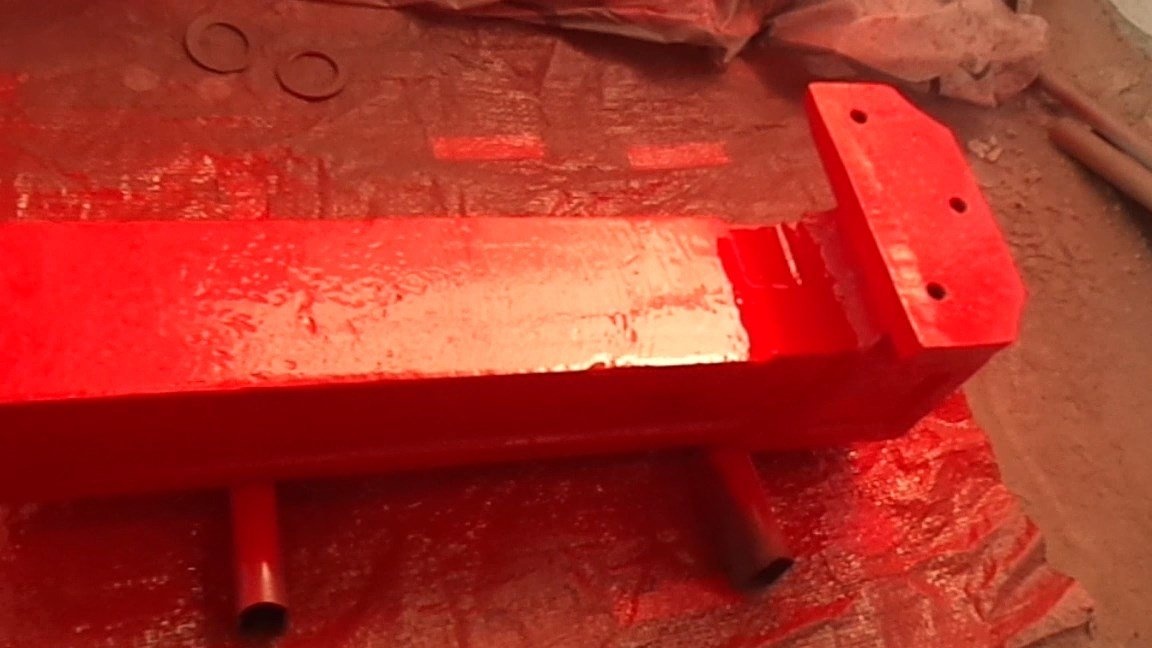
Apply a primer layer.

Before applying the paint, it is better to wait almost a day and a half, despite the fact that the manufacturers write on the spray cans (in short, I have already encountered the fact that, after drying according to the manufacturer's instructions, the primer-paint was erased and did not harden). After paint the same conditions.
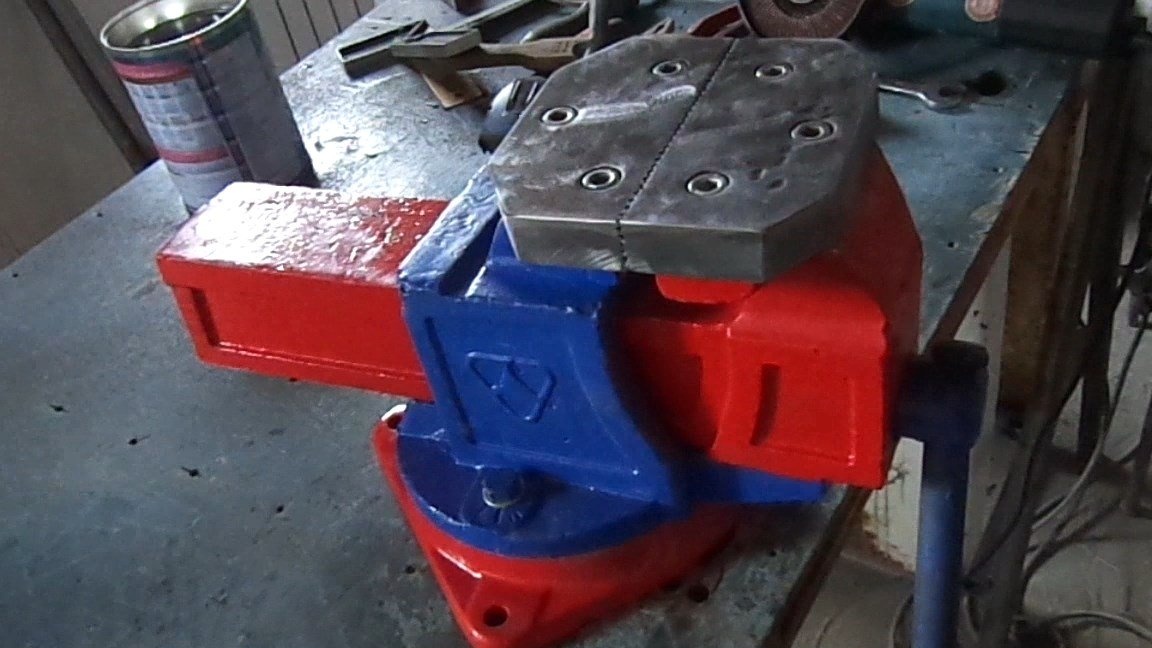
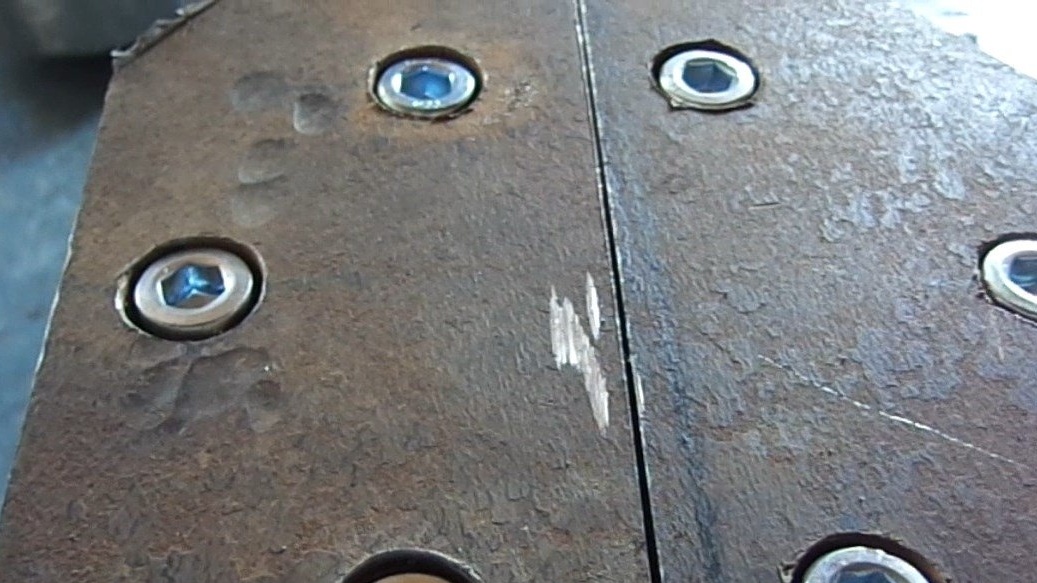
Painted in two colors: blue and red.
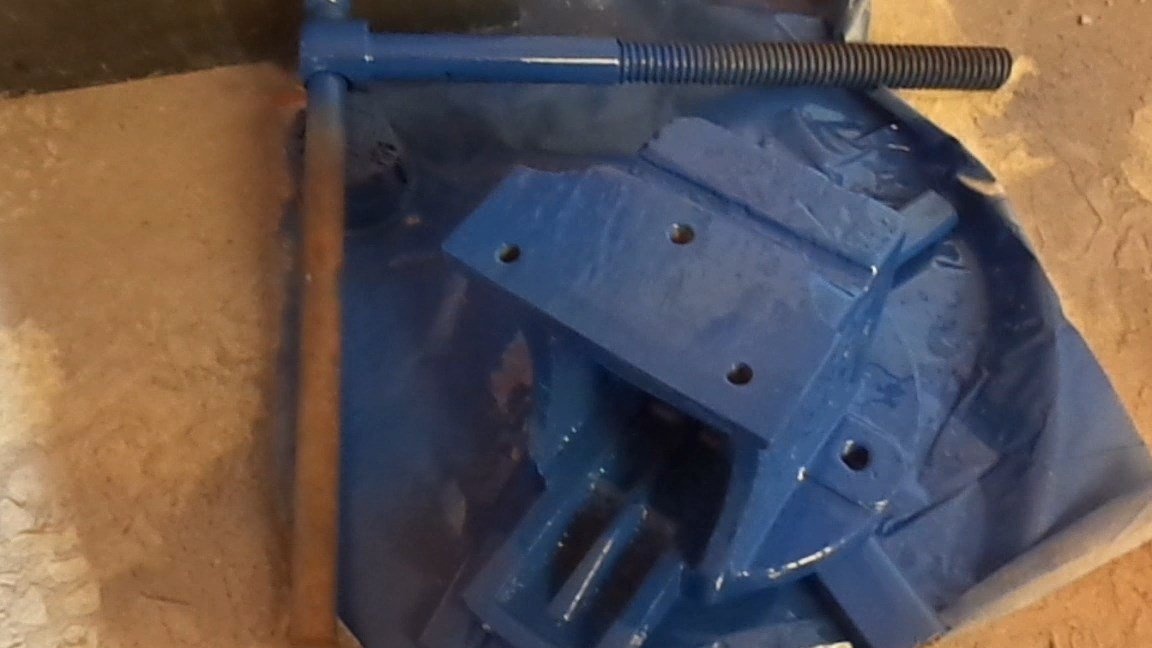
Well, at the end, the already assembled vise in a new form
Result on the face. I was glad that I was able to restore the tool, and actually already used them (clamped the bearings for parsing, I needed an external cage from him and other work)
The main thing was: The brains are not vegetables and the hands are not from f ***, hands from the shoulders should be ..... :)
Good luck to all!