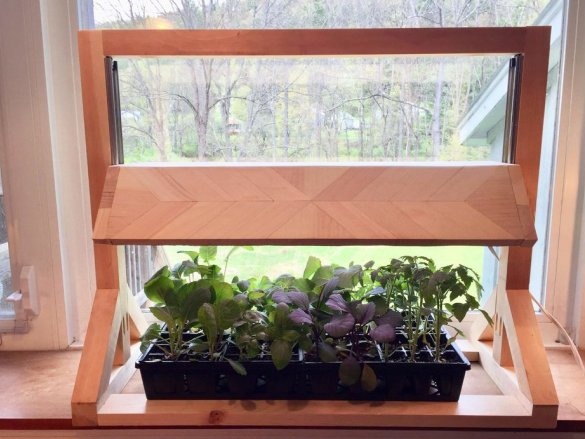
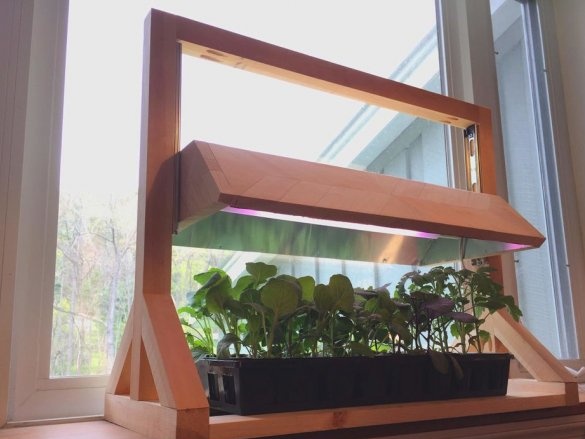
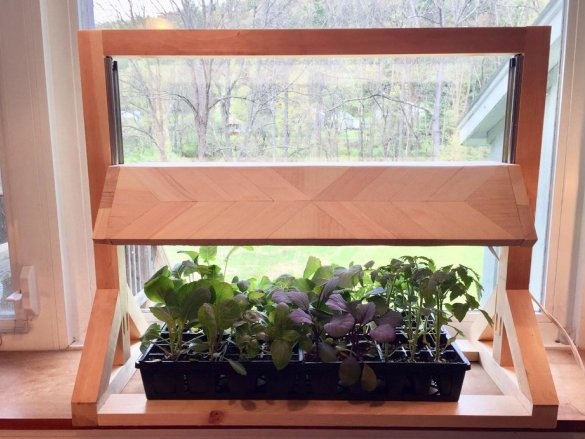
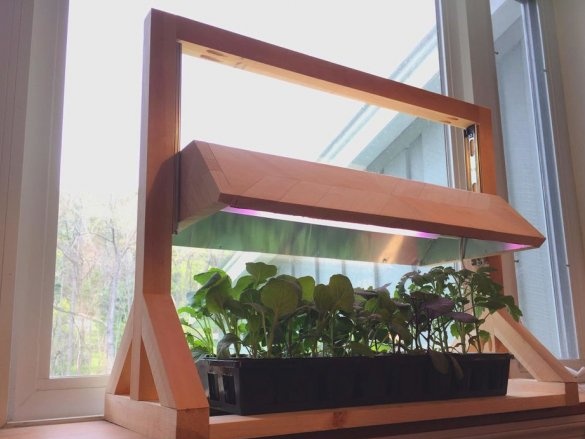
Recently, when growing seedlings, a phytolamp is increasingly used. With a short daylight in early spring and a lack of sunlight, the phytolamp will provide plants with the necessary amount of light for growth. Previously, when growing seedlings, the Master placed a lamp on two stacks of books. But, it is not convenient and not safe, and the master decided to make a housing for the lamp. Moreover, it must meet the following requirements: the ability to adjust the height, aesthetics, a reflector should be in it.
Tools and materials:
-Lumber;
- Guides for boxes;
-Magnets;
-Leaves of aluminum;
Phytolamp;
-A circular saw;
-Drill;
-Conductor;
- Joiner's glue;
- Clamps;
-Marker;
-Scissors for metal;
-Fasteners;
Step one: cover
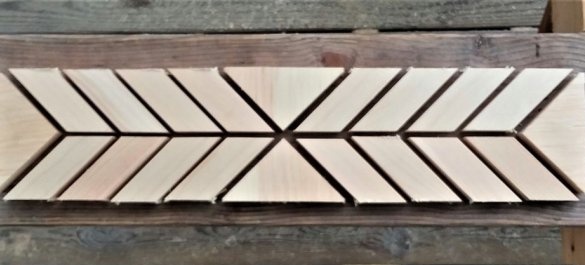
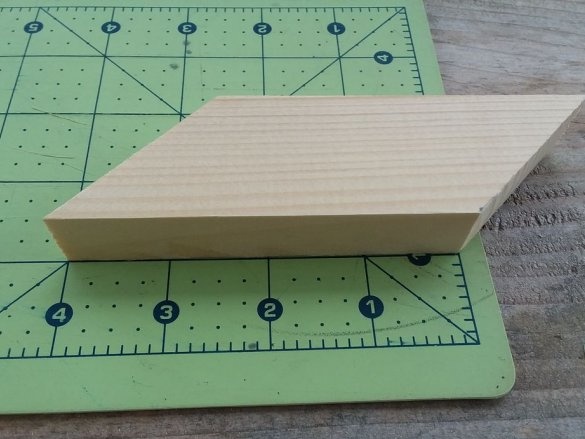
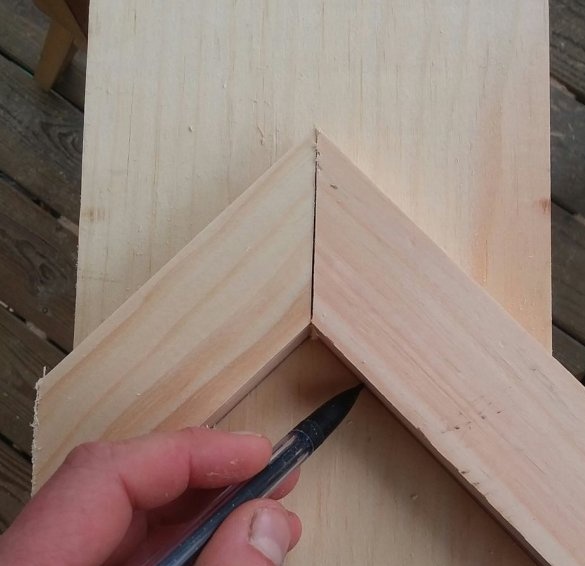
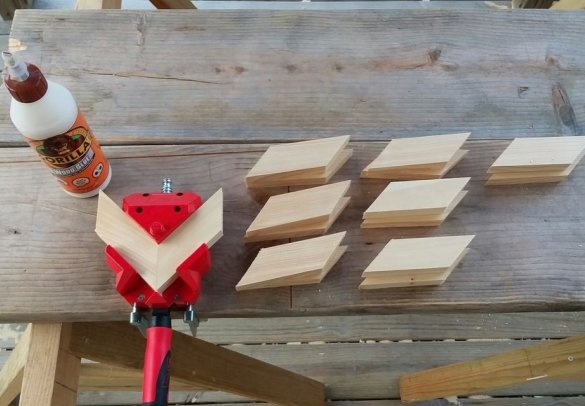
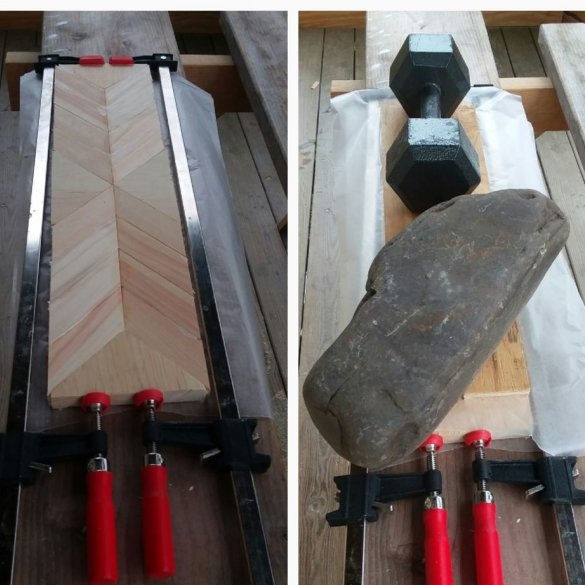
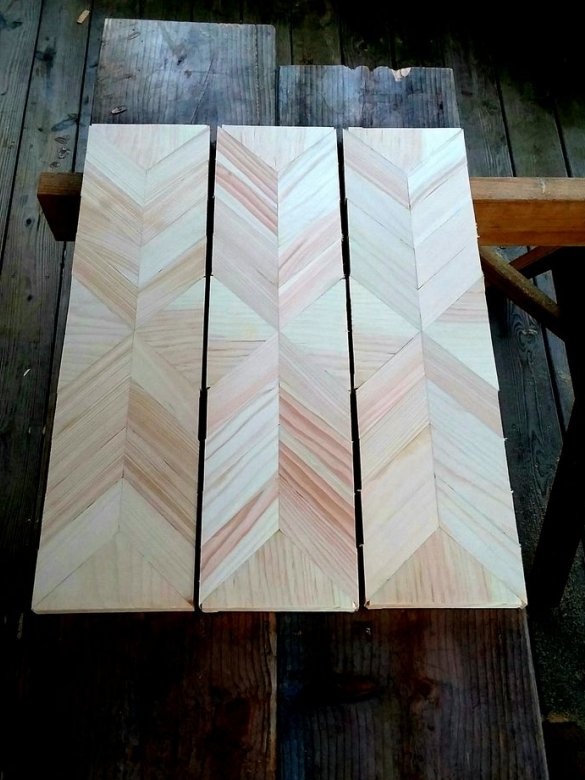
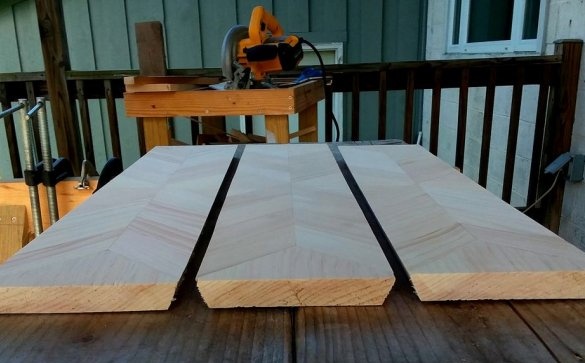
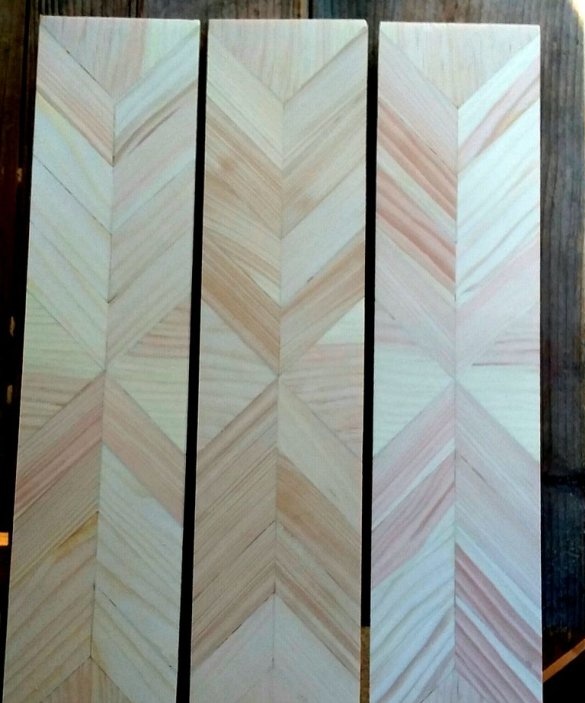
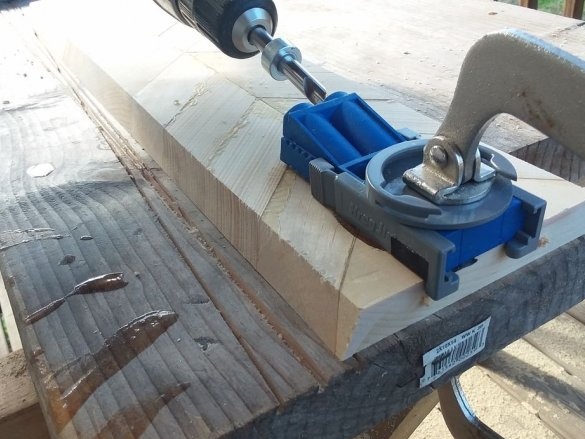
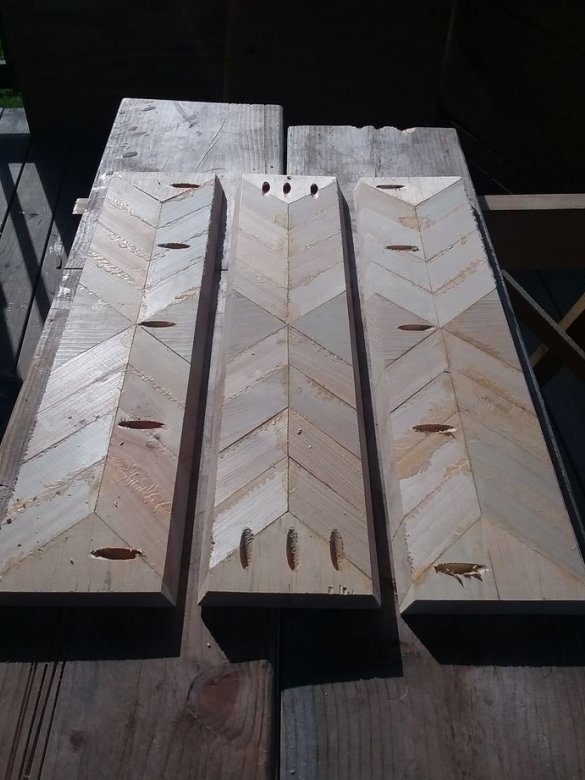
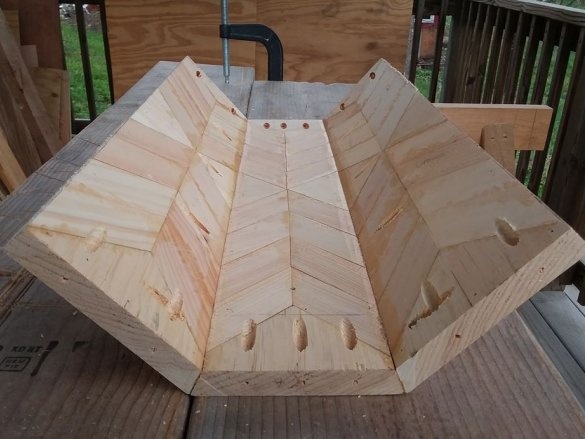
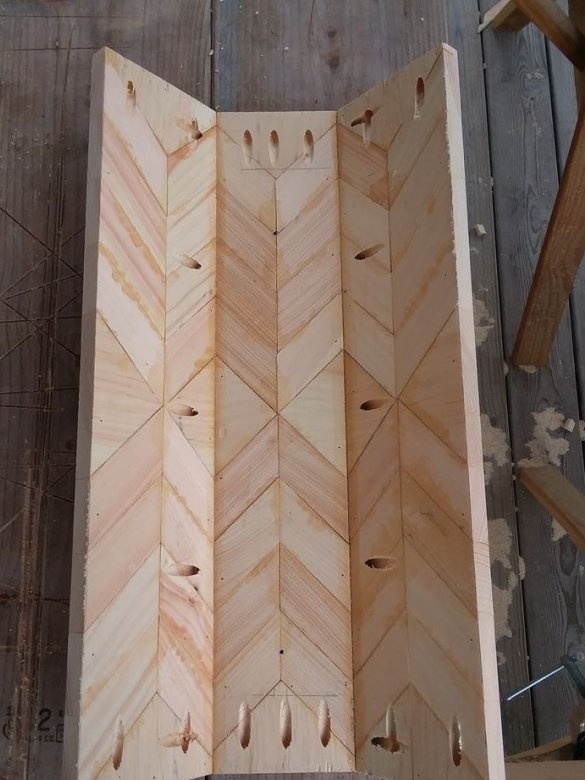
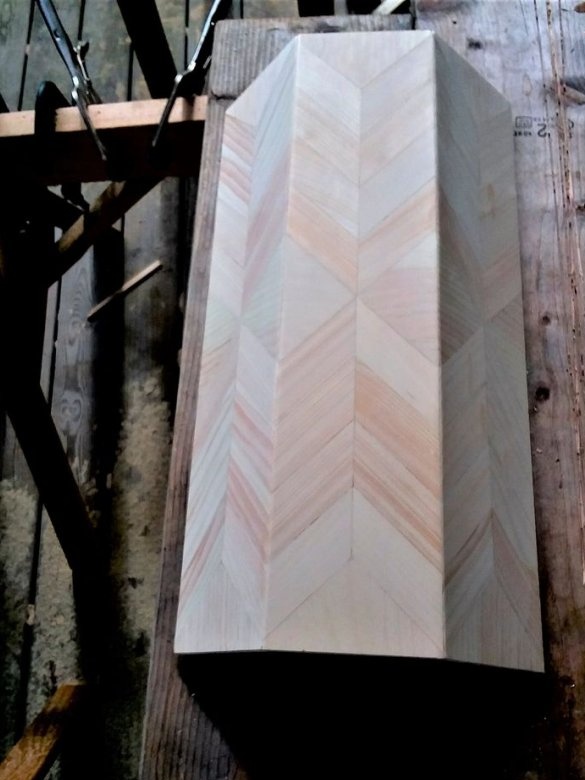
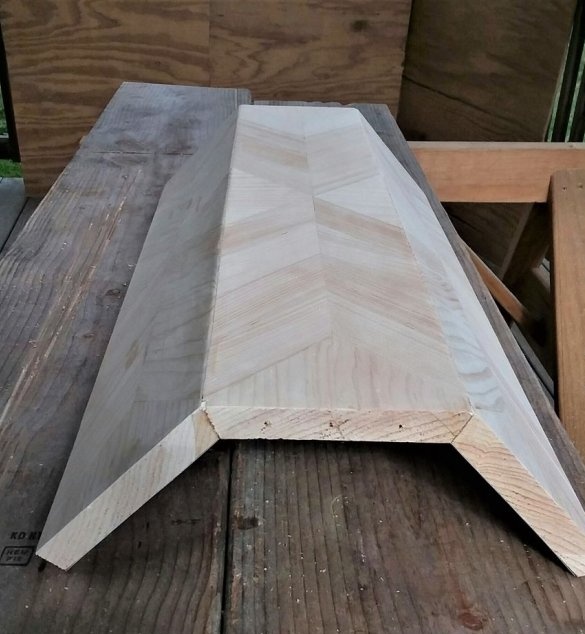
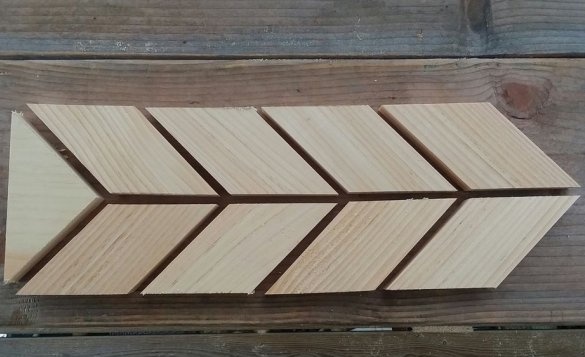
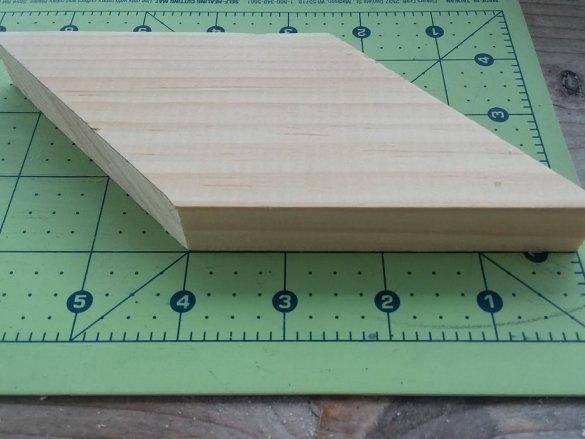
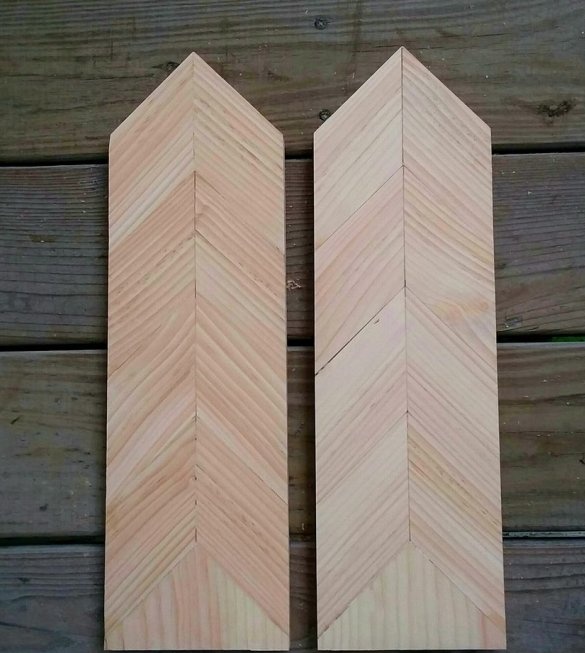
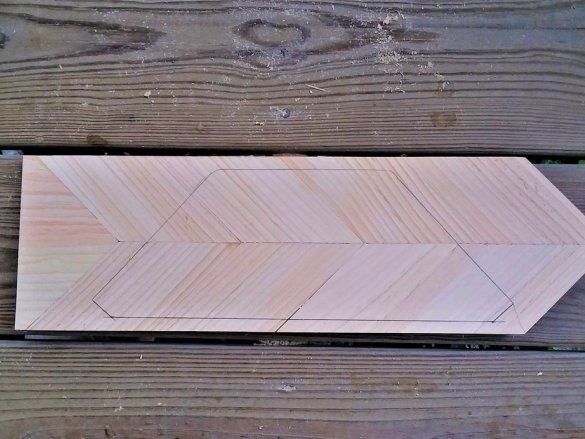
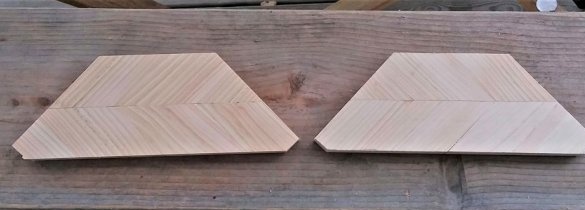
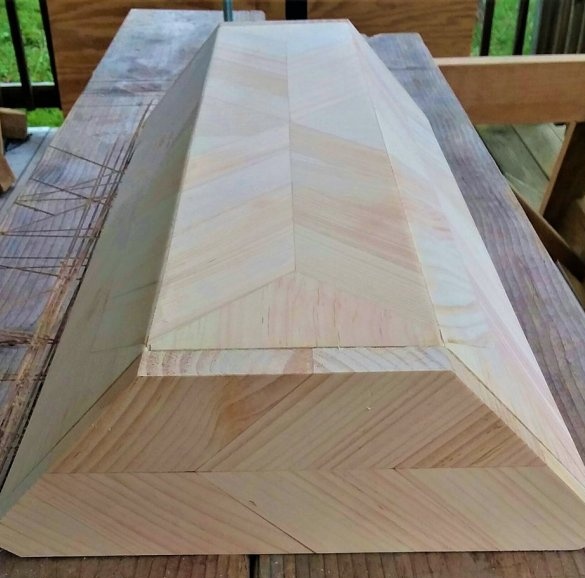
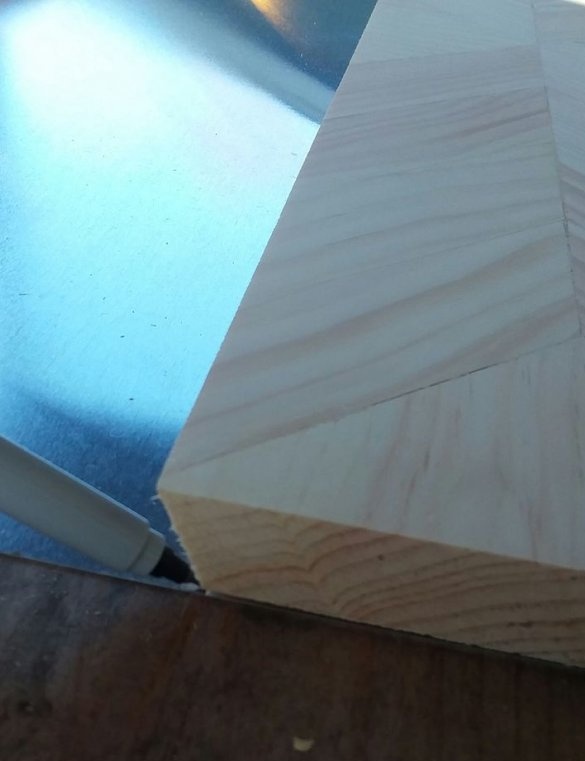
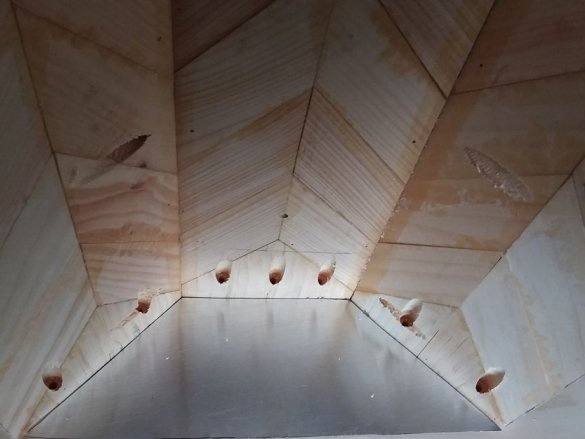
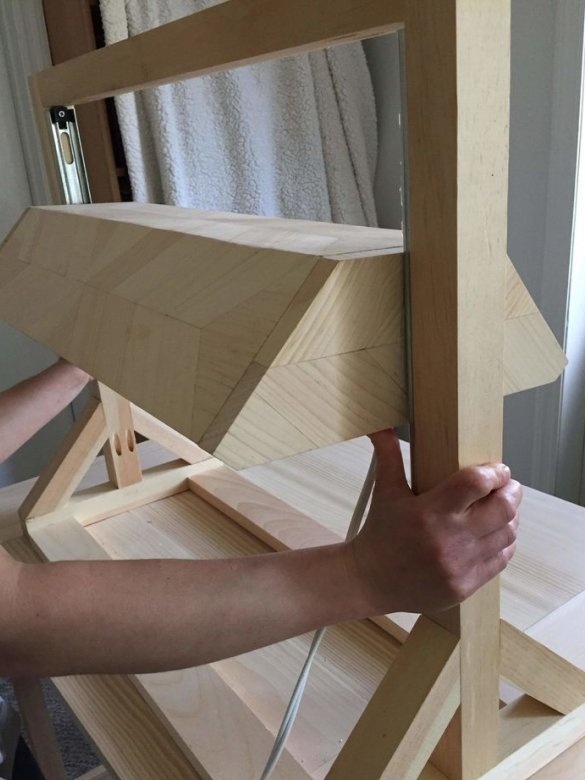
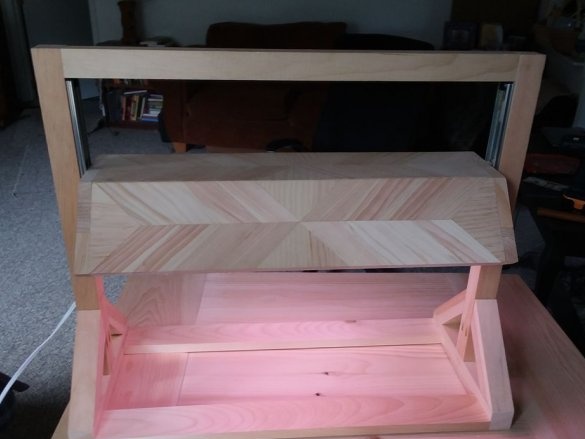
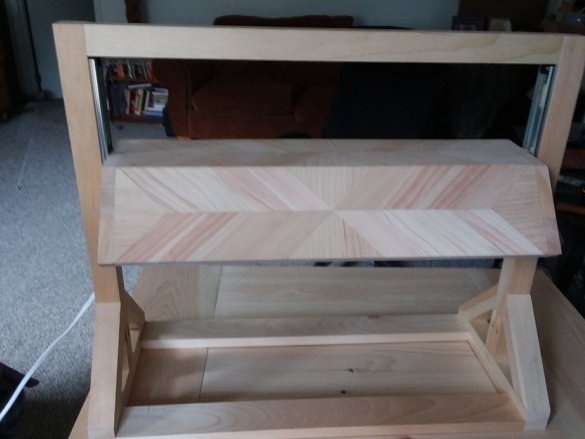
First, the master makes a ceiling in which the lamp will be installed. The plafond consists of three boards fastened to each other at an angle of 22.5 degrees. Boards are type-setting, made of glued figured slats.
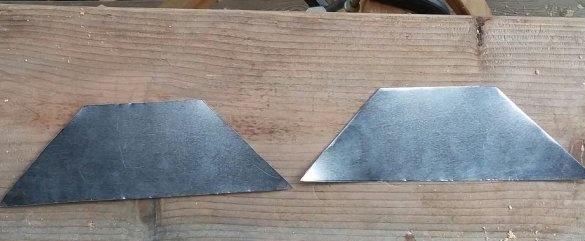
He made and installed the side parts of the ceiling in the form of a trapezoid.
Step Two: Reflector
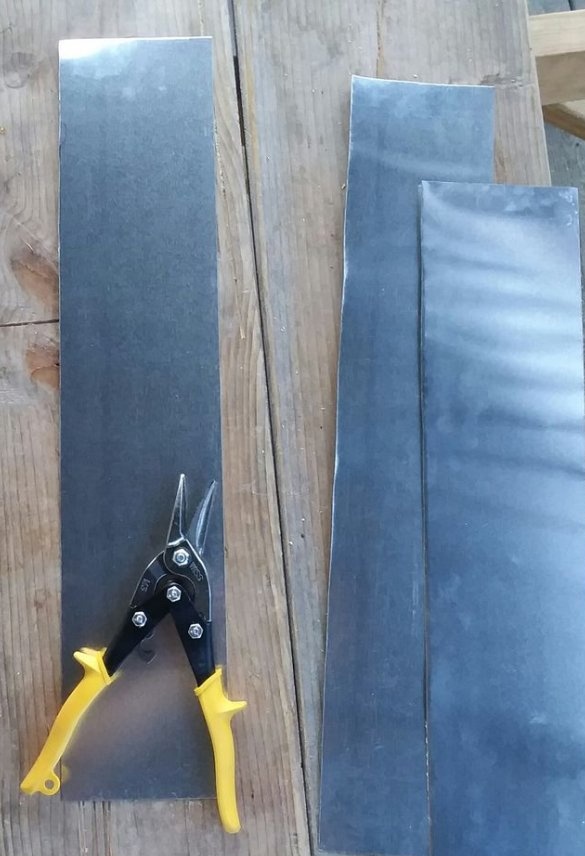
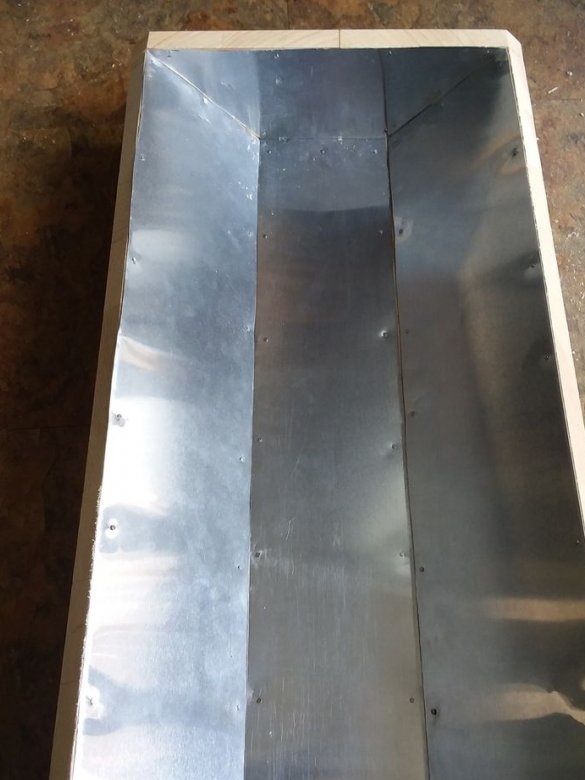
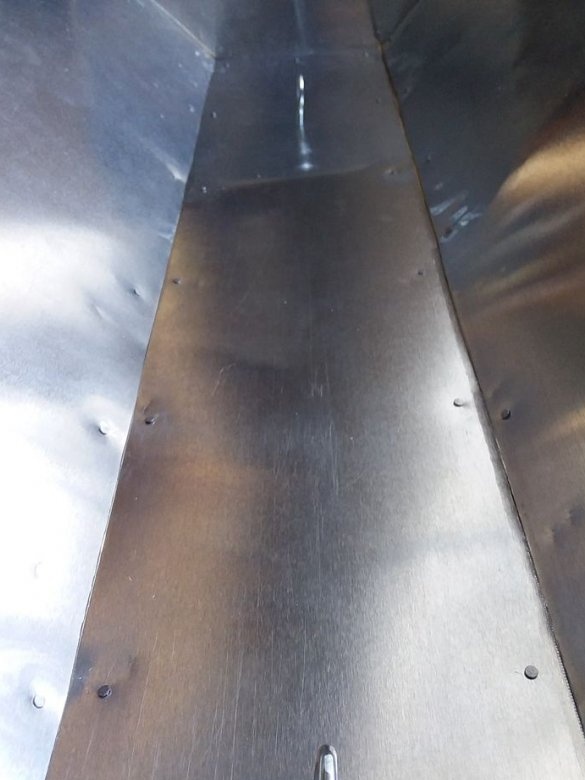
Cuts reflectors from aluminum, fixes in the internal part of the body.
Step Three: Install Phytolamps
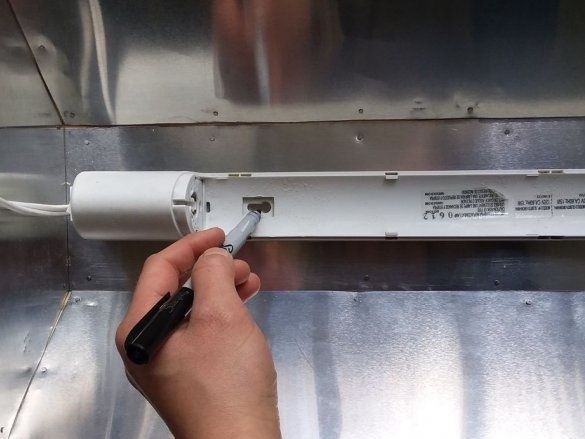
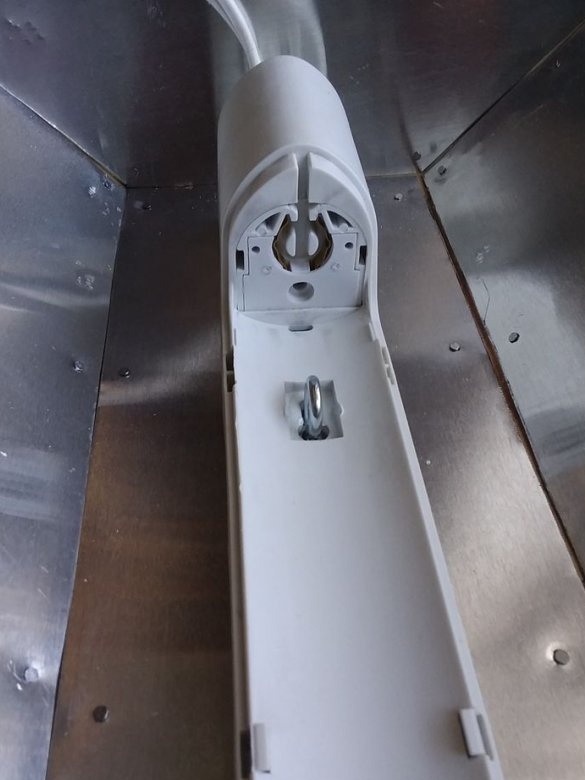
Screws on the lamp housing.
Step Four: Fasteners
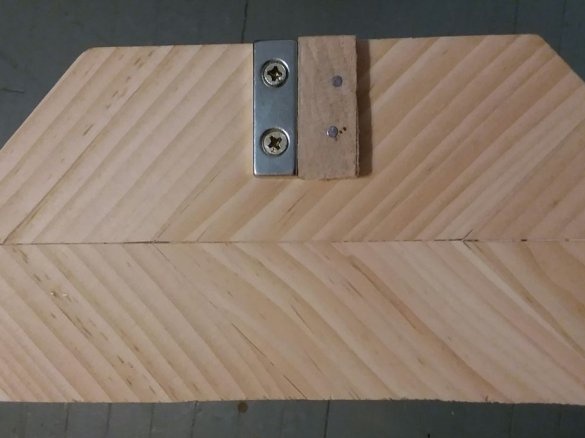
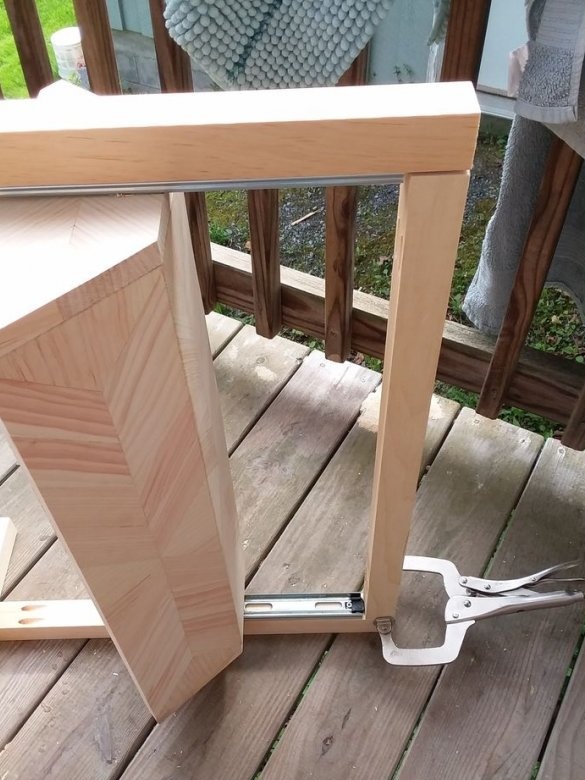
The lampshade with the lamp will be mounted on the stand using a magnet installed in the guide. To do this, the master screws a neodymium magnet to the outside of the ceiling, on both sides. A wooden rail mounted side by side simply compensates for the small width of the magnet.
Step Five: Guide
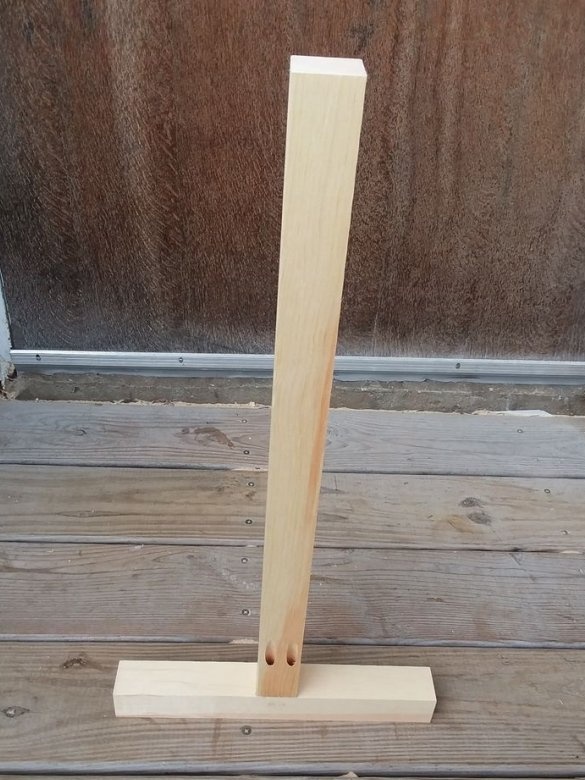
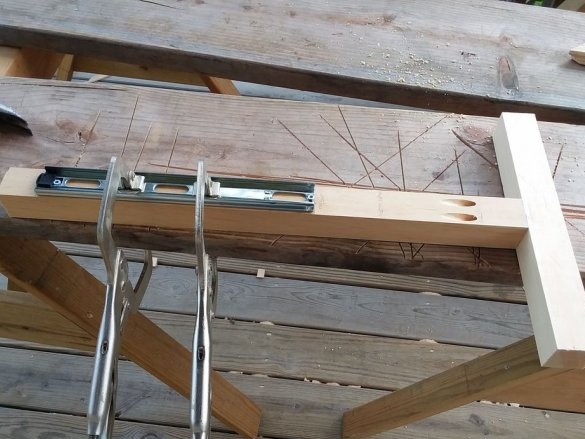
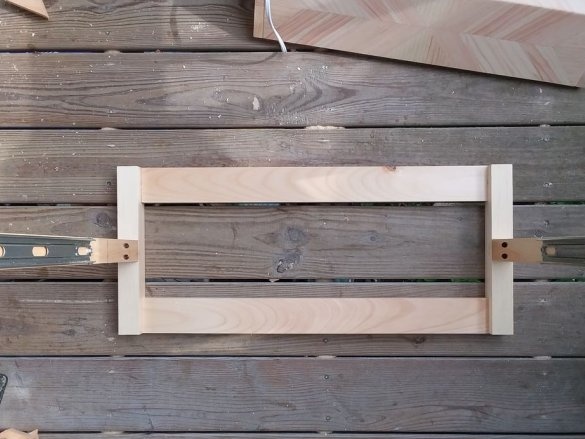
Makes a rack. Screws a vertical stand to the horizontal support.
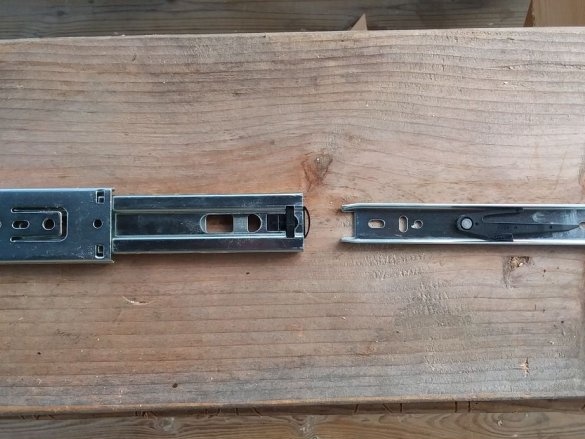
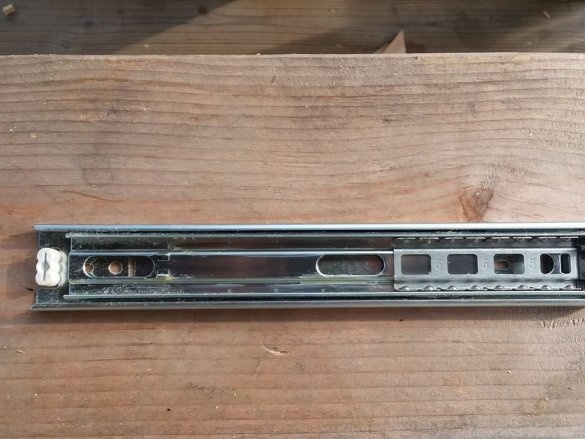
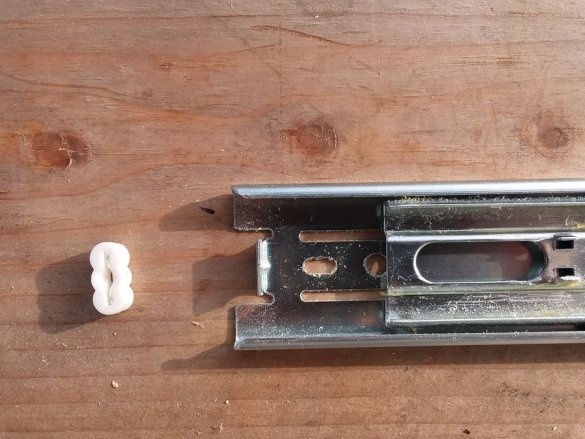
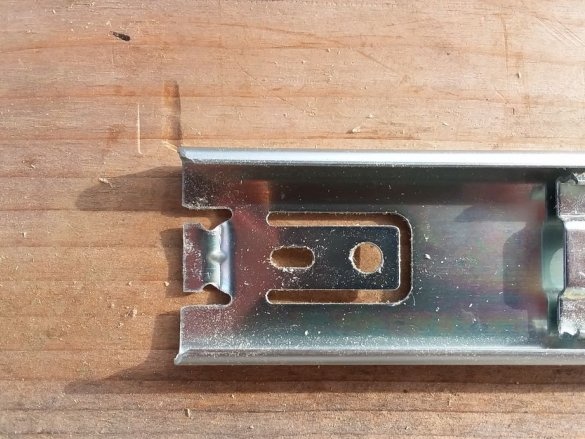
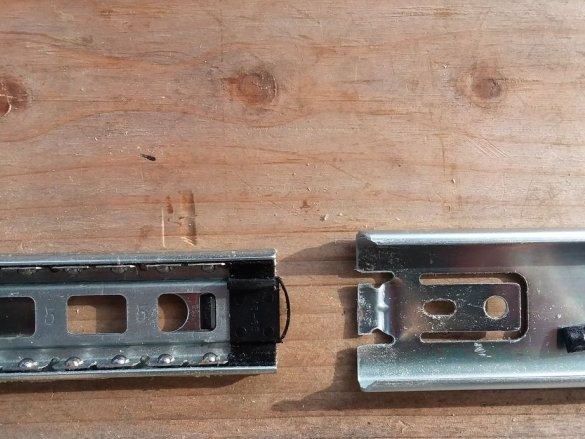
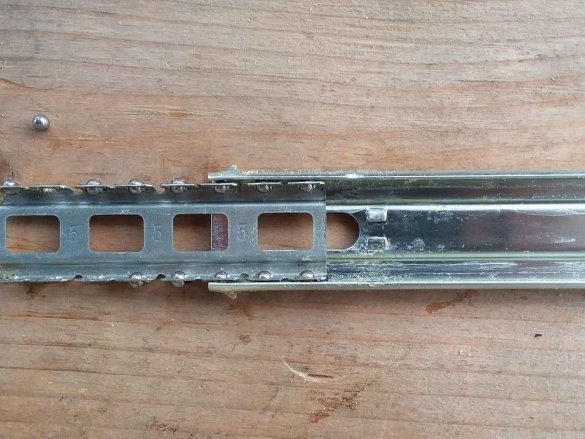
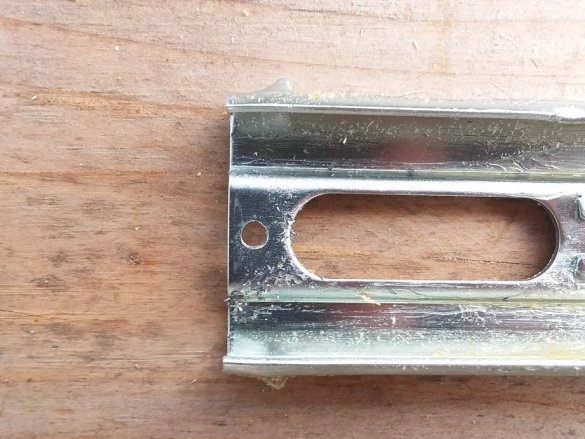
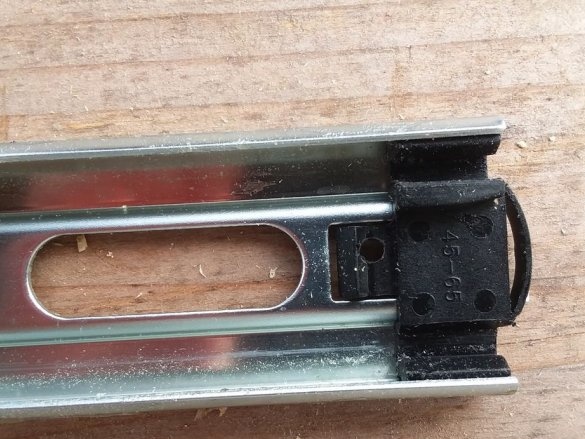
Fastens on a rack a guide at which part of the mechanism with bearings is removed.
Step Six: Shut Down
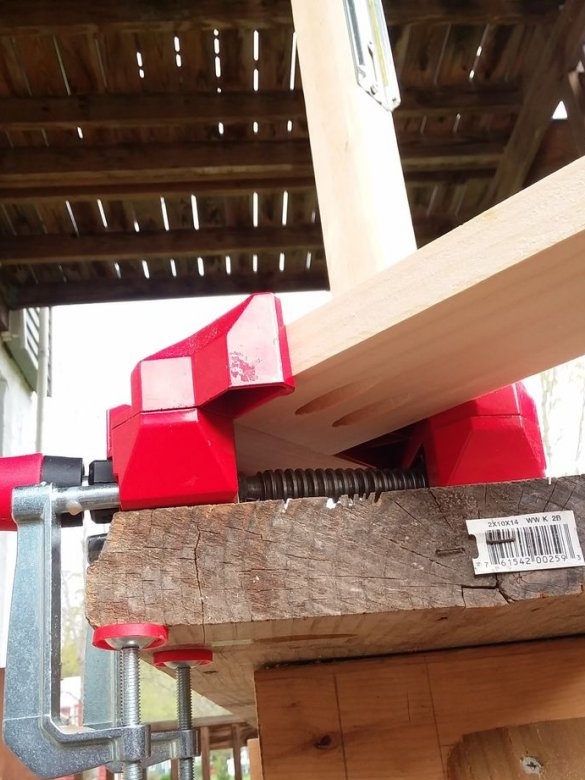
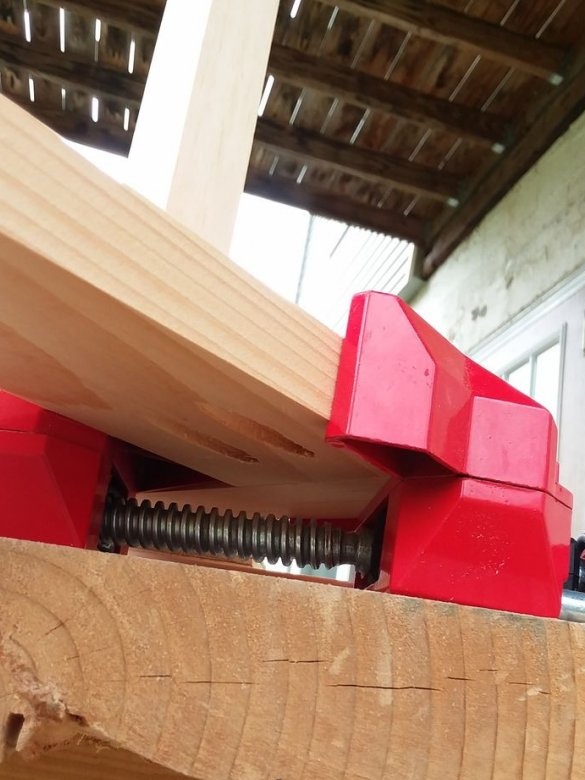
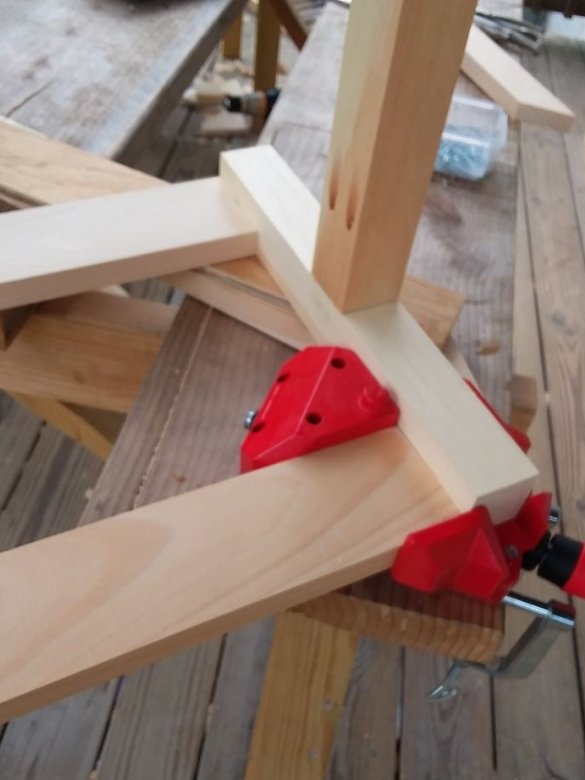
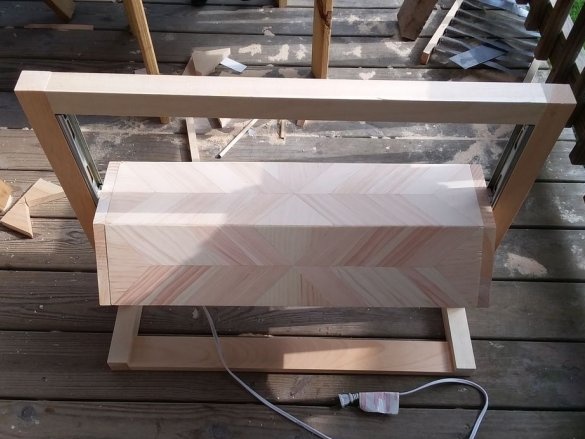
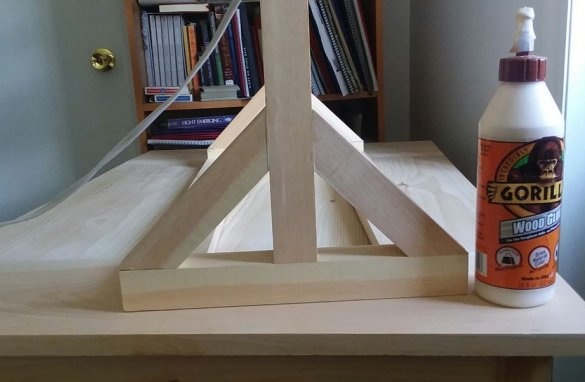
Now it remains to make the bottom support frame.
Secure the upper rung.
Set slanting bars.
Set the ceiling to the desired height, and the lamp is ready.

