
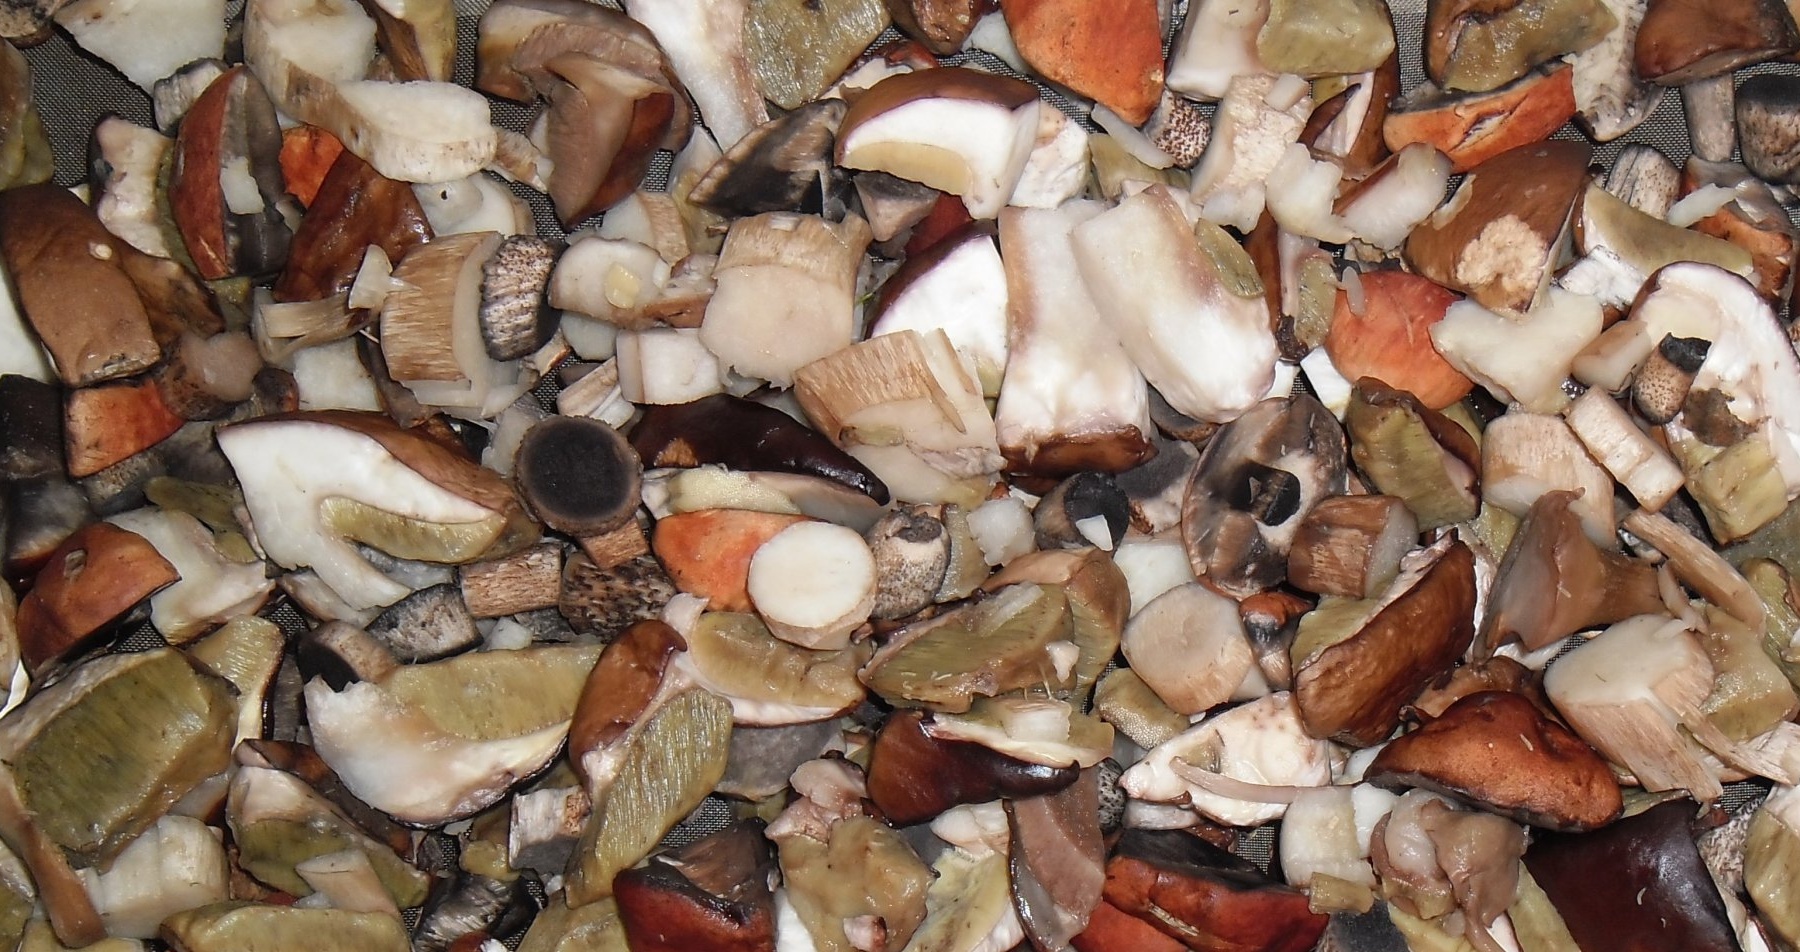
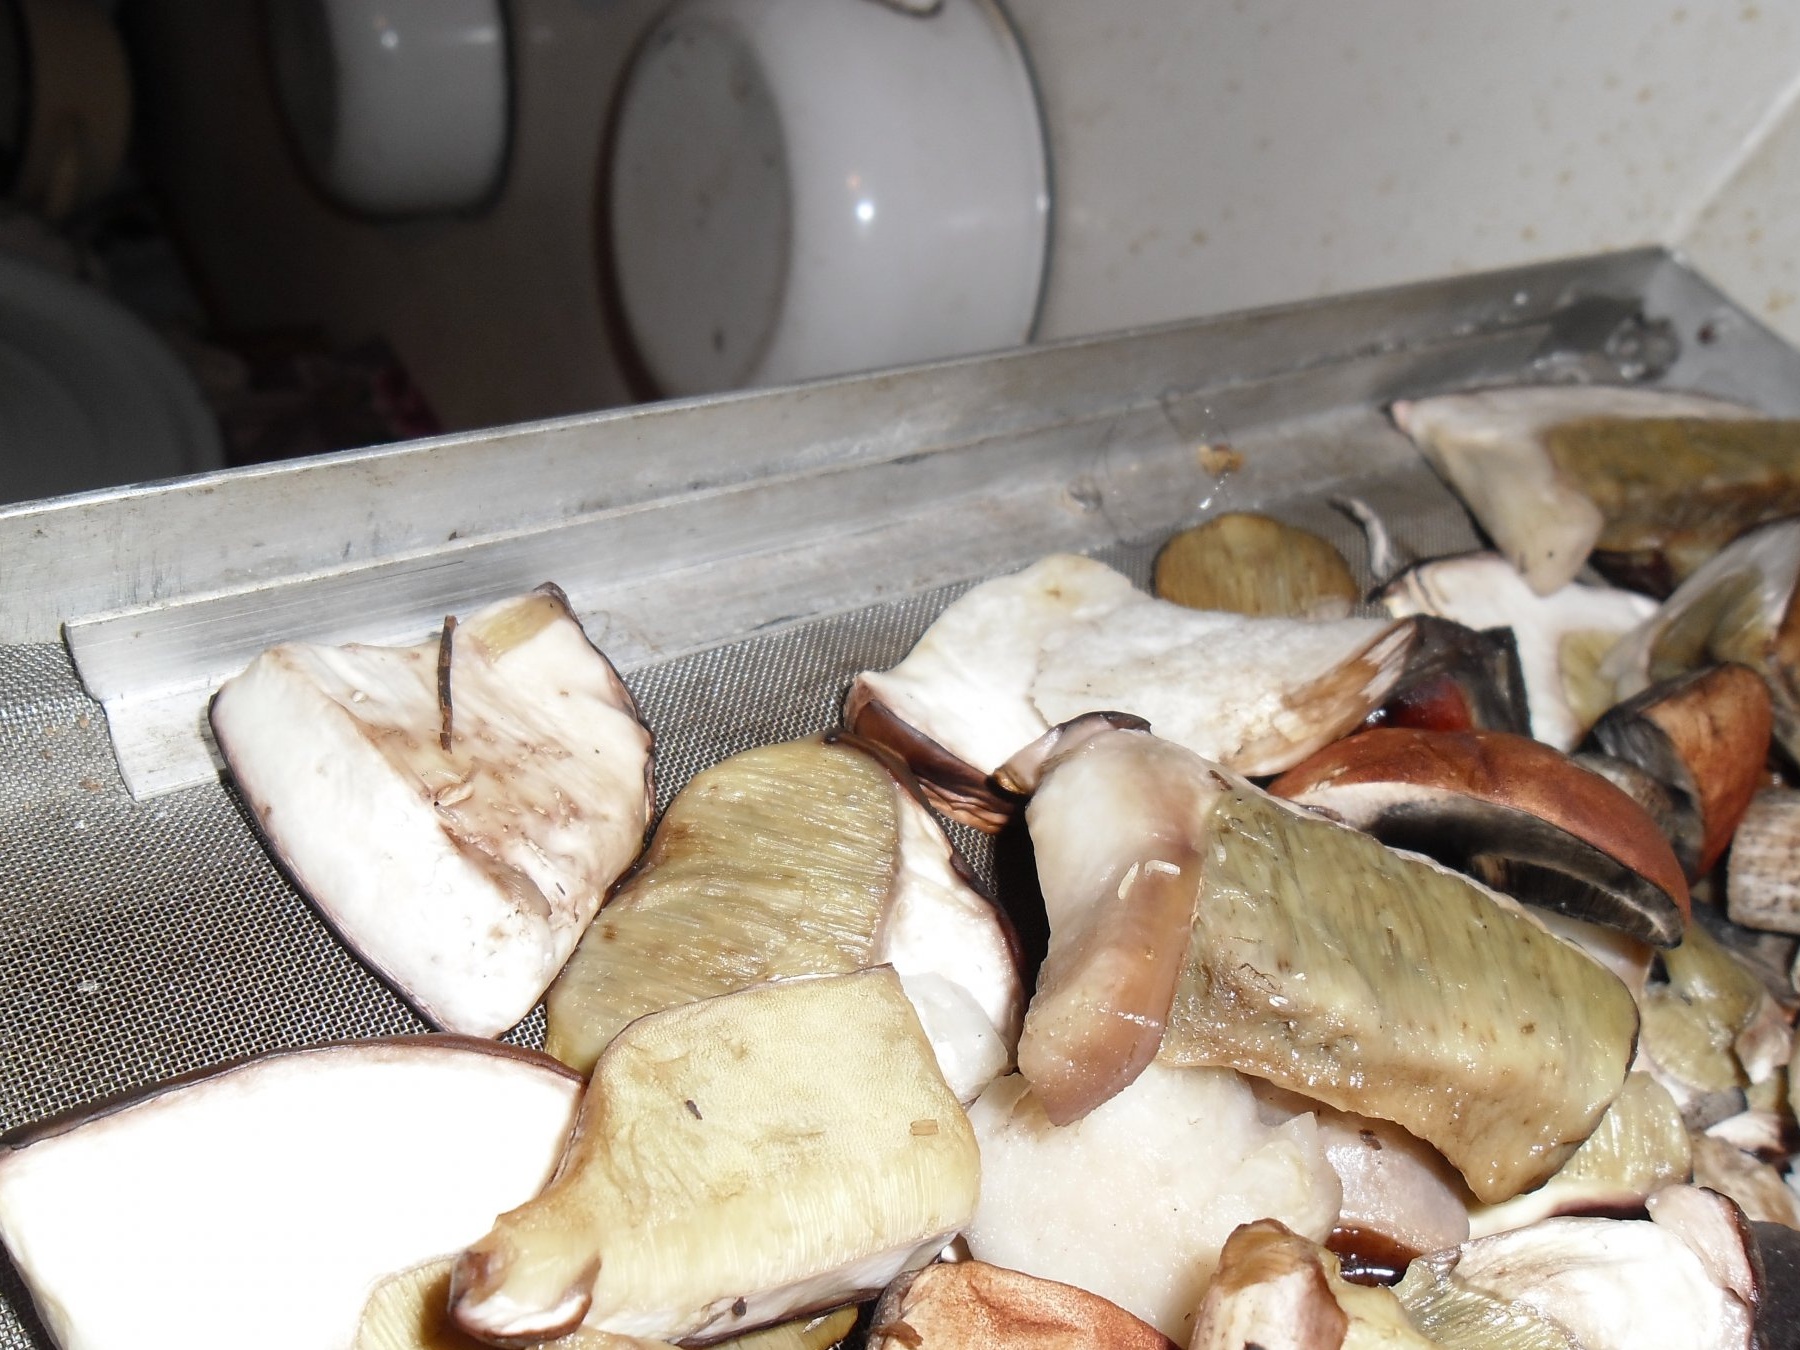
Agree that when you have such a rich forest harvest, you need to do something with it. I prefer to dry the mushrooms, for this I cut them into slices. I think that absolutely everyone does this.
Now let's start assembling the structure. Everything I found in my the garage - These are aluminum corners of various lengths and a wire mesh. The idea of the model came by itself. To begin with, I measured the dimensions of the stove to make a dryer that could be put on its surface. The distances between the legs and the height above the burners - all this was measured and recorded by me.
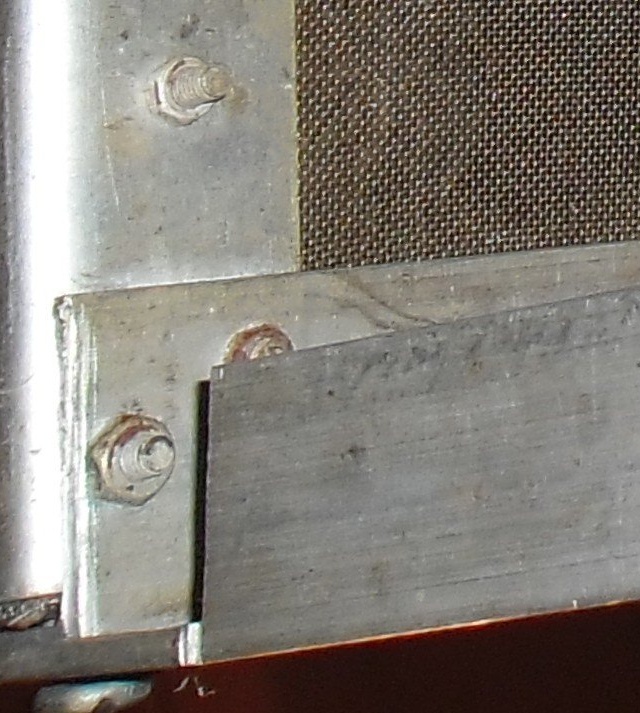
With an ordinary drill (I didn’t have a hand drill at hand) I drilled holes in the corners so that I could fasten them with bolts and nuts, which I had plenty of. I did not choose beautiful bolts and identical slats - I assembled a solid structure for a certain business without unnecessary decor.
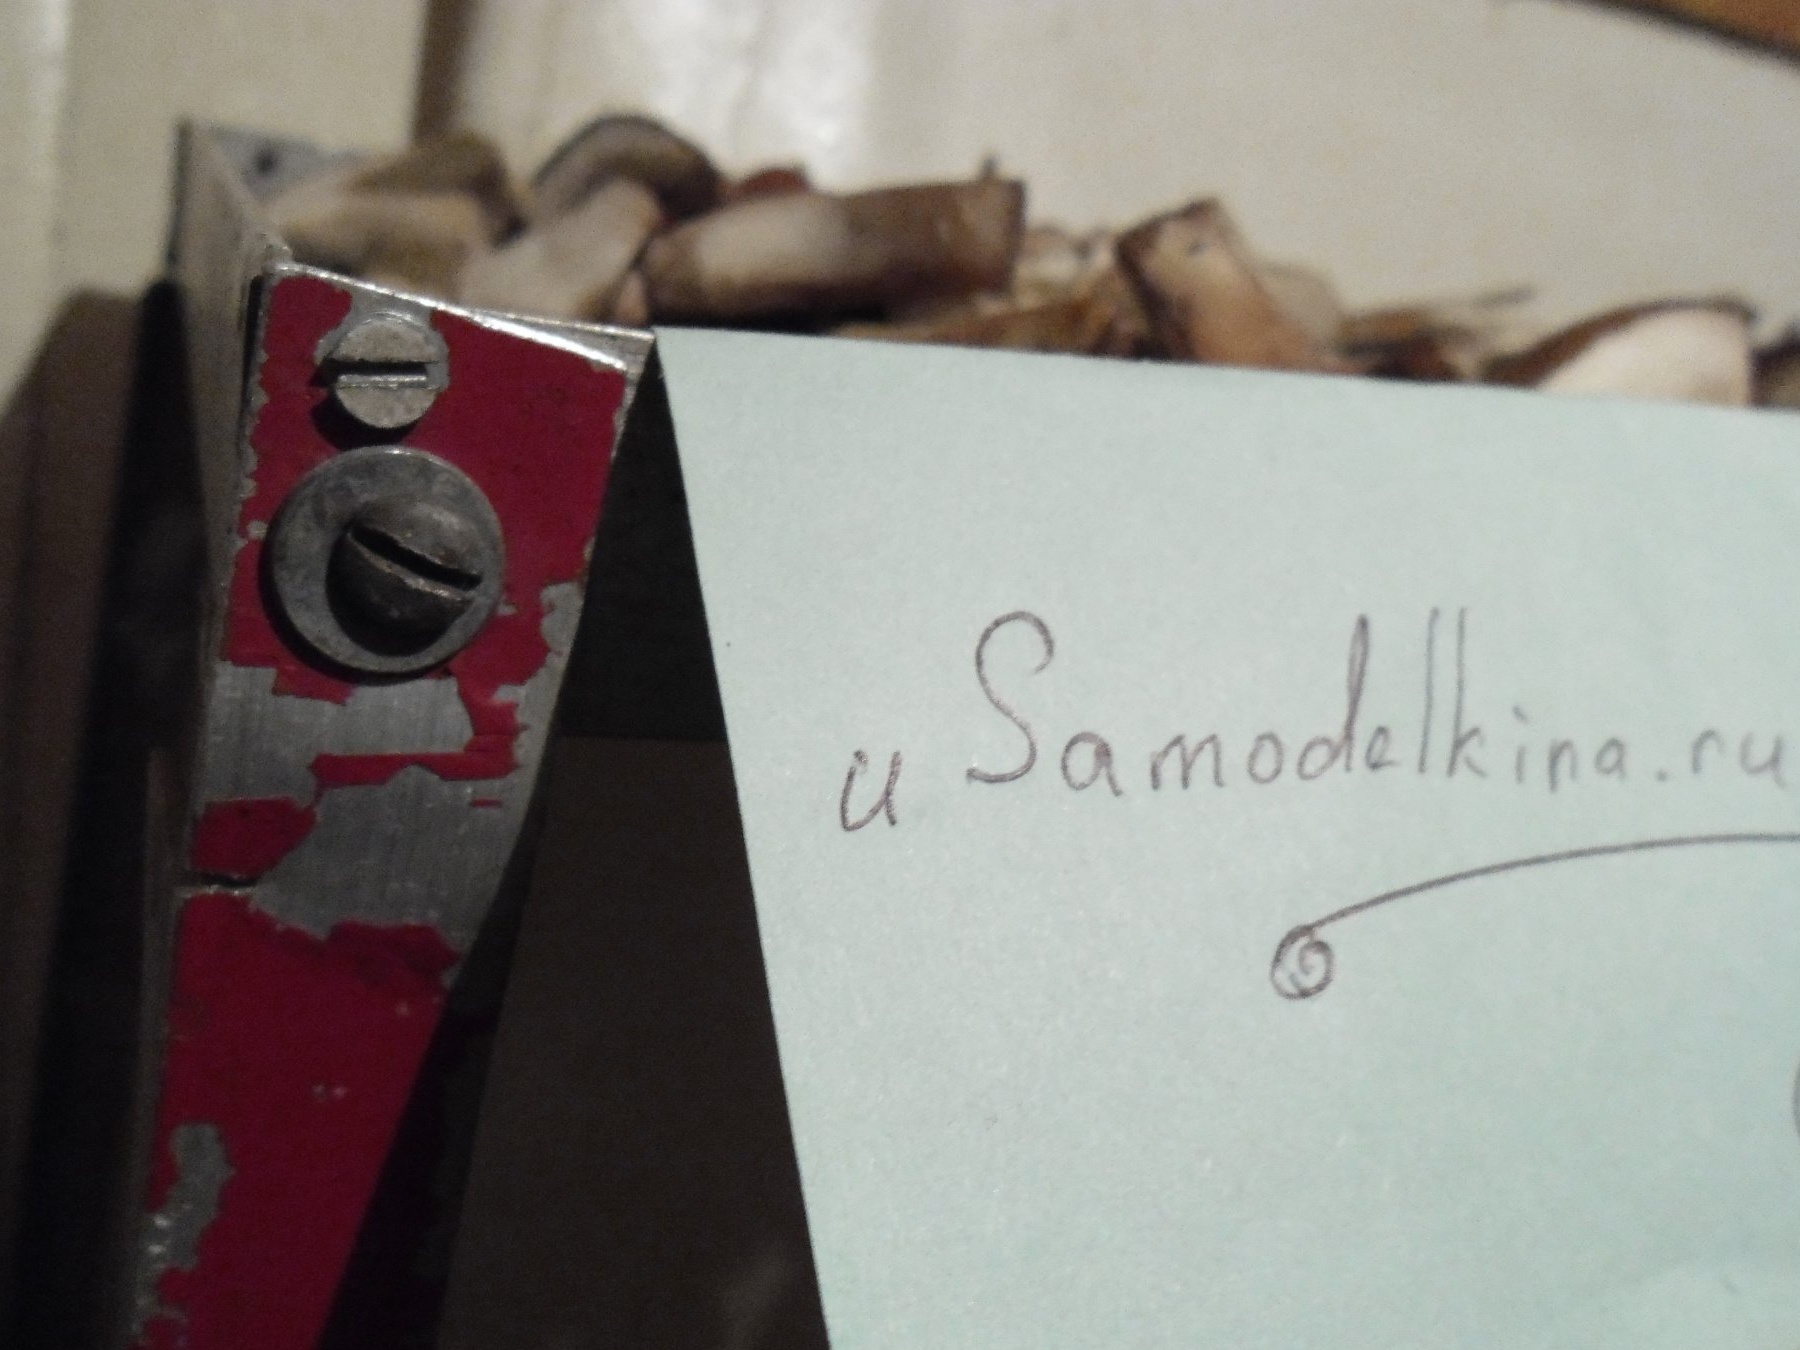
I draw your attention to the fact that I did not overtighten the screws so as not to push the cap into the hole - aluminum is a relatively soft material.
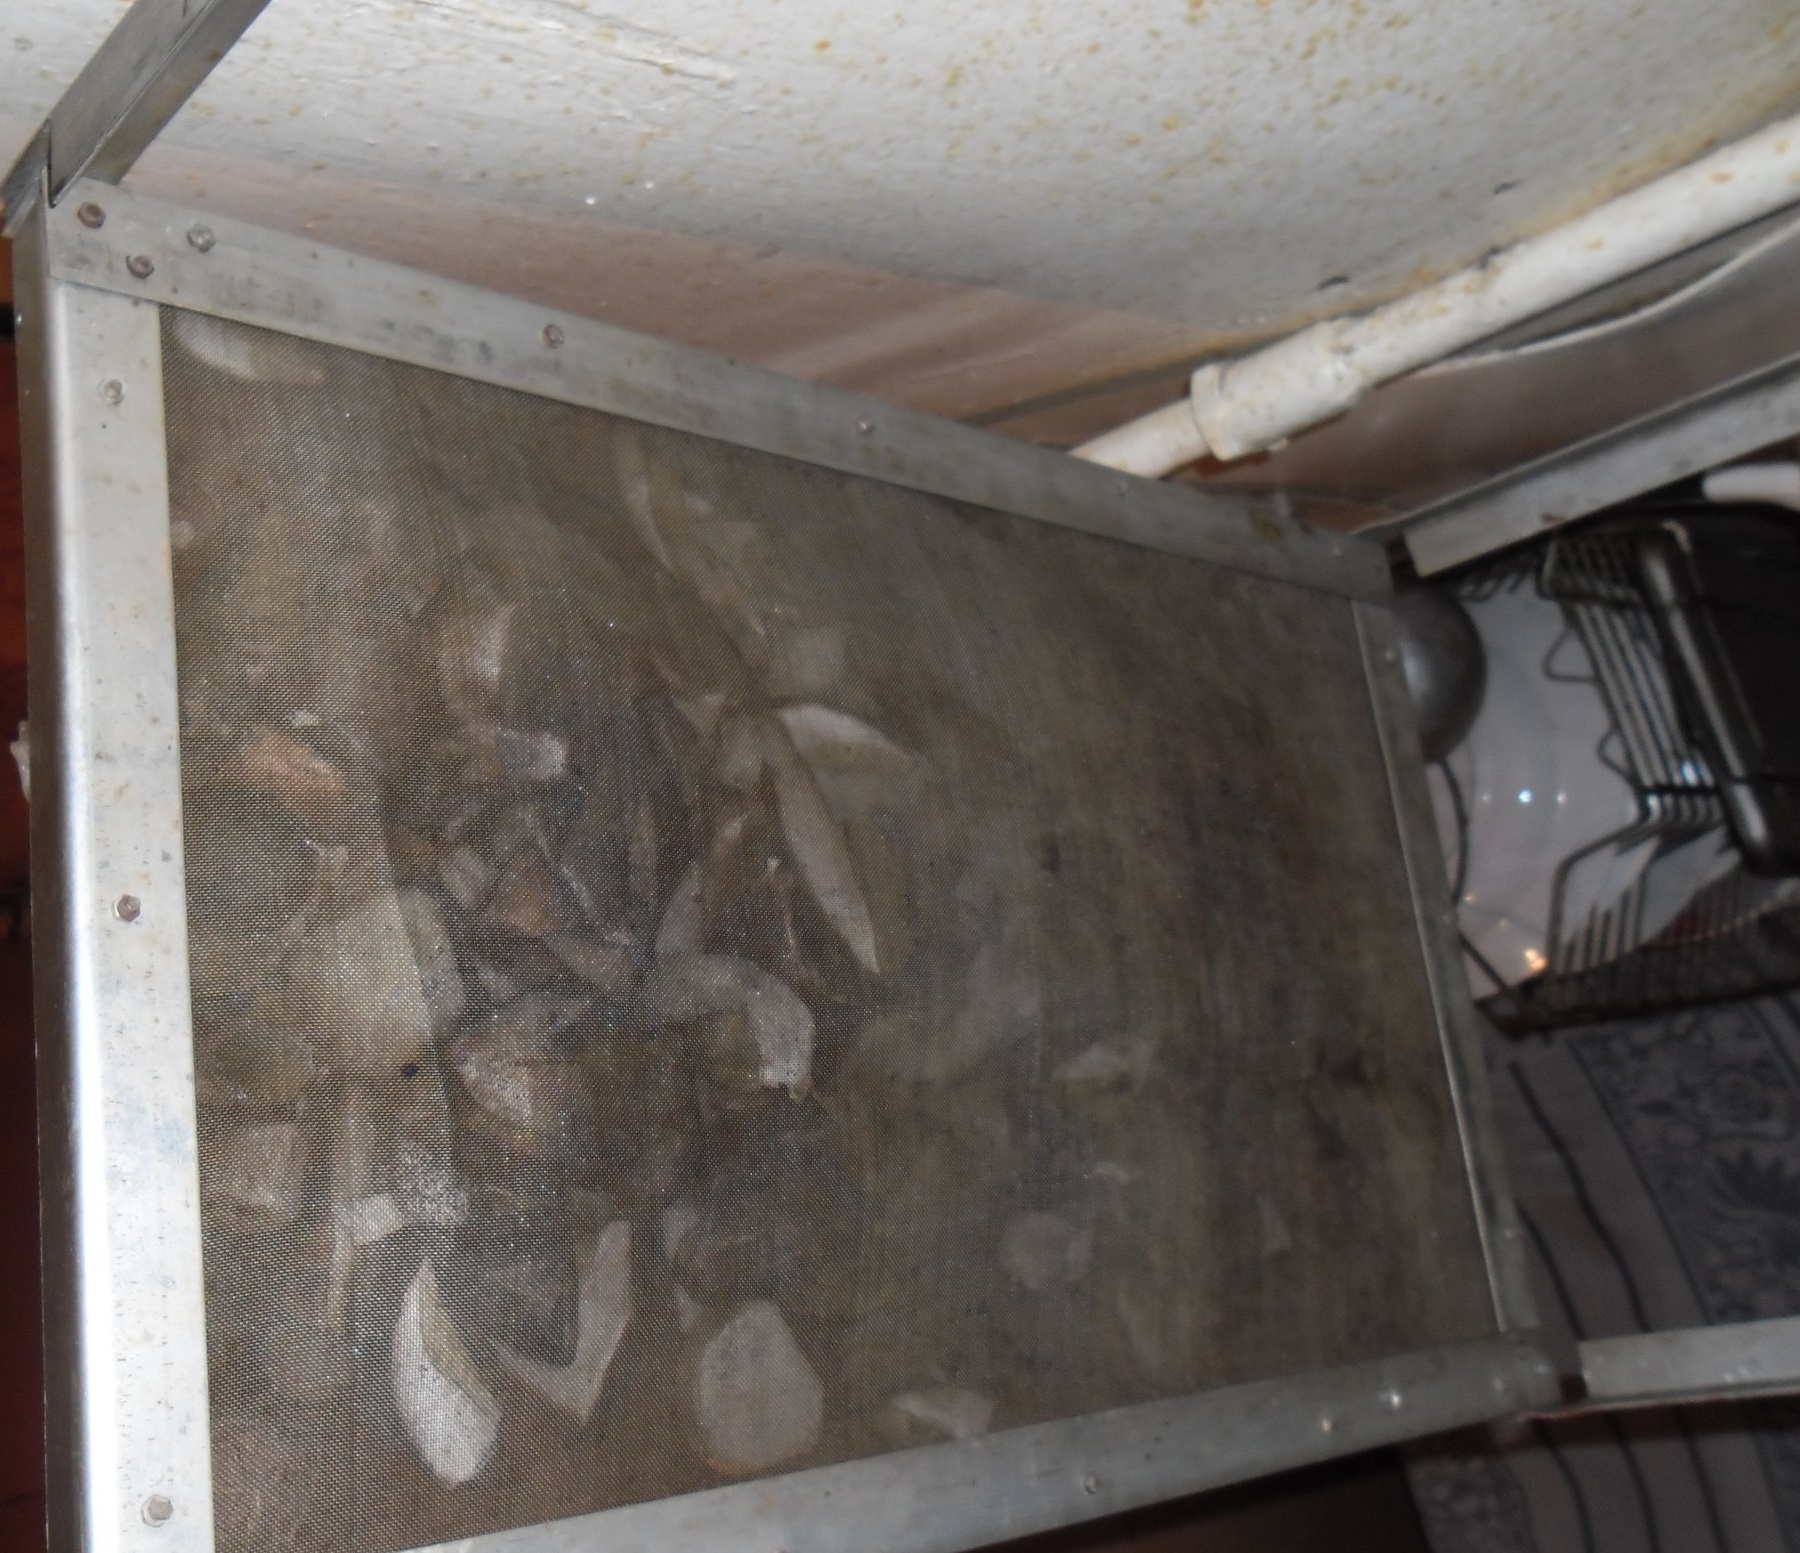
Now it has come to the grid, on which our mushrooms will be placed. (my mushrooms)))) I cut it to the size of the plate and, in fact, the frame, with a small margin. Immediately make a reservation that the grid of gauze or bandage, as well as plastic is unlikely to work. It is dangerous to keep such material over a fire, even at a distance.
To attach the grid to the frame, I used the same aluminum corner, but smaller. It turned out that from below the grid was laid on the platform from the frame, and from above it was pressed by a patch plate. The plate was also attached to the frame using screws threaded into pre-drilled holes.
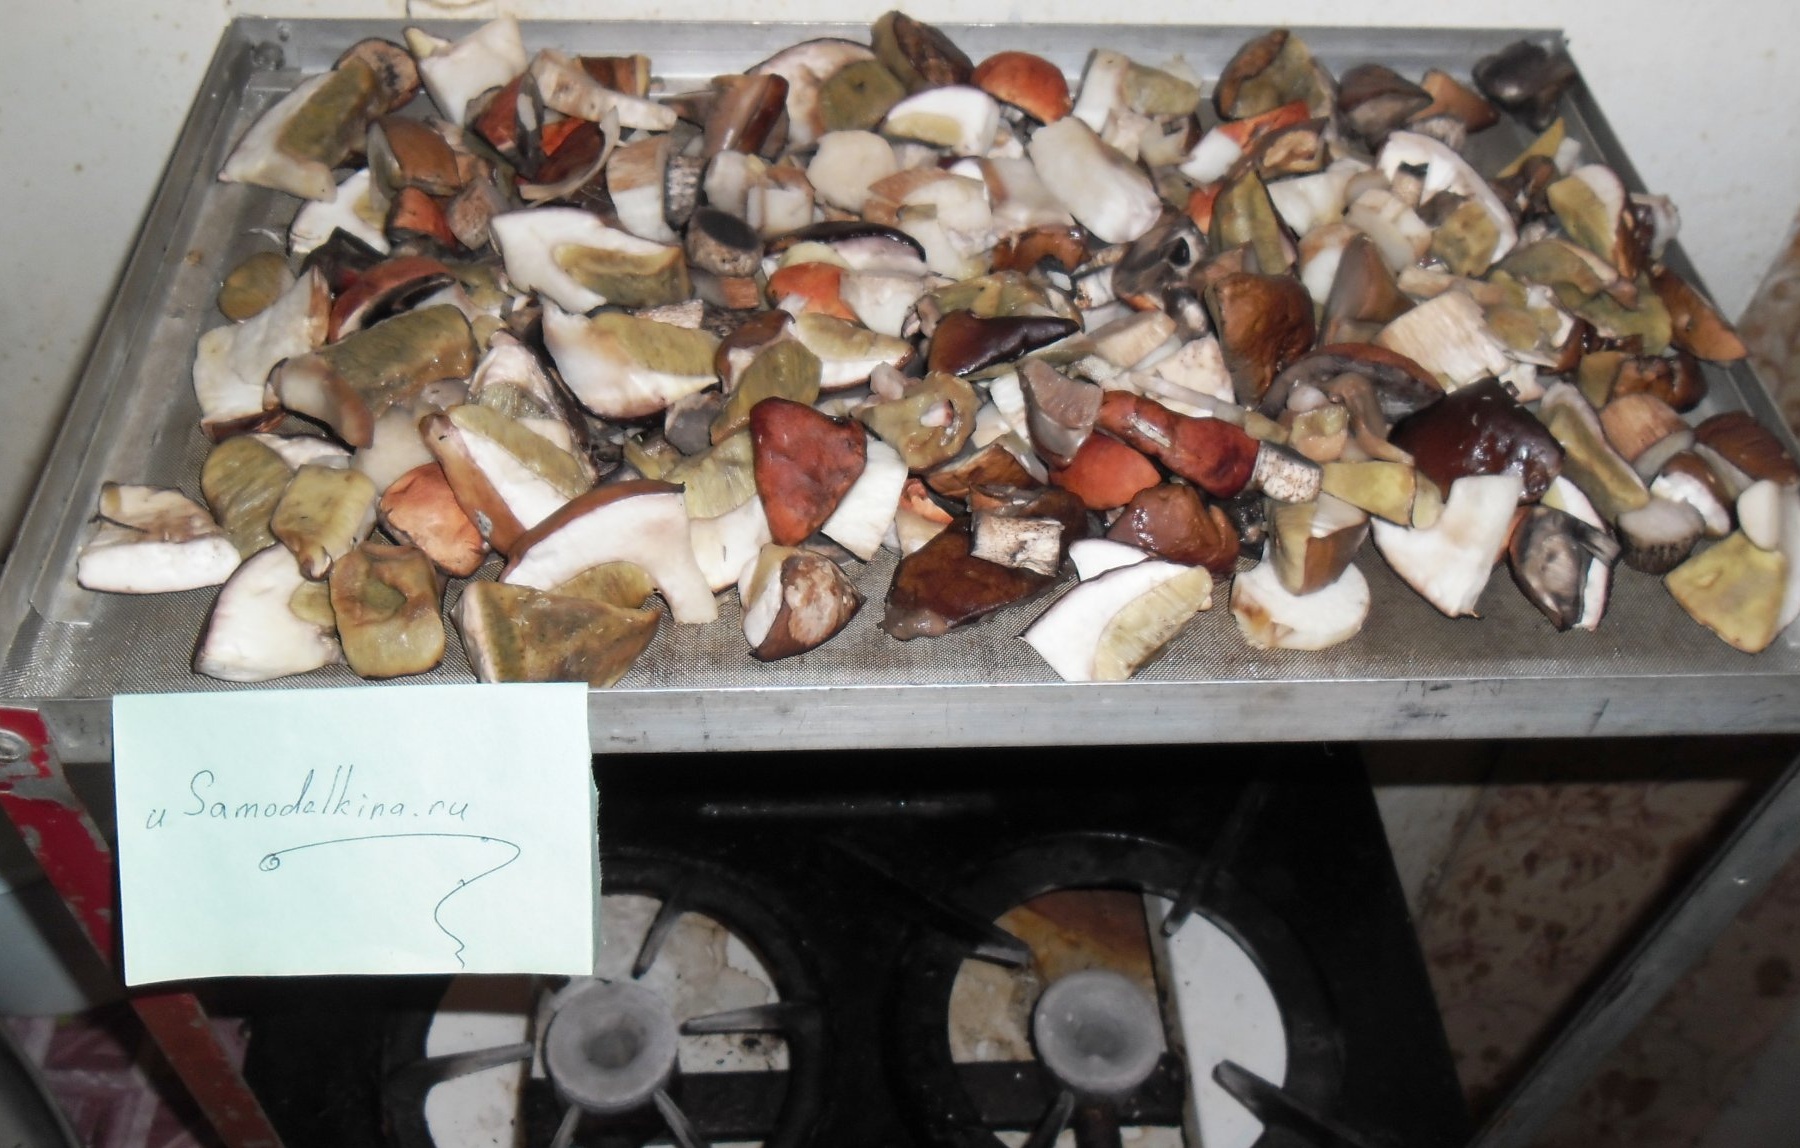
Everyone sets the height above the fire on their own, I personally set 60-70cm. (just sawed legs to the required length). I laid out the mushrooms, turned on the gas and the process began. Only in no case should you leave the turned-on gas unattended. I hope that my article will be useful to you, and you will remember about it when you are planning to do do it yourself dryer from improvised materials.