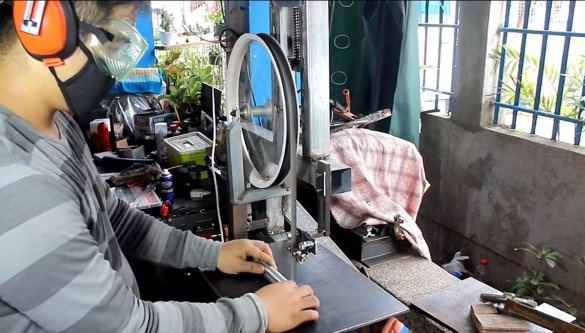
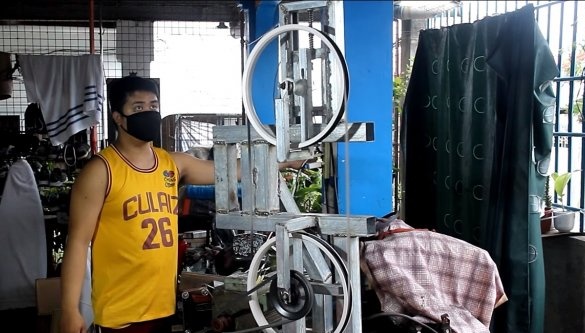
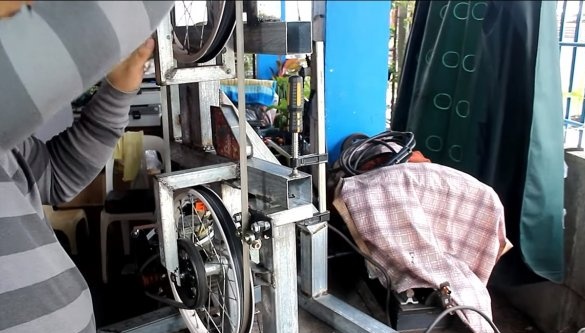
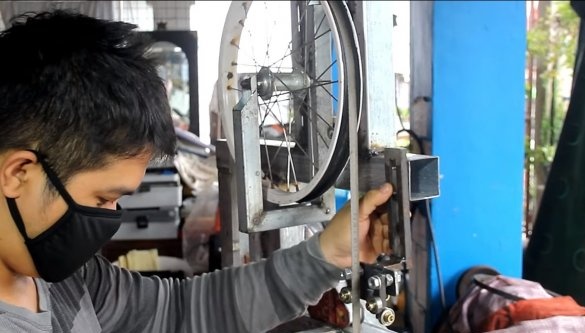
I welcome fans to craft, today we will consider how to make such a useful machine as a tape cutting machine. The main advantage of such machines is that when cutting iron and other metals, sparks and such an amount of dust do not form as when cutting with a grinder. These machines are also very productive due to the fact that the tape moves in a circle, has many teeth and is well cleaned of chips. Of course, you can cut wood, plastic, and many other materials on the machine, depending on the cutting blade used. The author decided to assemble a machine from profile pipes and bicycle parts, everything turned out quite reliably and efficiently. If you are interested in the project, I propose to study it in more detail!
Materials and tools used by the author:
Material List:
- profile pipes;
- two small bicycle wheels;
- rubber from bicycle cameras;
- engine (with good torque);
- bearings and screws;
- iron plates;
- square iron rods;
- spring;
- bolts and nuts;
- Belting;
- corner;
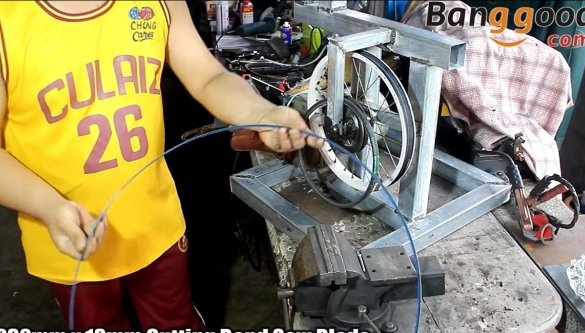
- cutting blade;
- sheet metal for the table.
Tool List:
- ;
- ;
- welding squares;
- tape measure, marker;
- drill;
- vise;
- spanners.
Machine manufacturing process:
Step one. Frame
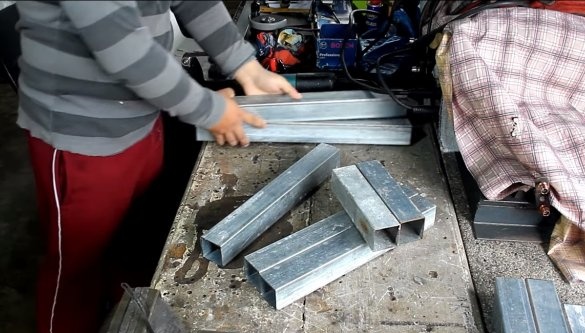
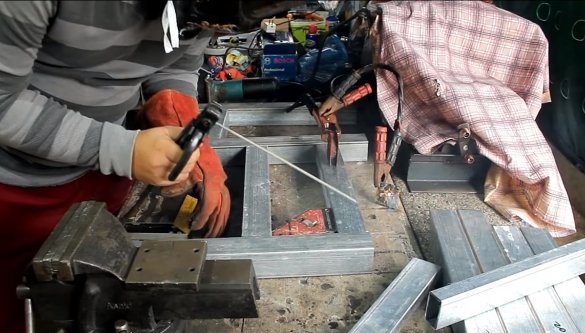
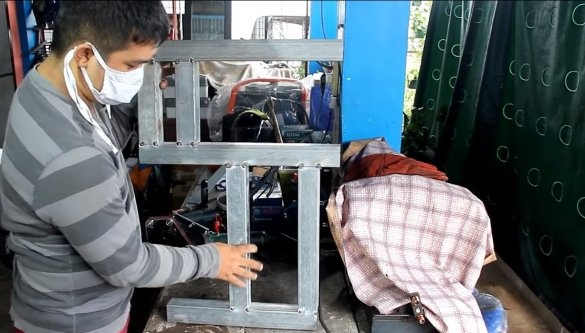
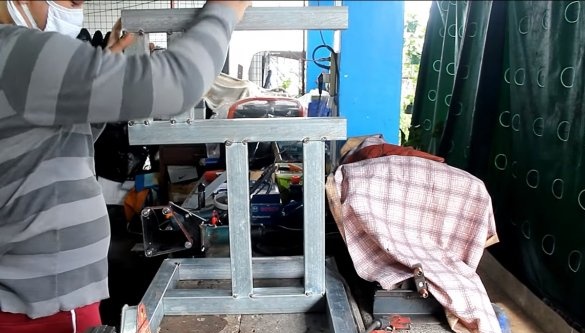
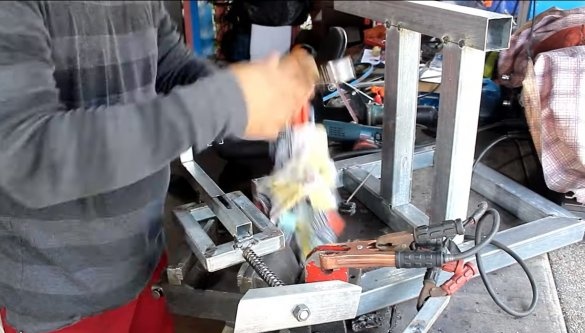
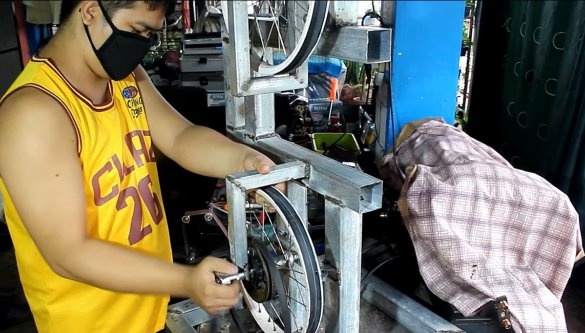
First of all, we will assemble the frame for the machine, as source material we need profile pipes. We cut the material in accordance with the drawings and weld the structure. The frame consists of a rack and base, we weld everything well and clean the welds.
Step Two Upper and lower fork
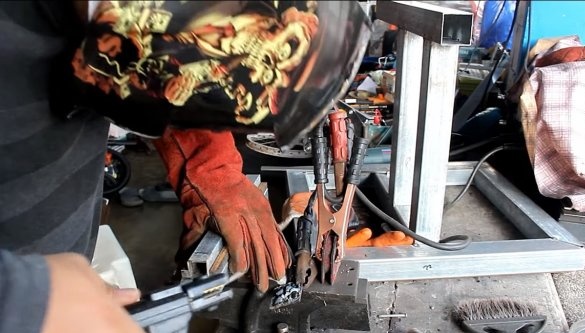
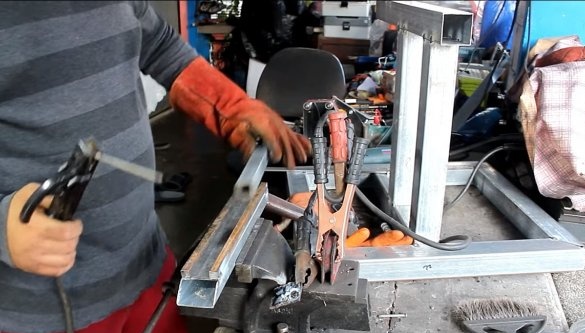
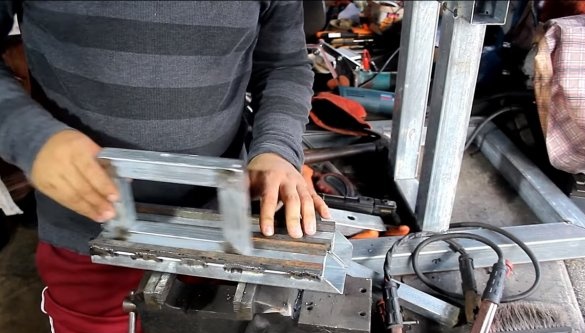
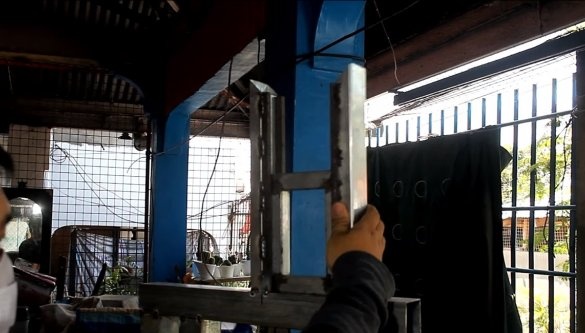
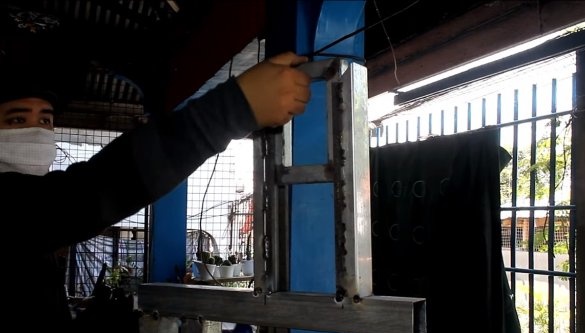
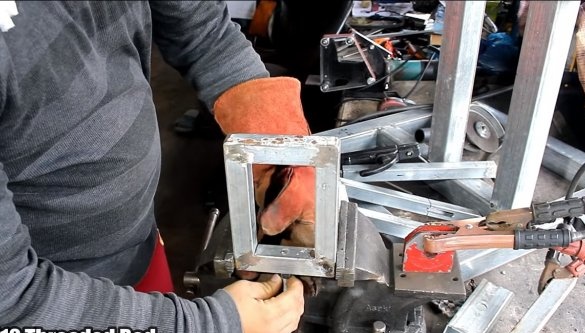
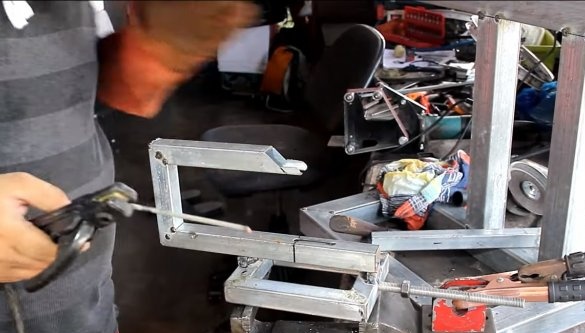
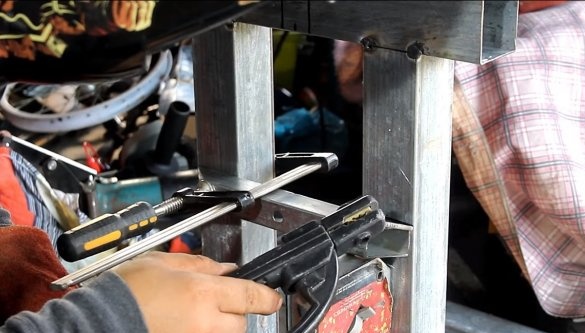
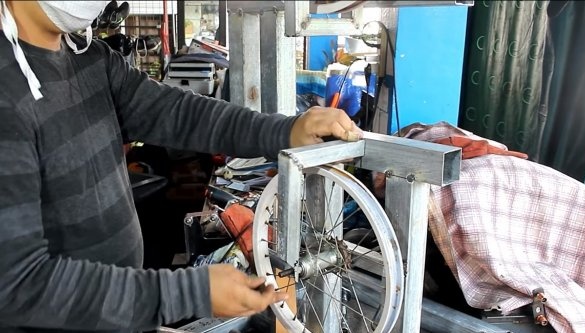
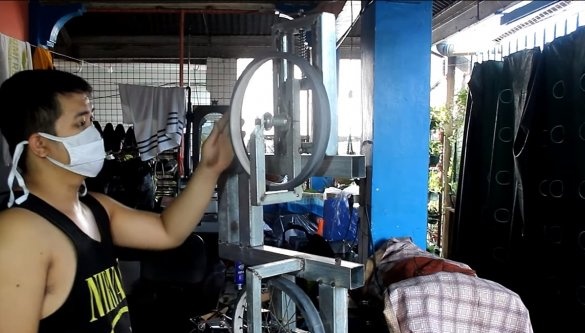
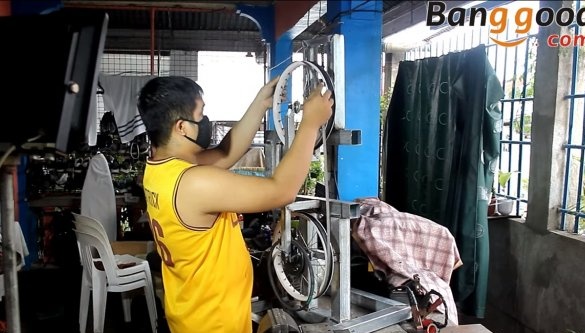
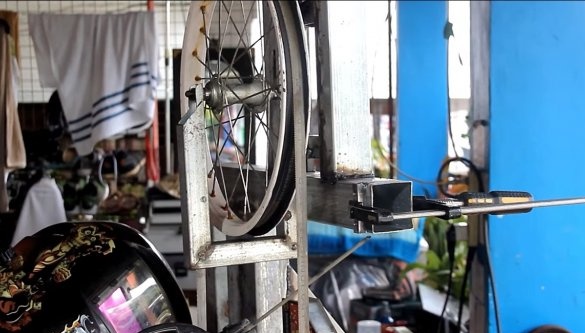
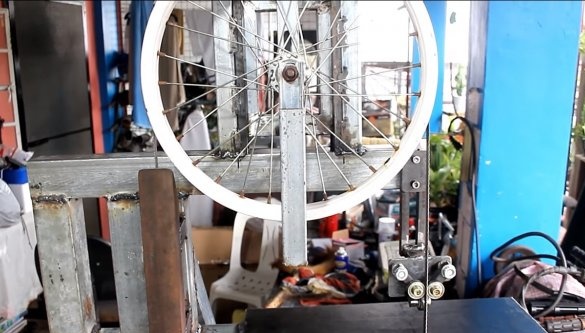
The upper fork will be responsible for the tension of the saw blade, the wheel will have to be able to rise and fall. We take two pieces of the profile pipe, these will be the racks, we weld the limiters in the form of square iron rods to the racks. A rectangular frame of profile pipes will move between the racks, this will be the base on which we fix the wheel. In the frame we drill a hole and weld a nut, as a result we can lift it up due to the threaded shaft with a handle.
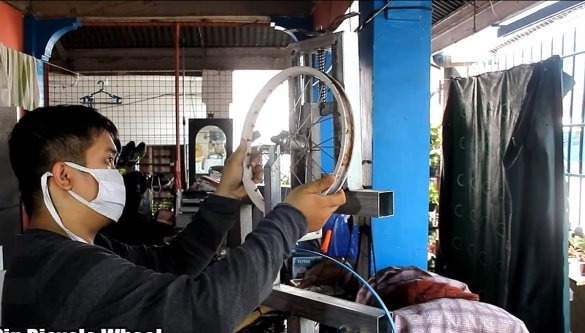
As a result, we weld directly the fork itself for mounting the wheel and weld it to the movable frame. After that, you can install the upper driven wheel.
As for the lower wheel, we fasten it to the frame with one part of the axis, and for the other side of the axis we weld the plug from profile pipes.
Step Three Modify the wheels
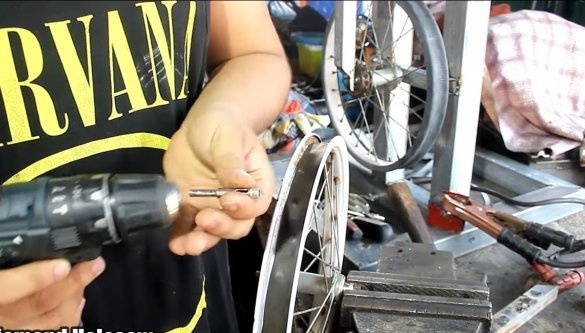
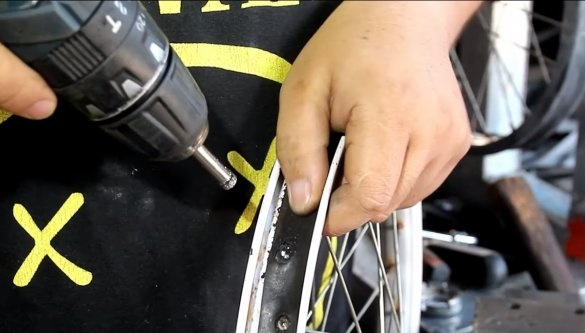
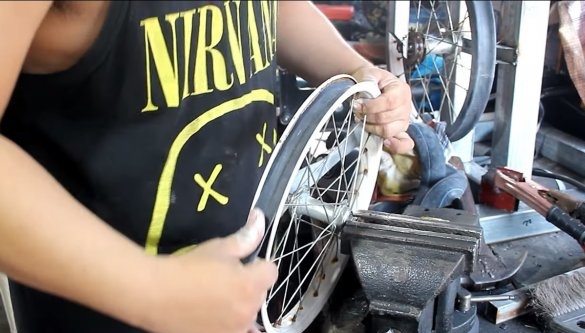
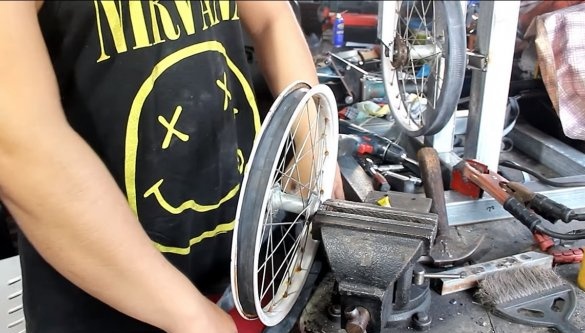
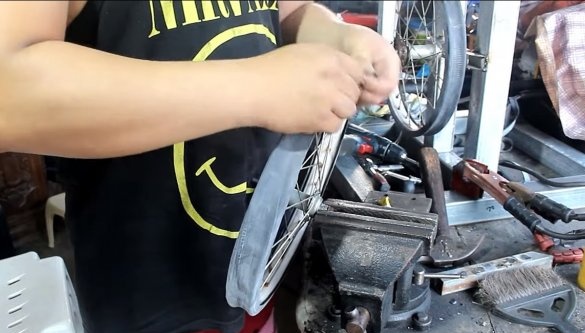
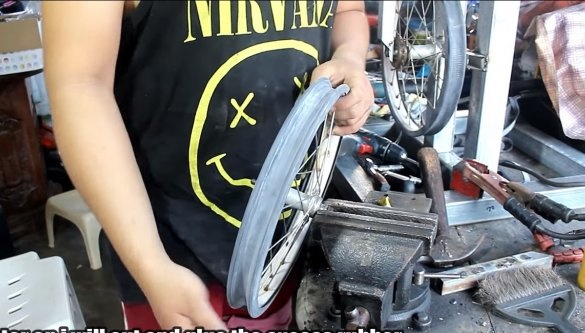
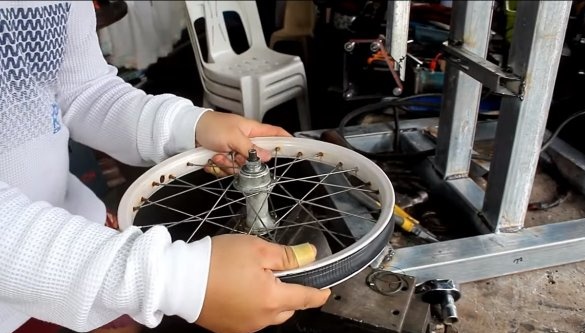
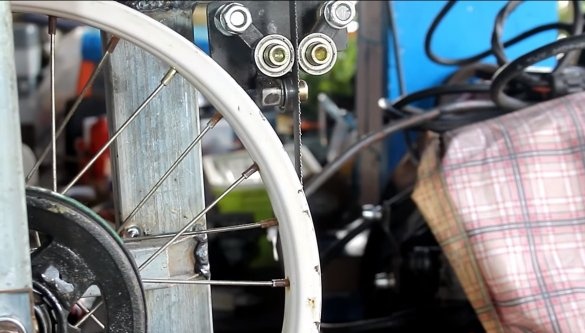
Bicycle wheels need to be finalized, we need to install rubber on the rim, which the wheel can cling to the cutting blade. As rubber, rubber from bicycle cameras or the like is suitable. If it’s impossible to find a whole gum, you can just glue the wheels, it will not be superfluous to wrap everything on top and tape. The author has established several layers of rubber, as a result, excellent adhesion to the saw band and cushioning are obtained.
Step Four Drive wheel
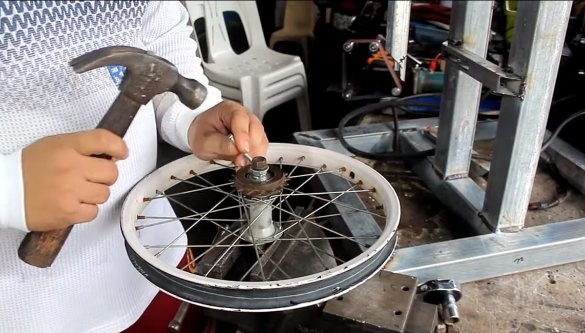
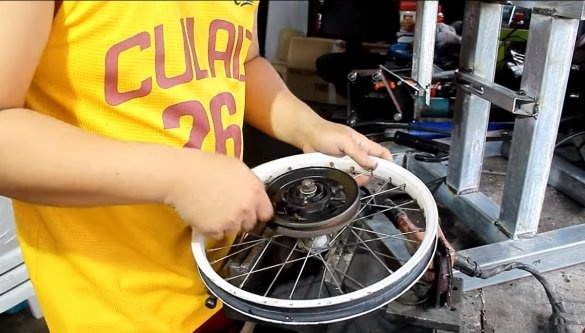
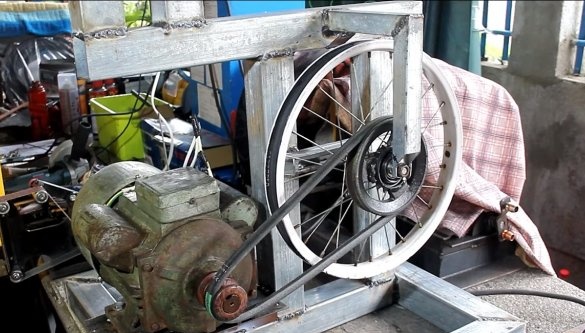
The drive wheel is lower, for such purposes we need the rear wheel from the bicycle. We remove the sprocket from the wheel and brew the ratchet mechanism, we will not need it. We will also need a driven pulley, it is better to choose a larger diameter to get a high torque, which is important for the machine.
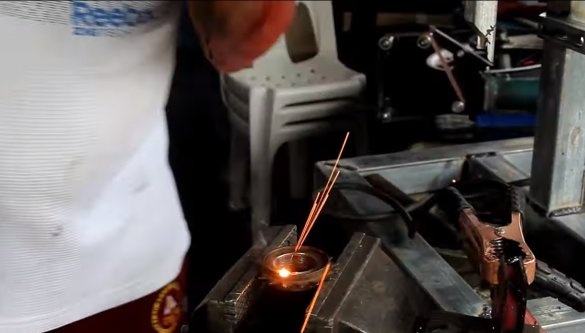
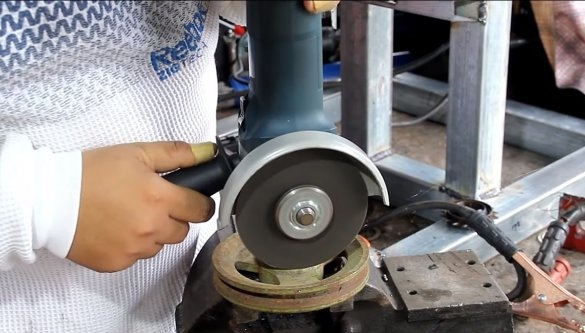
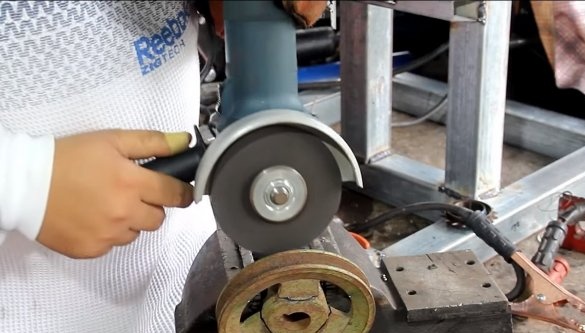
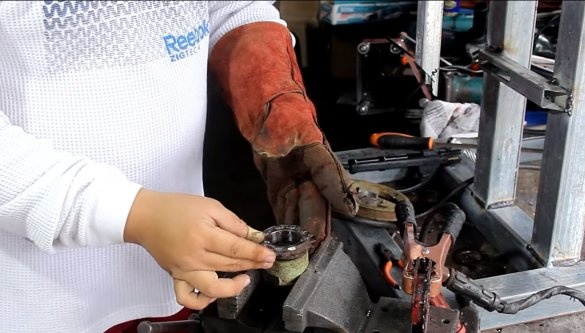
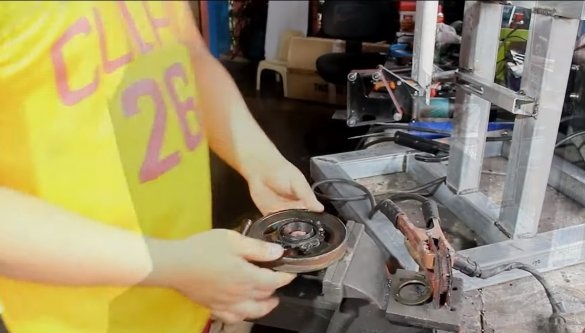
We cut out the inside of the pulley and then weld it to the bicycle sprocket. It is important that everything is welded smoothly and reliably. That's all, now we fasten the pulley to the wheel and the wheel can be mounted with a belt on the frame.
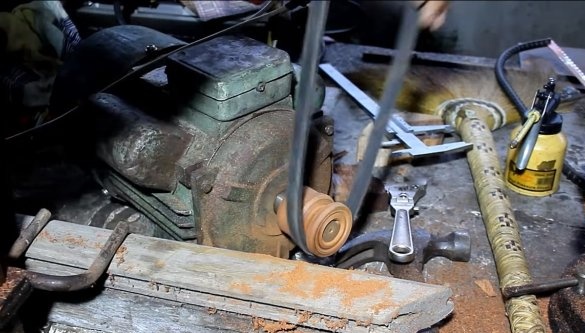
As for the driving pulley, which is mounted on the engine, it can be machined from wood or plywood, working on the engine as on a lathe.
Step Five Engine installation
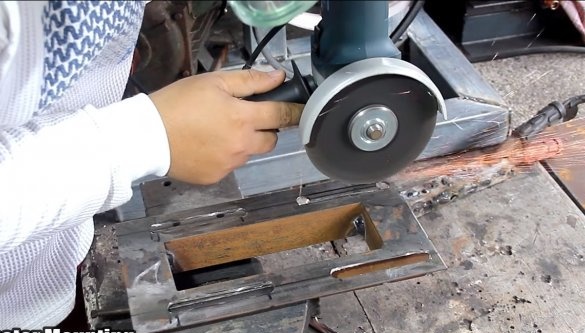
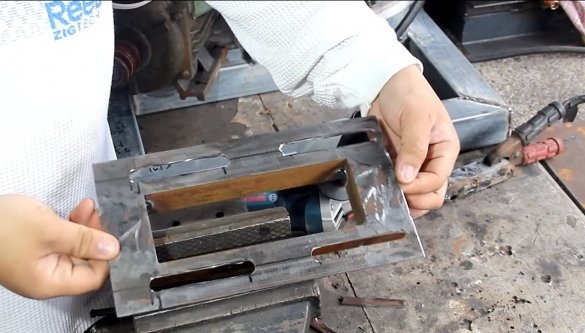
We will prepare the frame for installing the engine, the author’s motor is quite massive. We weld the frame from the corner, cut through the slotted holes for bolts in it and weld the frame to the machine. Now you can install the engine, securely fasten it with bolts and nuts. Thanks to slotted holes, you can move the motor and pull the belt. That's all, the machine is almost ready, even at this stage you can start the motor and see if all the nodes are assembled correctly.
Step Six Emphasis
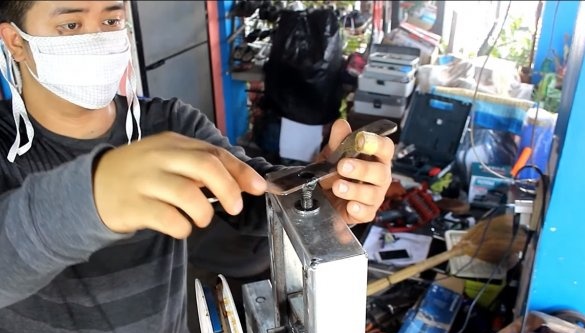
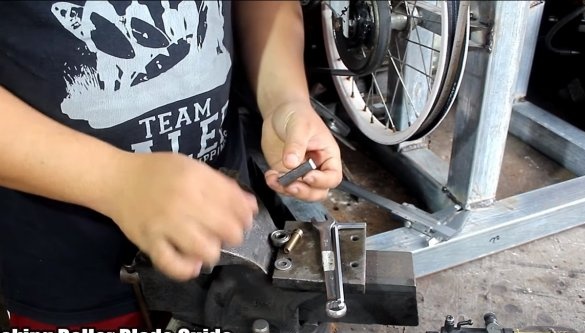
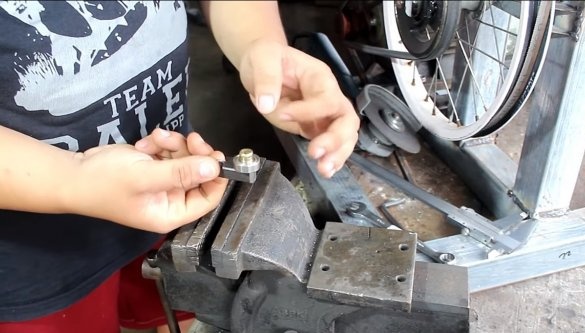
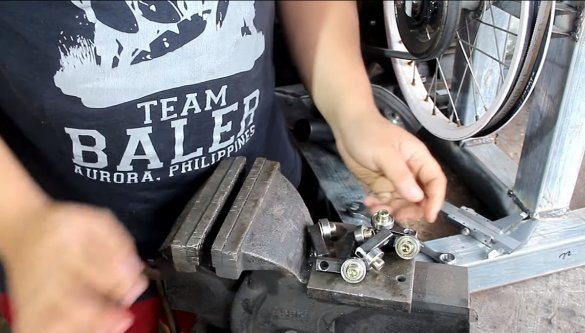
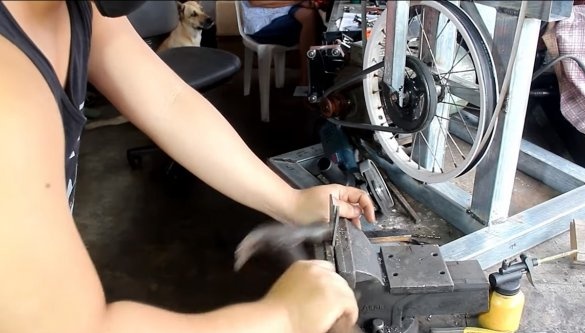
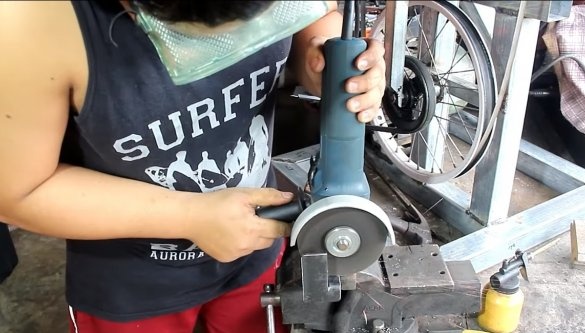
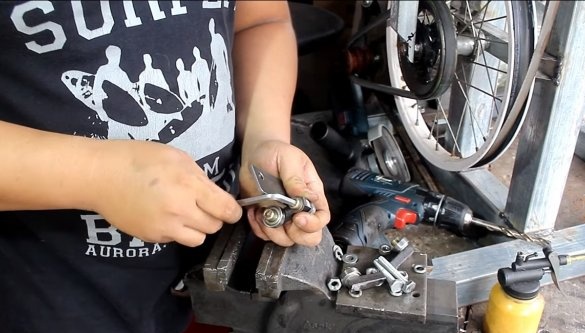
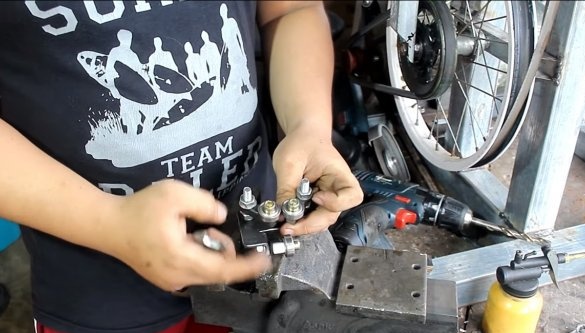
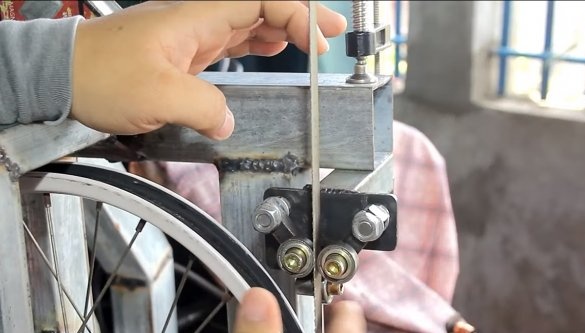
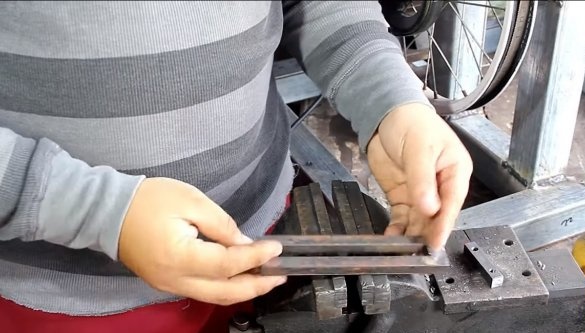
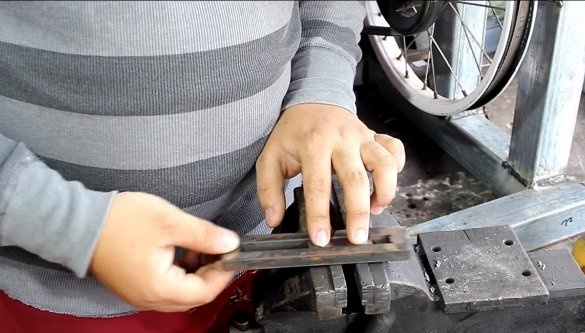
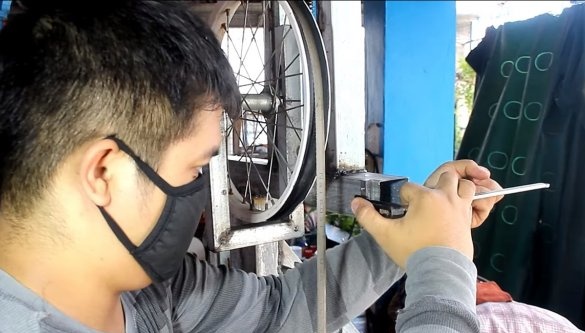
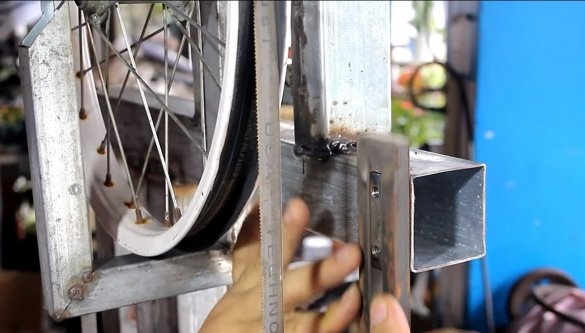
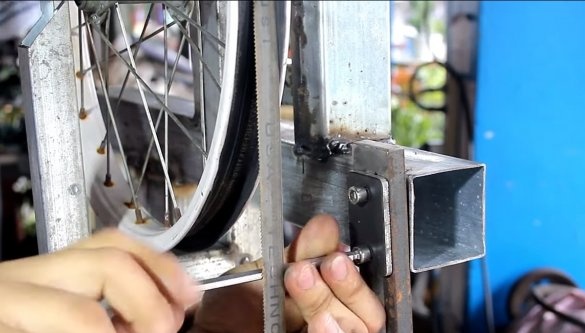
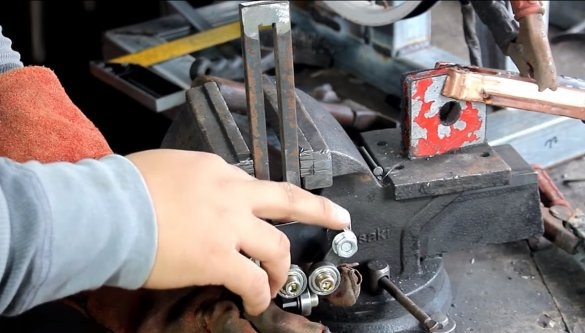
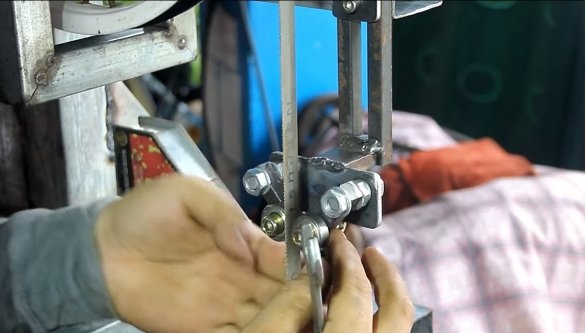
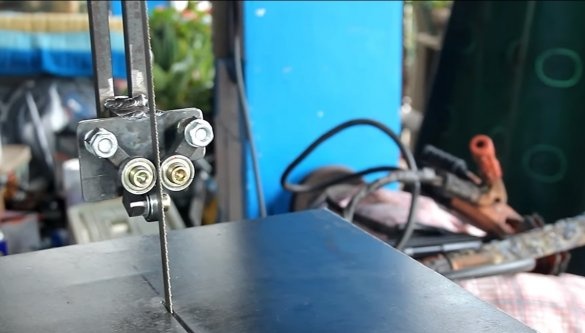
For a detachable cloth, emphasis is necessary, which will not allow the tape to move when cutting. The author uses bearings as stops, as is usually done. In total, the author made two emphasis, each emphasis is equipped with three bearings that stabilize the cutting blade in three directions. All stops are adjustable, everything is assembled on screws, bearings are also fixed on screws and are easily changed.
Seventh step. Table and tests
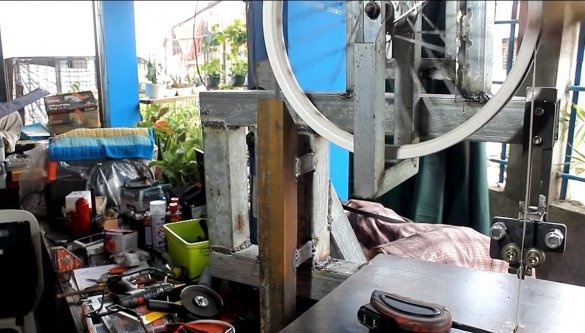
In conclusion, we need to make a table for work, here we need sheet metal of sufficient thickness so that the table does not bend. We cut a gap under the cutting blade and set the table in its place. Of course, it would be nice to make the table adjustable so that you can cut at a certain angle.
That’s all, the machine is ready, as a safety measure, it would be nice to put more emphasis so that the saw band does not fly at you in case of breakage.
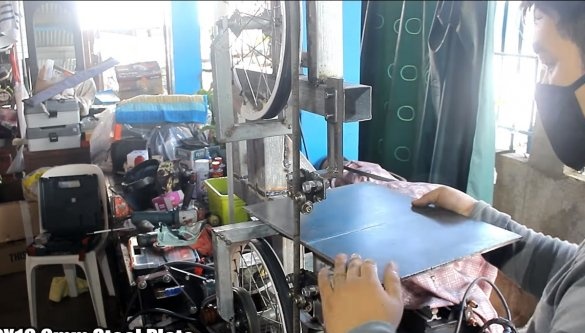
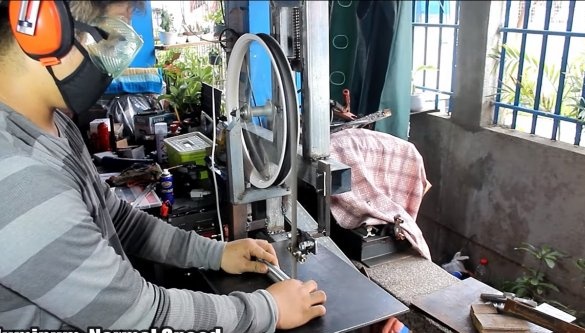
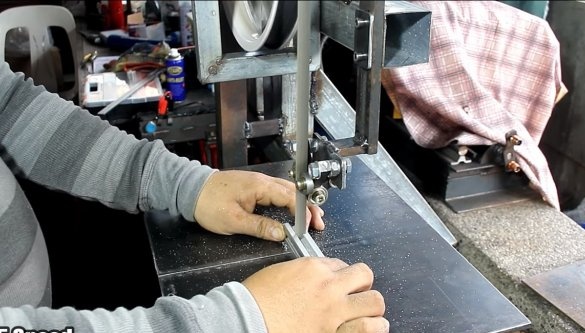
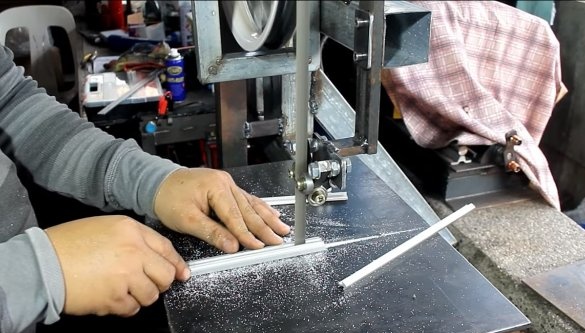
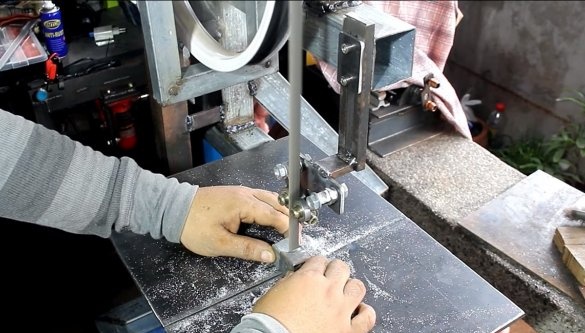
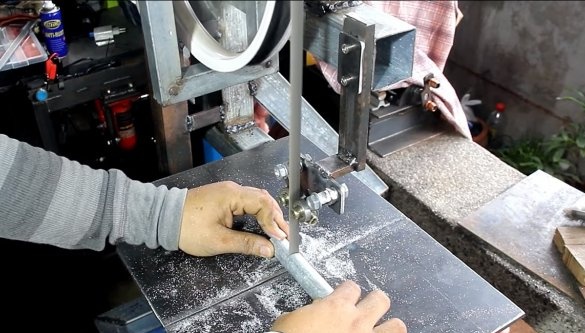
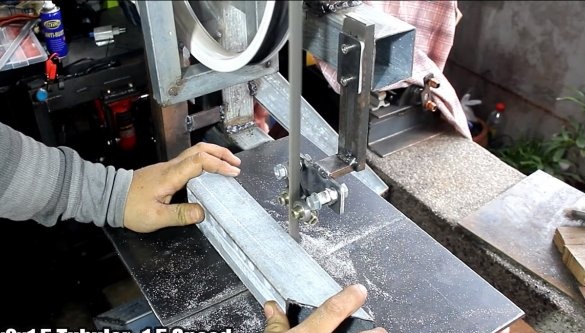
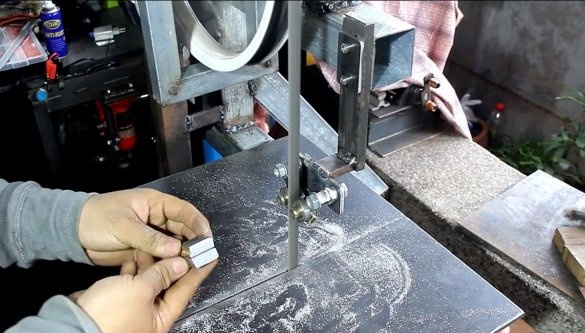
We start the car, it would be nice to have the opportunity to adjust the speed. For such a machine, torque is most important, not rpm. As an experiment, the author easily cuts aluminum parts. Next, profile and round iron pipes are used, the machine also easily copes with the task. In the end, the author tried to cut a thick iron plate, the machine also coped with the problem without any problems.
As a result, the machine turned out to be of high quality and productive. The project is completed, I hope you homemade I liked it. Good luck and creative inspiration, if you decide to repeat this, do not forget to share your ideas and homemade things with us!

