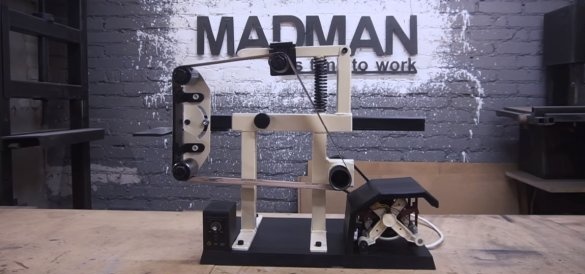
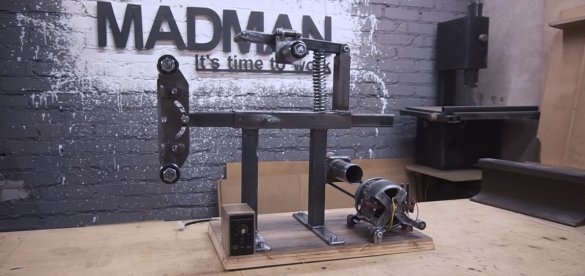
I welcome all fans to craft, today we will consider how to make a simple and reliable belt sander. As an engine, the author adapted the motor from the washing machine. Of course, the power of such a motor is rather weak, but the machine copes with traditional tasks without any problems. The frame and other components of the machine are made of metal, for the most part profile pipes were used. Everything is done quite simply, without the use of expensive and rare equipment. If you are interested in the project and you need such a machine, I suggest that you familiarize yourself with the project in more detail!
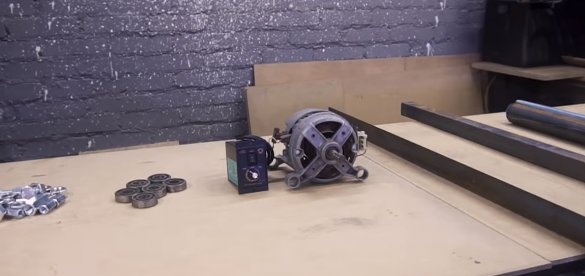
Materials and tools used by the author:
Material List:
- the engine from the washing machine;
- sandpaper or finished tapes;
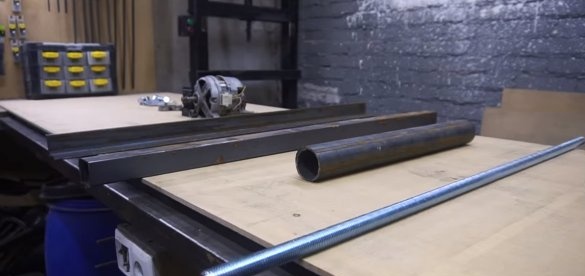
- iron pipes (for rollers);
- bearings;
- threaded rods, bolts, screws, nuts;
- profile pipes;
- corner;
- ;
- sheet metal;
- paint for metal;
- spring;
- Belt drive (it is possible and directly).
Tool List:
- grinder;
- welding machine;
- drill;
- spanners;
- tape measure, marker;
- a vise.
Machine manufacturing process:
Step one. Rollers
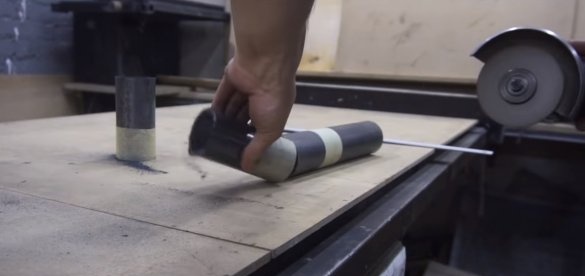
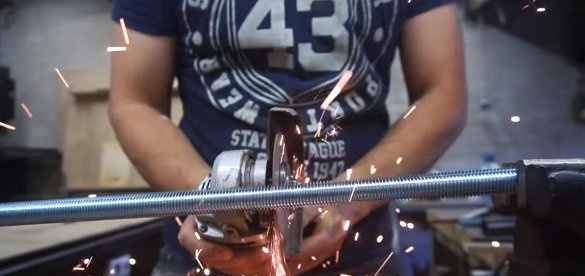
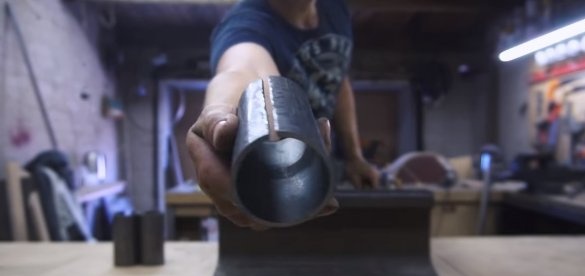
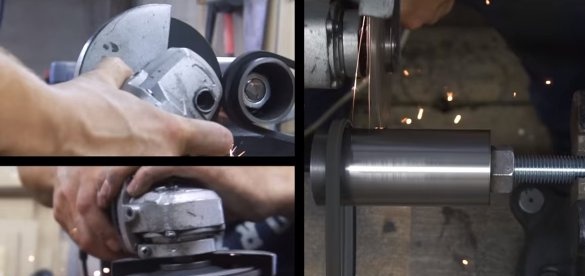
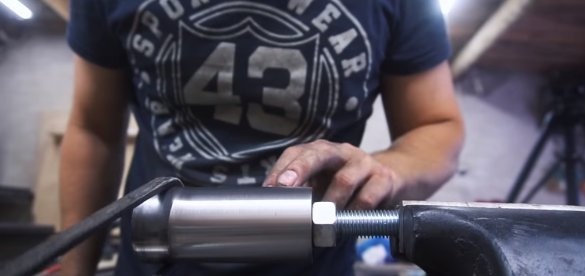
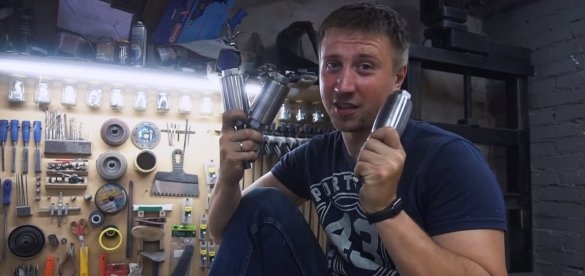
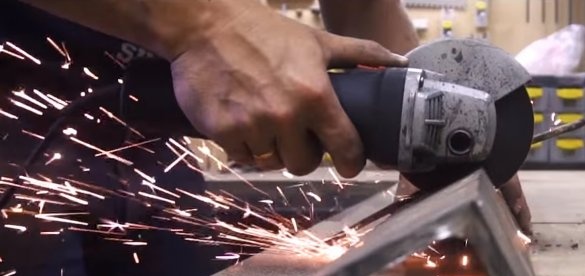
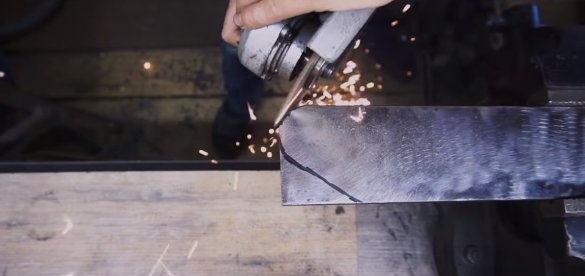
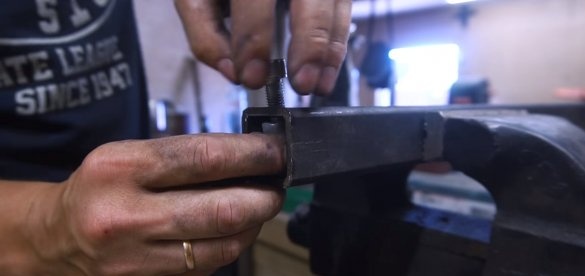
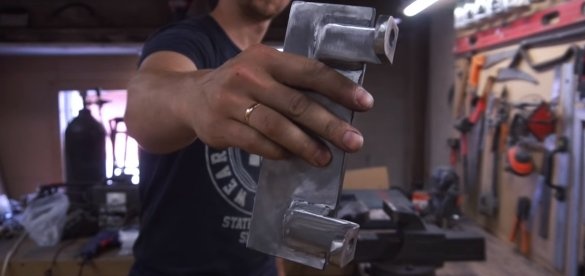
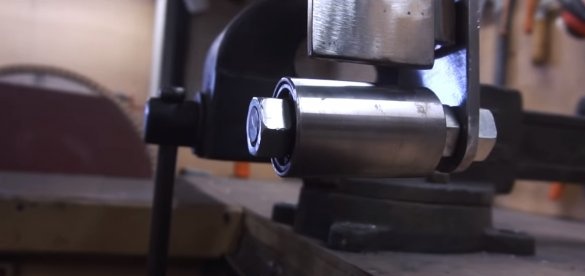
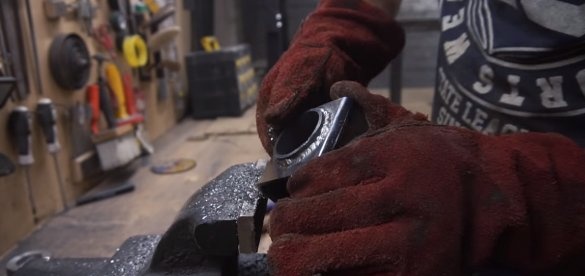
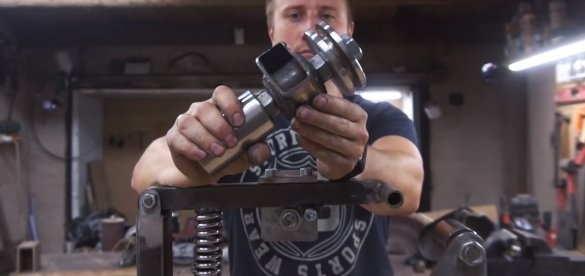
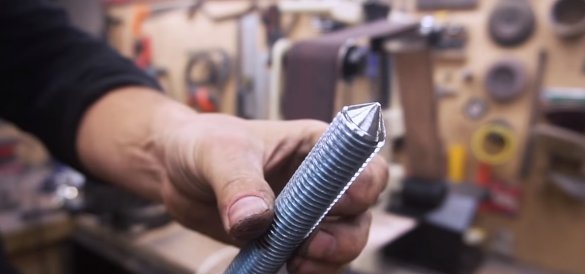
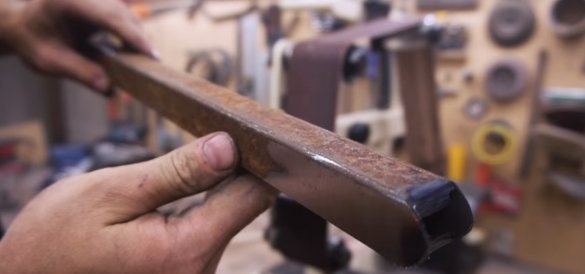
First of all, we will make the rollers, this is the most difficult part of the machine. The author made quite high quality videos using simple tools. We will need round pipes of suitable diameter, we cut them into pieces of the required length, and then we cut along and cut out a part of the metal. The bottom line is to reduce the diameter of the pipes so that the bearings fit inside.
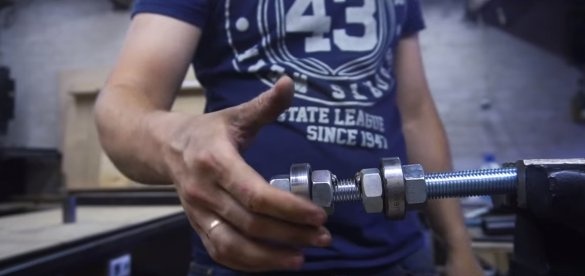
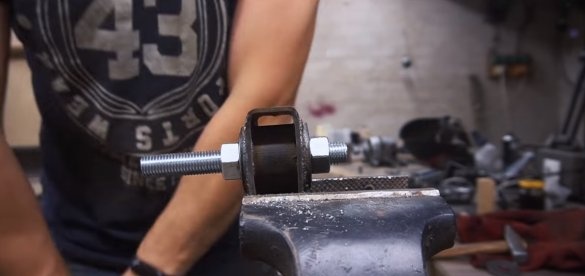
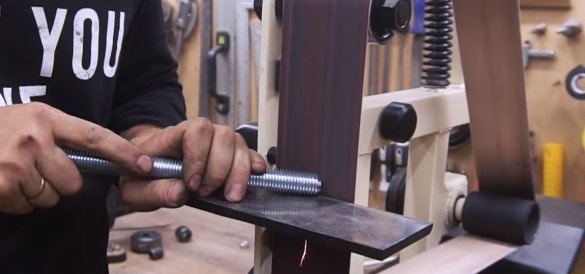
As for the bearings, we fix them with nuts on the threaded rod, which acts as an axis.
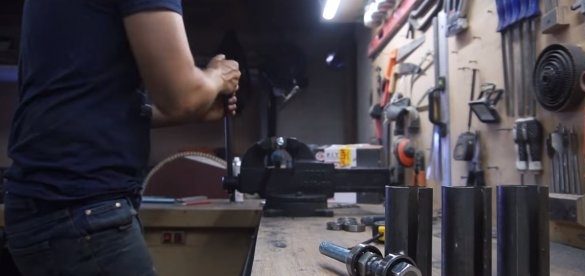
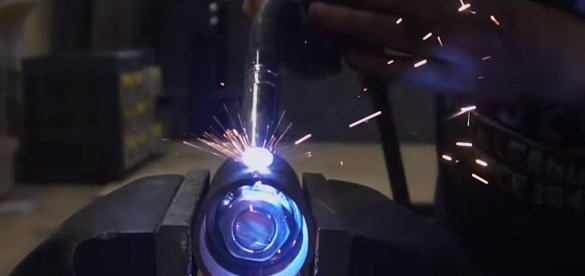
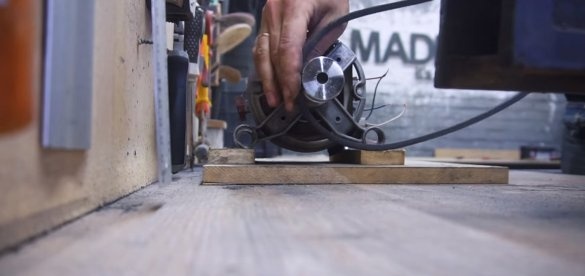
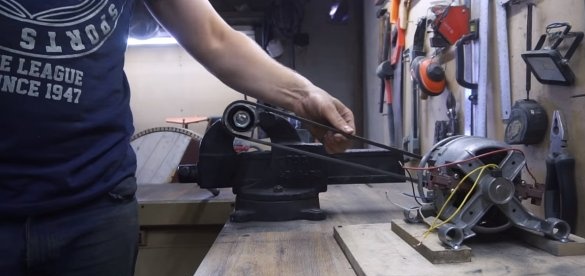
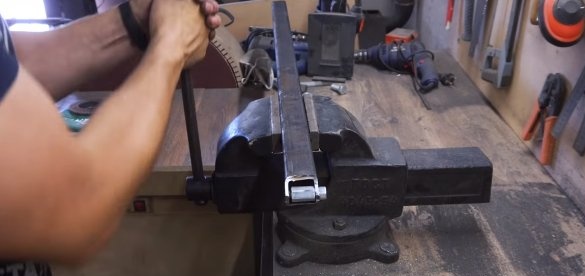
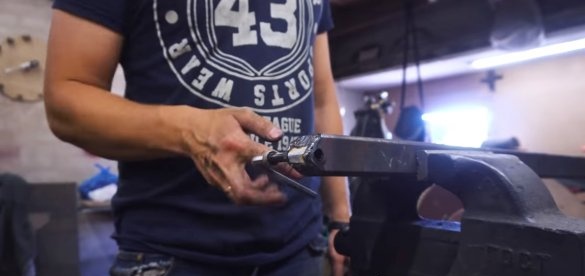
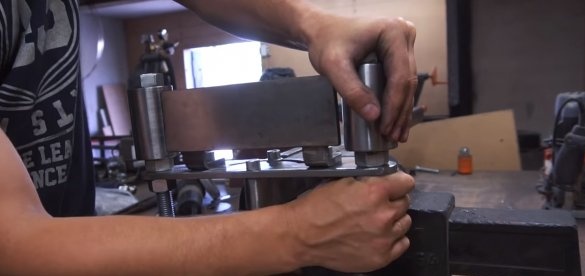
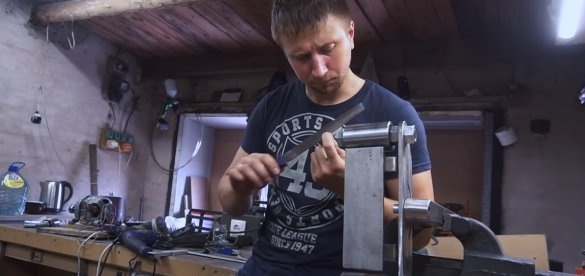
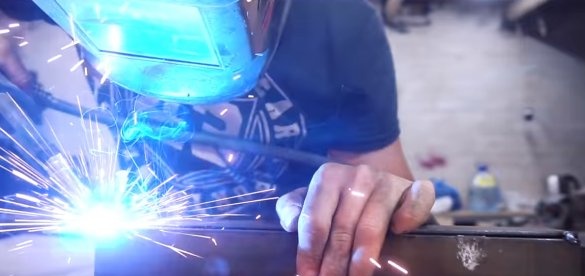
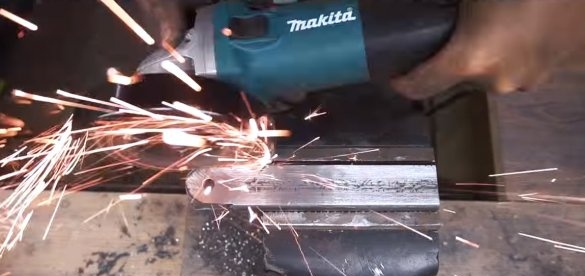
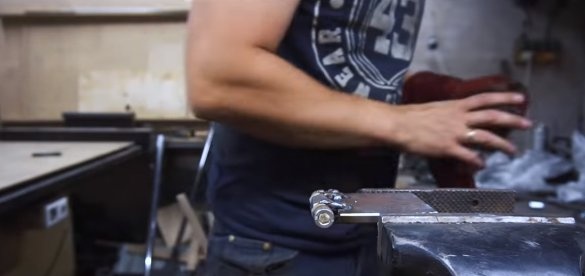
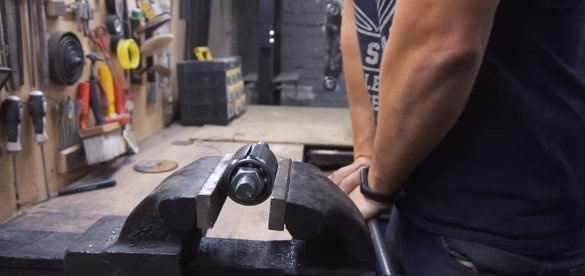
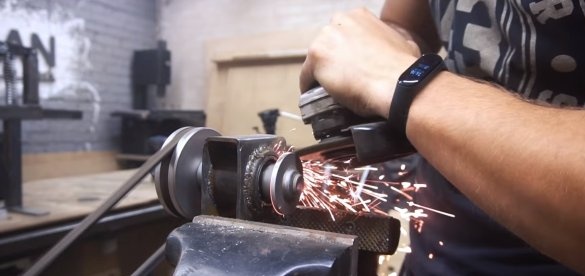
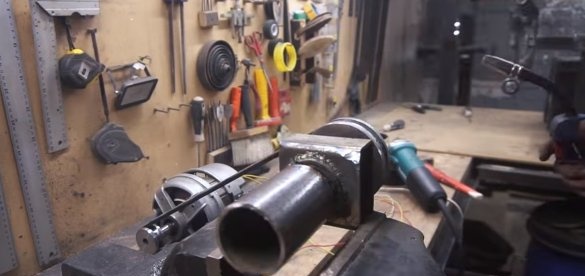
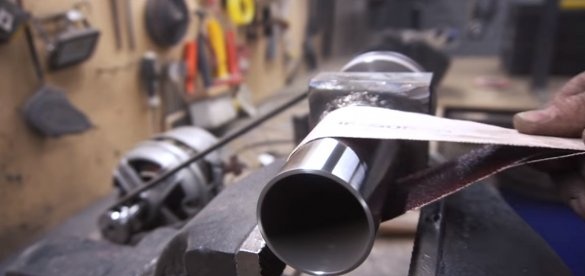
We install shafts with bearings in the pipes and clamp them in a vice so that the bearings are tightly clamped. Well, then we weld the pipes well. Now the finished clips need to be well sanded and, if necessary, you can ask them the desired profile. For grinding, the author used a motor from a washing machine and a belt drive, which turned out to be a kind of small lathe.We work as a grinder, products in the end are monolithic, the rollers are excellent.
Step Two Work plane
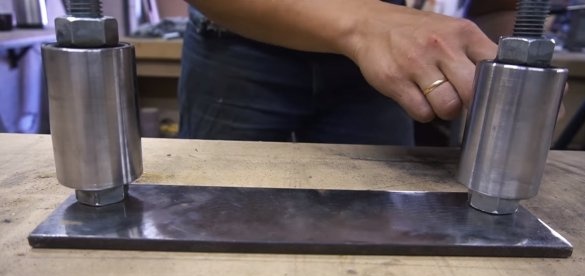
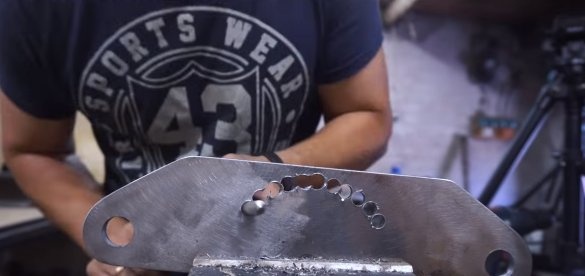
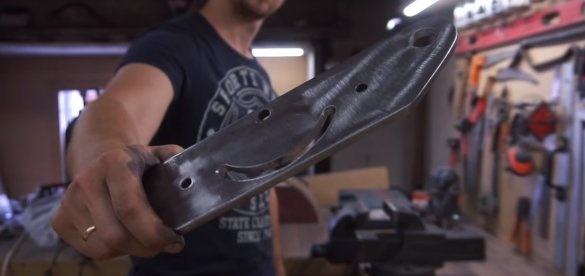
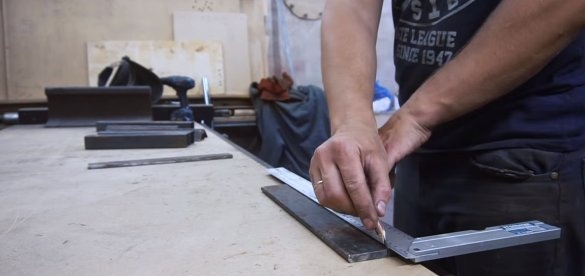
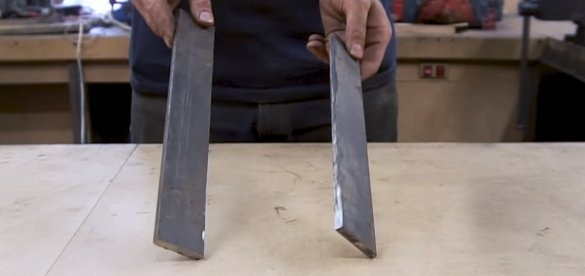
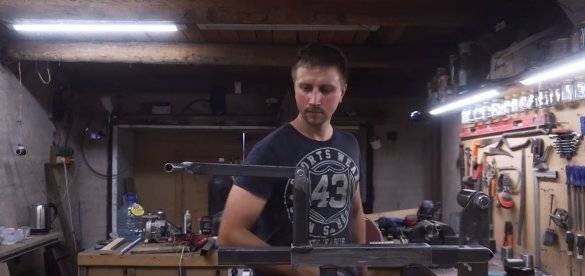
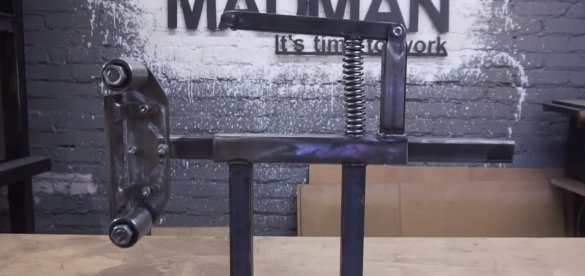
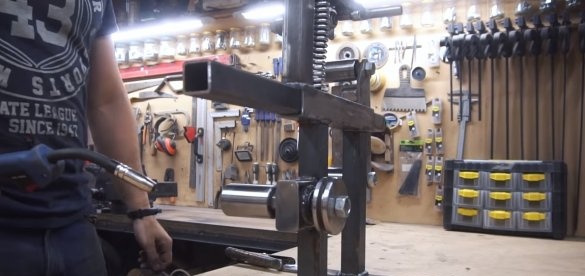
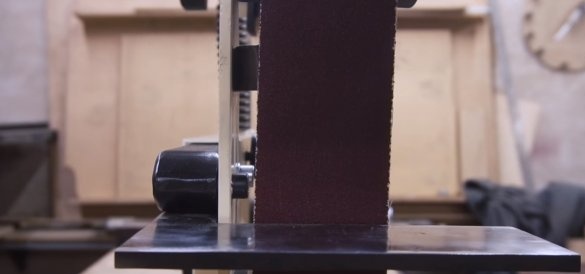
The design of the machine is such that two rollers are mounted on an iron plate frame, this platform can be adjusted at different angles. The platform and the thrust plane are made of sheet metal. The author uses a profile pipe as a horizontal stand.
Step Three The foundation
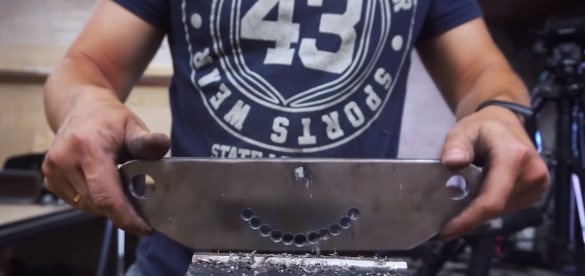
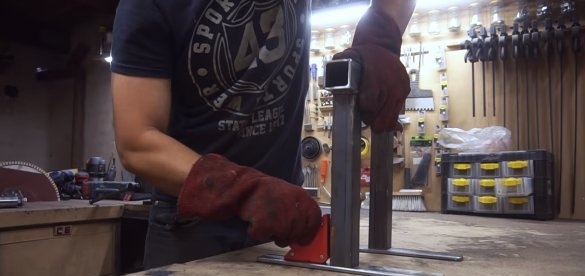
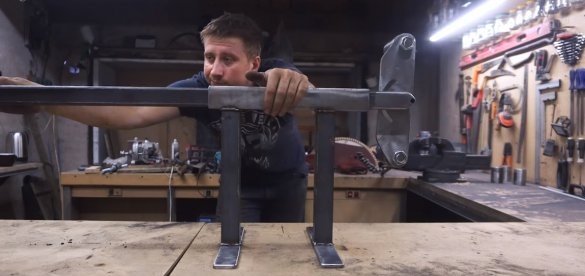
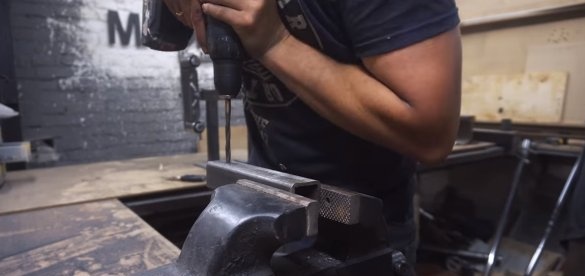
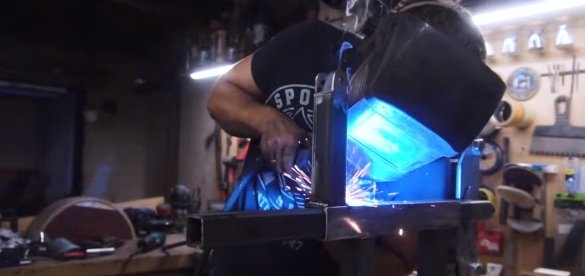
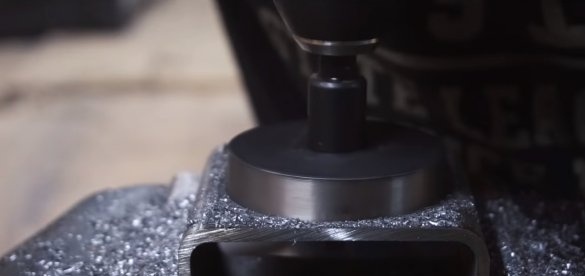
We also make the basis for the machine, here we need profile pipes, two pipes are installed vertically, these are racks, plates with holes are welded to fasten the machine to the racks. On top of the racks, the author welds the profile pipe horizontally, a horizontal stand will move in it, which is a profile pipe of a smaller diameter. If there is no profile pipe of the required diameter, it can be welded from iron corners, precisely sized to fit.
Step Four Tensioner and adjustment
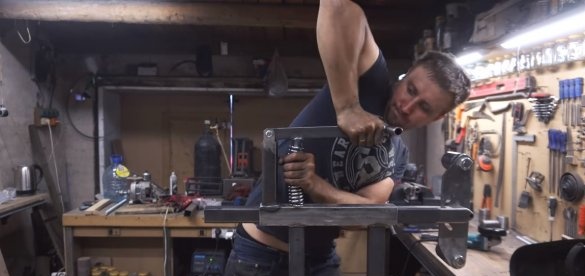
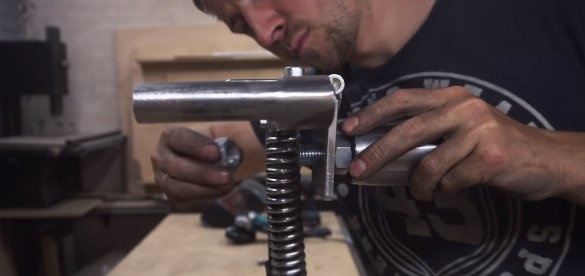
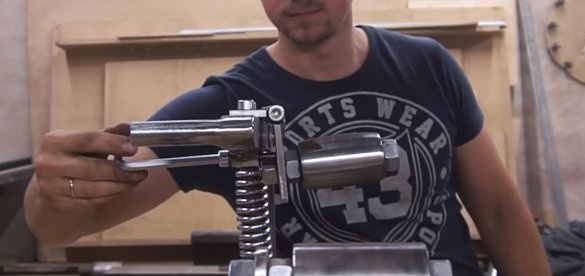
The upper roller is responsible for tensioning and centering the grinding belt. We weld a vertical stand to the base and attach the lever from the profile pipe to it pivotally. A spring is installed between the lever and the base, which serves as the tensioner of the grinding belt.
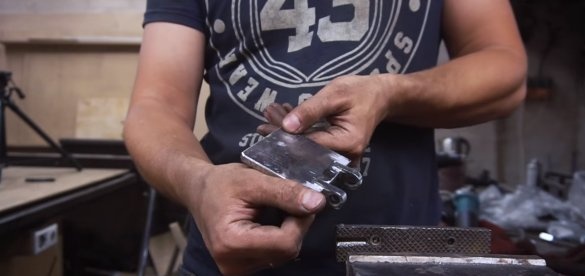
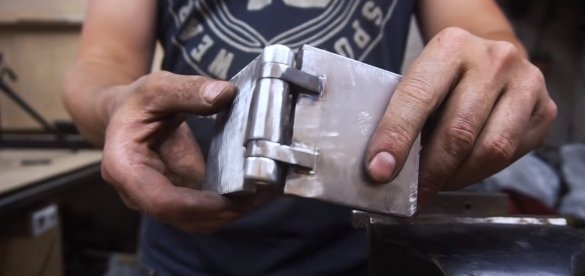
As for centering, the upper roller is hinged; the author assembled the hinge from sheet iron, a bolt and nuts. Due to the fact that the upper roller can change the angle, we can center the grinding belt.
Step Five Lead roller
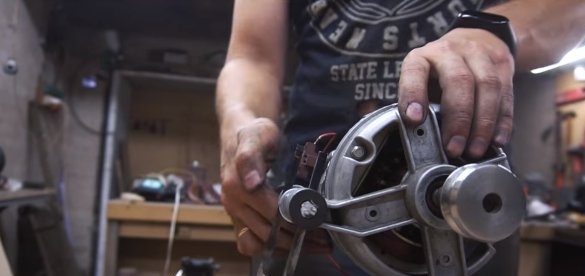
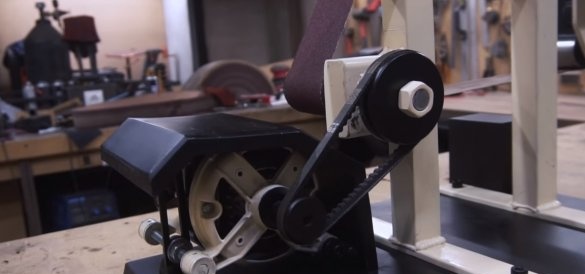
The machine is almost ready, now we need to make a drive roller, make an axis on bearings, weld a pulley to one side, and a drive roller will be on the other side of the axis. An iron pipe came up for the role of the roller, which the author carefully polished and installed an elastic band on top for good grip.
Step Six Assembly and testing
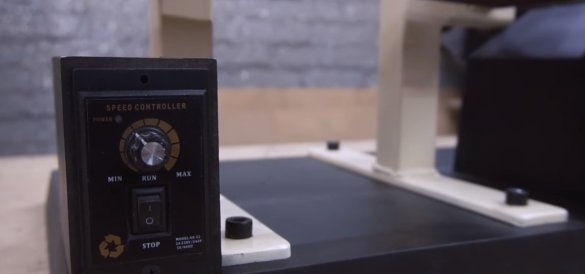
Getting to the assembly of the machine, the motor, bed and speed control can be fixed on a piece of thick plywood or on a sheet of iron. To transmit torque to the machine, the author used a belt drive. According to the author, it is better to make a direct transmission from the motor shaft, since with the current configuration there are many friction losses.
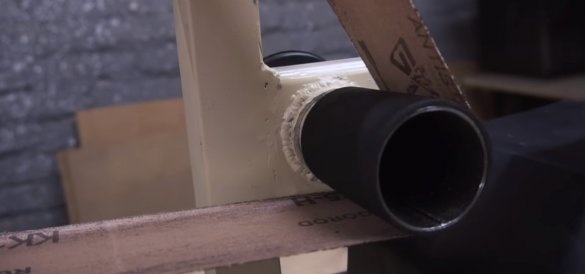
For the motor, we make a shield so that dust does not pour on it, and also paint all the details so that nothing rusts, and the machine looks good.
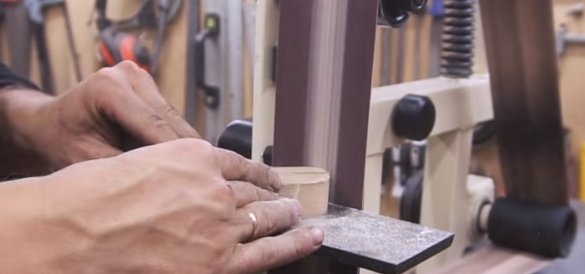
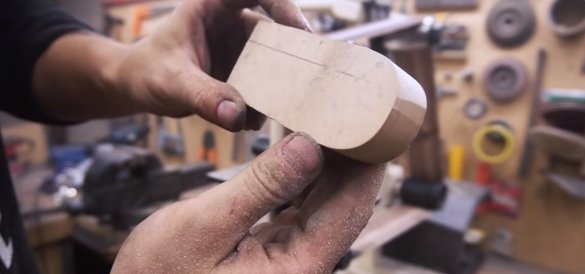
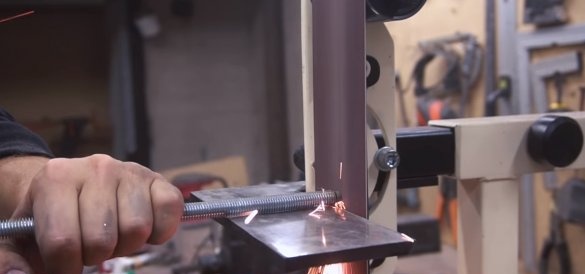
Thereafter homemade ready, you can experience. The machine easily polishes wood and iron, while grinding iron sparks pour in, which means that there are enough revolutions for processing. It is very convenient to equip the machine with a speed regulator, this will allow you to accurately process small parts and so on.
On this project is over, I hope you liked the homemade. Good luck and creative inspiration, if you decide to repeat this. Do not forget to share your ideas and homemade things with us!

