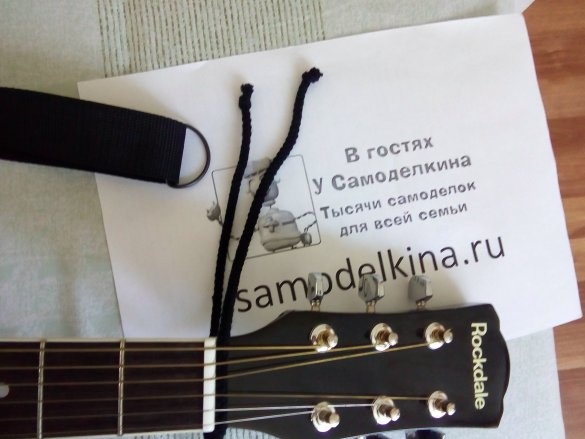
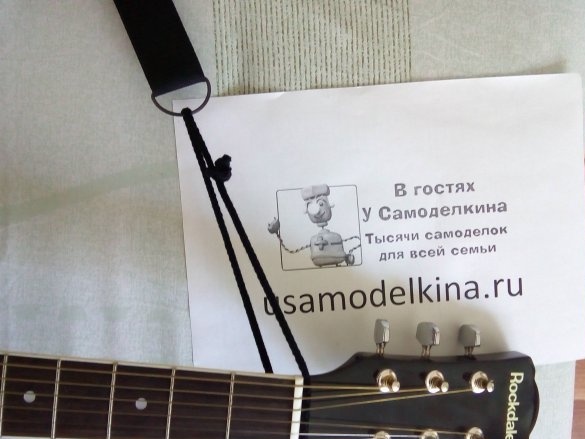
With the advent of the guitar, the question arose of purchasing a belt. I wanted to do it myself. All the same, many go to hell with what. Someone who just uses the tape, someone has something strange, using stationery gum. Having never found normal instructions on the Internet, I decided to write my own.
The design was invented by me, it is very reliable and easy to manufacture / use. Although I did not have experience in sewing and did not see belts for guitars close enough live, but it turned out very conveniently and efficiently.
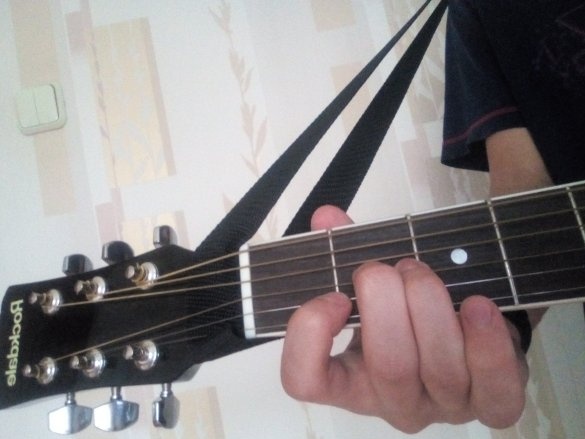
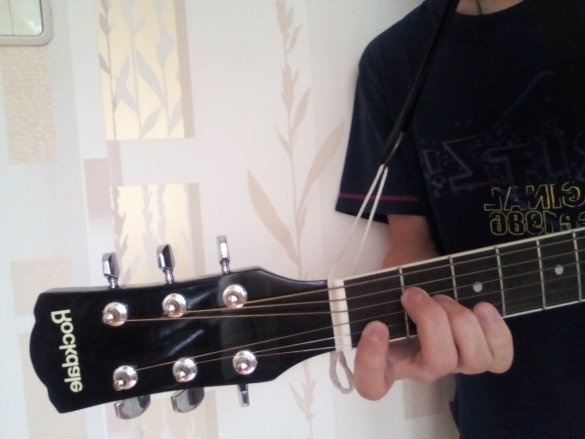
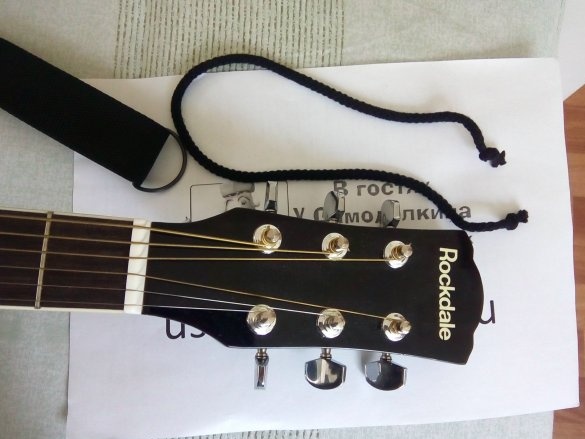
I will say right away about the role of a half ring and a cord. They not only make the design collapsible. If you simply wrap the guitar neck with nylon tape, then it will fold and interfere with playing. It is too wide for this purpose.
Tools and materials:
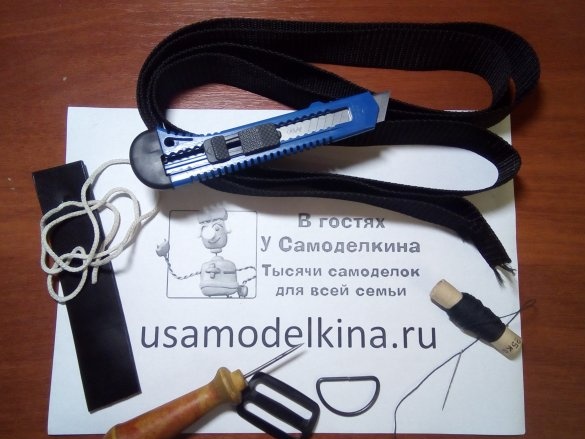
- 40 mm wide nylon tape for 80 rubles. 2 meters was too much. Let the belt and adjustable, but I set the minimum length. Better take 1.5 m.
- Half ring 40 mm for 8 rubles.
- Plastic buckle 40 mm for 8 rubles.
- Black cotton cord 50 cm for 12 rubles.
- Unnecessary piece of skin.
- Stationery knife.
- Awl.
- Needle with thread.
- Black marker.
- 10 mm drill and drill.
Manufacture:
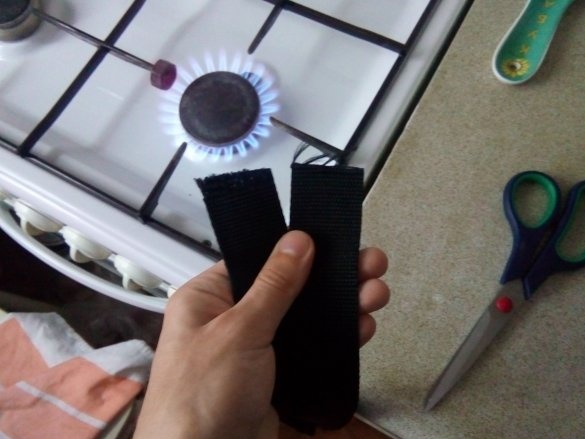
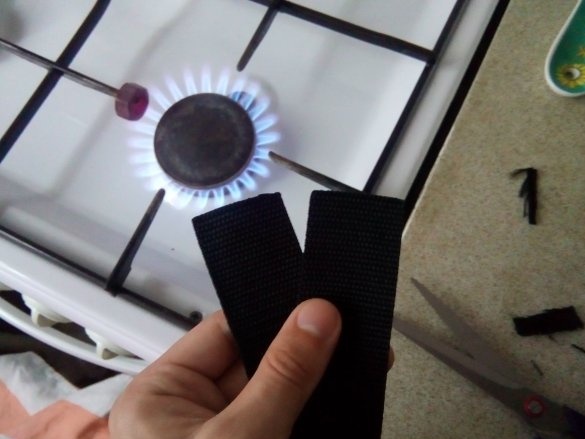
Trim and seal the ends of the nylon tape so that it does not open:
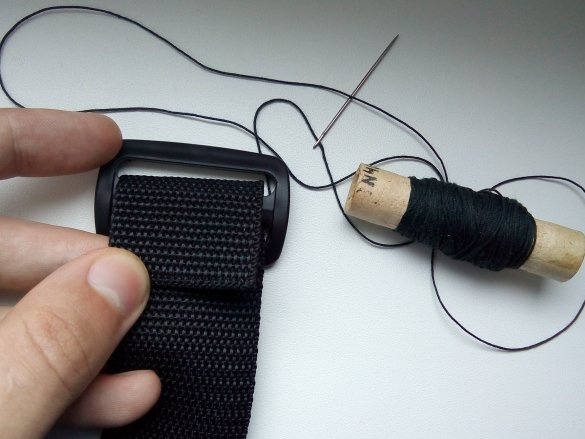
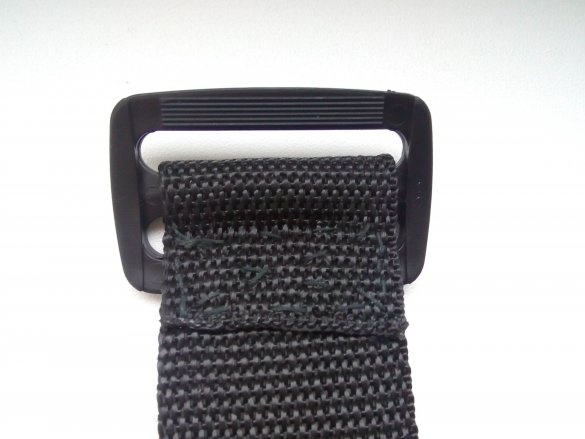
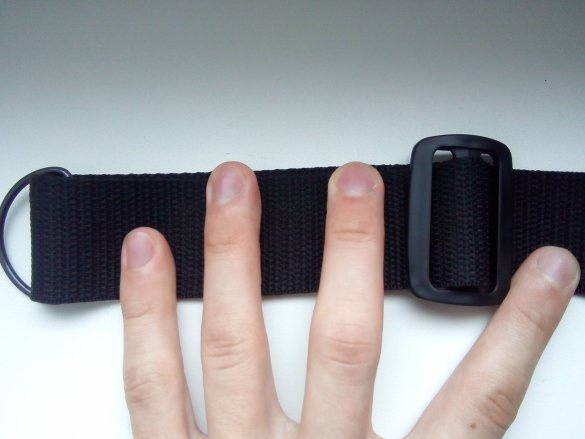
Sew on a buckle: (but not as crooked as mine)
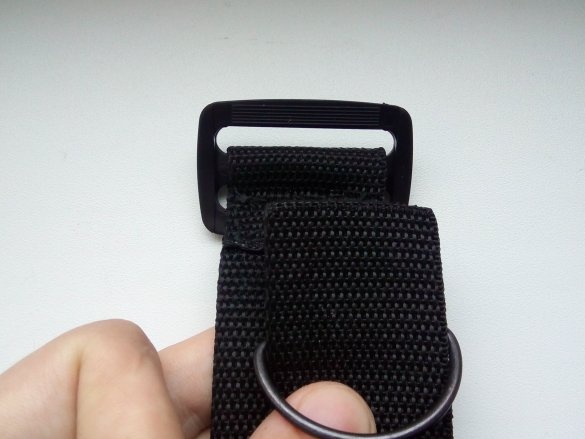
We assemble the following construction:
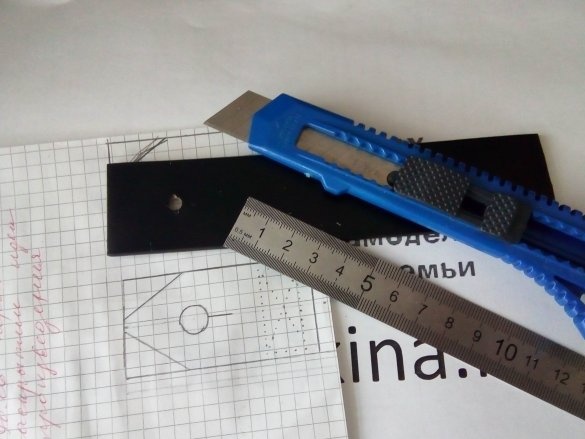
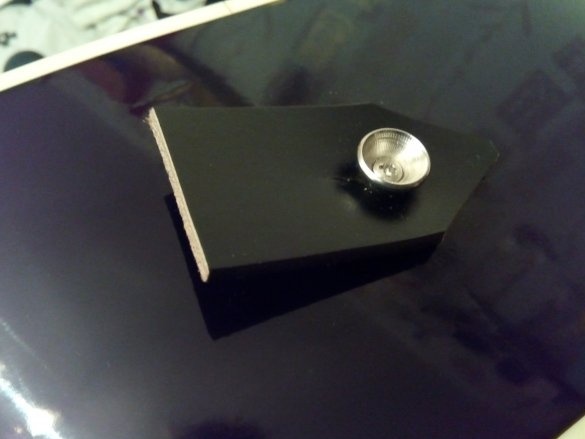
Now let's take a piece of skin. In my case, this is a piece of belt, because it is ideal for these purposes. You can take a piece of any width and trim the excess. First I made a sketch of what I want to get. I took all sizes arbitrary, so draw yourself what you want to get. I can only say that the diameter of the hole should be 10 mm. But I recommend taking measurements on my own. I also decided not to drill a new hole, but only to expand the old one.
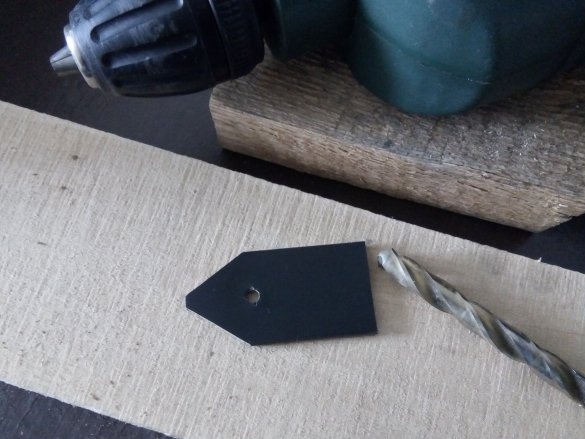
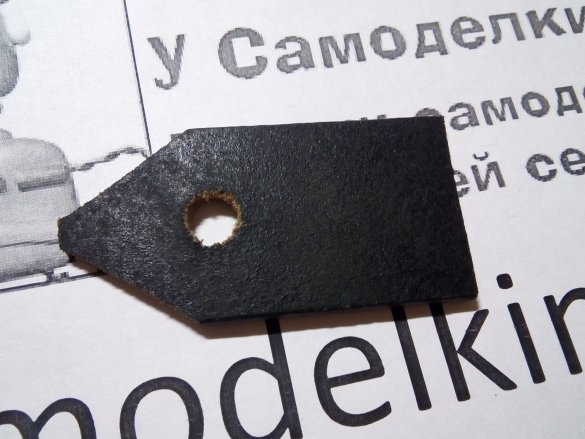
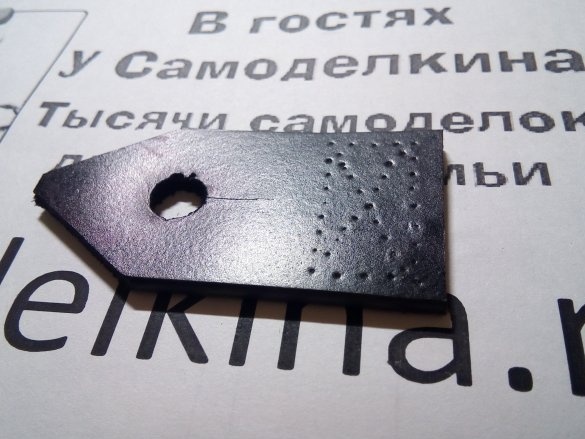
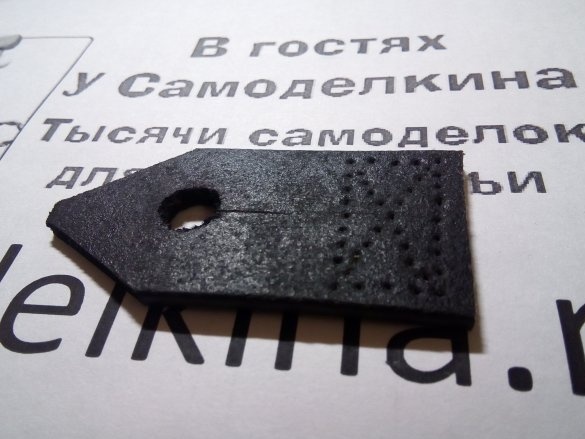
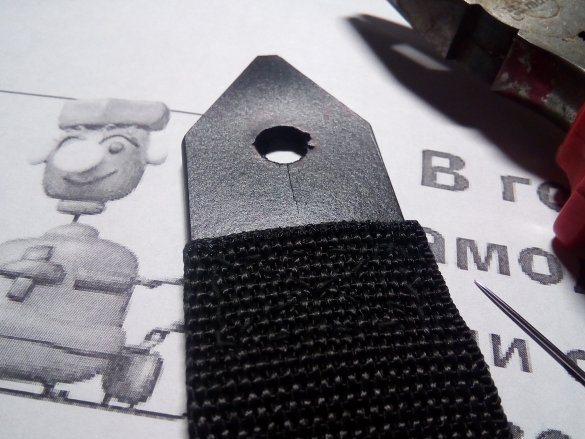
Cut off all unnecessary. Expand the hole with a drill. Due to the lack of necessary devices for working with the skin, I used a drill and a drill. After that, we make a slot, gradually increasing it and trying on a button for a belt to perfectly fit the size of the slot.
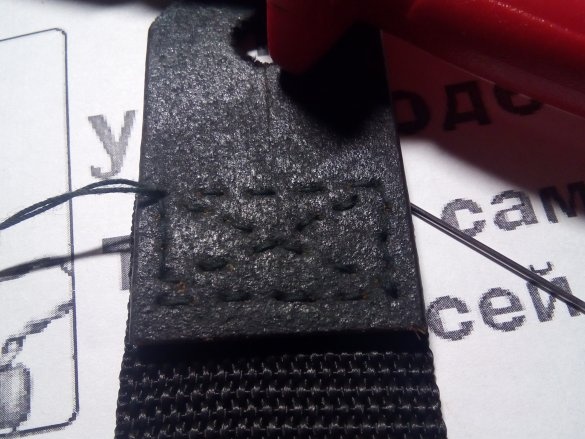
To keep everything neat, with the help of an awl we make holes for the thread:
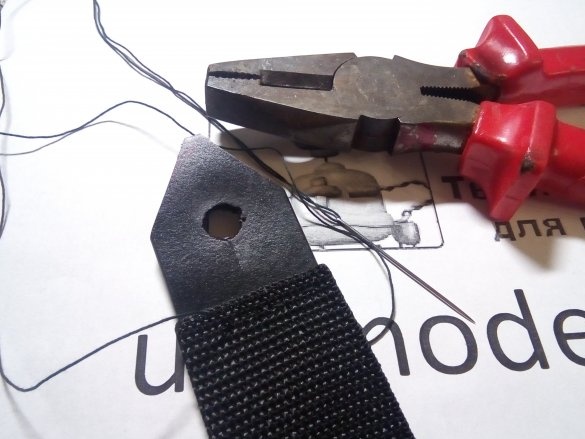
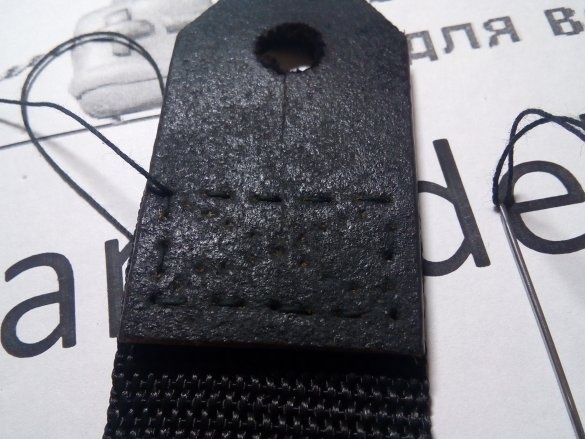
Sew nylon tape to a piece of belt with a thick thread, helping ourselves with pliers. It’s quite difficult to get into pre-made holes, but after a while you can get used to it. If you can’t get into the hole with a needle, then re-expand it with an awl.
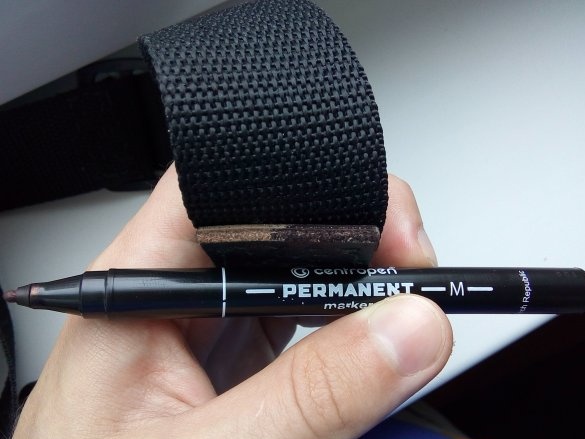
For a more aesthetic look, I painted all the belt sections with a black permanent marker:
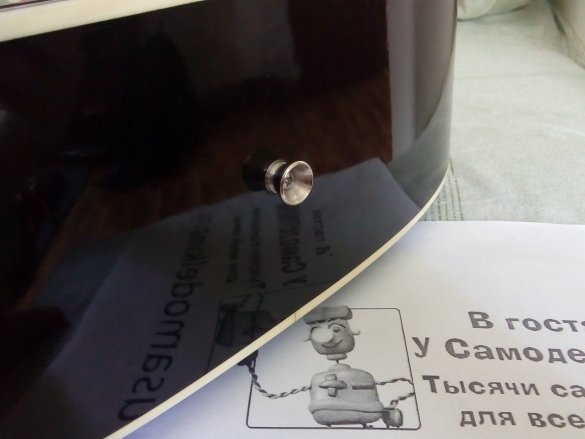
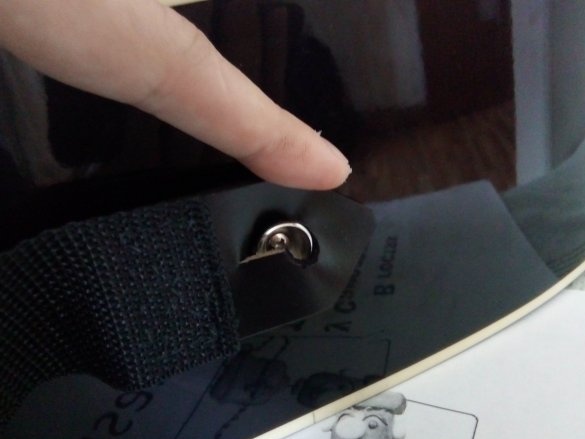
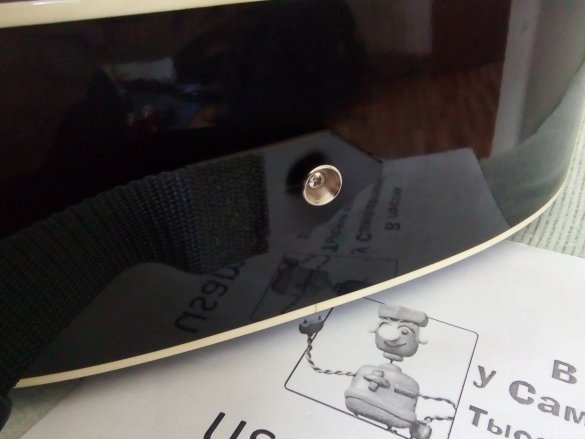
We put the belt on the button for the belt and tie the bar to the half ring:
That's all! Our guitar strap is ready! It remains only to adjust it in length and start playing!


