


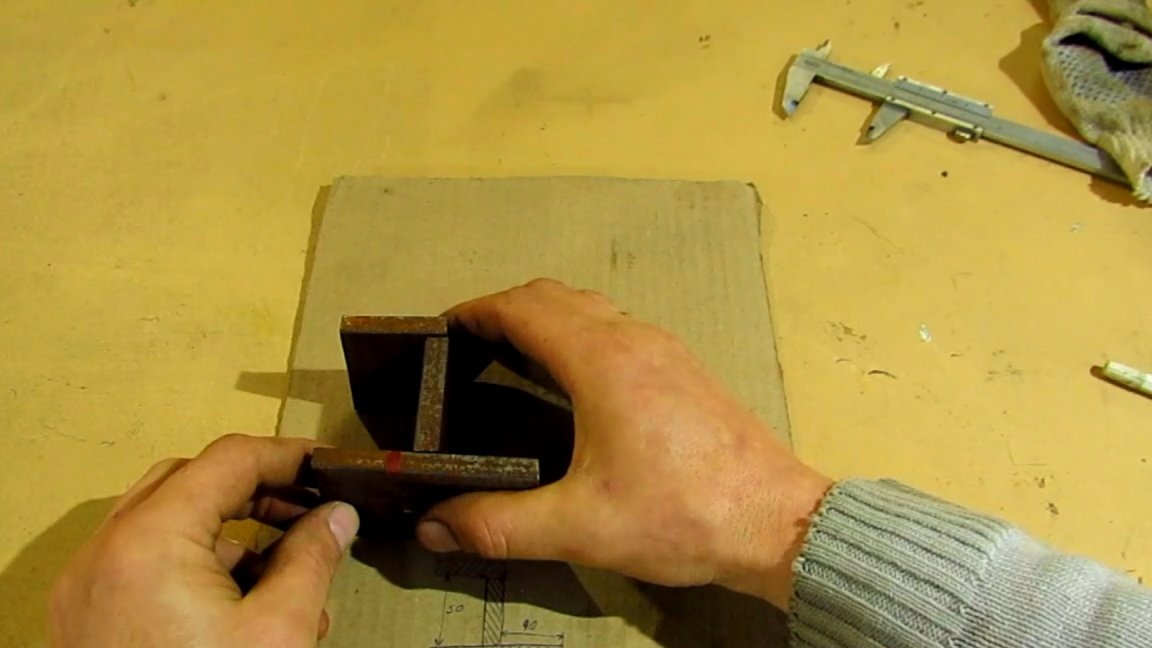
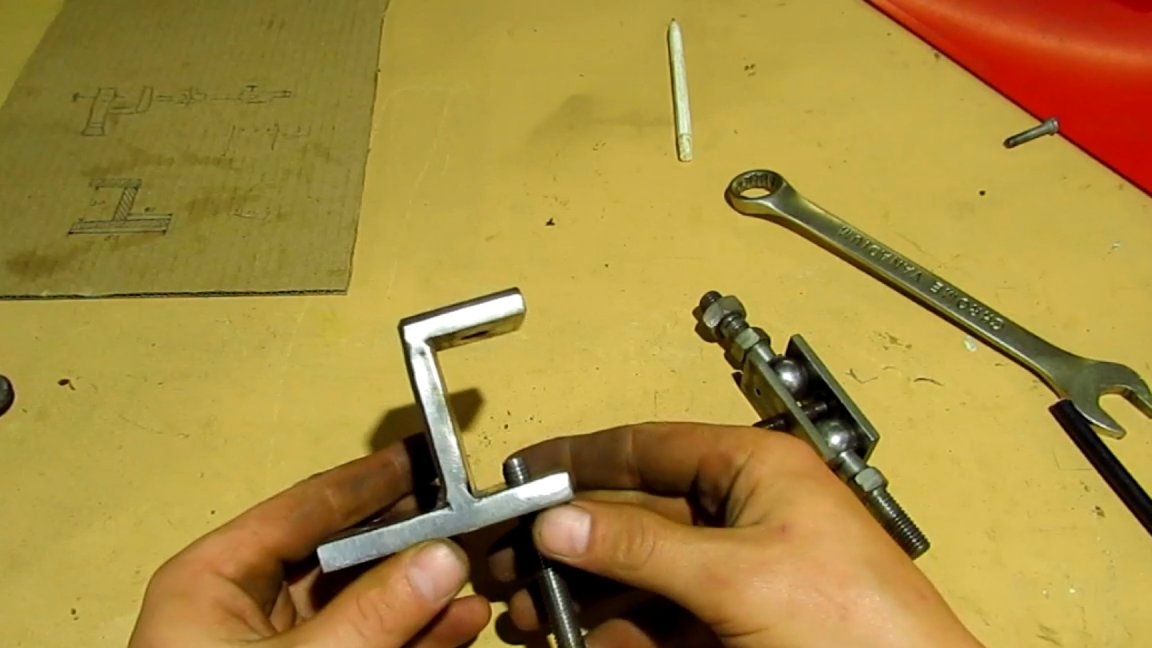
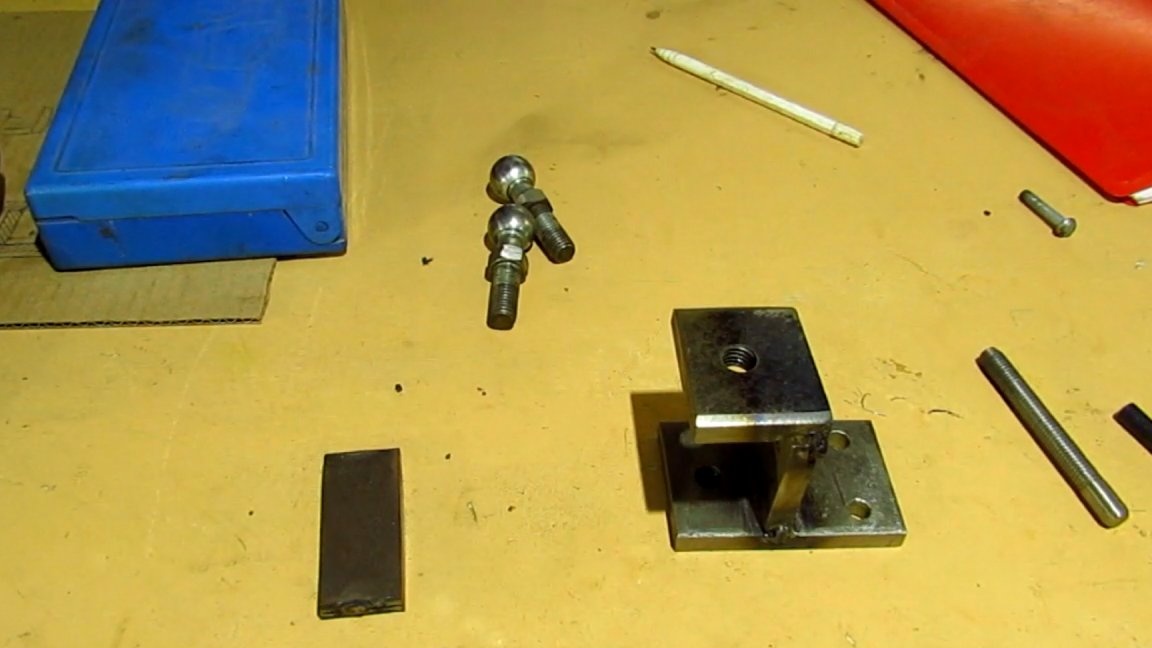
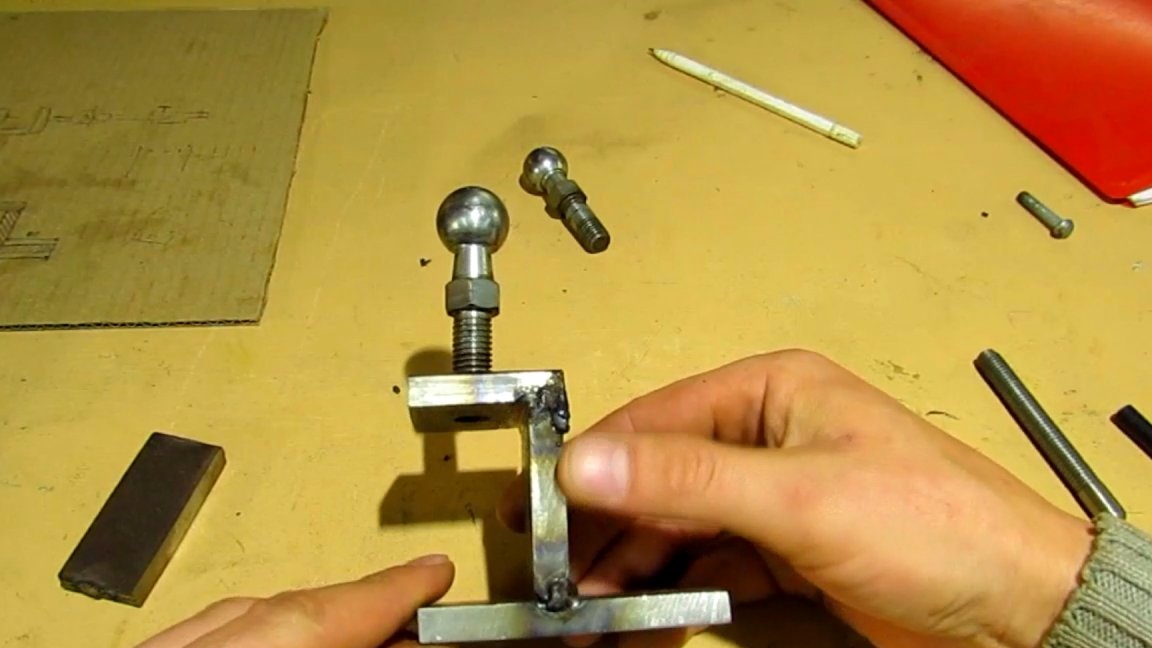
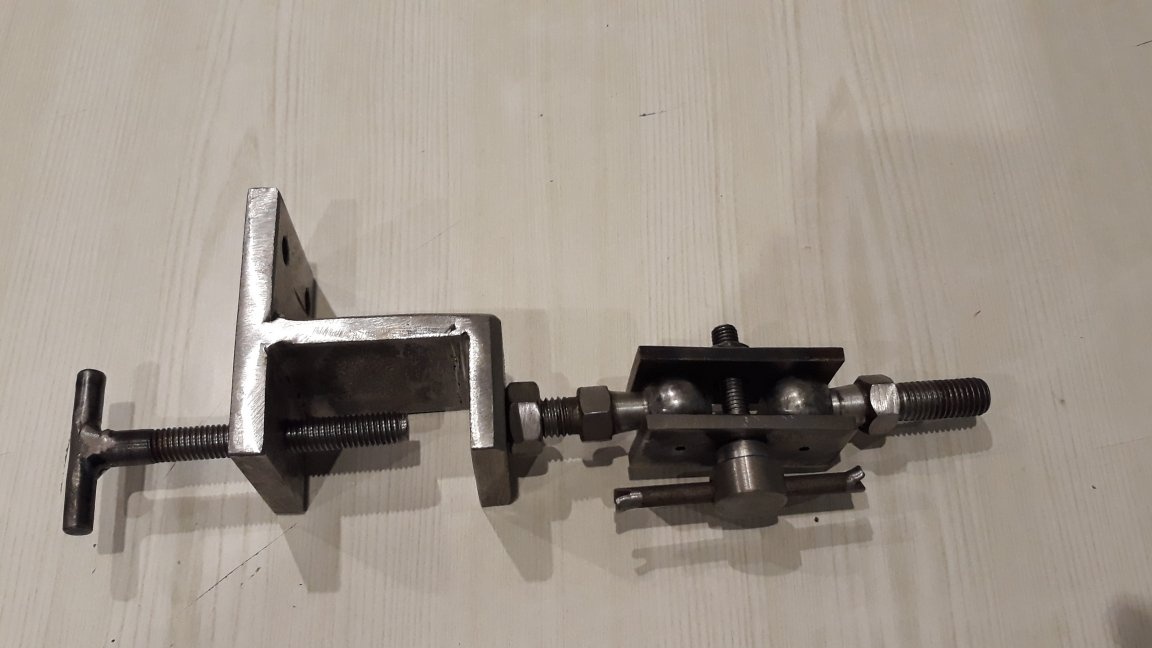
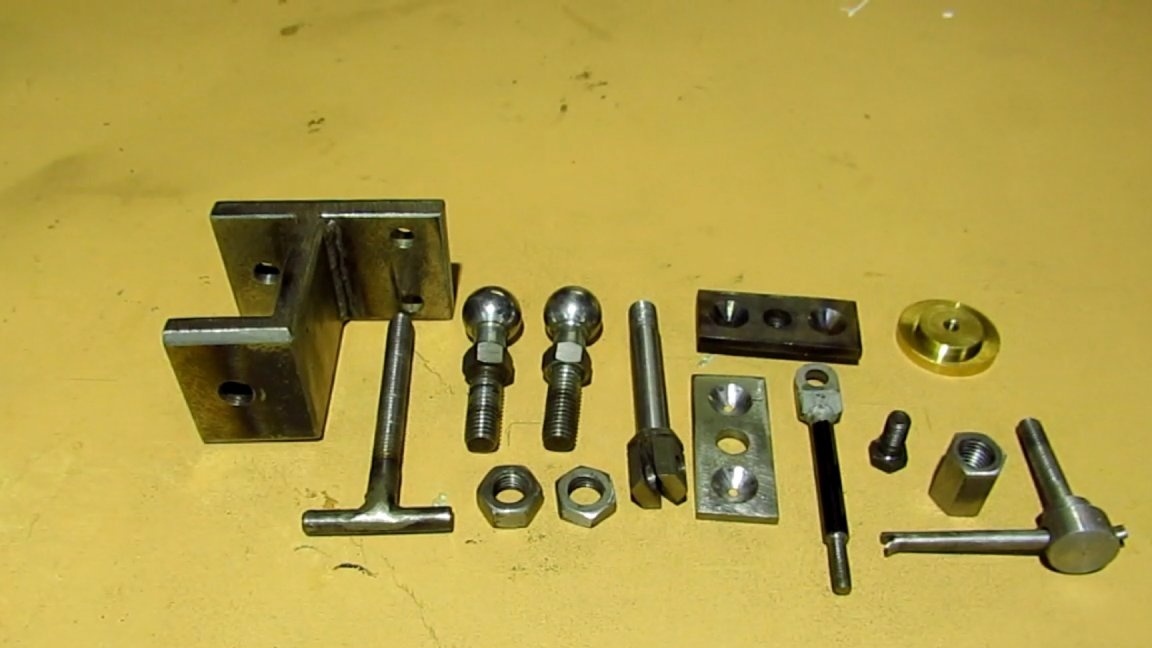
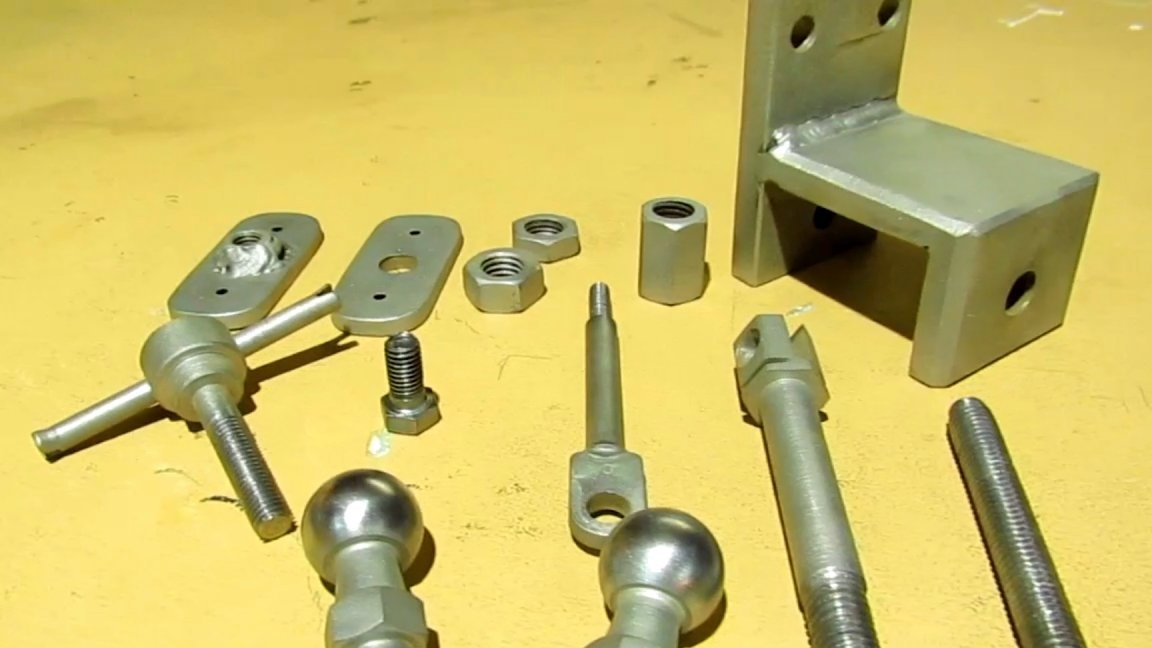
To make this device, you will need a piece of piece of iron 8mm, piece of iron 5mm, two fingers from ball bearings or stabilizer rods. One condition, they must be threaded. Preferably the usual standard. I have M12 × 1.5. It will be easier to pick nuts. Three pieces are cut out of an 8mm sheet of metal. The sizes are in the picture. You can deviate in both directions. The main thing is a similar form. Of these, we will weld an u-shape, such as a clamp. My bottom is longer. I screw it on a lathe. There are holes there. They can be used for fastening with screws. We clean the details with a petal circle, an emery cloth or whatever you have. Preferably to the metal. In the lower part we drill a hole opposite the center of the upper plate and cut the thread M10, you can M8. The facets are visible in the drawing. They also need to be removed on the blanks. In these places there will be welding. After everything is welded, we clean the welds, especially from the inside. This part will be attached to the table, workbench and various designs. Now screw the pin into the bottom hole according to the size of your thread. In length, it should reach the upper plate and remain a couple of centimeters below. A bar was welded at the bottom of the stud for easy twisting. The result is a clamp design similar to attaching a table vise or meat grinder to a table.
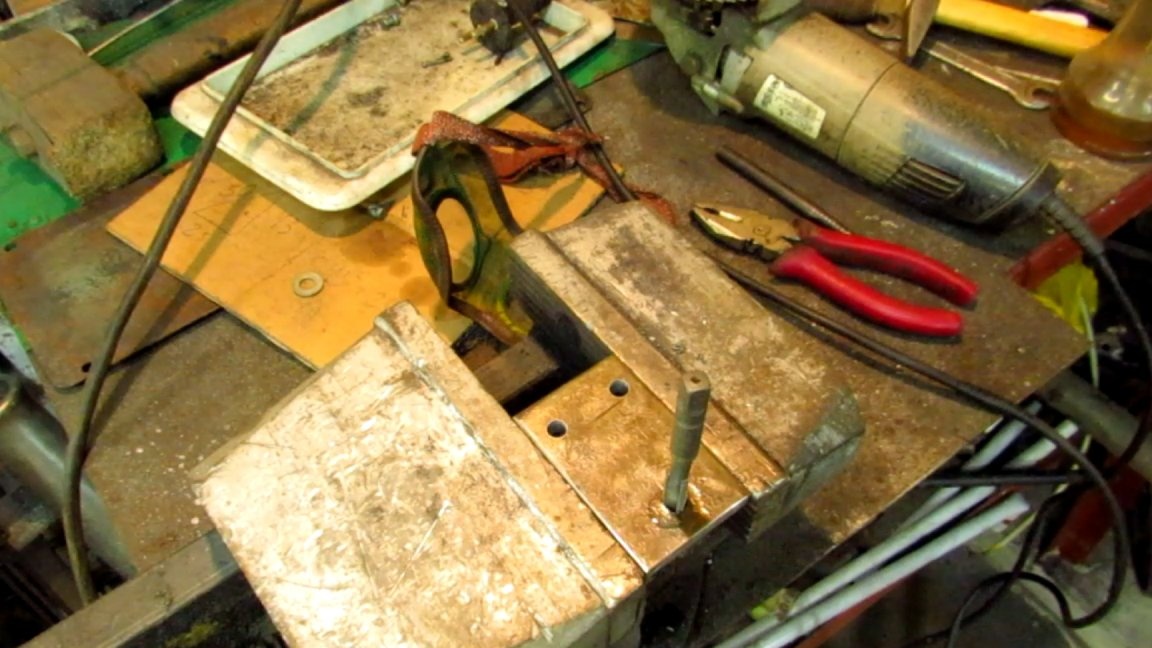
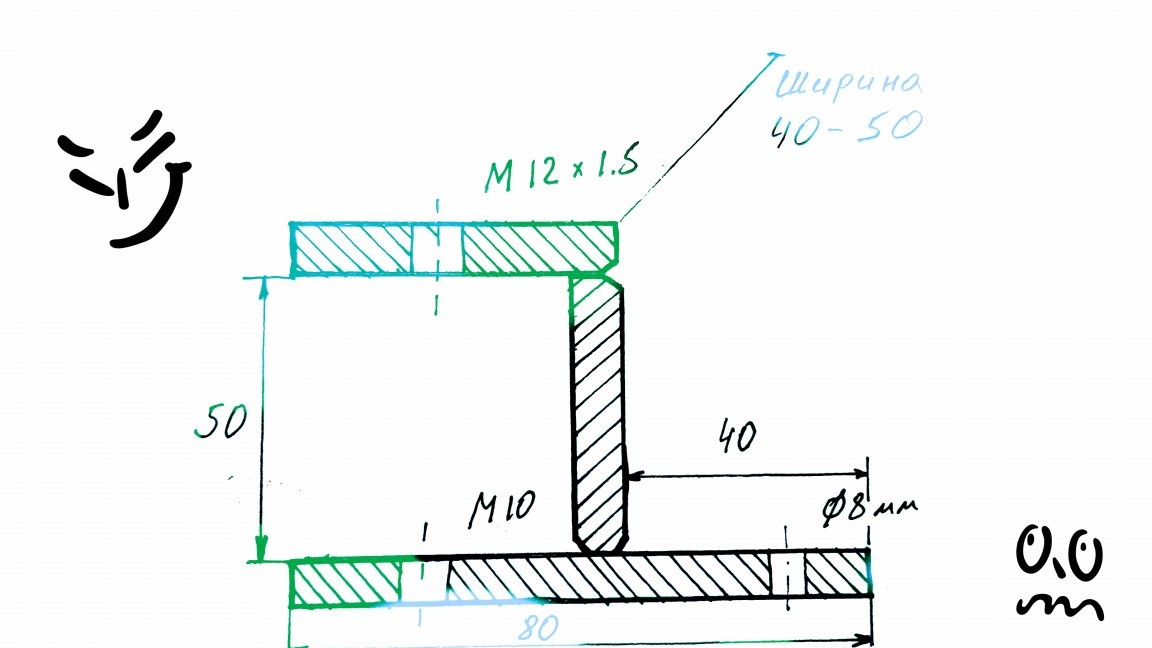
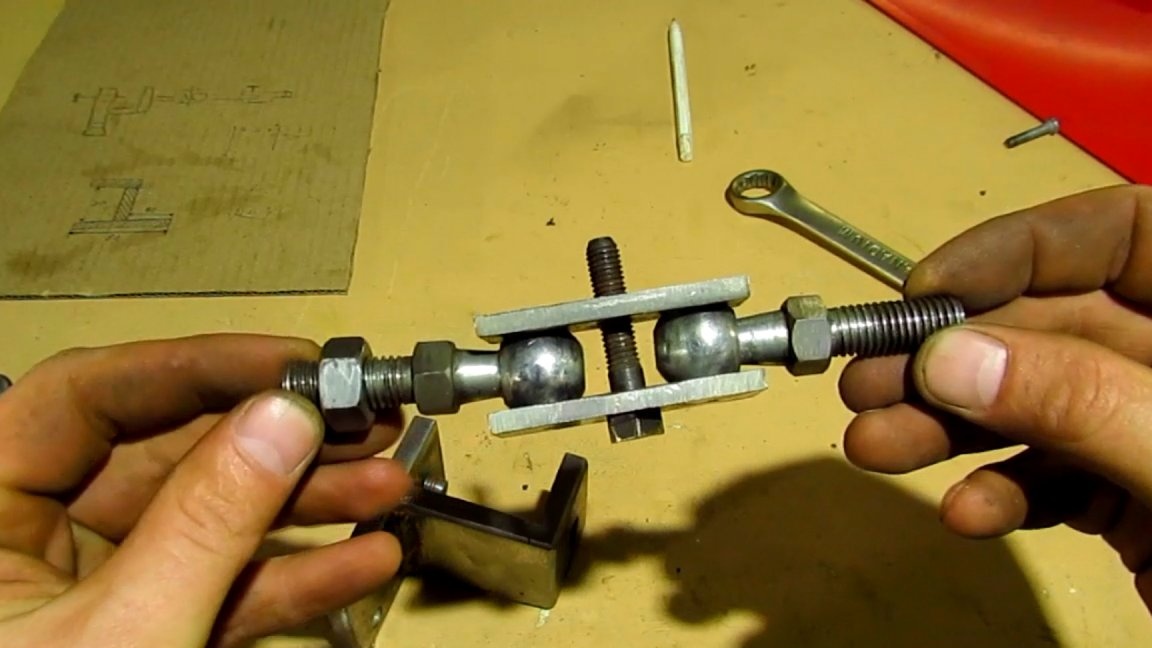
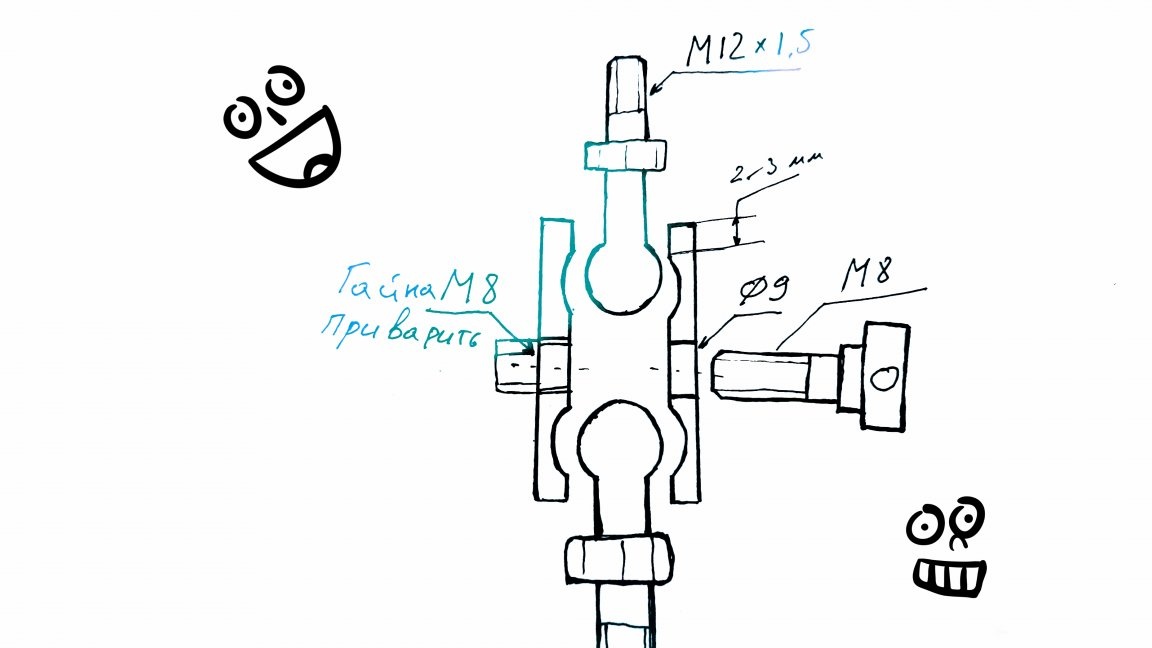
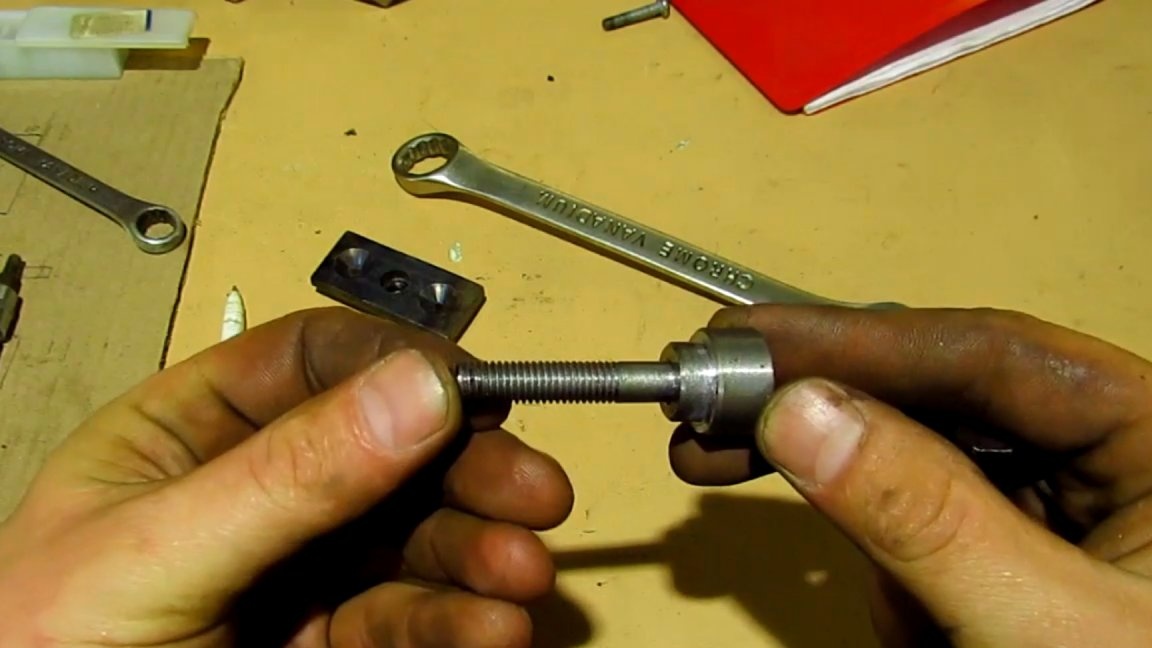
Now in the middle of the upper plate you need to cut the thread. A finger with a ball will be screwed there. In my case, this is a finger from the stabilizer rod with an M12 thread, a pitch of 1.5 mm. For such a thread, the hole needs 10.1 mm. I did not have such a drill, I drilled a 10 mm drill, and everything was cut without any problems. Now we tighten the nut onto the finger, screw it into the upper plate, but not to the end, but so that it “protrudes flush” from the back. Now you can lock it with a nut. The bottom of our mount is ready.
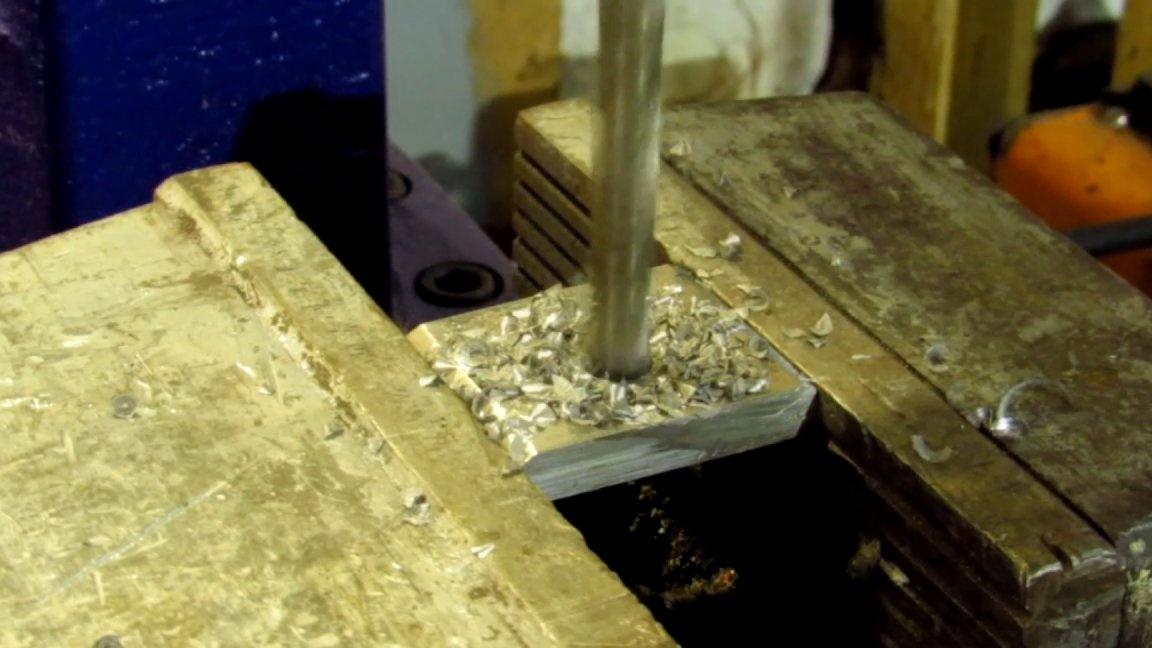
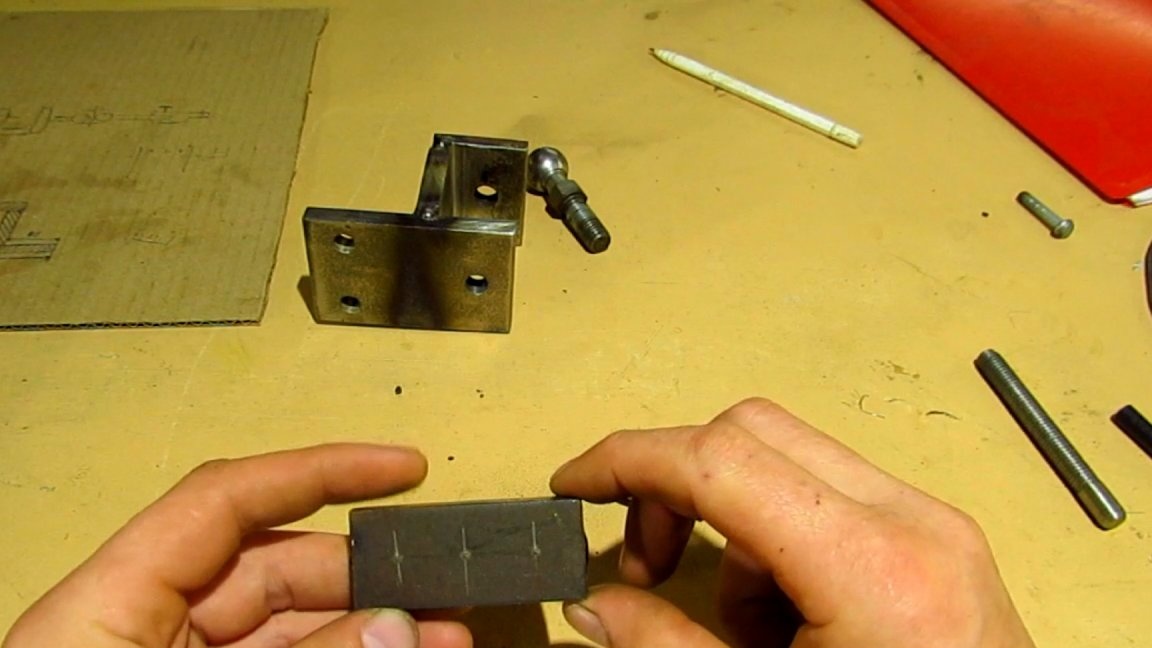
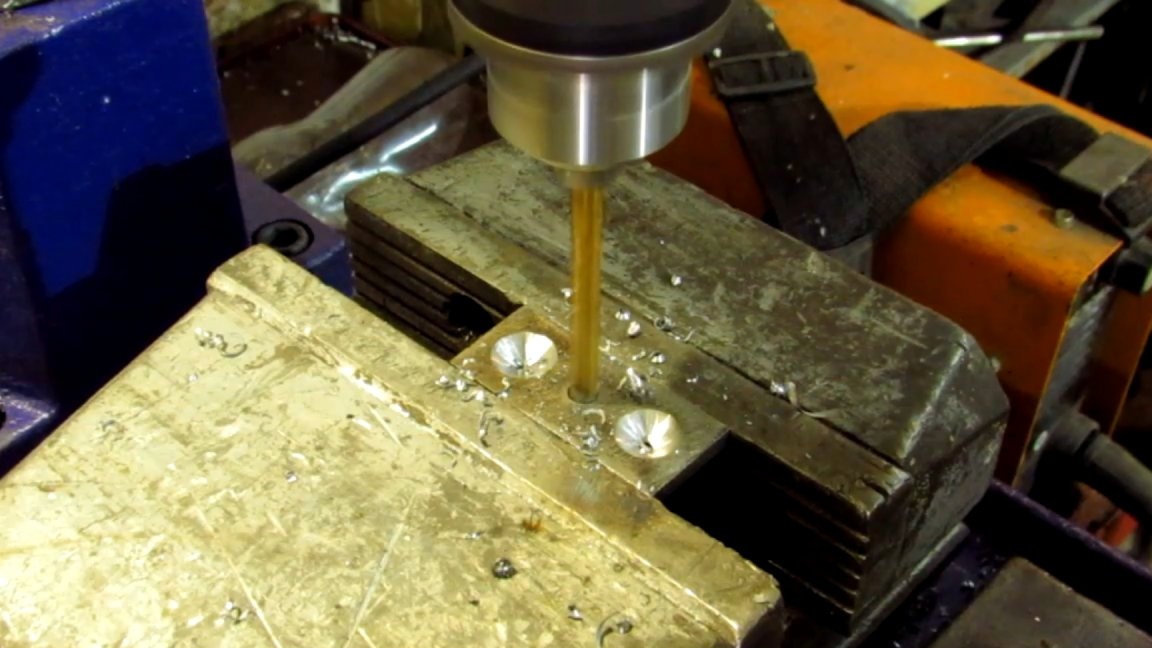
Now let's deal with the fixation node. The second drawing shows the design of the tightening of the balls. It consists of two 5 mm thick plates. They are pulled together in the middle by an M8 bolt.So we drill a 9 mm hole in the center of the workpieces. We weld a nut to one plate from the outside. Now they can be twisted among themselves. At the edges are balls. So that they do not fly out when weakening, you need to drill recesses for them. I drilled a 15 mm drill. under your size balls. It is convenient to separately drill a recess and estimate how it is. Select plate sizes for your parts. The width should be greater than the recess by a couple of mm. I have about 3 on each side. The length should be such that a tightening bolt fits between the balls. The edge of the plate is a couple mm. from deepening. The edges need to be rounded. It is very convenient to cut two pieces, put them together and grab the weld on the short side. Now you can calmly align the long sides with a file, a grinder with a petal wheel, etc. I leveled on a makeshift grinder. After that, mark the center and the holes for the recess, drill holes with a 3 mm drill. Then clamp the workpiece in a vice and grind the welding on one side, then on the other. This way we get two finished parts. It remains to drill the central holes and make recesses for the balls at the extreme. Instead of a central bolt, I turned a new one with a large round hat, drilled a hole with a diameter of 5 mm in it, inserted a bar and riveted it from the ends. You can weld the bar to the bolt if there is nowhere to grind. So the fixing unit is ready.
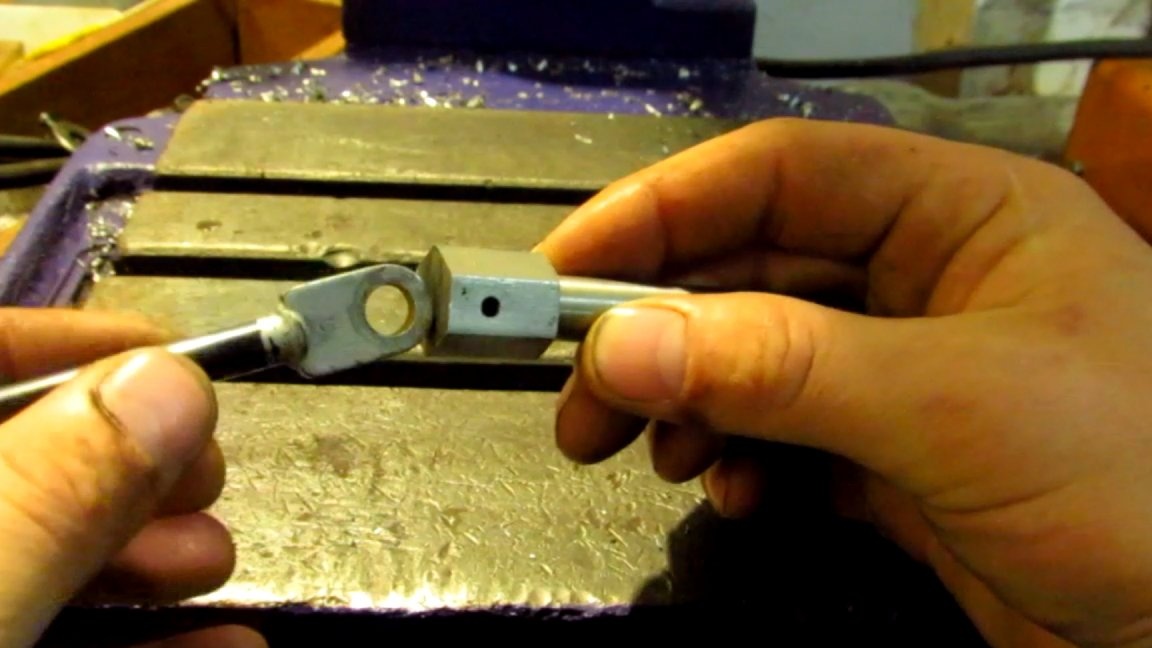
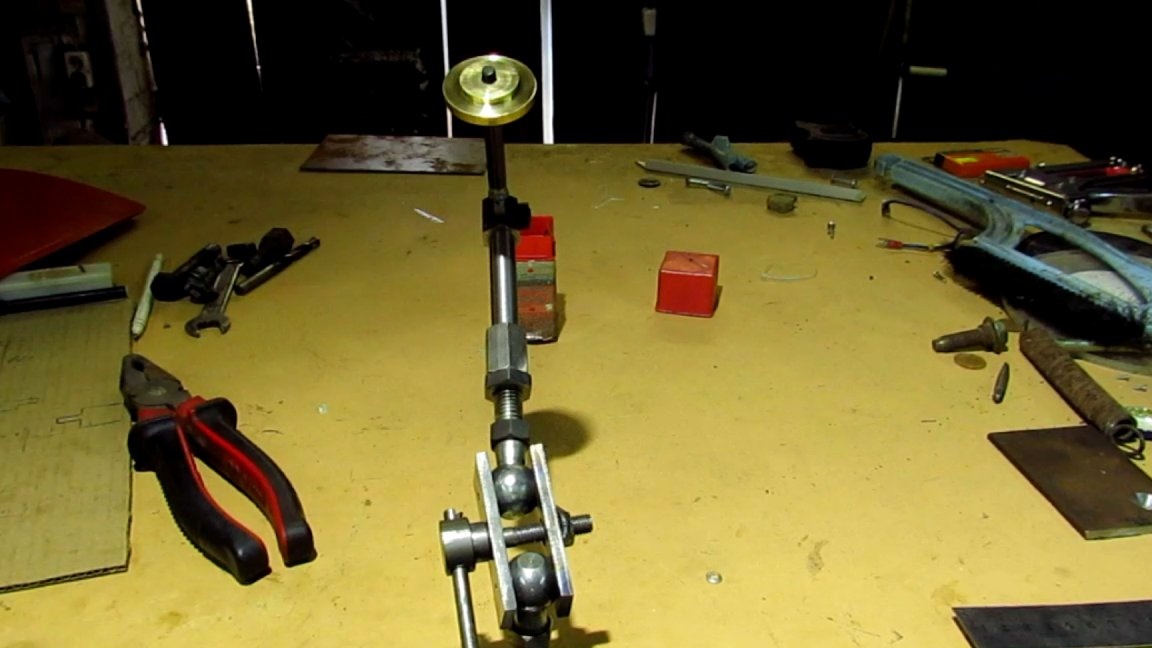
We continue to increase our design. We have a thread on the second ball. An extended nut must be screwed onto this thread. I didn’t have it, and it was too lazy to go after it, then I turned it on the machine. It is necessary to twist a hairpin of a suitable length into it. I took a hexagon, left 2 centimeters of faces and machined the rest to a diameter of 12 mm. After I cut a thread with a long length of 1.5 cm. Again, not everyone has a lathe. There is an exit. We take a construction hairpin and cut off the piece we need. All this business is collected and fixed by locknuts. In my case, the end of the stud is the hexagon. A groove 5 mm wide was made in it. Holes were drilled from the end and an M6 thread was cut in one half of the hexagon. A rod from a gas furniture shock absorber is inserted into this groove. Such are used in the kitchen of furniture. An eye with a hole was welded at the end of the stem. It turned out the connection, which is fixed by a bolt. At the end of the stem, an M6 thread is cut. A 5 mm thick pancake was carved from brass with a thread in the center. It is screwed onto the stem thread and acts as a lock nut. I screw the camera for filming onto the thread and fix it with this brass detail. There is a limit to creativity. You can wind a textolite pad with clamps along the edges of the type of crocodiles and use as a third hand for soldering radio components. You can also screw a magnifying glass, since the hinge allows you to set it at the right angle. You can put a lampshade, LED lamp on top and use it as a lamp in the HandMade style. Myself will make a nozzle for attaching a dial indicator. It will be useful for turning and measuring backlash in the machine. Who is engaged in shooting clips on the phone, you can screw the mount for the phone. In general, a wide limit for application.
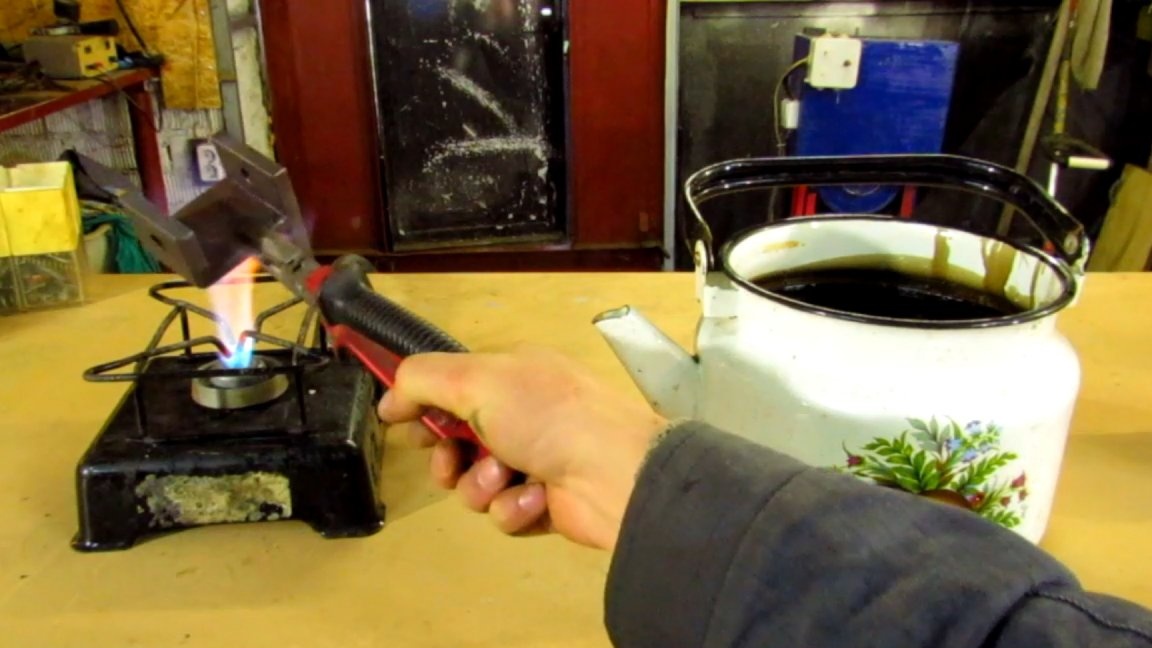
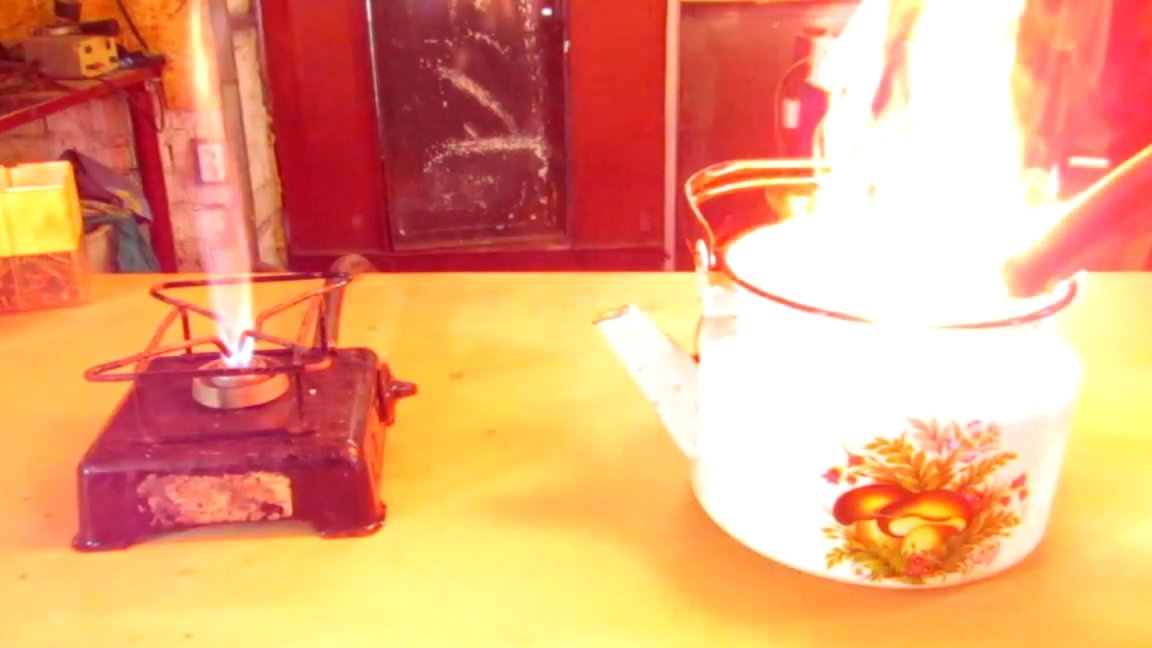
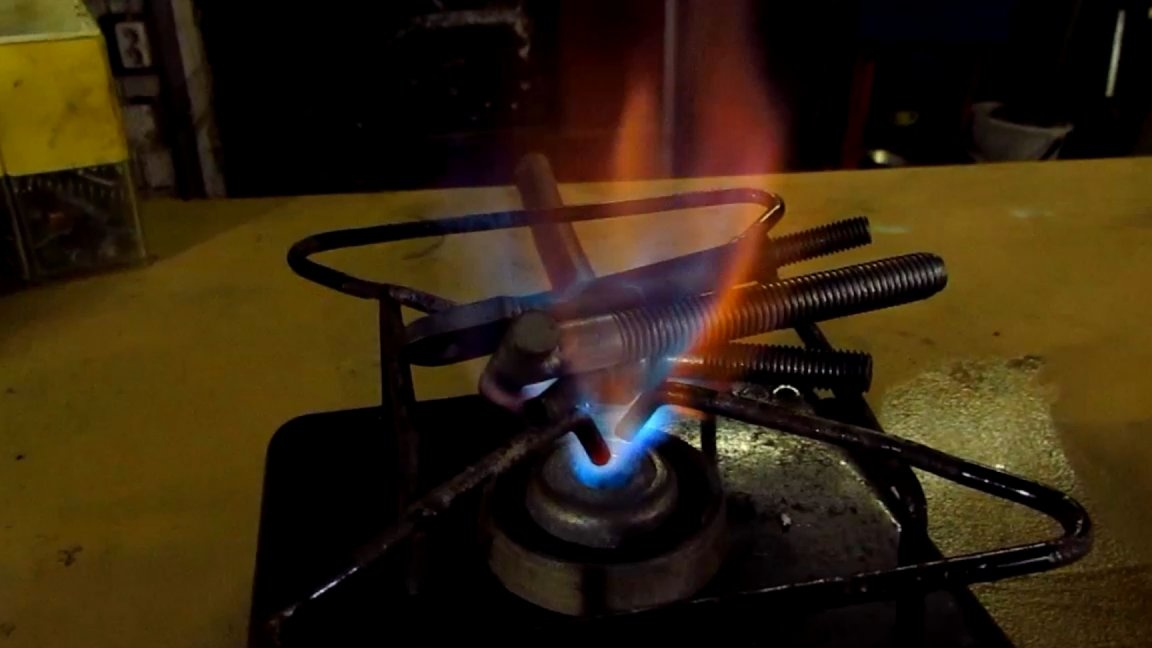
When all parts are ready, they must be thoroughly cleaned. I used a home-made sandblasting camera. The entrance can go sandpaper, a brush for metal, a nozzle for a drill and other similar fixtures. I decided to burn the details, so cleaning is necessary. For heating I used a tourist tile. He warmed approximately degrees to 300,400 and threw it into mining. Smoke is therefore a lot to do outdoors. After burnishing, the parts are wiped with solvent. The coating is matte and very durable. It looks just super.
I was glad to present my homemade product.Rate and write in the comments where it can be applied.
Necessary materials and tools:
A lathe is optional.
Iron sheet 10mm.
Iron sheet 5 mm.
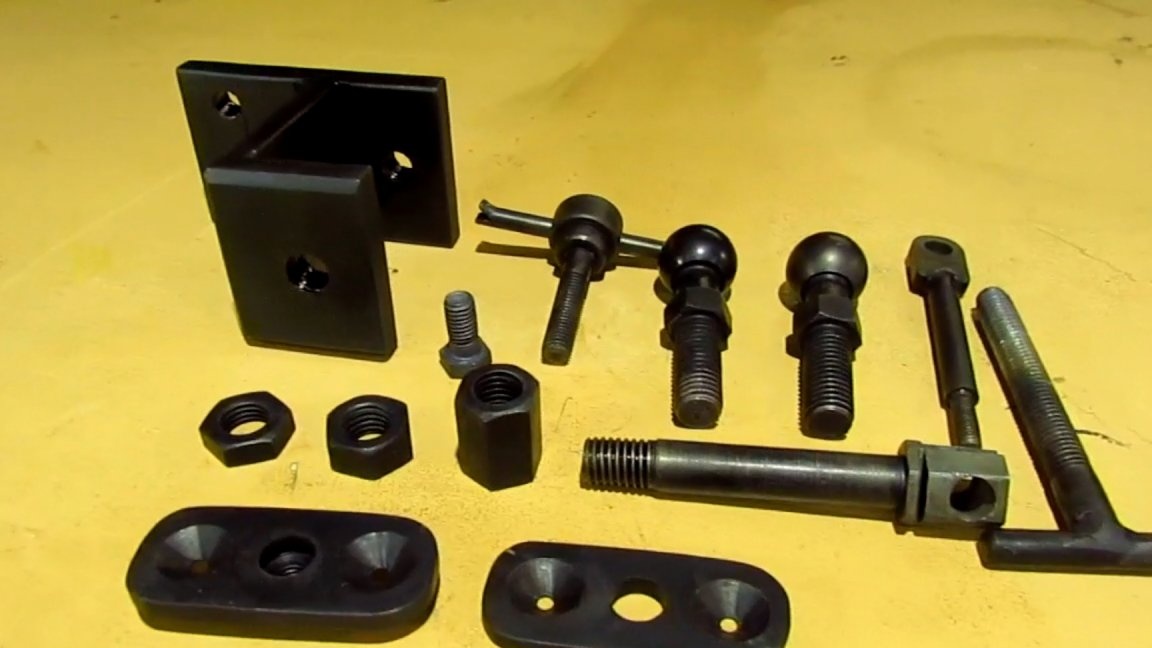
Fingers from ball, steering tips or stabilizer rods are two pieces.
Studs nuts bolts.
Drill, screwdriver or drill press.
A grinder or hacksaw for metal.
Inverter or semiautomatic device.
Drills, levers and taps.
Gas burner, stove, torch or blowtorch.
Used oil, a container for it.
Hand tools, files, keys, vernier caliper, ruler, center punch, scriber, pliers, vise, etc.
Also, the manufacturing process can be seen in the video.
Thanks for attention. See you.