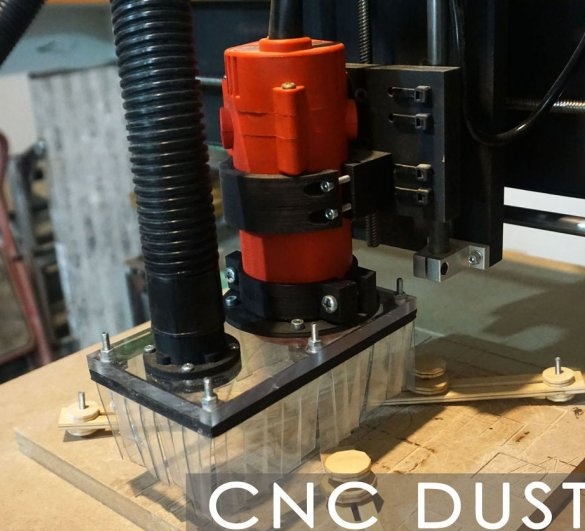
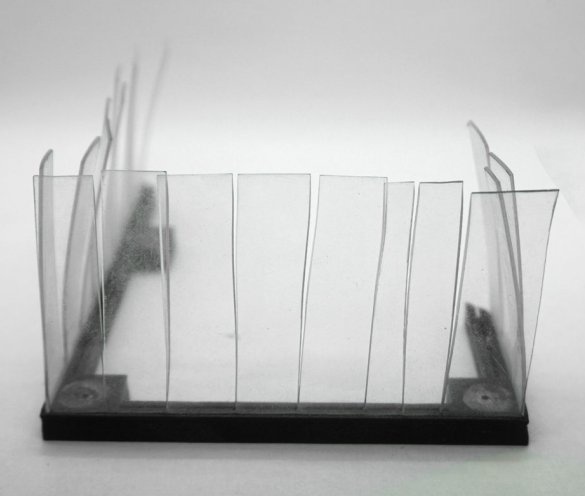
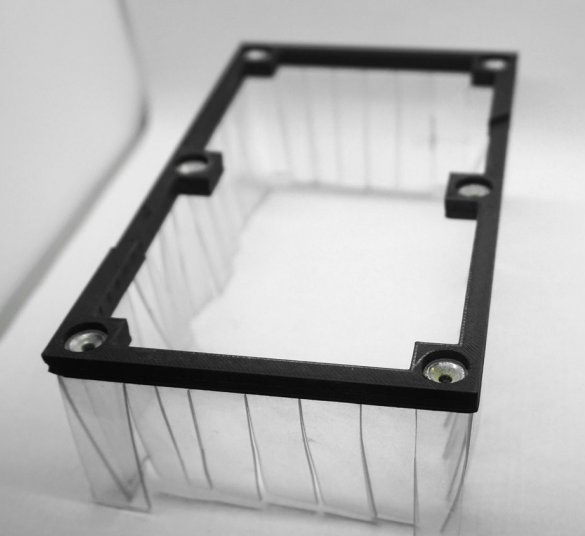
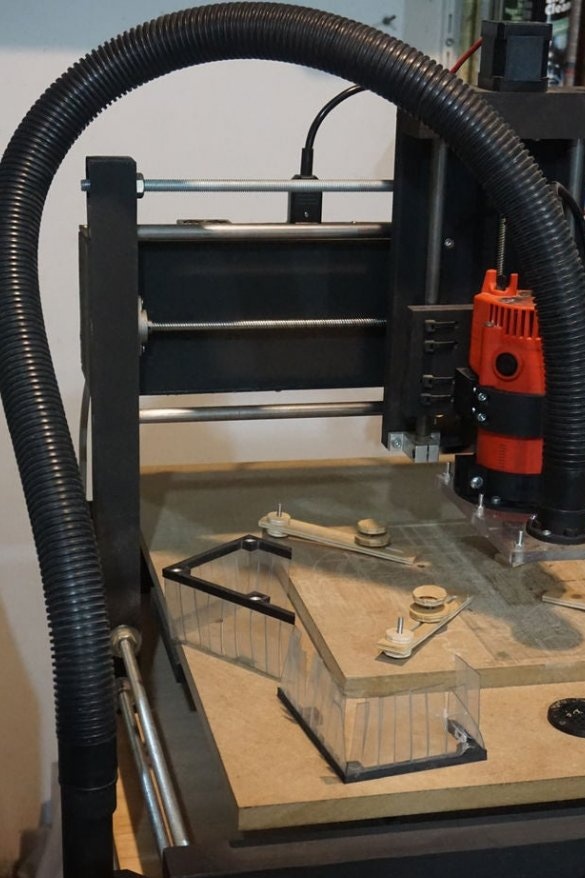
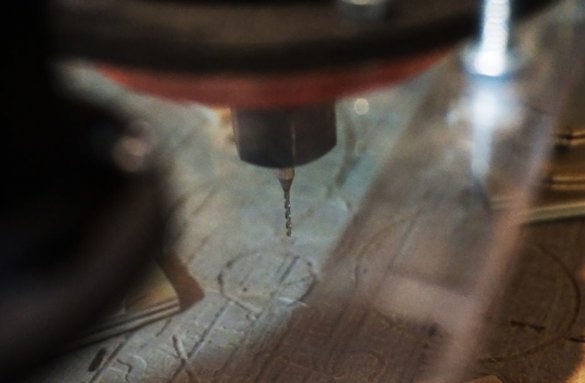
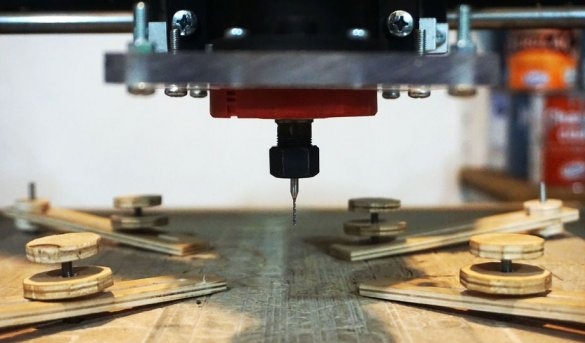
An interesting and inexpensive solution for removing dust from the surface of a part processed on a CNC machine was invented and made by the Master. True, in its version you need a 3D printer, but you can do without it.
But let's listen to the master.
“What I never imagined would be difficult for me when I started making my own CNC machine - the dust problem! To solve this problem, I needed to create something simple, but strong and flexible enough to satisfy the needs of individual projects. "
And now, how did he do the dust bag and what did he do.
Let's start with supplies.
Clear acrylic sheet (165 mm x 100 mm x 6 mm)
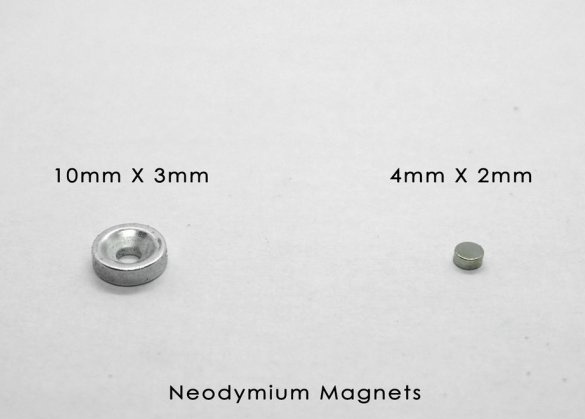
6 pcs neodymium magnets (10 mm x 3 mm)
4pcs Neodymium Magnets (4mm x 2mm)
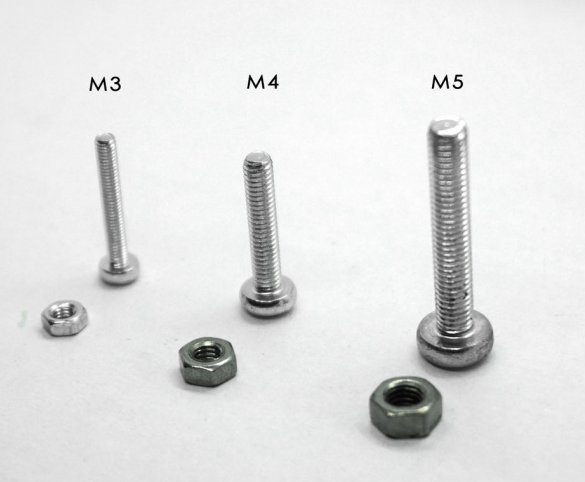
4 bolts M3
10 bolts M4
2 M5 bolts (all bolts with nuts)
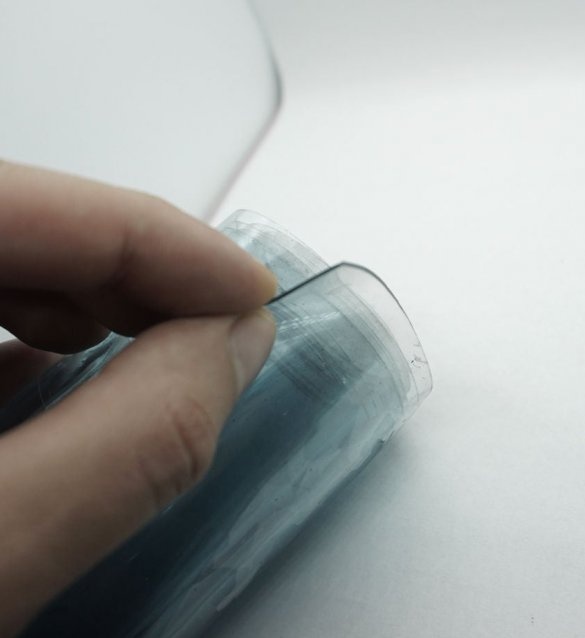
PVC transparent flexible sheet
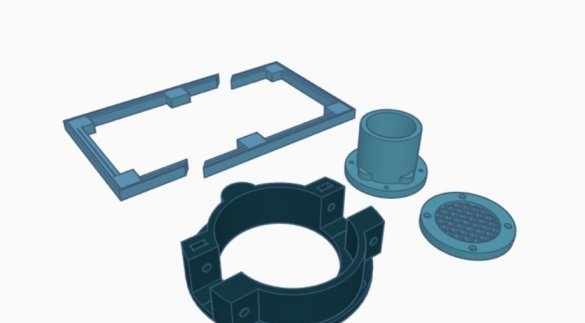
The master designed the parts for printing in the Tinkercad program. Download files below.
File 1
File 2
File 3
File 4
After printing, the wizard begins assembly.
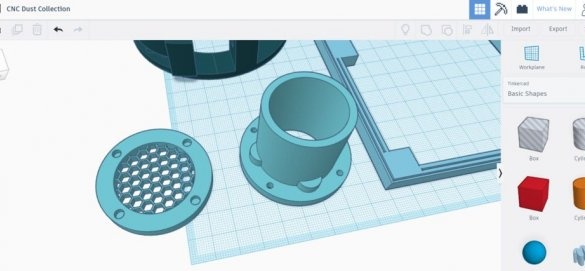
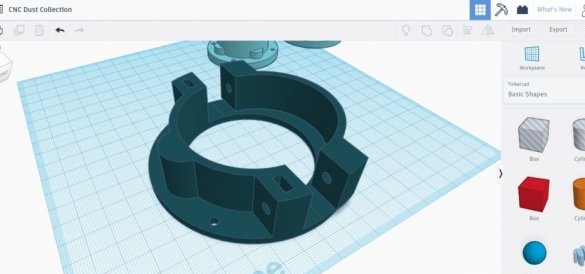
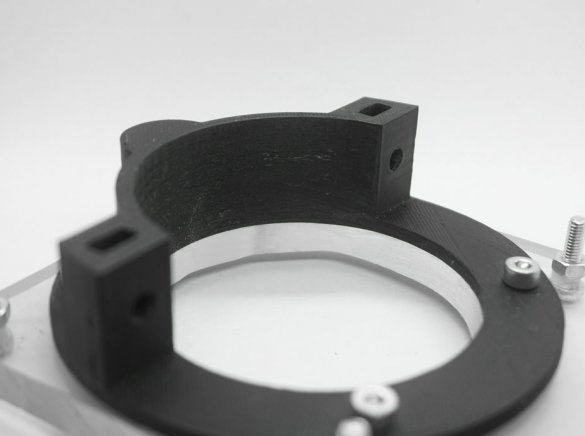
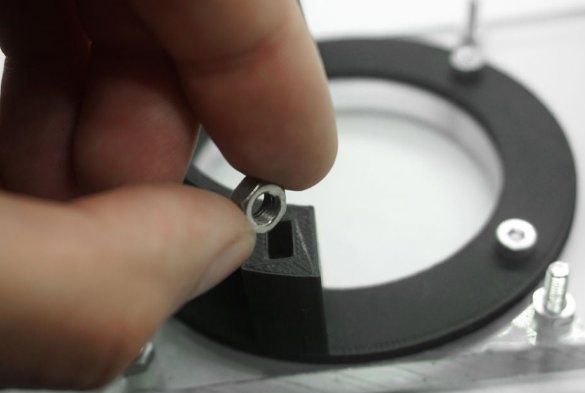
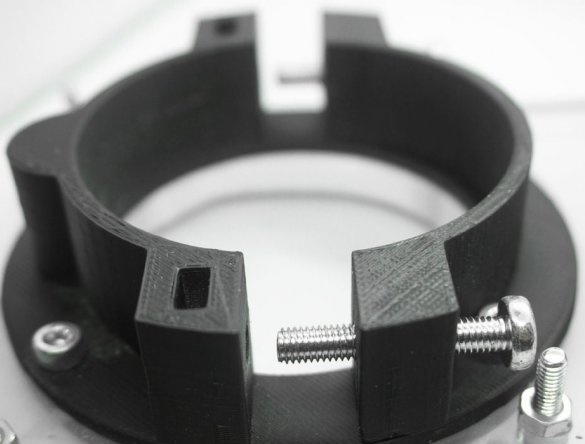
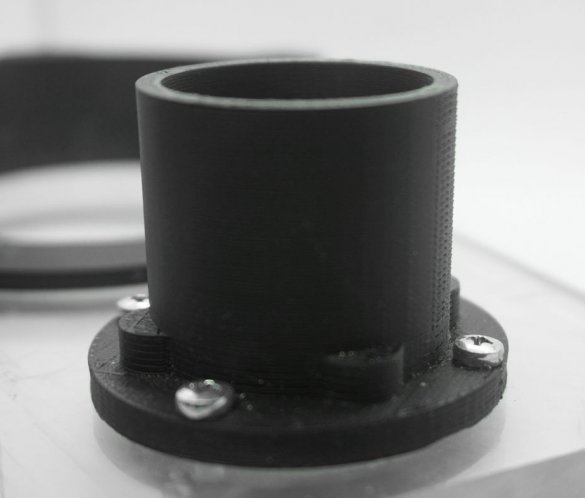
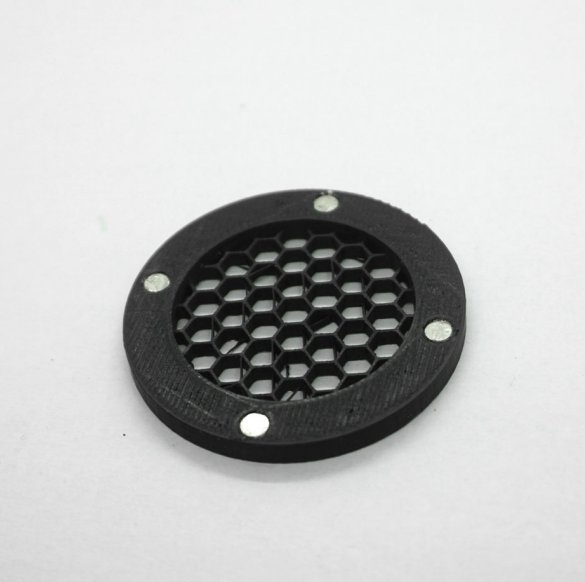
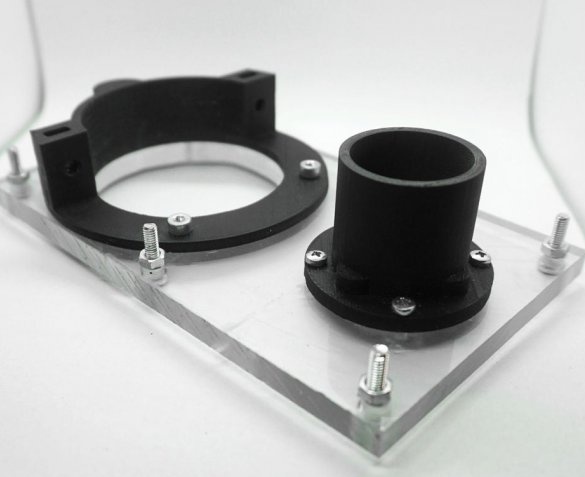
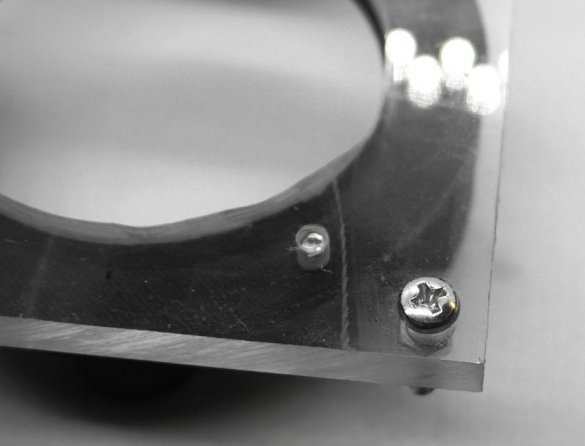
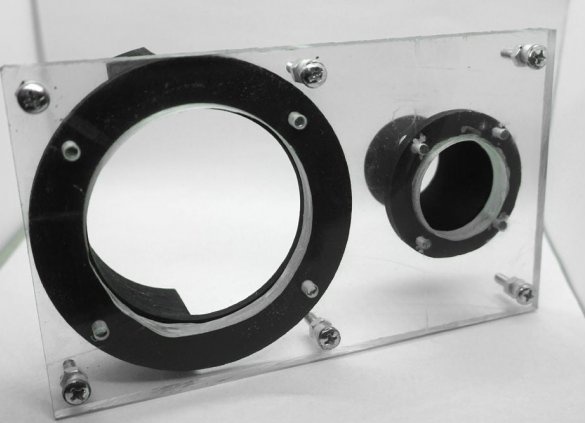
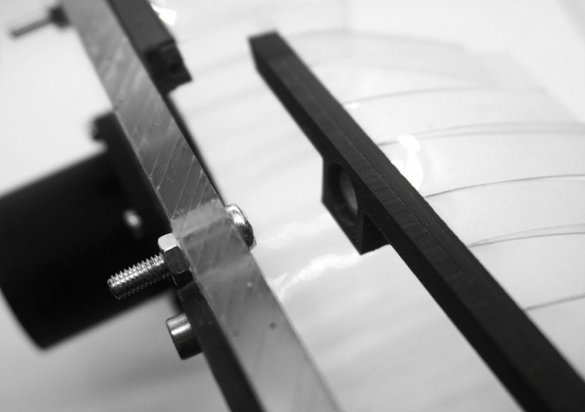
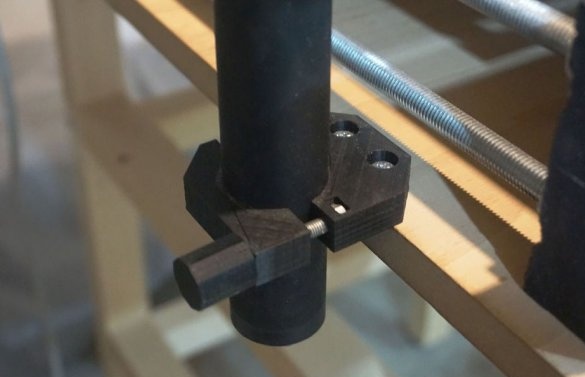
The first thing to do is screw the back mounting plate onto the acrylic sheet using the M4 screws / M4 nuts and insert the M5 nuts into the grooves. Then screw the front mounting plate with the M5 screws. Screw the vacuum tube adapter to the acrylic sheet using the M3 screws / M3 nuts, then place the magnets (4 mm x 2 mm) in the mounting holes of the grid.
Then install six mounting bolts around the perimeter of the acrylic sheet.
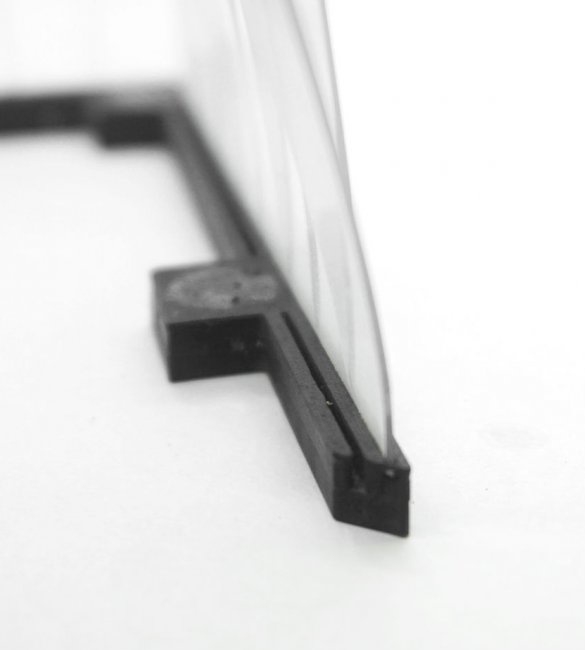
Now it remains to install flexible PVC cut into strips into the grooves.
Everything is ready, it remains to install the lid and the grid on the magnets and fix the dust collector on the machine.
According to the master, such a dust collector is easy to manufacture and efficient in operation.

