
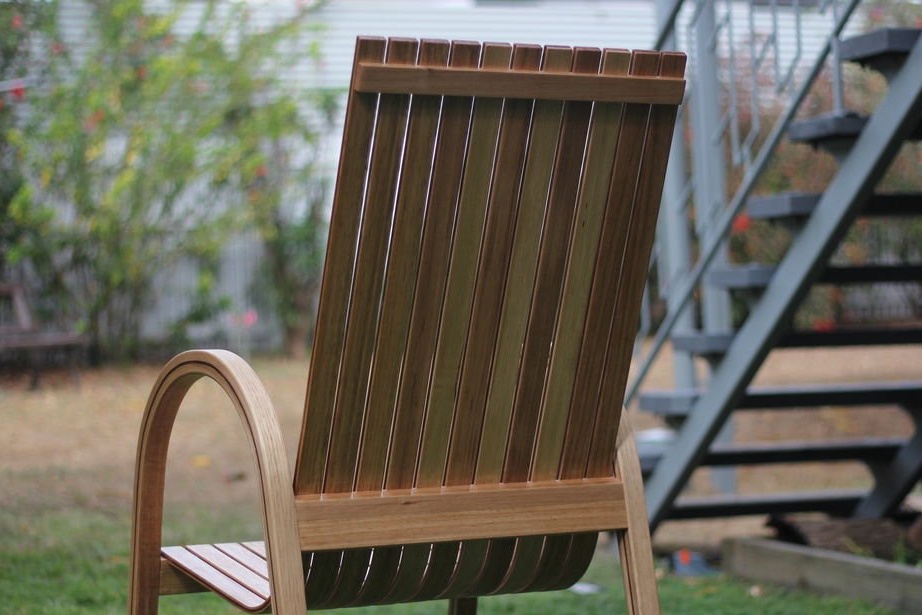

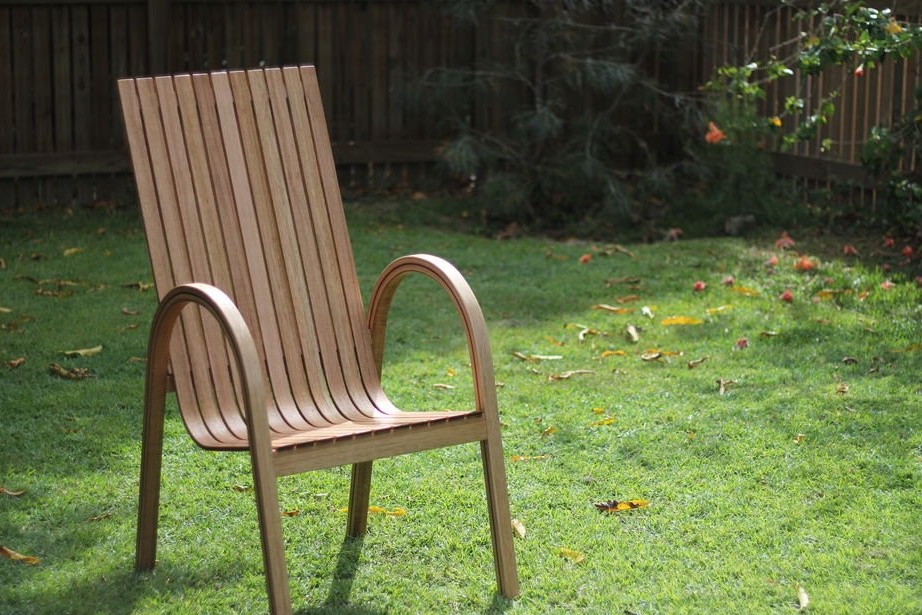
In this article, the master carpenter will tell and show us how to make a bent chair. He will bend wood for a chair independently.
Tools and materials:
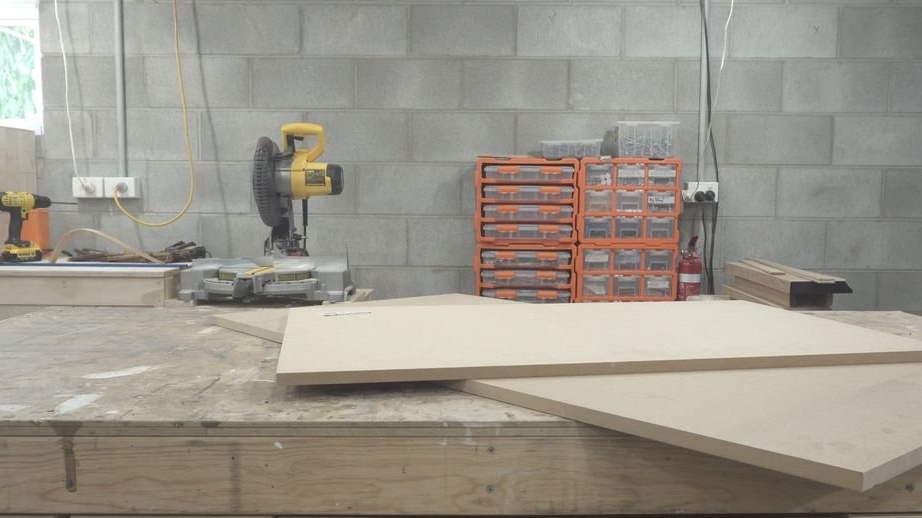
MDF;
- Joiner's glue;
-A circular saw;
-Rule;
-Pencil;
-Circular Saw;
- Electric jigsaw;
-Drill;
-Crown on wood;
-Sander;
- Clamps;
- Steam chamber;
Milling cutter;
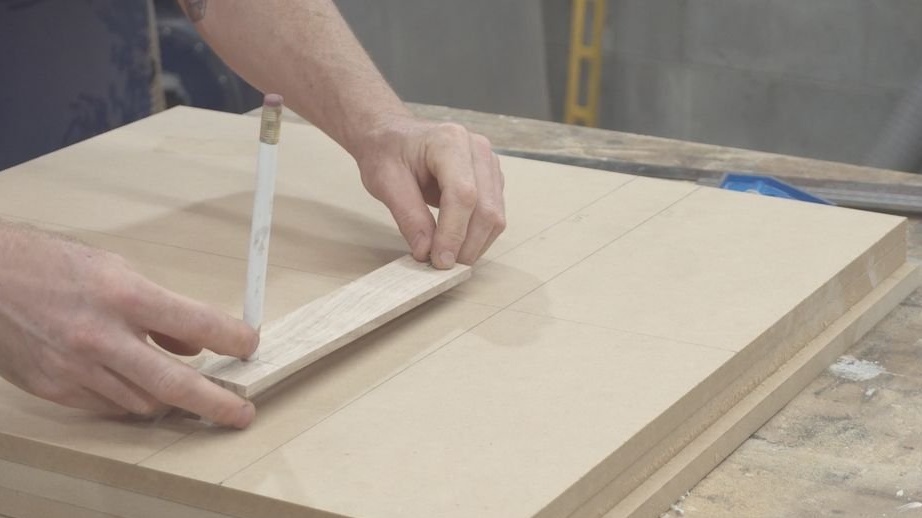
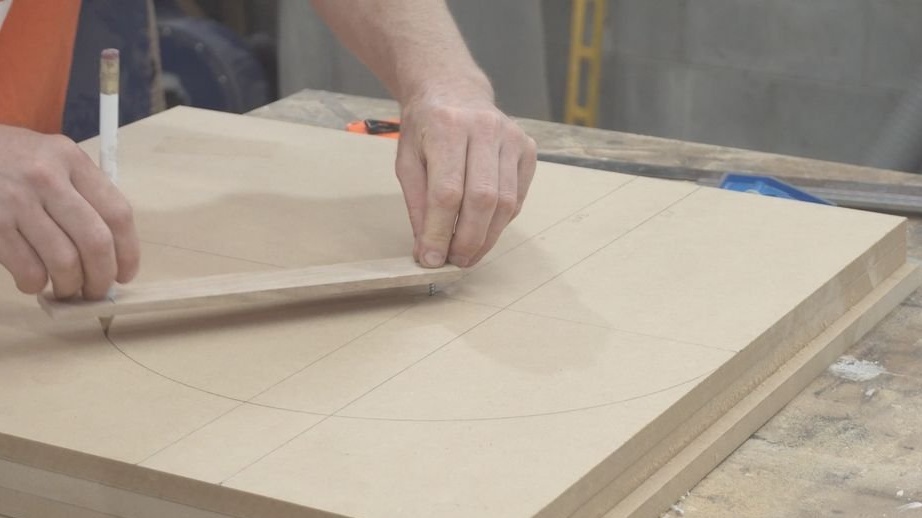
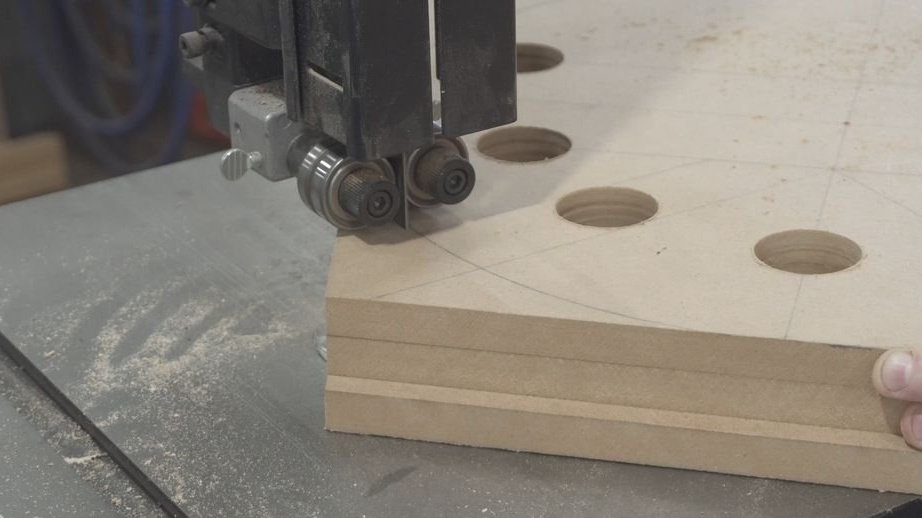
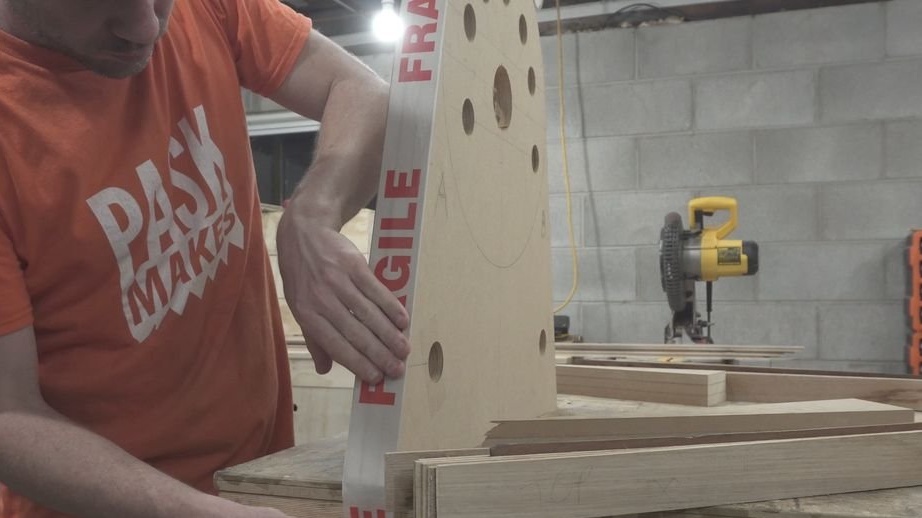
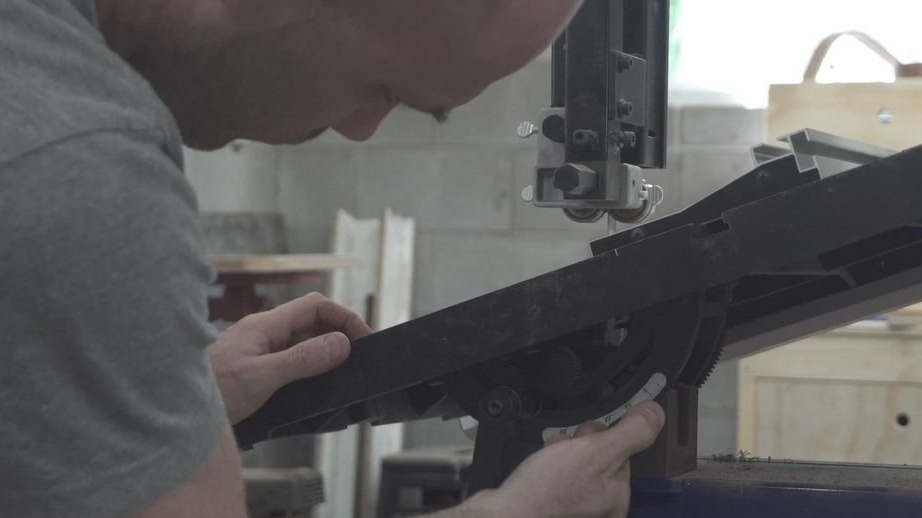
Step One: Foot Template
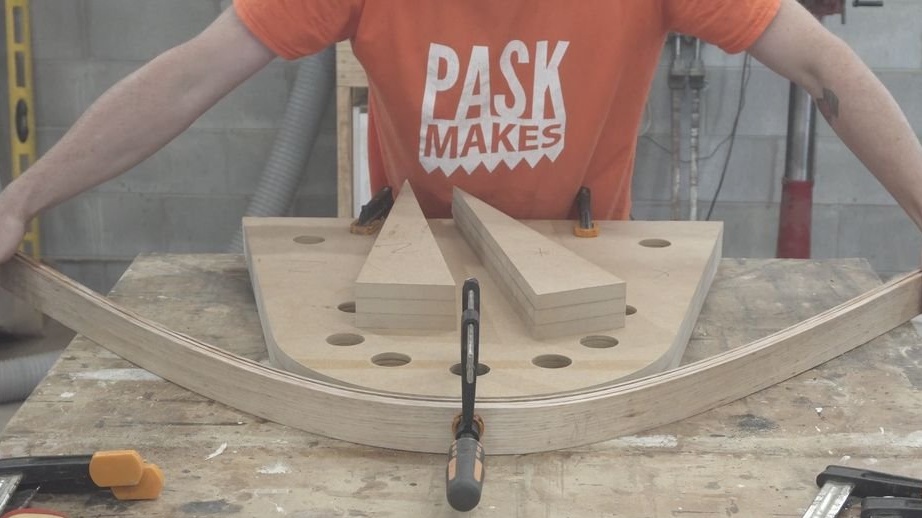
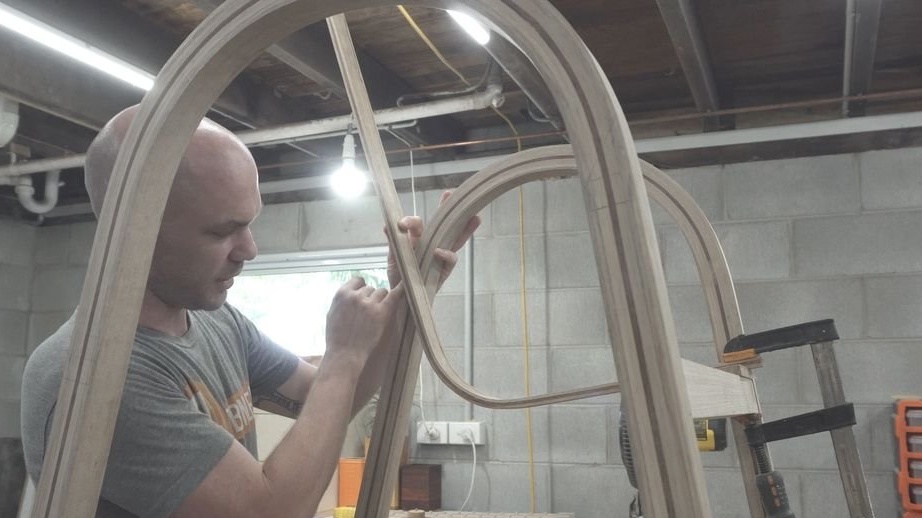
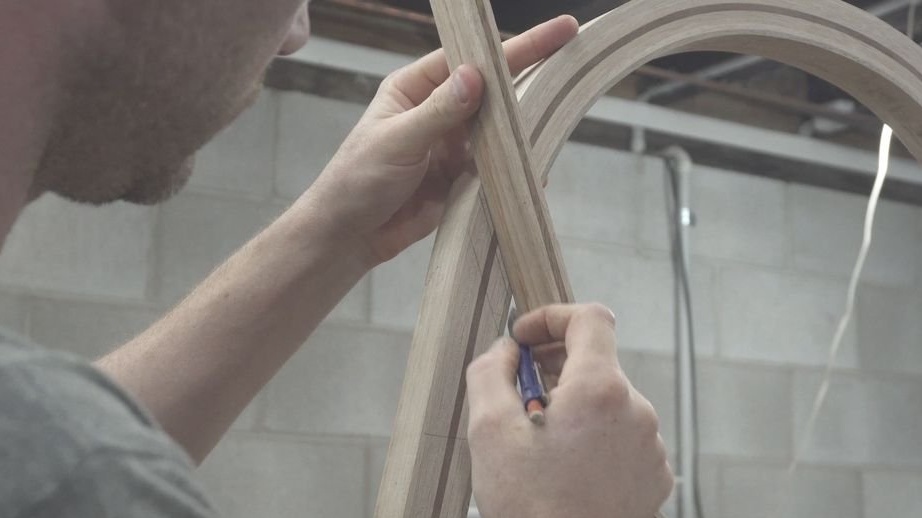
The legs will have a size of about 35 x 35 x 1700 mm and will be bent around the template with a radius of 200 mm.
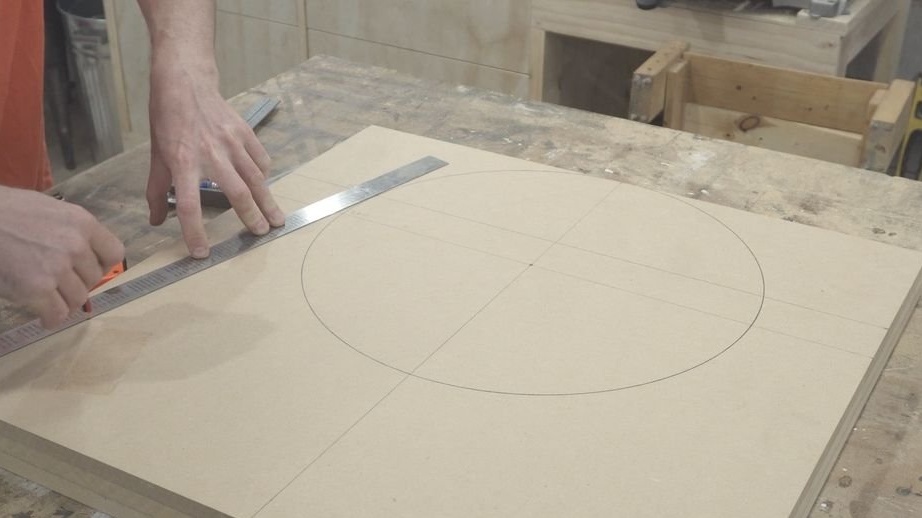
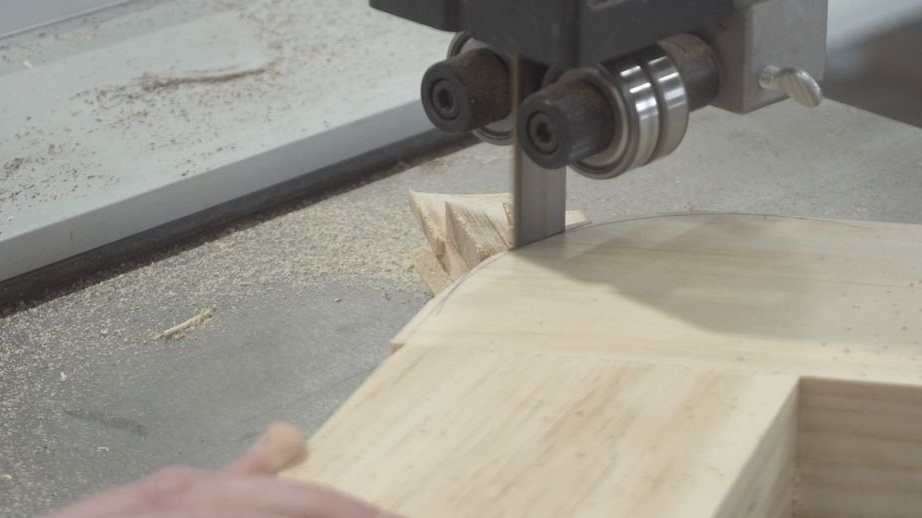
The master glues and cuts three blanks 600 x 600 mm from MDF 16 mm thick. Glues them. Marks and cuts a circle. Grinds.


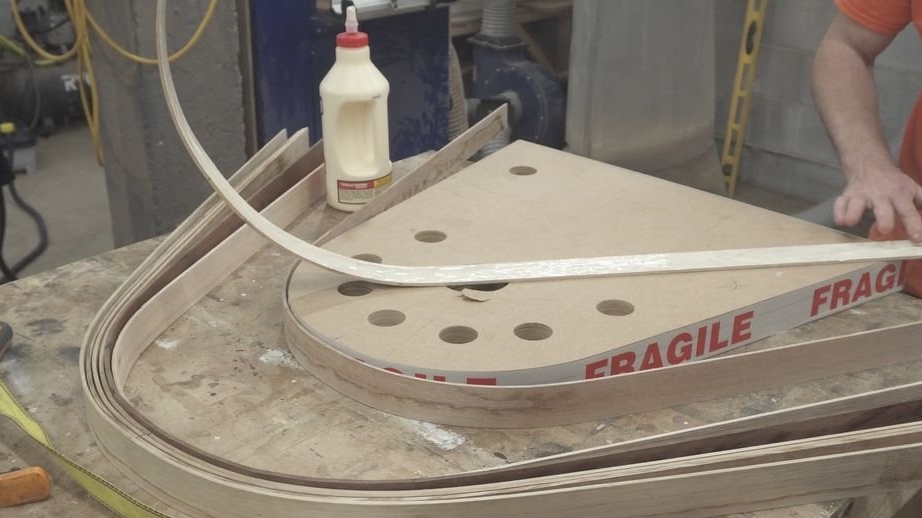
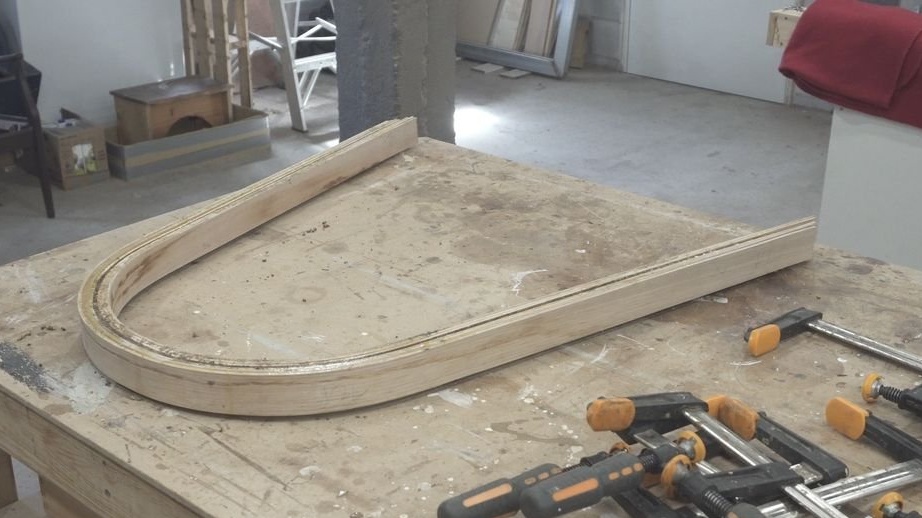
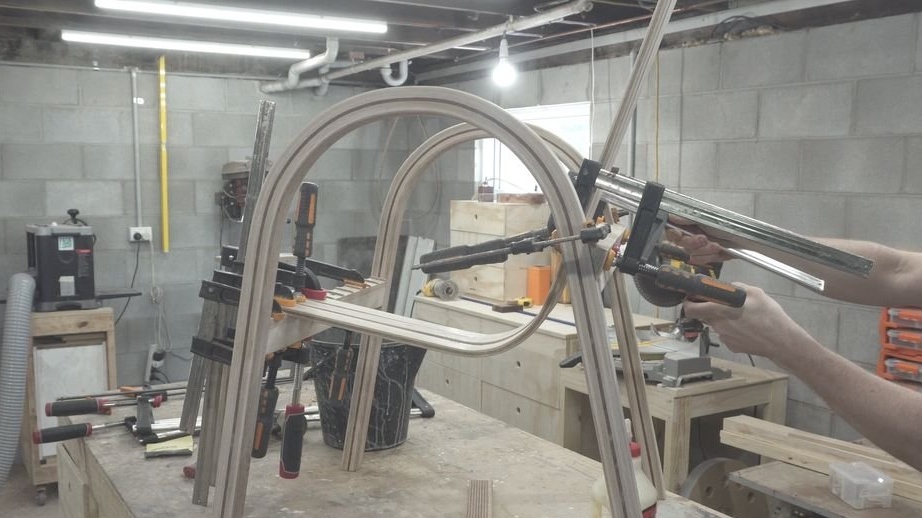
Step Two: Bending
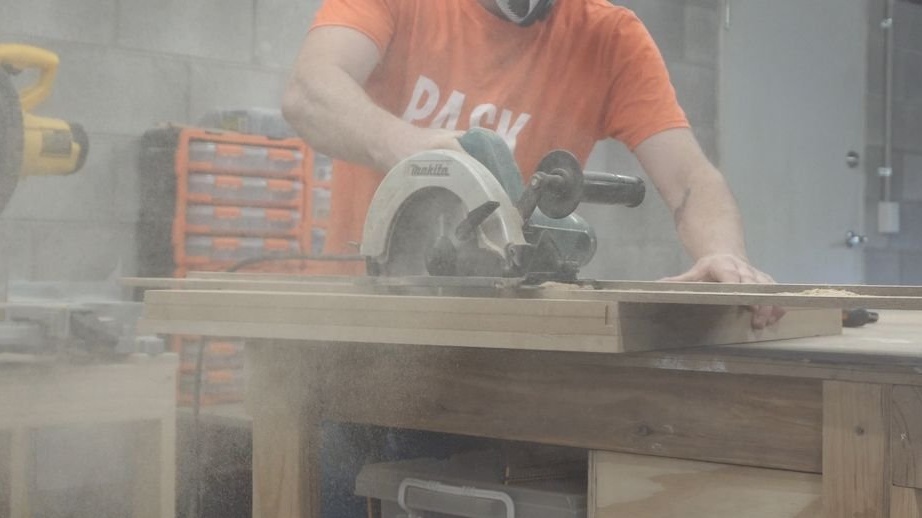
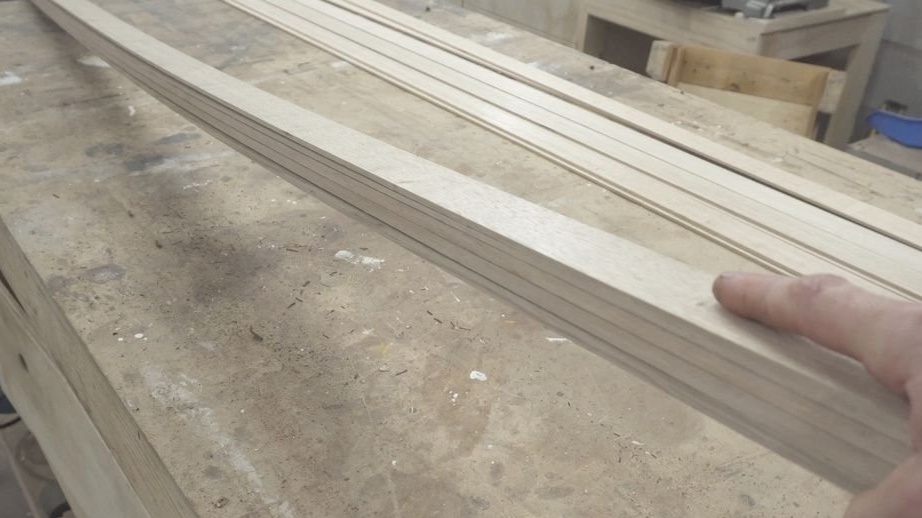
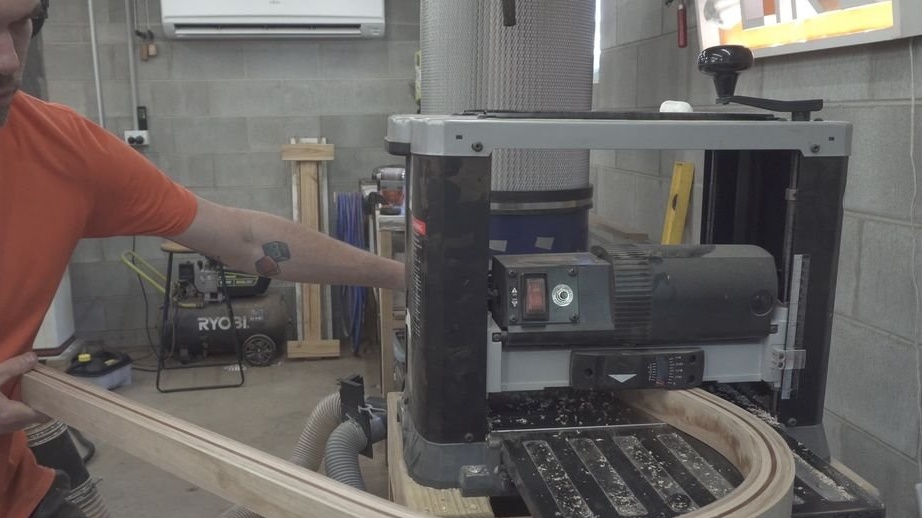
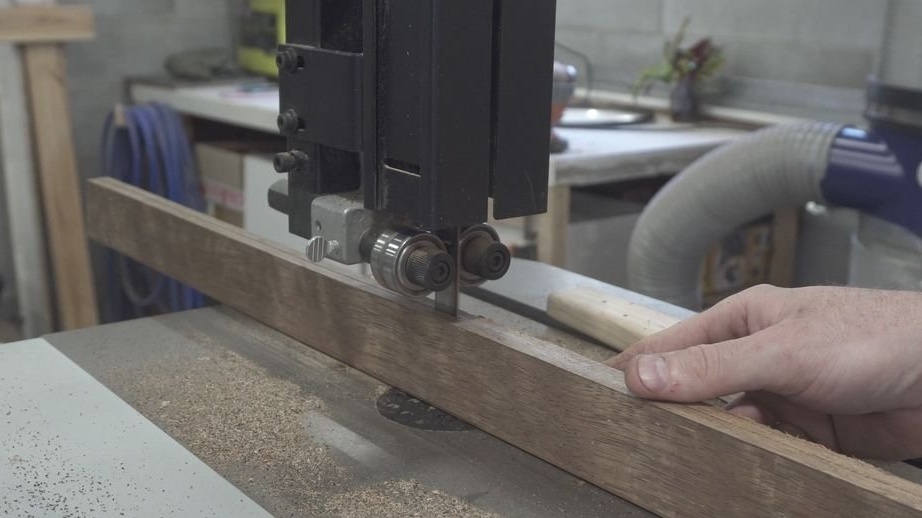
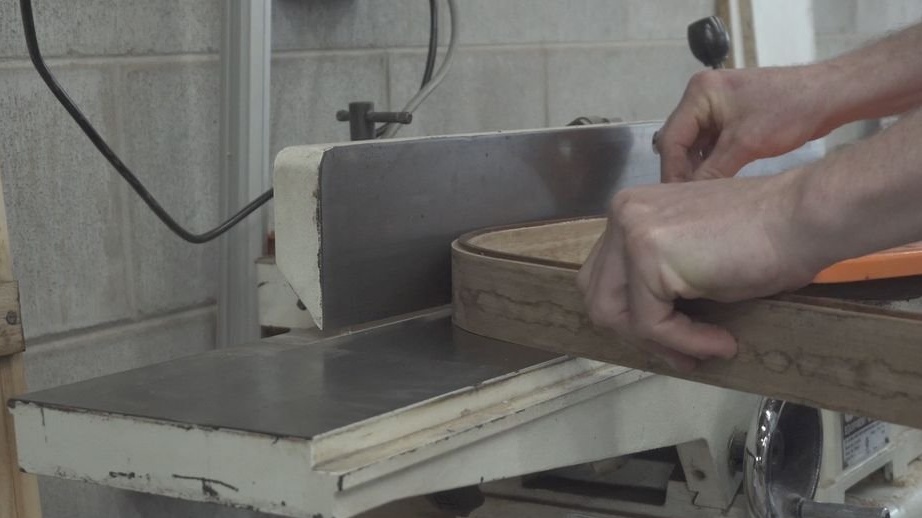
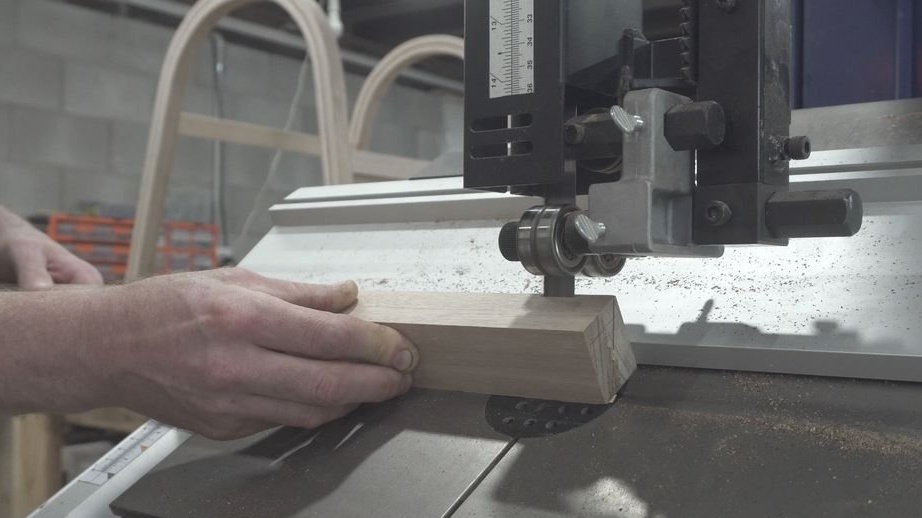
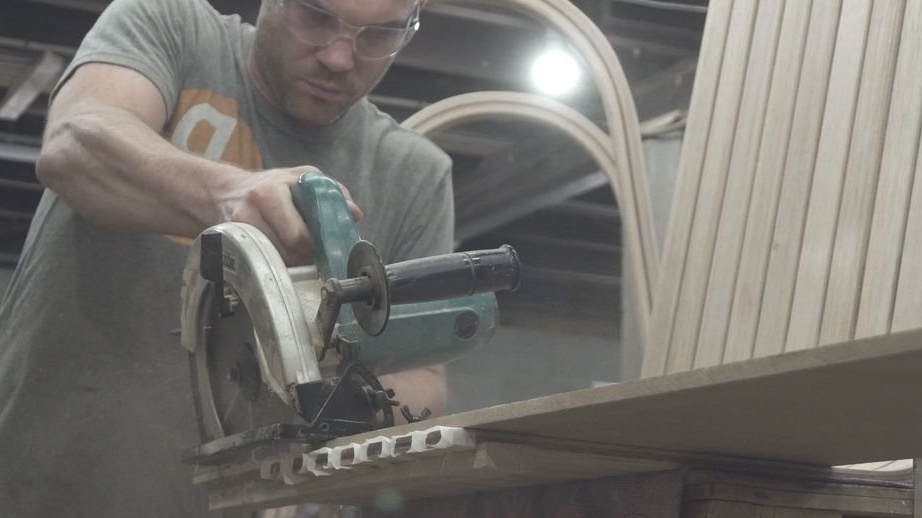
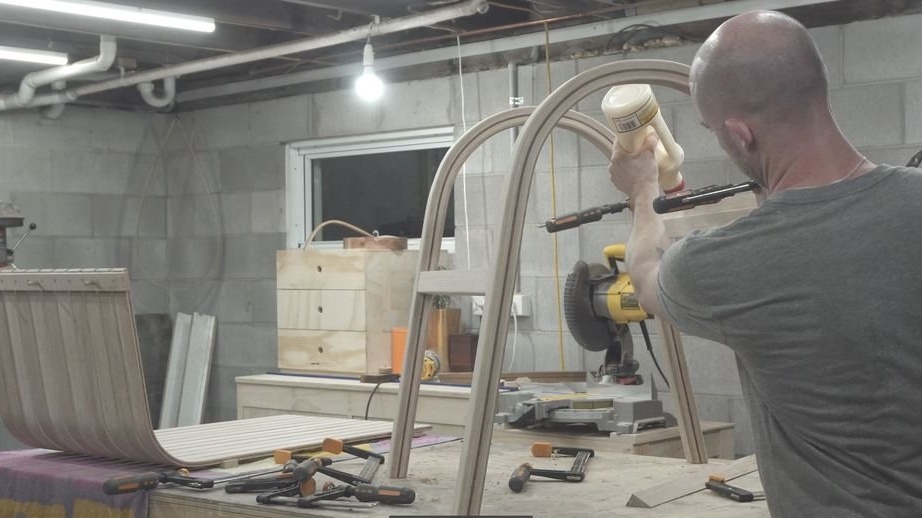
To make the legs, the master used the Tasmanian oak. The rail, with a thickness of 12 mm, he saws into workpieces with a thickness of up to 3-4 mm. In total, 18 slats are needed, 9 for each leg.
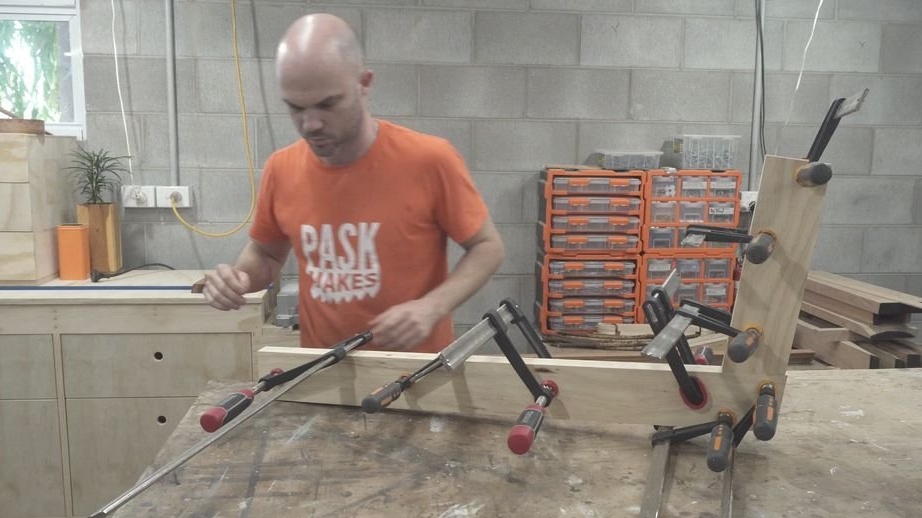
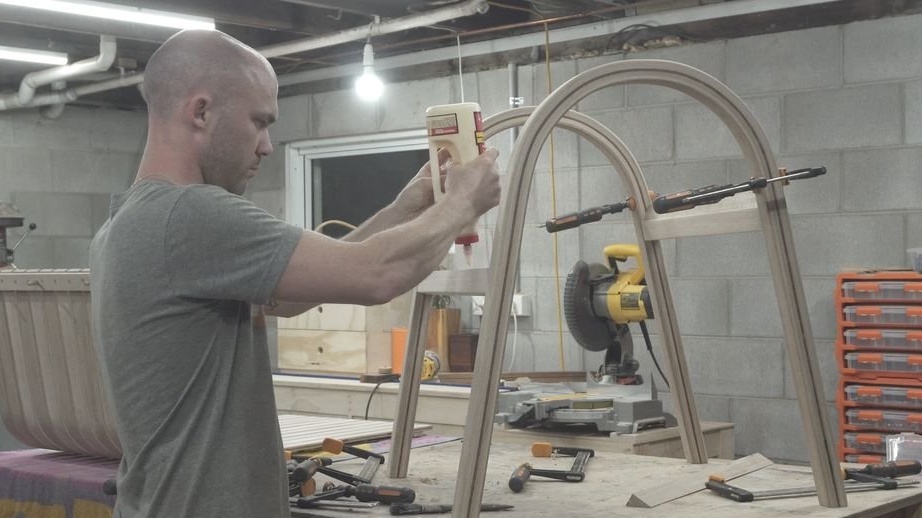
Then he places 3 slats in the steam chamber for three hours. The steam chamber is a long wooden box that can be closed on all sides into which steam is supplied. After 3 hours of steaming, the strips are removed and bent around the template. After a few hours, the workpieces are removed. For one leg, this process must be performed three times.

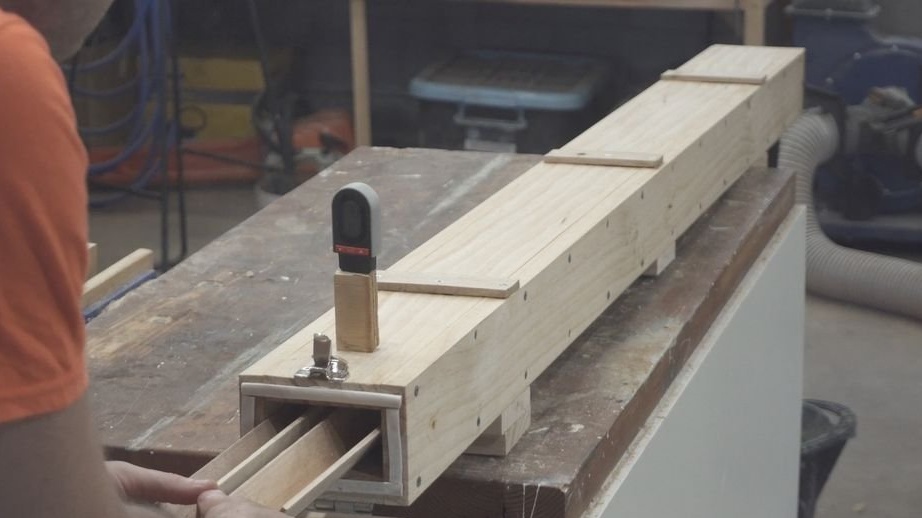
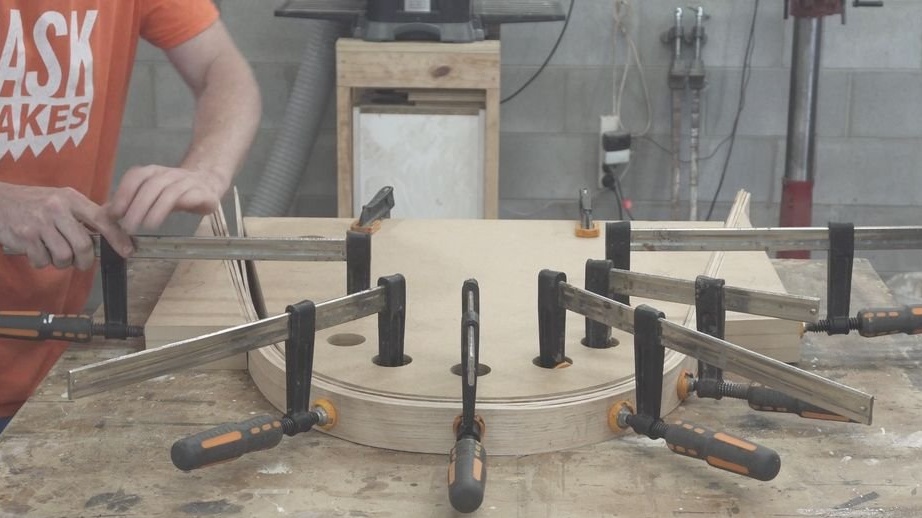
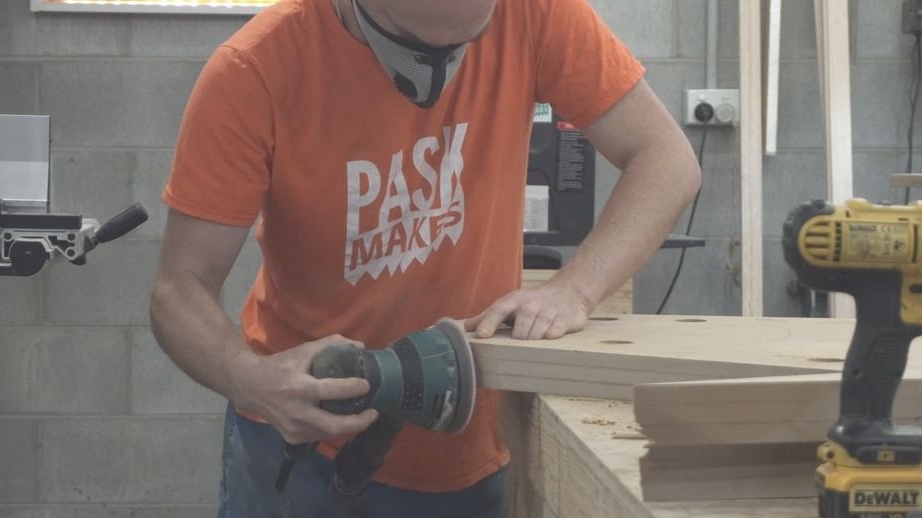
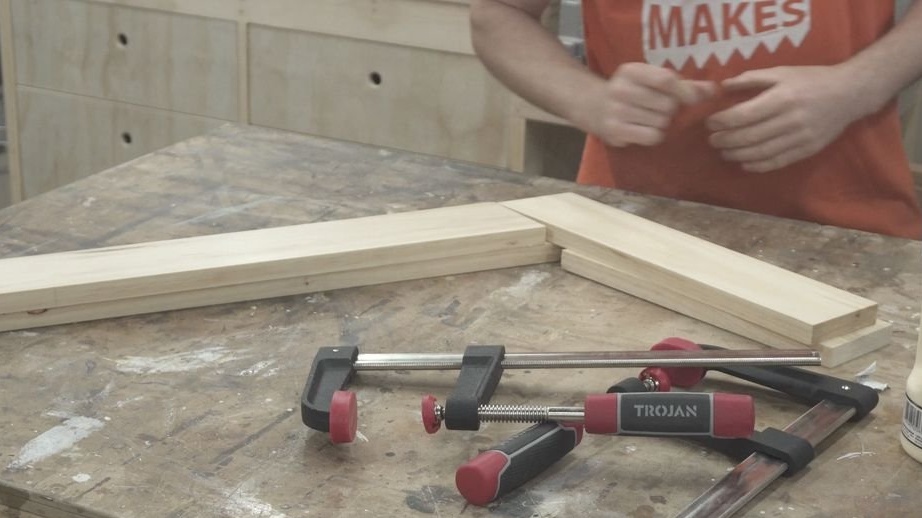
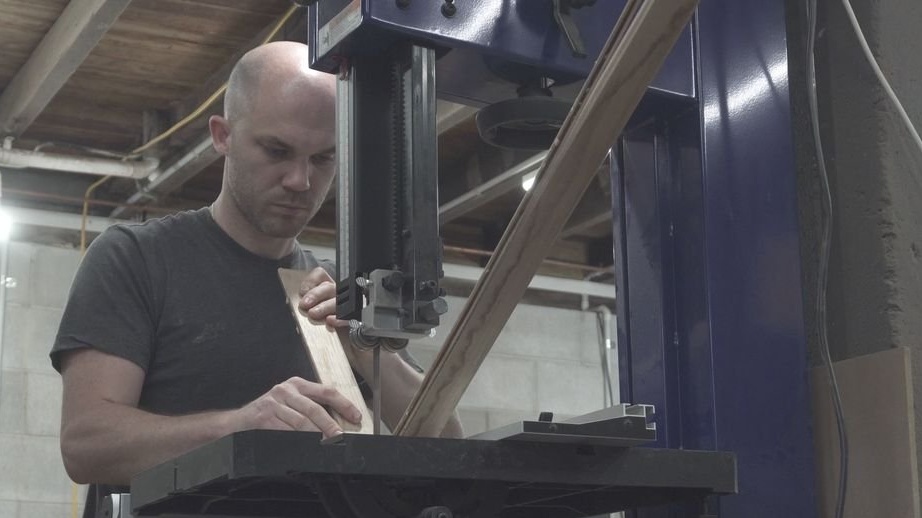
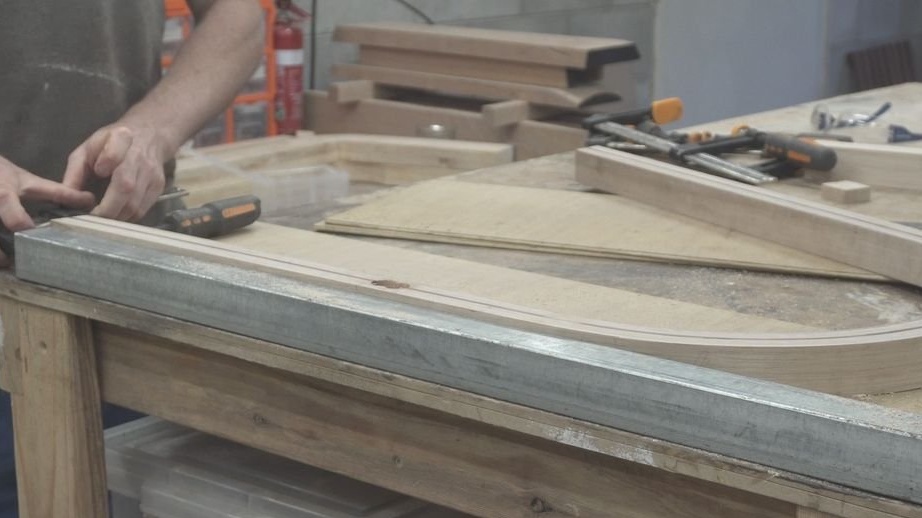
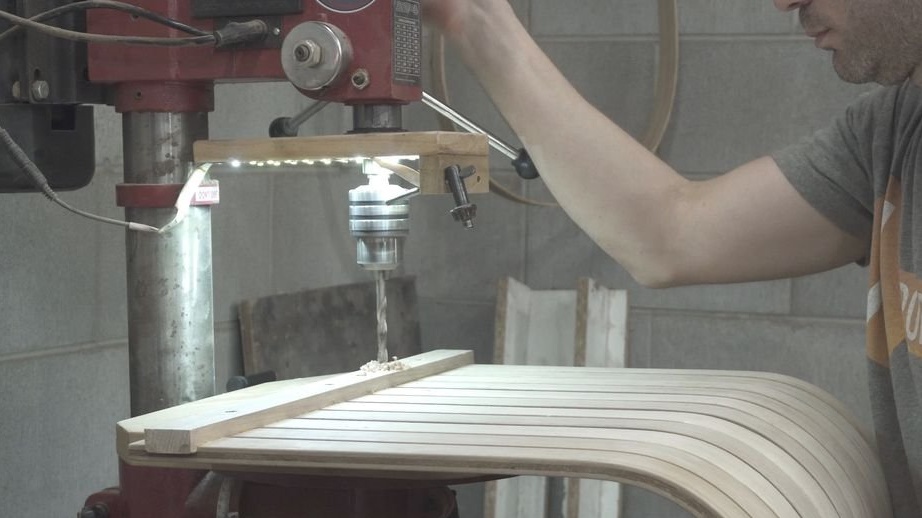
Then the blanks are glued together, nine blanks for one leg, and aligned with a milling cutter, with guides.
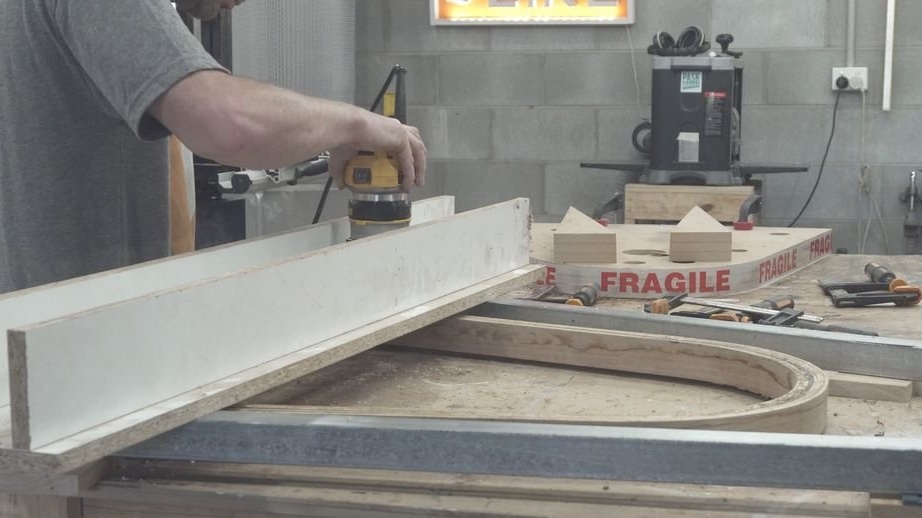
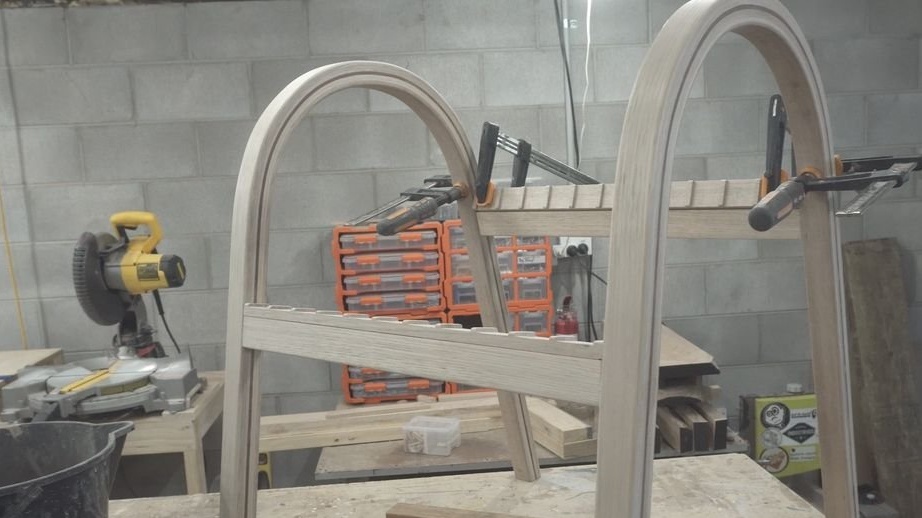
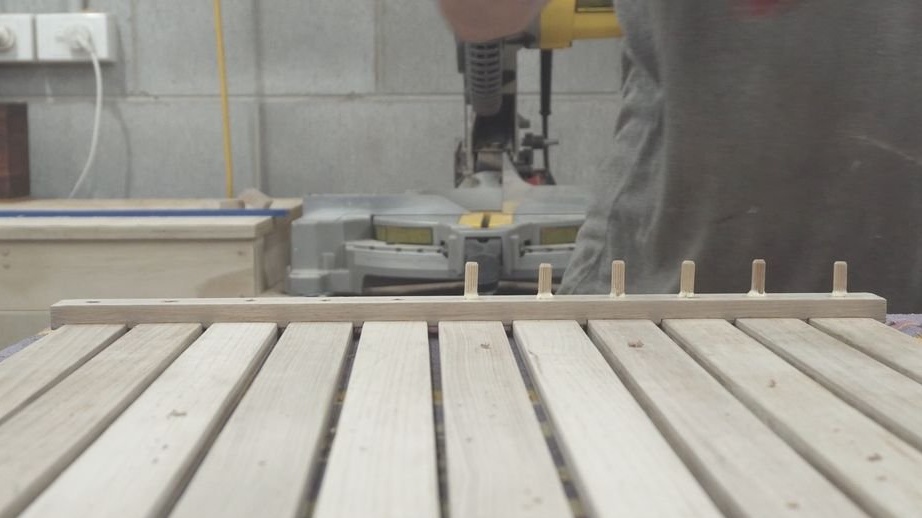
Step Three: Seat
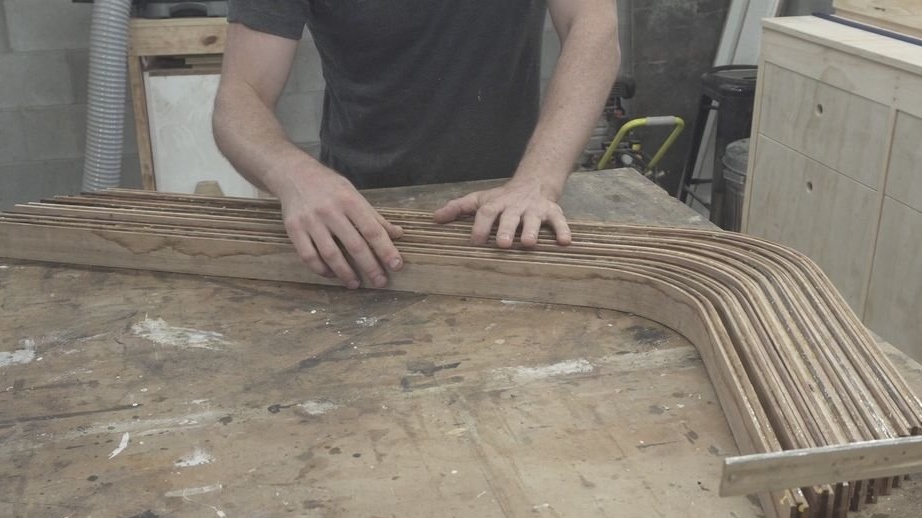
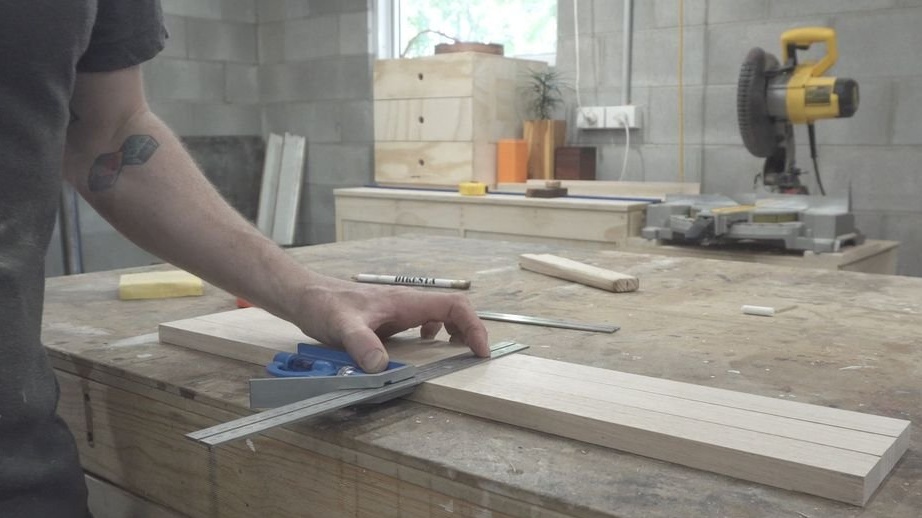
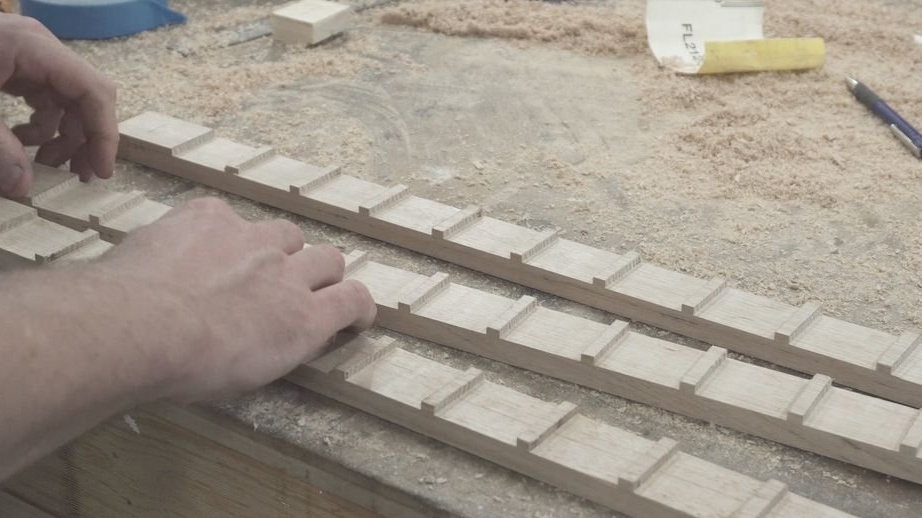
The seat is made of 11 slats, each about 35 mm wide and 12 mm thick. The distance between the strips is 5 mm.
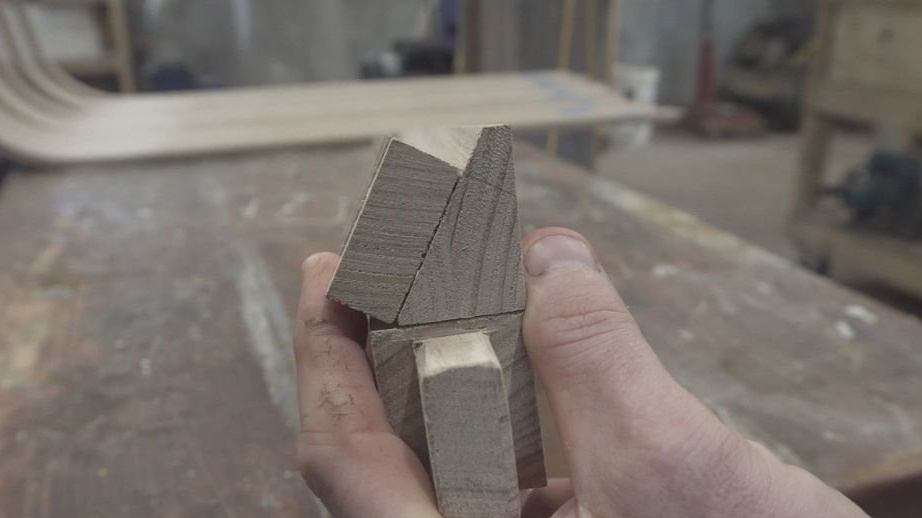
The wizard starts by creating templates. The templates are made of two boards fixed at an angle to each other. The angle between the boards is 100 degrees. The master made two identical patterns, one for steam bending and one for gluing.
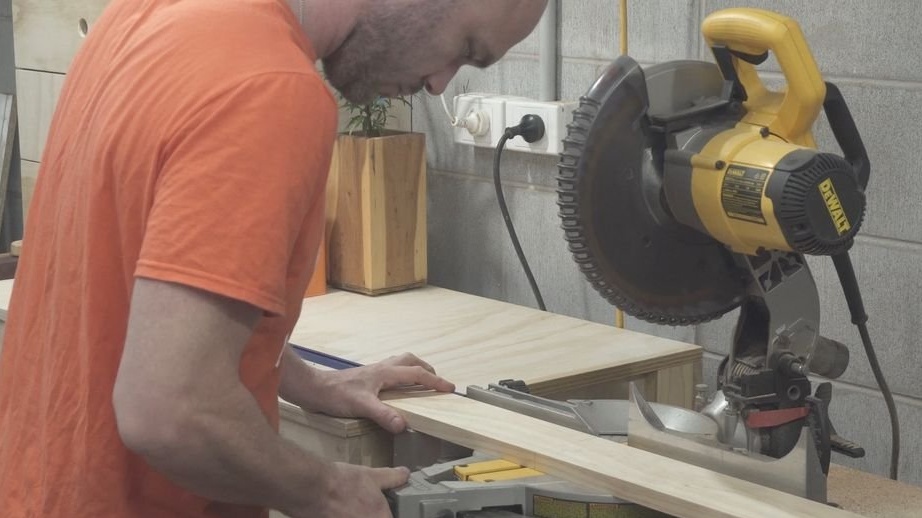

Then the master cuts the trims. For the seat, he uses a Tasmanian oak and merbau. The technology is the same as when bending the legs. Steam chamber, pattern, bonding. After gluing, the trims are aligned.


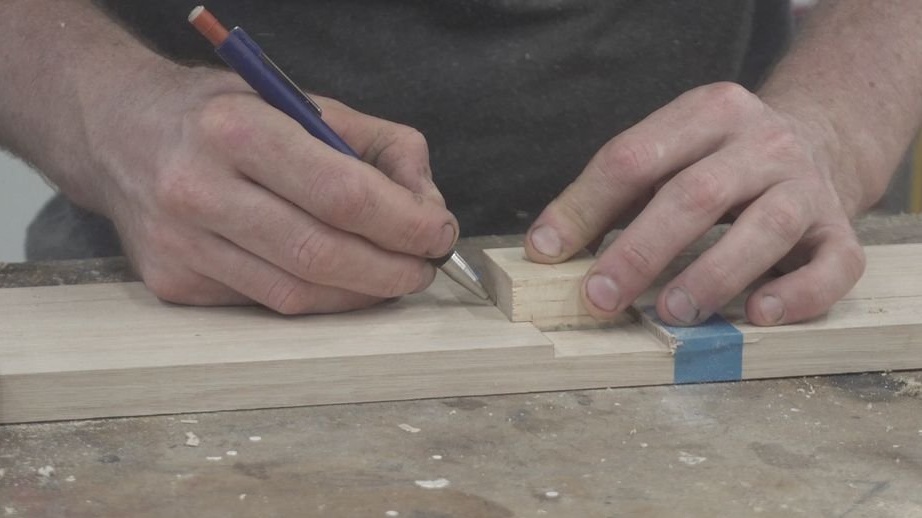
Step Four: Crossbars
Next, the master makes three cross bars. Eleven grooves are cut on the planks with a step of 5 mm.


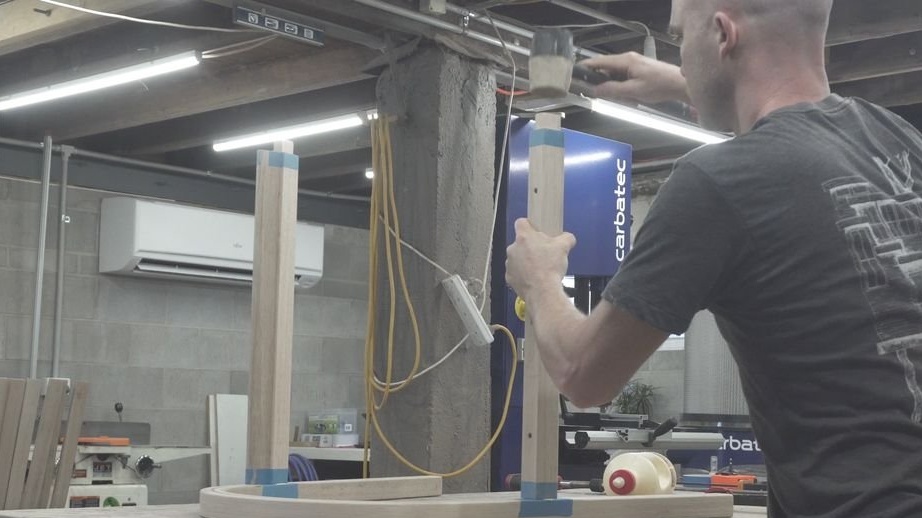
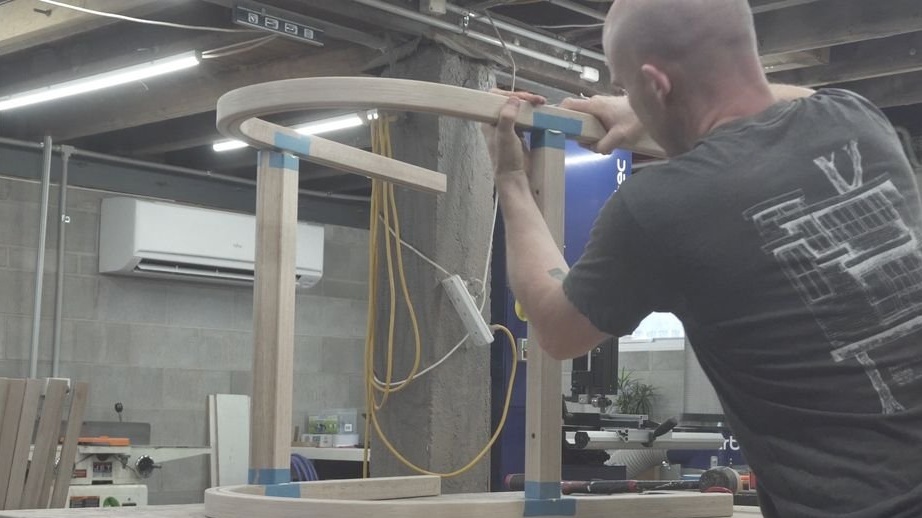
Step Five: Build
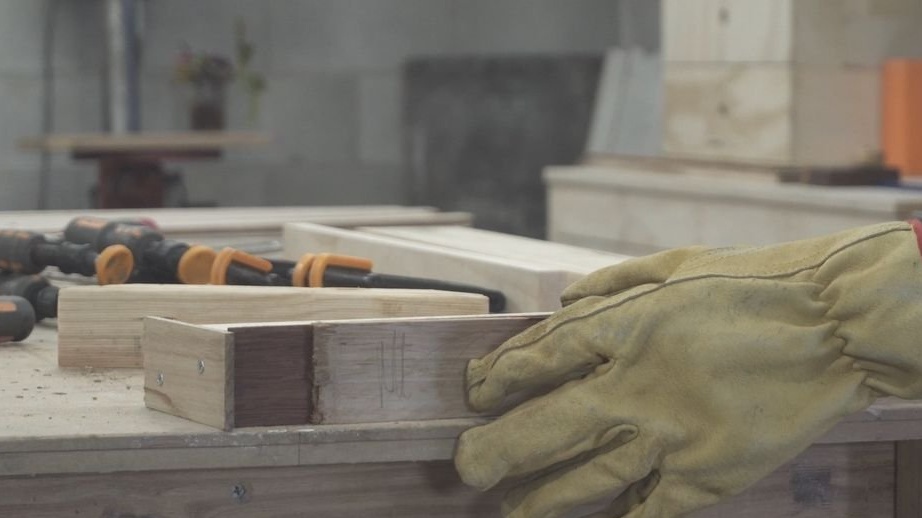
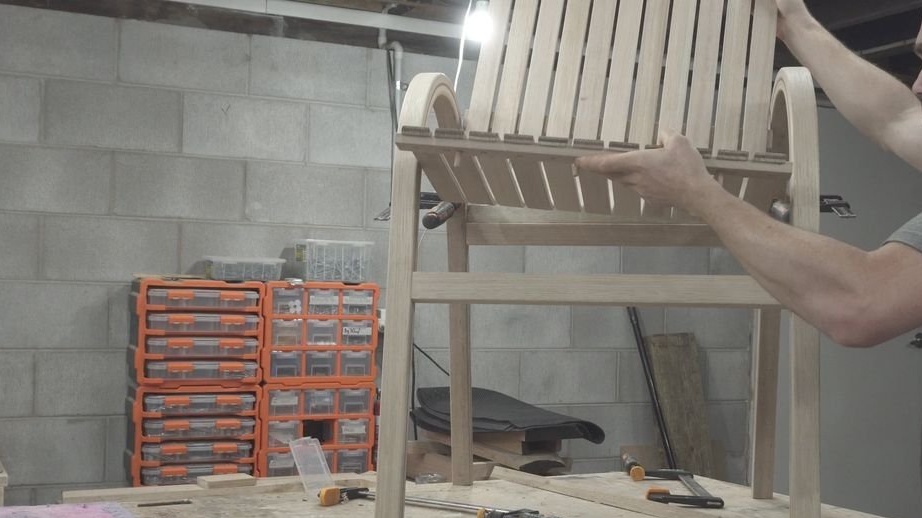
The legs are connected by transverse rails. First, the master connects the front with a spike / groove method.


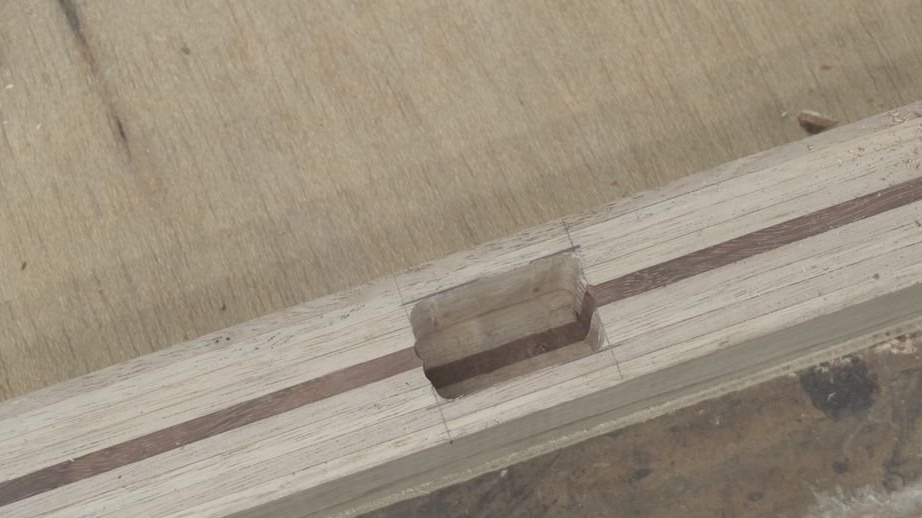
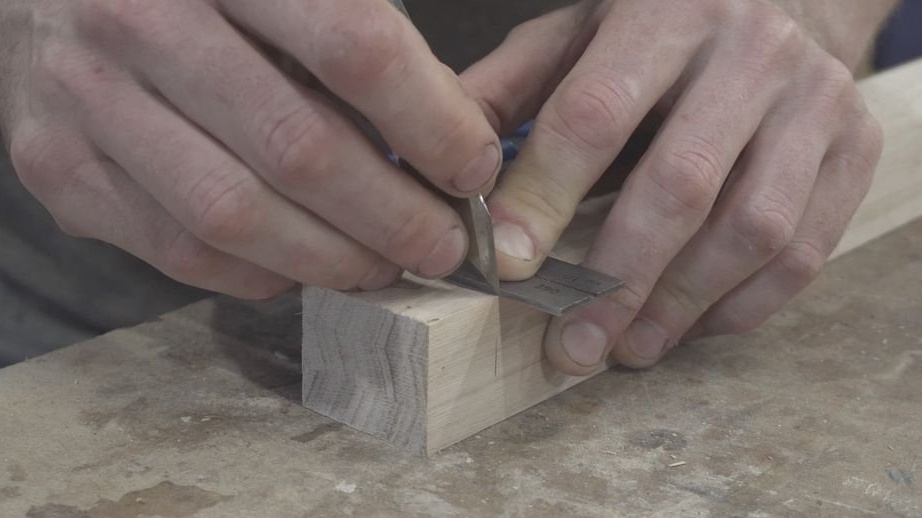

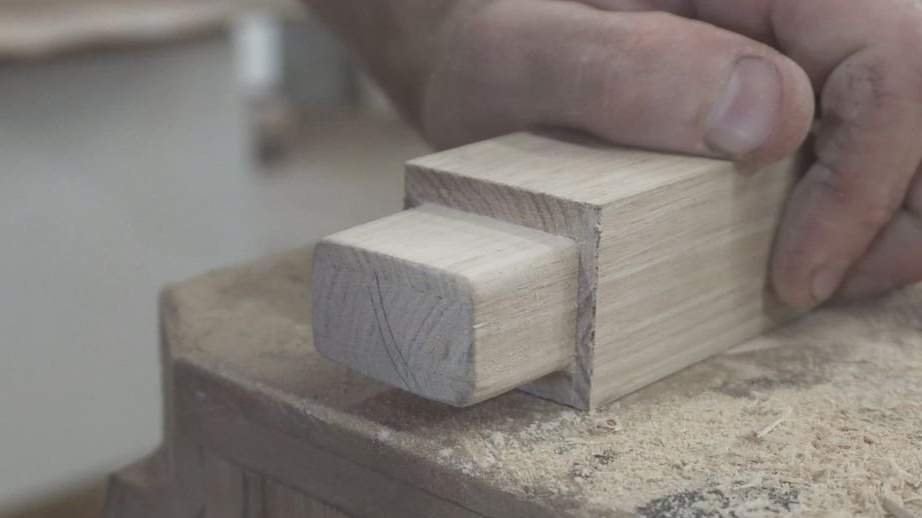

The rear rack is a bit more complicated, here you need to take into account the angle of the back.
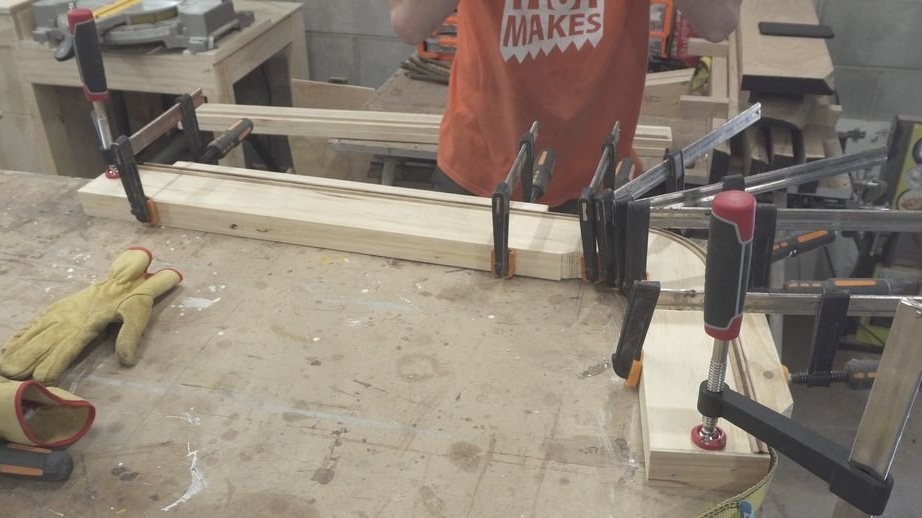
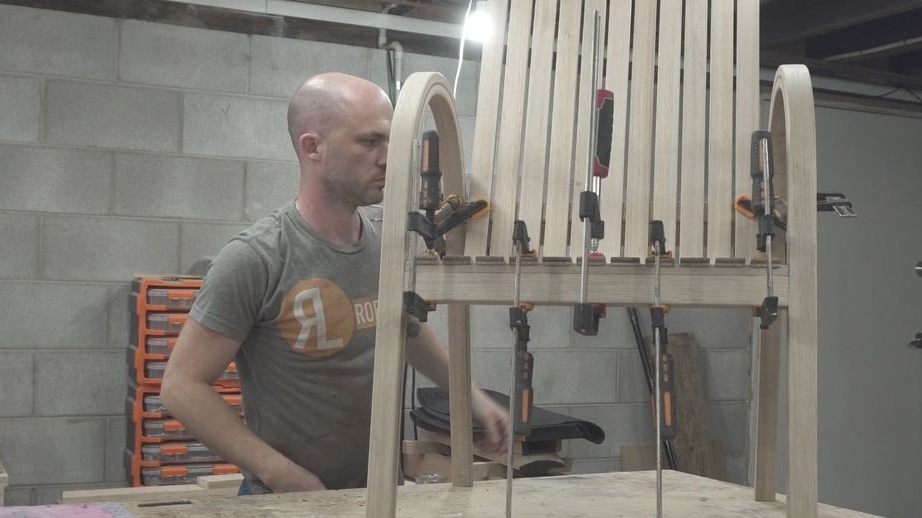
After the connecting rails are ready, the master applies glue and collects the legs. While the glue dries, he polishes the trims of the seat.

Marks the installation location of slats with grooves.
Glues the seat strips. The connection is reinforced with dowels.

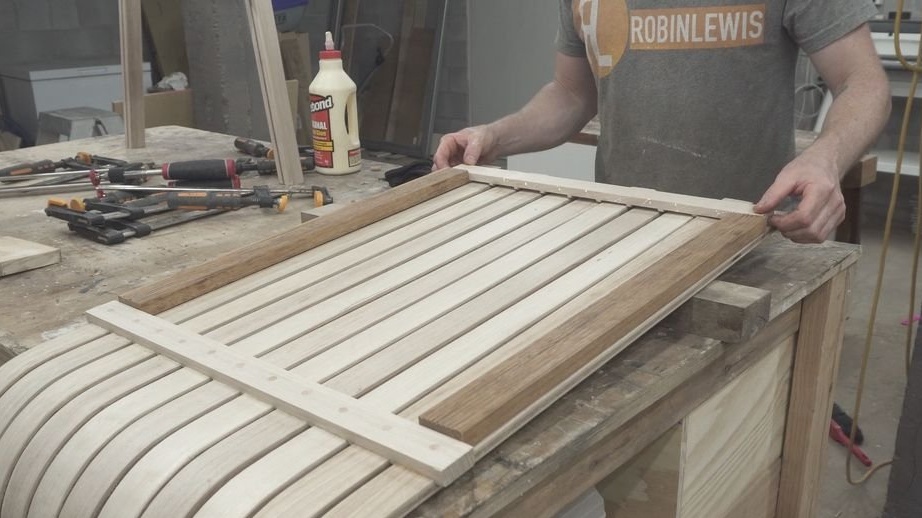

Trim sticking trims.
Secures the seat to the base.
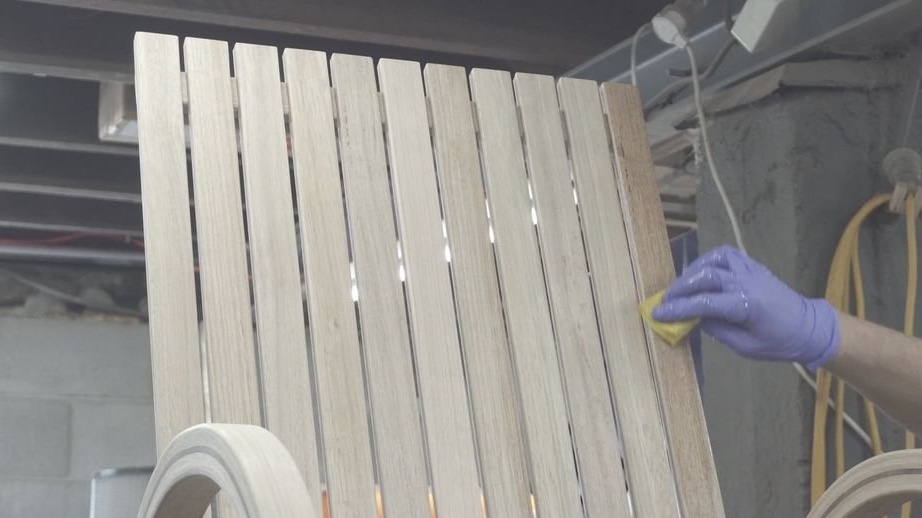
Now it remains to apply the coating.
The chair is ready.
The whole process of making a chair can be seen in the video.