
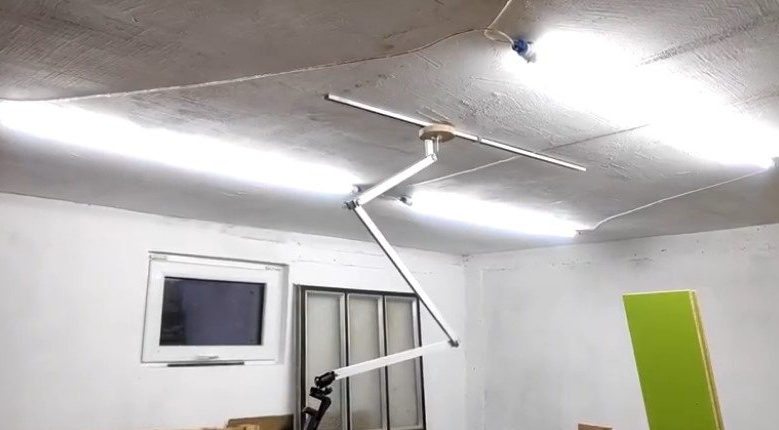
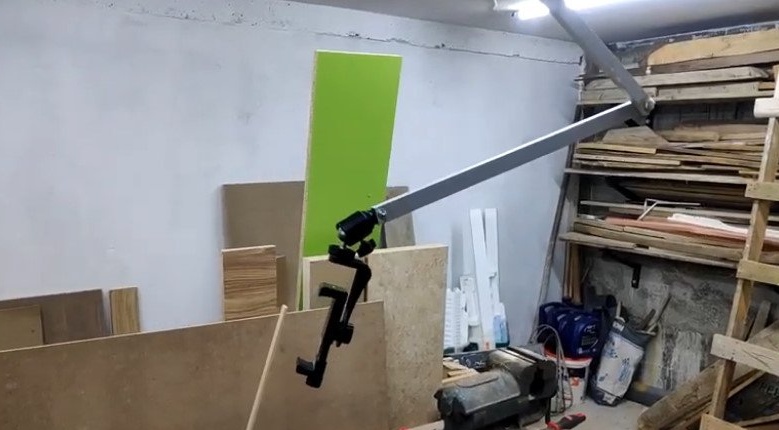
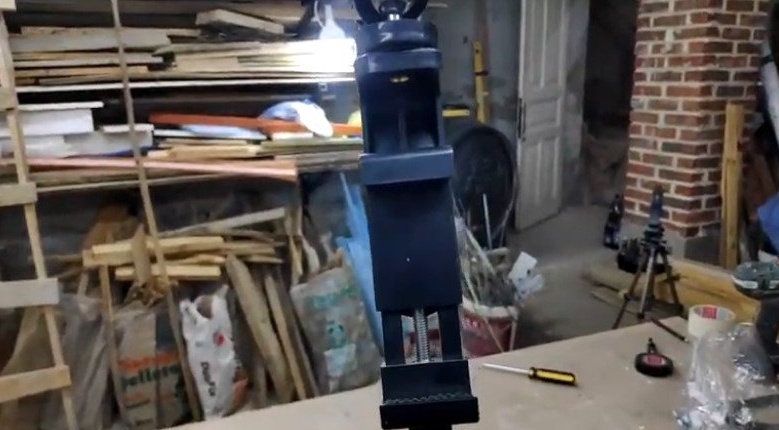
Such a bracket will be useful to those wizards who conduct video or photo shooting in the process. Using the bracket, you can adjust the different position of the camera and provide a different angle of shooting.
Tools and materials:
- Swivel tripod for the camera;
-Aluminum profile 1x2 cm;
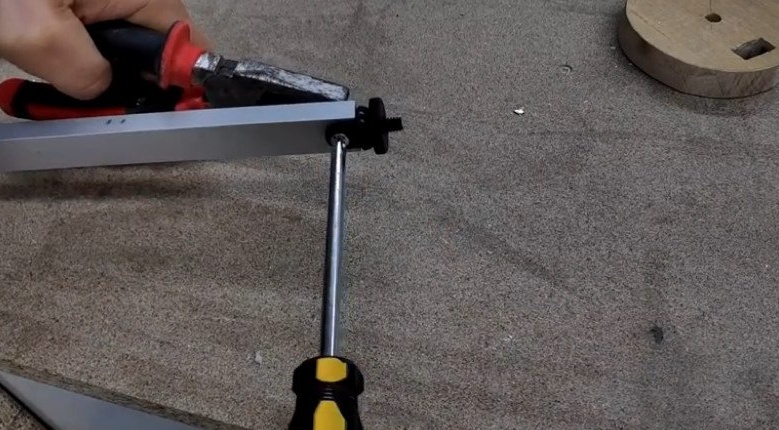
-Screws with wing nut;
-A screwdriver;
- Belt sander;
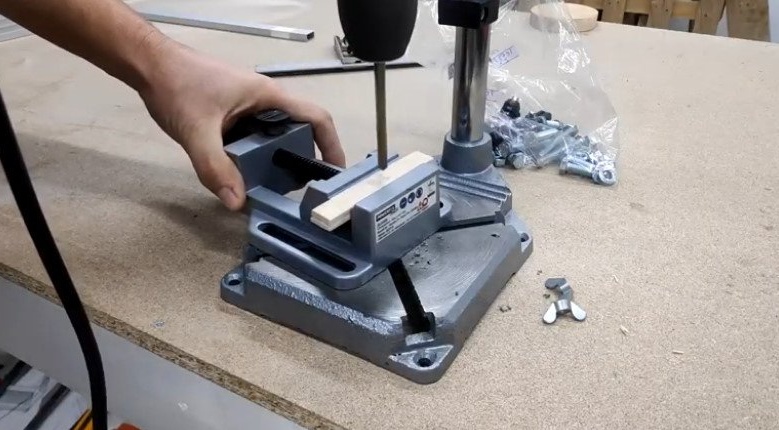
-Drilling machine;
- Hacksaw for metal;
-Vise;
-Roulette;
-Marker;
-Board;
-File;
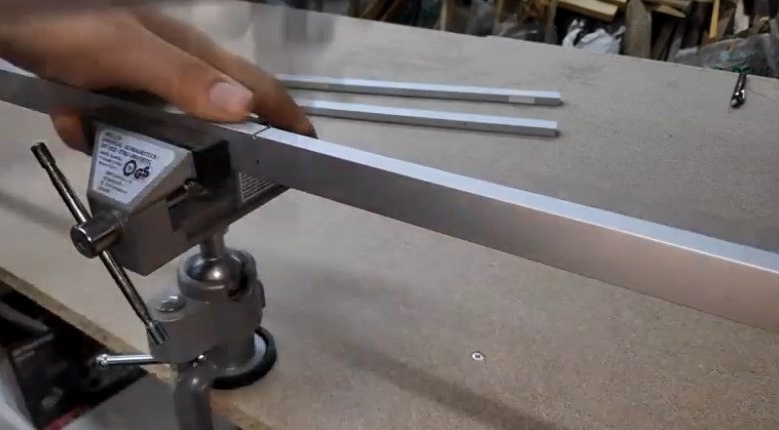
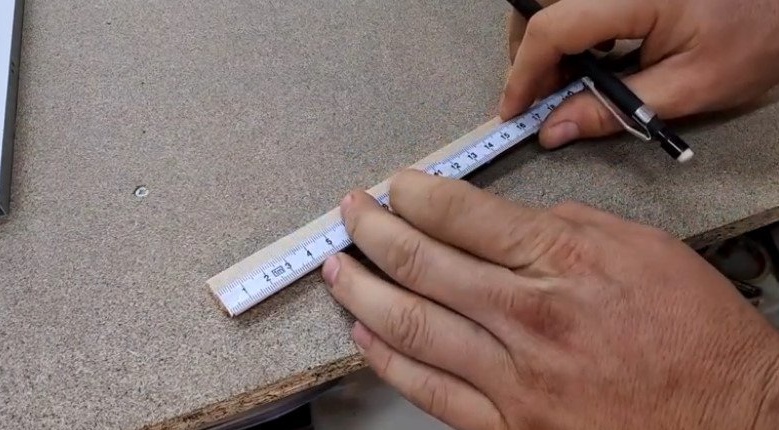
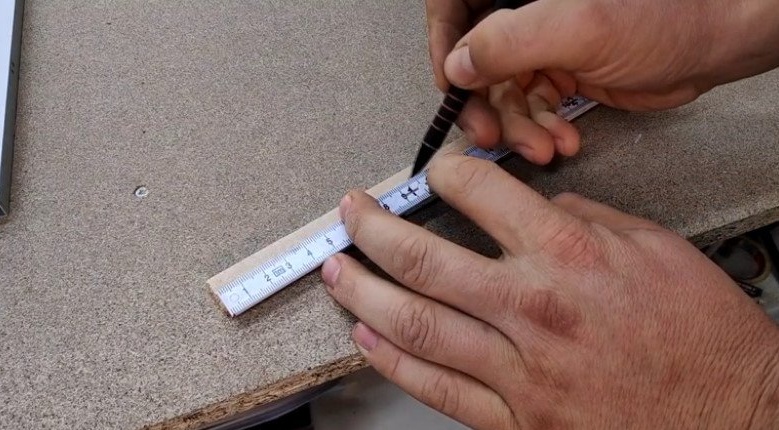
Step One: Preparing Profiles
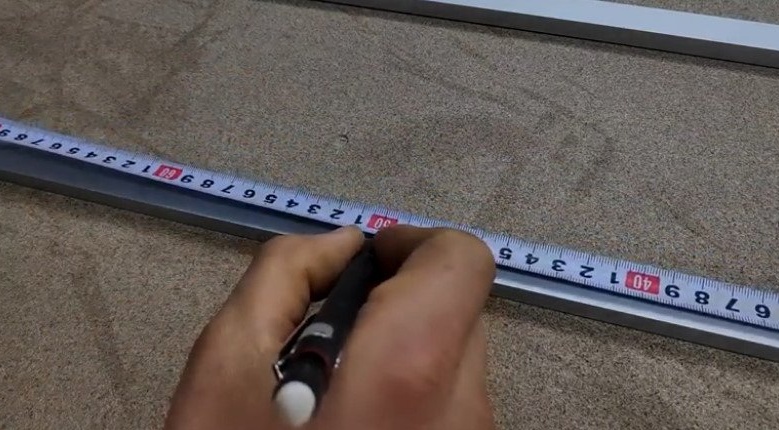
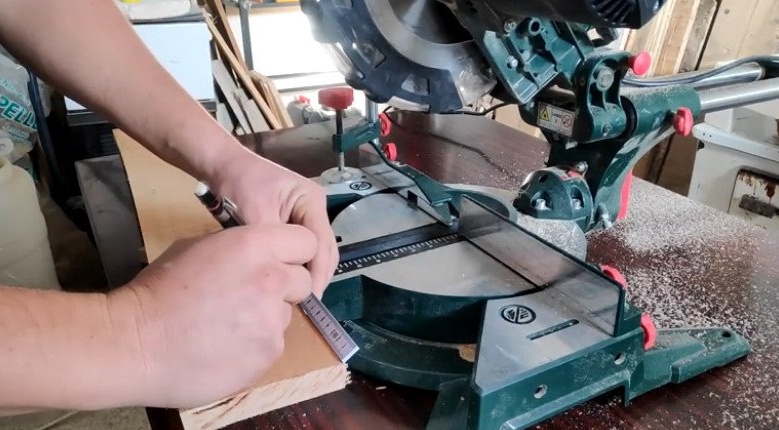
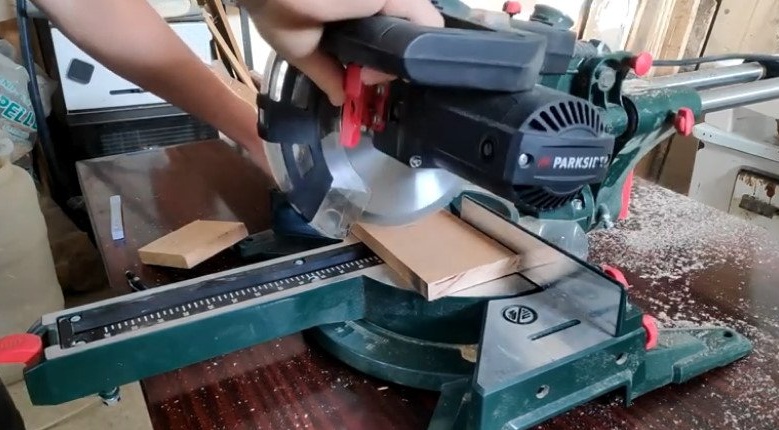
For the bracket, the master cuts the aluminum profile. One meter for the guide, two 33 cm for the first shoulder, and two 50 cm for the second and third shoulder. Another small segment is needed for fastening.

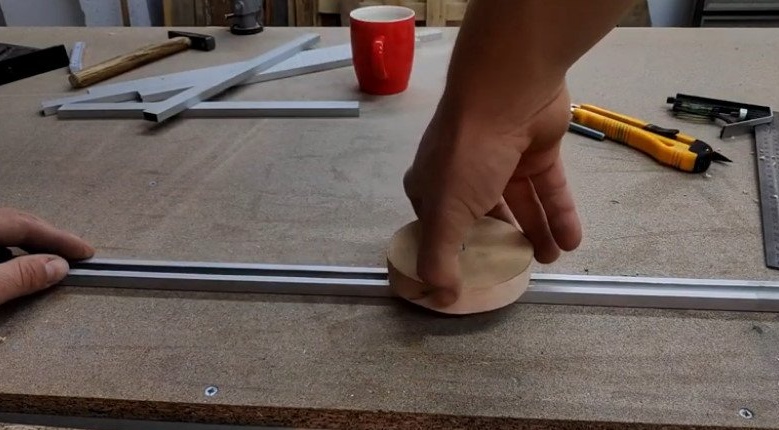
Step Two: Suspension
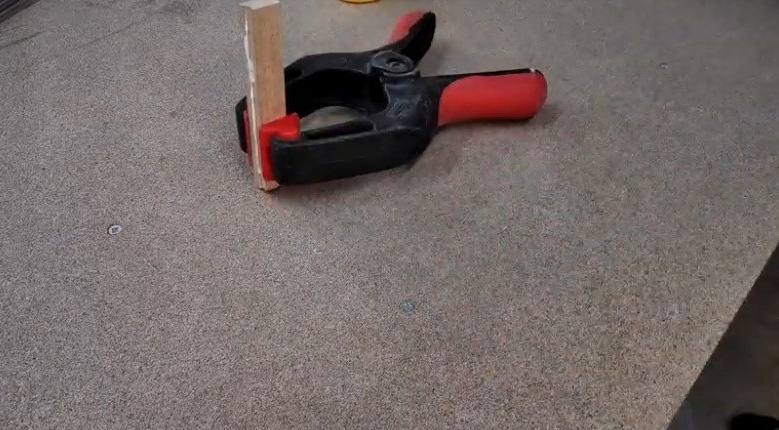
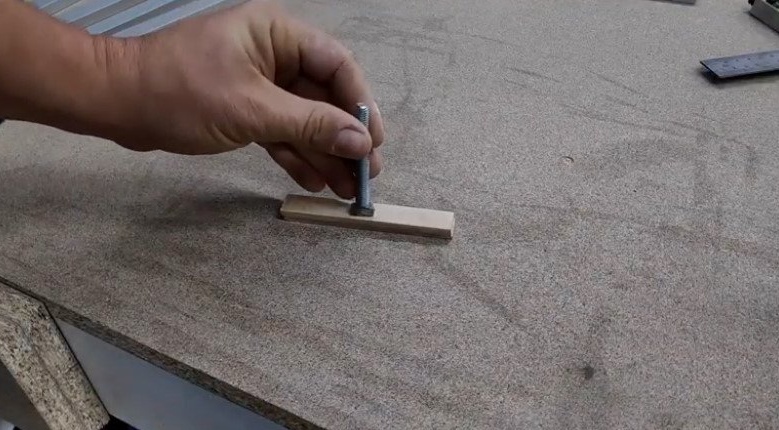
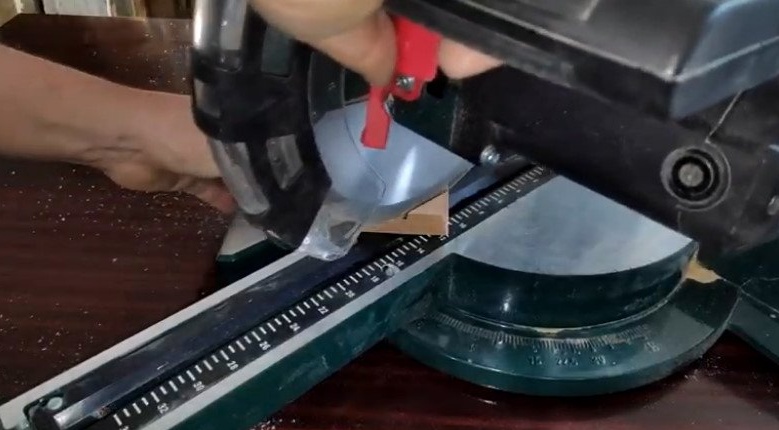
Next, you need to make a suspension that will move along the guide fixed to the ceiling. Cuts two planks of ten centimeters.
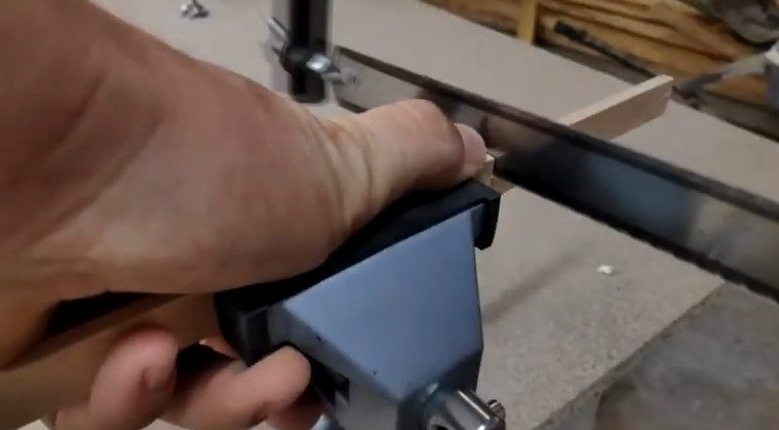
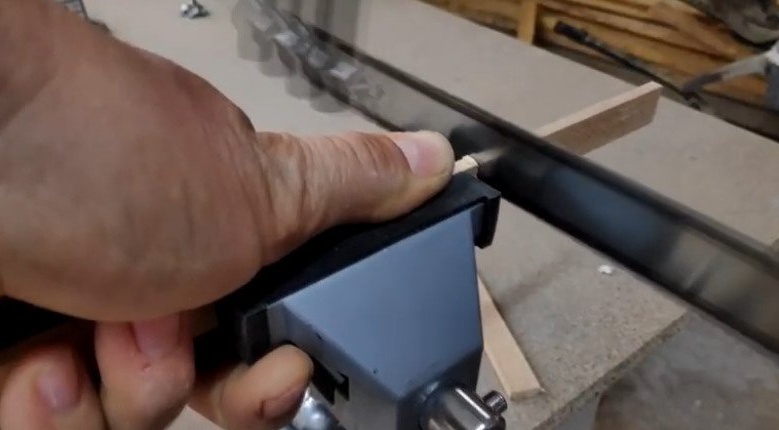
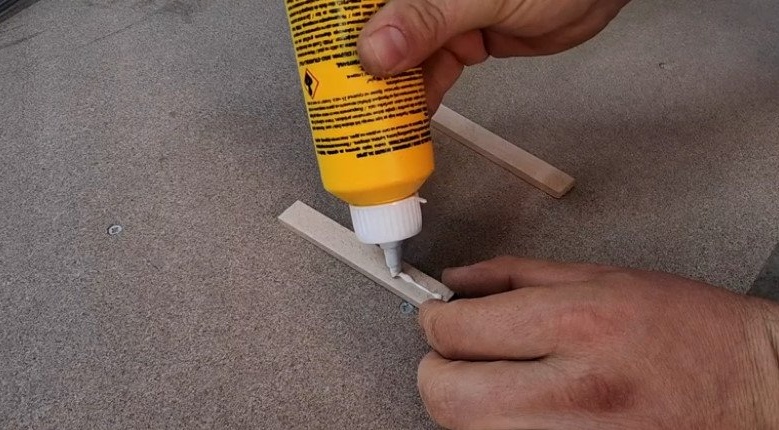
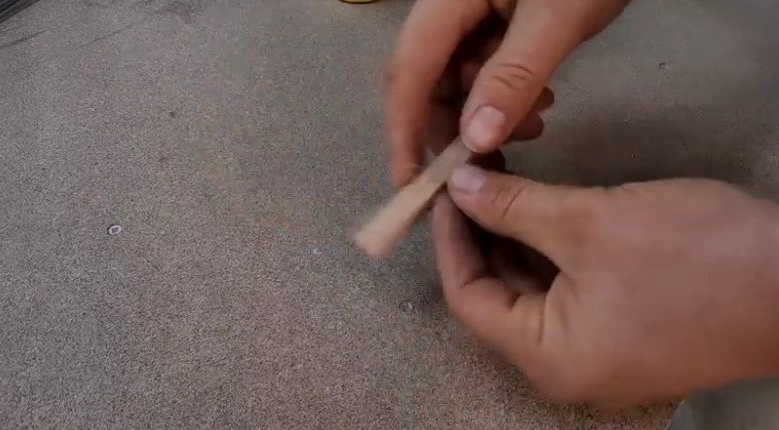
Glues them. This part should fit freely into the internal cavity of the profile.

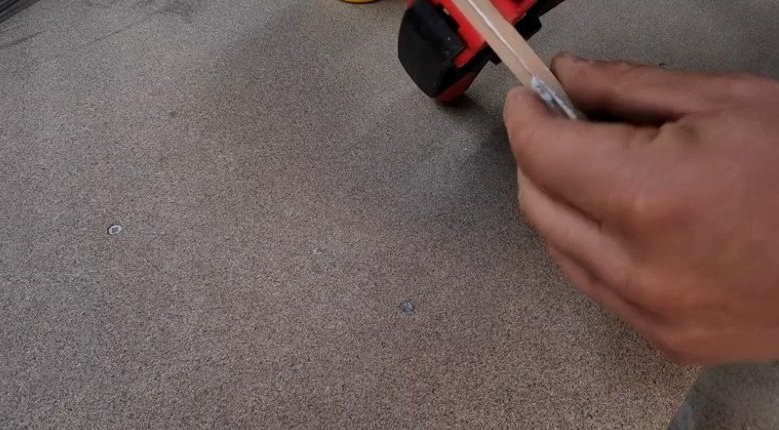

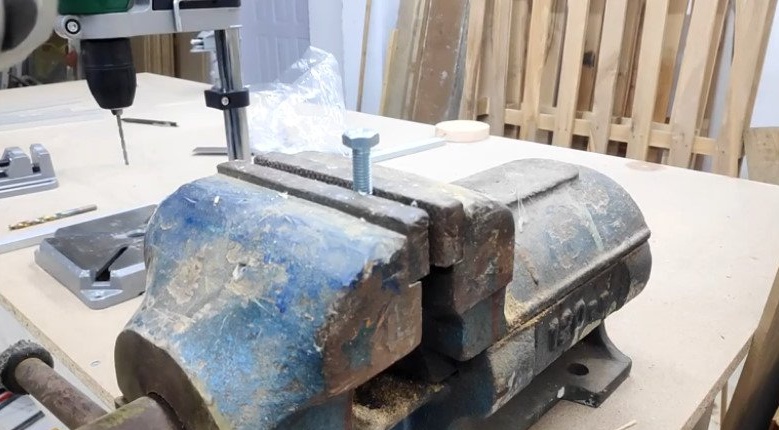
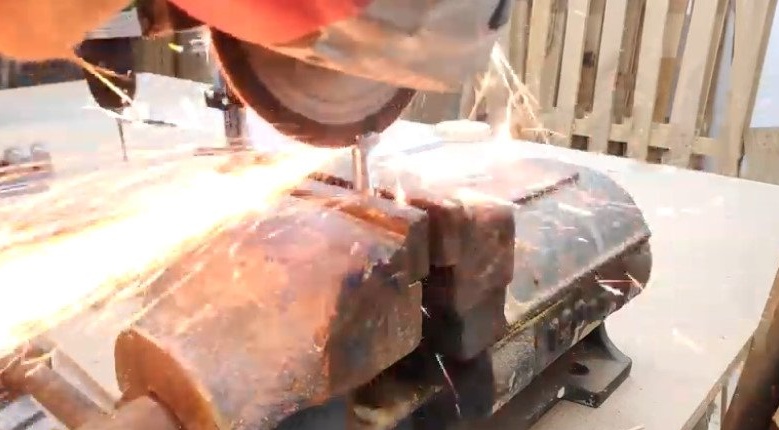
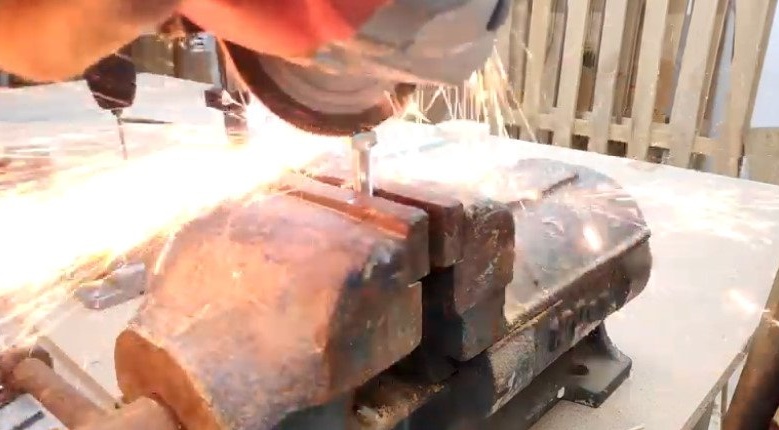
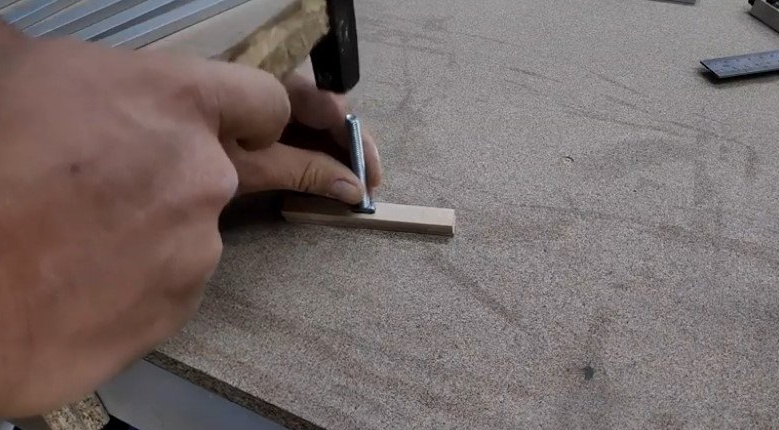
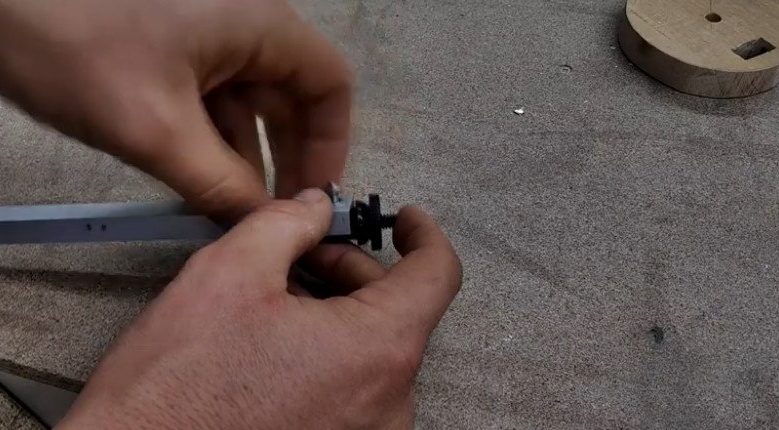
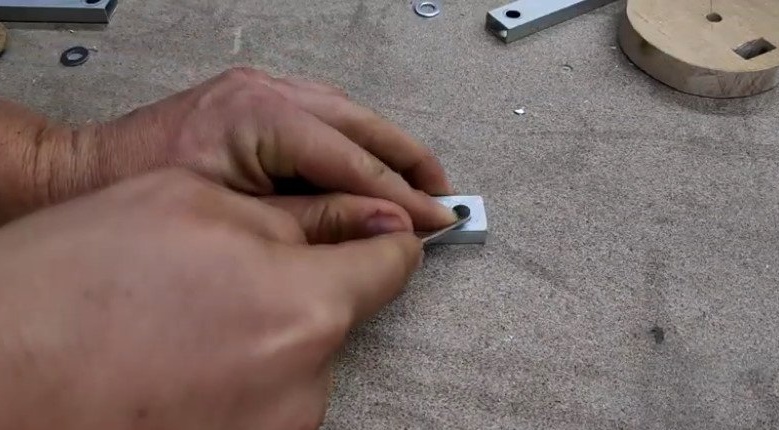
Next, you need to cut off two opposite faces from the bolt head.

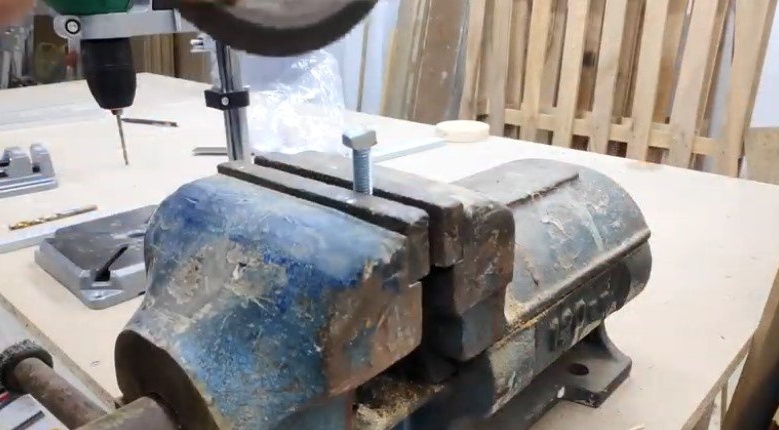
In the middle of the suspension cuts a groove under the bolt head.
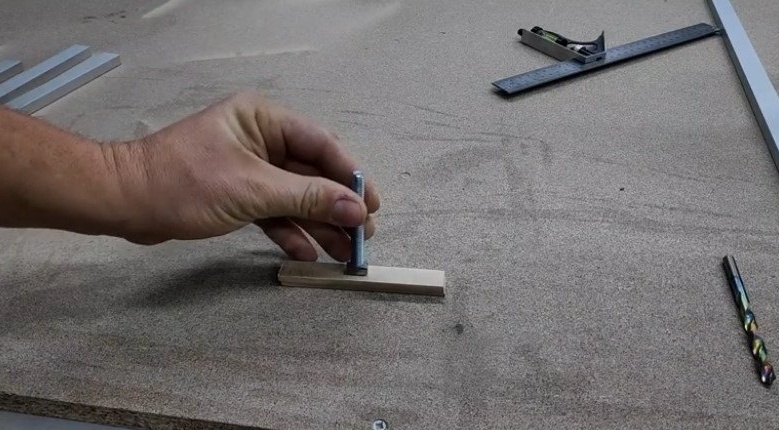
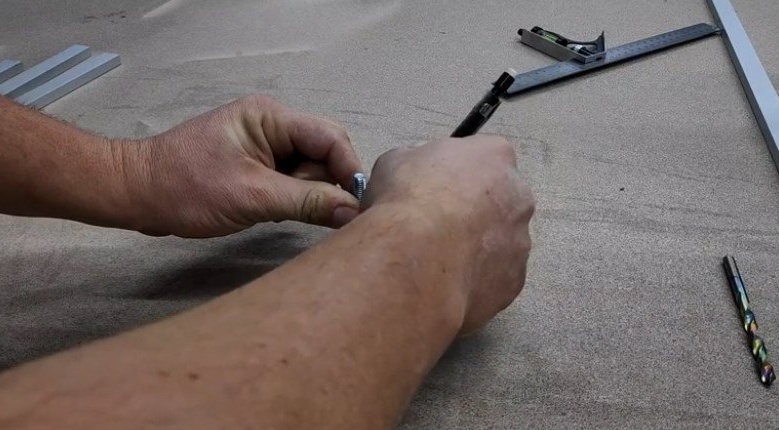
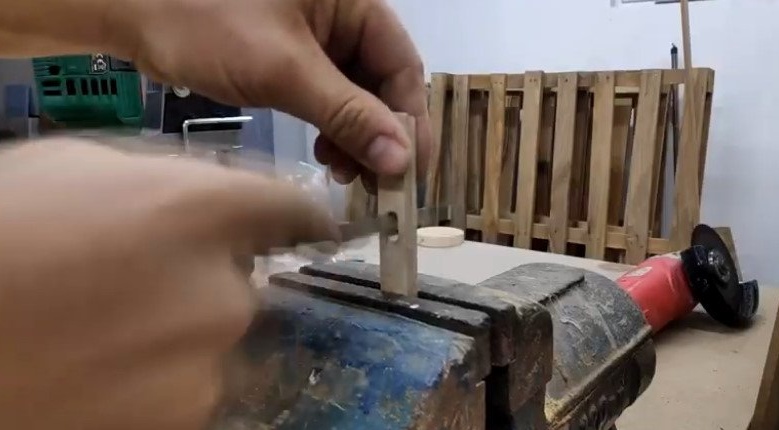

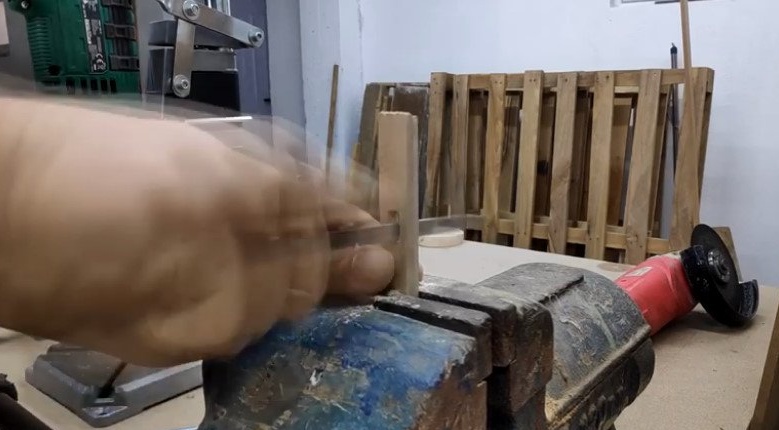
Installs a bolt in the suspension.
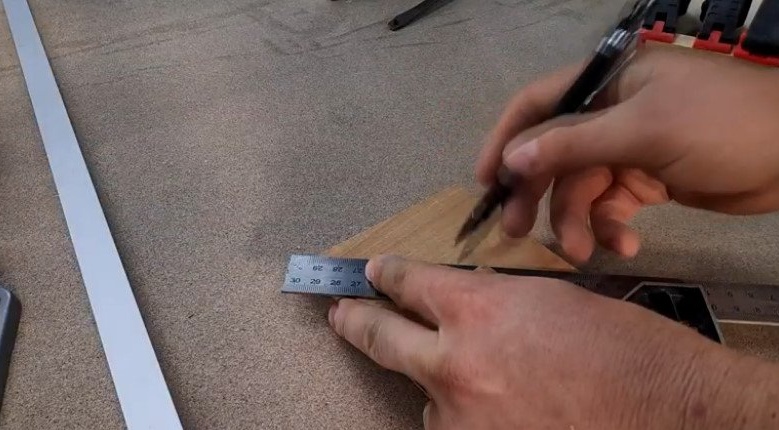
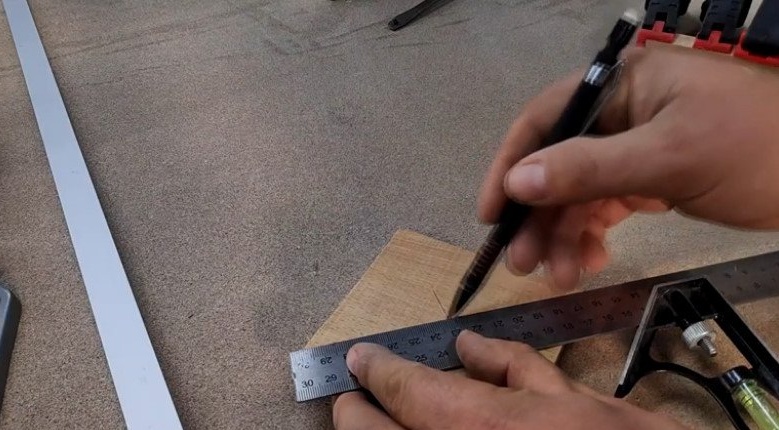
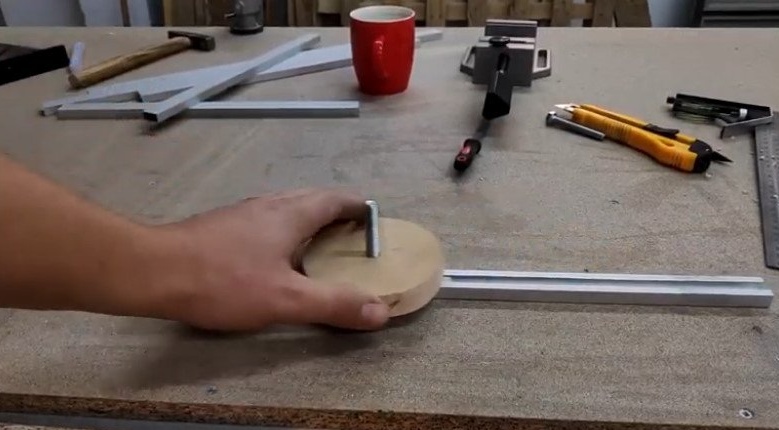
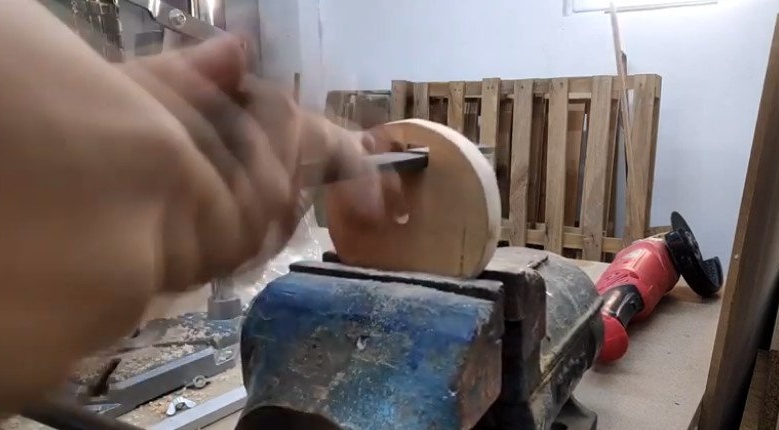
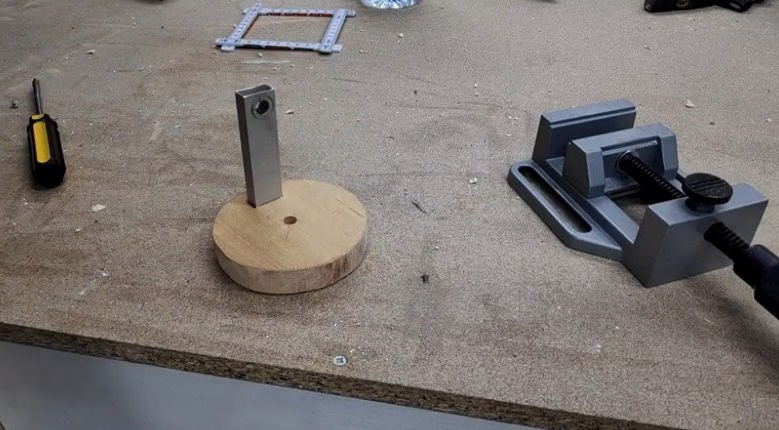
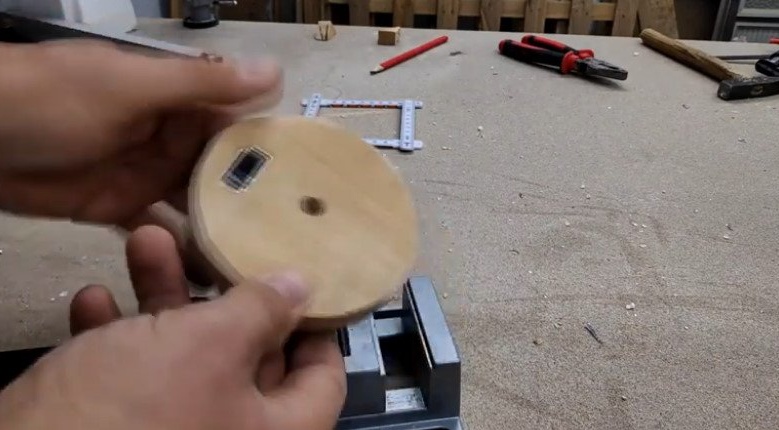
Step Three: Turntable
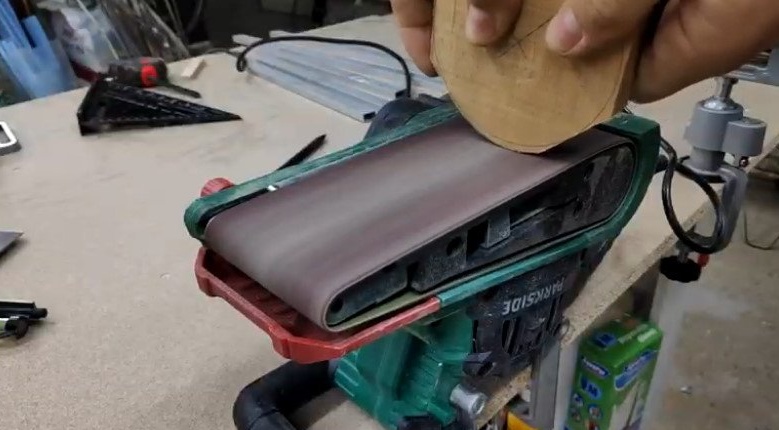
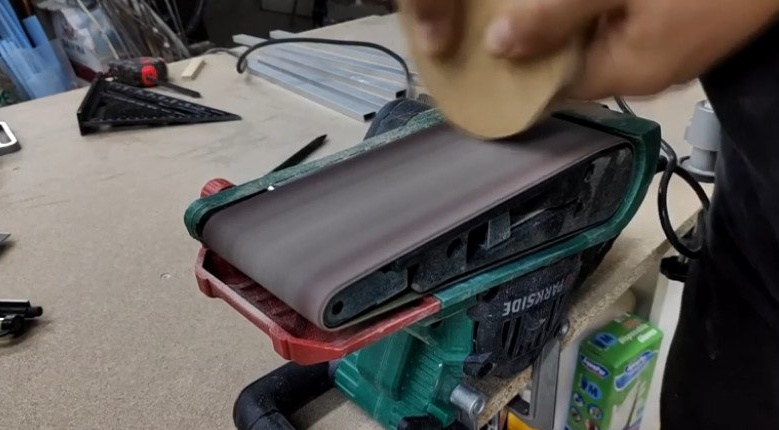
Marks a circle on the board. Cuts out.


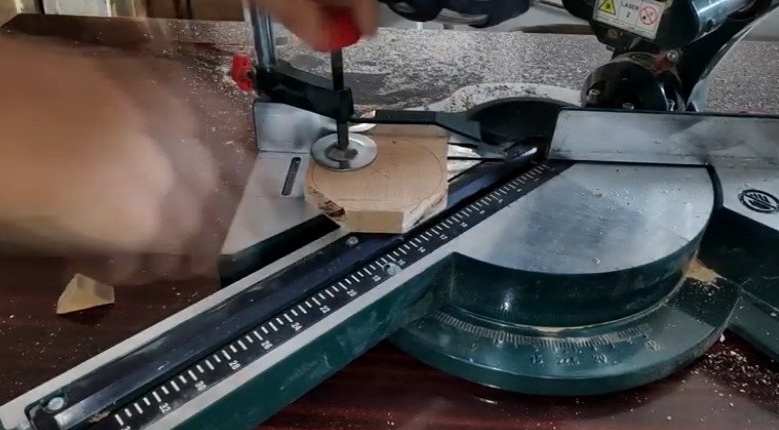
Grinds on a grinding machine.

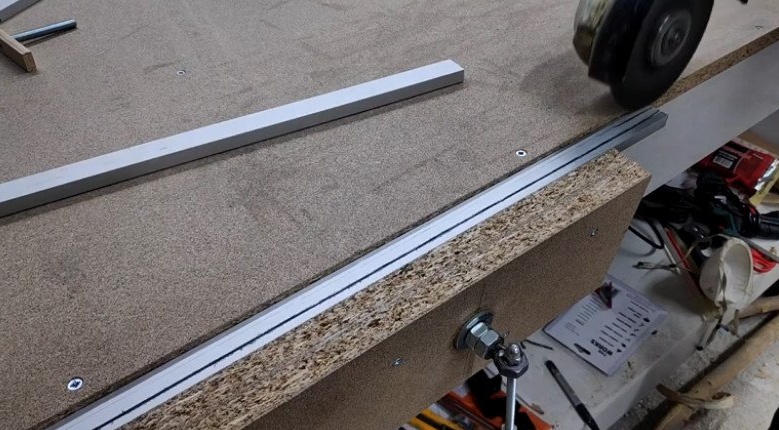
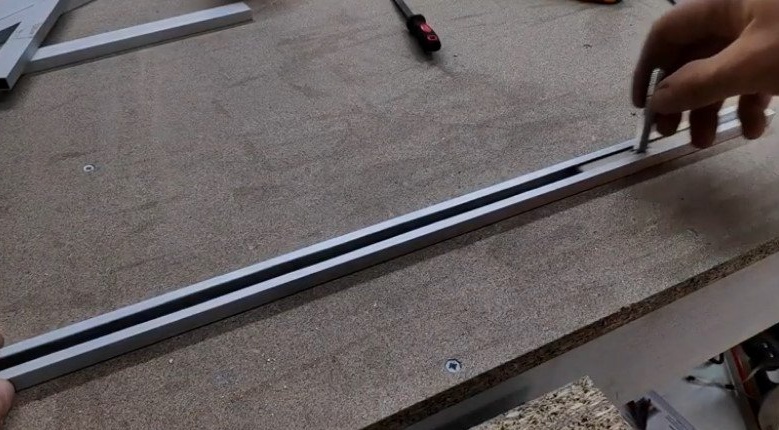
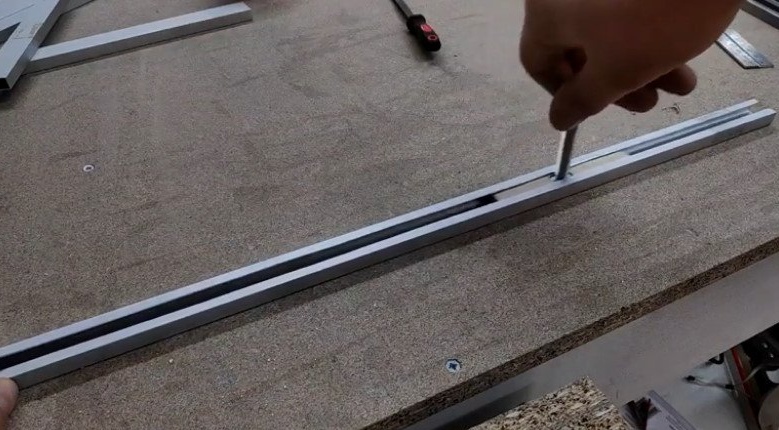
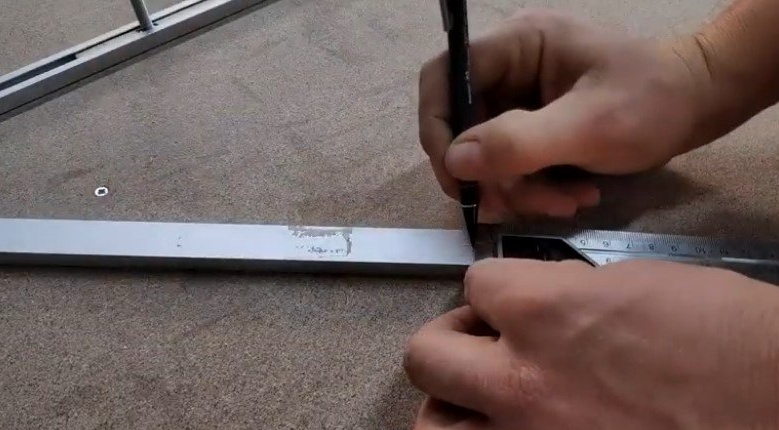
Step Four: Guide
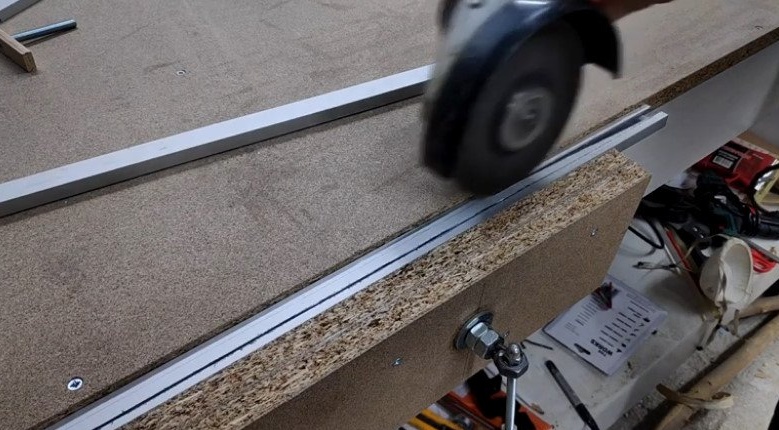
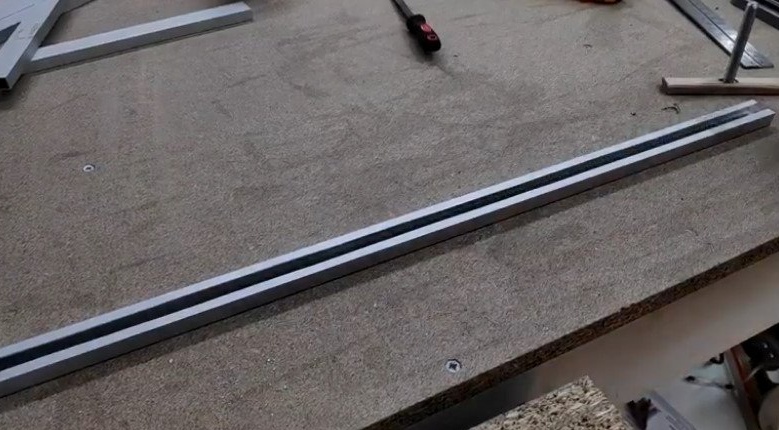
Now you need to make a guide. It is made from the remaining meter section of the profile, and the suspension will move along it. The wizard cuts off the middle of one profile shelf.
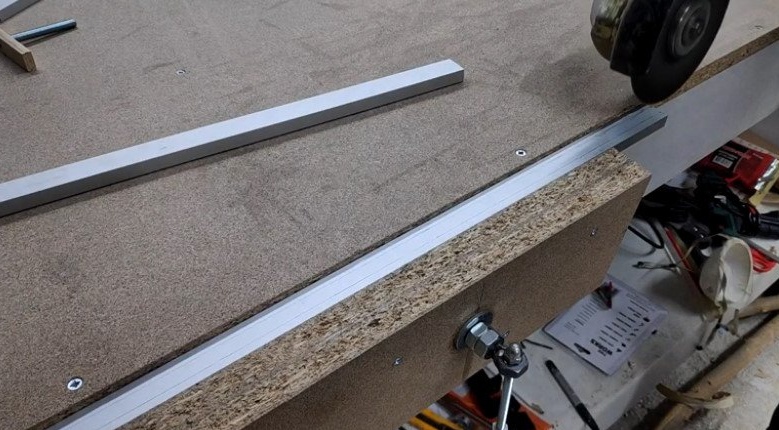
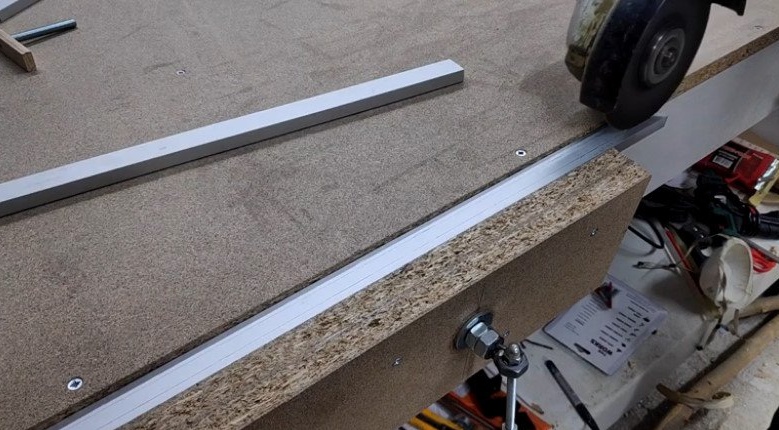

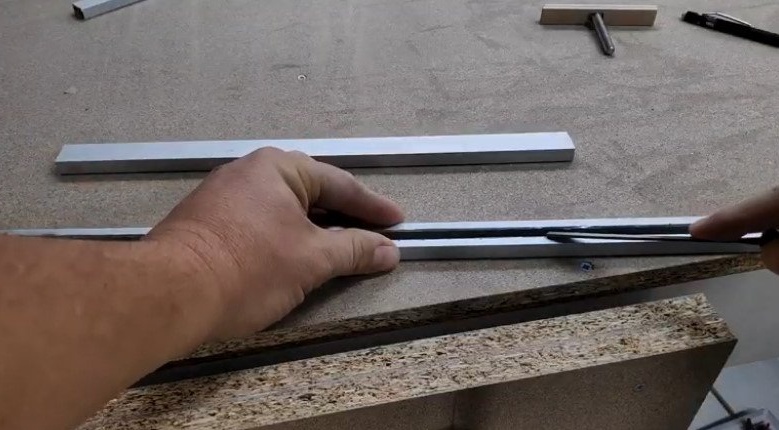
Edges the file.
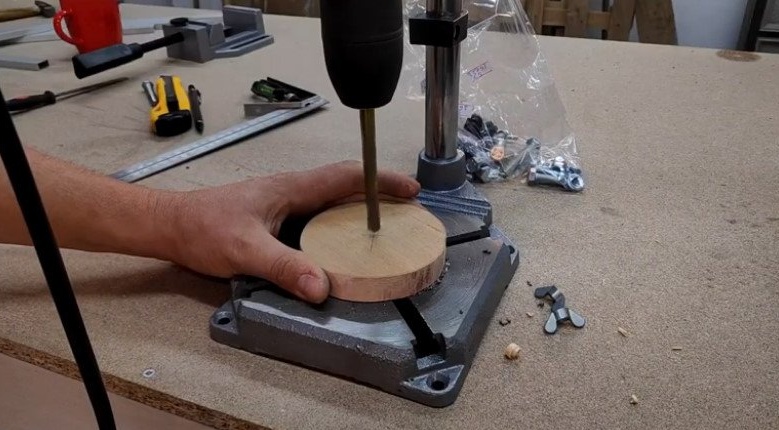
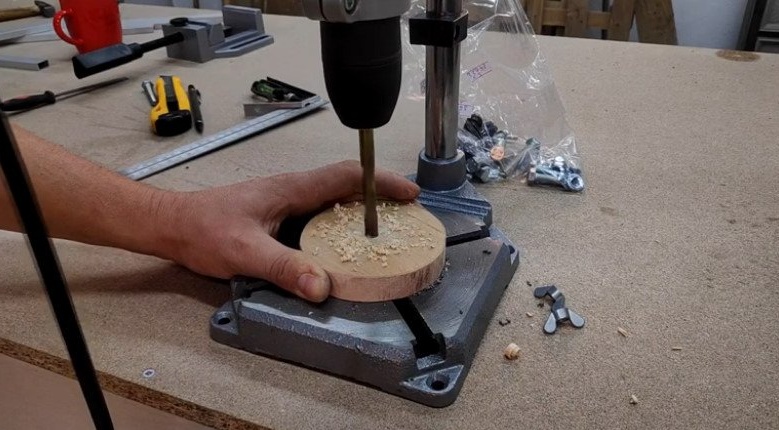
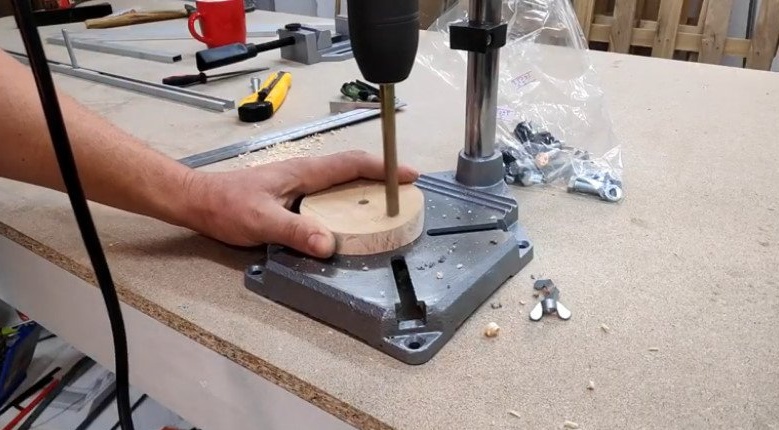
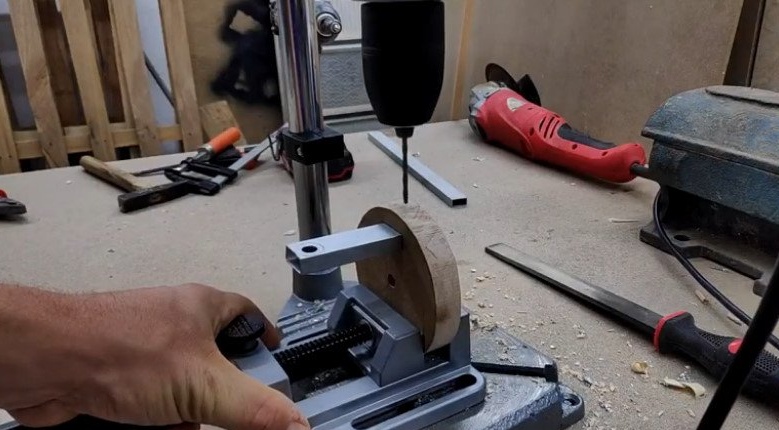
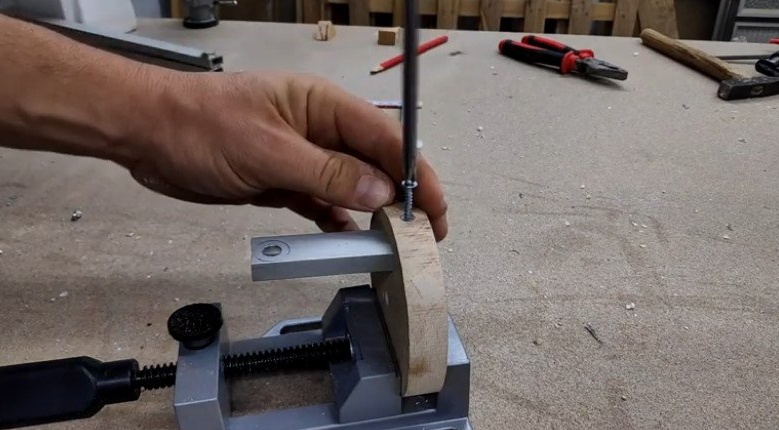
Step Five: Finalize the turntable
In the center of the circle, the master drills a through hole. The circle will be attached to the suspension bolt.
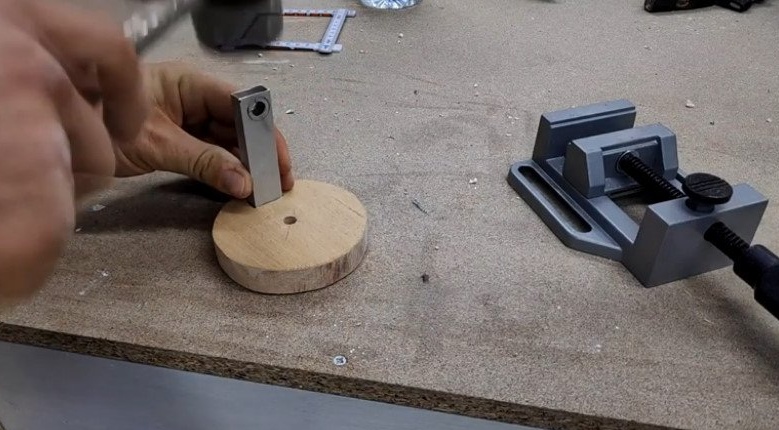
Stepping back from the center, the master marks and cuts a hole for installing a small section of the profile. The first arm of the bracket will be attached to the profile.
Fixes a profile.

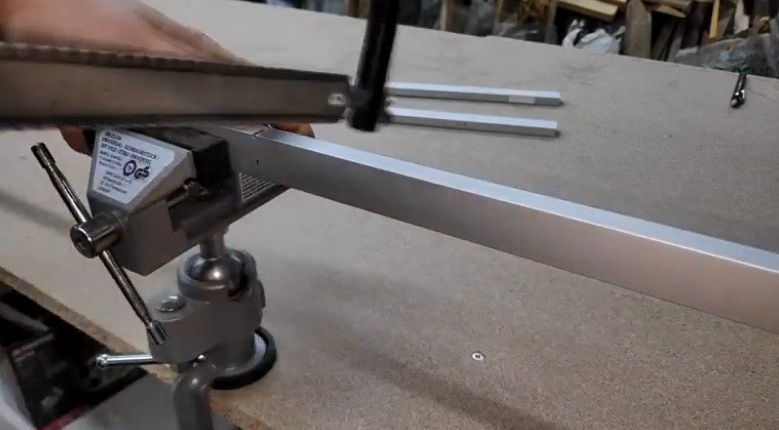
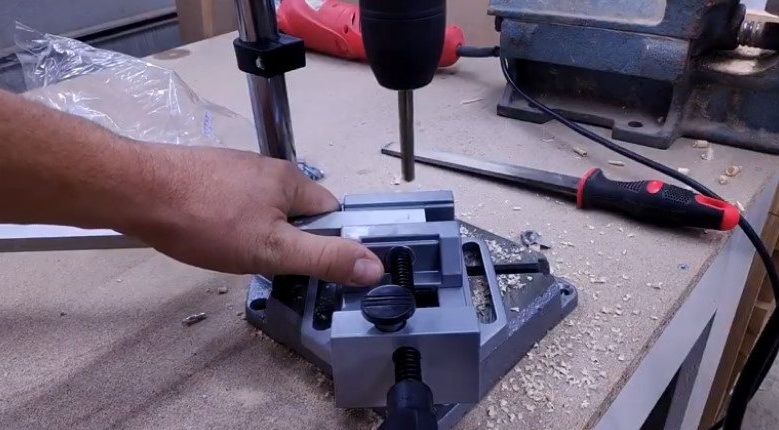
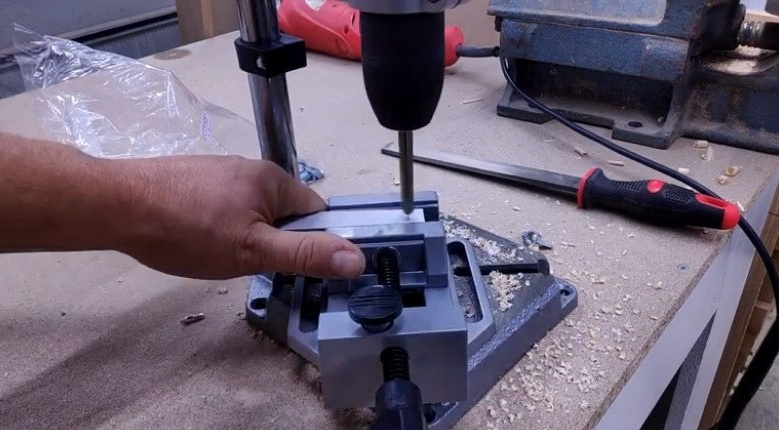
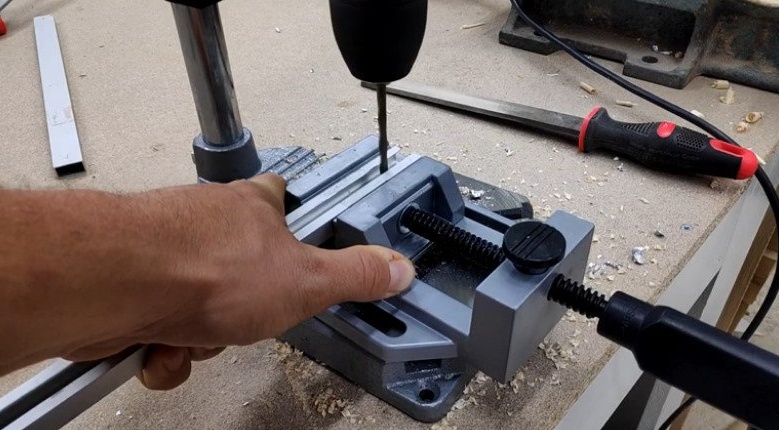
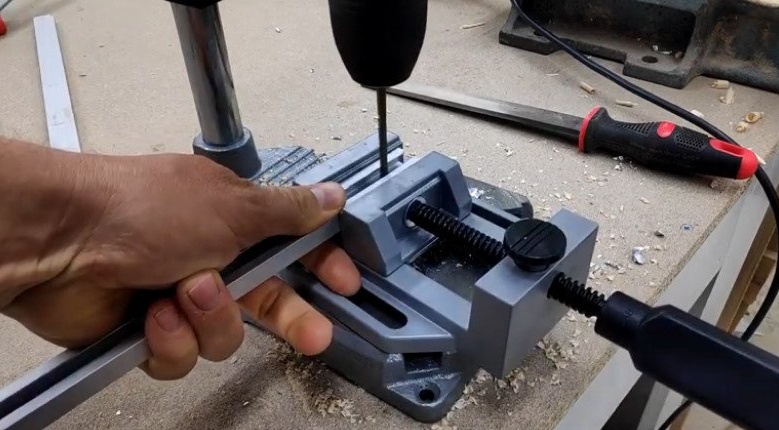
Step Six: Mounting Holes
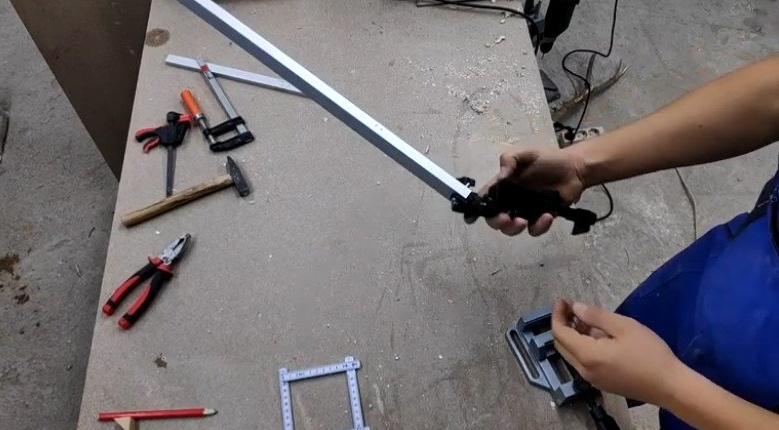
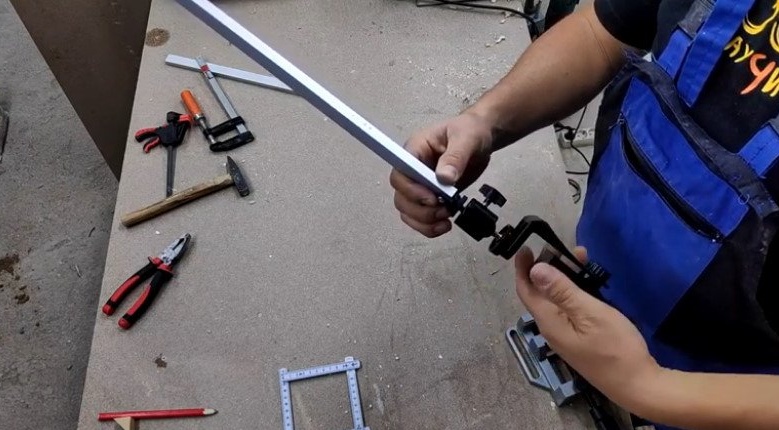
In the profiles of the first and second shoulder drills mounting holes. In the third profile, on one side, a mounting hole is drilled, on the other hand, an adapter is installed for mounting a rotary tripod.
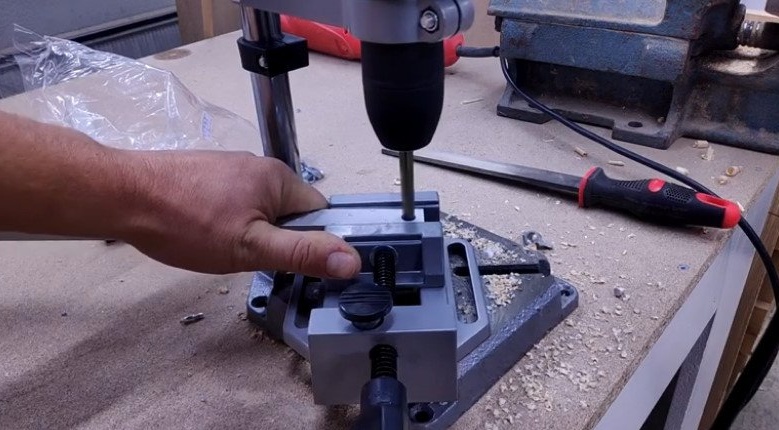

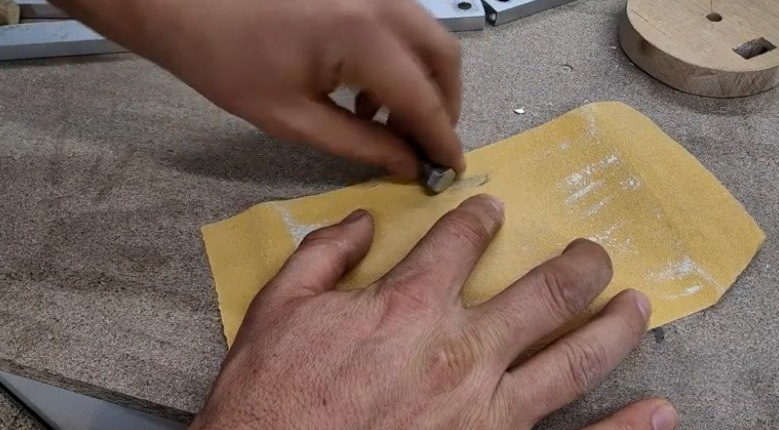
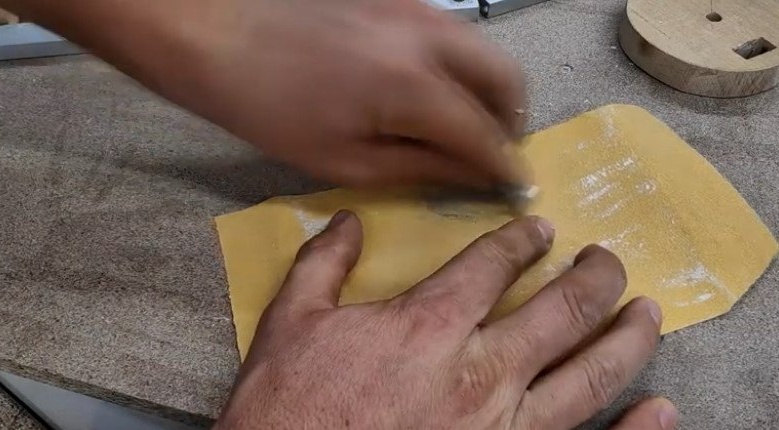
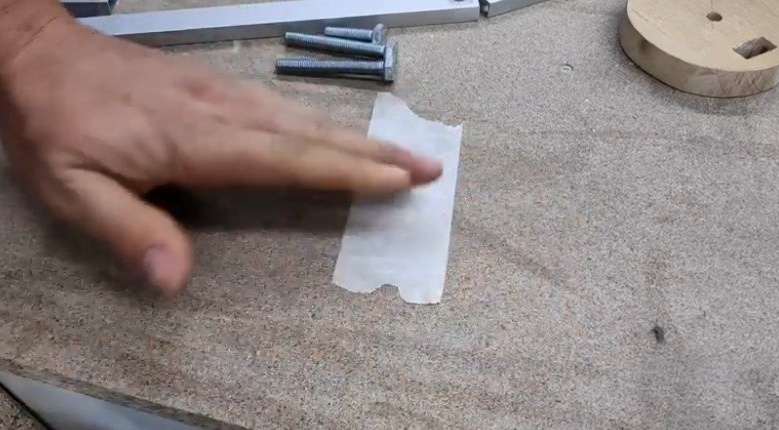
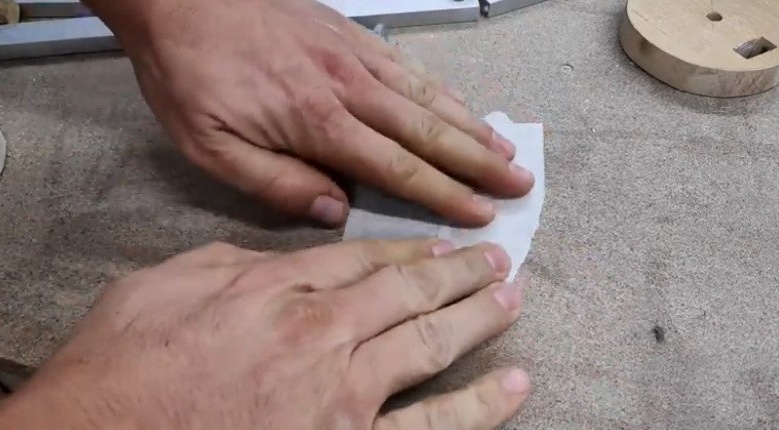
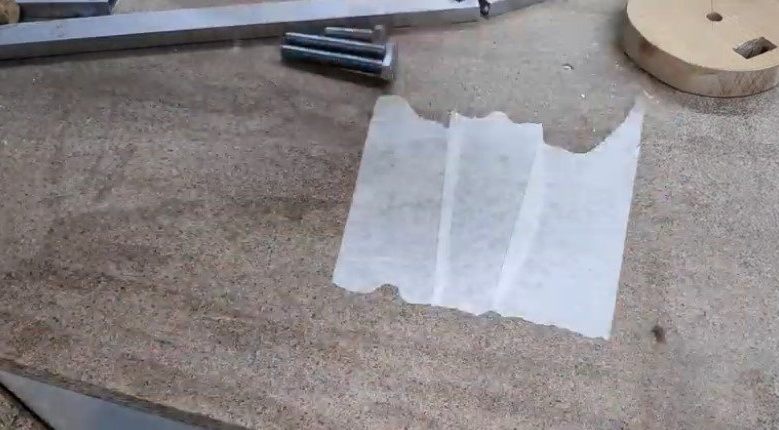
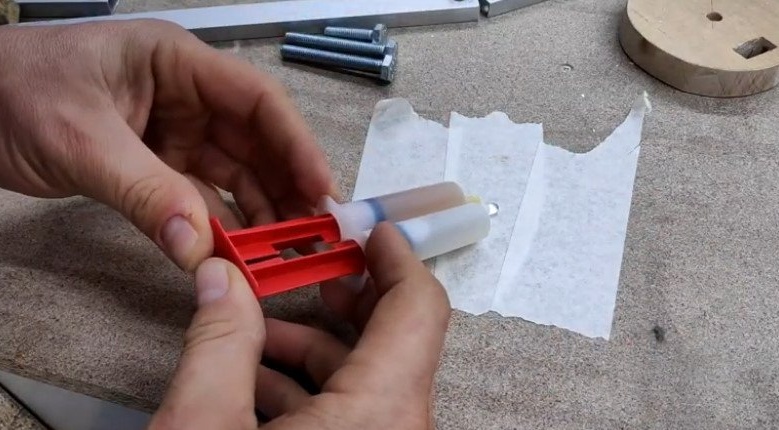
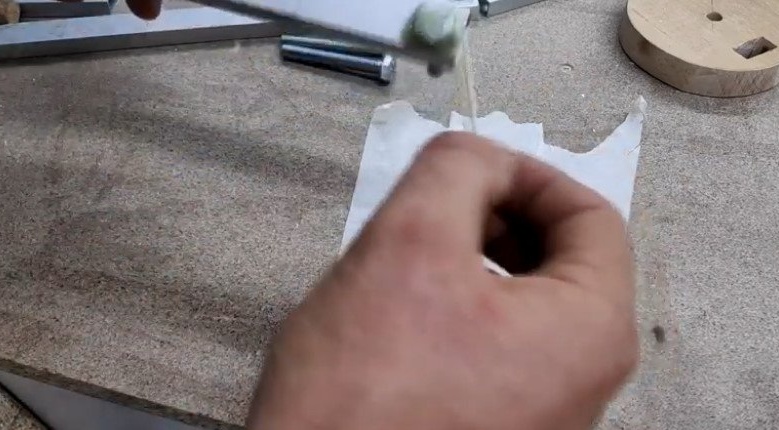
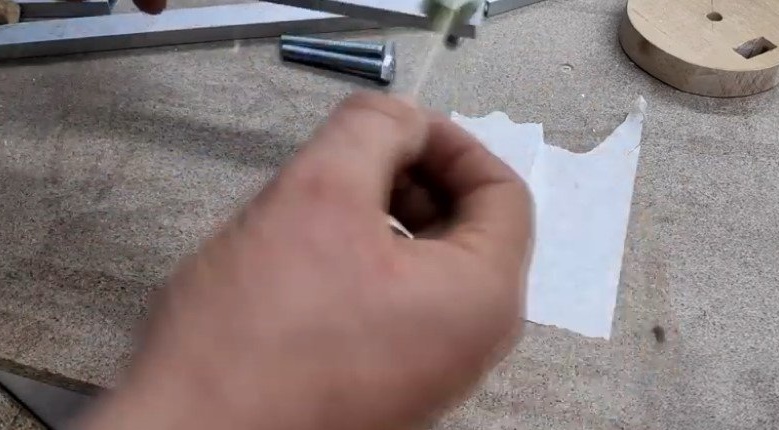
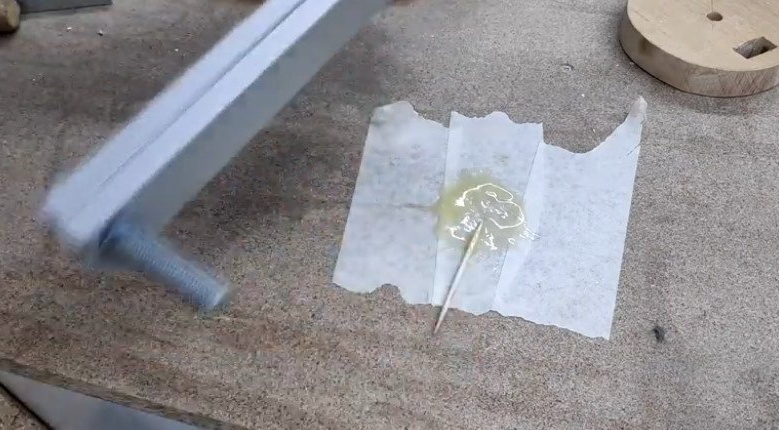
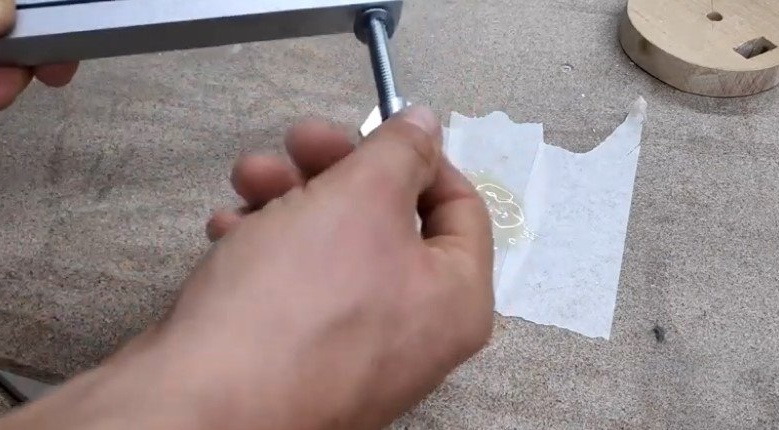
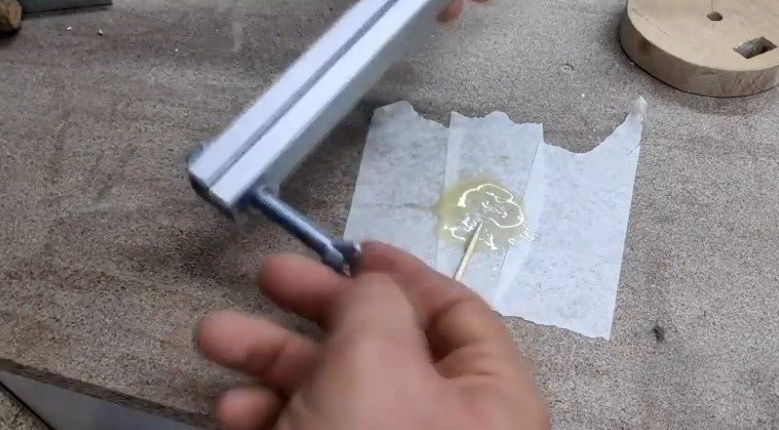
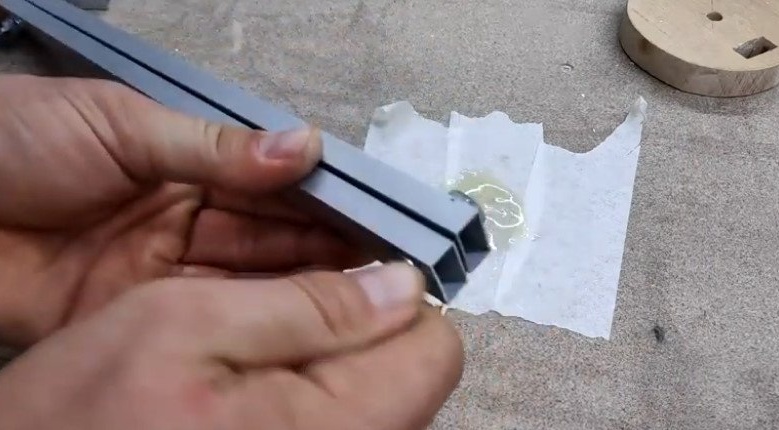
So that the bolts do not scroll when tightening the wing nuts, the master fixes them with epoxy (from the side of the bolt head). For better adhesion of the bolt heads, the master smoothes out with sandpaper.
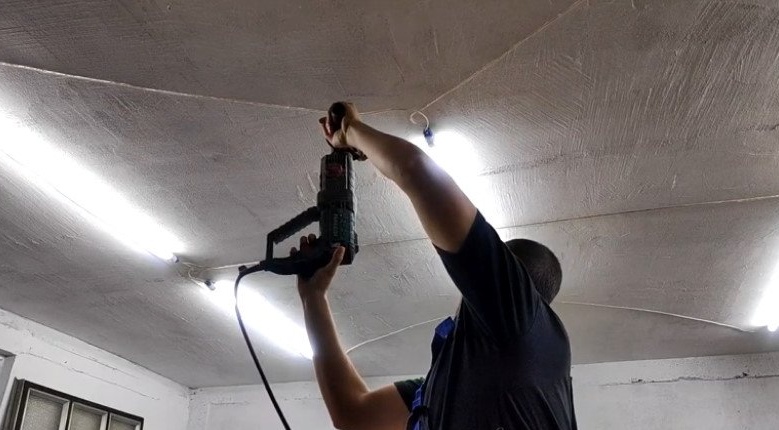
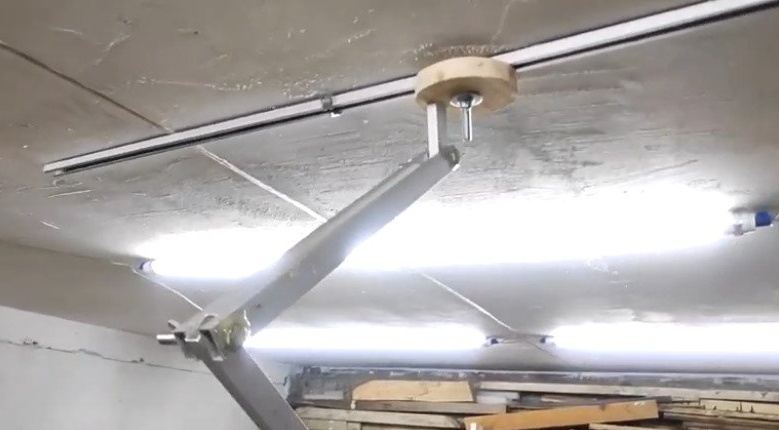
Seventh step: installing the bracket
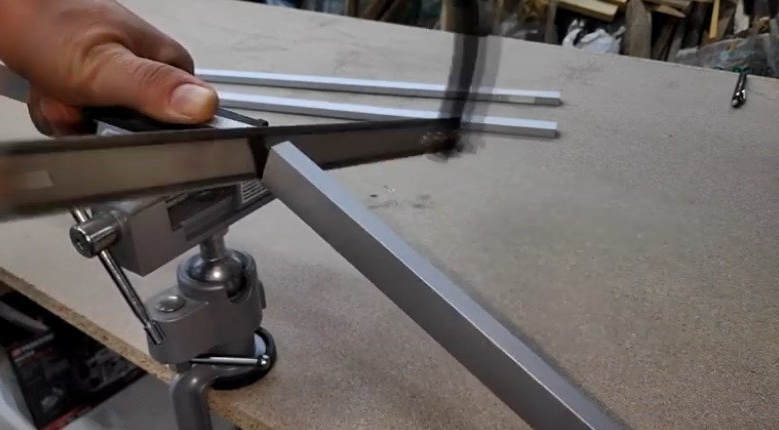
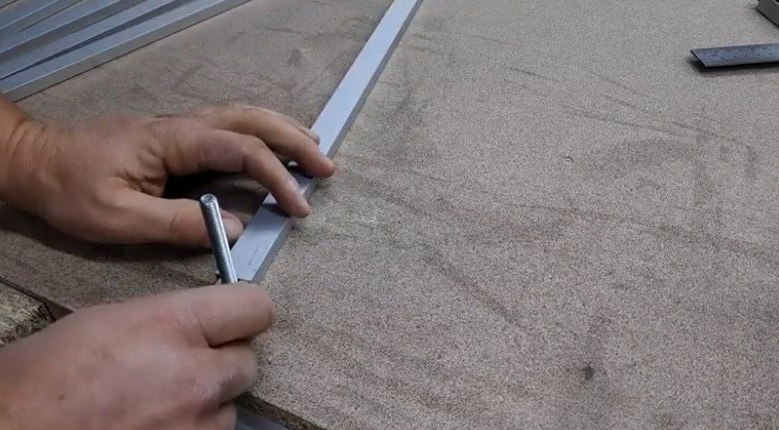
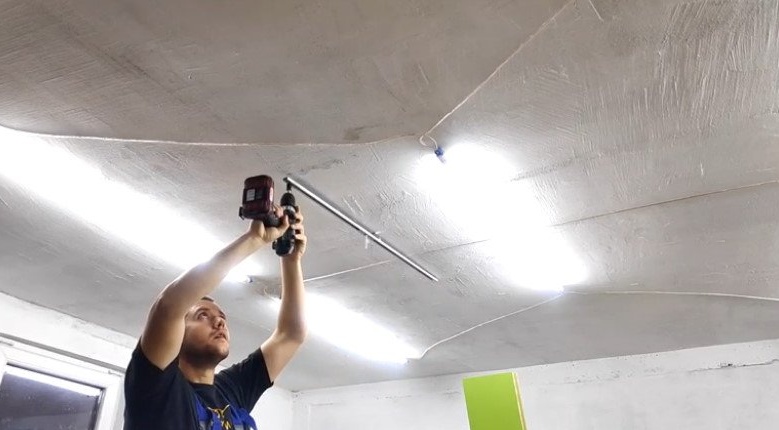
At the edges of the guide, the master drills the mounting holes.

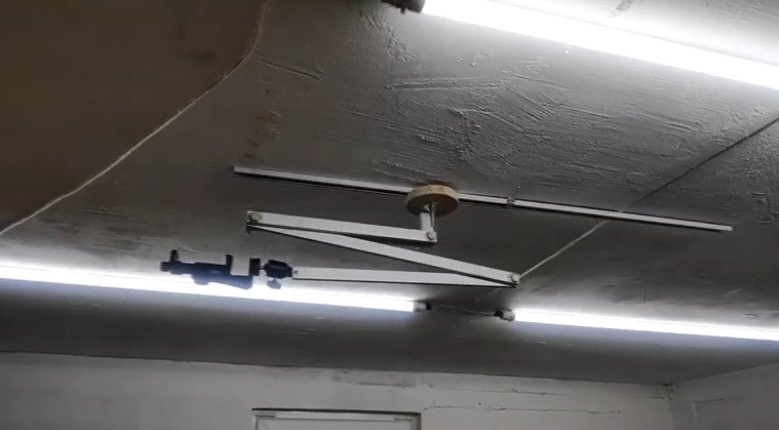
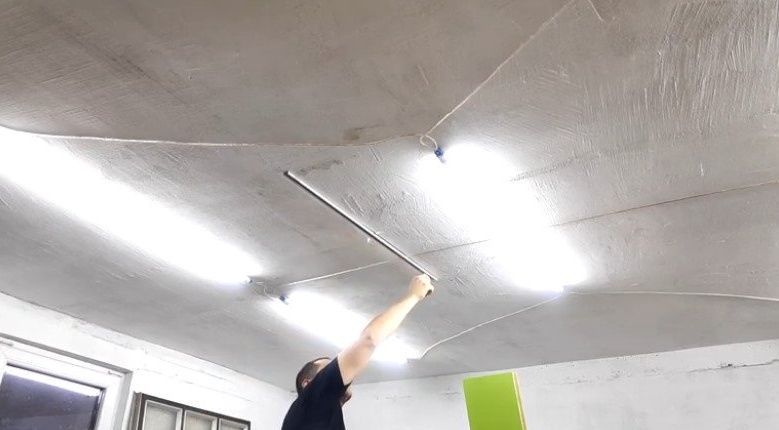
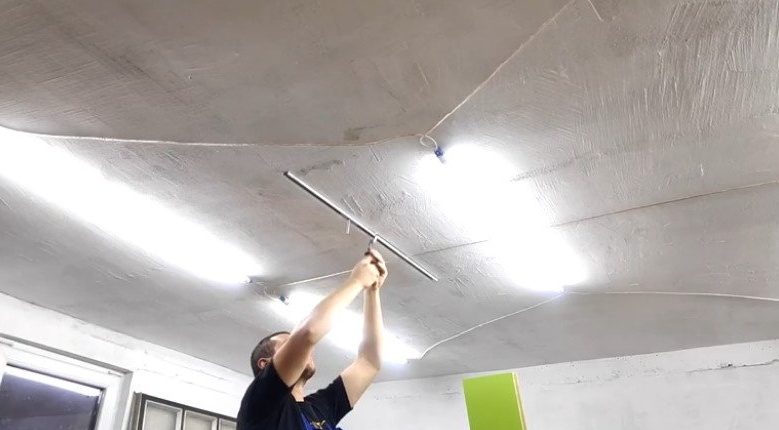
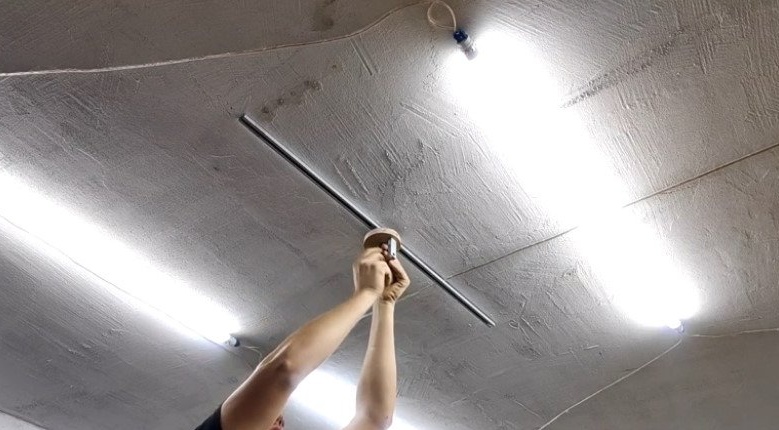
Fastens the guide to the ceiling. Sets the suspension.
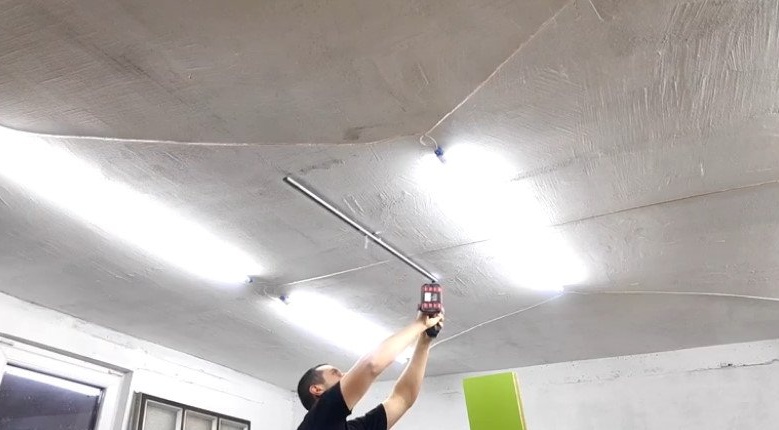

Secures the turntable.
Gathers shoulders.
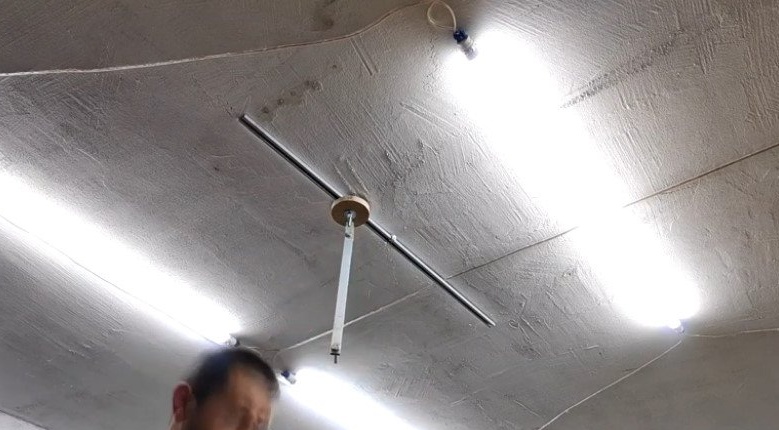
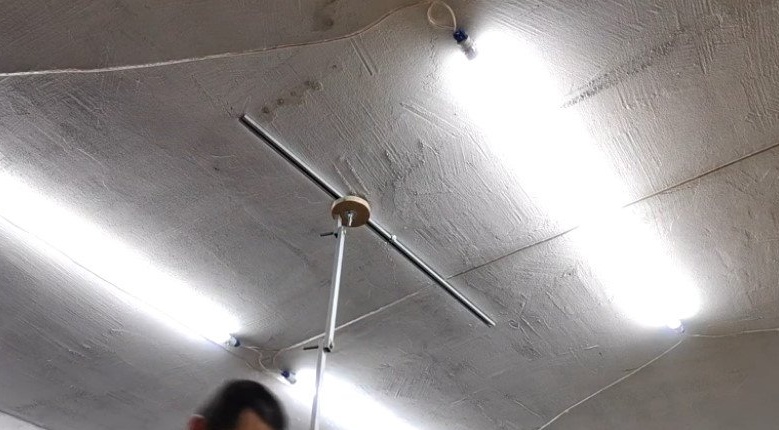
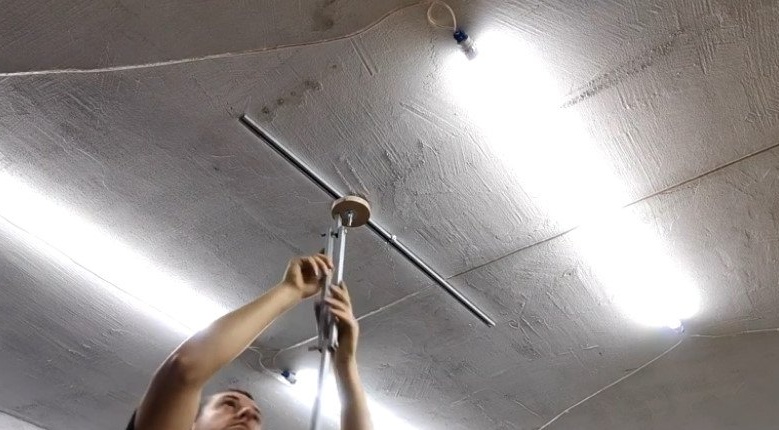
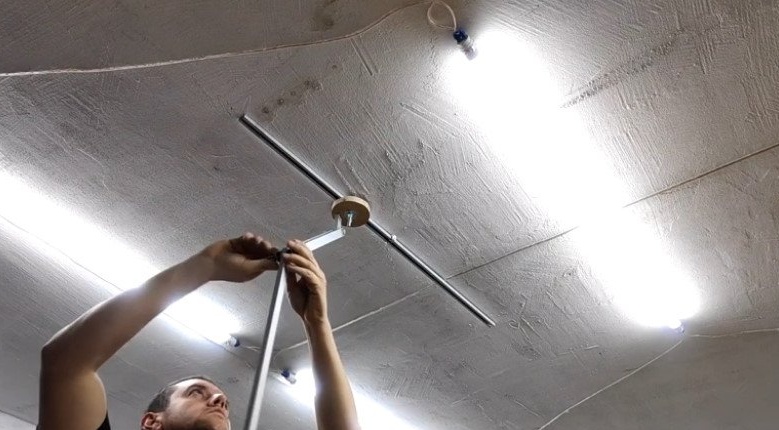
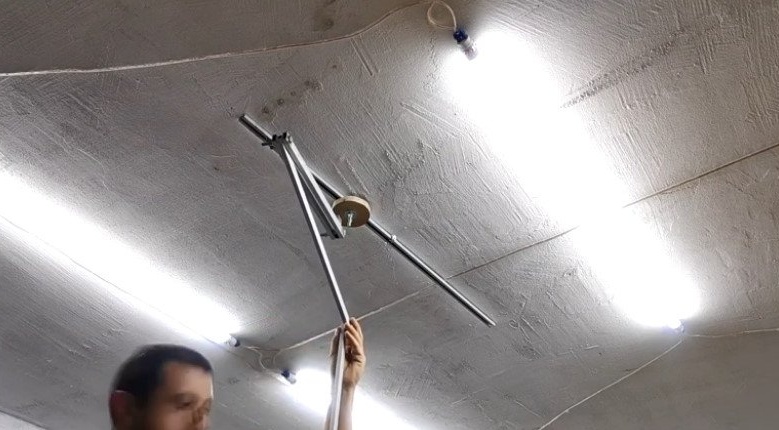
Secures the holder.
Everything is ready, it remains to fix the camera.

The whole process of manufacturing such a suspension bracket can be seen in the video.