
More recently, electric skateboards, gyro scooters, monowheels, etc. seemed exotic and expensive toys, but time goes on, technology develops and these vehicles are already available for manufacture by craftsmen.
Tools and materials:
-Plywood;
-Electronic speed controller HGLRC FSESC ESC V4.20 100A;
- GoolRC Flipsky 2.4 GHz VX1 remote control;
-Kit engine with a hub for a skateboard;
Antispark;
-4S LiPo battery (6.6Ah 12C 14.8V) - 2 pcs;
-Computer with software;
-Band-saw;
-Rule;
-Marker;
Expanded polystyrene;
-A circular saw;
-Vacuum pump;
-Vacuum bag;
-Glue;
-Drill;
- Clamps;
-Fasteners;
-Wire;
-Soldering accessories;
MDF;
-Aerosol paint;
-Double sided tape;
-Foam;
-Knife;
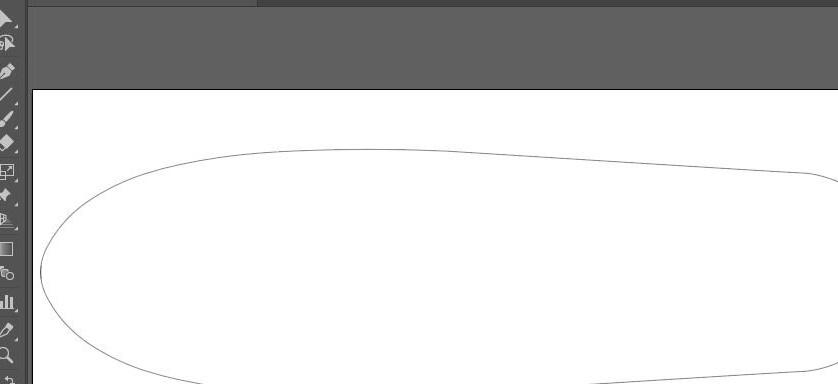
Step One: Project
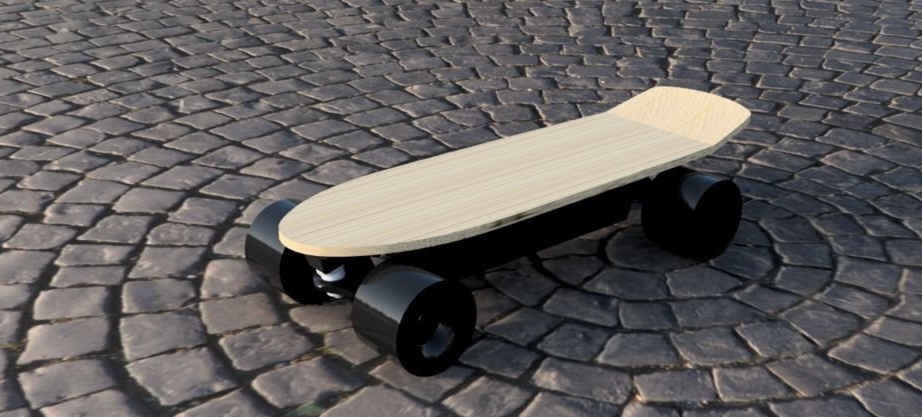
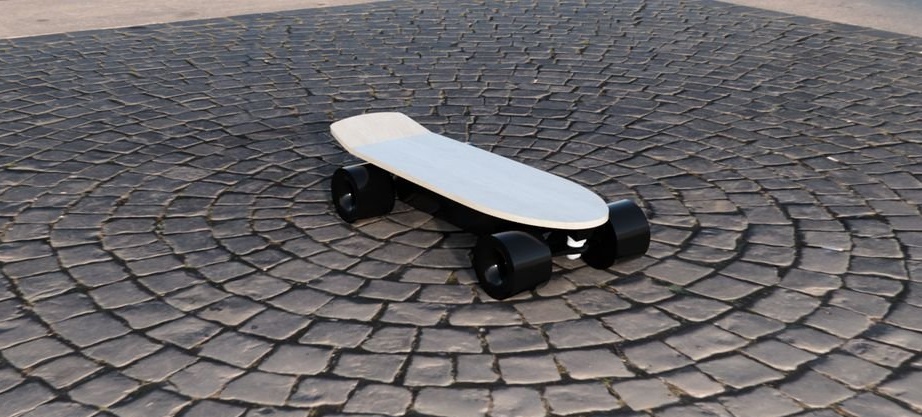
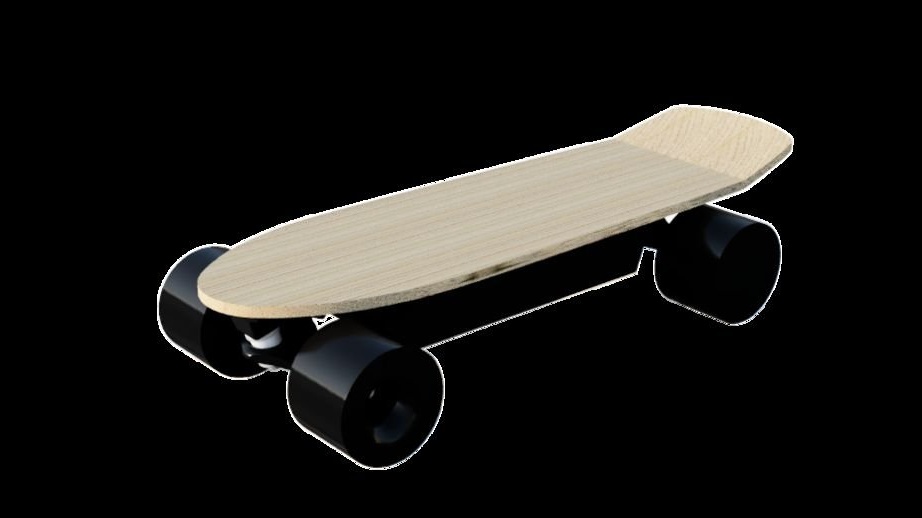
The master wanted to make a small compact board, which could be as light as possible, so that it was easier to travel with.

In the CAD program, the master designs the design of the future board.

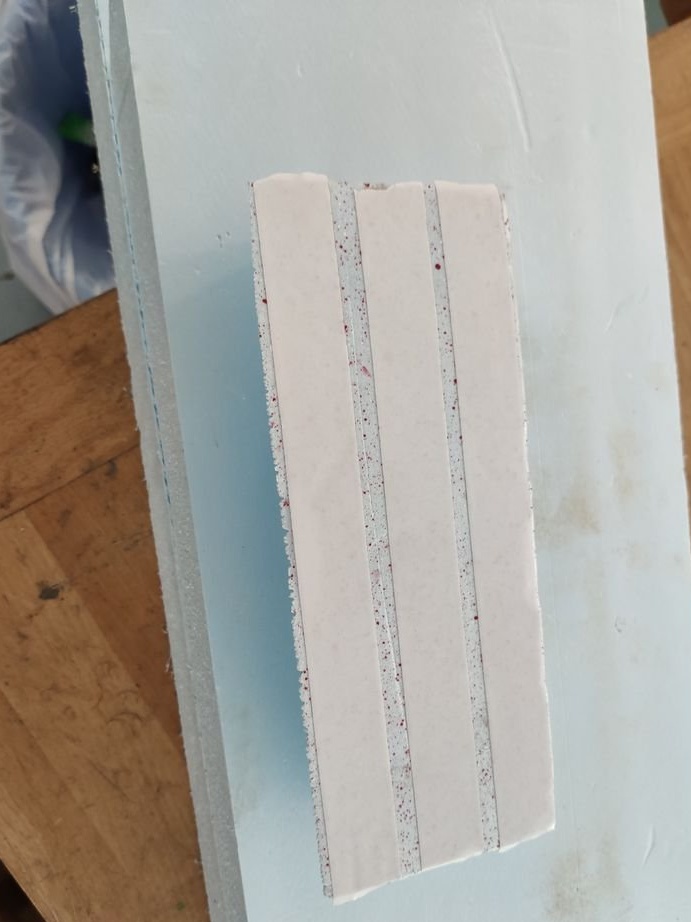
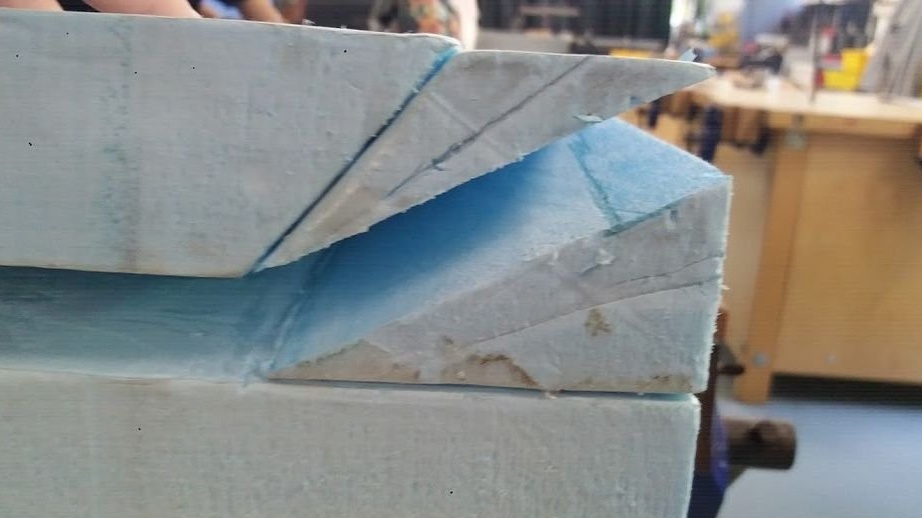
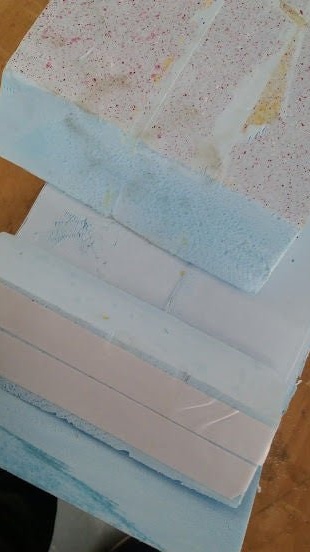
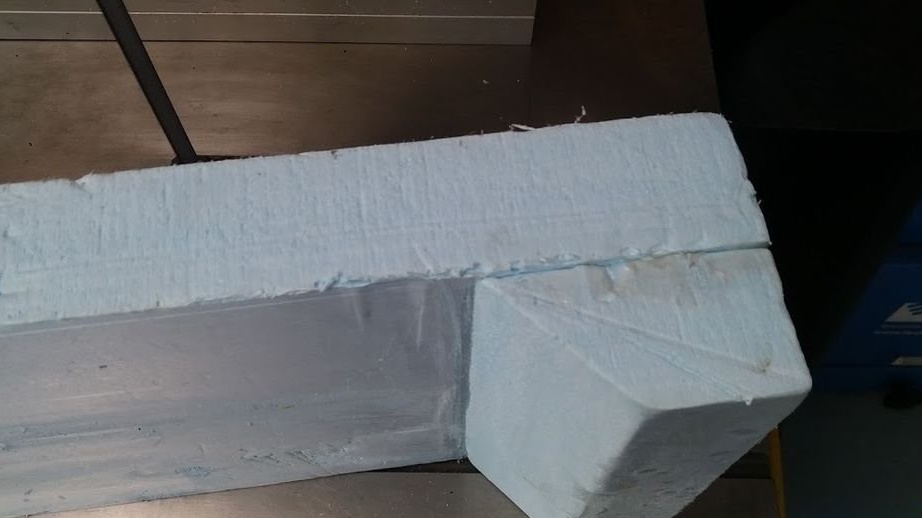
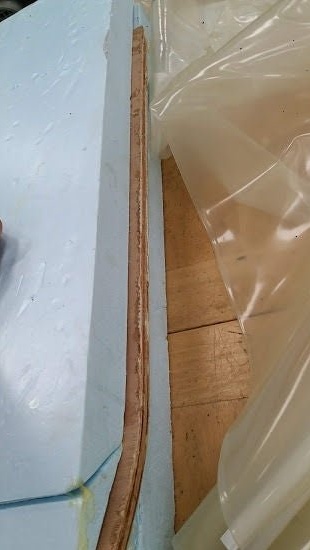
Step Two: Mold
The skateboard body is made of several glued layers of plywood. For gluing and shaping the board, the master cuts the mold from expanded polystyrene. It consists of two halves, and a board will be placed between them.

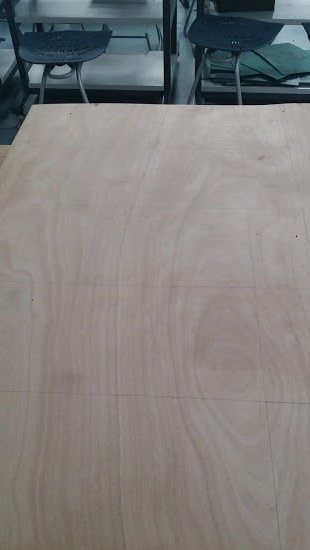
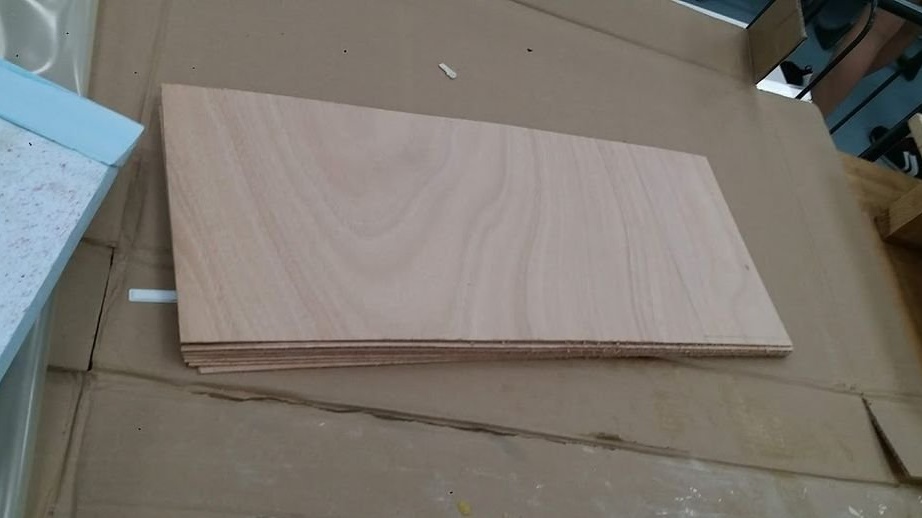
Step Three: Sheets
Each plywood sheet has a thickness of 1 mm. The board will be glued from layers of plywood. The master cuts seven blanks 70 x 20 cm.


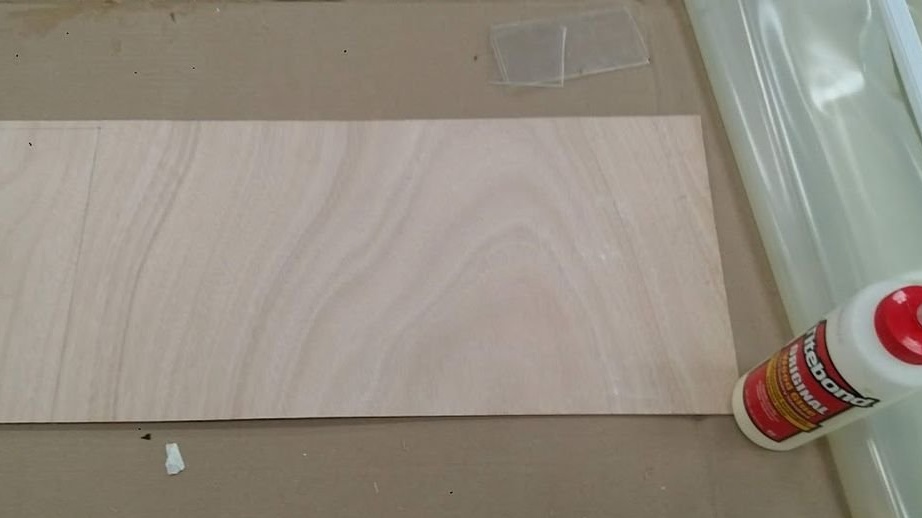
Step Four: Gluing
Next, you need to glue the board and give it the desired shape. The master applies glue to the sheets, smoothes them. Places between two parts of the mold. Puts everything in a vacuum bag (large cellophane). A vacuum pump pumps out air. Clamps the mold with clamps.

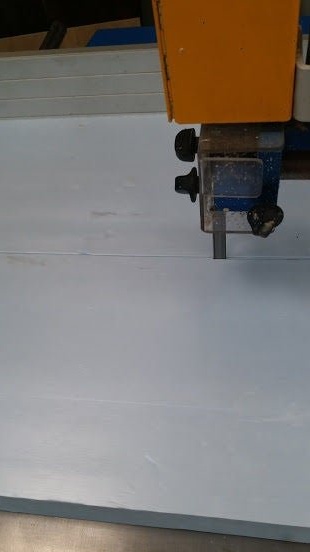
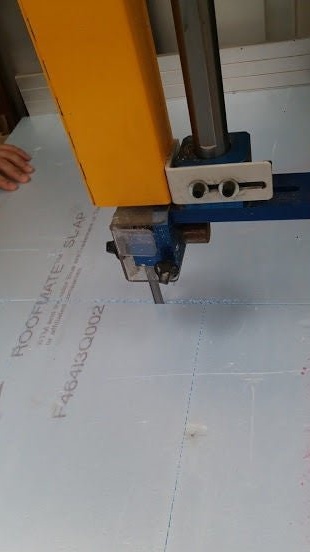
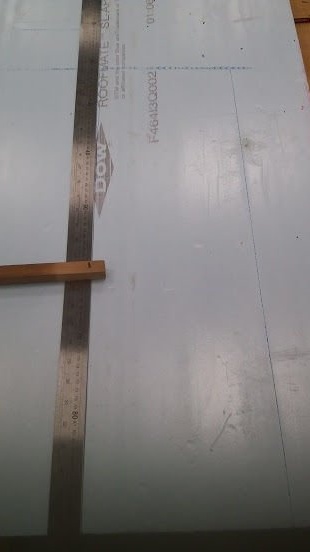
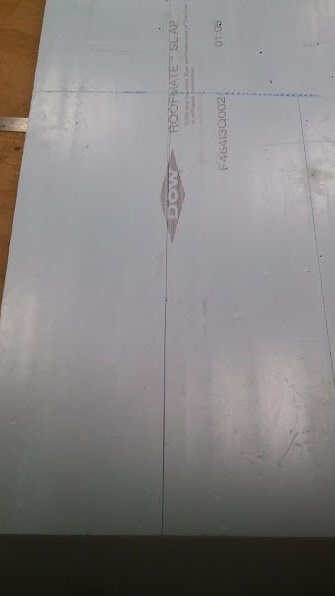
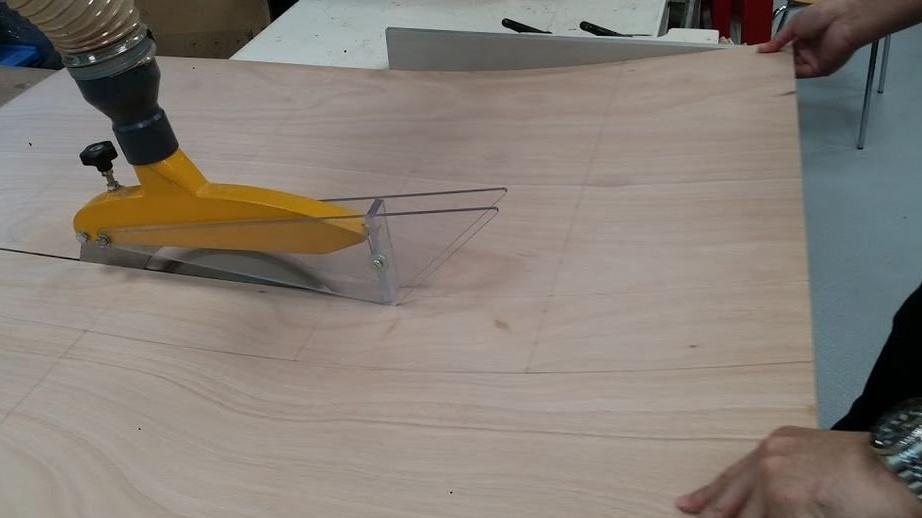
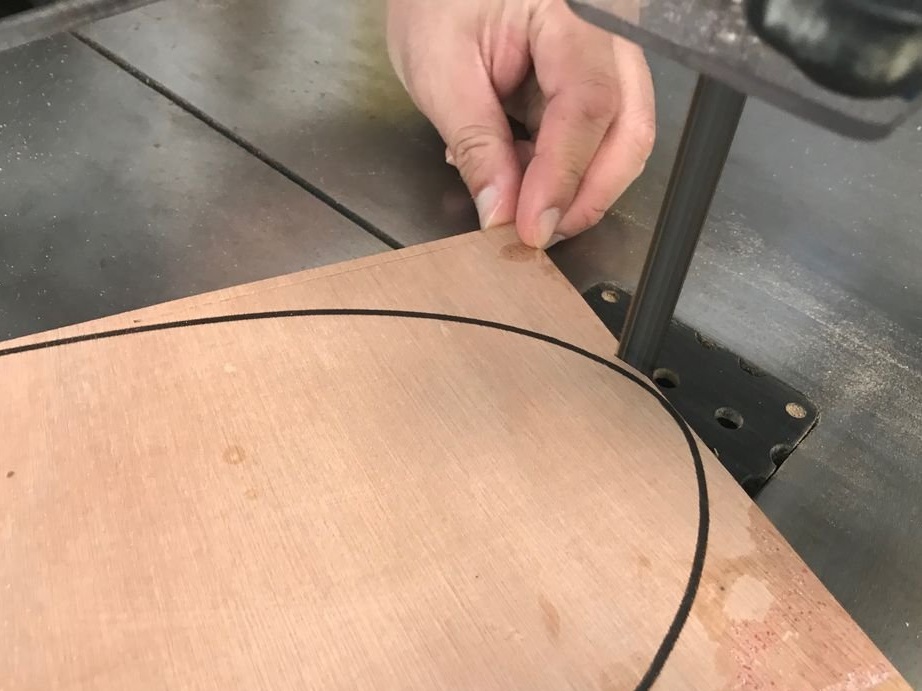
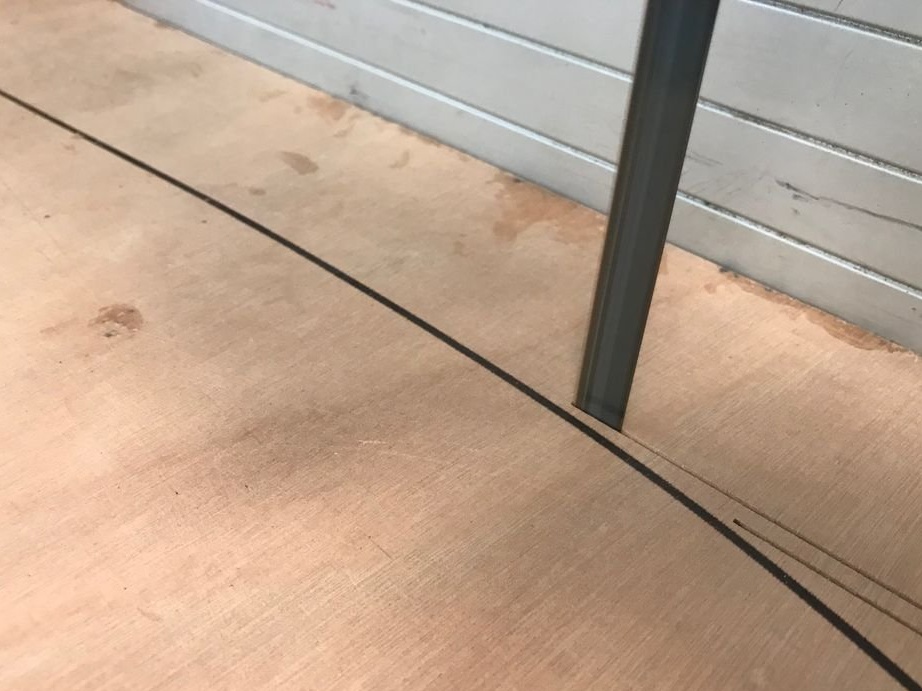
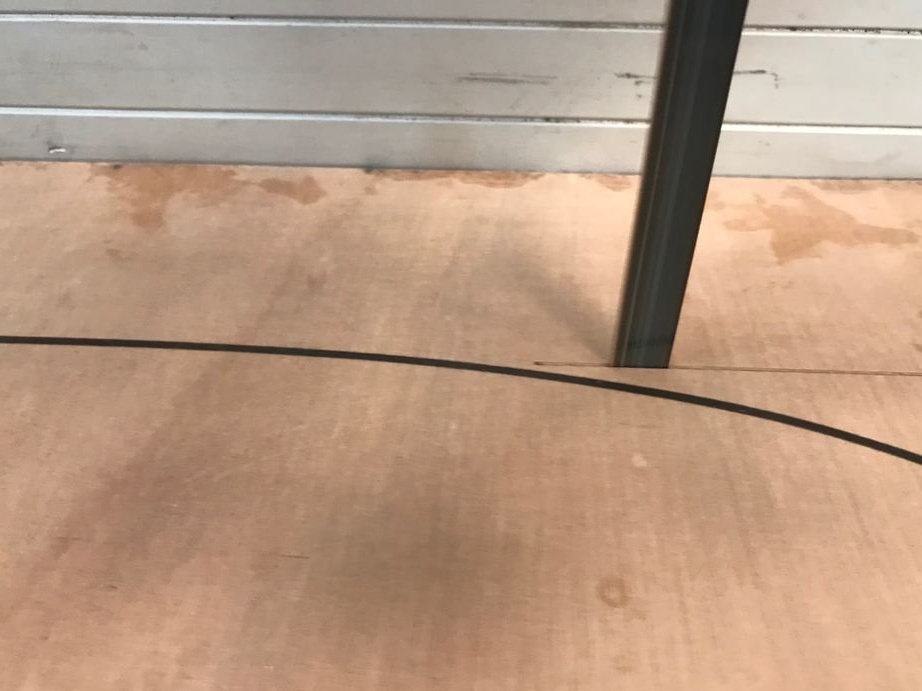
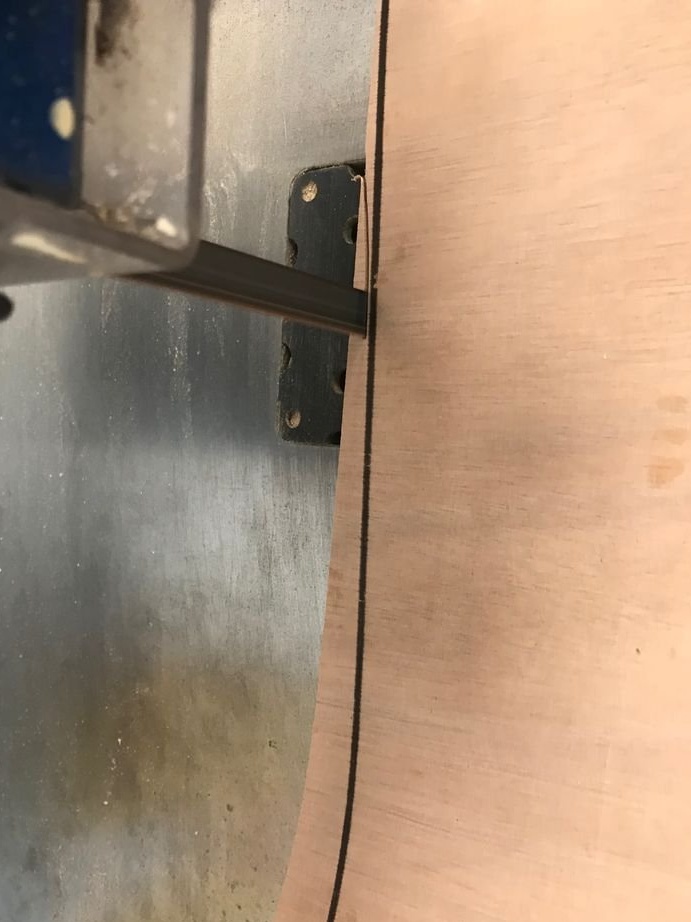
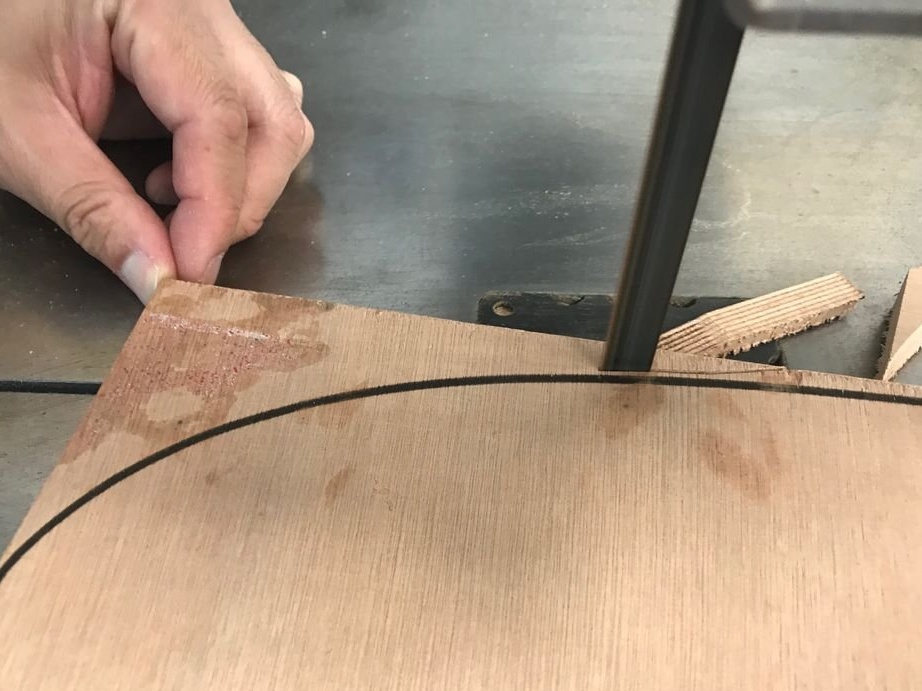
Step Five: Cropping
The board stuck together, and the master outlines the template.
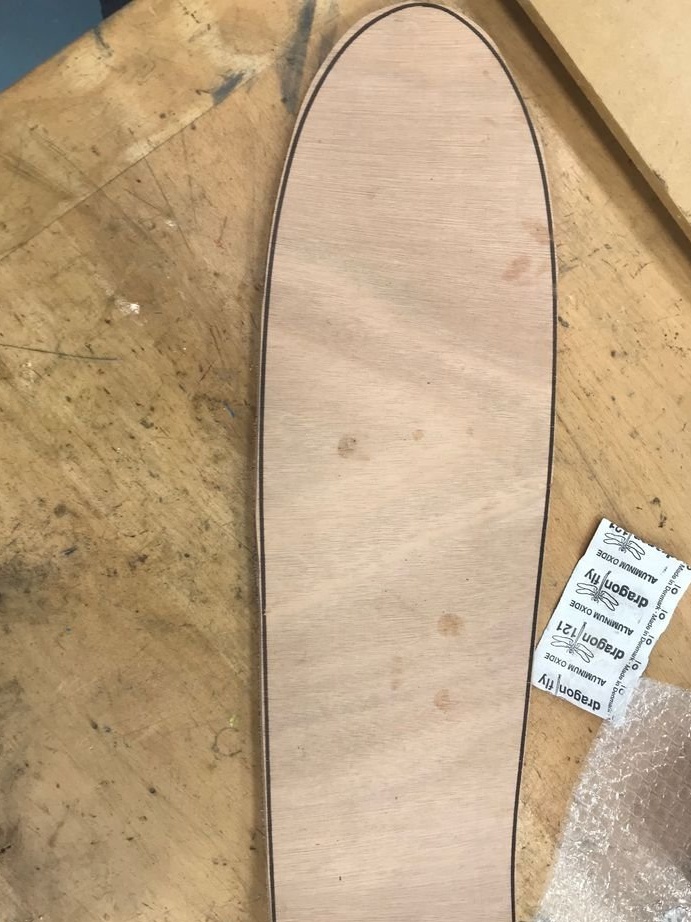
Trim the board.

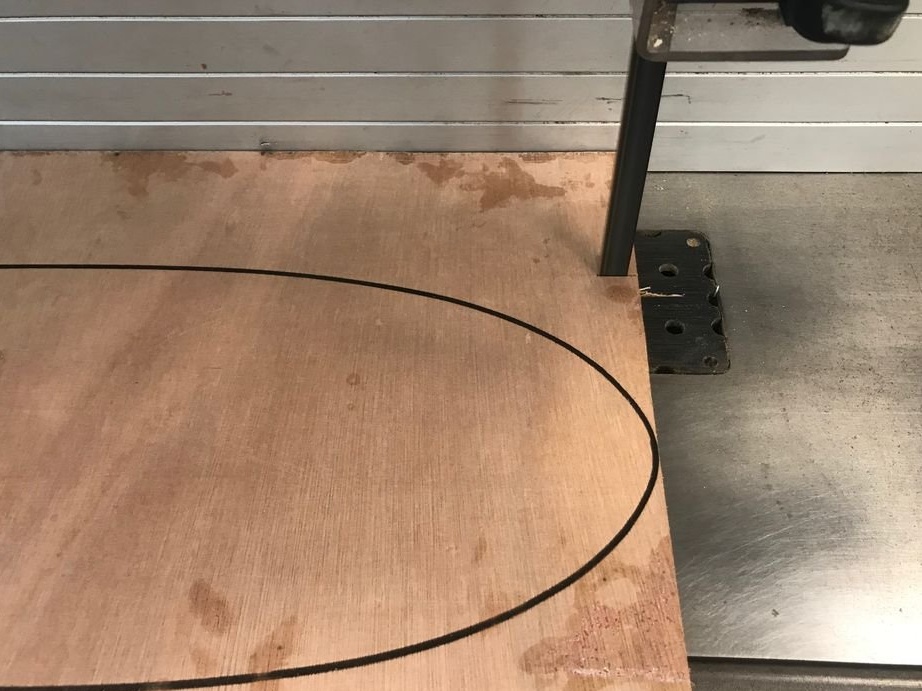
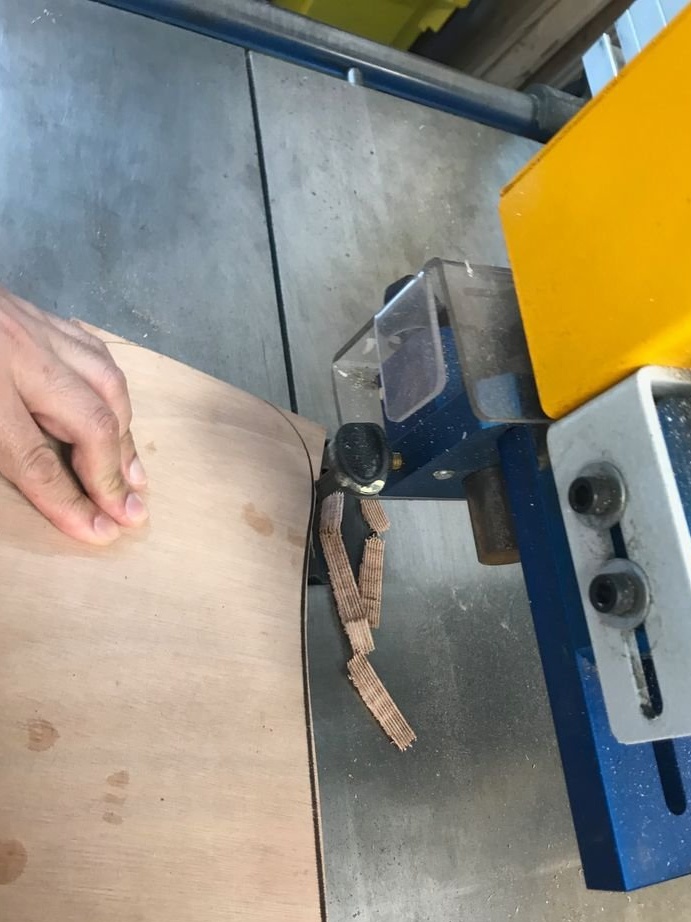
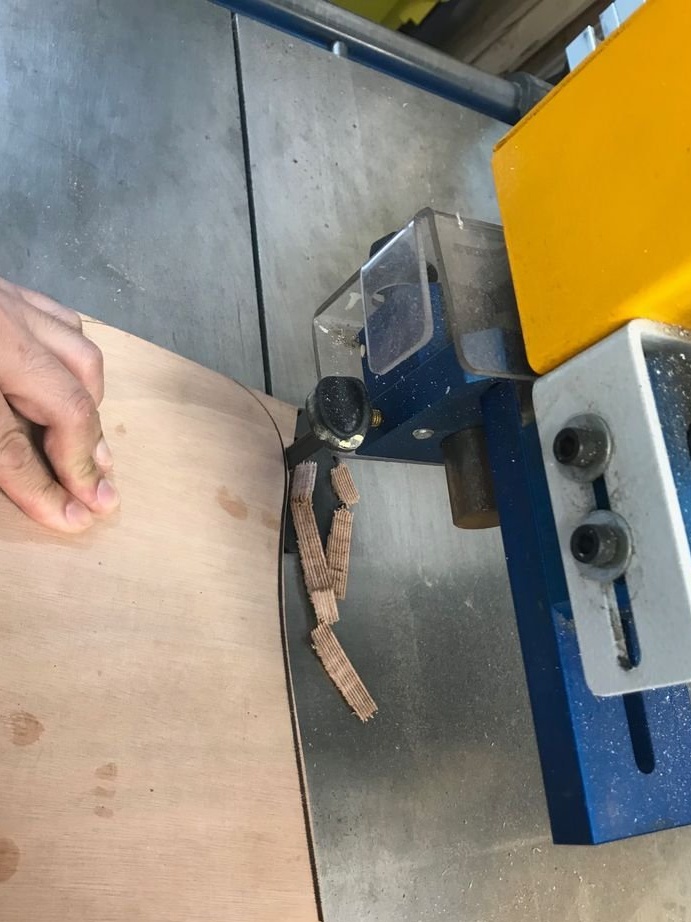
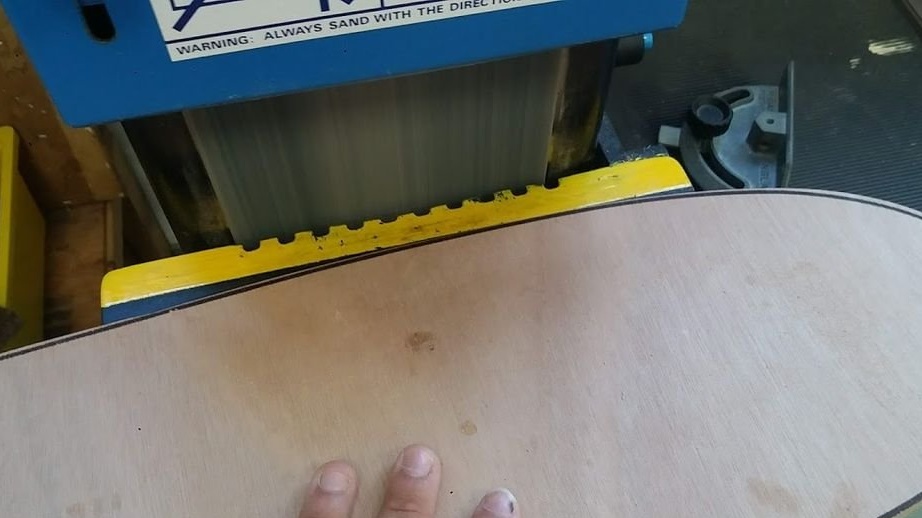
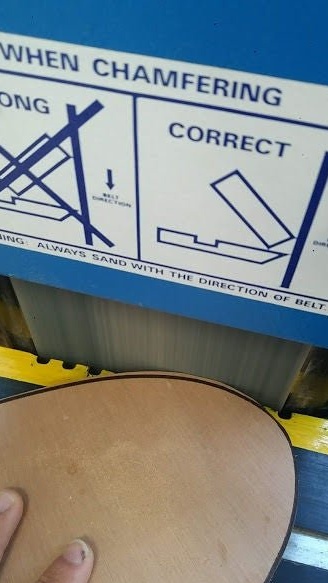
Grinds the edge.
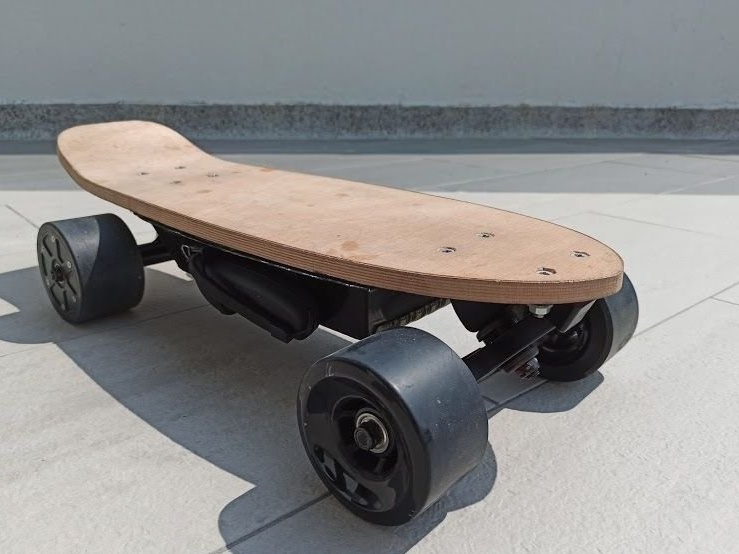
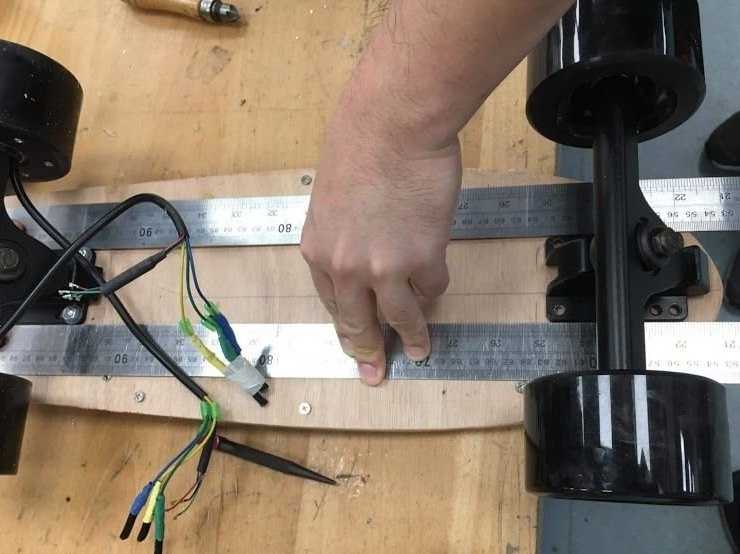
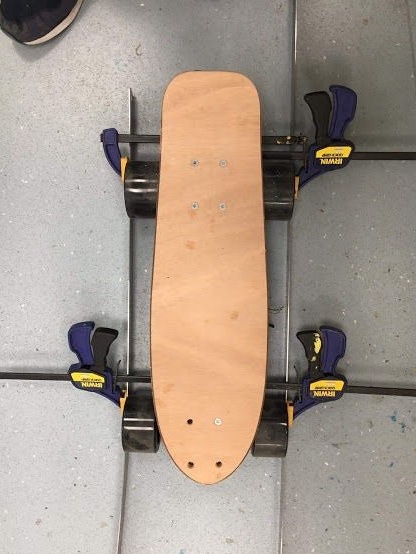
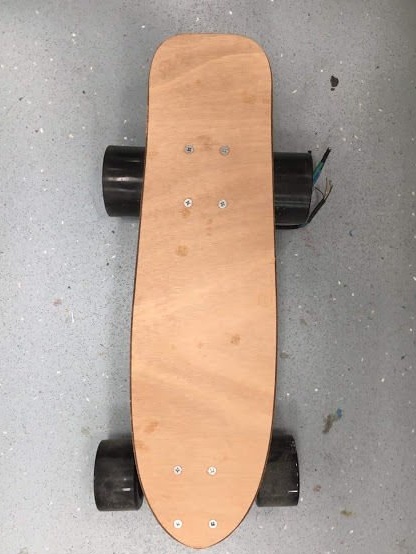
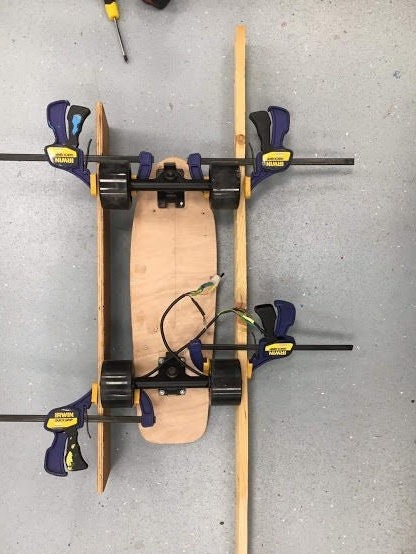
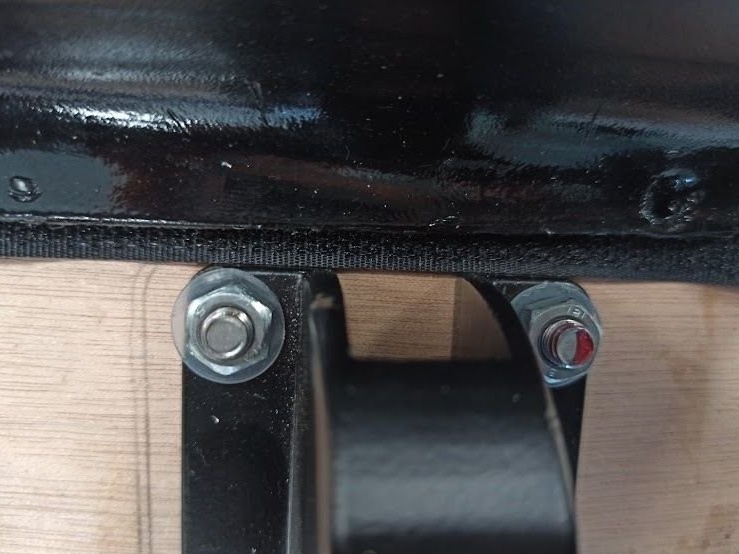
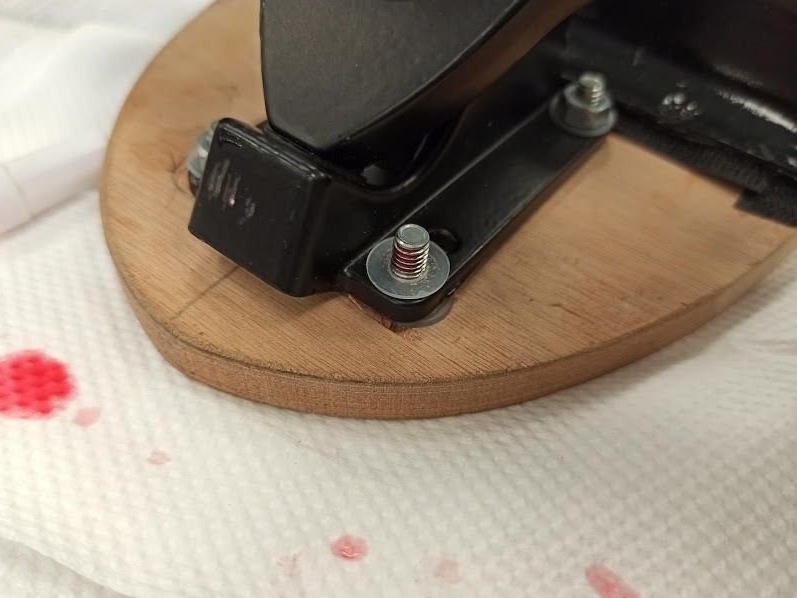
Step Six: Install the Rollers
Now you need to install the clips. When installing, pay attention to the alignment of the front and rear rollers.

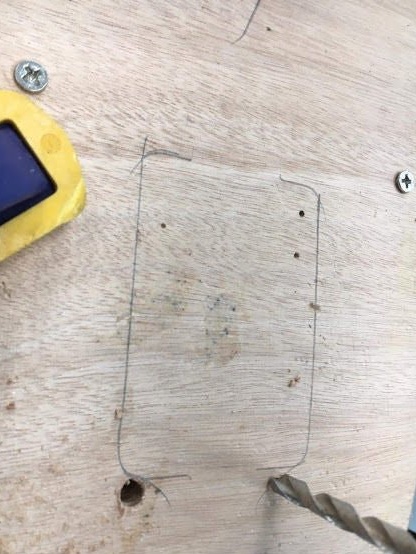
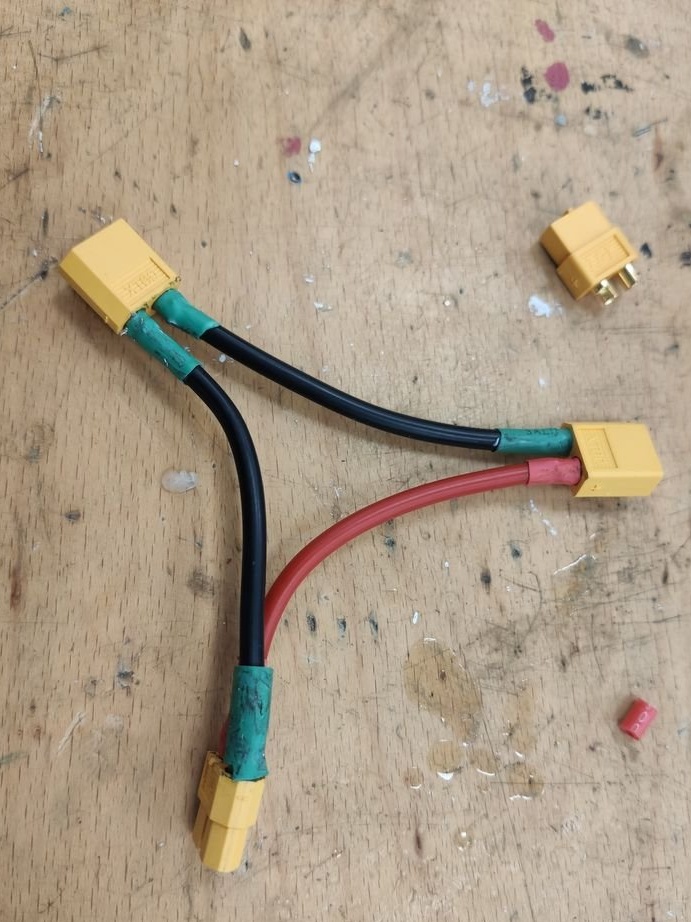
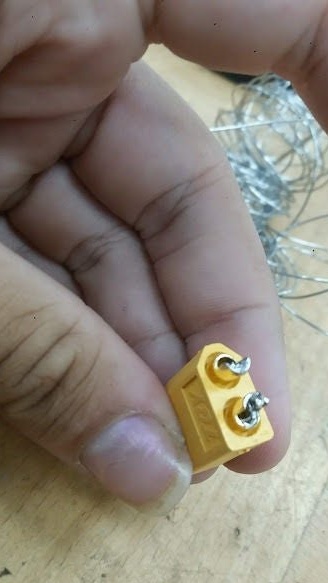
Seventh step: installing the battery connector
Making this connector is only necessary if you connect 2 battery packs together.
Batteries connected in series will increase the voltage, so if we connect 2 14.8 V batteries together, we get 29.6 V.
Batteries connected in parallel will increase the capacity and speed of the battery, but the voltage will remain unchanged.
The serial connector installation includes 2 female connectors and, depending on the connector connected to your VESC / ESC, a male or female connector.


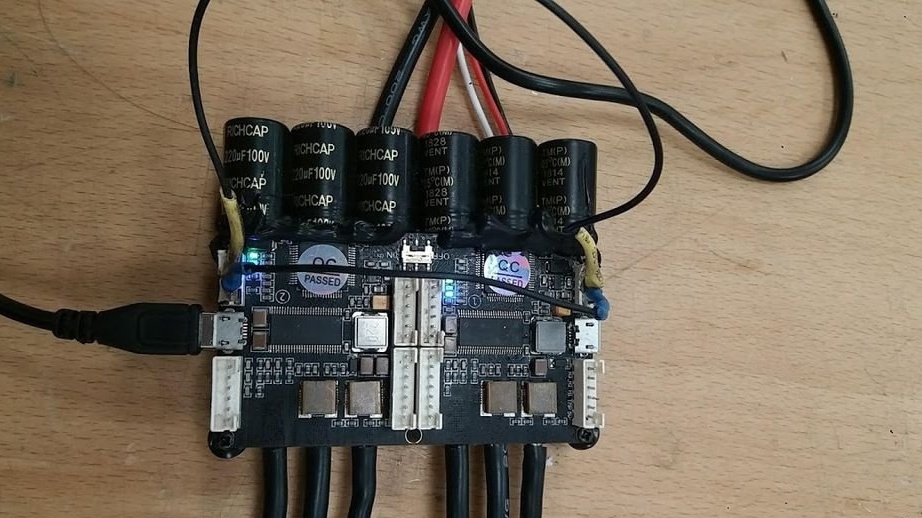
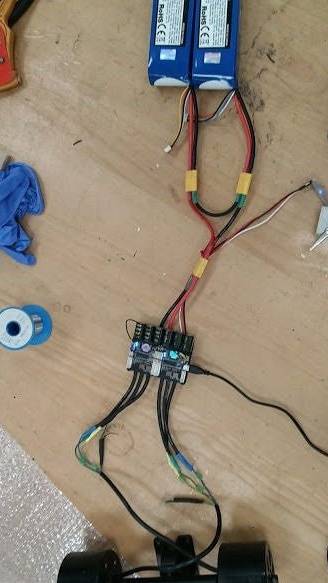
Step Eight: Connect and Configure ESC
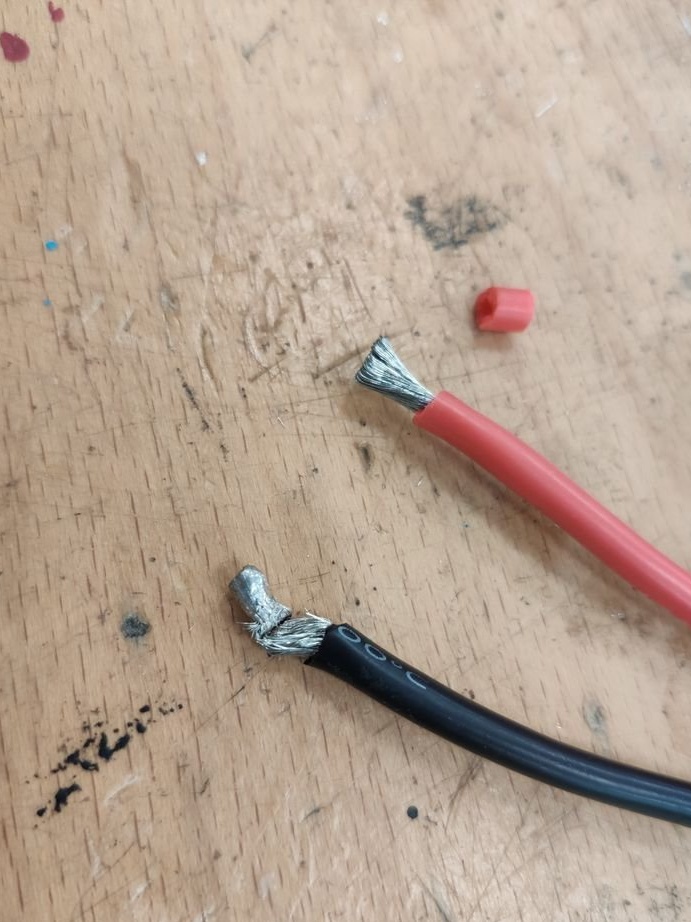
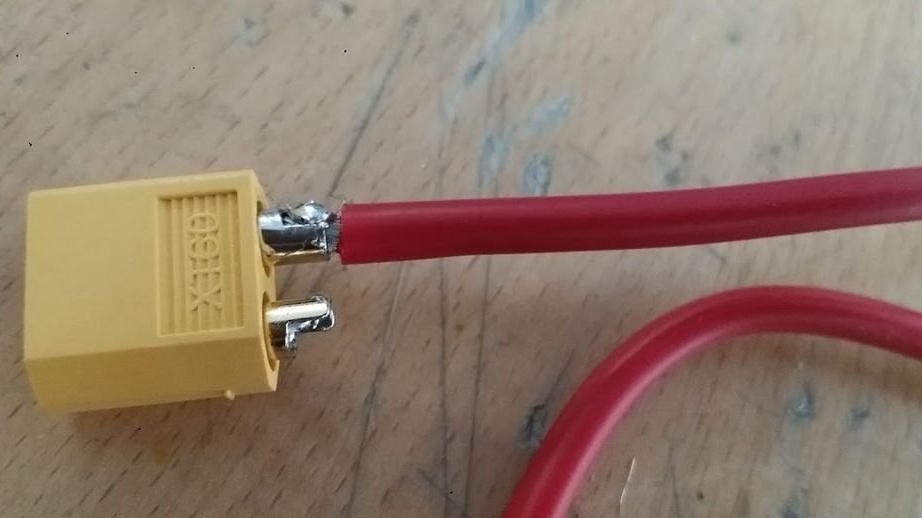
The ESC that the master purchased did not have a connector, so I connected the female connector to it.
The wires to the motor were the same color, while the leads on the motor were blue yellow and red.
In addition to soldering the connector, the master had to solder the external CAN-BUS connector, since the internal CANBUS connector on the ESC did not work. The CAN-BUS connector is used to connect 2 VESCS (speed controller), so only one remote control is needed to control both devices at a time.
Setting up VESC involves downloading software called the VESC tool from here: