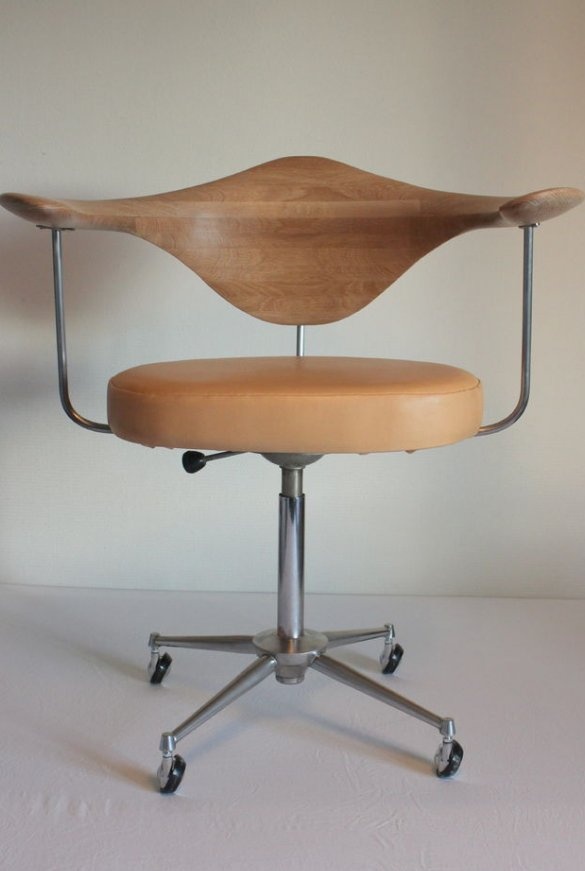
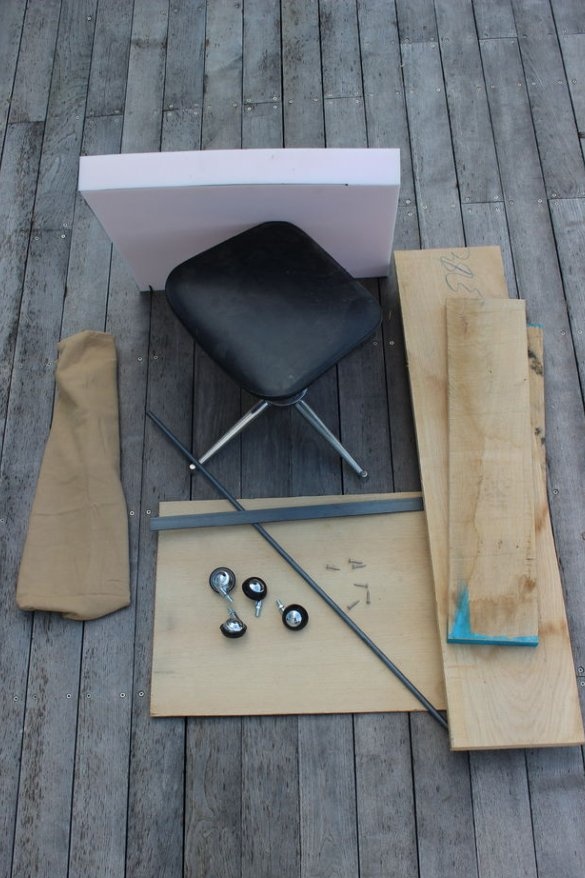
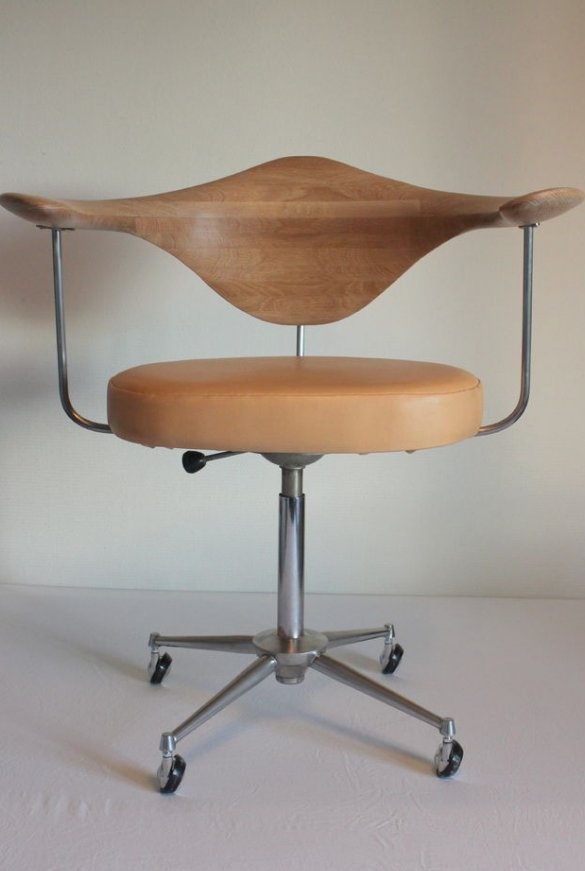
The master had an old office chair of the mid-20th century. The back of the chair was missing, the seat was dilapidated, and then he decided to restore it.
Tools and materials:
- Plywood 5 mm;
-Threaded inserts;
-12 mm metal rod - 2 meters;
- Metal square 50x3 mm;
-Leather;
- Sponge 50X50 cm, 7 cm thick;
-Sheets of paper;
-Wood;
-Band-saw;
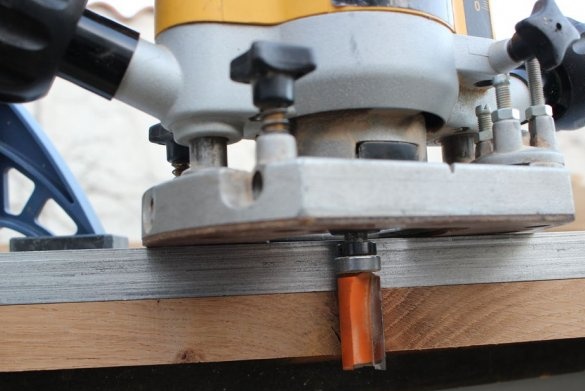
Milling cutter;
-USHM;
-Sander;
-Hand hacksaw;
-Tools for working with the skin;
-Rule;
Step one: backrest and armrests
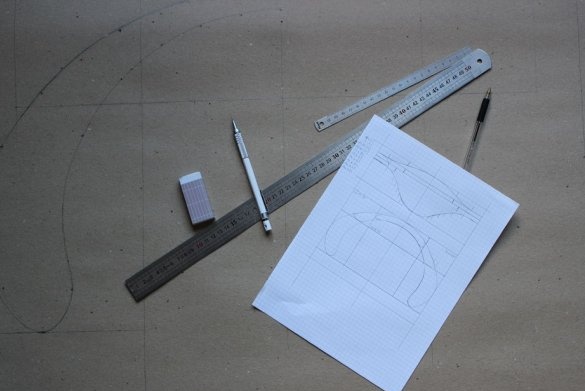
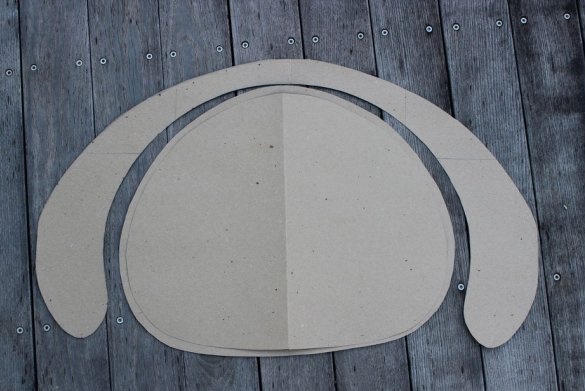
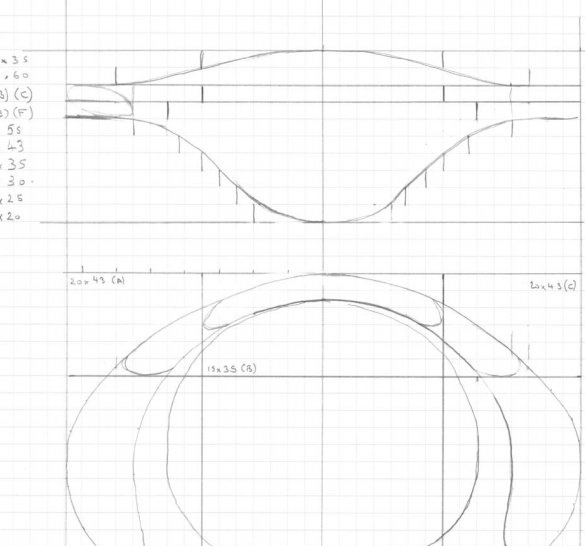
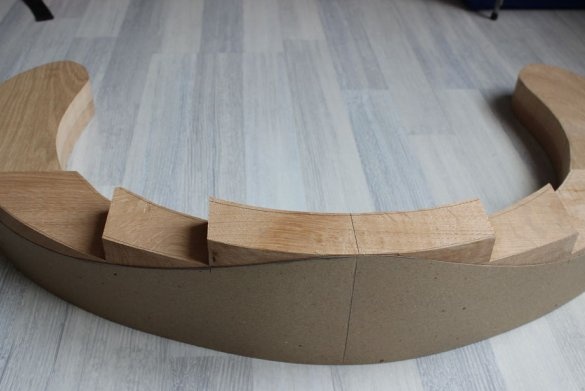
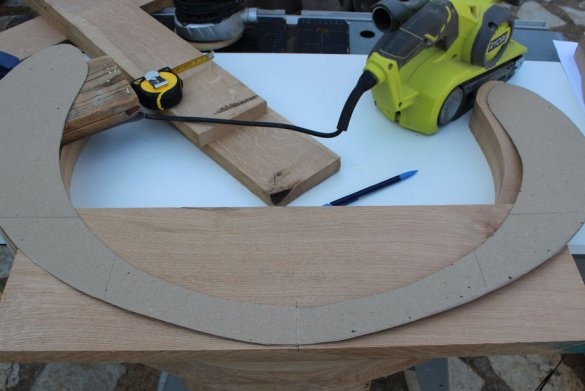
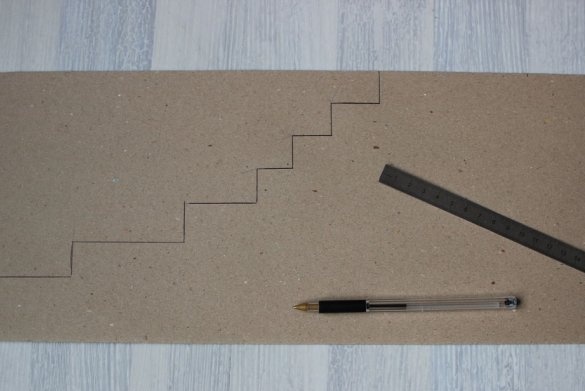
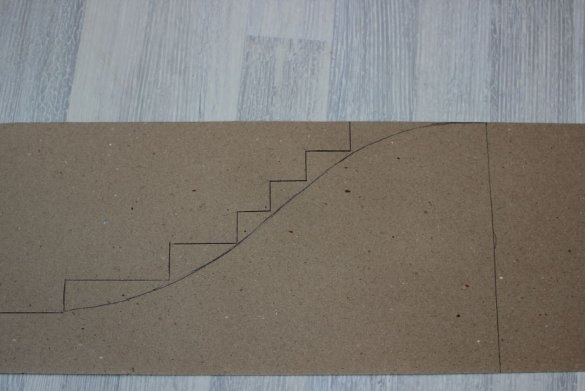
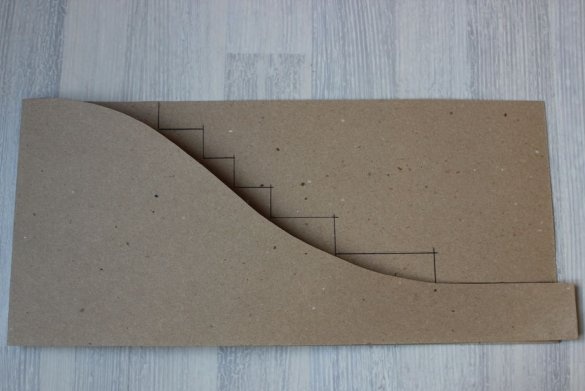
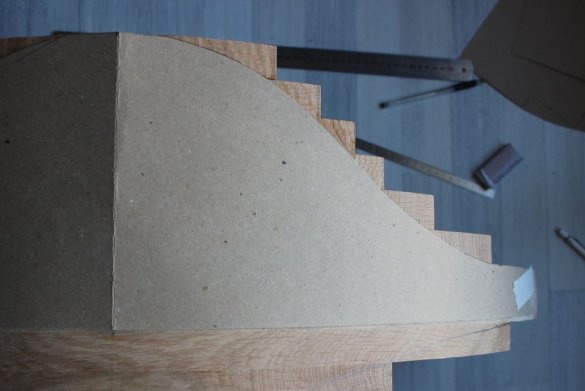
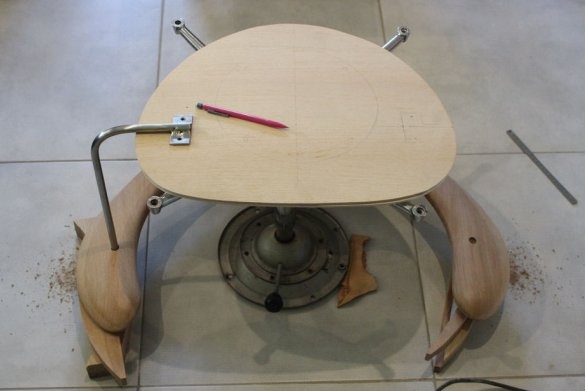
First, the master made a template for the manufacture of the backrest along with the armrests.
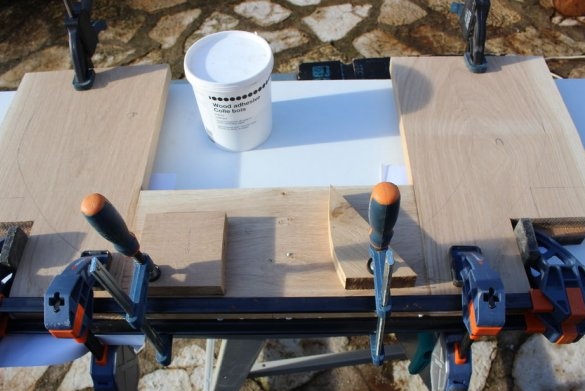
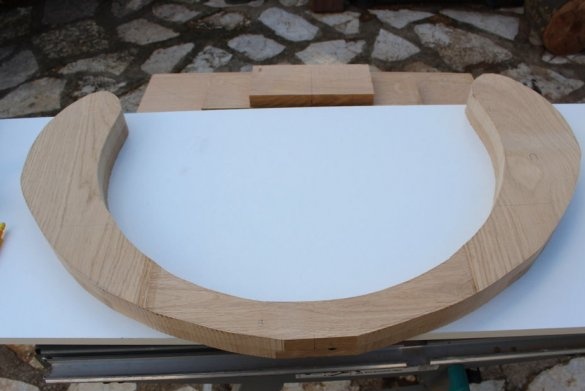
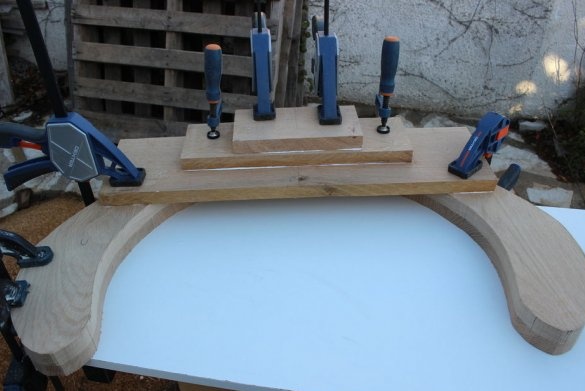
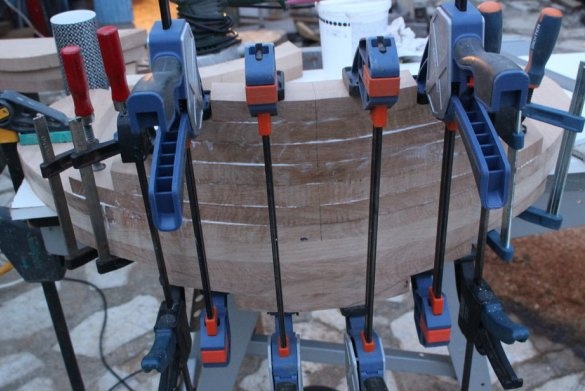
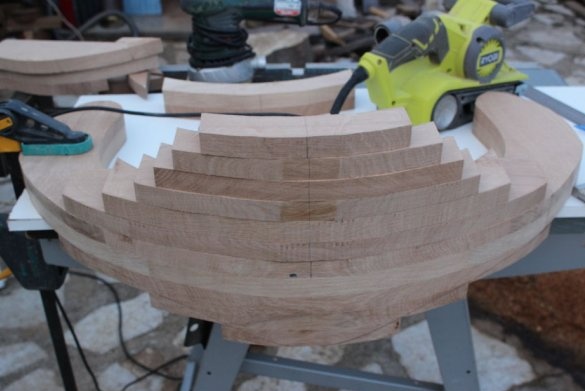
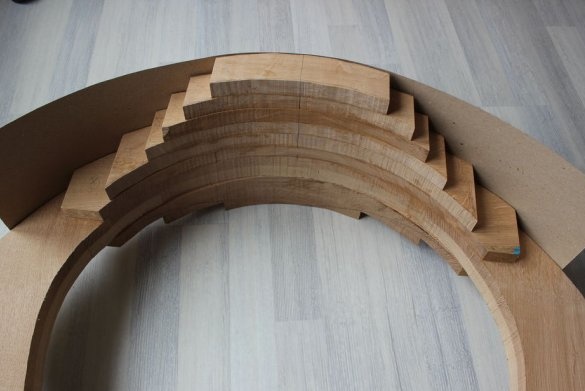
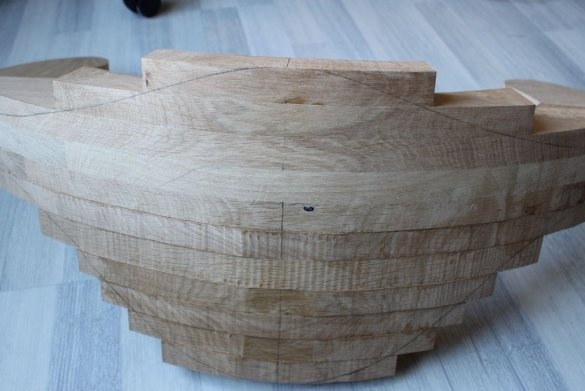
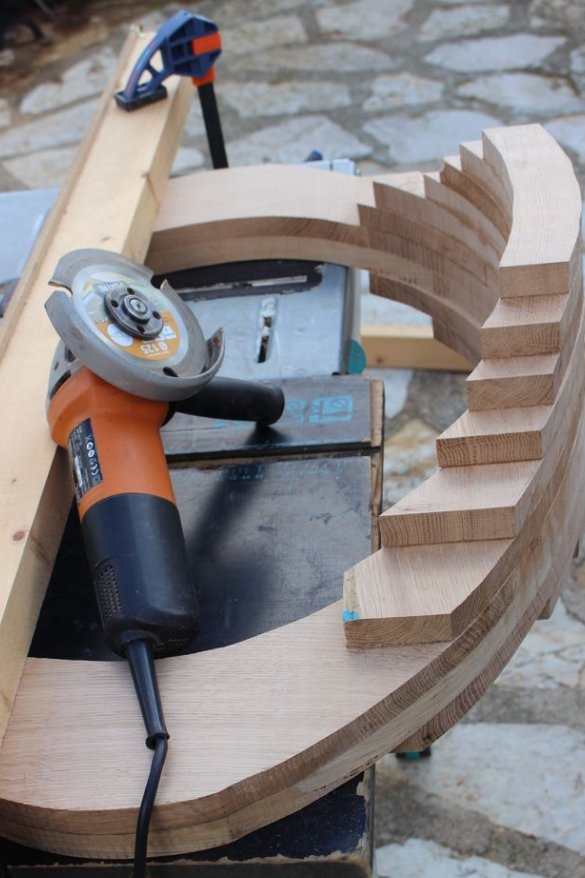
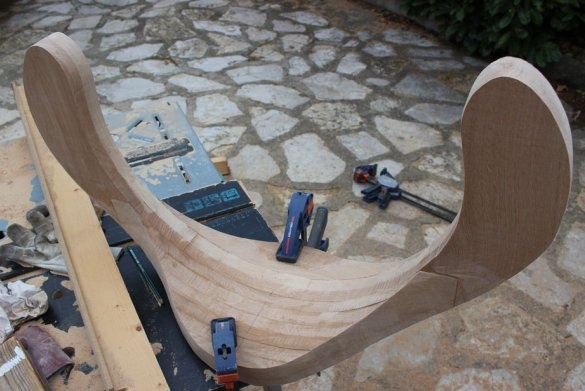
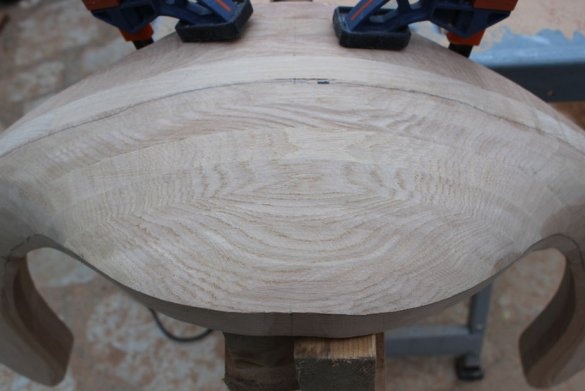
Then the master makes a part from oak blanks. As you can see in the photo, the base was first cut out and then wooden blanks glued to it.
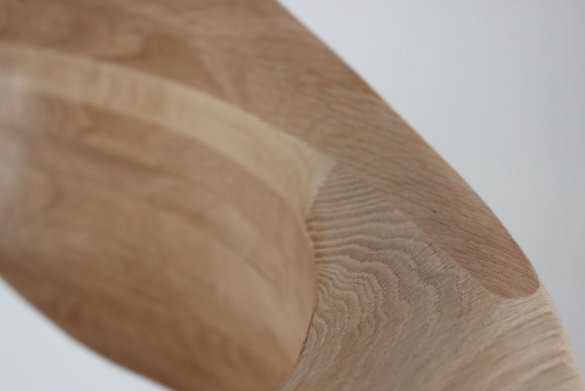
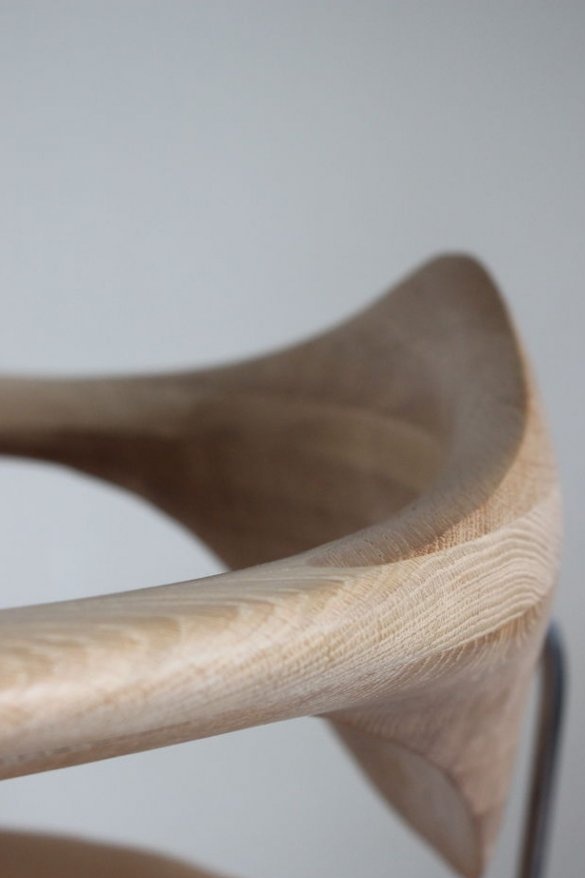
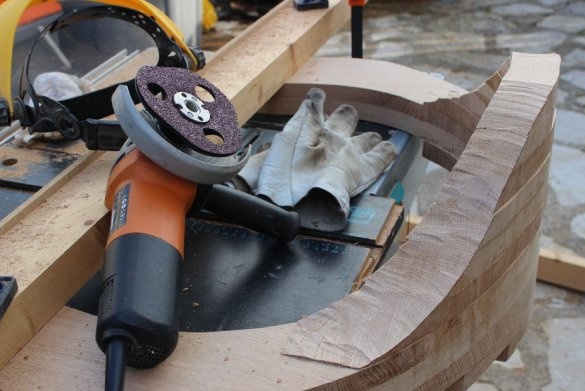
After gluing all the blocks, the workpiece is cut and ground.
Step Two: Mount
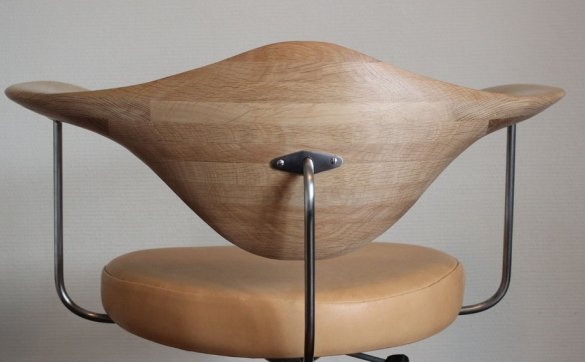
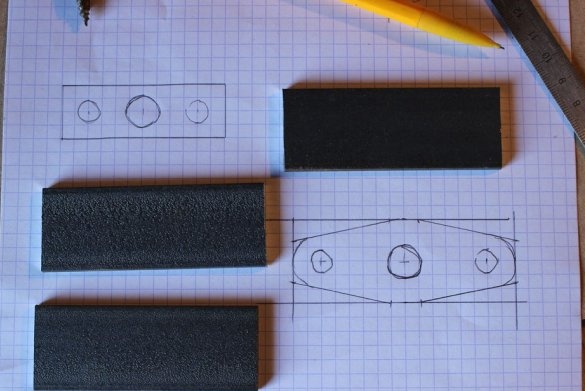
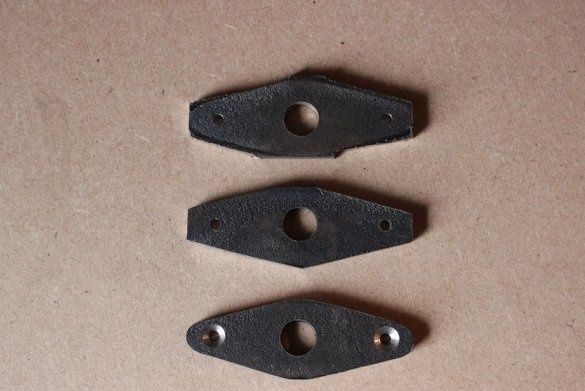
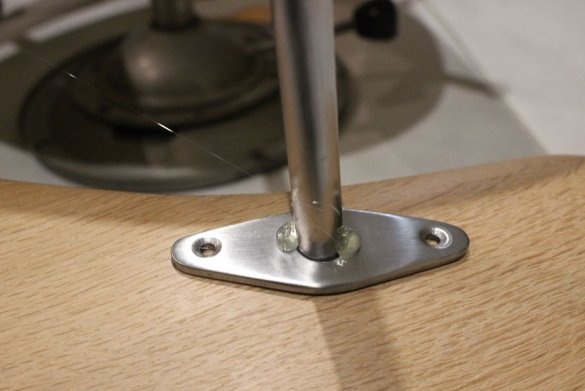
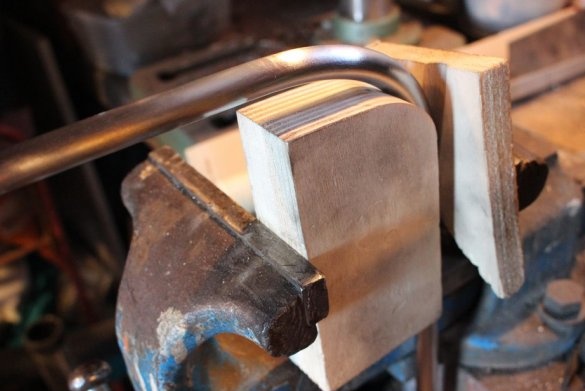
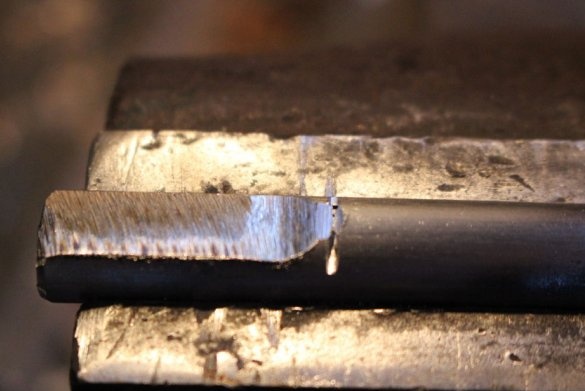
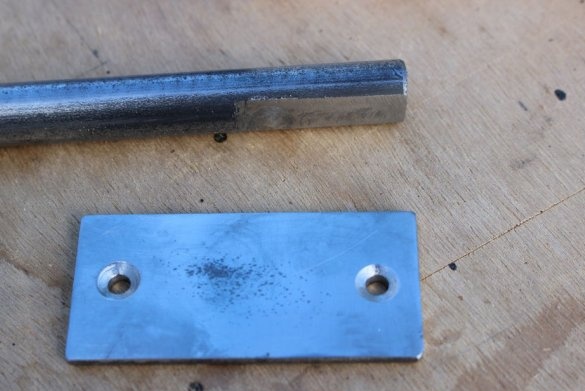
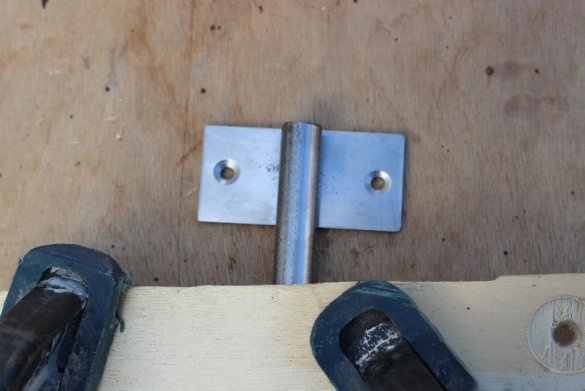
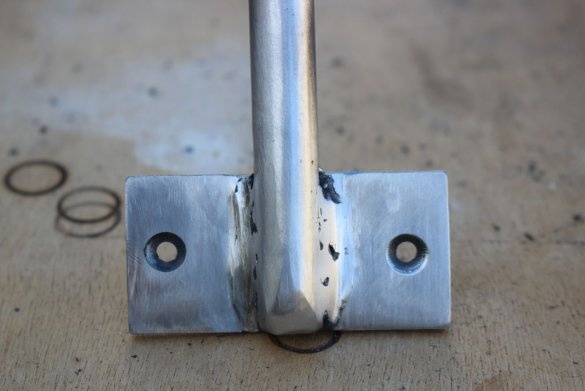
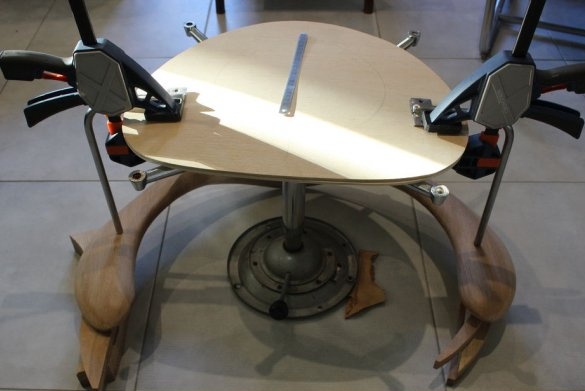
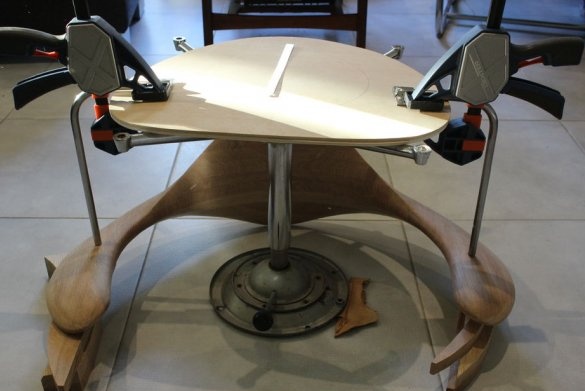
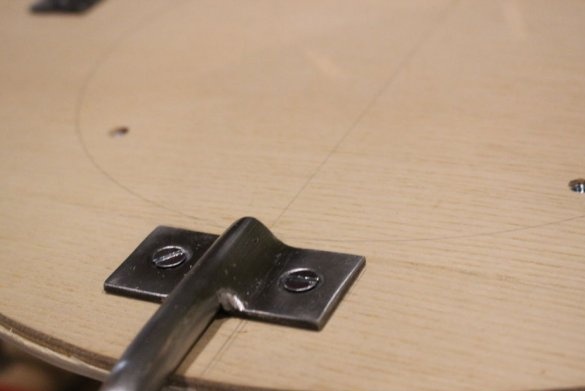
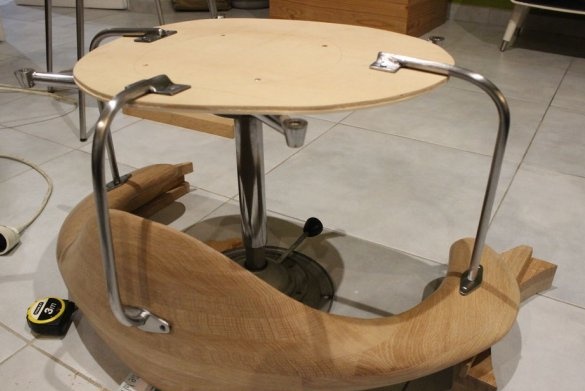
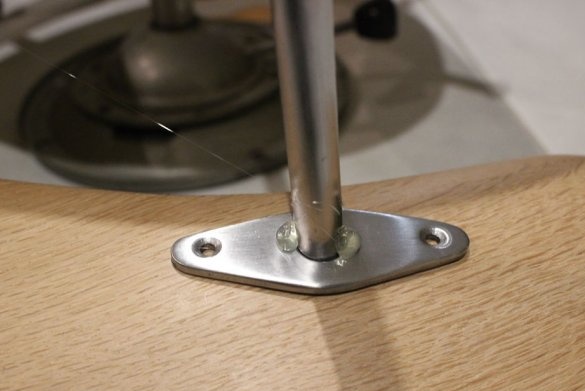
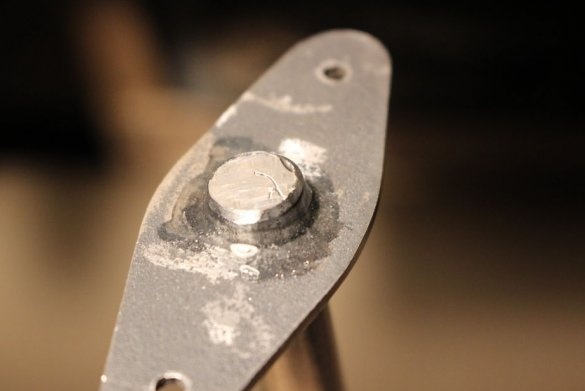
The backrest is attached to the seat at three points. One center mount and one seat mount - armrest. The master made fastenings from a metal tube and plate.
Step Three: Seat
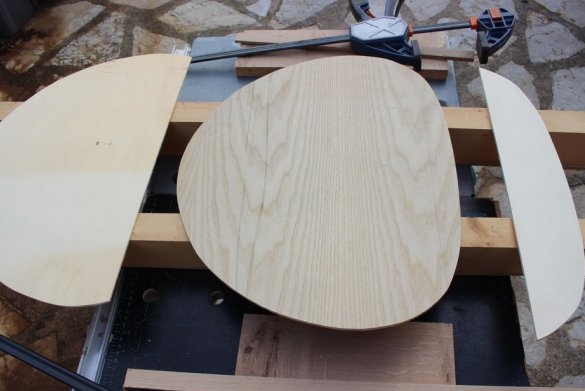
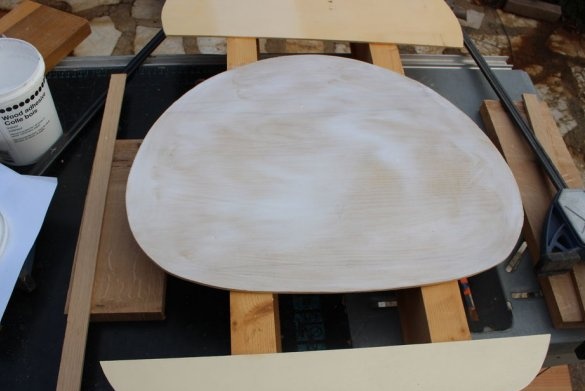
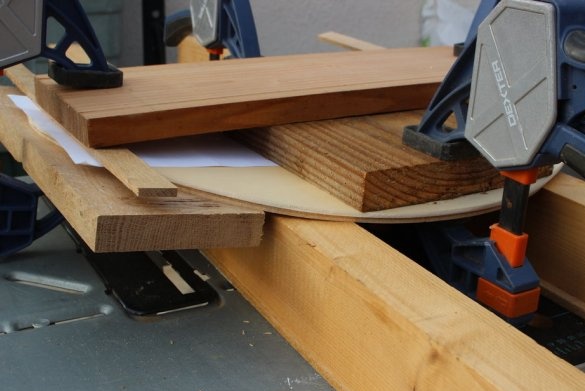
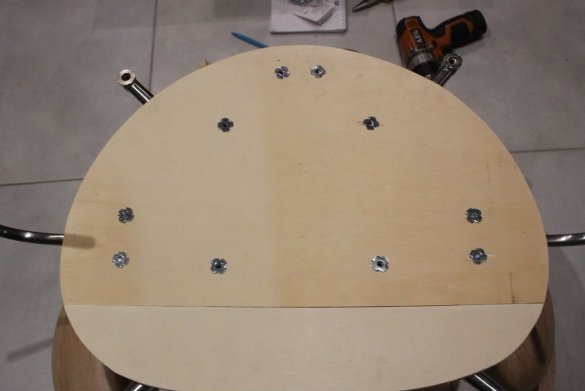
The basis for the seat is plywood. The master cut blanks from plywood and glued them in two layers.
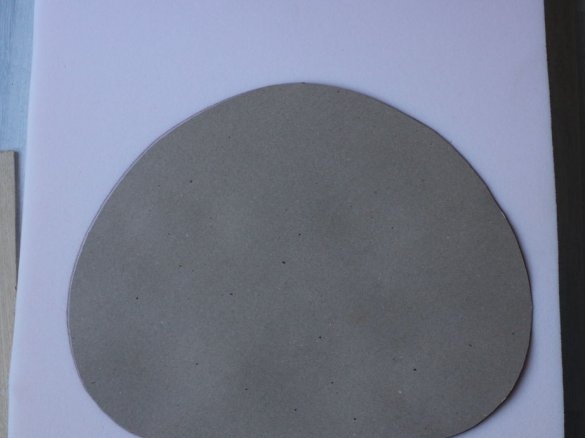
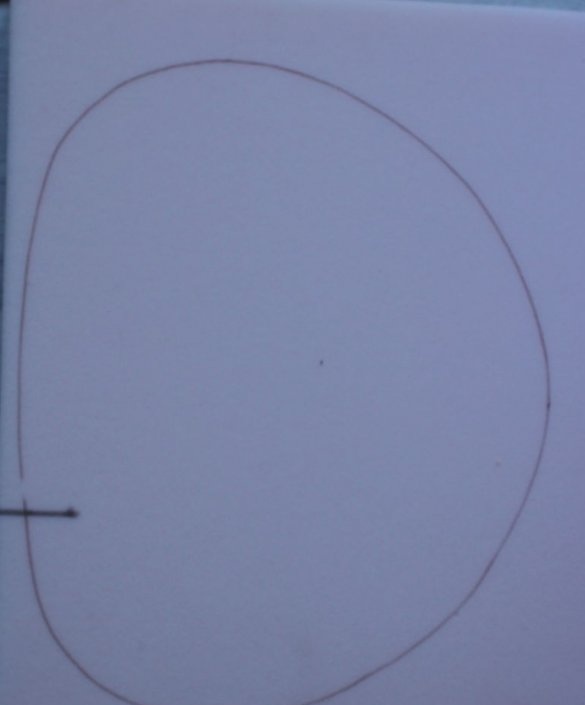
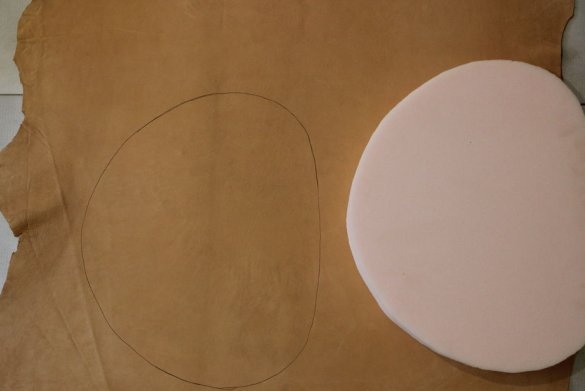
Then a sponge is cut out in the shape of a seat.
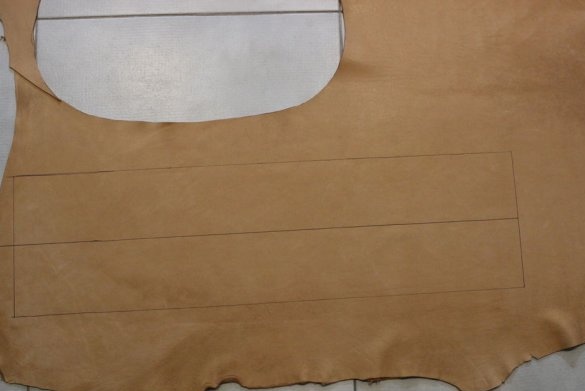
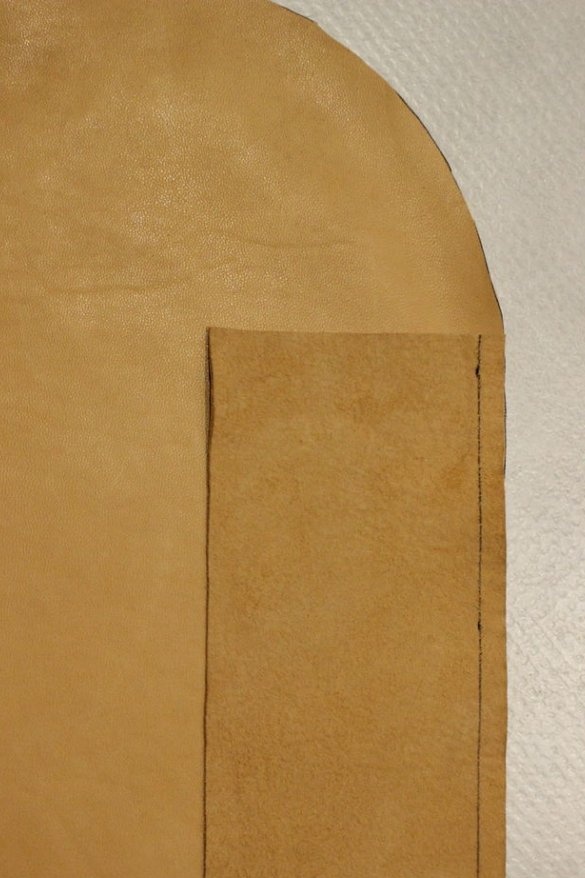
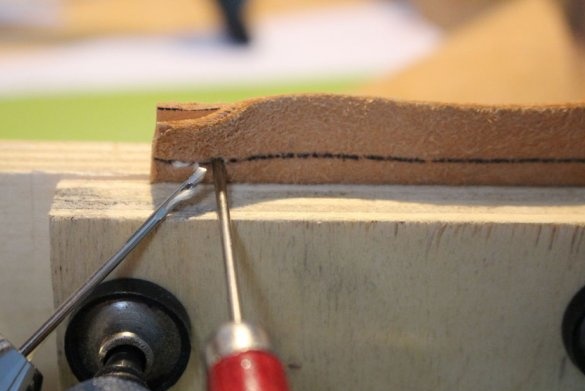
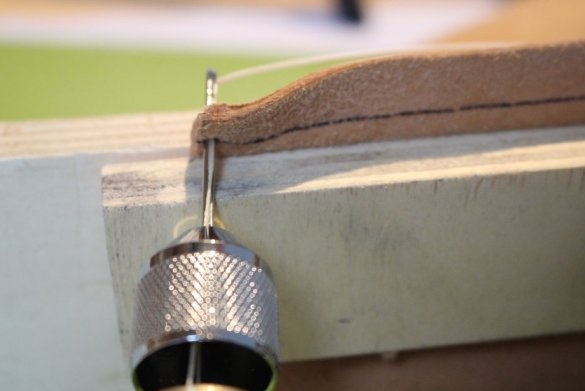
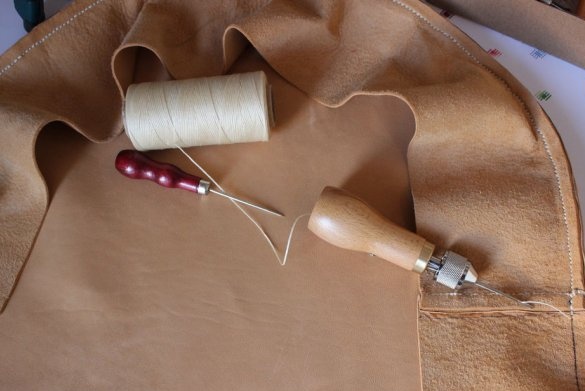
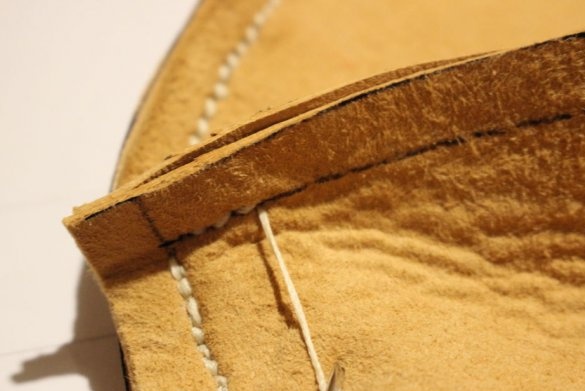
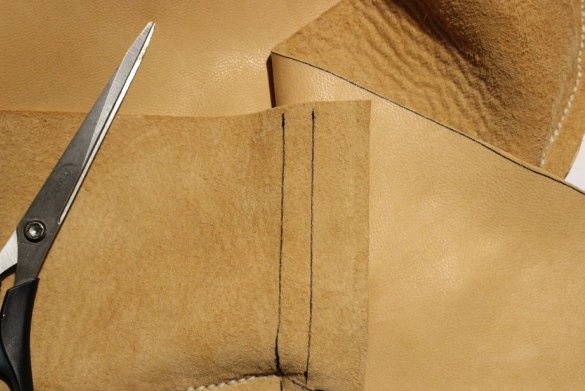
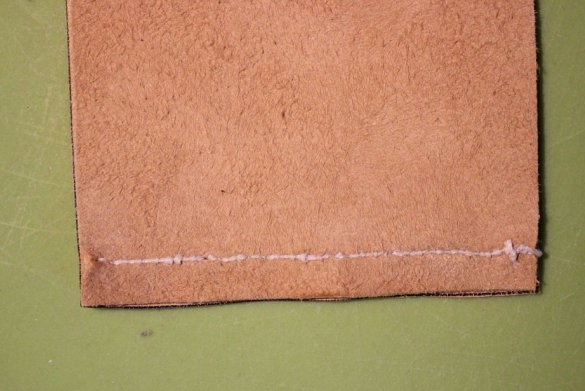
Cuts two pieces of leather. One part in the shape of a seat with a small allowance. The second is a strip of leather that sews with the first part.
Step Four: Build
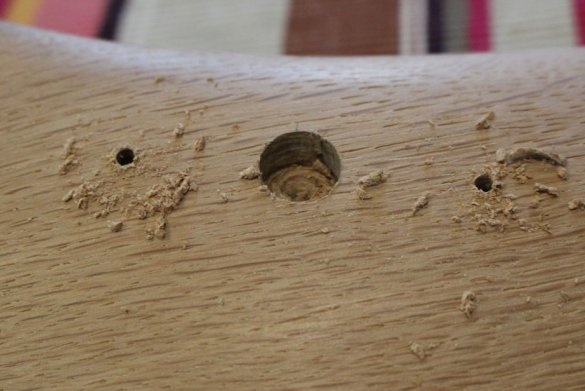
Now you need to assemble everything correctly. The wizard arranges the parts and marks the places for the holes. Drills holes and installs threaded inserts. Screws the seat to the "leg". Screws the backrest to the seat.
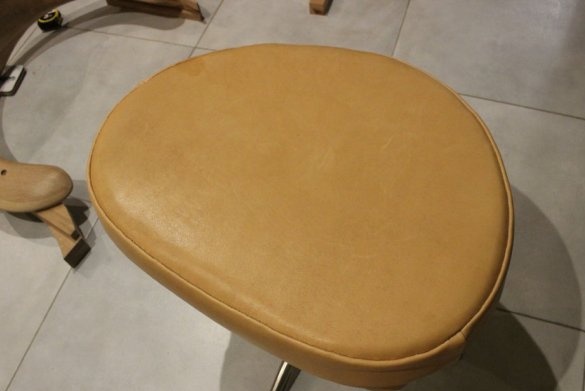
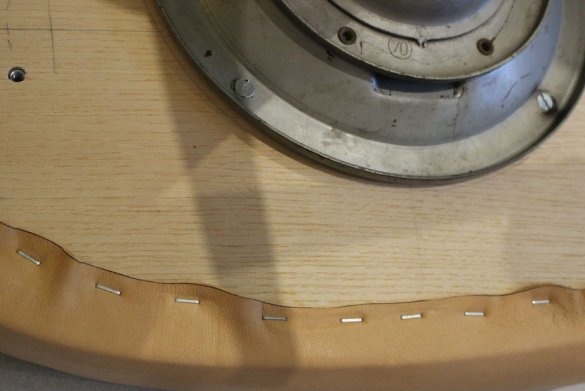
Lays a sponge on the seat and fastens the skin.
All is ready. From the thing that they wanted to throw away, the master made an excellent chair, which will serve more than one year.

