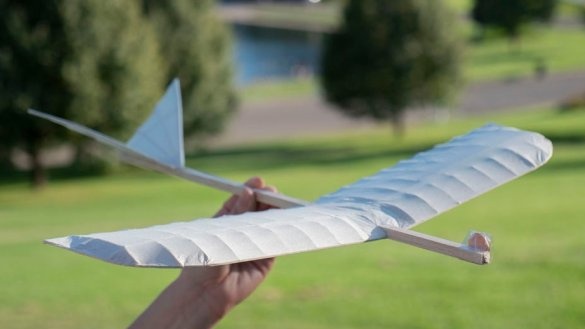
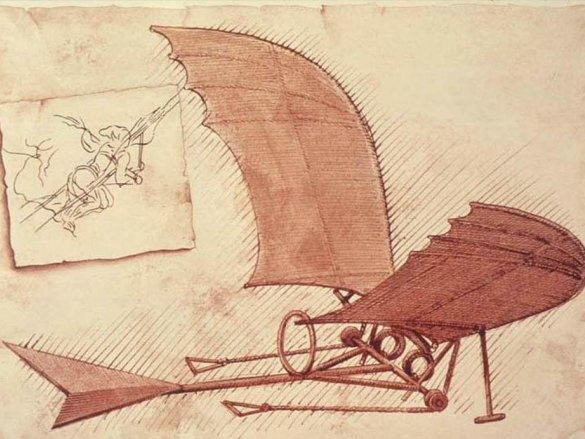
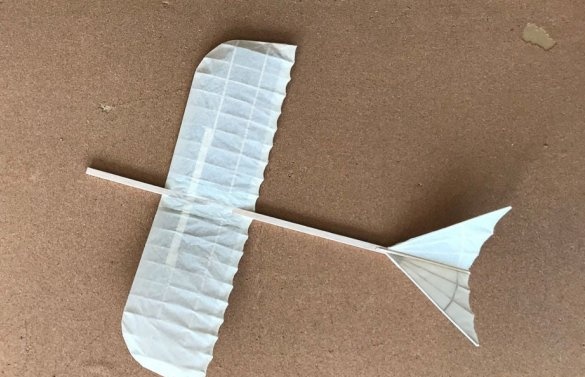
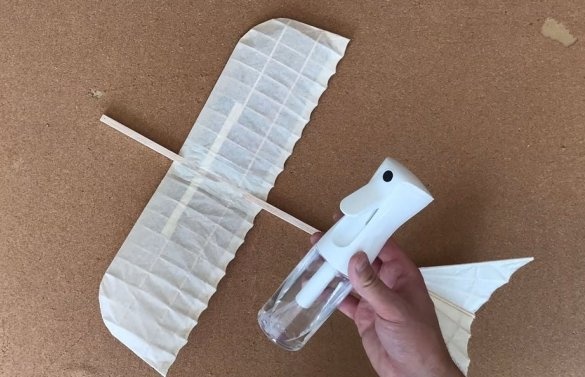
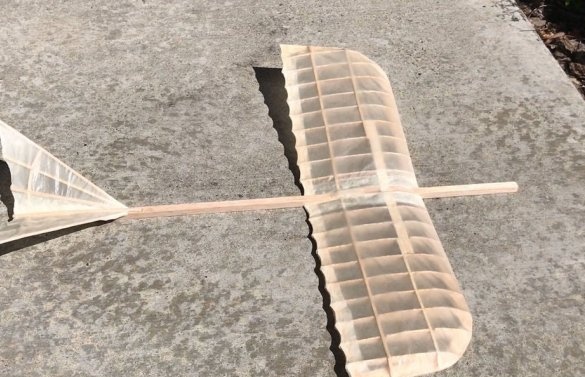
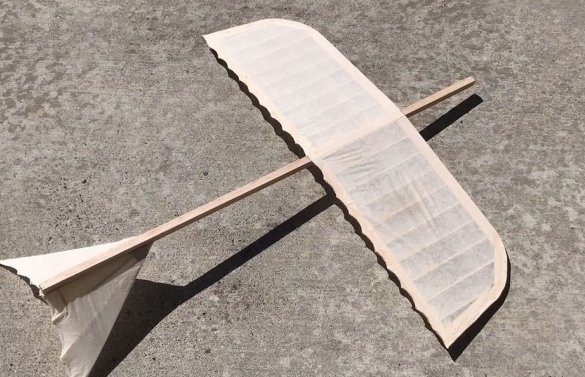
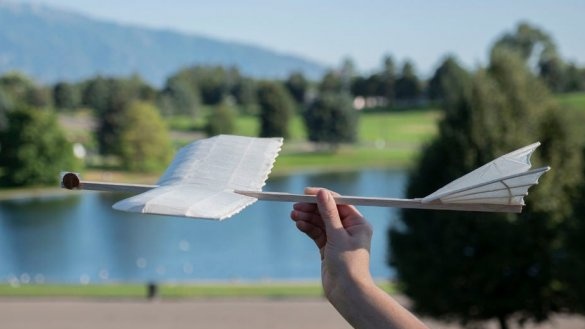
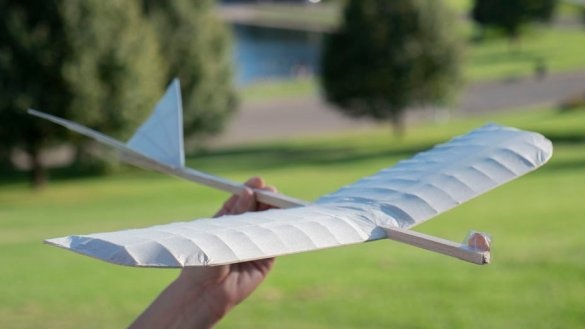
In this article, we will learn how to make a glider similar to the sketches of an aircraft created by Leonardo da Vinci in the 15th century (more than 400 years before a person’s flight).
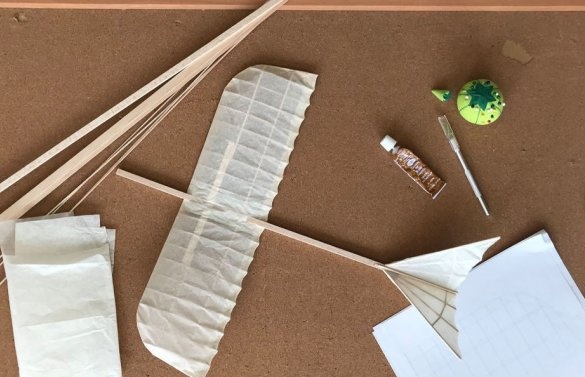
Tools and materials:
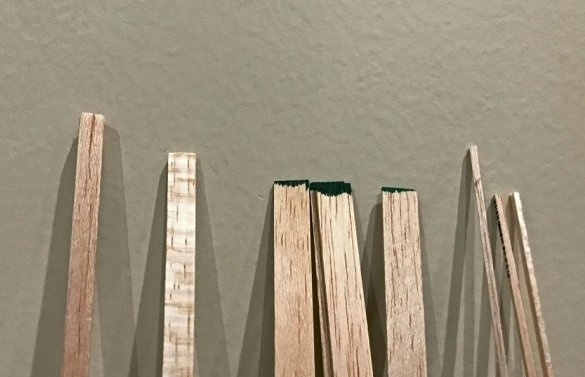
-Balsa;
-Cigarette paper;
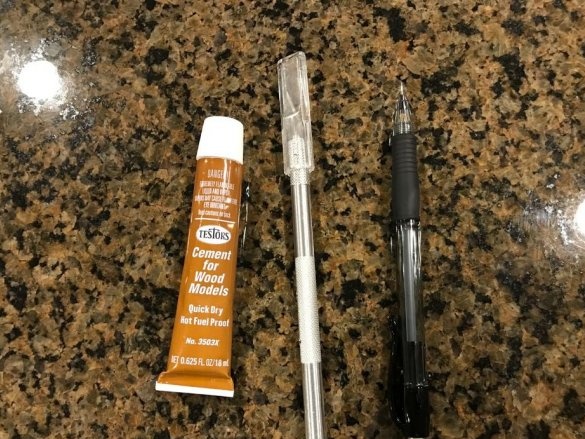
- Quick-drying joiner's glue;
-Knife;
-Wax paper;
-Paper;
-Cork board;
- adhesive tape;
Step One: Design
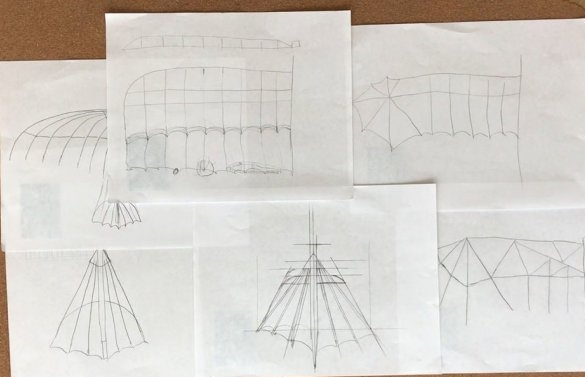
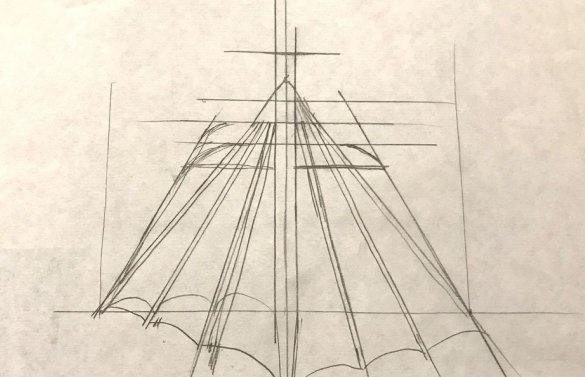
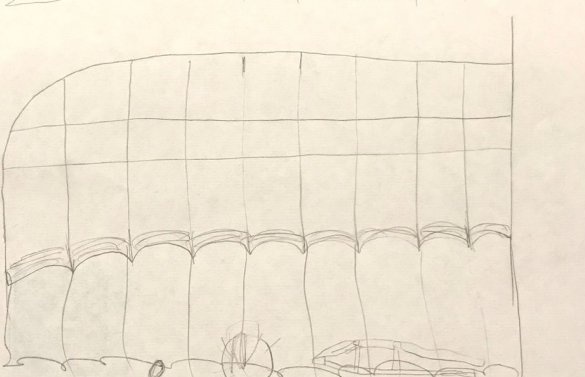
First, the master, drawing on the sketches of Leonardo da Vinci and his knowledge of creating aircraft, develops a model project.
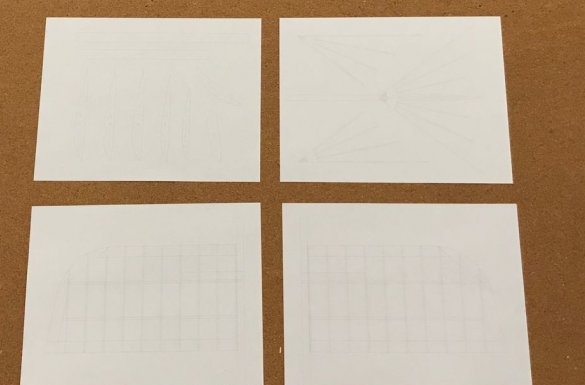
Prints project drawings on paper.
DaVinci-glider-plans-Instructables.pdf
Step Two: Preparing Parts
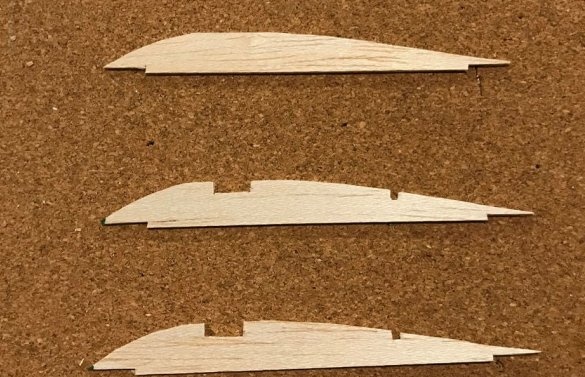
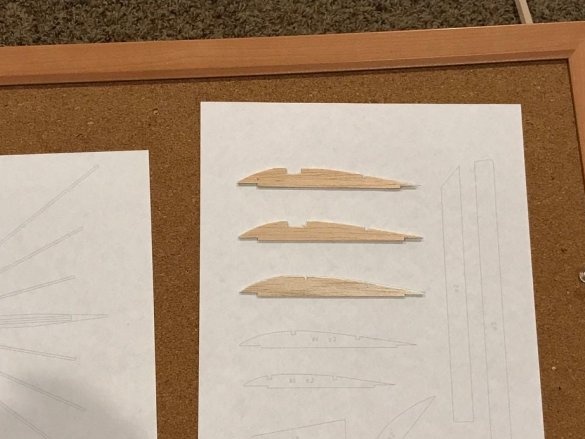
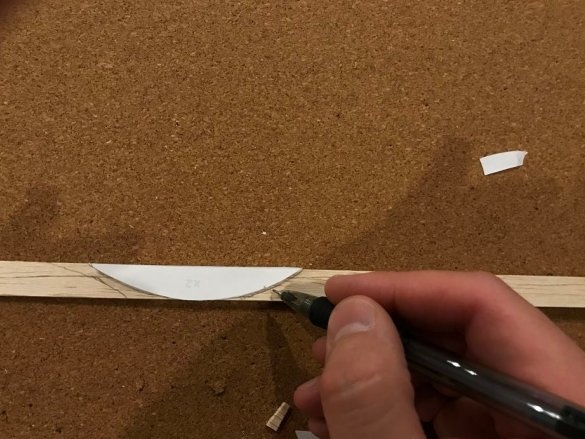
The hardest part is to cut out all the details.
The wizard starts with ribs. For one model, 20 ribs are needed. Then cuts out the leading and trailing edges of the wings.
All other parts will be cut as needed.
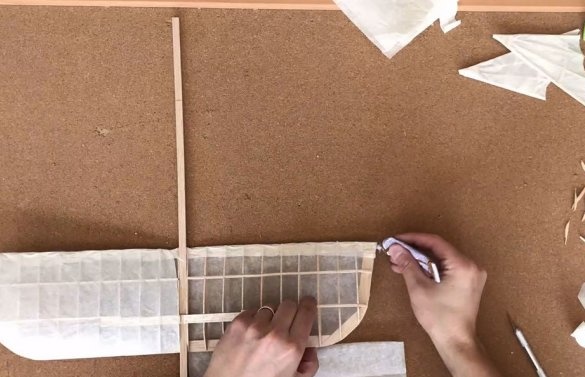
Step Three: Assembling the Wing Frame
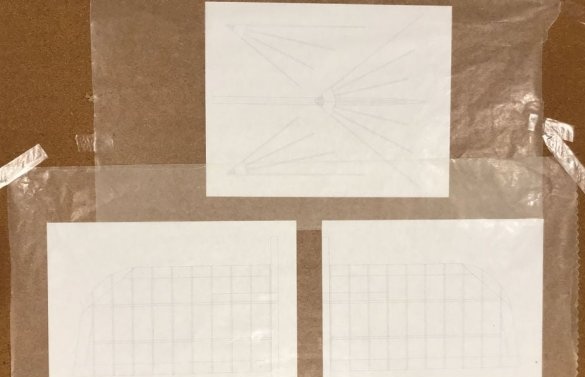
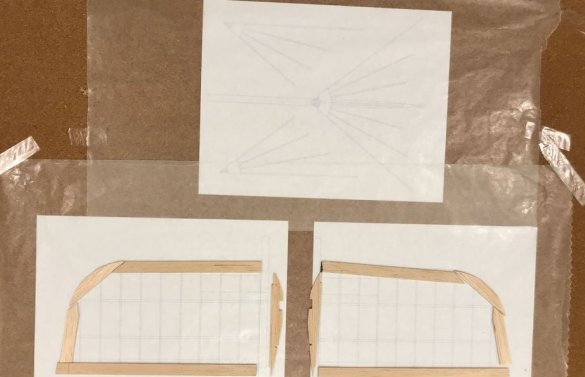
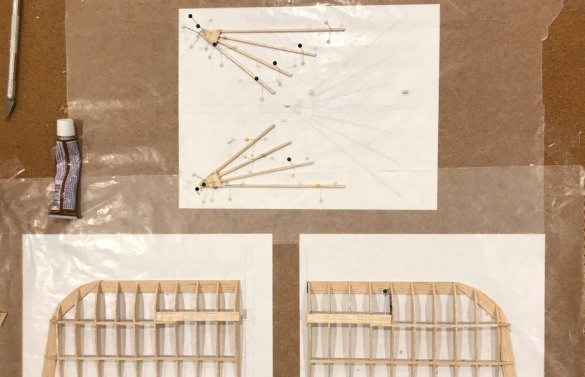
On the desktop, the wizard fixes the glider part templates.
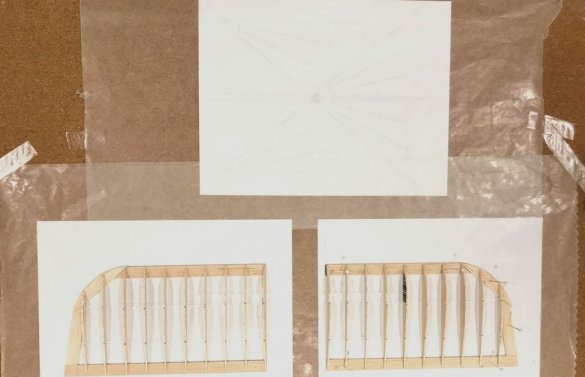
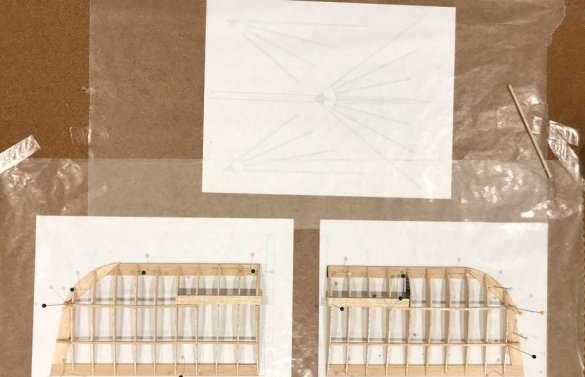
It collects and glues the wing frame according to the template.
Glue ribs.
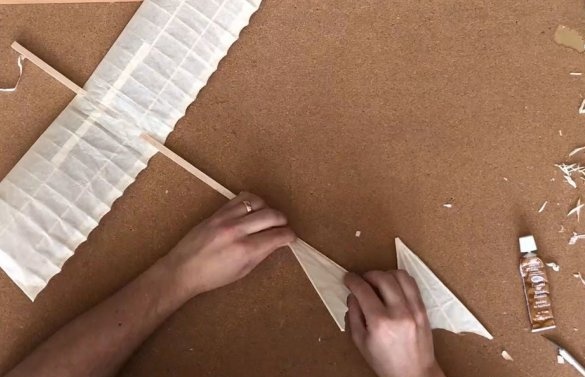
Step Four: Tail
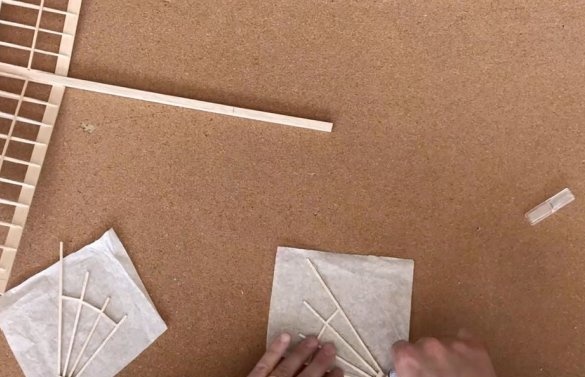
Collects tail details.
Step Five: Build
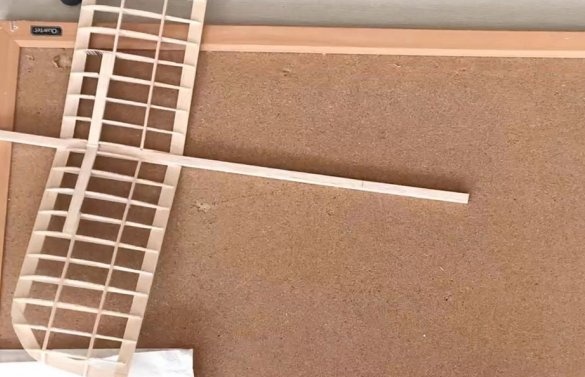
Glue wings to the fuselage.
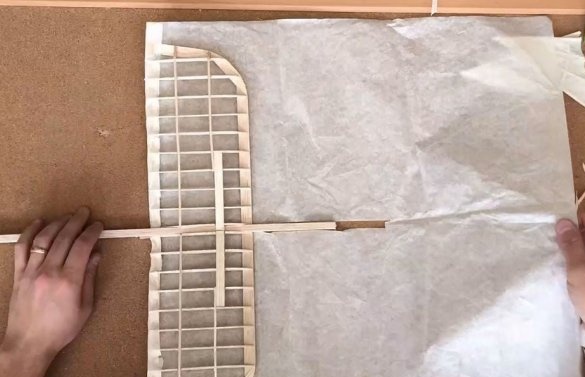
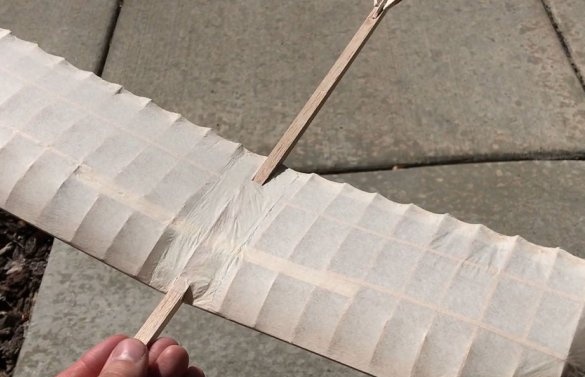
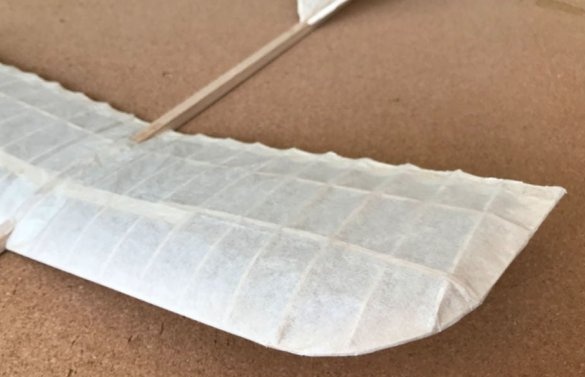
Tape over wings and tail elements with tissue paper.
When pasting, you need to try to "pull" the paper.
Step Six: The Drying Process
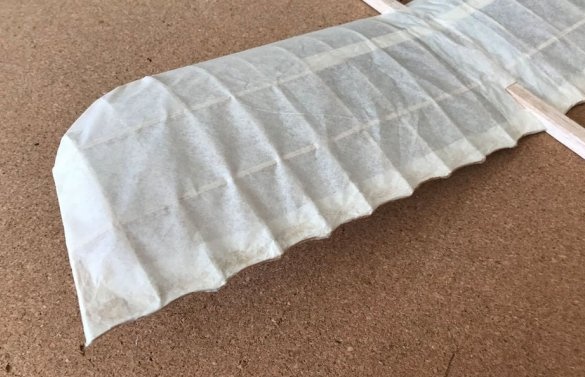
Now you need to moisten the tissue paper and put model Dries in direct sunlight. As a result of this operation, the paper will shrink when it dries. This will give the pasted details an interesting embossed shape.
The glider is ready, now you need to check its flying qualities.

