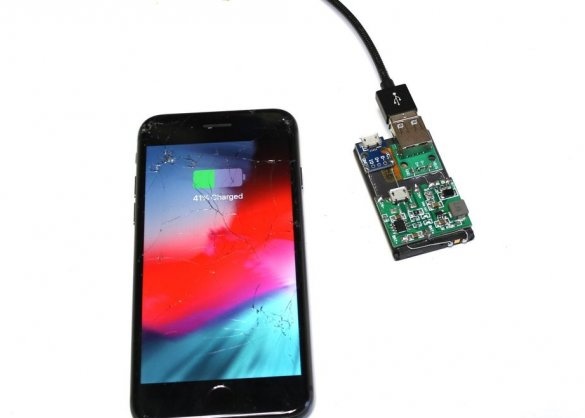
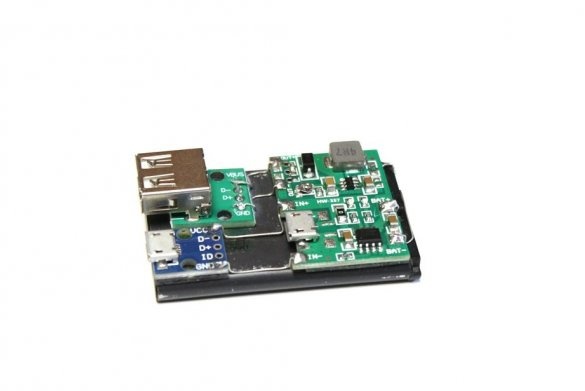
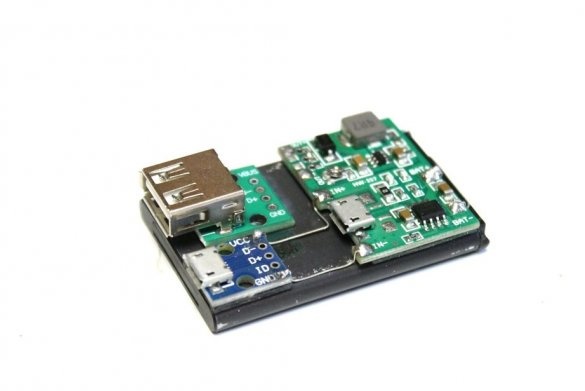
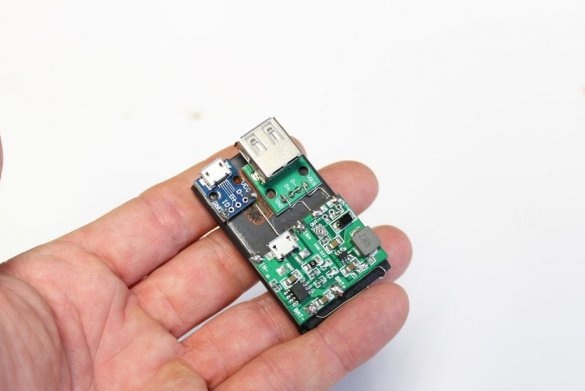
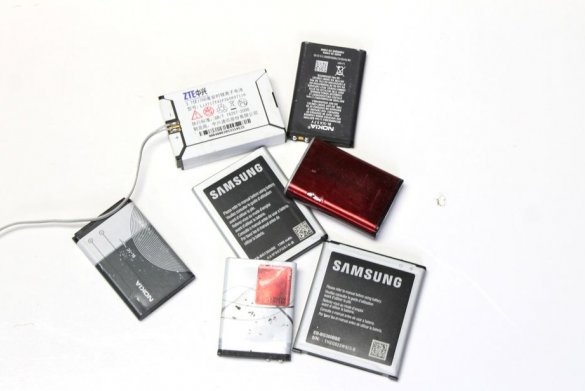
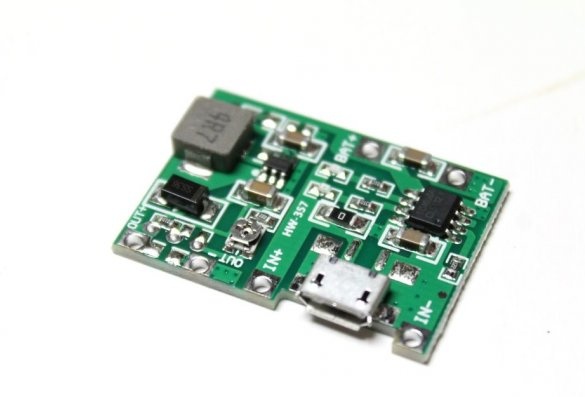
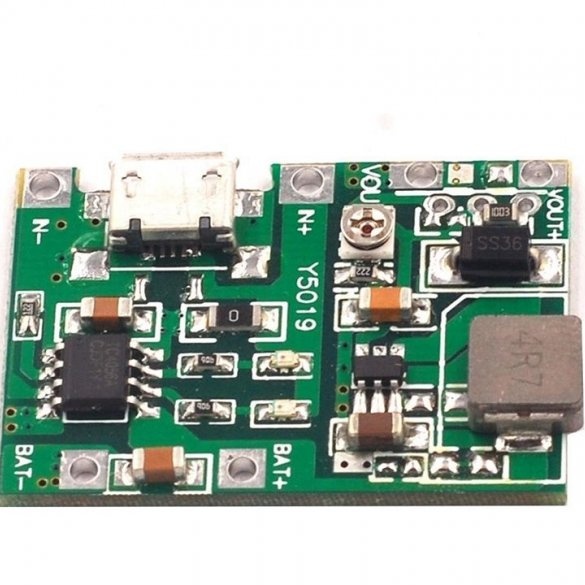
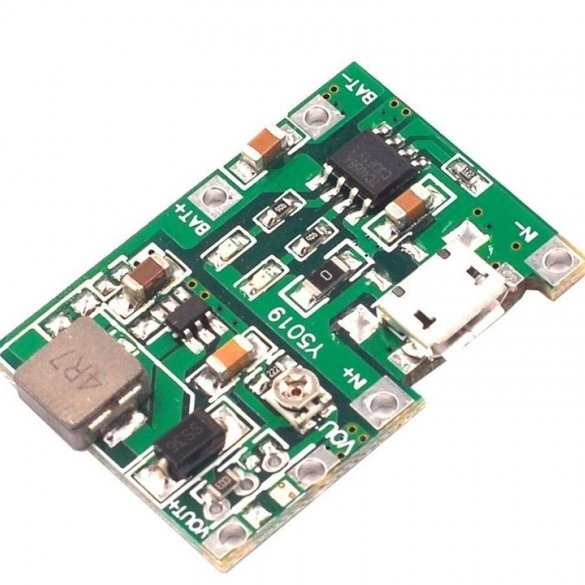
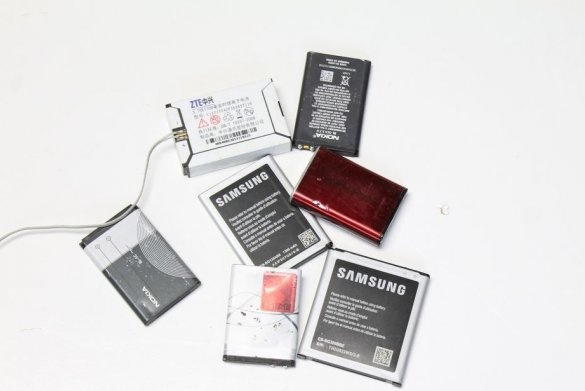
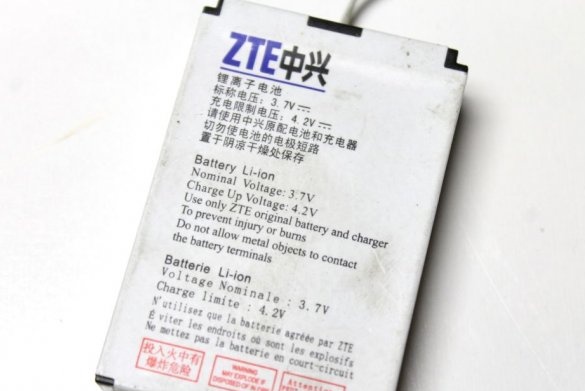
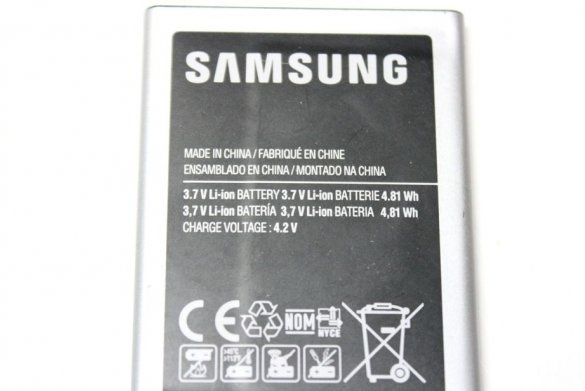
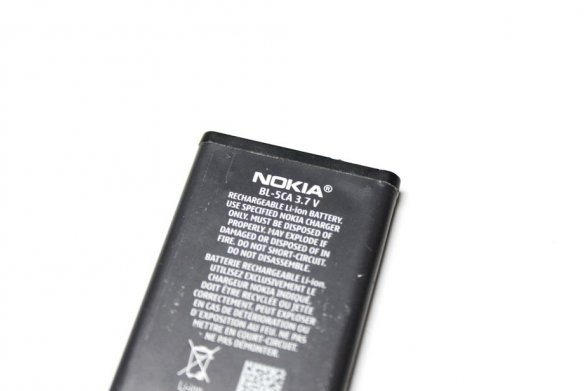
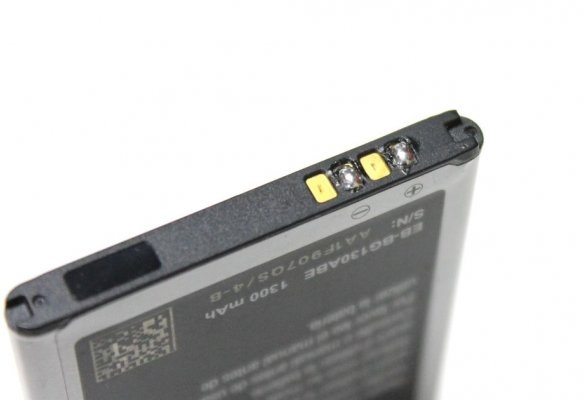
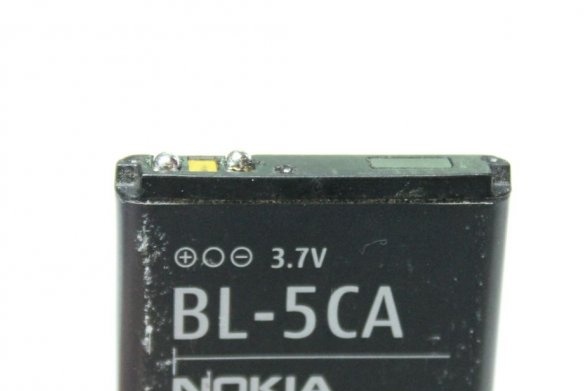
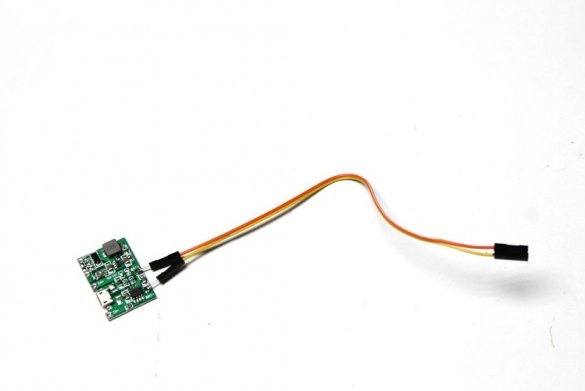
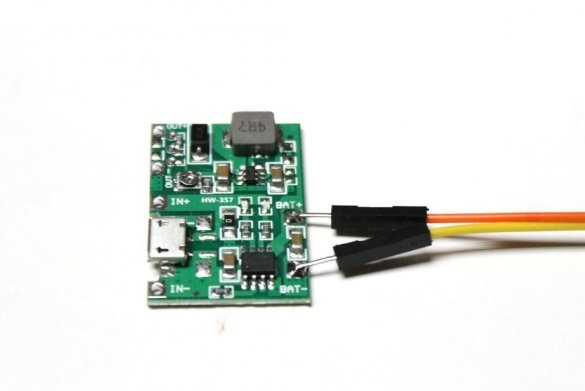
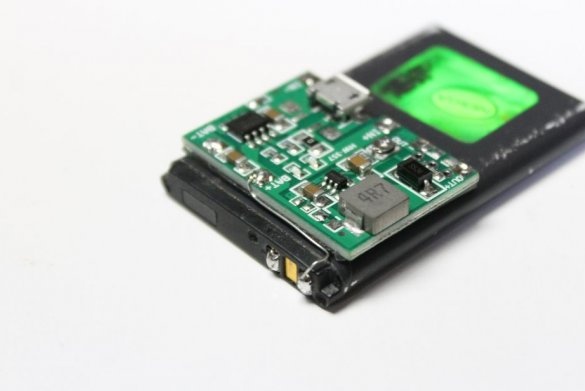
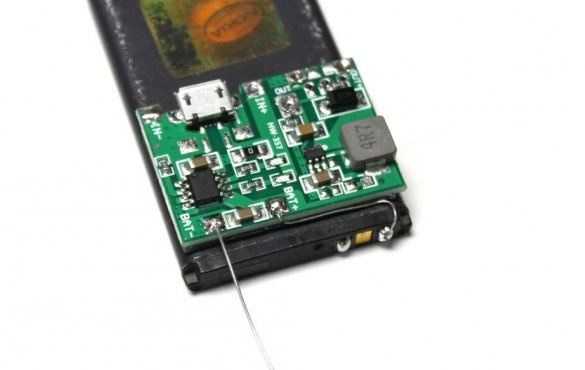
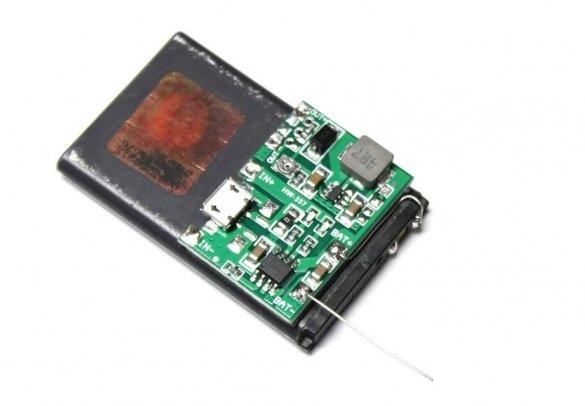
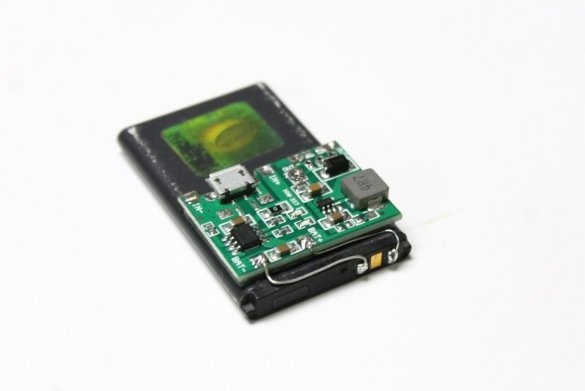
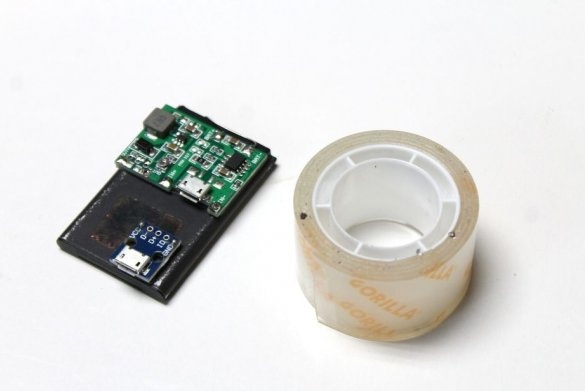
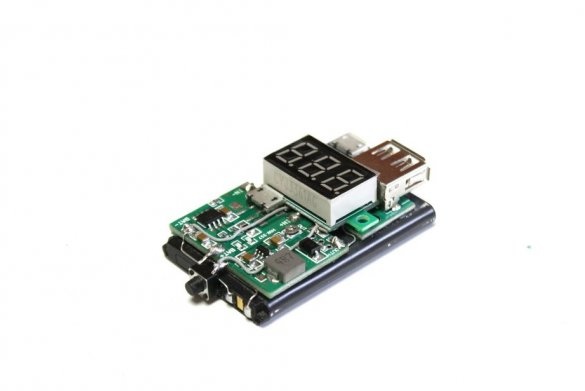
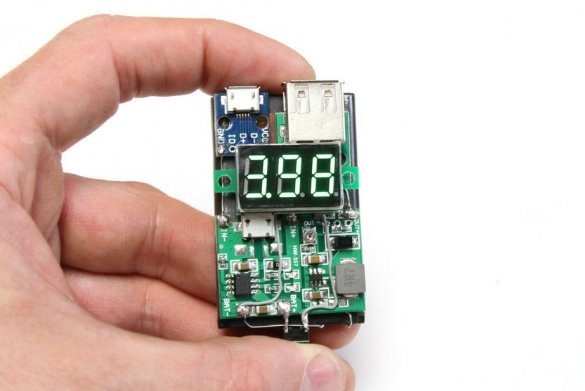
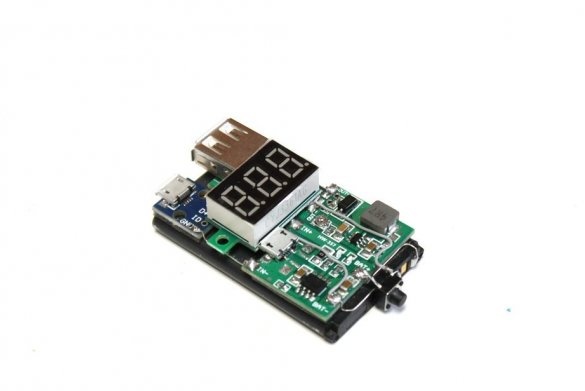
In this article, the wizard will tell us how to reuse batteries from gadgets. In the online store, the master found a boost module. The module comes with a lithium-ion charger, as well as a voltage regulator, which allows you to increase the voltage of the lithium-ion battery from 3.7V to 30V.
Tools and materials:
-Increasing Converter;
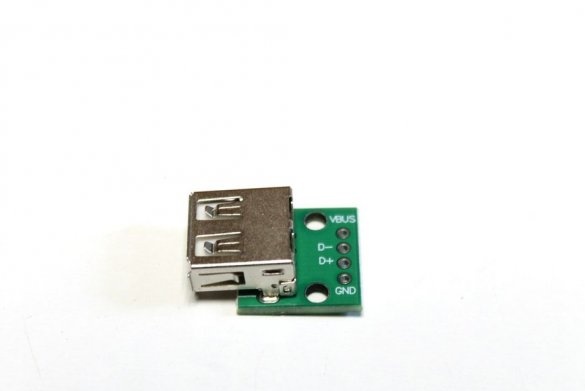
-Micro USB adapter;
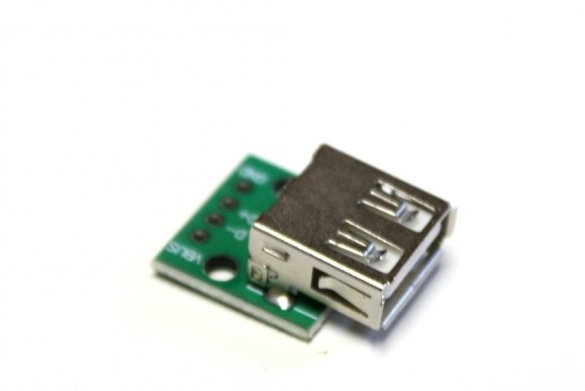
-USB adapter;
-Lithium-ion battery;
-The wire;
-Voltmeter;
-Microswitch;
-Soldering accessories;
-Pliers;
-Double sided tape;
Step One: Charging Module and Li-ion Battery
First, some information on lithium-ion batteries.
1. Mobile phone batteries do not like to overheat. If you intend to use the battery in a project, make sure that it will not be in direct sunlight.
2. Mobile phone batteries can lose about 20% of their capacity after 1000 charge / discharge cycles. Using an old phone’s battery will probably mean that it won’t hold a full charge, but even with 80% capacity, the battery will still be able to perform most tasks.
3. Lithium-ion batteries are moody. A rechargeable battery is a chemical reaction sealed in a plastic case. They hate excess heat, stress, overvoltage, undervoltage, and short circuiting. The module is designed to ensure proper battery charging. The master used it to charge more than 30 batteries of mobile phones, and there were no problems with the battery.
Charging module.
The module used in this assembly ensures that the battery charges to the correct capacity and stops charging as soon as the battery reaches approximately 4.2v.
Technical characteristics of the module:
Input voltage: 4.5-8V
DC output voltage: 4.3-27 V DC (continuously adjustable)
Charging voltage: DC 4.2 V
Charging Current: Max. 1A
Discharge current: max. 2A
Step two: charge the battery
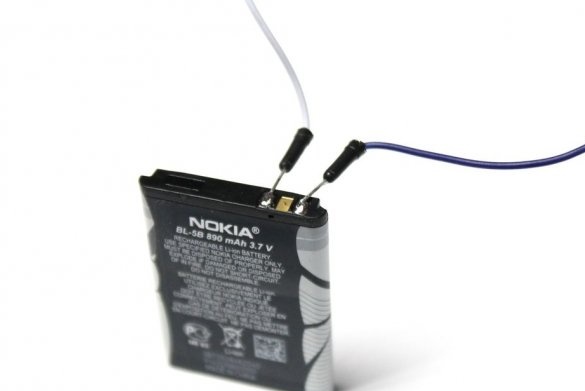
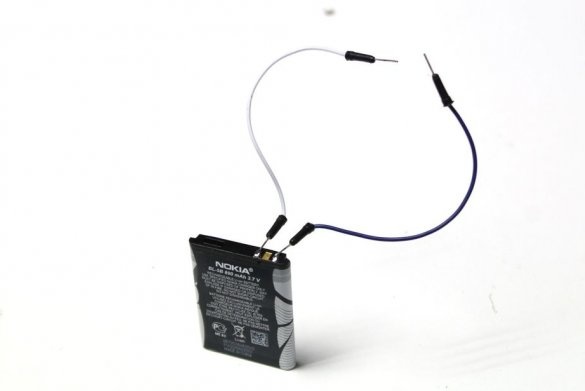
The first thing to do is add a little solder to the battery terminals. The soldering time should be as brief as possible.
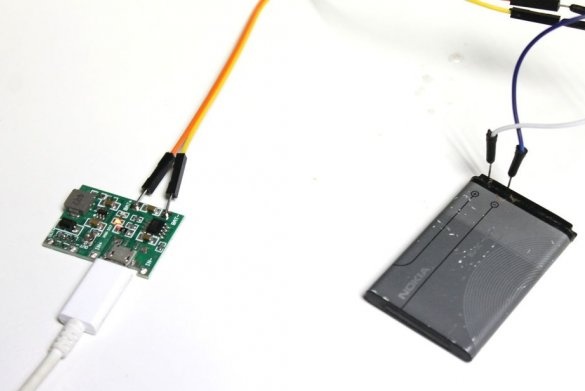
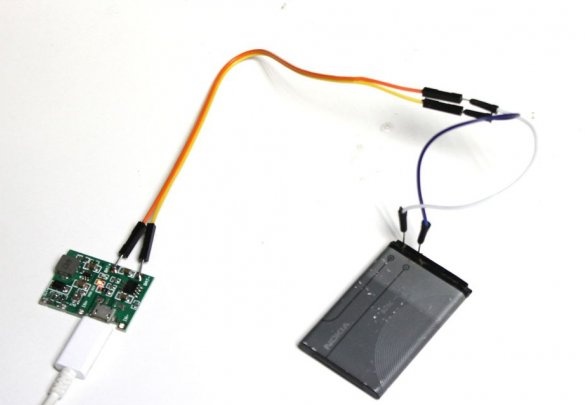
Next you need to charge the battery. It is necessary to connect the positive and negative contact of the battery and similar contacts of the module. Then the module is connected via mini-USB to an external power source. The green LED on the module lights up. After fully charged, the green LED lights up.
After charging, it is advisable to check the battery voltage with a multimeter.
Step Three: Installing the Module
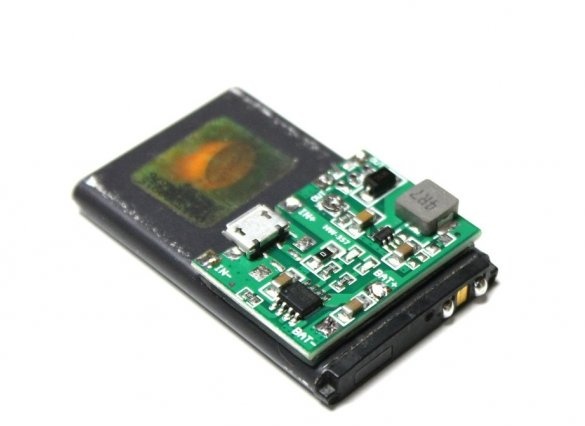
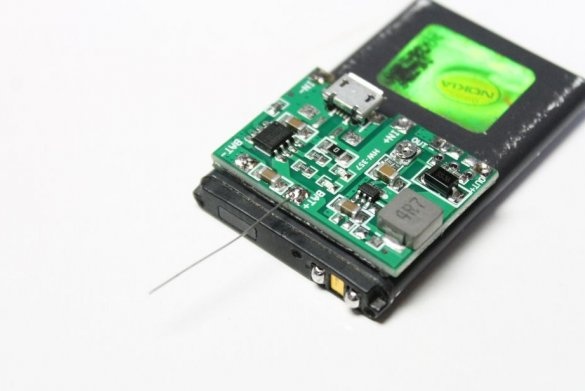
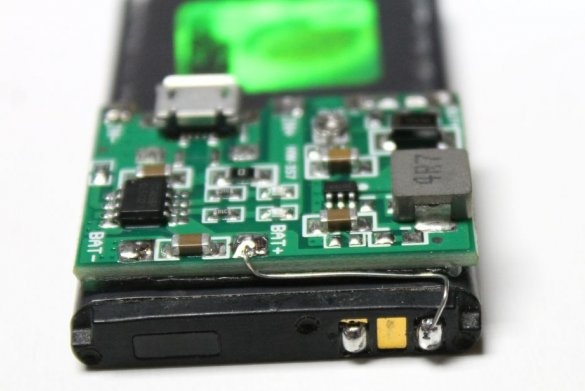
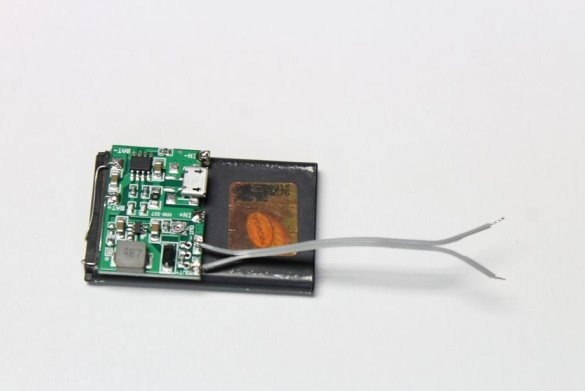
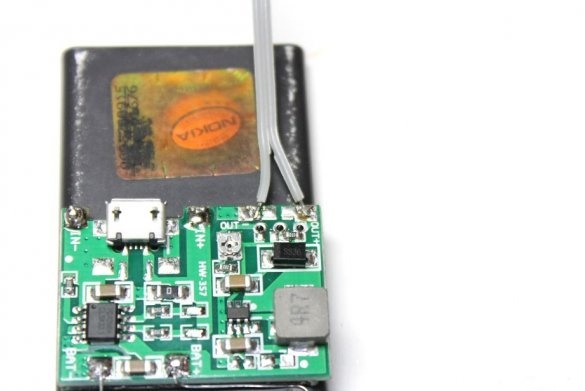
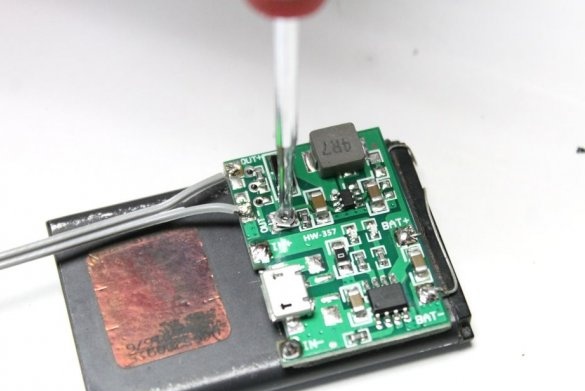
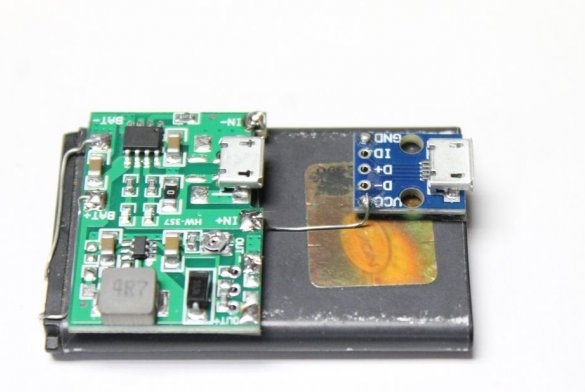
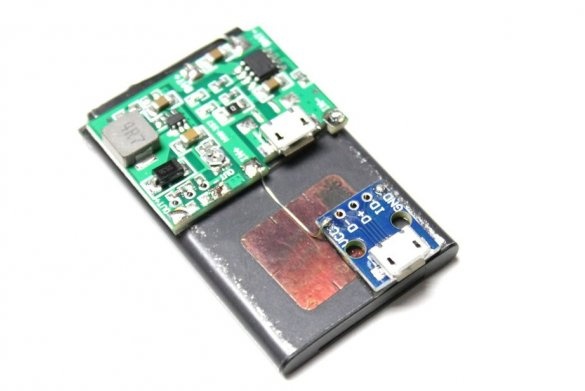
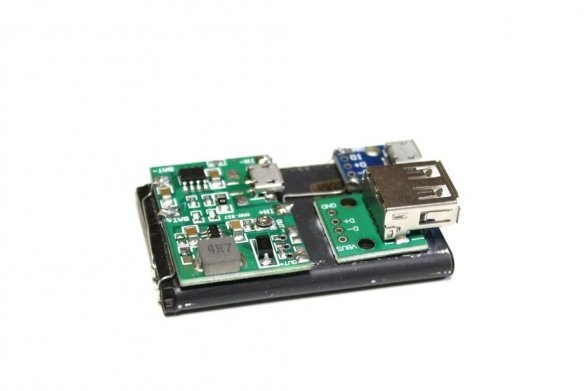
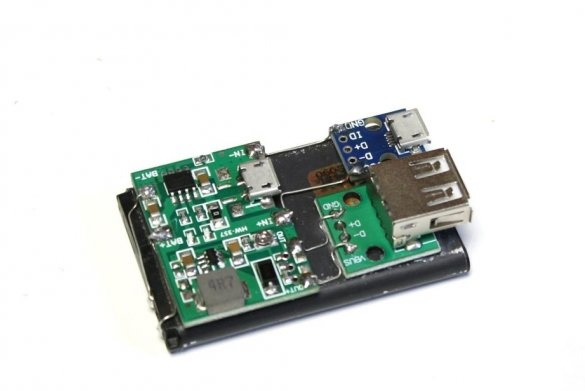
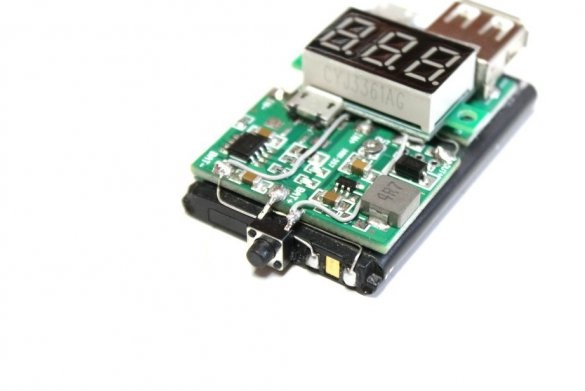
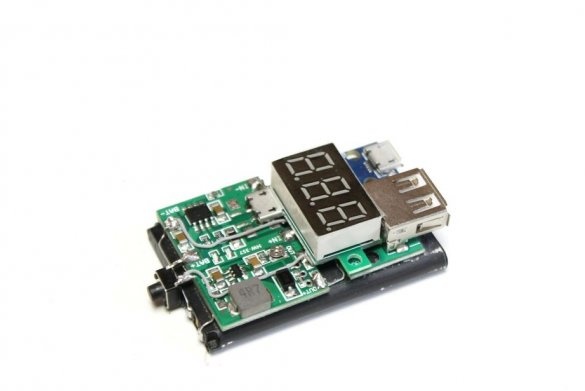
The master attaches the module to the battery using double-sided tape. To connect the terminals, the master uses legs from resistors.
Step Four: Voltage Adjustment
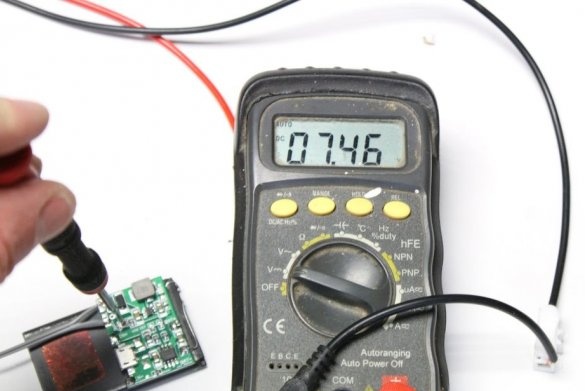
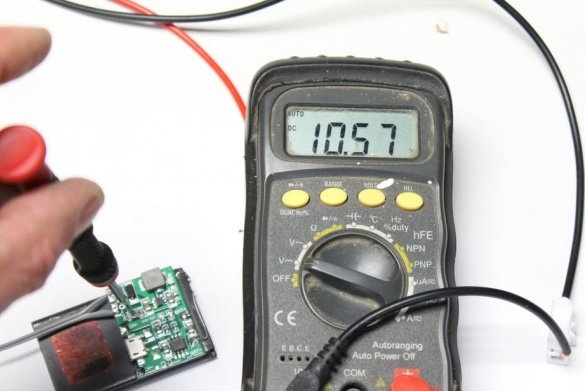
A distinctive feature of this module is that you can set the output voltage from 4.2 to 27 V. This allows you to use the battery for a whole bunch of different projects.
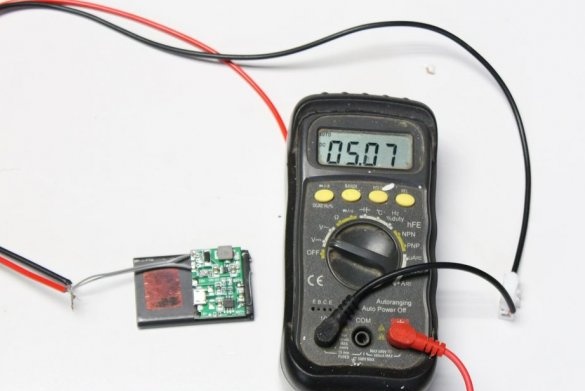
To set the desired voltage, you need to connect the multimeter probes to the output terminals of the module and turn the interline resistor to set the desired value.
Step Five: Add an External MircoUSB Connector
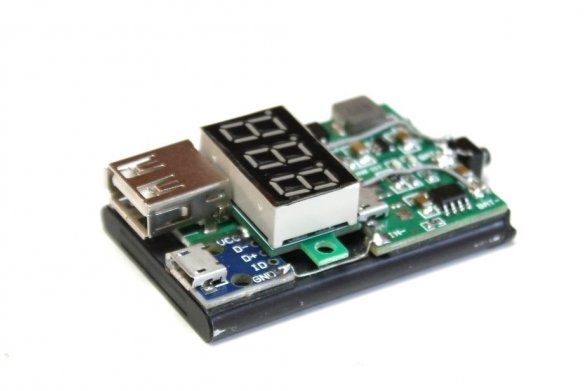
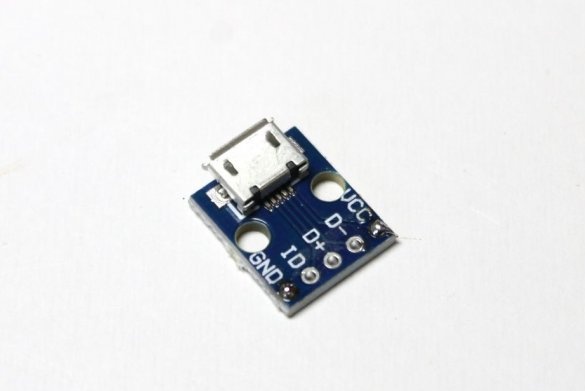
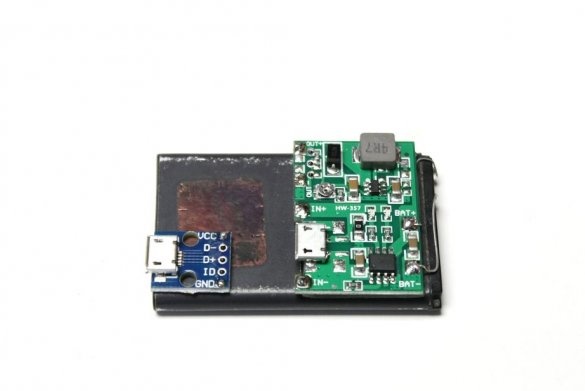
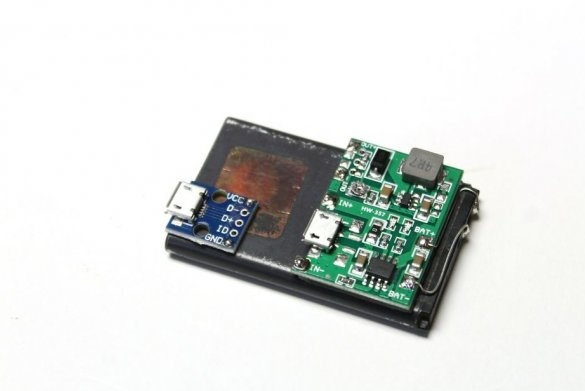
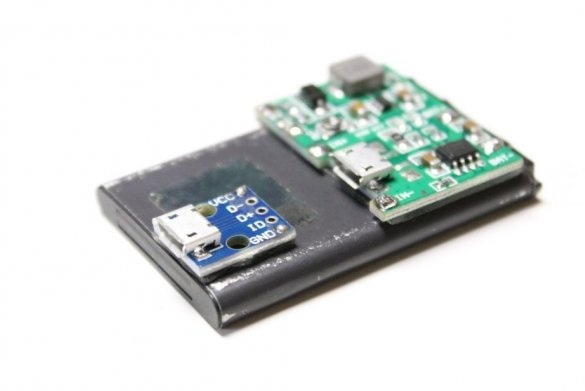
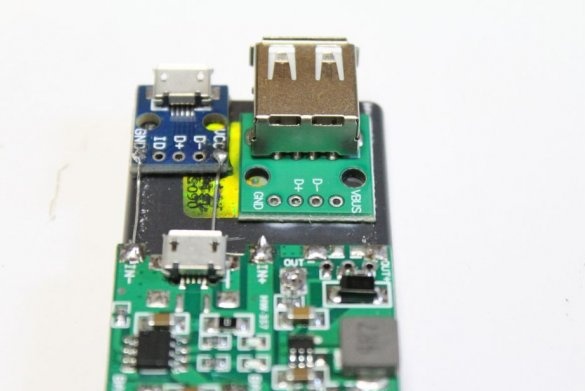
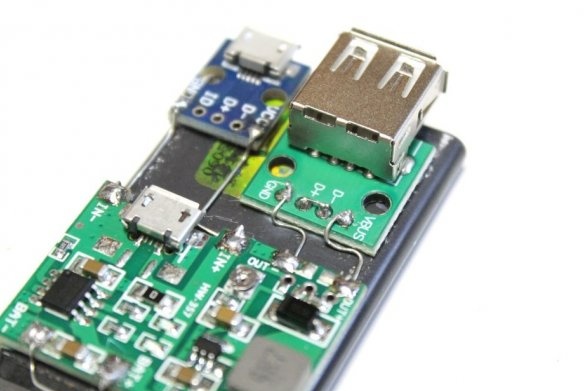
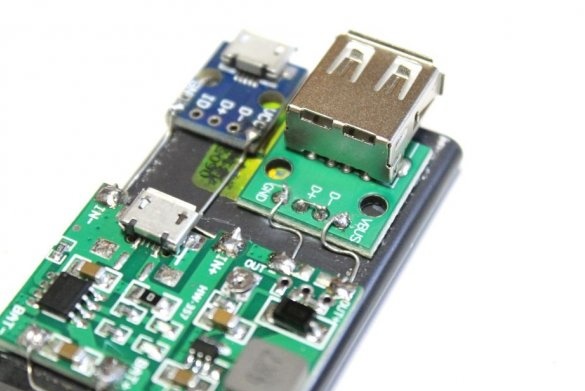
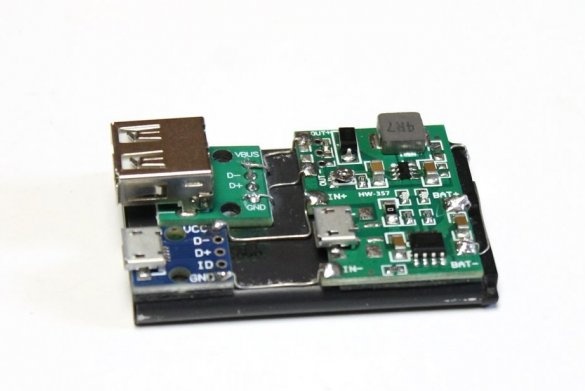
There is such a connector on the module, but, after installation on the battery, it is not very convenient to use it. The master glues a separate connector to the battery and solders IN + to VCC, IN- to GND.
Step Six: USB Connector
This operation is the same as in the previous step, except for the connection. Here we connect OUT + to VBUS, OUT- to GND. Contacts D- and D + on the connector, short-circuit.
Seventh step: voltmeter
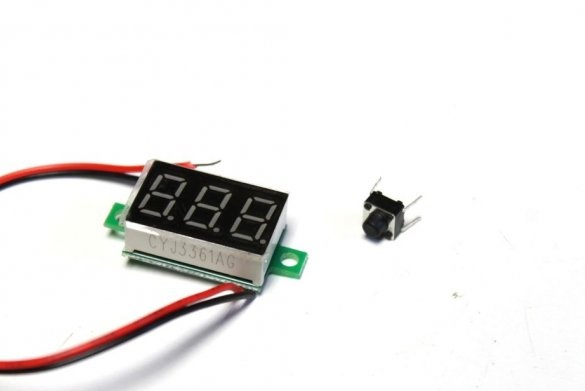
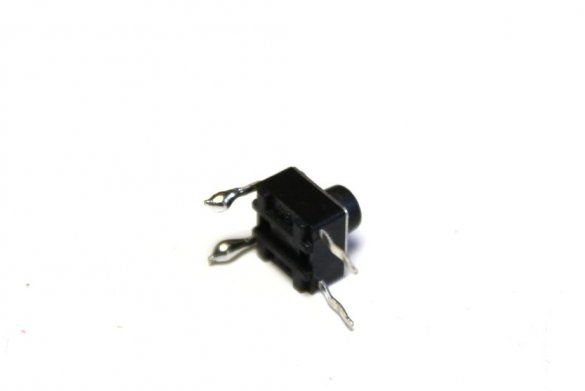
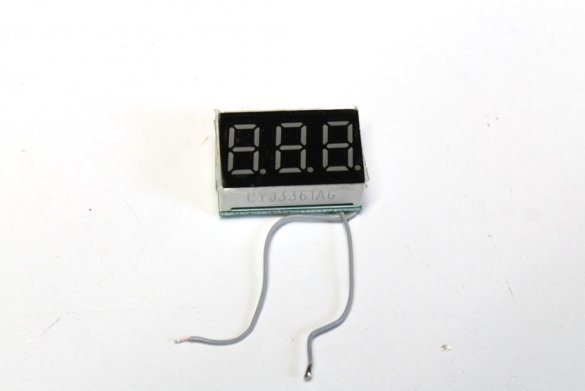
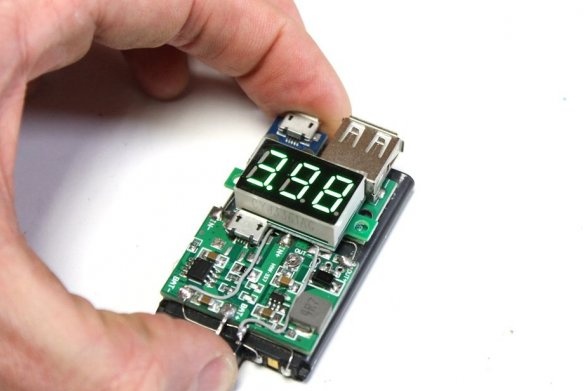
The master fixes and connects a voltmeter. A micro switch is mounted in the circuit. When a button is pressed, the battery voltage is displayed. If necessary, you can connect a voltmeter to the output and, depending on the goals, change the output voltage. Or put on-off switch and monitor both input and output voltage.
Step Eight: Last
Sharing the phone’s module and battery allows you to use this device for many electronic projects. The master says that in most of his projects he recently used batteries for mobile phones instead of 9 V. The presence of a rechargeable battery means, firstly, that you do not need to constantly change the batteries, and secondly, that you can install the module in any device without worrying about whether it’s convenient to change the battery.

