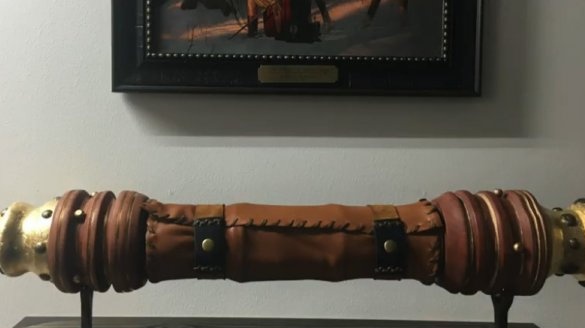
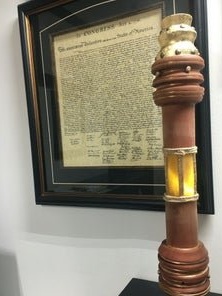
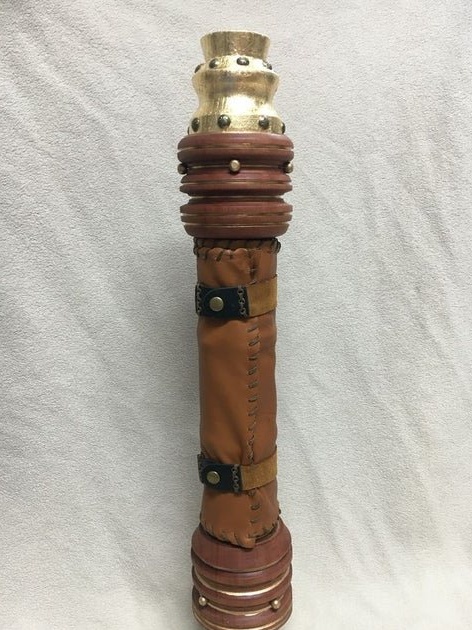
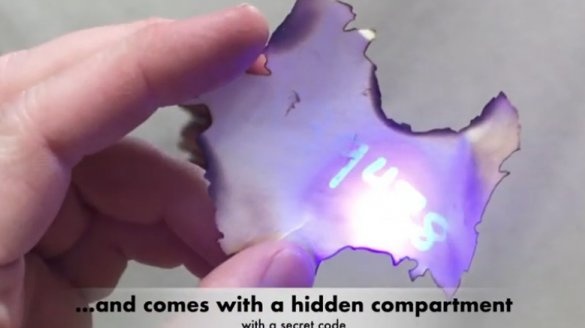
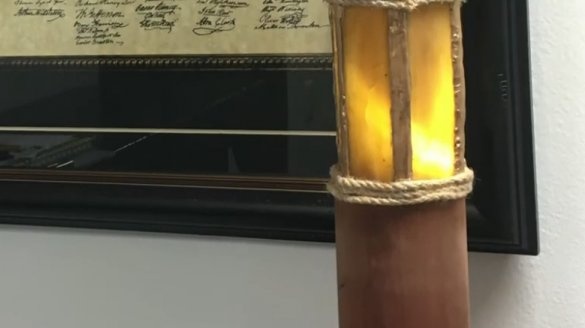
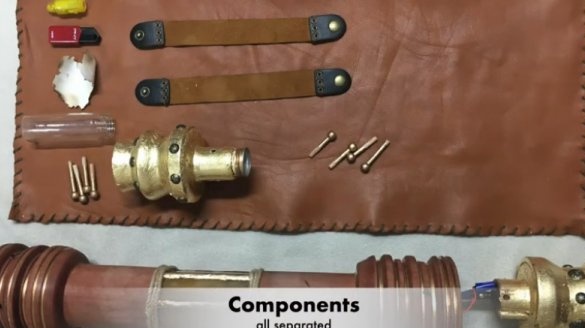
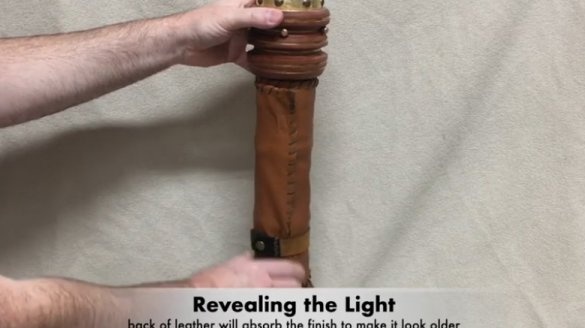
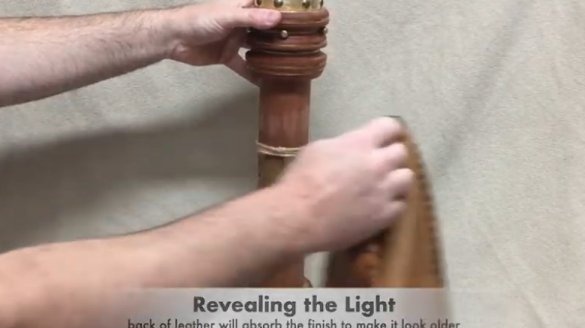
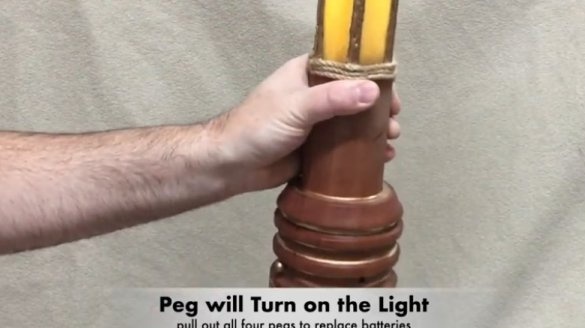
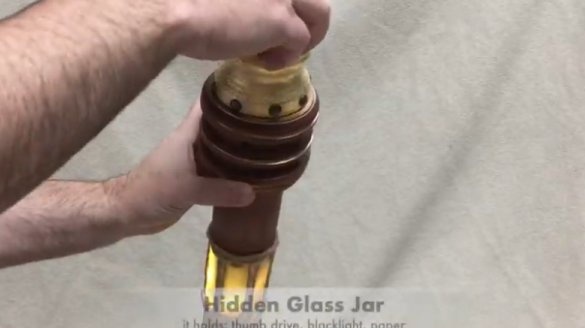
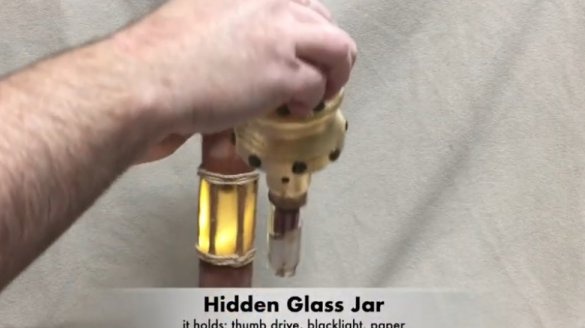
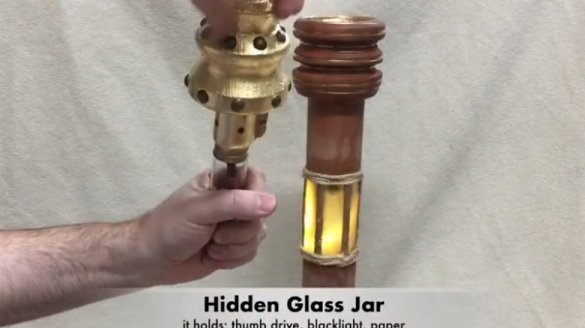
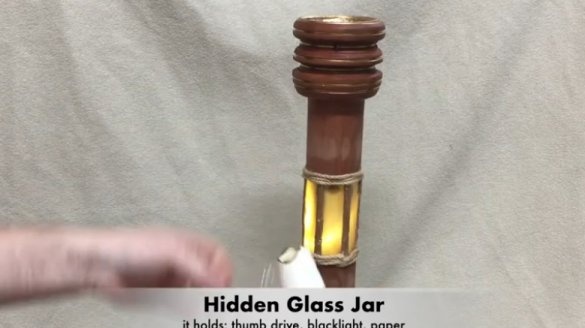
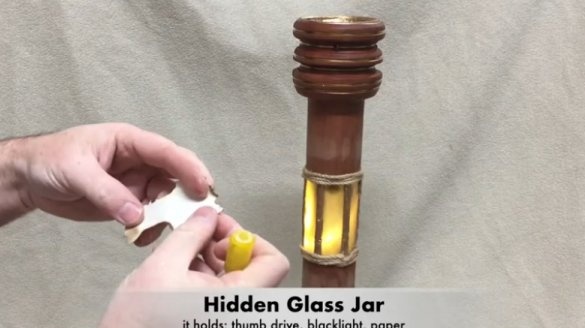
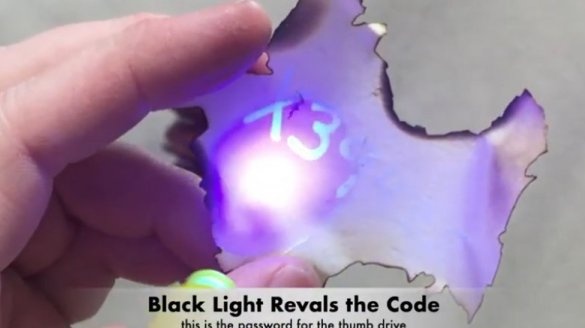
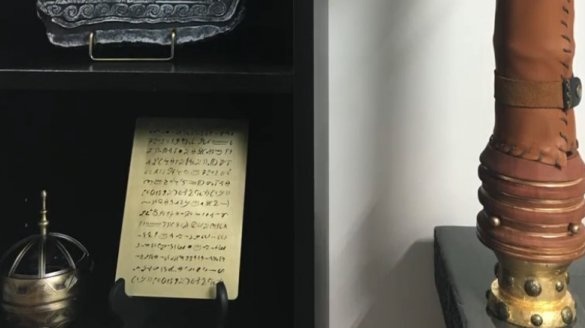
In this scroll, stylized as an ancient one, modern technologies are intertwined with the style and beauty of antiquity. The following functions are in this scroll: a built-in lamp with a hidden switch, a corrupted flash drive, an ultraviolet flashlight and a piece of paper on which the password for the flash drive is written in pretty ink.
In the video you can see how the manufacturing process of this scroll, and its "reading" (from 10 minutes).
Tools and materials:
-Wood;
-Leather;
-Suede leather;
-Clasp;
-Glass;
-Copper wire;
-Metal rod;
-Brush;
-Decorative sheet of gold;
-Glue;
-Foil;
-Flashlight;
-Switch;
-The wire;
-Linseed oil;
-Wooden nails;
-Waxed thread;
-Twine;
-Glass capacity;
- Pen with sympathetic ink and a UV flashlight;
-Lathe;
-A circular saw;
-Engraver;
-Grinder;
-Bandsaw machine;
- Glass cutter;
-Drilling machine;
-Drill;
-Soldering accessories;
-Glue gun;
Step One: The Middle Part
Home Scroll.pdf
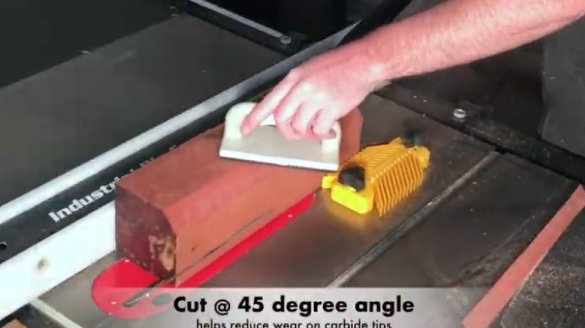
To make the middle part, the master took a wooden block. The edges of the bar cut.
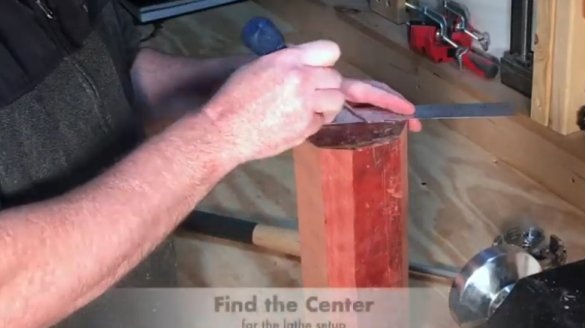
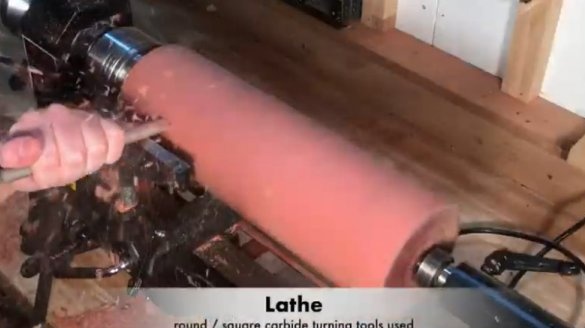
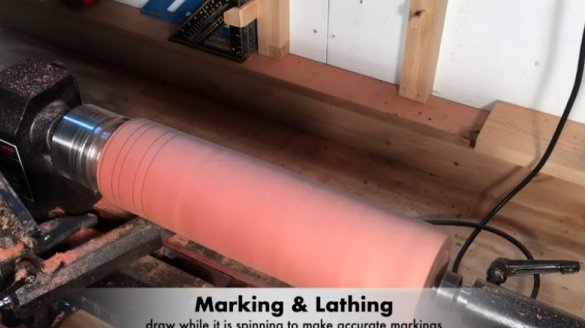
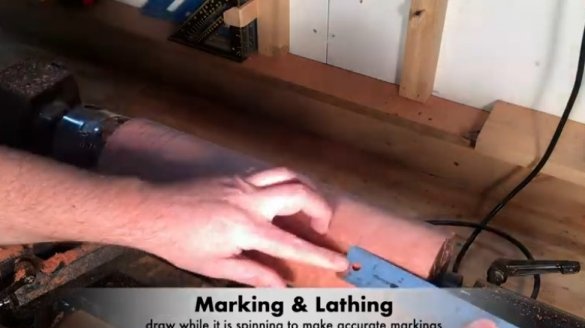
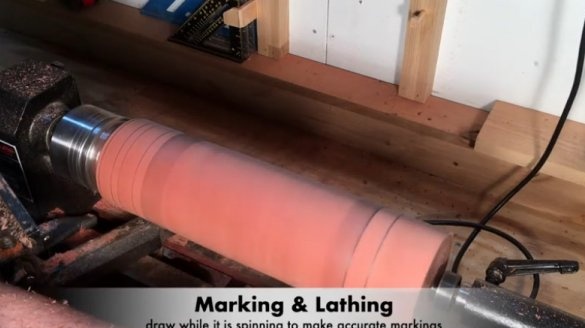
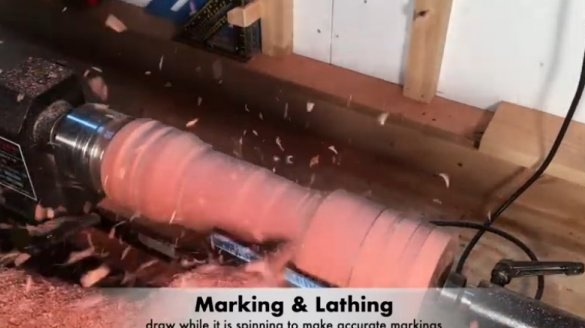
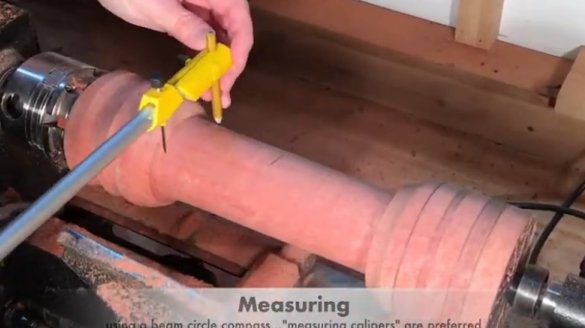
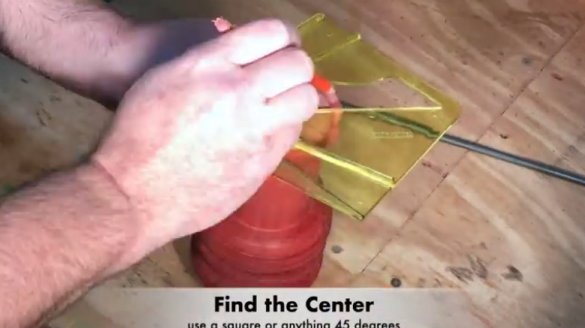
Further, the master marks the center of the workpiece and installs the workpiece in a lathe.
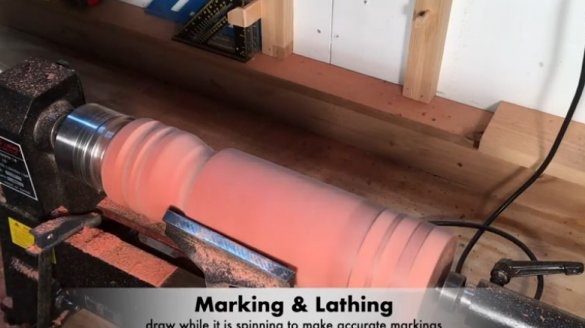
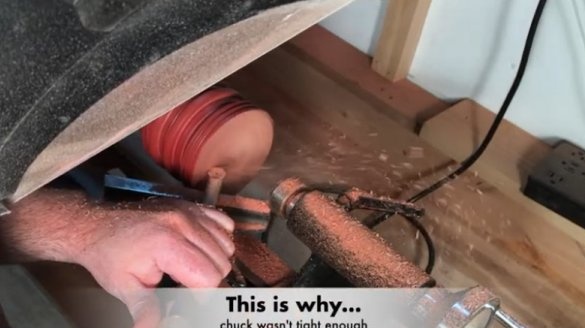
It processes the workpiece.
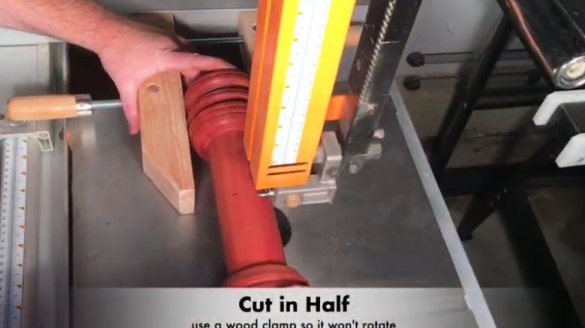
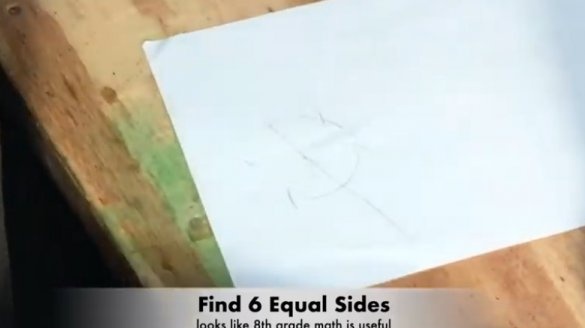
Cuts the workpiece in two. Makes a template with a center and six perimeter holes.
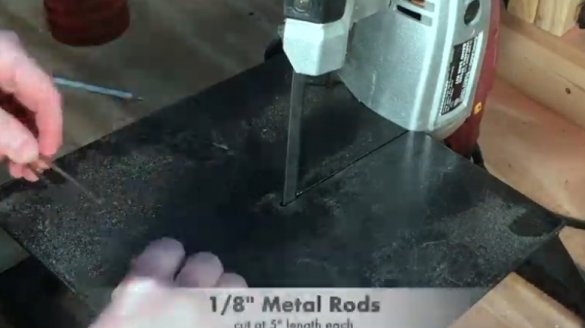
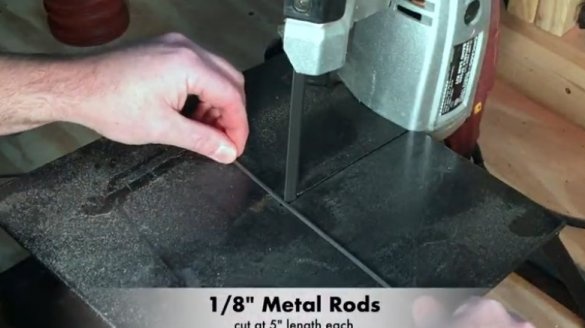
It cuts a metal rod into six pieces of the same length.
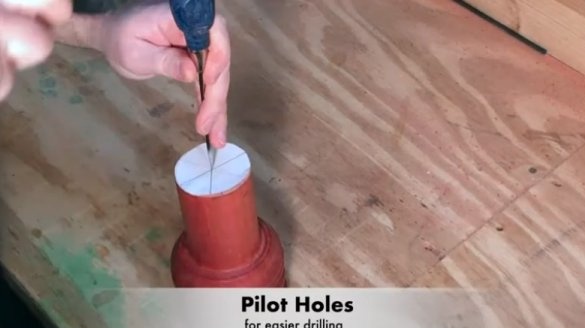
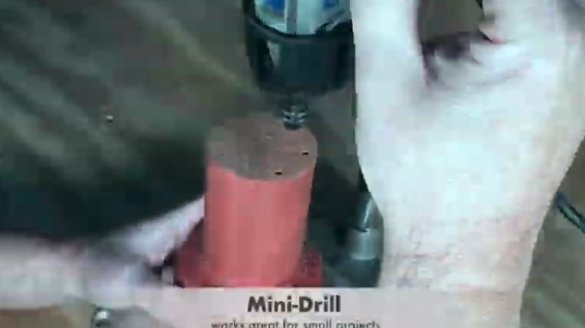
Drills six holes at the ends of the workpieces.
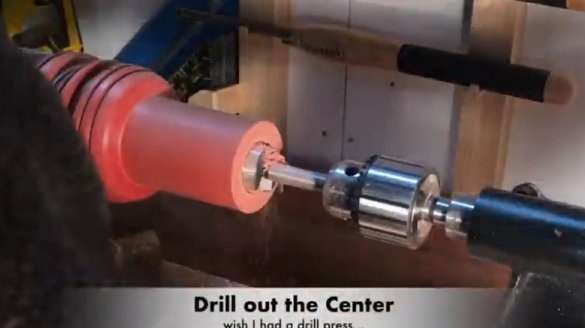
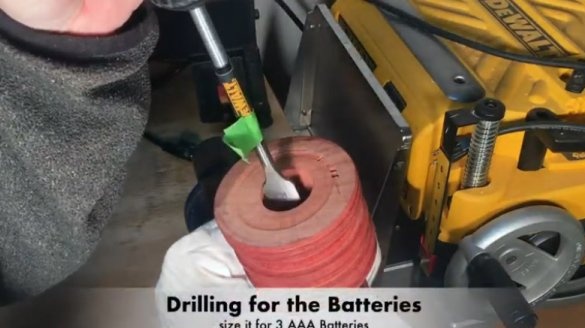
Drills the middle part.
Step Two: Top and Bottom
Top Portion.pdf
Lower part.pdf
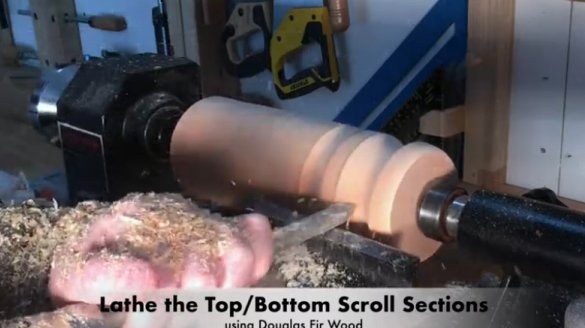
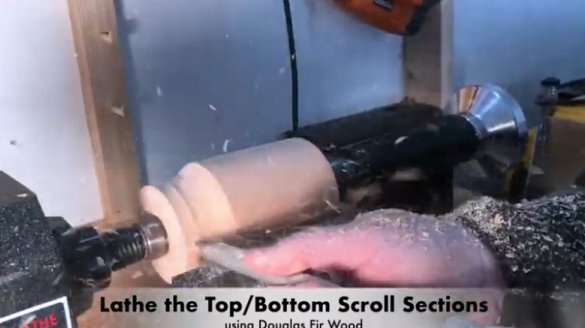
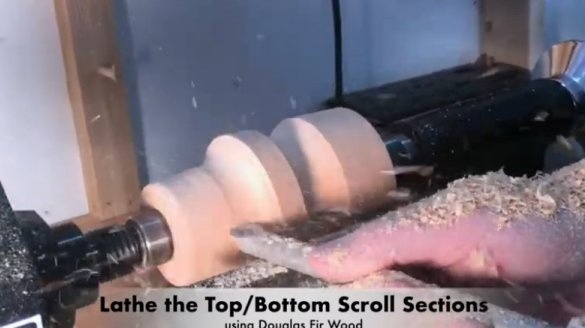
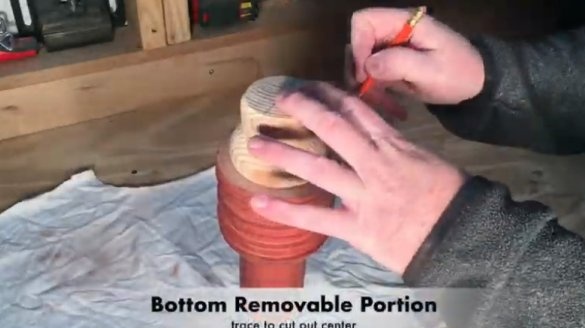
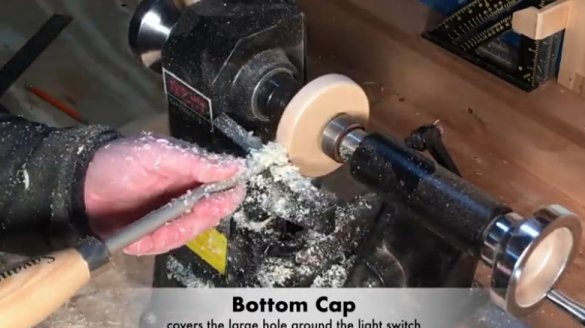
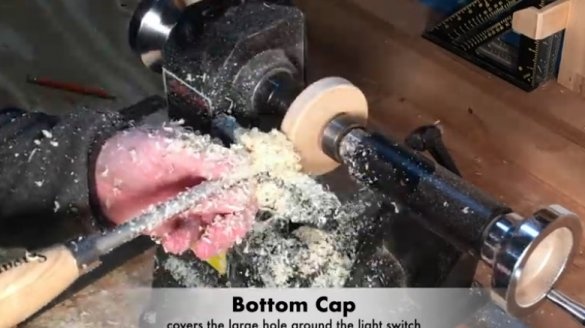
The top and bottom of the scroll will be removable. The master grinds them from wooden blocks.
There will be a switch at one end, a cache at the other. Where there will be a cache secures the twisting cork from the glass bubble.
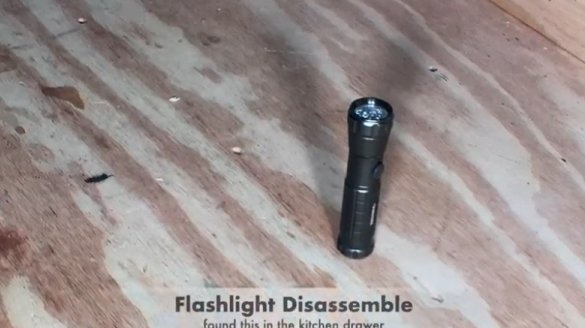
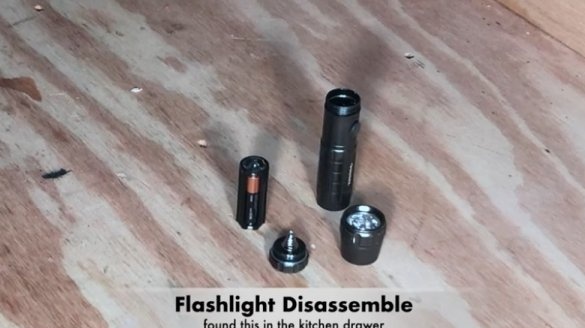
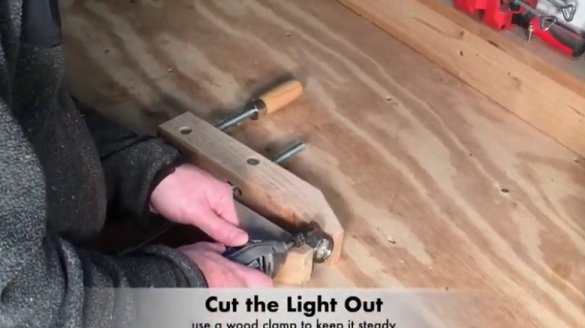
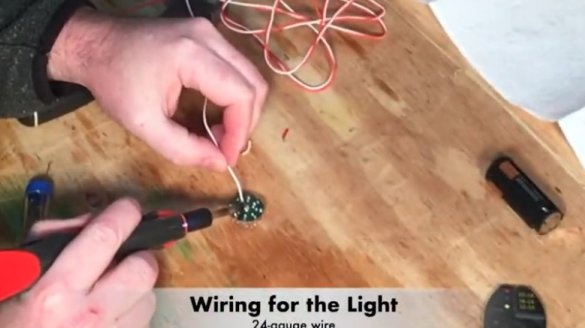
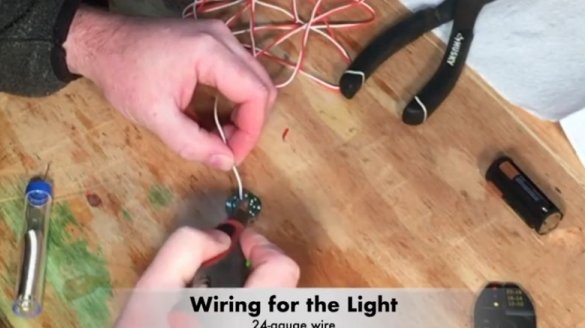
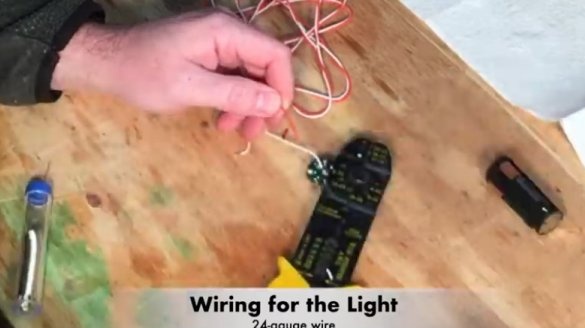
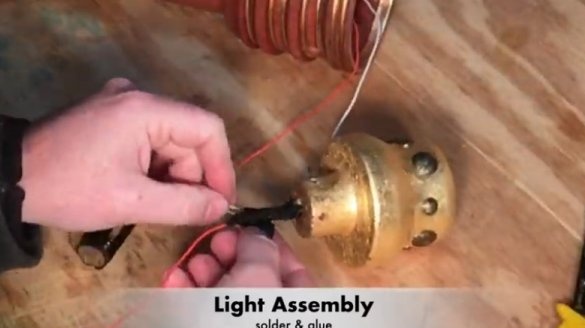
Parses a flashlight. You will need a part with LEDs and a battery compartment. At the top of the flashlight cuts a groove. At the ends of the middle part, drills holes, cuts out a seat for extreme parts.
Step Three: Pasting
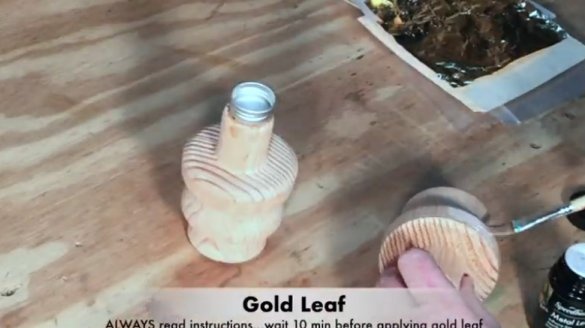
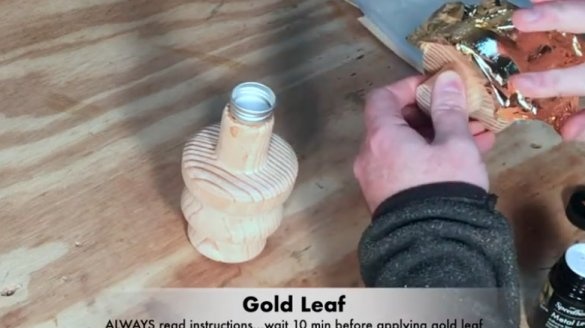
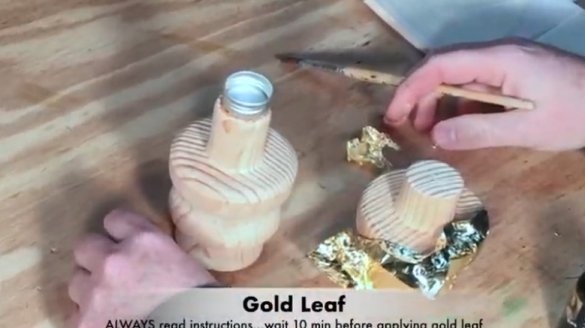
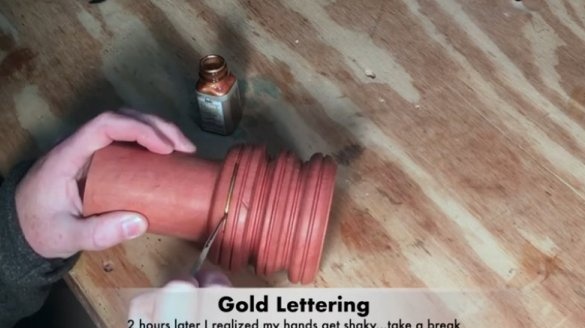
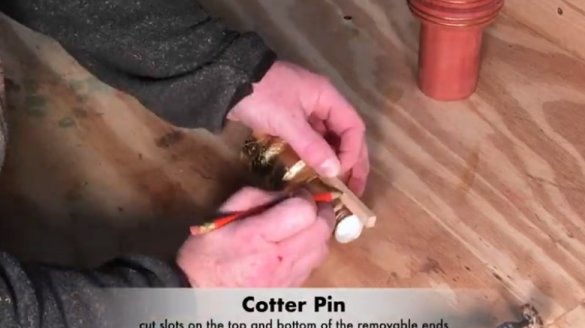
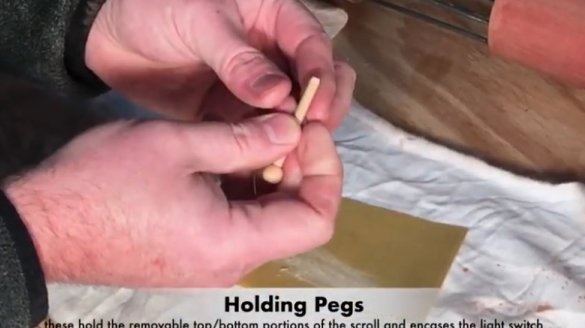
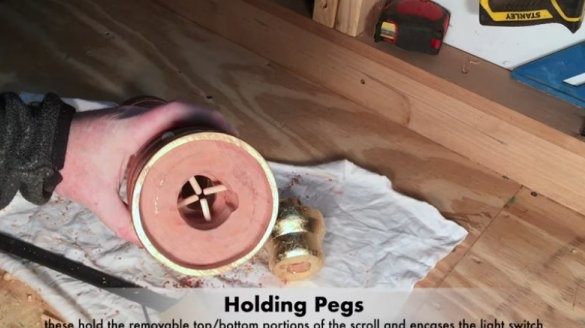
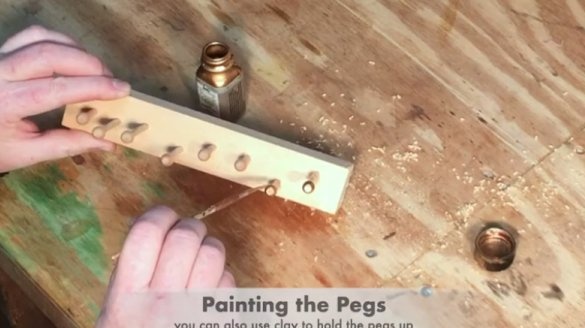
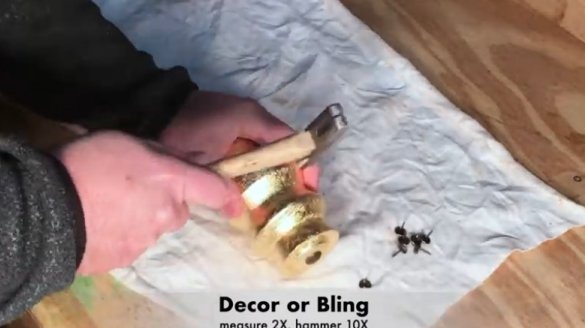
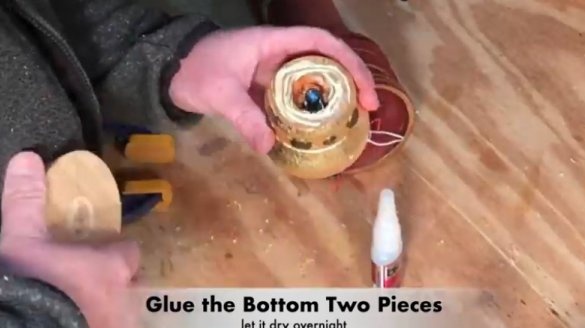
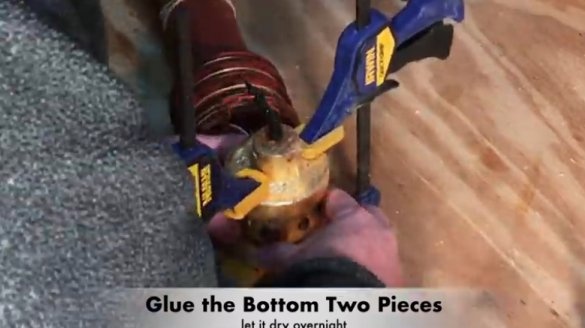
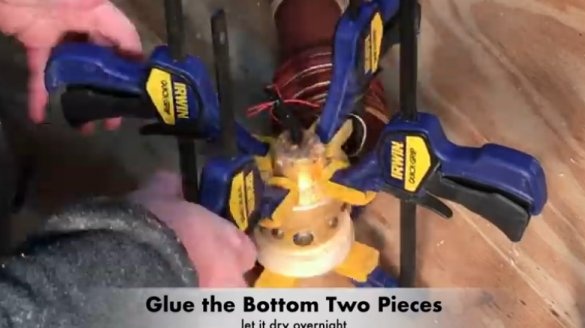
The upper and lower parts will be fixed with a wooden dowel and wooden ball pins.For cotter pins, the master cuts out grooves, for pins, drills holes. Then it glue and paste over the lower and upper parts with gold.
Step Four: Glass
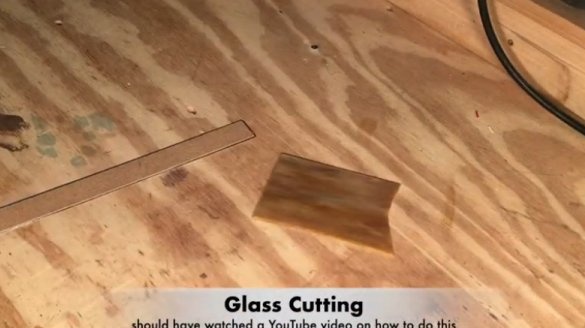
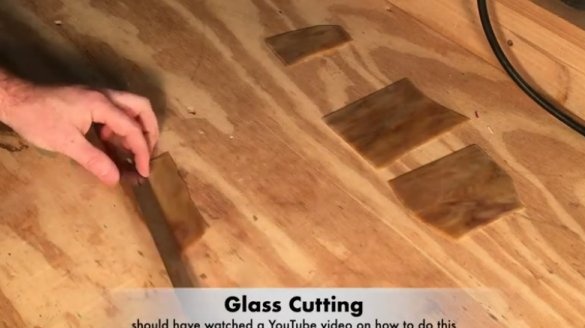
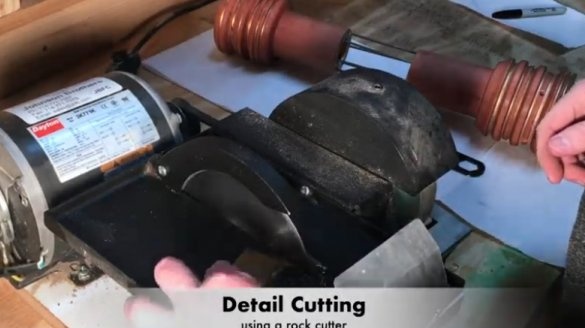
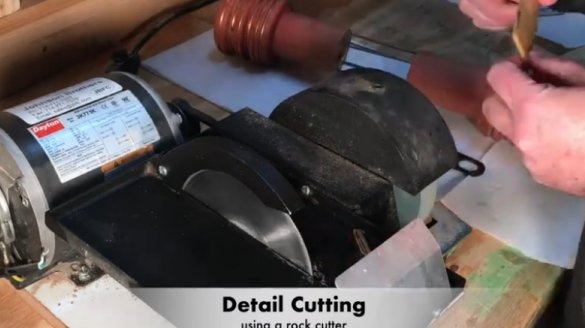
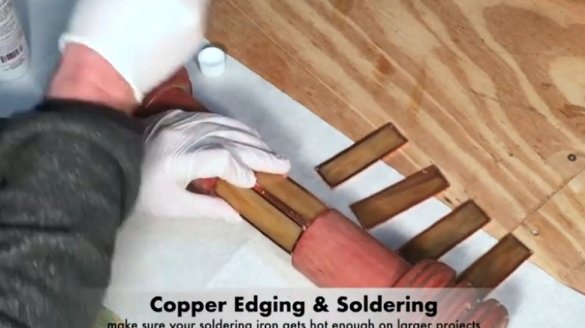
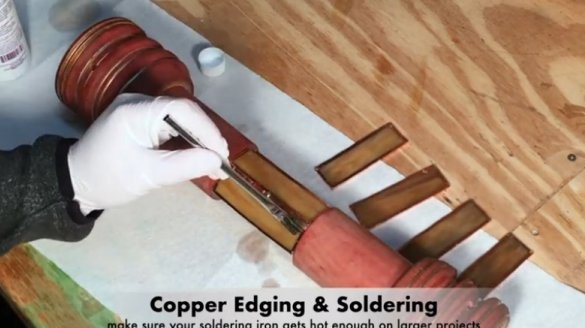
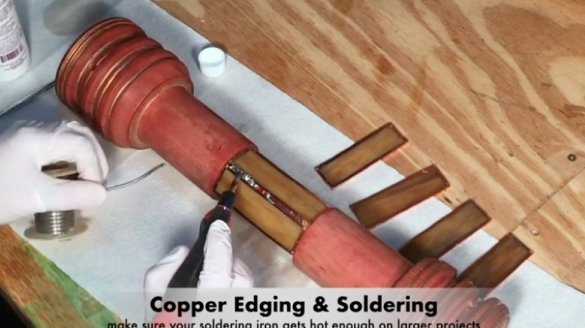
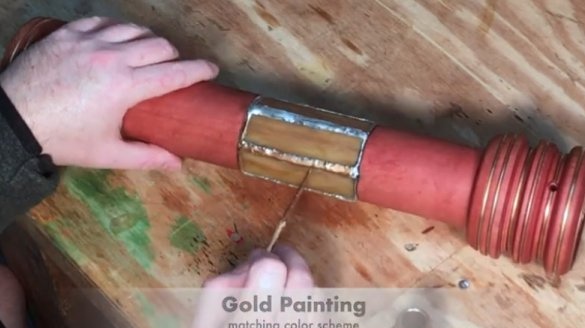
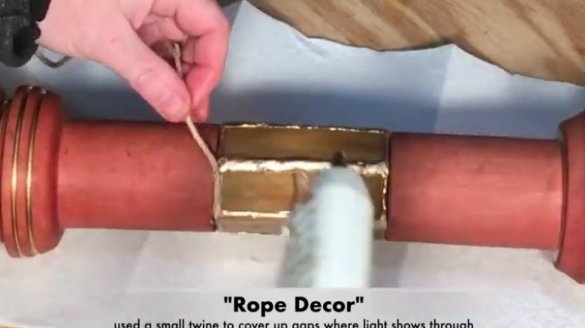
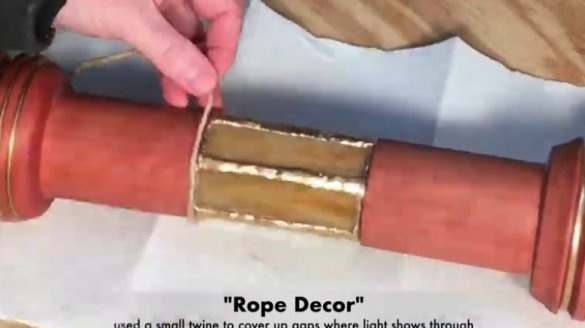
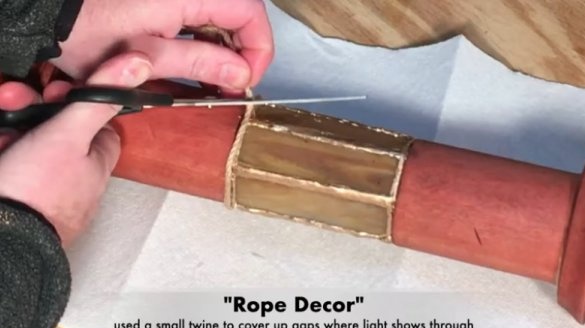
It connects two halves of the middle part. Between the halves we got a window with six metal bars around the circumference. The master cuts out six pieces of glass and installs them in the openings. From above, at the joints and around the perimeter, it lays a copper wire and solders it. Then glues the twine around the perimeter.
Step Five: Flashlight
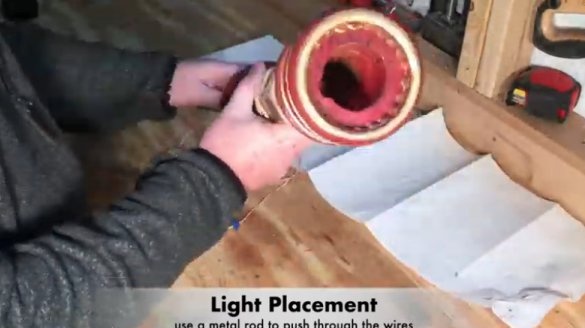
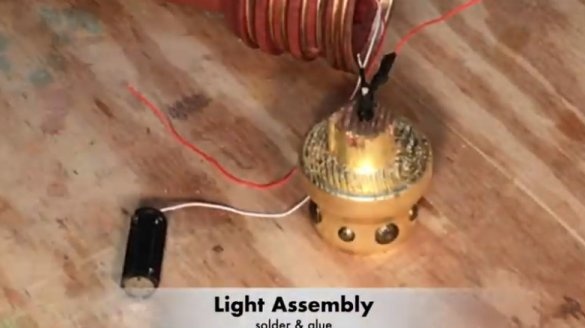
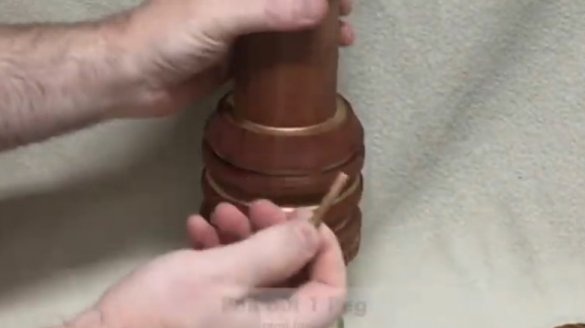
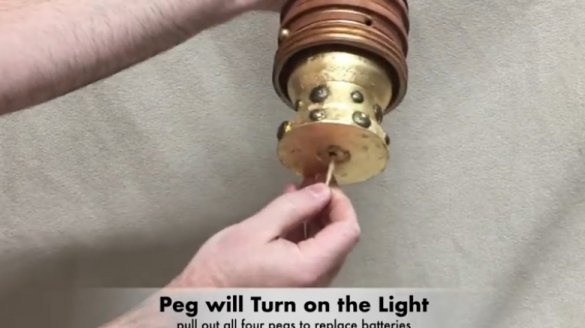
A flashlight will be installed at the bottom. The switch is integrated inside the bottom part. To turn on the flashlight, you will need to insert a wooden pin into the hole in the lower part and press the switch.
Step Six: Leather
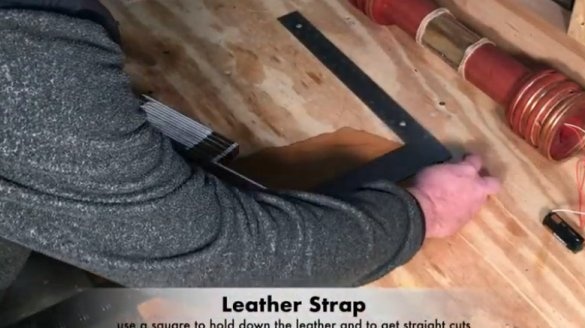
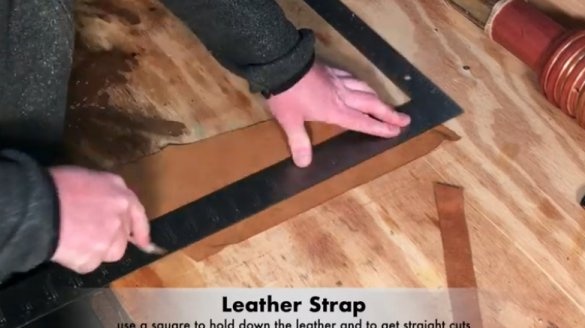
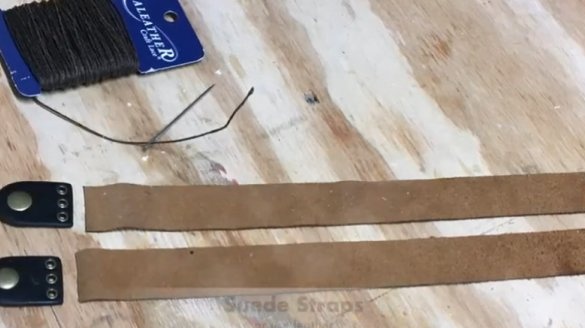
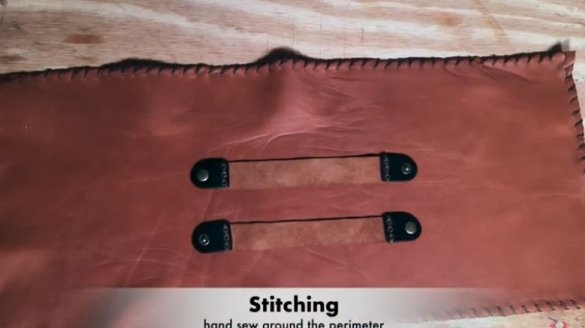
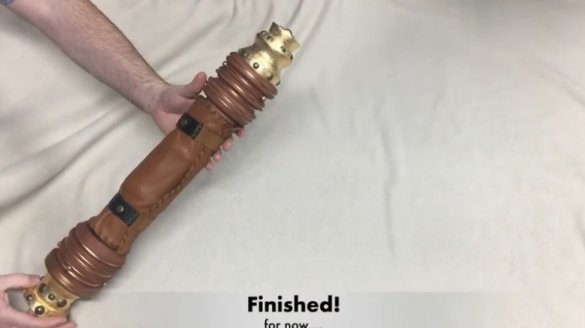
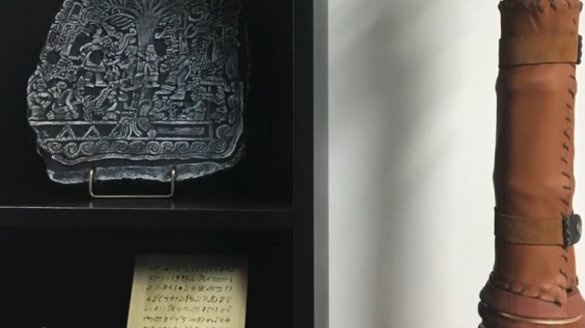
To protect glass and decoration, the master makes a case out of leather.
Seventh step: assembly / disassembly
Then the master collects the scroll.
And parses that much more interesting.
Removes a leather case.
He pulls out the pin, inserts it into the hole and turns on the flashlight.
Removes the upper part and unscrews the glass vessel. He takes out paper from it and shines on it with a UV flashlight.
Here is such an unusual scroll, at the junction of antiquity and modern technology, turned out by the master.

