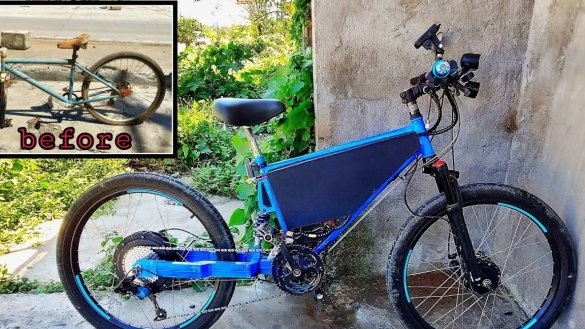
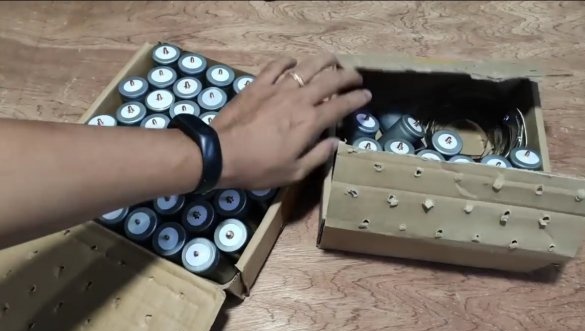
I welcome all fans to craft, I propose to consider instructions for making a powerful and reliable electric bike do it yourself. The author has equipped homemade two motors, both wheels turned out leading. A 350 W motor is on one wheel and 500 W on the other. The author collected the power source on the cells liFepo4 32650, these batteries can survive more discharging / charging cycles, and they also discharge more smoothly than lithium-ion batteries. The capacity of the assembled battery was 22Ah with a 16S4P configuration, and the operating voltage is 51.2V. The author partially welded the frame himself using parts from an old bicycle. One way or another, if you are interested in the project, I propose to study it in more detail!
Materials and tools used by the author:
Material List:
- batteries liFepo4 32650;
- two motor wheels (at 350 and 500 W);
- old bike;
- BMS controller to protect the battery;
- Sheet steel;
- profile pipes;
- bicycle wheels;
- chain, sprockets, etc. bike nodes;
- two controllers for brushless motors;
- corner;
- wiring;
- paint and more.
Tool List:
- grinder;
- welding machine;
- marker, tape measure;
- drill.
Homemade manufacturing process:
Step one. Foundation preparation
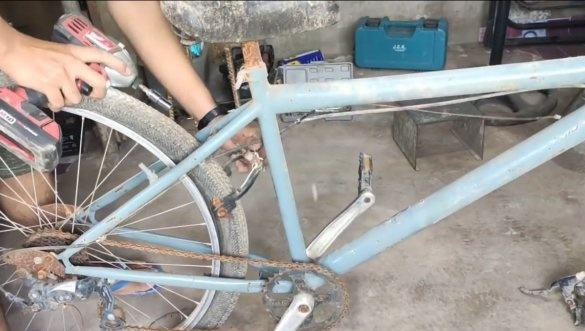
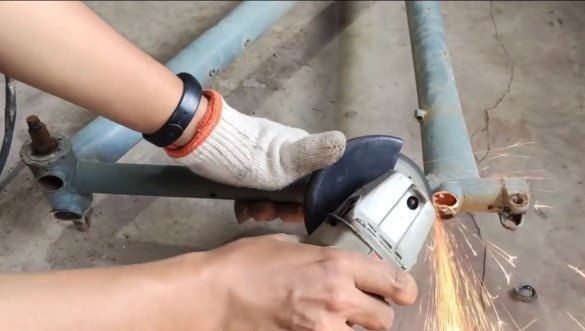
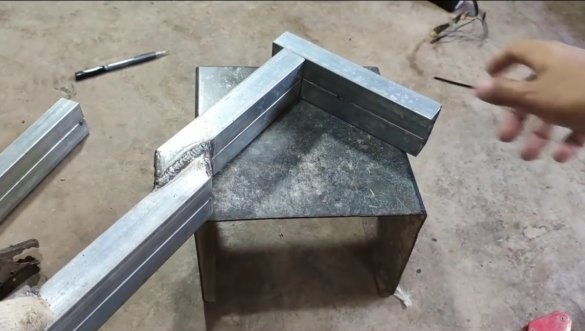
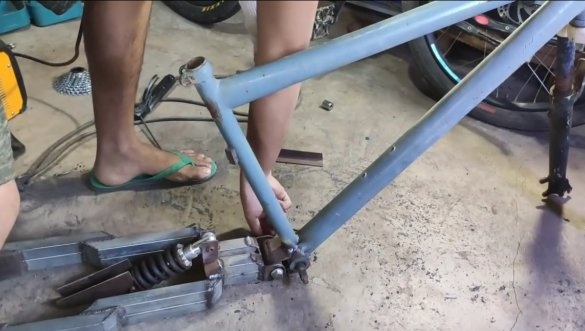
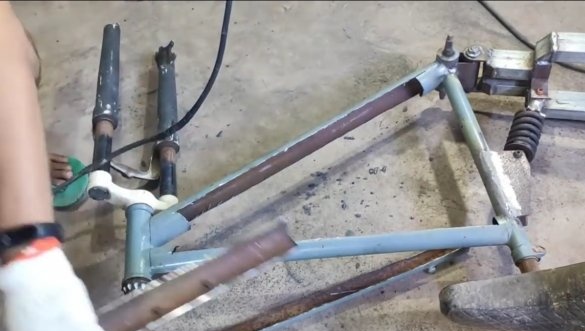
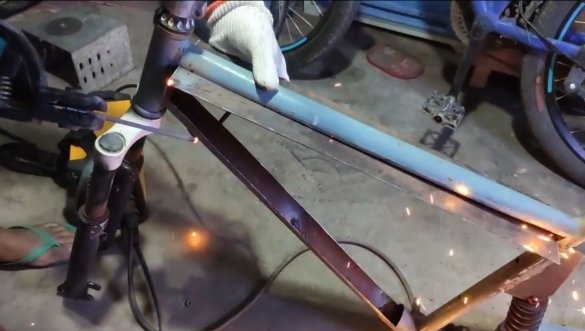
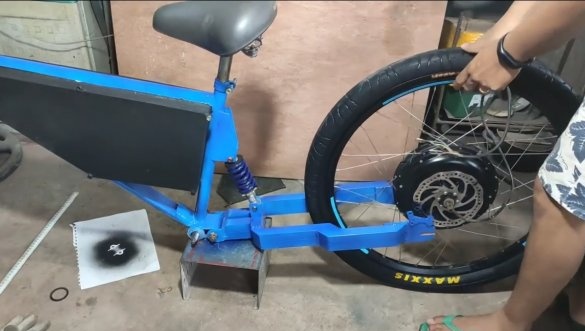
As a basis, the author used a frame from an old bicycle. We disassemble the bike and cut the rear fork. The author decided to make the rear fork on the shock absorber so that you can gently jump from the curbs, ride on stones and other bumps.
At the docking point of the old plug, the author welded a joint in the form of a piece of pipe and other parts.
Step Two Production and installation of the rear fork
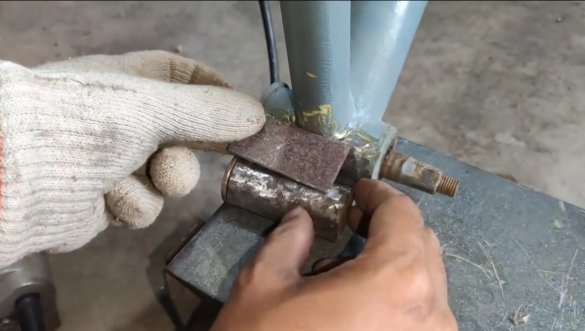
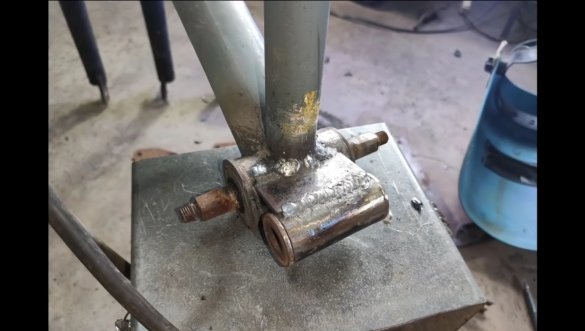
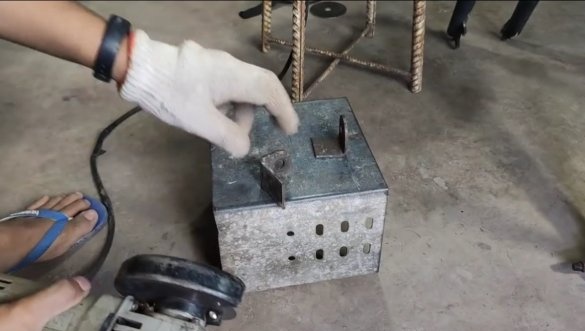
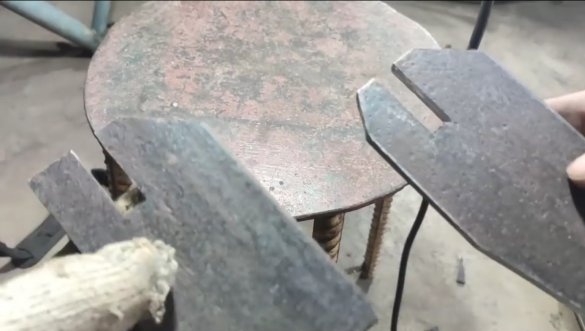
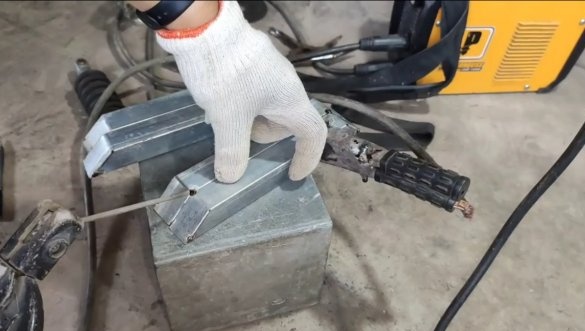
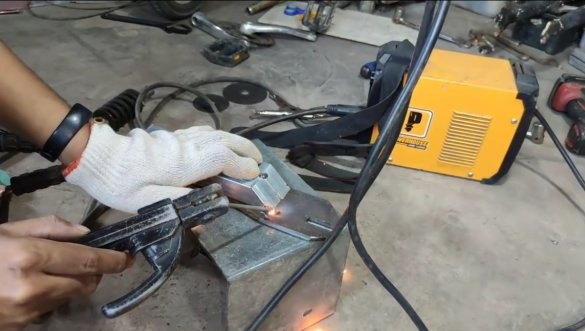
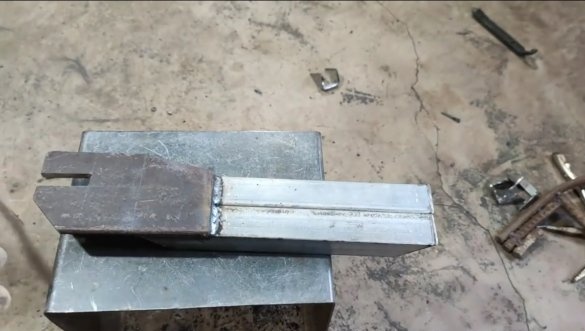
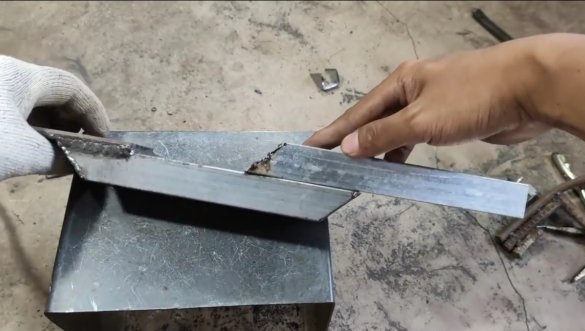
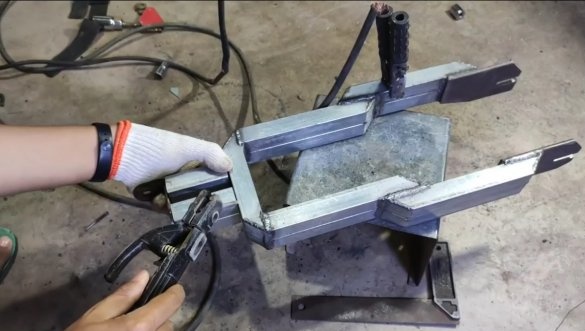
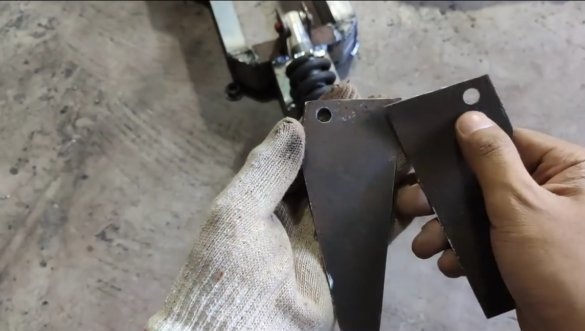
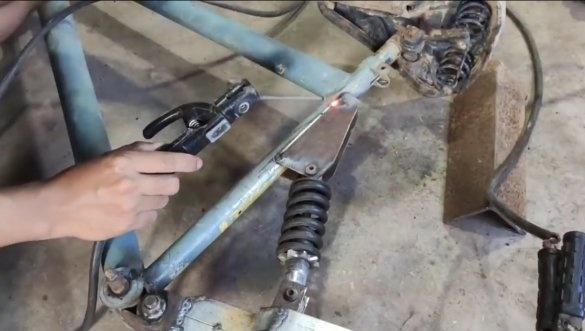
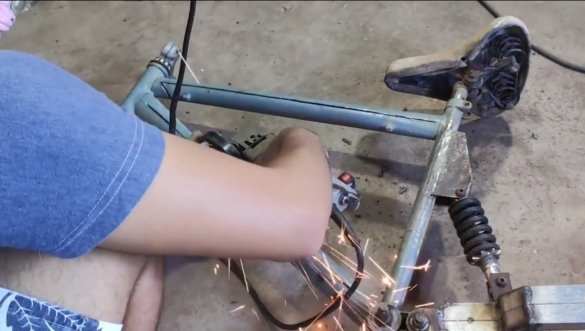
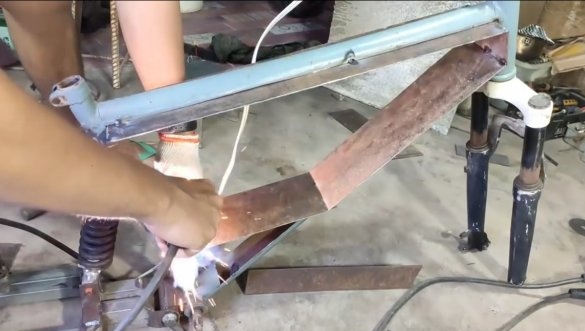
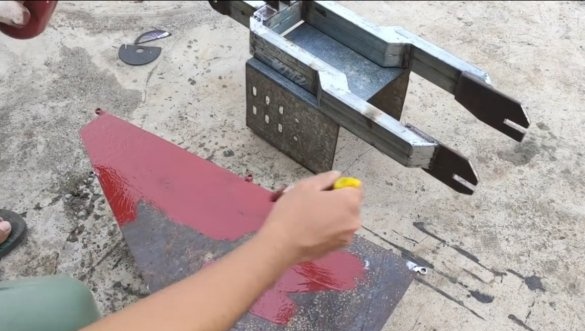
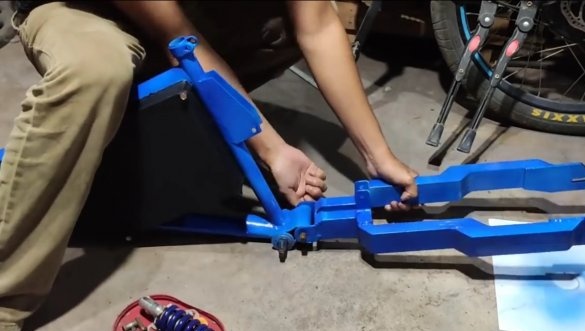
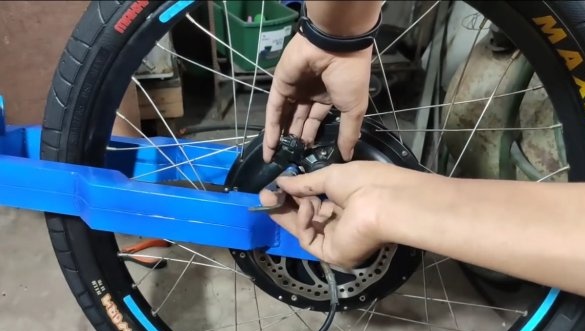
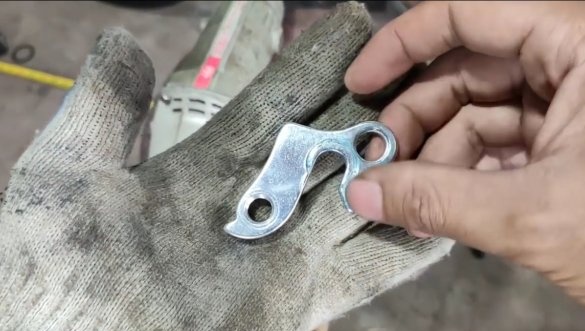
The author welded the rear fork himself; rectangular profile pipes were used as the basis. To fix the wheels, the author made special fasteners made of thick sheet steel.
At the other end of the fork, weld the second part of the hinge, with which the rear fork is attached to the main frame.
As soon as the fork is ready, it remains to weld the support for the shock absorber. The author used only one shock absorber, the ability to adjust stiffness would not be superfluous.
Step Three Place under the battery
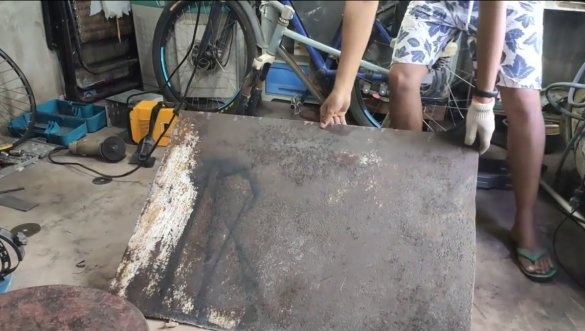
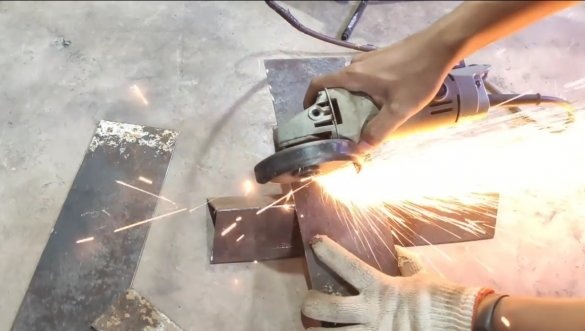
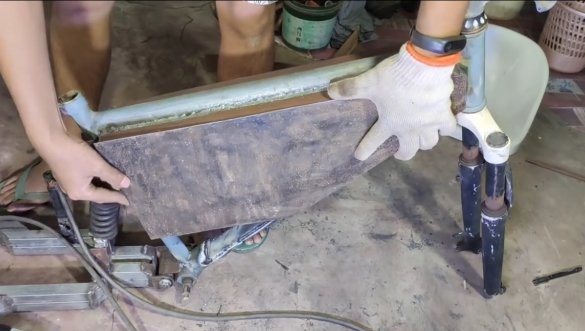
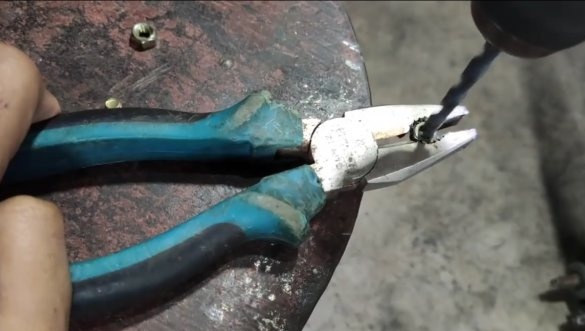
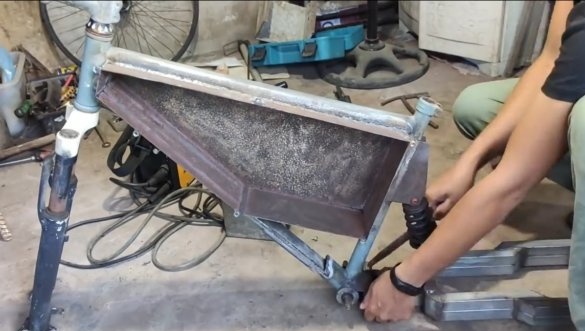
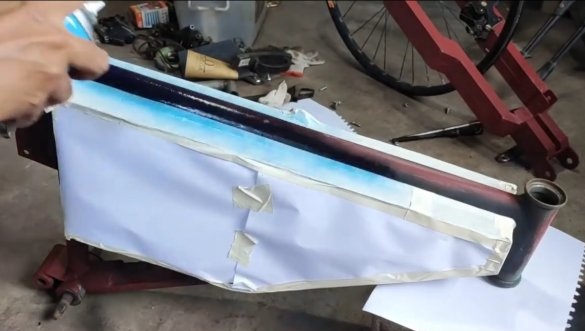
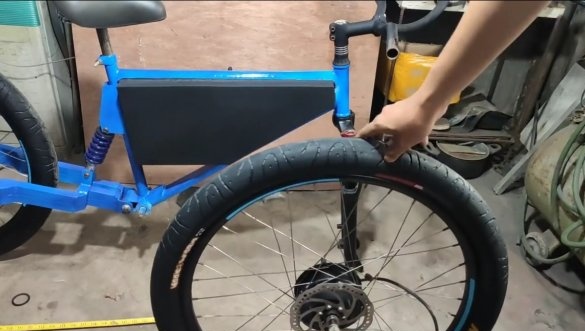
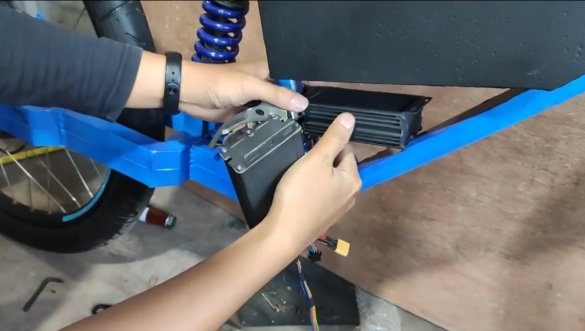
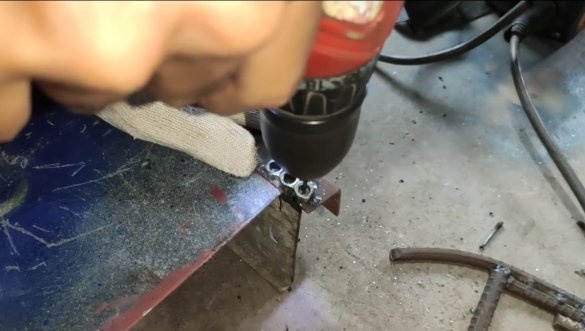
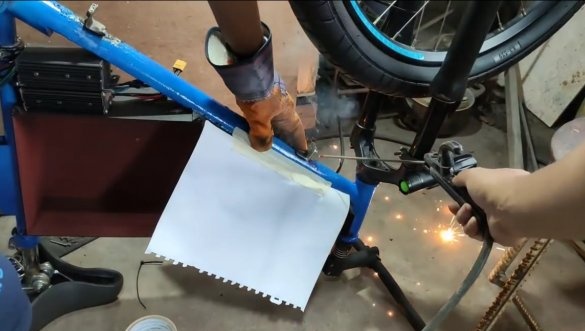
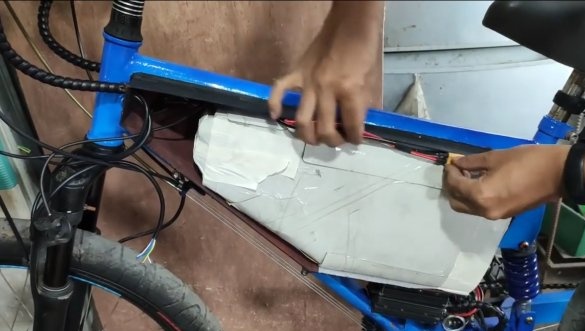
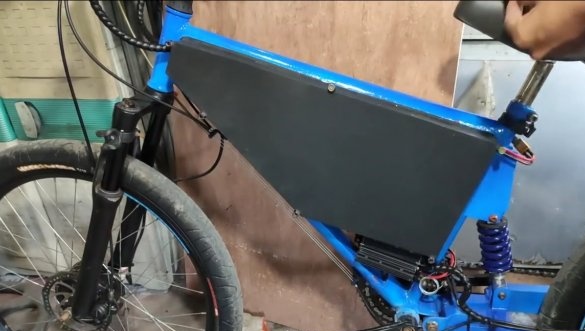
We need to make a safe place for the battery, which will not allow blows on the battery, as well as dirt and water getting on it. The author decided to weld a box of steel 1 mm thick. First, we cut out the excess pieces of the frame and weld into these places pieces of sheet steel. Next, cut out the side walls, weld one wall to the frame. The second wall should open, the author fastens it with screws, for this we weld nuts to the frame.
After painting, we get a great case, in which we place our battery.
Step Four Brake system
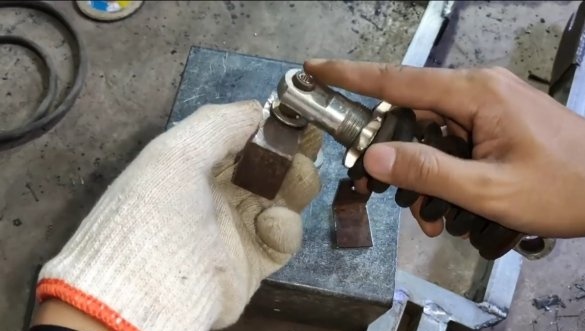
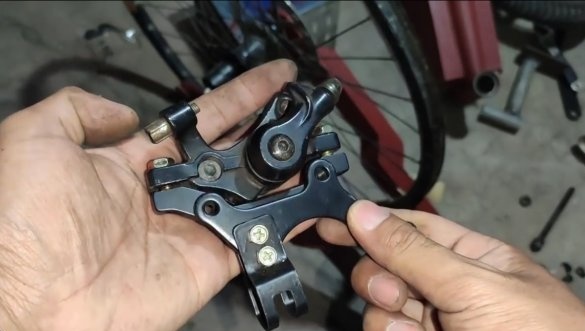
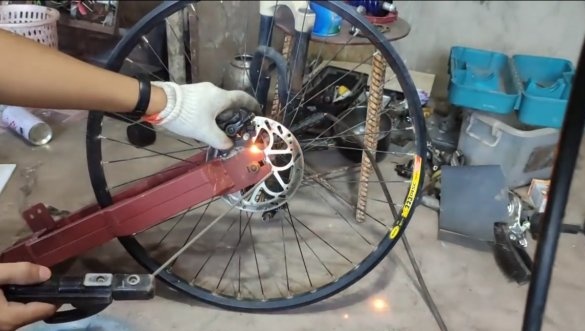
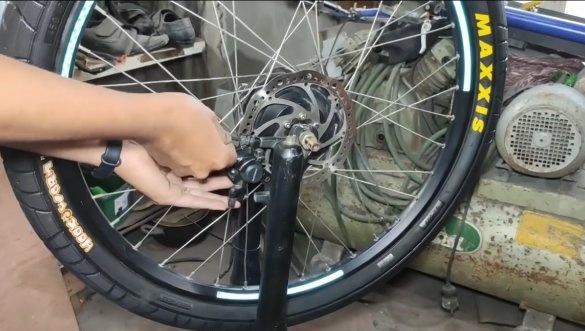
Such a powerful bike must be equipped with a good braking system. The author has a disc brake system, we weld the fasteners to the fork to install the brake assembly. Of course, ideally, the brakes should be hydraulic.
Step Five We paint and collect
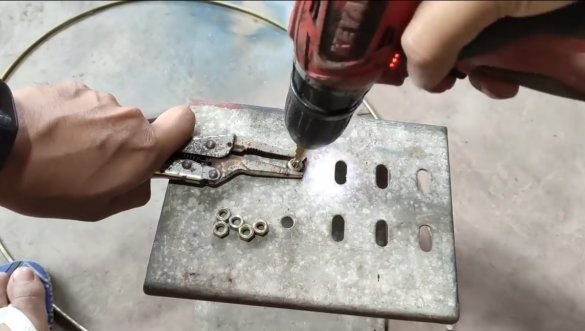
Once everything is ready, all the elements of home-made can be painted over. The author forgot to weld the stops for the cables and this had to be done after painting. Such stops can be made of nuts and a corner.
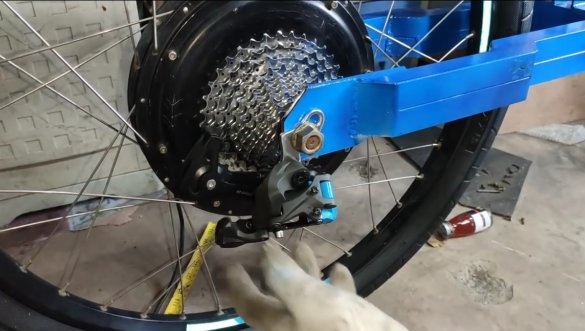
We put the brakes, set the gear shifter and the chain. It will be possible to ride a bicycle in a pedal way in case of low batteries or to save energy.
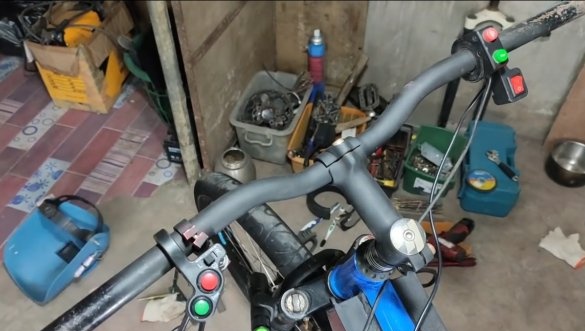
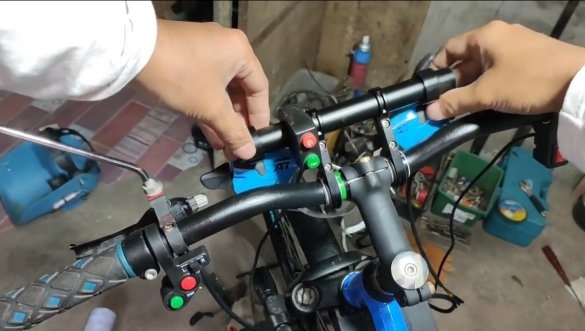
In a place protected from water and dirt, we put brushless motor controllers. The author took two 350 W controllers and remade one for a current of 20A, and one for a current of 12A. We put on the steering wheel electronic throttle handle, the ignition switch will not be superfluous, and also set the emergency power switch.
If desired, you can install the headlight, be sure to put a signal and other equipment at will.
Step Six We collect the battery
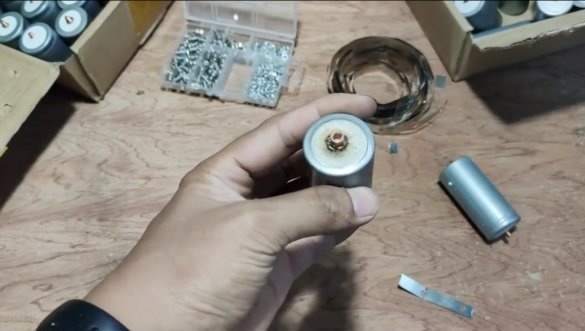
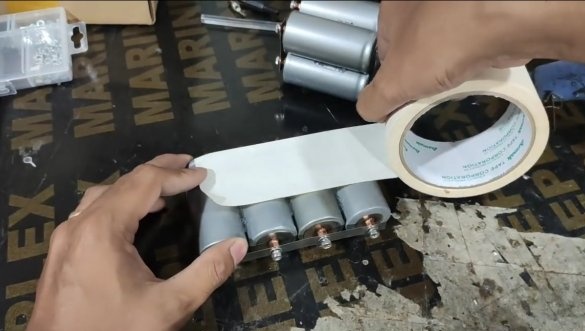
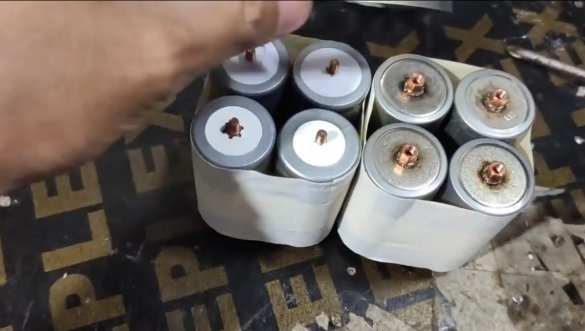
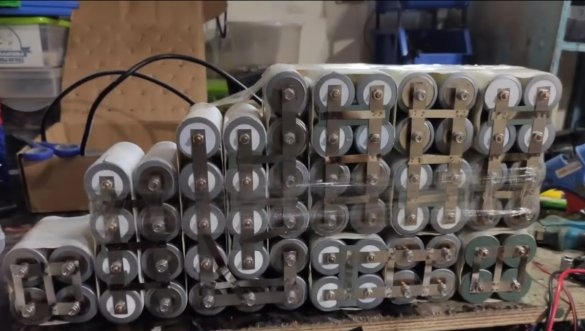
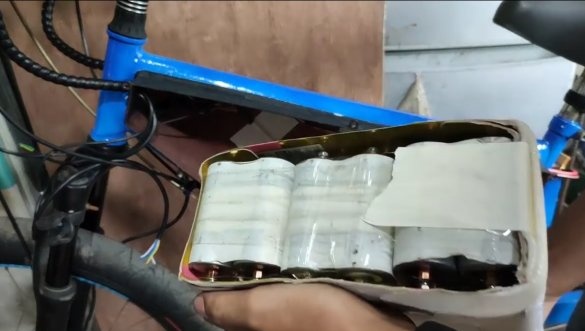
We collect the battery for the bike, the author used cells liFepo4, each cell has a capacity of 5500 mAh, and a total of 64 cells. These cells are quite durable and have a longer life than lithium-ion batteries.
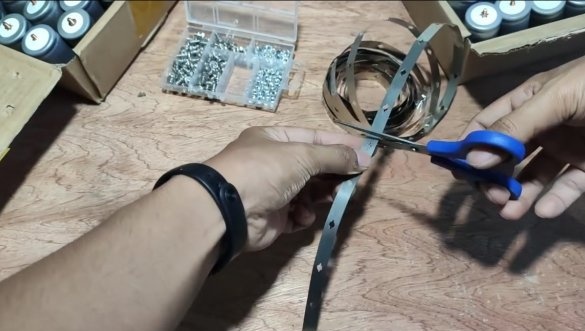
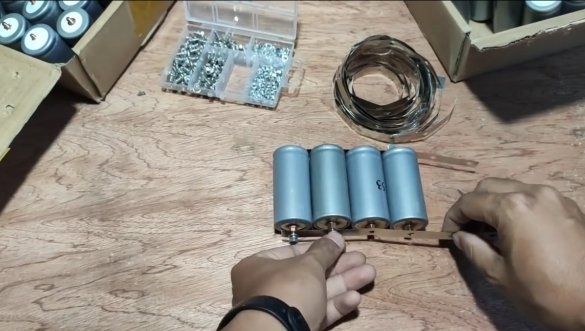
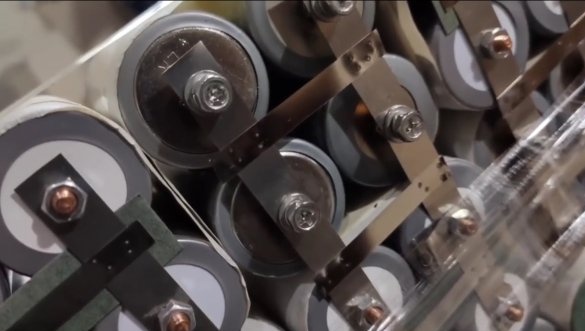
The contacts of such cells are made in the form of nuts and threaded rods, which greatly simplifies the assembly process.
The author assembled the battery in accordance with the shape and size of the manufactured battery compartment. Be sure to put on the battery and a suitable BMS, which will protect the battery from overcharging or deep discharge. We glue everything together with double-sided tape, electrical tape and put the battery in the case.
Seventh step. Test
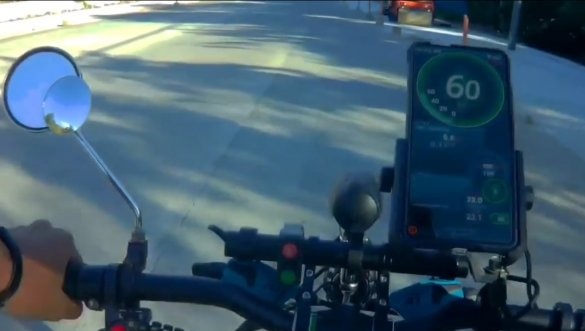
By connecting the wiring and charging the battery, you can hit the road. The author accelerates quite quickly, during the drive it is possible to reach a speed of 60 km / h. Well, as for the range, this issue, as always, remains unknown. But, at a minimum, with such a battery you will be able to drive to work or a cottage within a radius of 30-40 km.
The project is completed on this, I hope you liked the homemade work, and you found useful thoughts for yourself. Good luck and creative inspiration, if you decide to repeat this. Do not forget to share your ideas and homemade things with us!

