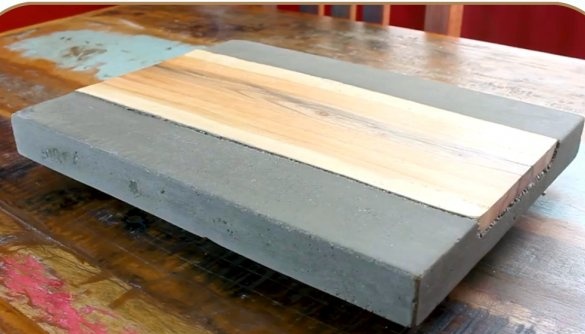
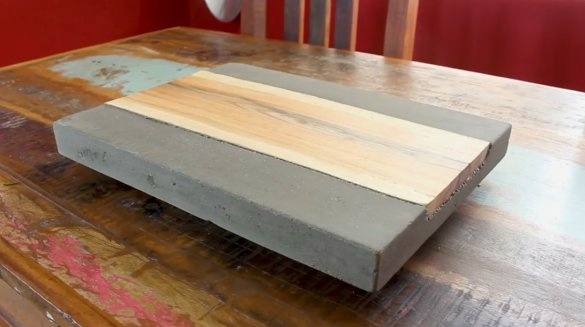
In this article, the author of the YouTube channel “Workshop Edits” will share with you his experience in manufacturing a serving plate for sausages and meat snacks. This is a solid project, the material for which selected wood and cement.
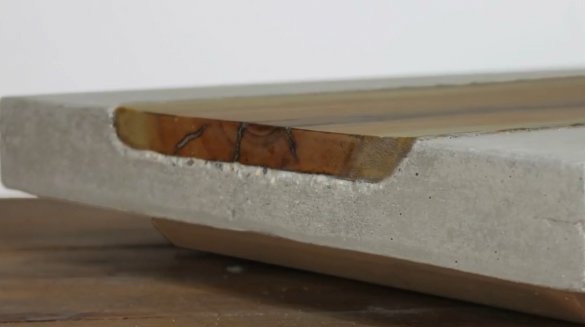
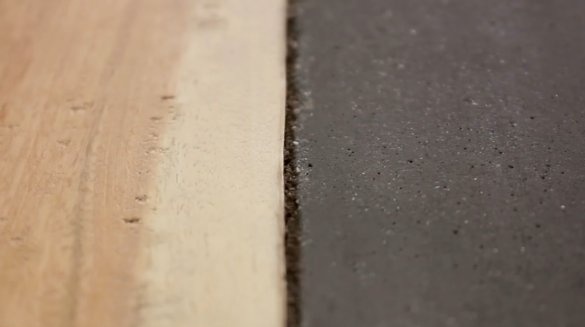
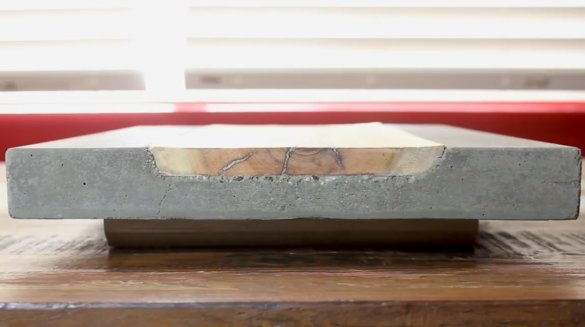
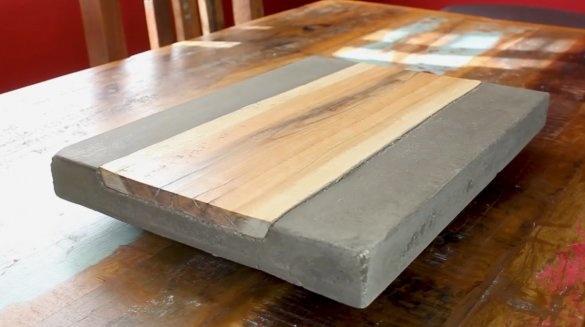
The base of the board will be a cement slab, in which a wooden insert will be poured. The latter will create a decorative natural edge and give the product a twist.
Materials
- Churbak
- Sheet chipboard
- Wood screws
- Polyurethane aerosol
- Silicone sealant, wax
- White Spirit
- Cement
- masking tape
- Sandpaper.
Instruments, used by the author.
— Screwdriver, drill
- Reysmus
— Clamps
— Manual frezer
- Belt sander
- Miter saw
— Glue gun
— Svenson Squarelevel
- Screwdriver, marker, chisel.
Manufacturing process.
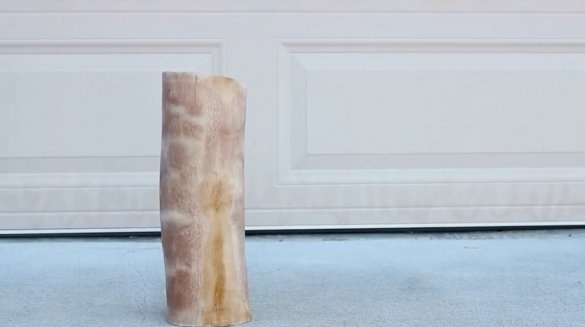
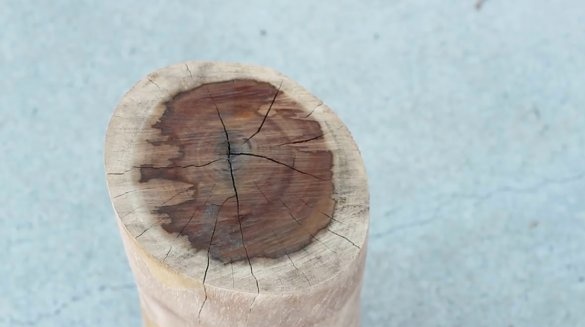
For decorative insertion, the author selects such a little block from which to slab. Unfortunately, the master does not have a band saw, and he decides on a different processing method. It is much more wasteful compared to the conventional method, however, the workpiece almost went to the furnace.
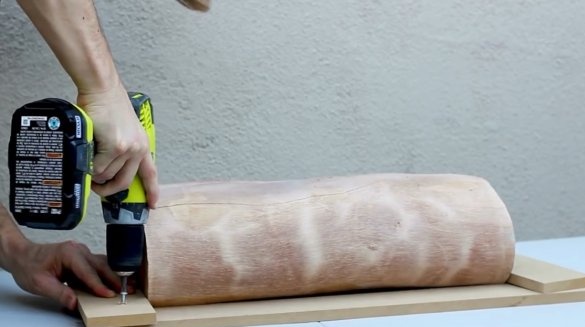
Zack hastily makes just such a carriage from MDF scraps for the log block so that the log can be fixed in one position.
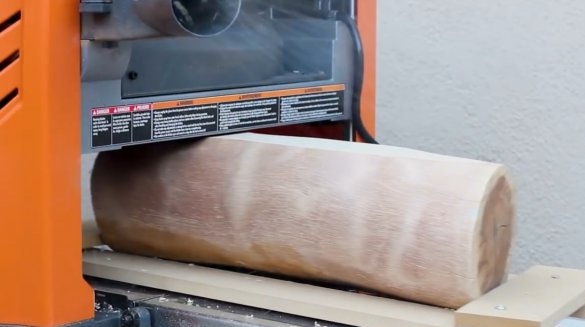
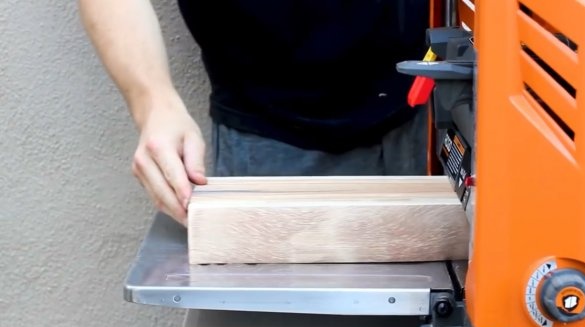
Then a log is passed through ... a thicknesser. Yes, you heard right! As a result of machining in several passes, the master receives such a glorious slab of the required thickness, namely 18 mm.
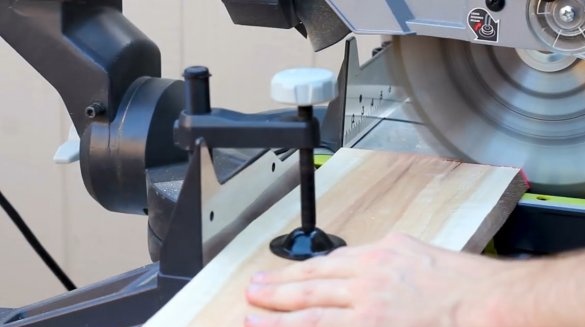
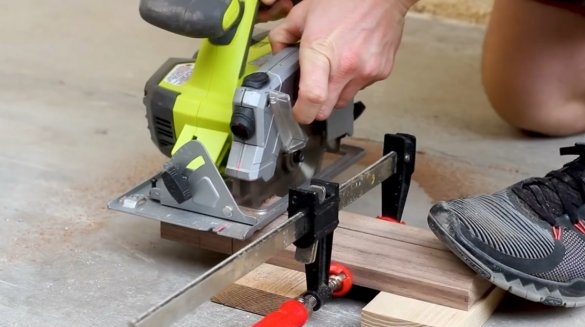
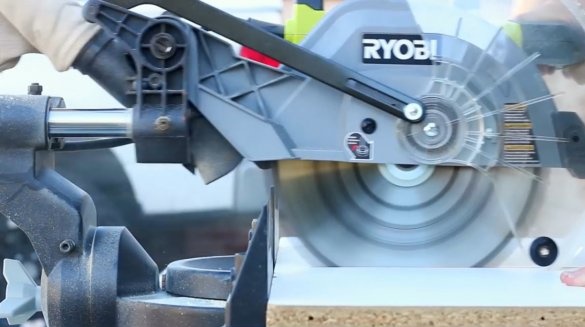
Now, on the miter saw, he cuts the edges of the slab at a right angle.
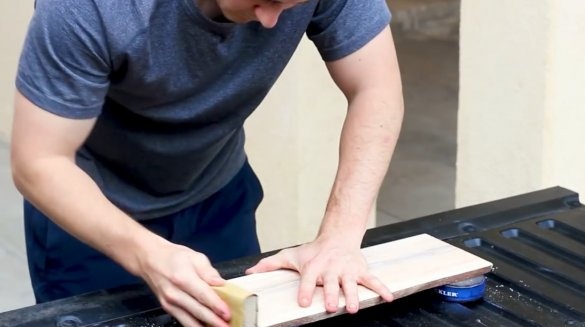
This was followed by wet and dry wood processing with 220 grit sandpaper.
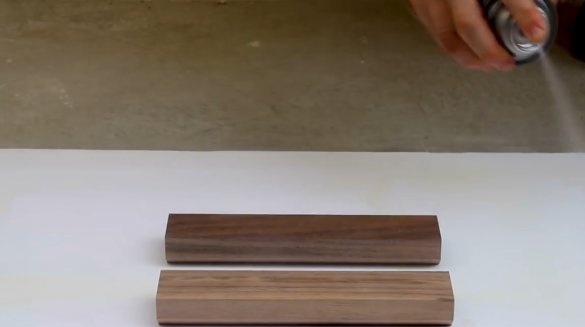
After that, the master applies Minwax quick-drying aerosol polyurethane, which is designed to protect the wood from moisture from cement. Total required to apply three layers.
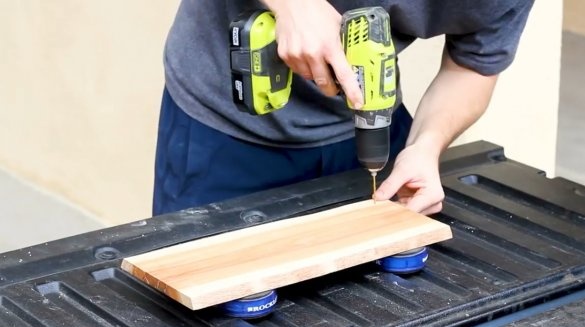
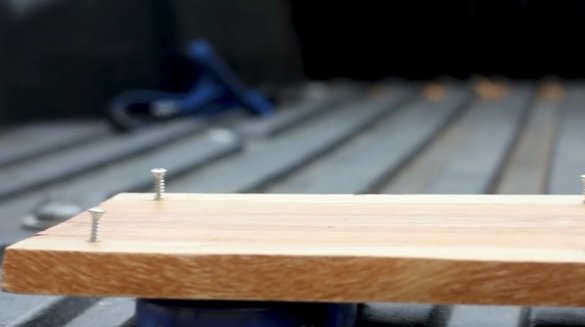
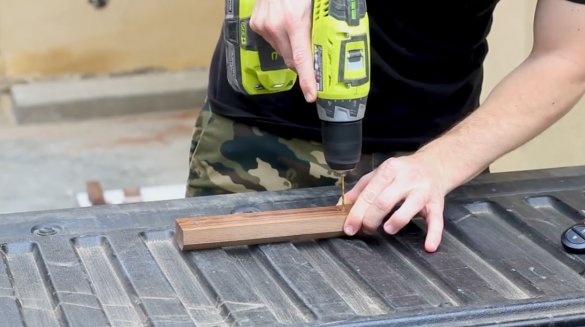
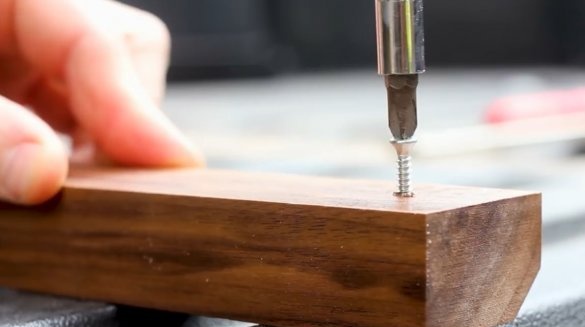
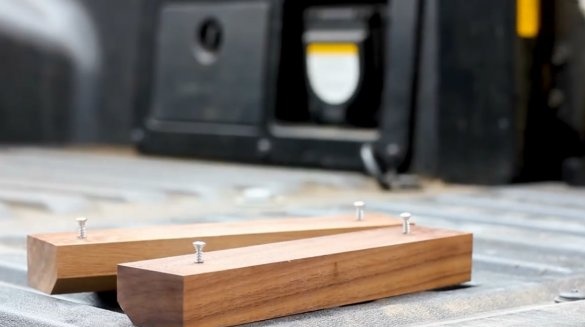
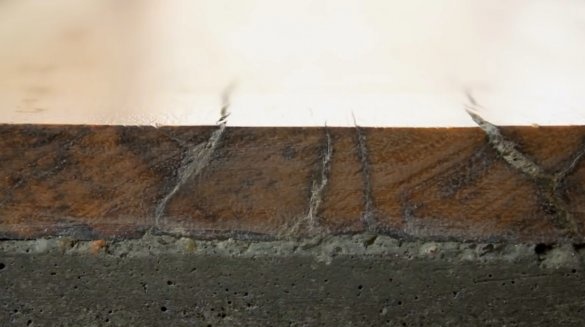
Now, from the side of the slab, which will later become the lower part of the serving board, the author drills pilot holes and makes six small screws in them. When later he begins to cast a cement mold, these screws will harden in mortar, and will fix the wood insert.
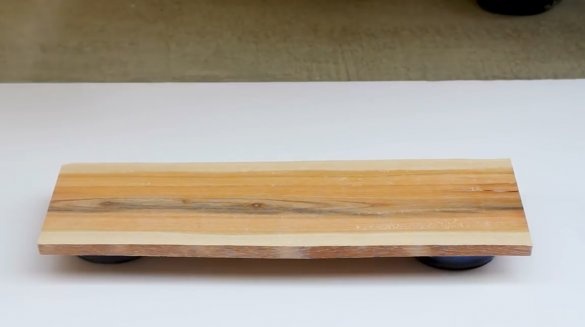
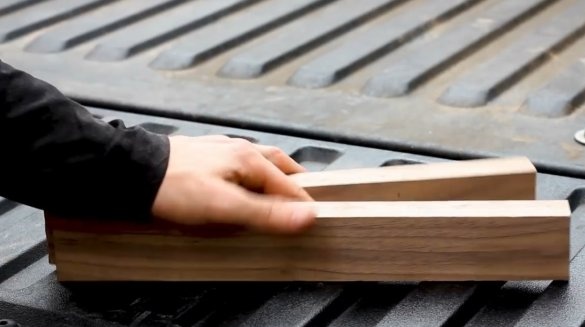
The next step is the craftsman makes the legs for the future serving board. Walnut wood is chosen for them.
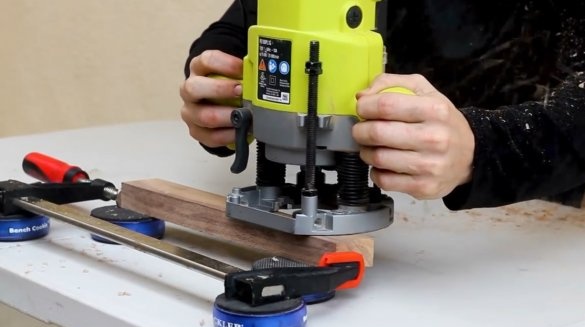
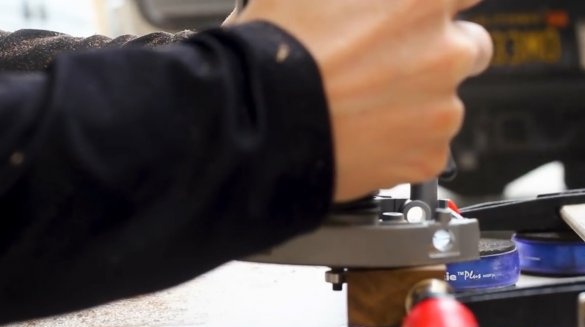
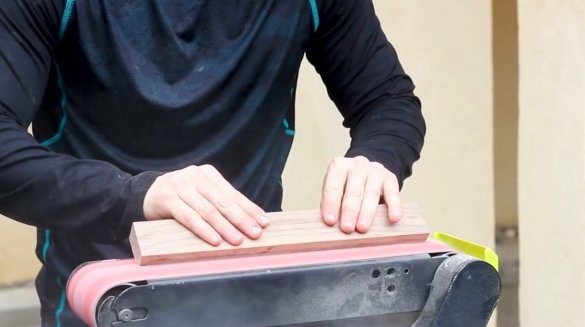
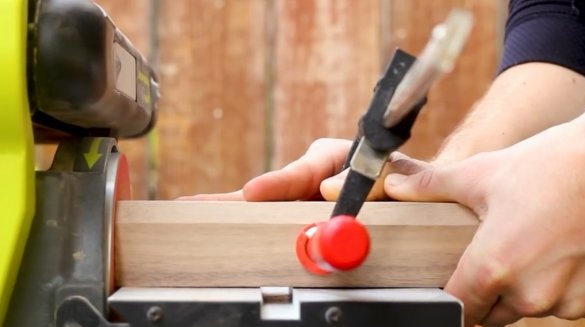
First of all, along the edges of the bars a chamfer is removed by a hand milling cutter with a radius milling cutter, and surfaces are cleaned on a belt grinder.
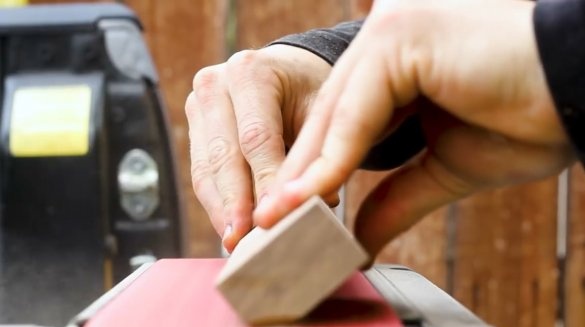
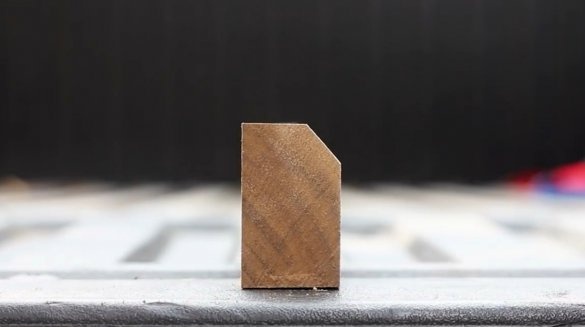
One of the faces is ground at an angle of 45 degrees.
Then the bars are cut to length, which should correspond to the size of the mold.
The ends are polished on an orbital machine.
The legs are also covered with several layers of transparent spray varnish.
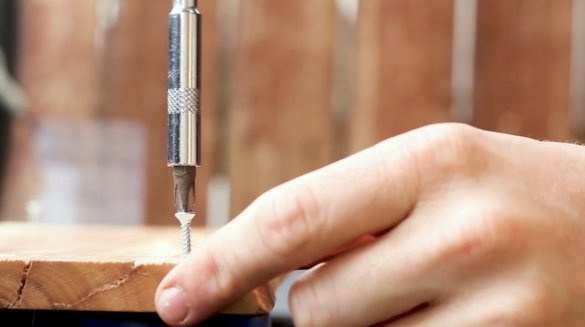
Screws are also screwed into them so that the legs can be integrated into the concrete slab.
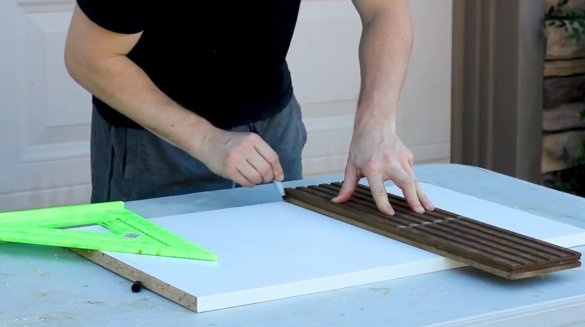
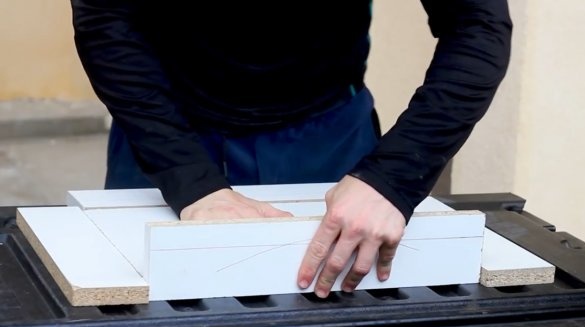
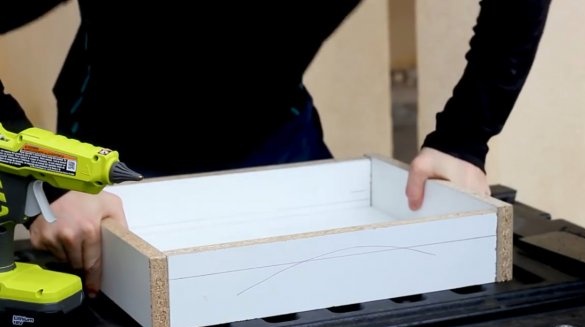
Now the author is working on a mold. For her, Zack has prepared scraps of laminated particleboard. Outlines of the sides and bottom of the box are quickly skimmed, then the structural elements of the box are cut out. Its length should be equal to the length of the finished slab.
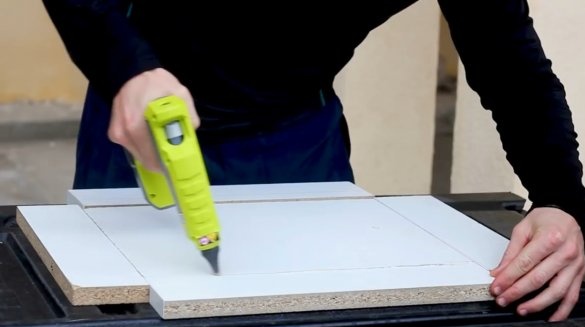
Further, using hot melt adhesive, the author combines all the elements together.
The craftsman recommends following his advice and before filling the form with a solution, carefully treat it from all the inside (especially inside the corners) with wax paste. It will play the role of a separator, and this will facilitate the adhesion of the cement slab from the walls of the mold when the mortar hardens. You can also use automotive silicone grease.
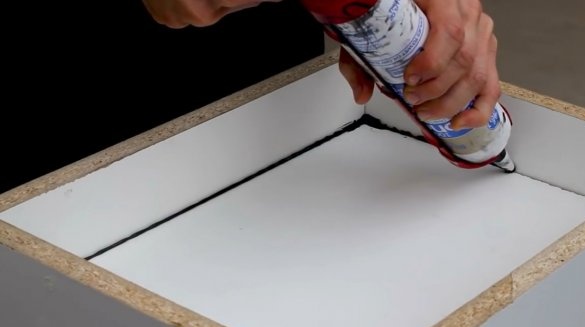
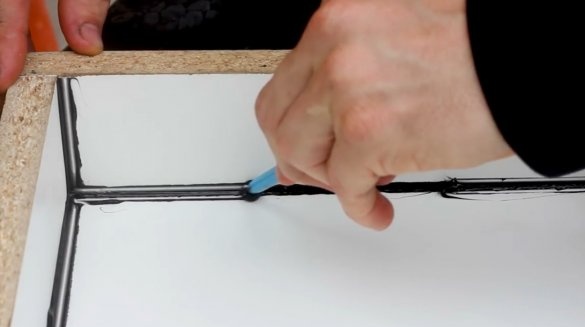
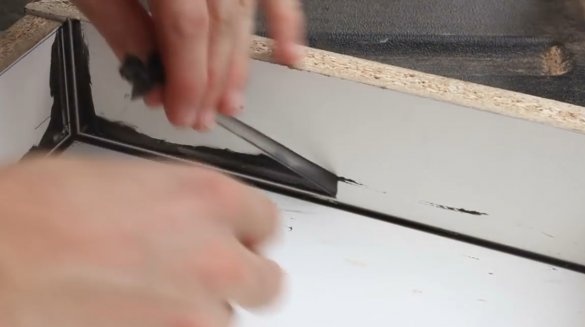
Now comes the silicone sealant. It processes all corners of the form. Zack recommends choosing a sealant that is contrasting with respect to shape. In this case, it will be easier to notice and delete.
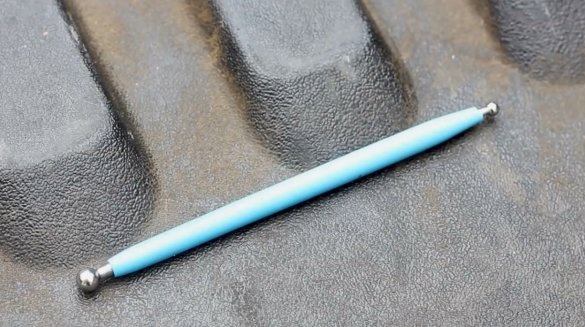
To get a perfectly even edge, you can use such a tool with rounded tips that allow you to perfectly align the corners and gently remove all excess silicone sealant.
Excess silicone is easily removed after drying.
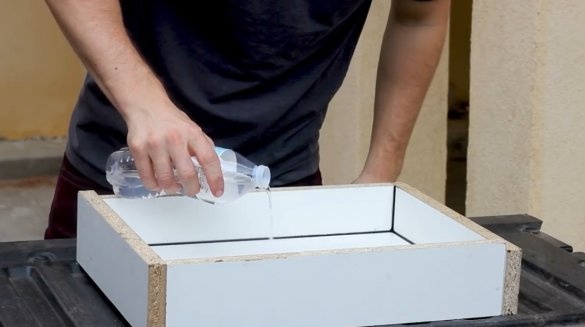
Next, the form is wiped with white spirit.
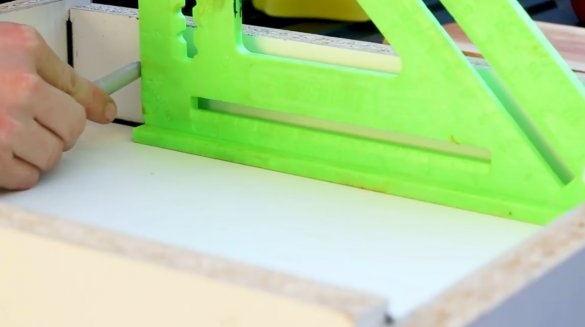
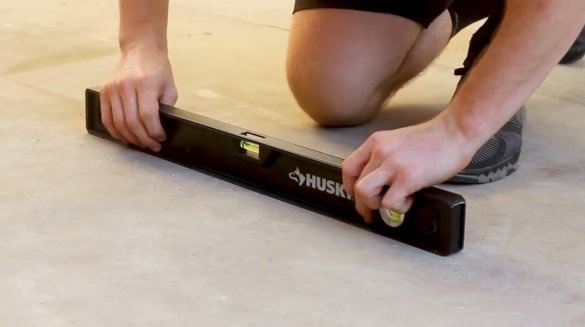
Now the author marks the line to which the solution should reach. At this stage, it is important that the plane on which the mold is located is perfectly flat.
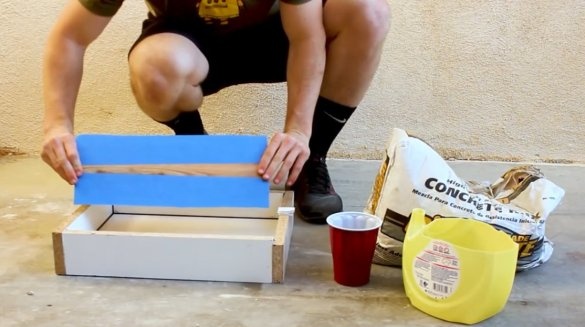
Before pouring the mortar, the master seals the front part of the slab with masking tape so that the cement does not stick to it.
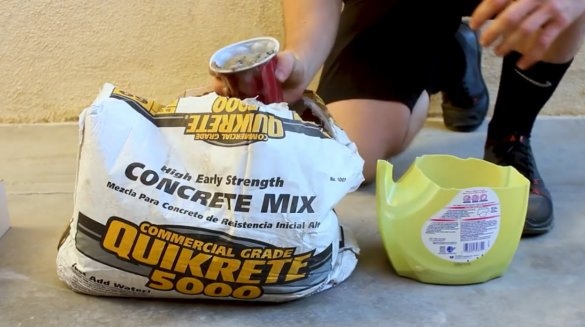
After that, Zach starts the cement mixture in an empty plastic container from under the liquid washing powder.
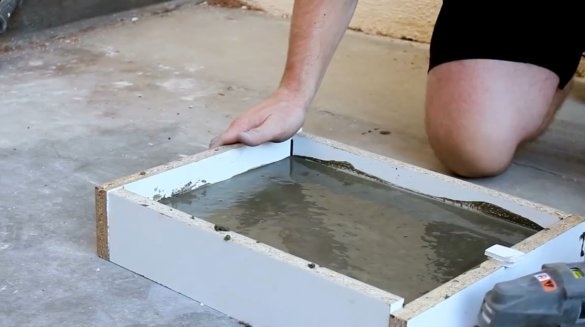
When the form turned out to be filled, the author gently shakes it to let the air out of the solution and remove the air bubbles.
In addition, he uses a universal vibration grinding machine, leaning its working part against the walls of the form.
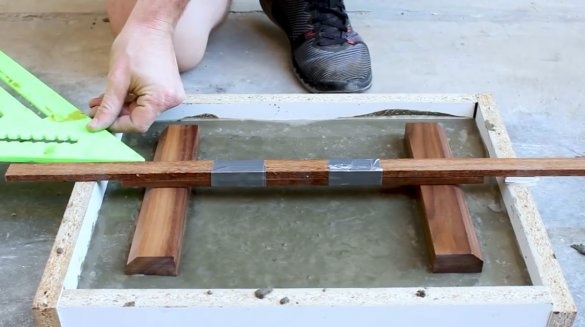
Now he places the legs using such a suspension deviceso that the legs do not sink too deep into the solution.
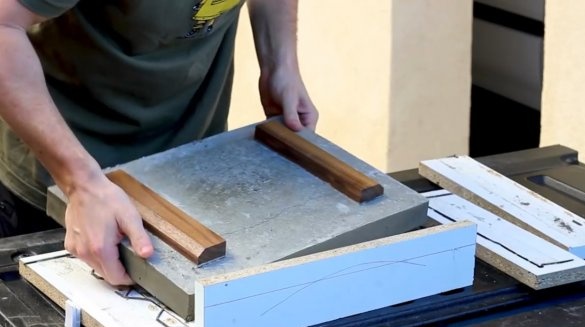
After 48 hours, the author proceeds to disassemble the form. To do this is not difficult.
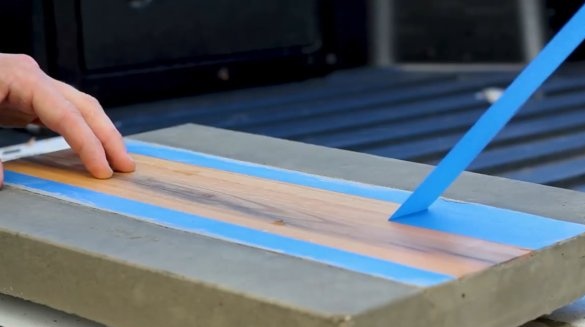
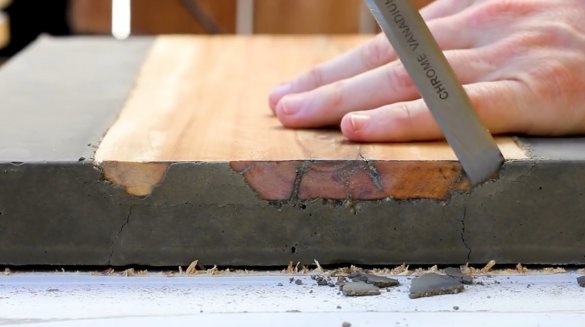
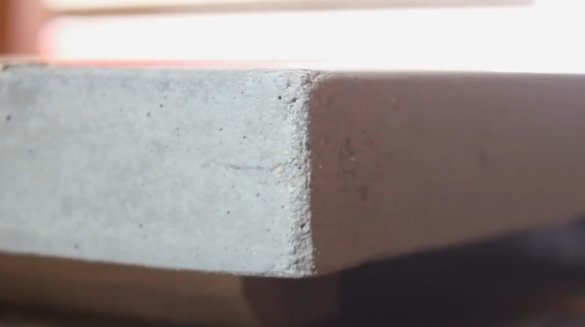
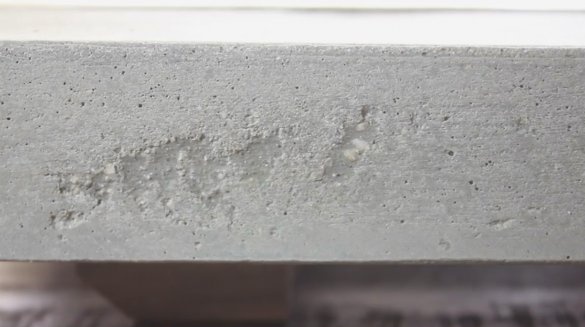
It removes the masking tape and it becomes visible that there are several small cracks on the faces, and small bubbles. The author admits that she does not know how to avoid these defects. But these cracks are located almost at the base and do not affect the entire casting. Excess cement is removed with a chisel.
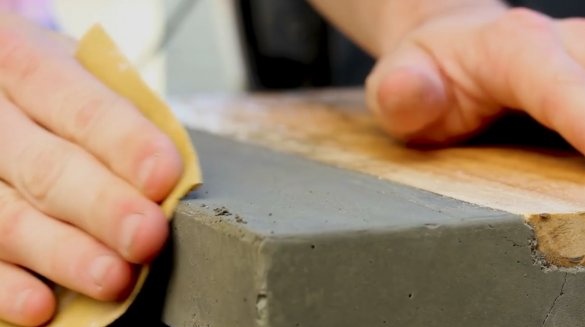
At the end, Zack performs wet sanding of all surfaces and corners of the cement slab with 220 grit sandpaper.
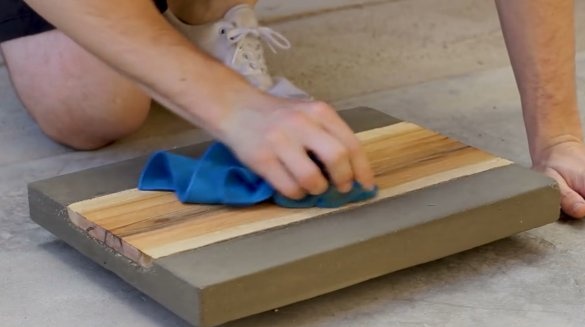
And then he very carefully rubs the stove and the wood insert with wax using microfiber cloth.
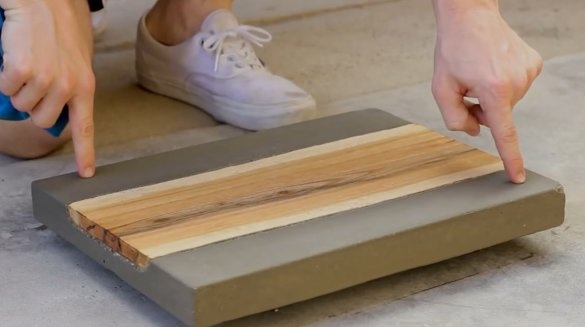
You will be surprised that this thing weighs about 7.5 kg, but due to the legs of the distortions when you click on the corners is not observed.
All the same, there are residual casting defects, but they can be avoided by using a good vibrating machine, or a vacuum chamber. And perhaps they give a certain charm to the product.
Now it remains only to once again coat the product with two layers of wax to seal the concrete. Then pieces of food and other undesirable substances and bacteria that could violate hygiene when in contact with food will not enter its pores.
I thank the author for the interesting idea of the serving board!
All good mood, good luck, and interesting ideas!
Author video can be found here.

