
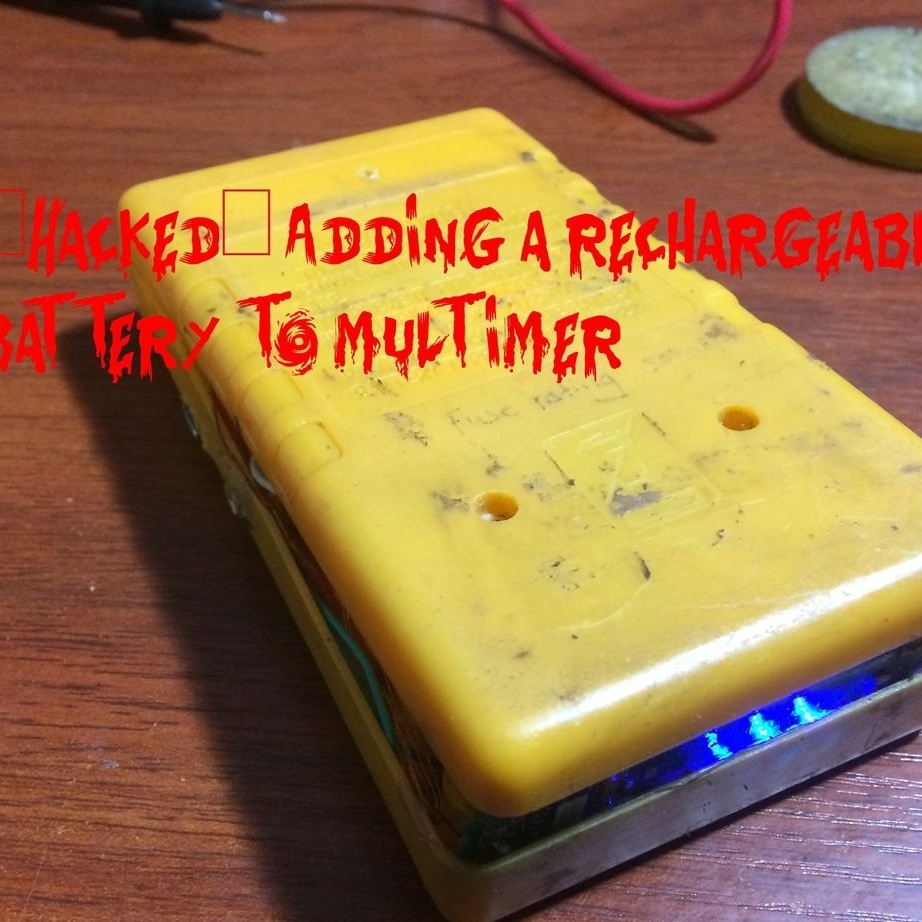
In this article, the Master will share with us his experience in remaking a multimeter powered by a battery + installing an LED for backlighting.
Tools and materials:
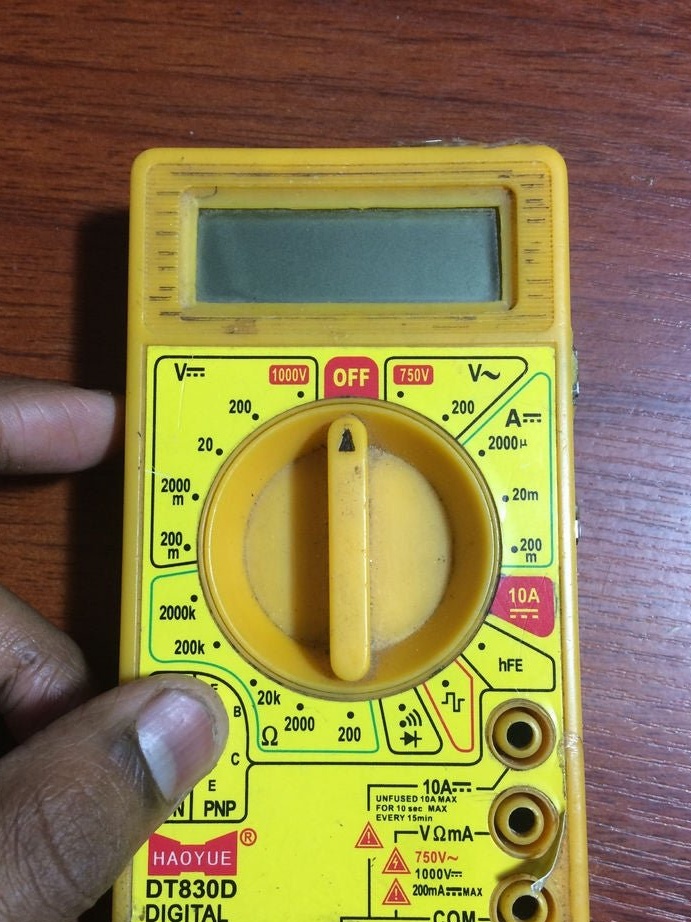
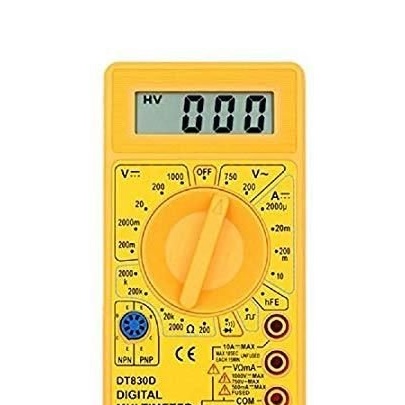
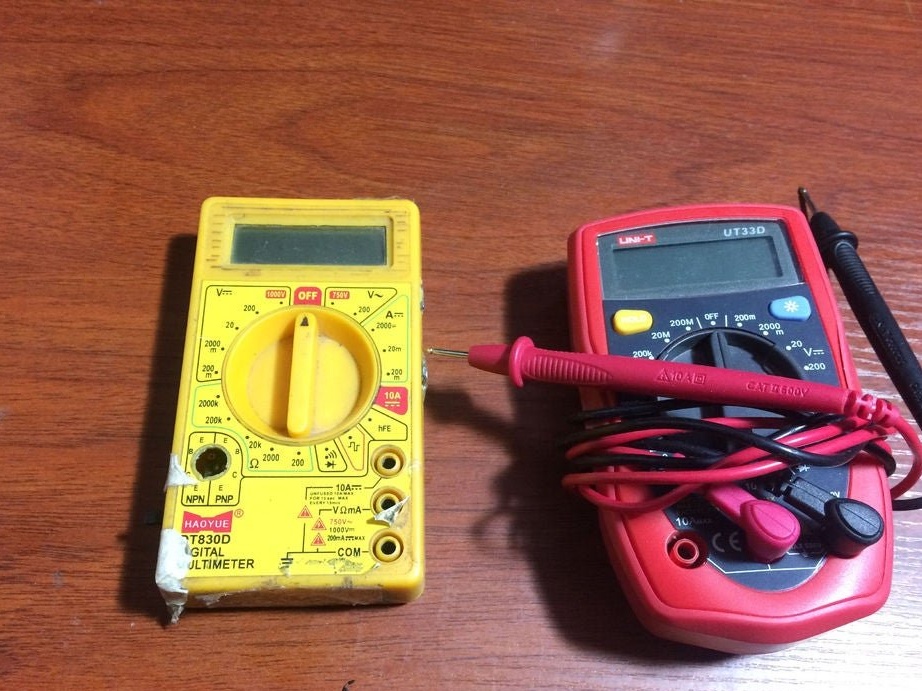
-Multimeter;
-Charge controller;
-Switches;
-Copper wire;
-Mosfet N-channel;
-NPN - transistor;
- Resistor 150 Ohm;
- Resistor 3.3 K;
-AKB 3.7 V;
-Micro USB connector;
-Controller TP4056;
-Increasing Converter;
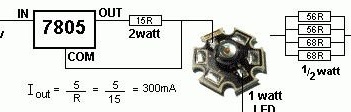
- Voltage Regulator LM317;
- Resistor 15 Ohm;
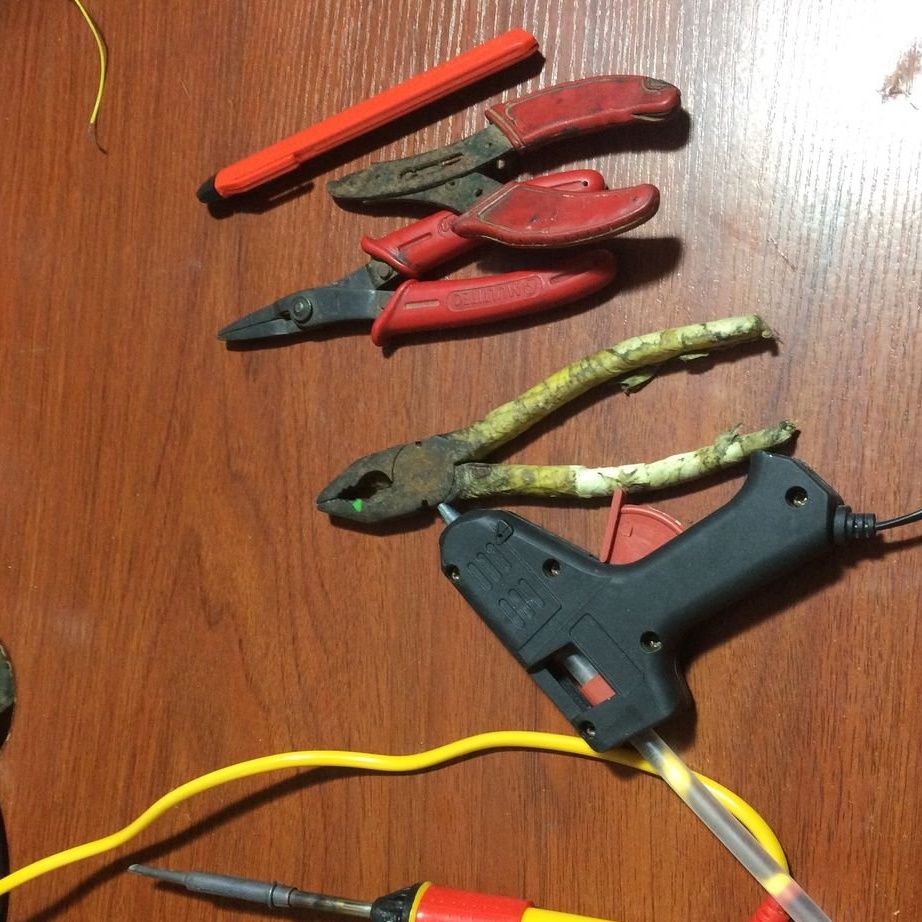
-Glue gun;
-Soldering accessories;
-Nippers;
-Knife;
-Insulating tape;
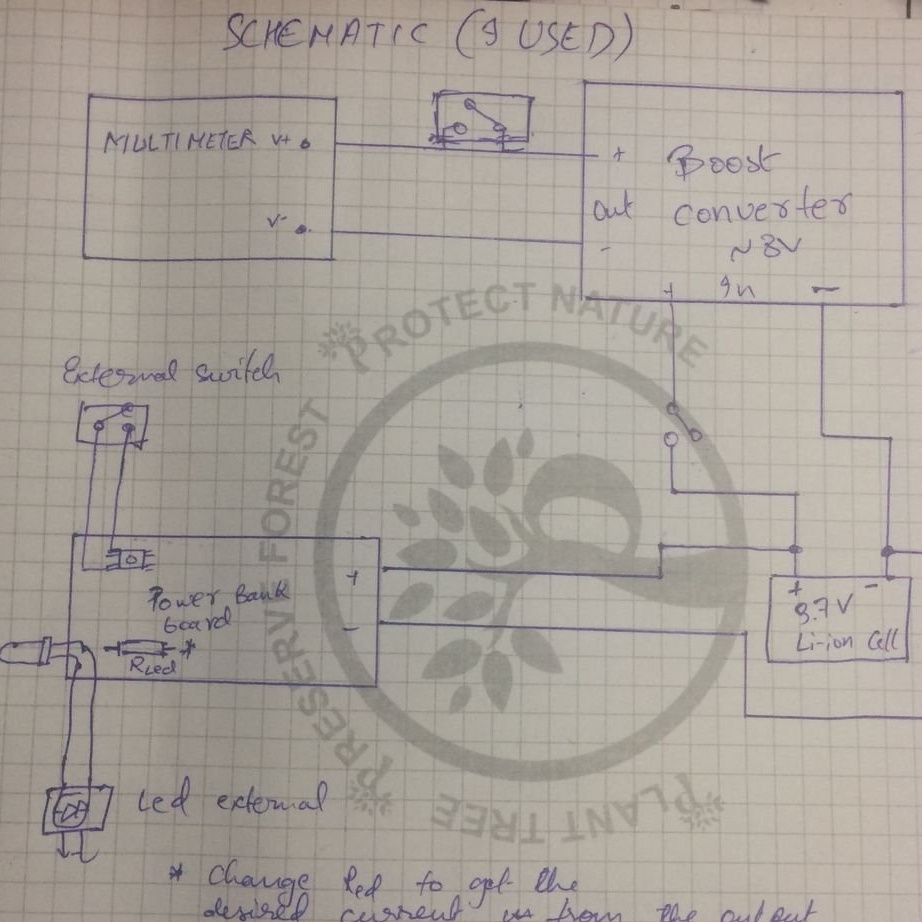
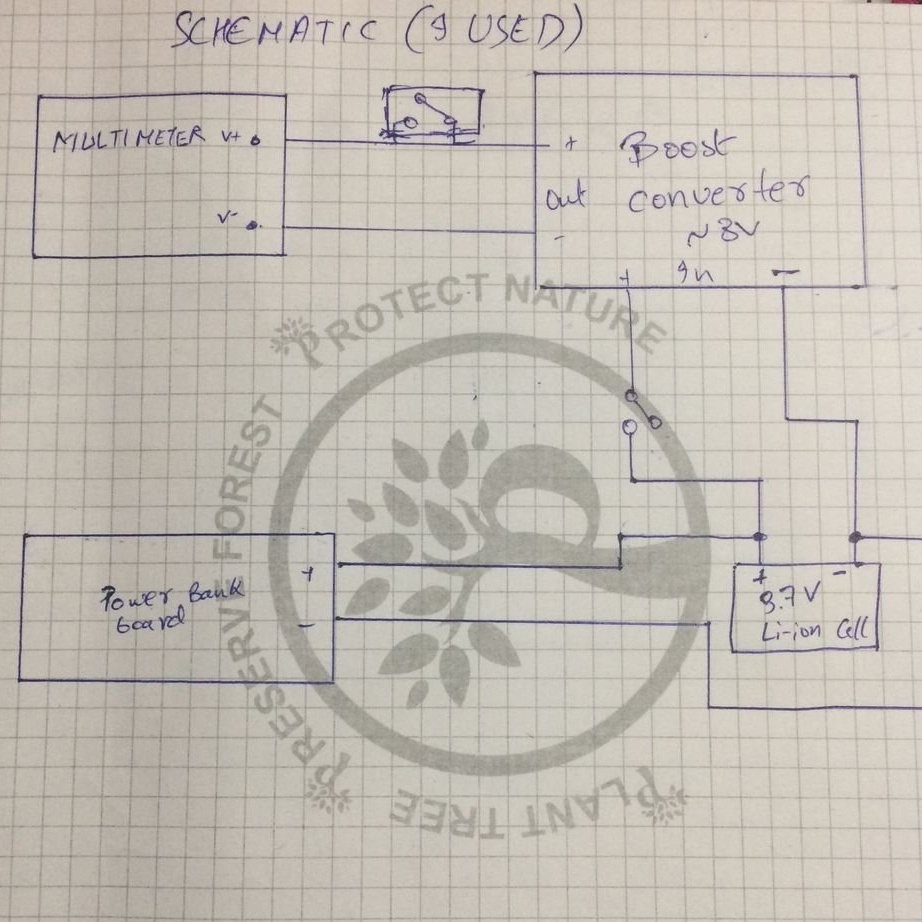
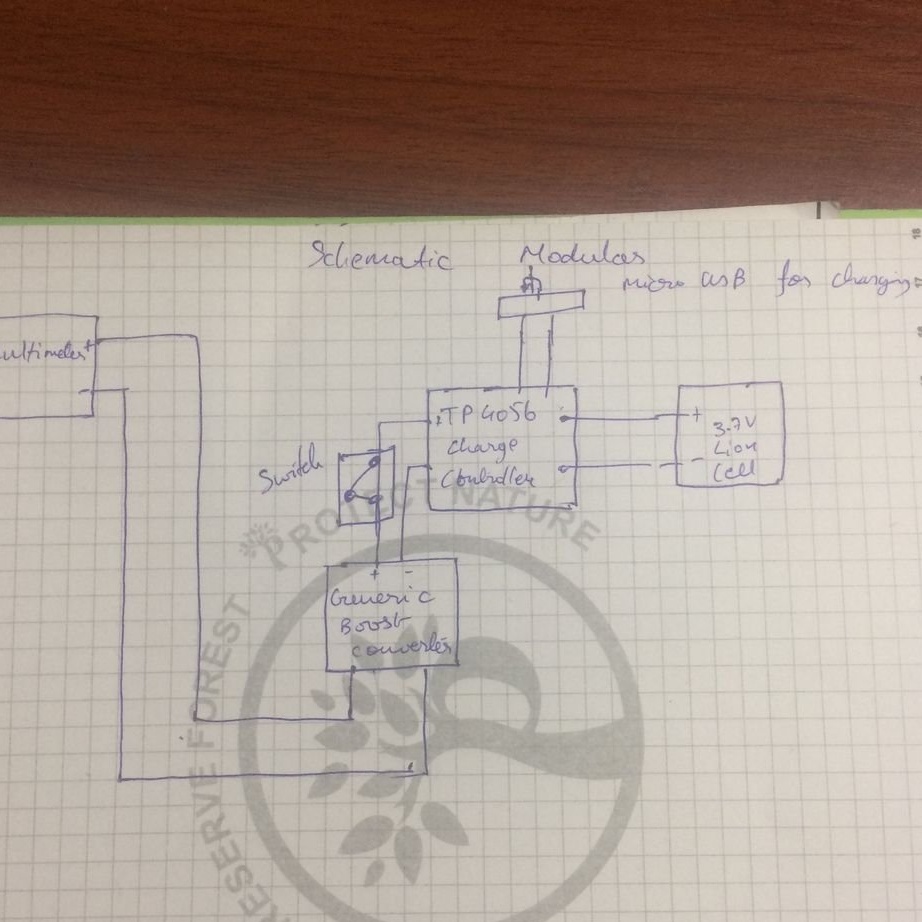
Step One: Scheme
The wizard will use a boost converter in conjunction with a charge controller and discharge protection. The LED can be connected either to the power supply board or via the LM317 circuit.
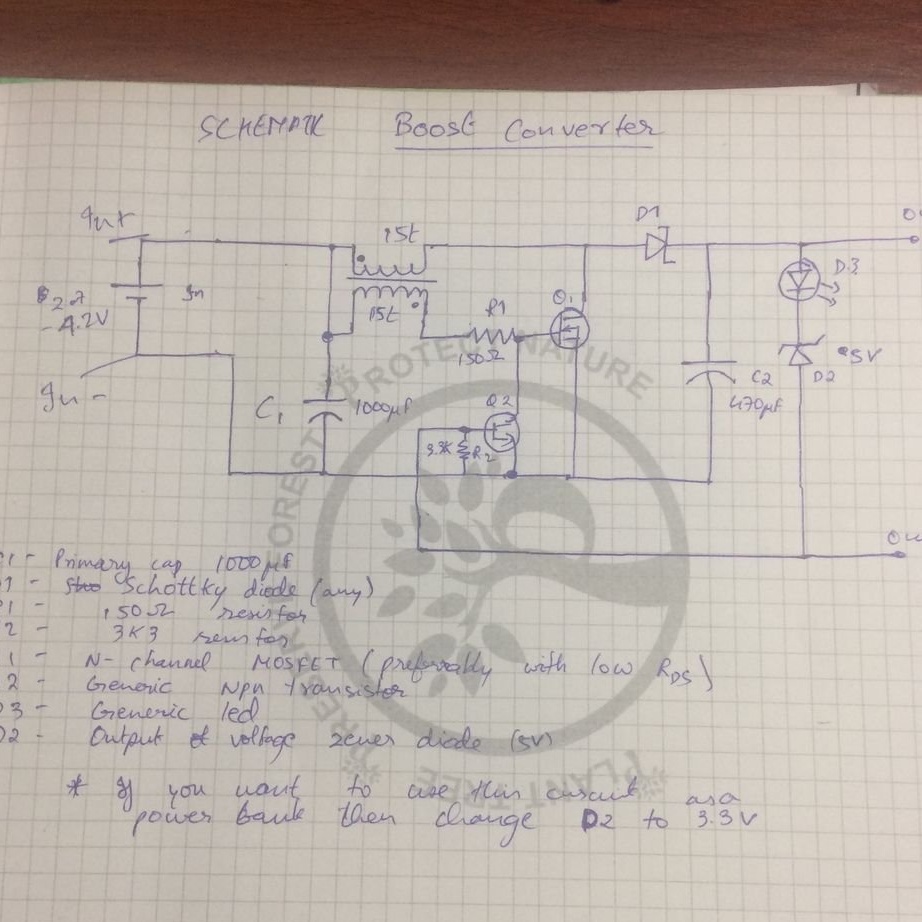
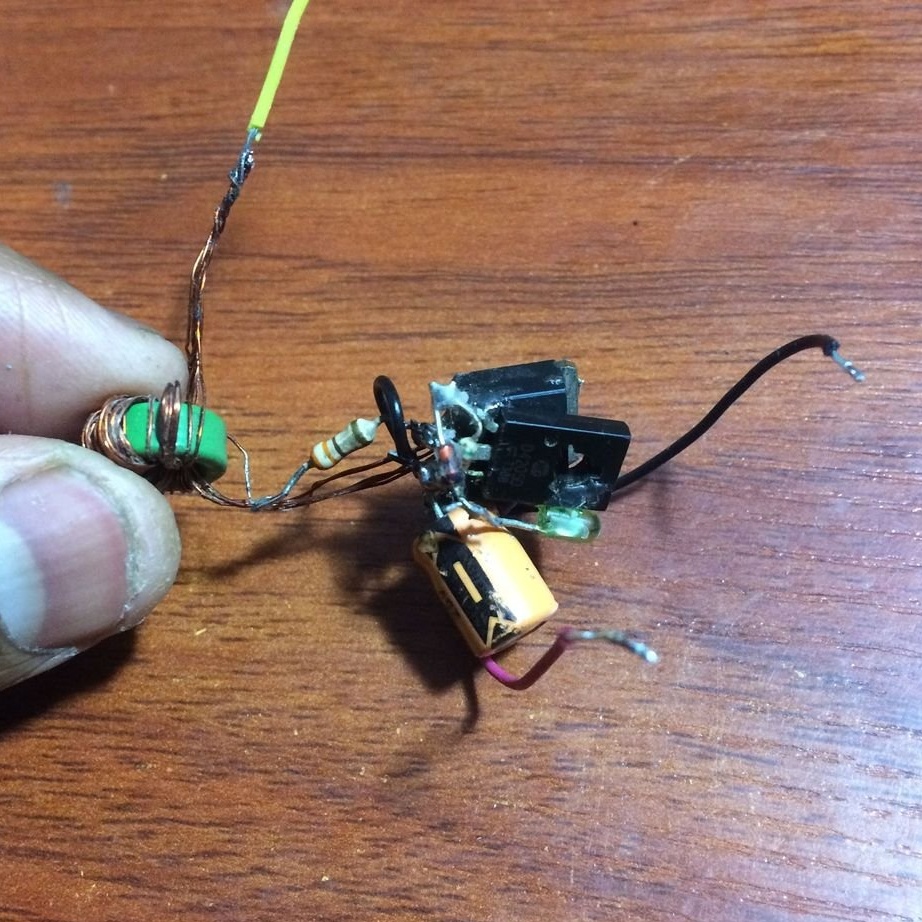
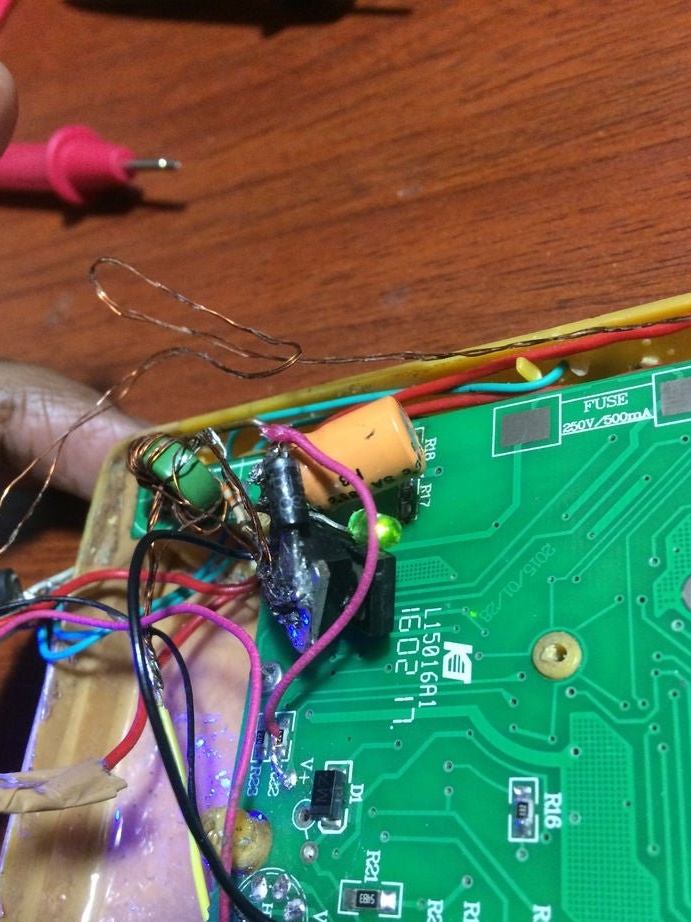
Step Two: Boost Converter
The wizard collects the boost converter. This is a very simple boost converter built on a pair of transistors.

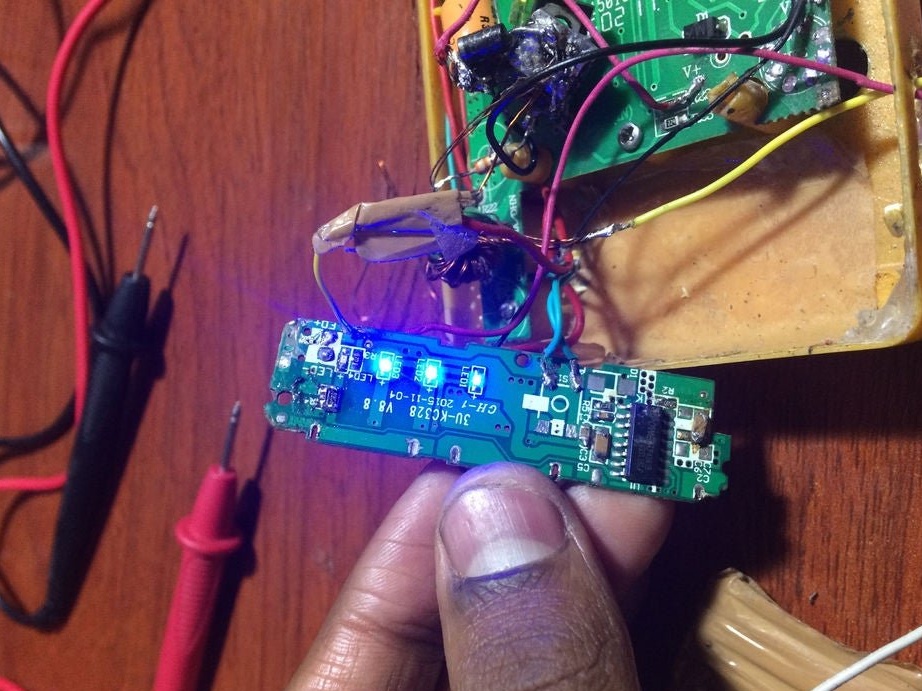
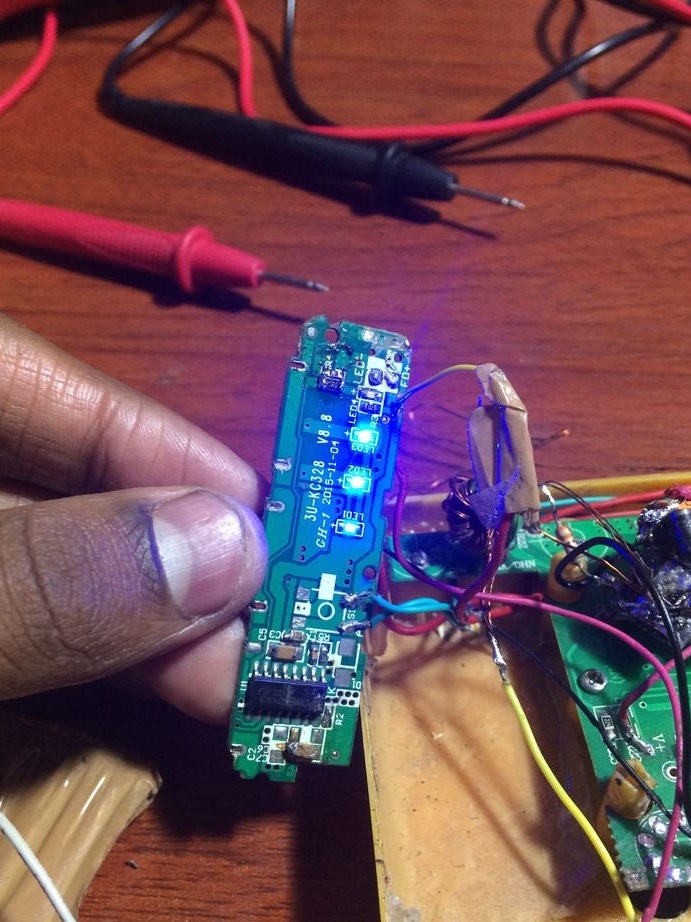
Step Three: Charge Controller
Installs a charge controller.

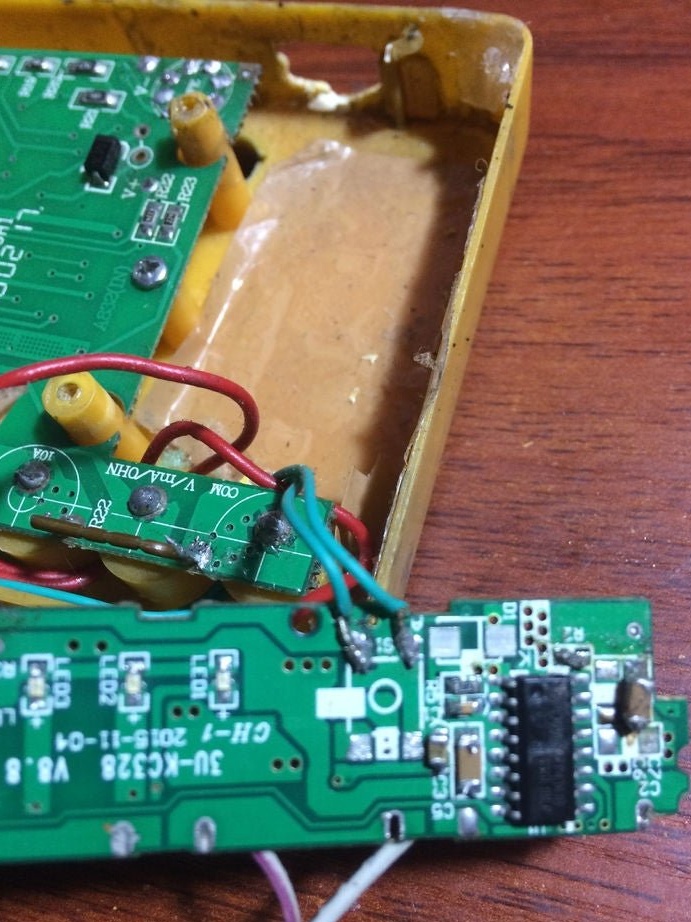
Step Four: Build
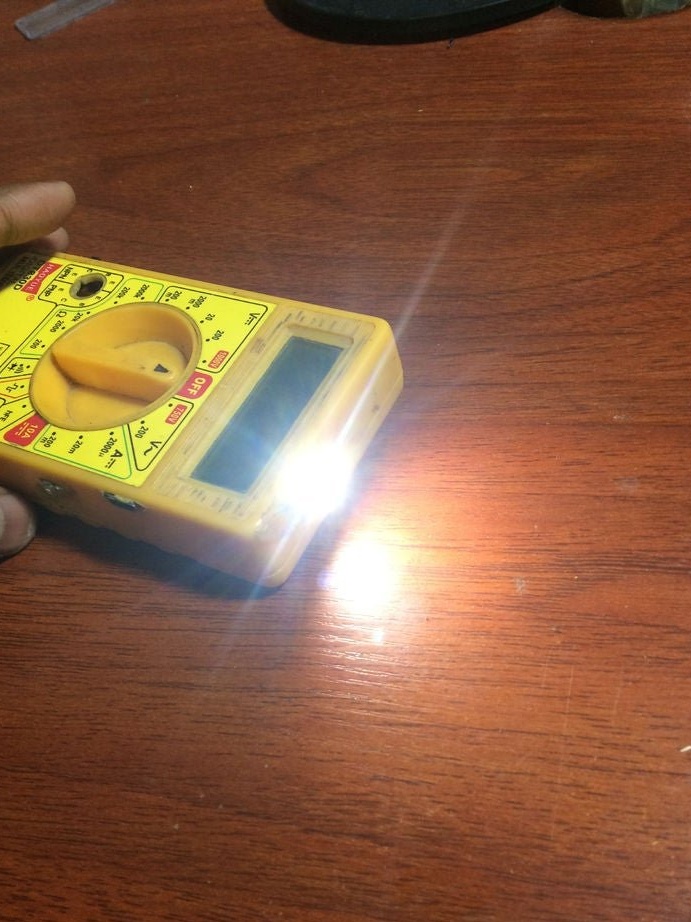
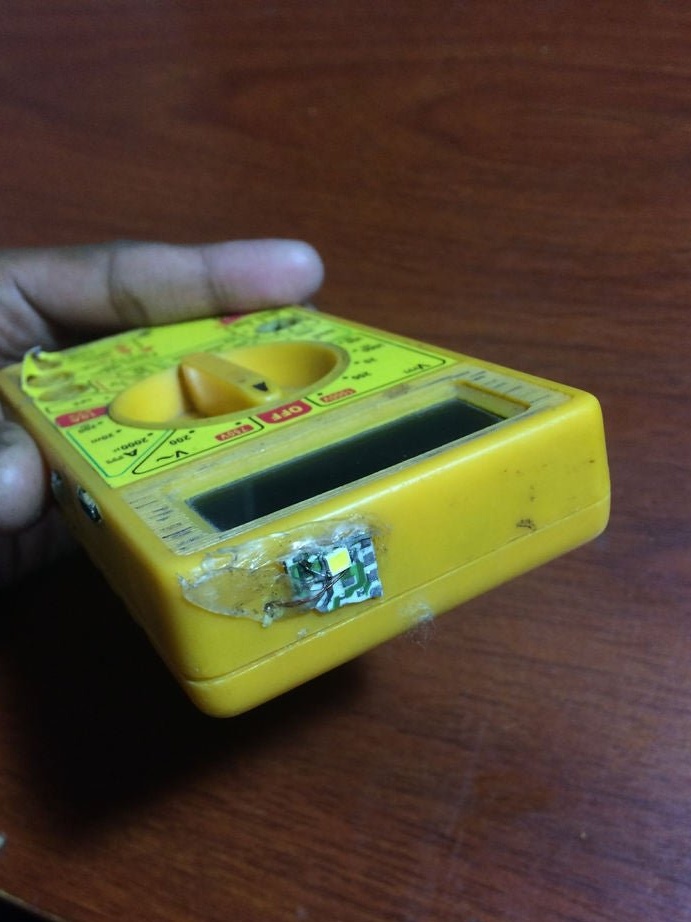
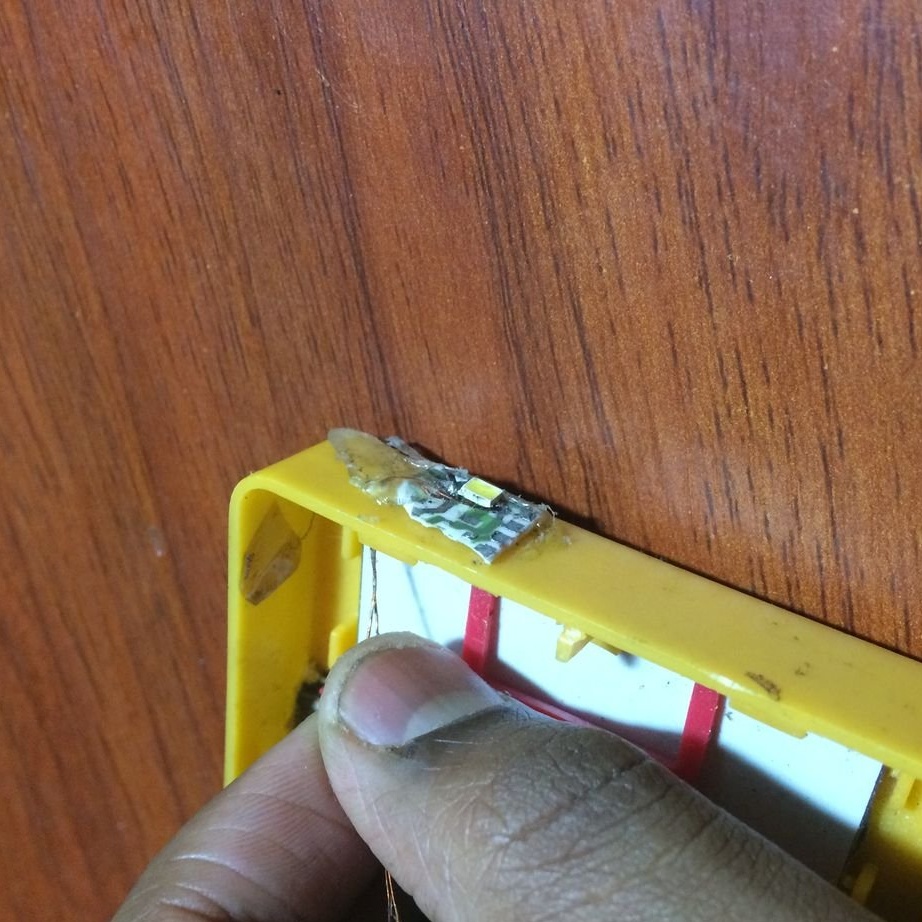
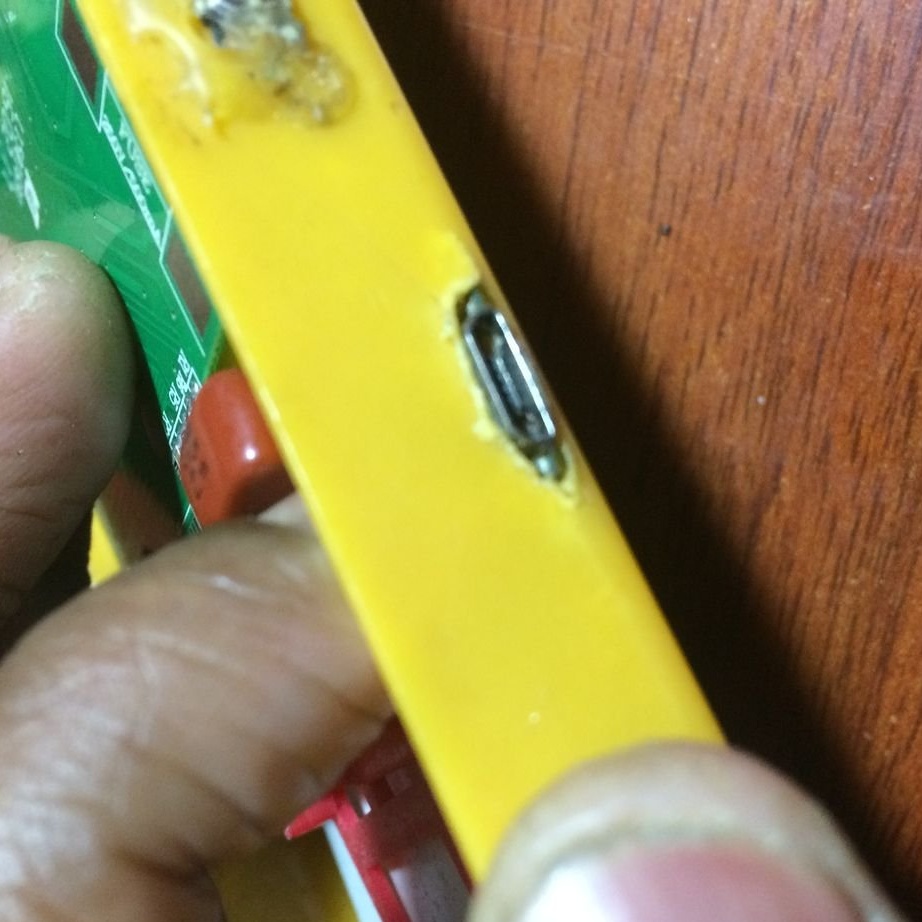
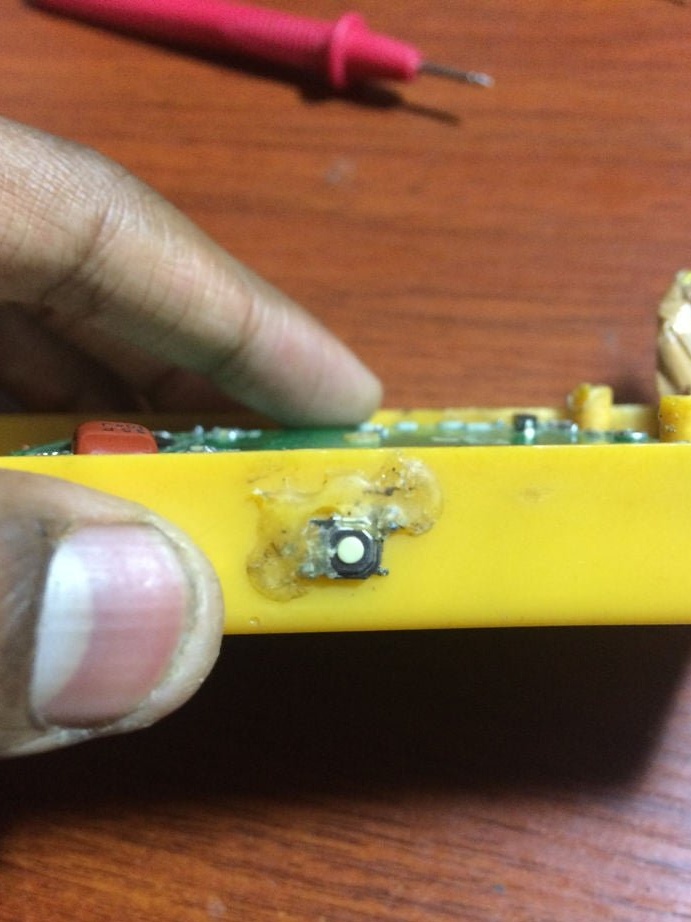
Built in LED housing.


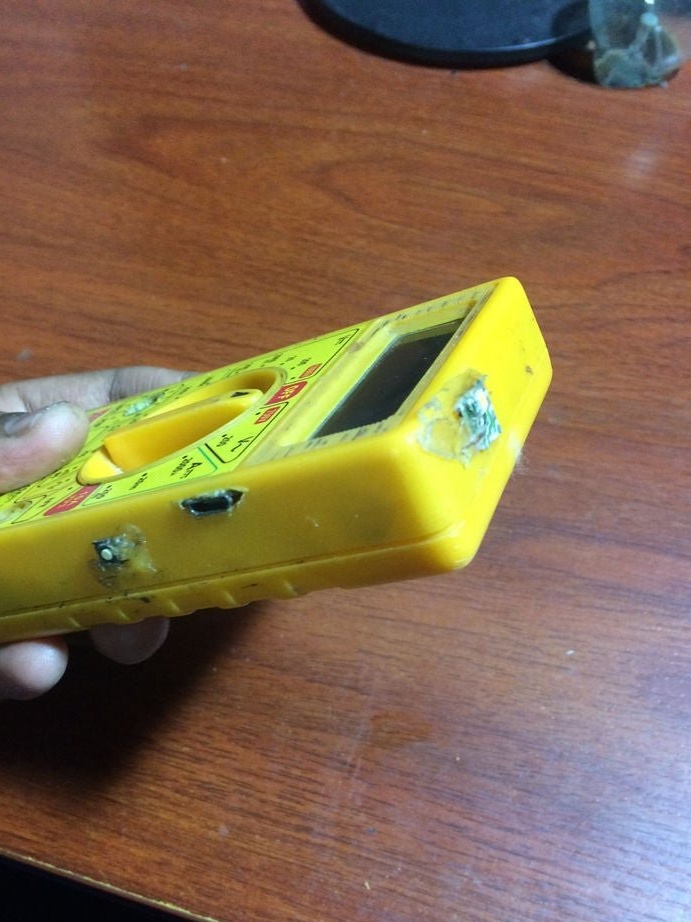
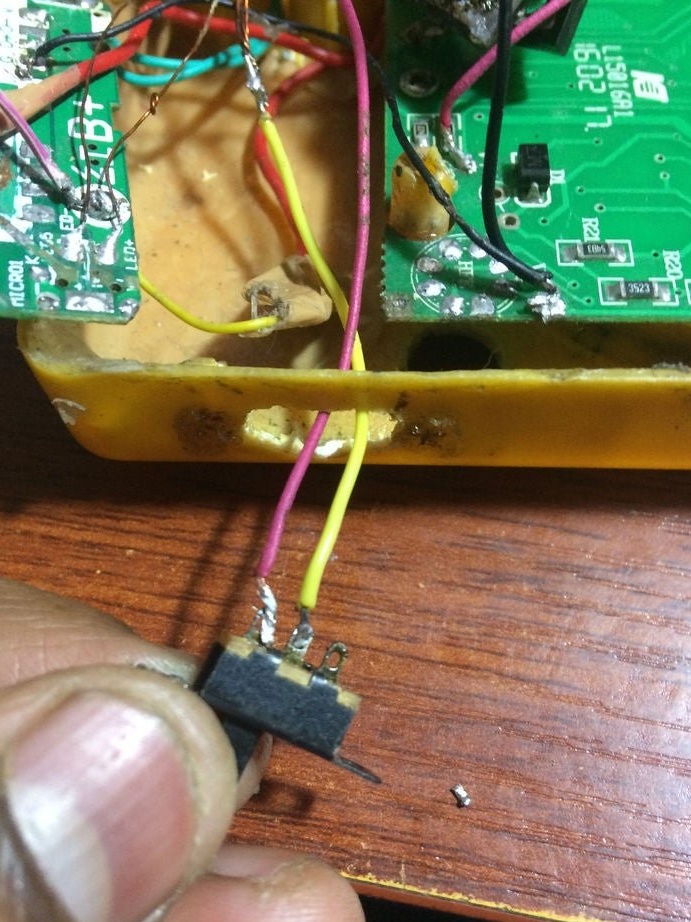
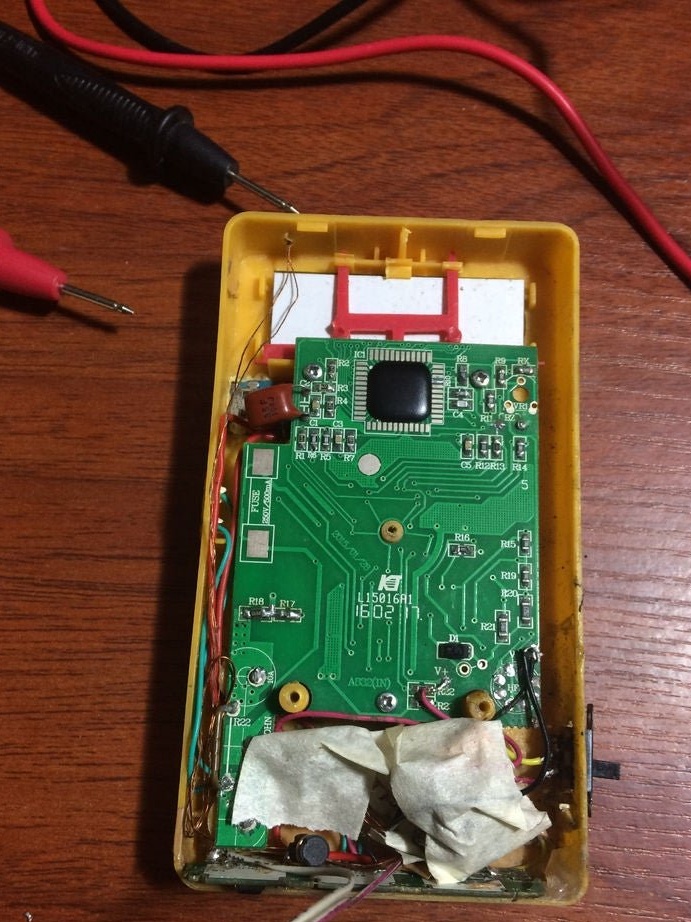
Installs a USB connector and switch into the chassis. Installs all boards and secures wires.

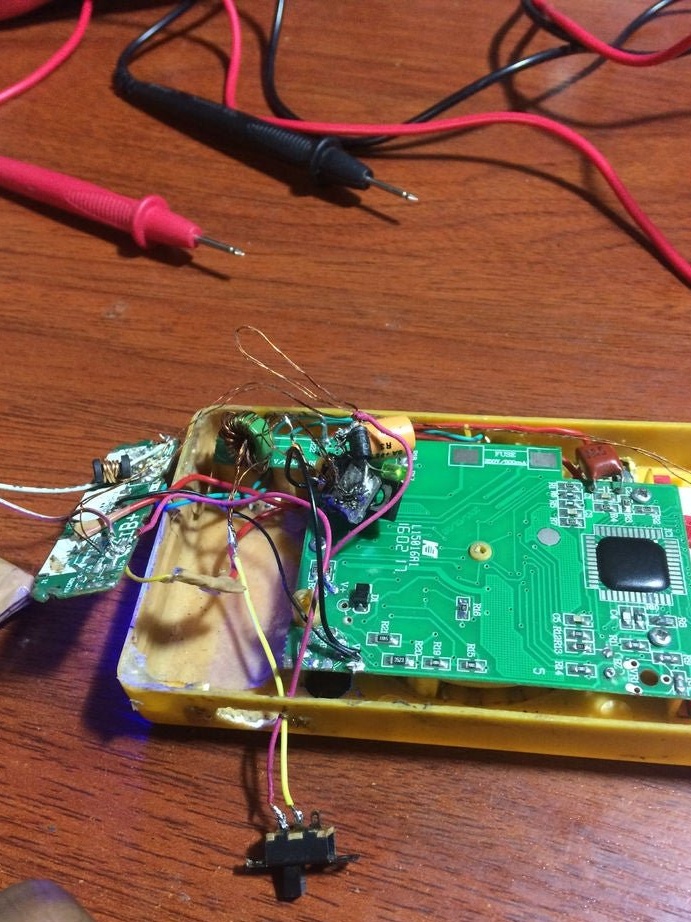

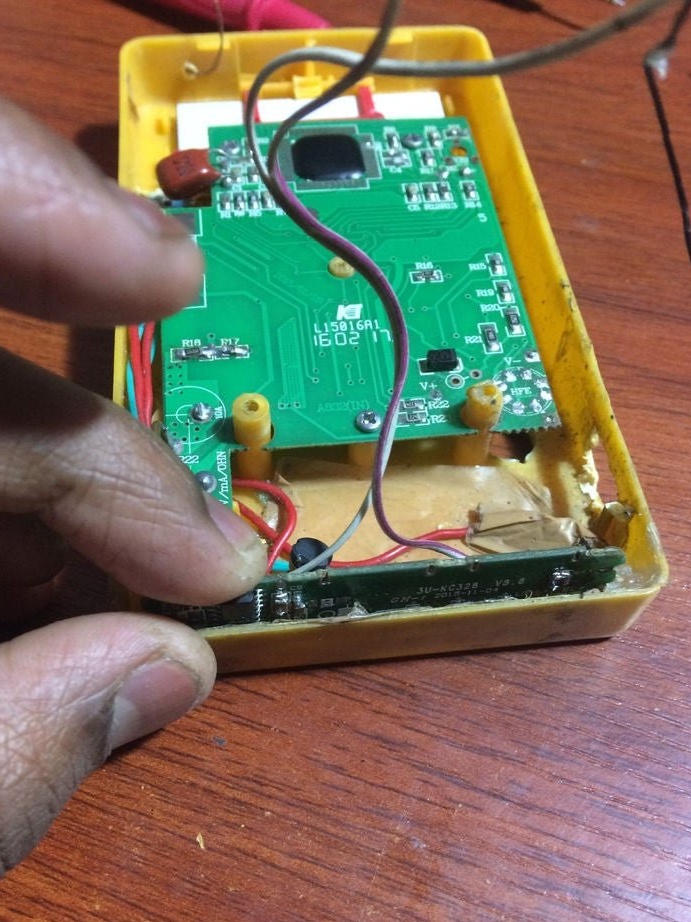
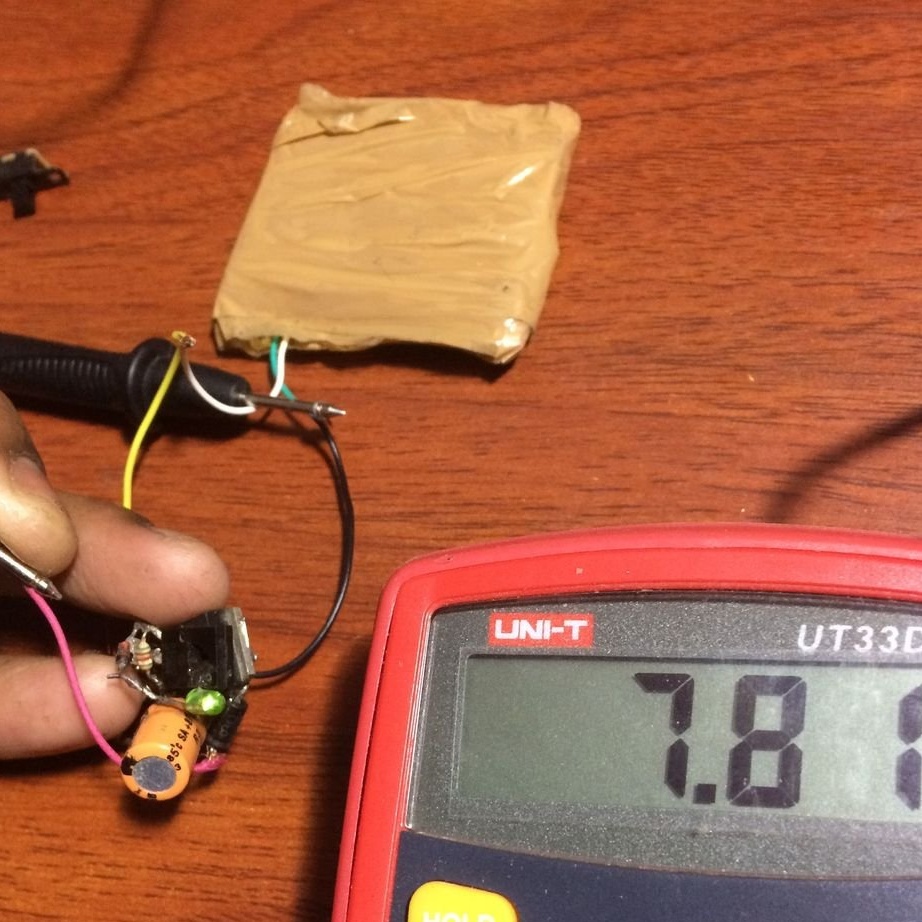
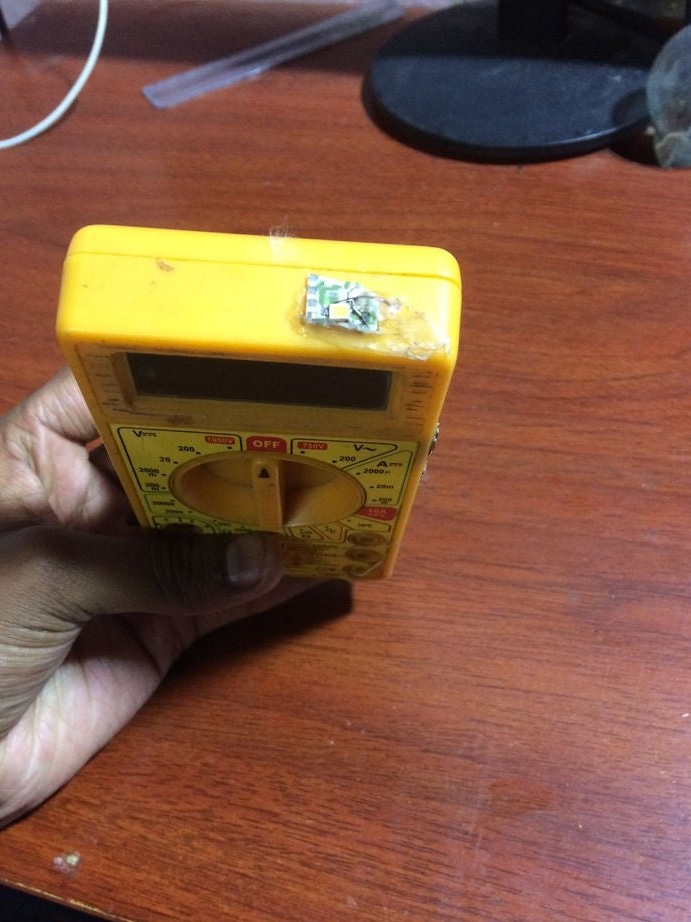
Connects the battery and tests the device.
Secures the battery and assembles a multimeter.


All is ready.

