Once again, I return to the models of my acquaintance aircraft modeller. Tired of models with impellers, all these, but these ...
So he decided to build a small biplane.
He generally enjoys flying biplanes,
which really look fascinating in the sky. Model the biplane, which the author decided to build, bears the name “Strangers”, which means Strangers in English. But I think that the author is familiar with various biplane-type aircraft, but I decided to build such a model by reading Richard Bach’s book “The Biplane” or watching a series of videos shot on this book.
Ultimately, this is not so important, the main thing is that the model is being built.
TTX.
Length - 770 mm.
Span - upper wing - 1150 mm.
lower wing - 1050 mm.
Weight - 700 grams.
Engine - FC2822 / 1200 kv.
The battery is 3S / 1.5 amperes, weight 120 grams.
Screw - GWS 9050 rod 630 grams 11 A.
Applicable materials.
Ceiling tile (ceiling) - 4 mm.
Heater "Penopleks"
Wooden, student rulers.
Plywood - 4 mm.
Unisex adhesive, moisture resistant - "Titan".
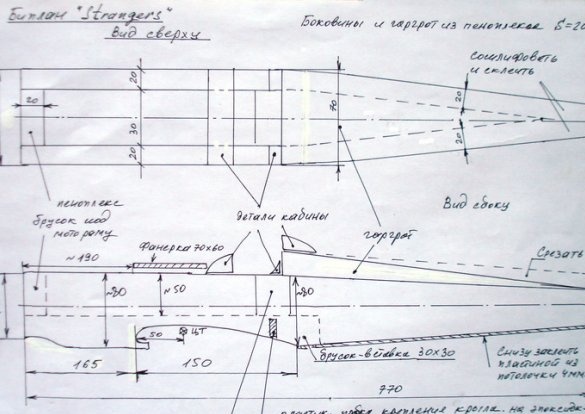
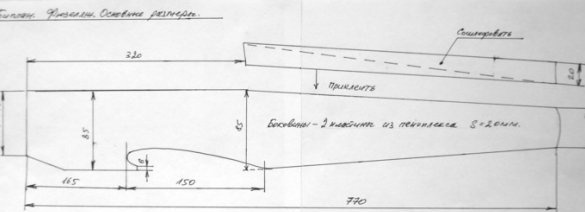
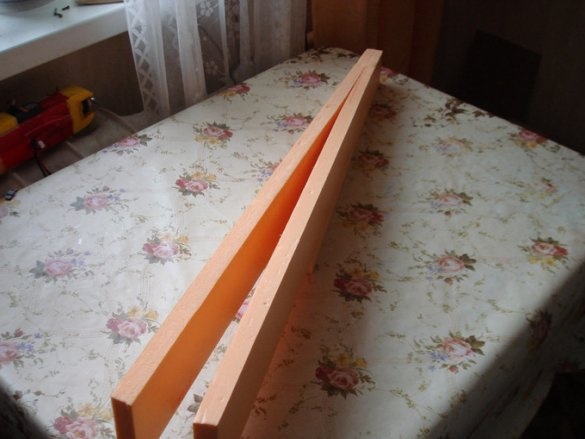
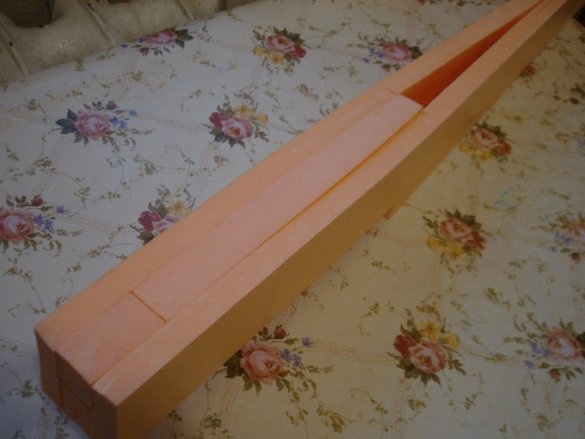
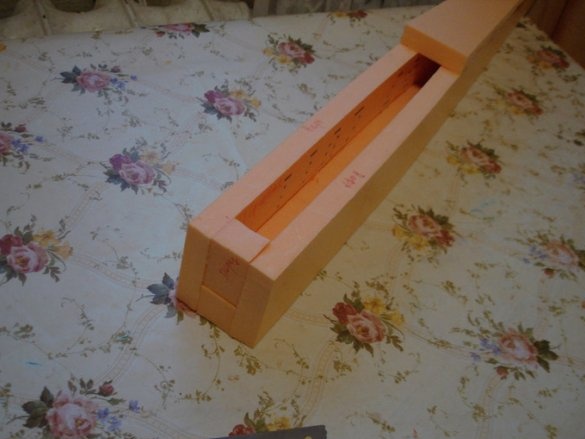
The author begins the construction with the manufacture of the fuselage. Why did I take insulation strips 20 mm thick, for side planes - 770 mm. length and - 85mm high.
In the tail part, the parts are cut to a size of -25 mm. and sticks together.
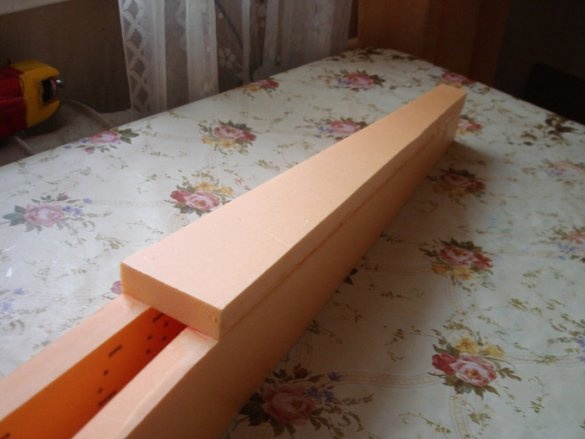
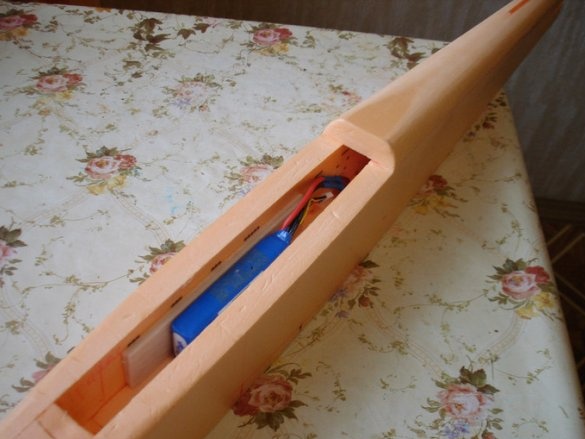
The bottom is also made of insulation 335 X 35 mm. The width of this part is done depending on the scale of the model and its size. In this case, with a fuselage width of 70 mm. the width of this part was 30 mm. This is done so that you can then easily install electronics and battery.
Gargrot is made from a billet of insulation 450 X 70 X 20 mm.
Bring to the desired size.
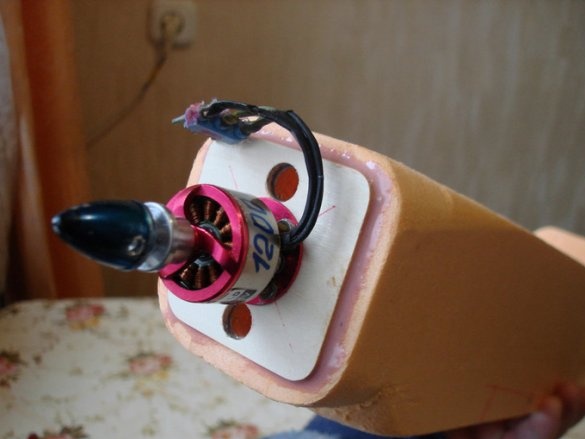
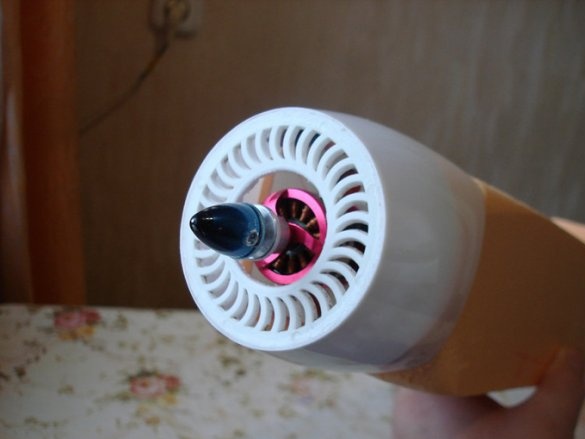
In the nose of the fuselage we mount an insert from the insulation - this will be the place for mounting the motor.
We paste the plywood, for mounting the motor -60 X 60 mm. in which we make 4 openings for access of air, which will cool the electronics.
Do not forget to make bevels for mowing the motor during installation.
For the hood, the author used improvised materials.
Ceiling strips are glued, the battery will be fixed here.
Reinforcements are made at the installation site of a 3 mm plywood wing.
The place where the wing is attached is made especially precisely according to the template made for this. Parts of power elements are cut from plywood with a jigsaw.
The lower wing should go into the groove and be fixed.
After, it is fixed with two strips of the ceiling - 5 x 50 mm. glued on the sides.
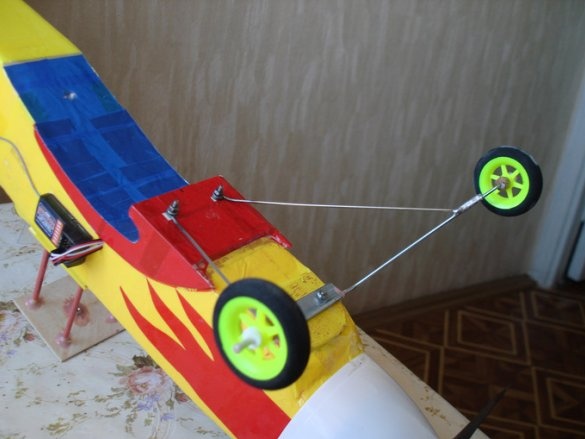
Plywood 70 X 50 mm is pasted.for mounting the landing gear. Holes for M2 X 15 bolts are made in it. The bolts are fixed with glue.
Further, the author proceeds to work with wings.
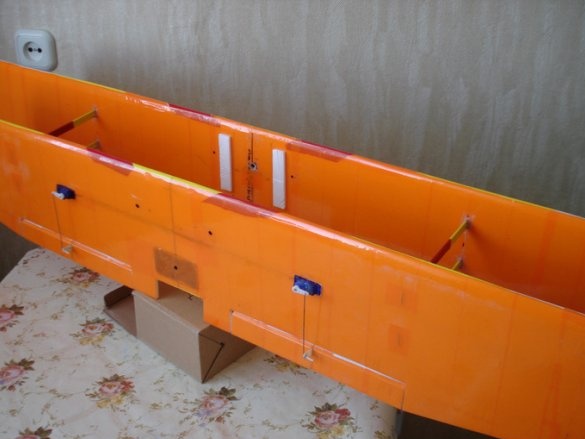
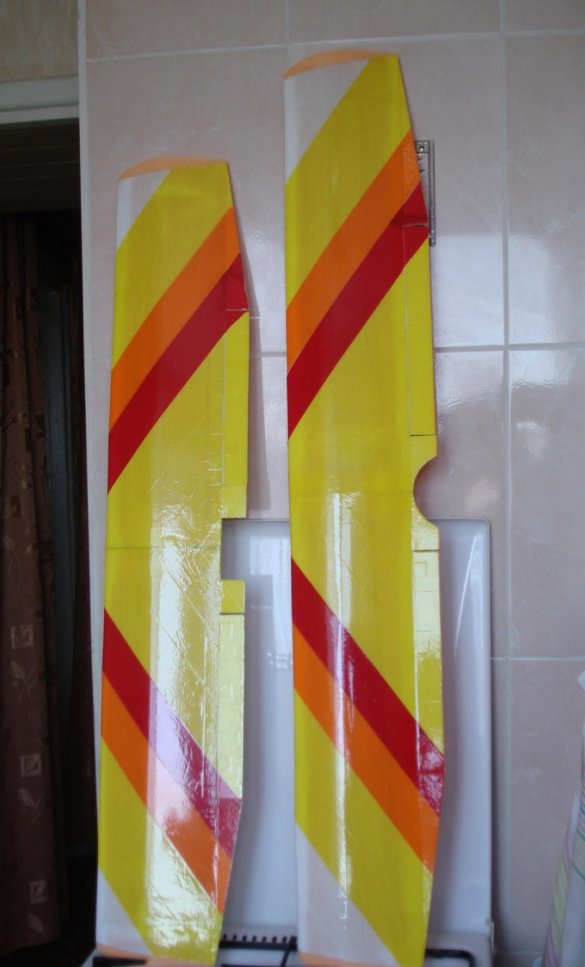
Ribs for wings are cut from the ceiling. The spar is made of a wooden, student line.
The wing has a flat convex profile, 25 mm thick.
Servos are installed.
Ailerons are connected by rods.
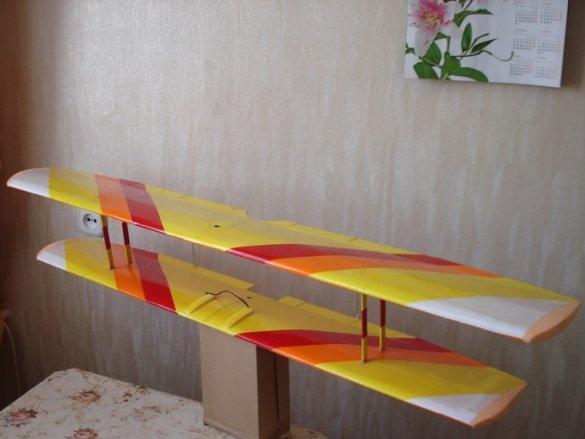
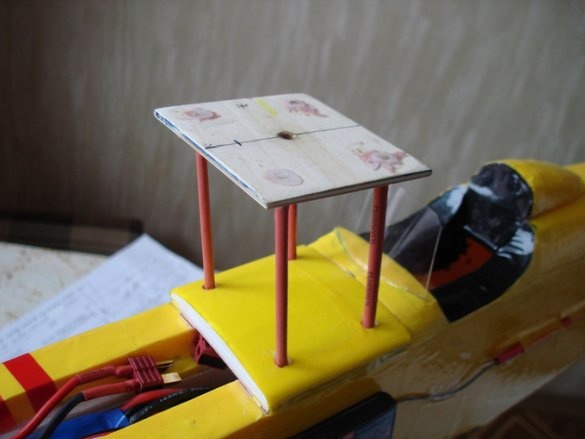
"Table" - 70 X 60 mm. mounted on 4 racks mounted on the fuselage.
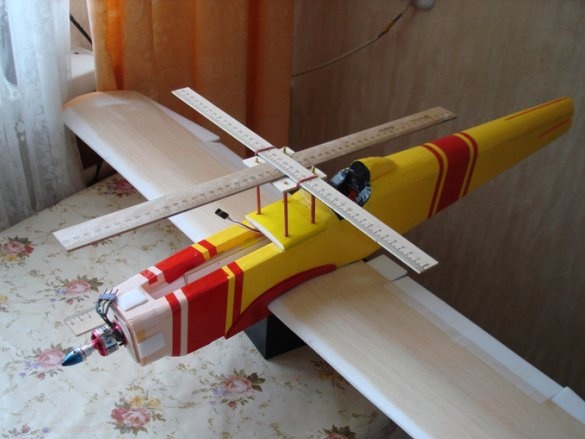
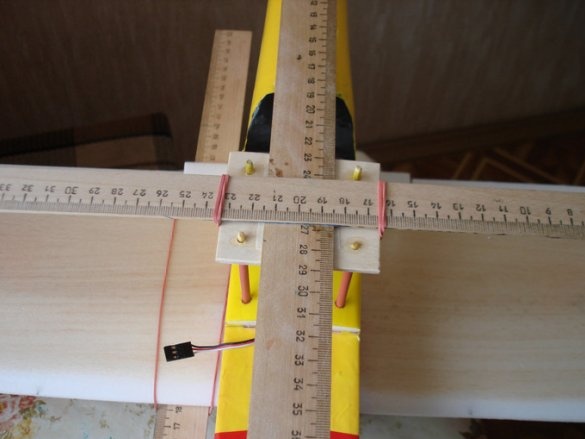
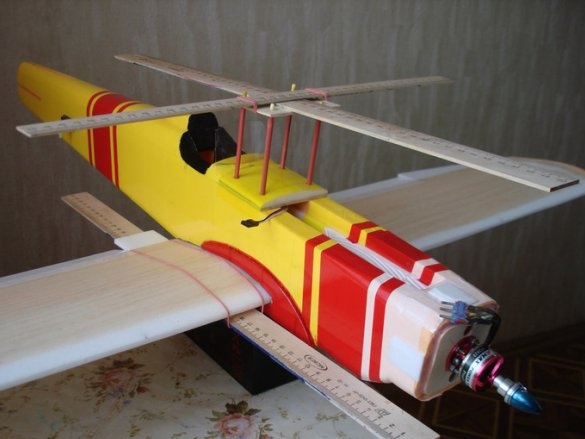
It is very important to precisely establish a “table”, you need to observe equal distances between the wings.
“I made the leveling of the table with the help of rulers (50cm). Two crosswise arranged rulers display the position of the site and allow you to make the necessary measurements. According to measurements, we adjust the position of the site and glue the posts with a 5-minute epoxy. ”
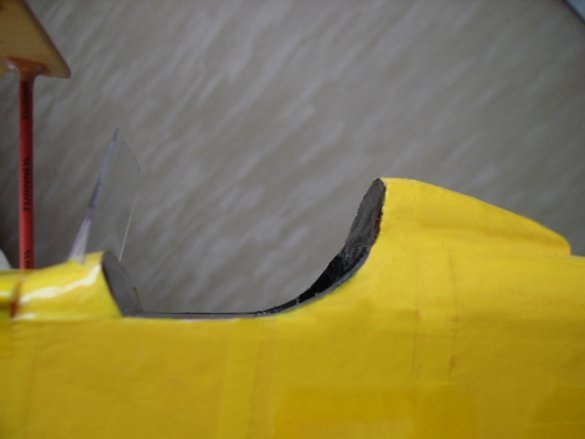
The place of the pilot.
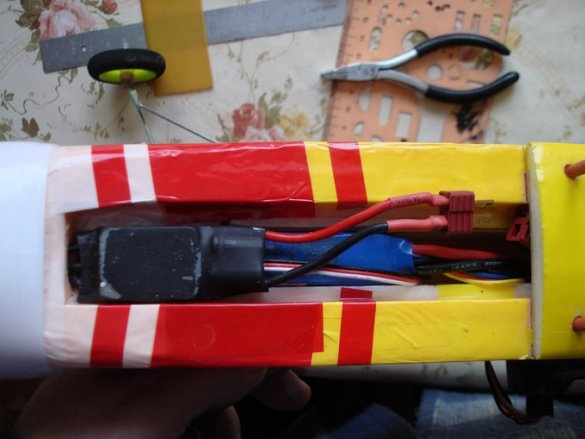
The battery compartment closes with a lid.
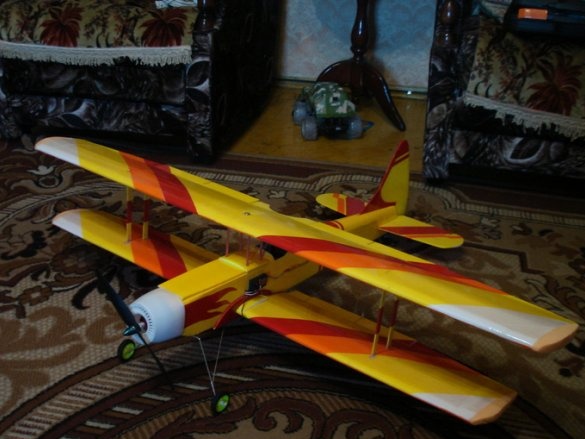
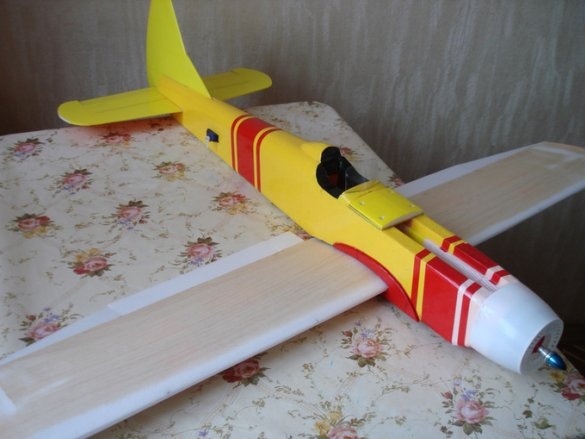
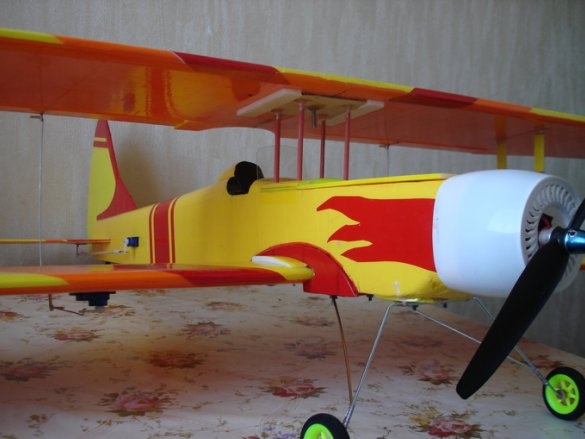
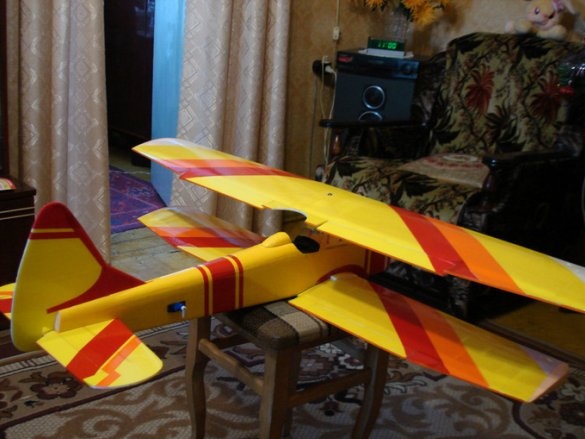
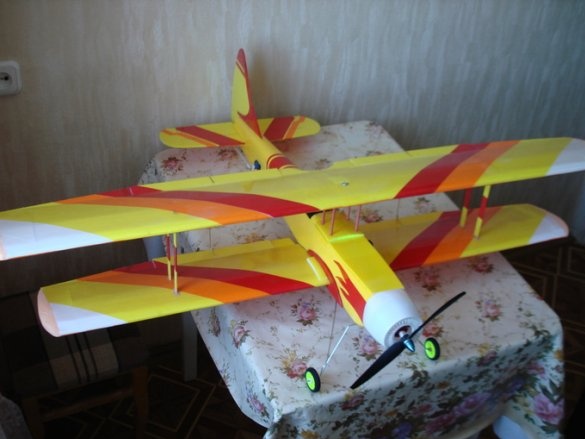
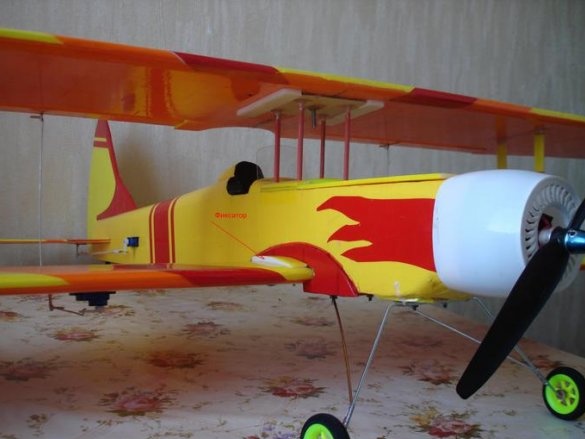
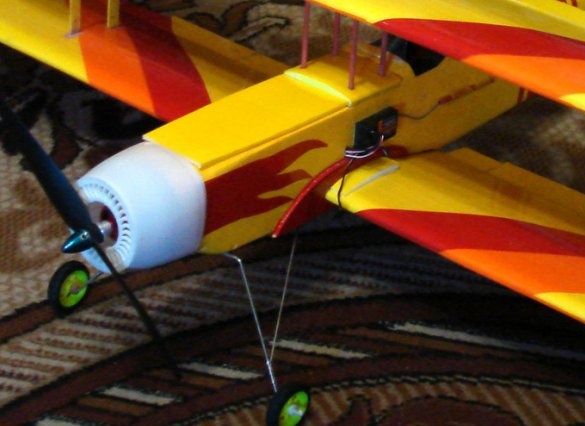
The final view of the biplane.
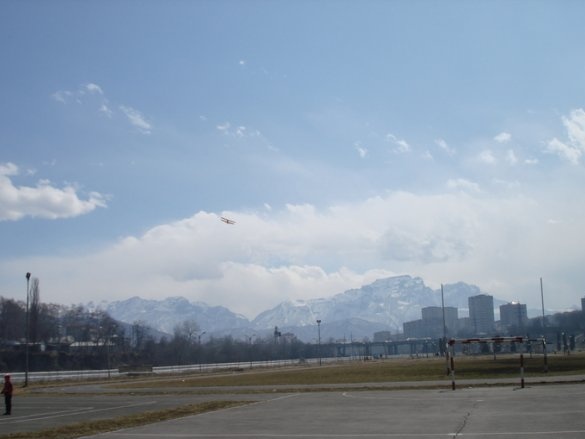
Photo of the flight.
On this, let me finish my story.

