
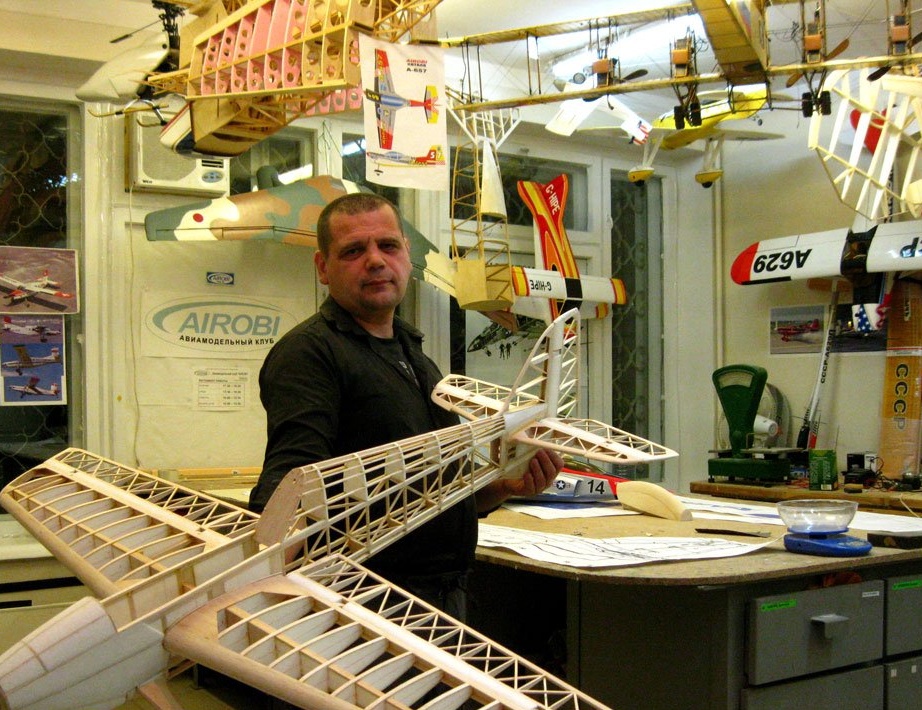
Now I will try to tell and show, using the example of photos from the forum, how my friend built an aerobatic model.

I want to note right away that the construction of this model takes a huge amount of time and money, moreover, to build this model only very trained aircraft modellers with experience with such material as balsa can do it.
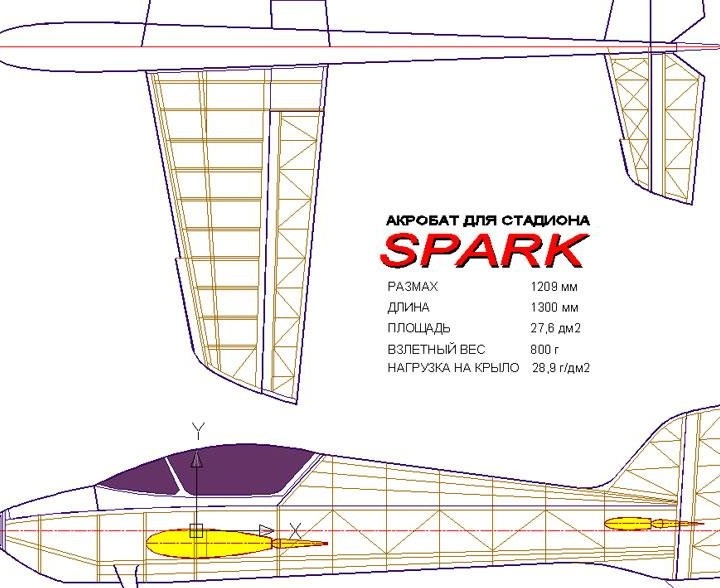
This acrobat model is built on a completely new technology, different from the traditional technology of building models F3A.
The author pursues the main goal - to create the most lightweight, resistant to maximum flight loads, and easily repairable apparatus.
Before proceeding directly to the story of the model, I want to quote the words of the author of this model.
“Models, and especially copies, can be built only when there is no physical opportunity to dodge the project, when the prototype completely blocks your consciousness for all 24 hours a day and breaks the brain”
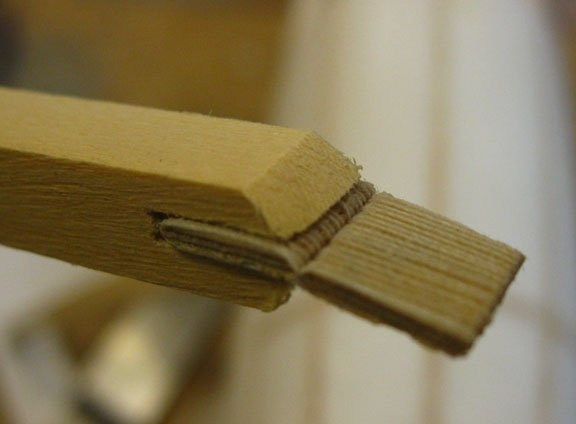
I will not list the materials used by the author of the aircraft model for its construction. I’ll just note that the whole model is assembled using the Moment-Joiner glue (analogue of PVA). This is a very strong adhesive that glues parts of any shape and size.
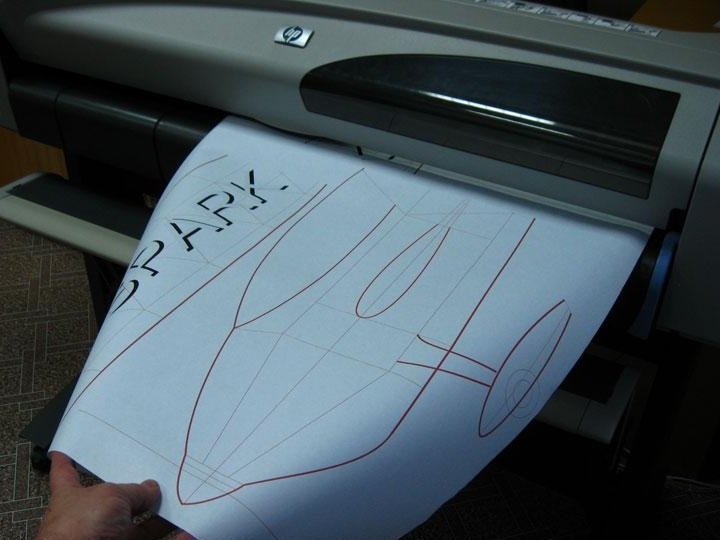
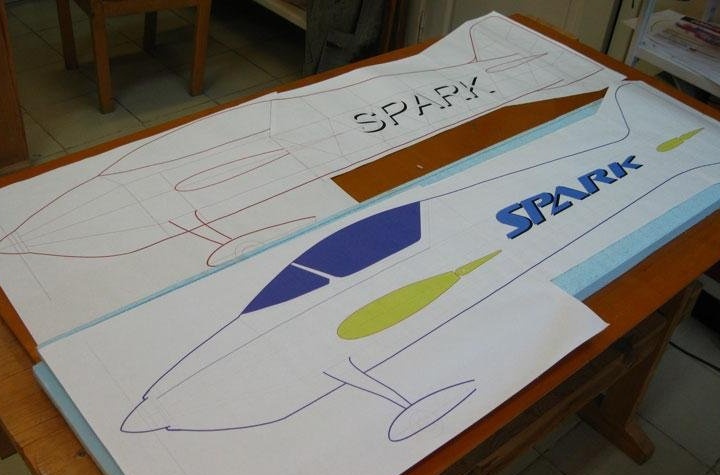
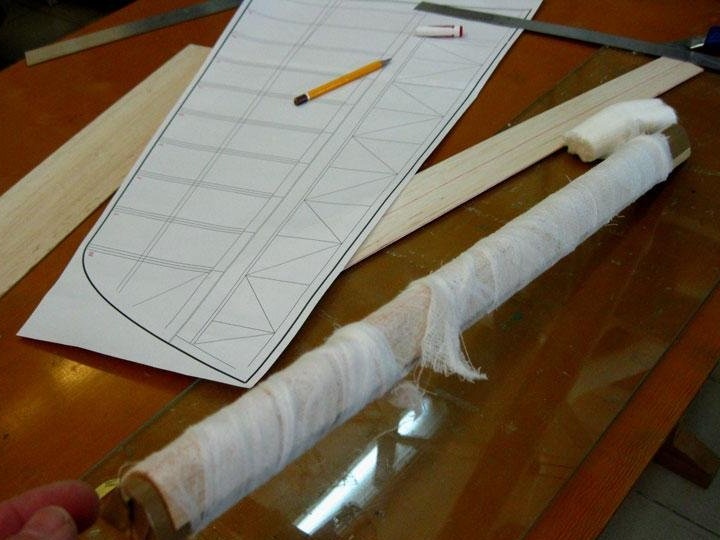
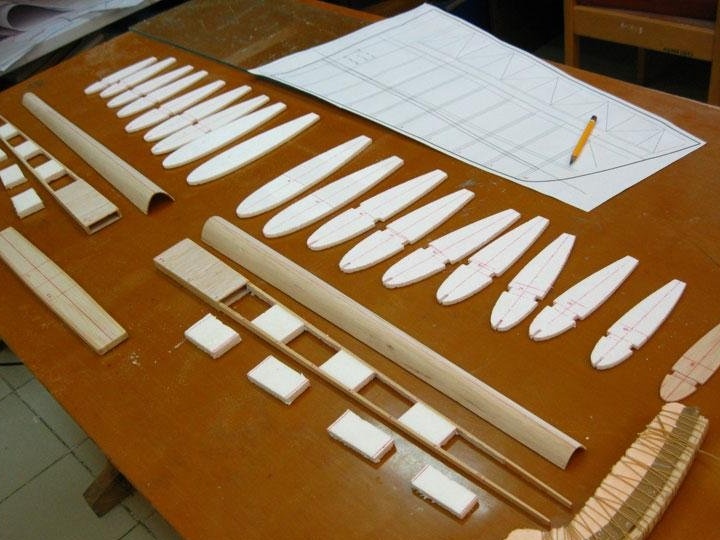
The author begins the work of creating a model by printing patterns on a printer.
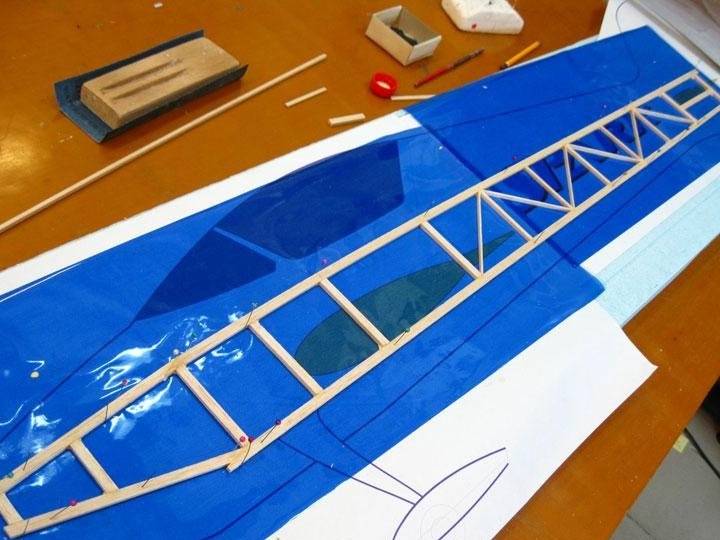
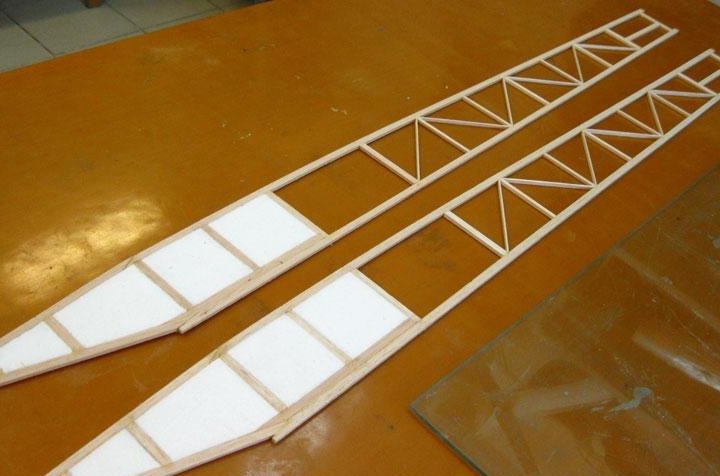
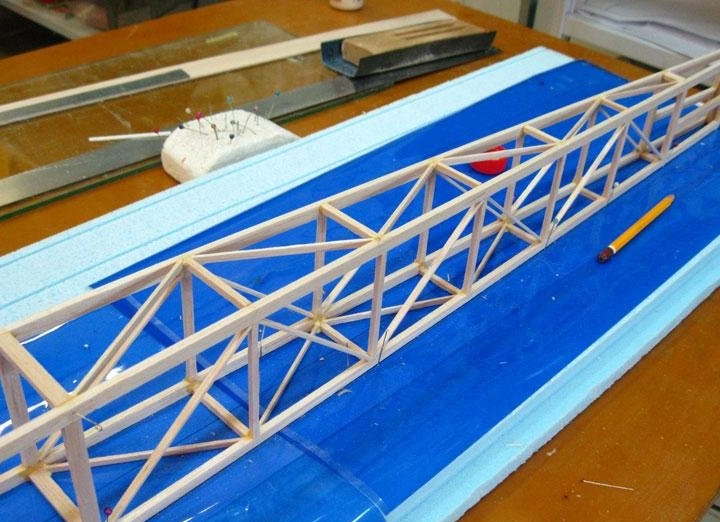
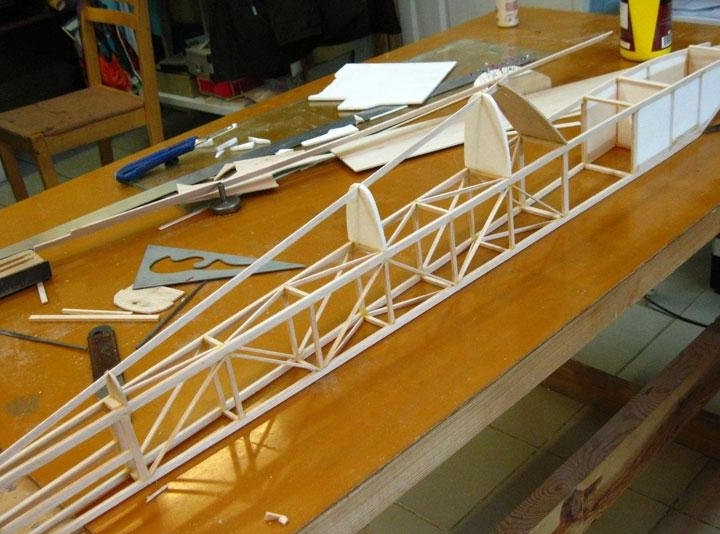
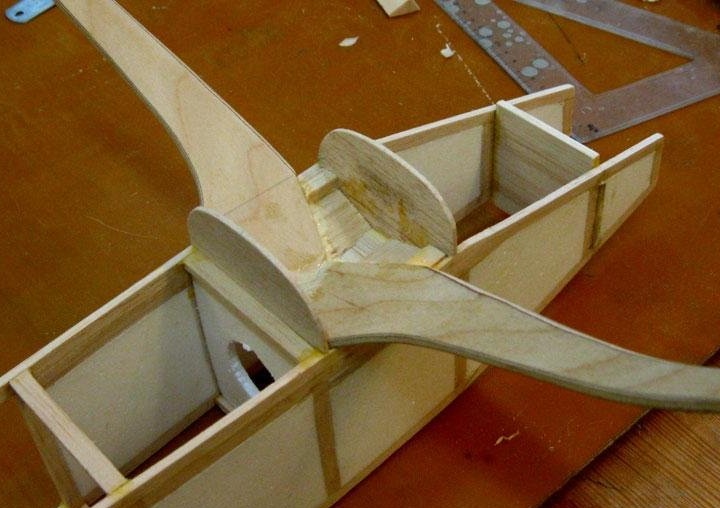
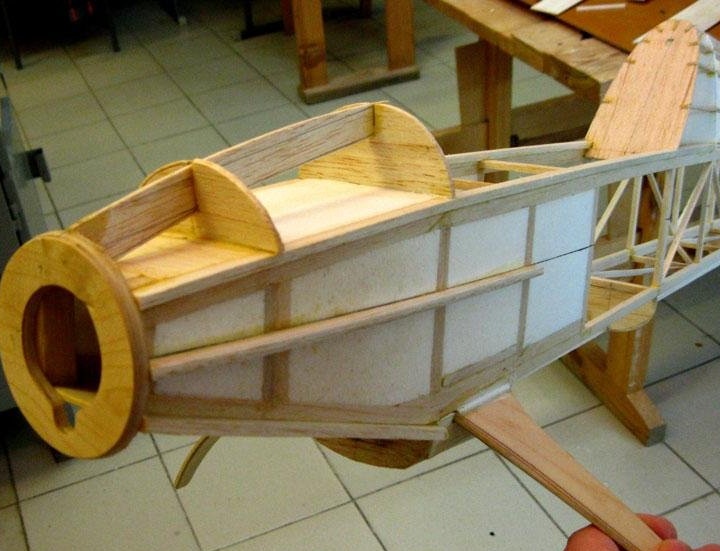
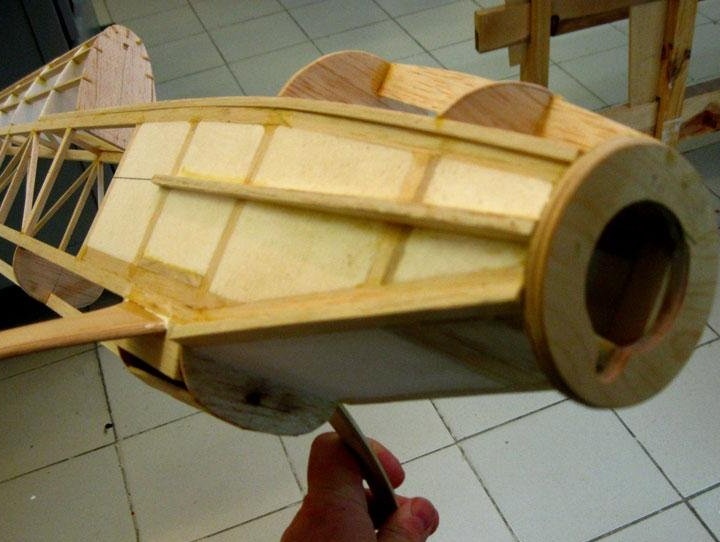
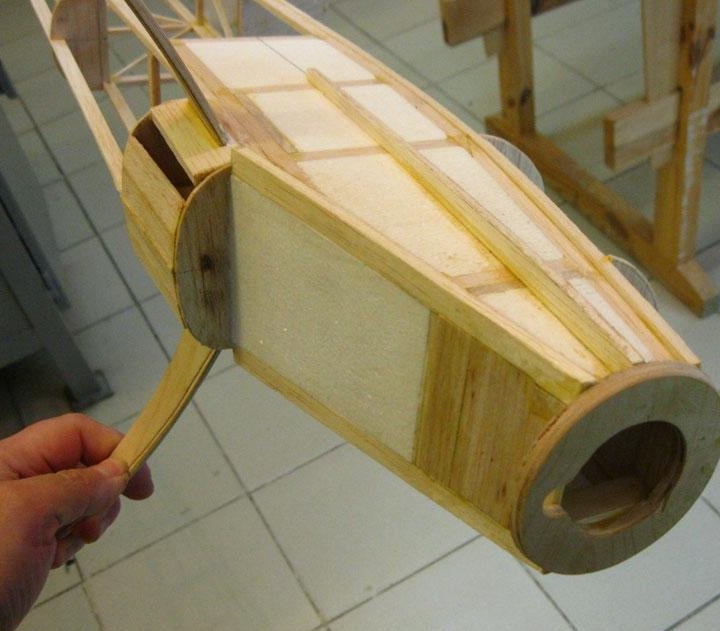
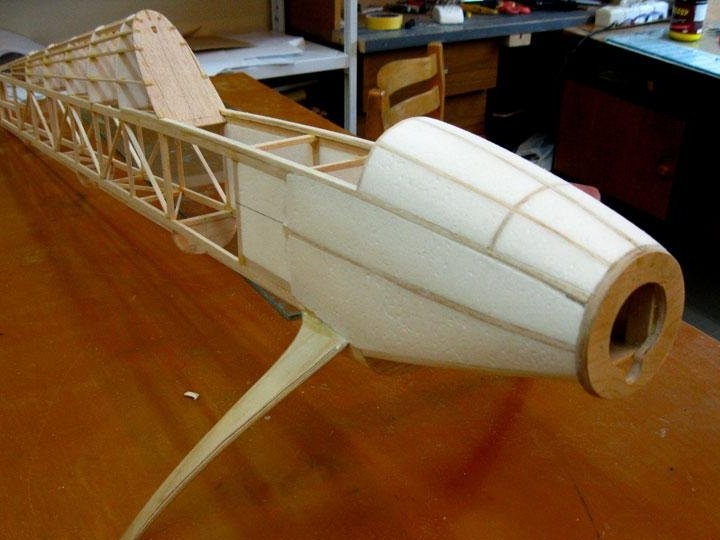
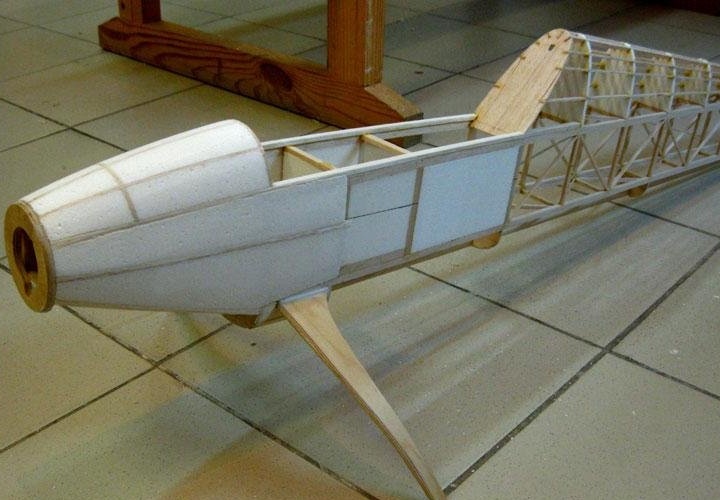
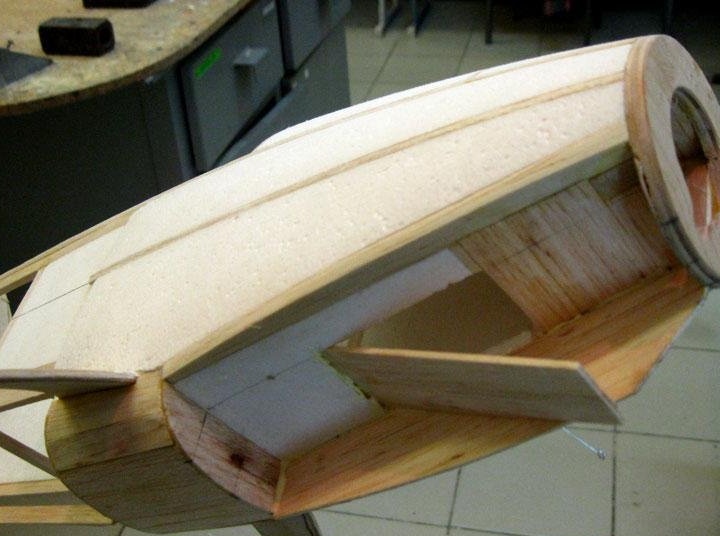
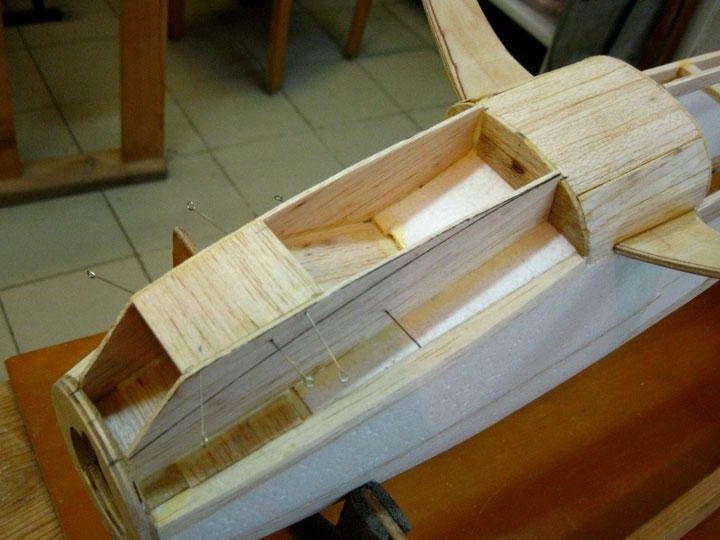
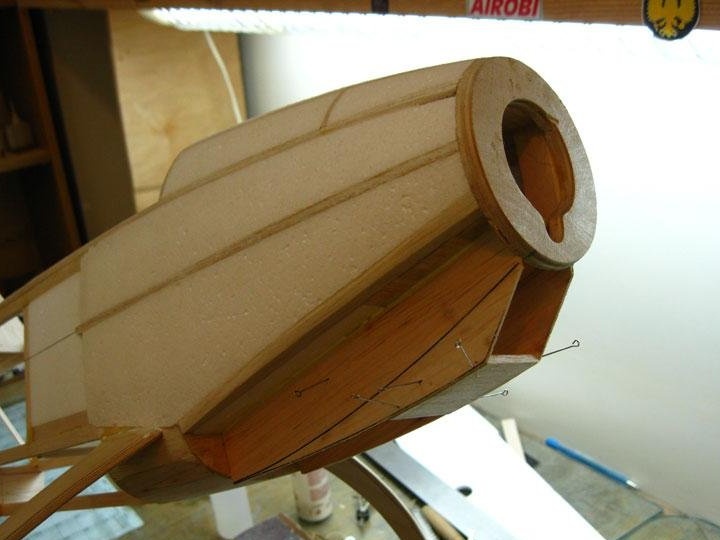
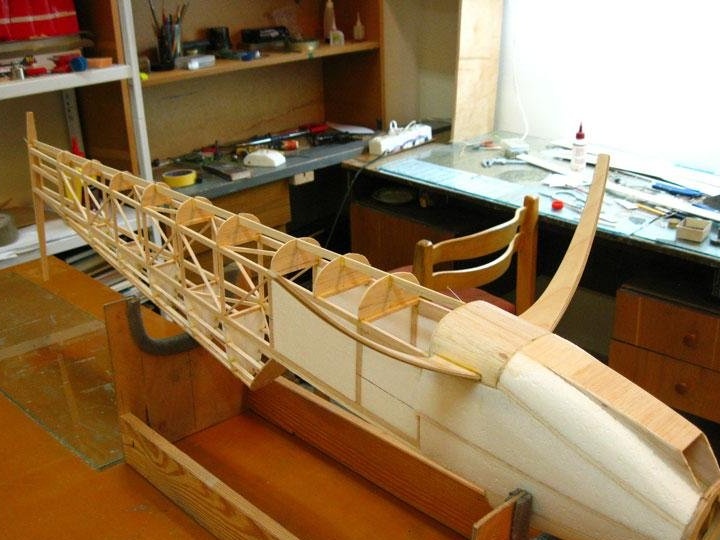
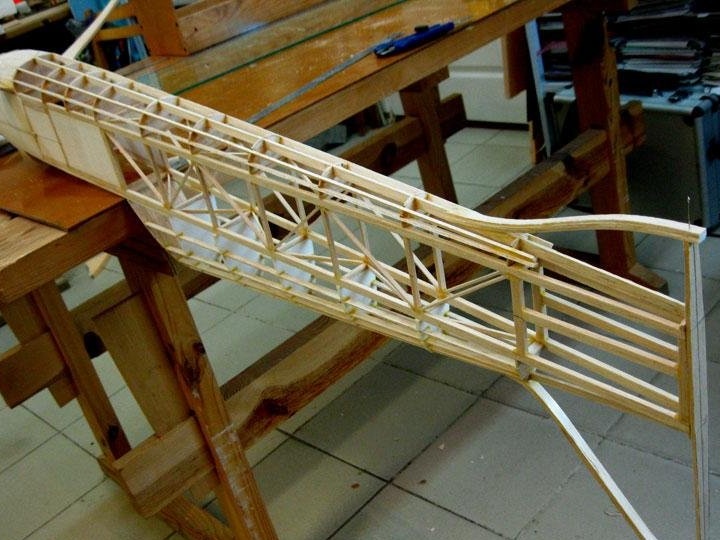
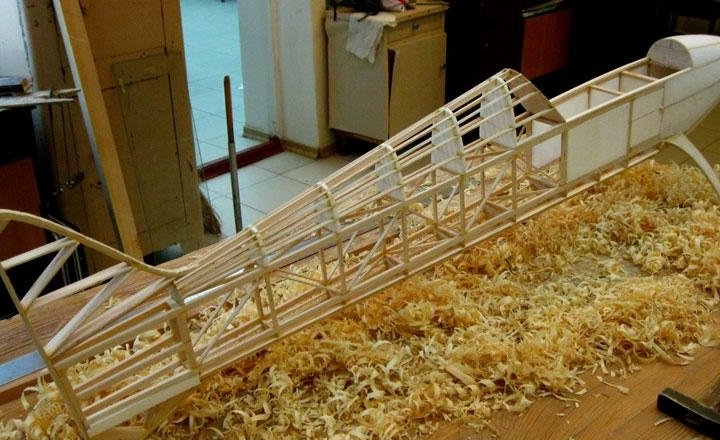
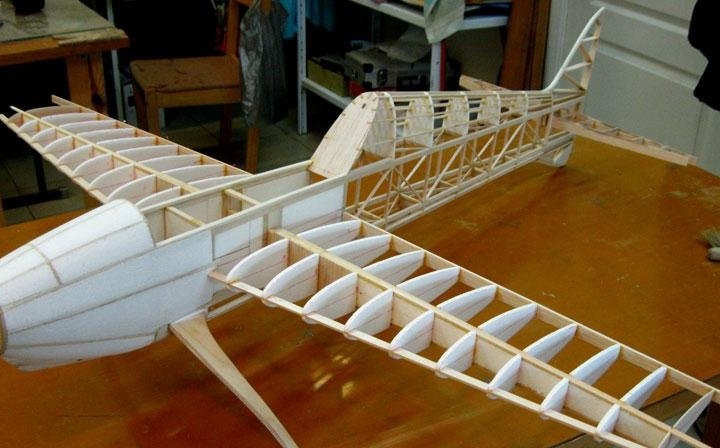
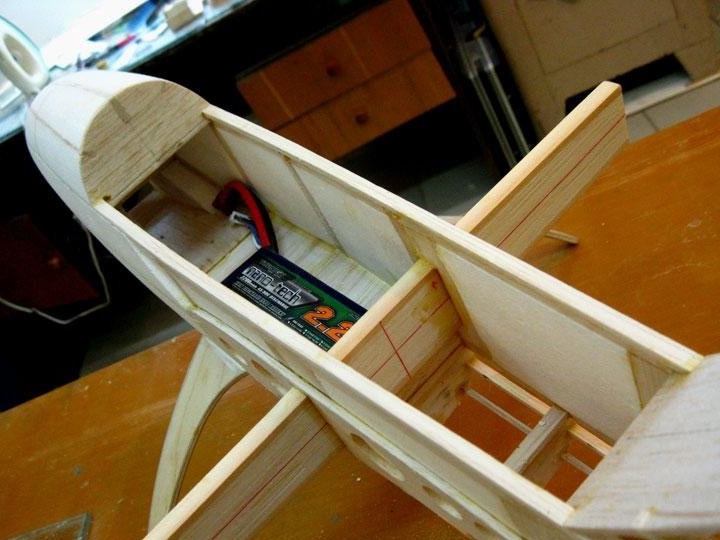
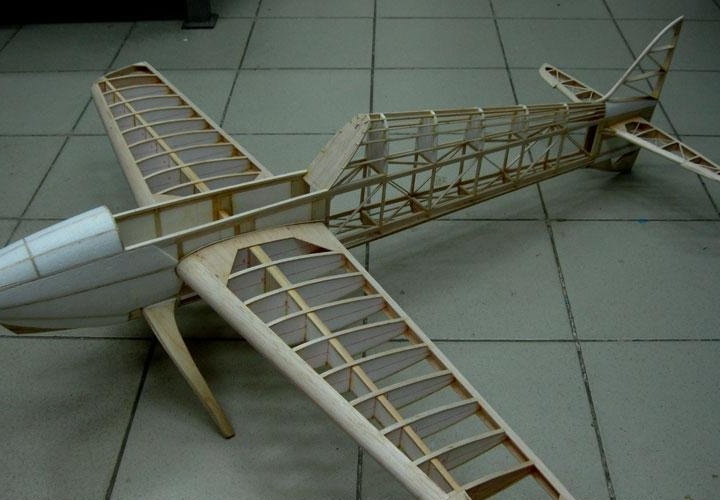
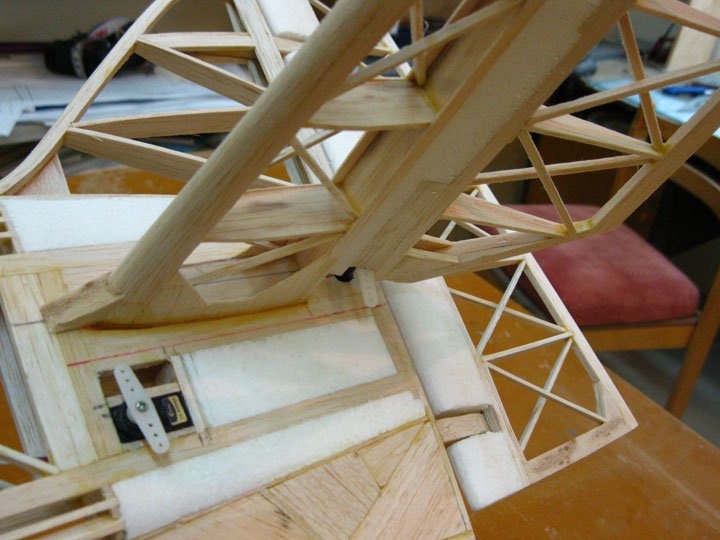
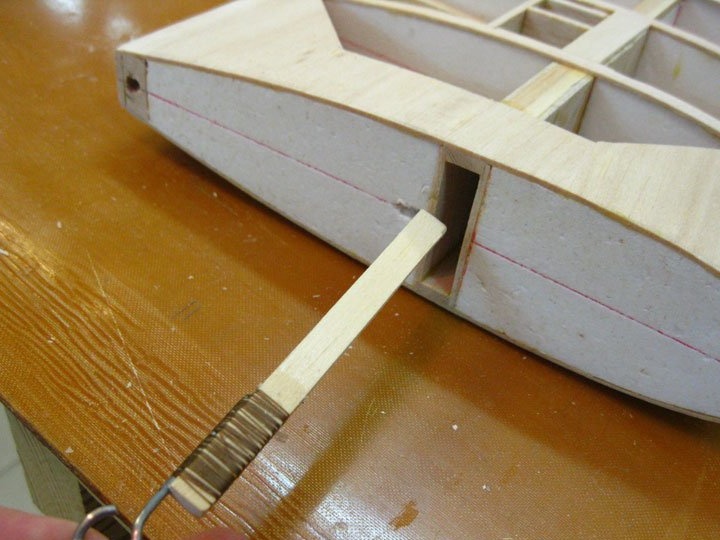
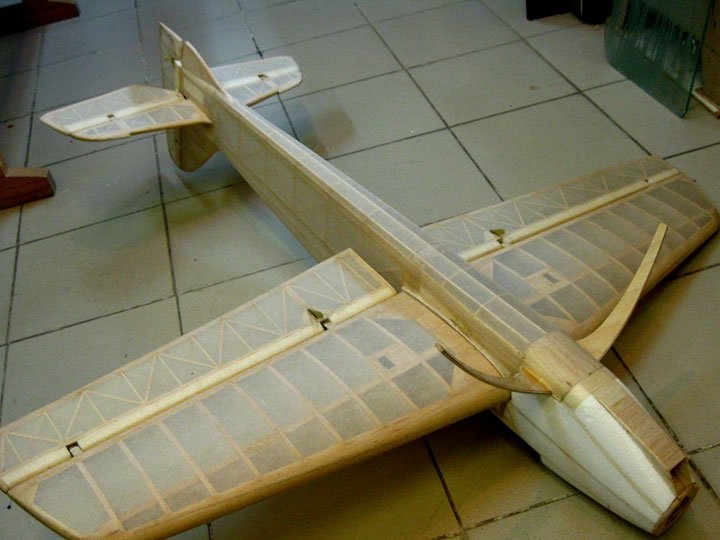
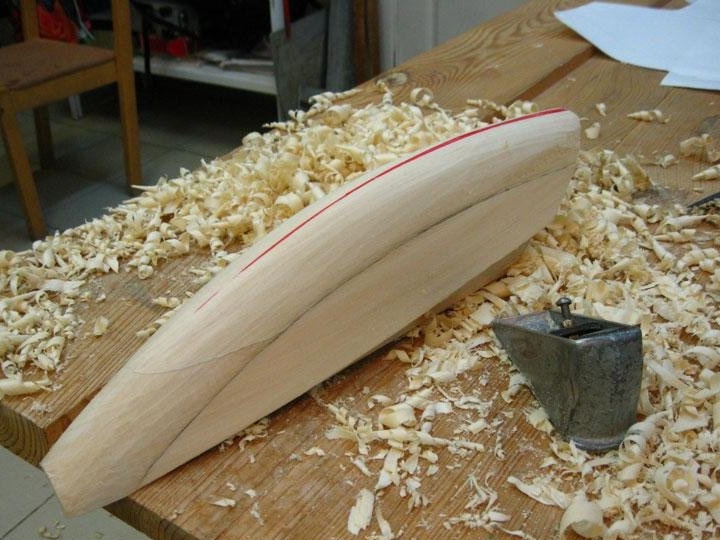
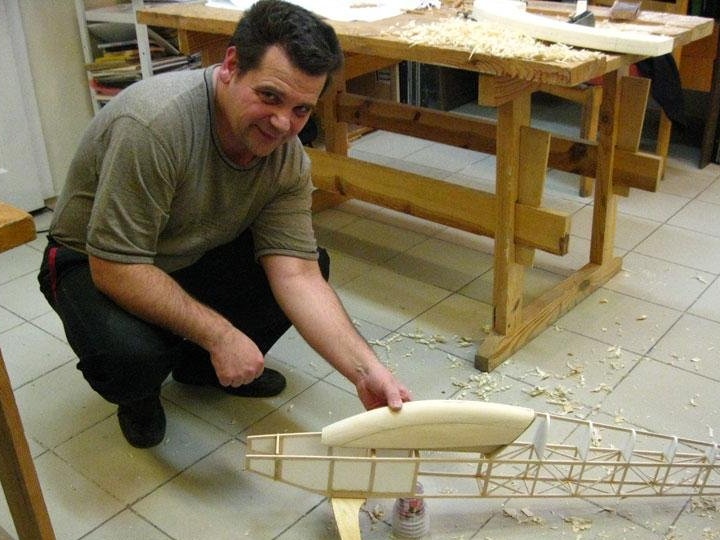
Creating the basis of the model - the fuselage.
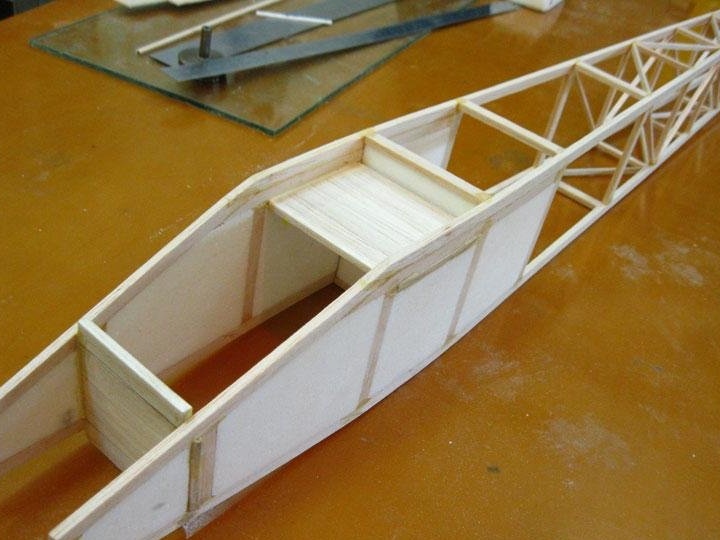
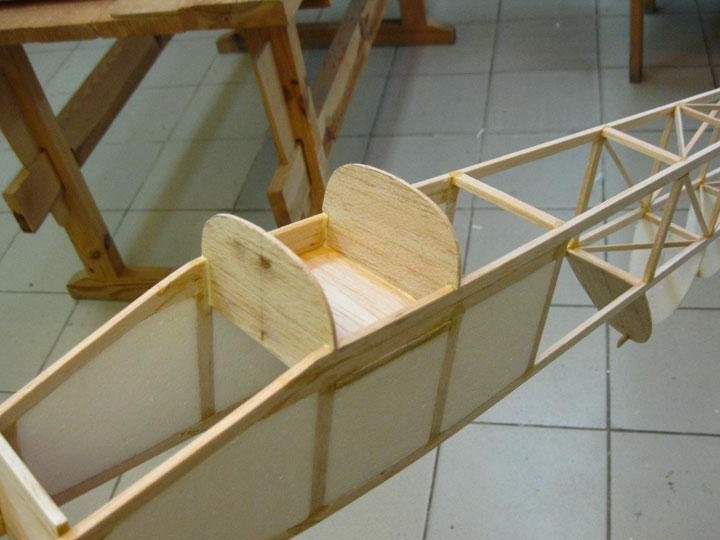
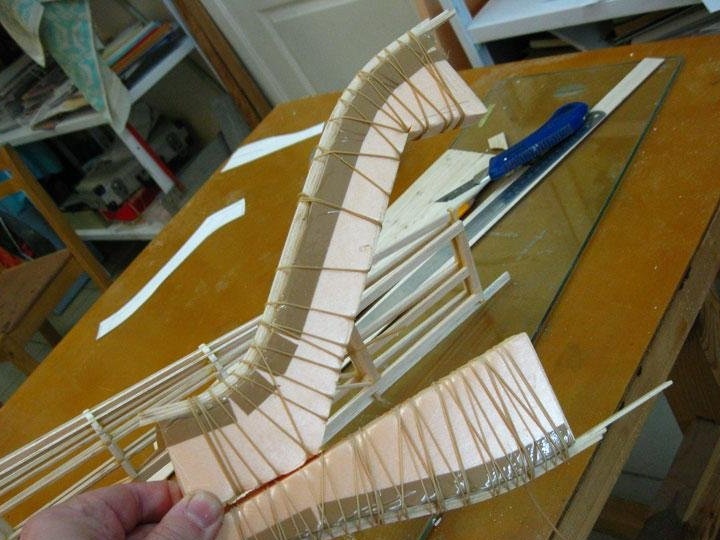
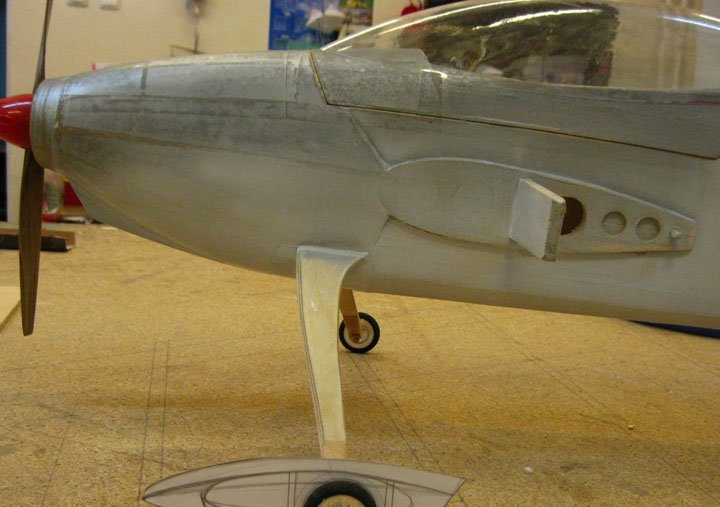
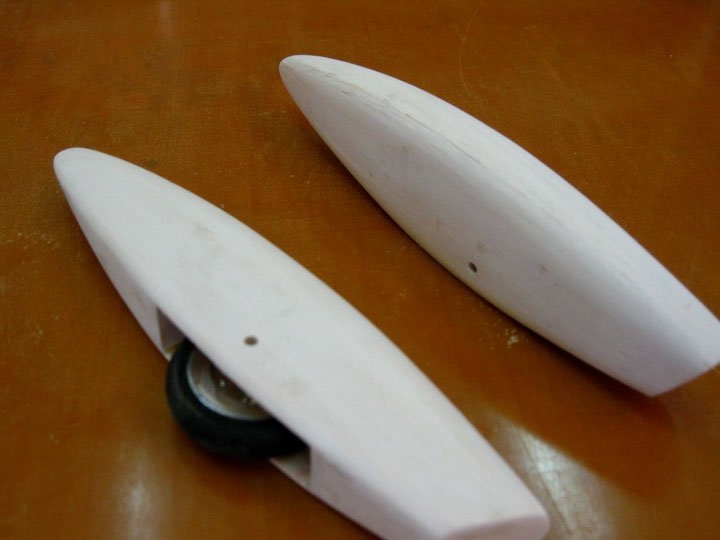
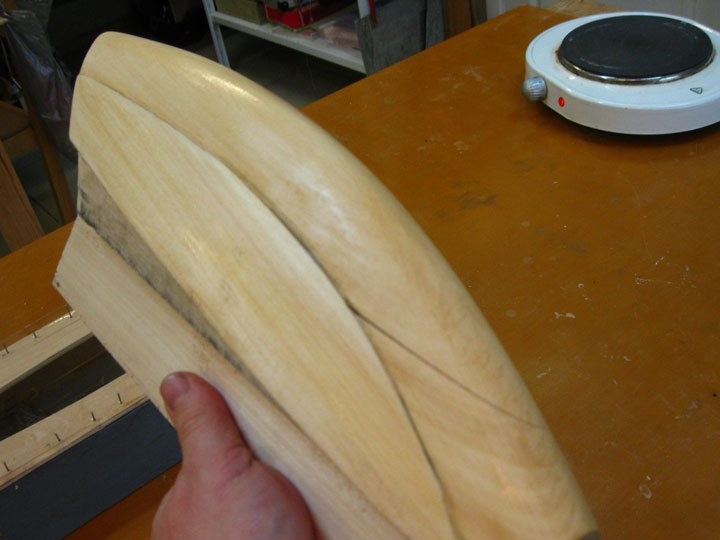
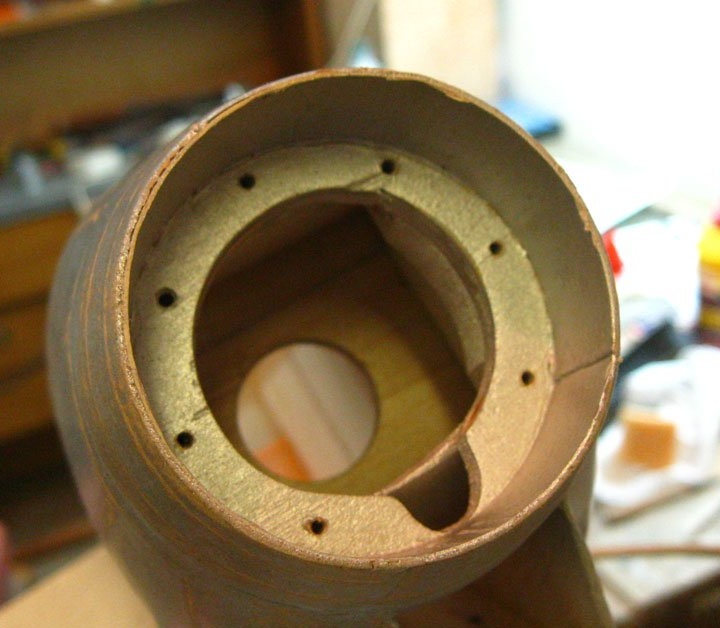
The author assigns great importance to the bow of the fuselage.
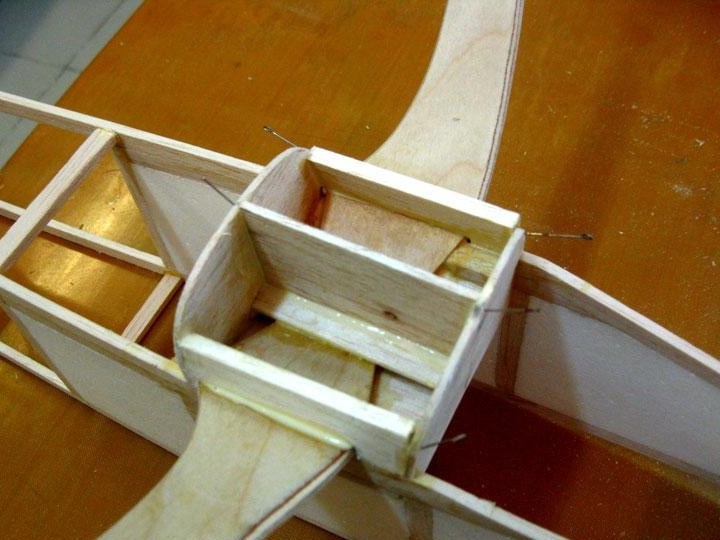
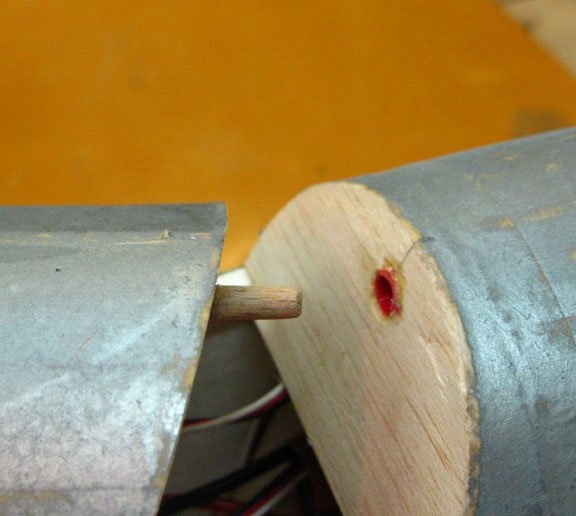
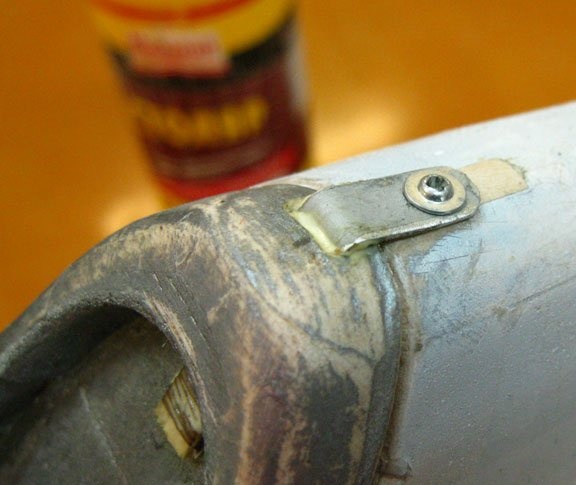
The frames are glued in, a place is prepared for gluing the chassis.
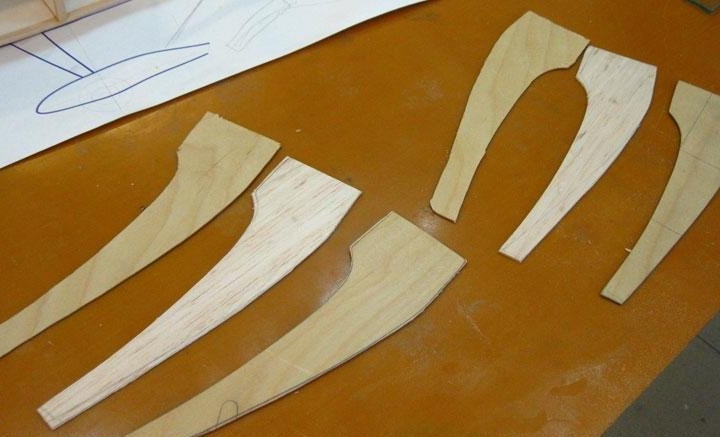
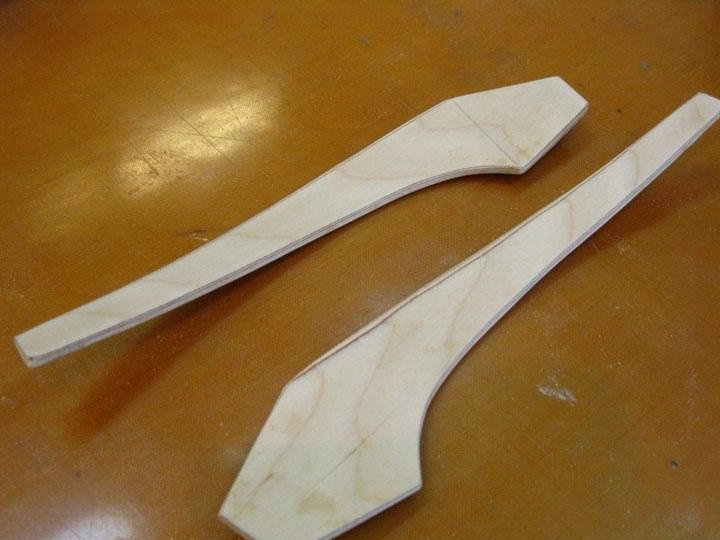
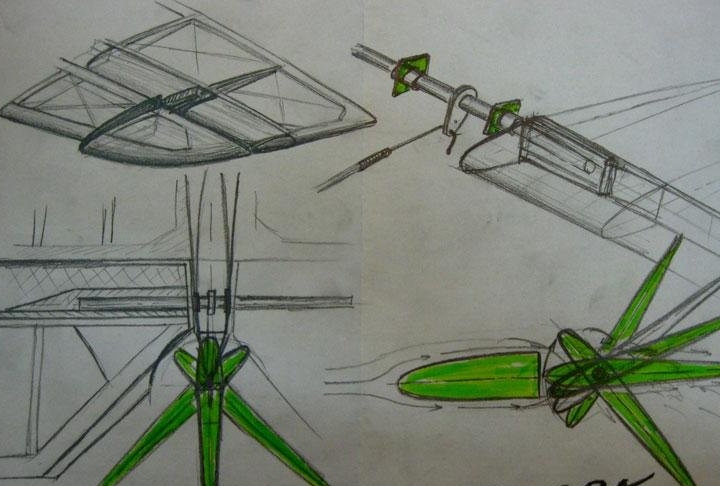
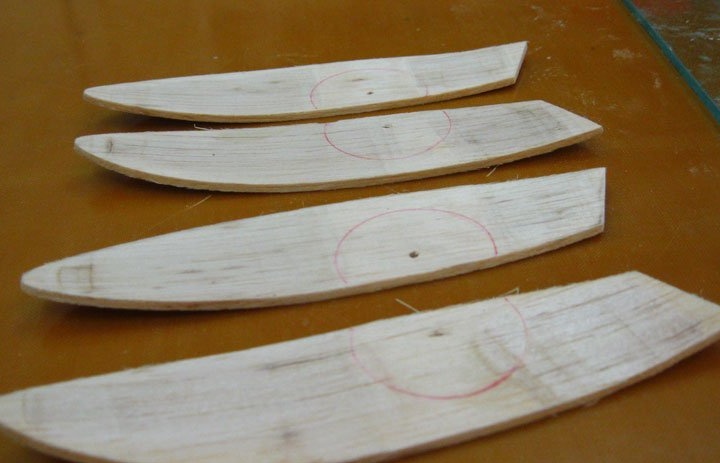
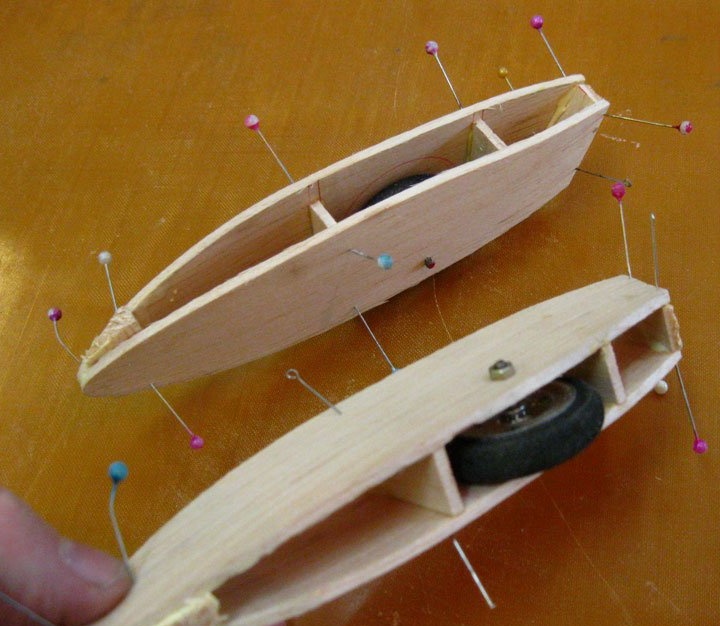
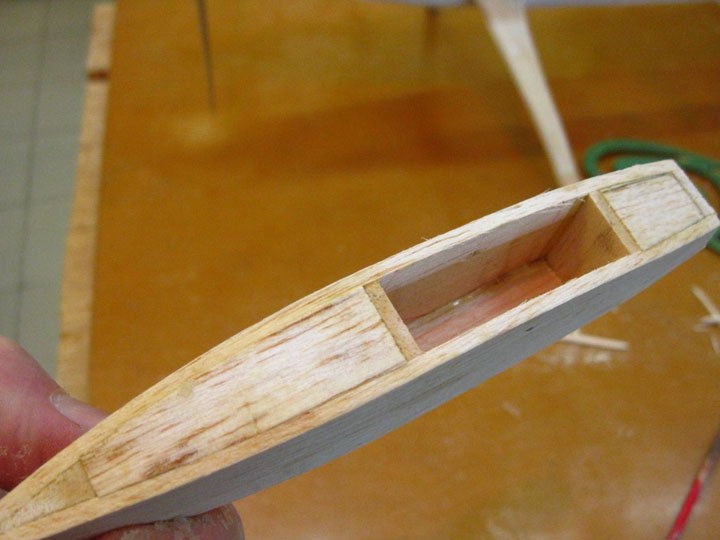
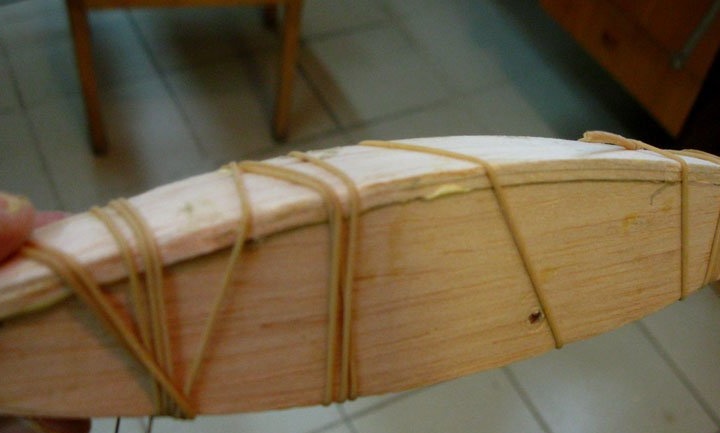
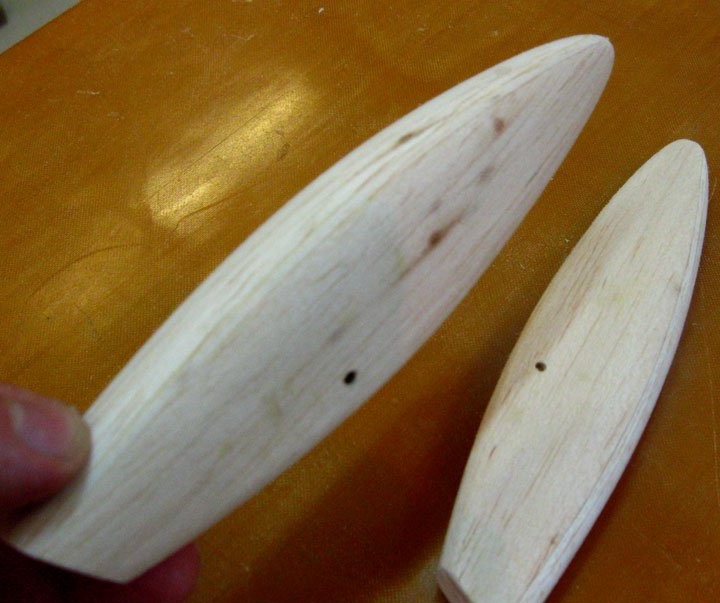
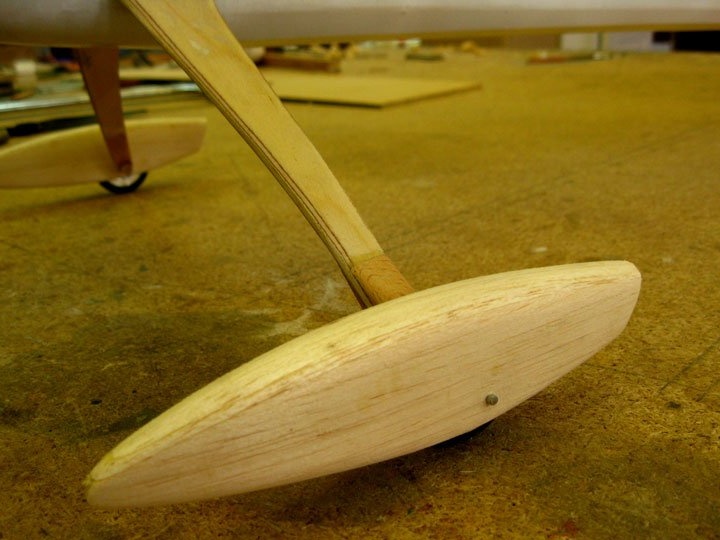
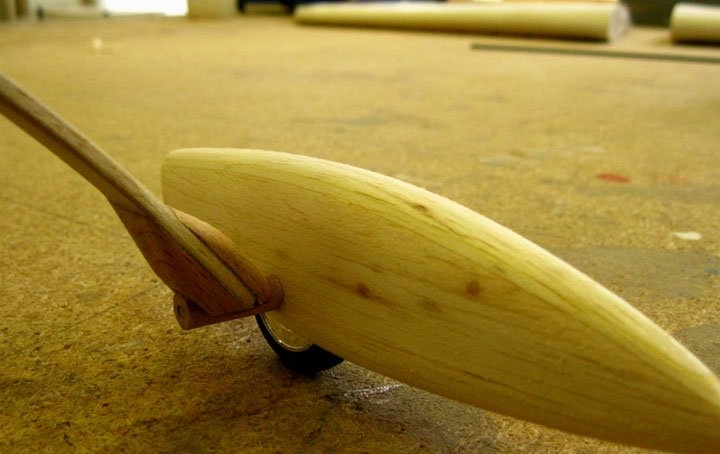
I would also like to say about the design of the chassis. The author departed from the standard technology in the manufacture of this element of the design of the model.
They are made using composite technology and are one of the strength elements of the fuselage structure, evenly distributing the power load.
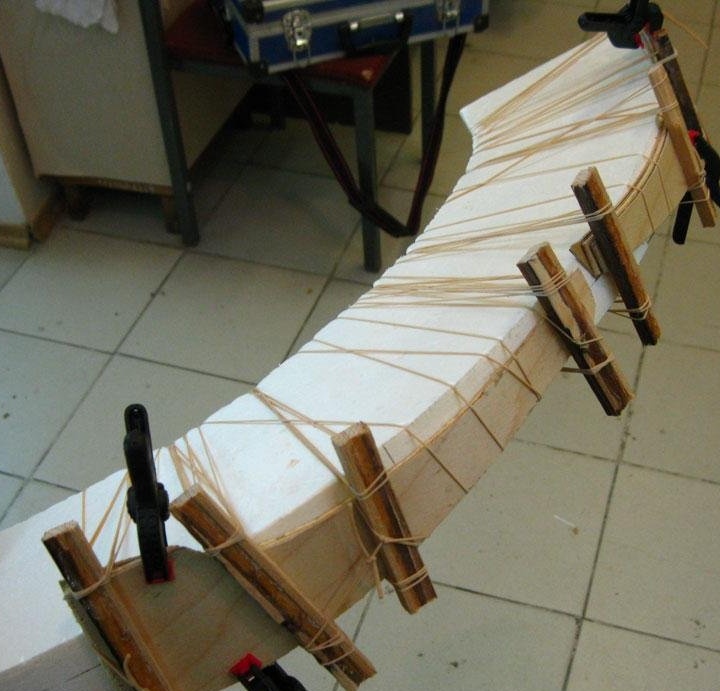
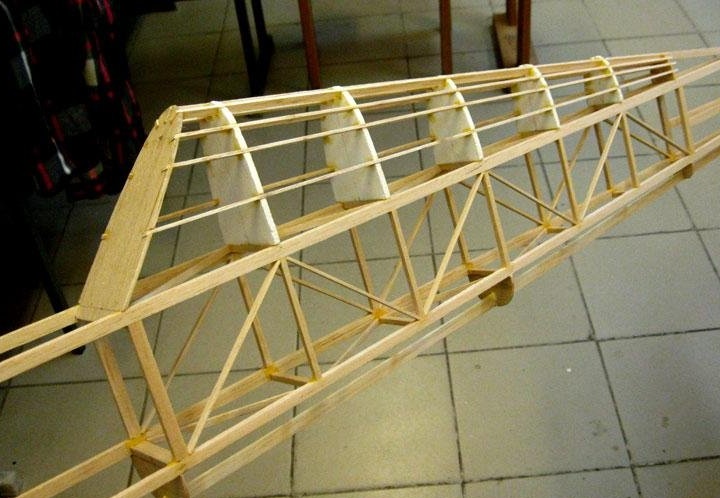


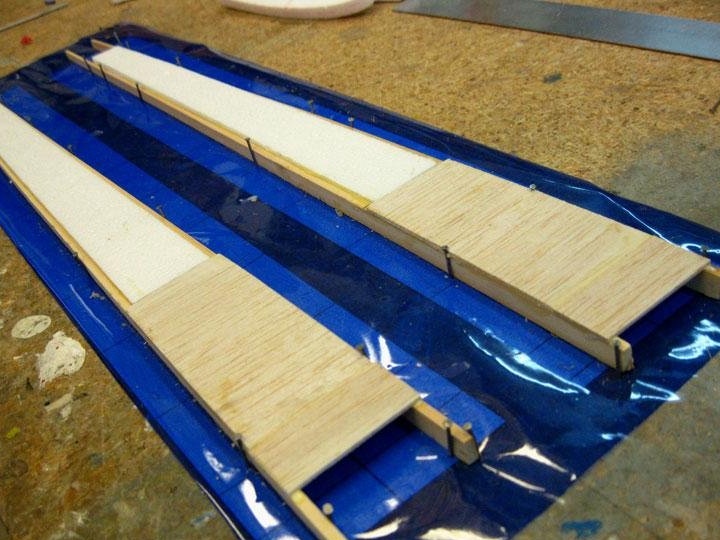
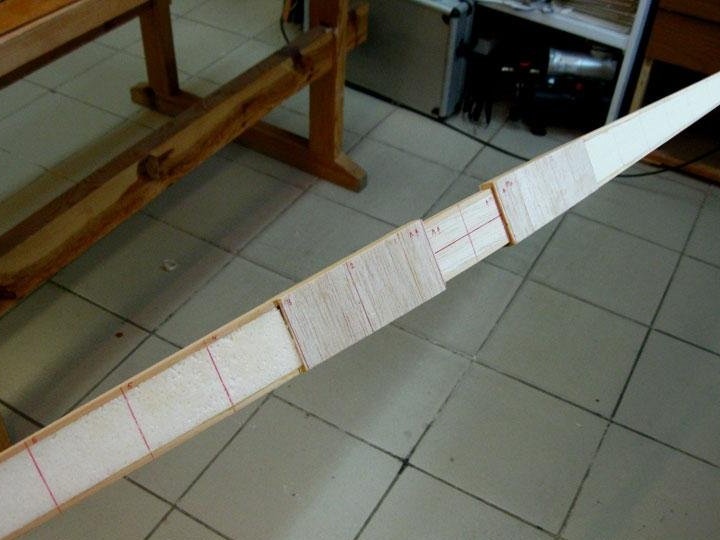
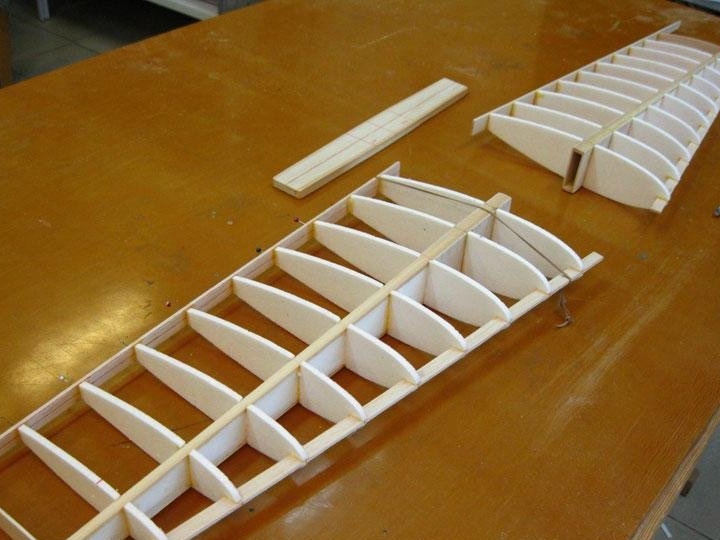
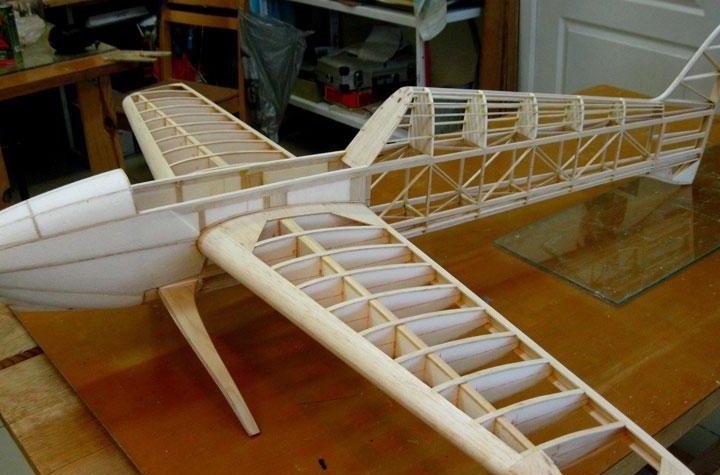
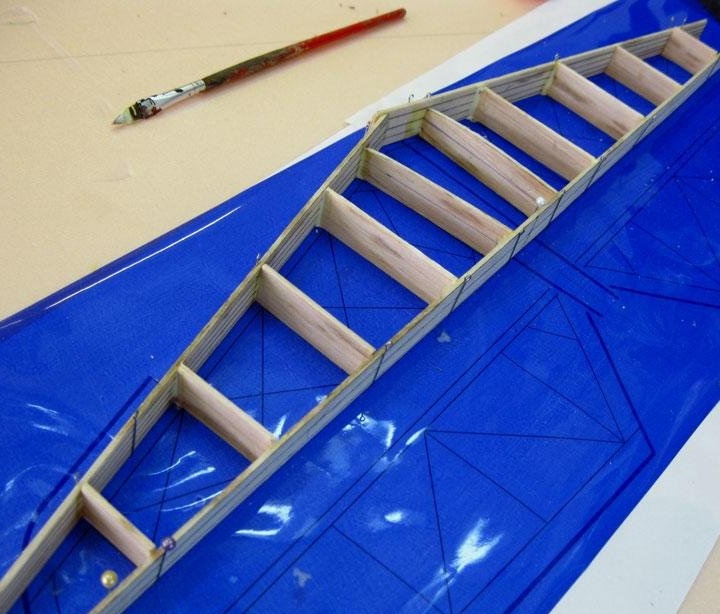
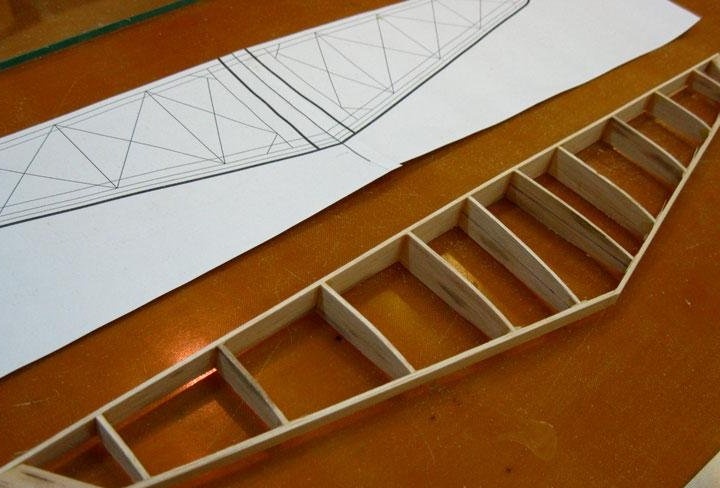
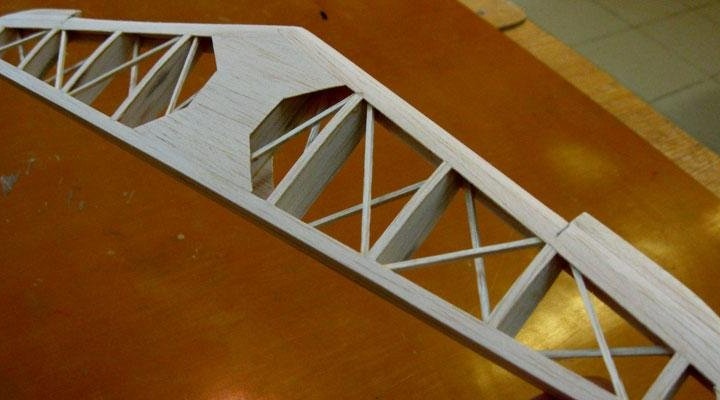
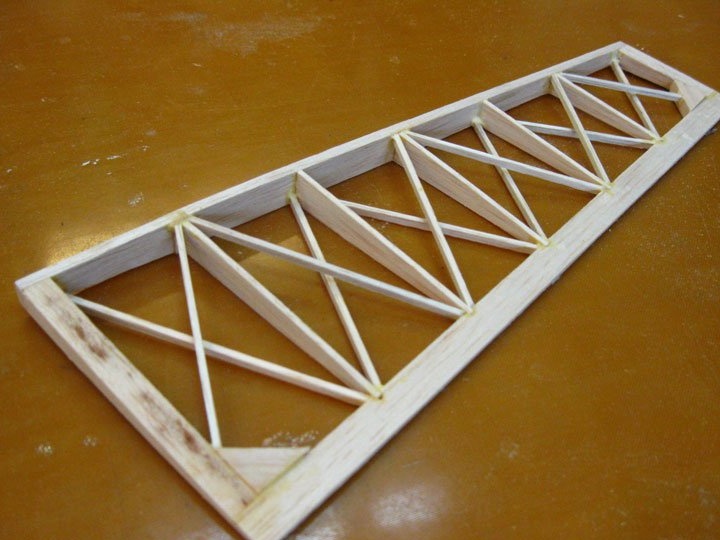
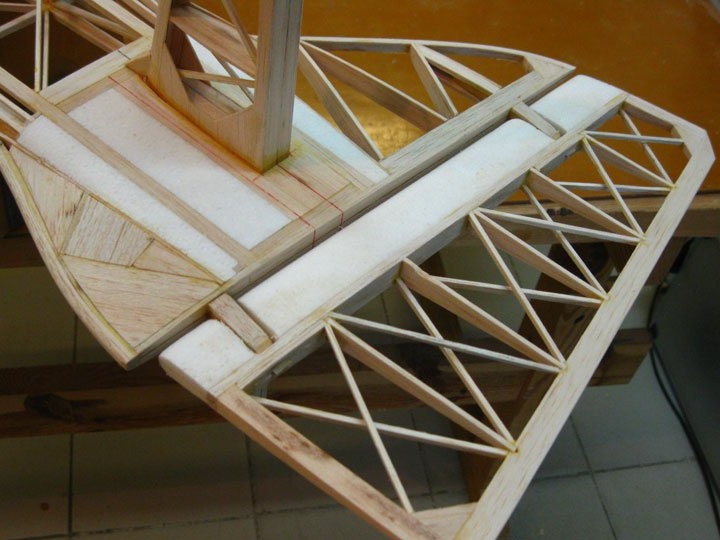
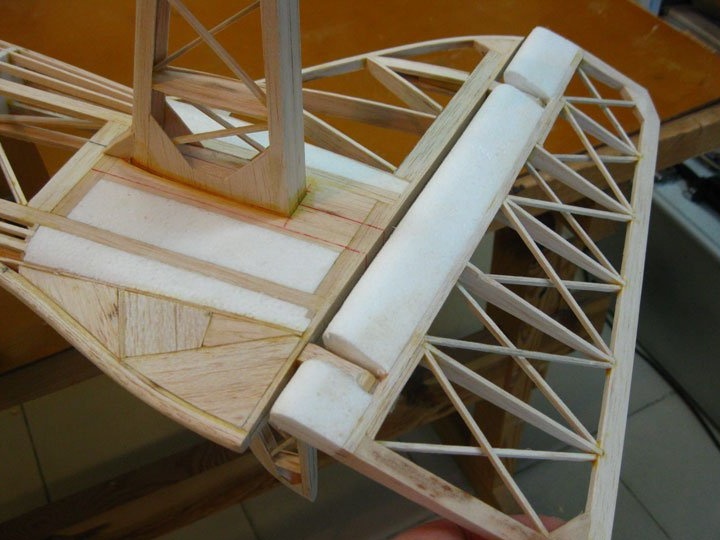
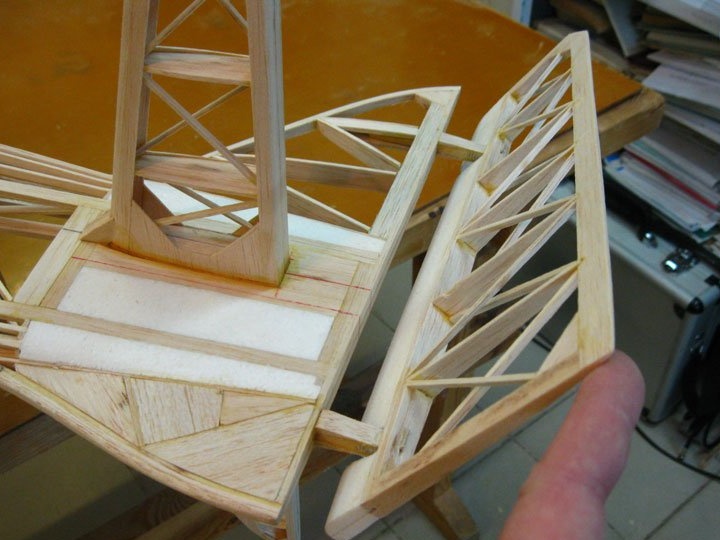
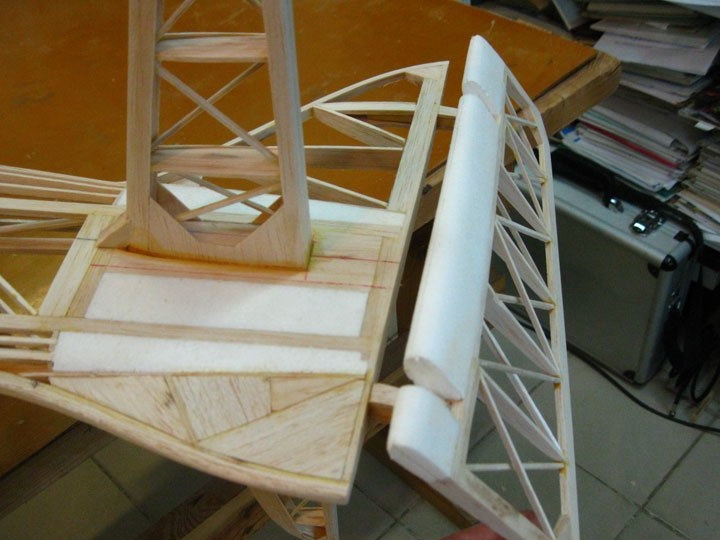
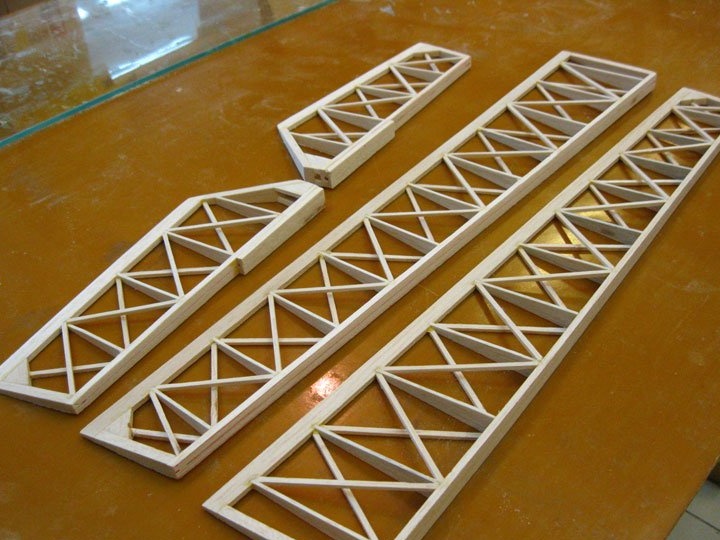
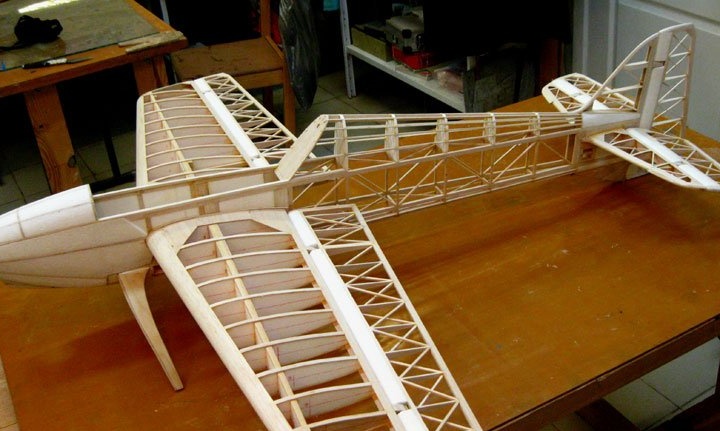
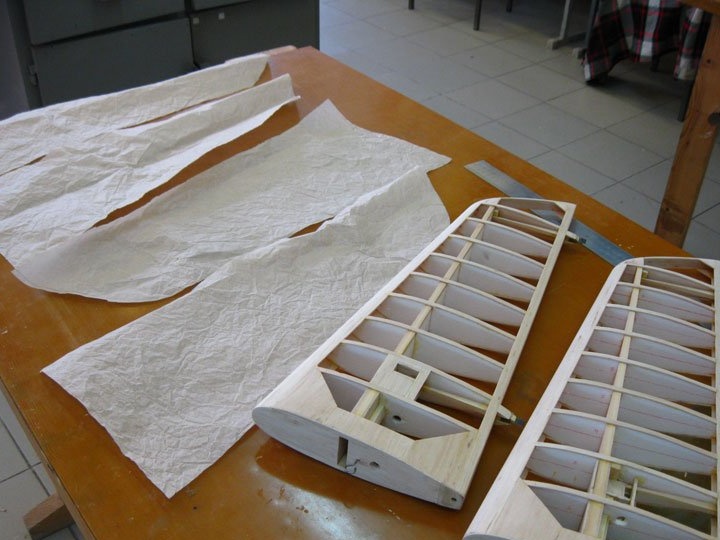
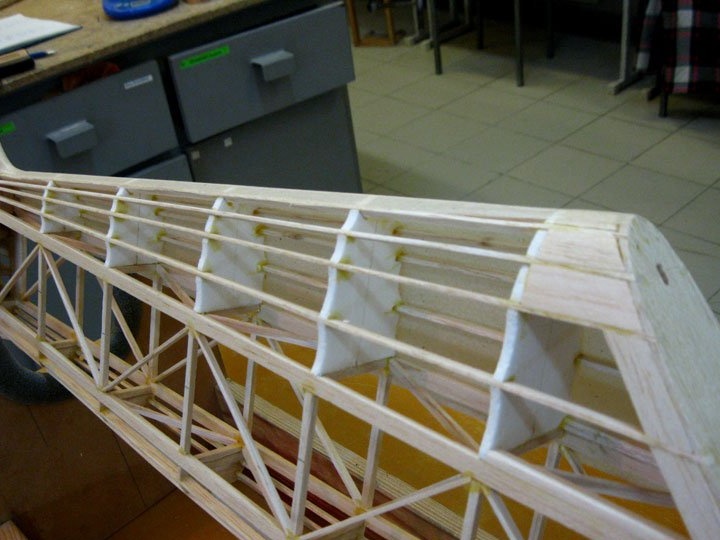
The work on creating wings begins.
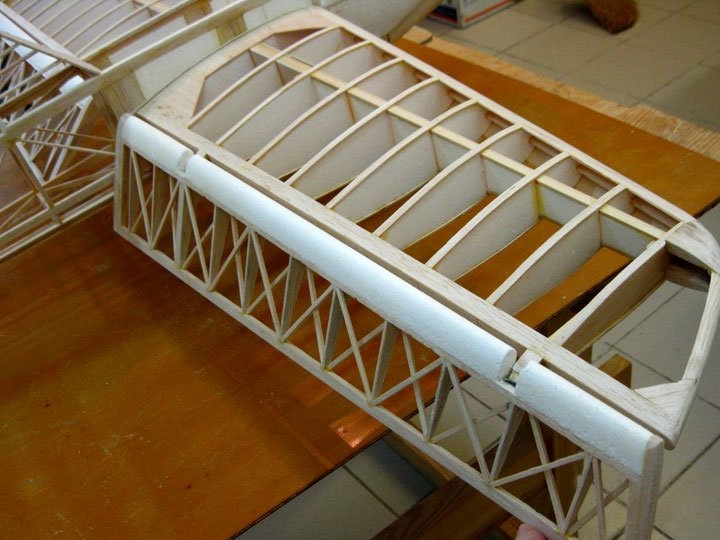
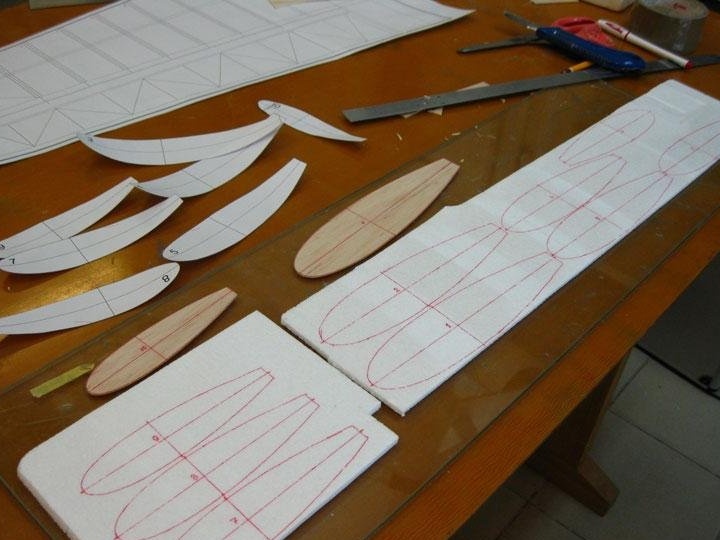
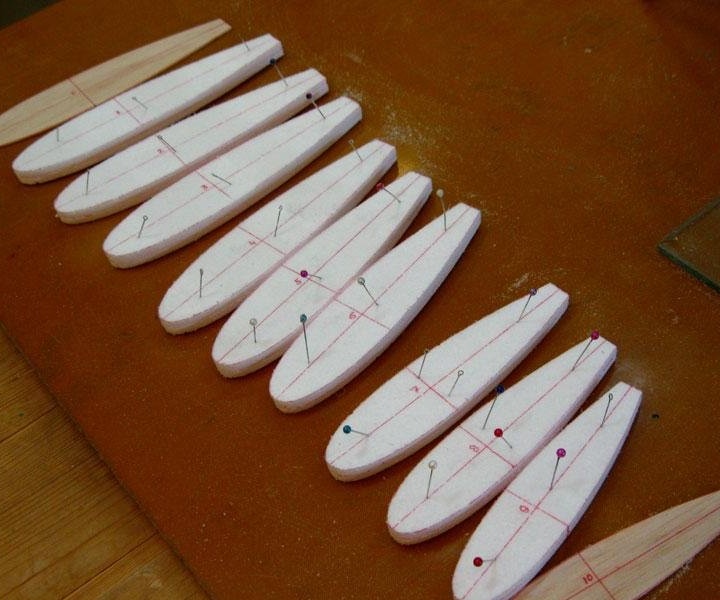
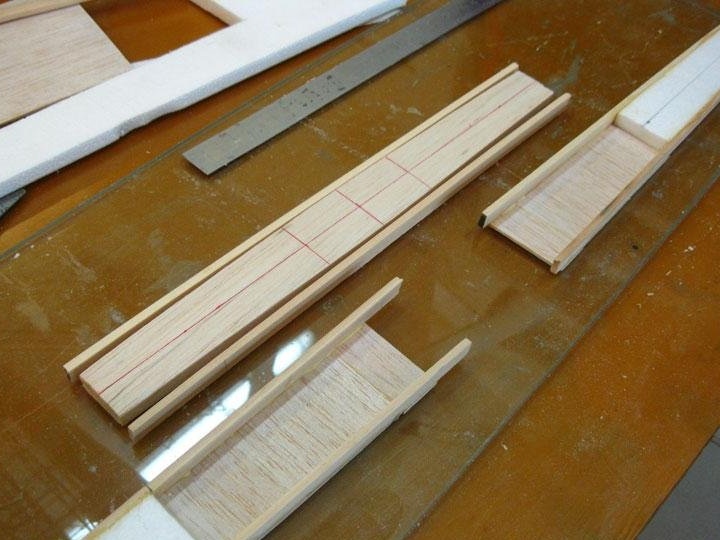


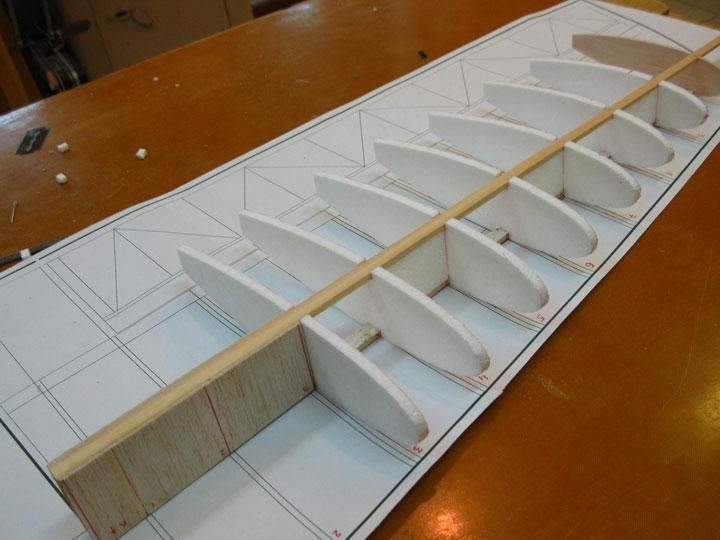

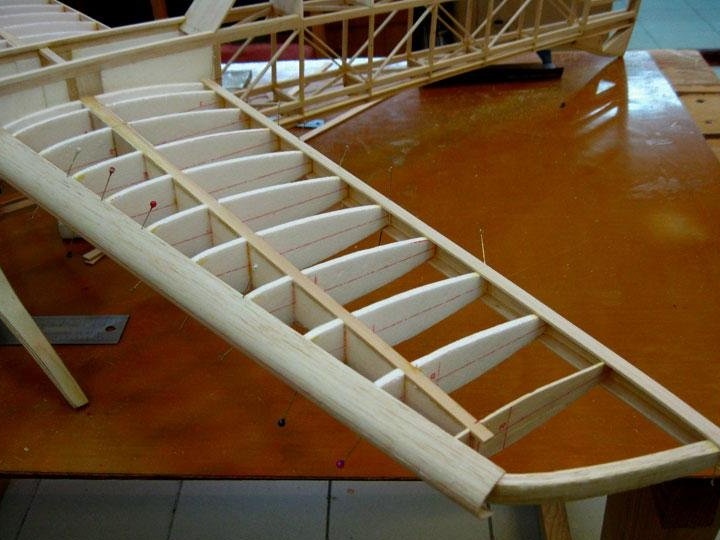
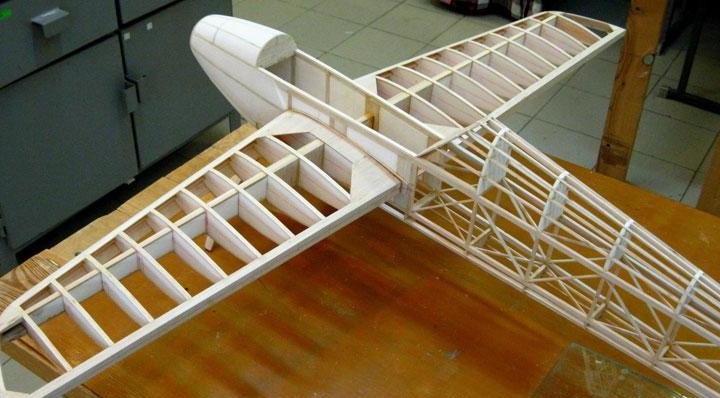
The wing profile is non-standard, it is similar to Nasa profiles, and to E-474, and also to profiles of cordless aerobatic models too.
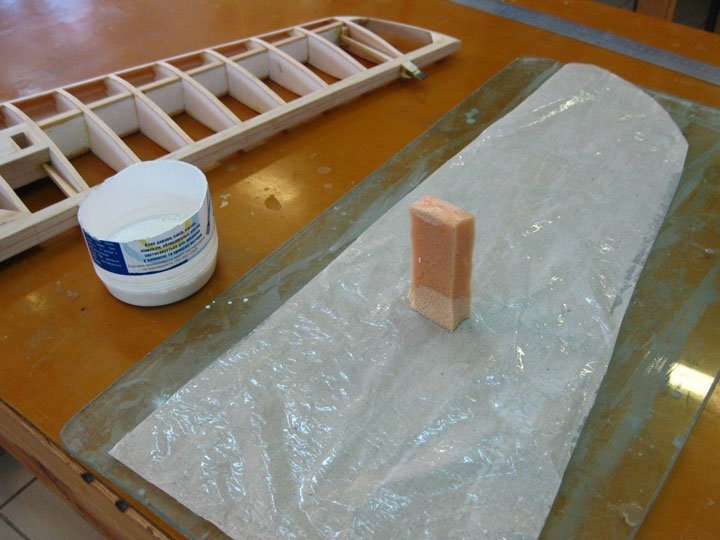
Ribs are marked and installed.
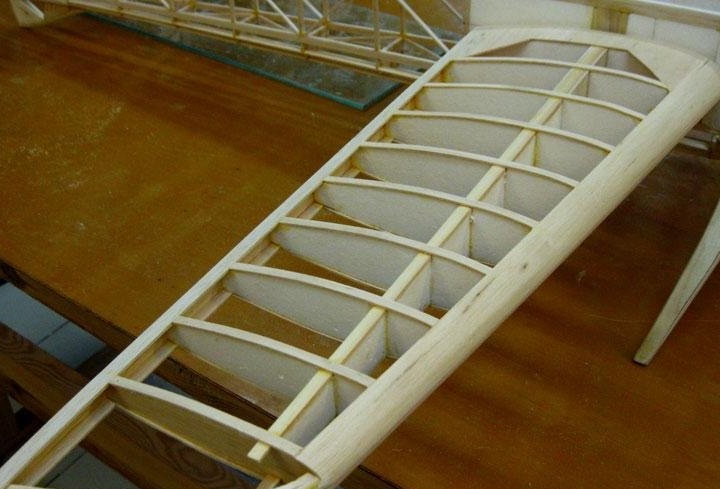
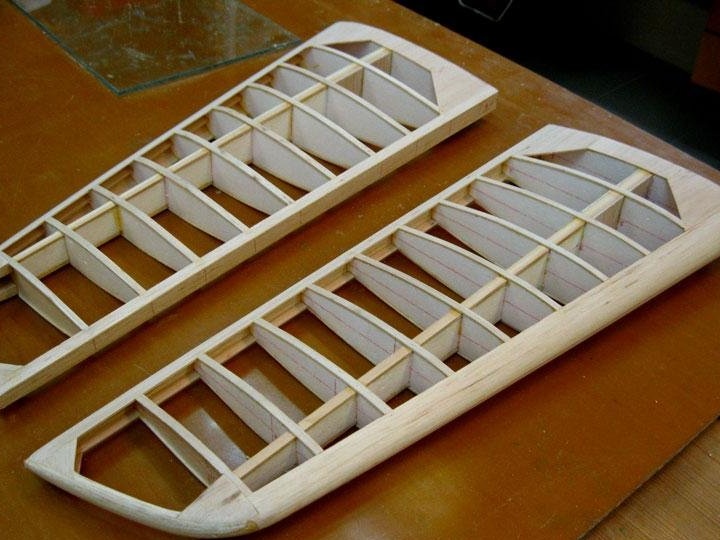
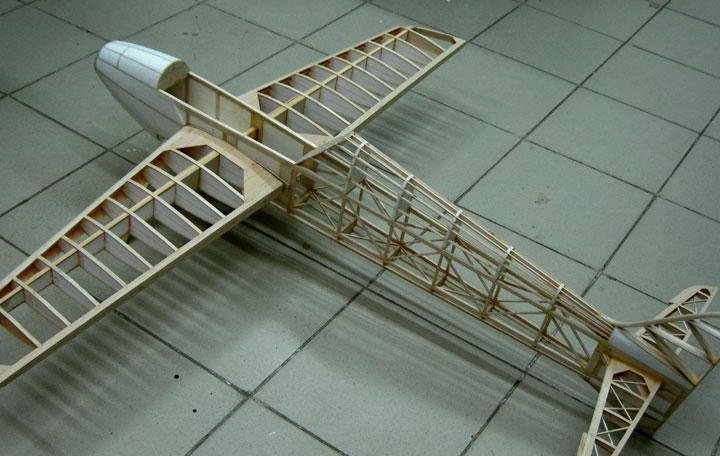
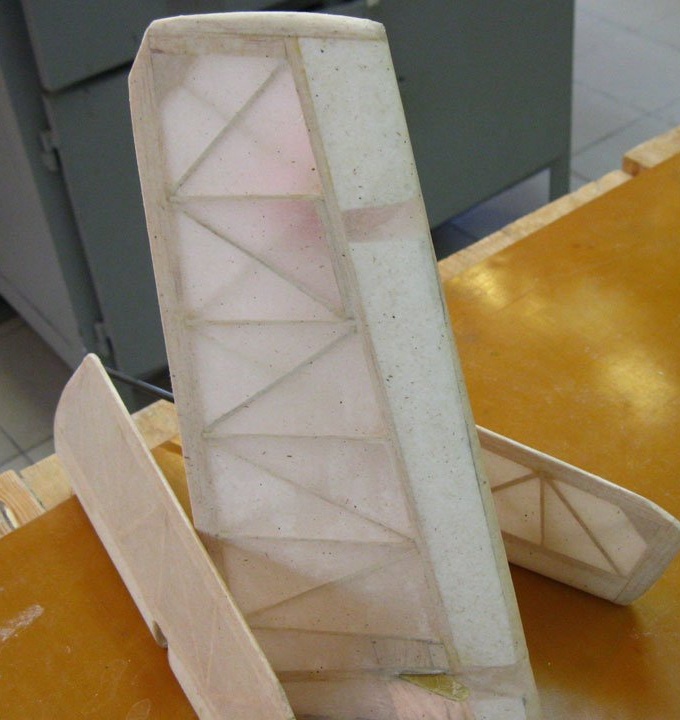
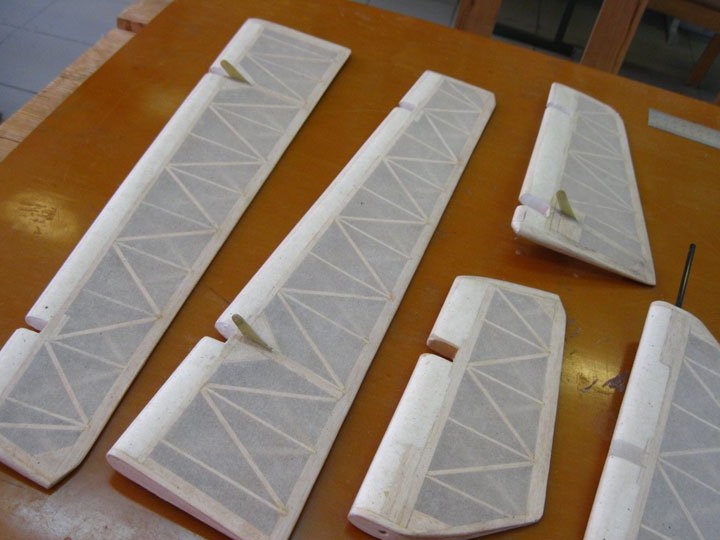
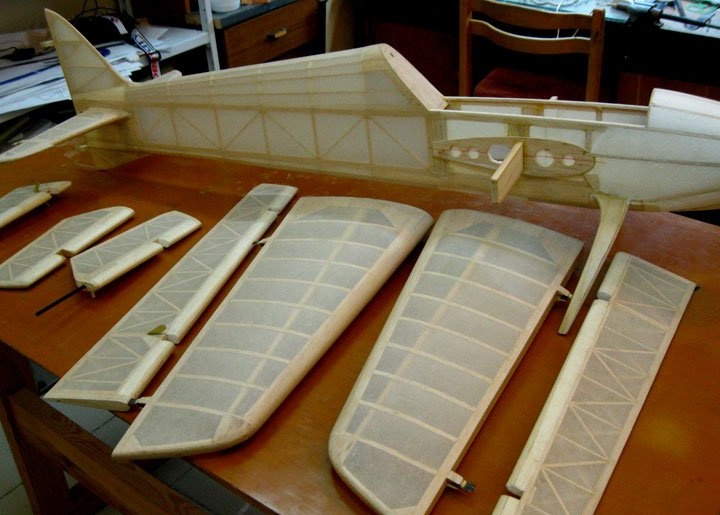
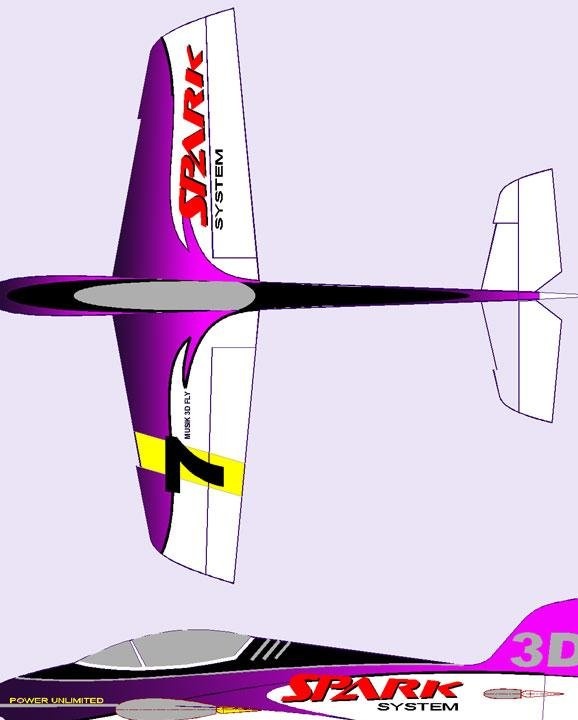
Wings are ready
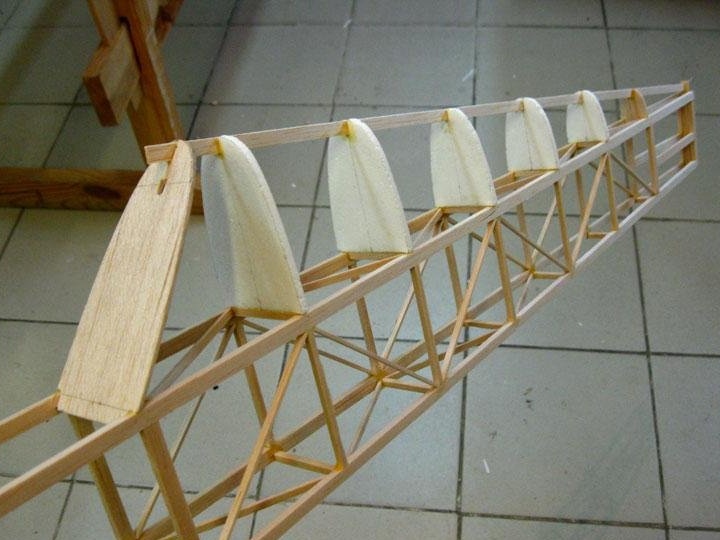
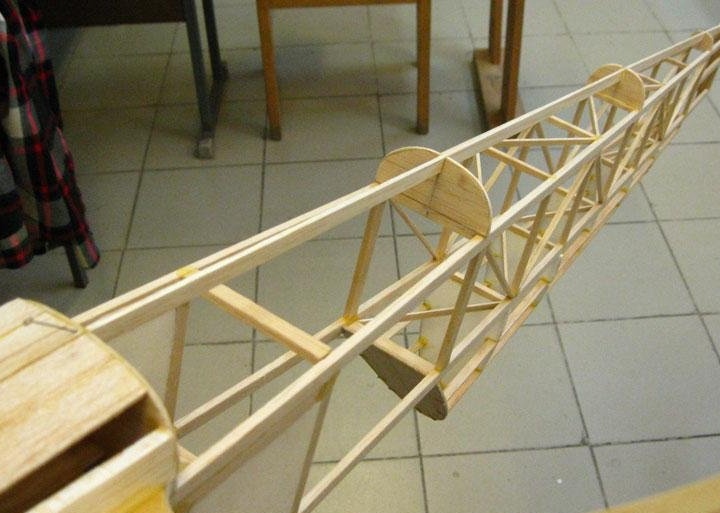
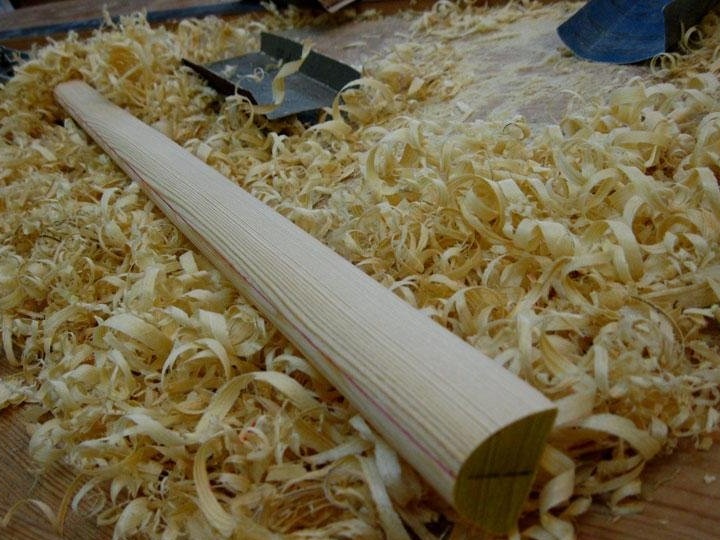
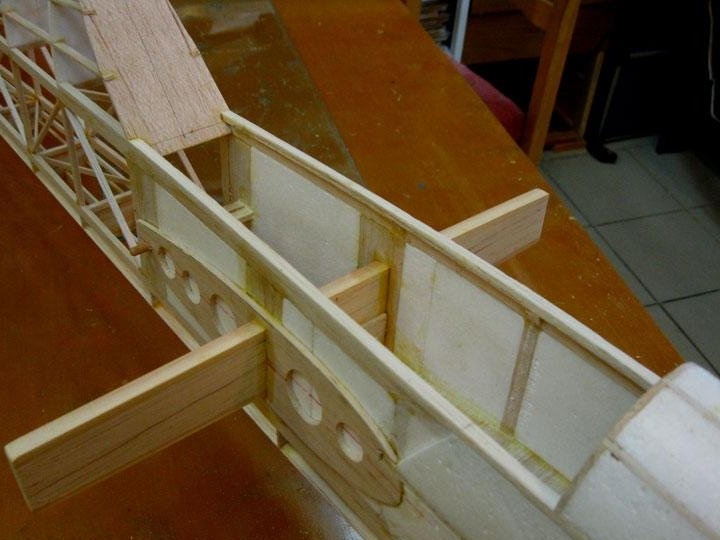
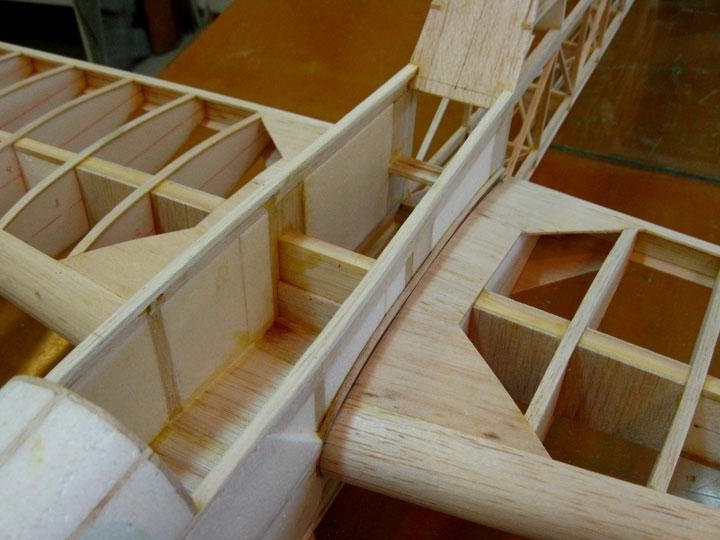
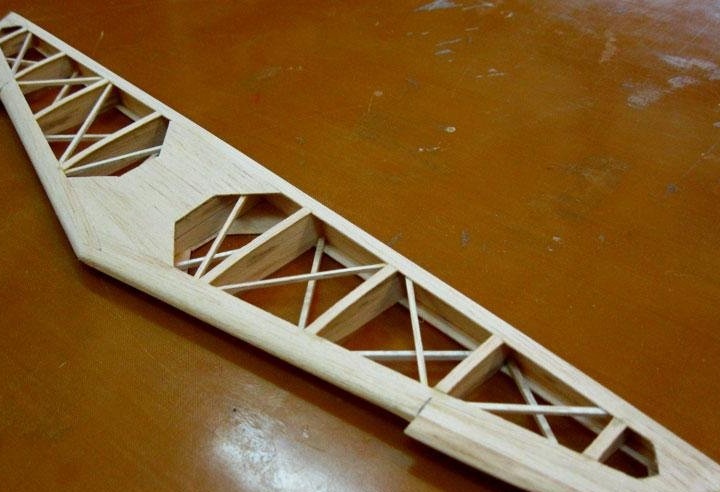
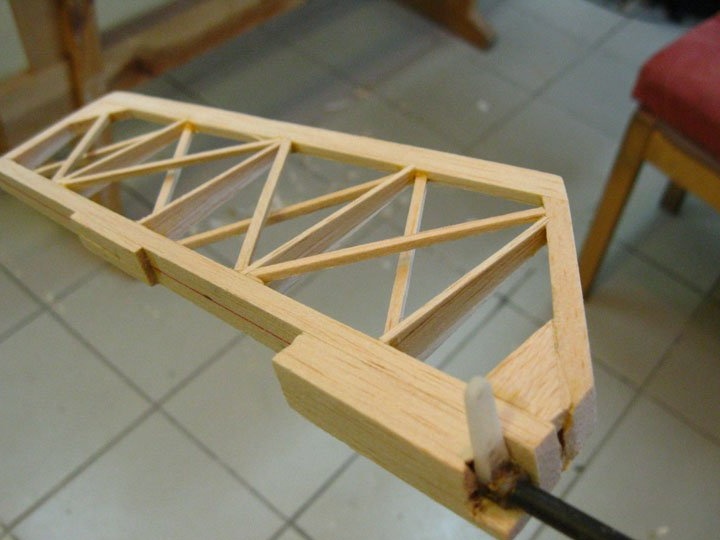
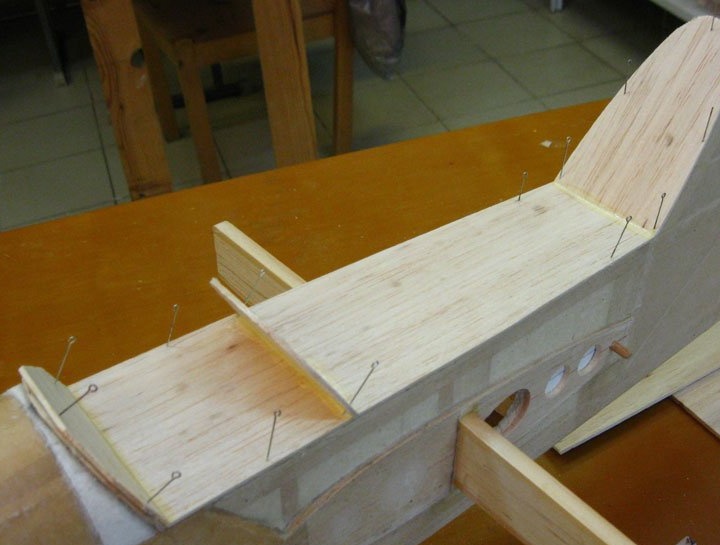
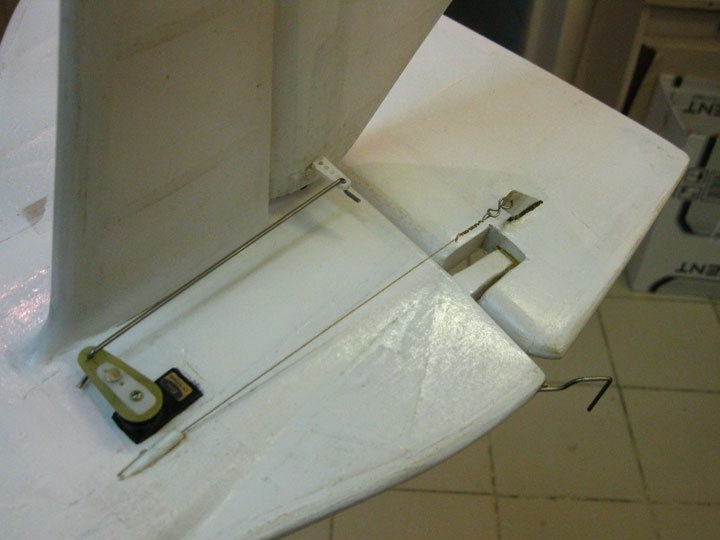
The author proceeds to the production of the tail.
The main thing for 3D aerobatics - the tail must be as light as possible.

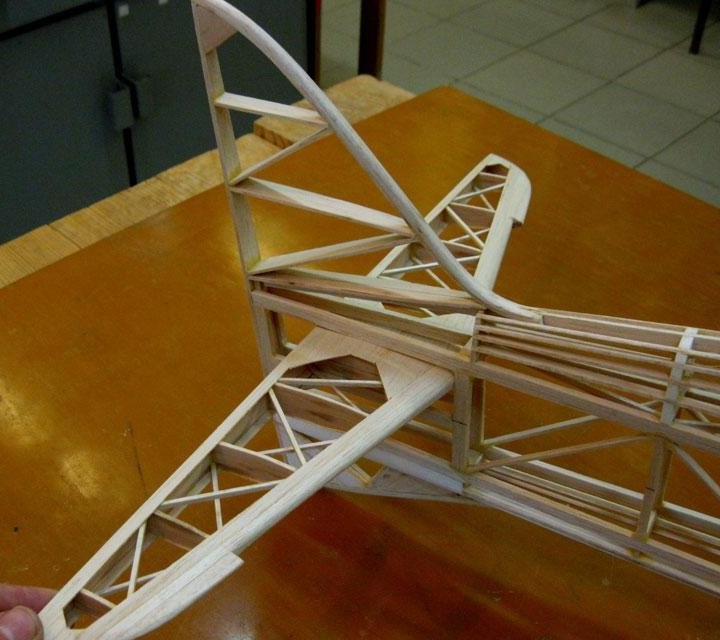

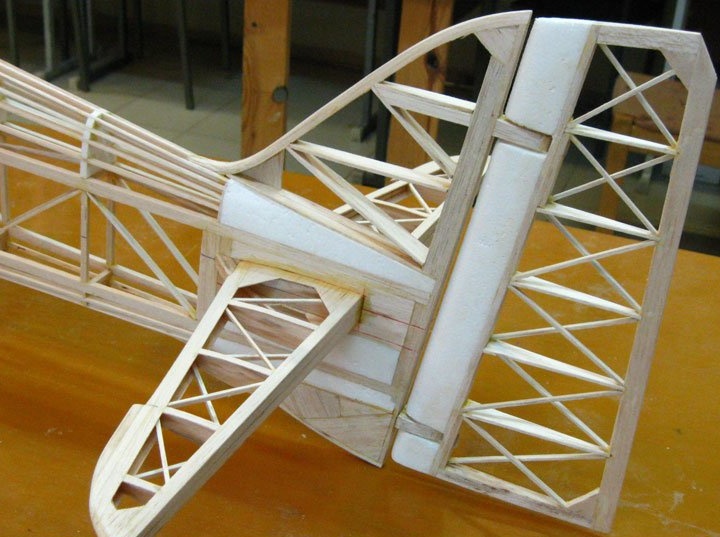
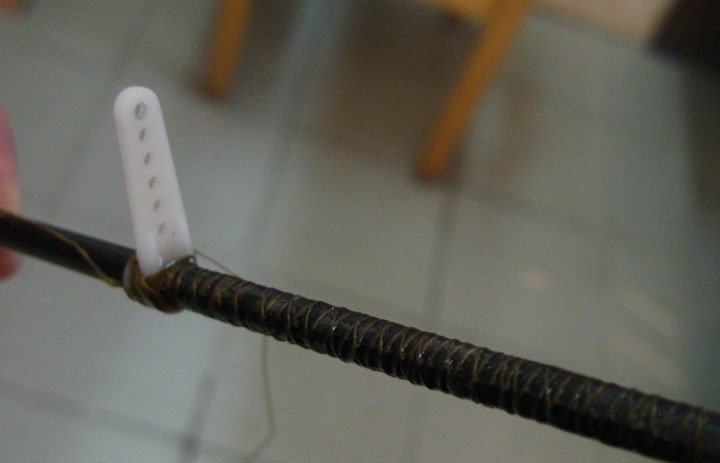
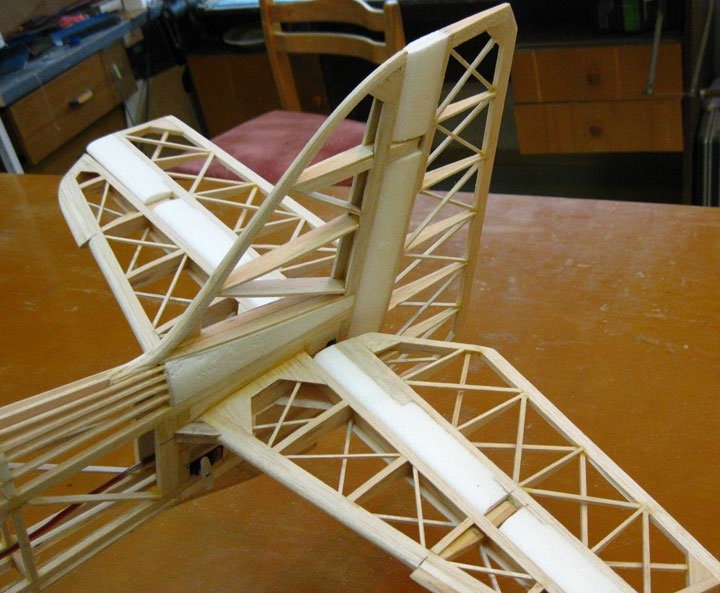
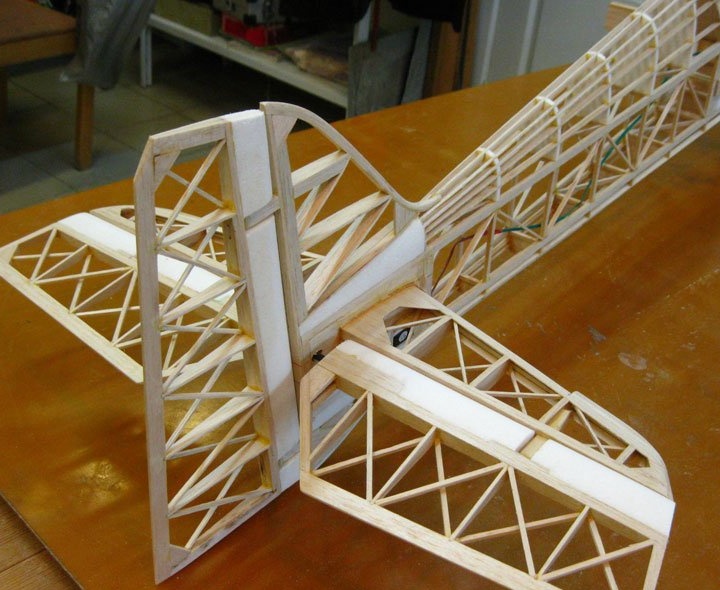
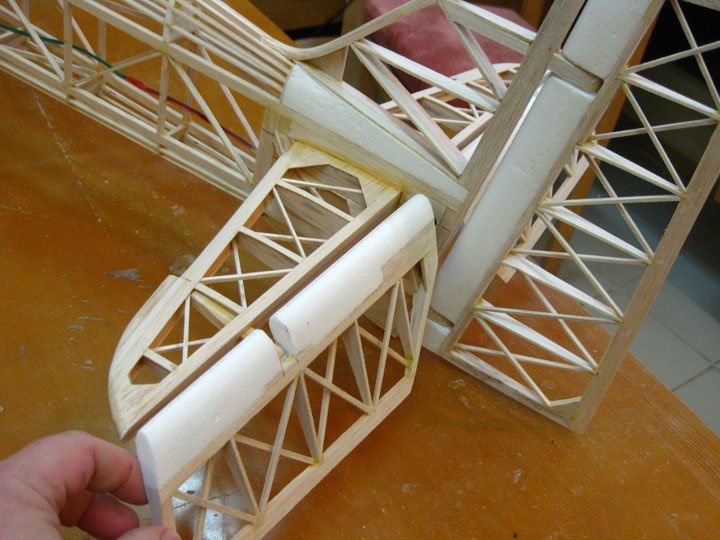

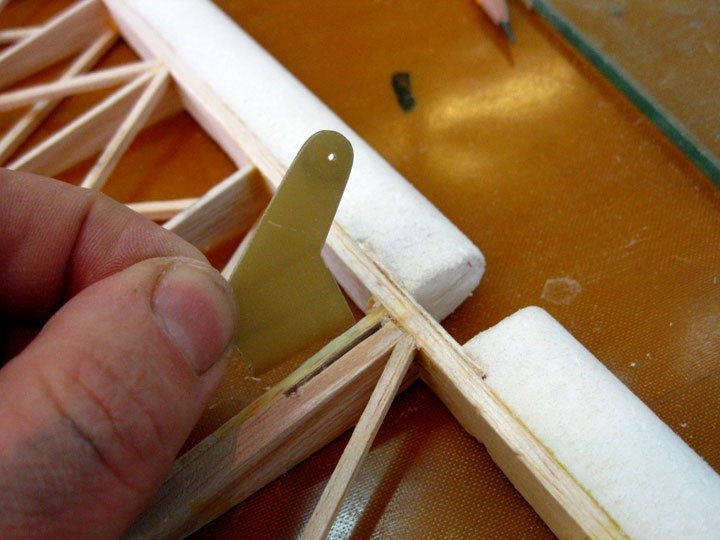
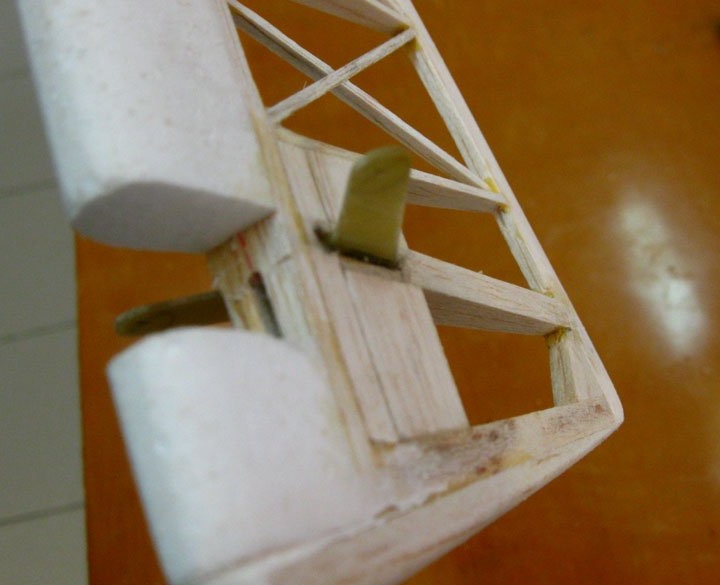
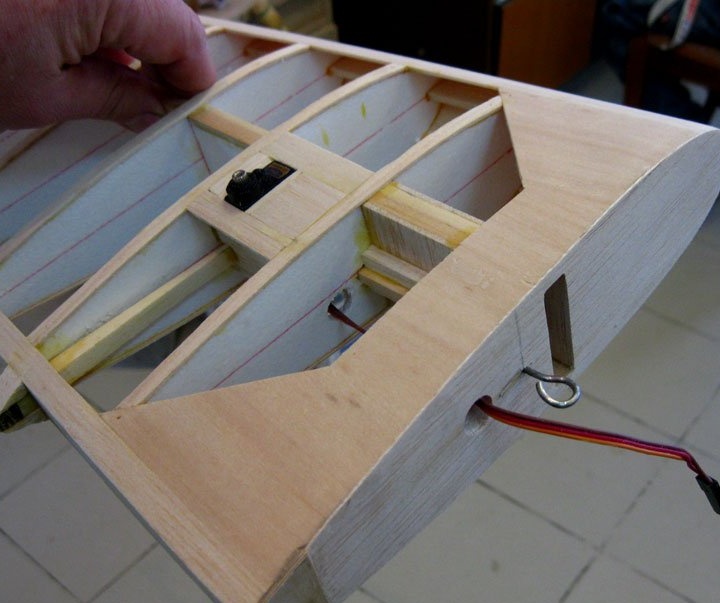
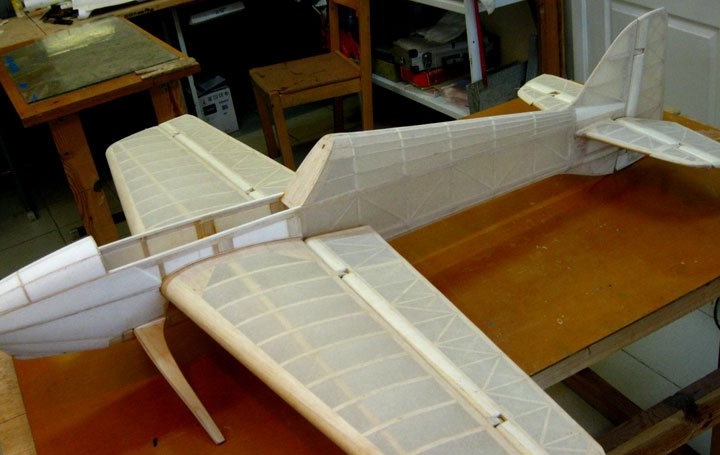
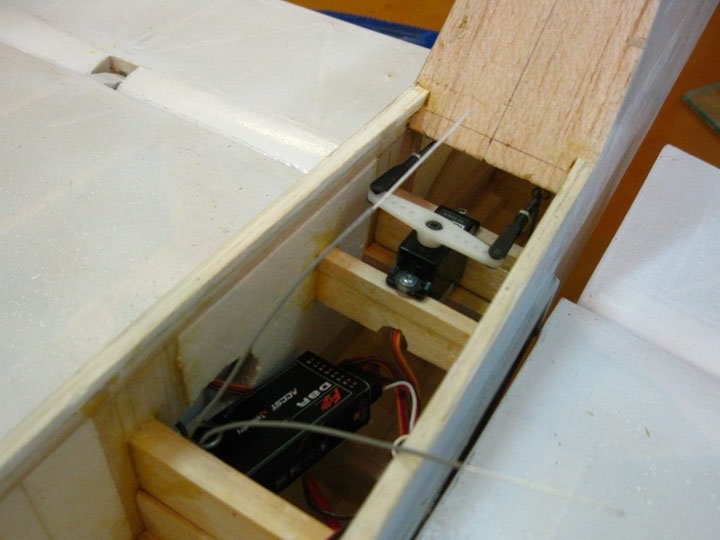
The installation of hogs and a hinge of the control surfaces of the ailerons, rudder and rudder are carried out.
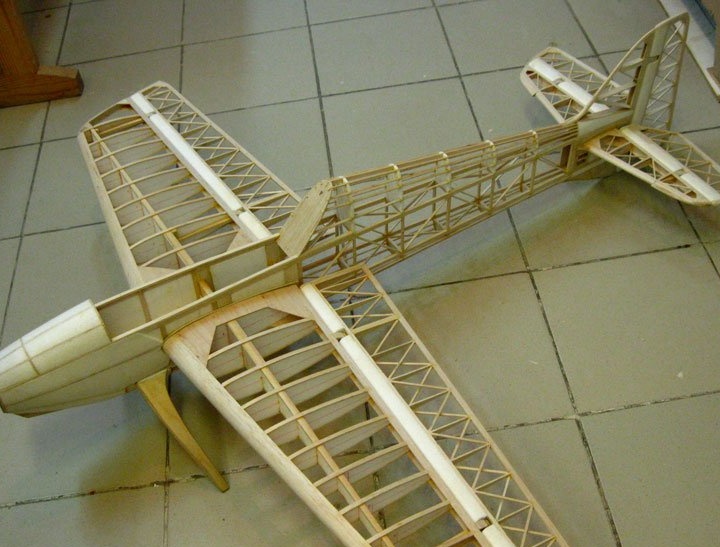


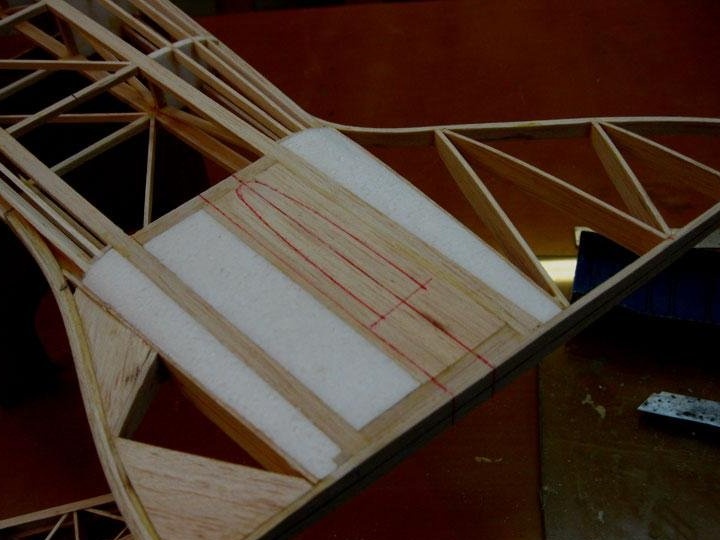
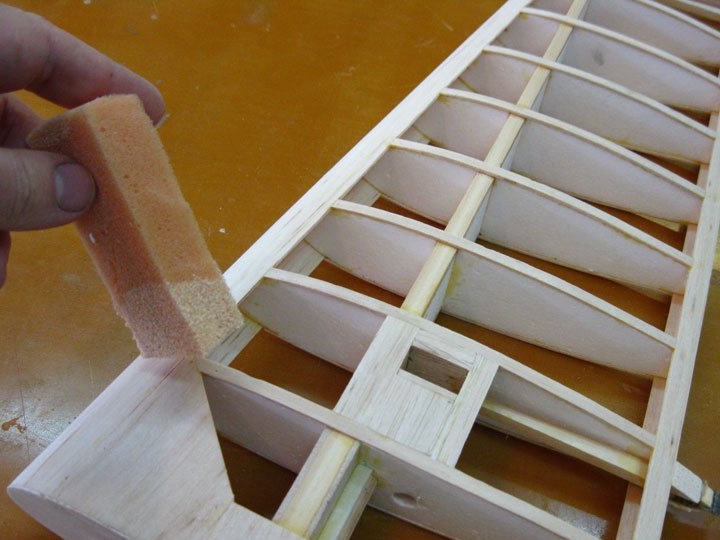
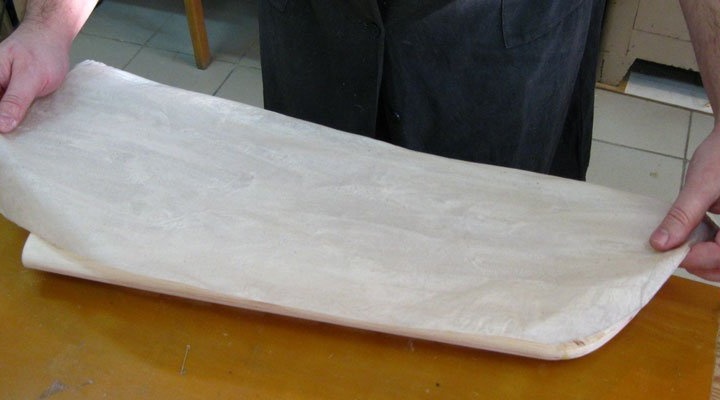
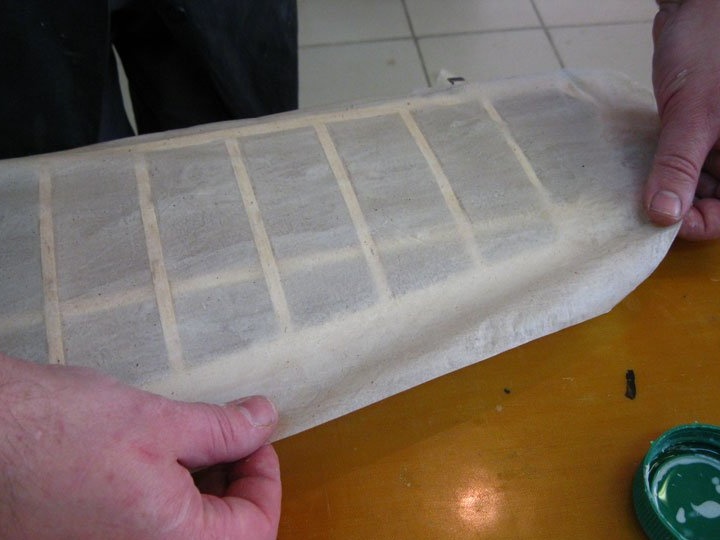
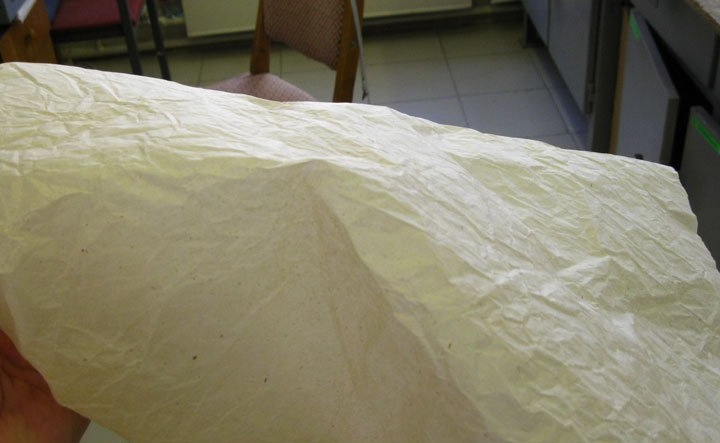
Sheathing the model with balsa and tightening of the wings begins.
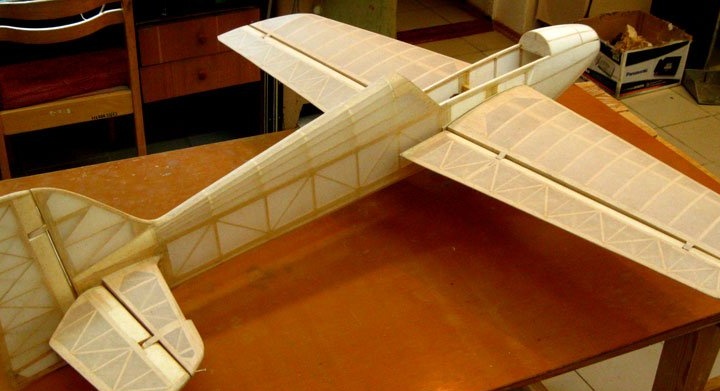
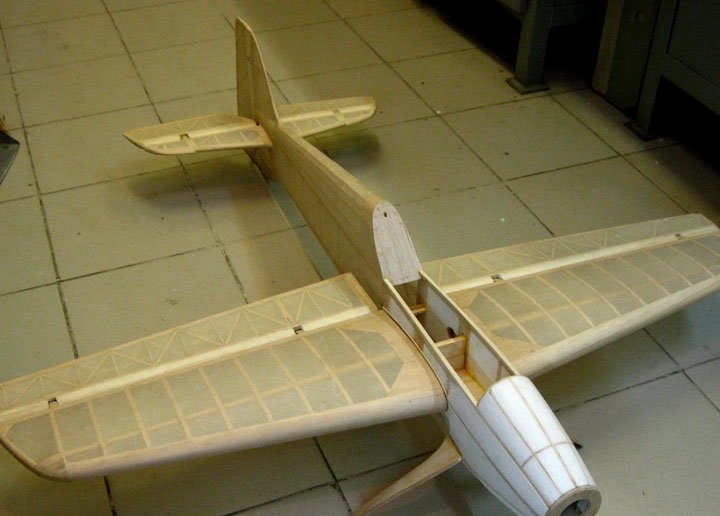
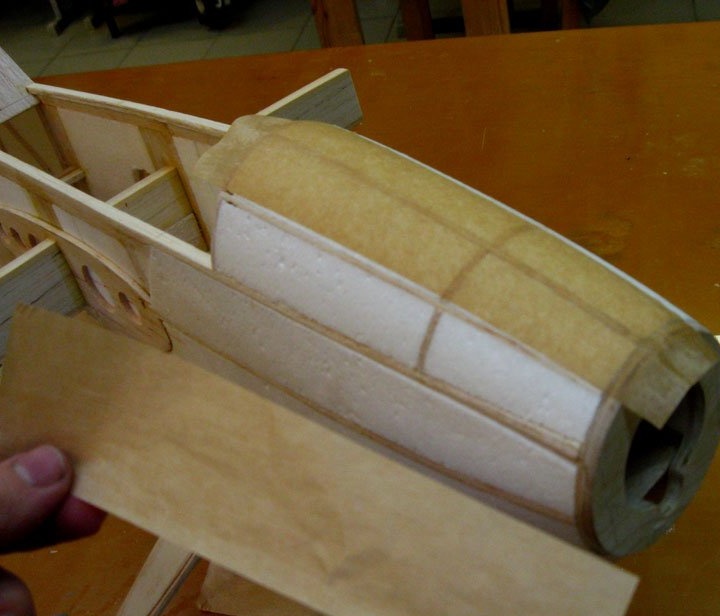

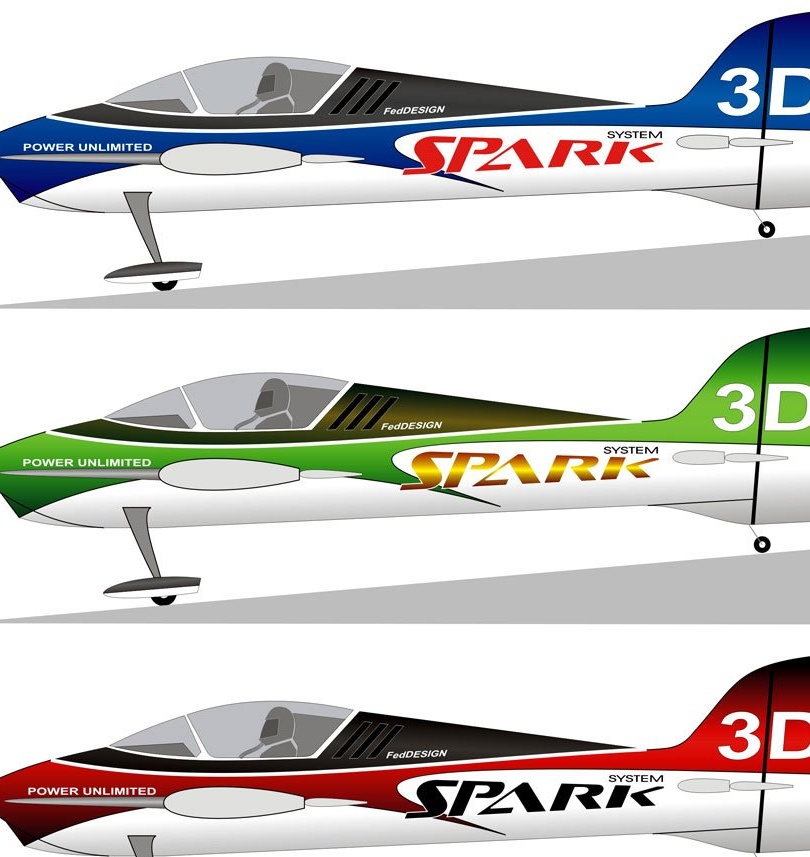
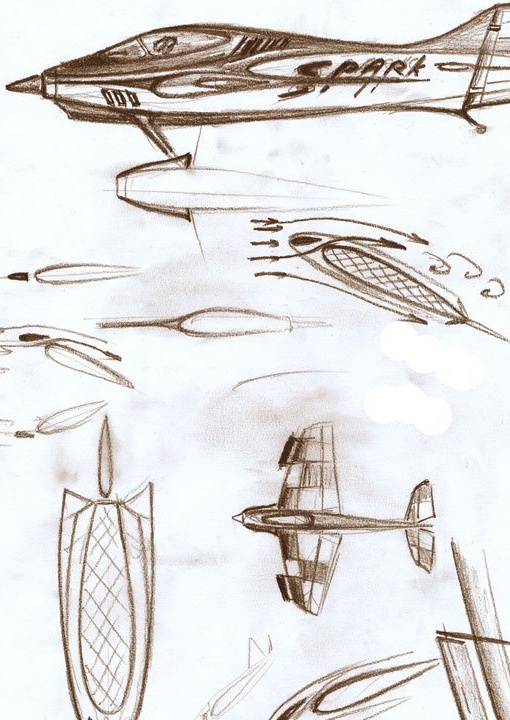
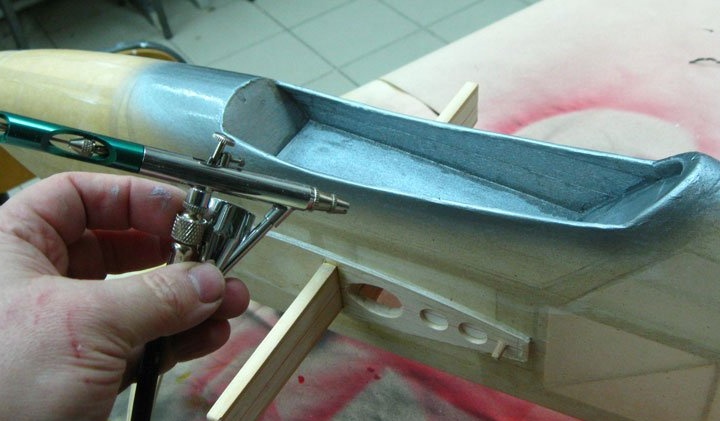
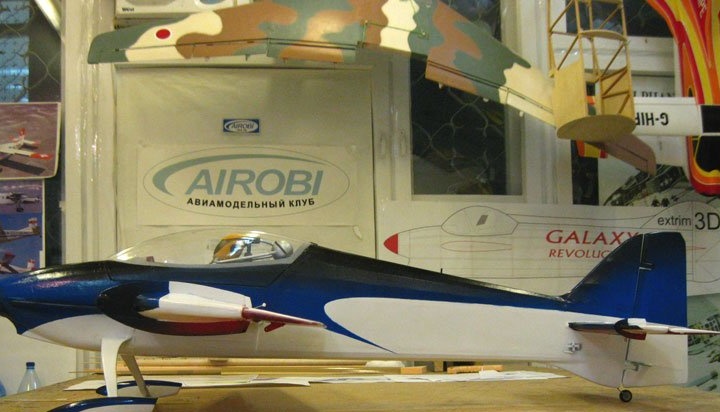
Preparation for painting the model.
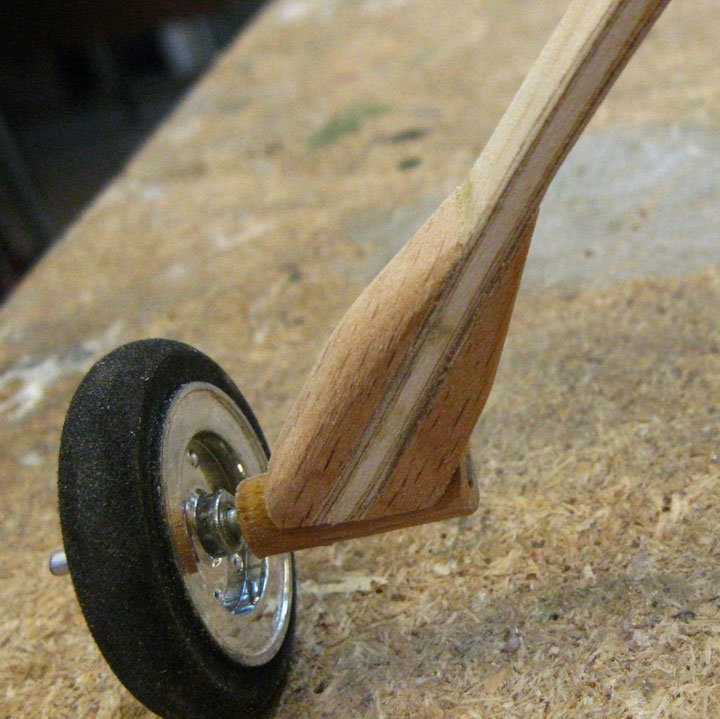
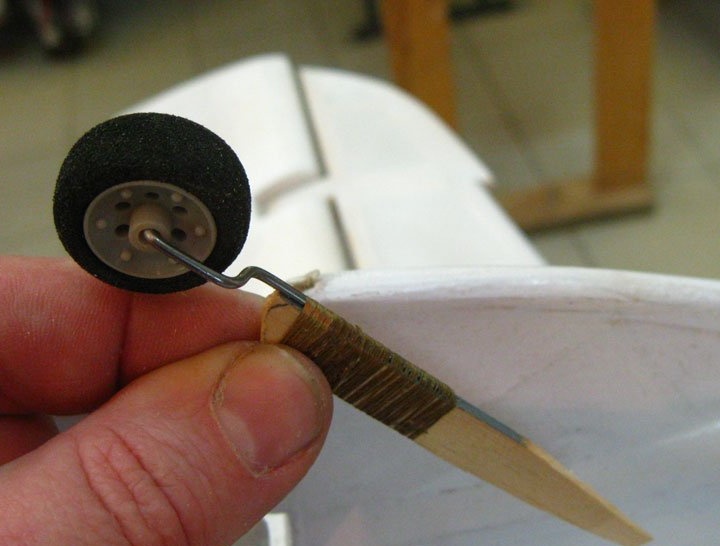
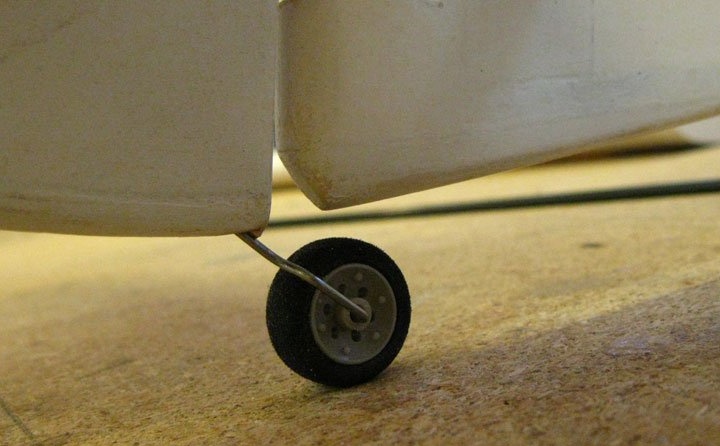
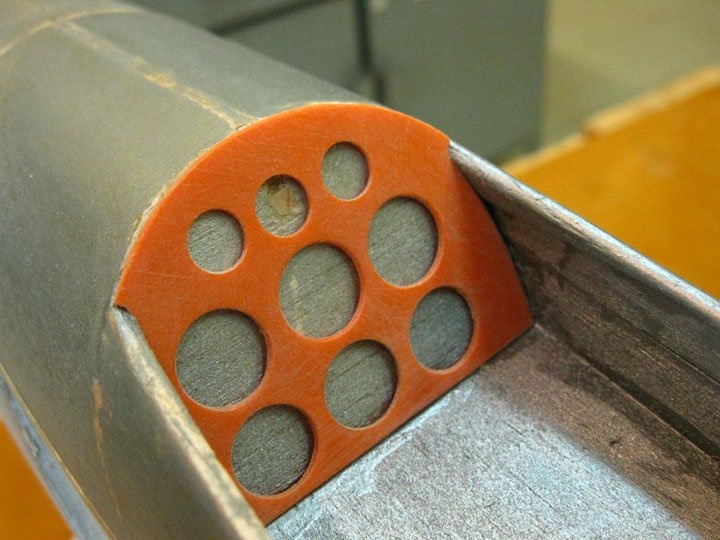
Chassis installation.


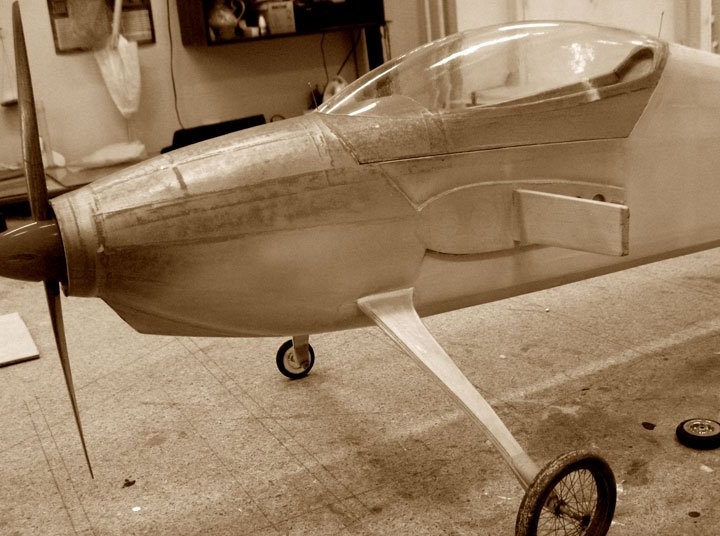
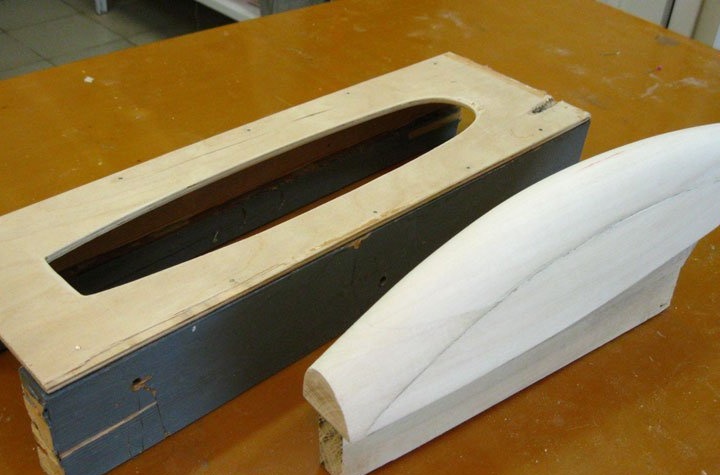
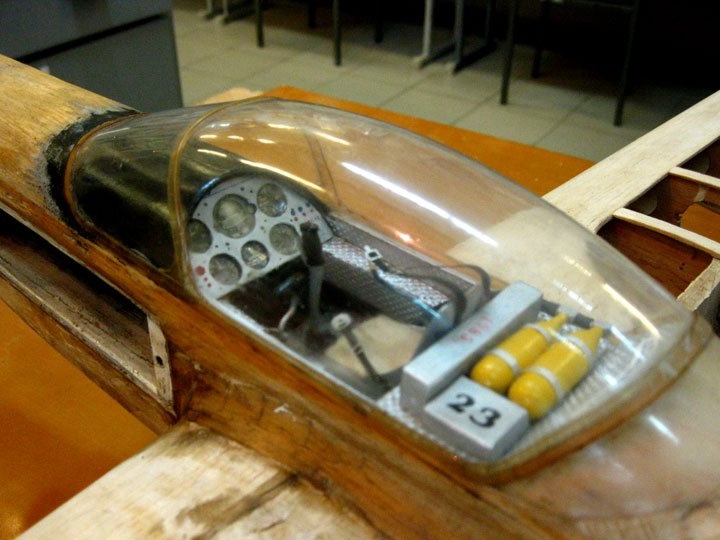
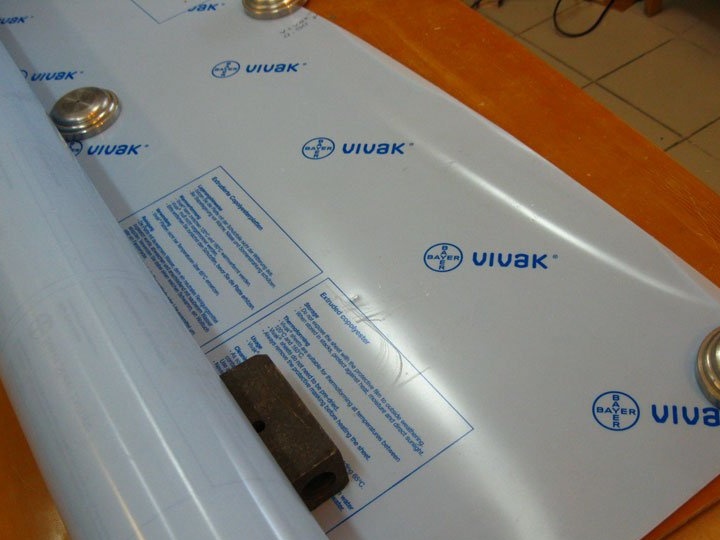
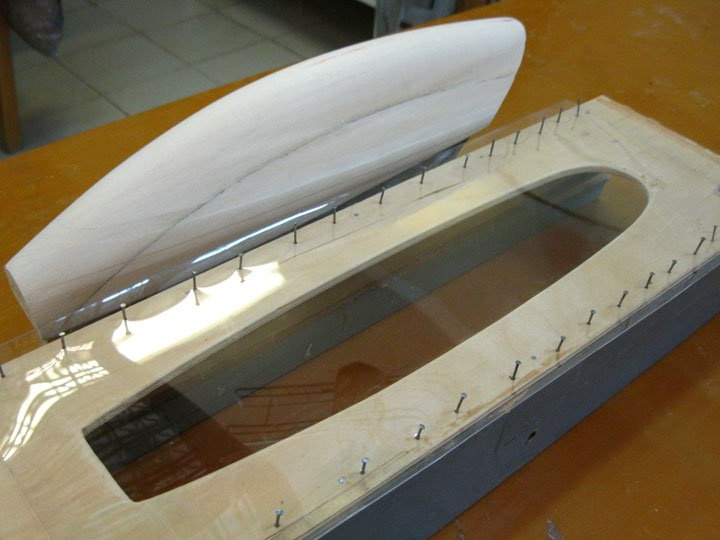
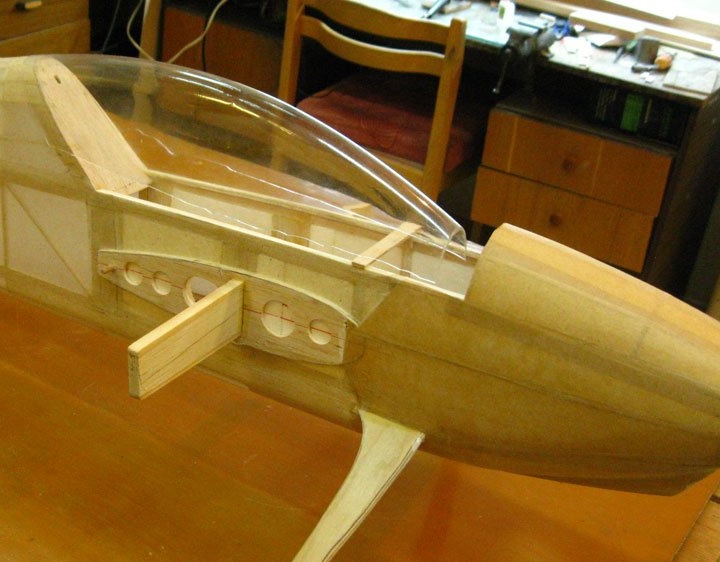
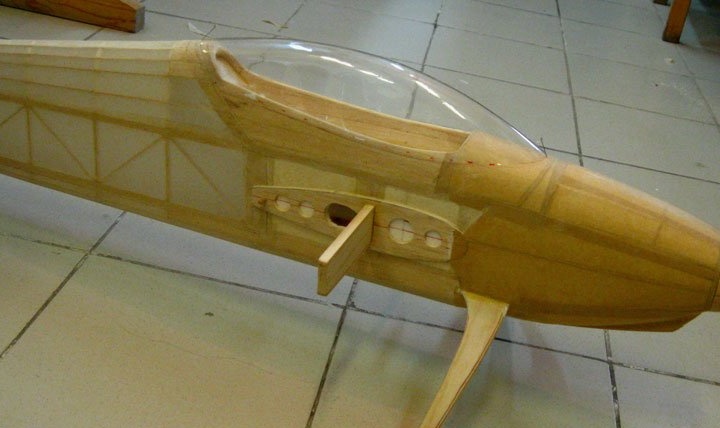
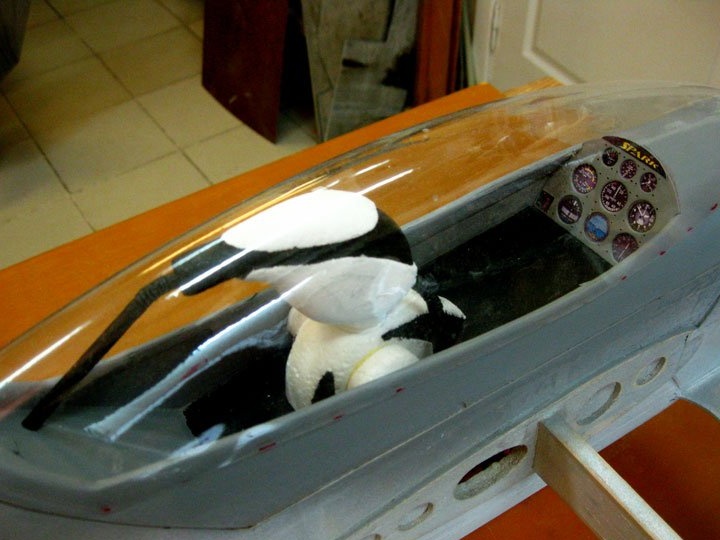
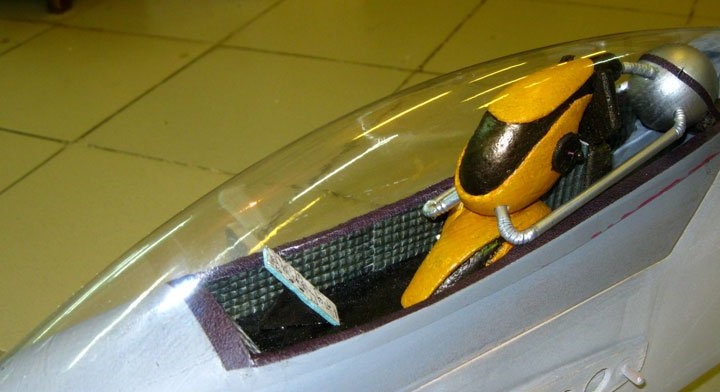
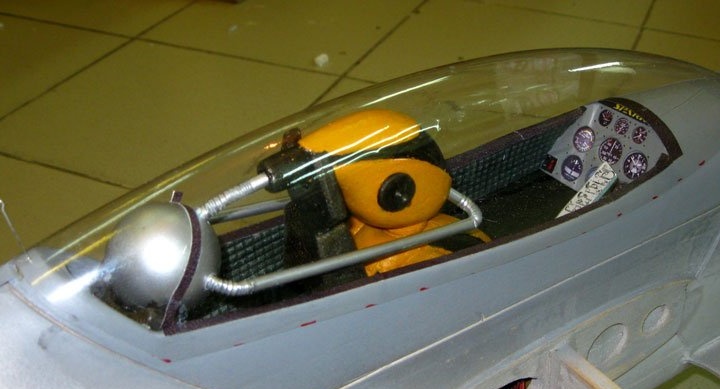
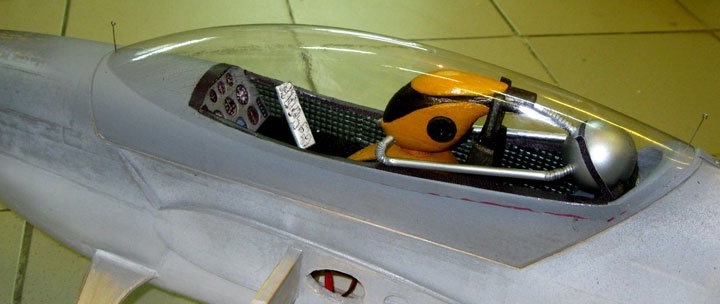
Making a lamp for the cabin.


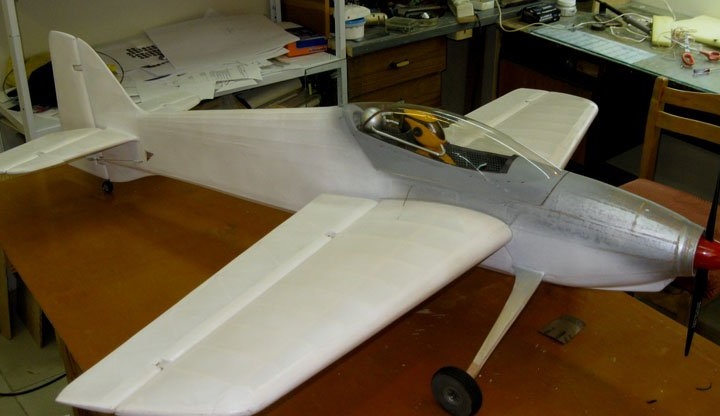
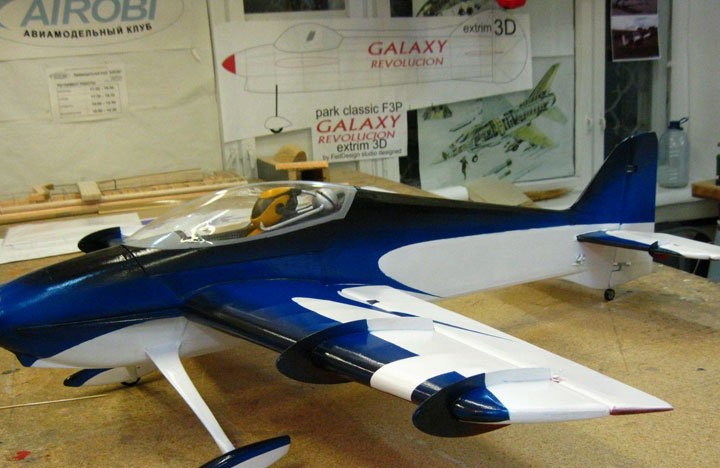
Final assembly and stripping of the model.
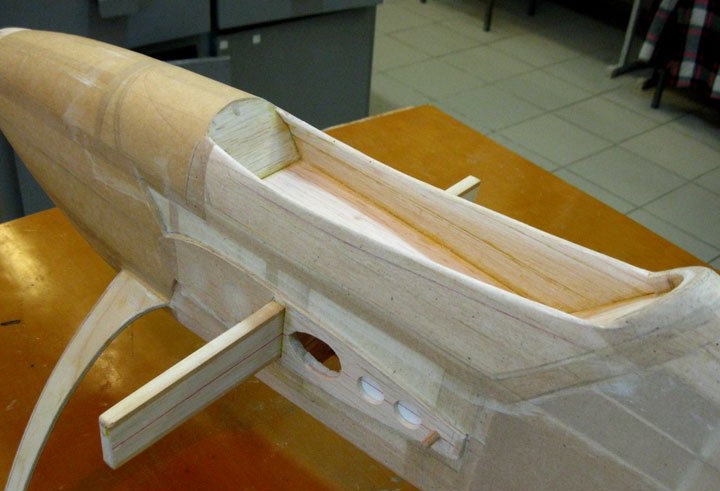
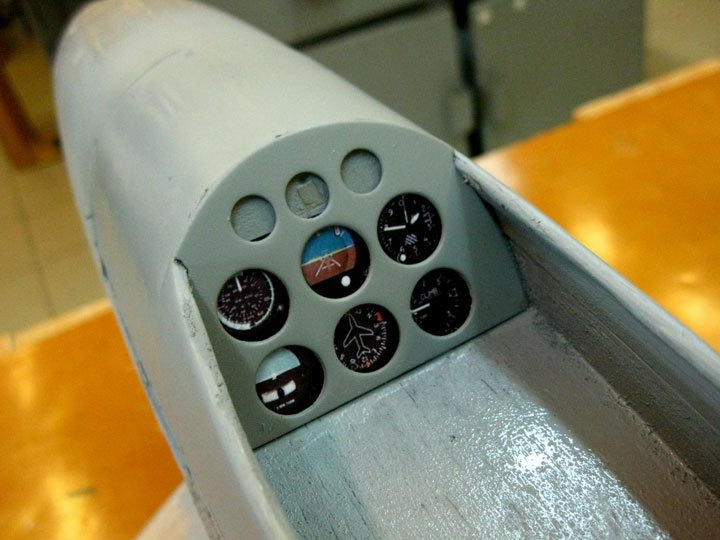
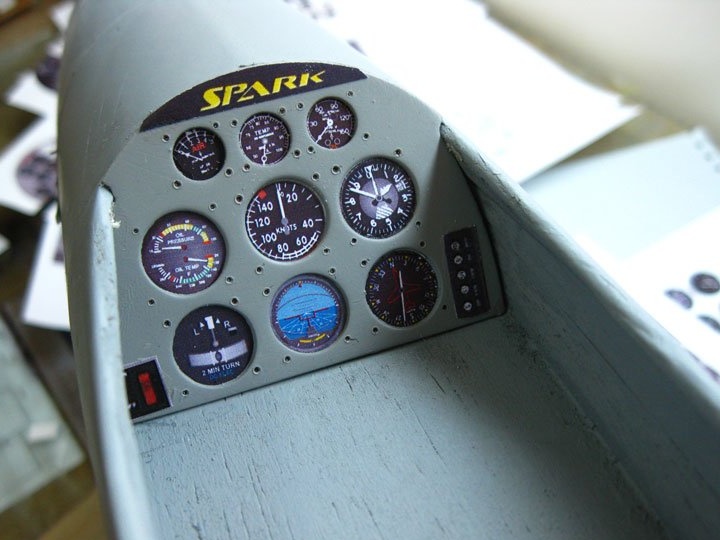
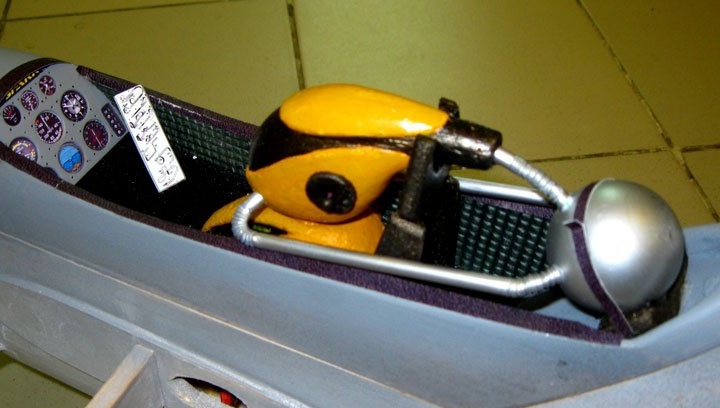
The installation of small parts in the cab is nearing completion.
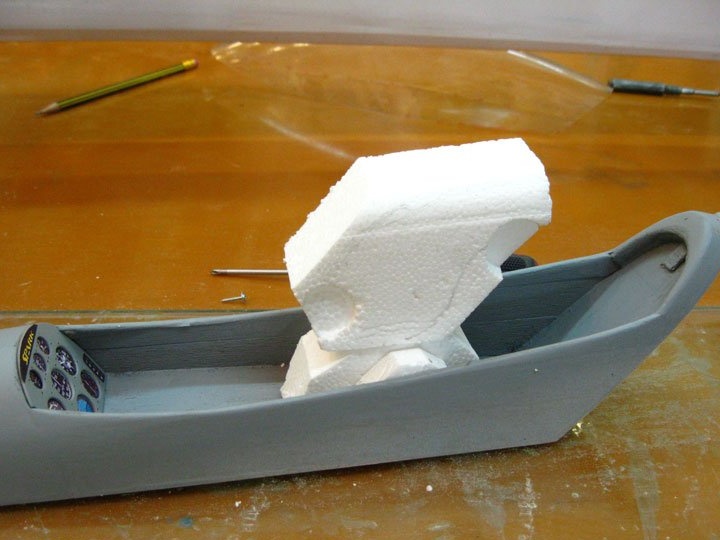
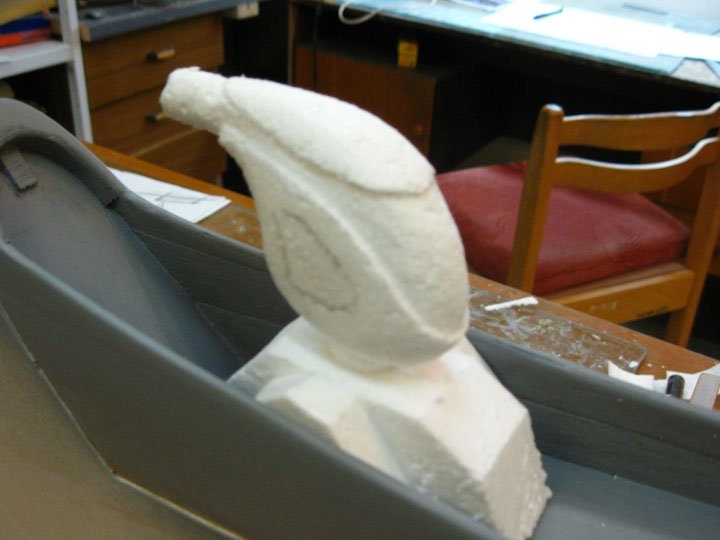
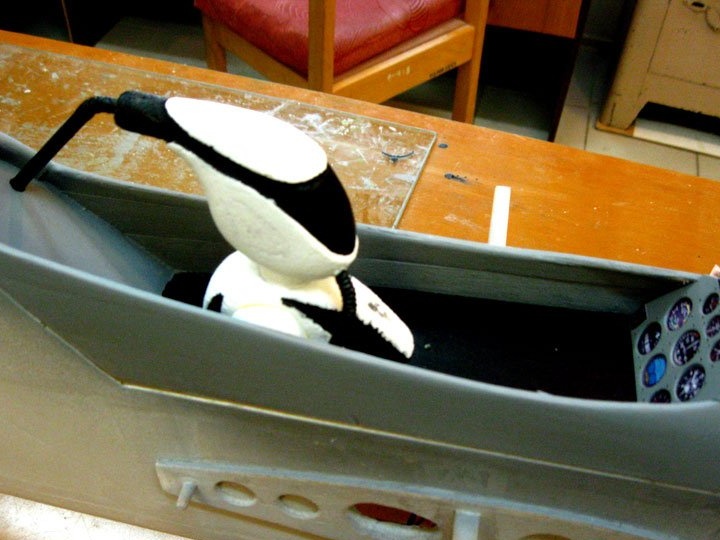
The pilot’s figure is being made.
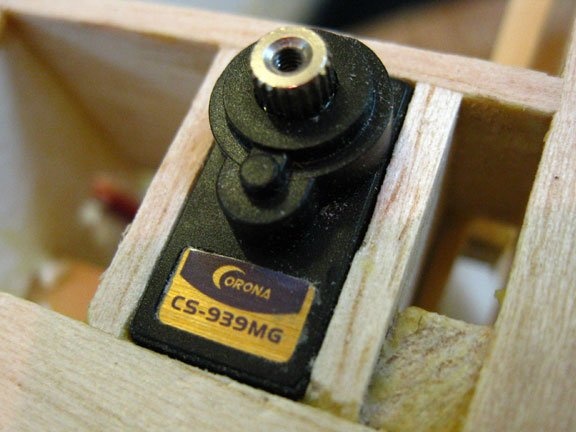
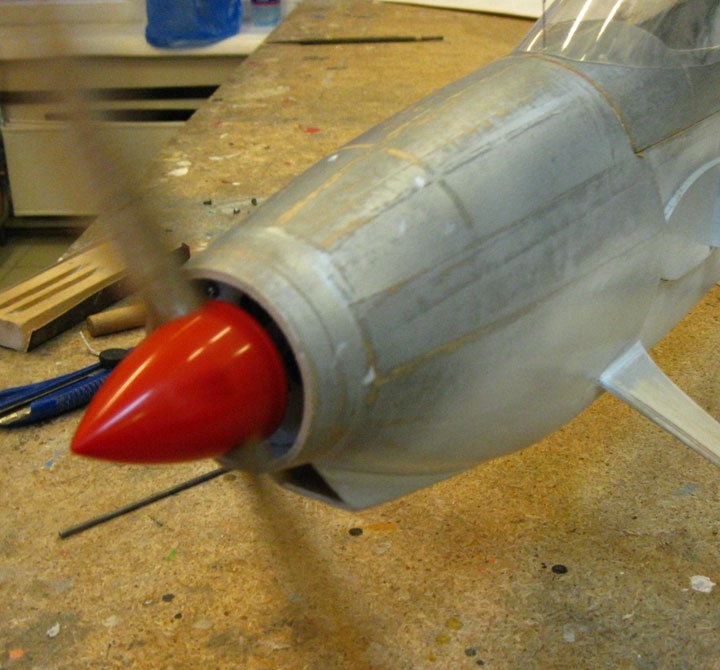
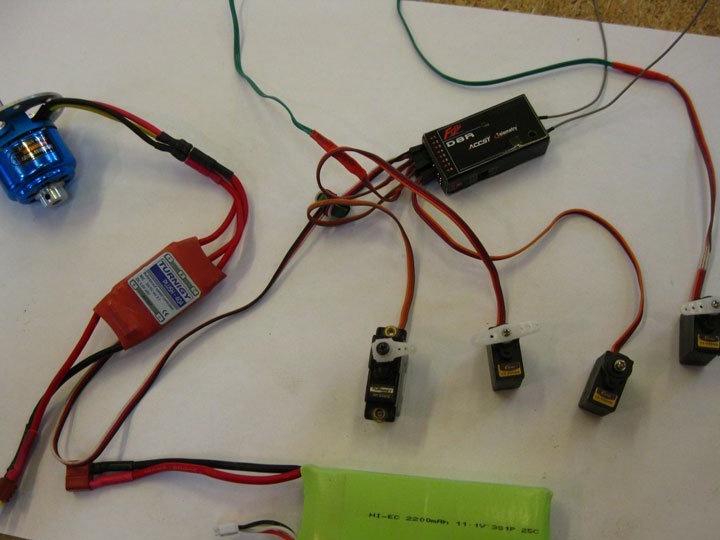
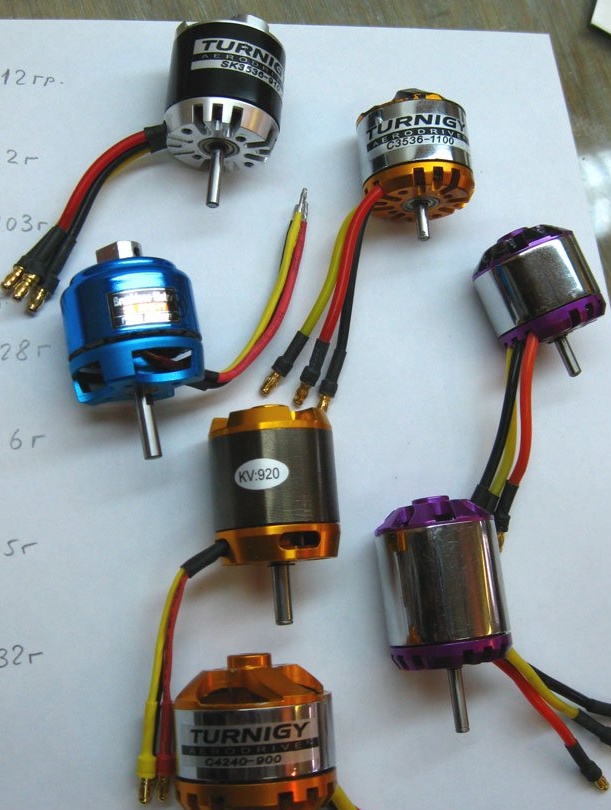
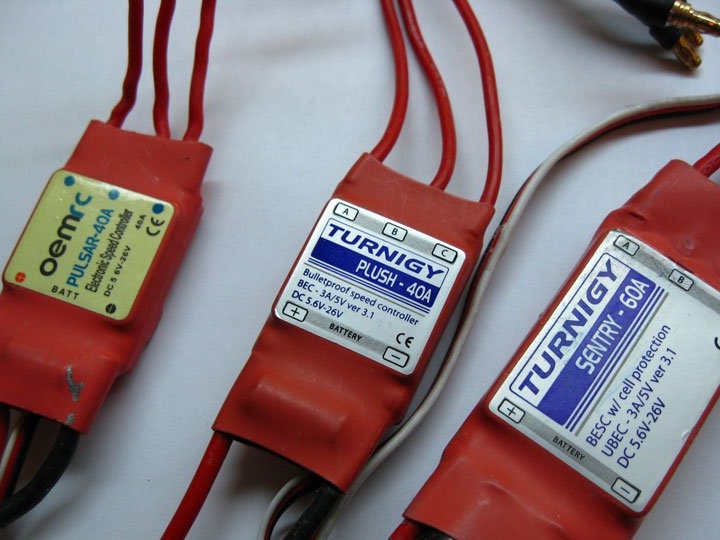
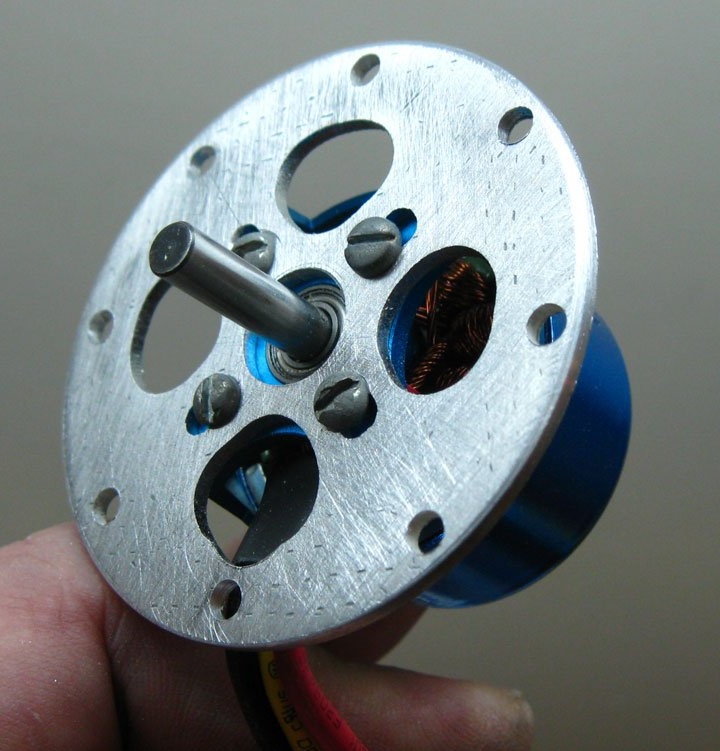
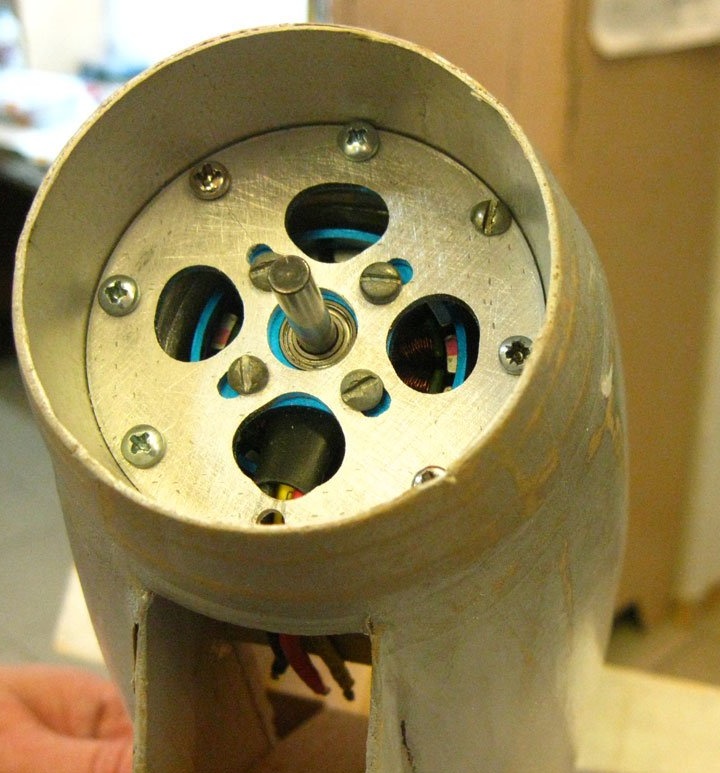
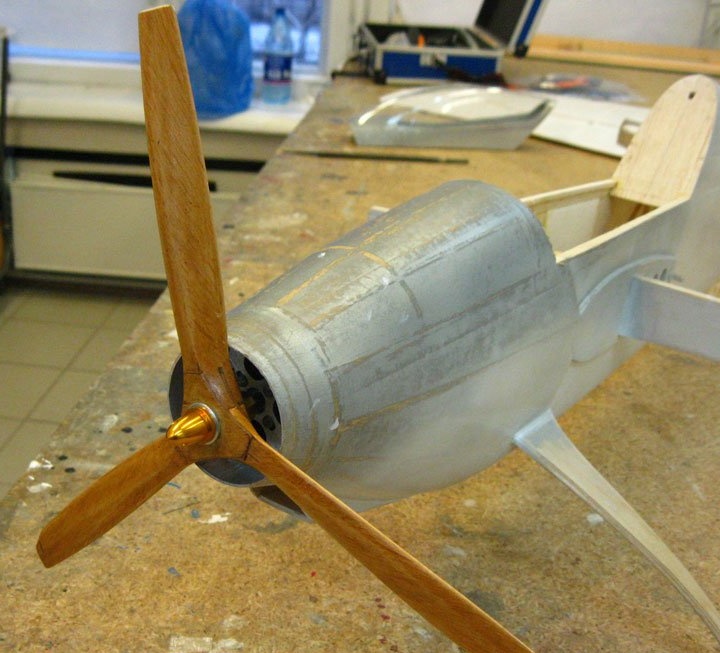
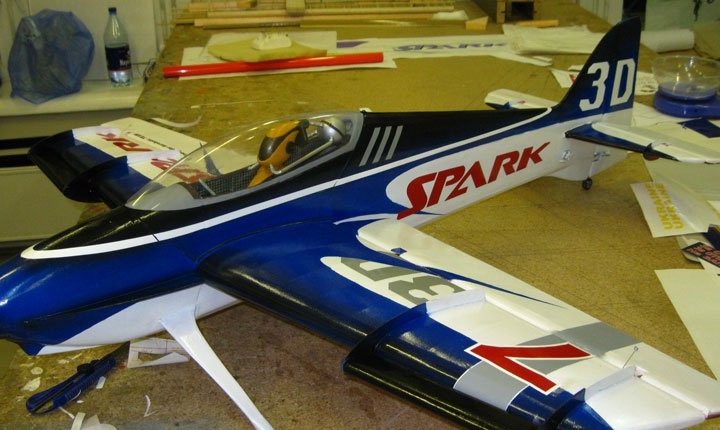
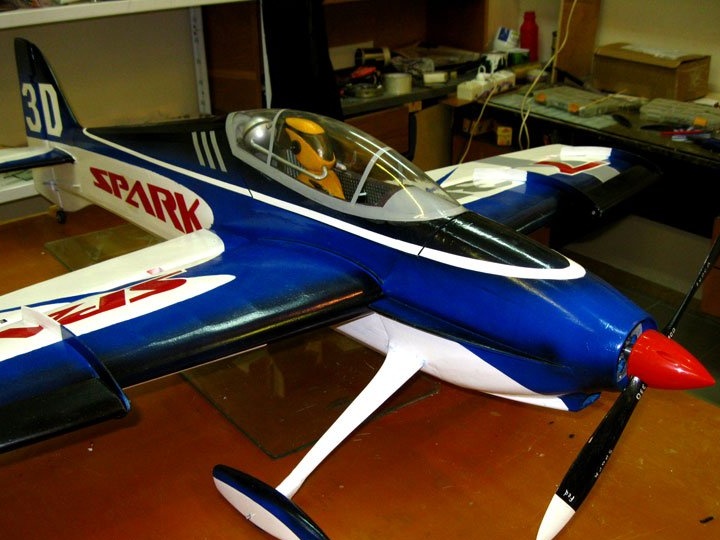
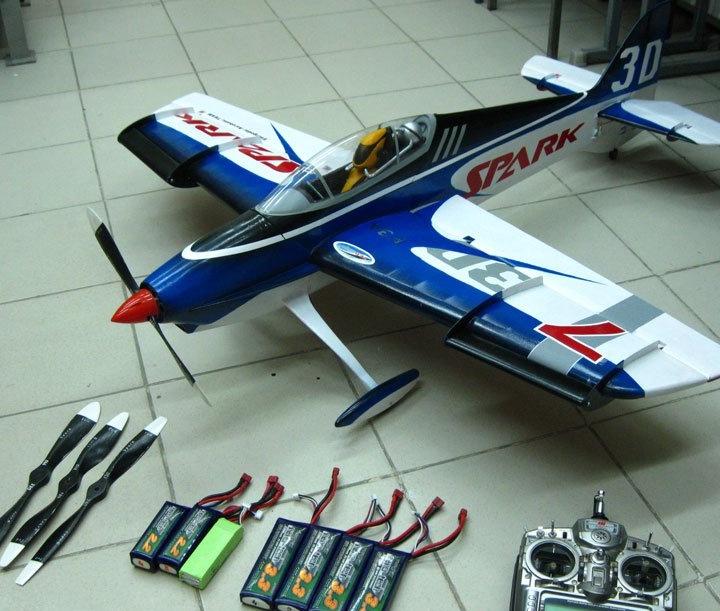
The ultimate electronics choice. Motor installation.
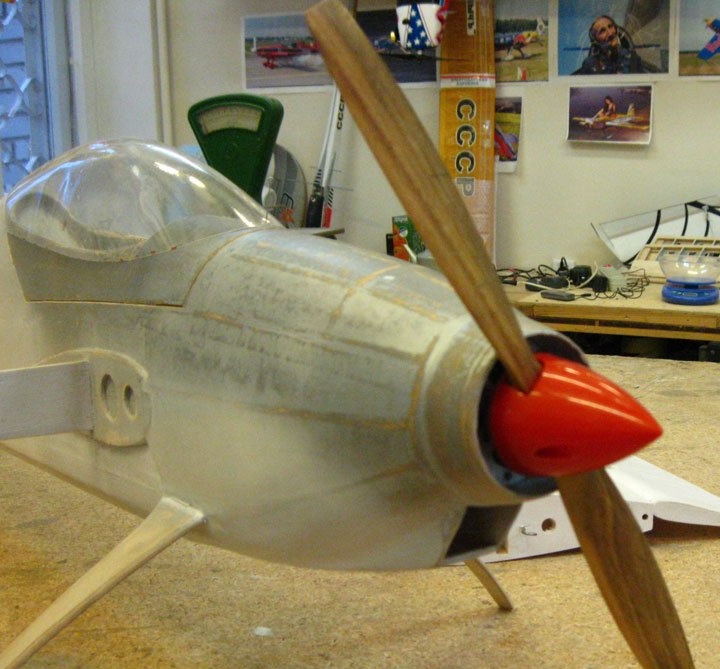
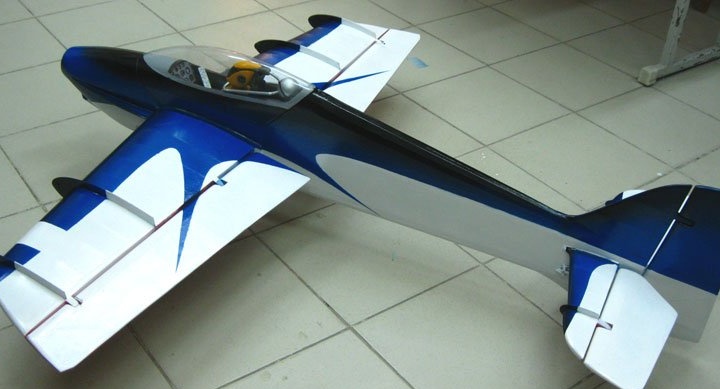
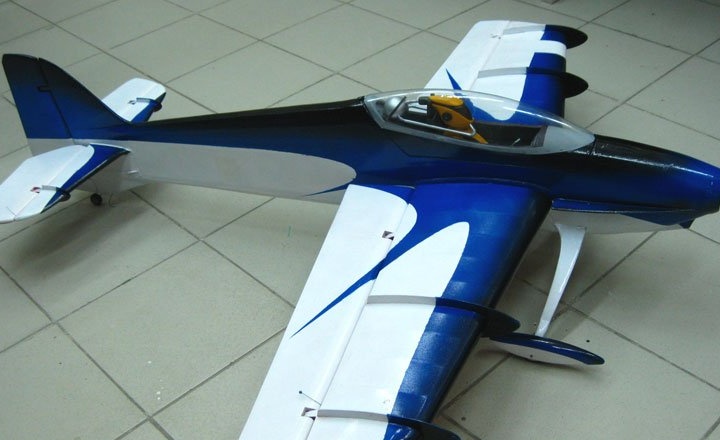
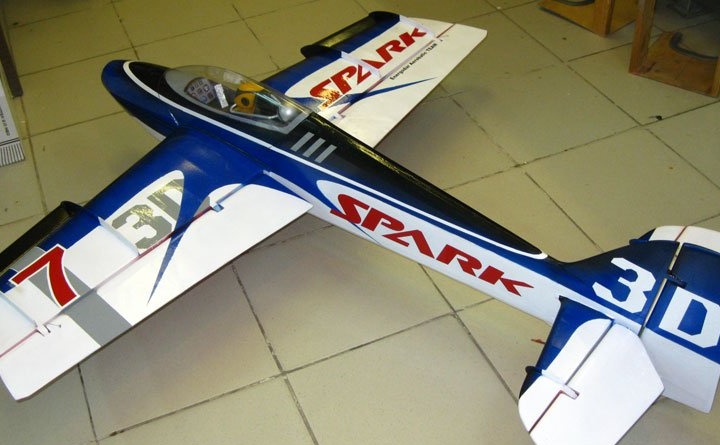
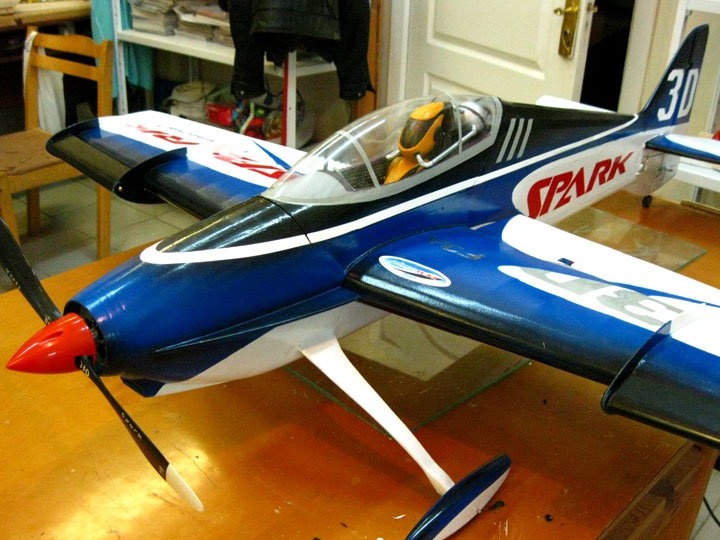
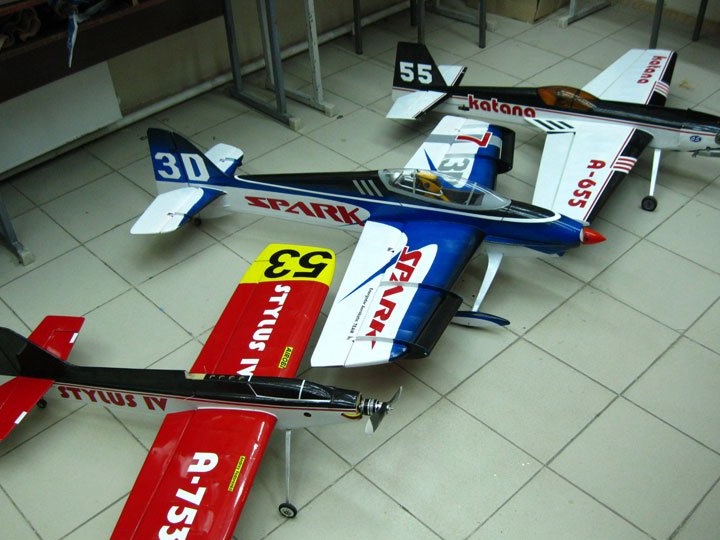
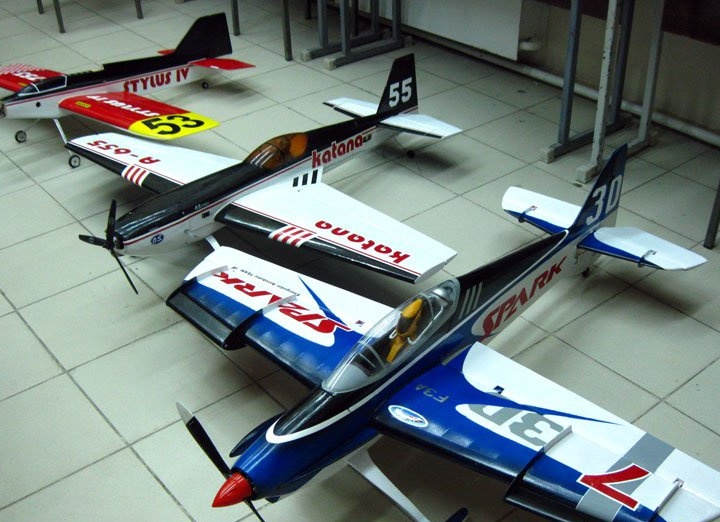
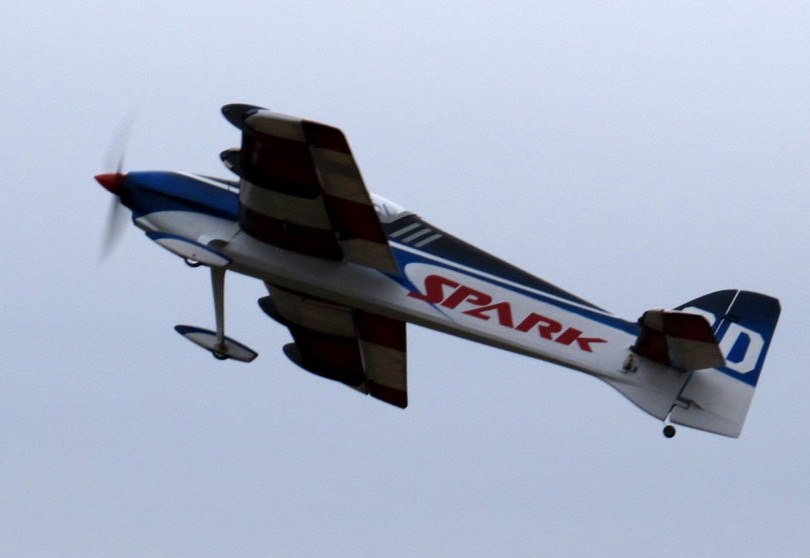
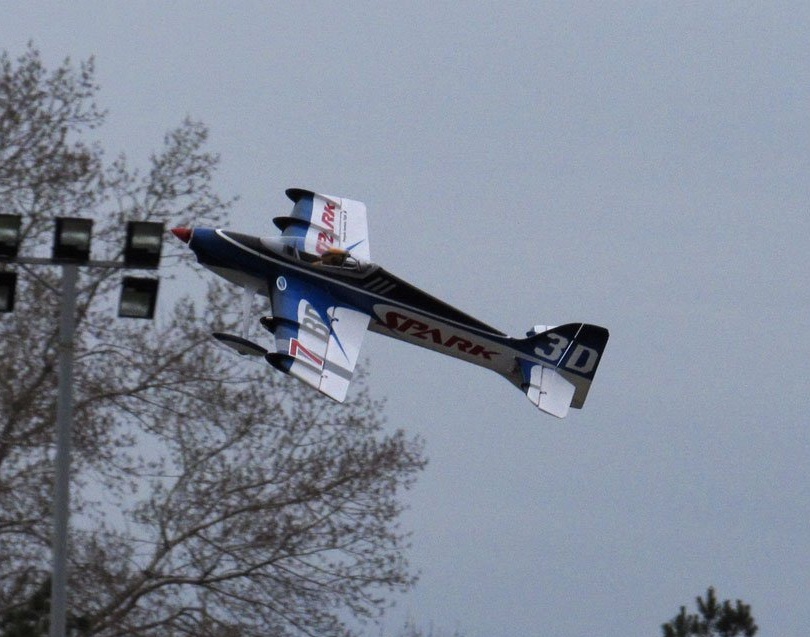
The model is ready to fly.
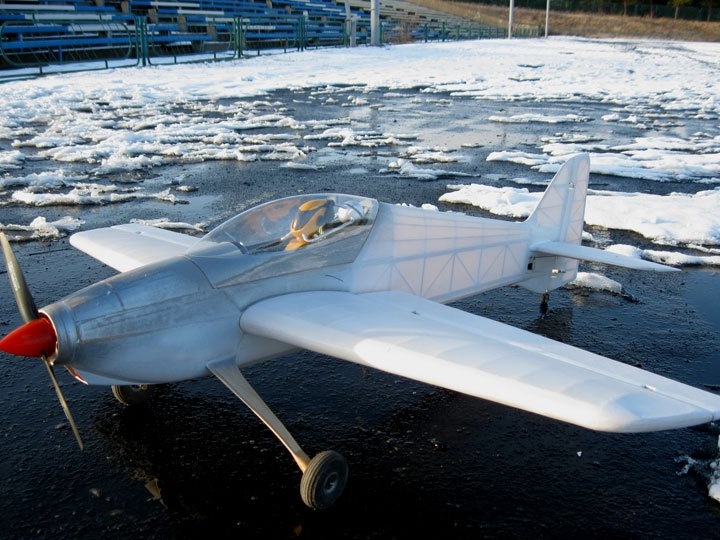

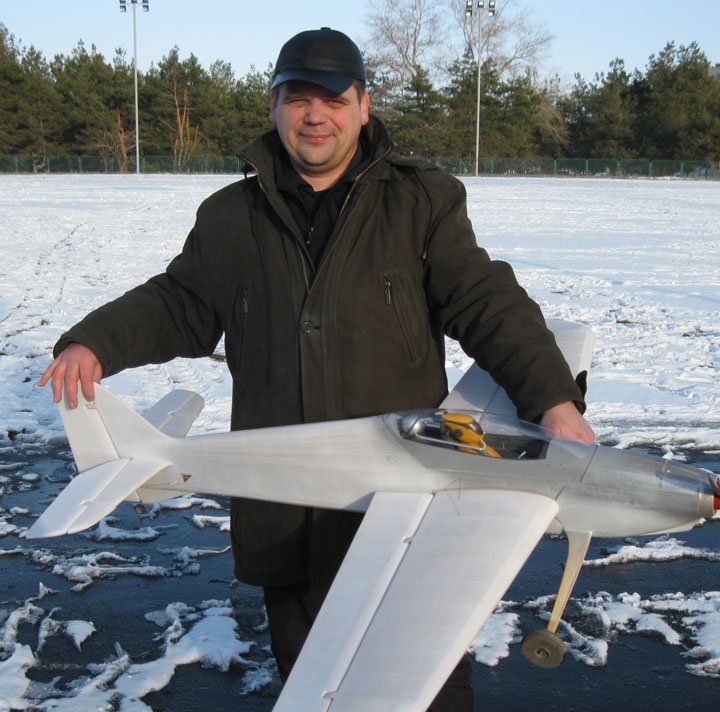


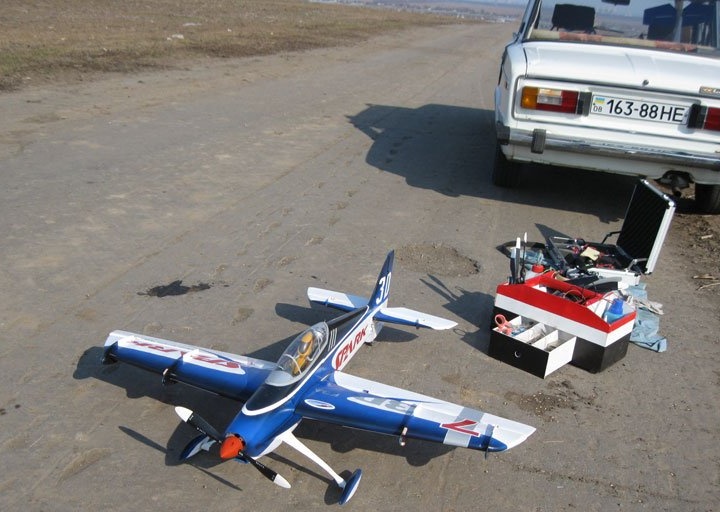
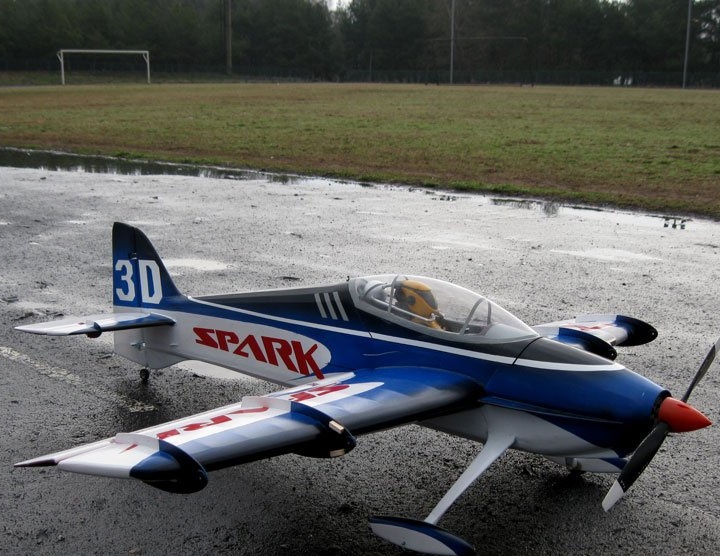
Photos of the first flight of the model.
Construction models can drag on for a long time, and my story is over.
If there are incomprehensible points and questions, please contact the author of the project on the forum, the link is the source.
Video of the first flight.
Installation and testing of windbreakers.
I dare to hope that my story will benefit you.